Suzuki GSX-R1000 Coolant Change
Changing the coolant in a Suzuki motorcycle is almost as easy as doing an oil change. Suzuki recommends changing the coolant in a GSX-R1000 motorcycle at least once every two years.
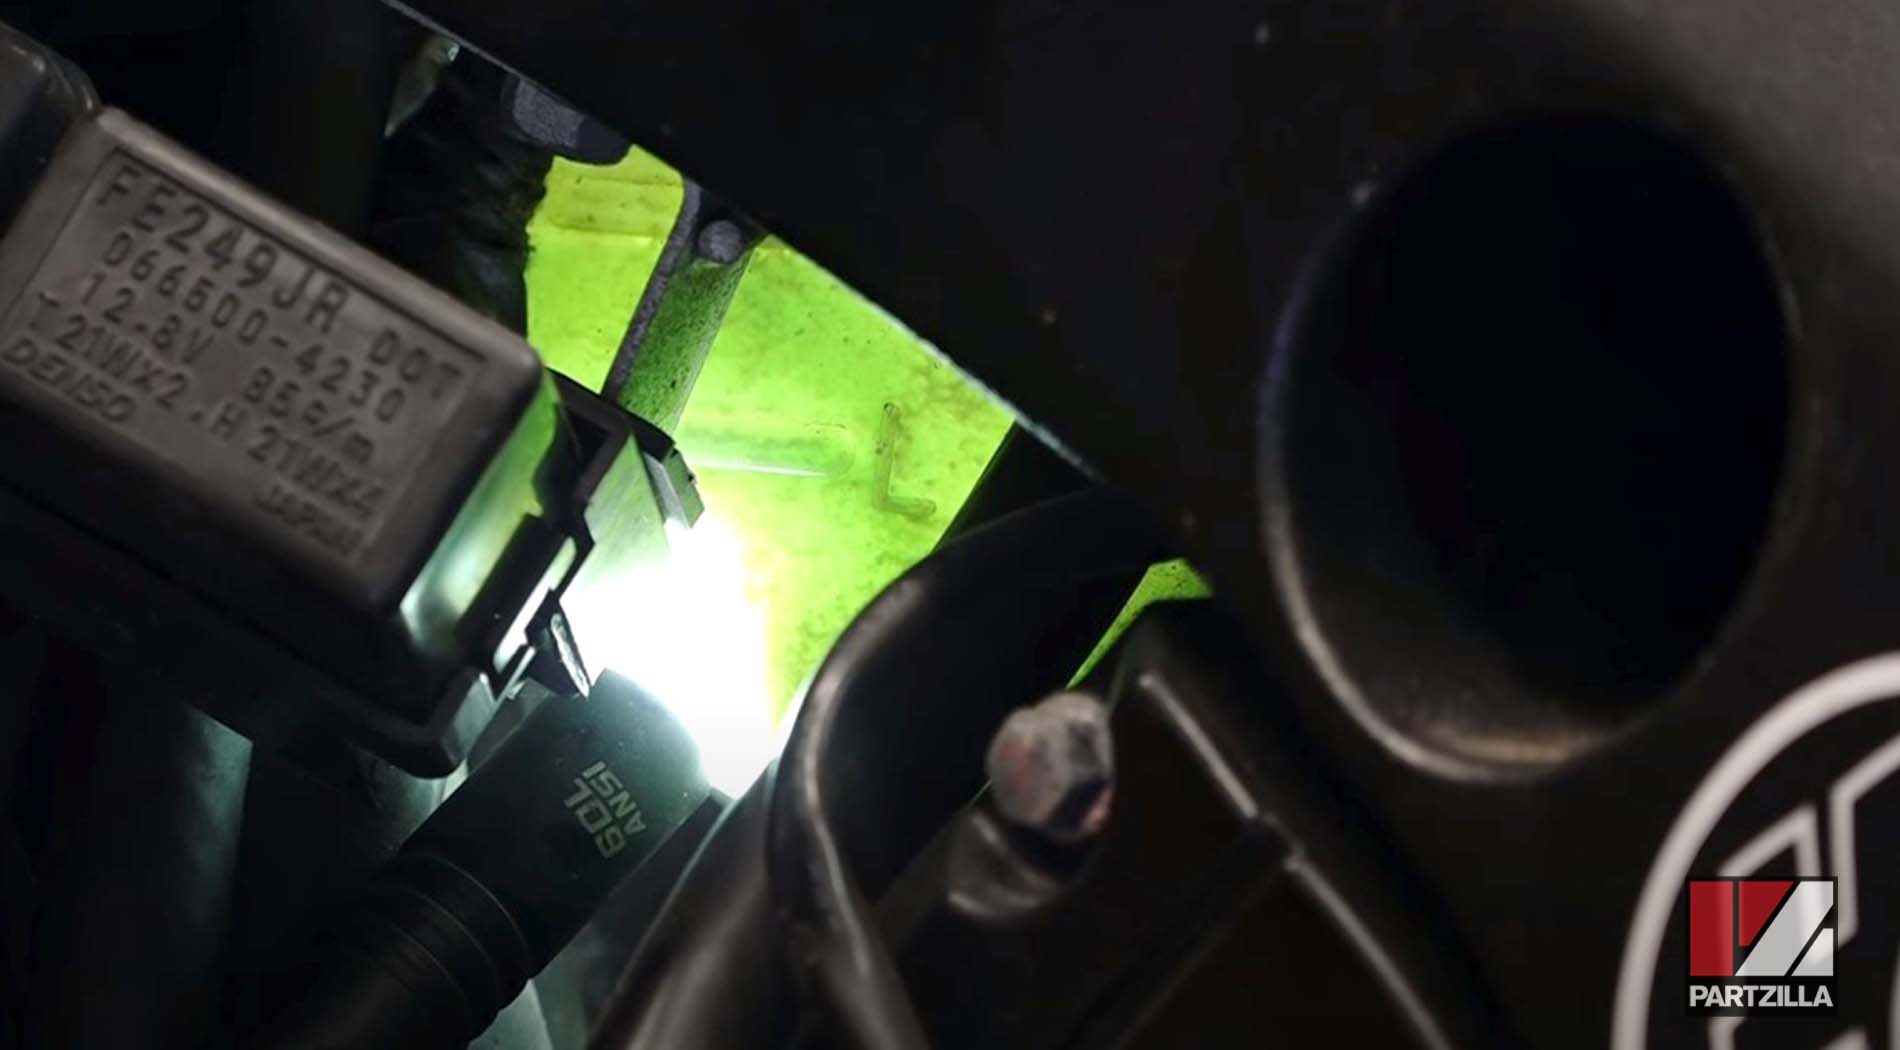
Watch the video above and follow the steps below to change the coolant in a Suzuki GSXR1000. Use our Suzuki GSXR-1000 radiator hose diagram for additional reference.
Tools and Supplies – Suzuki GSX-R1000 Coolant Change
- Ratchet
- 8mm socket
- Phillips screwdriver
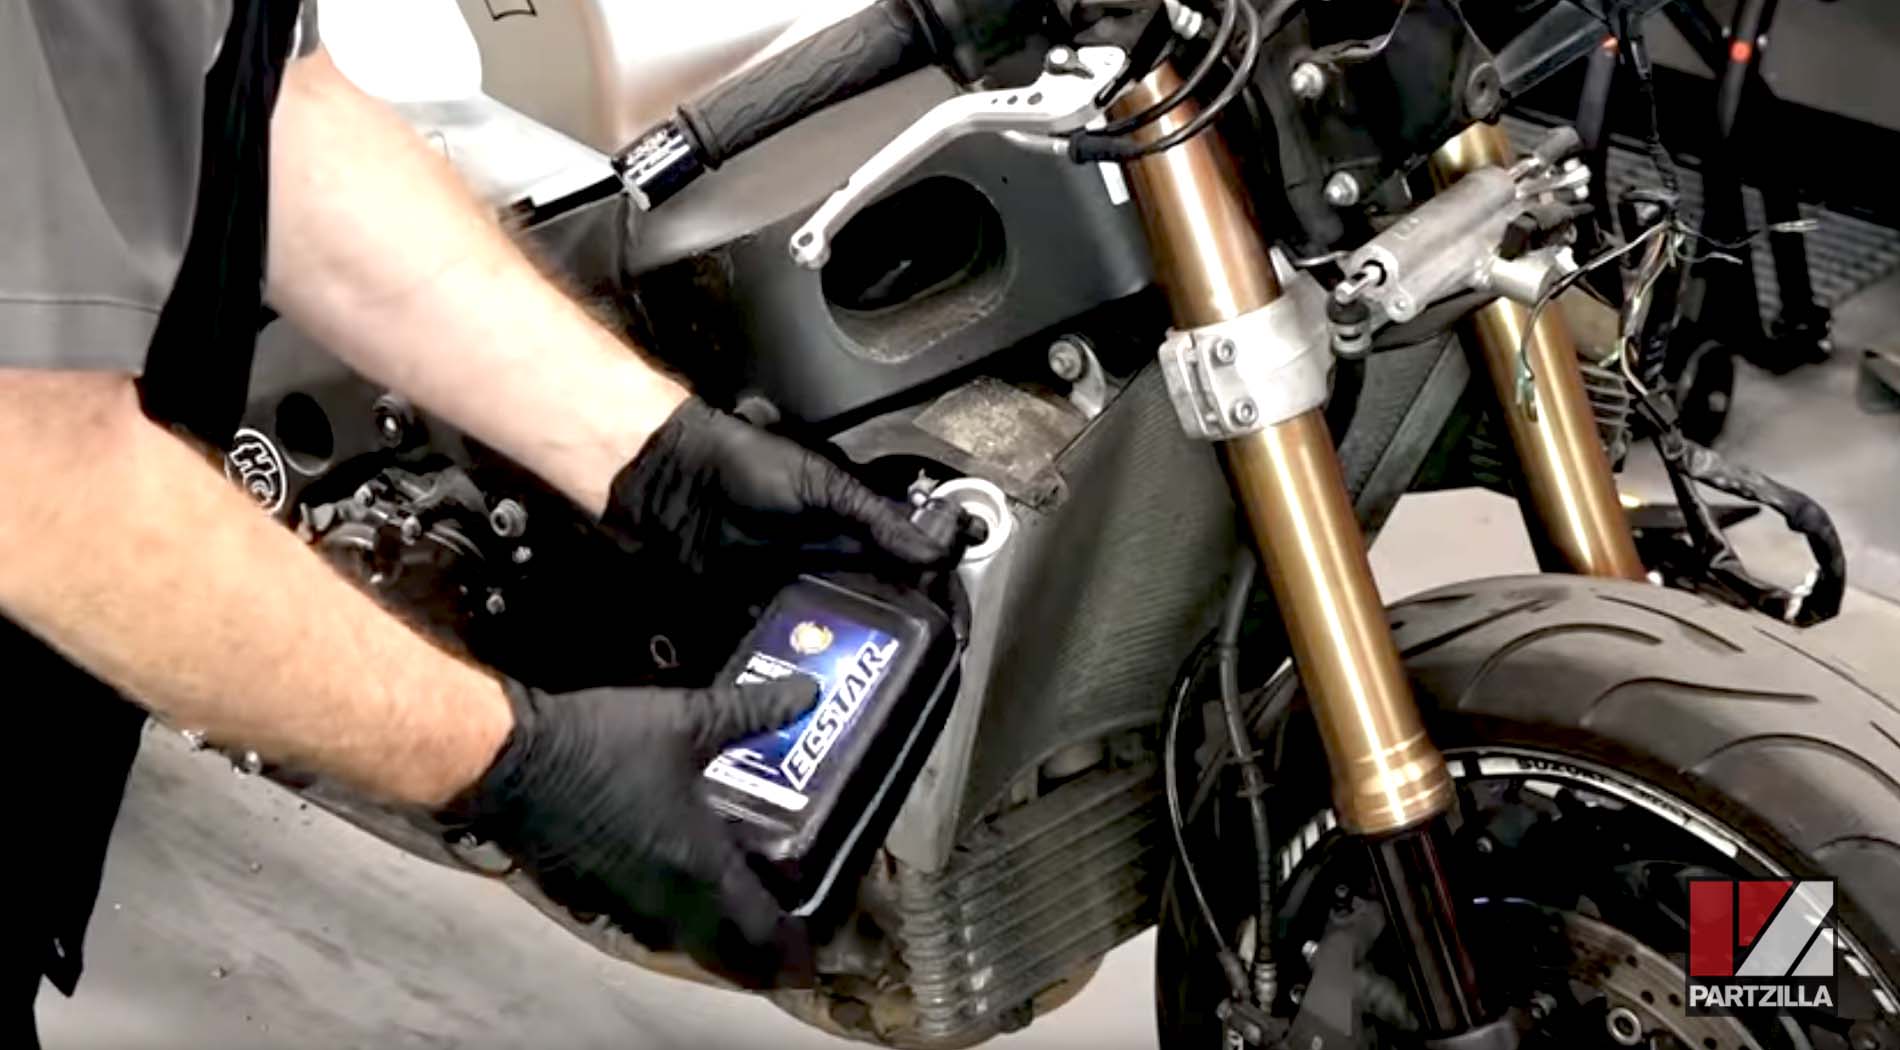
- Suzuki Ecstar coolant


NOTE: We change dthe coolant in a 2007 Suzuki GSX-R1000, but the steps are the same or similar for most Suzuki sport motorcycles.
Step 1. Remove the radiator cap so the system will drain properly.
Step 2. Loosen the clamp on the bottom radiator hose, and remove the hose from the radiator. Have a pan ready to catch the old coolant, let the system fully drain, and then replace the radiator hose.
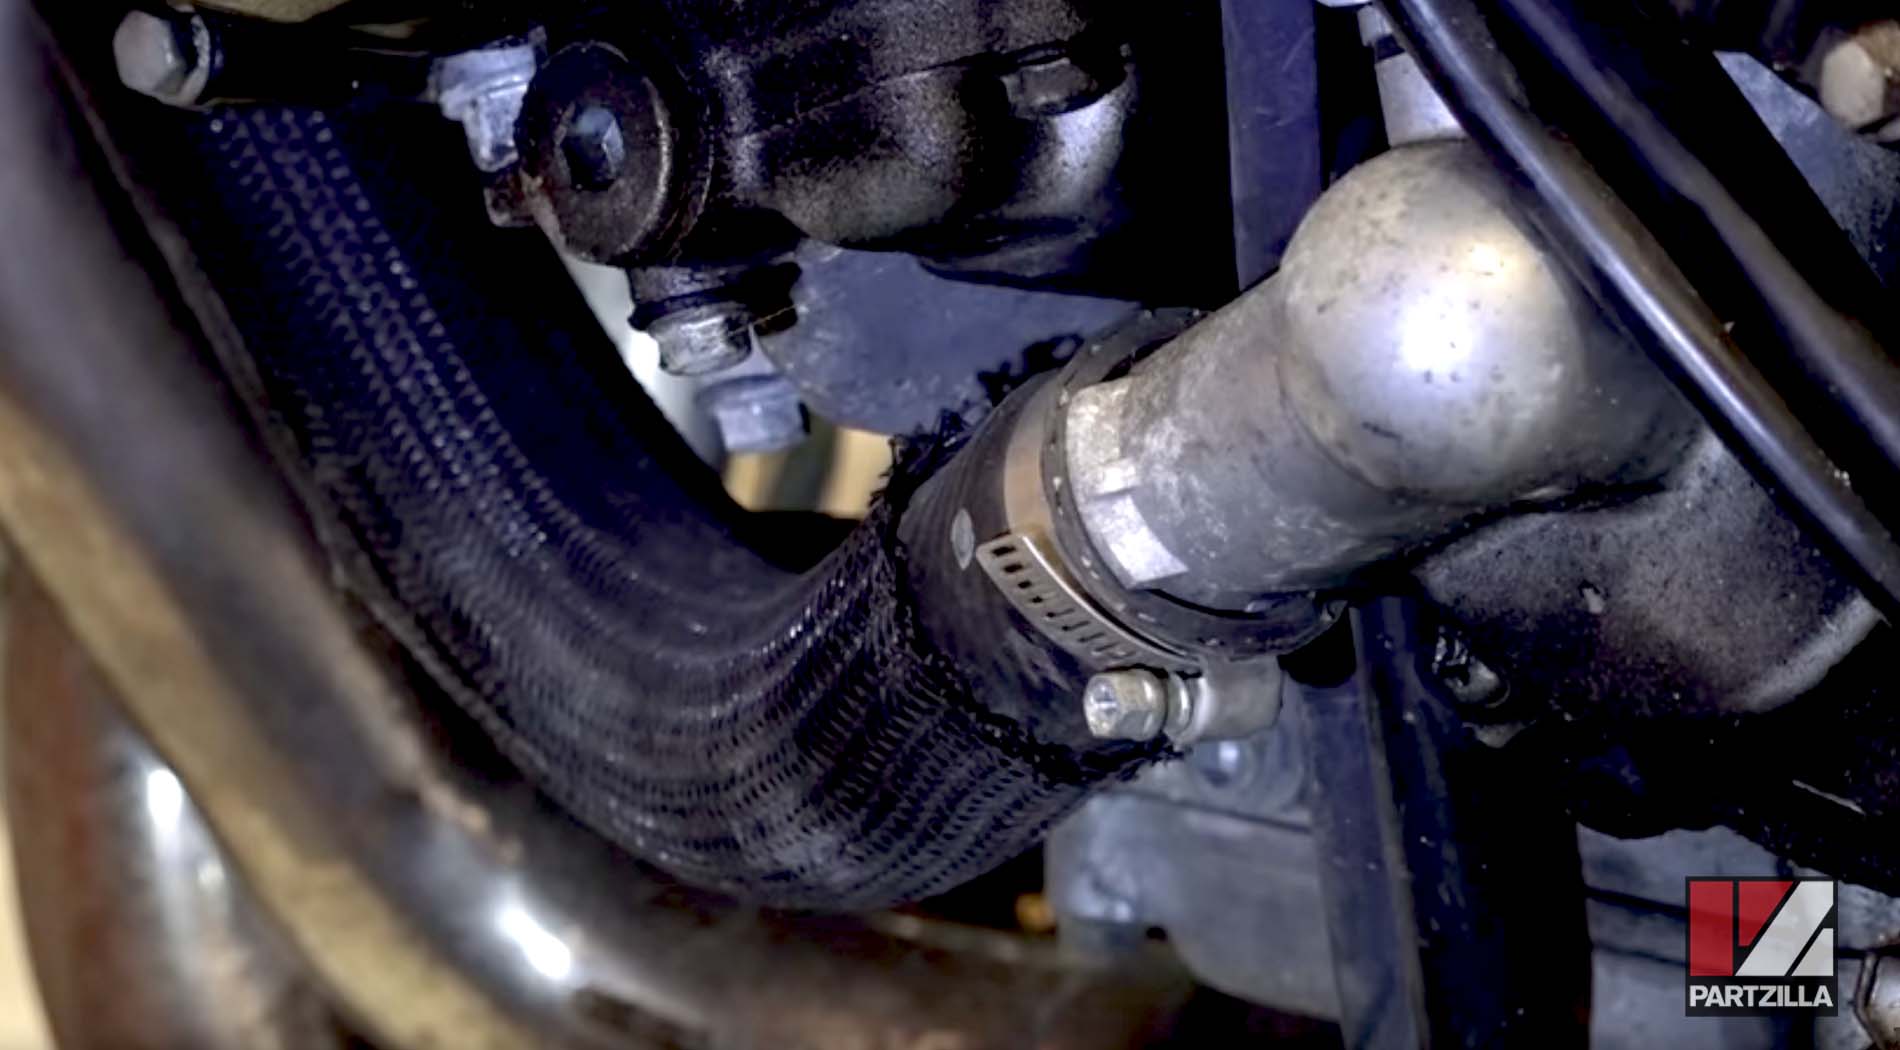
NOTE: The 2007 Suzuki GSX-R1000 doesn’t have a coolant drain plug.

Step 3. Refill the radiator with water (not engine coolant) if the old coolant is heavily discolored by rust or contains any debris, then run the engine for a minute to circulate the water through the cooling system, and drain it again by repeating Step 2.
NOTE: You can skip this step if the old coolant appears to be in good condition.
Step 4. Fill the radiator with engine coolant. Do it slowly, and gently rock the motorcycle from side to side occasionally to remove any air trapped in the cooling system. Once the radiator is completely full, run the engine on idle for a minute, then re-check the coolant level and top it off again if necessary.
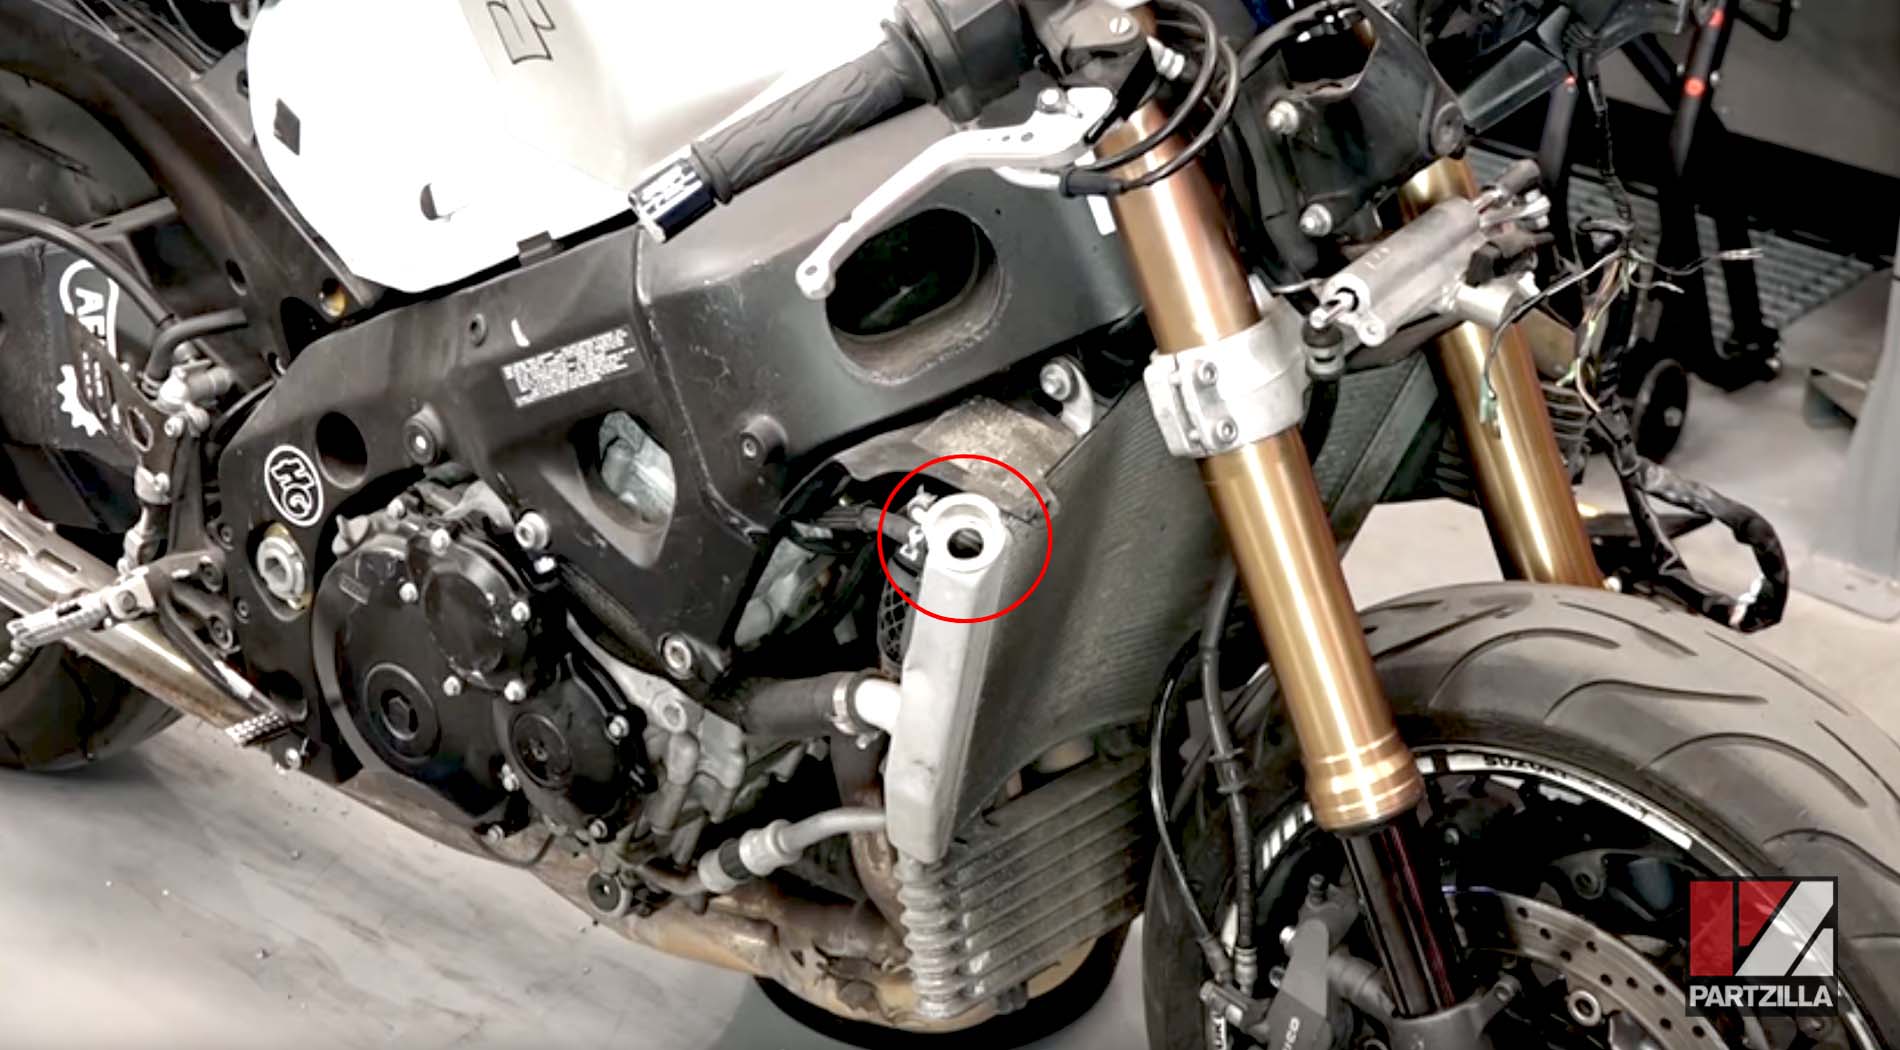
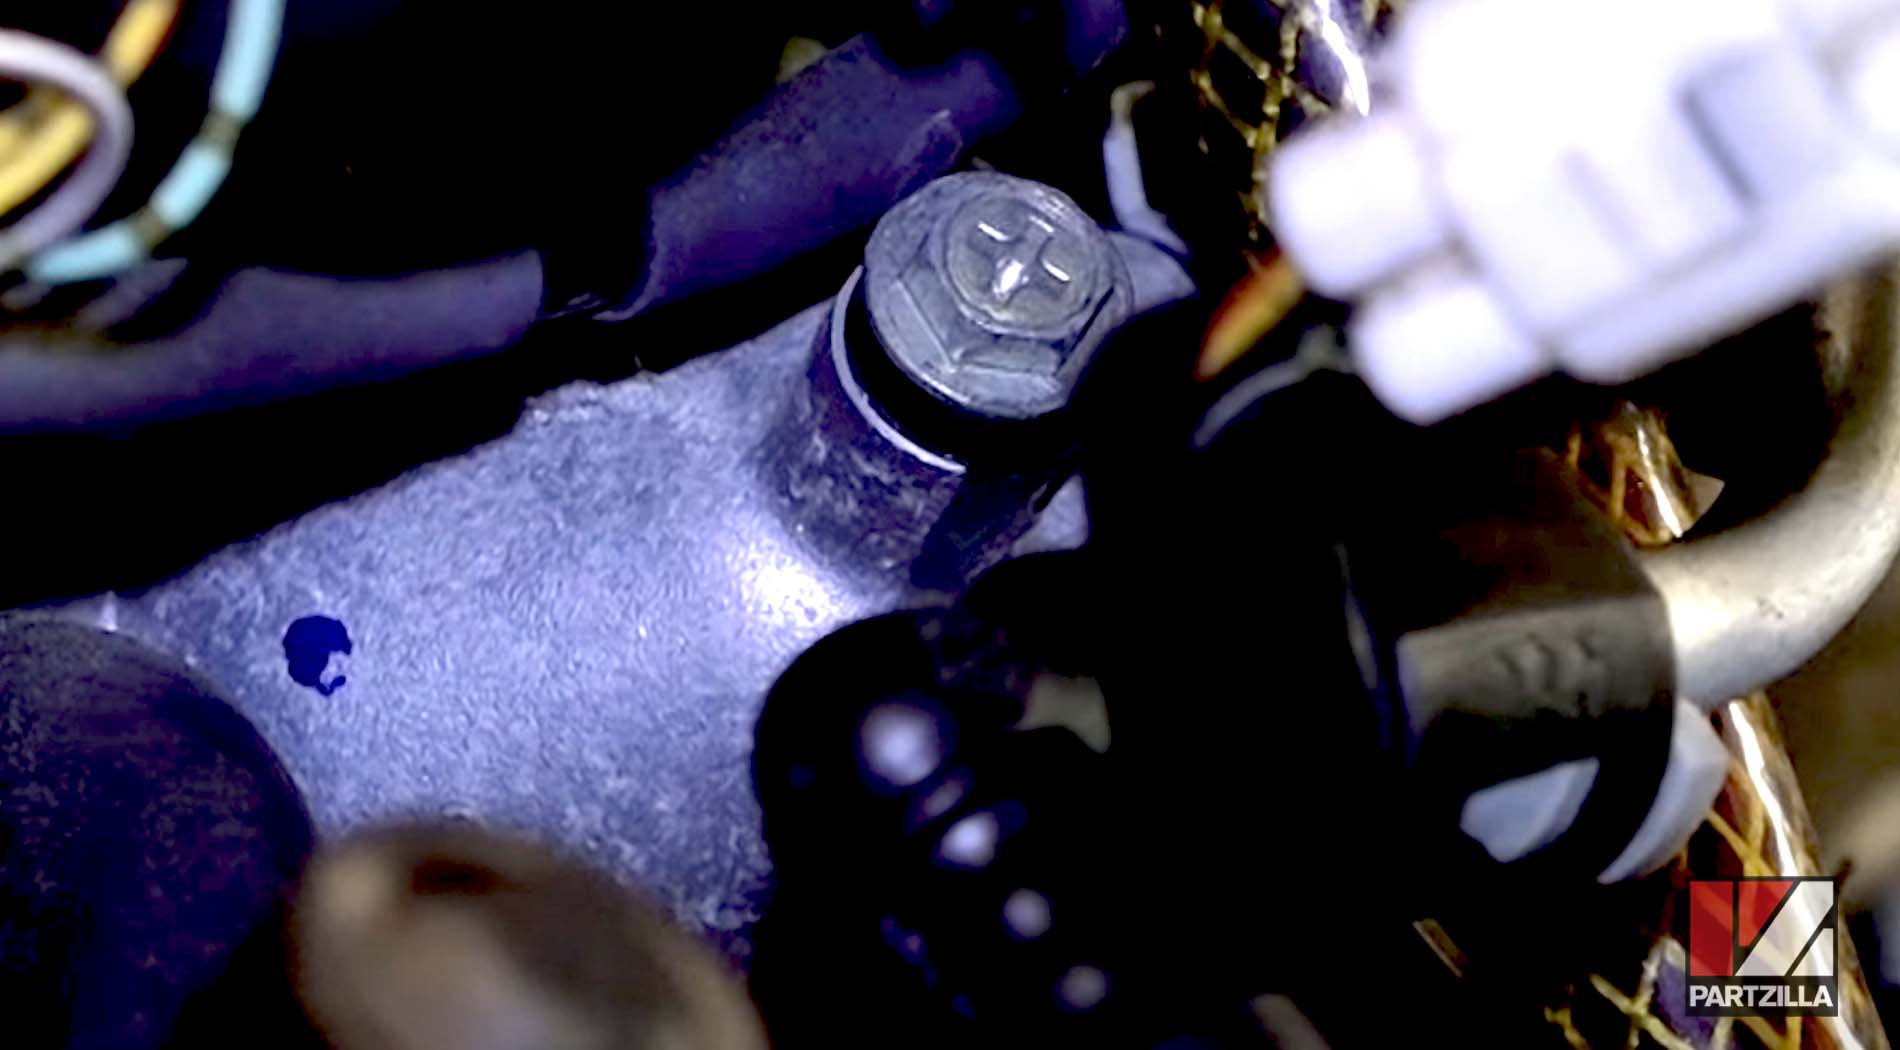
Step 5. Loosen the air bleed screw on the thermostat housing while the motor is running. If there's any air in the cooling system, let it bleed out until you only get a stream of coolant, then re-tighten the bleed screw.
NOTE: The air bleed screw is located beneath the rear of the gas tank.
Step 6. Put the engine through two or three heat cycles by running it until it’s hot, then shutting it off and letting it fully cool again.
PRO TIP: Although this step is time consuming, make sure you run through the heat/cool cycle a couple of times, as it’s essential to making sure there’s no air left in the cooling system.
Step 7. Check the cooling system reservoir and top it off to the full level.

NOTE: The reservoir is located under the tank, and you’ll need a long-spout funnel or a hose to reach down to the reservoir.
Got starting problems with your Suzuki motorcycle? Watch the video below to learn how to troubleshoot starting problems with a GSX-R1000 motorcycle.