How to Bleed Suzuki GSX-R 1000 Brakes
If the brakes on your Suzuki motorcycle feel spongy, it could be a sign that it's time to change the brake fluid. Bleeding the brakes saves you money and gives your motorcycle back some stopping power.
The tools needed and the exact location of everything may vary on other motorcycles, but the principle is the same: keep feeding new brake fluid into one end of the system as you force old brake fluid out the other end. One difference on the GSXR-1000 is that you bleed fluid from the reservoir and at the caliper. Watch the video above and follow the steps below to bleed the brakes on a Suzuki GSXR1000 motorcycle.
See the parts diagrams:
Tools and Supplies - Suzuki GSX-R1000 Brake Bleed
- 5mm Allen
- 3/8th ratchet
- 8mm box wrench
- Phillips screwdriver
How to Bleed Suzuki GSX-R1000 Brakes
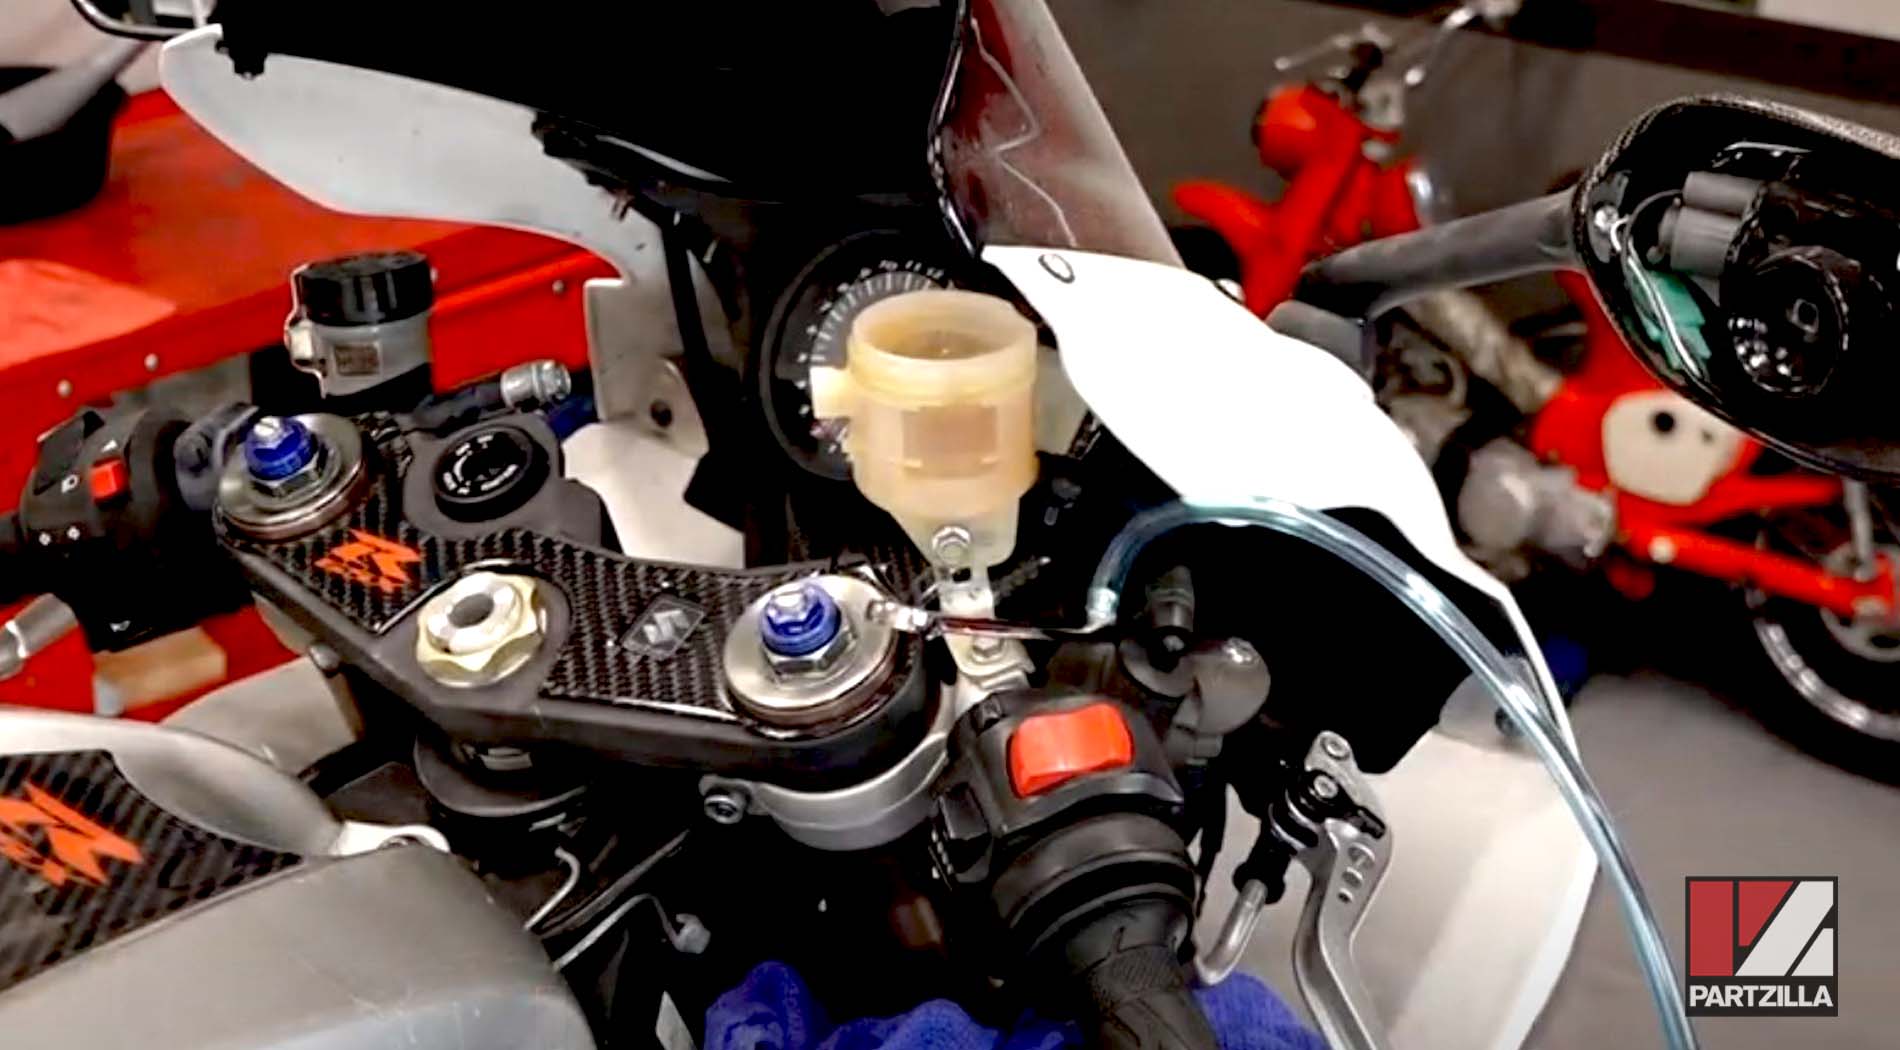
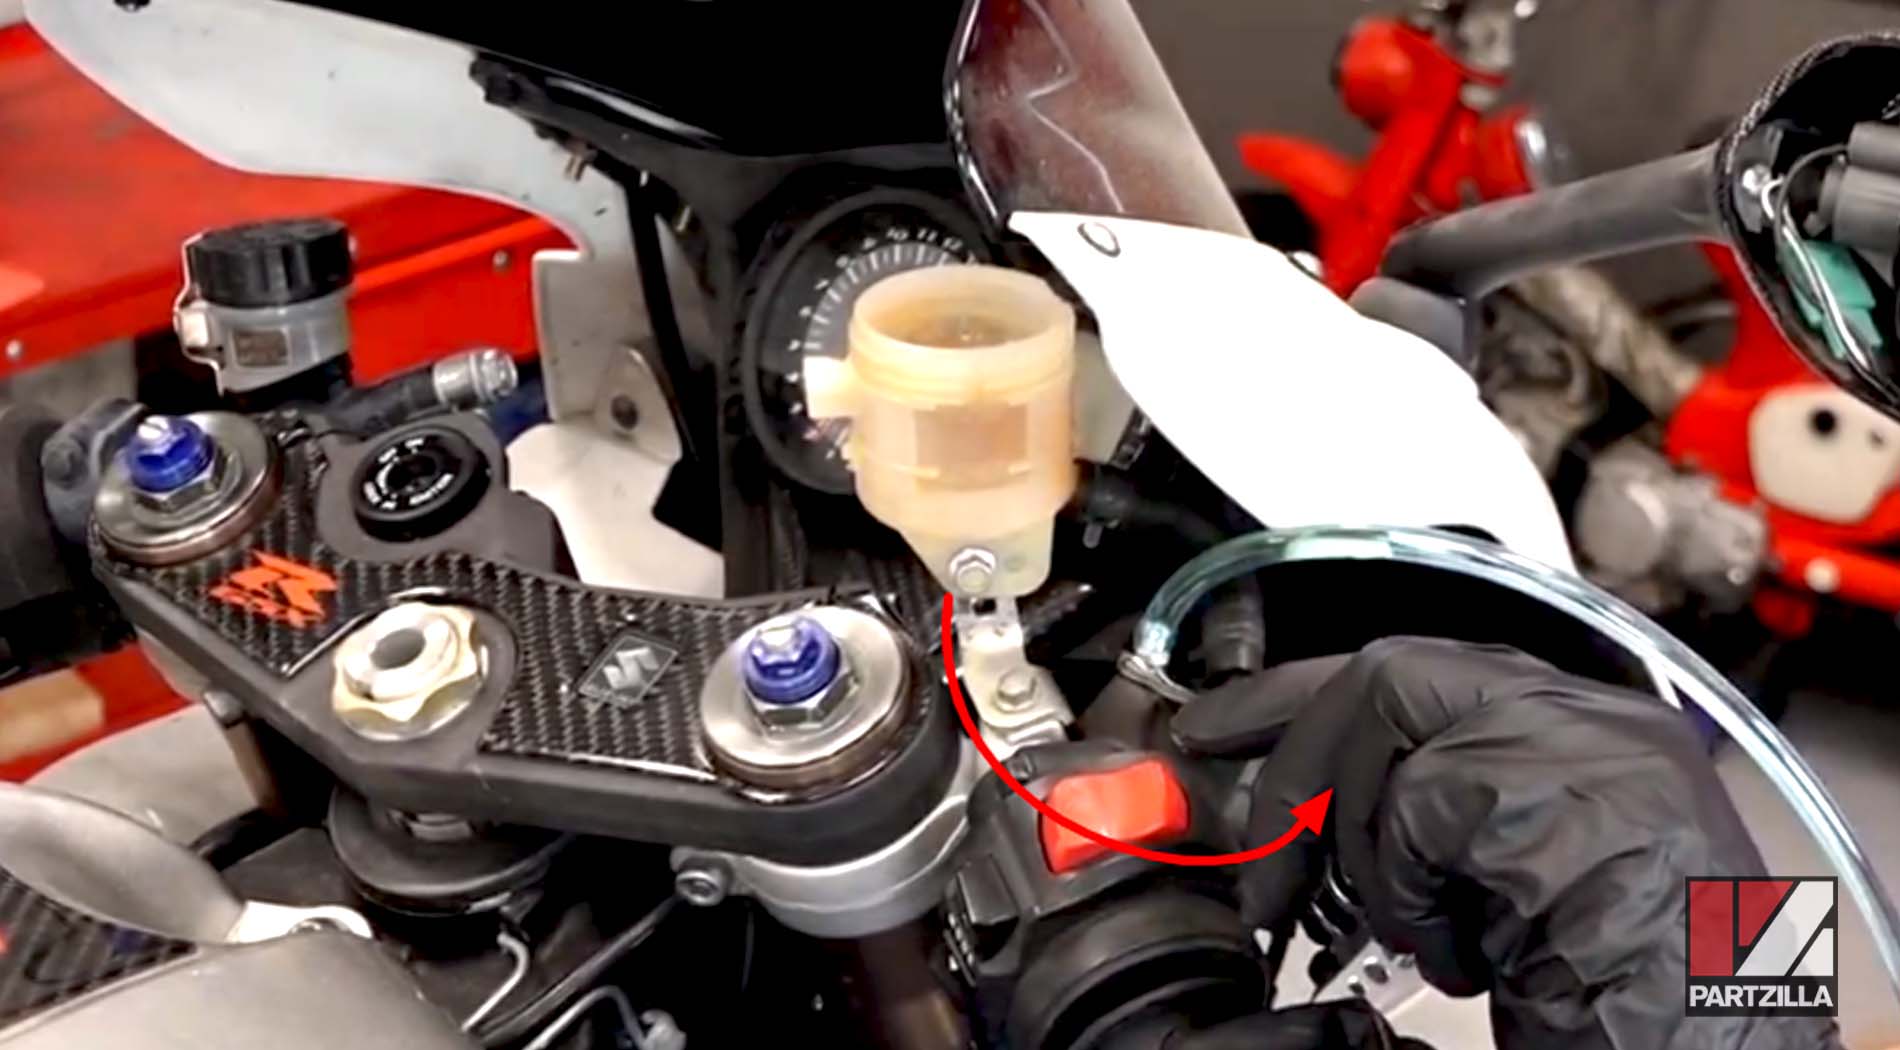
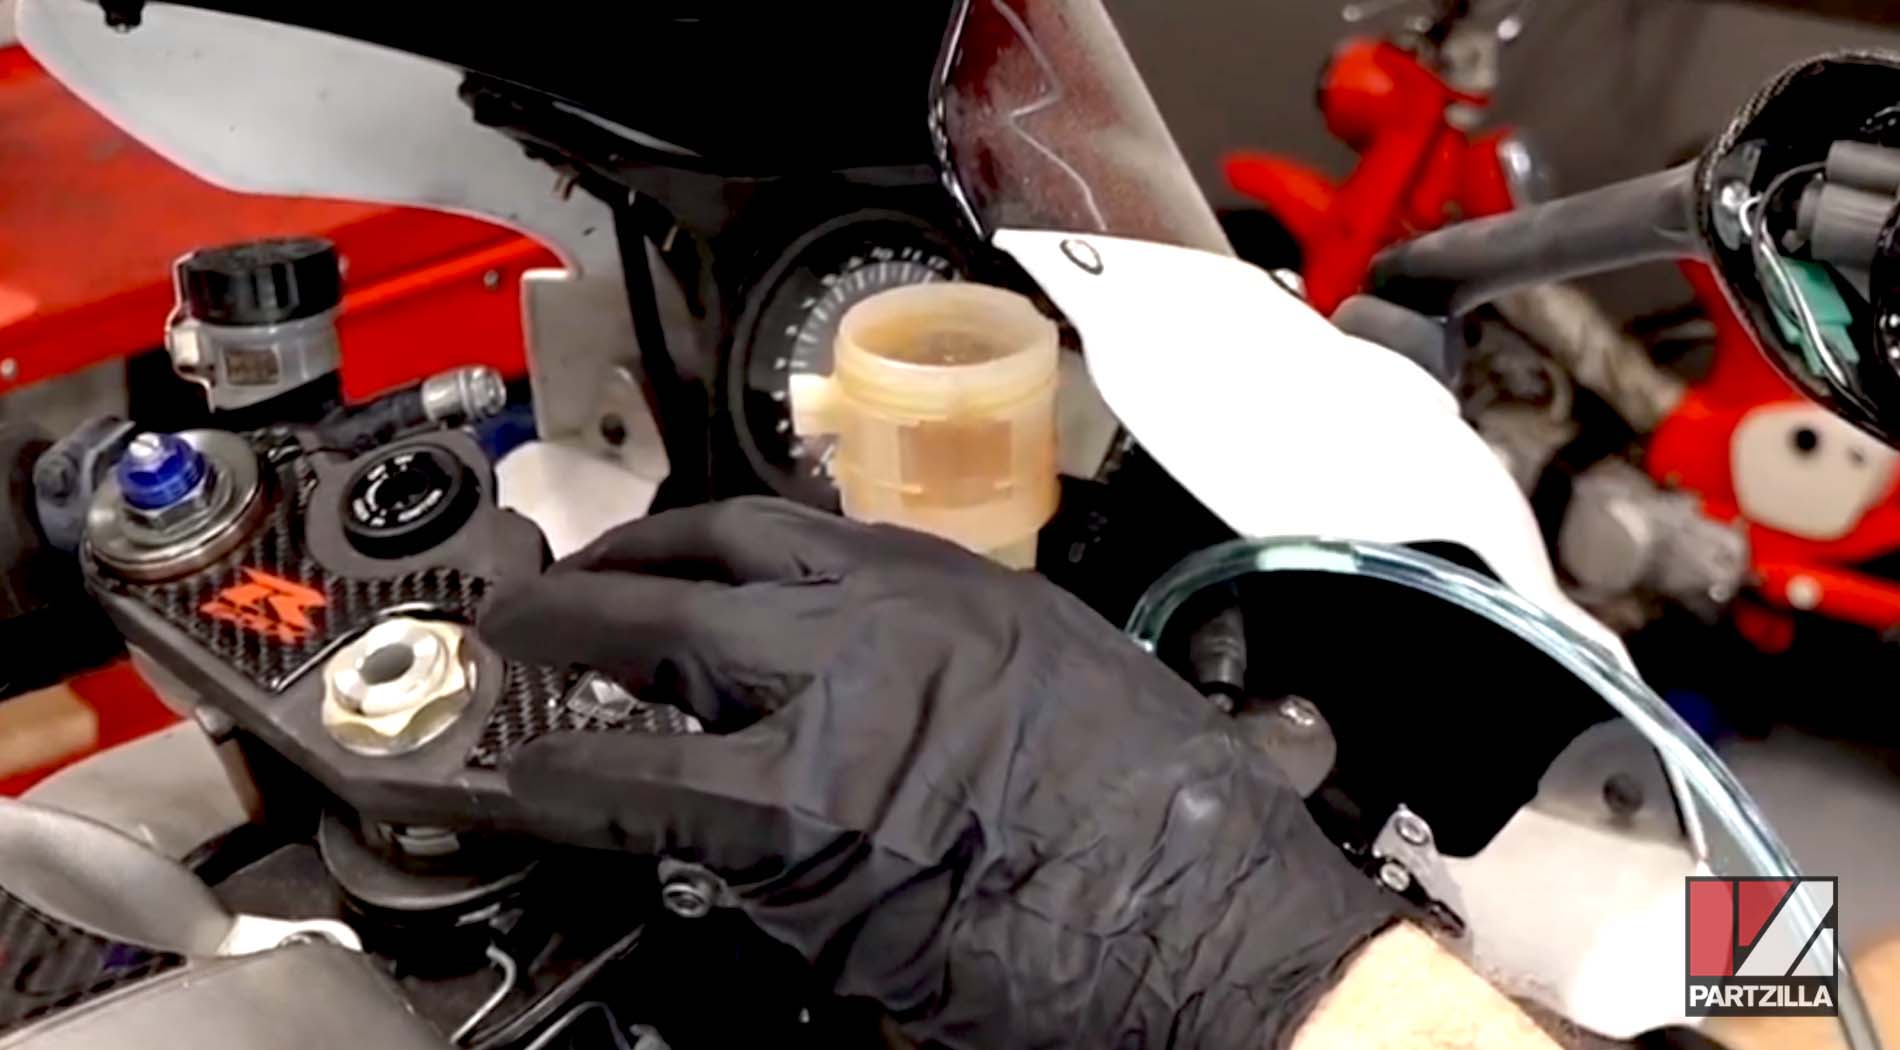
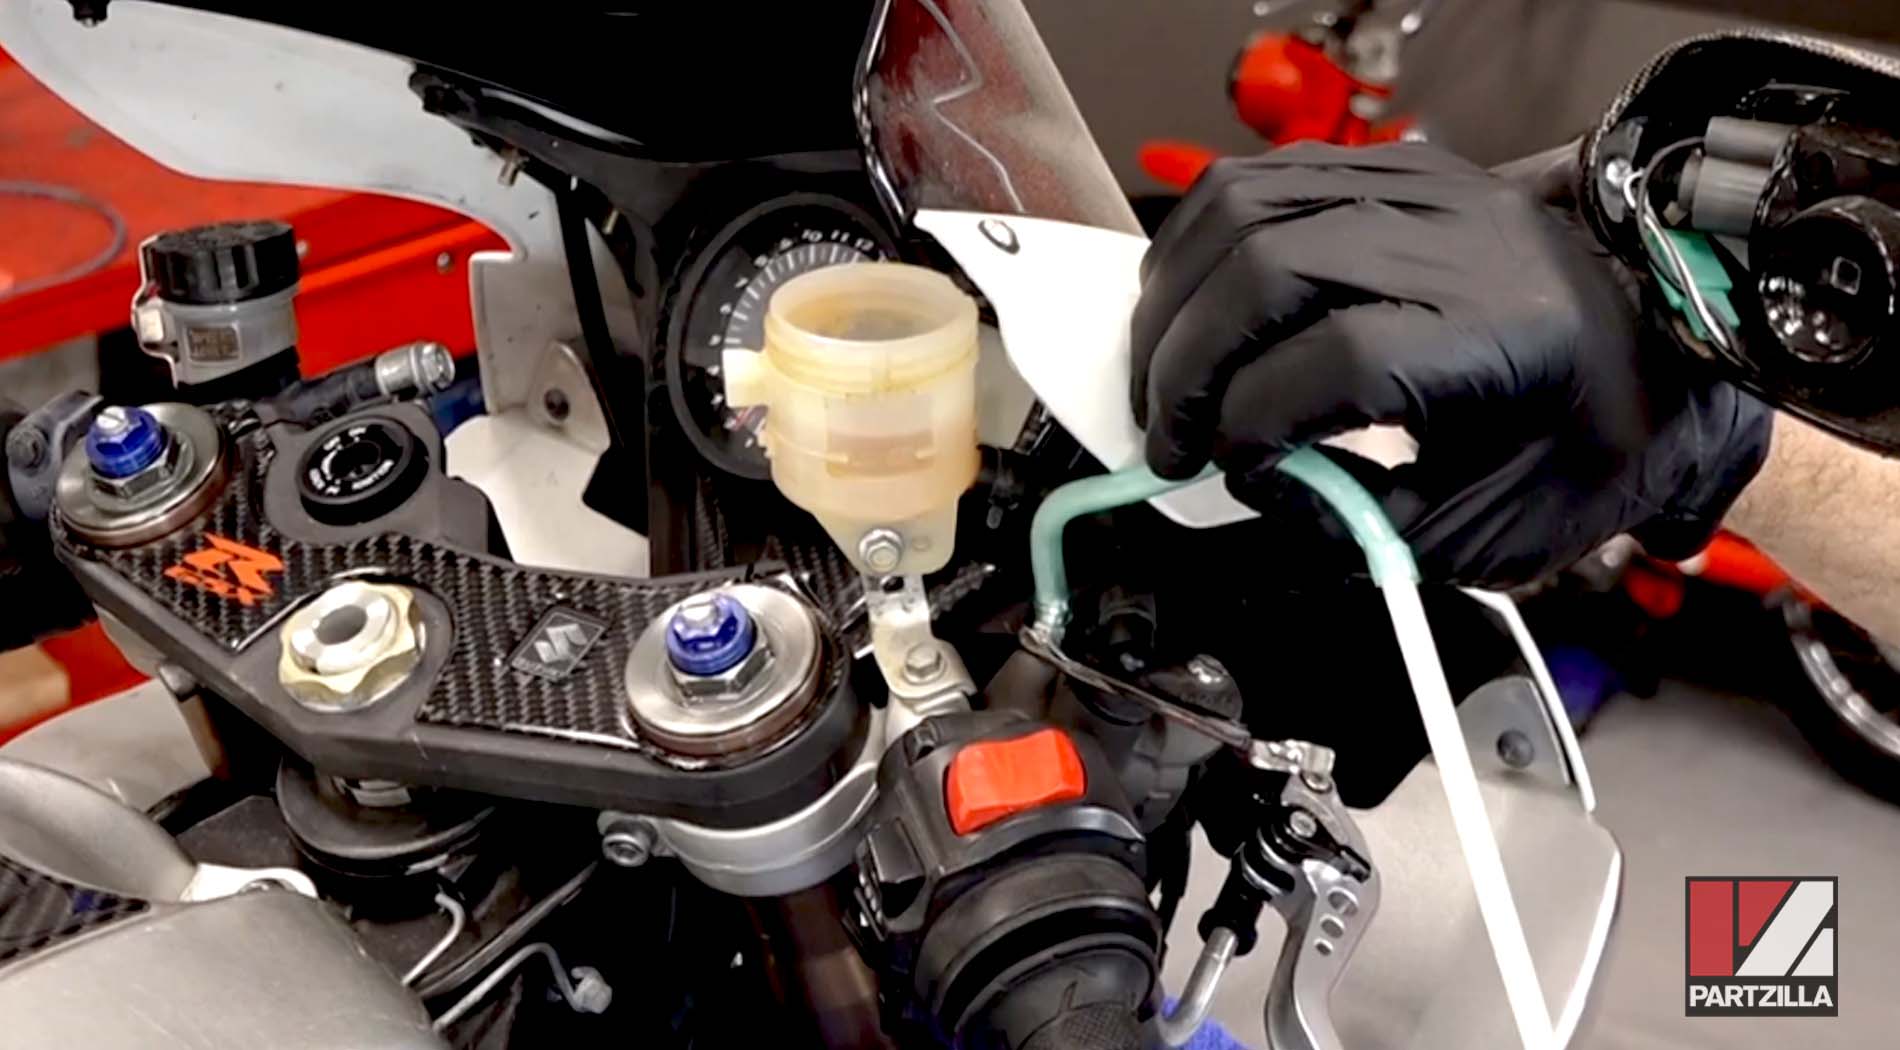
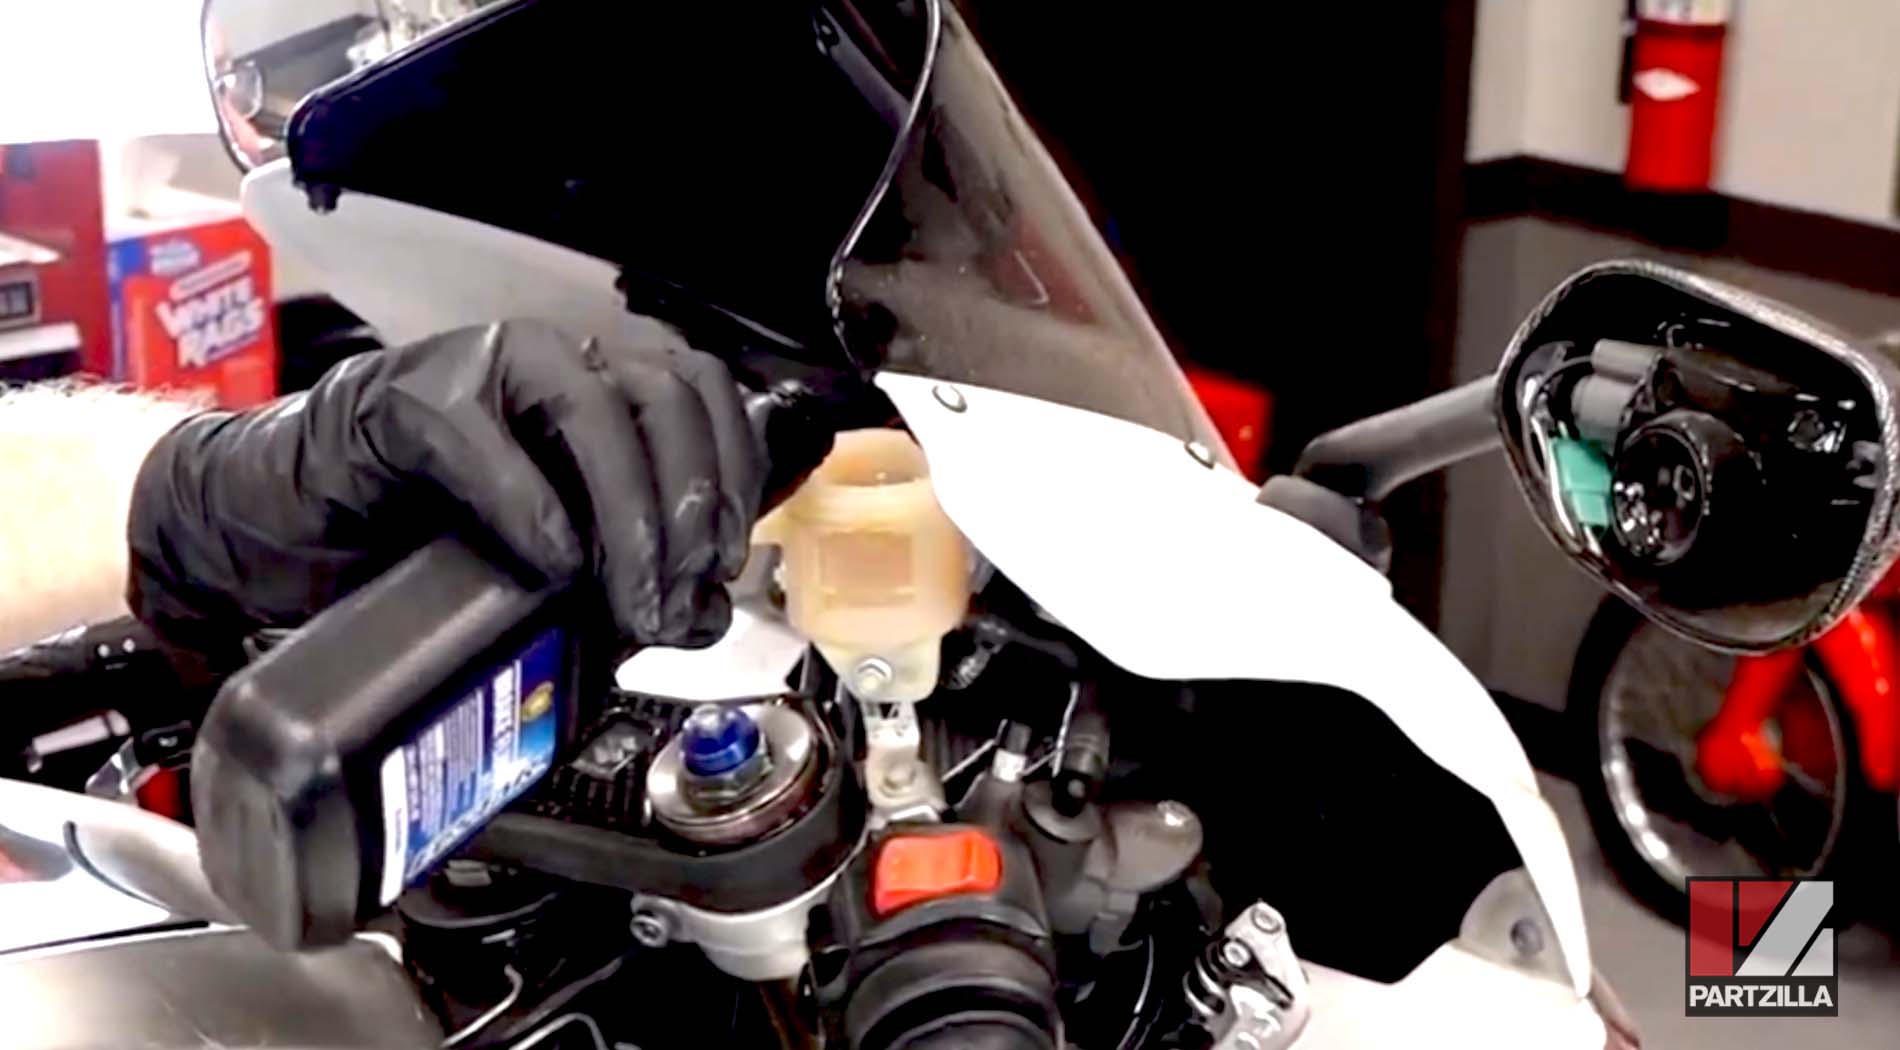
Step 1. Locate the brake fluid reservoir on the right side of the handlebar, then use a Phillips-head screwdriver to remove the metal bracket that holds the reservoir cap on.
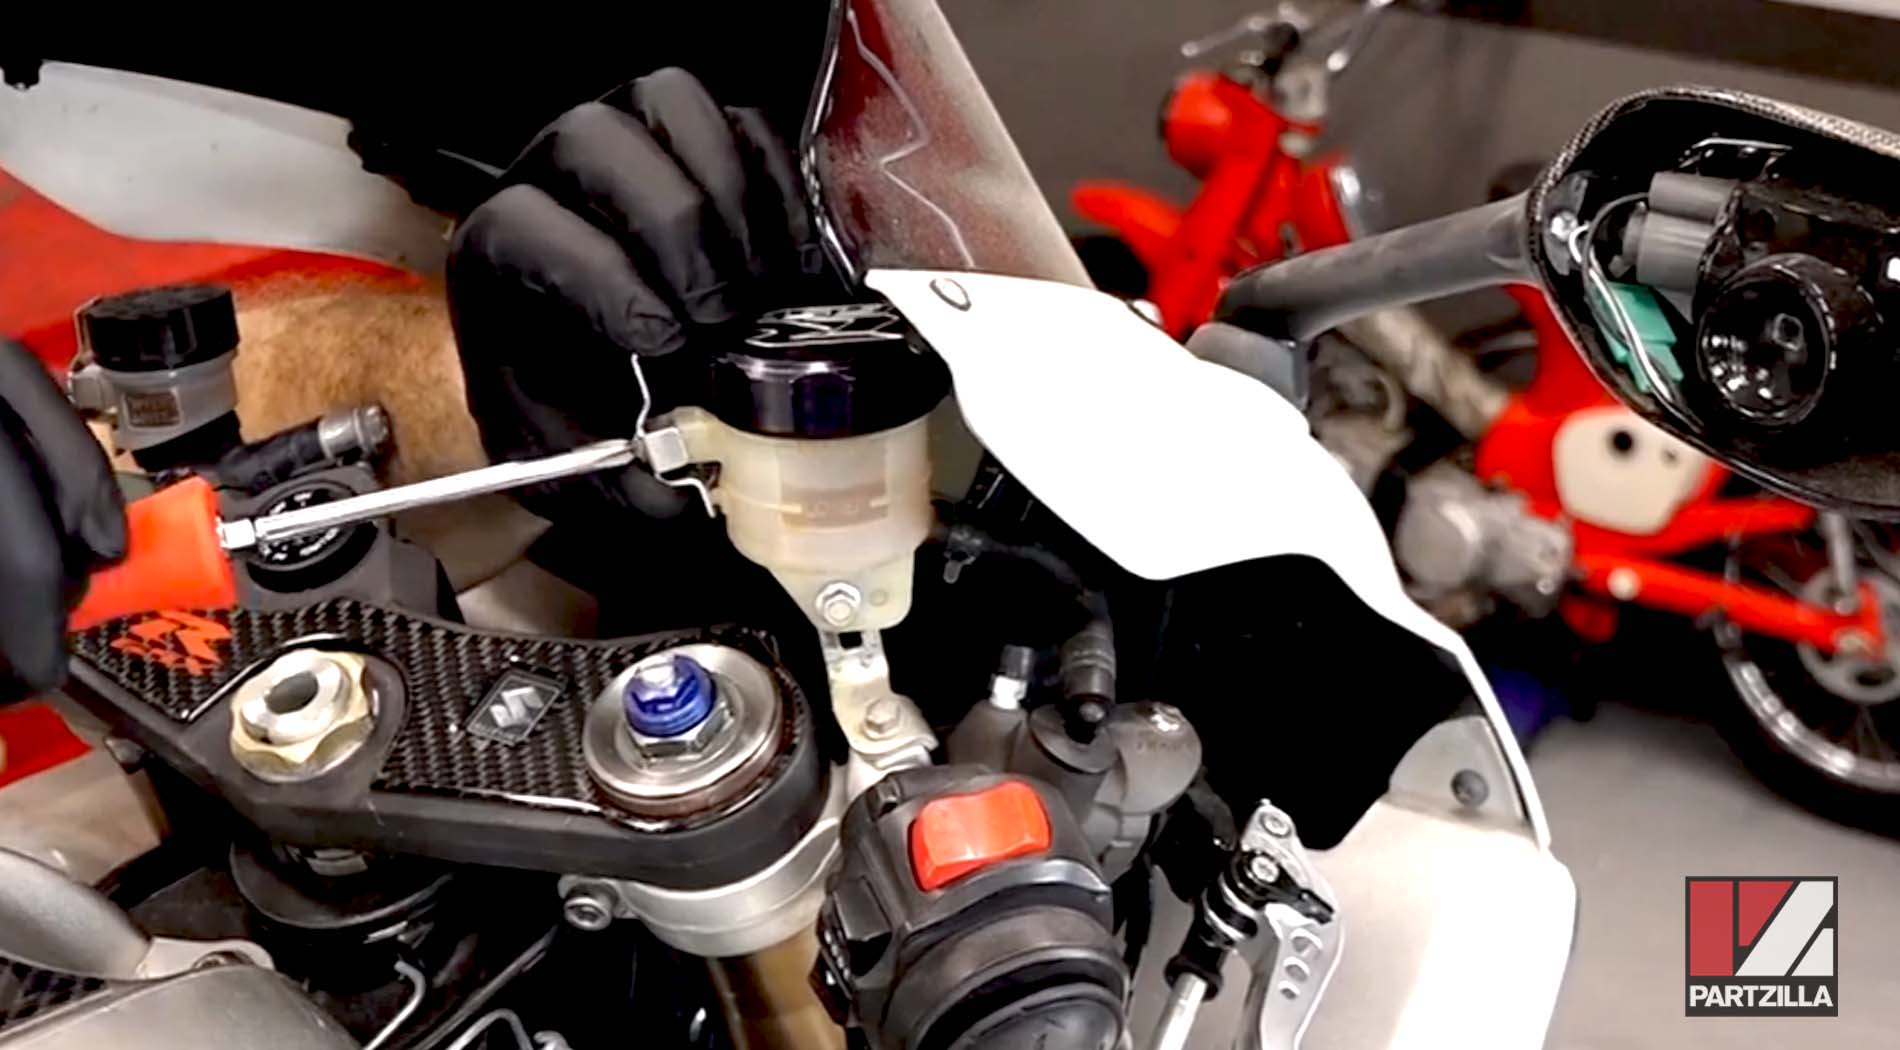
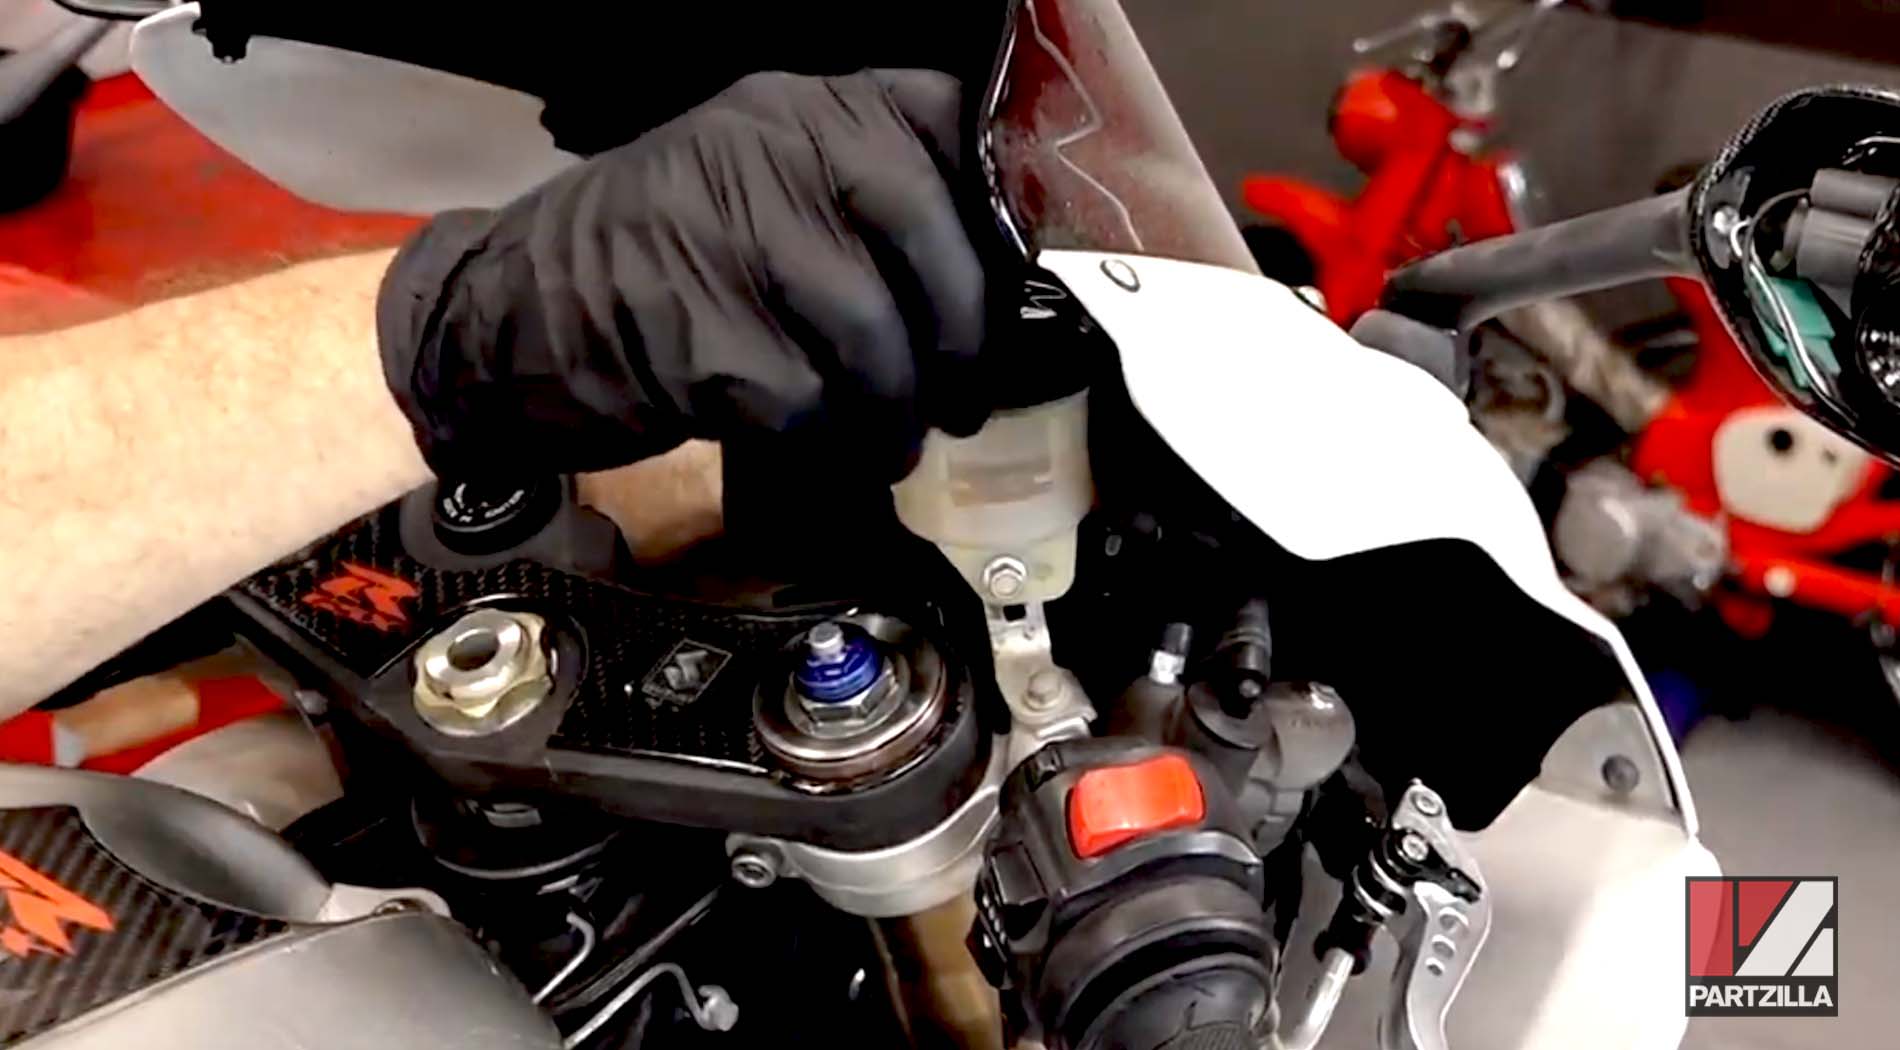
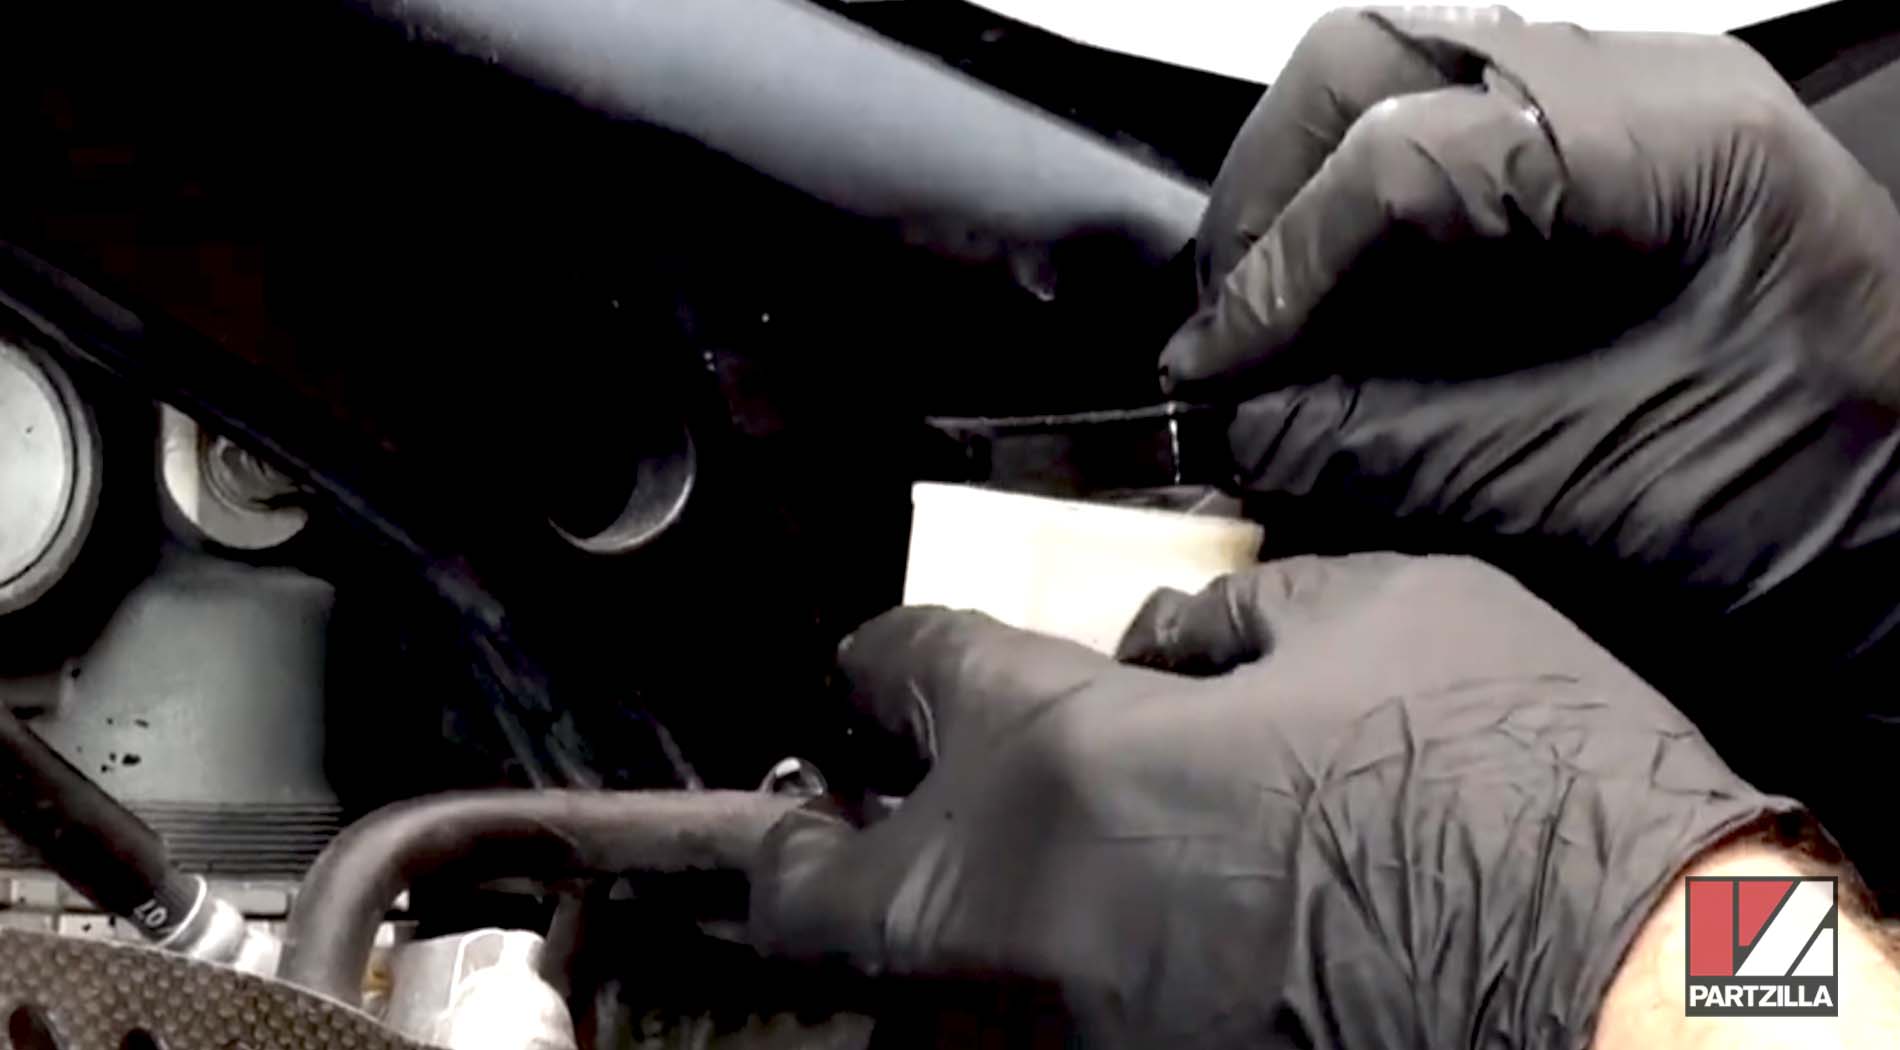
Step 2. Unscrew and remove the reservoir cap.
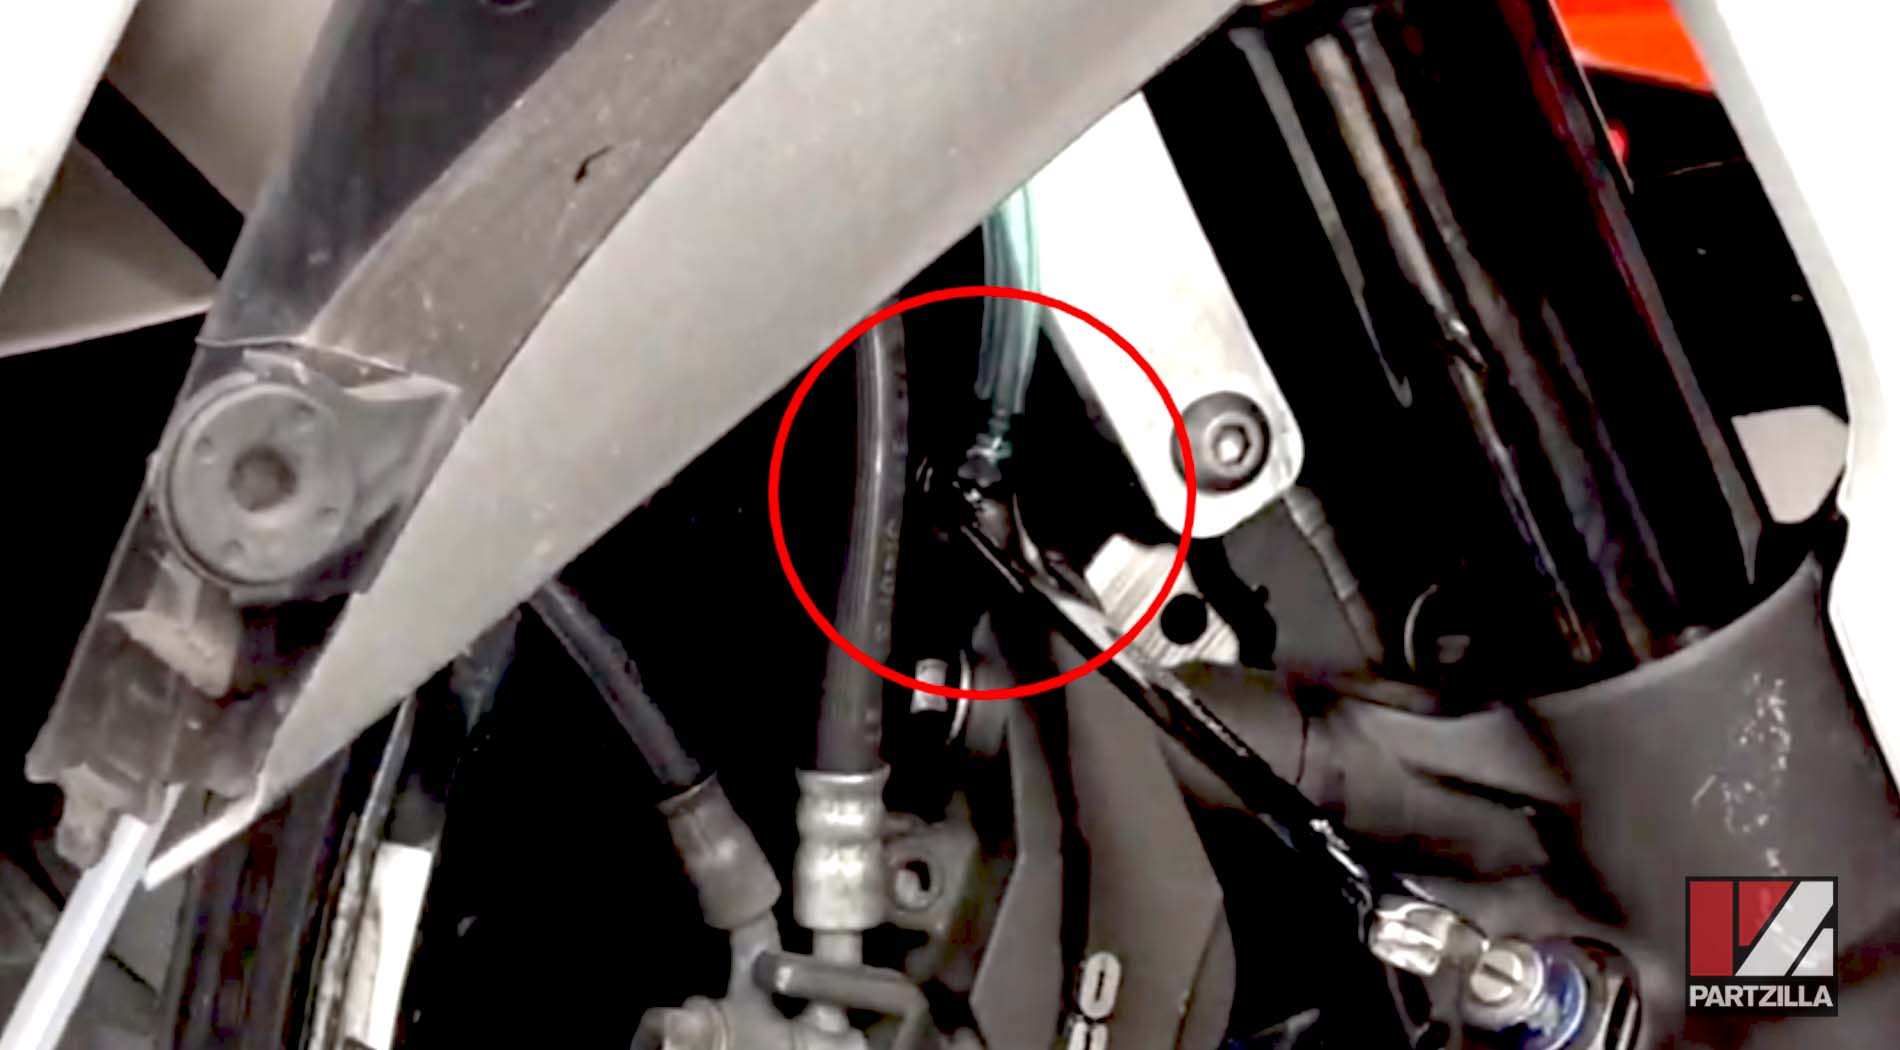
Step 3. Get an 8mm wrench on the bleed valve, then attach a 3/16th hose to the bleed valve.
NOTE: The hose needs to be long enough to reach a drain pan.
Step 4. Force the fluid out of the system by pumping the brake handle several times, then holding it down. Next, turn the wrench to open the bleeder valve until you see fluid.
Step 5. Close the valve by returning the wrench to its original position. Next, repeat the process: pump the brake handle, hold it down, then open the valve.
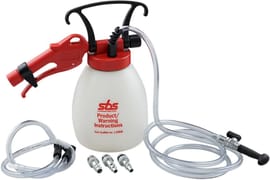
PRO TIP: You can use a fluid extractor for this part of the job. The setup is the same, except the tube running from the bleeder valve runs to the pump. Turn on the pump and open the bleeder valve with a wrench. When you use this method, watch the level on the reservoir. If it gets too low, it'll allow air into the system.
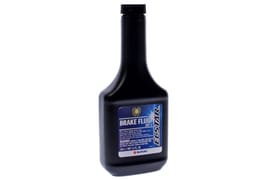
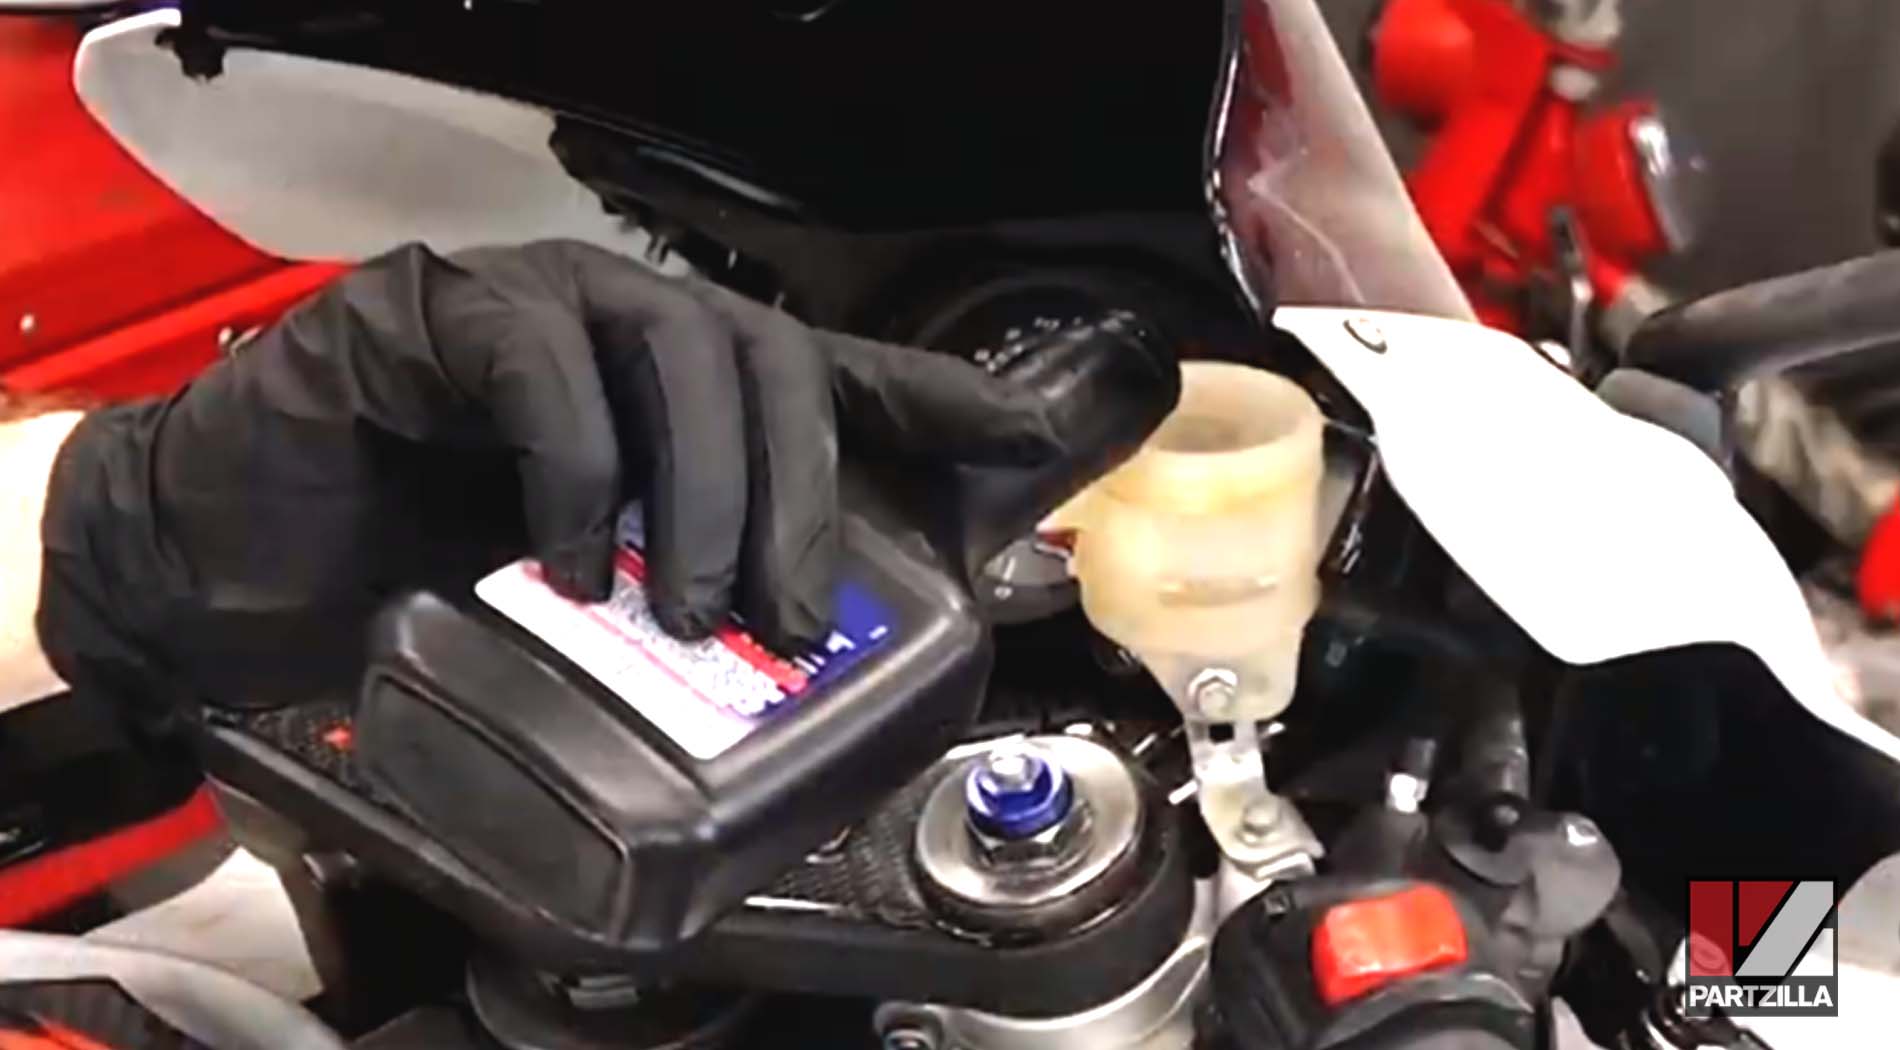
Step 6. Top off the reservoir with some new DOT4 brake fluid after you've gotten most of the old fluid out.
How to Bleed Suzuki GSXR1000 Front Brakes
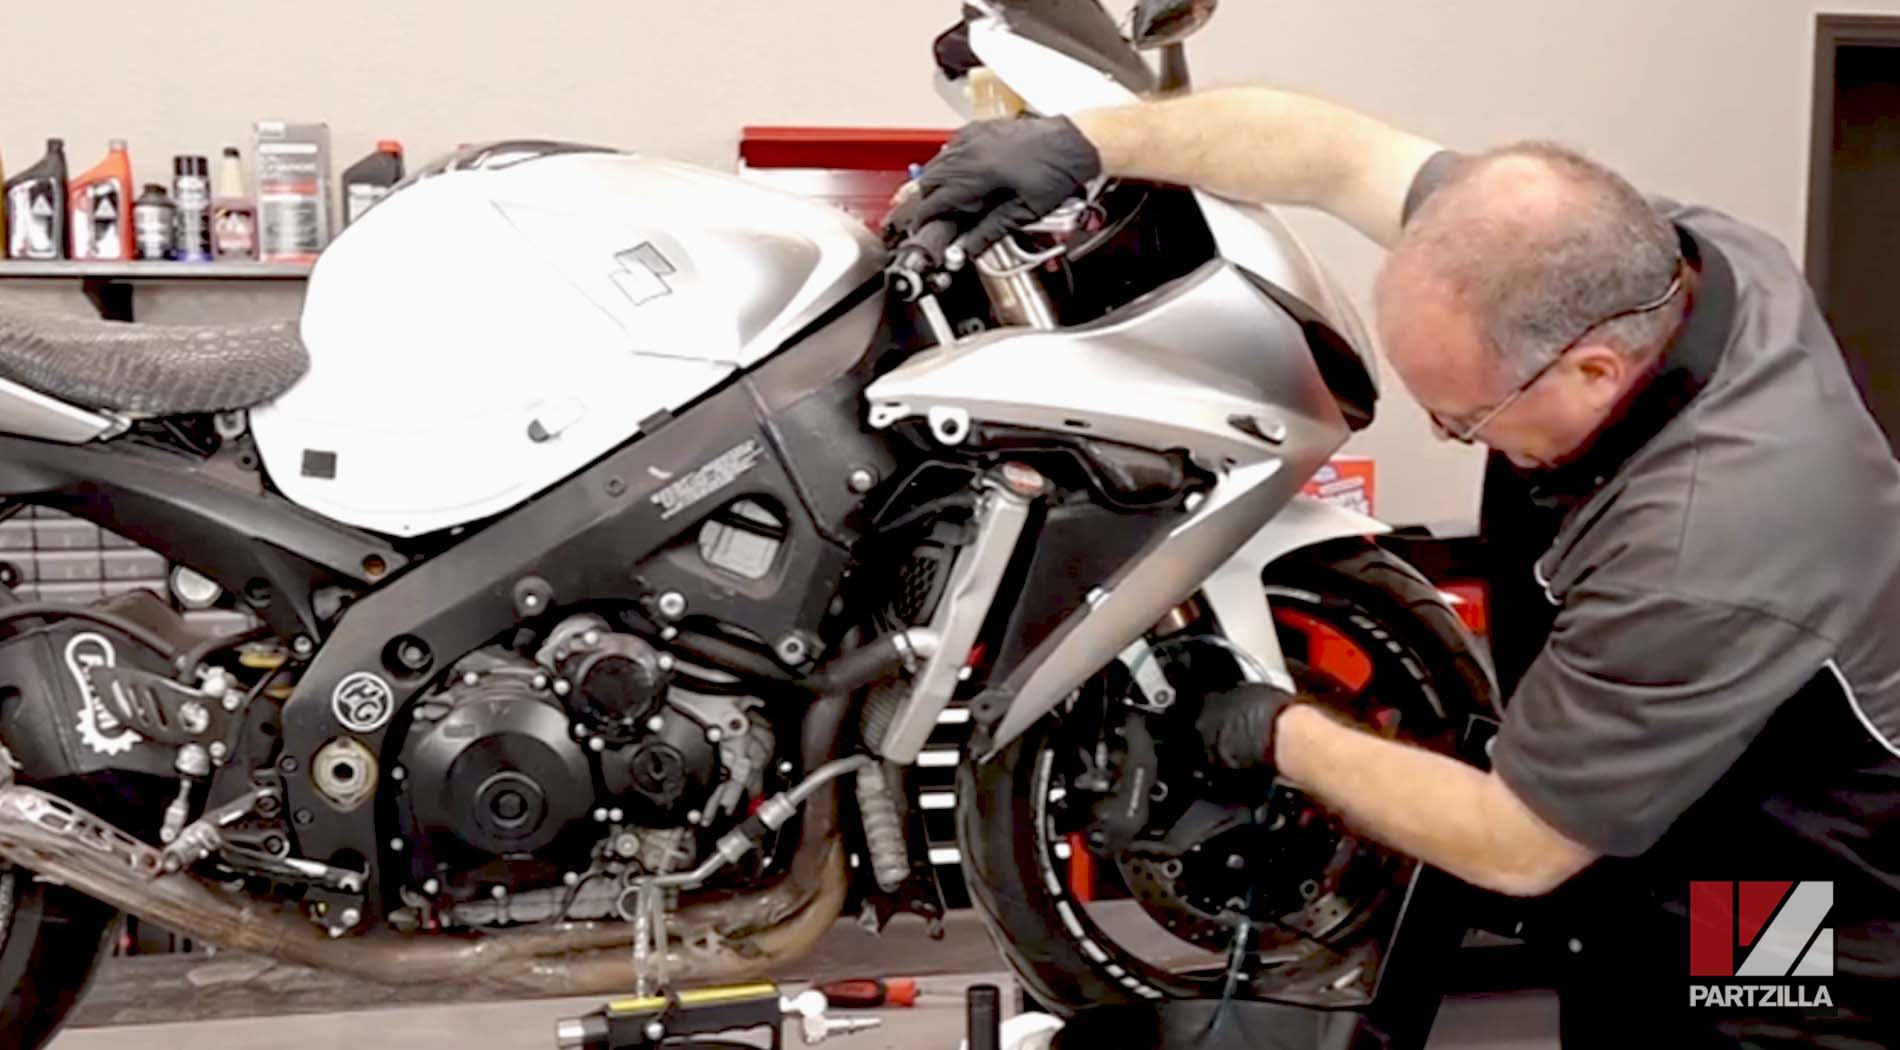
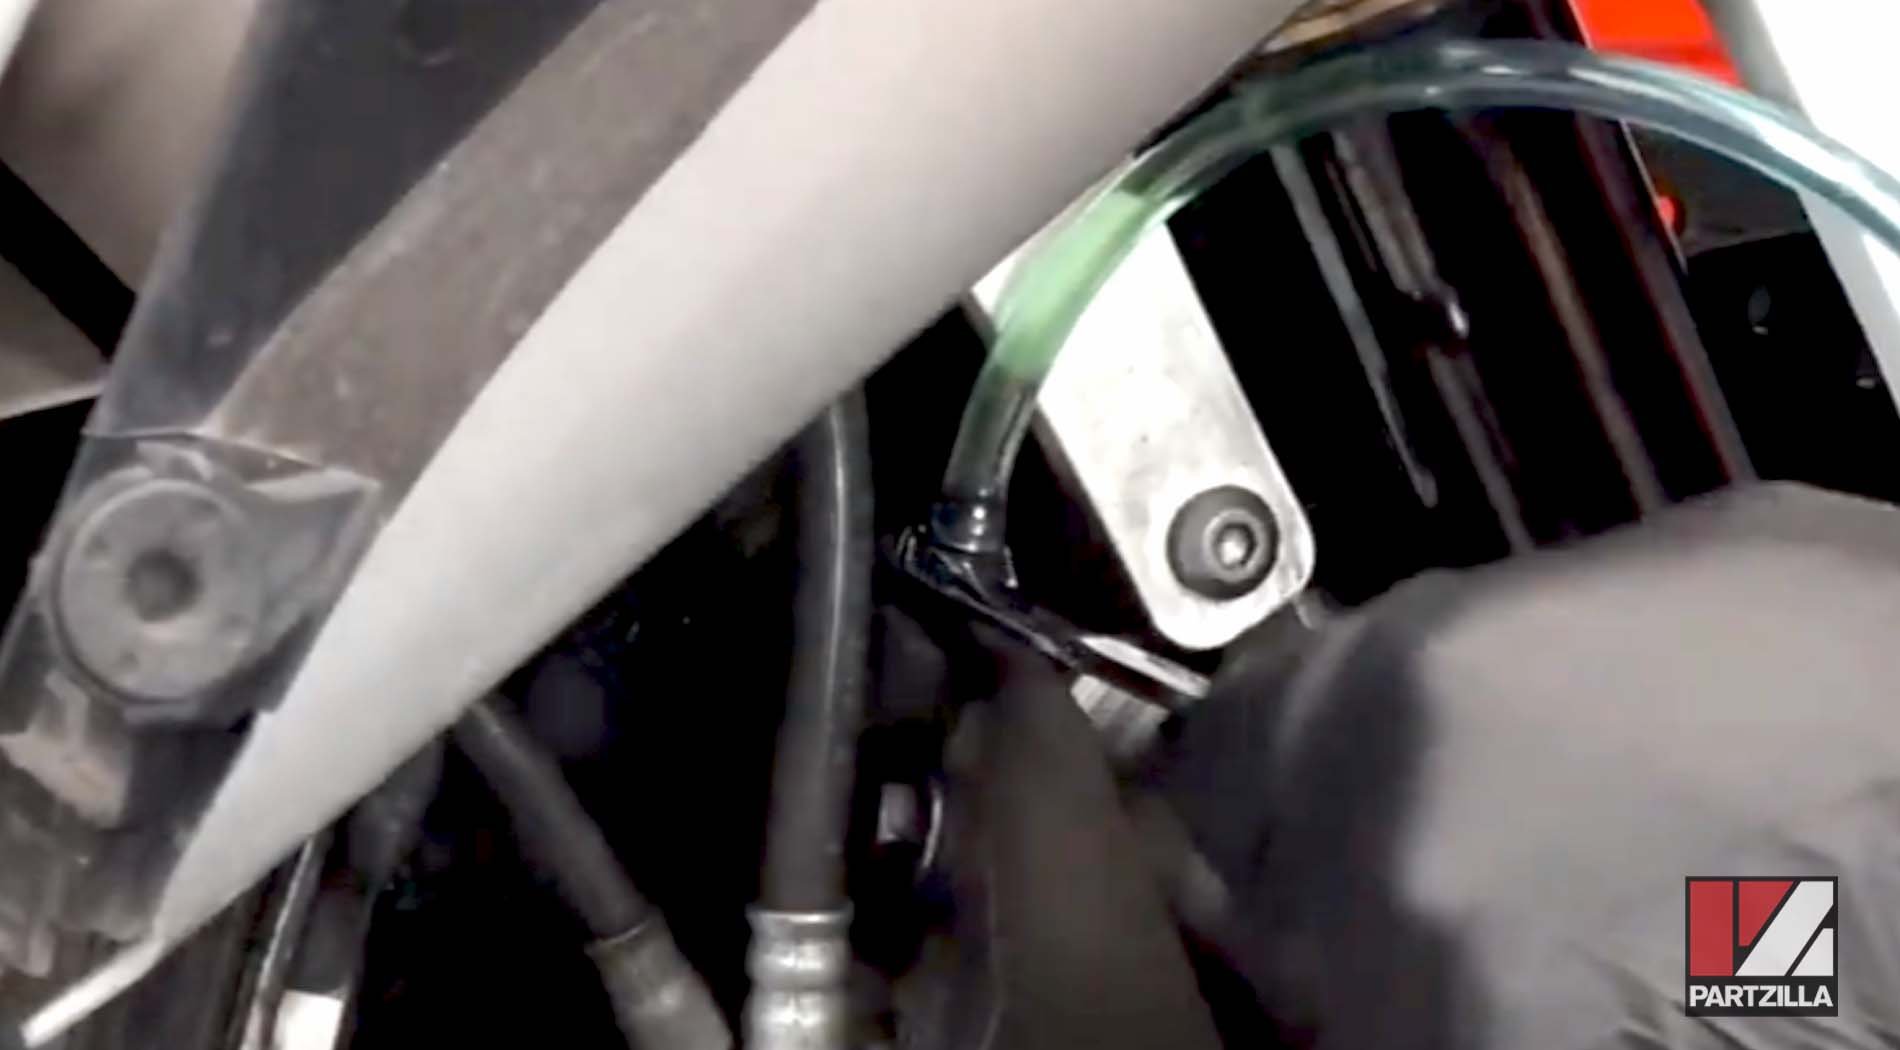
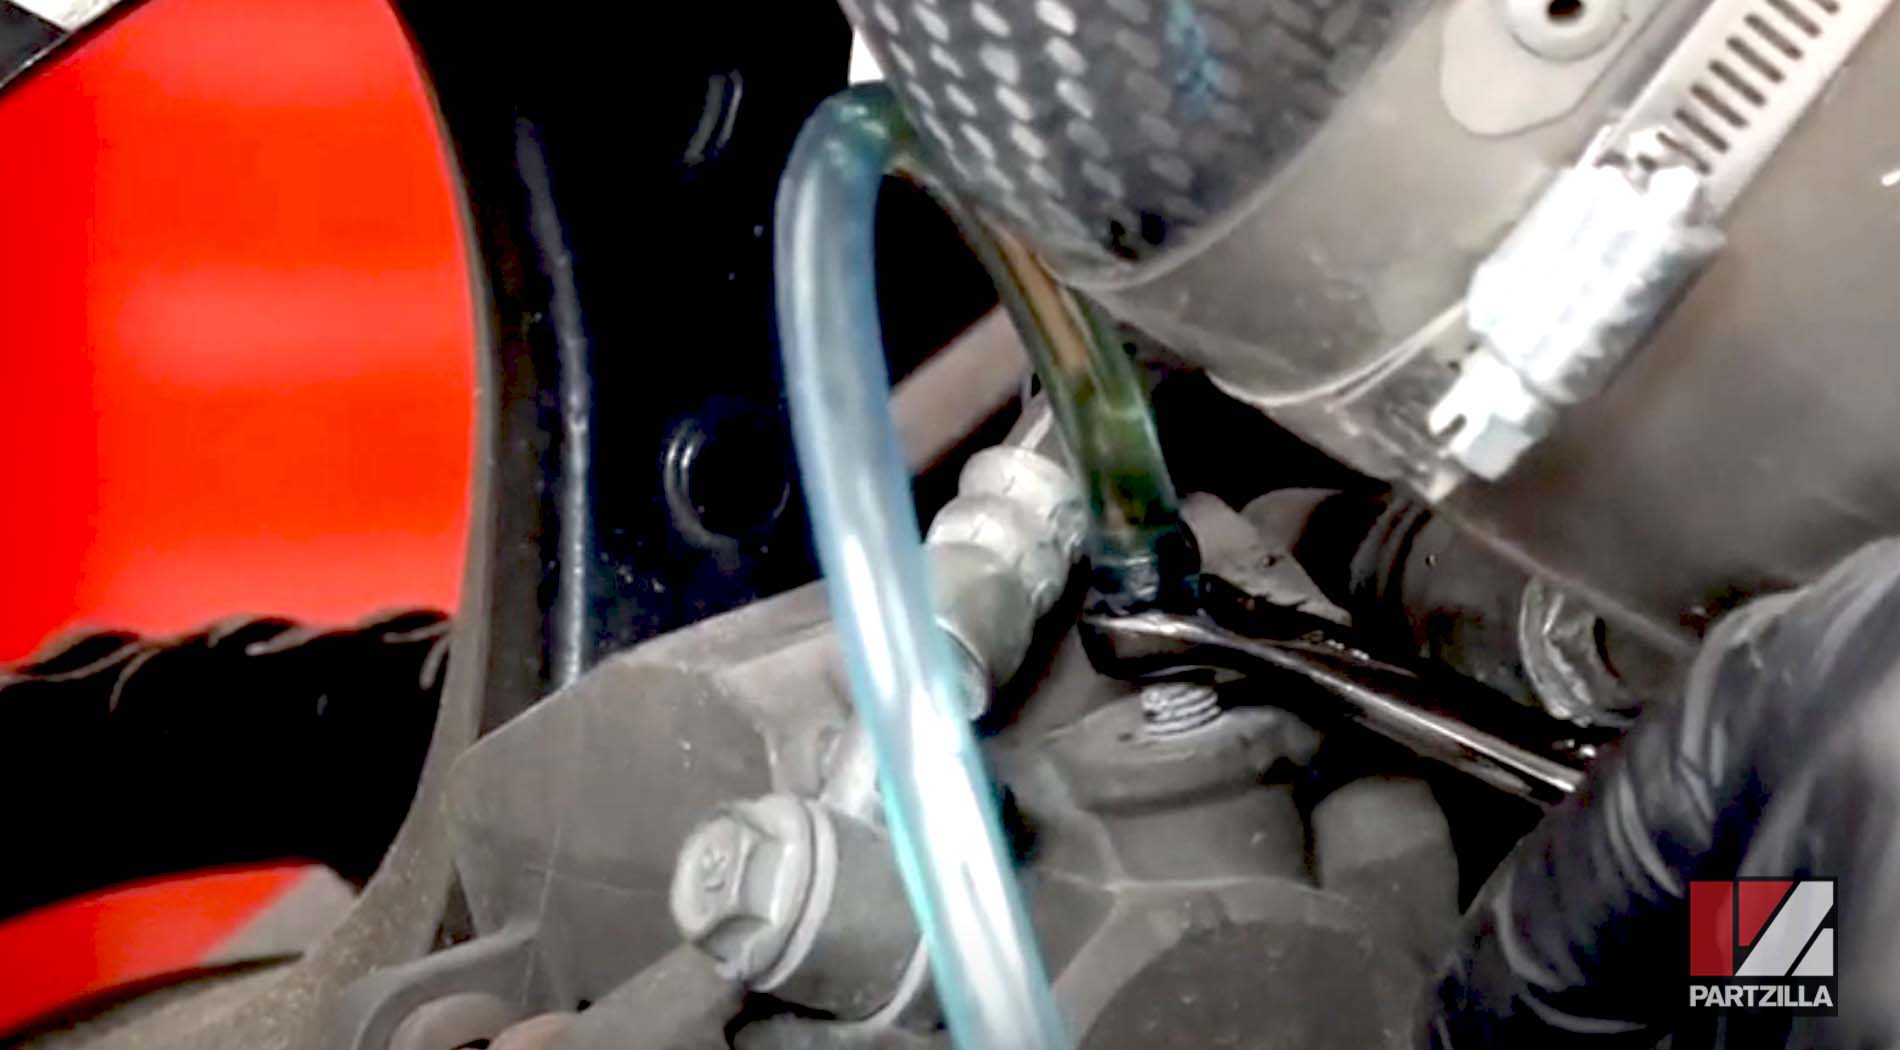
Step 1. Locate the dust cover for the bleeder valve on the top of the caliper and remove it. If you can't find it, check out our GSX-R 1000 brake caliper diagram for reference.
Step 2. Get an 8mm box wrench over the bleeder valve, then attach a 3/16th hose.
NOTE: The set up is the same as it was for the reservoir bleed.
Step 3. Pump the brake handle to build brake pressure, then hold the brake handle down and open the valve by turning the wrench.
Step 4. Close the valve with a wrench, then pump the brake handle a few times to build pressure, and repeat.
NOTE: While you're doing this, check the level in the reservoir above. As you pull fluid out, replace it at the top of the system to prevent air from getting in it. You'll know the fluid is clean because it'll turn from a brownish tint to clear.
Step 5. Remove the hose and wrench, then replace the dust cap, then top off the reservoir.
NOTE: The GSXR 1000 has a caliper on both sides of the front wheel. Once you've finished on one side, repeat the process on the other.
Step 6. Replace the cap on the reservoir, then reattach the metal bracket that holds it in place.
PRO TIP: You can use a fluid extractor on the caliper as well, but keep an eye on the fluid level in the reservoir on the handlebar. The extractor will pull the fluid out fast, and you don't want to pull air into the system while draining it.
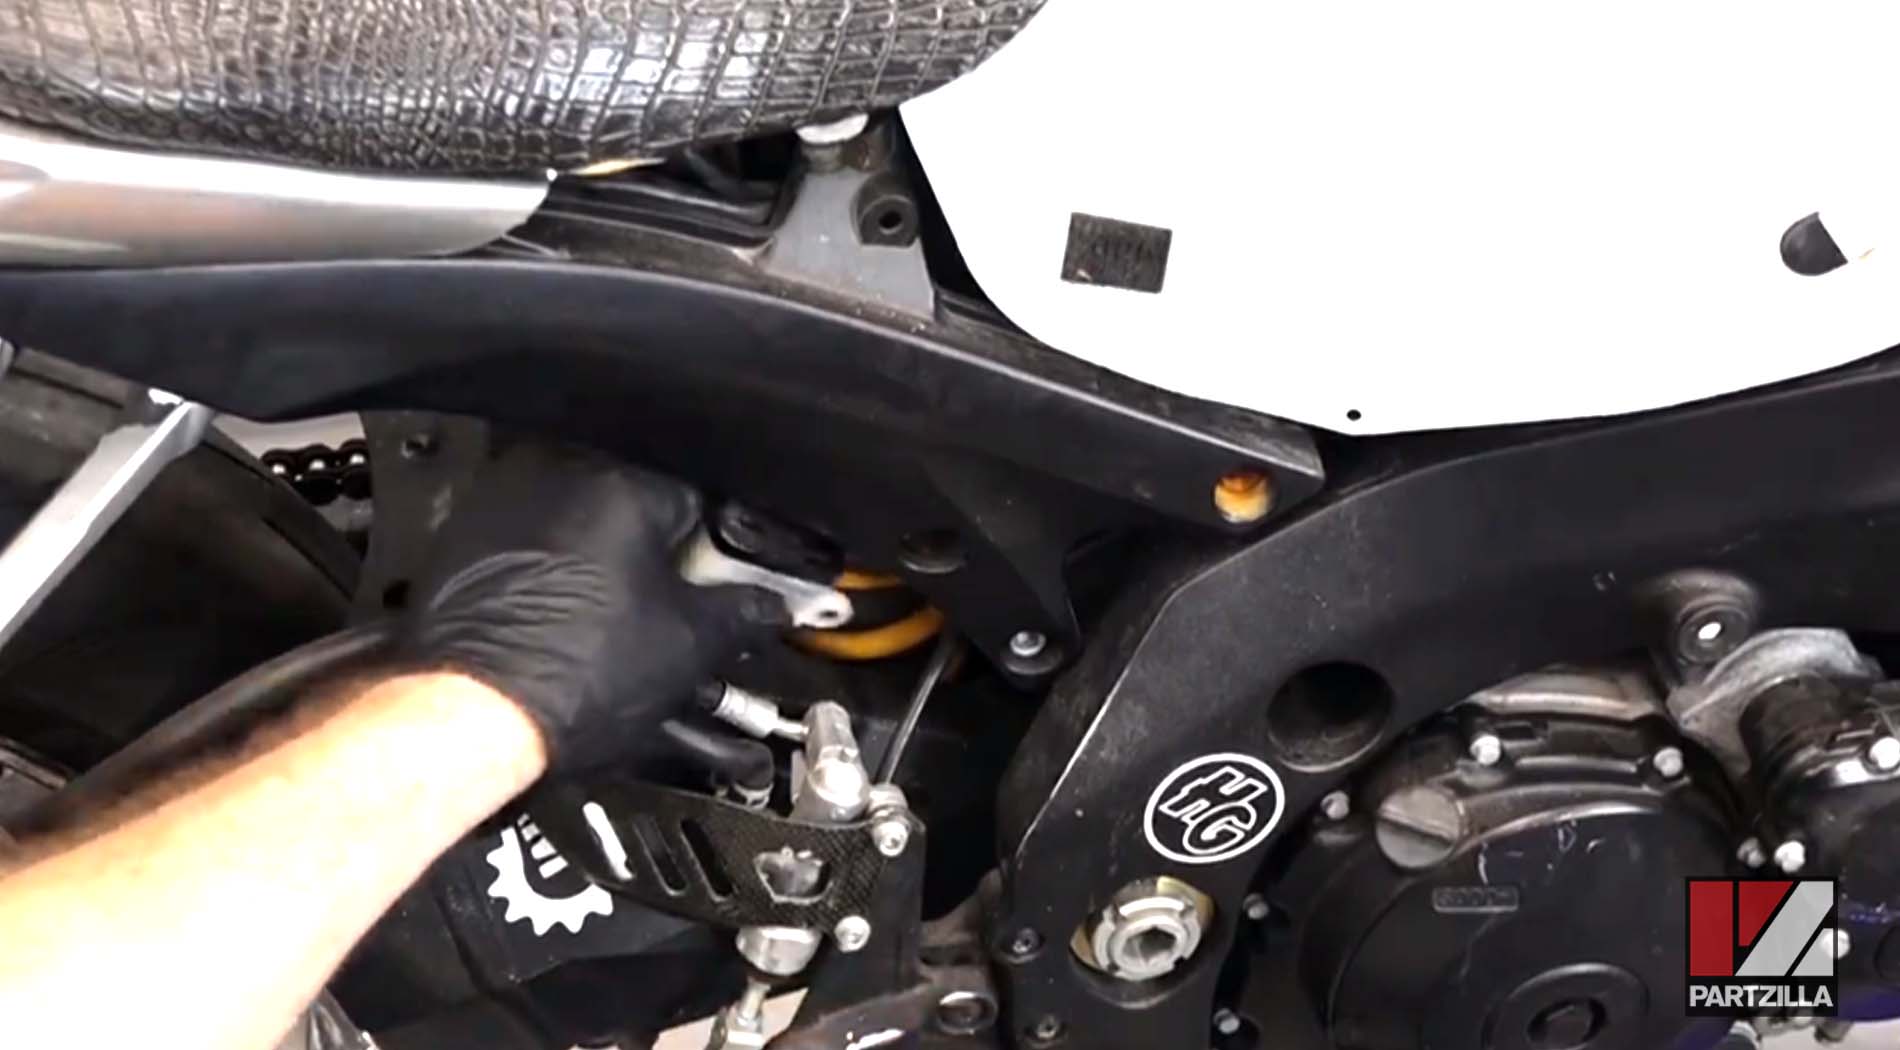
How to Bleed Suzuki GSXR-1000 Rear Brakes
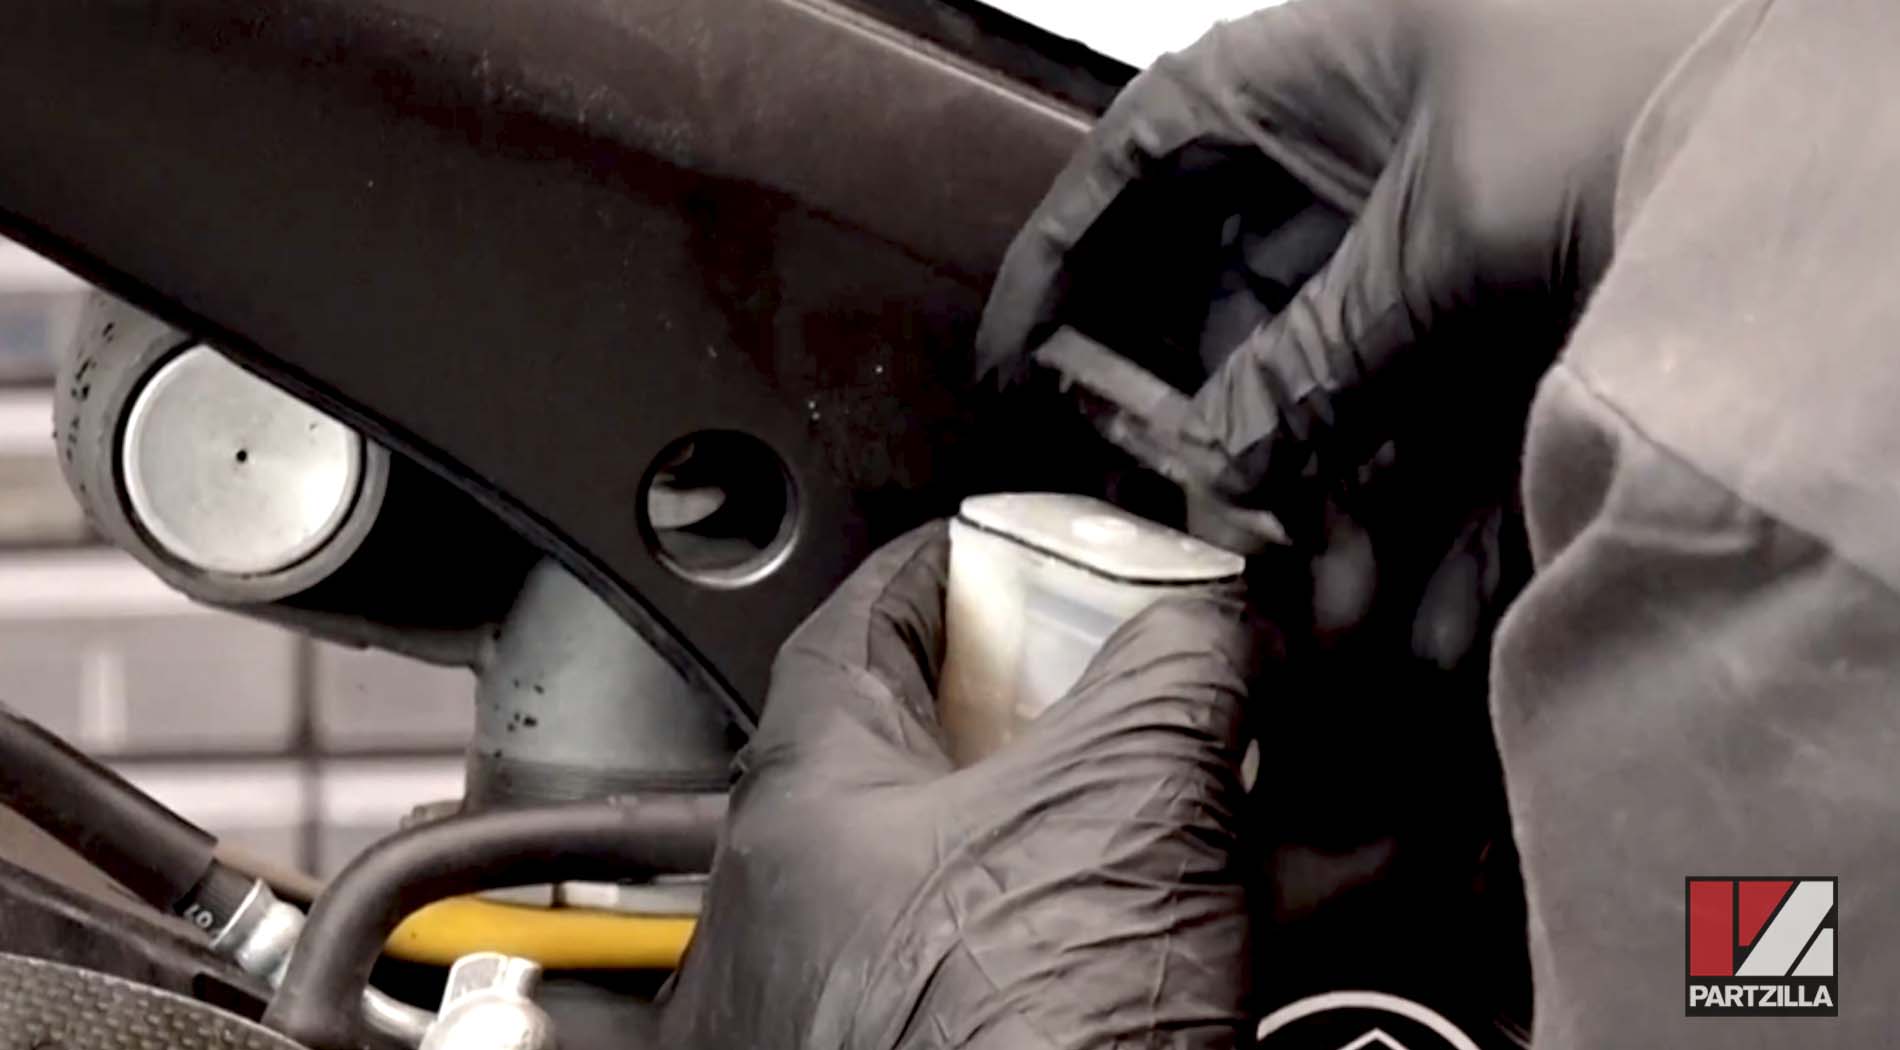
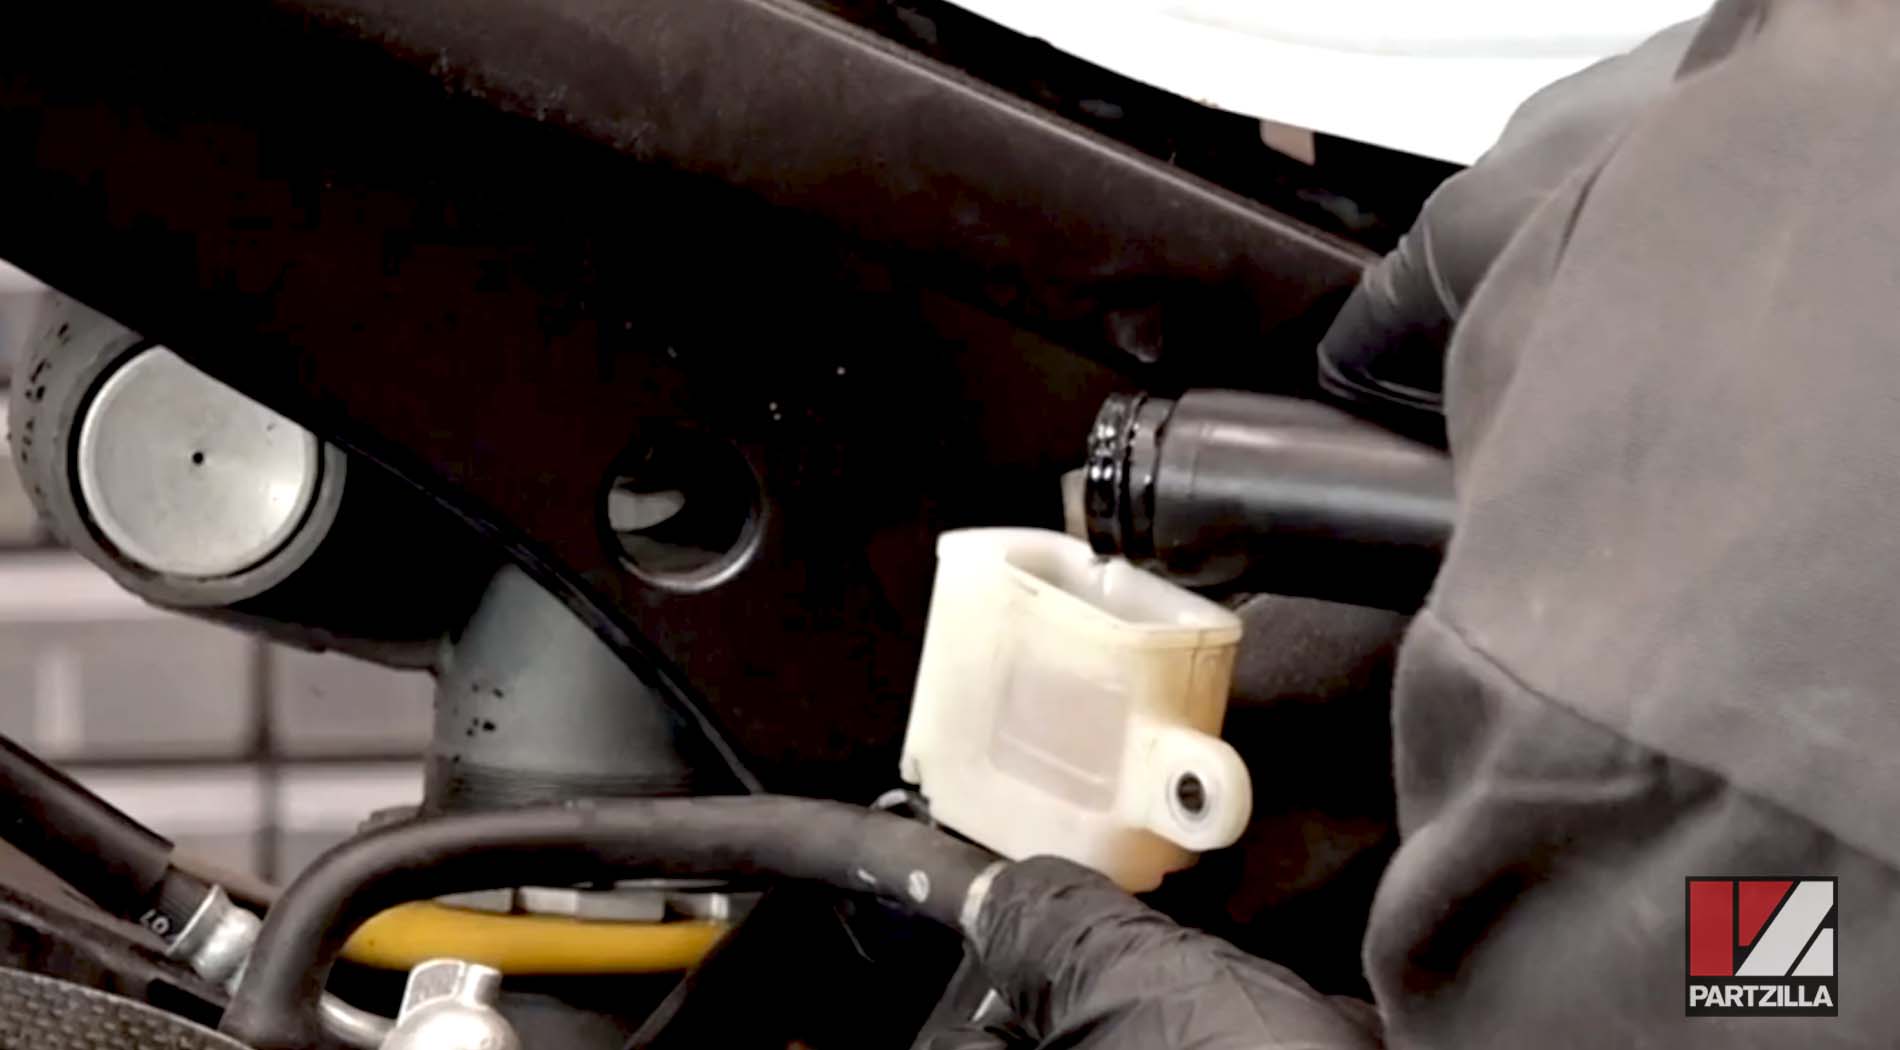
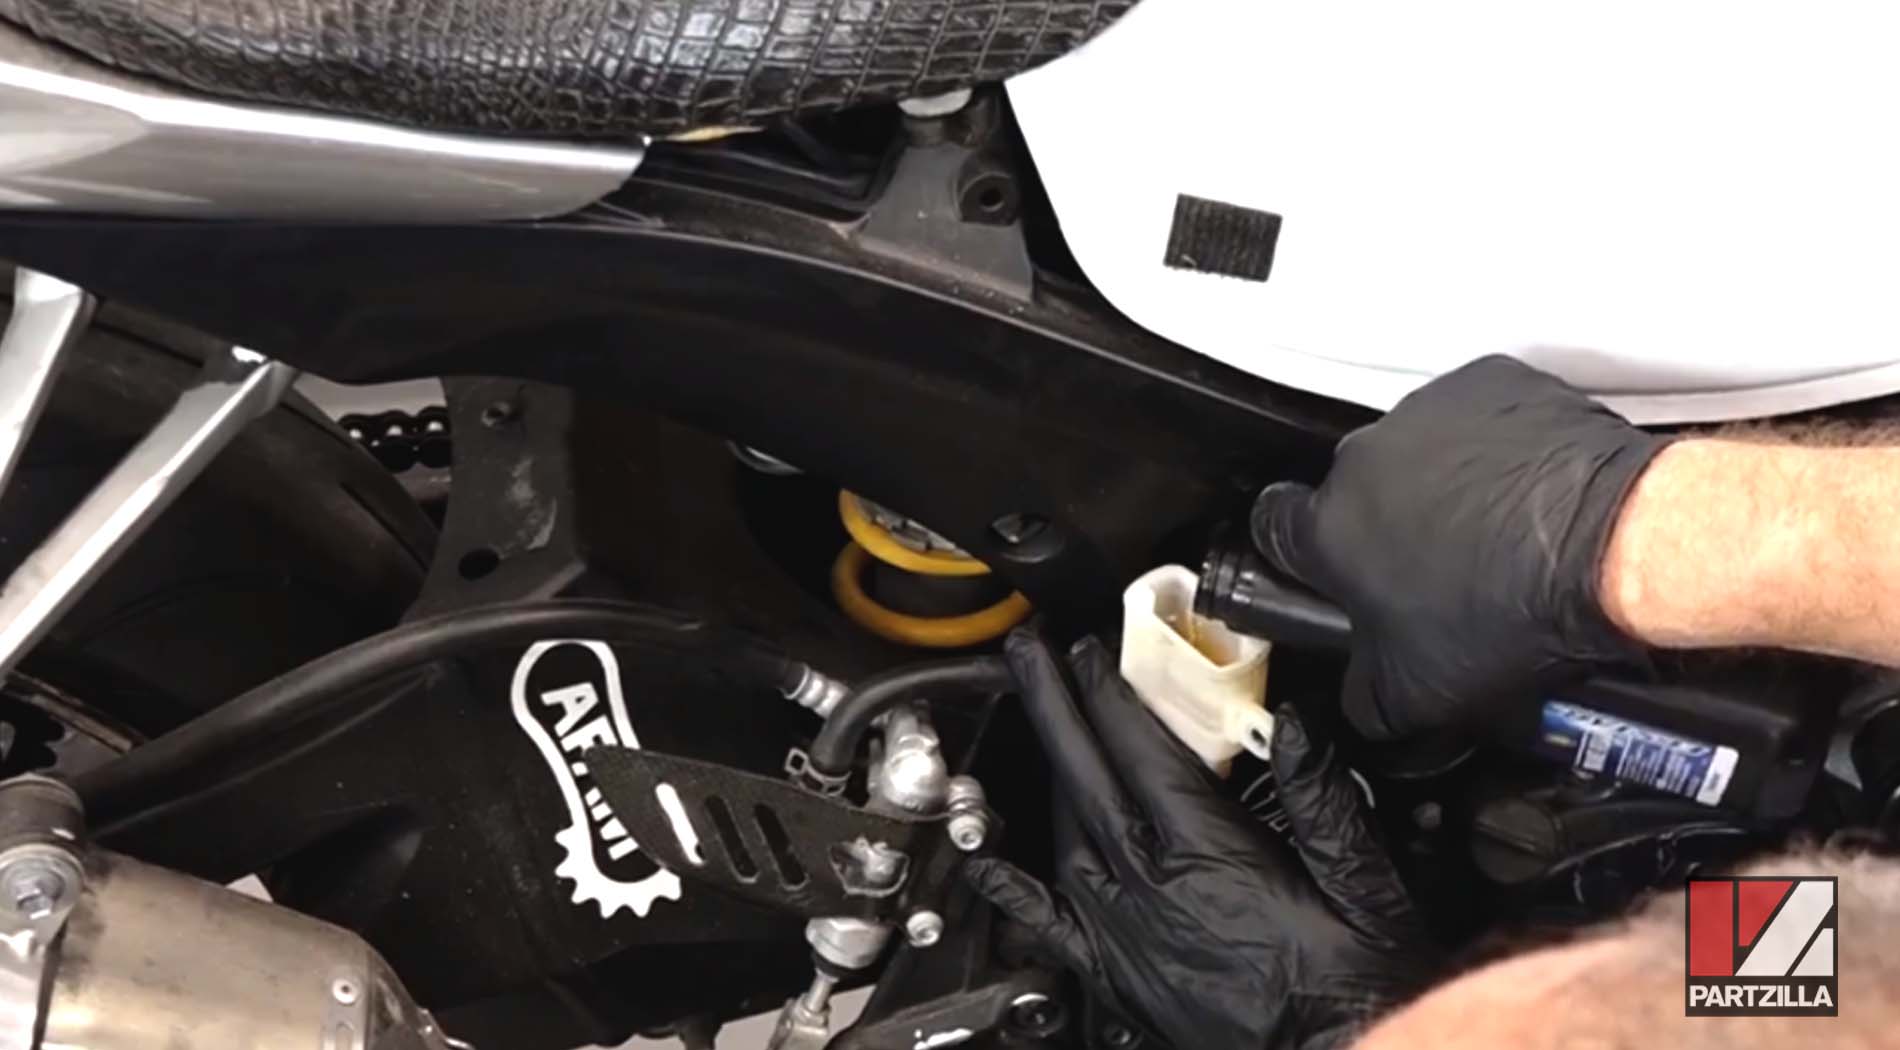
Step 1. Unbolt the rear reservoir, which is tucked up in the rear tail section.
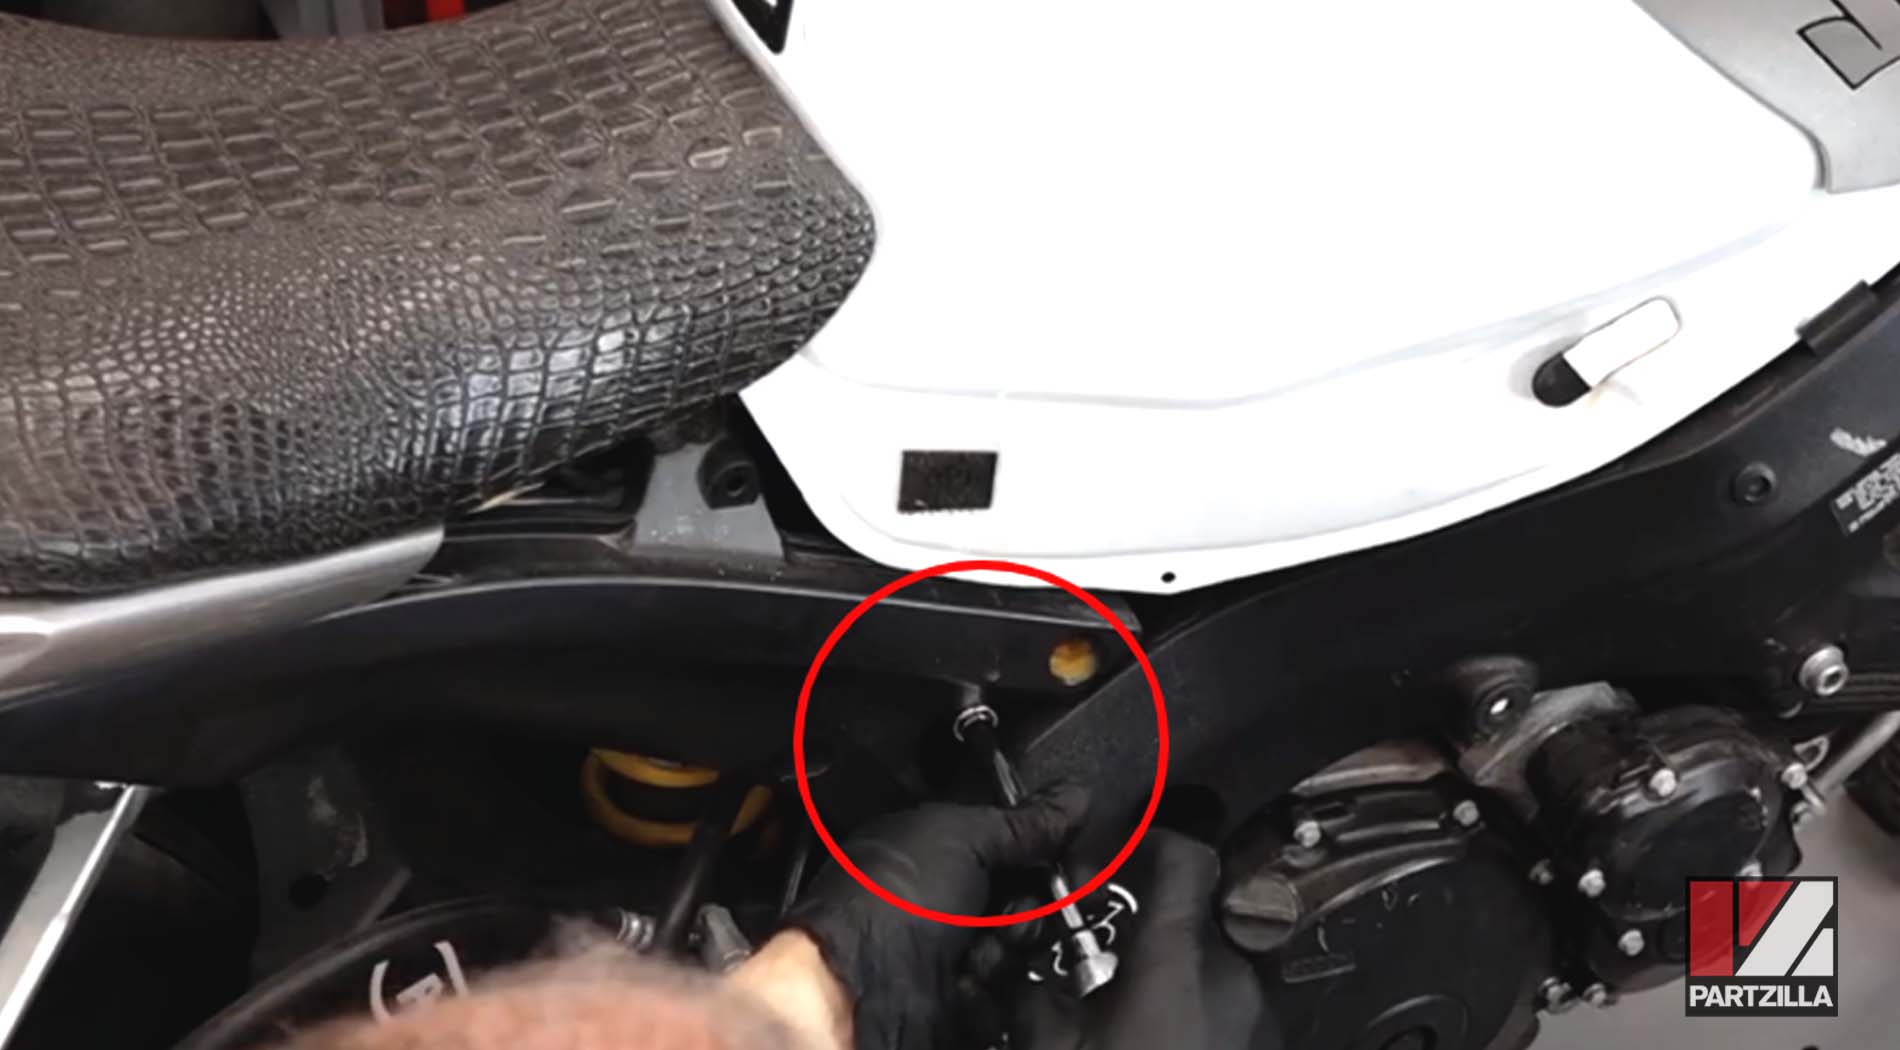
Step 2. Pull the reservoir outside the frame so that you can access it easier.
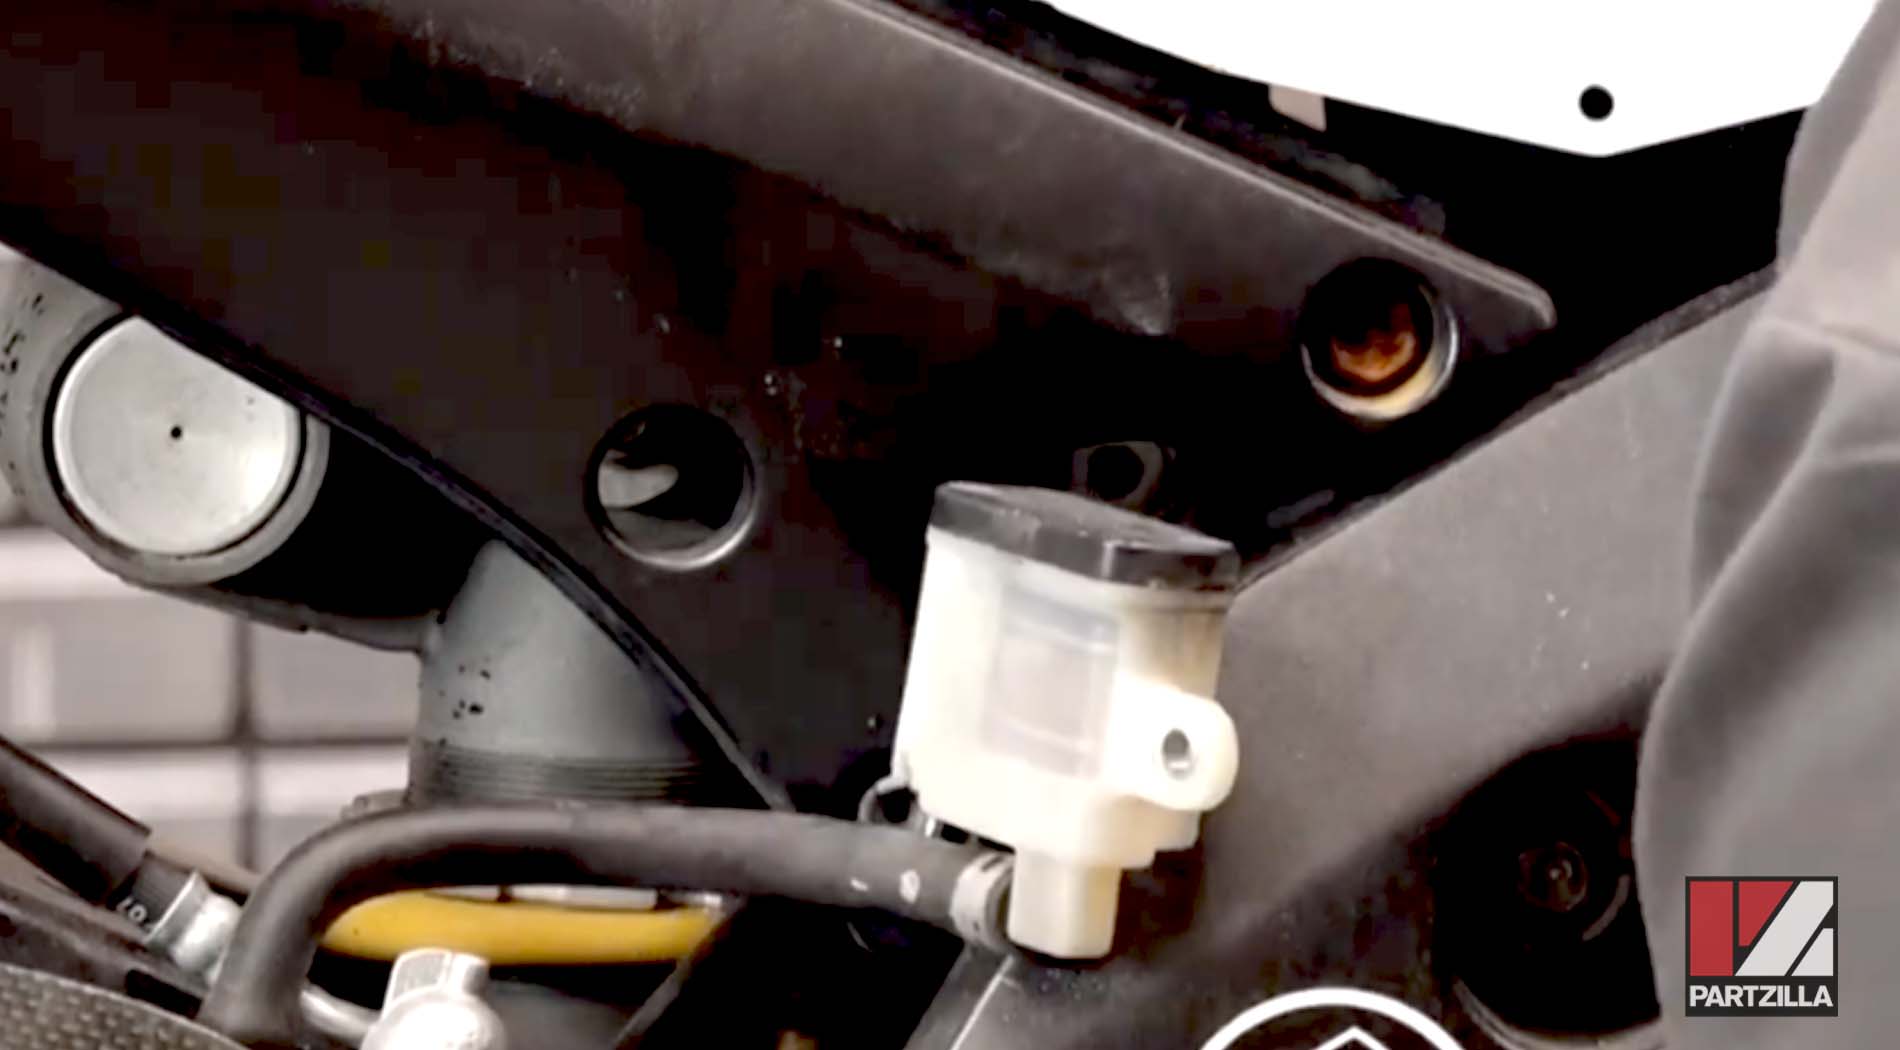
Step 3. Remove the reservoir cap, followed by the other plastic piece and the rubber diaphragm underneath.
NOTE: Avoid spilling any brake fluid, as it can damage the motorcycle's paint.
Step 4. Top off the reservoir.
Step 5. Use the same setup as on the reservoir bleed and the front caliper bleed. Get a box wrench on the bleeder valve (located near the top of the rear caliper), then attach the hose.
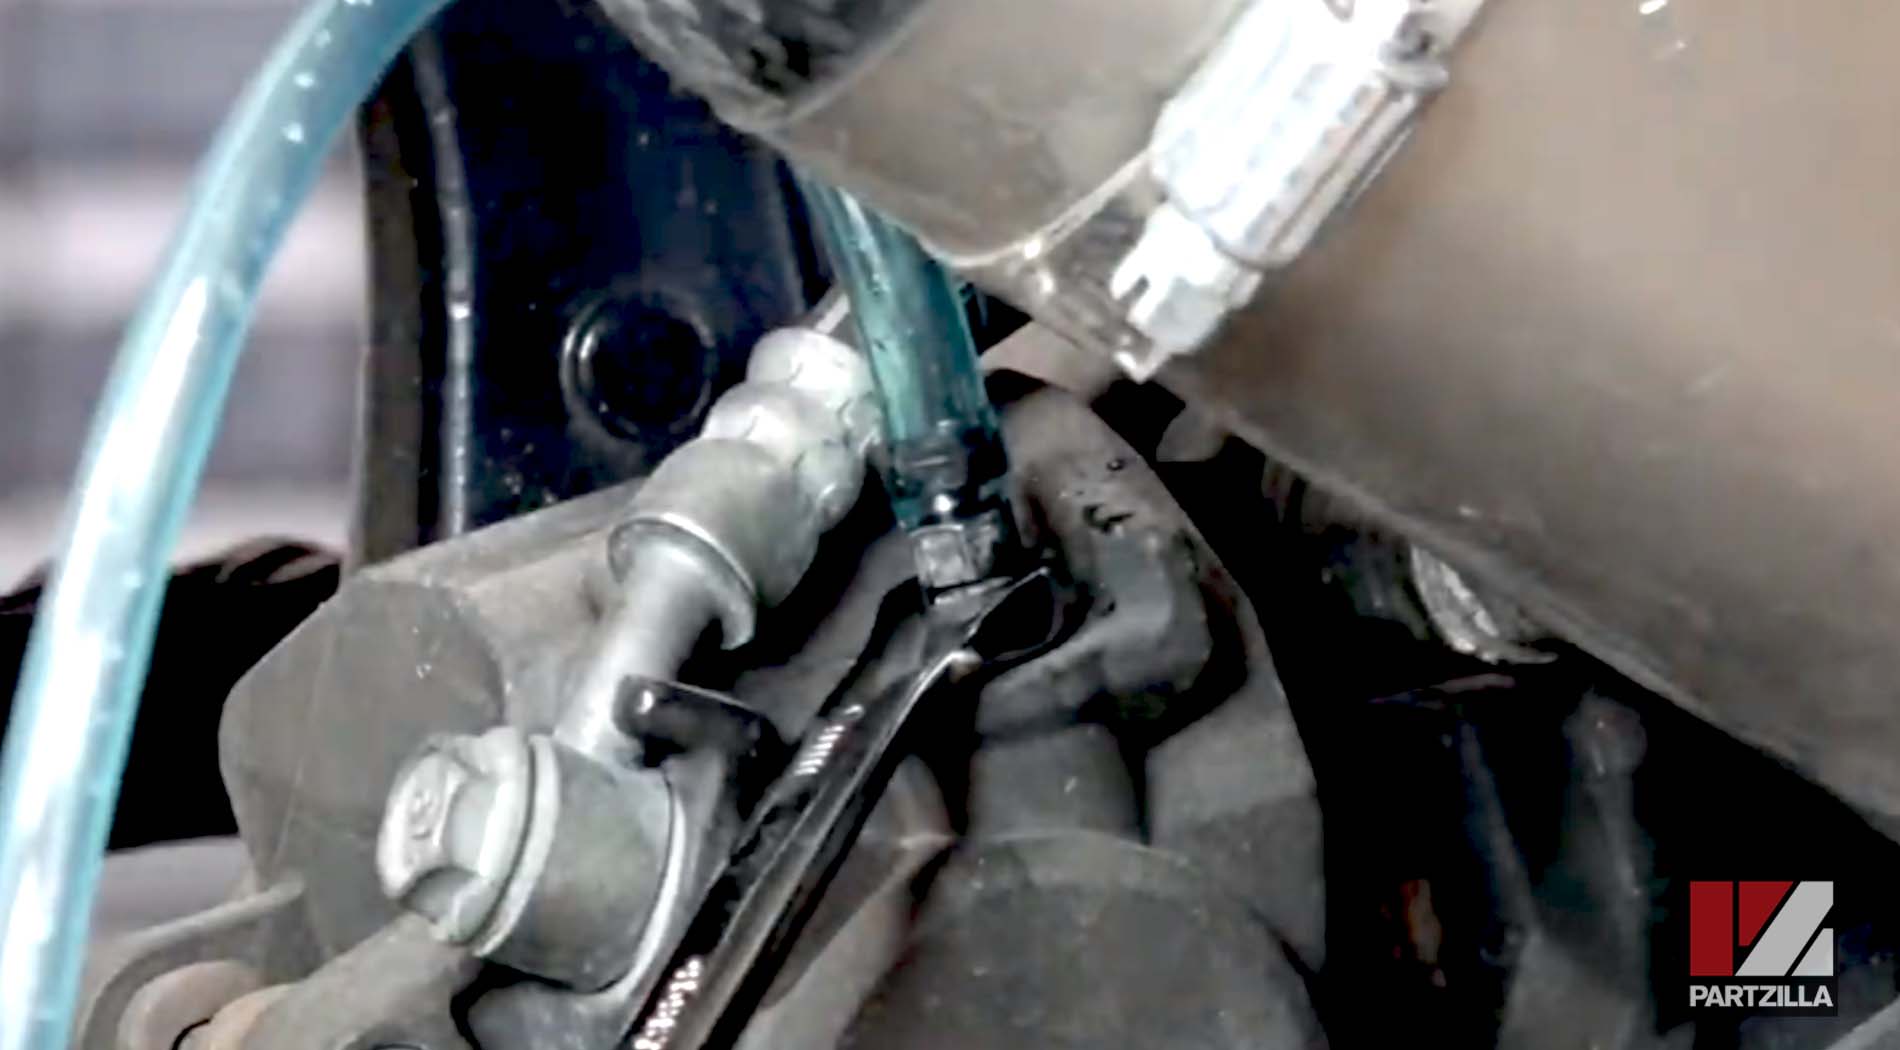
Step 6. Bleed the brakes by pumping the rear brake pedal to build pressure, then hold it down, and open the valve with the wrench.
NOTE: Repeat the process while continually topping off the reservoir as you pull fluid through. As the old fluid clears and the new fluid fills in, the brownish tint in the fluid will turn clear.
Step 7. Close the bleeder valve, then remove the hose and wrench, and top off the reservoir.
NOTE: If you have new brake pads, you can fill all the way to the maximum line. If not, use less fluid. Otherwise, when you change the pads and push the brake calipers back to make room for new pads, it'll push fluid out of the system.
Step 8. Replace the rubber diaphragm, along with the plastic piece and reservoir cap.
Step 9. Feed the reservoir around the rear subframe, then bolt it back in place and you're done.