How to Adjust Kawasaki Mule 3000 Valves
Too much valve clearance on a Kawasaki Mule 3000 will wear out the engine, while too little will wear it out even faster. Periodically checking the valve clearance (or valve lash) and adjusting it when necessary will extend the life of your Kawasaki side-by-side engine.
Valve clearance adjustments only require some basic tools. Watch the video above and follow the steps below to do a valve lash adjustment on a Kawasaki Mule 3000 UTV.
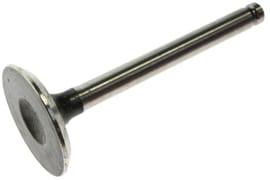
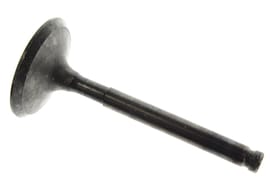
See the parts diagrams:
Tools - Kawasaki Mule 3000 Valve Lash Adjustment
- 10mm, 12mm sockets
- Ratchet and extensions
- Spark plug socket set
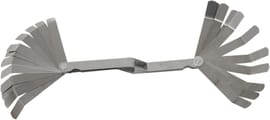
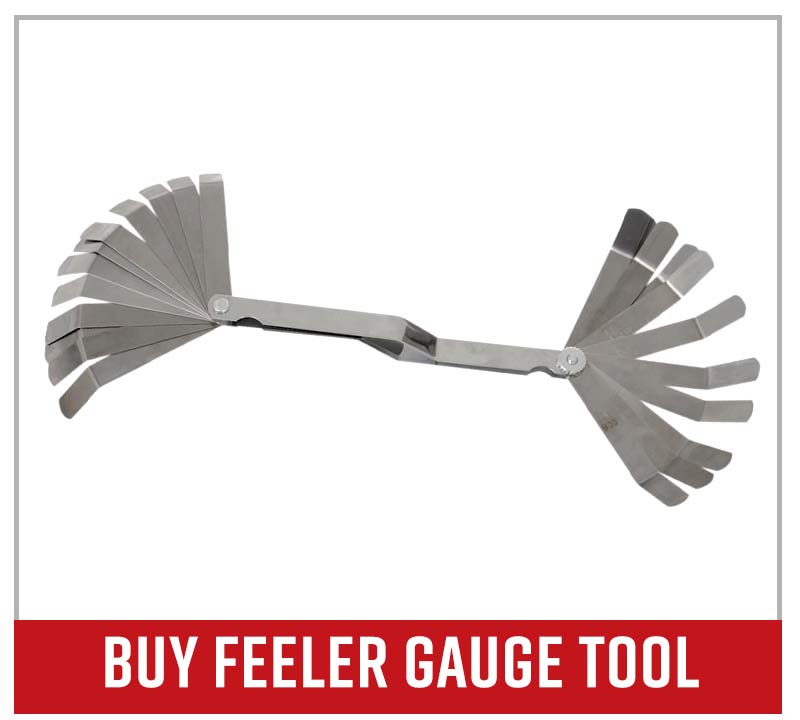
- Feeler gauge

How to Adjust Kawasaki Mule 3000 Valve Clearance
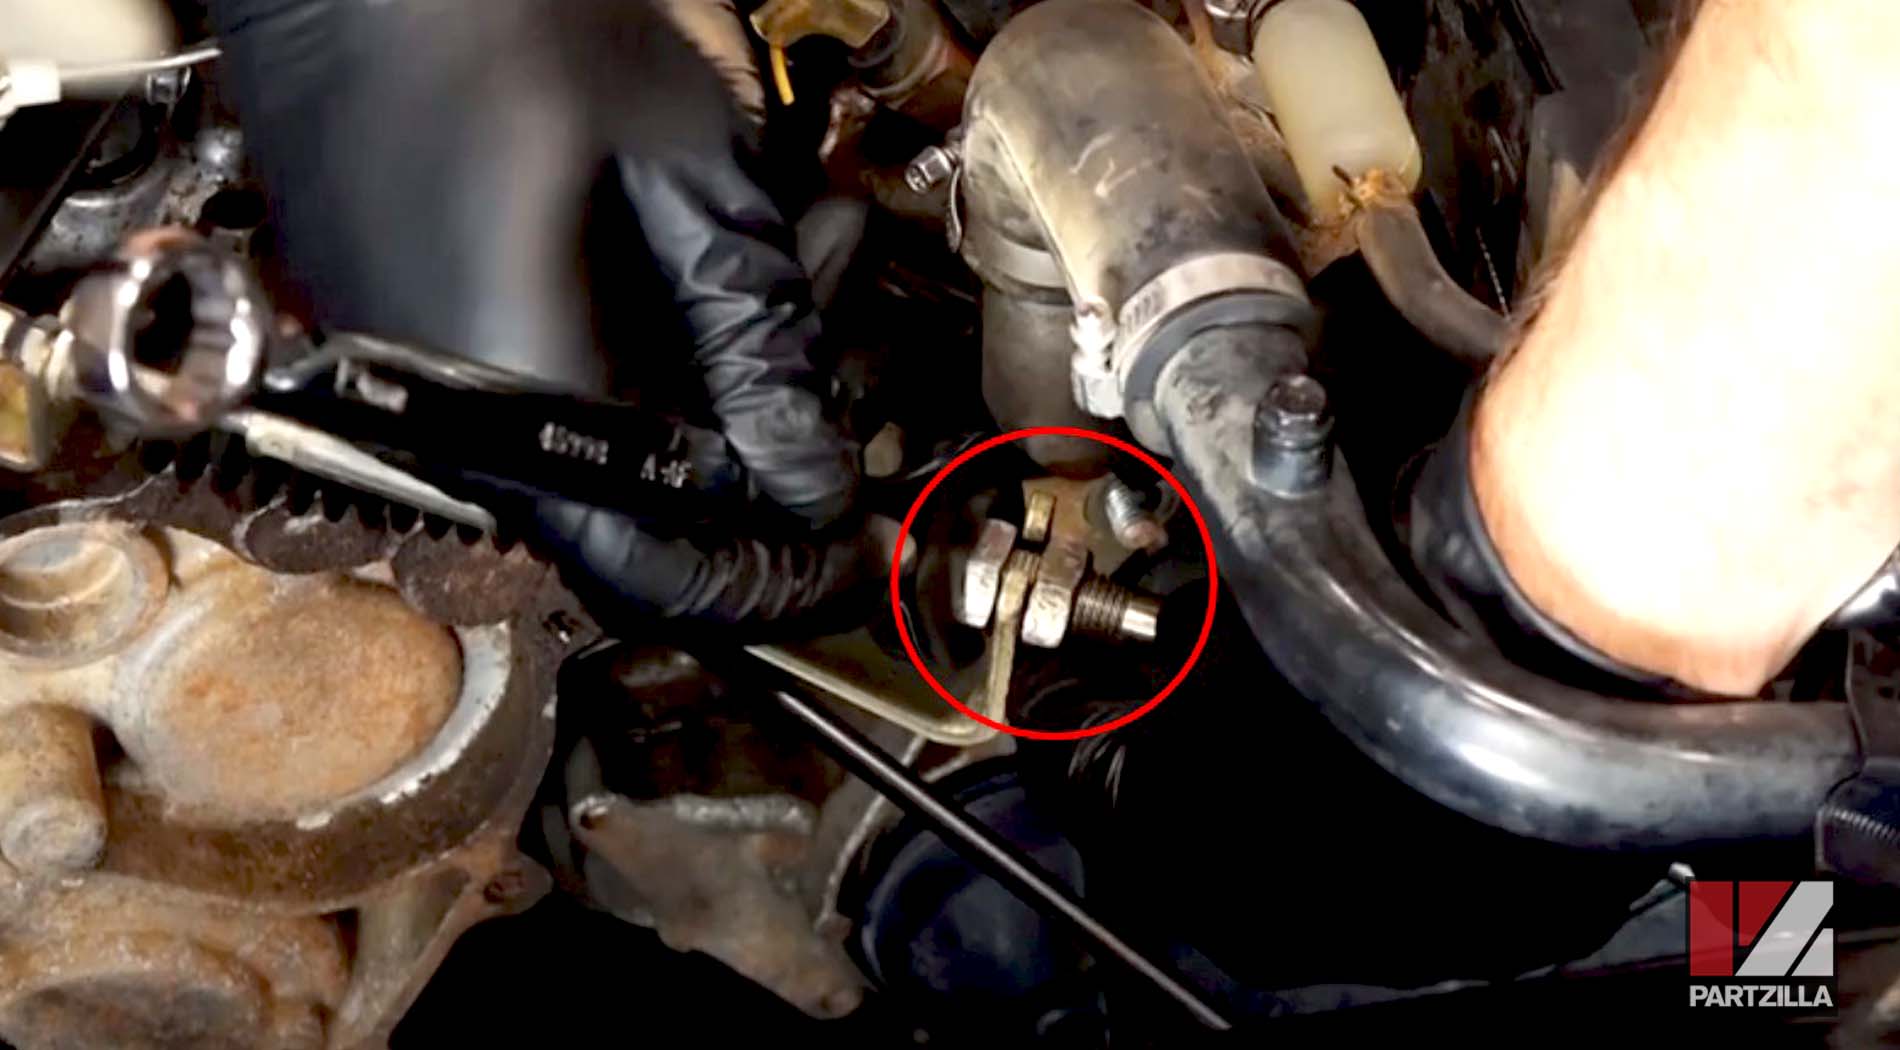
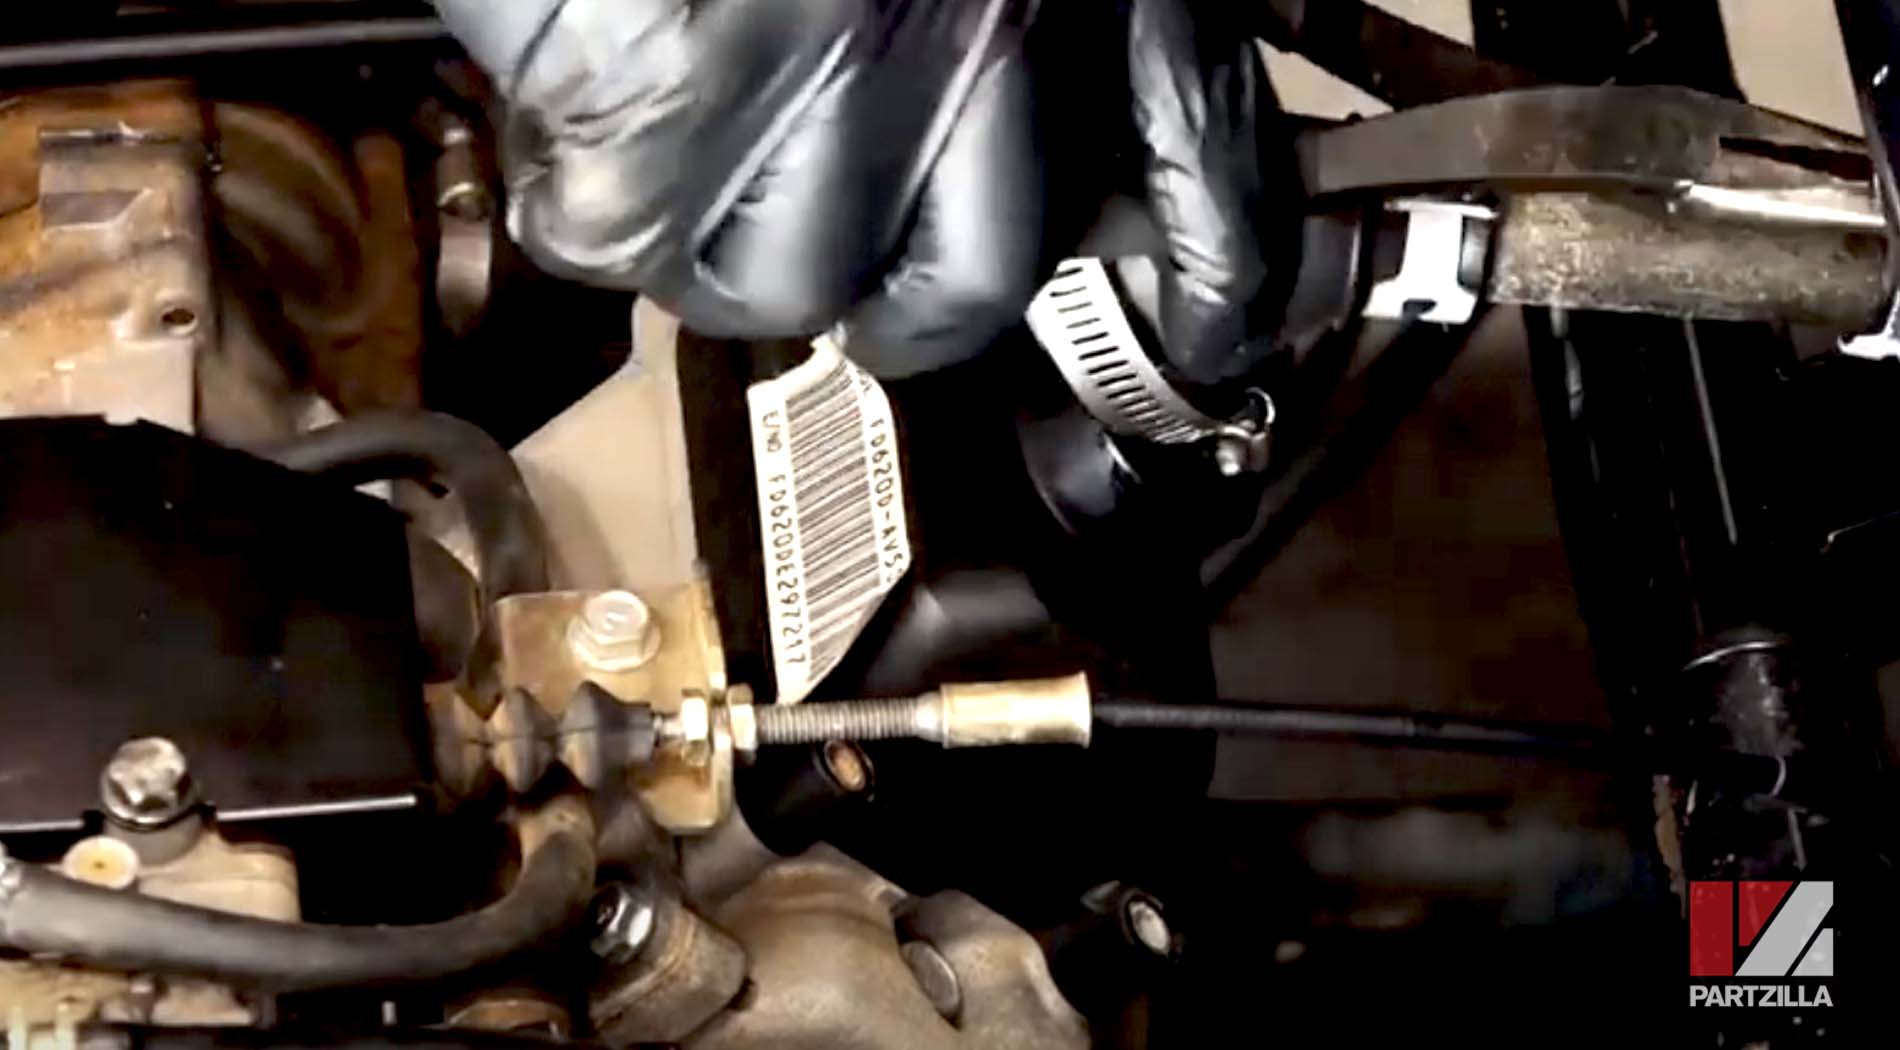
Step 1. Remove the nuts holding the gearshift linkage cable and the cable itself from the bracket on the engine. Next, remove the bracket from the engine to access the flywheel cover.
Step 2. Remove the flywheel cover and the spark plugs.
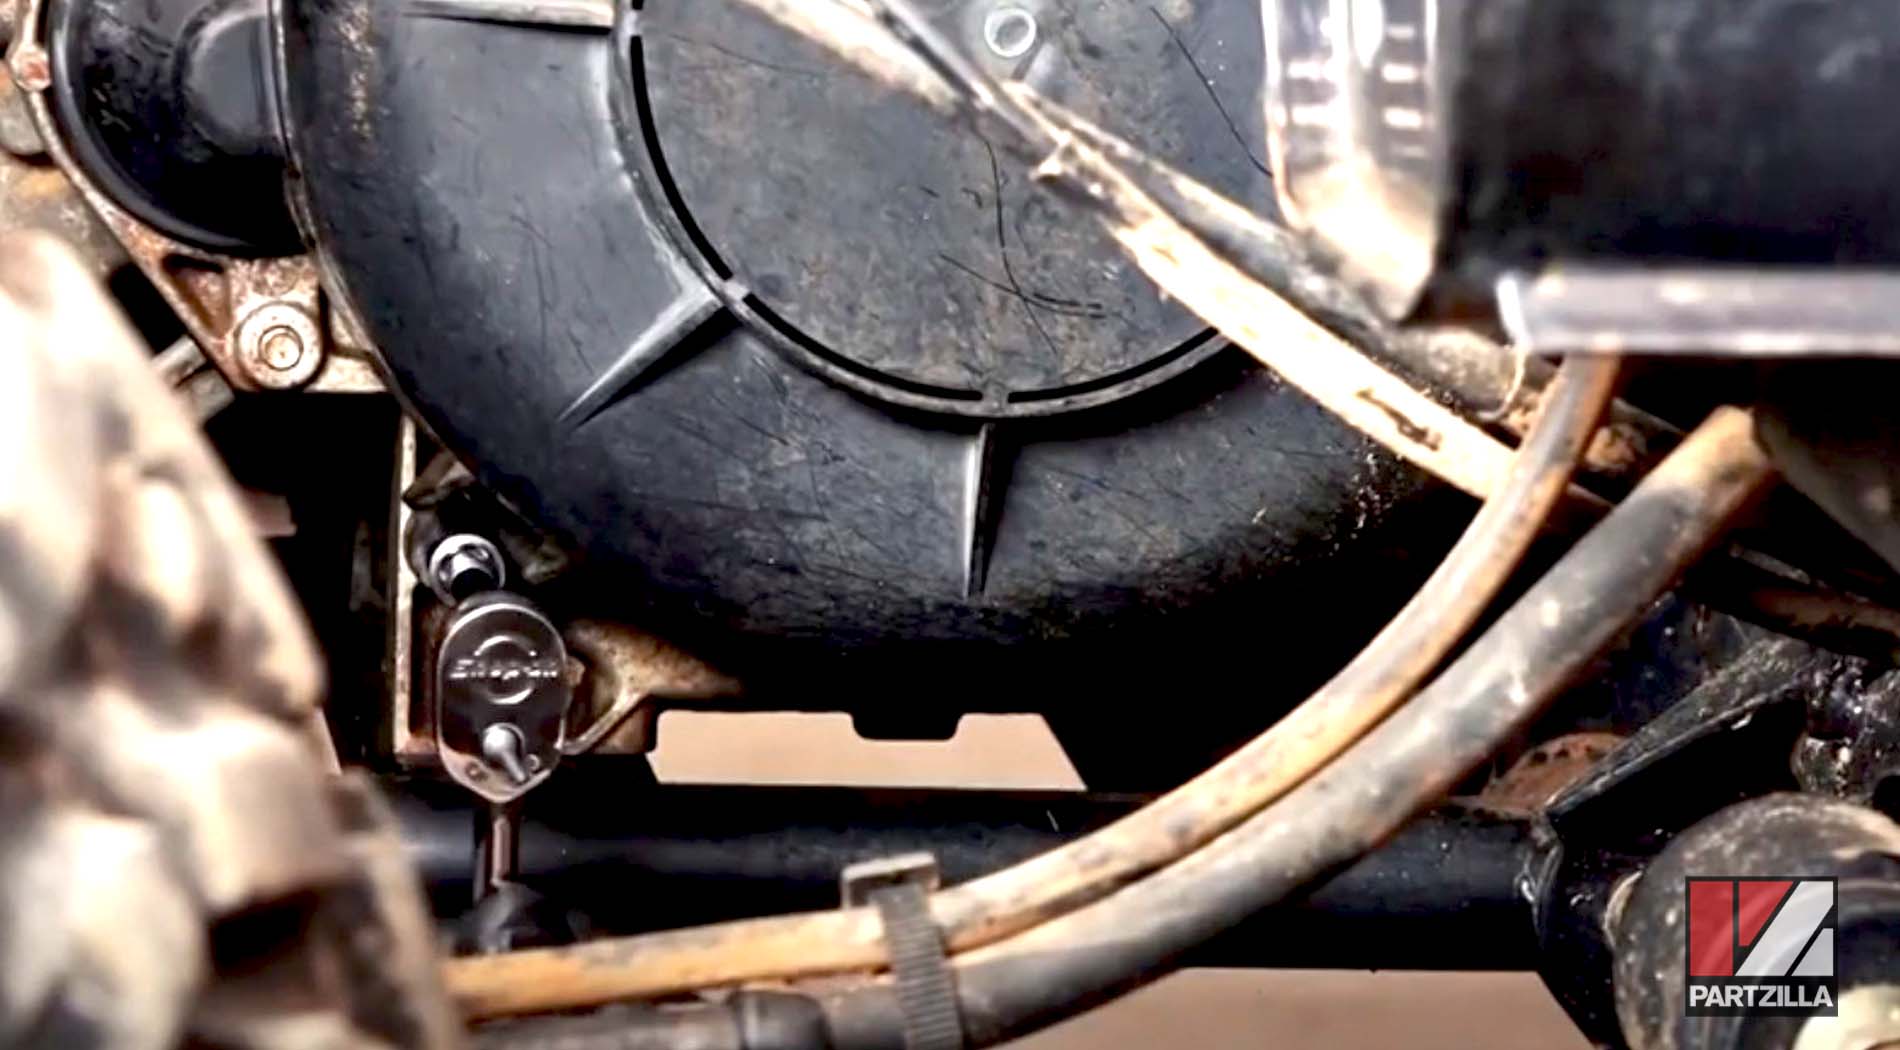
NOTE: Removing the spark plugs releases the compression within the cylinders, and makes it easier to turn the engine to top dead center (TDC).
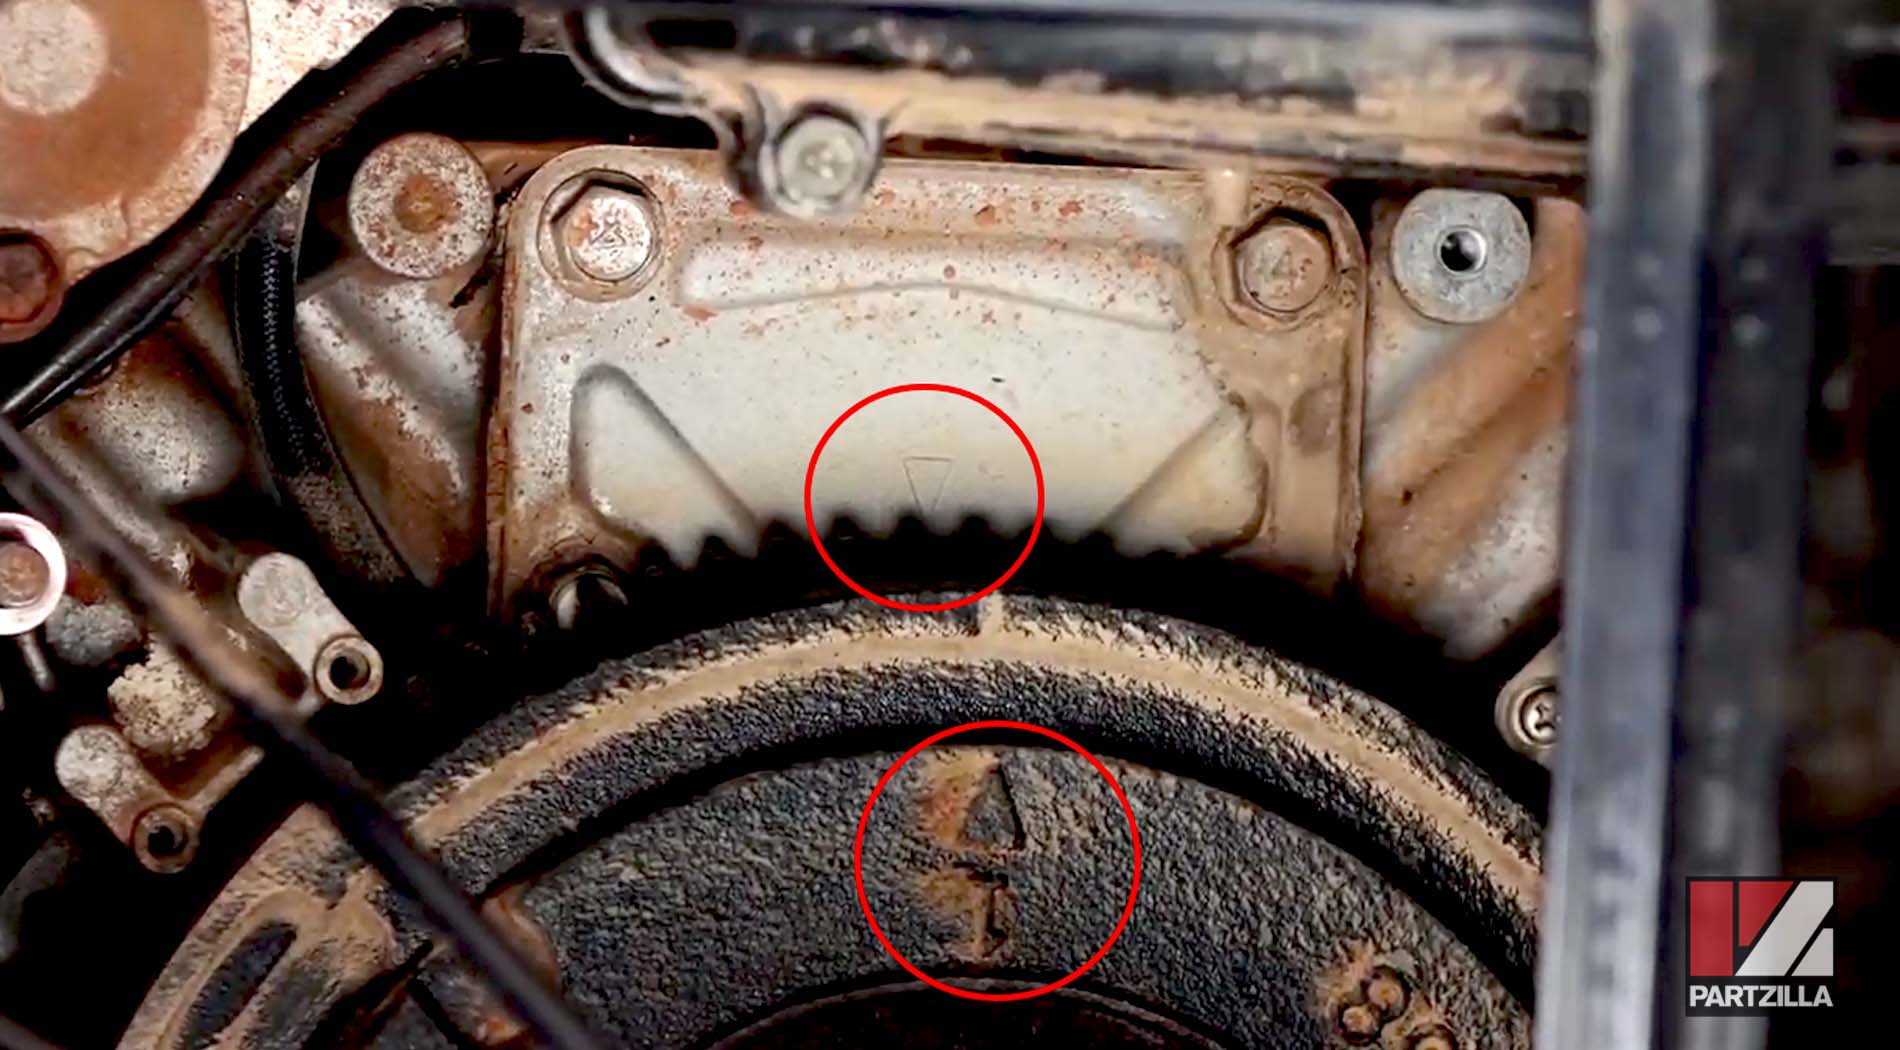
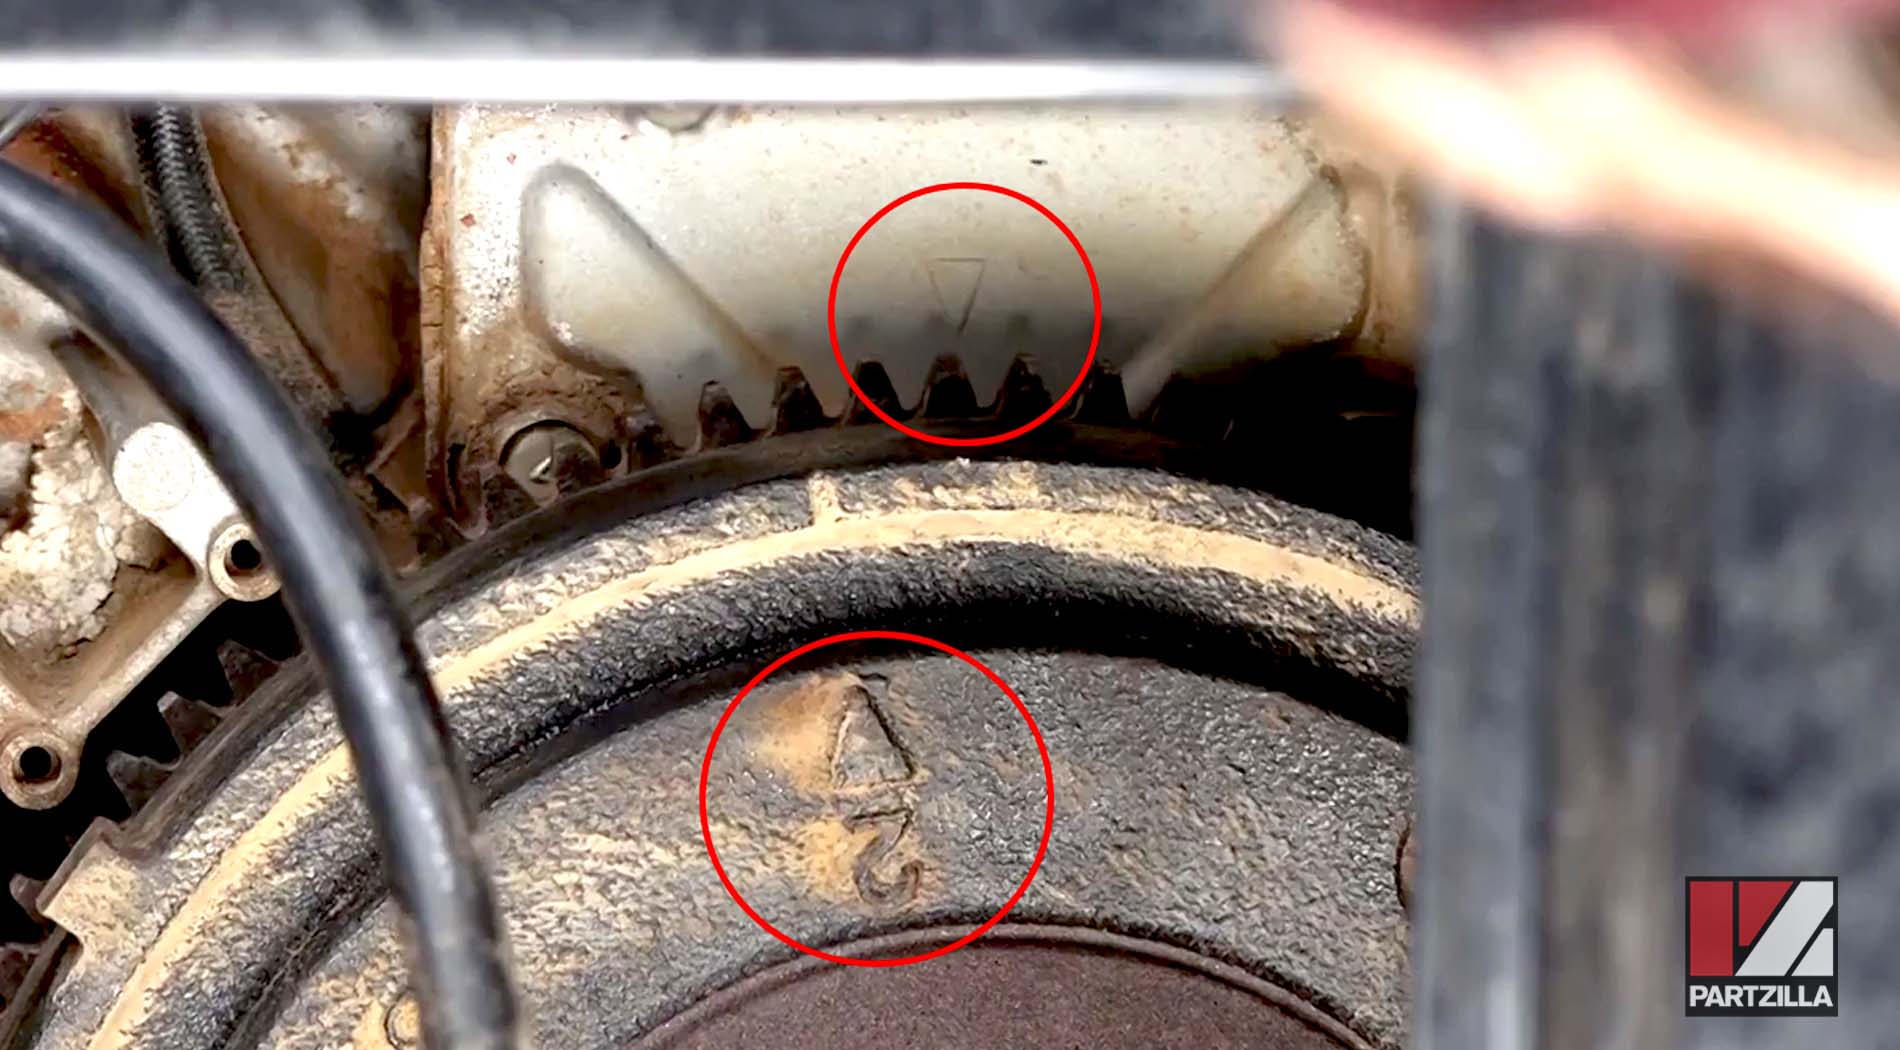
Step 3. Set the engine to TDC by rotating the flywheel clockwise until the arrow beside the number 1 on the flywheel is aligned with the arrow on the crankcase.
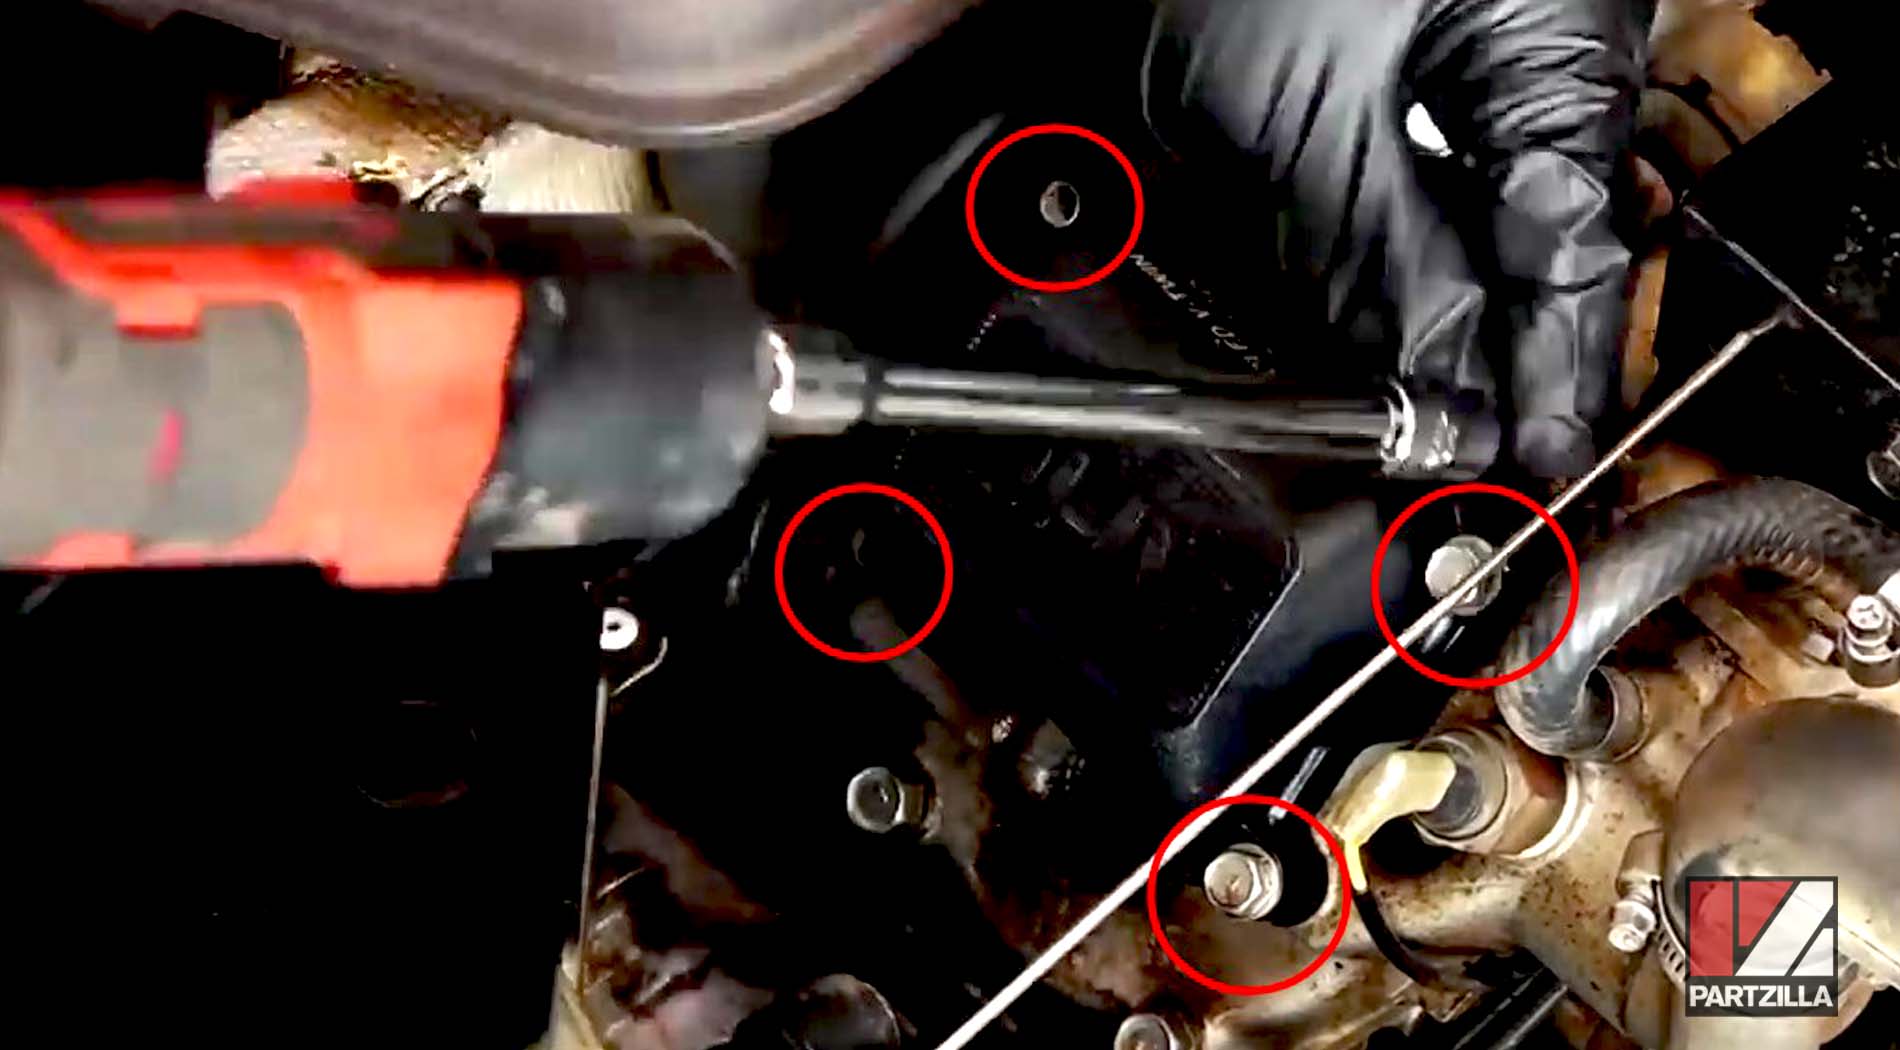
Step 4. Remove the four bolts holding the rear valve cover, the cover itself, and the valve cover gasket.
Step 5. Check to see if the valve rocker arms have a bit of play or are locked solid. If the rocker arms have some play, the engine is at TDC. However, if the rocker arms are locked solid, the engine is not at TDC and you must rotate the flywheel clockwise until the number 1 arrow on the flywheel and the arrow on the crankcase align once again.
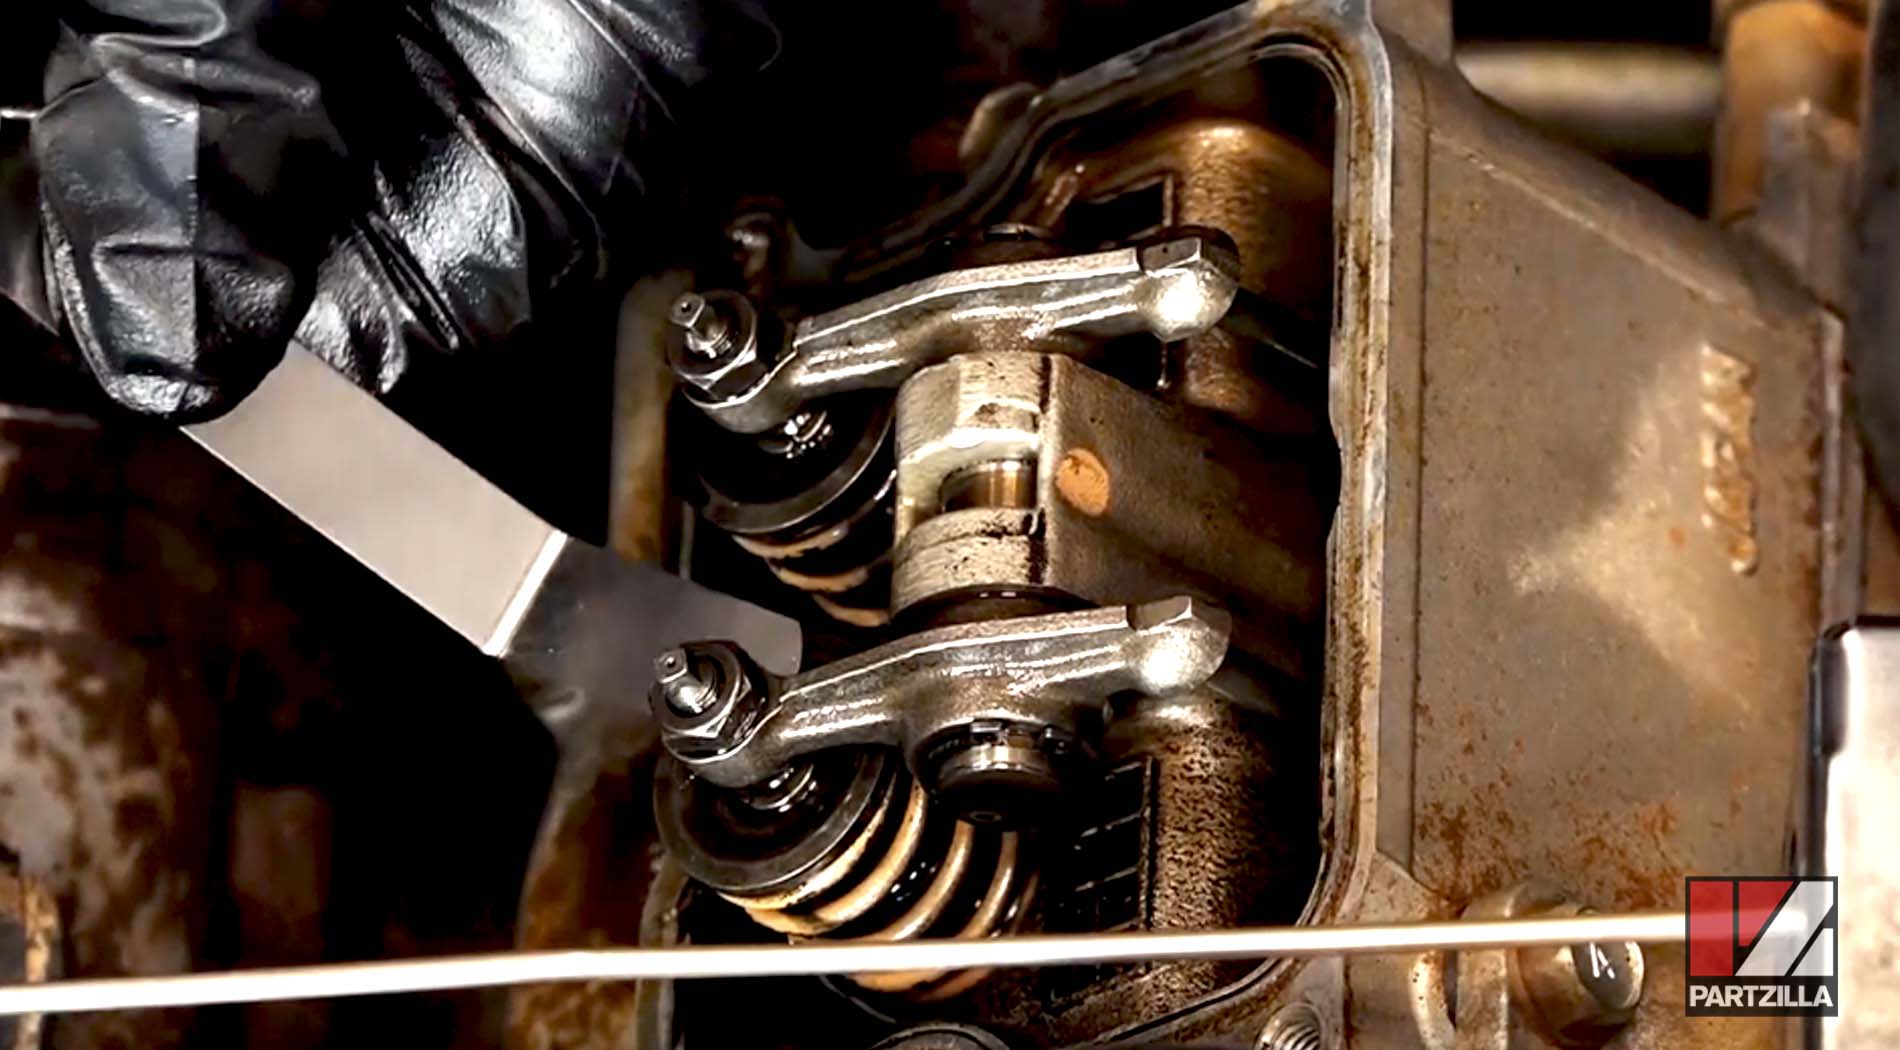
Step 6. Check the valve clearances using a feeler gauge. You should feel a slight resistance against the feeler gauge when the gap is set correctly.
Step 7. Adjust the valves by loosening the locking nut slightly. Slide the feeler gauge into the gap, turning the adjustment screw at the top of the valve accordingly. Hold the adjustment screw in place as you tighten the locking nut, then check the gap again, and readjust if necessary.
Step 8. Reinstall the valve cover gasket and the valve cover.
Step 9. Rotate the flywheel clockwise until the number 2 arrow on the flywheel is aligned with the arrow on the crankcase.
Step 10. Remove the front valve cover and the valve cover gasket, followed by the breather hose on top of the valve cover.
Step 11. Check the valve clearances and adjust them, as described in Step 7.
Step 12. Reinstall the valve cover gasket, the valve cover, the breather hose, the spark plugs, the flywheel cover and the gearshift linkage cable bracket. Fit the cable back into bracket, secure the lock nuts and you're done.