Kawasaki KLX110 Clutch Rebuild
Welcome to our Kawasaki KLX 110 clutch rebuild project, where we’re replacing and upgrading the clutch, as well as the springs, on our 2006 Kawasaki dirt bike.
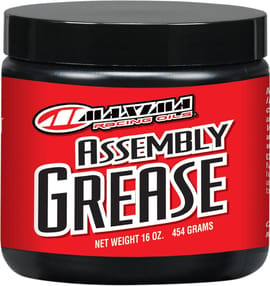
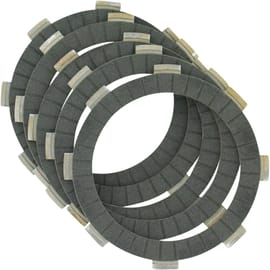
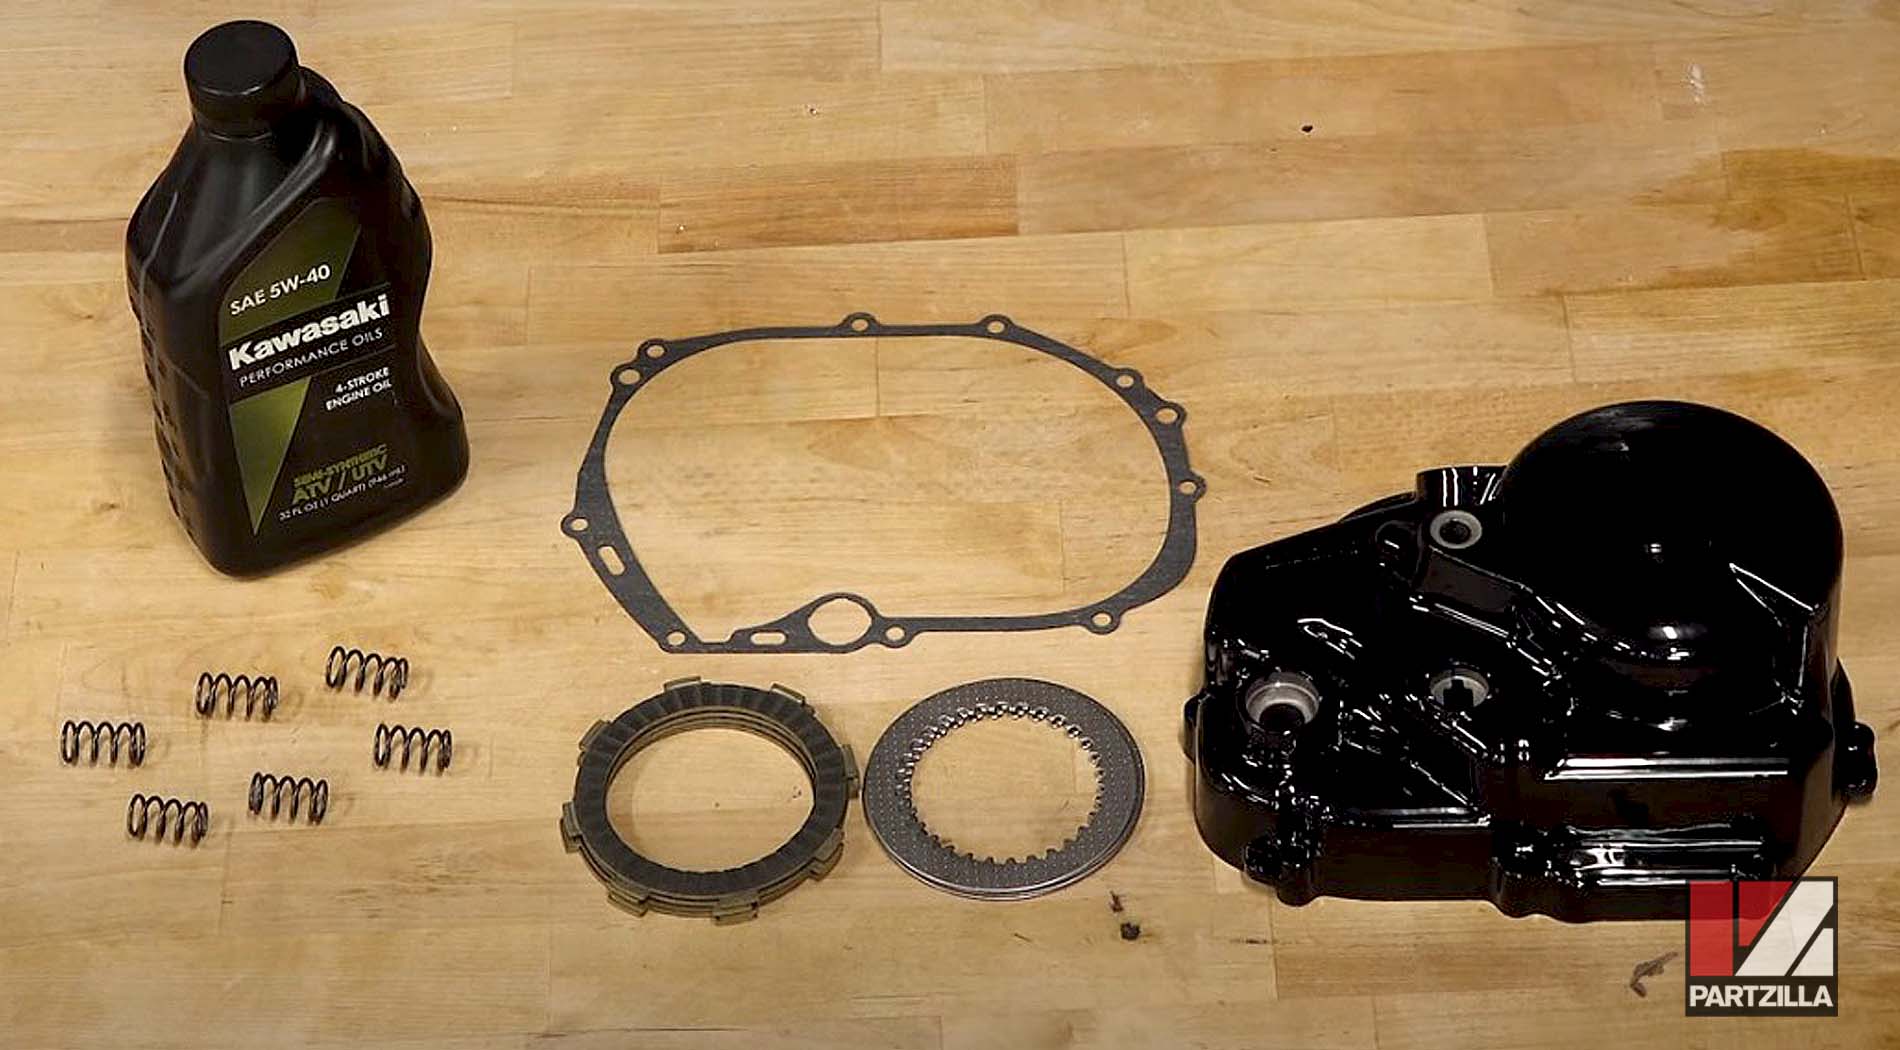
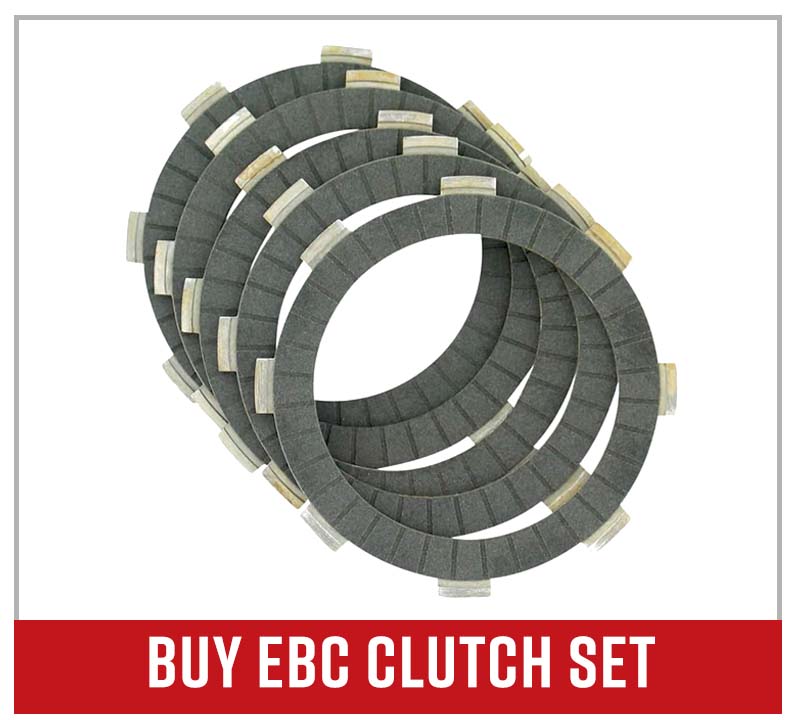
We’re upgrading the fiber discs with EBC discs, which are going to be paired with the EBC clutch springs. This project also calls for a new cover gasket, as well as a quart of four-stroke motorcycle oil.
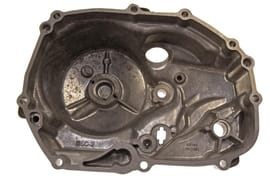
We also ordered a brand new clutch cover to spruce up the unit a little bit, and because it turned out to be cheaper to buy a brand new cover than purchasing the paint to repaint the old one. Watch the video above or read on below to learn how to do a clutch upgrade on a Kawasaki KLX 110 dirt bike.
Tools and Parts - Kawasaki KLX 110 Clutch Upgrade
- Standard tools (ratchet, sockets, etc.)
- Phillips screwdriver (JIS tip)
- Torque wrench
- Square pry bar
- Drain pan
- Four-stroke motorcycle engine oil
Kawasaki KLX 110 Clutch Rebuild
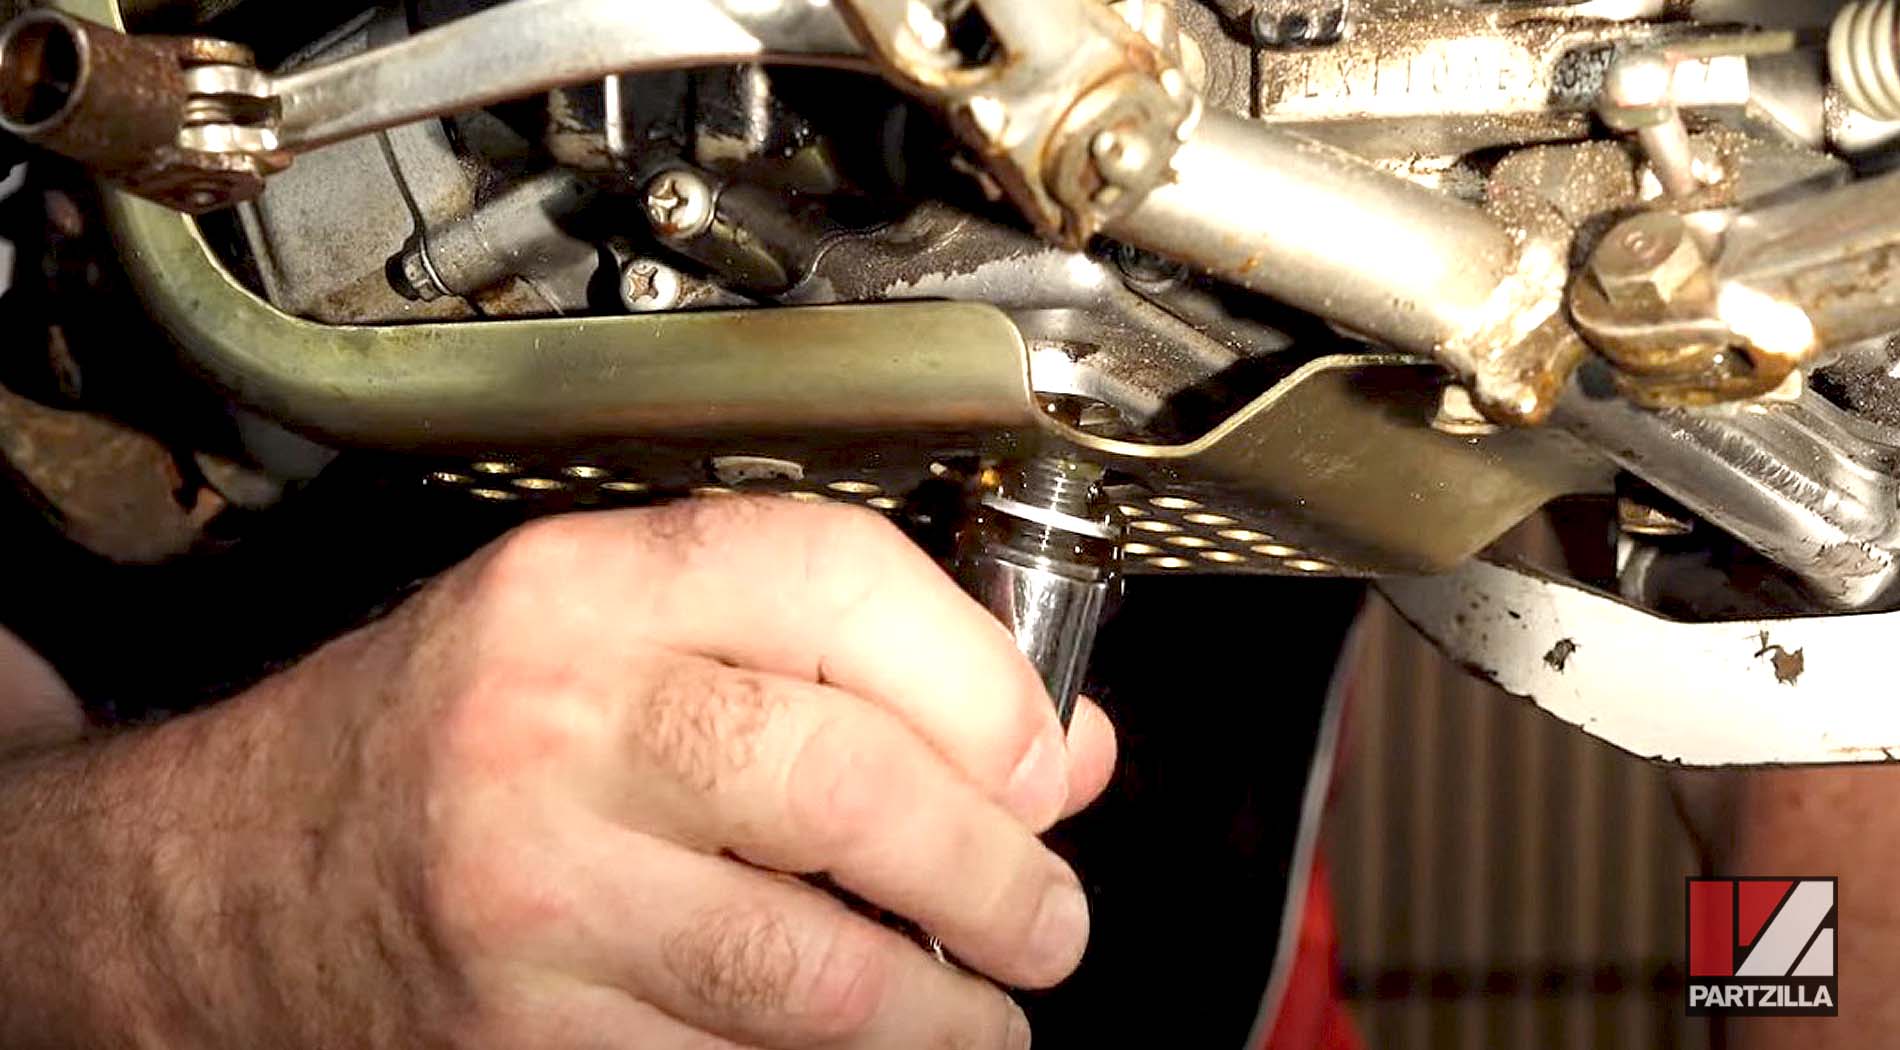
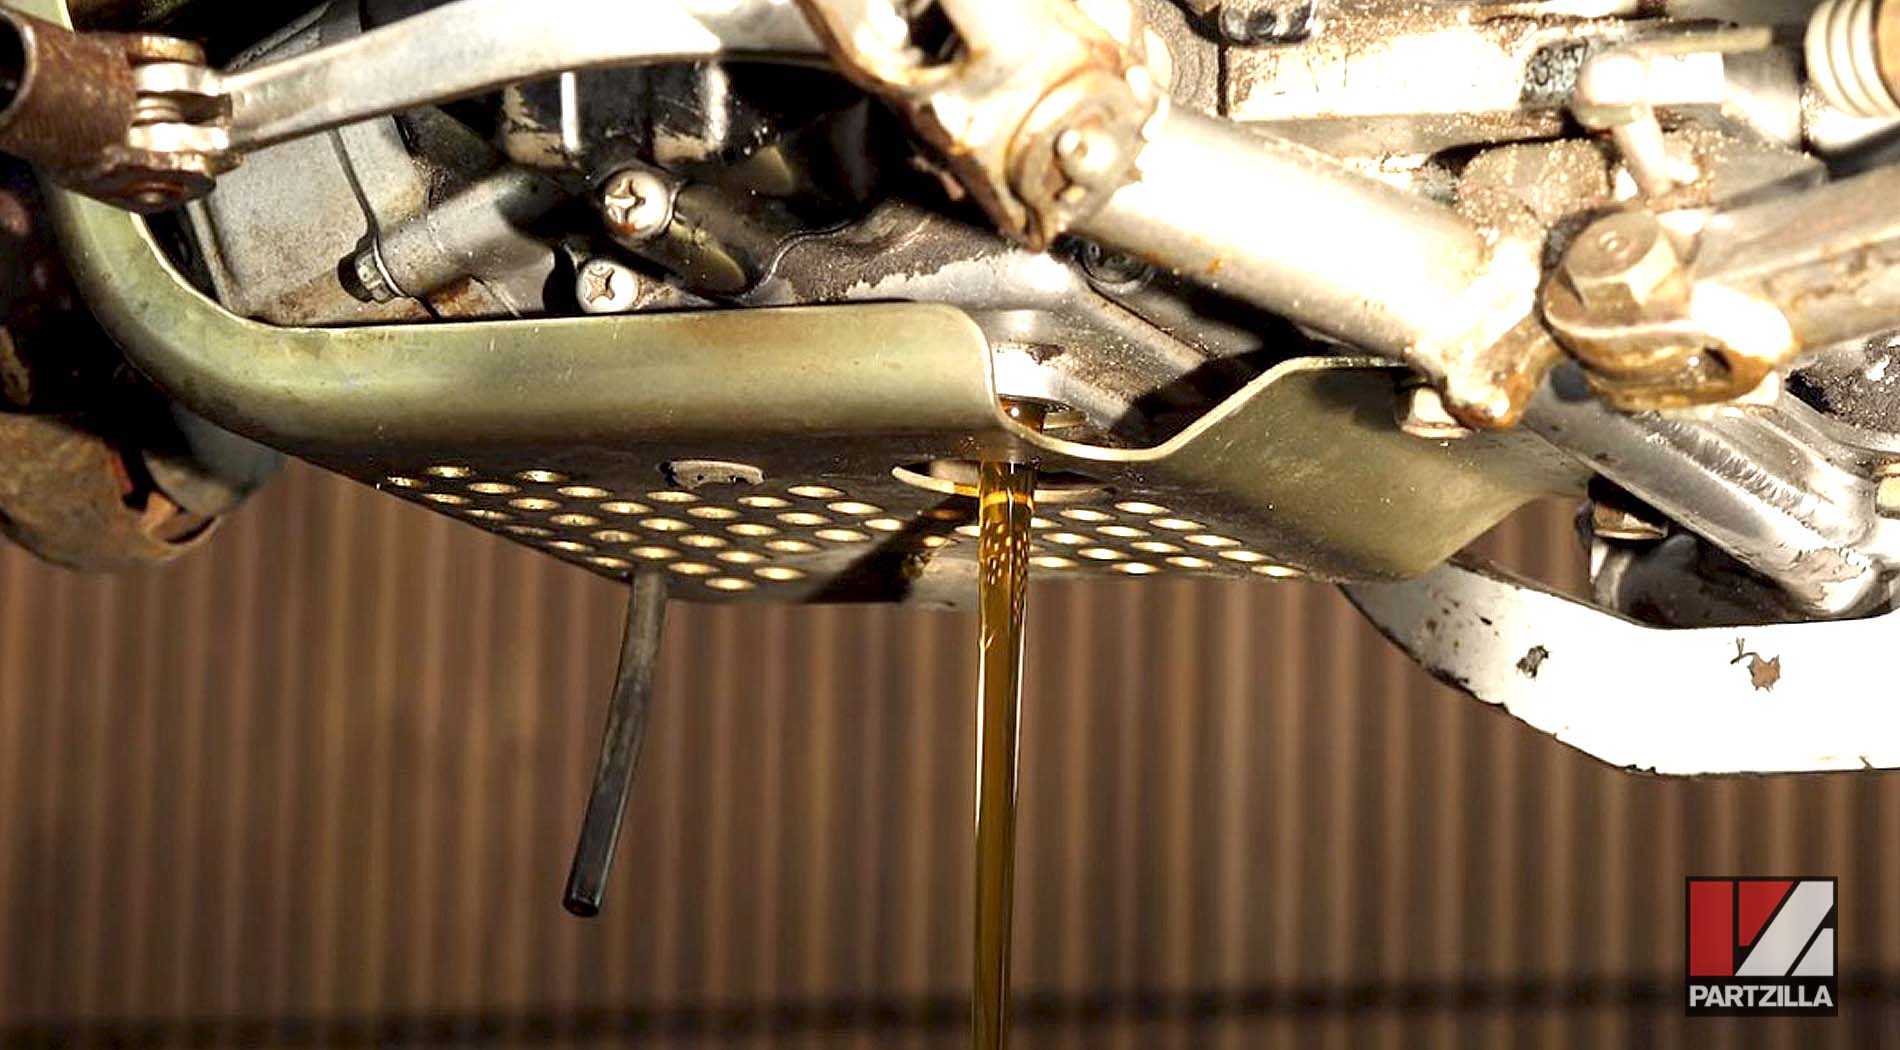
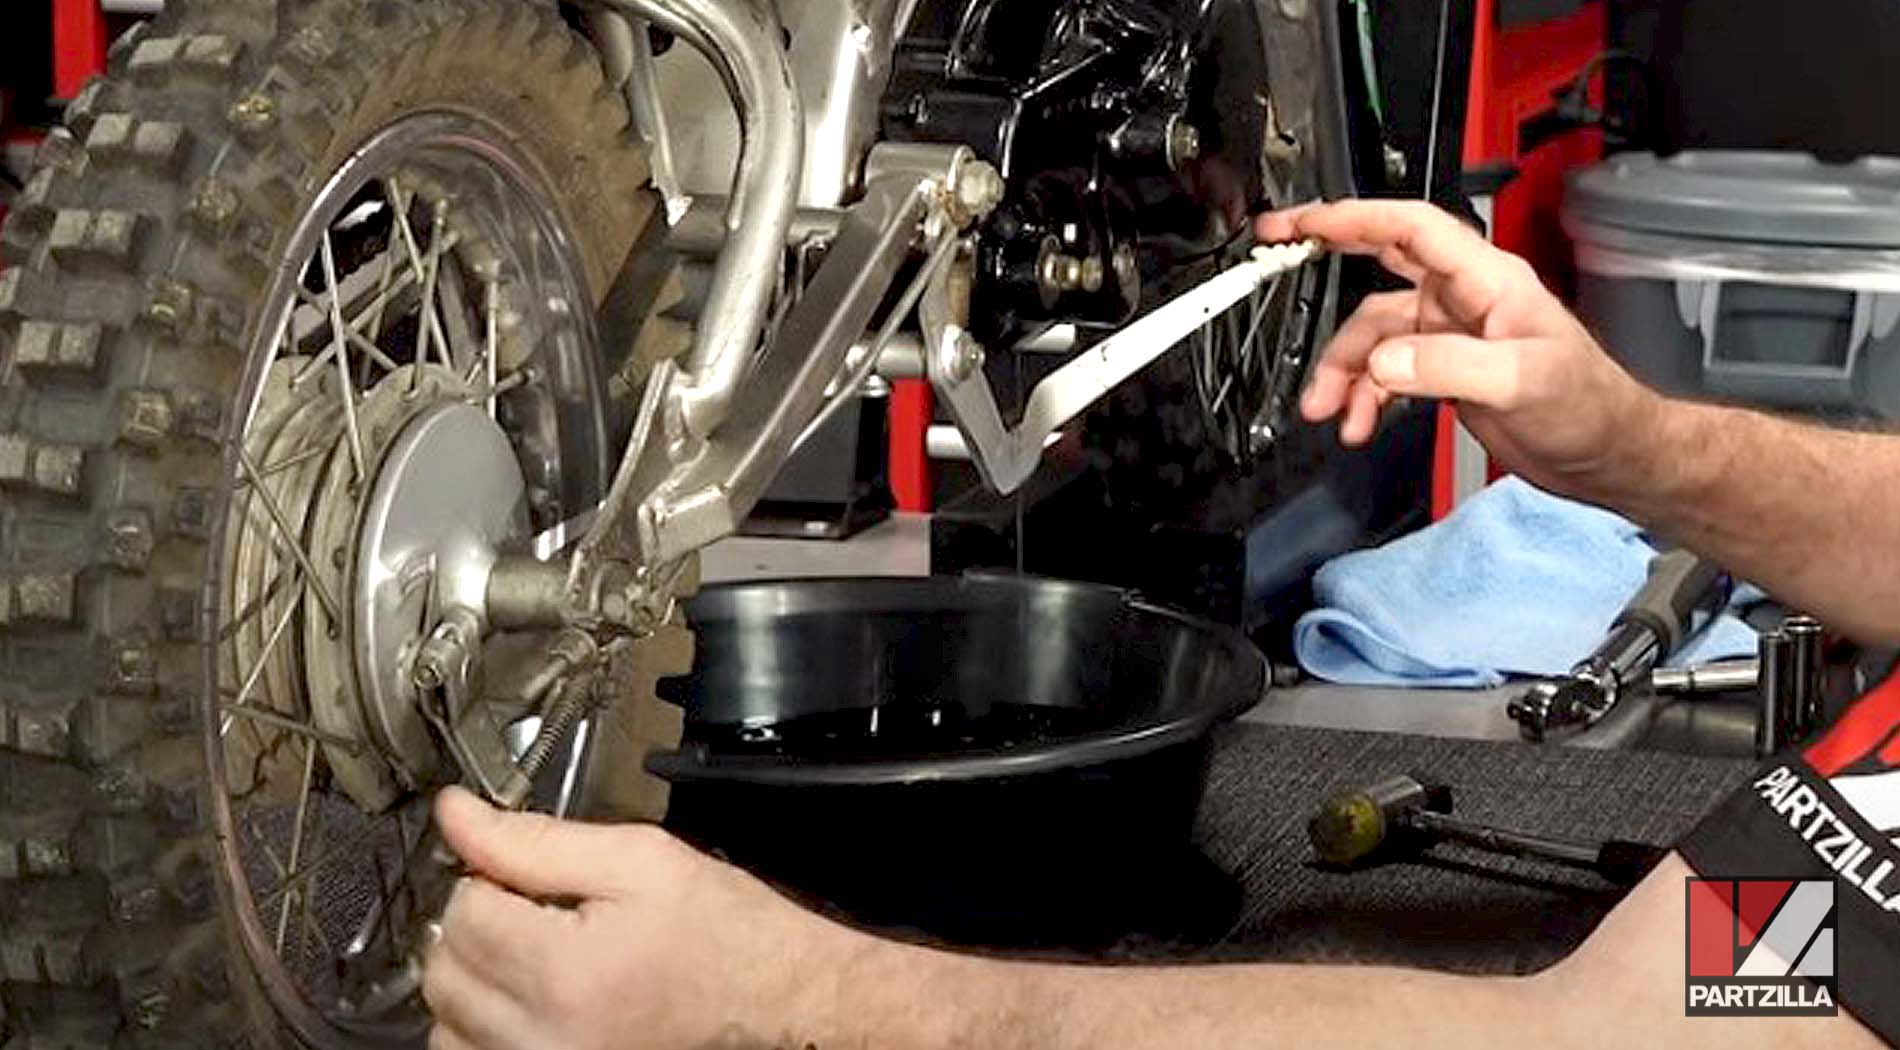
Step 1. Place a drain pan under the bike, then remove the oil drain bolt (and its washer) and drain out the engine oil. Next, replace the drain bolt and torque it to 21 foot-pounds.
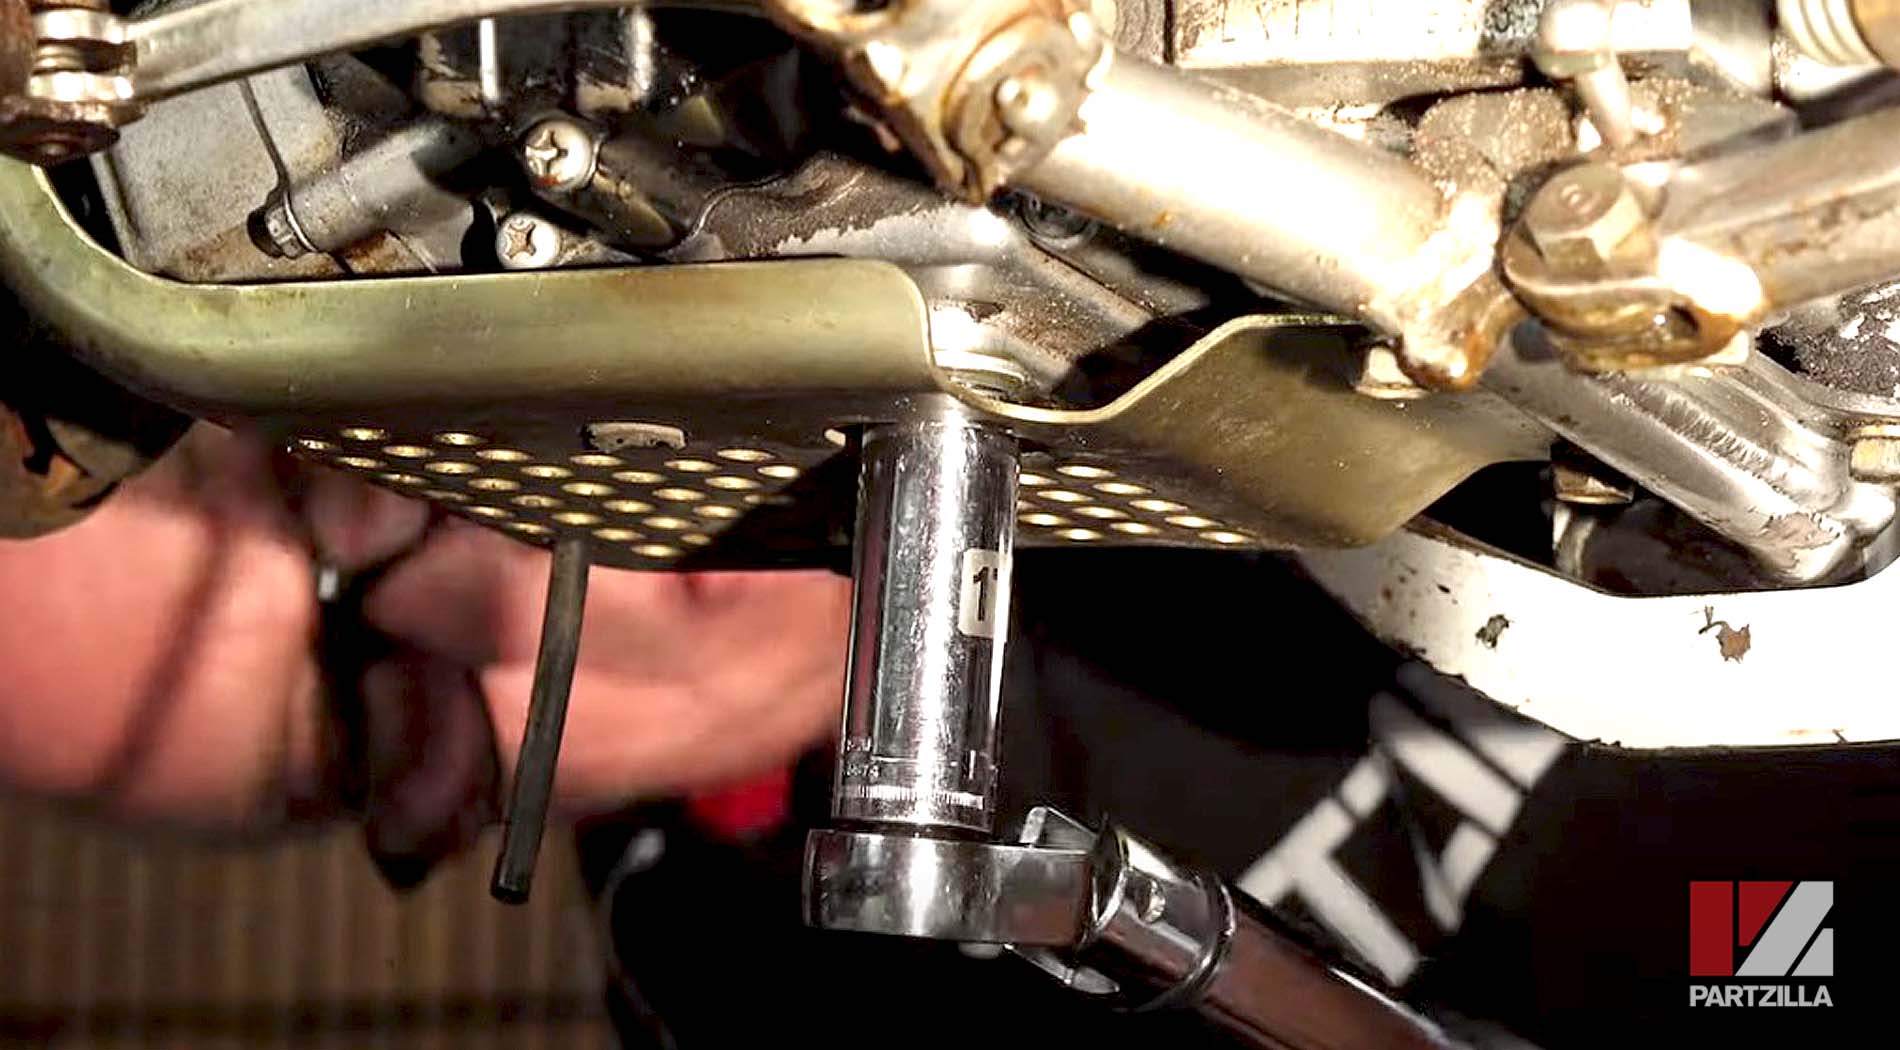
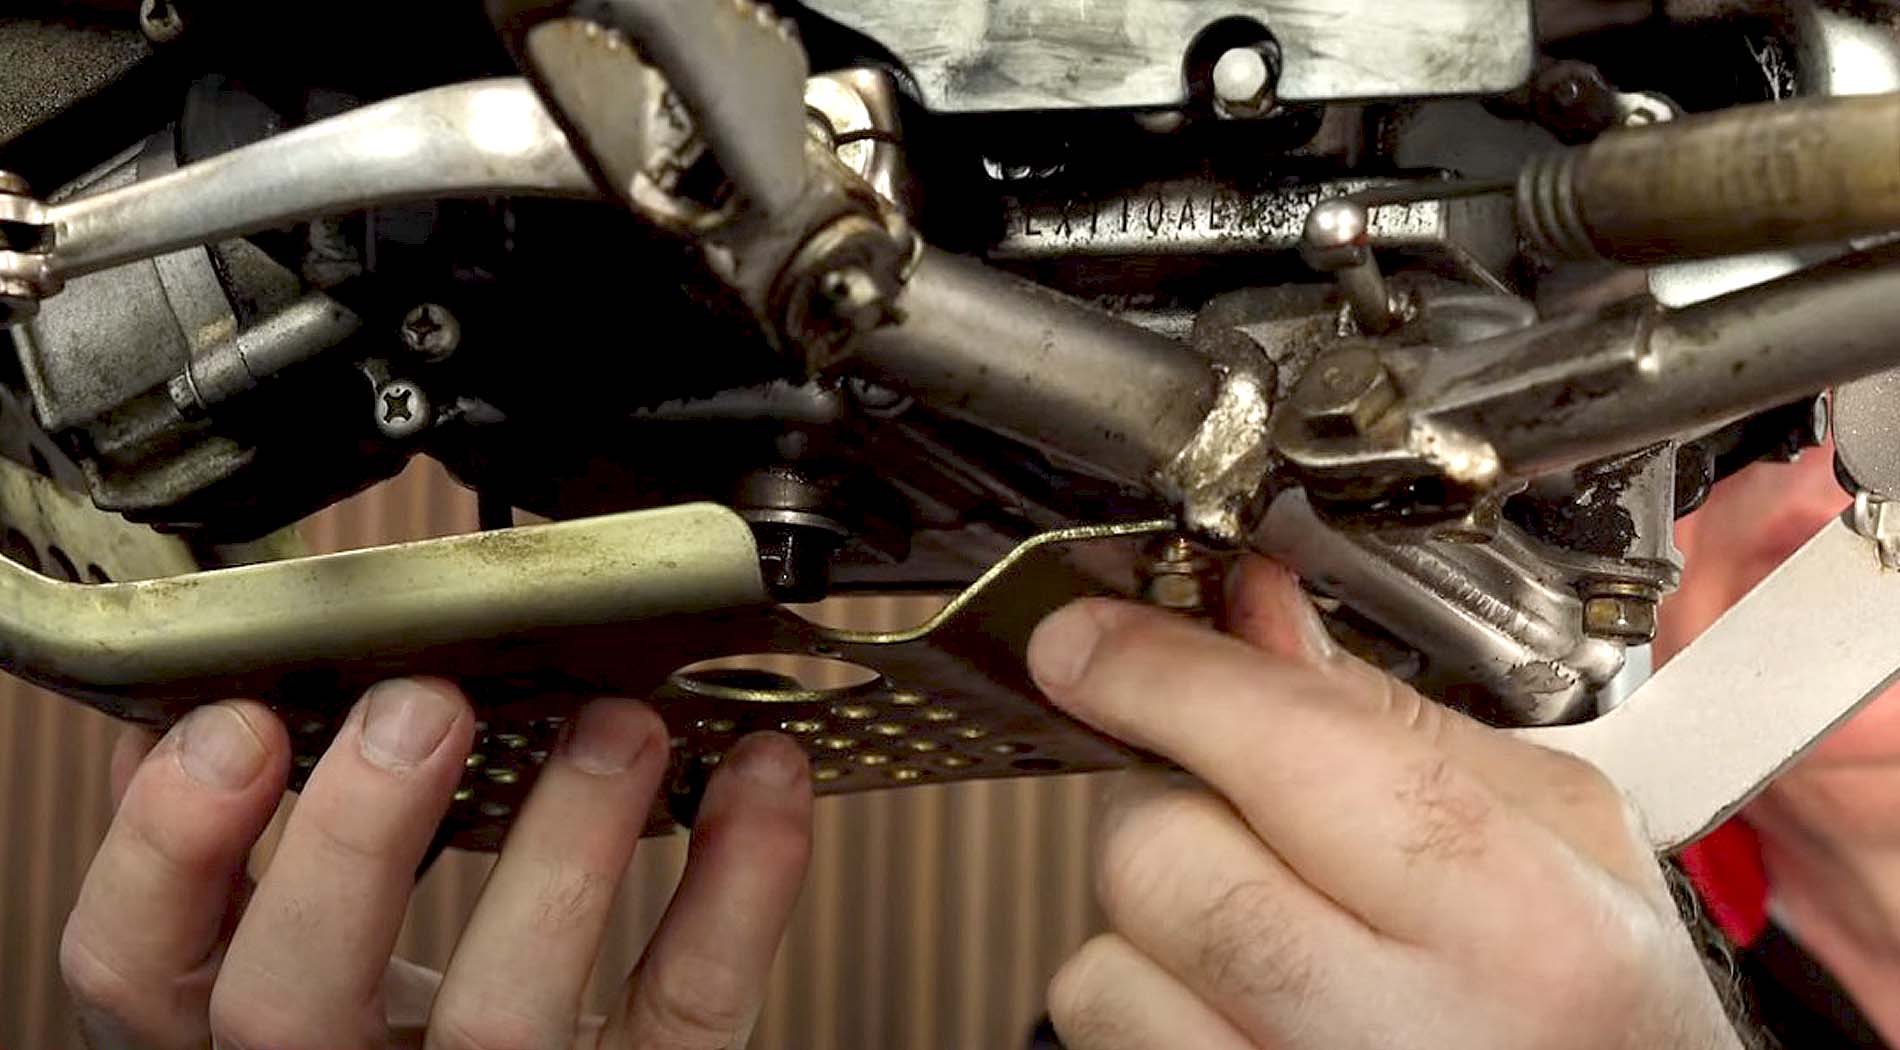
Step 2. Remove the front engine guard (skid plate) and the foot pegs.


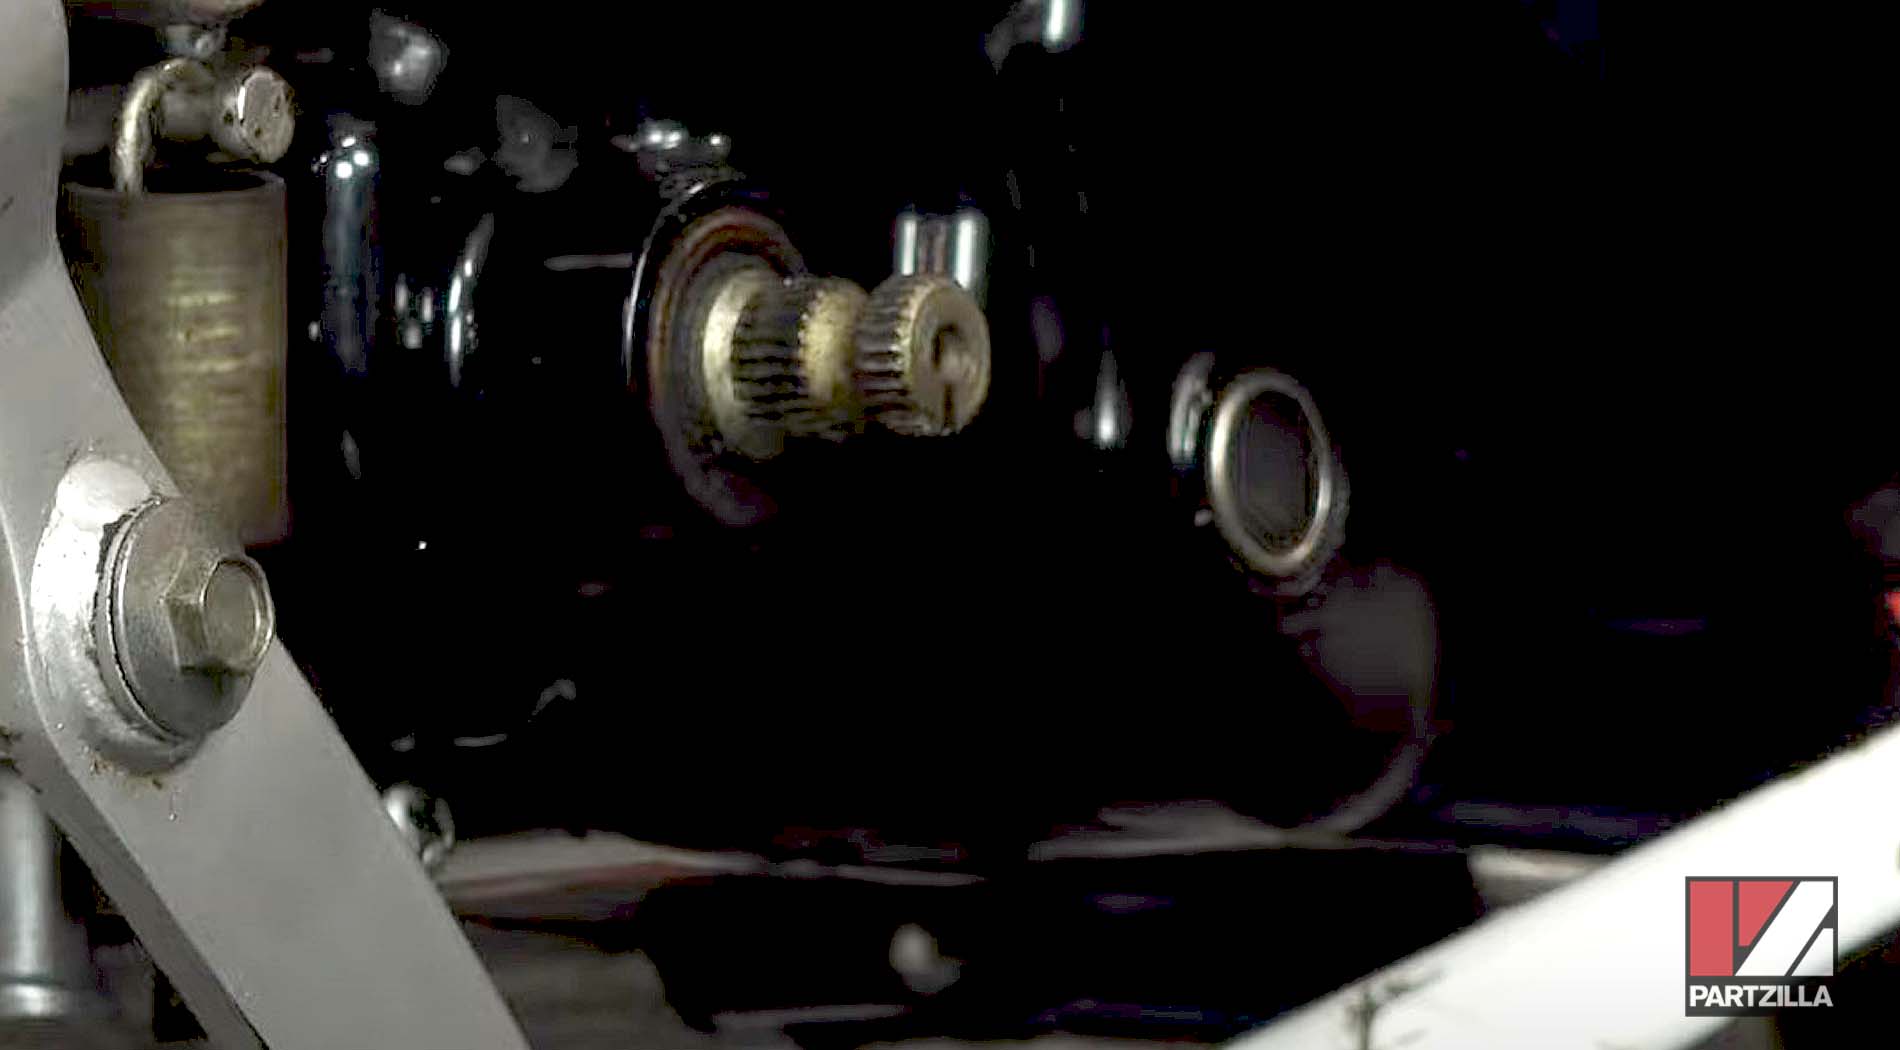
Step 3. Remove the kickstarter.
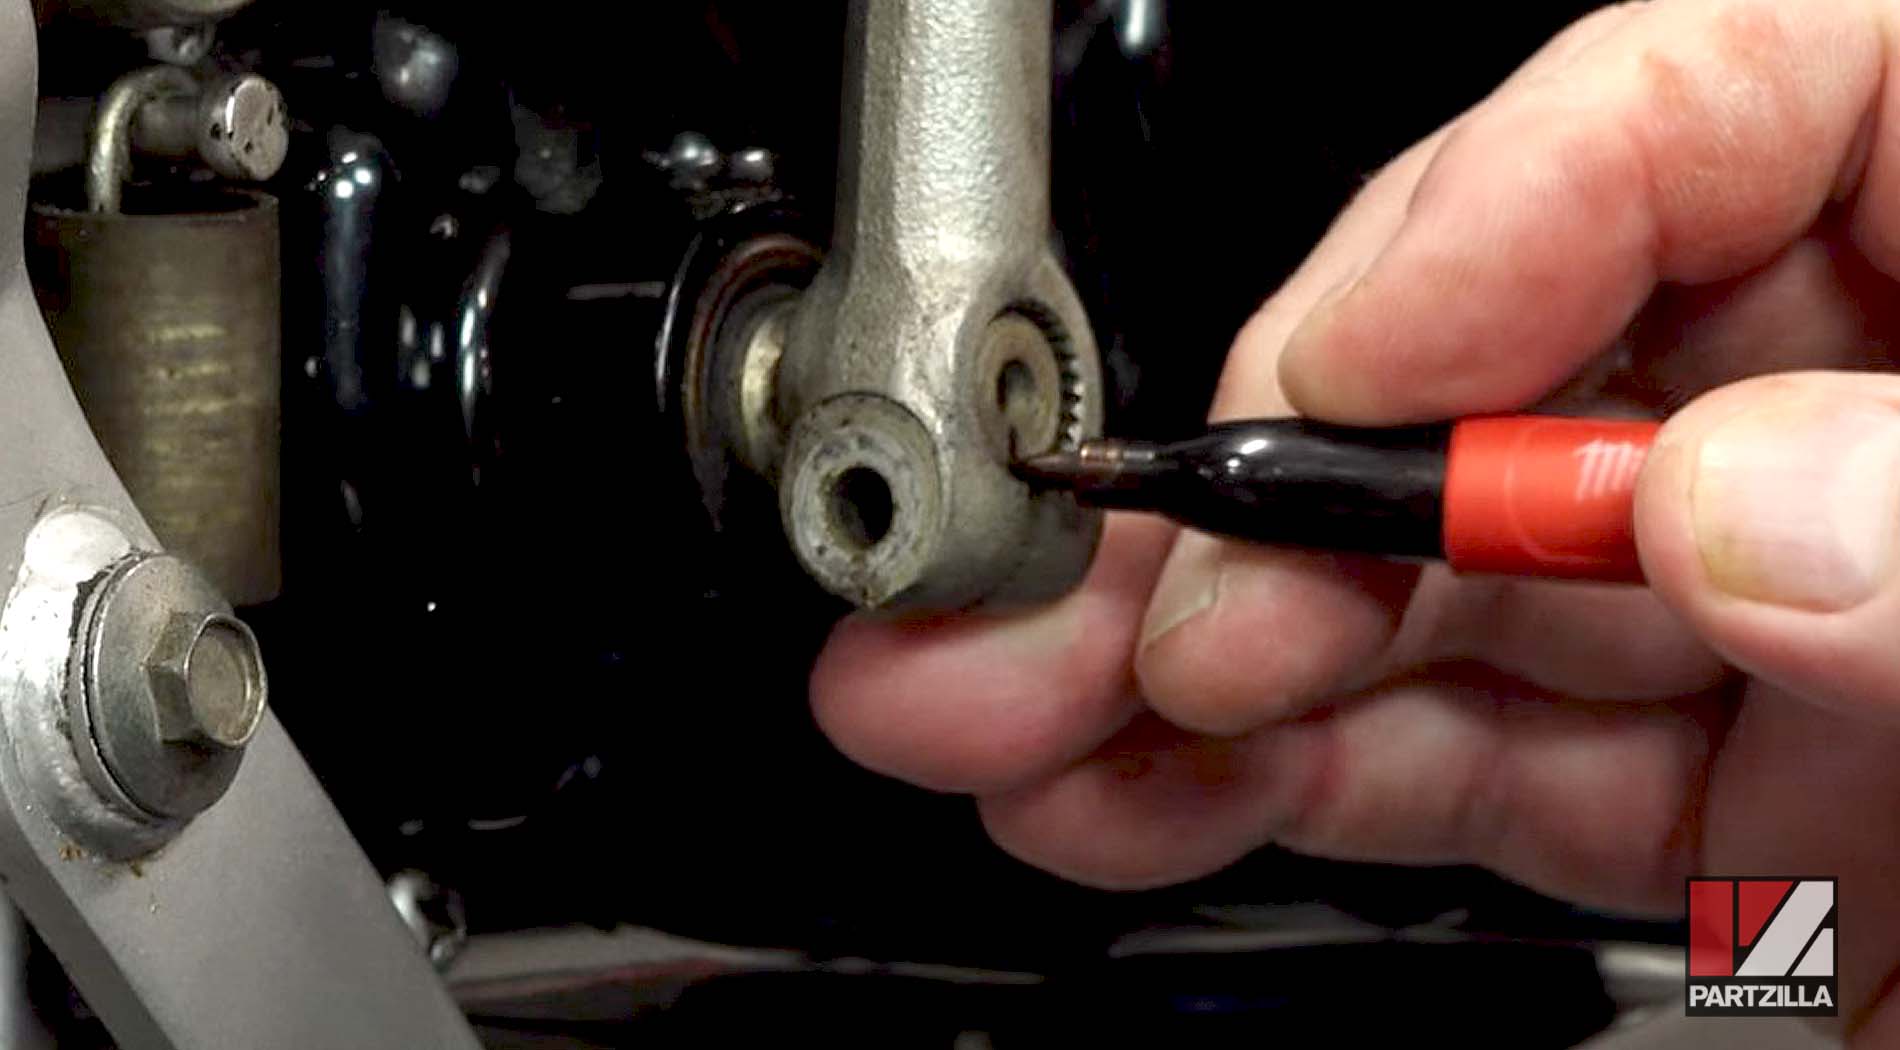
PRO TIP: Before removing the kickstarter, put a mark on the end of the kickstarter shaft to make sure you can reinstall it in exactly the same position.
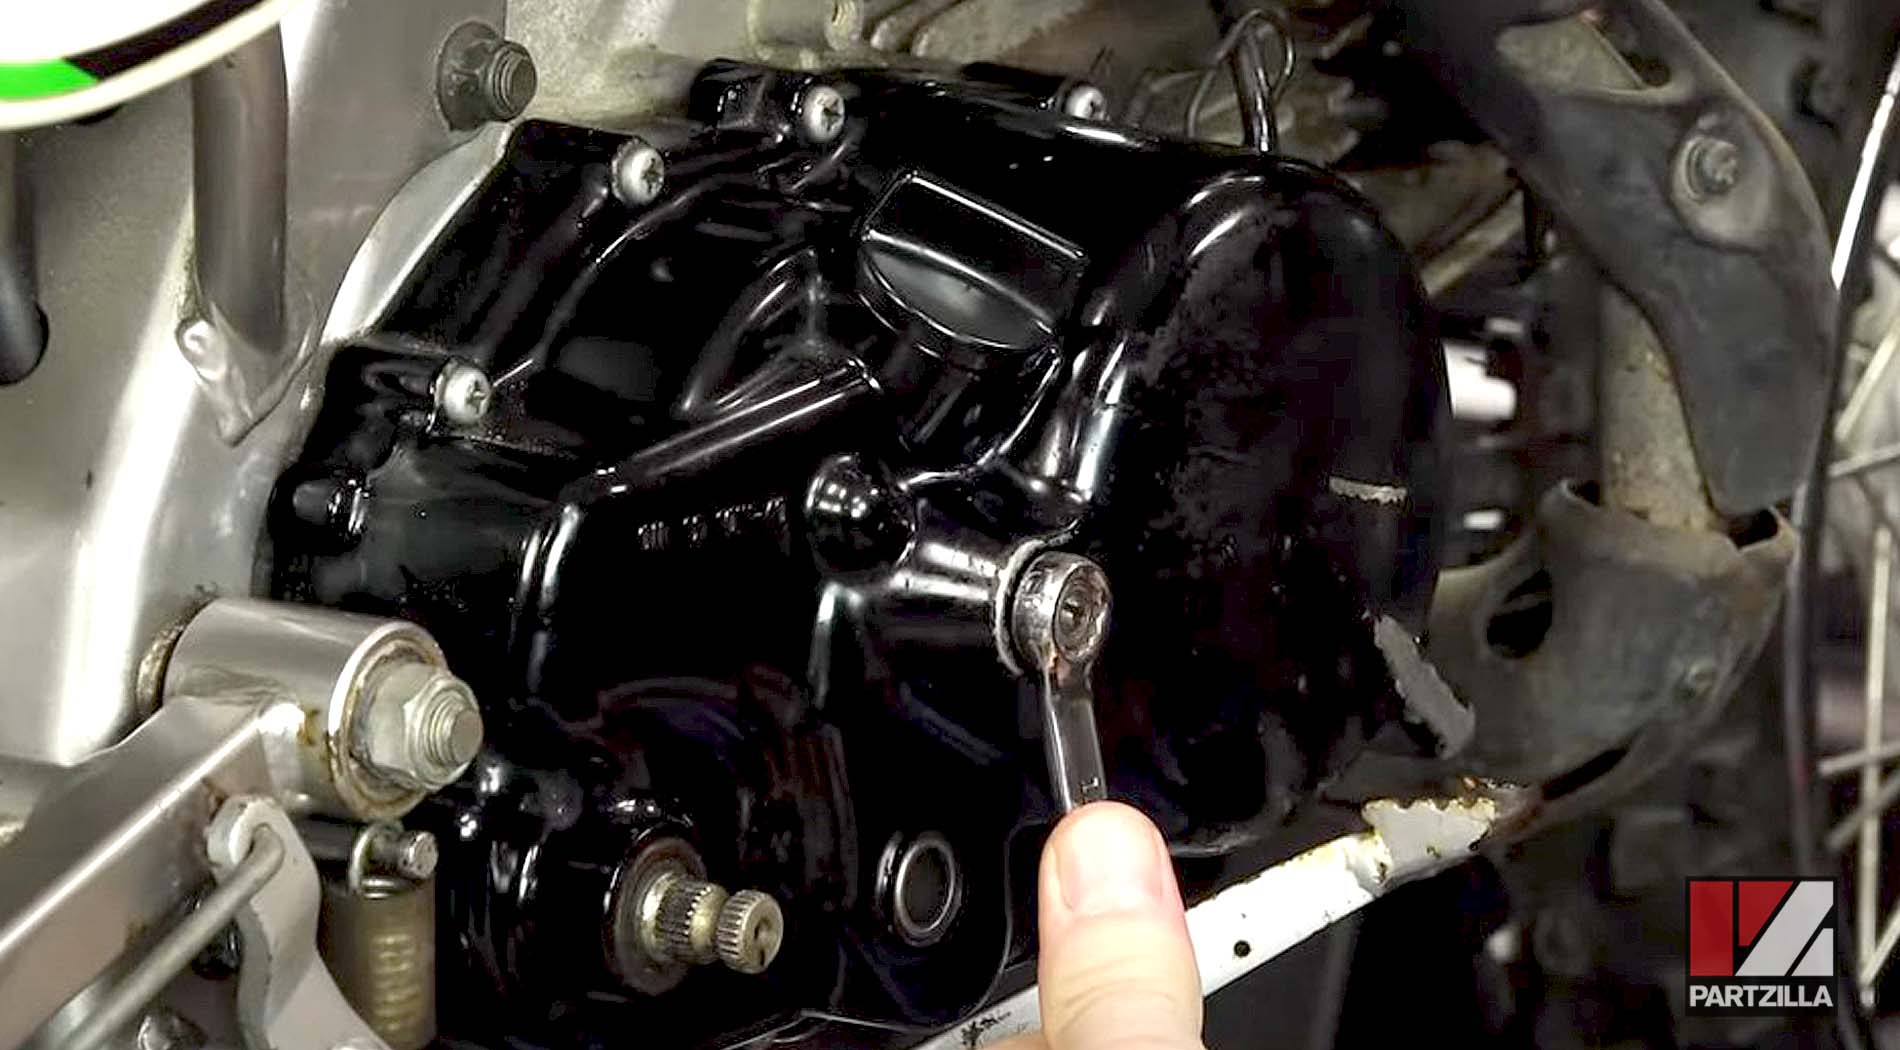
Step 4. Remove the nine Phillips head screws that hold the clutch cover on, followed by the cover itself. Use a screwdriver with a JIS tip on it to avoid stripping out the screws.
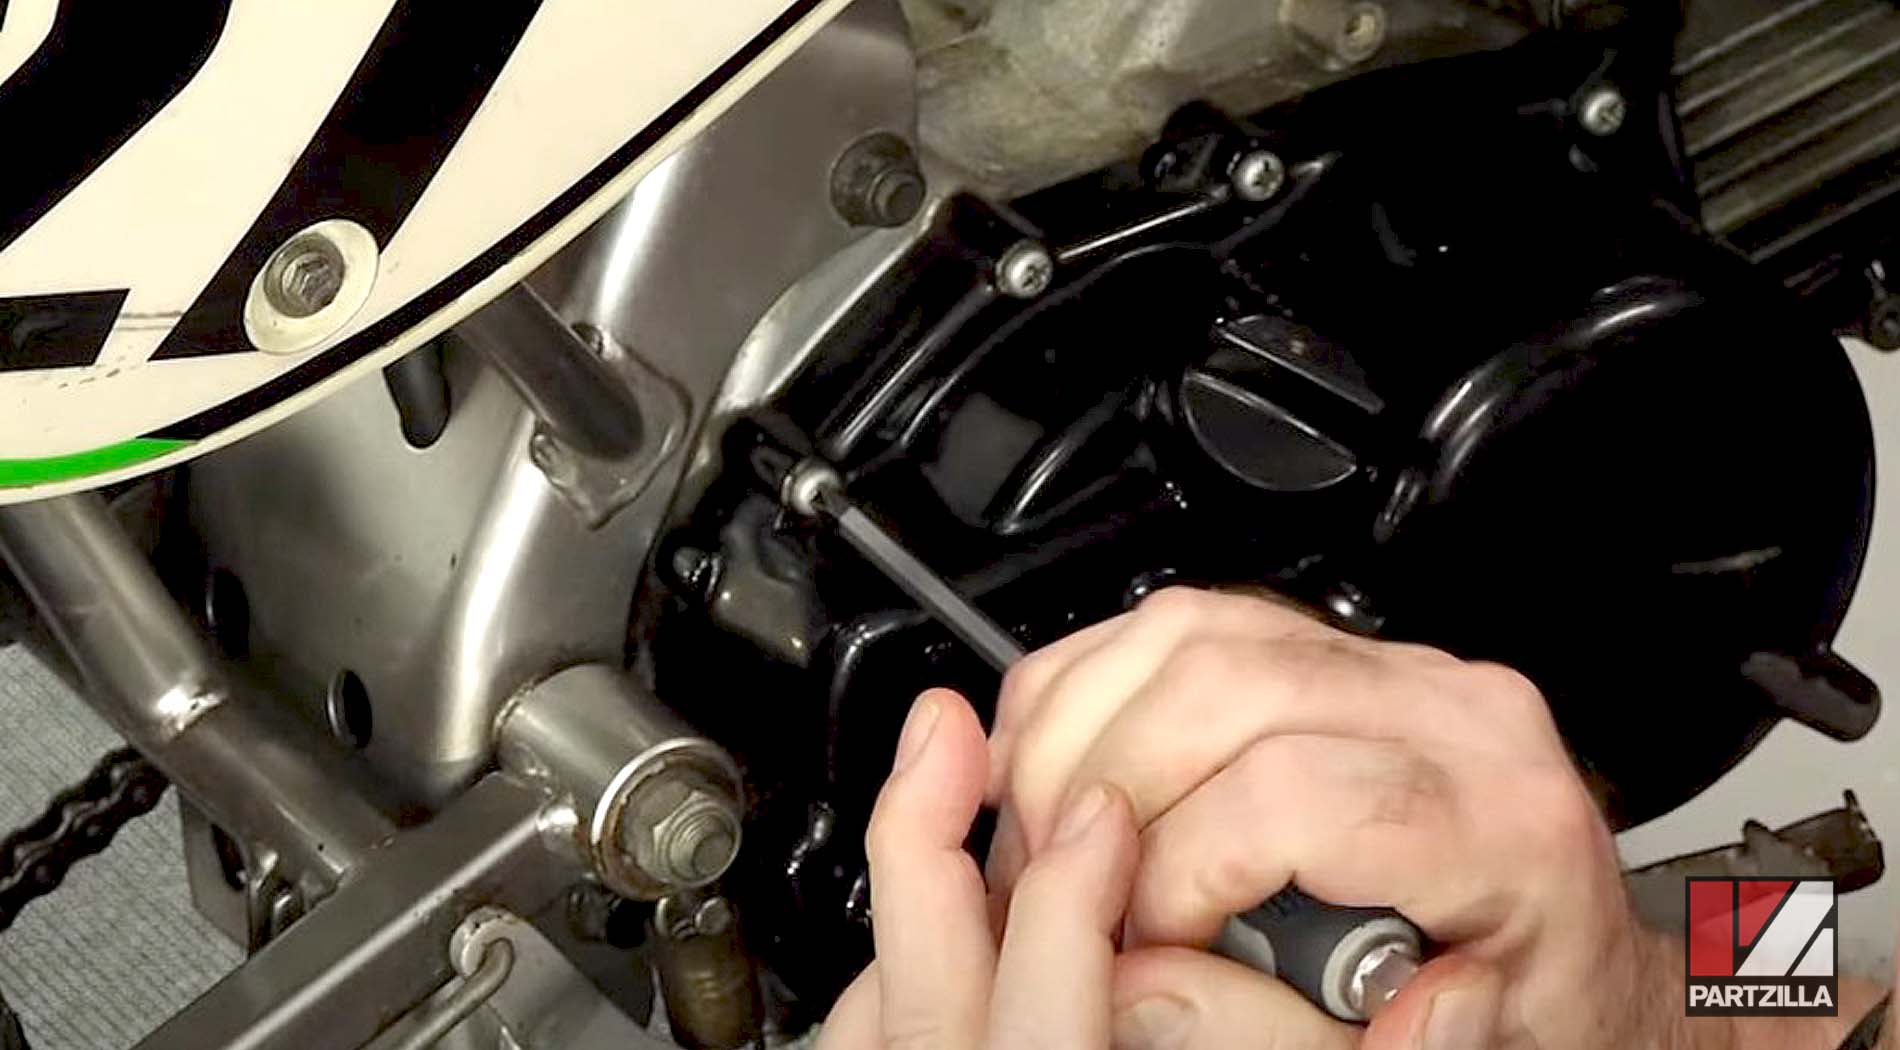
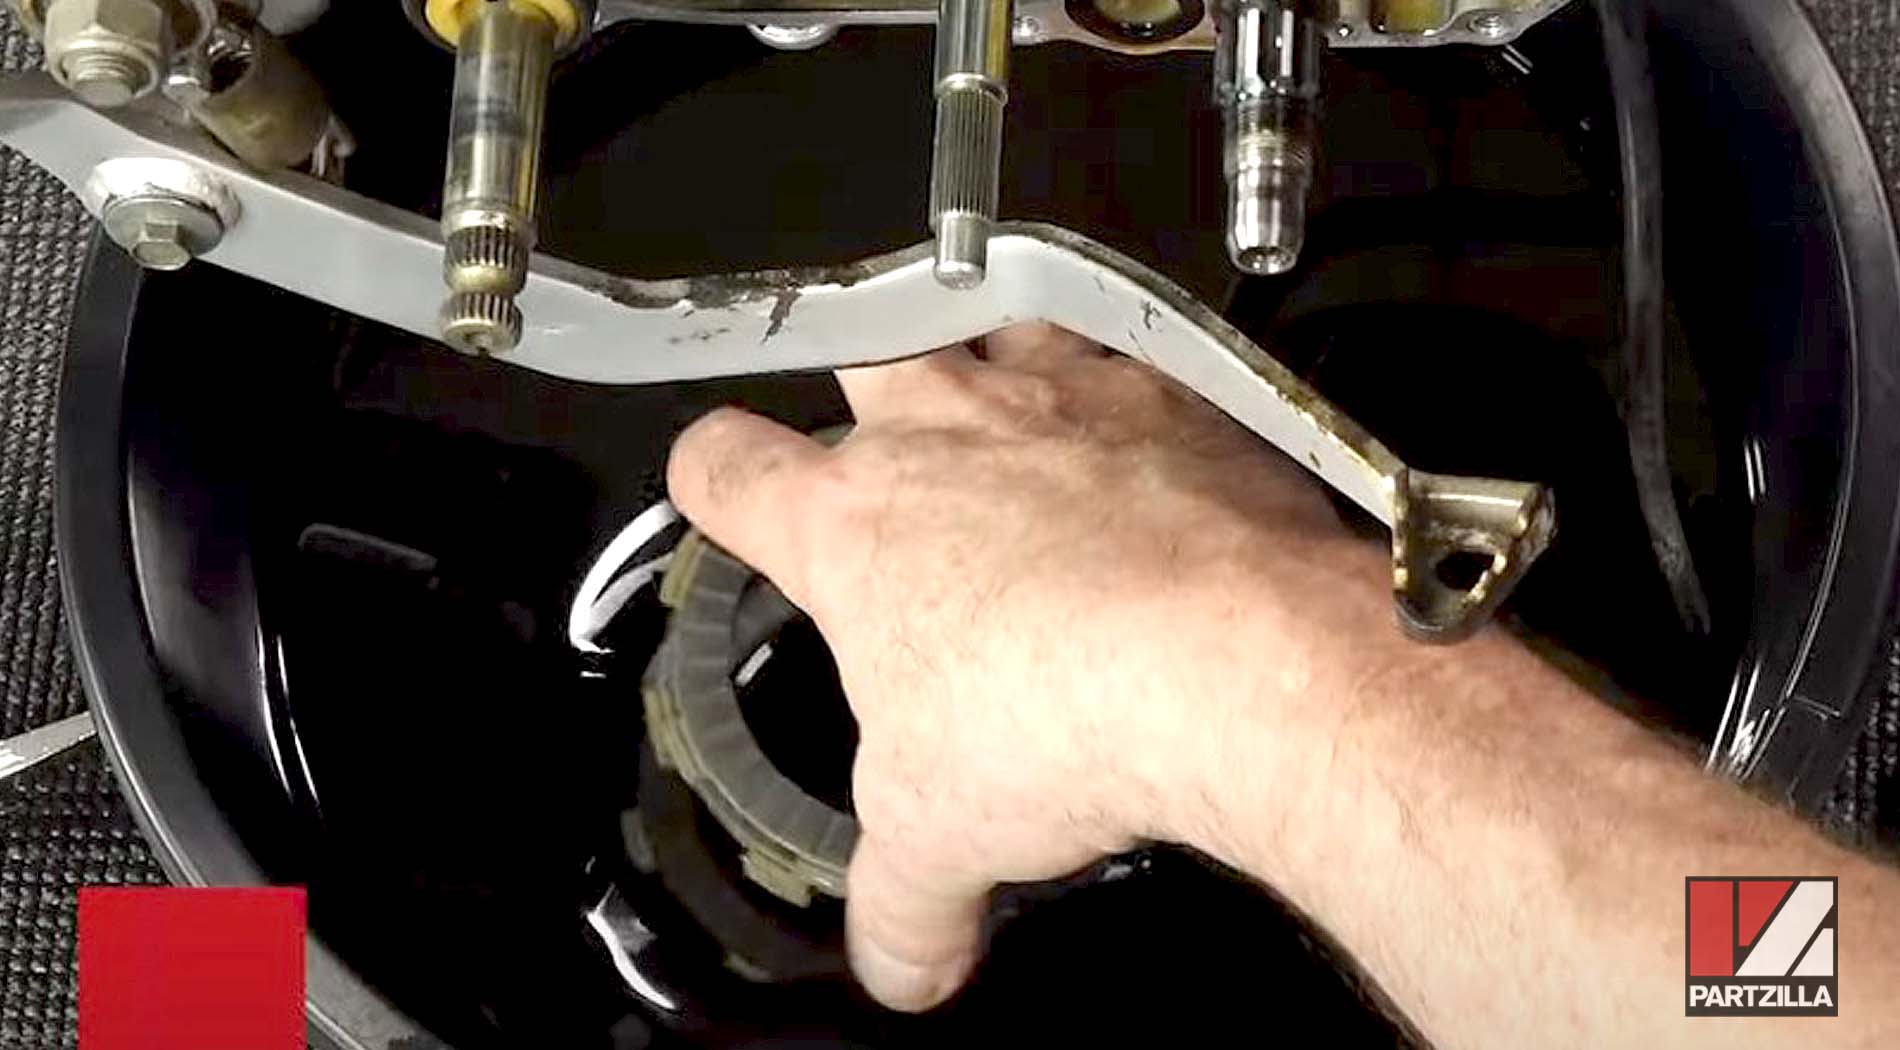
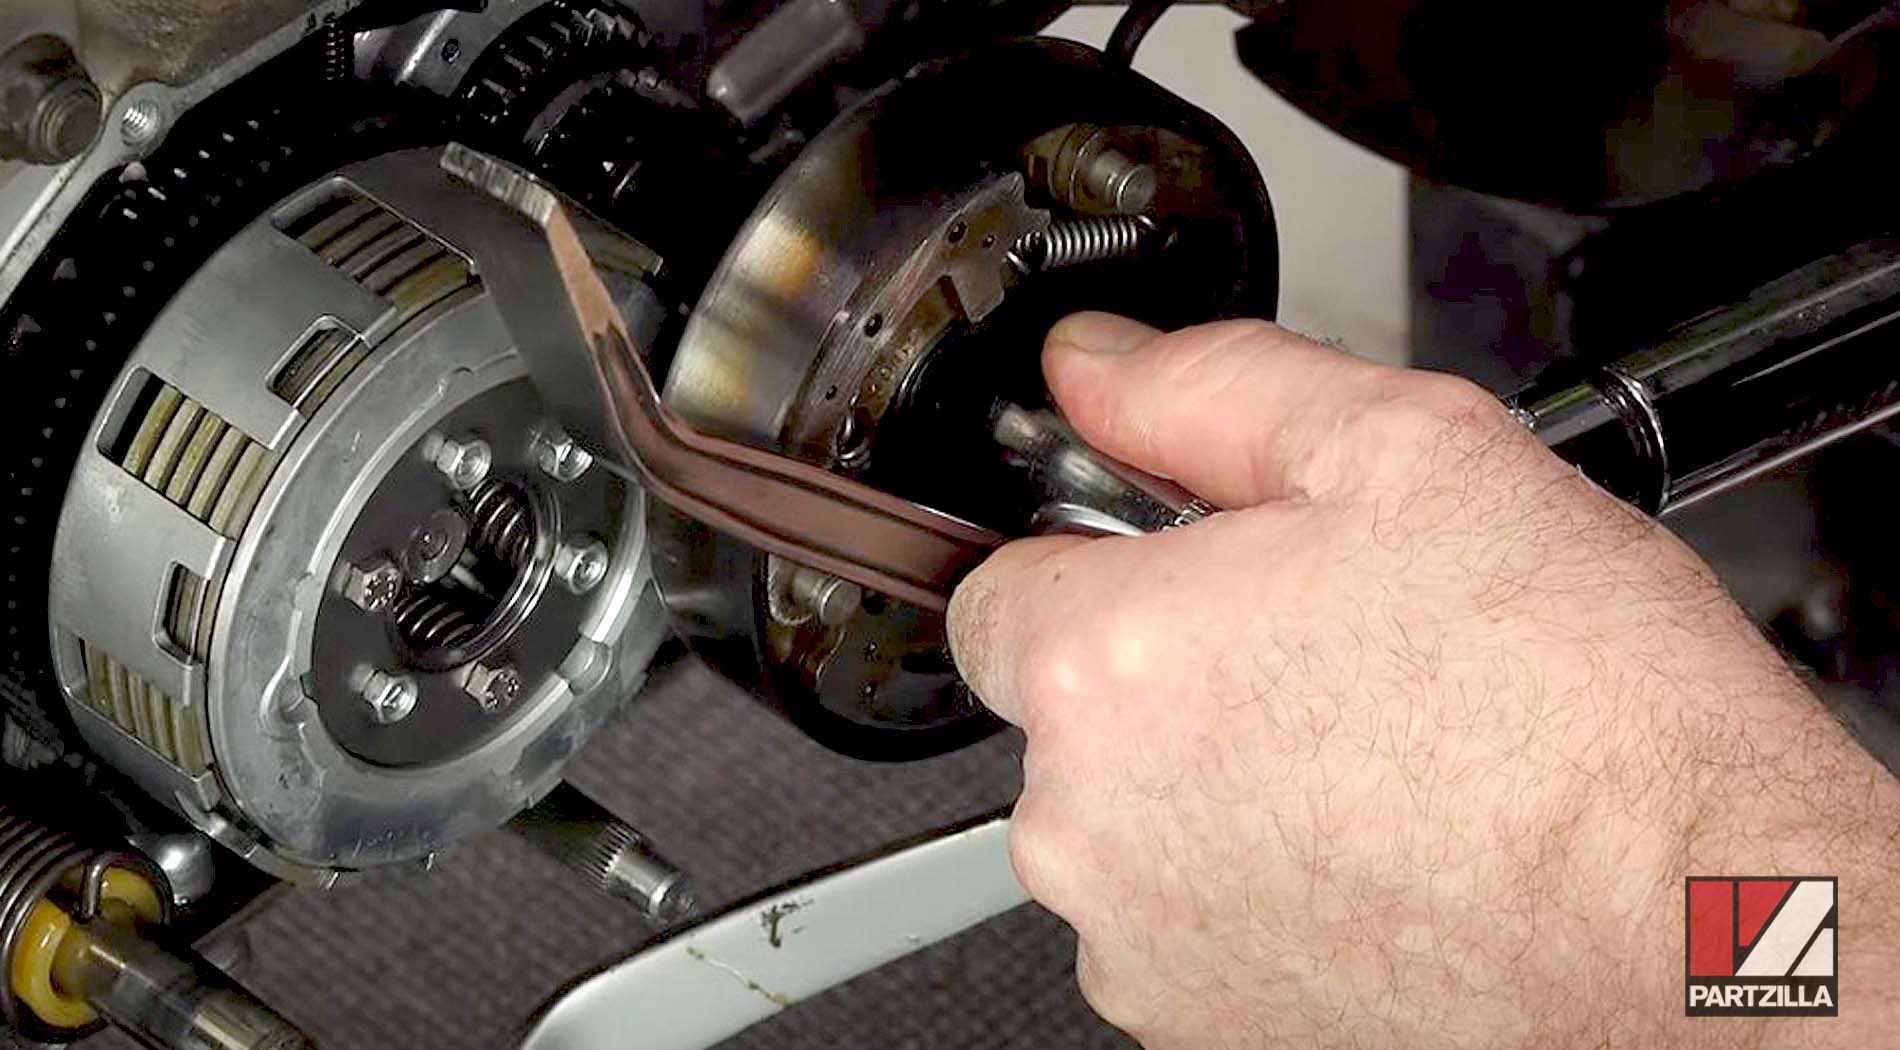
PRO TIP: Loosen up the brake arm and hold it down if it’s in your way to remove the clutch cover.
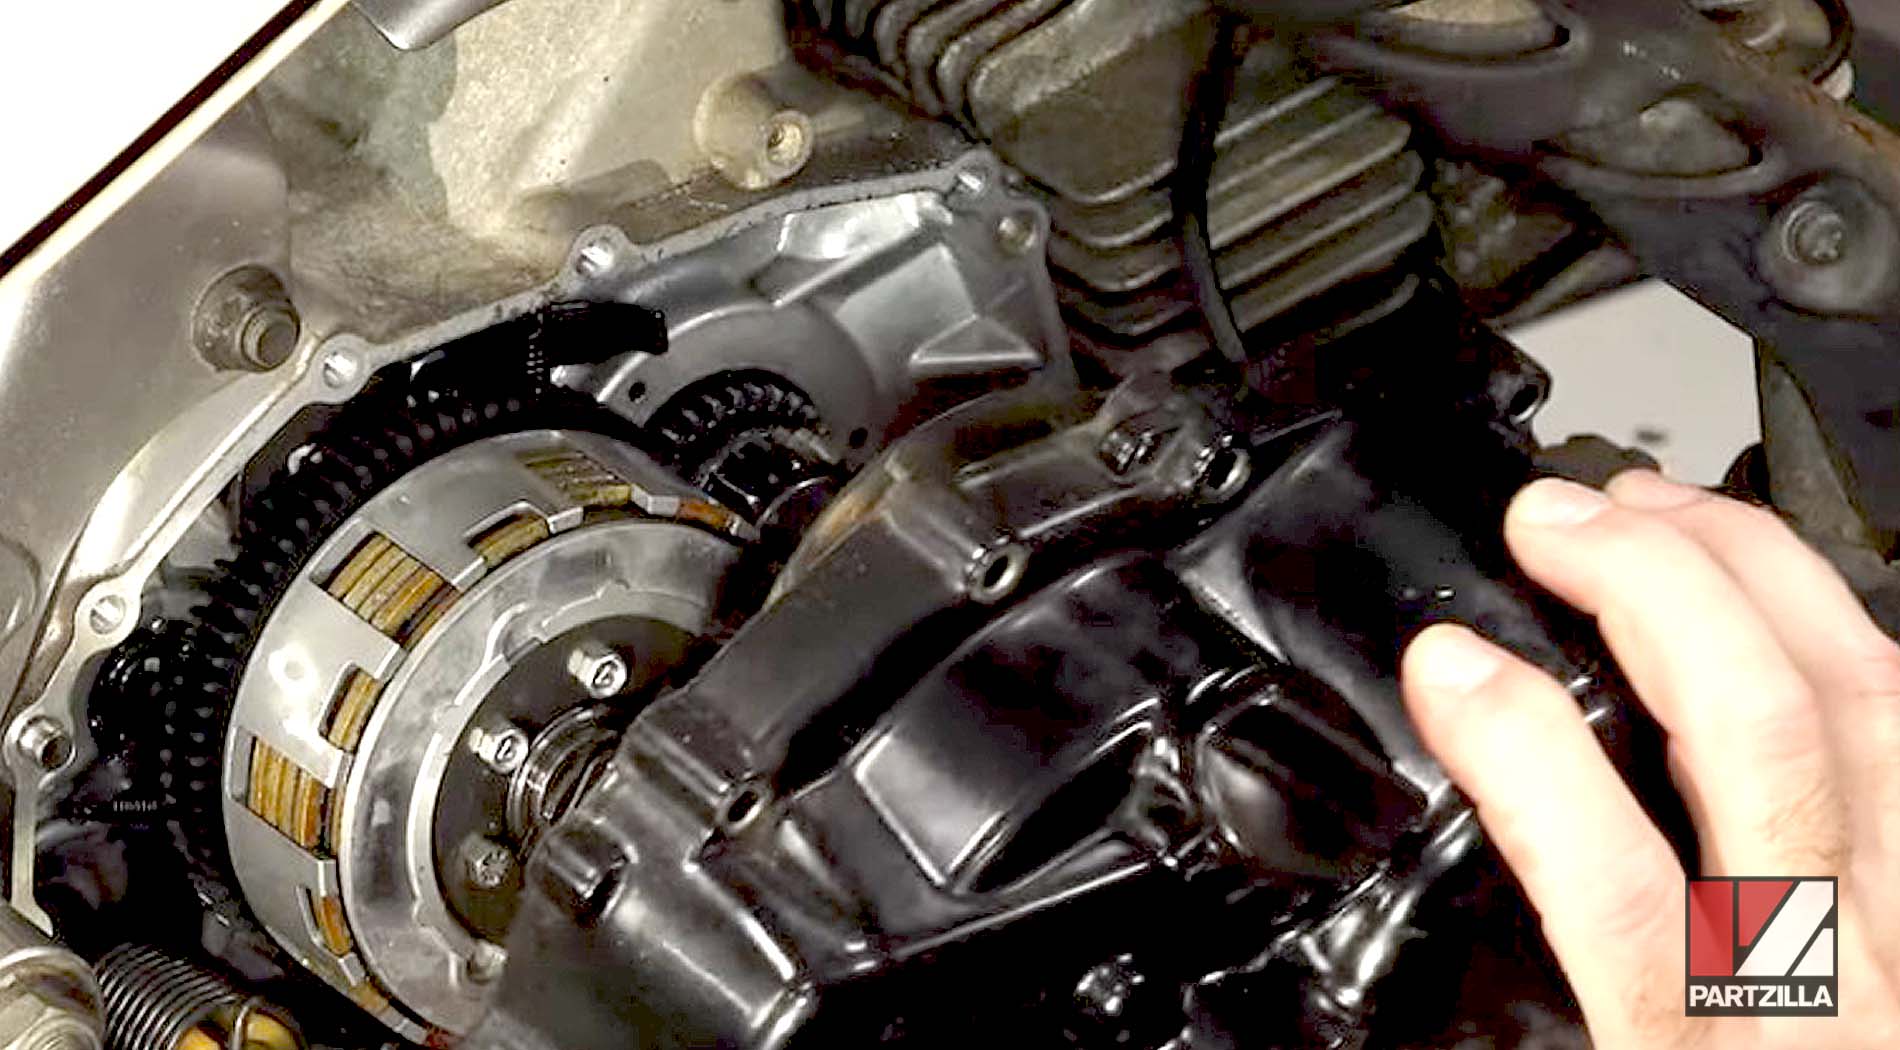
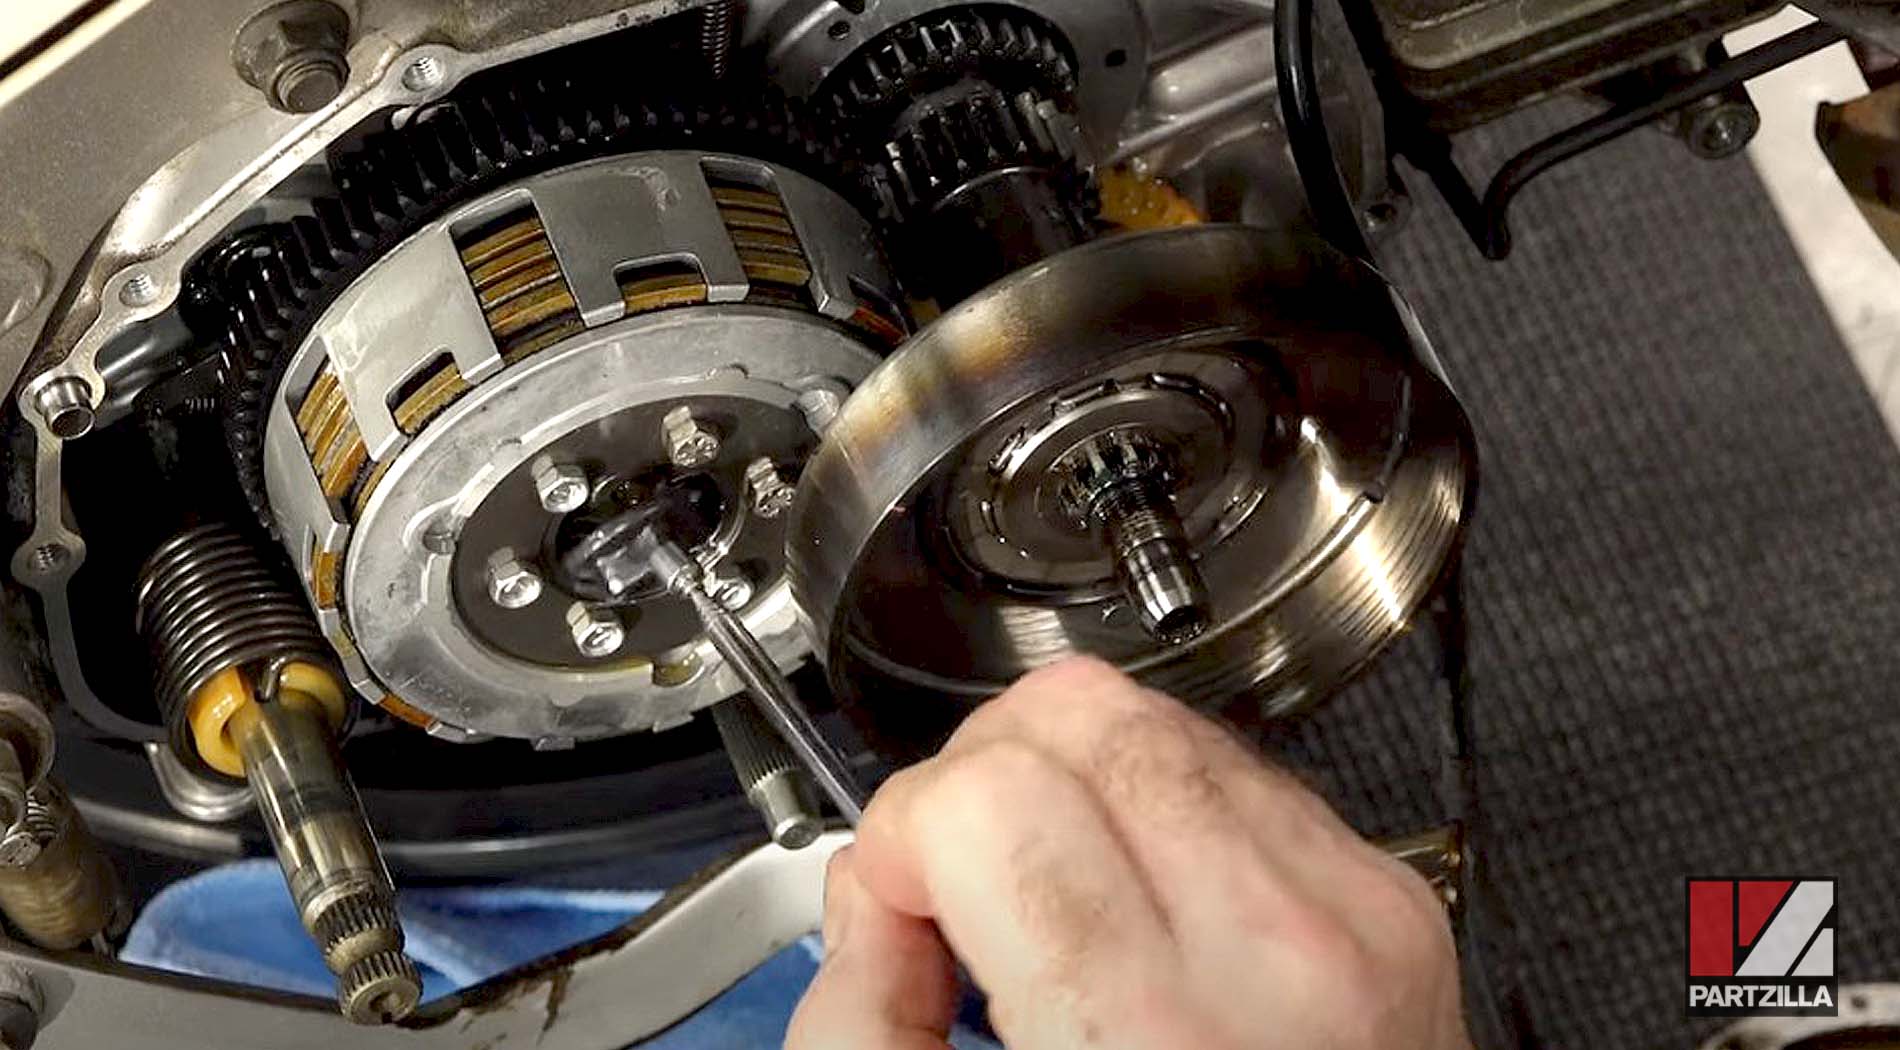
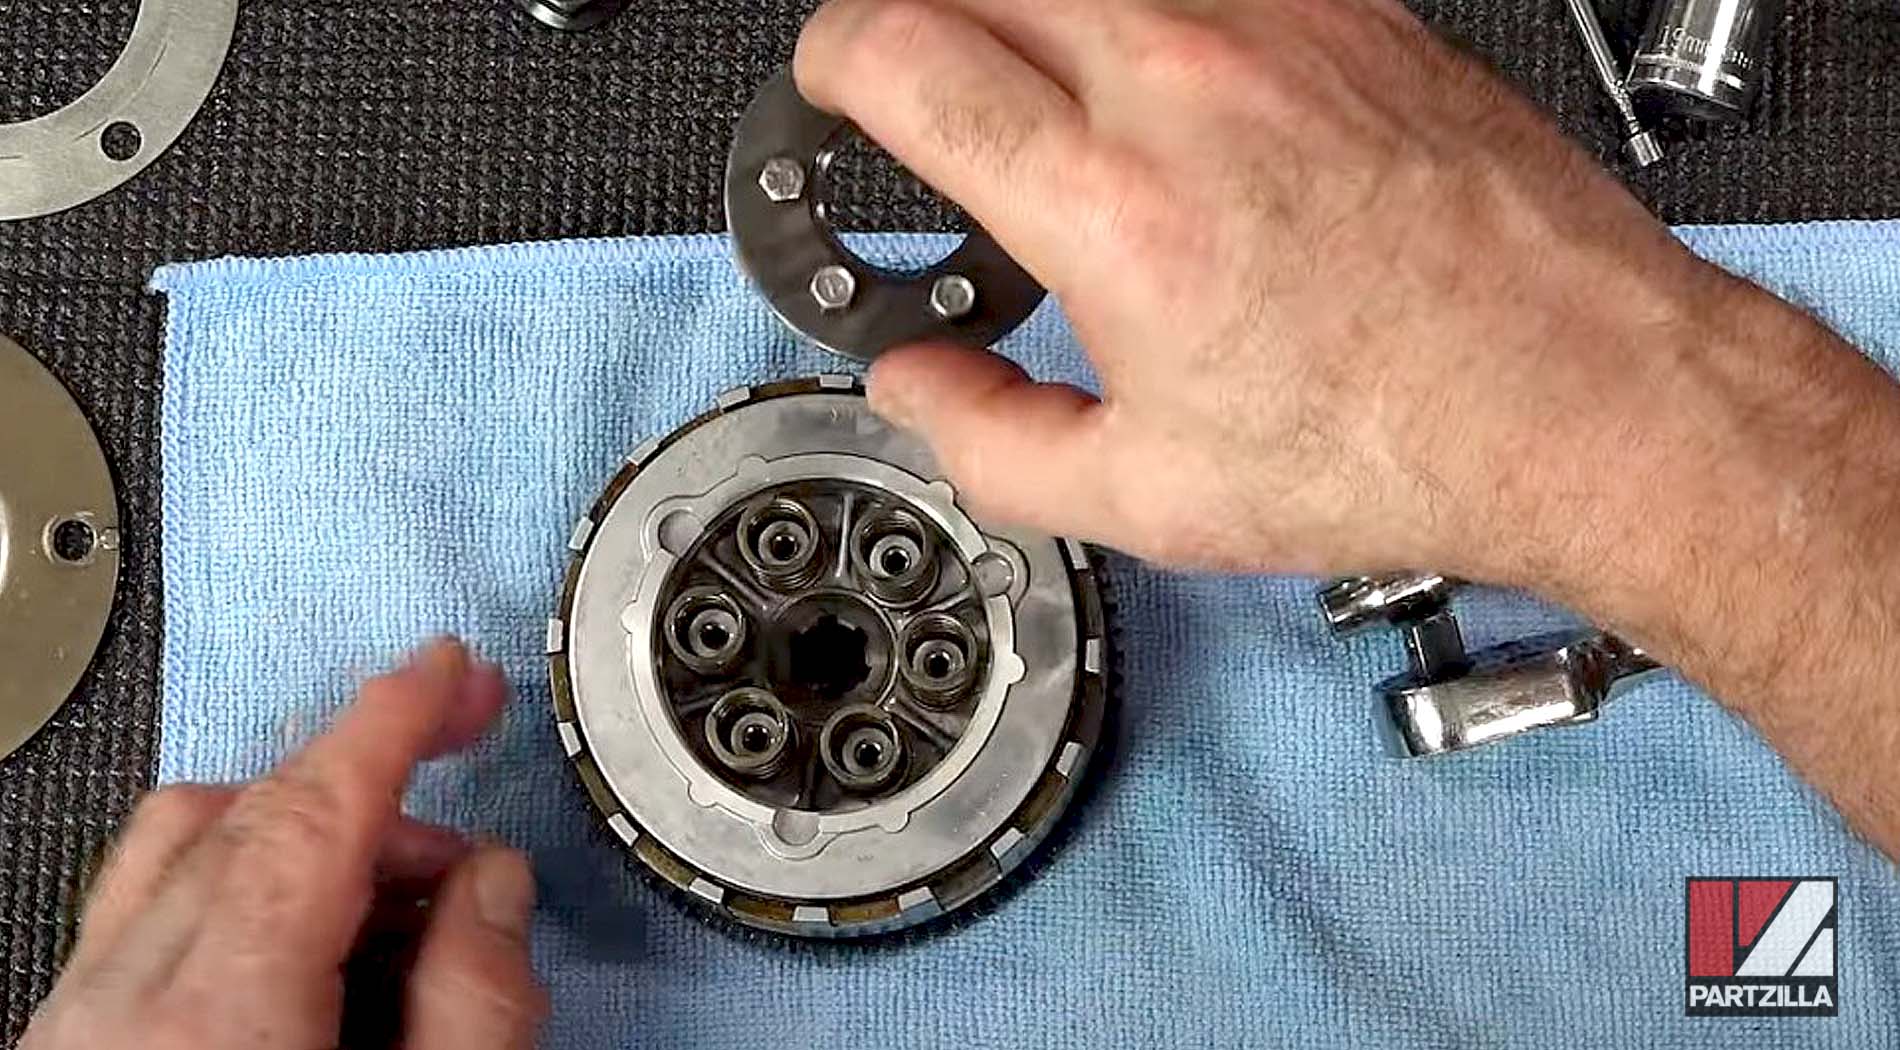
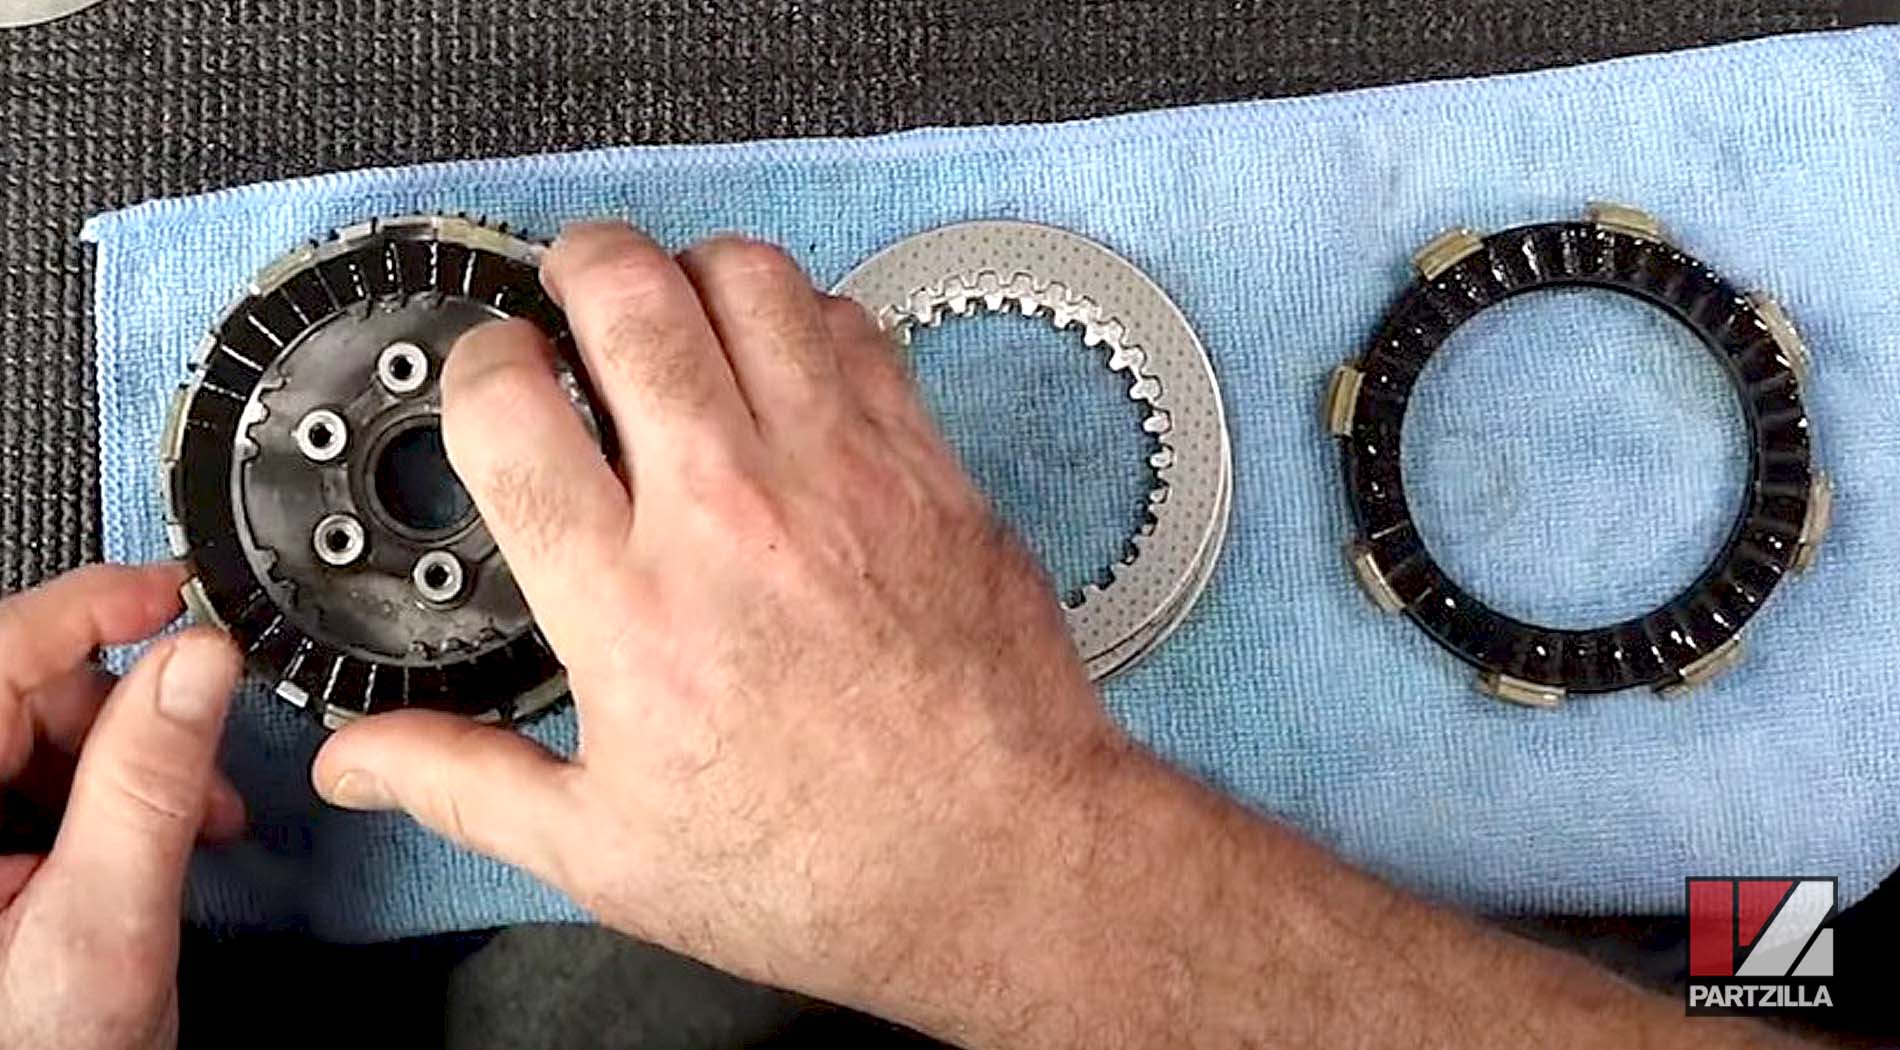
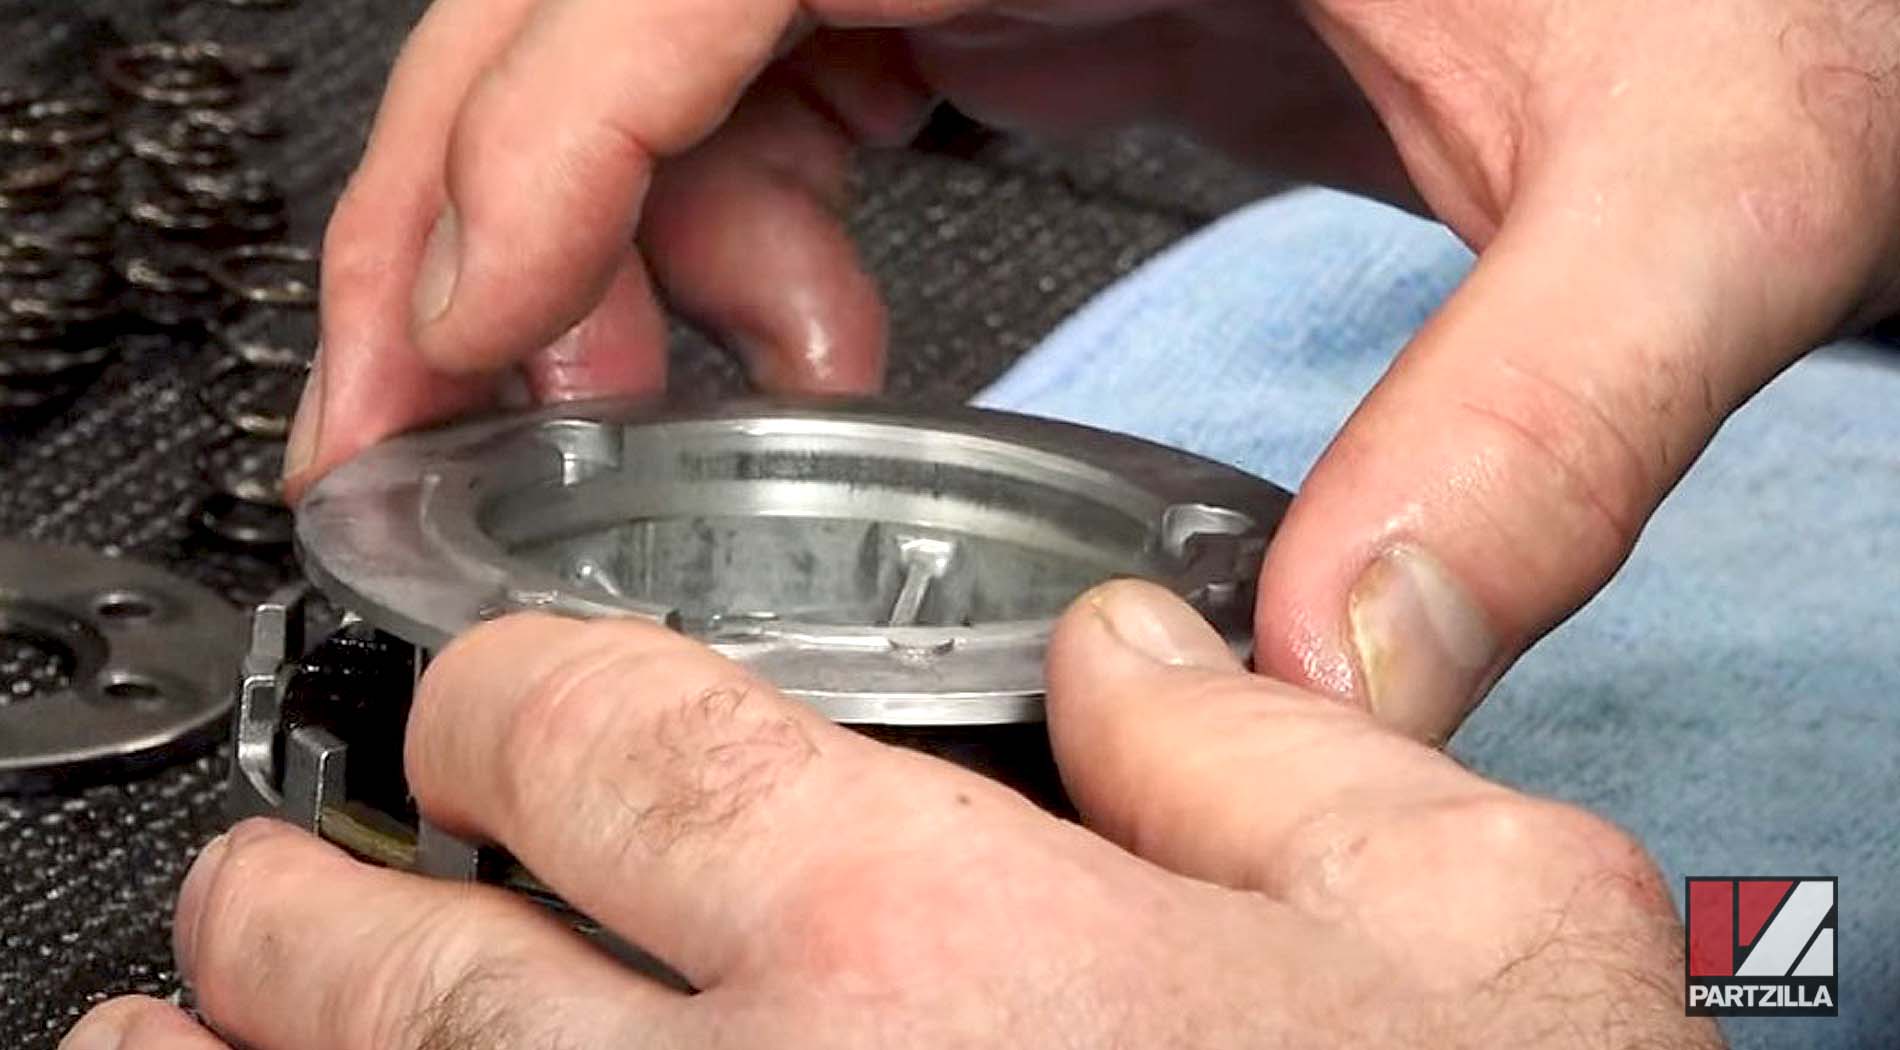
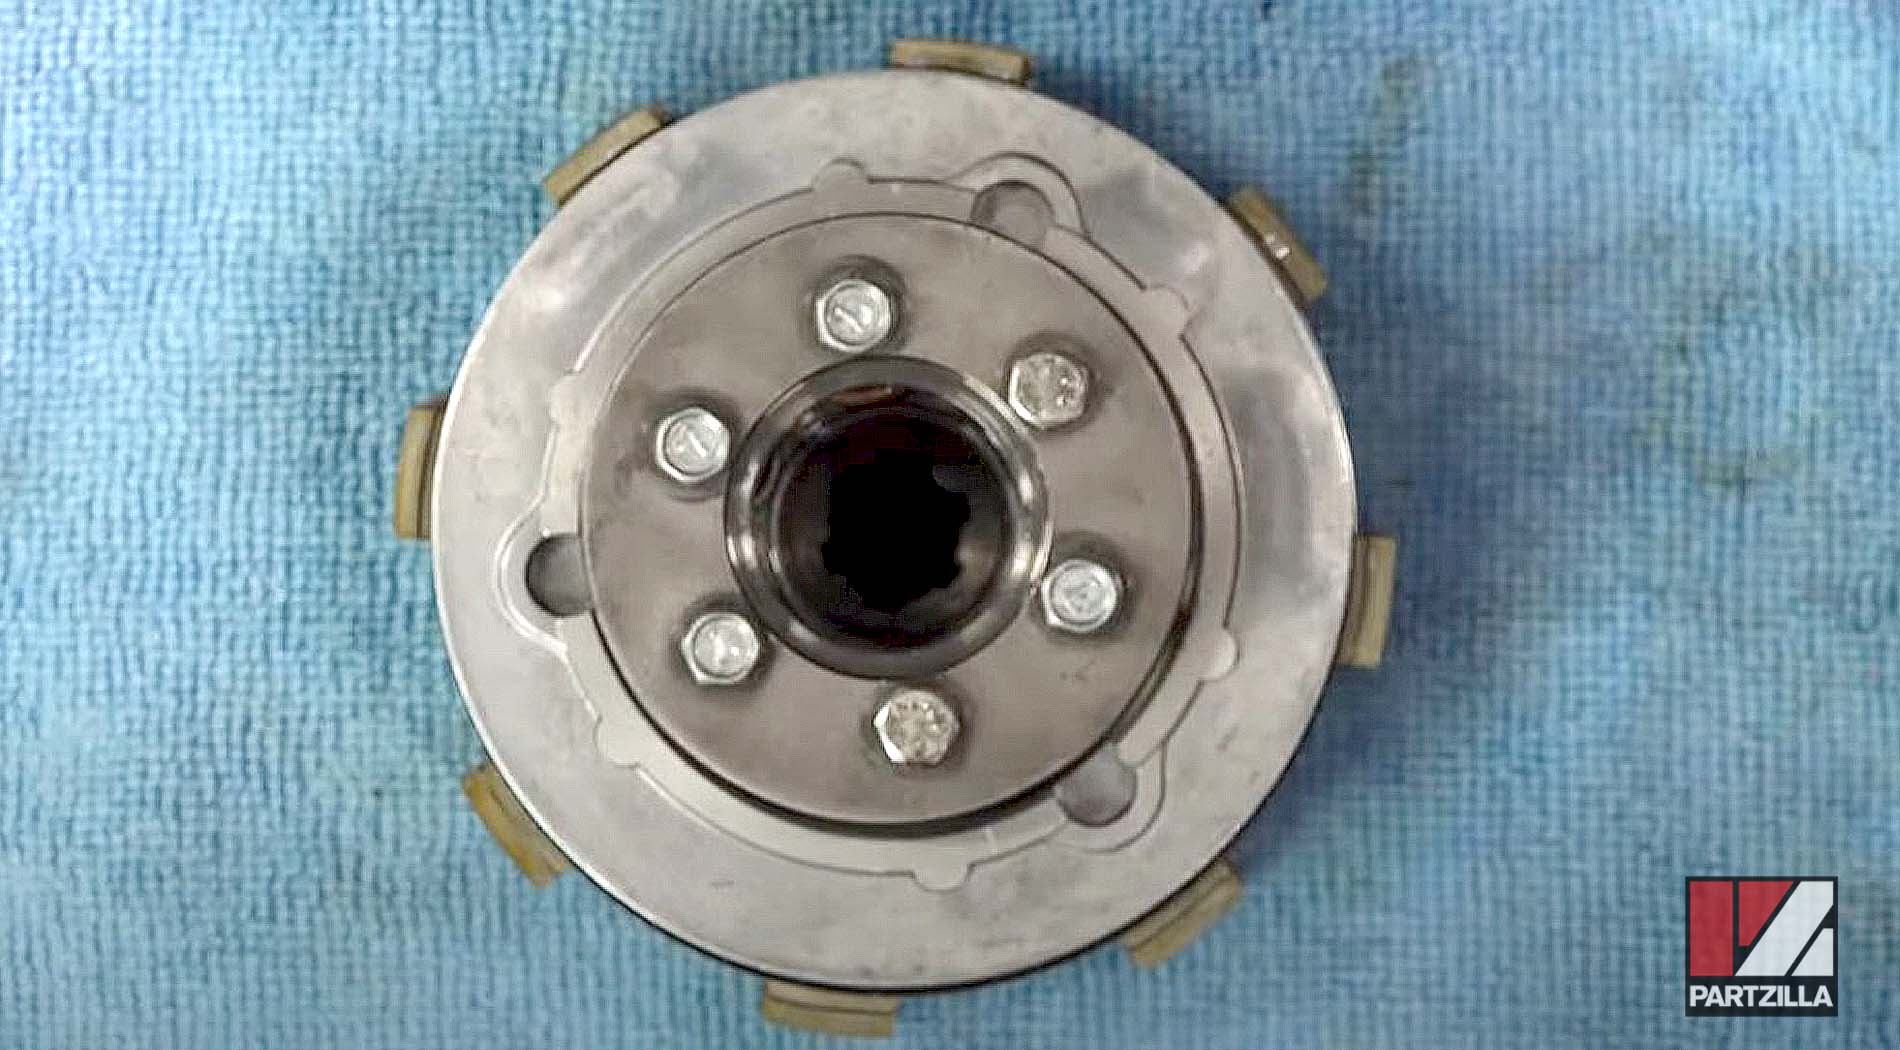
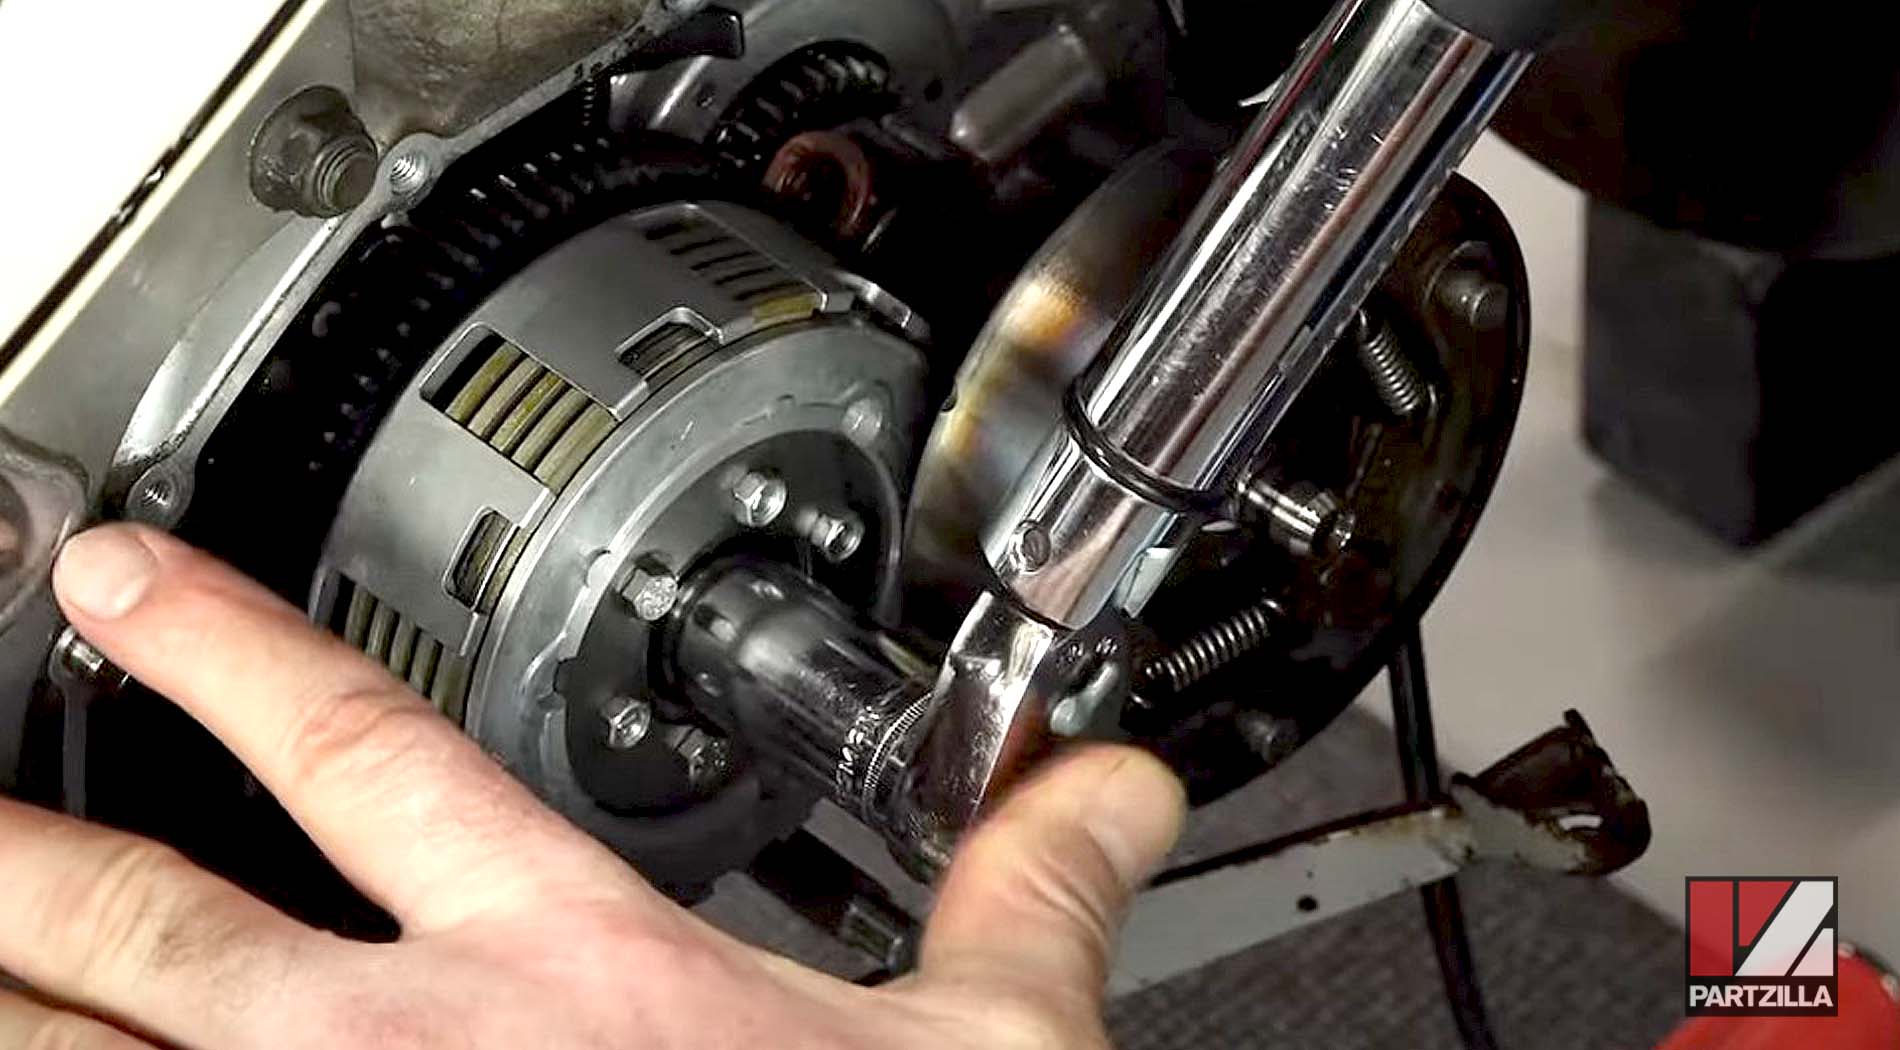
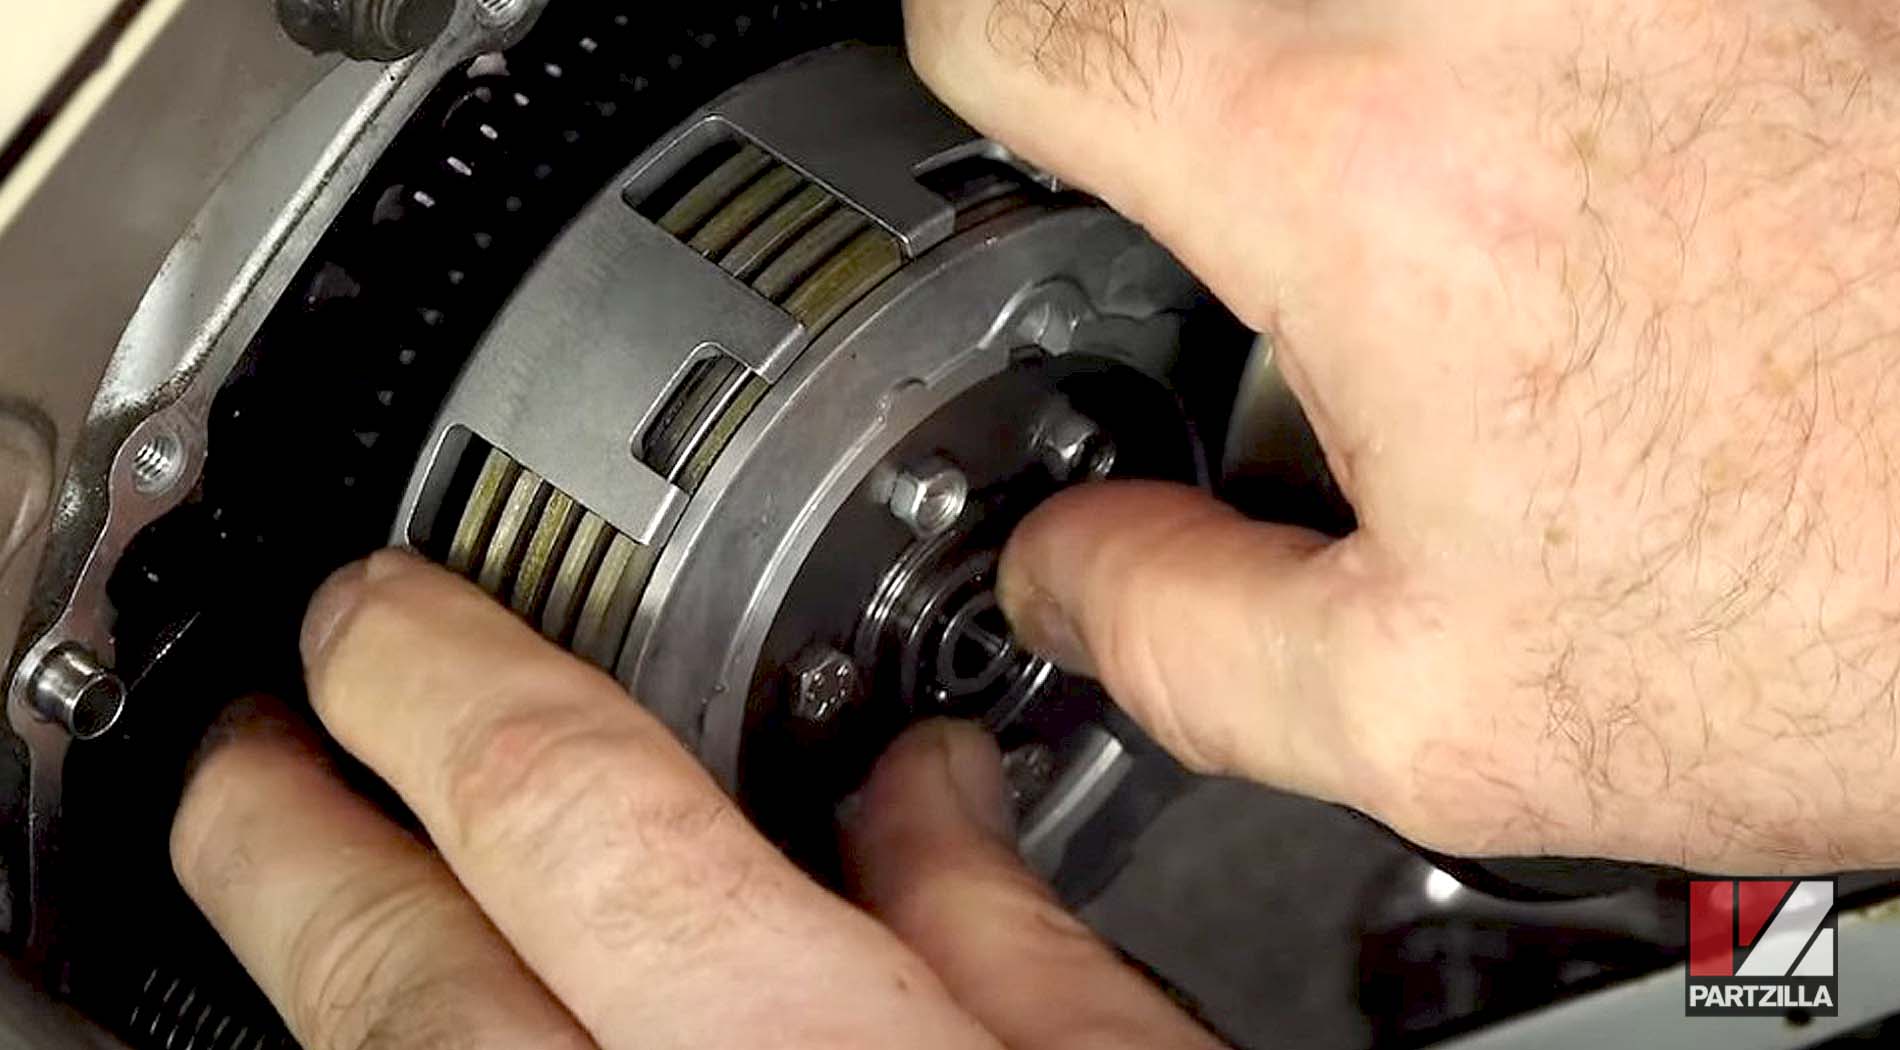
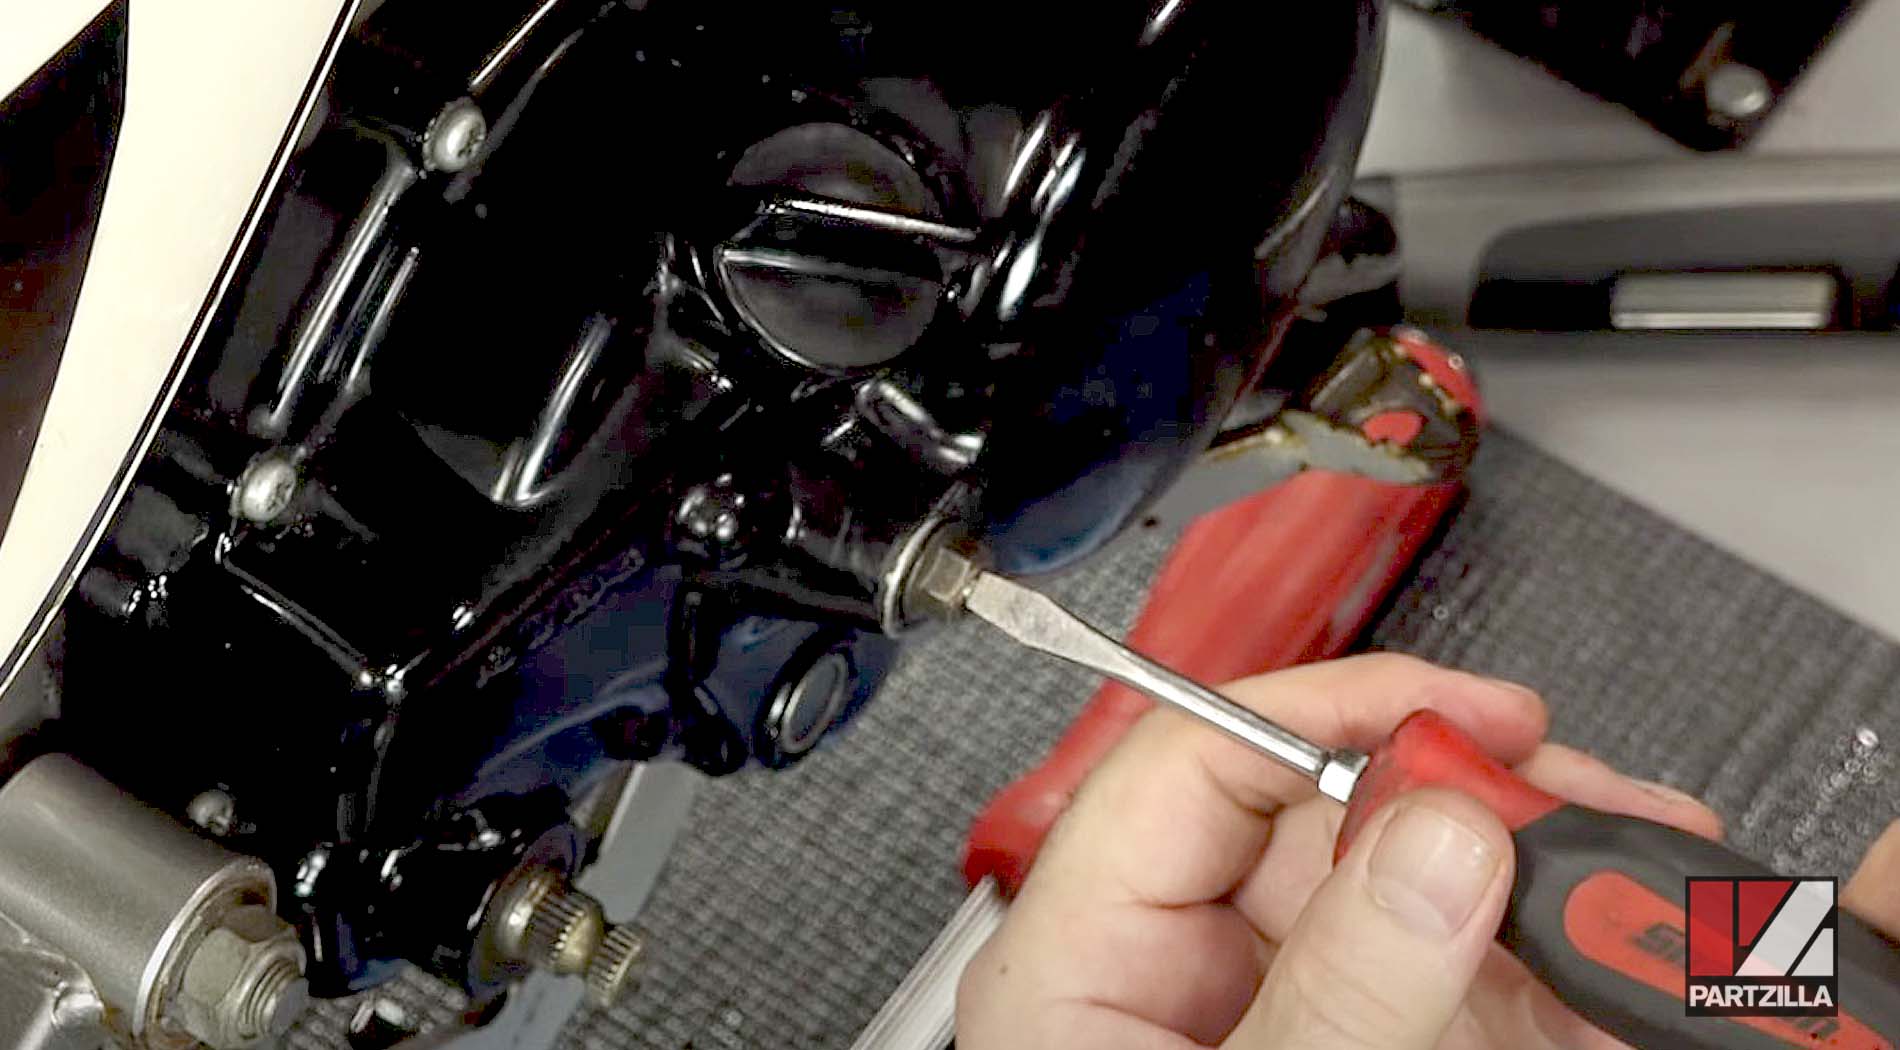
Step 5. Remove the central nut on the primary clutch. Pull off the spring set on the outside of the clutch, which is held in by three circlips, and use a square pry bar to hold the clutch in place and break the central nut loose.
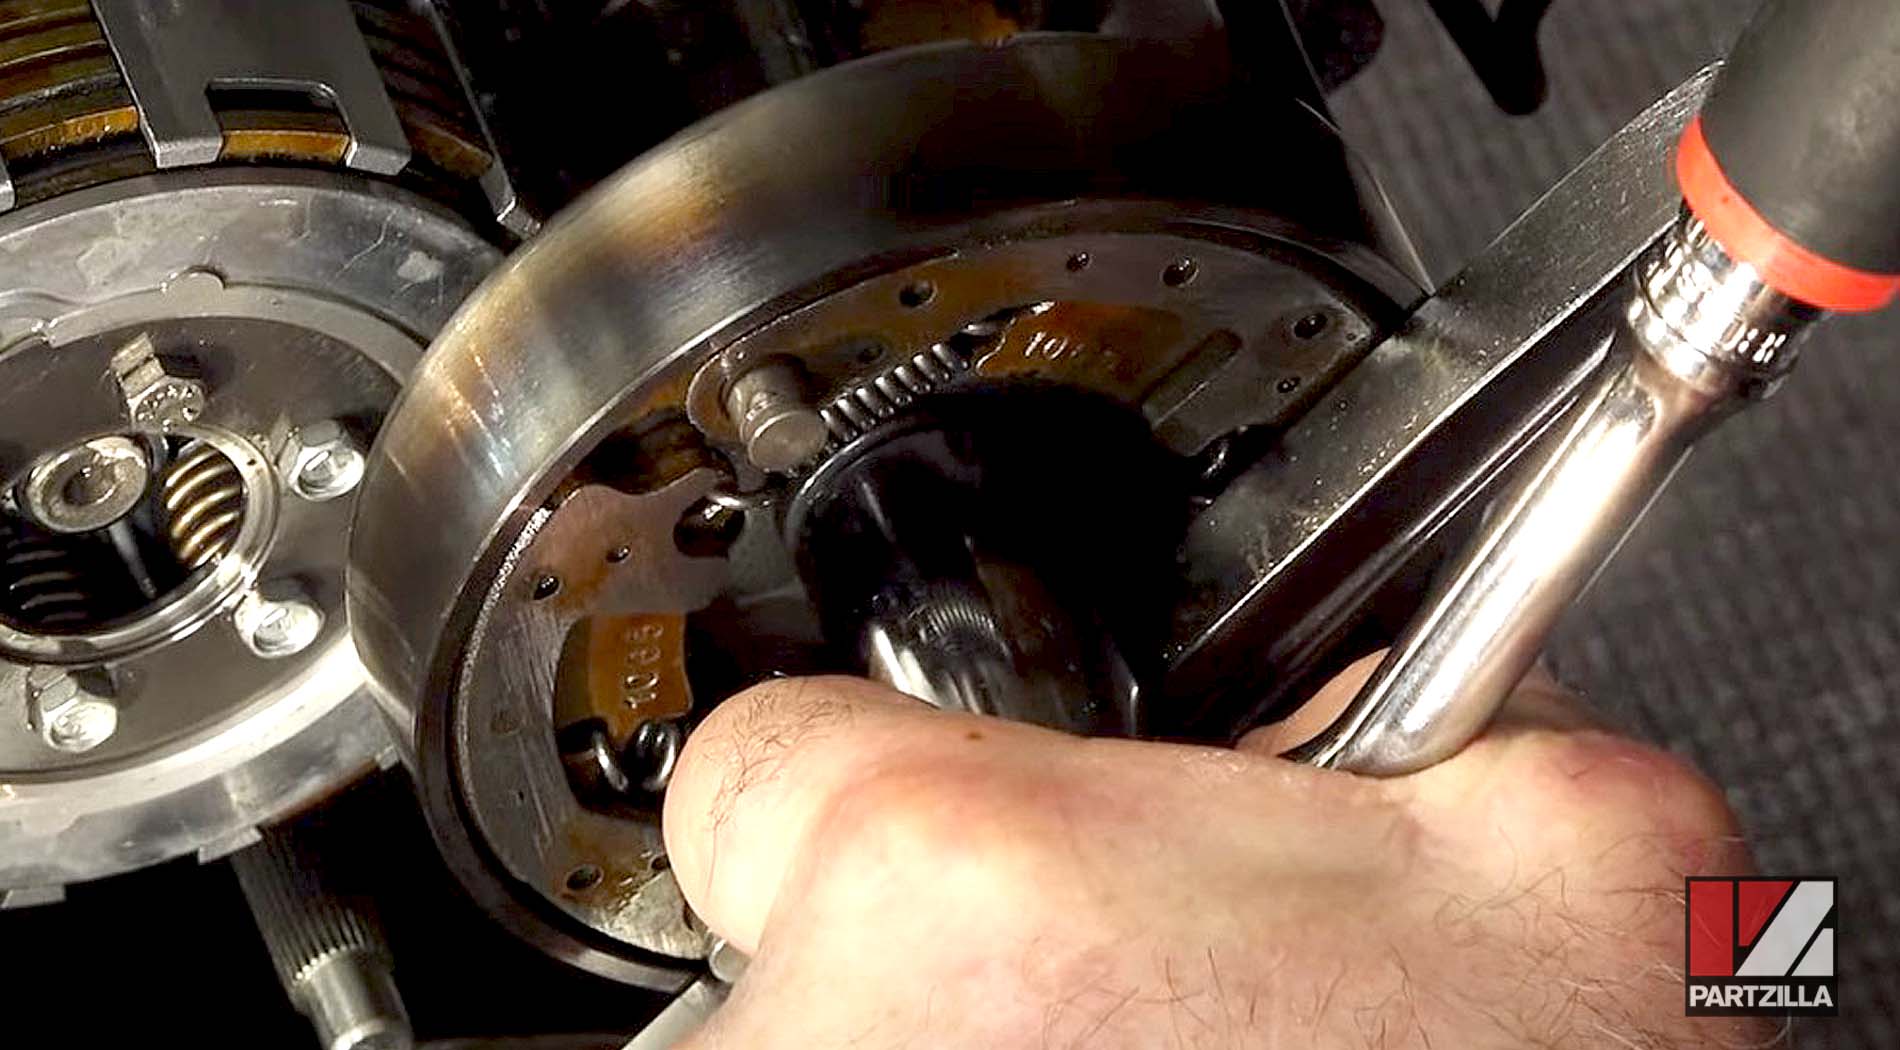
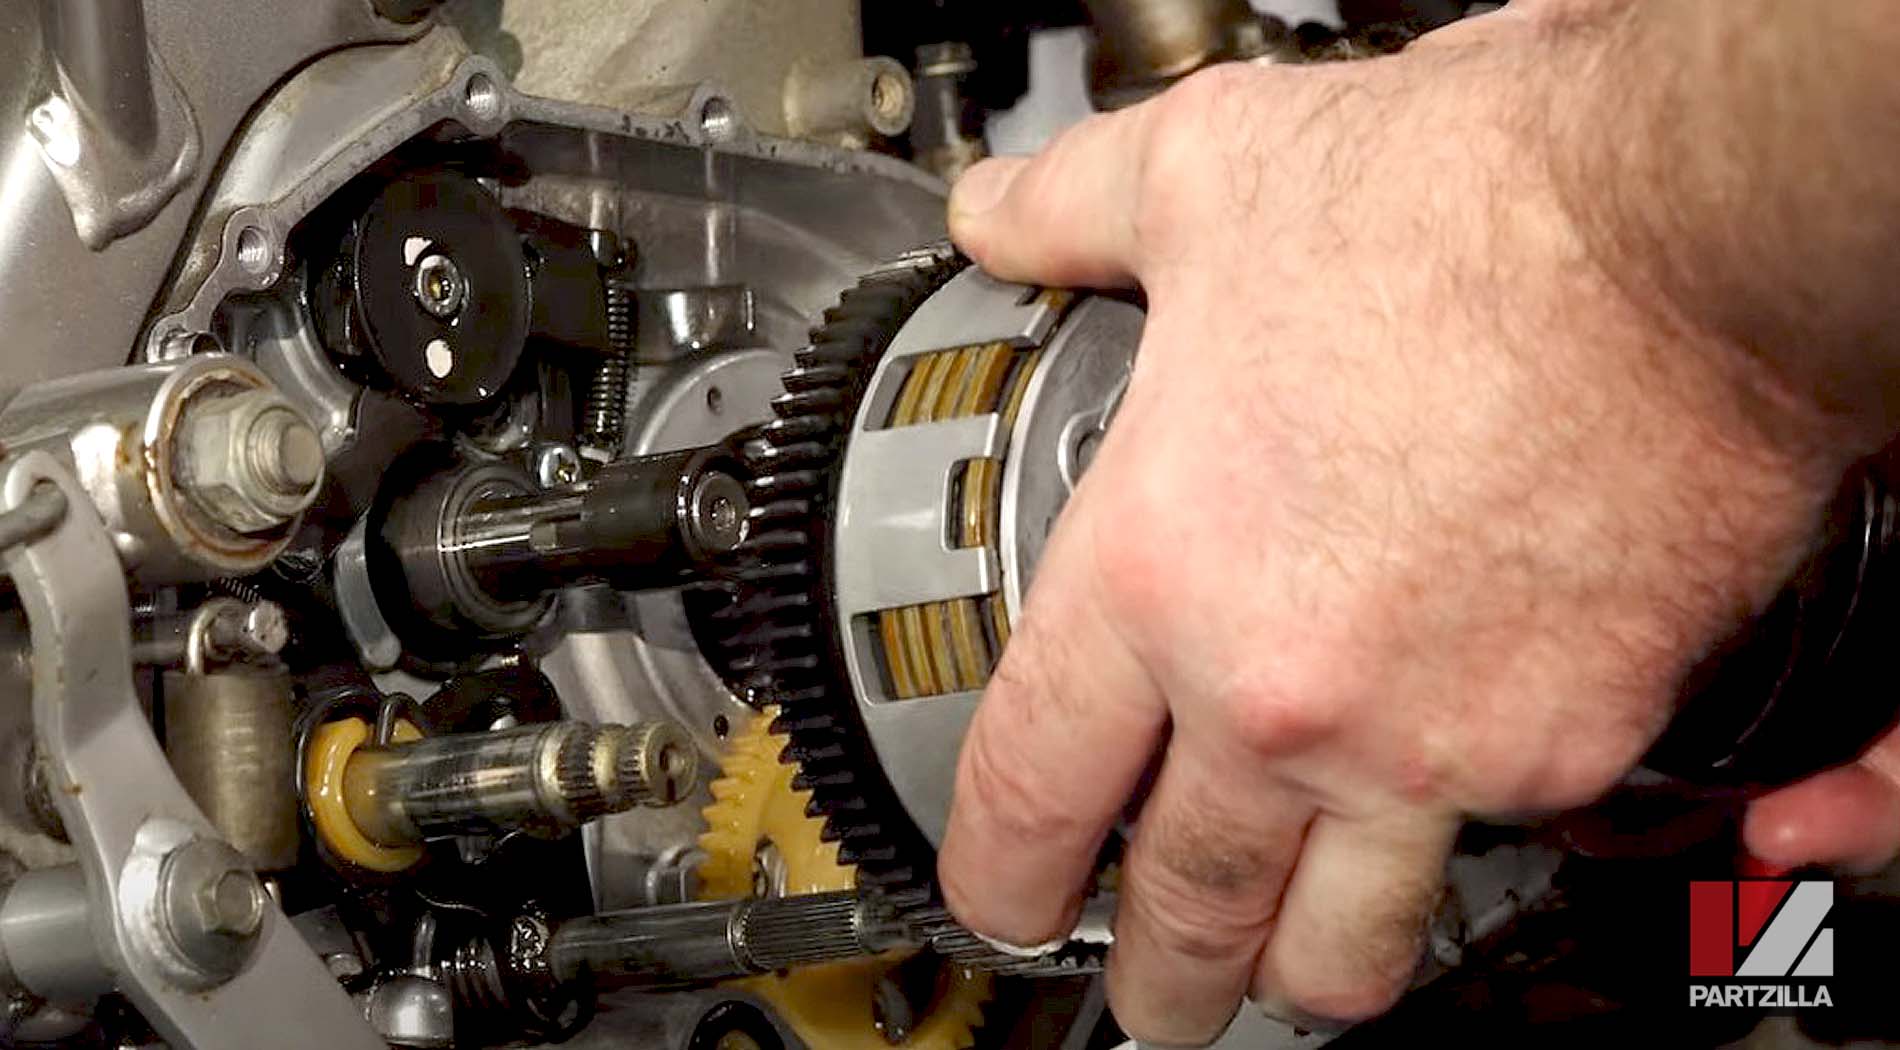
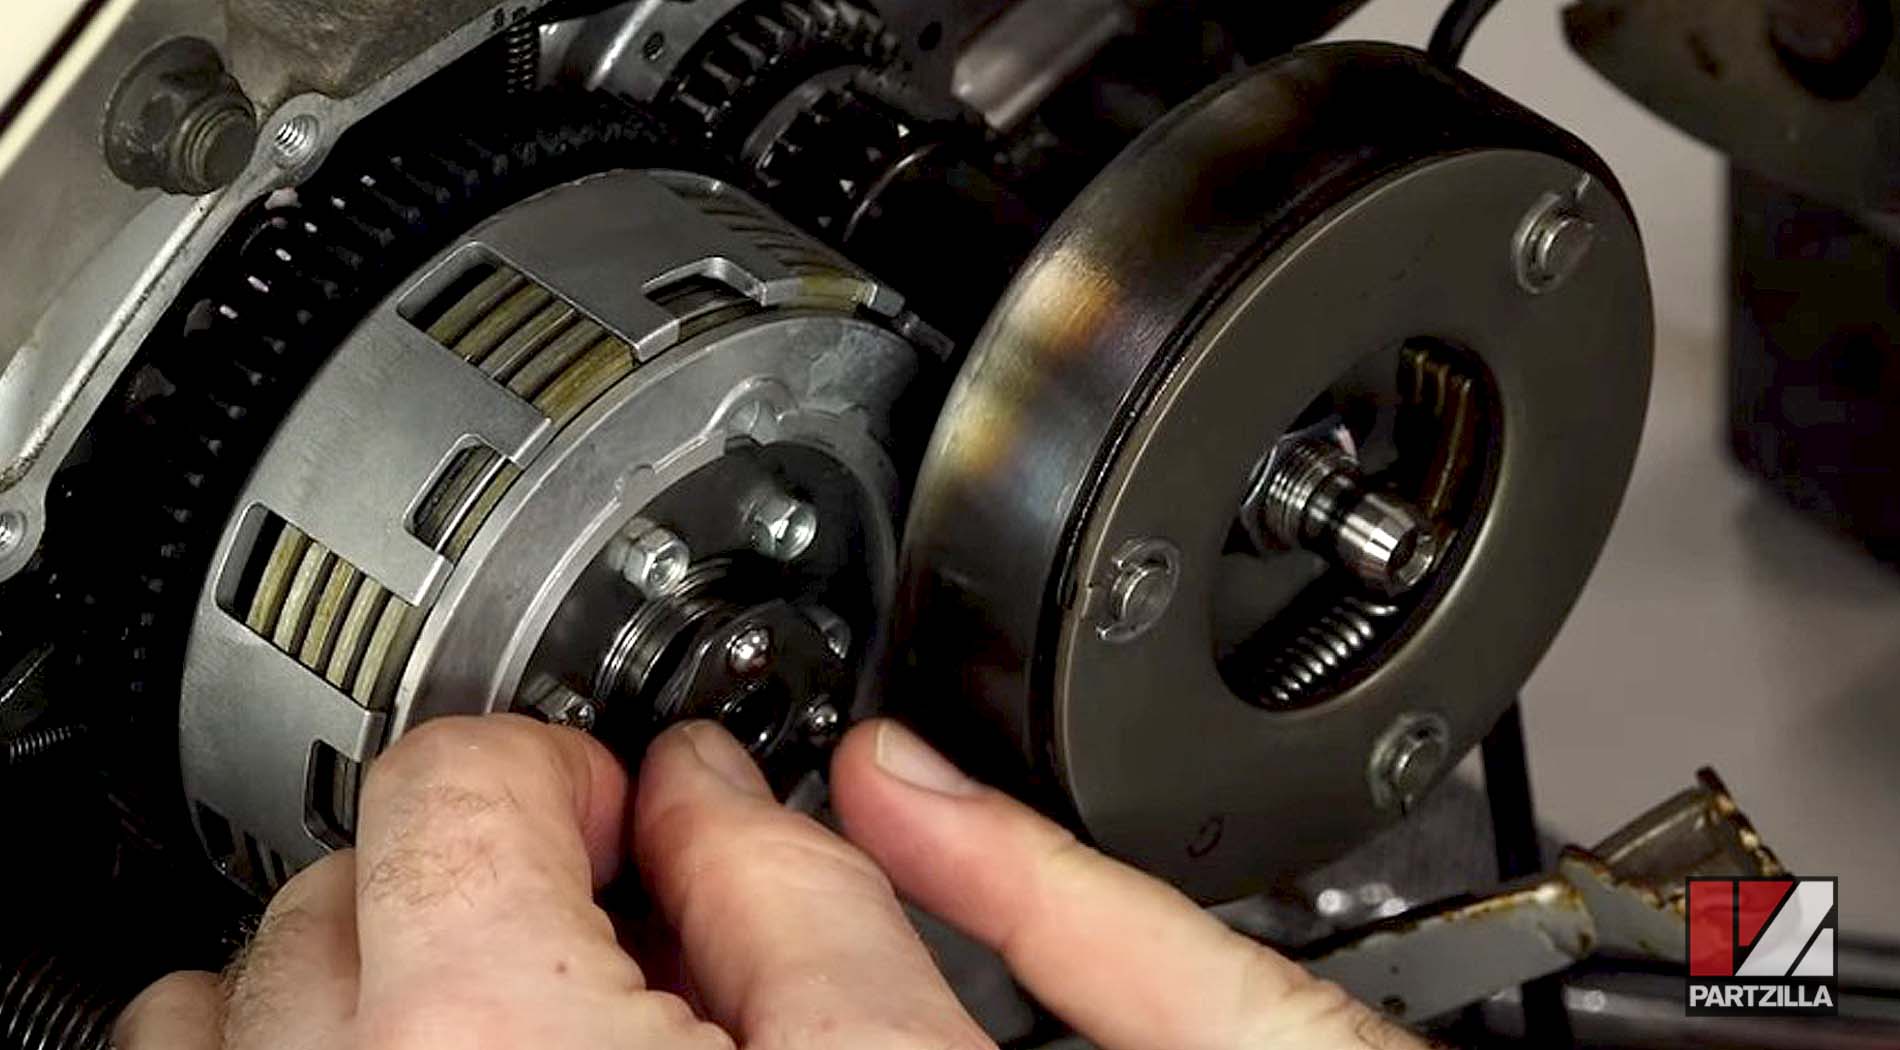
Step 6. Remove the central bolt for the secondary clutch, then remove both the primary and secondary clutches as a pair.
Step 7. Soak the new clutch discs in oil to prepare them for installation.
NOTE: We’re upgrading the clutch with new EBC clutch discs to get a little bit more clamping force and grab than the OEM Kawasaki discs.
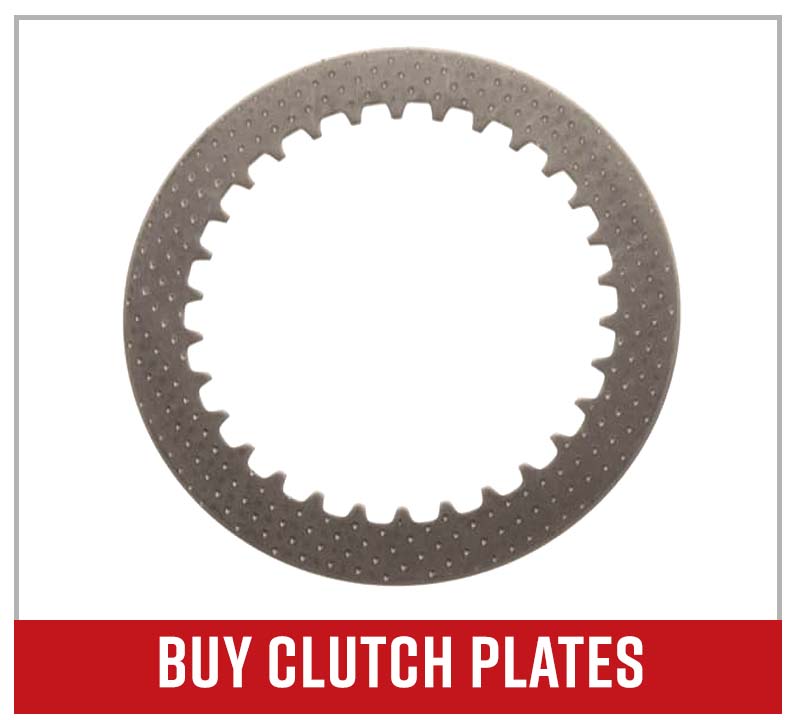
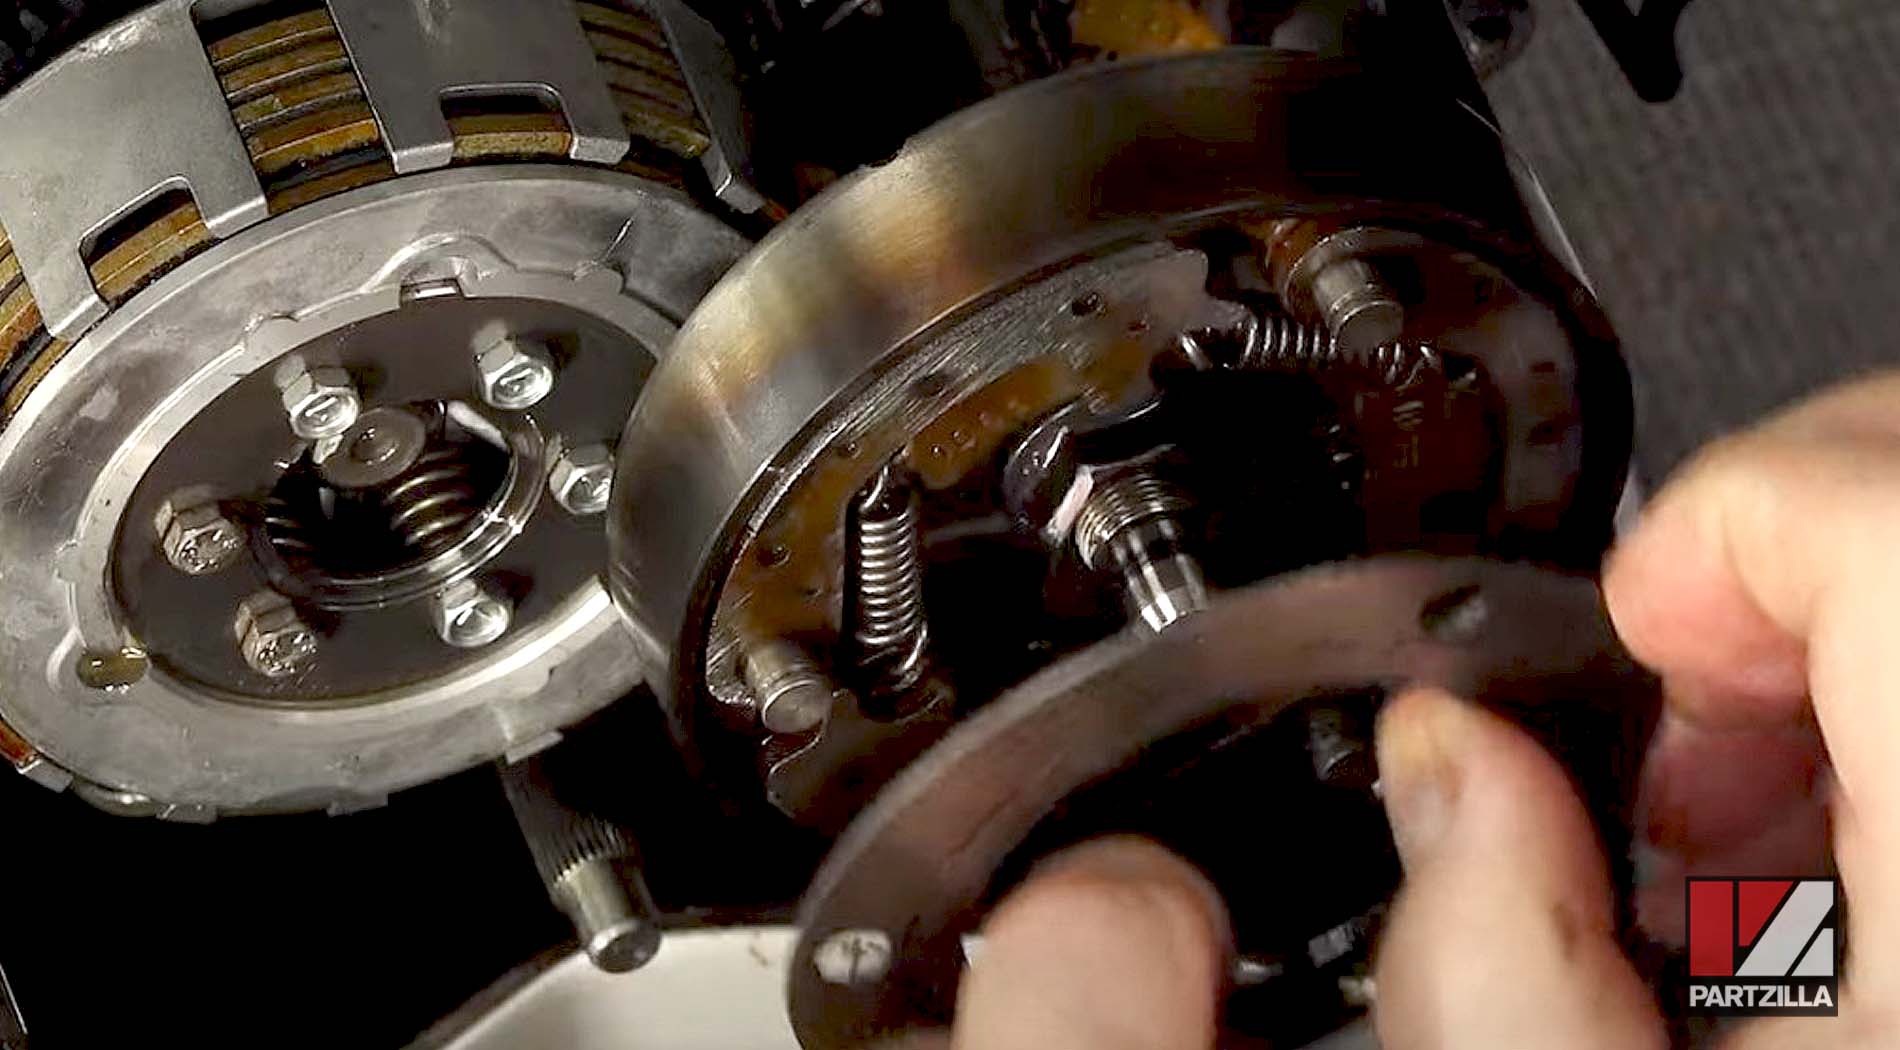
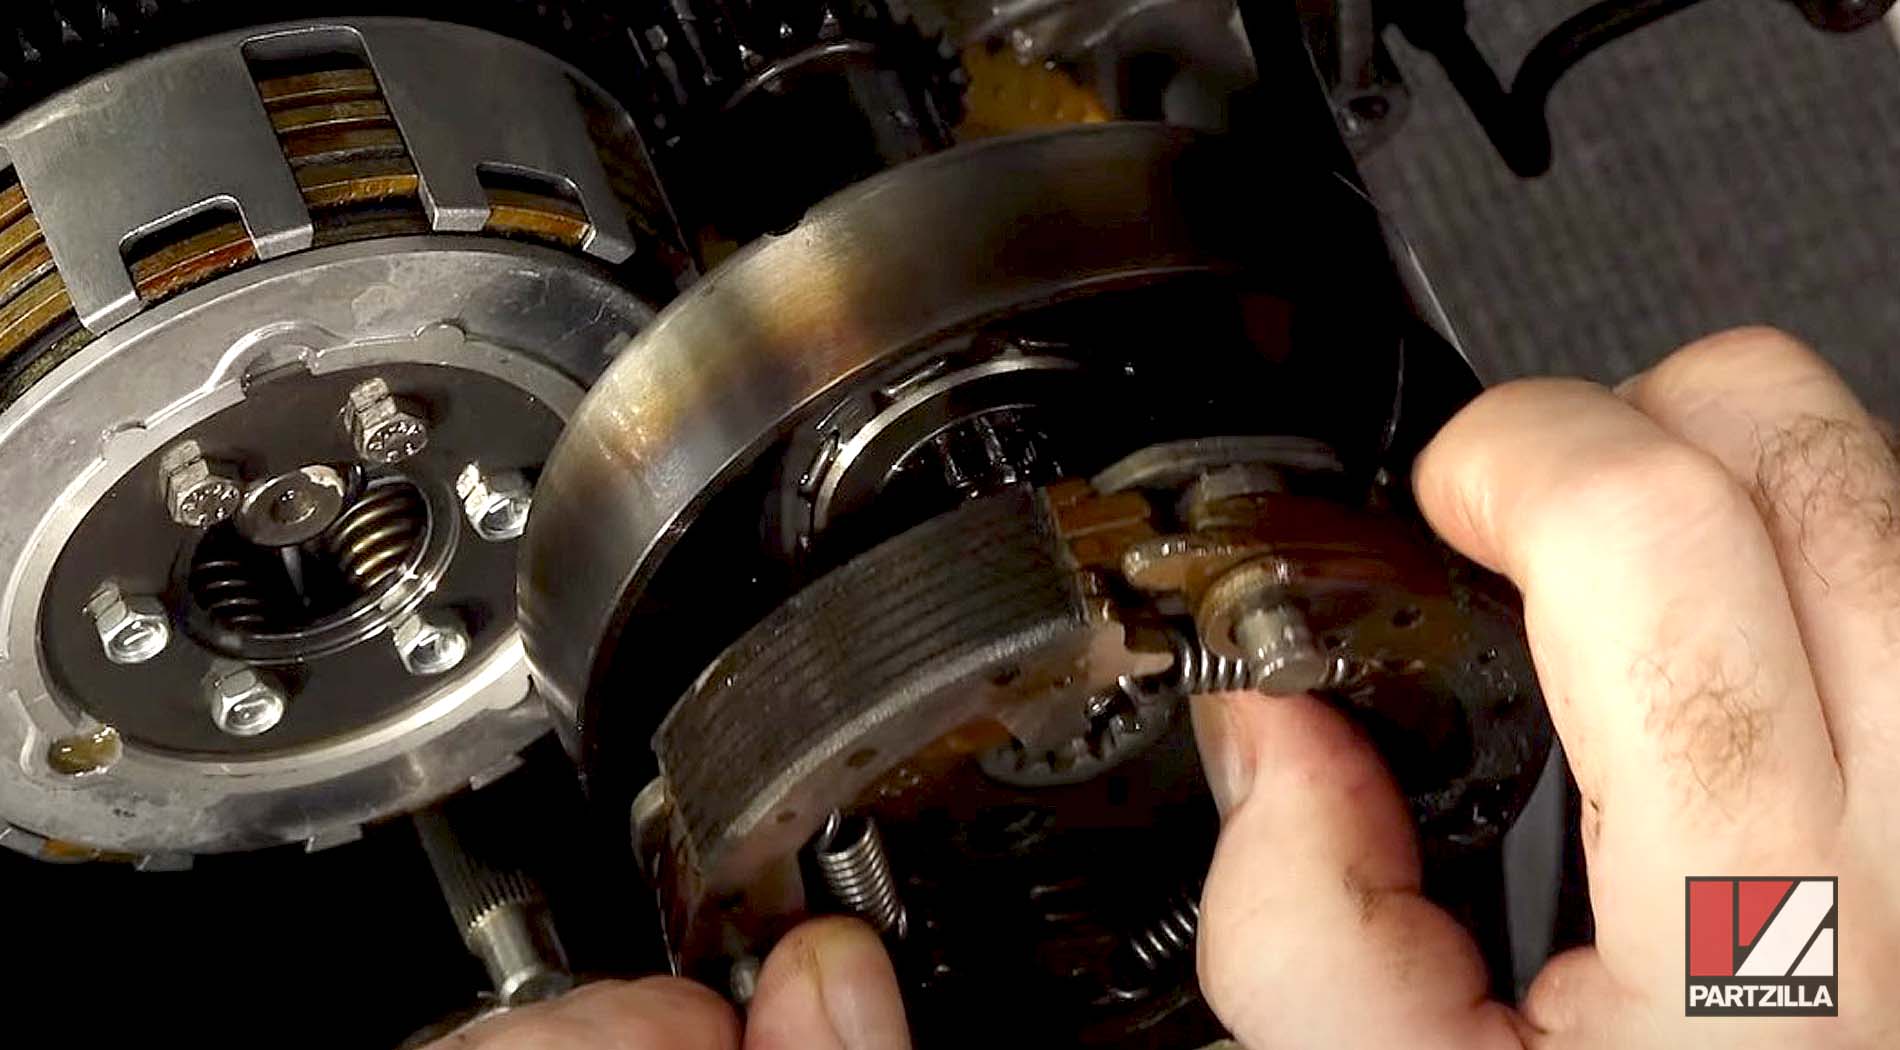
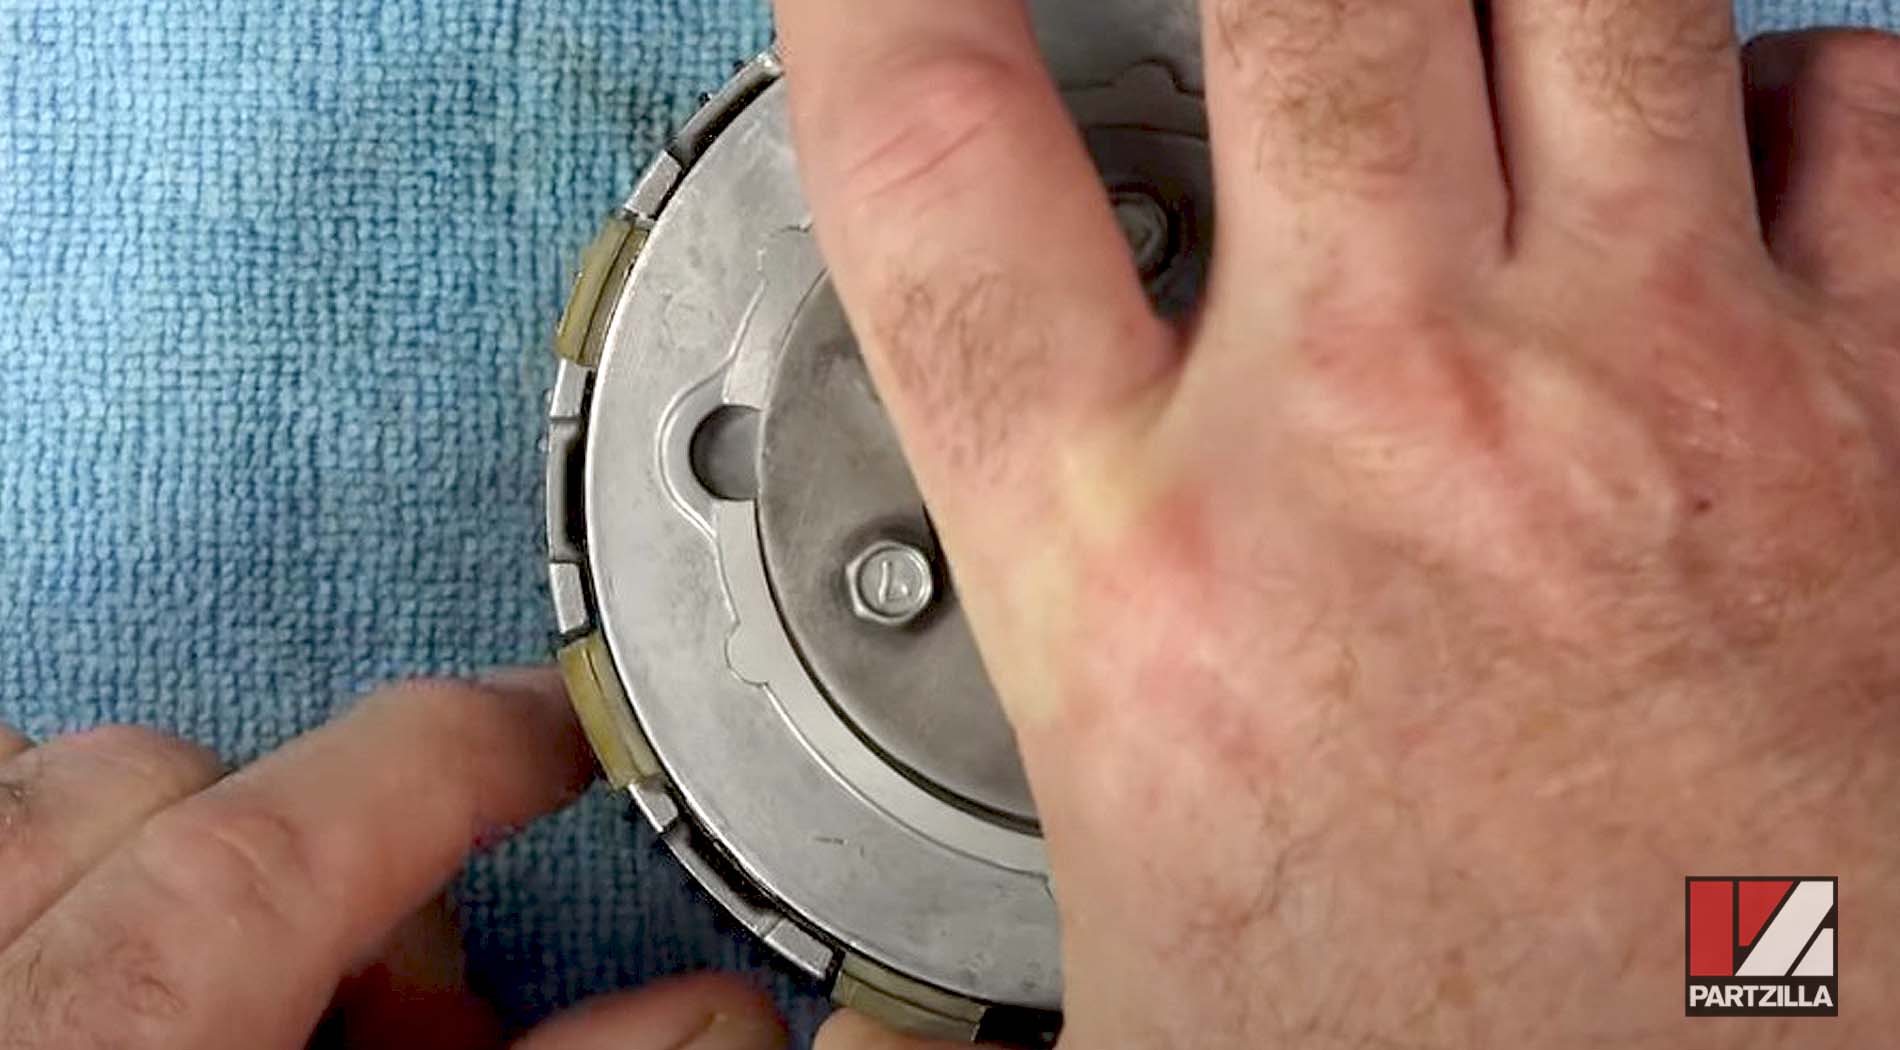
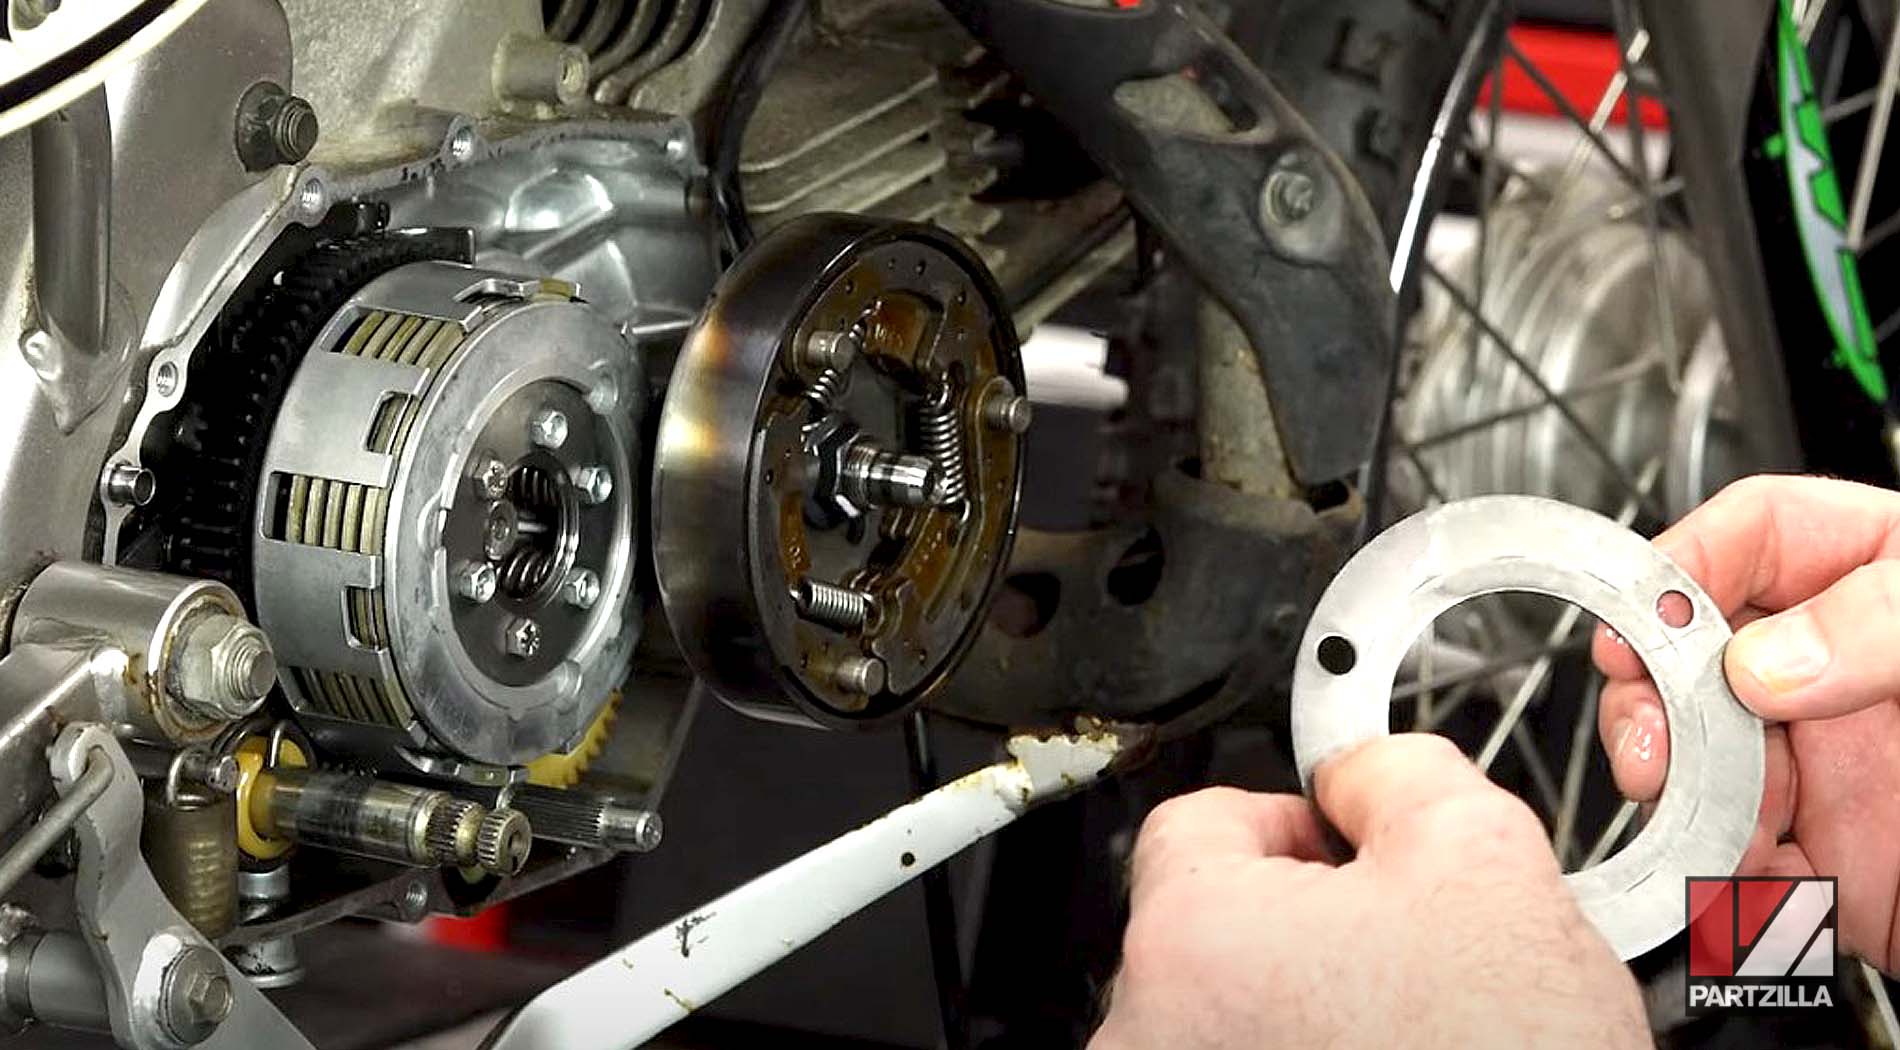
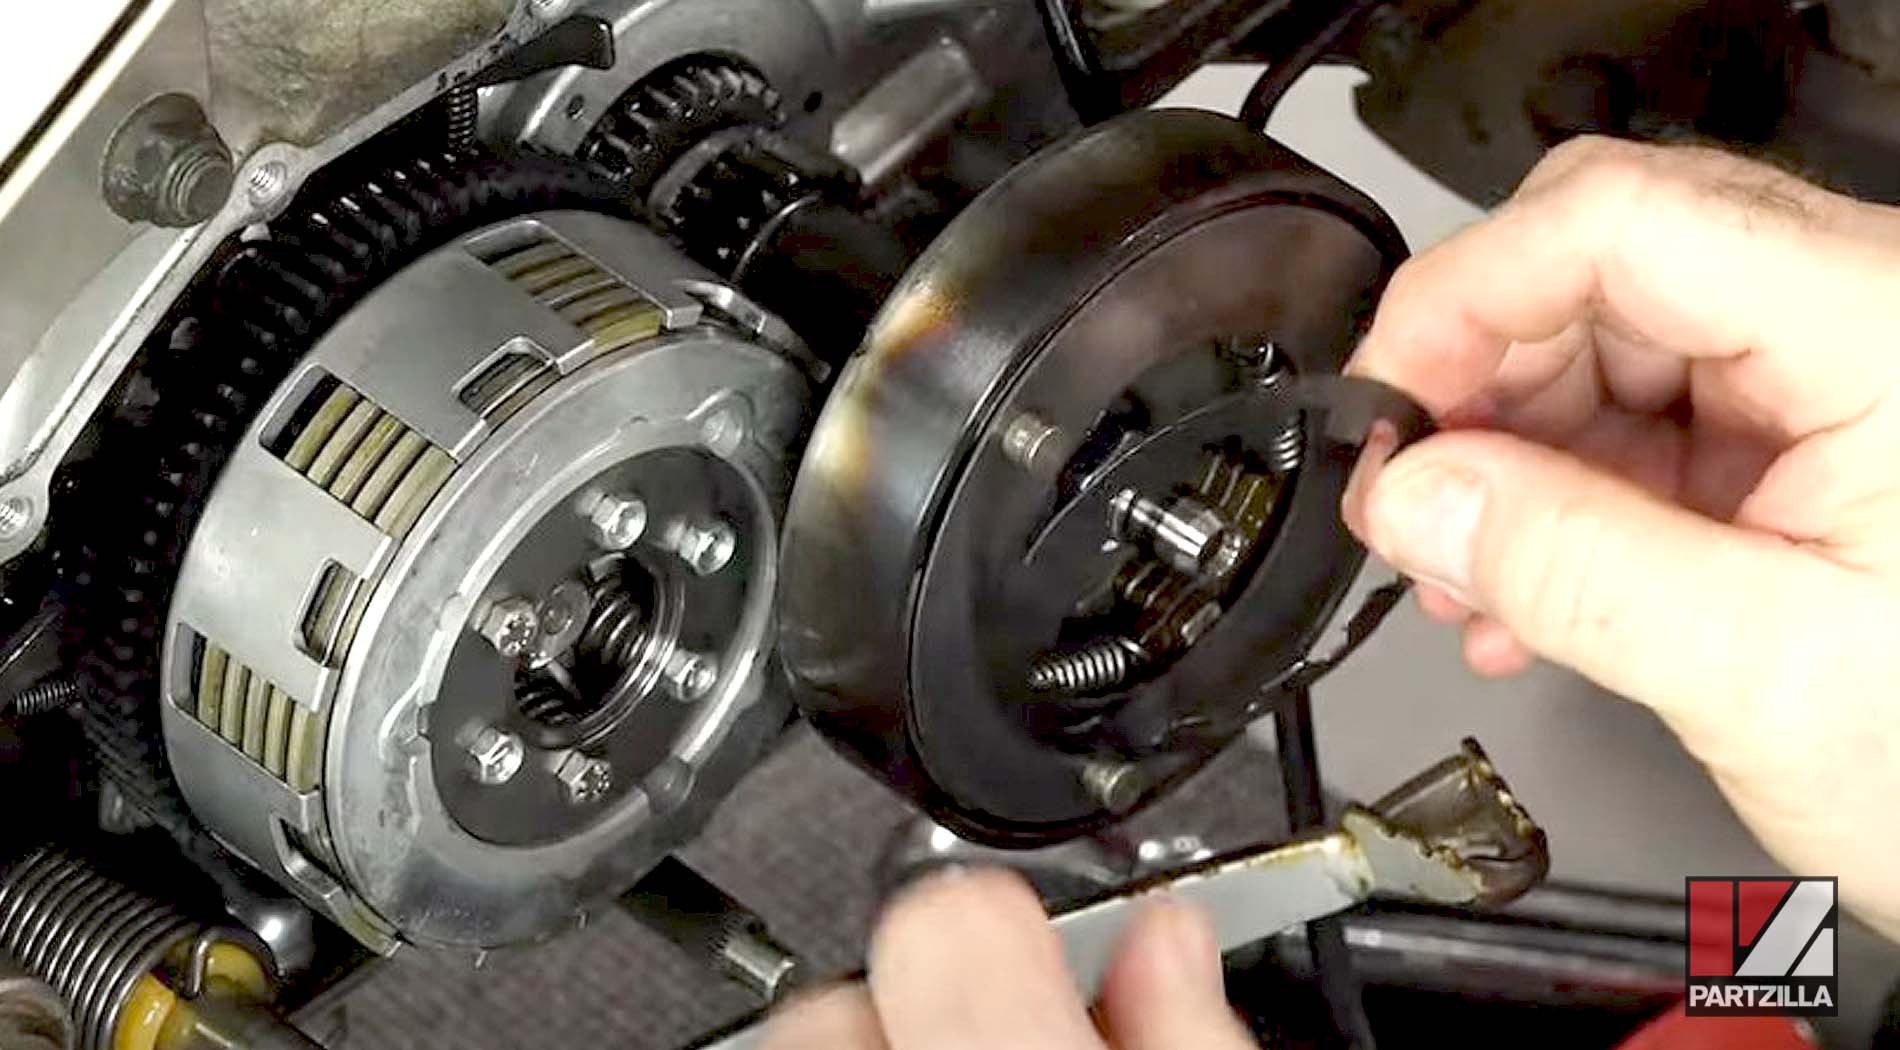
Step 8. Disassemble the secondary clutch and remove the clutch plates and discs.
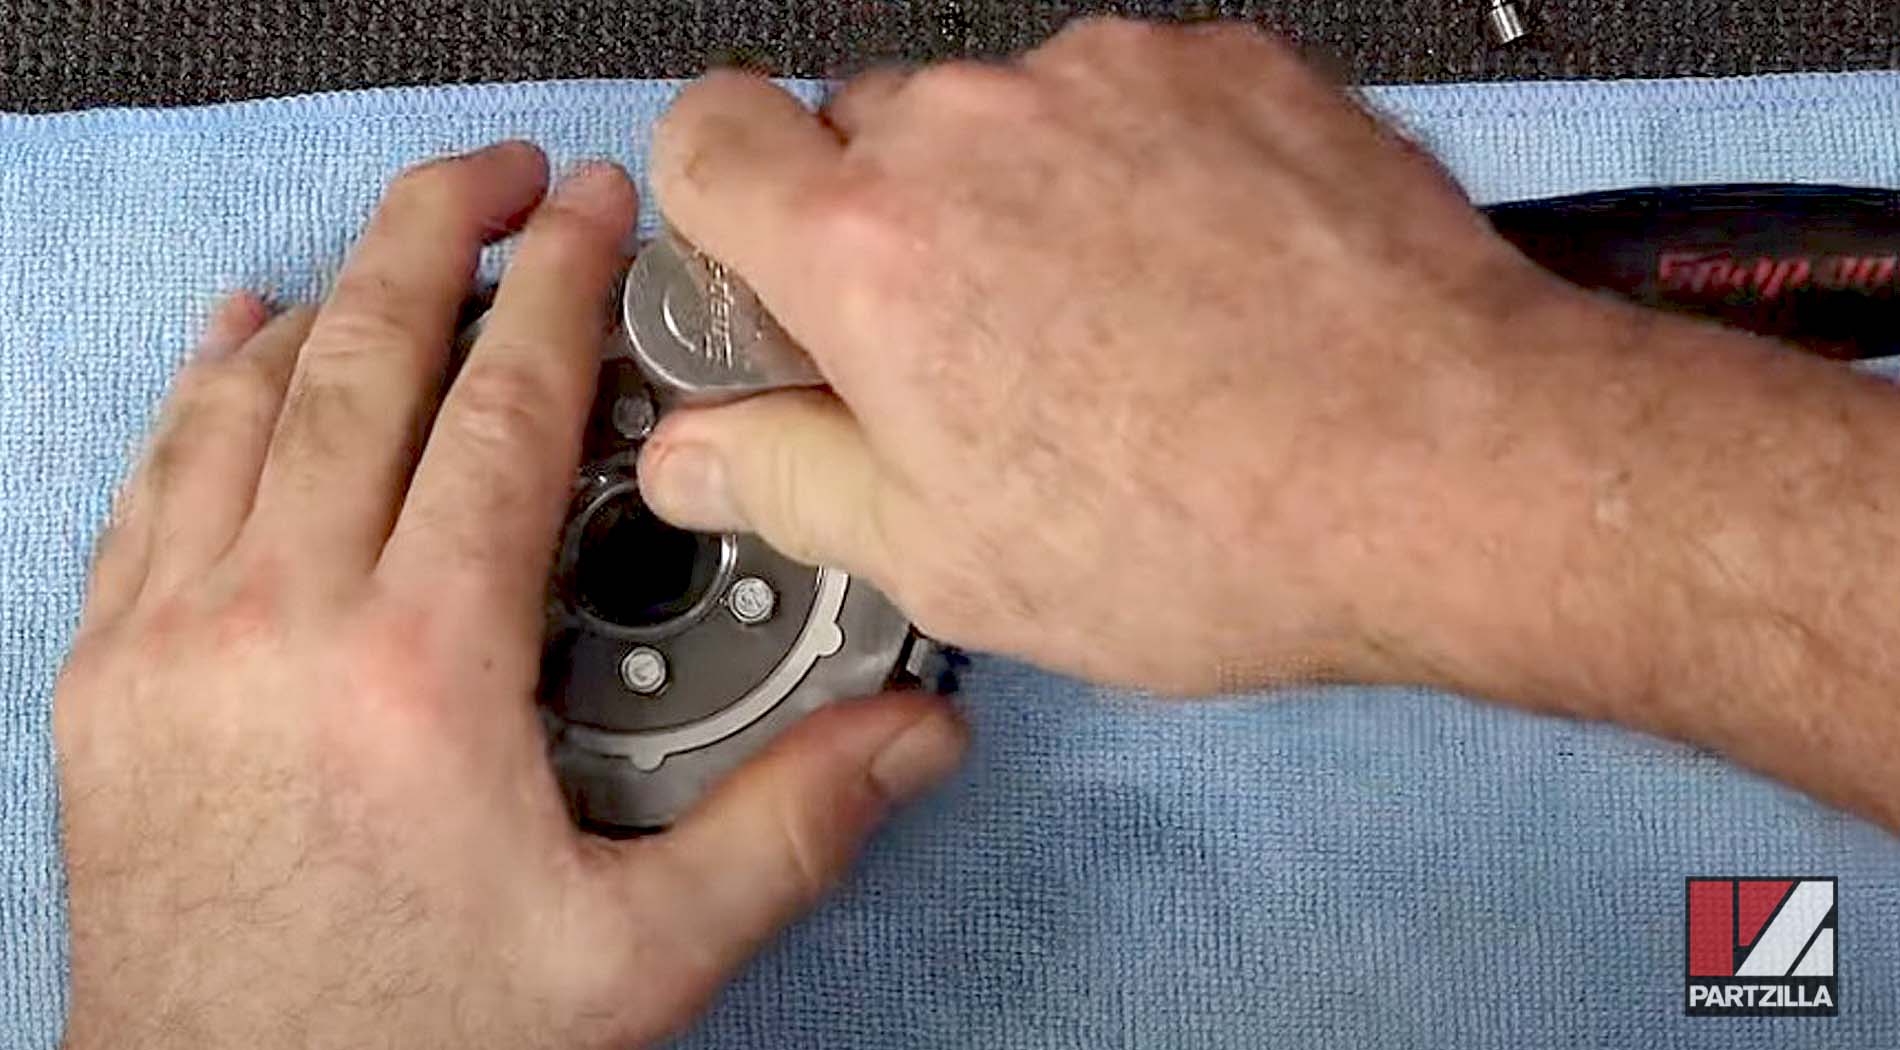

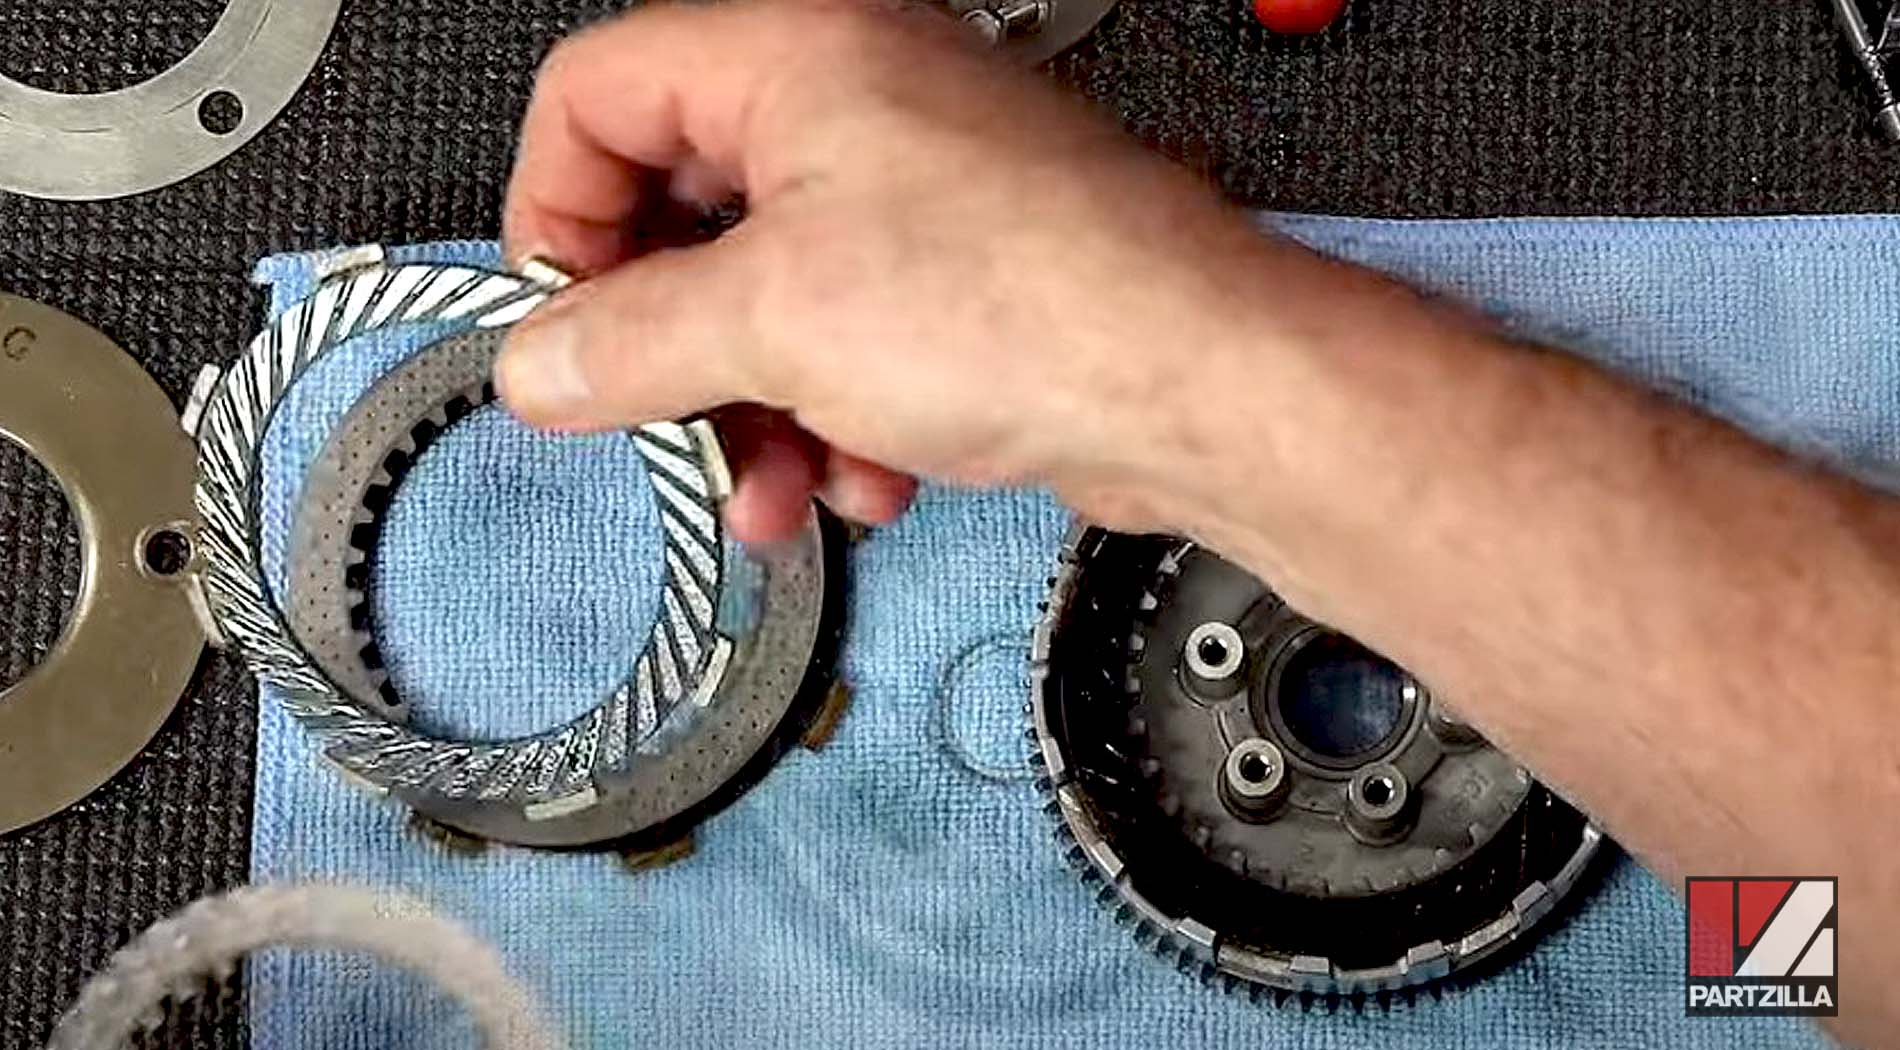
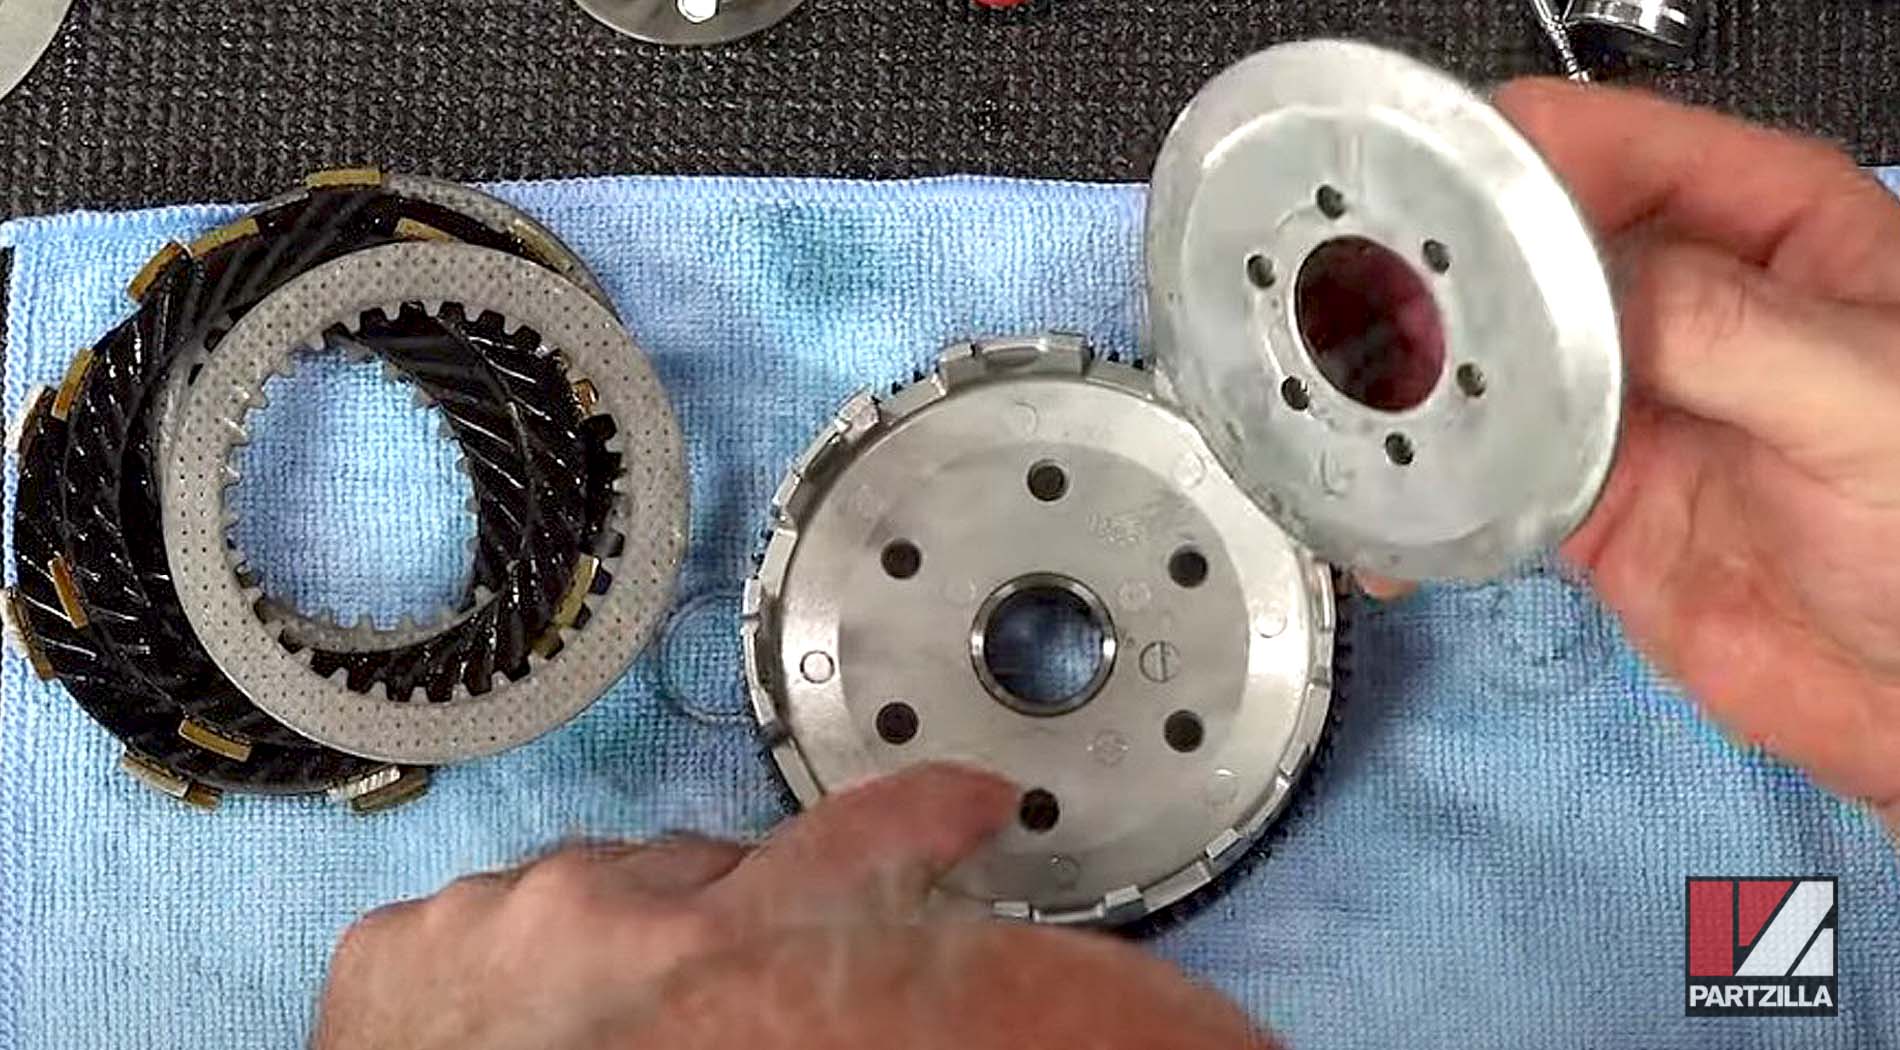
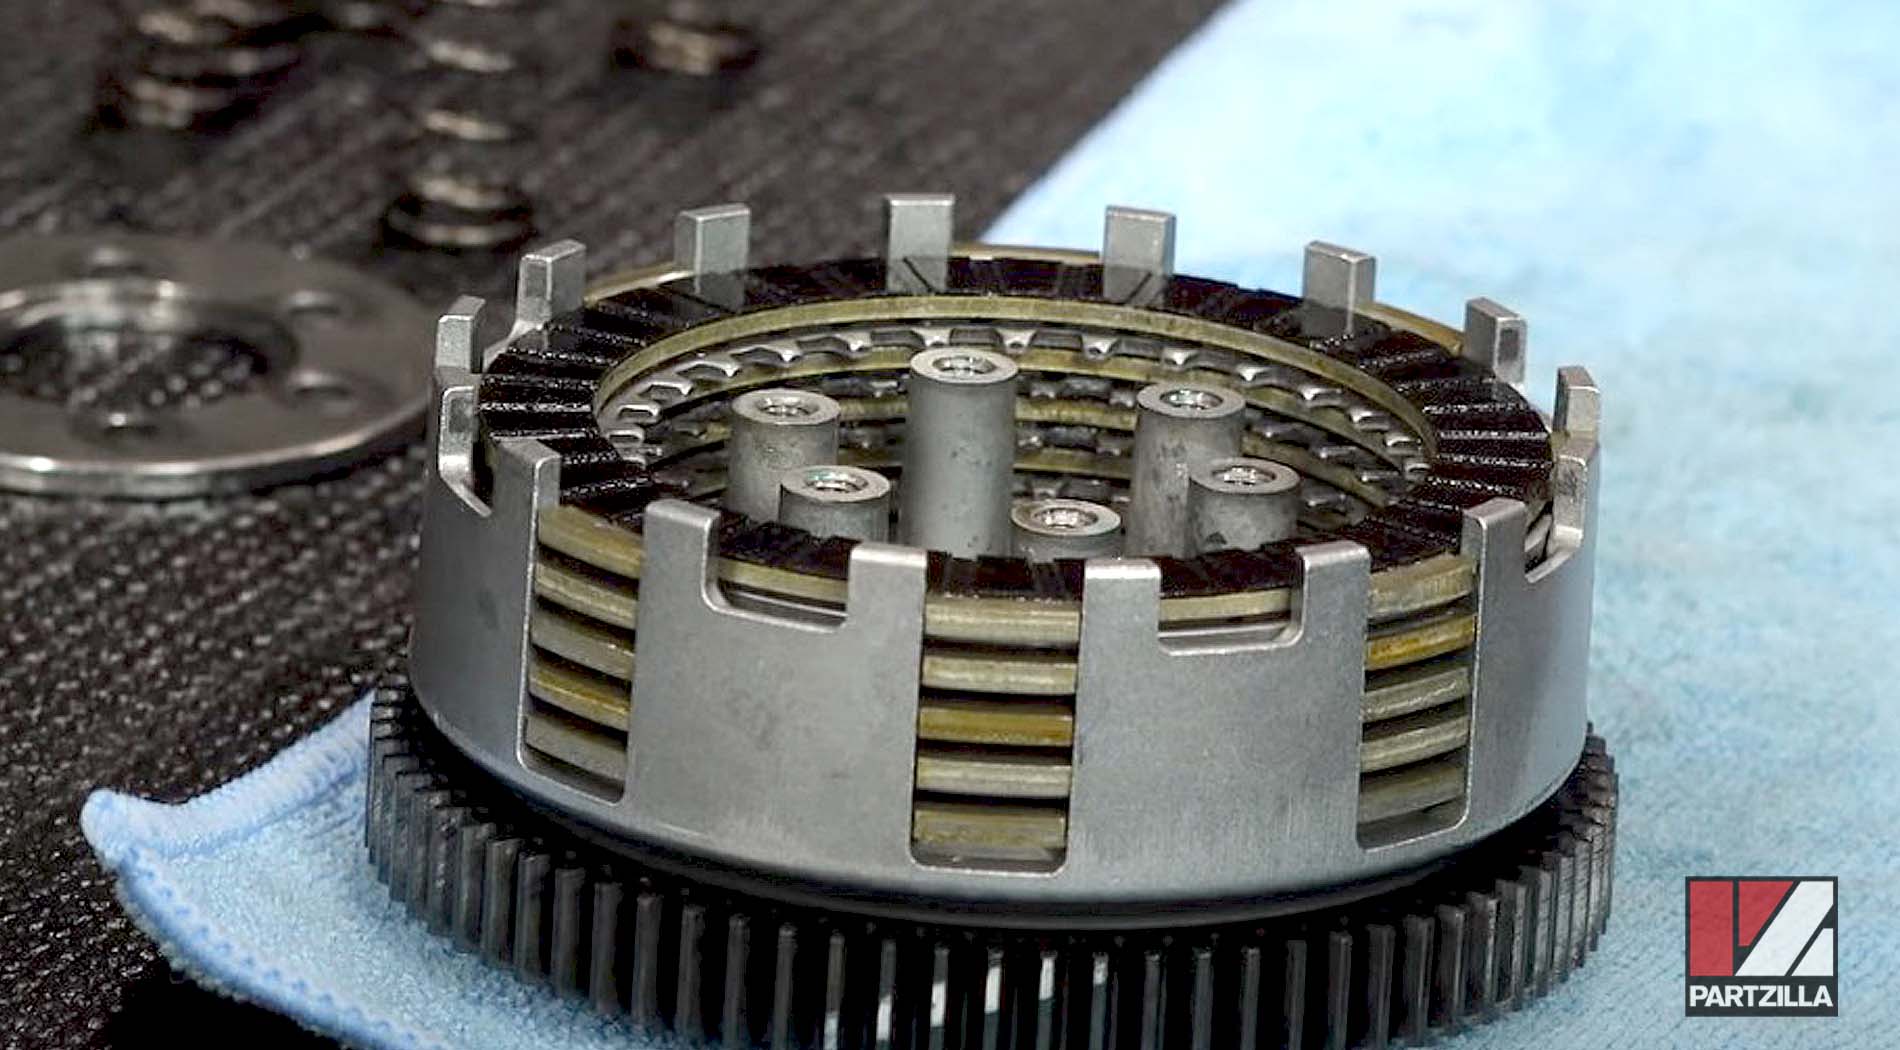
Step 9. Reassemble the secondary clutch with the new discs by alternating the fiber discs with the metal clutch plates as you stack them up.
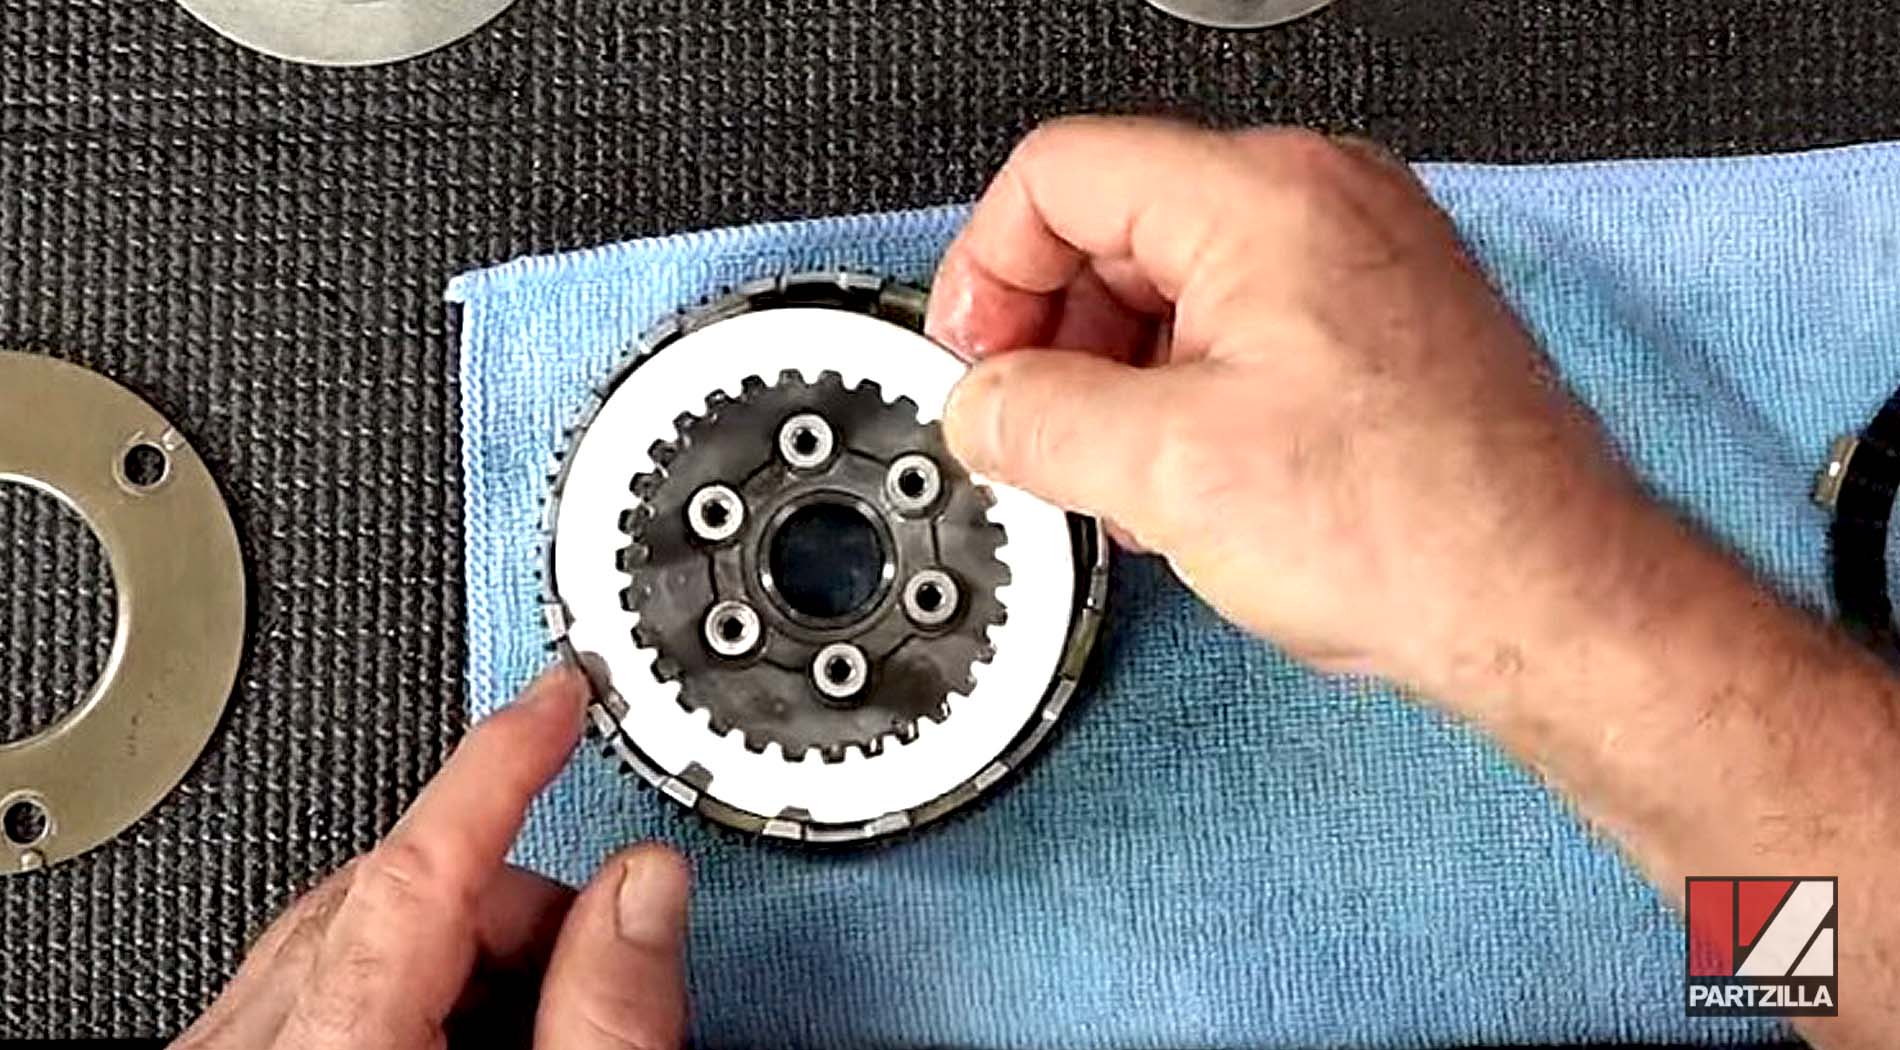
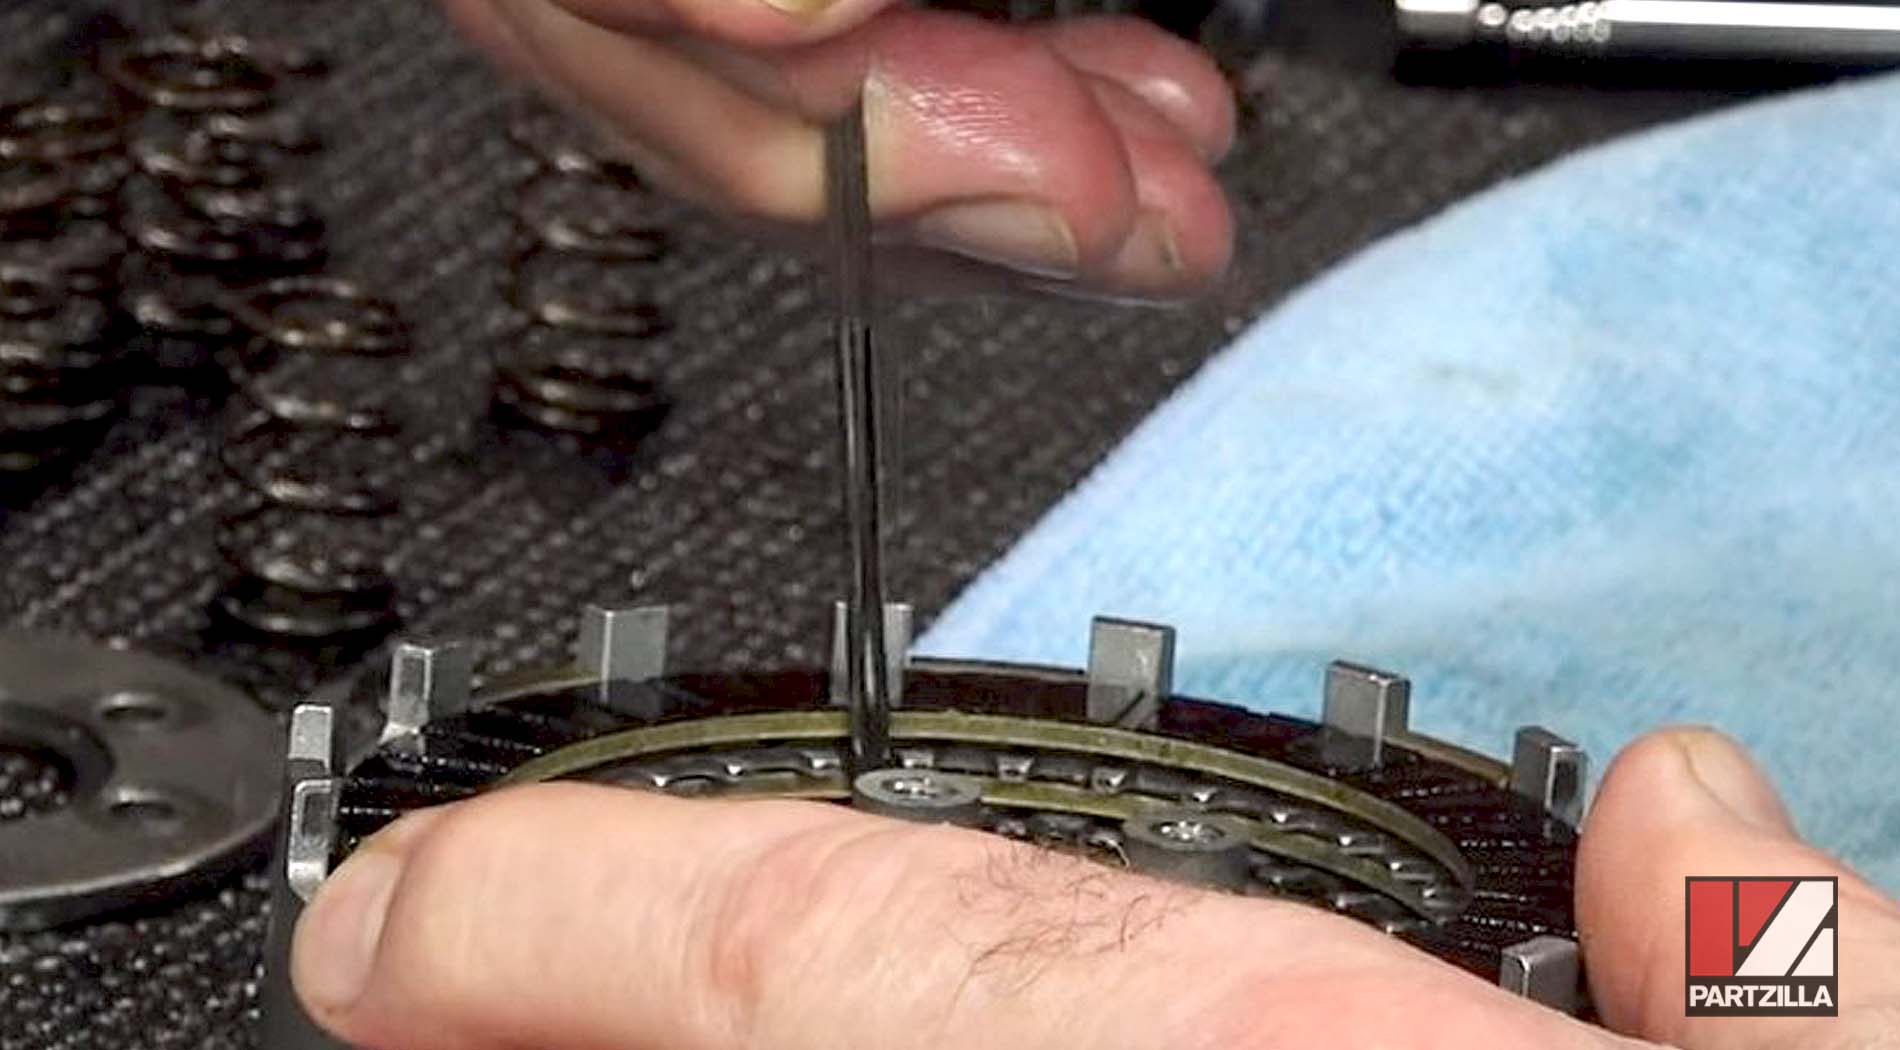
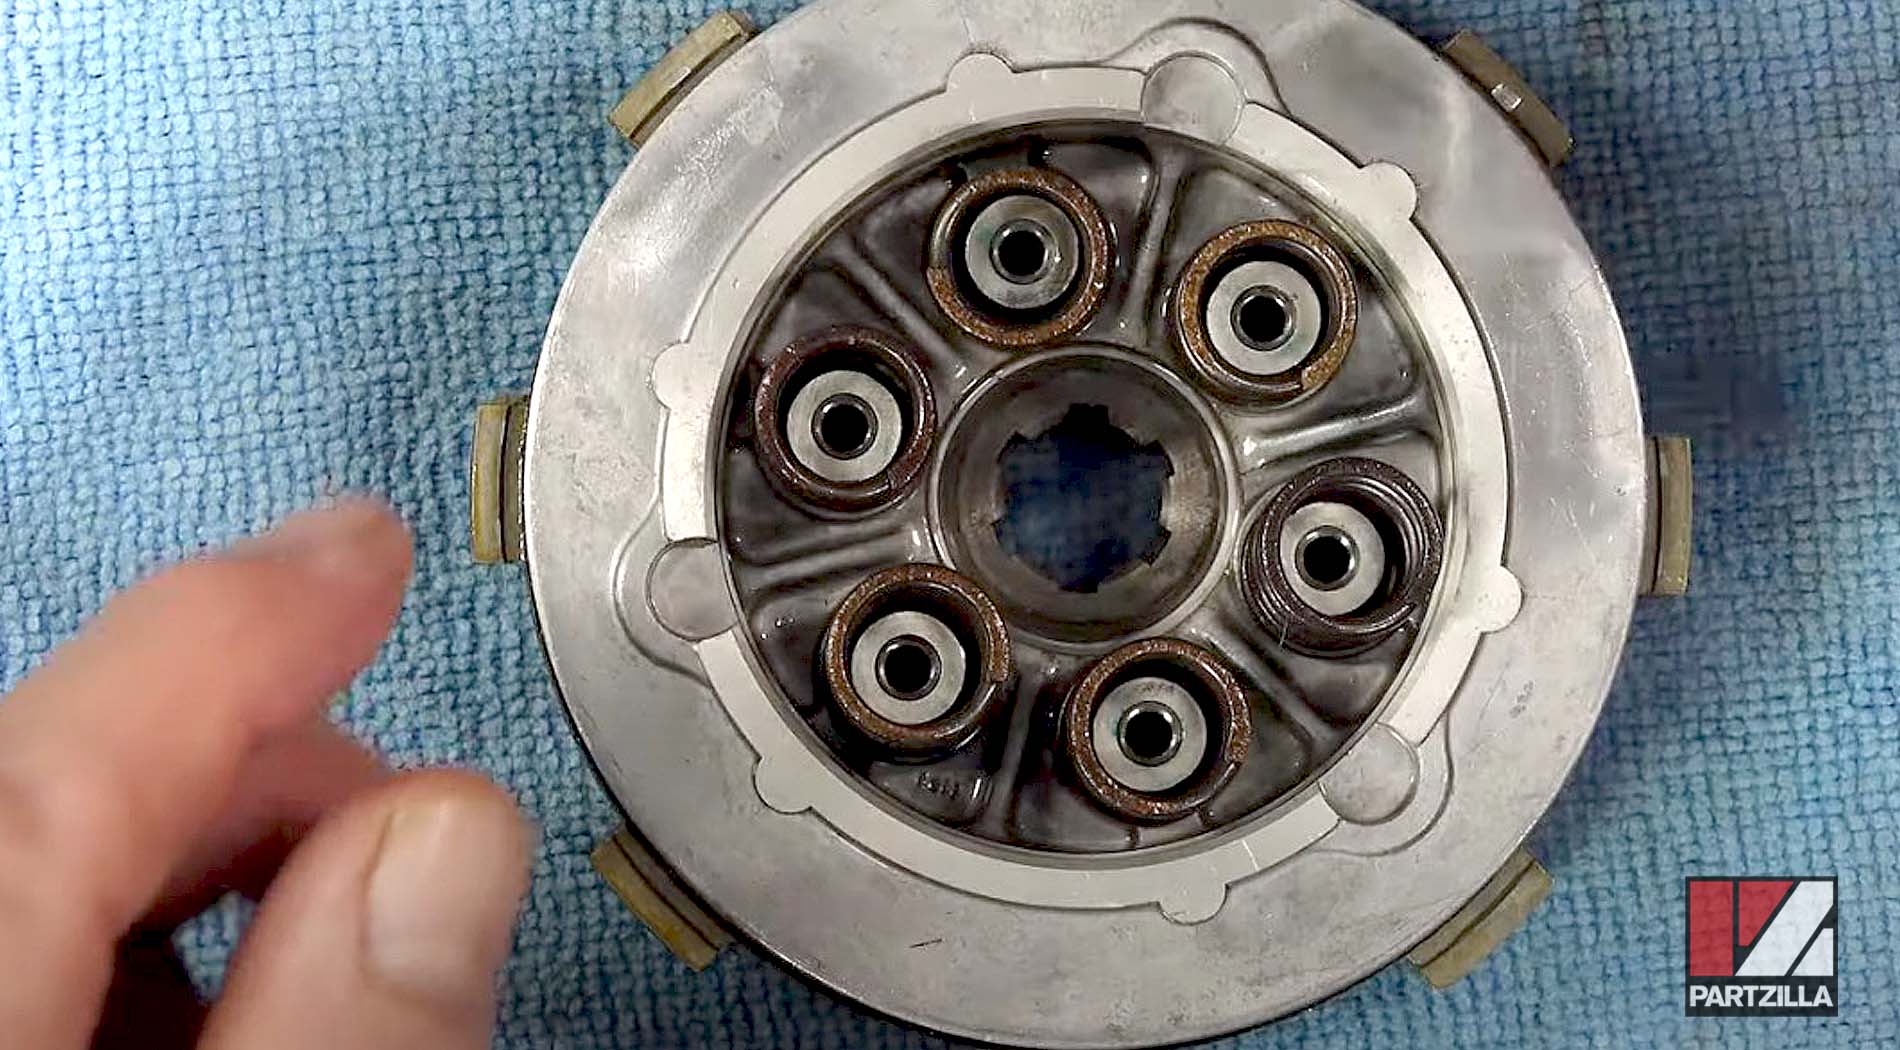
Step 10. Align the pins on the clutch discs together using a pick tool to get it close, where the hub can go all the way down into the back plate.
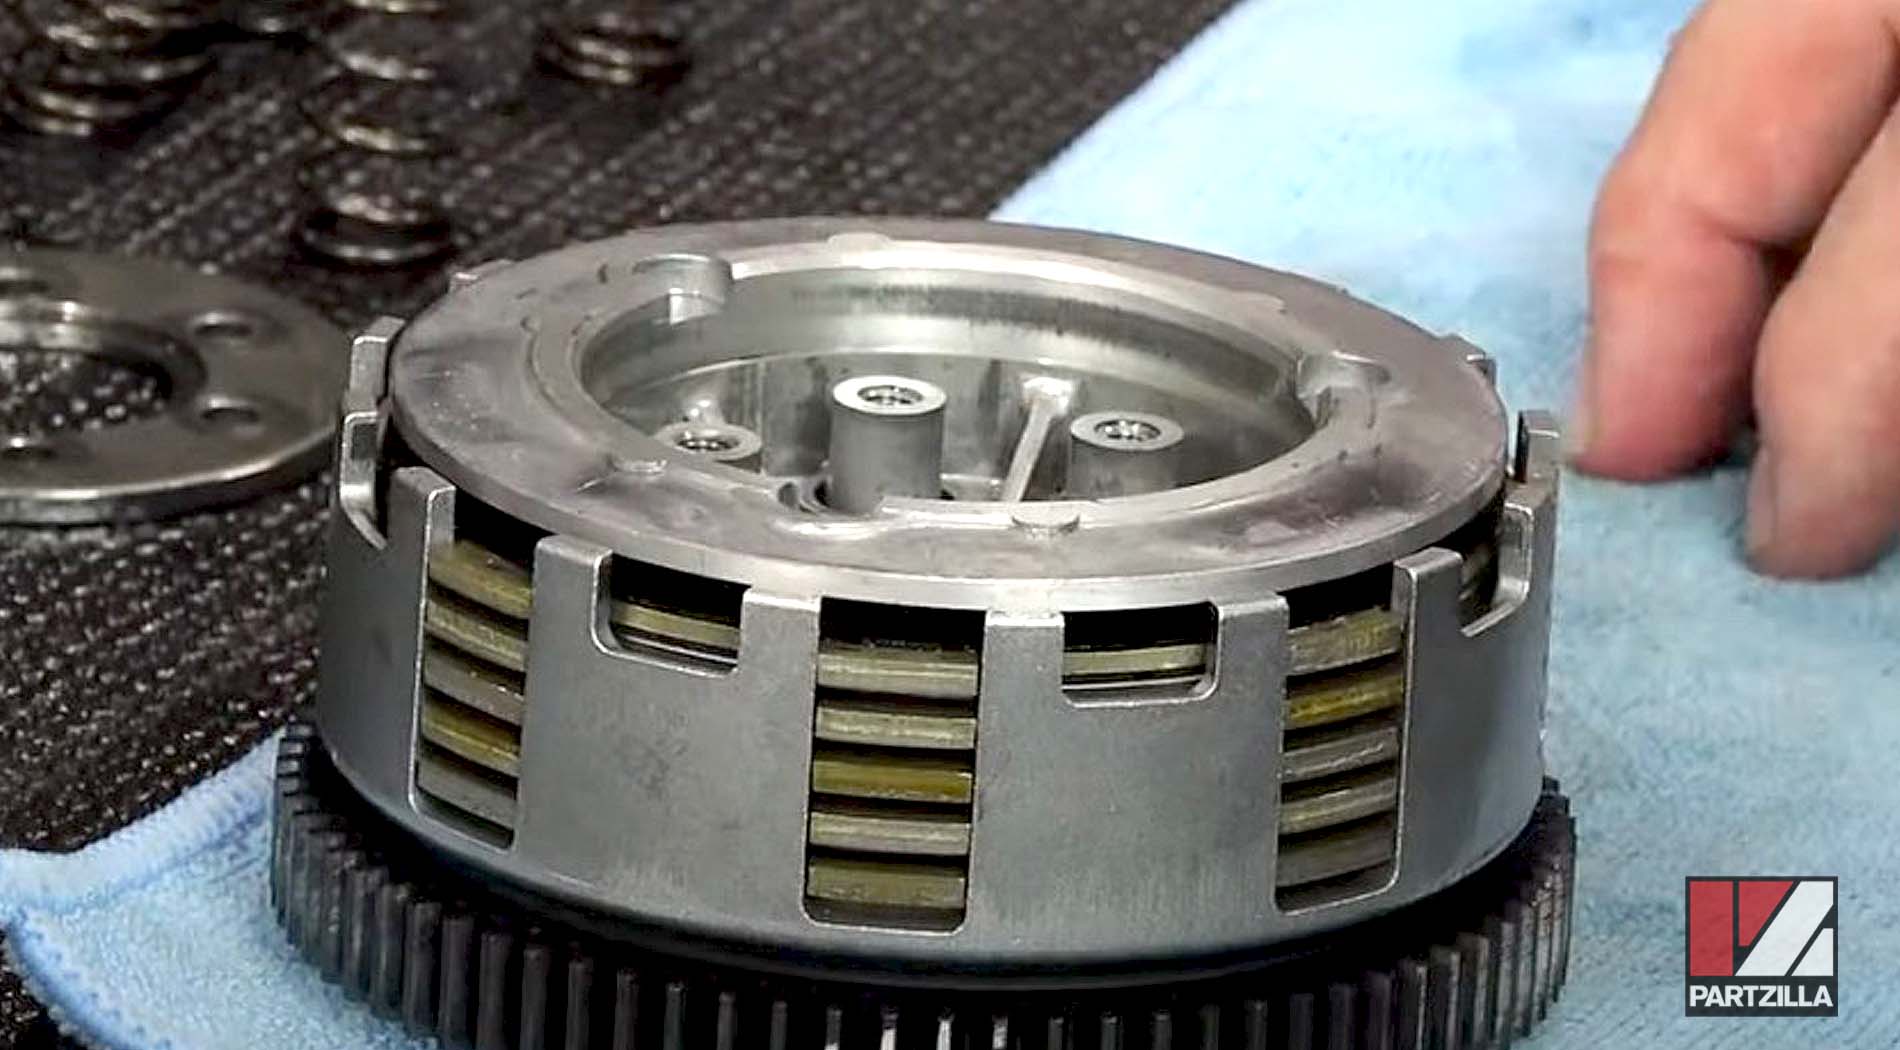
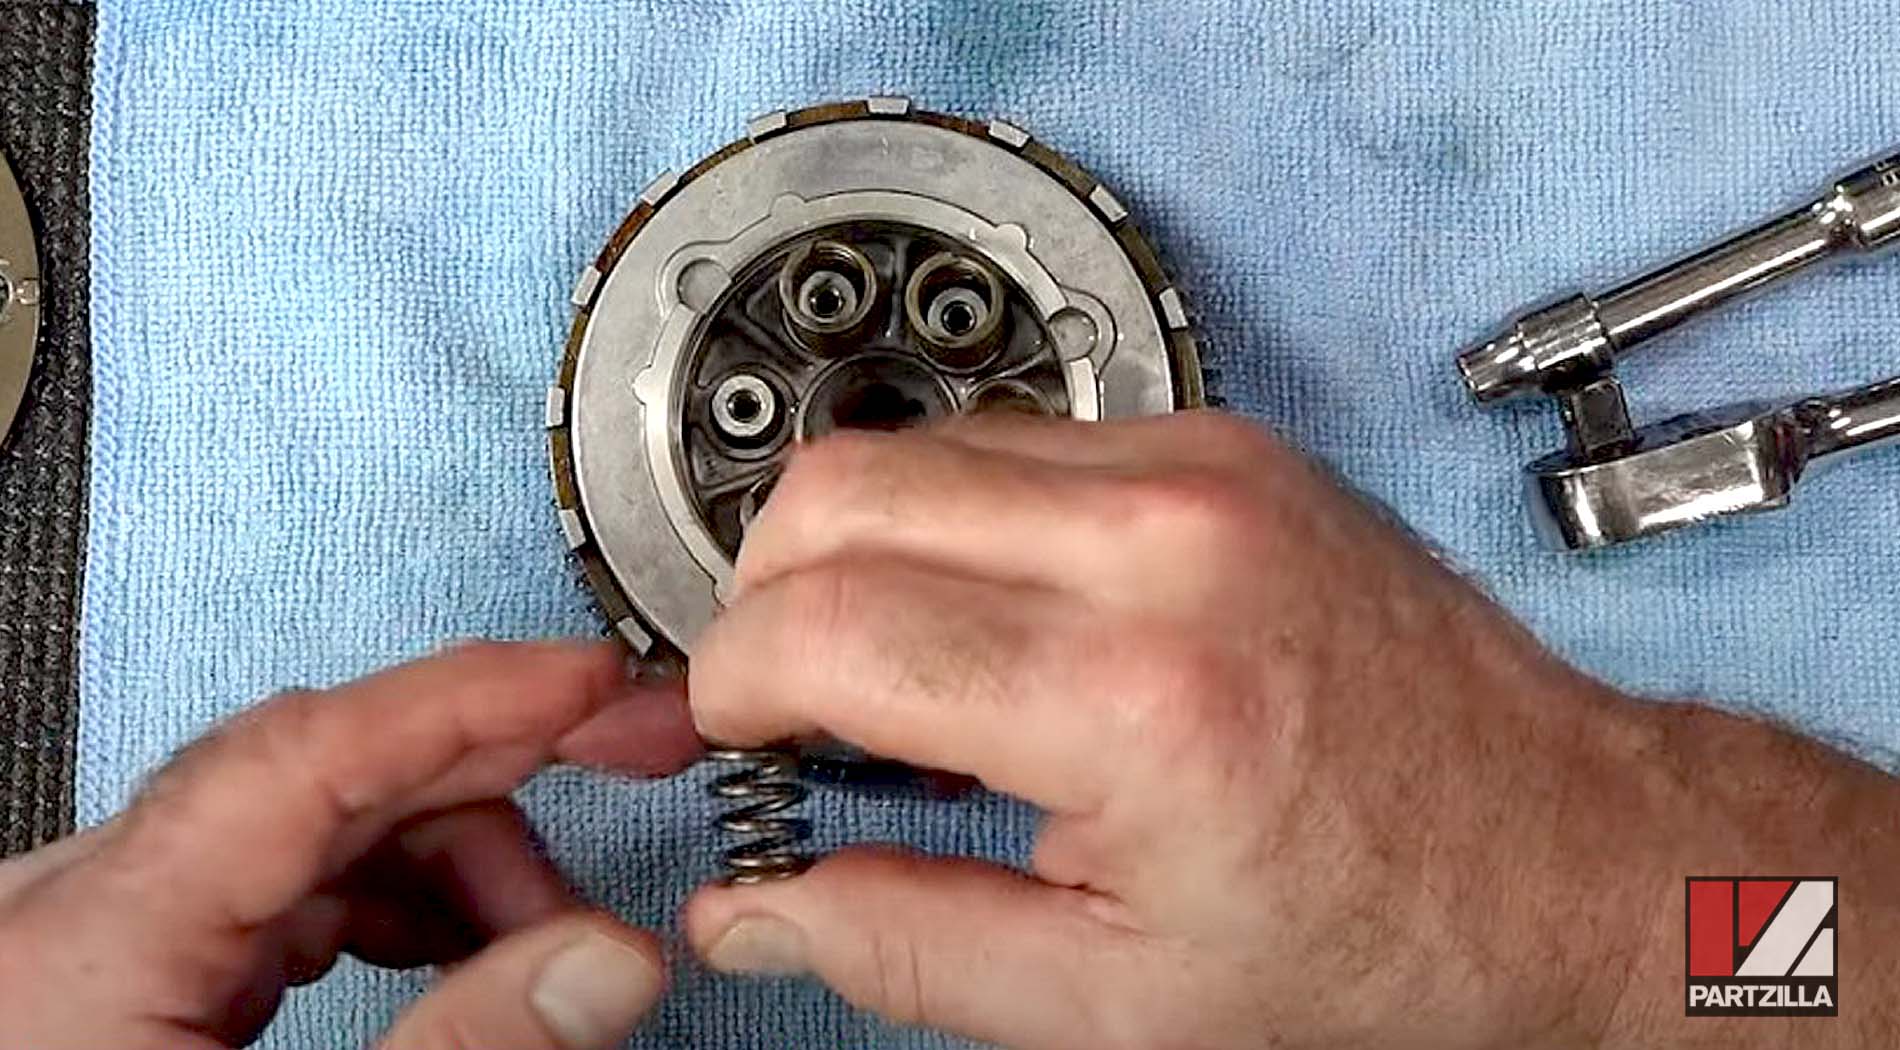
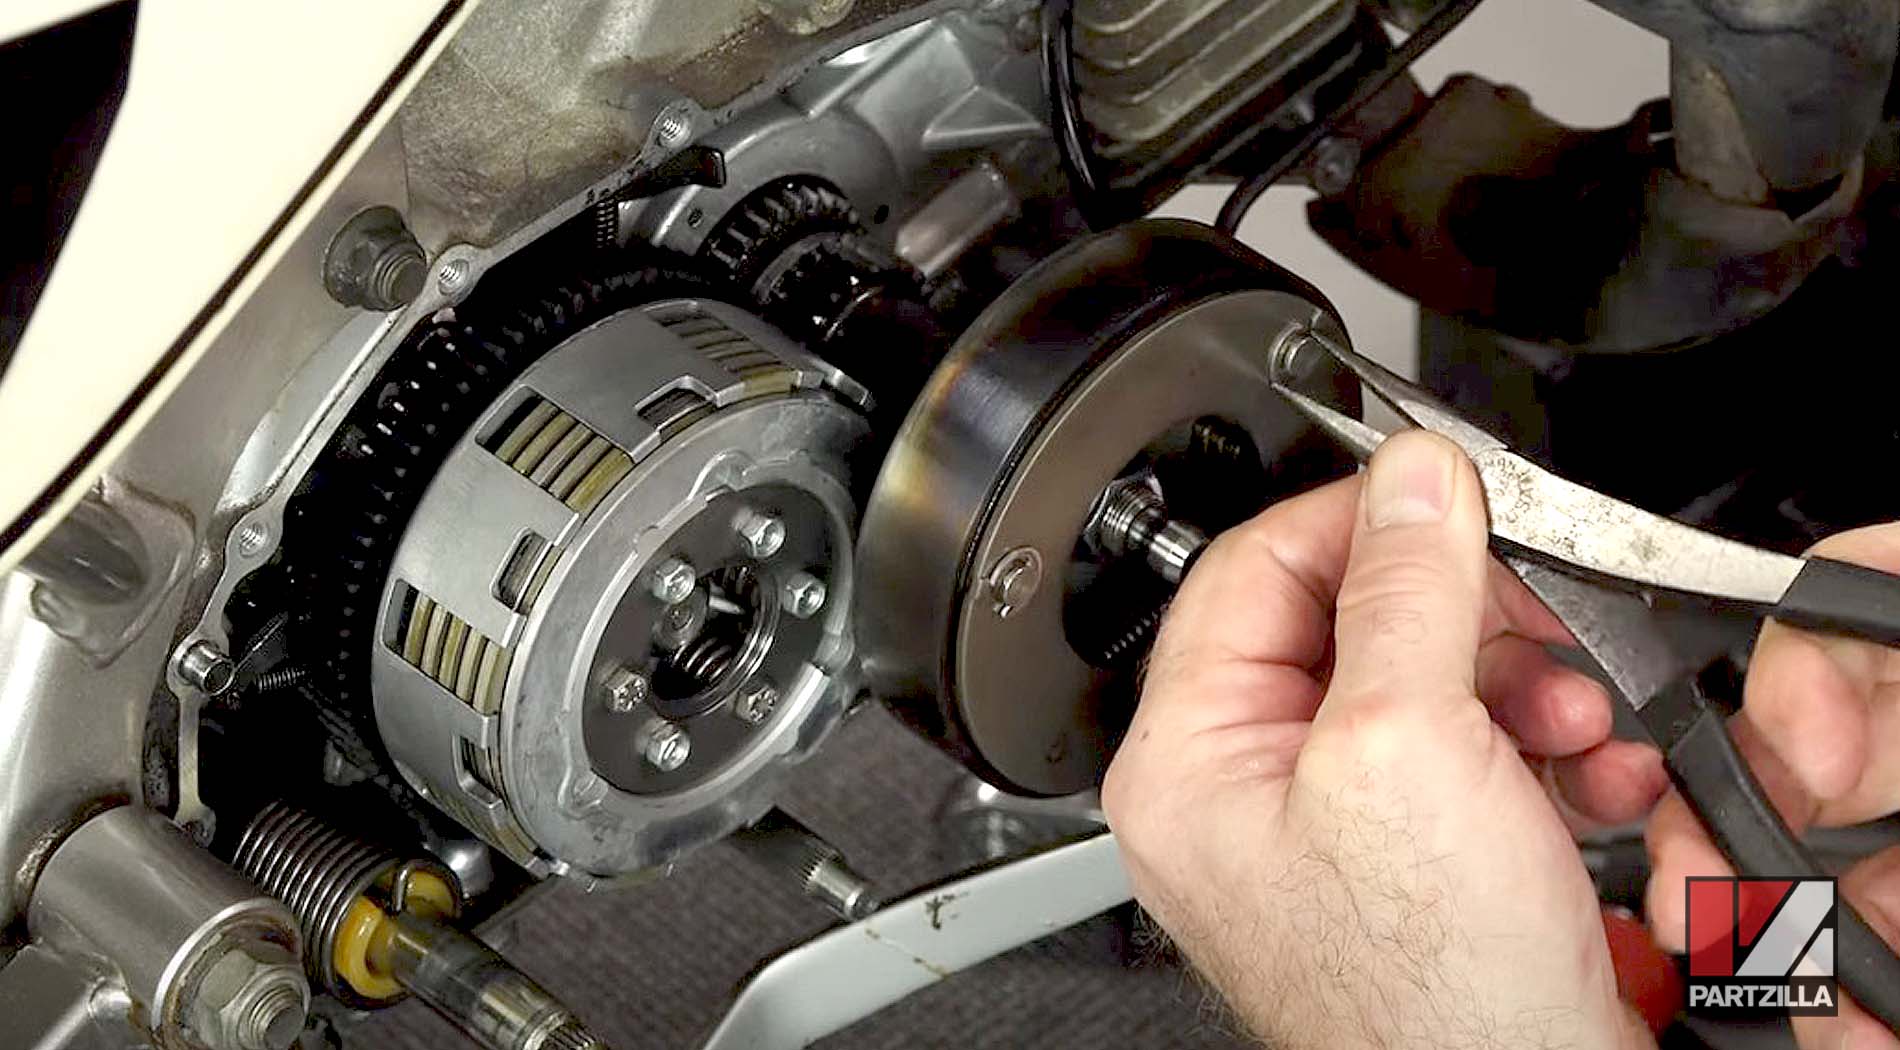
Step 11. Reassemble the rest of the secondary clutch, including installing new clutch springs.
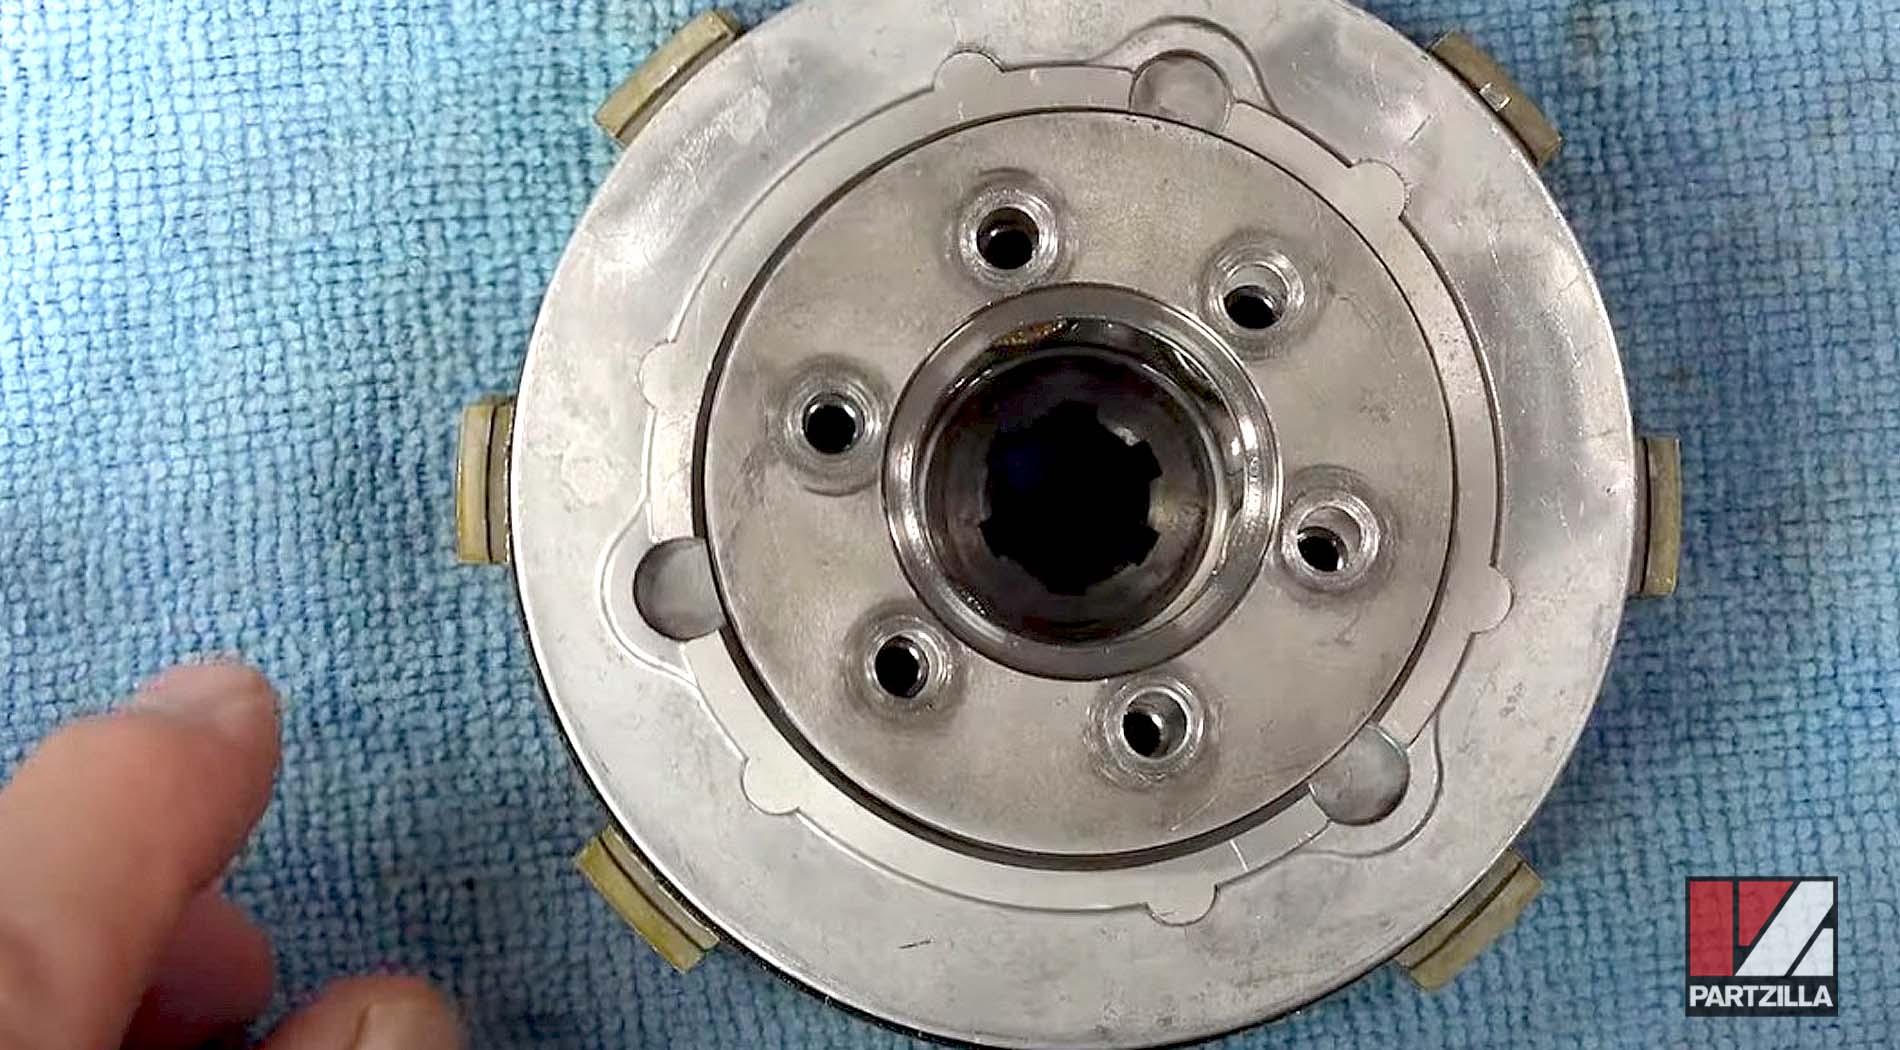
PRO TIP: Before you tighten everything down, bring the assembly up on the machine and get it to go onto the shaft. Align the clutch pack with the basket and with the transmission input shaft to give it a better chance of being centered correctly when you bring up both the secondary and the primary clutches together.
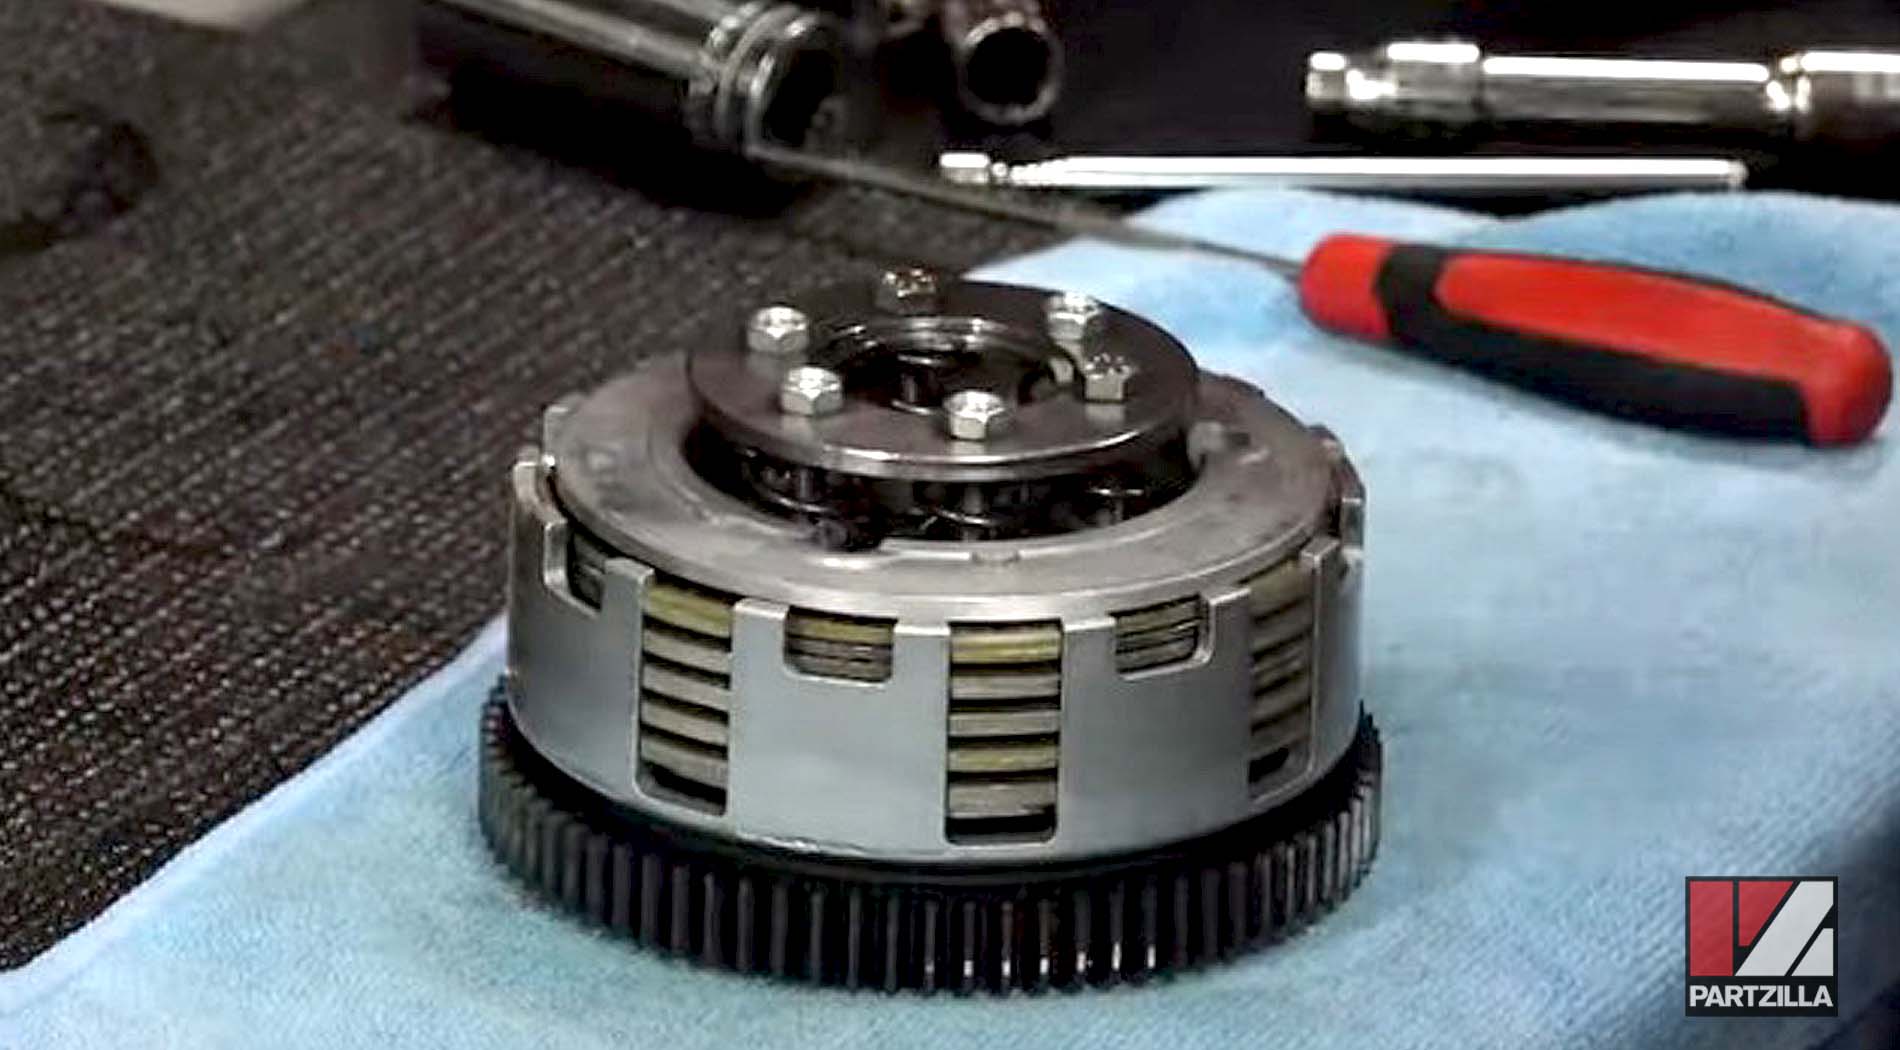
Step 12. Bottom out the bolts and torque them in a crisscross pattern to 44 inch-pounds.
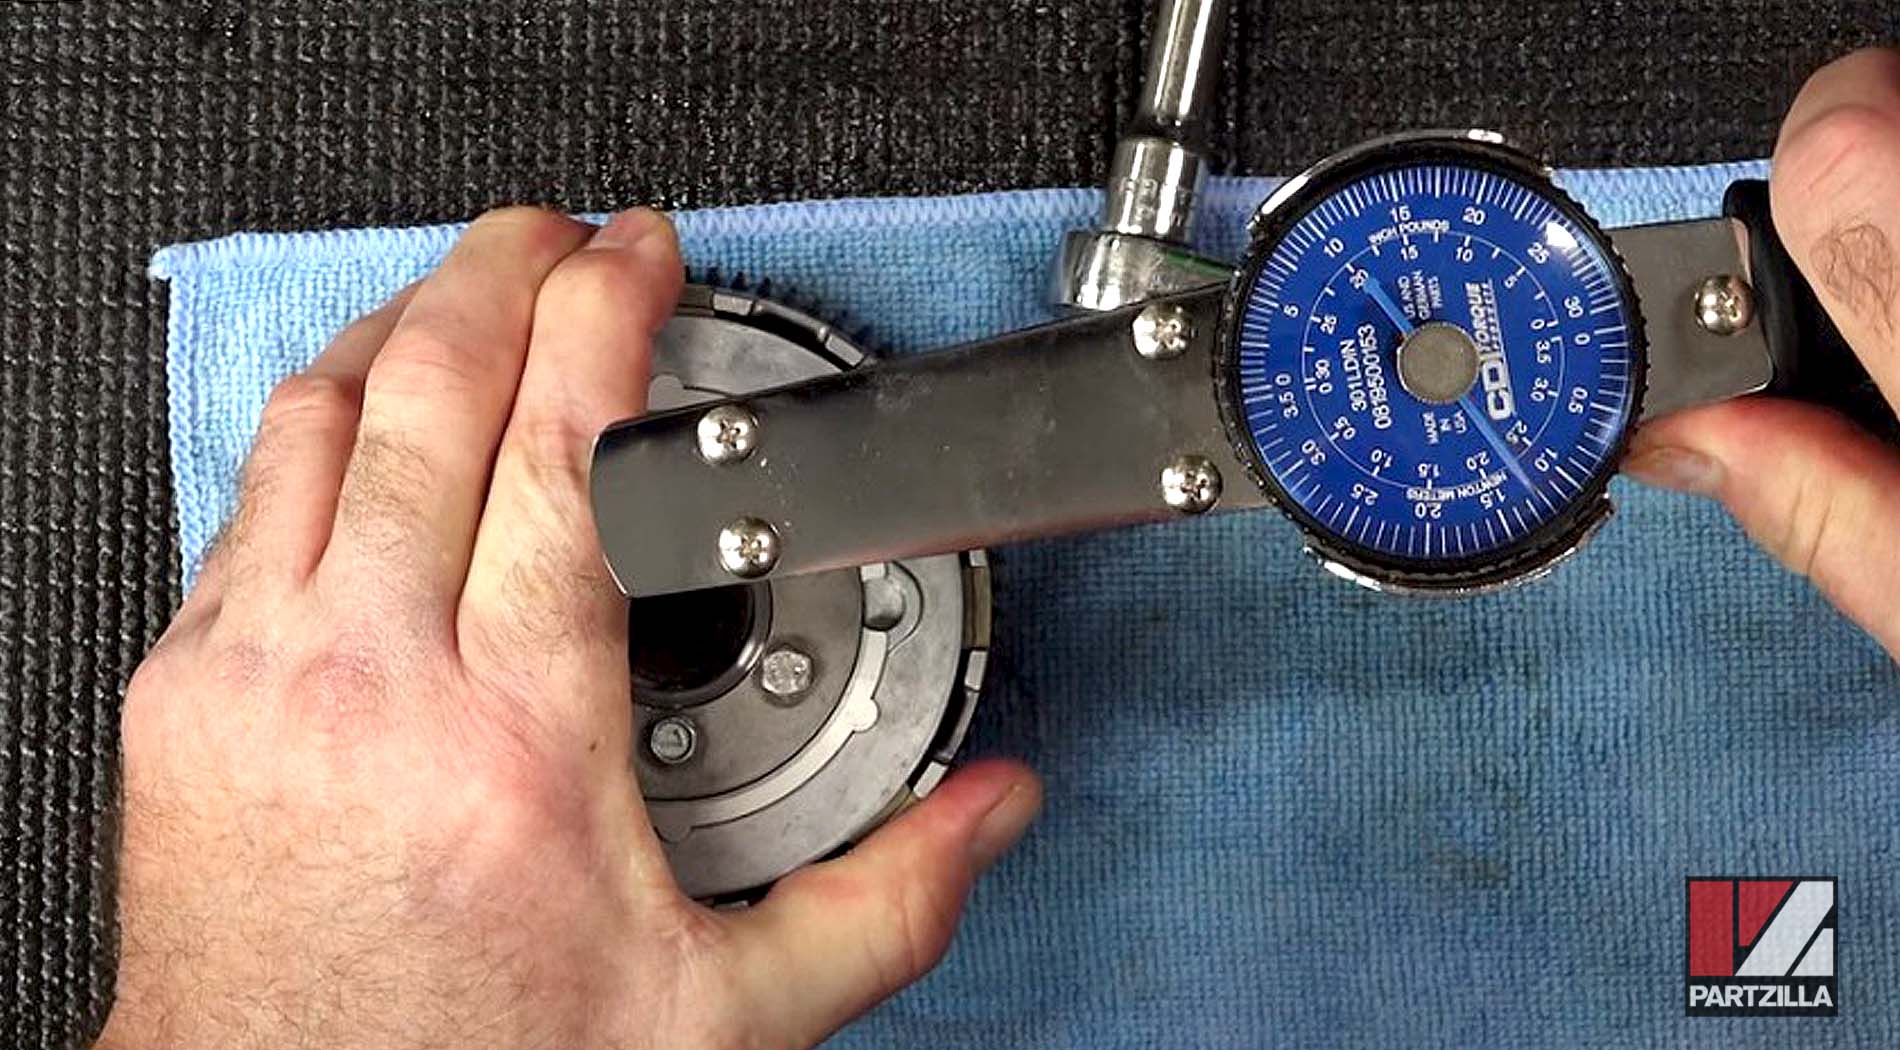
NOTE: If your digital torque wrench can’t go down that far, use an analog torque wrench that can.
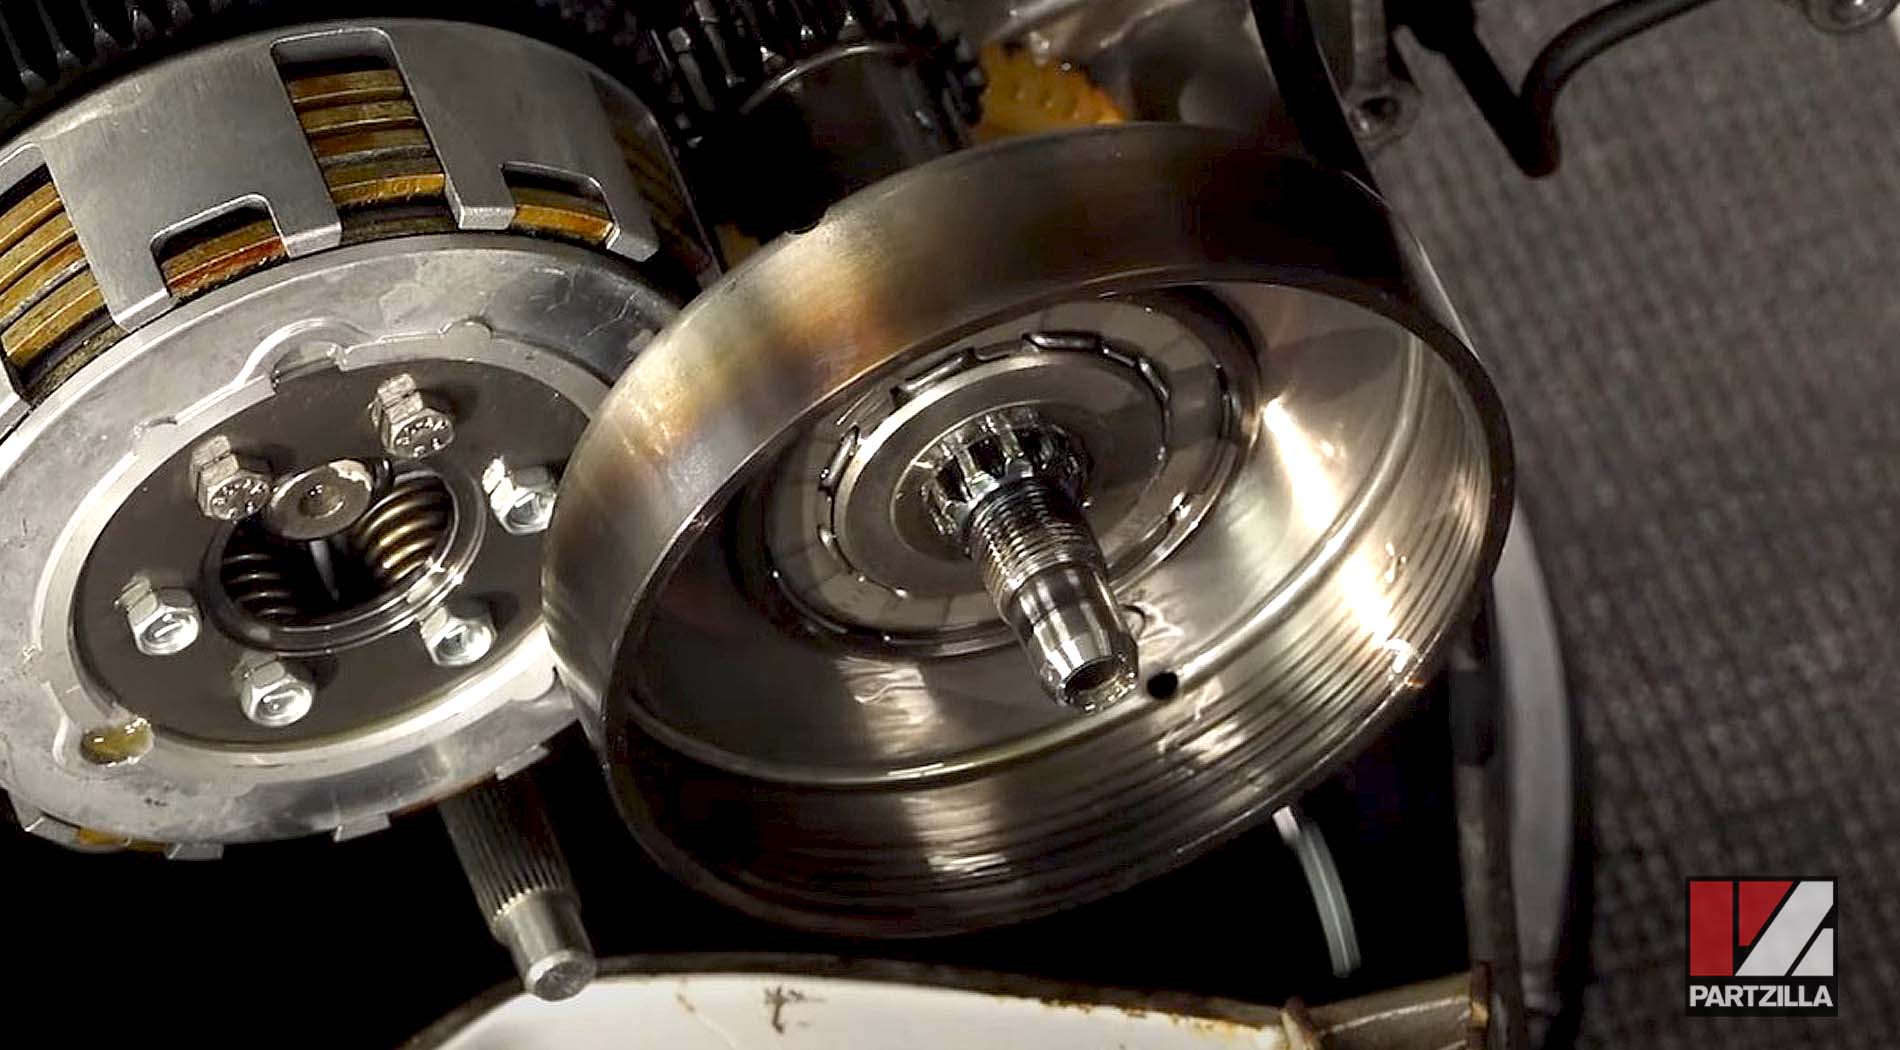
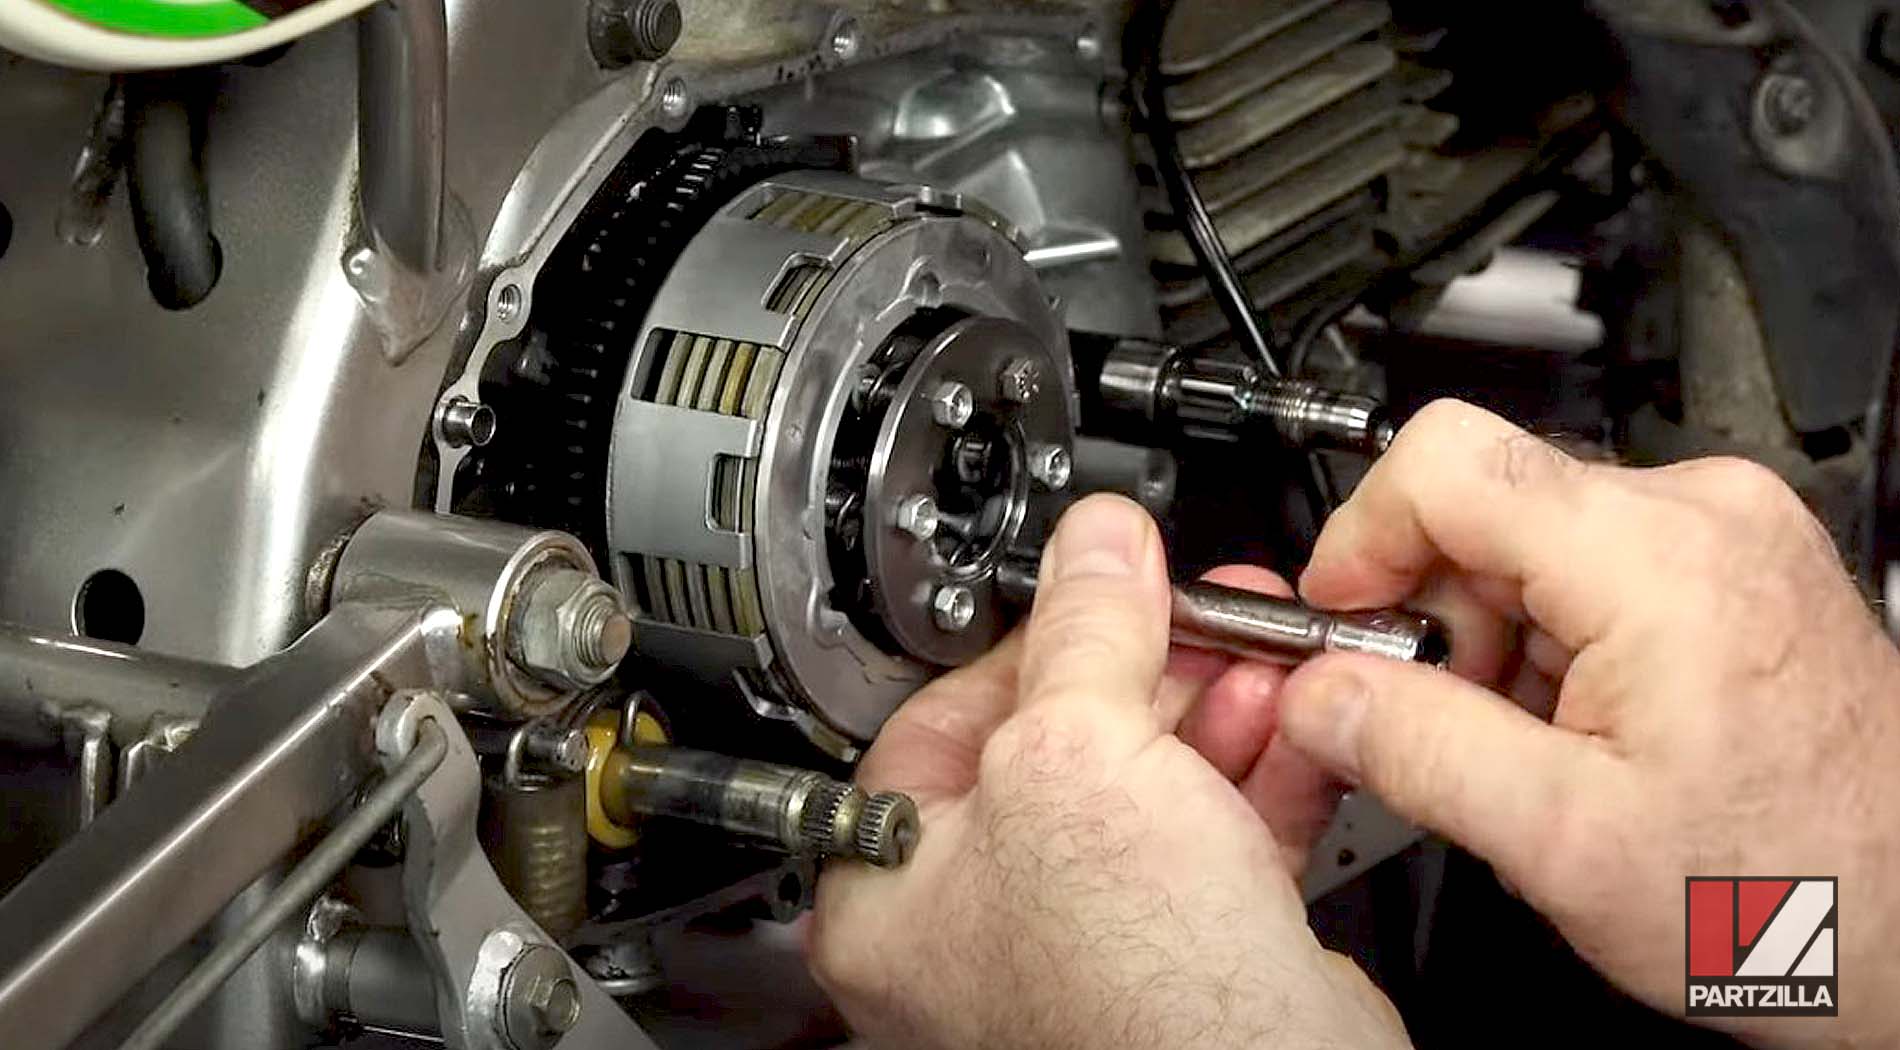
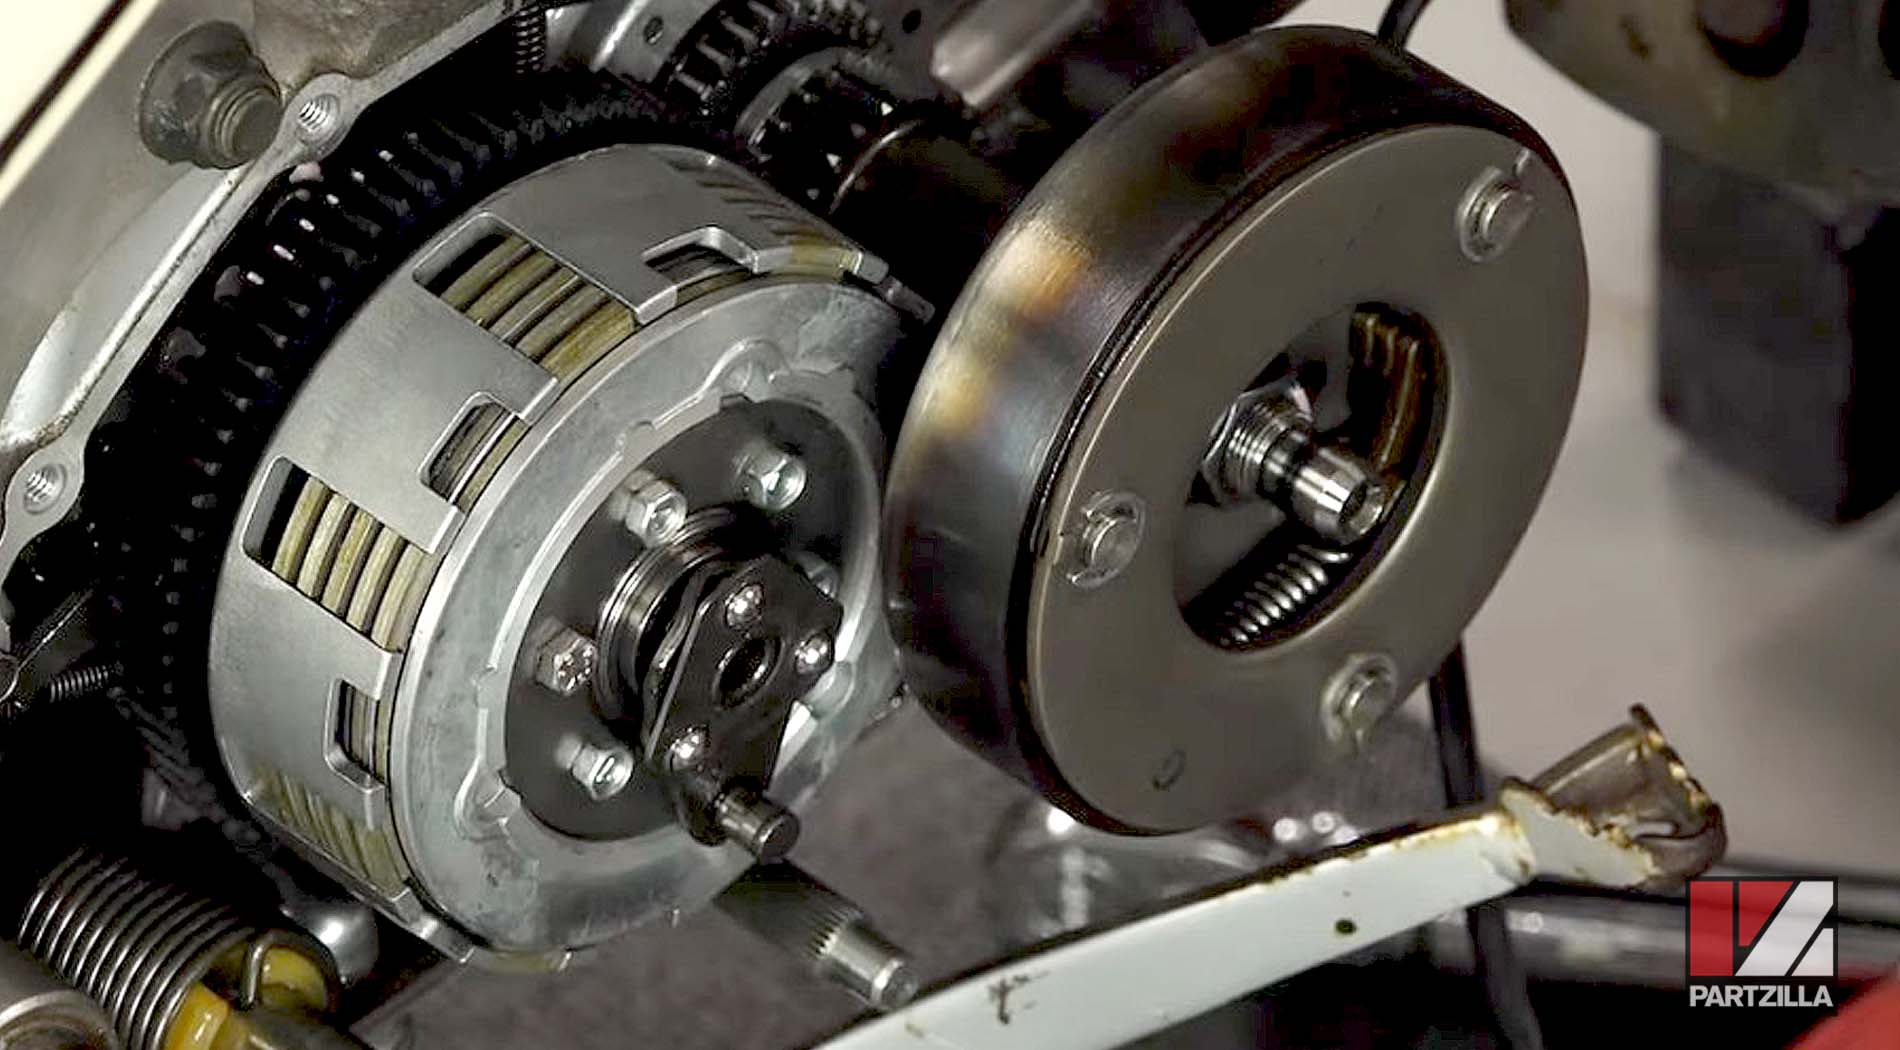
Step 13. Install the primary and secondary clutches together onto the bike.
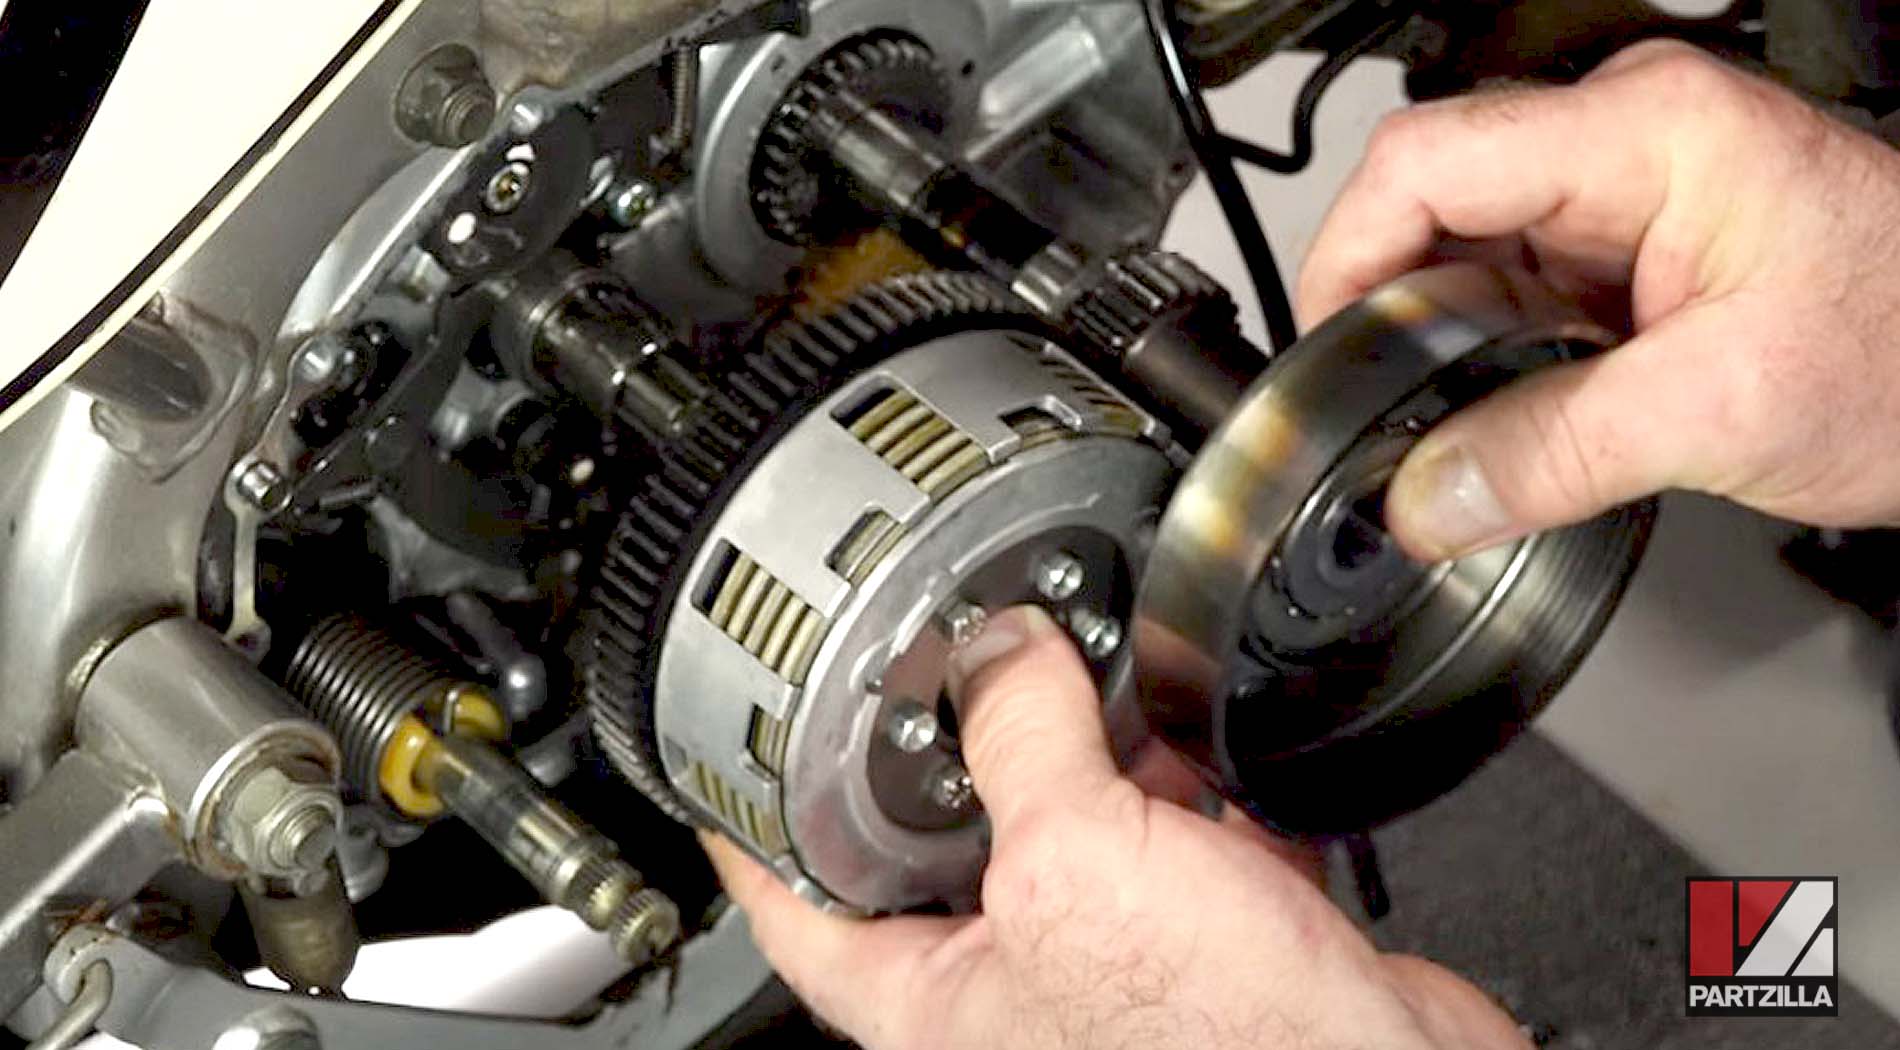
NOTE: You might have to rock the clutch basket or the stack a little bit before it finds the right spline.
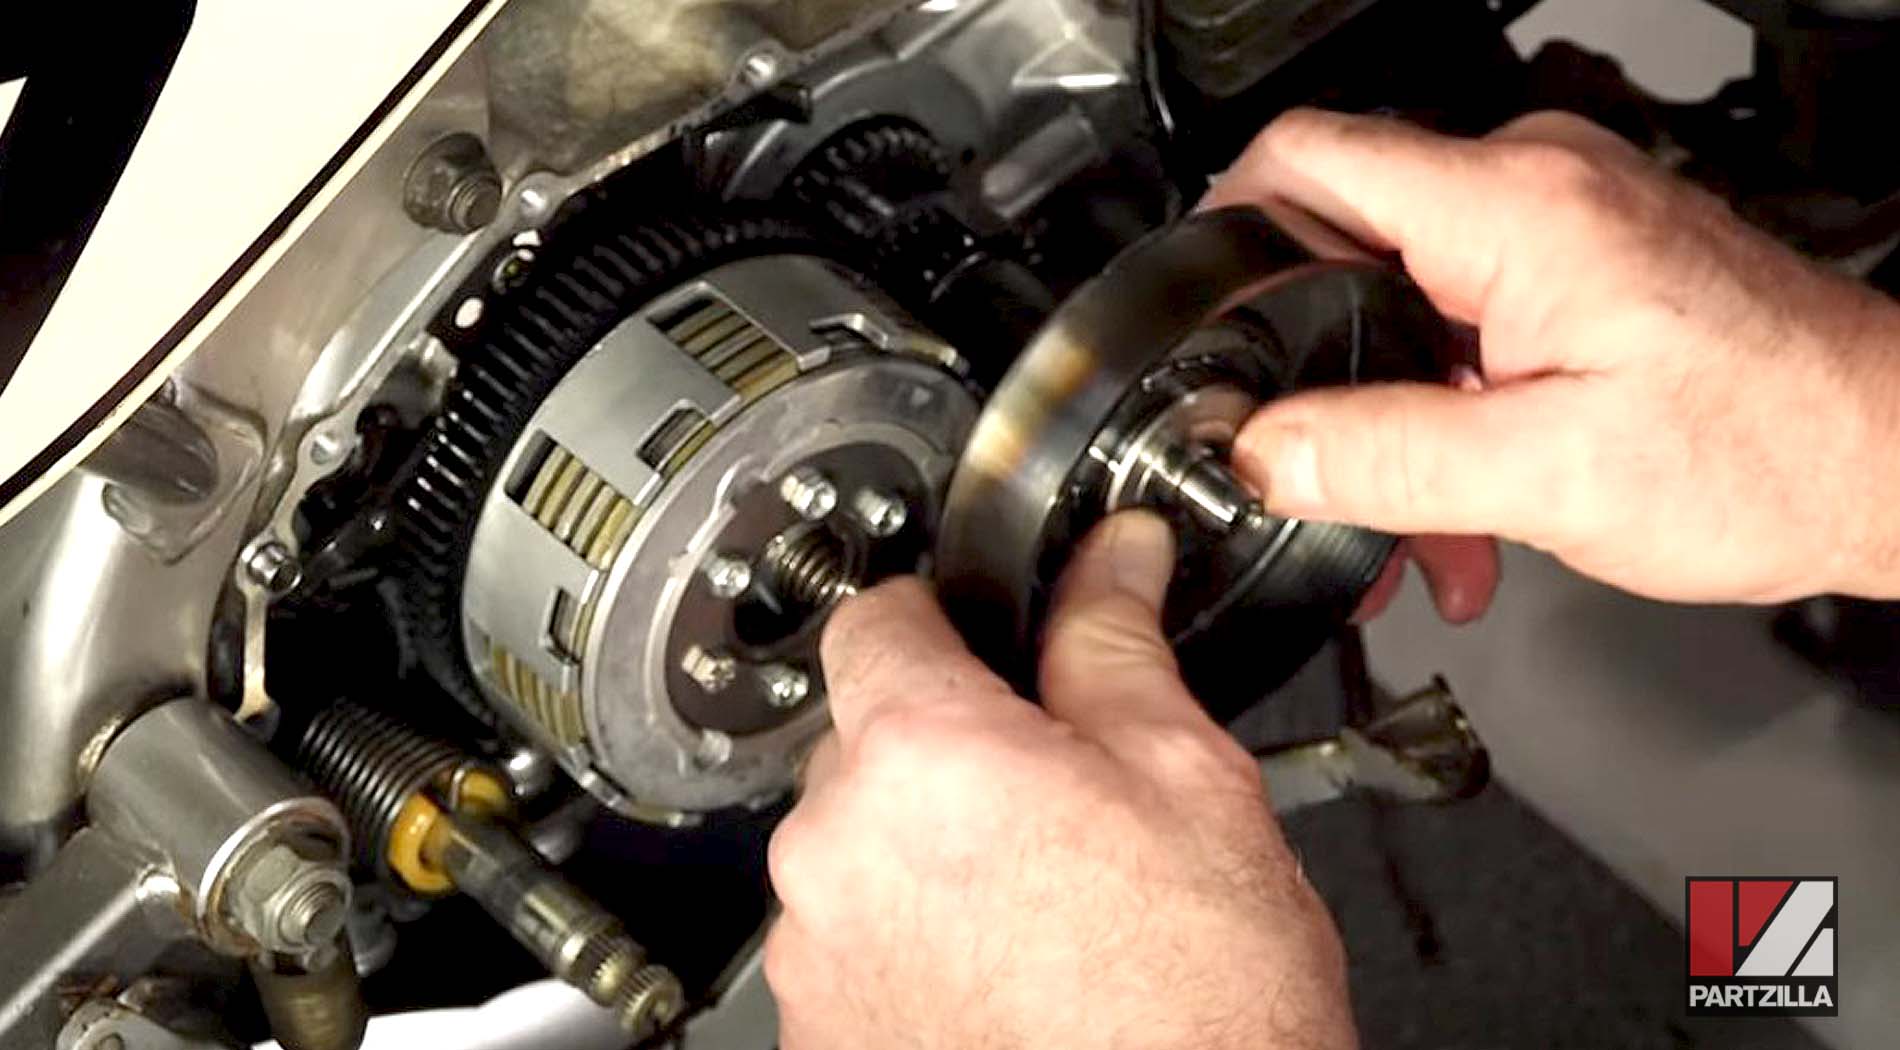
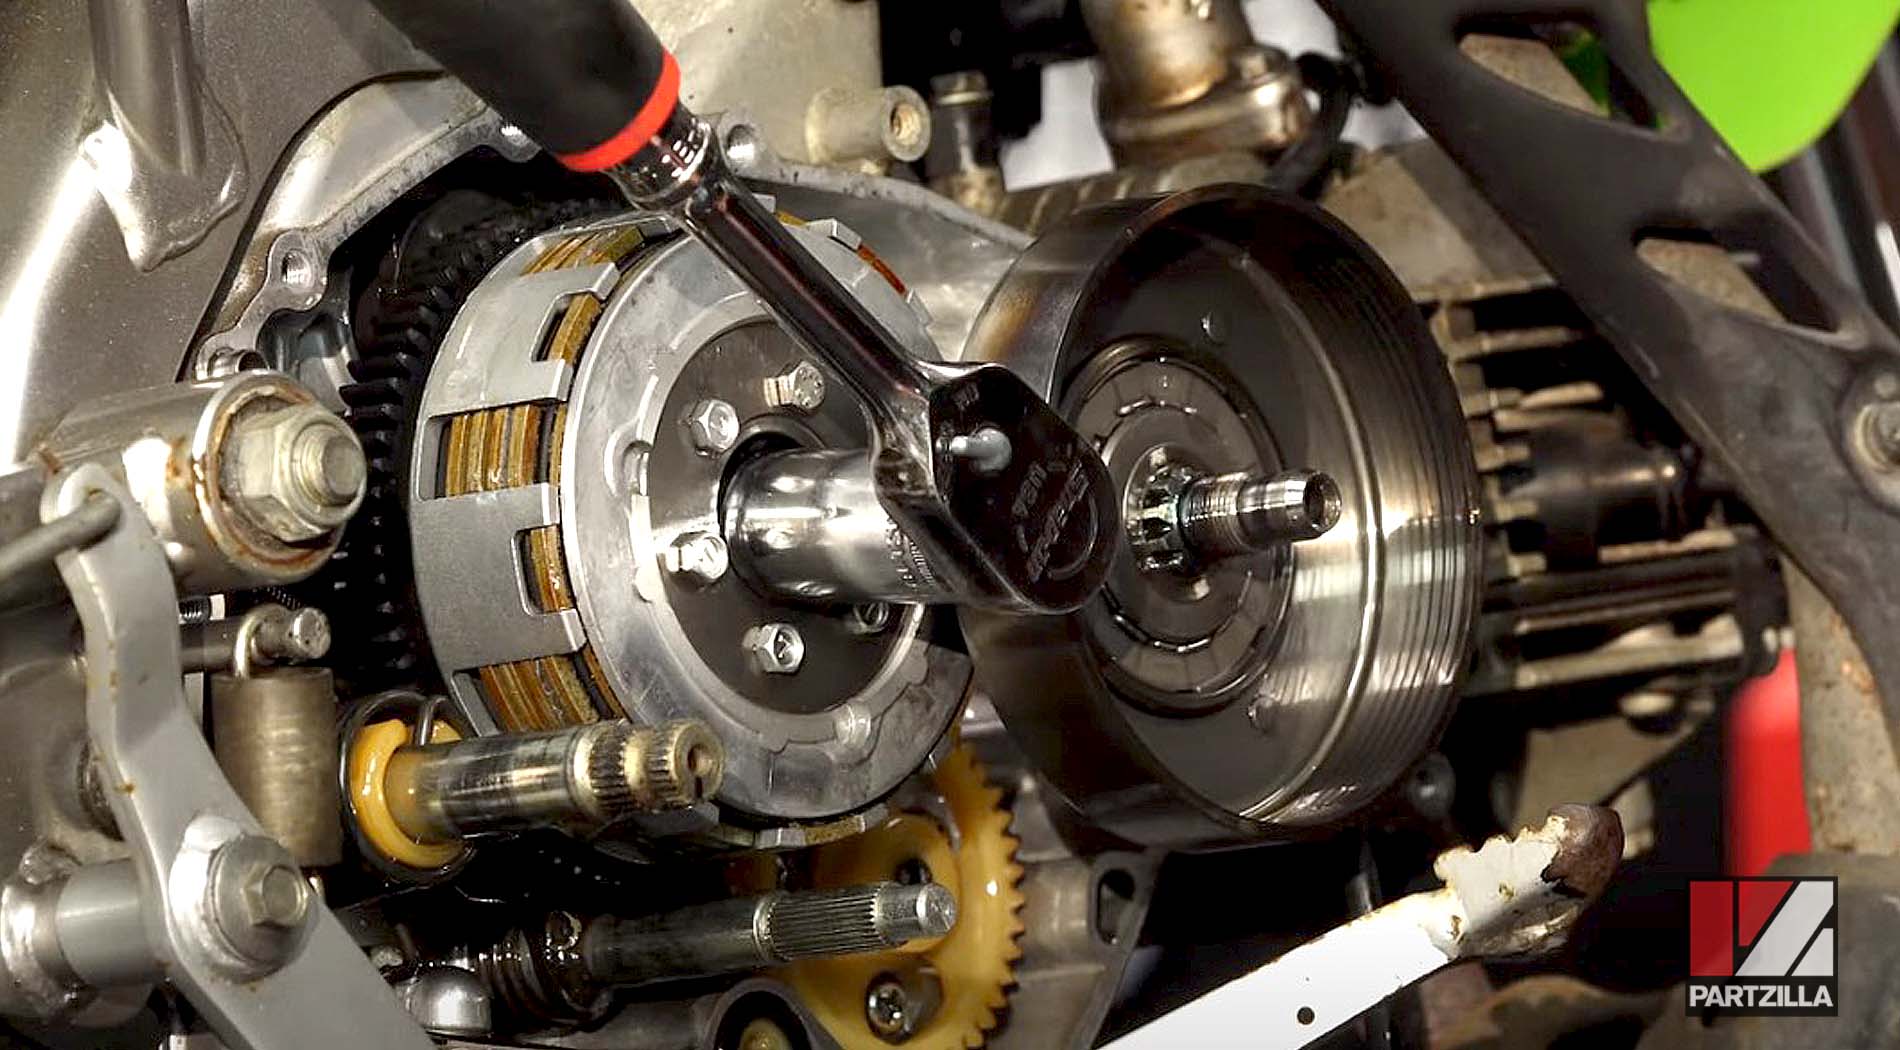
Step 14. Install both clutches’ central nuts and torque them to 53 foot-pounds. Use the pry bar to hold the clutches still.
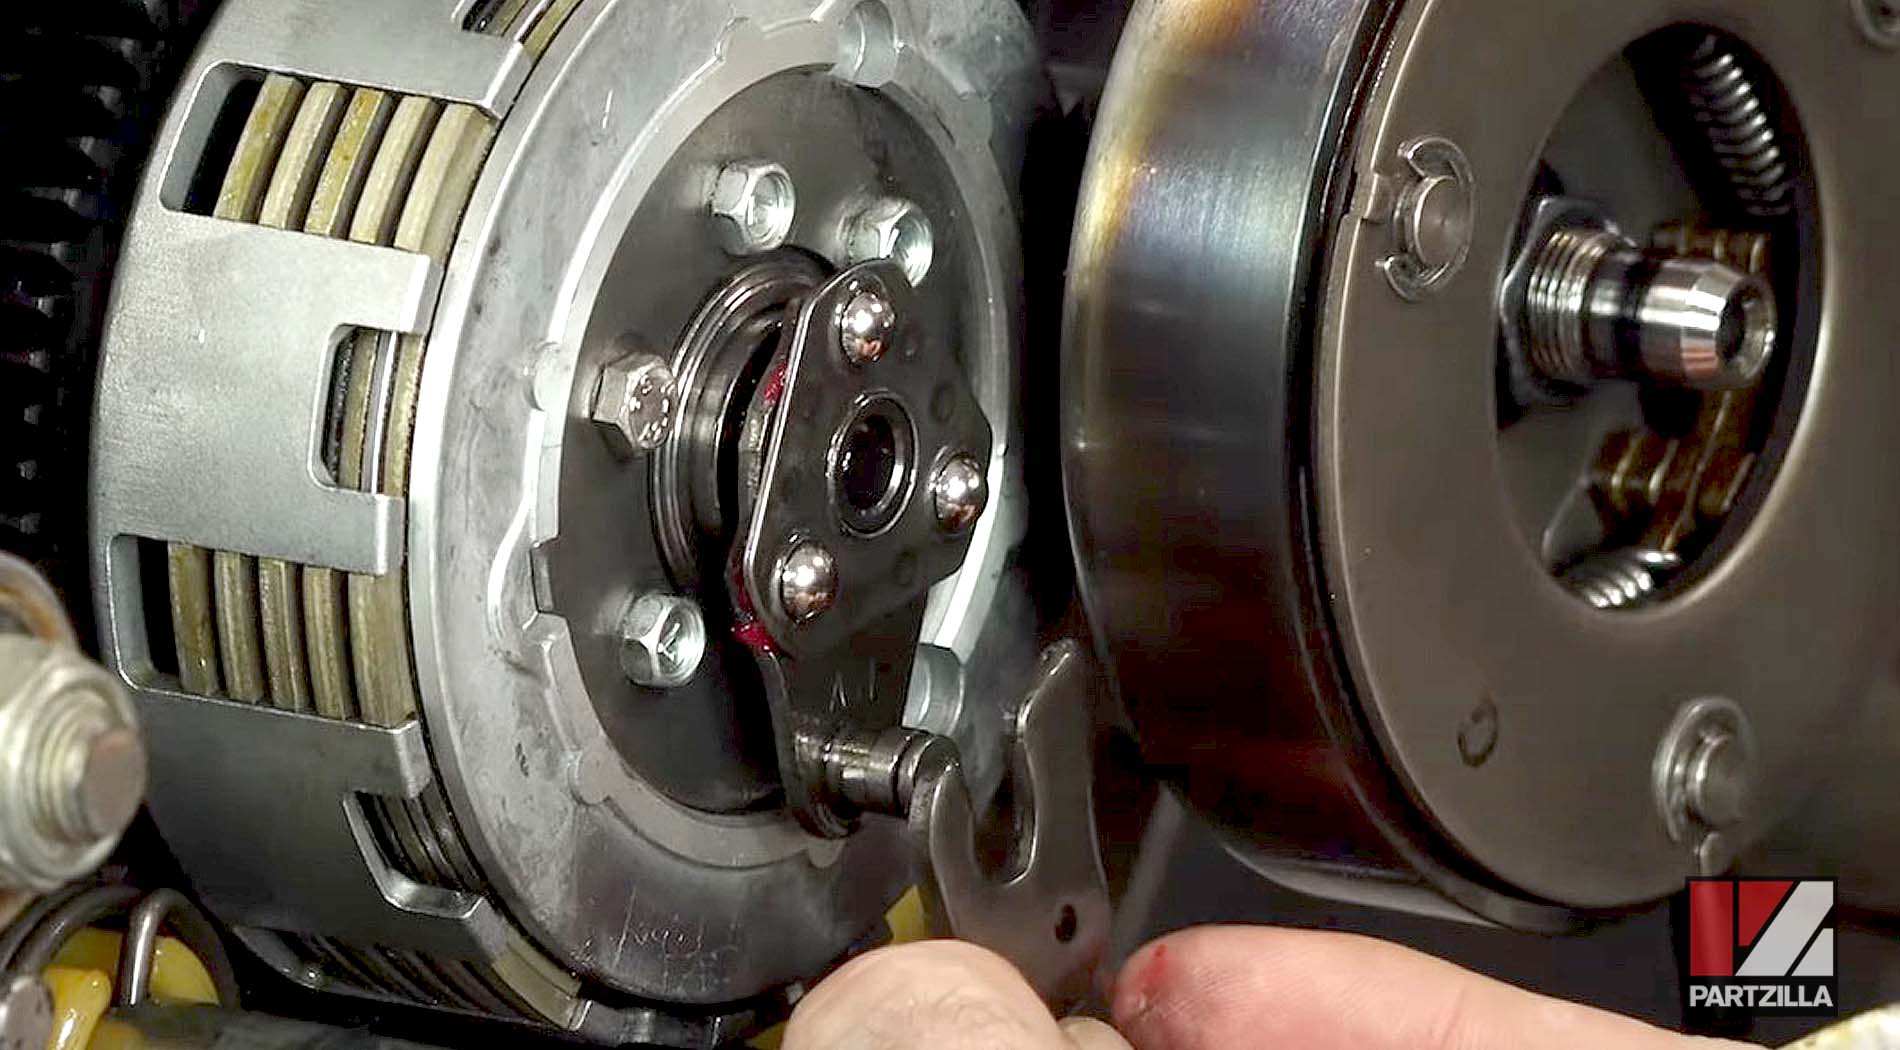
Step 15. Finish reassembling the primary clutch.

Step 16. Install the inner bushing and bearing on the secondary clutch, followed by the release cam and its associated bearing.
Step 17. Install the shift fork by first putting a little assembly grease on either side of it just to hold it in place.

Step 18. Reinstall the clutch cover (with a new gasket), followed by its nine Phillips mounting screws, and torque them to 46 inch-pounds in a crisscross pattern.

NOTE: The top screw has a drain tube holder that goes in with it.

Step 19. Readjust the clutch by breaking loose the lock nut, then bring it in until it’s hard to turn, and then back it out a quarter of a turn and re-tighten it.
Step 20. Refill the engine oil, then remount the kickstarter, the foot pegs and the engine guard and you’re done.
This Kawasaki dirt bike clutch rebuild is part of a larger project to convert it into a pit bike. Watch the video above to learn more about what mods we’ll be doing to our 2006 Kawasaki KLX 110.