How to Bleed Kawasaki KLR 650 Brakes
Bleeding the brakes is an important step to any maintenance you do on a Kawasaki motorcycle in which you open up the braking system.
It’s also a great addition to your bike’s routine maintenance schedule, since brake fluid absorbs moisture over time, cutting short your motorcycle's stopping power. Watch the video above and follow the steps below to learn how to do a Kawasaki KLR 650 brake bleed.
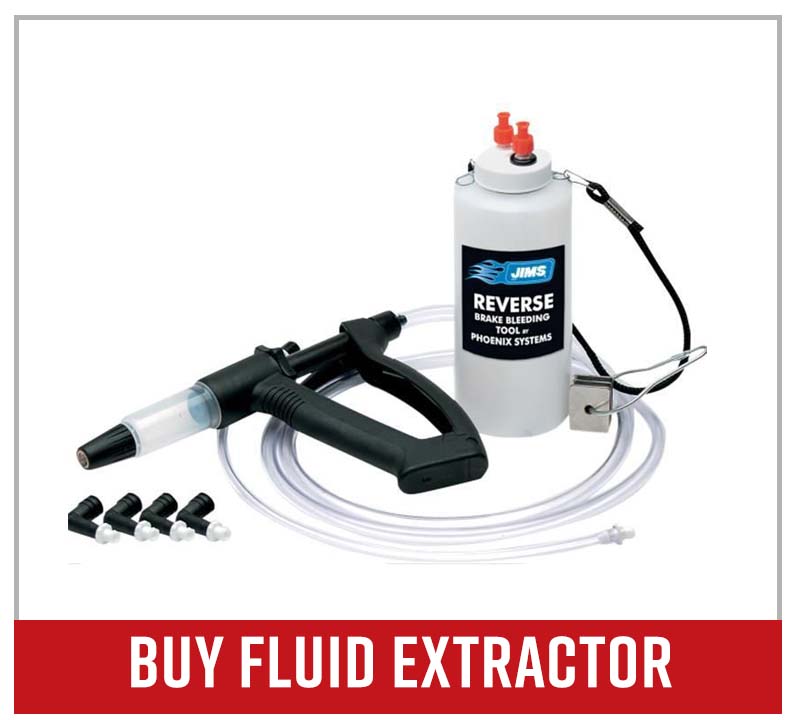
Tools and Parts – Kawasaki KLR 650 Brake Bleed
- 10mm box-end wrench
- Phillips screwdriver
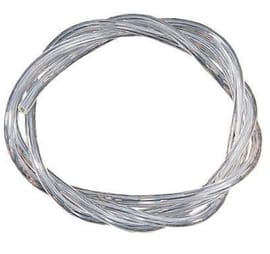
- 3/16th hose
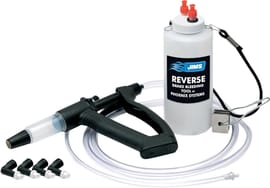
- Fluid extractor
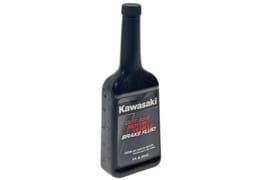
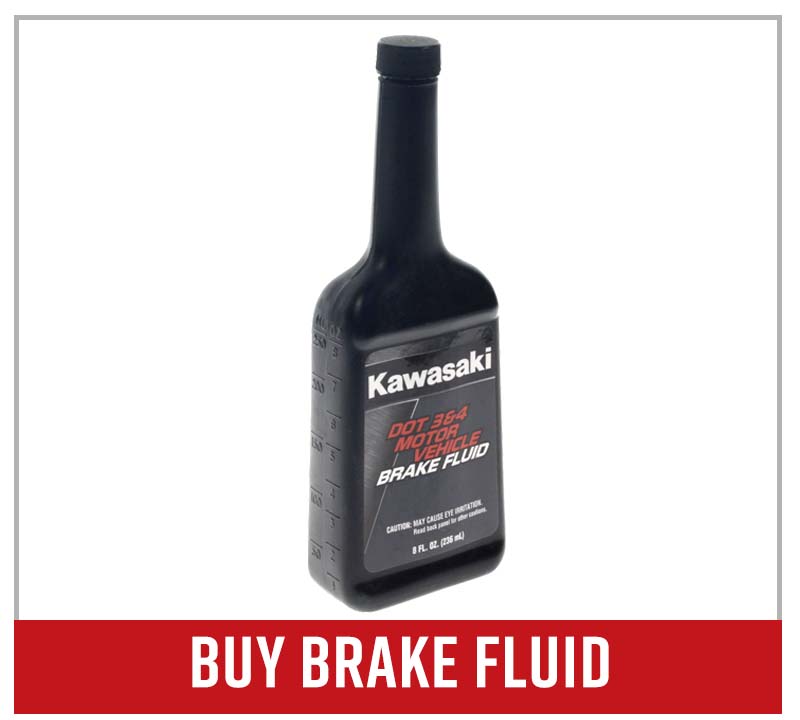
- Kawasaki DOT 4 brake fluid
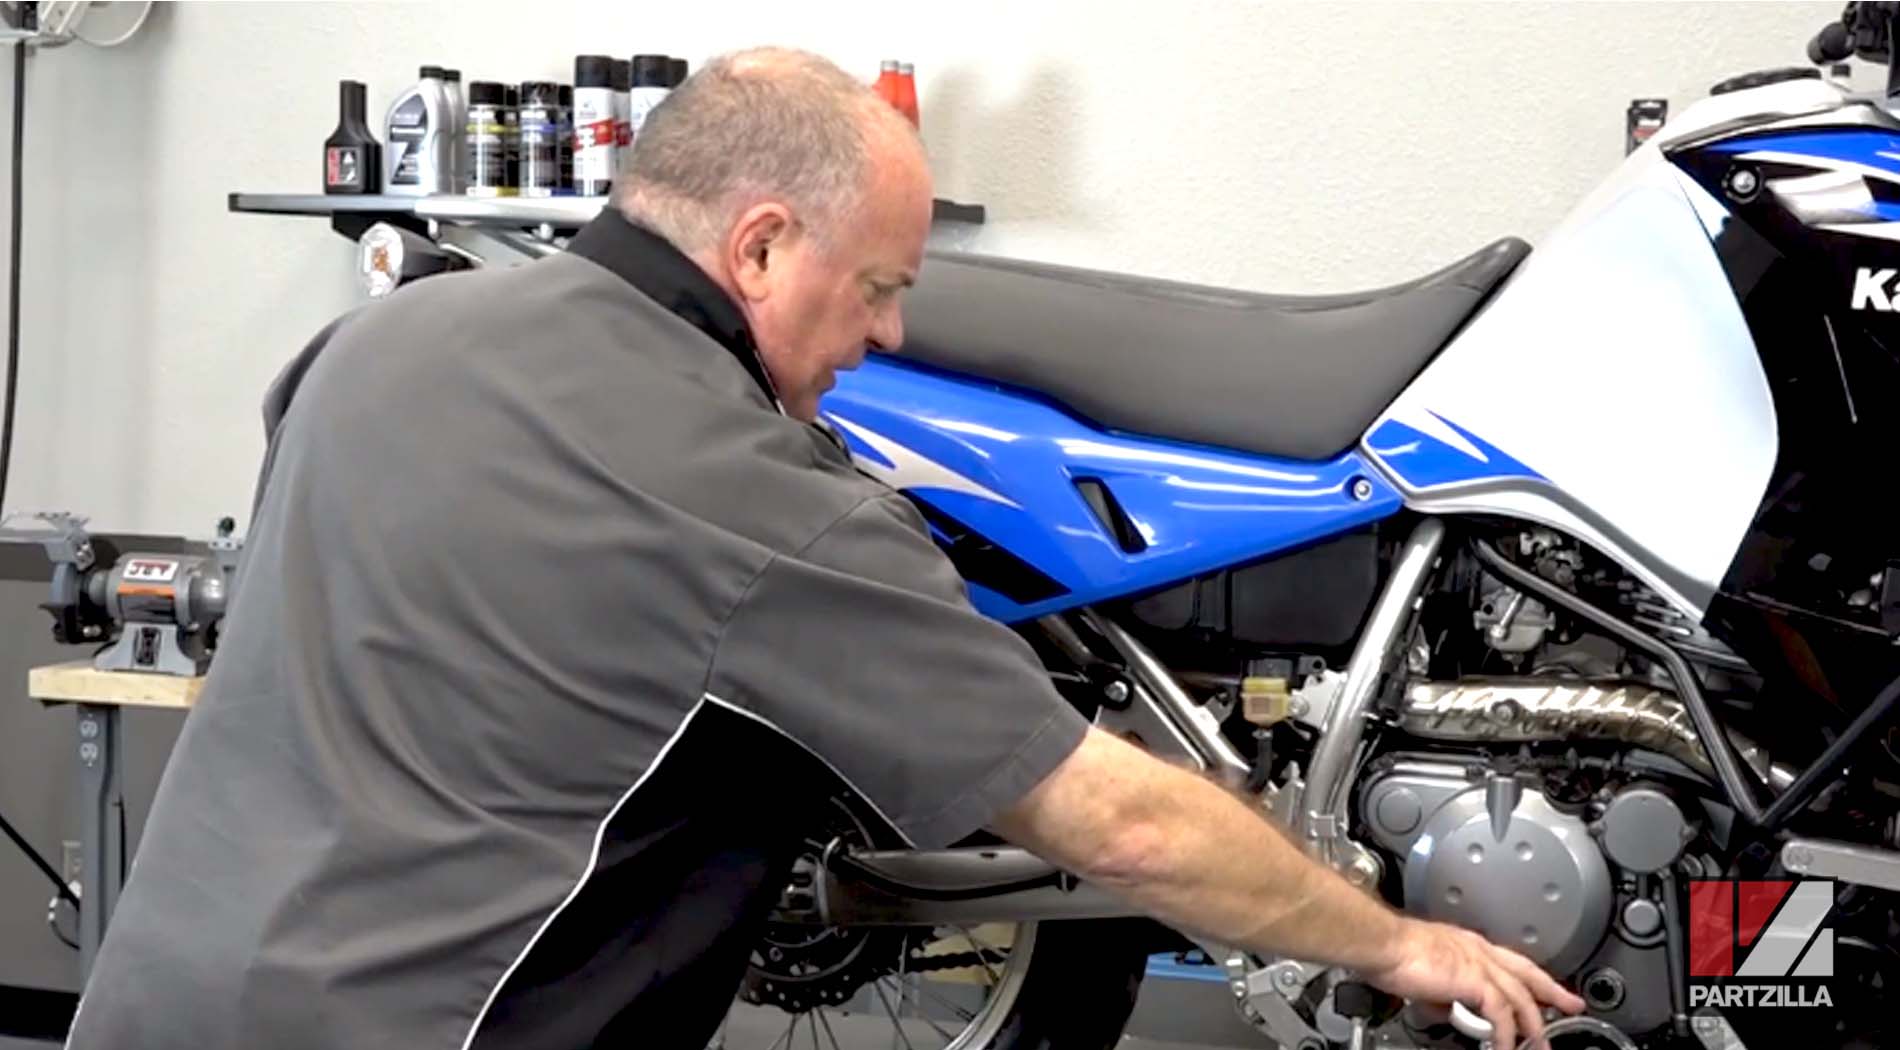
Bleeding the Rear Brakes on a Kawasaki KLR650
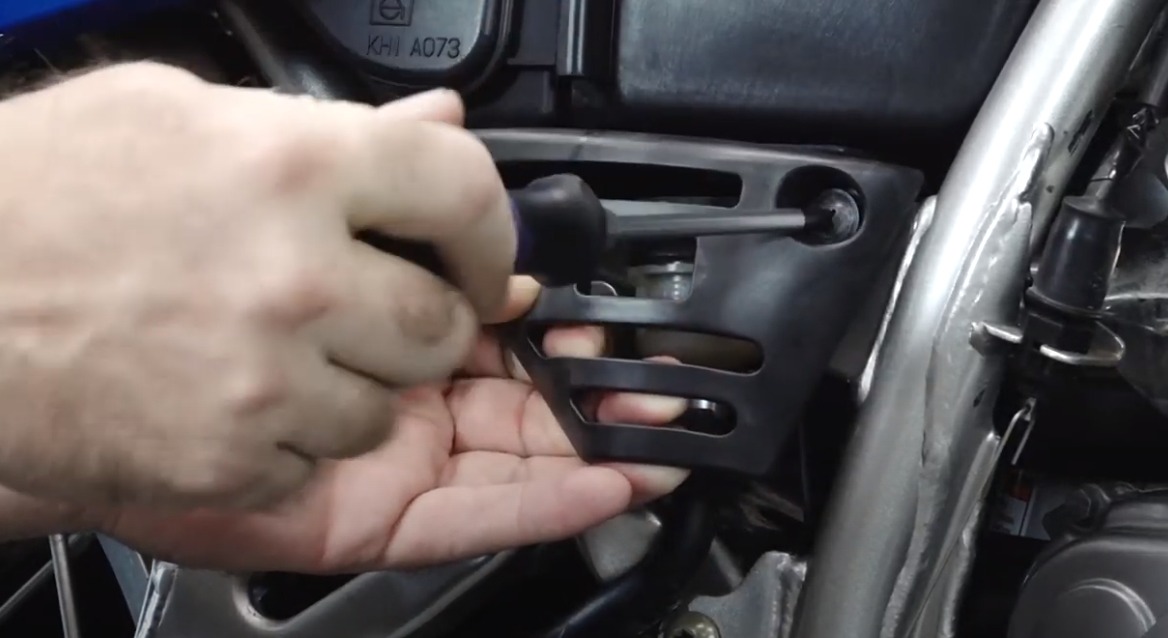
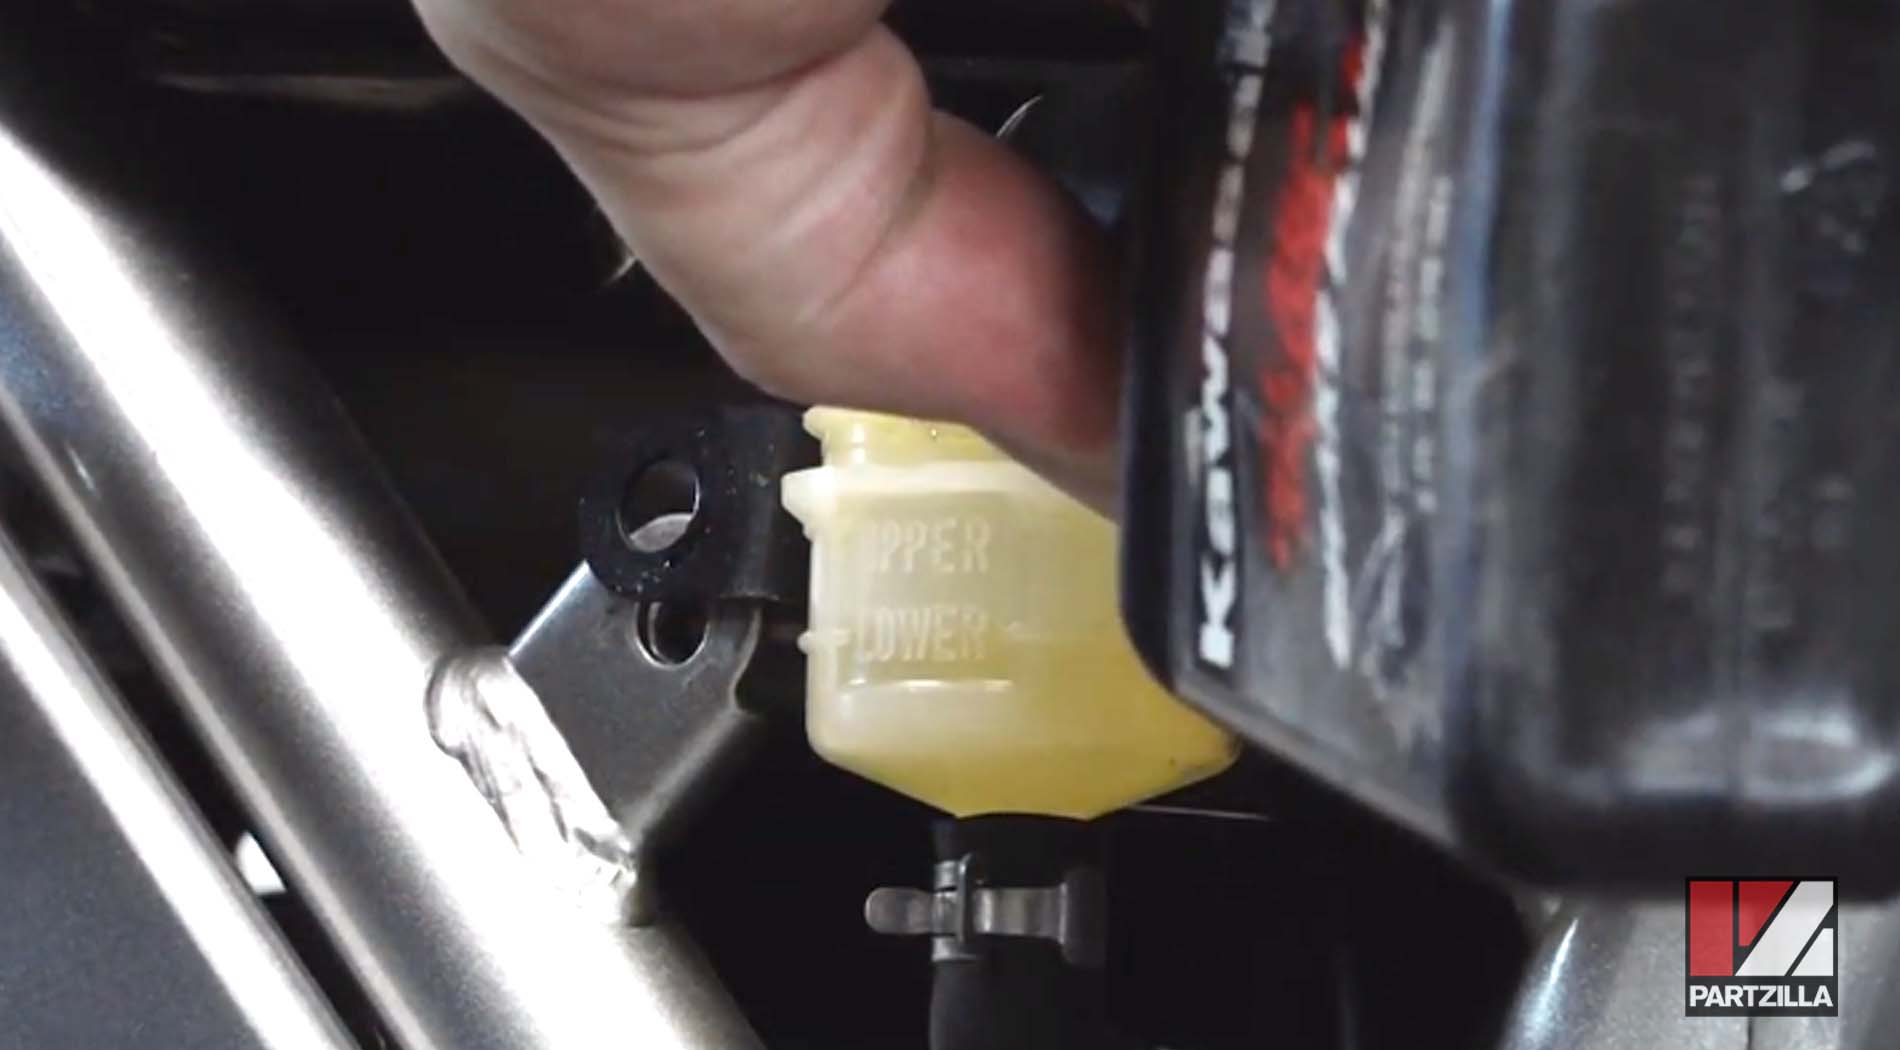
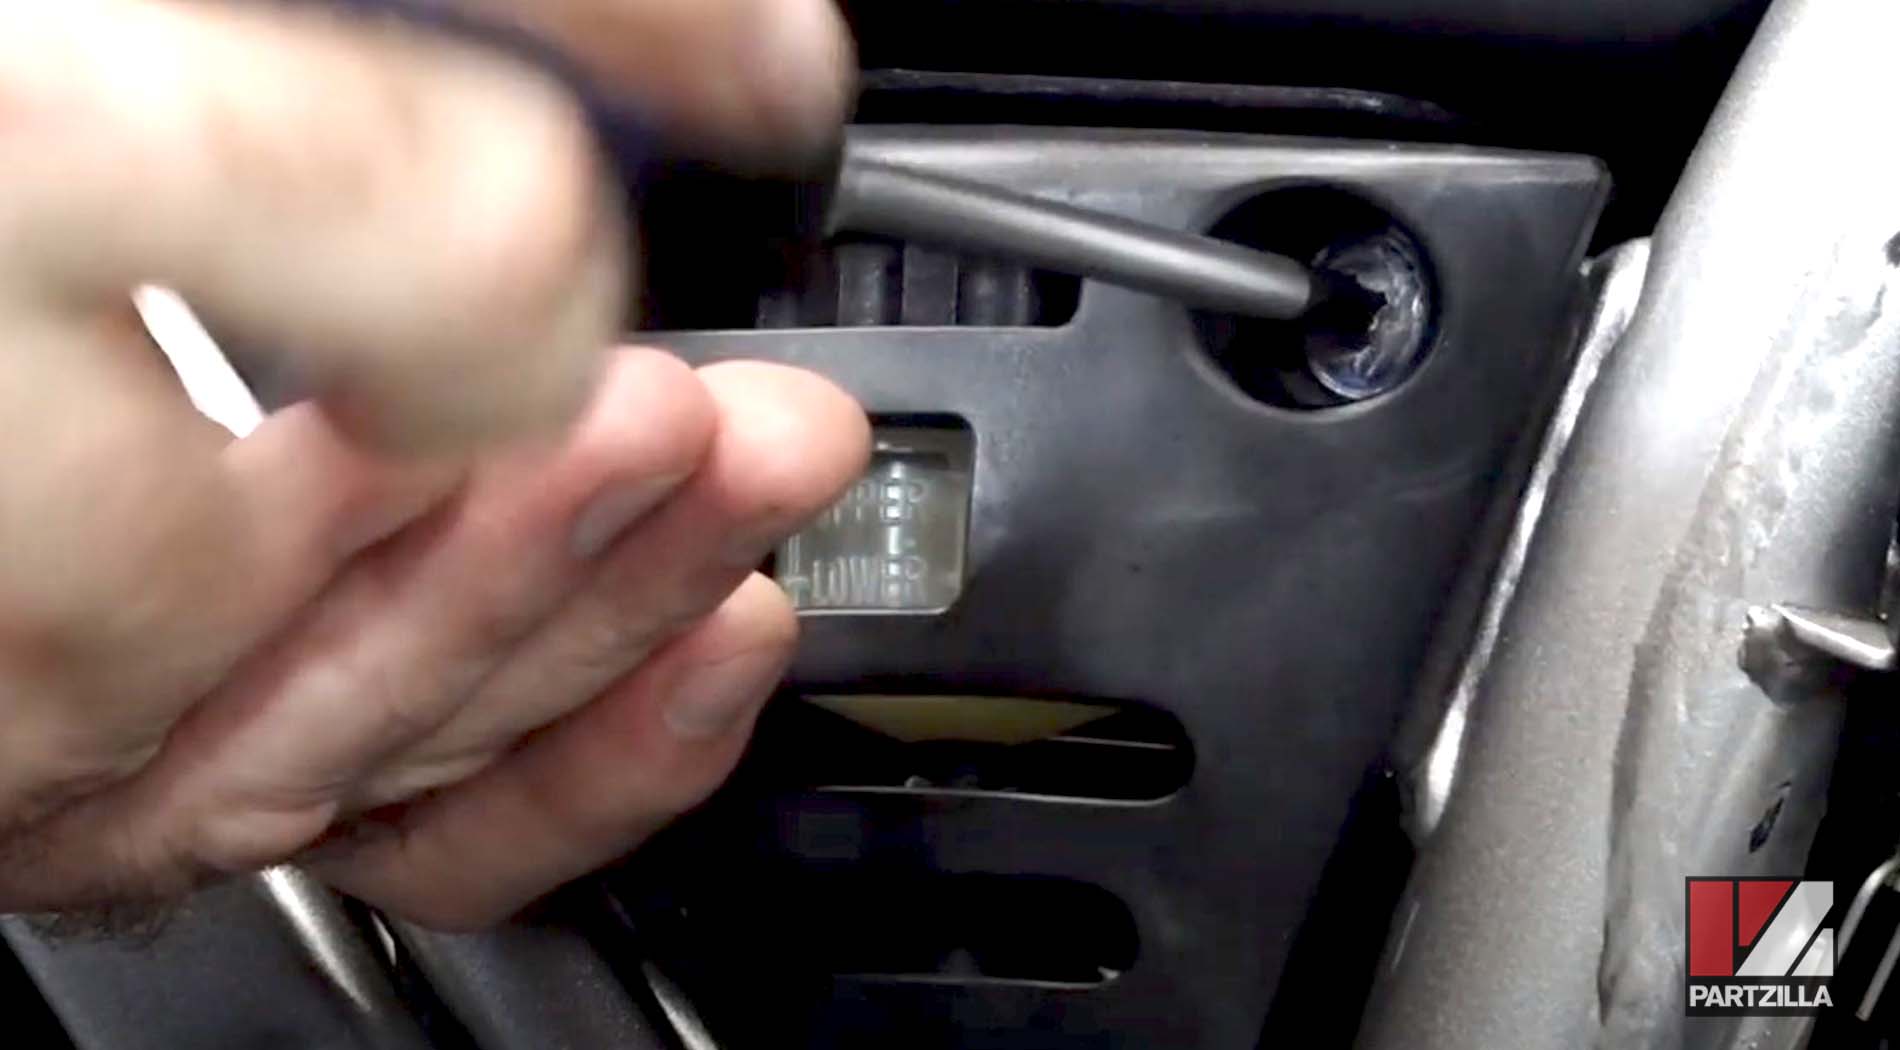
Step 1: Use a Phillips head screwdriver to remove the protective cover of the rear brake reservoir on the right side of the motorcycle.
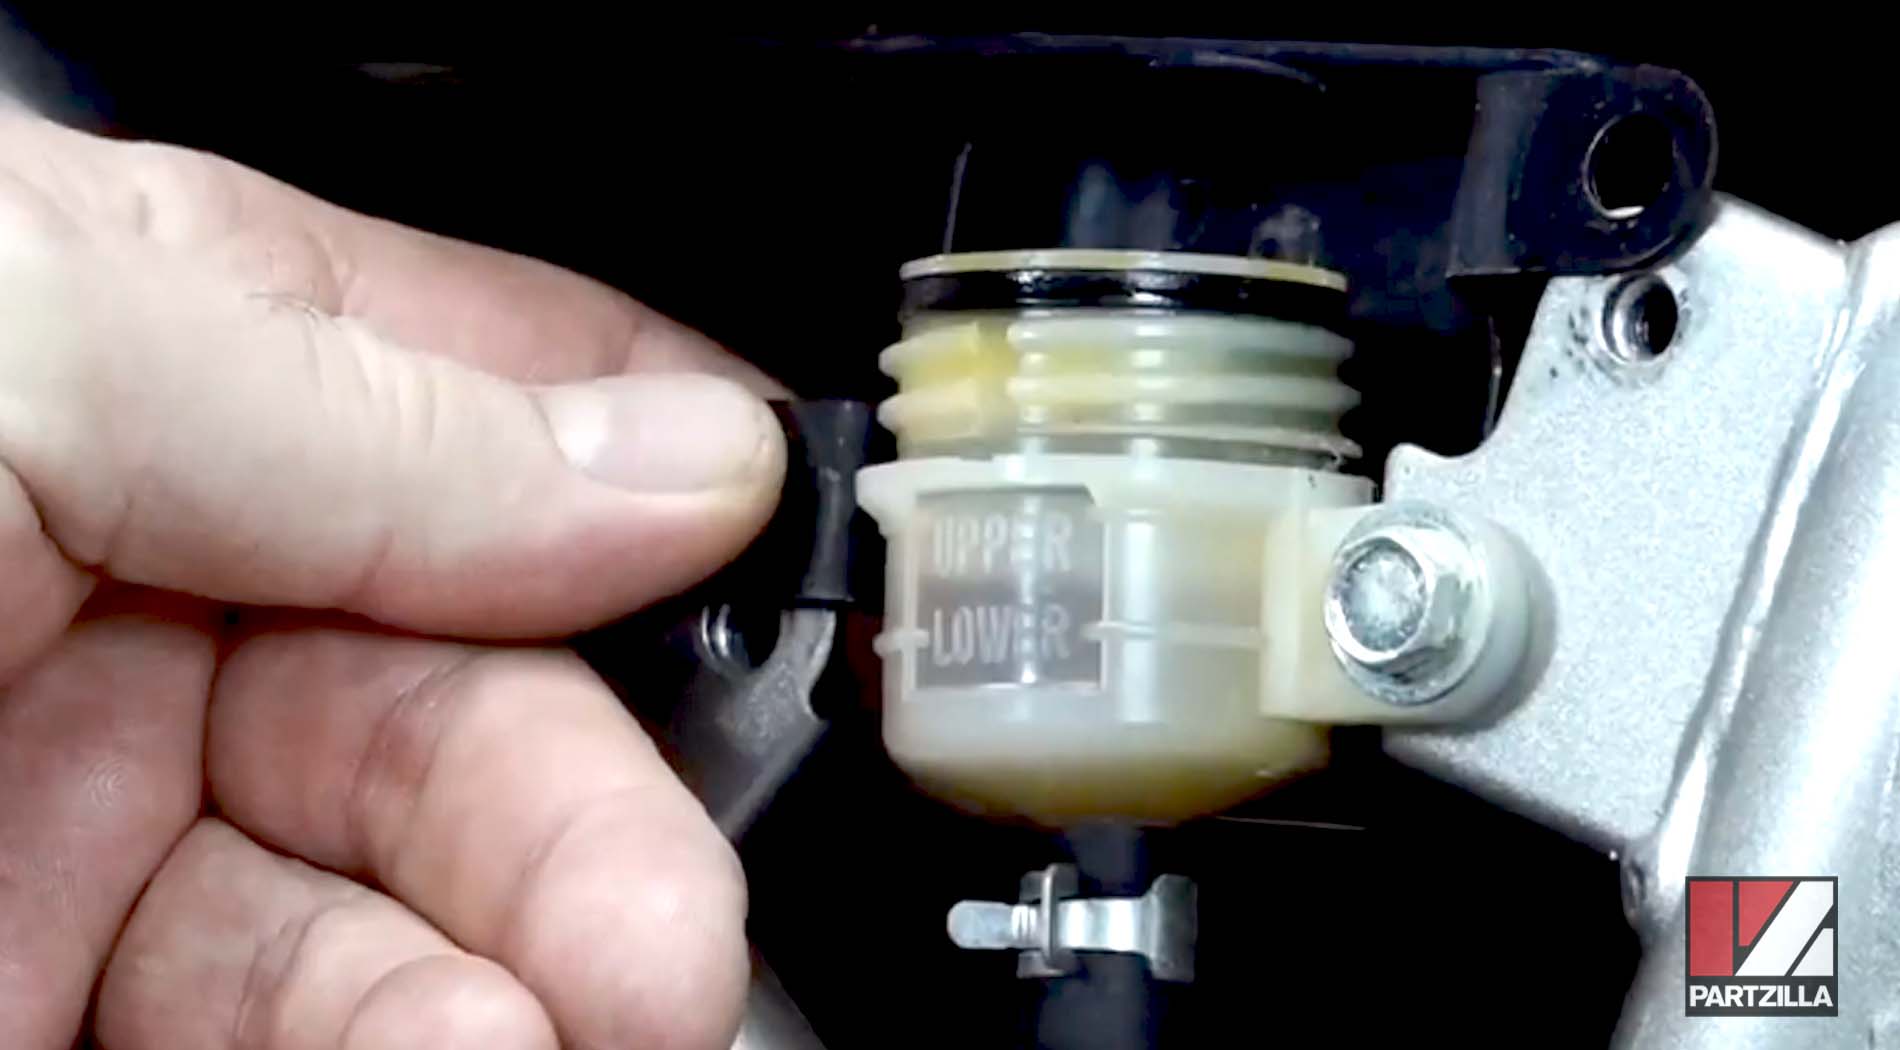
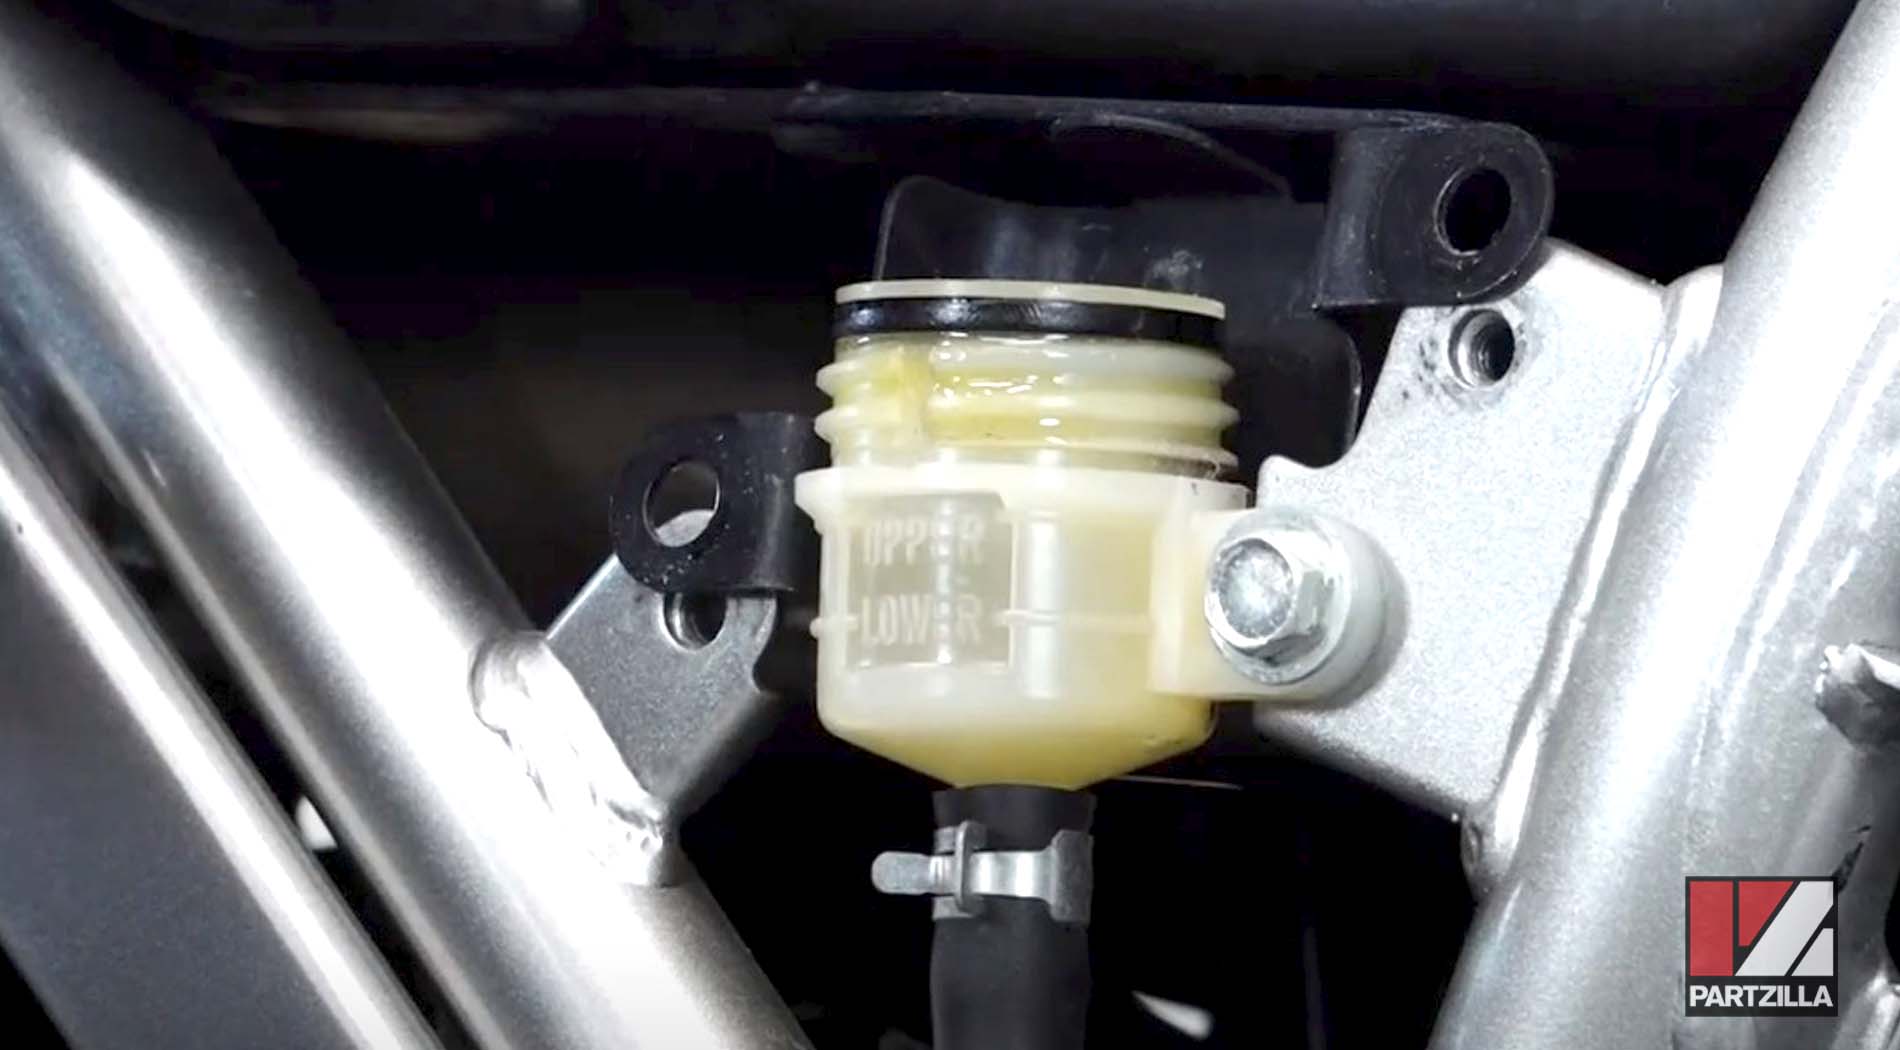
Step 2: Remove the cap and the nylon diaphragm from the brake fluid reservoir, and top off the reservoir with DOT 4 brake fluid.
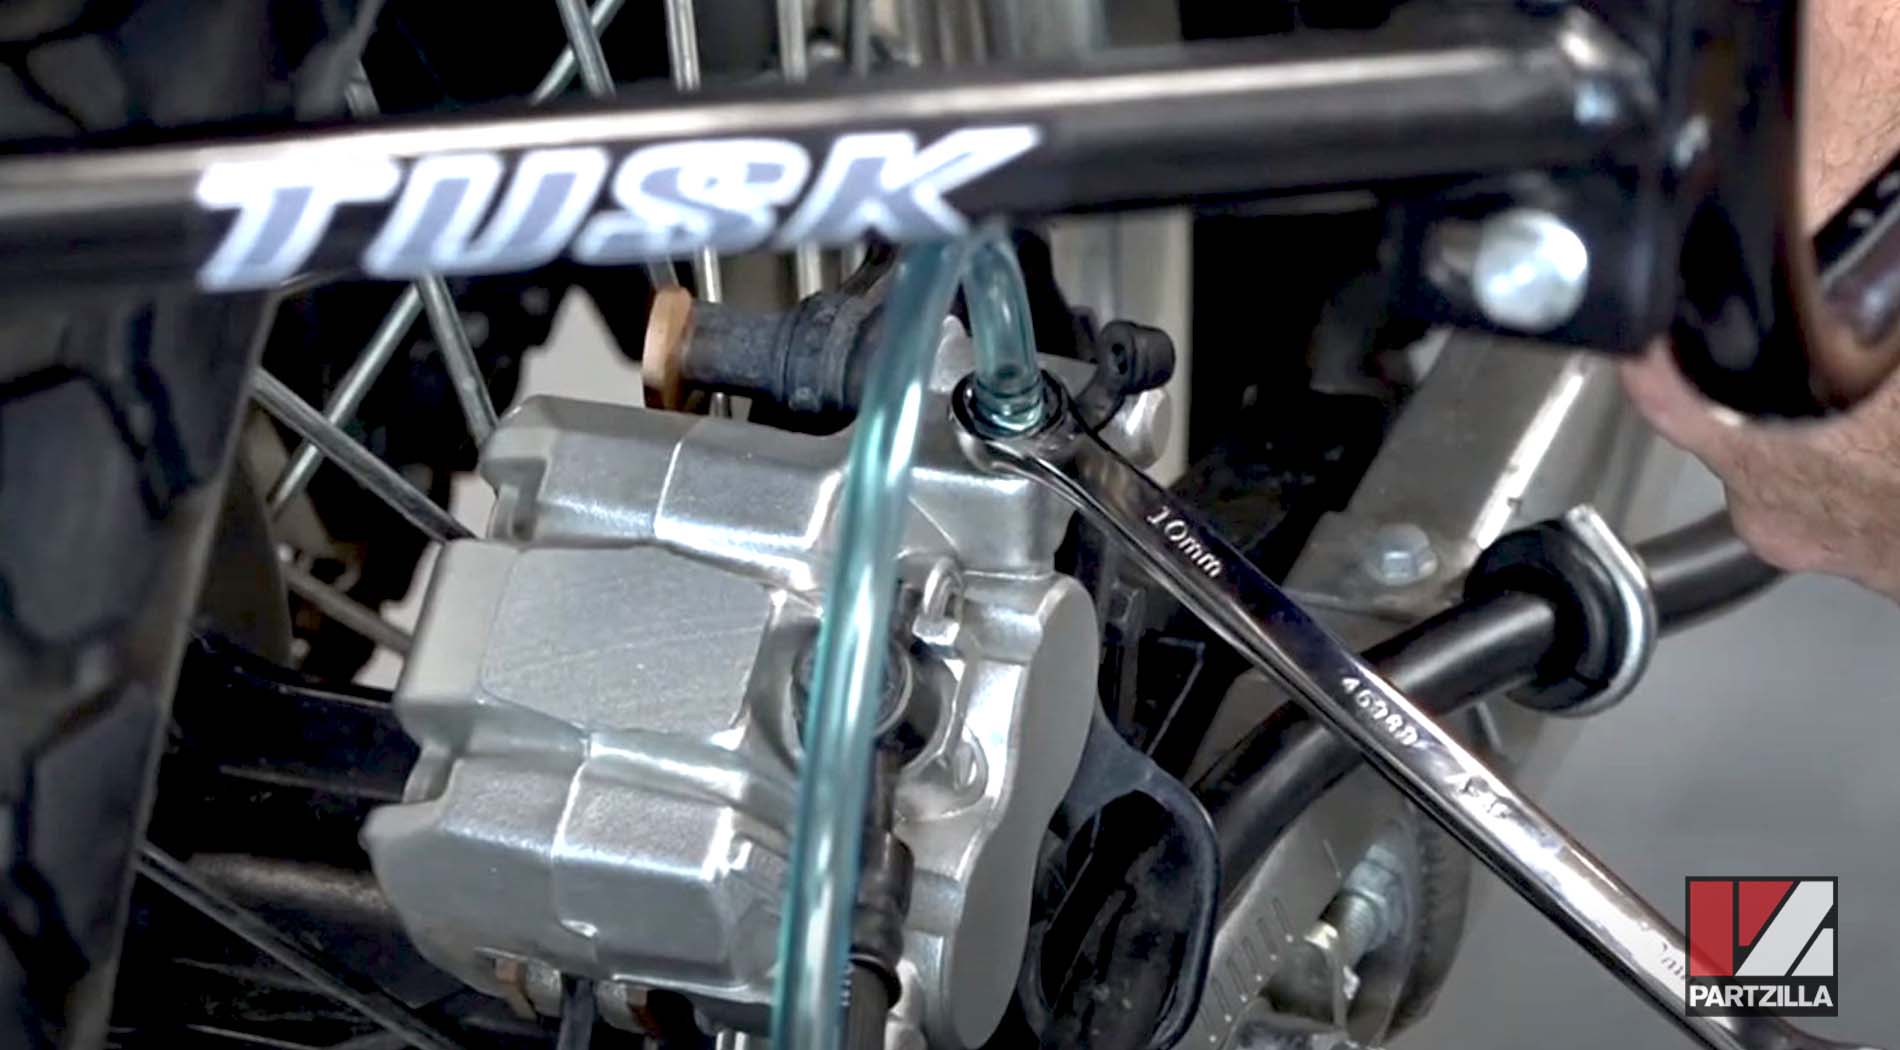
Step 3. Position a box-end wrench over the brake fluid drain valve located on top of the caliper, then attach a 3/16th hose to that valve, and run the other end of the hose to a drain pan.
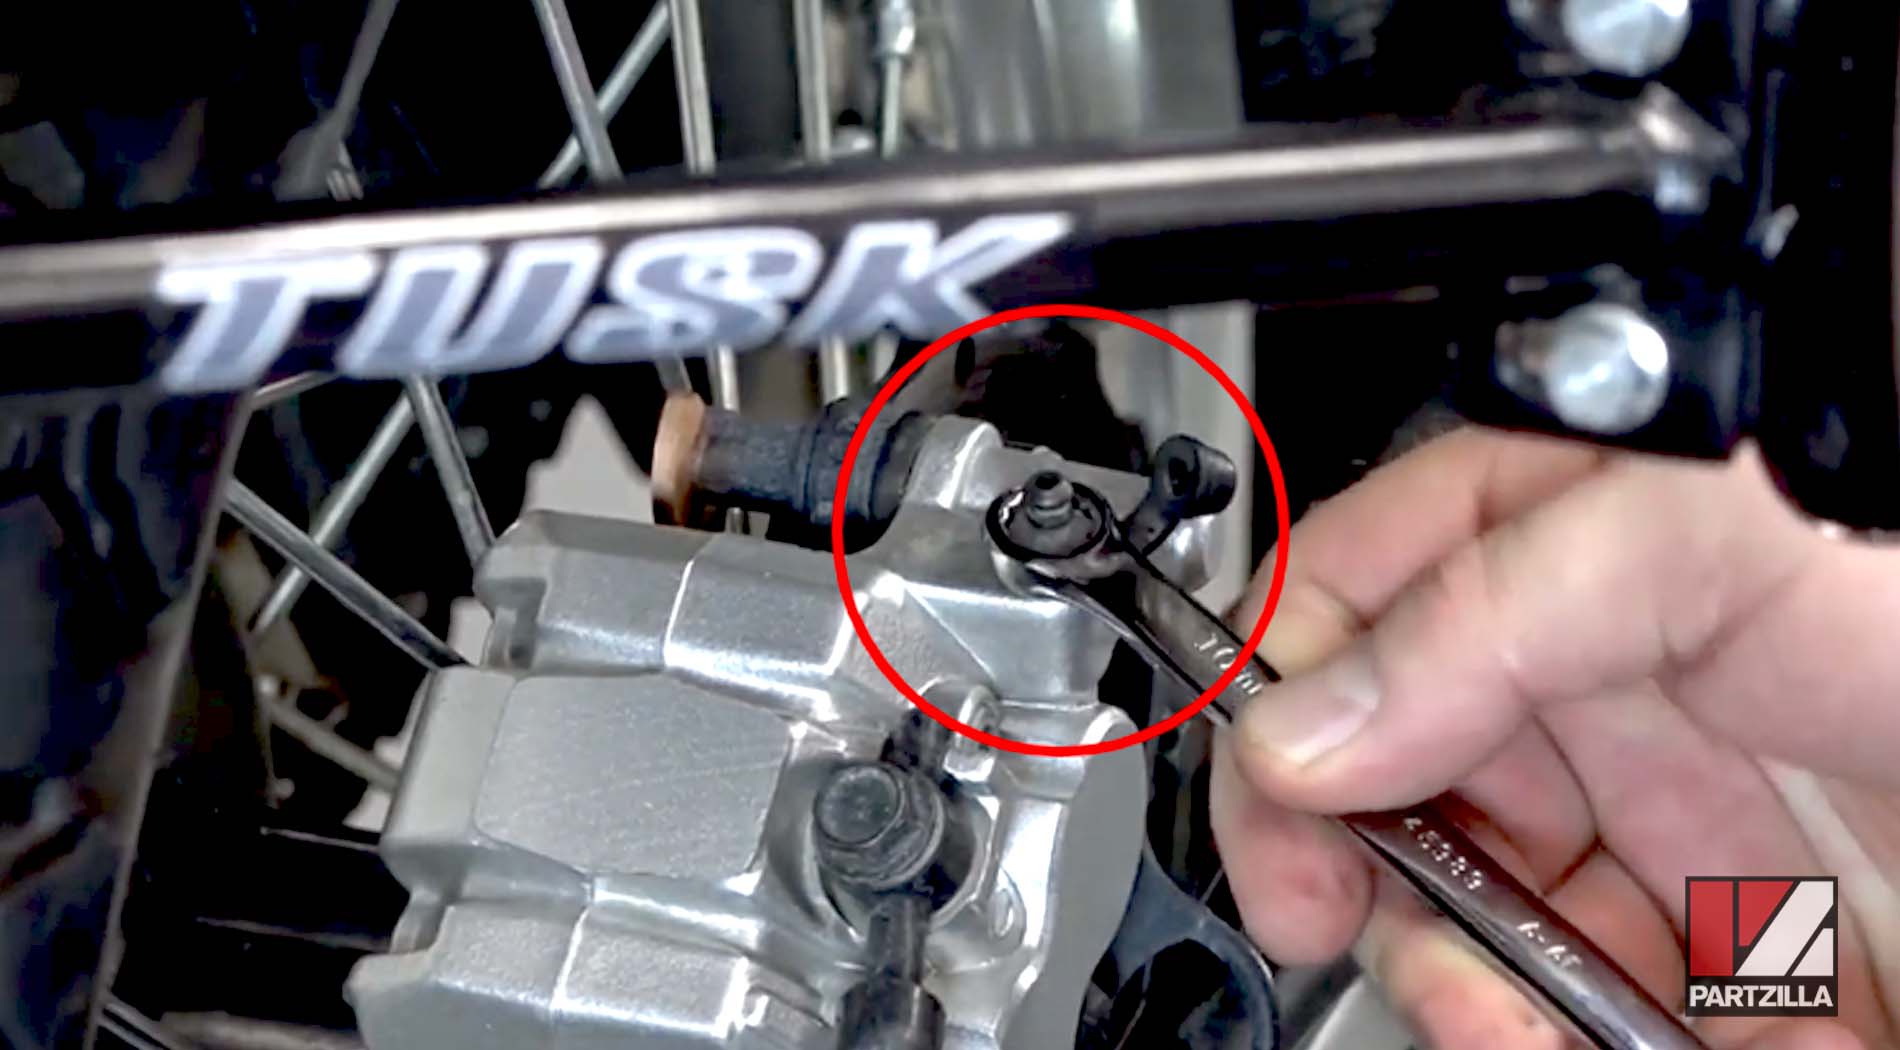
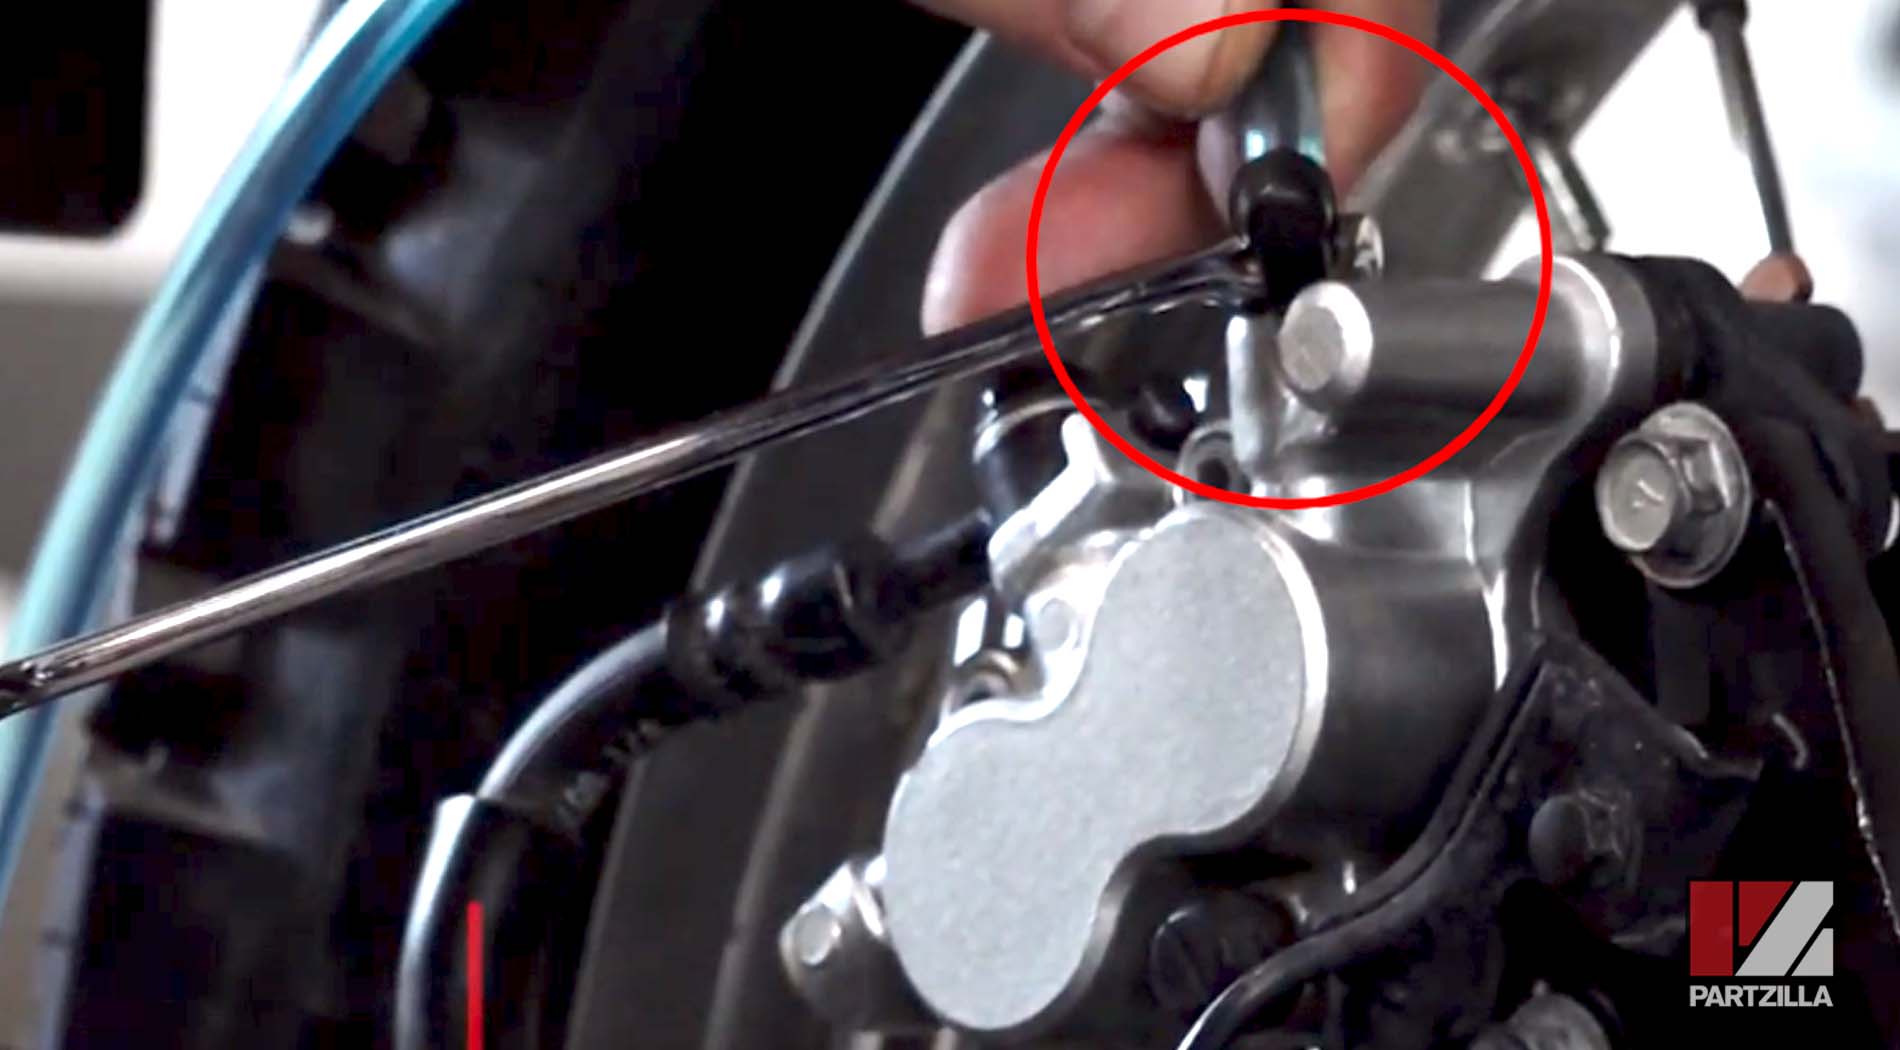
Step 4. Use a hand to pump the brake pedal a few times, and then hold that pressure on the pedal. Turn the wrench about a quarter turn to open the valve on the caliper, which will start the flow of brake fluid. As the fluid comes out, you’ll feel the brake pedal bottom out in your hand. When it does, proceed with the next step.
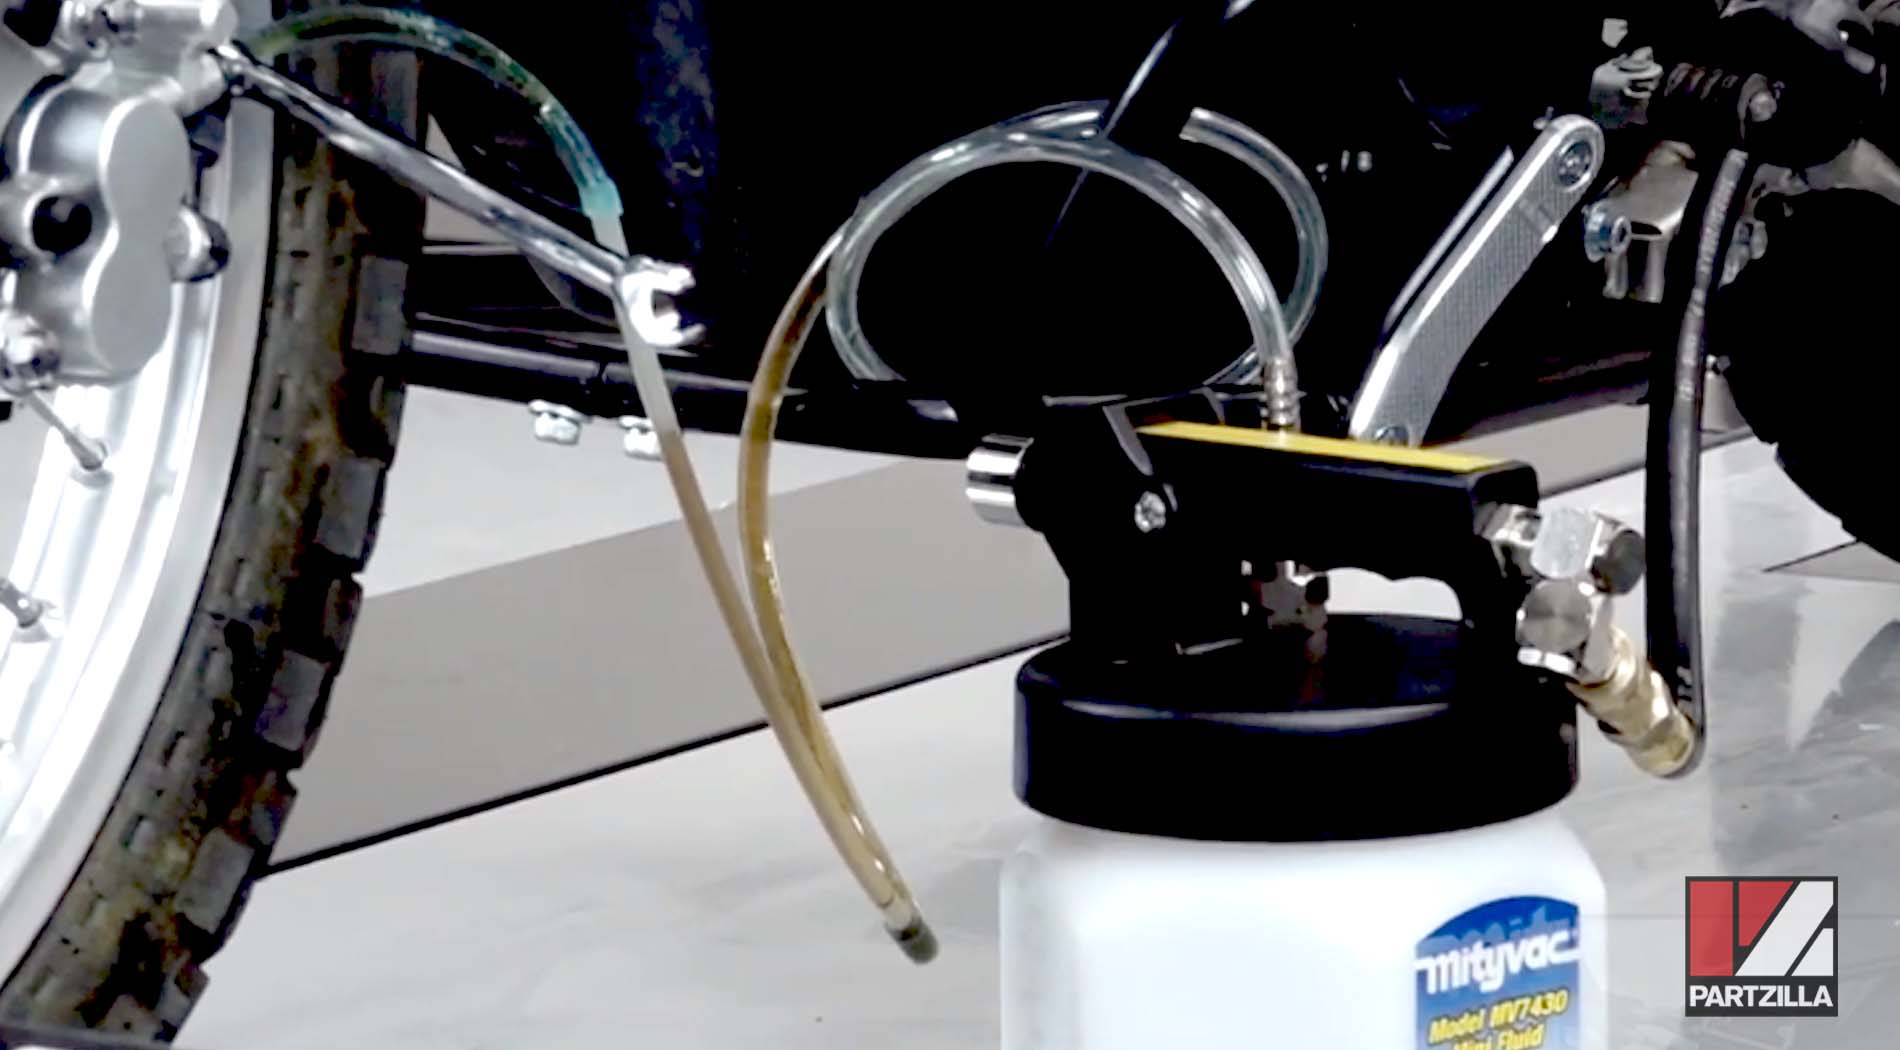
NOTE: For bleeding the brakes, the manual method uses brake pressure to drive the old brake fluid out of the system. For the fluid extractor method, the extractor pulls the fluid from the bottom of the system. If you’re using a fluid extractor, keep topping off the brake fluid in the reservoir to prevent air from pulling into the system.
Step 5. Turn the valve a quarter turn back to close it, then repeat the process until the fluid turns from the brownish color of old fluid to the clearer color of new fluid. Keep adding fluid into the reservoir to pull it through the system.
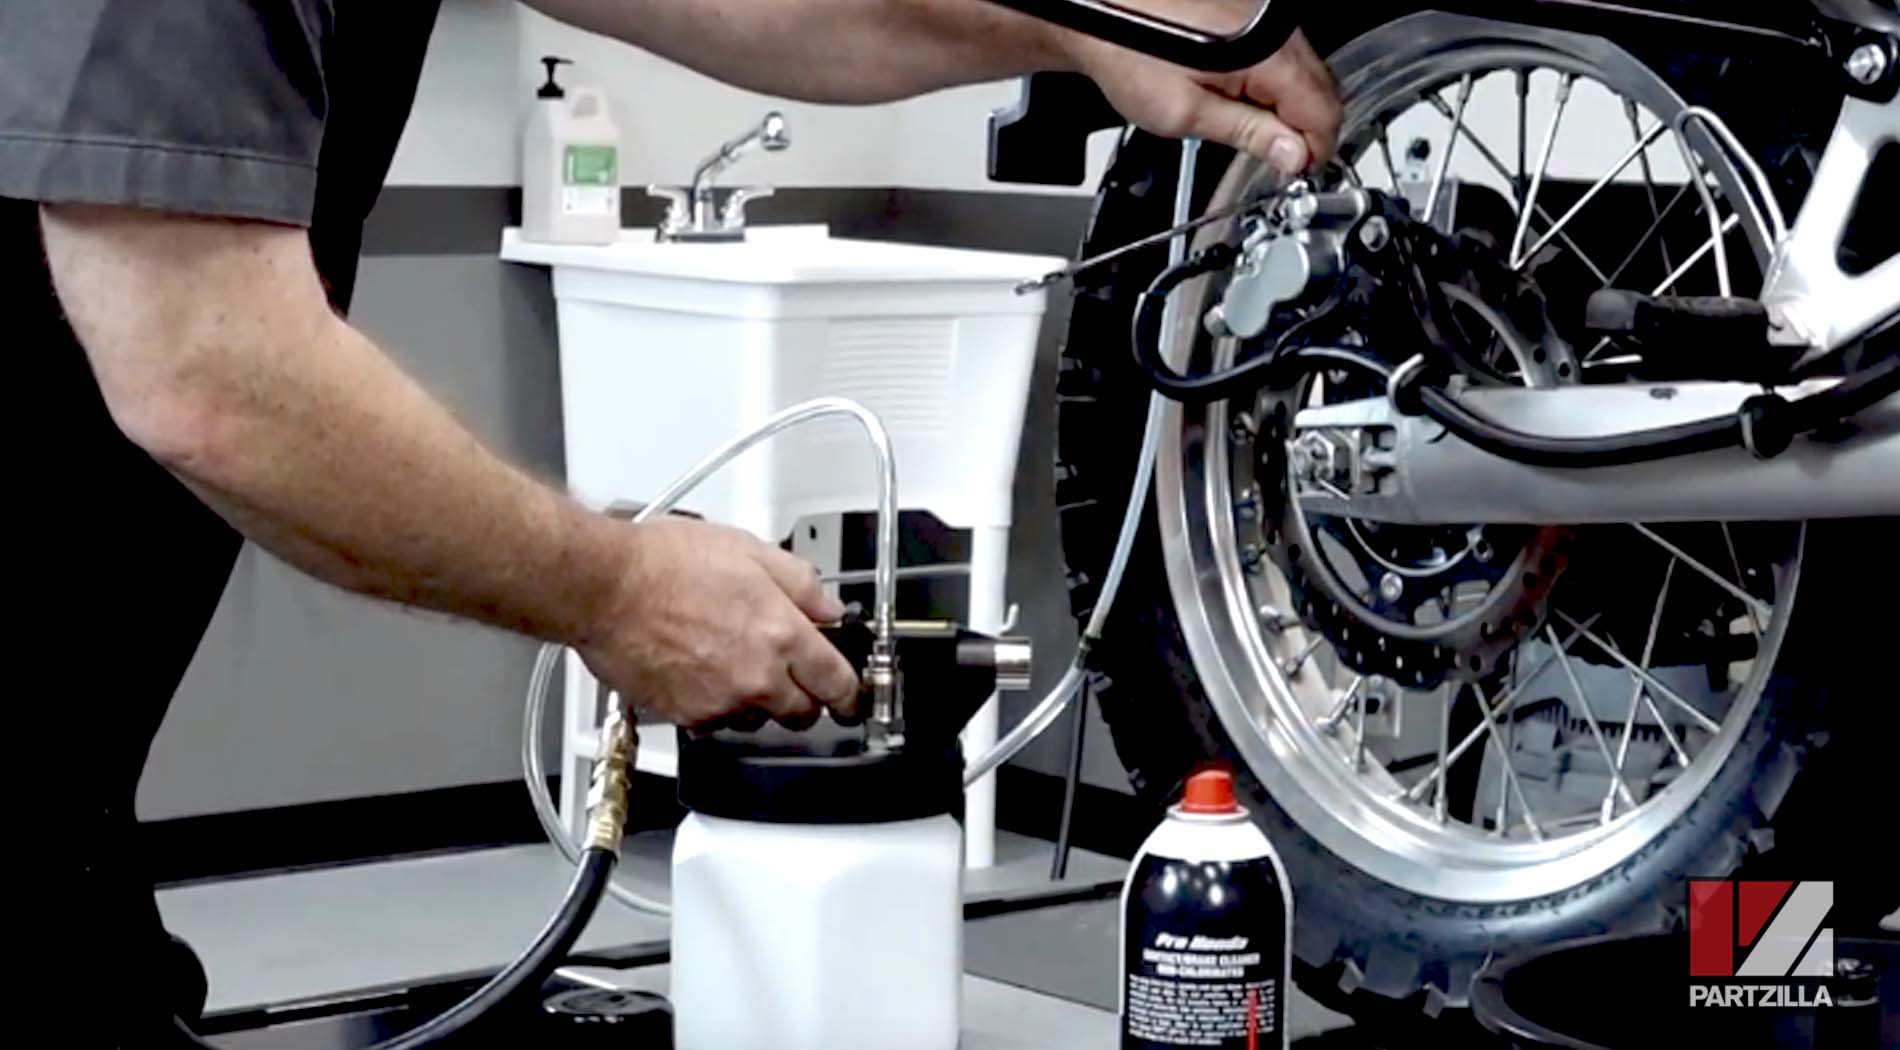
PRO TIP: The fluid extractor method works the same way as the manual method, except that there’s no need to pump the brake pedal since the extractor is pulling the fluid through the system instead of you pushing it out manually.
Step 6. Close the valve on the caliper, and replace its dust cap when you’re finished.
NOTE: Setting the precise level of fluid in the reservoir is dependent upon the amount of braking material on the brake pads. Set to the lower level line on the reservoir with older pads to give the fluid room to push up when you add new pads. Set to the upper level for newer pads.
Step 7. Replace the rubber/nylon diaphragm, and then screw the cap back on the reservoir.
Step 8. Replace the cover, and tighten the two Phillips head screws holding it in place.
Bleeding the Front Brakes on a KLR650
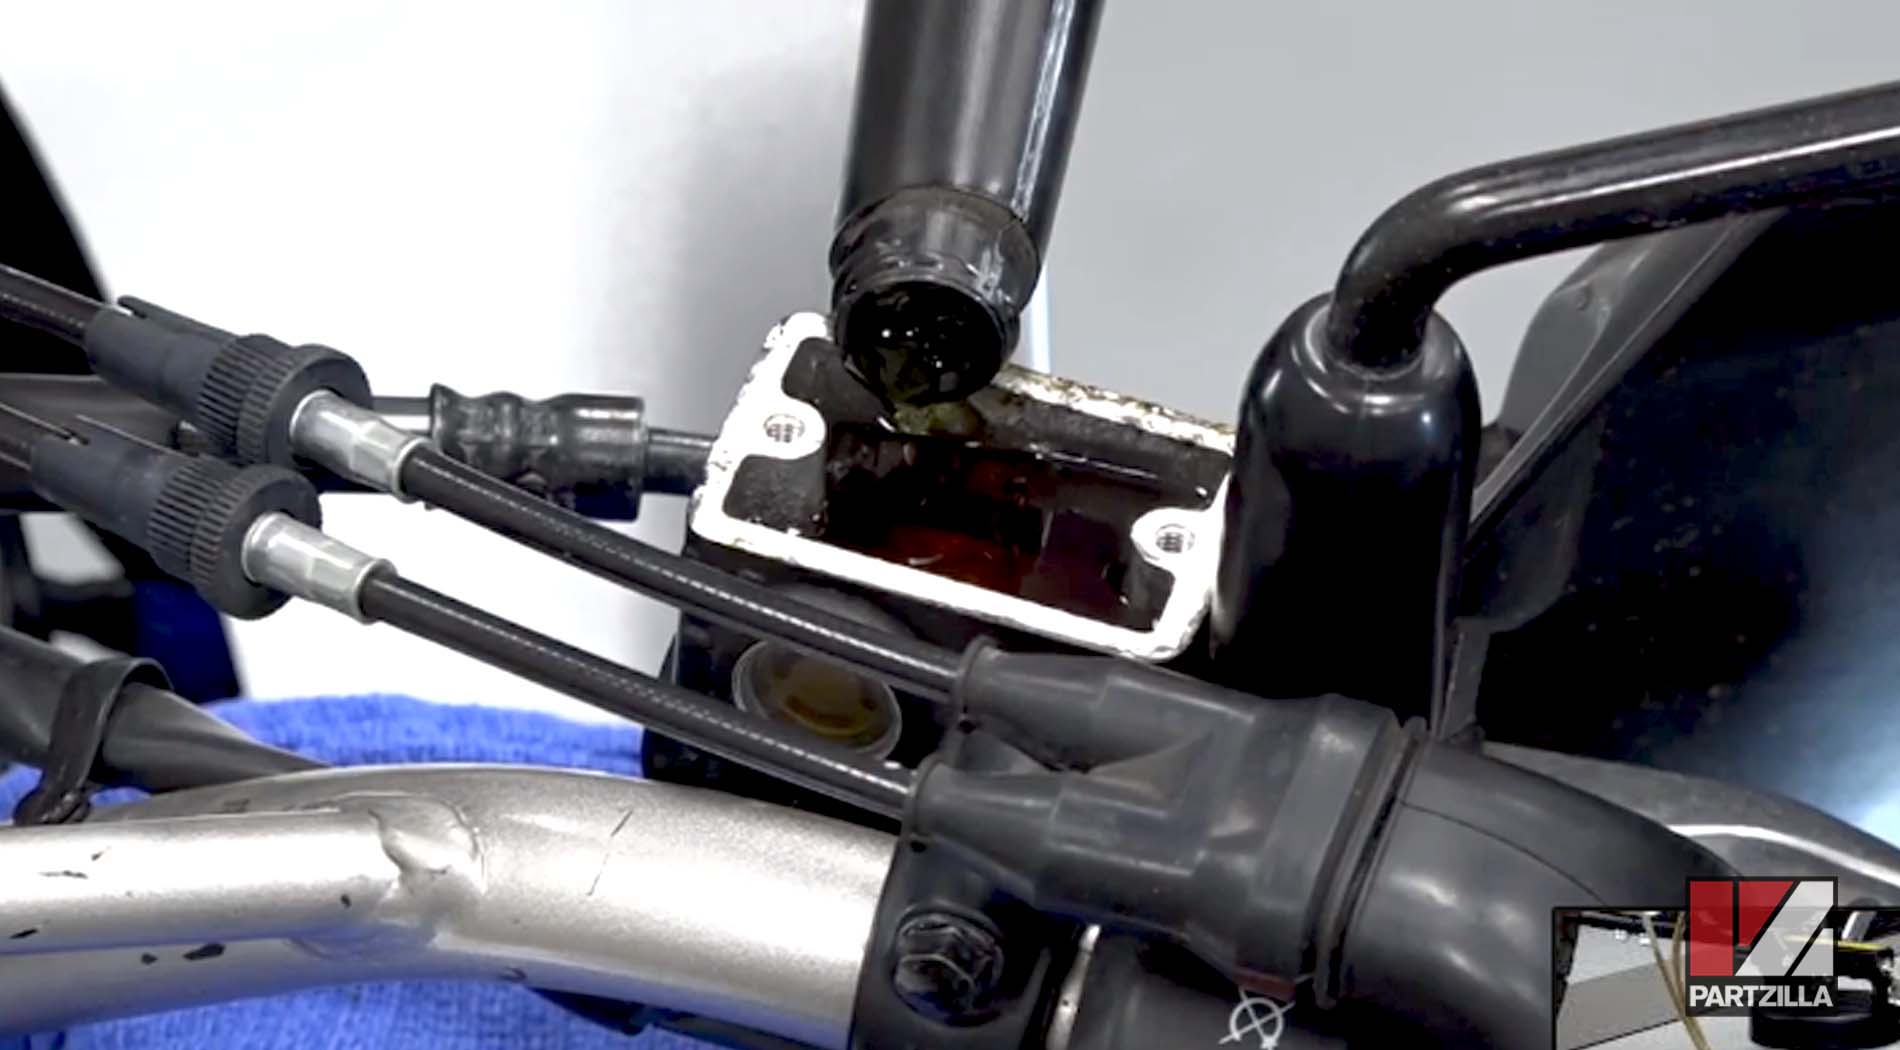
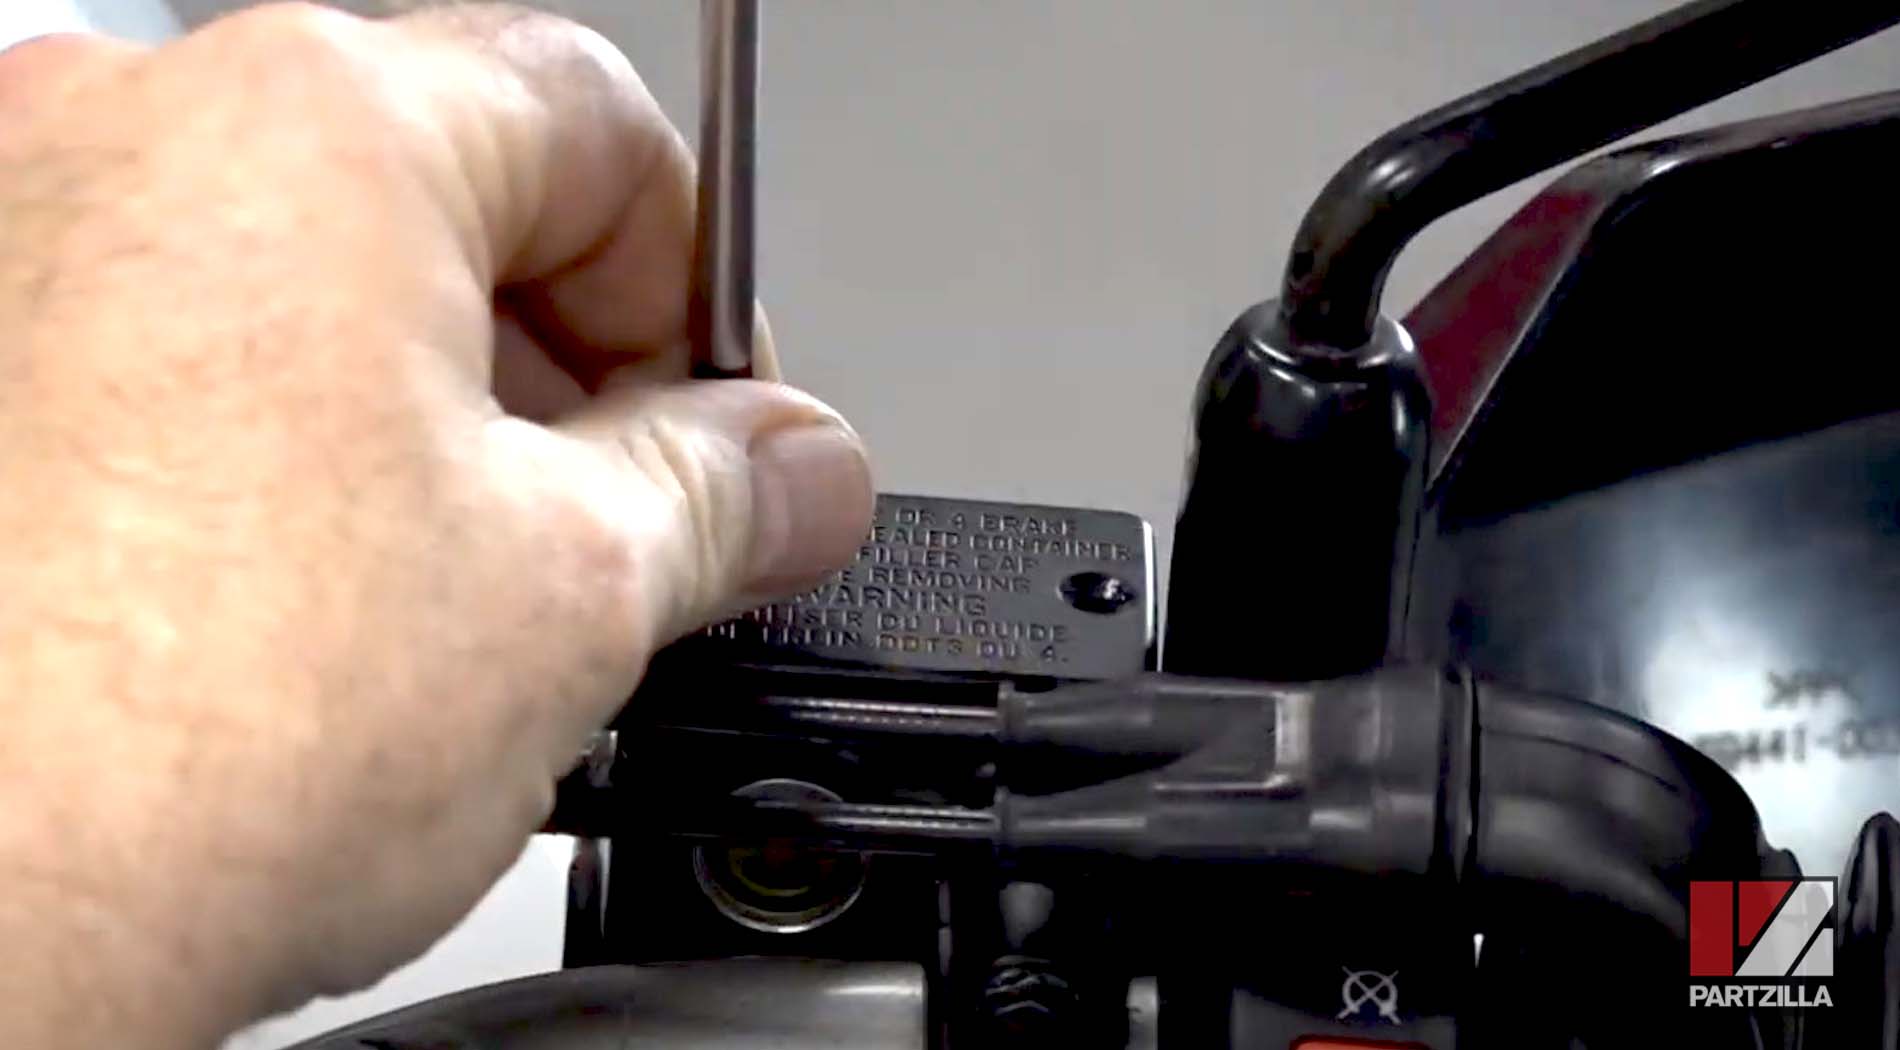
Step 1. Place a rag under the front brake reservoir on the right side of the handlebar.
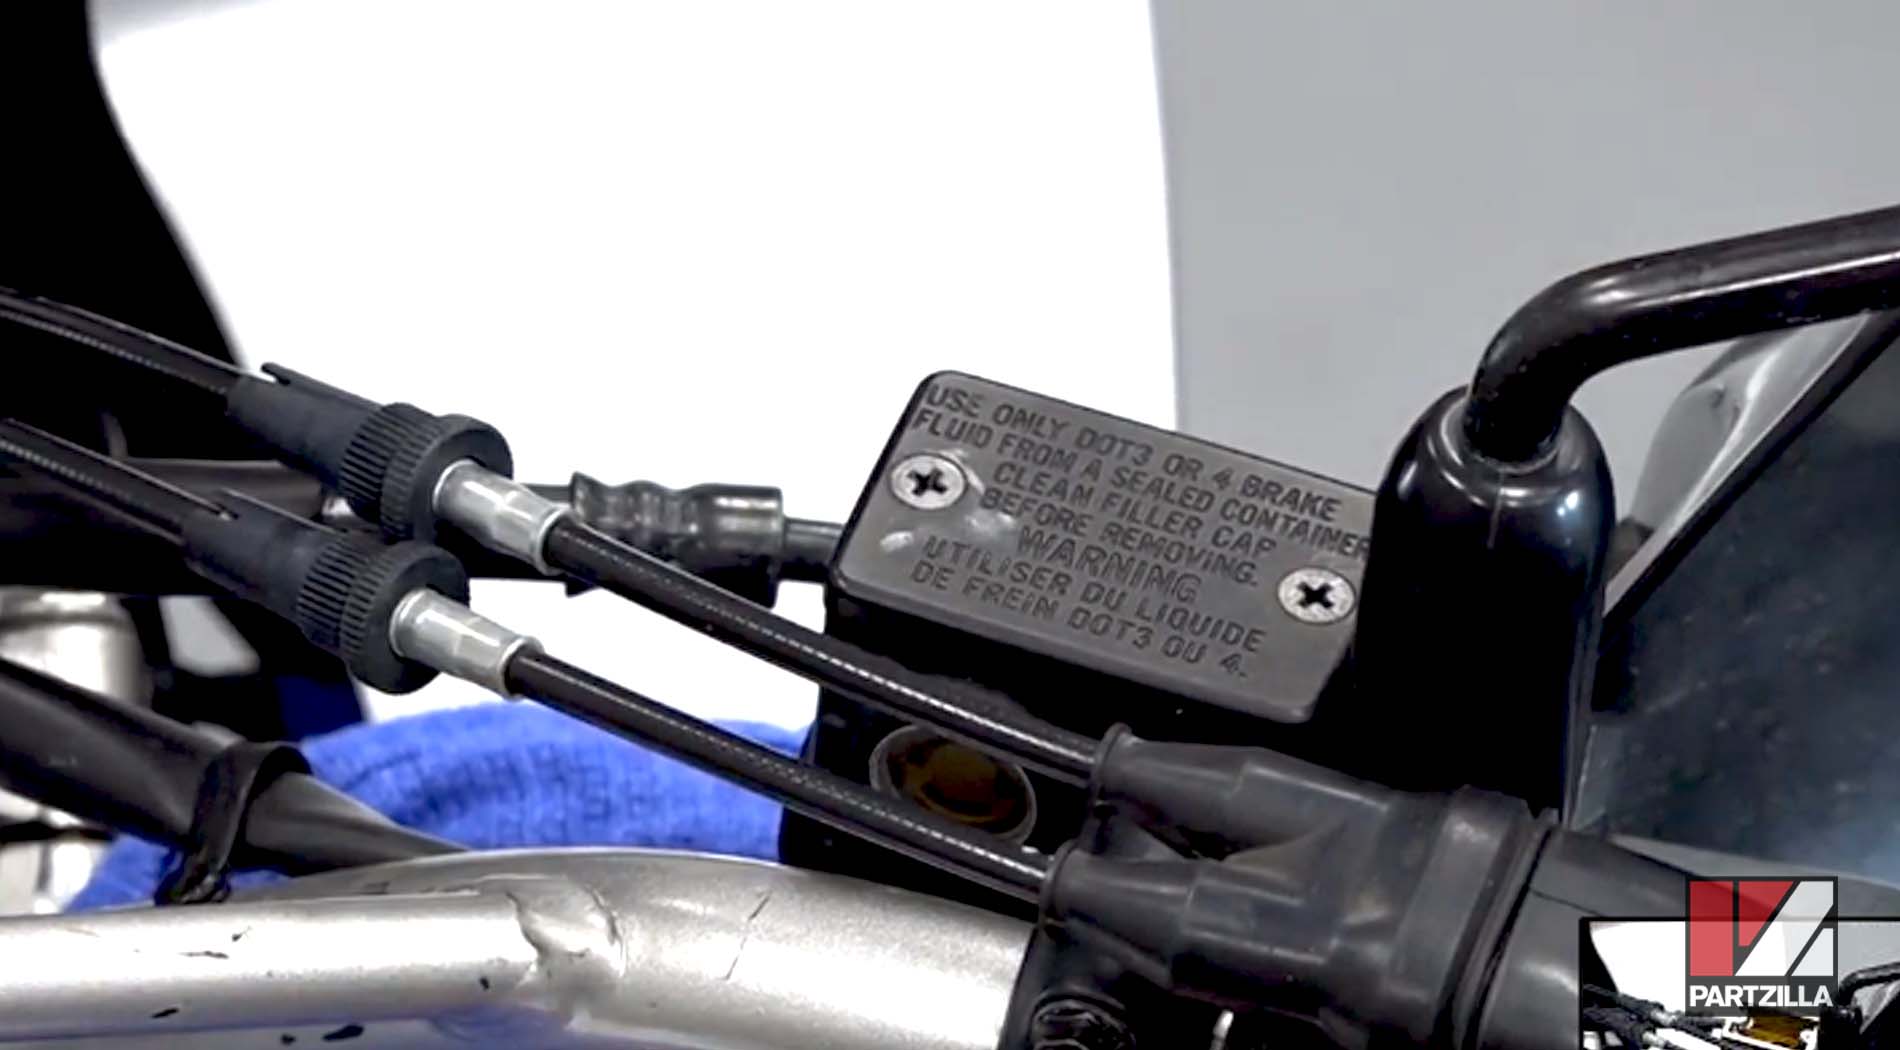
NOTE: Brake fluid can damage paint, so you want to have something in place to catch spills.
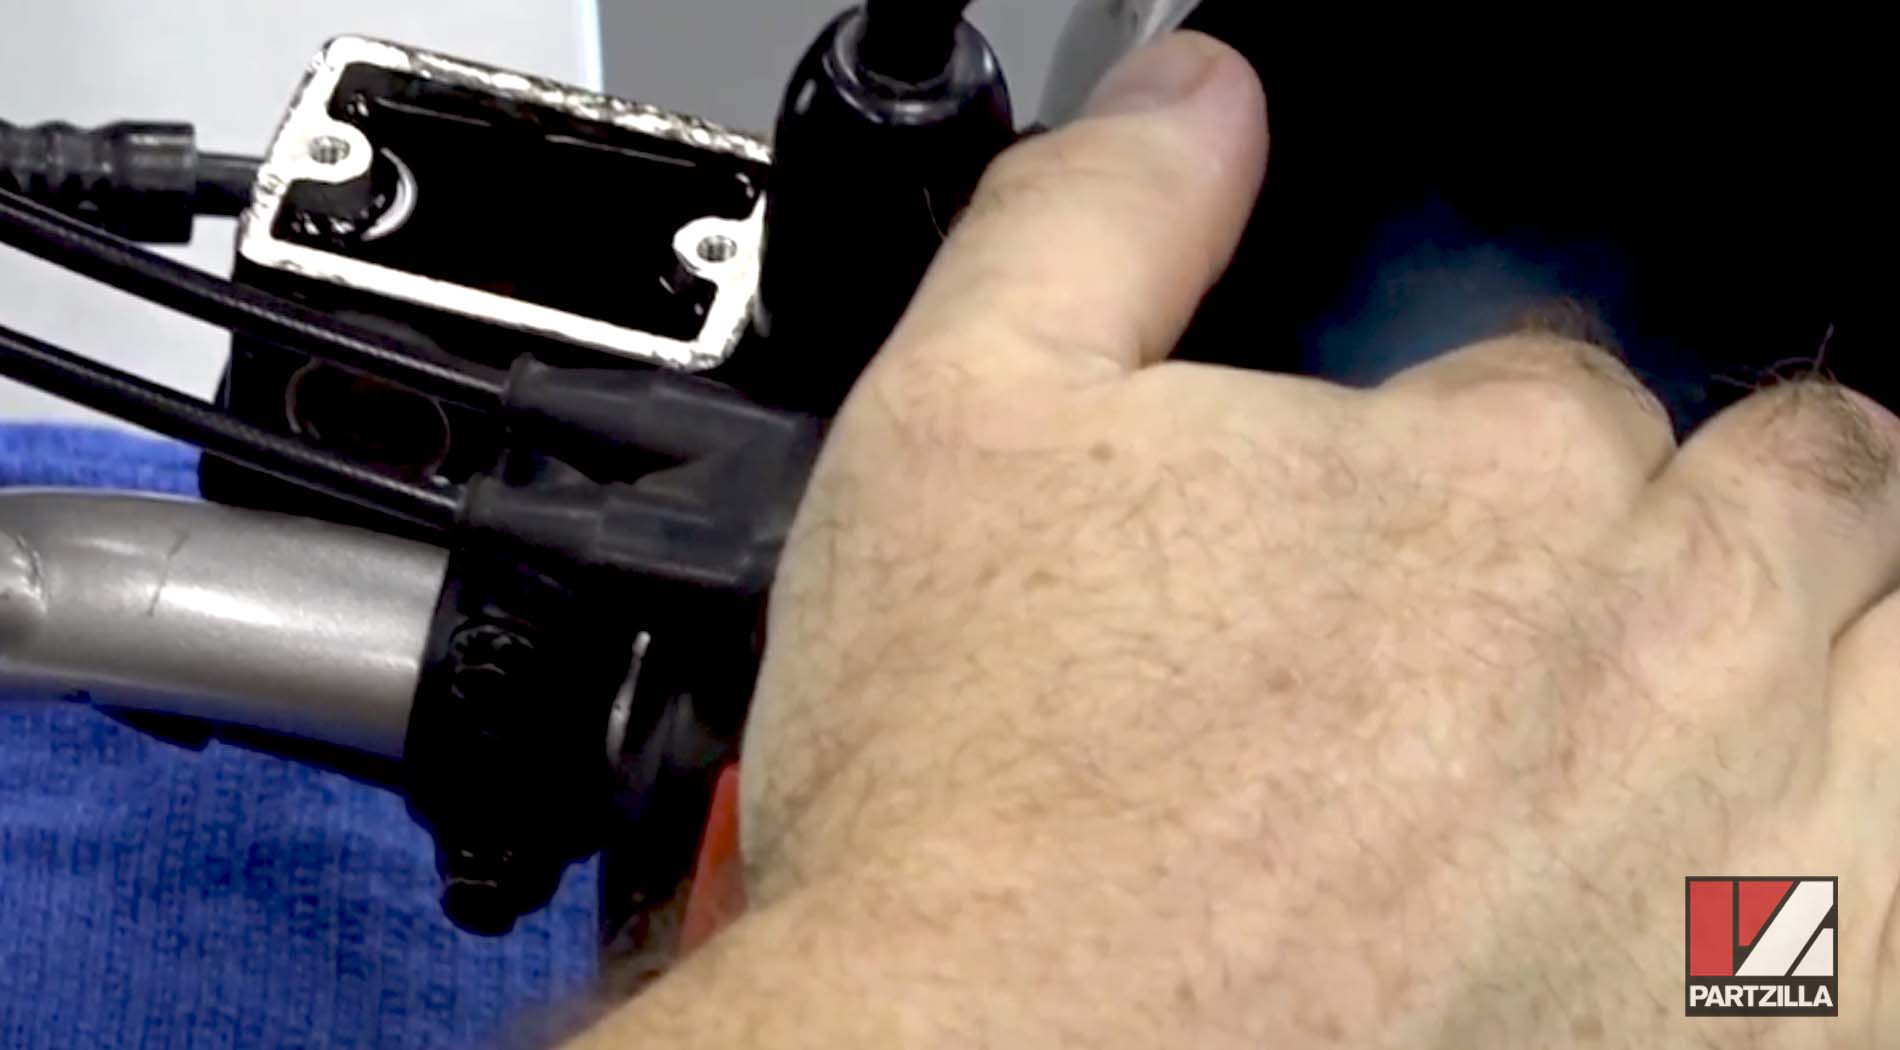
Step 2. Remove the two Phillips head screws on the reservoir, then open the reservoir and remove the diaphragm inside.
Step 3. Top off the reservoir with new brake fluid.
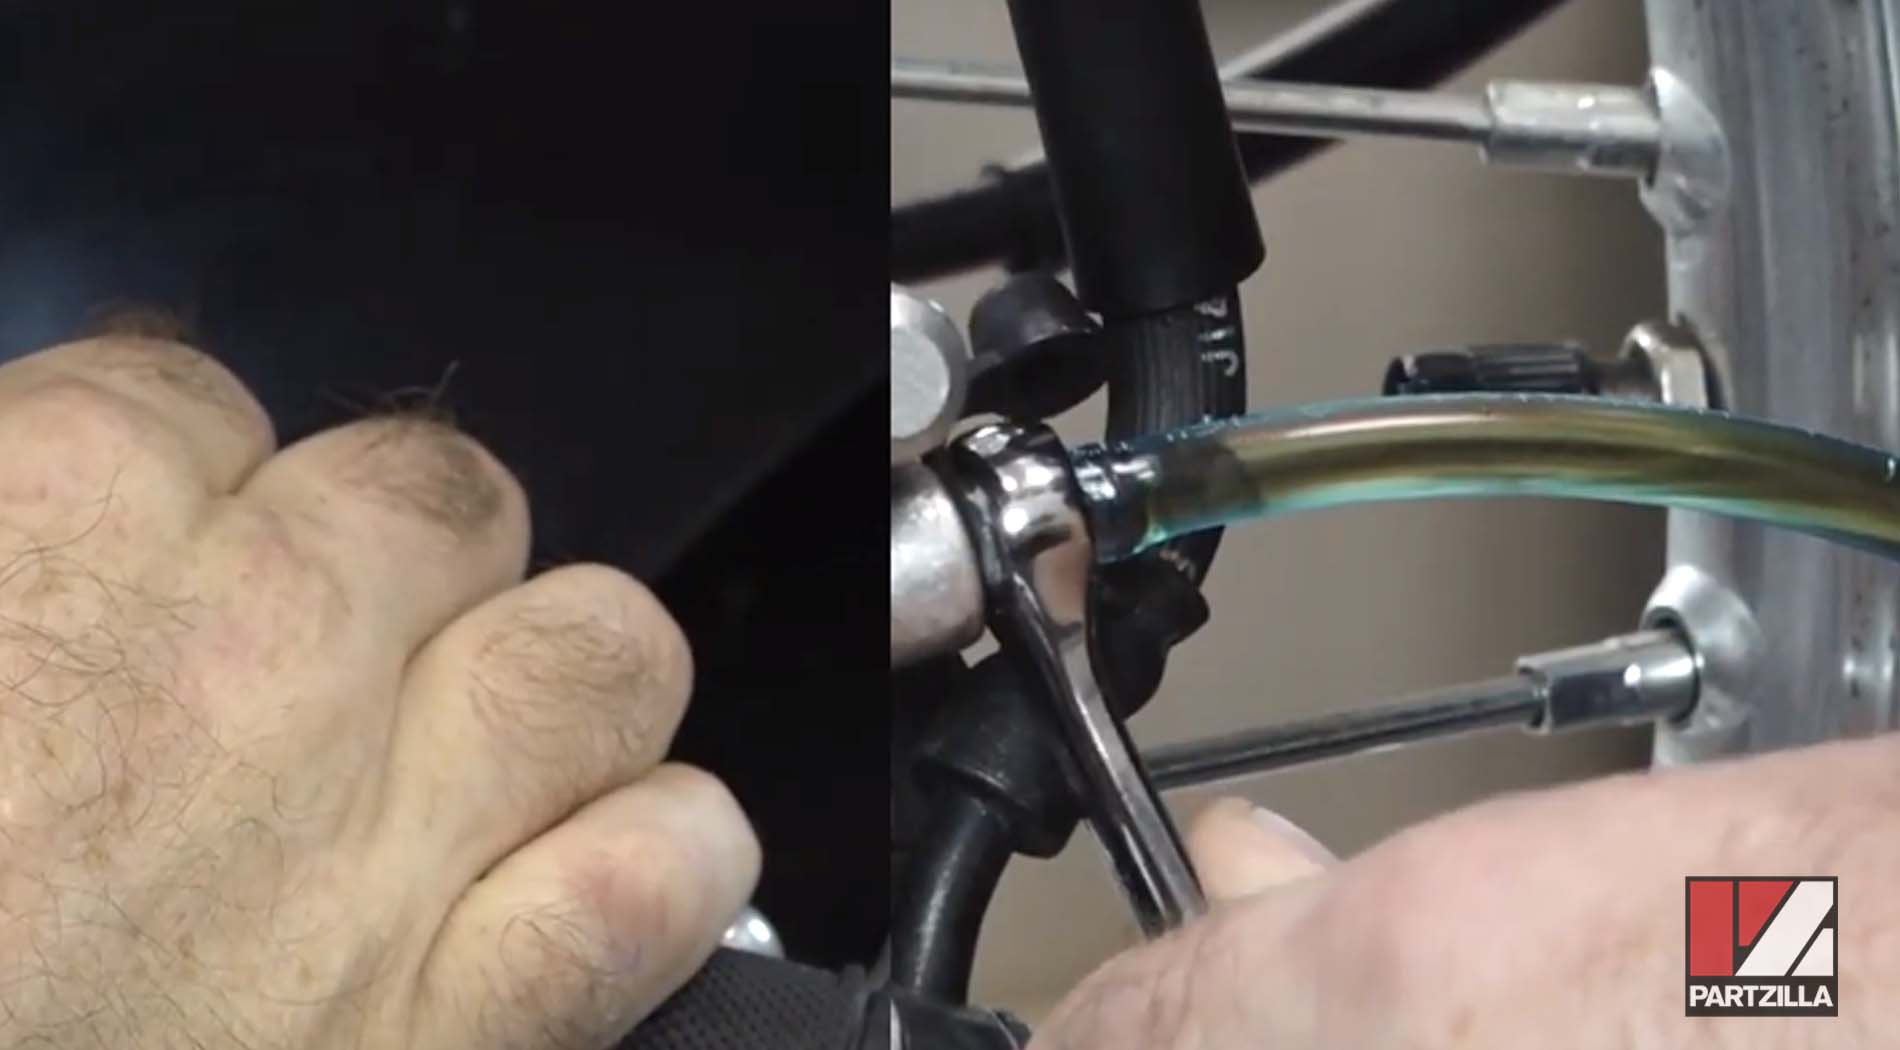
Step 4. Place a box-end wrench over the valve, then attach a length of hose from the valve to a drain pan.

Step 5. Pump the brake handle and hold it down. Once you feel pressure in the handle, open the valve to start the flow of fluid, then close the valve when the handle bottoms out and repeat. Continue the process until the dirty brown fluid is replaced by clean, clear fluid.
NOTE: Using a fluid extractor on the front is the same as on the back: no need to pump the brake handle, but it’s more important to keep the fluid topped off in the reservoir since it will pull through the system much faster.
Step 6. Close the valve on the caliper to finish the bleed, then set the level.

NOTE: Remember, lower end of the range on the sight glass for old pads, upper end of the range for new pads.
Step 7. Replace the diaphragm, then close the reservoir and secure it by replacing the two Phillips-head screws and you're done.
Watch the video below to learn how to change the brake pads on a Kawasaki KLR 650.