How to Change Kawasaki Z125 Pro Oil
Changing the oil in a Kawasaki motorcycle is easy routine maintenance you could do yourself in a matter of minutes.
Watch the video above and follow the steps below to do a Kawasaki Z125 Pro oil change.
Tools and Parts - Kawasaki Z125 Pro Oil Change
- Ratchet and extension
- 8mm and 17mm sockets
- 6mm Allen
- Drain pan
- Torque wrench
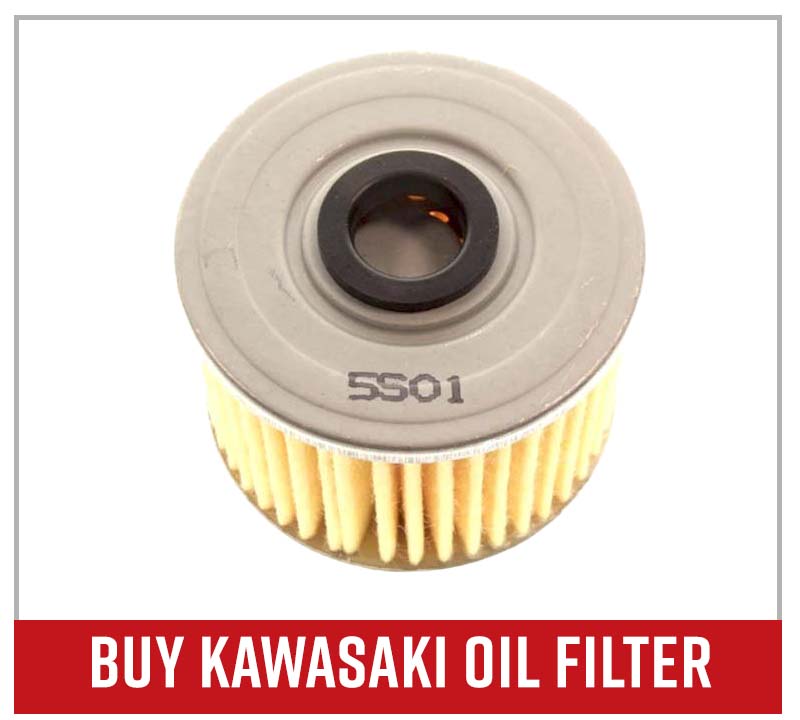
- Oil filter
- Crush washer
- Kawasaki 10W-40 motorcycle oil (1 quart)
PRO TIP: Oil flows and drains from the crankcase better when it's warm. Run the engine for a couple of minutes to warm up the oil in your Kawasaki bike.
How to Change the Oil in a Kawasaki Z125 Pro
Step 1. Position a drain pan under the engine, and remove the oil filler cap/dipstick to allow the crankcase to vent properly as the oil drains out.
Step 2. Remove the 17mm drain bolt and crush washer from the bottom of the engine, and let the oil fully drain out.
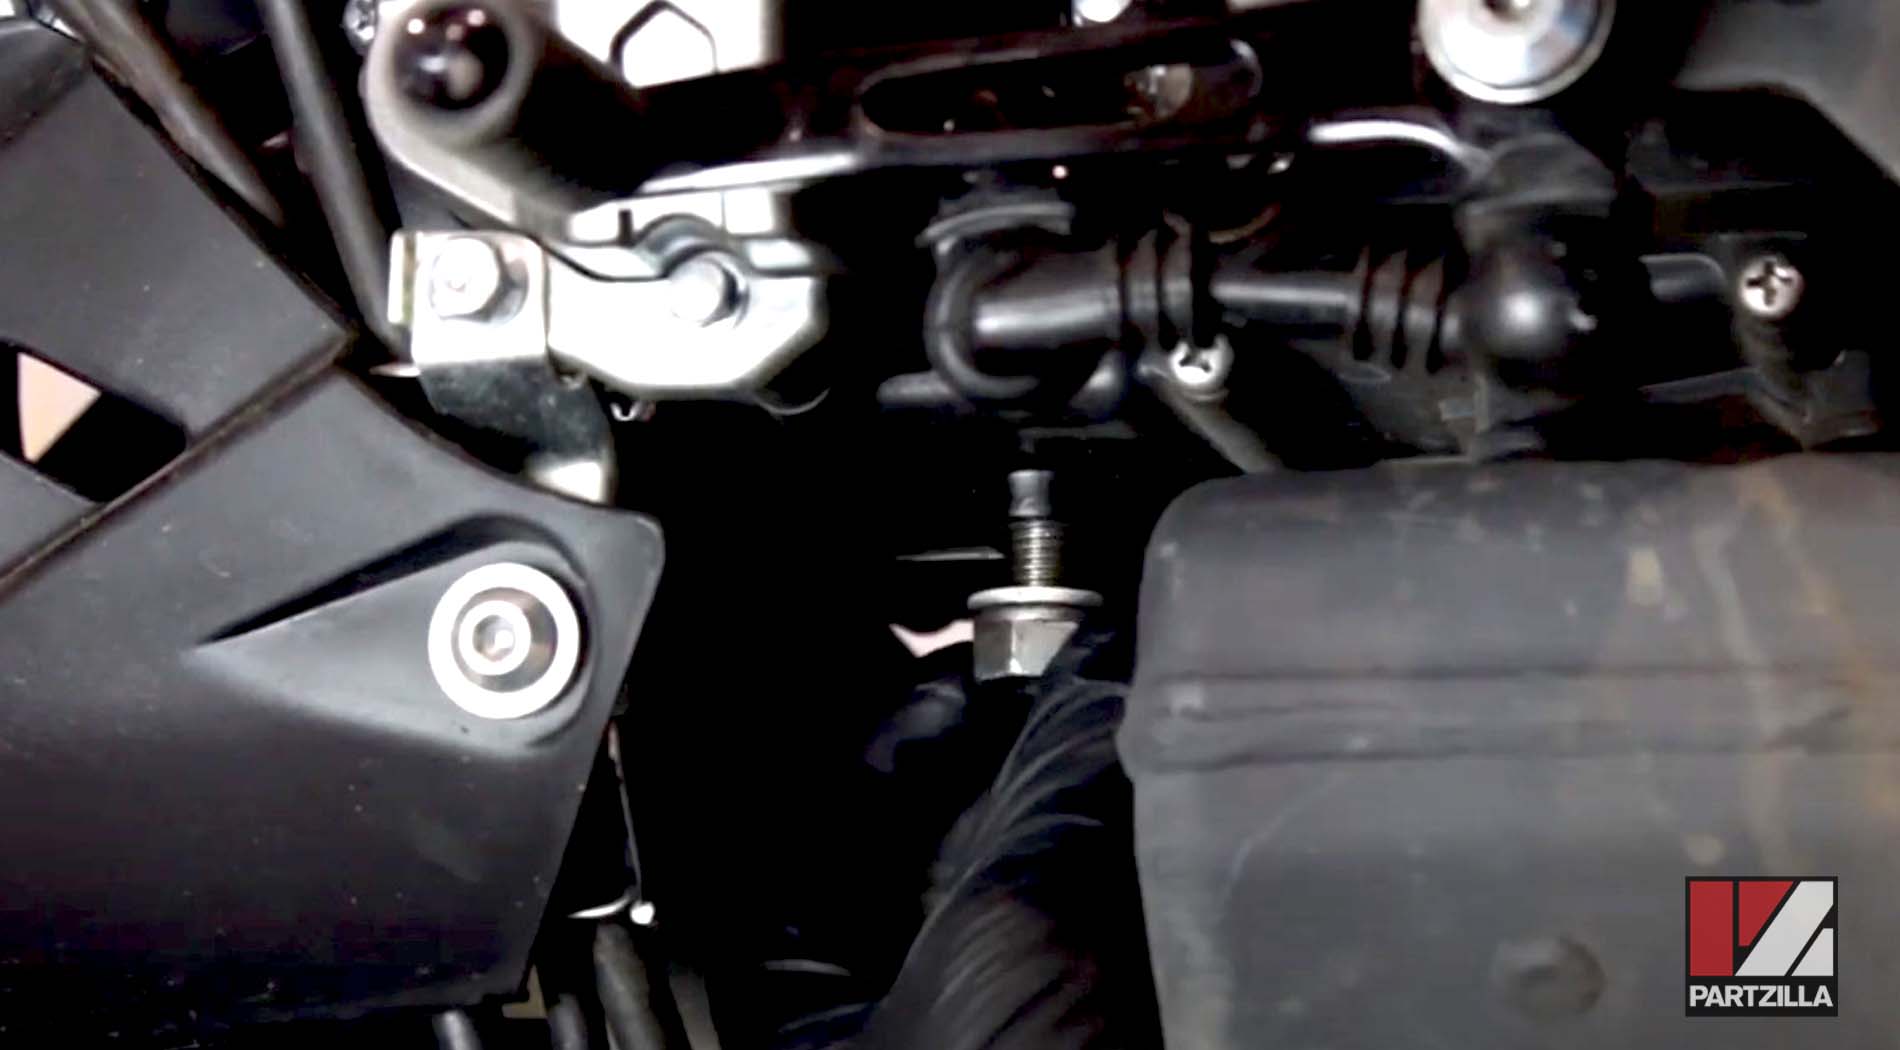
Step 3. Install a new crush washer, reinstall the drain bolt and torque it to 21 foot-pounds.
Step 4. Remove the lower fairing to access the oil filter by taking out the four 6mm Allen bolts.
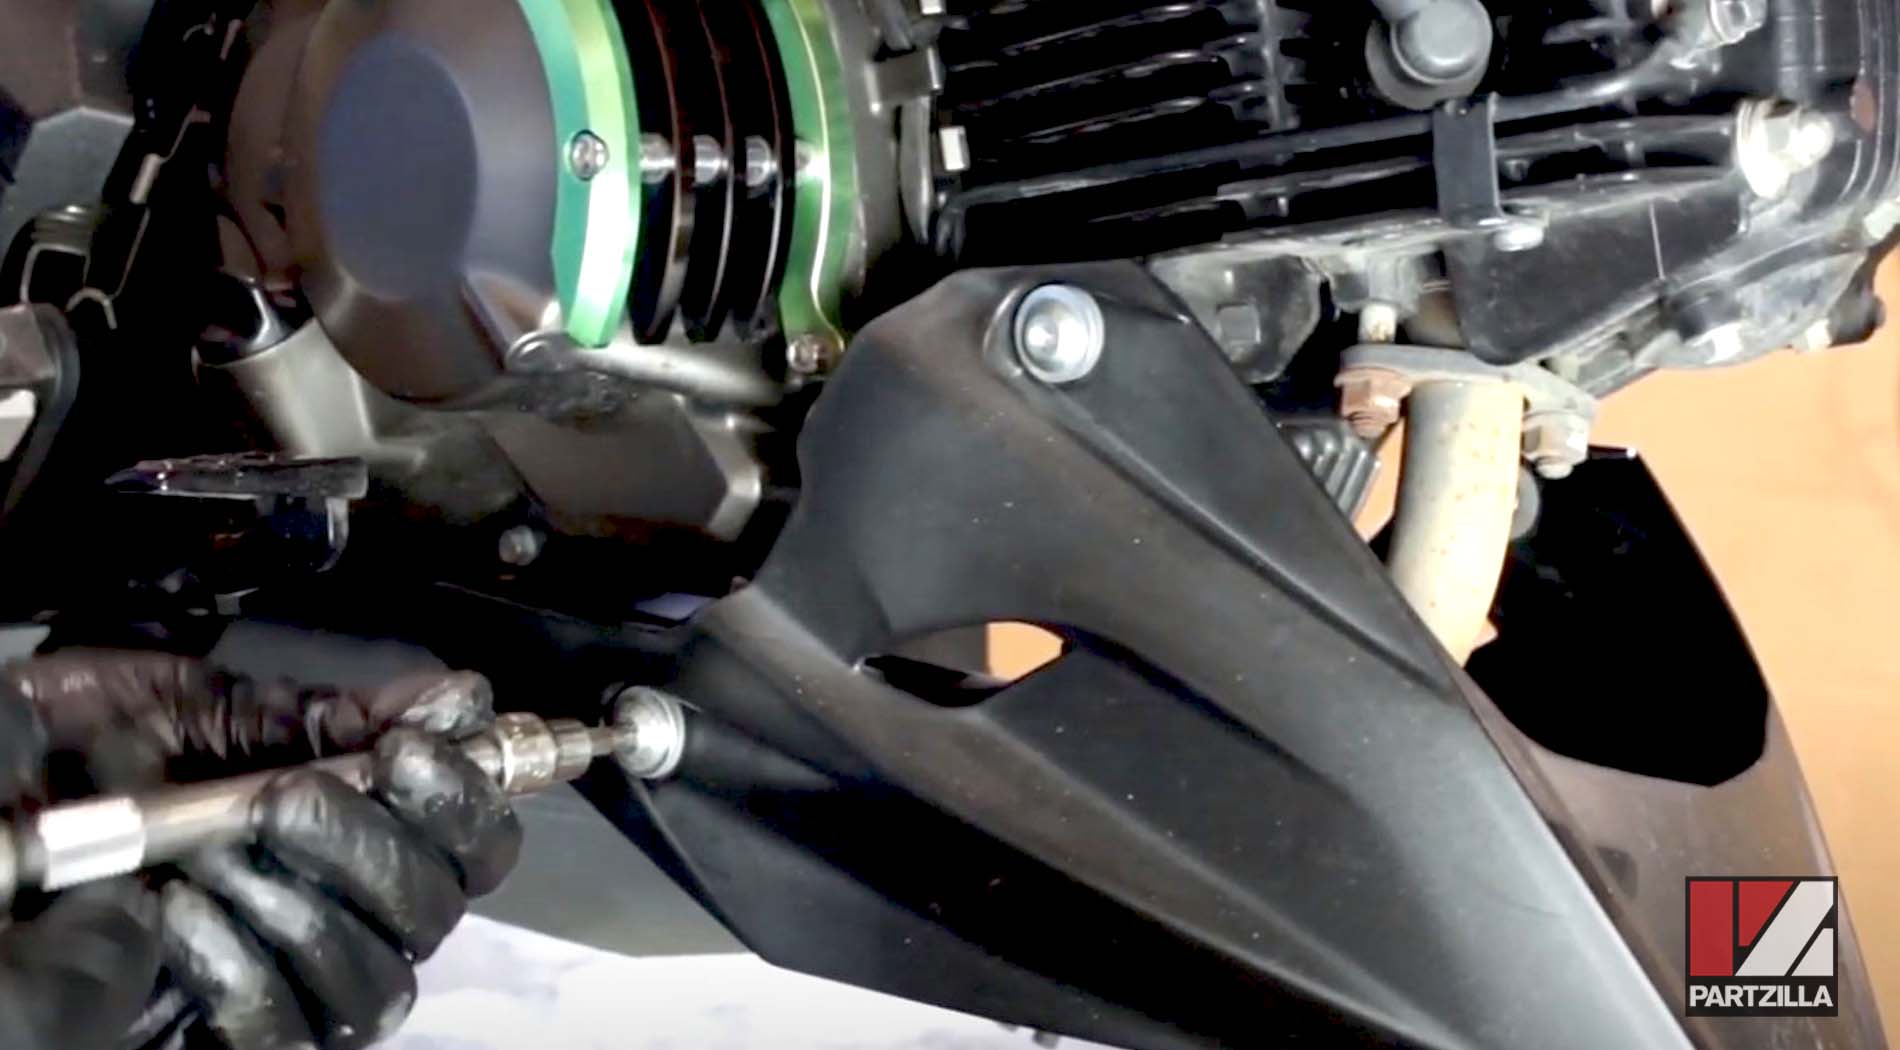
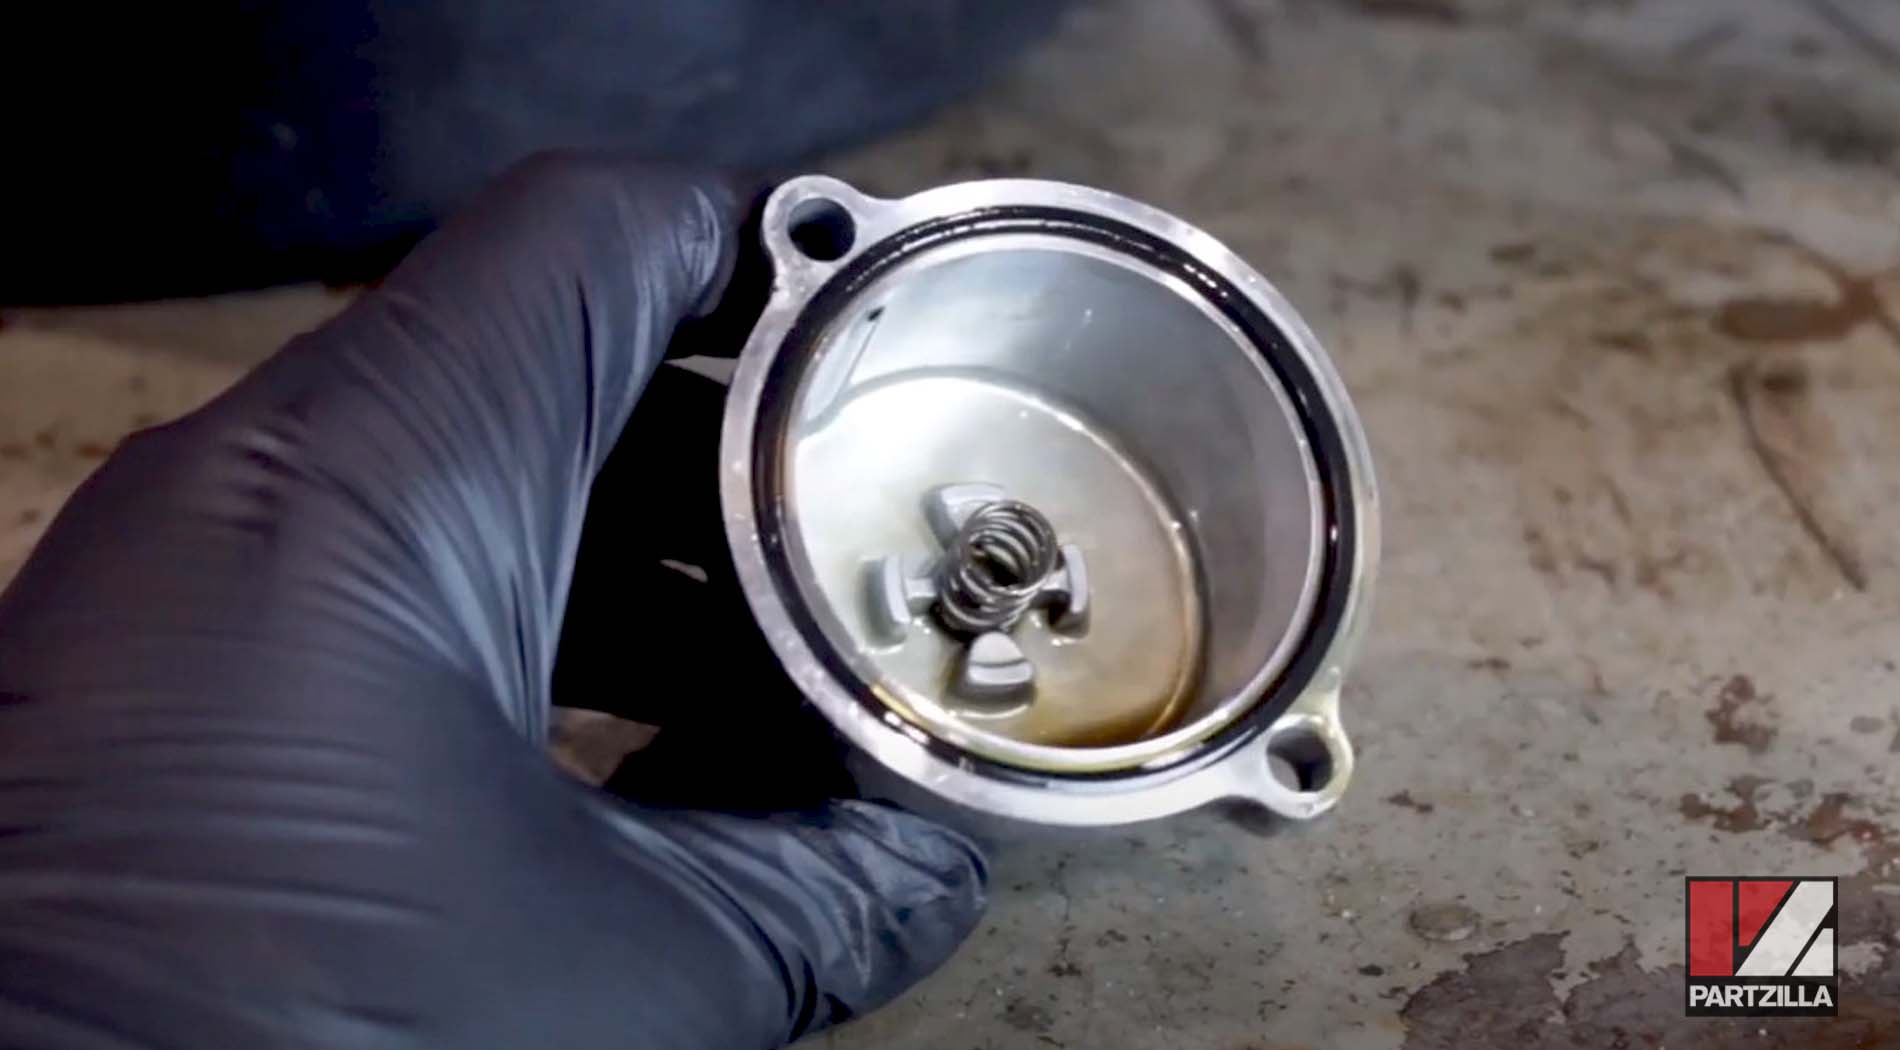
Step 5. Remove the oil filter cap from the front underside of the engine by taking off the two 8mm bolts that hold it in place.
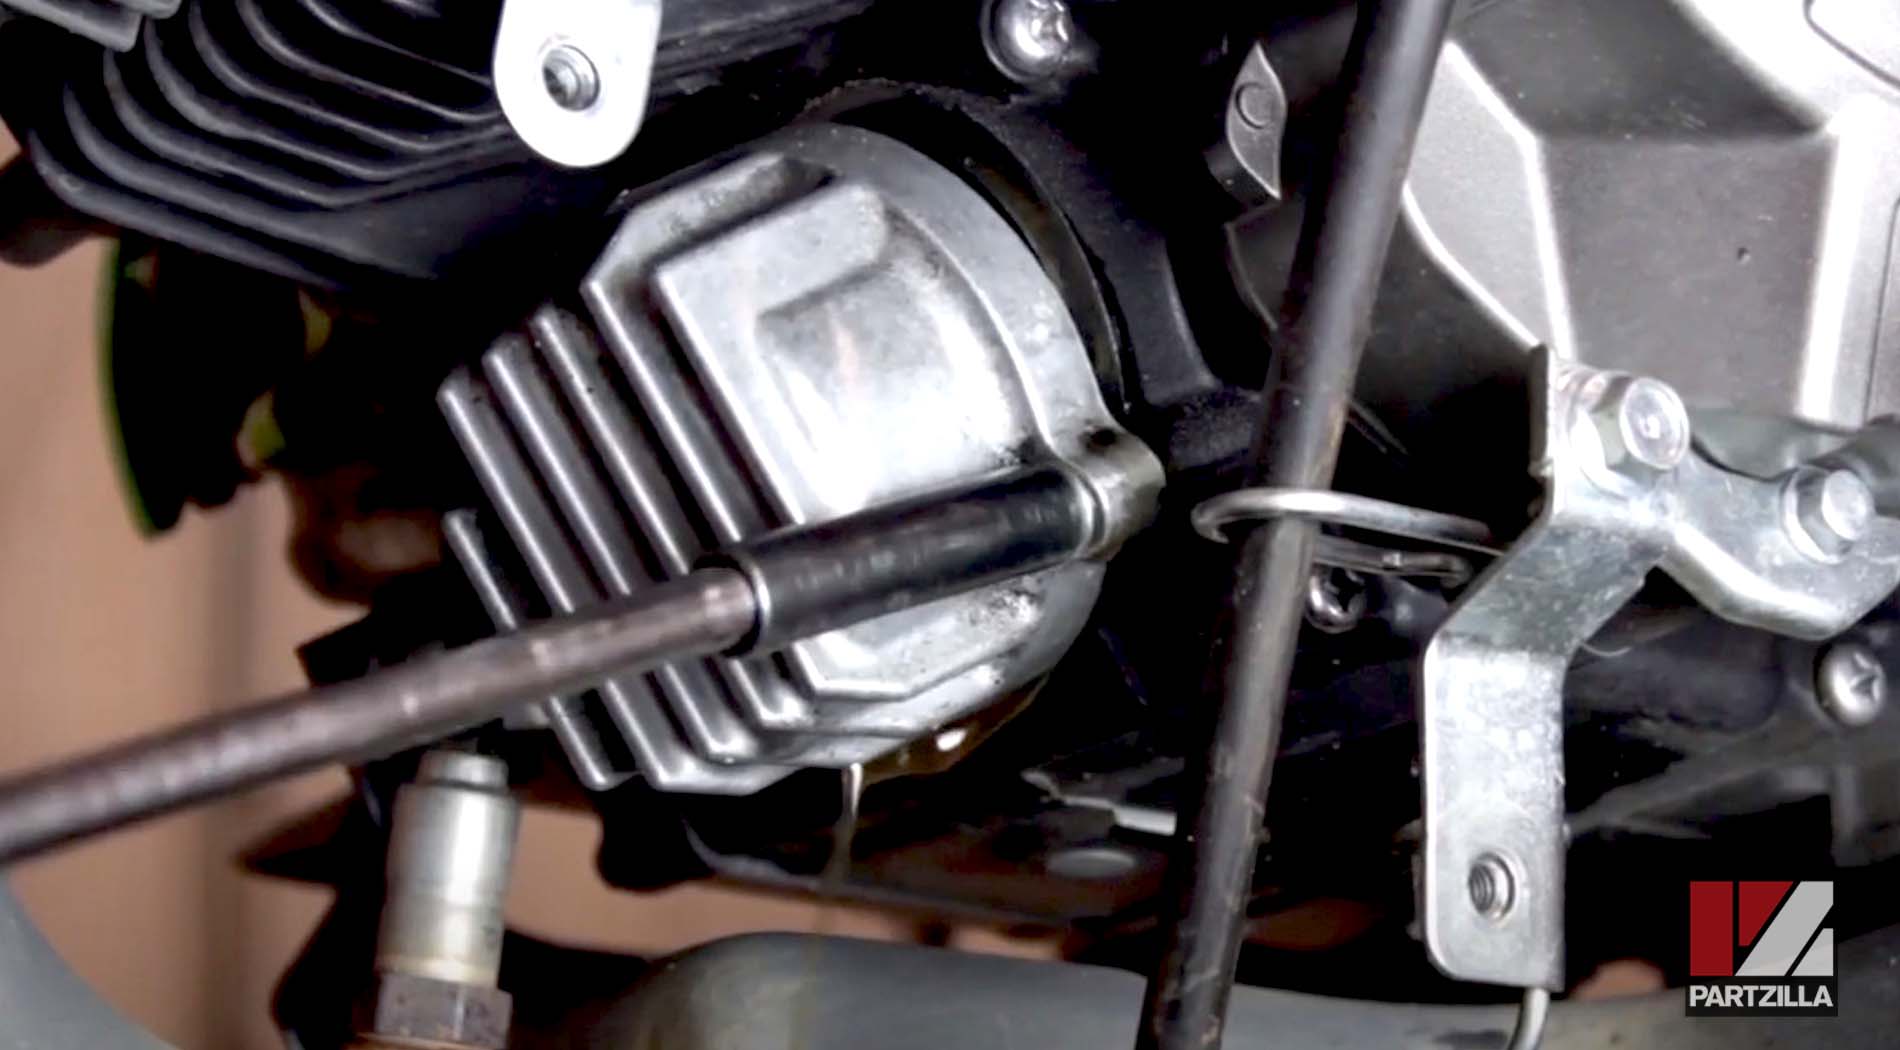
Step 6. Remove the old oil filter, and install the new oil filter. Reinstall the oil filter cap, and tighten the two 8mm bolts so they're good and snug.
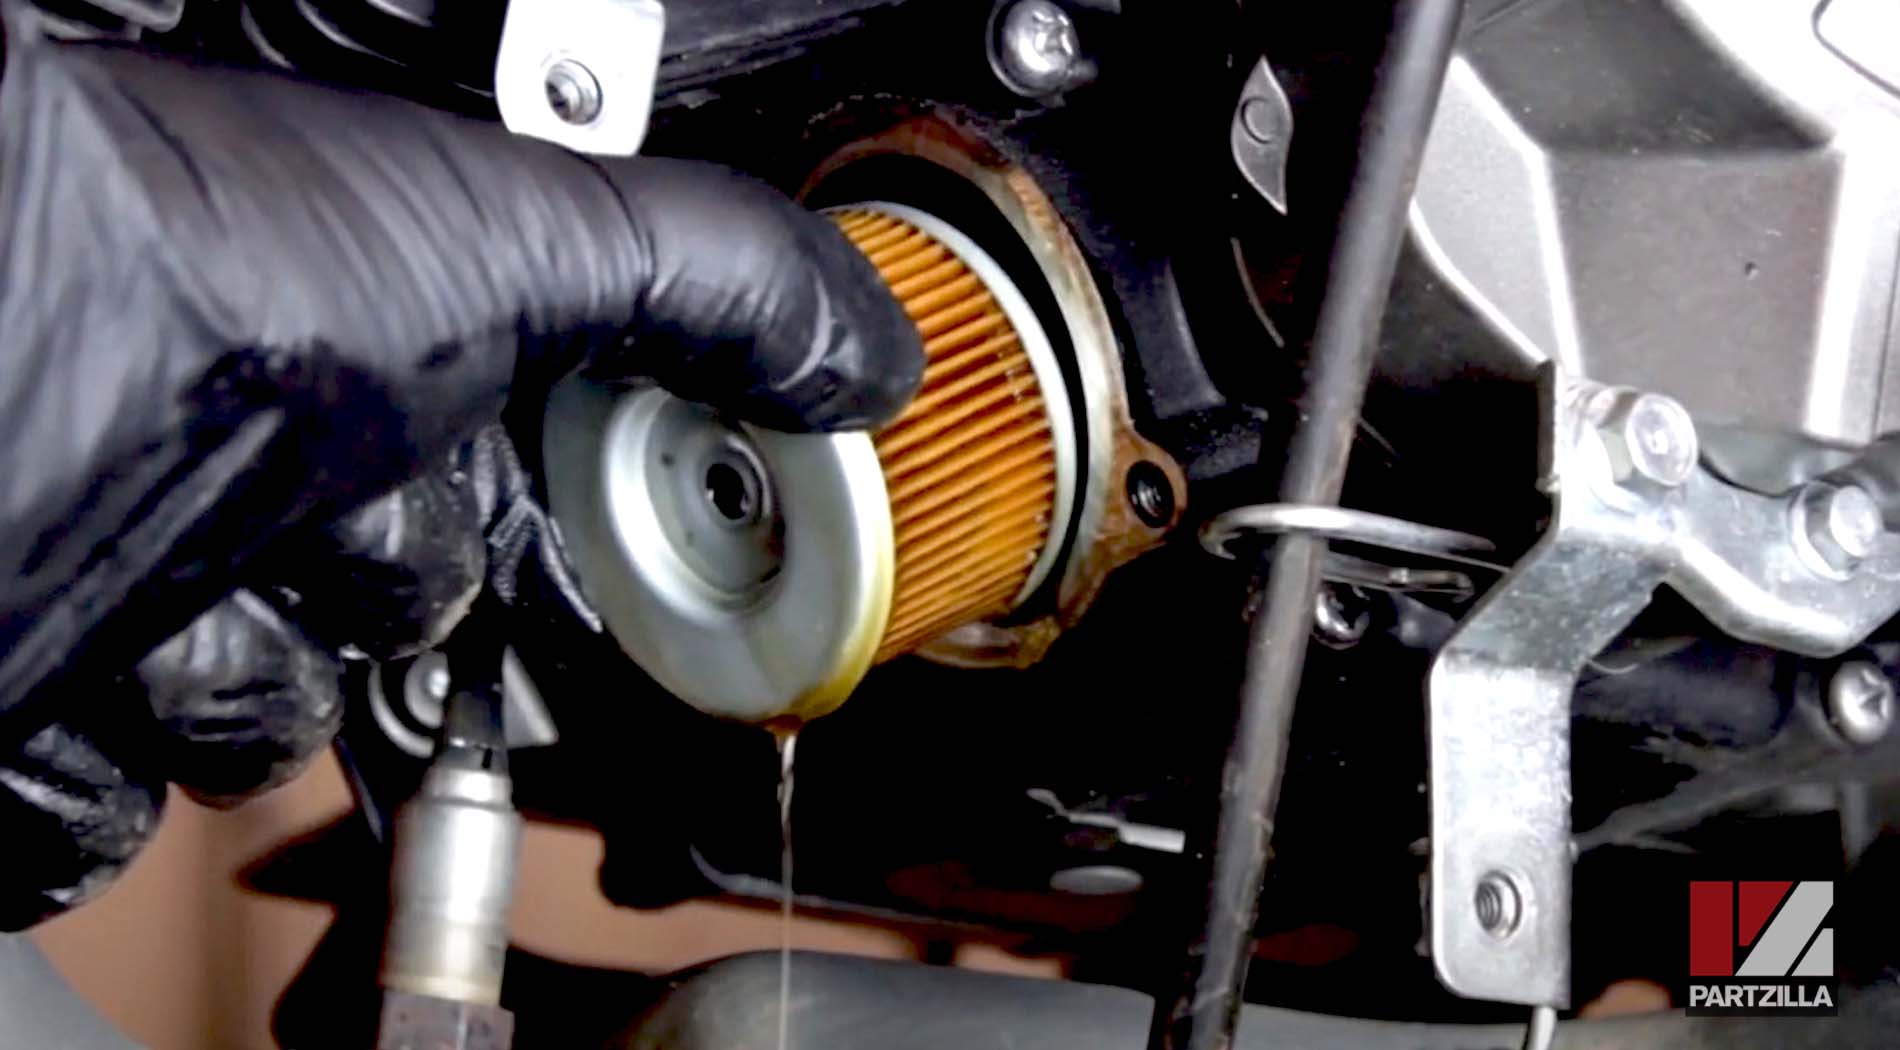
NOTE: Don't overtighten the bolts, which may strip their threads. Also, don't lose the spring in the filter cap. The oil filter is directional, so make sure you install the oil filter with its black grommet facing inward toward the engine.
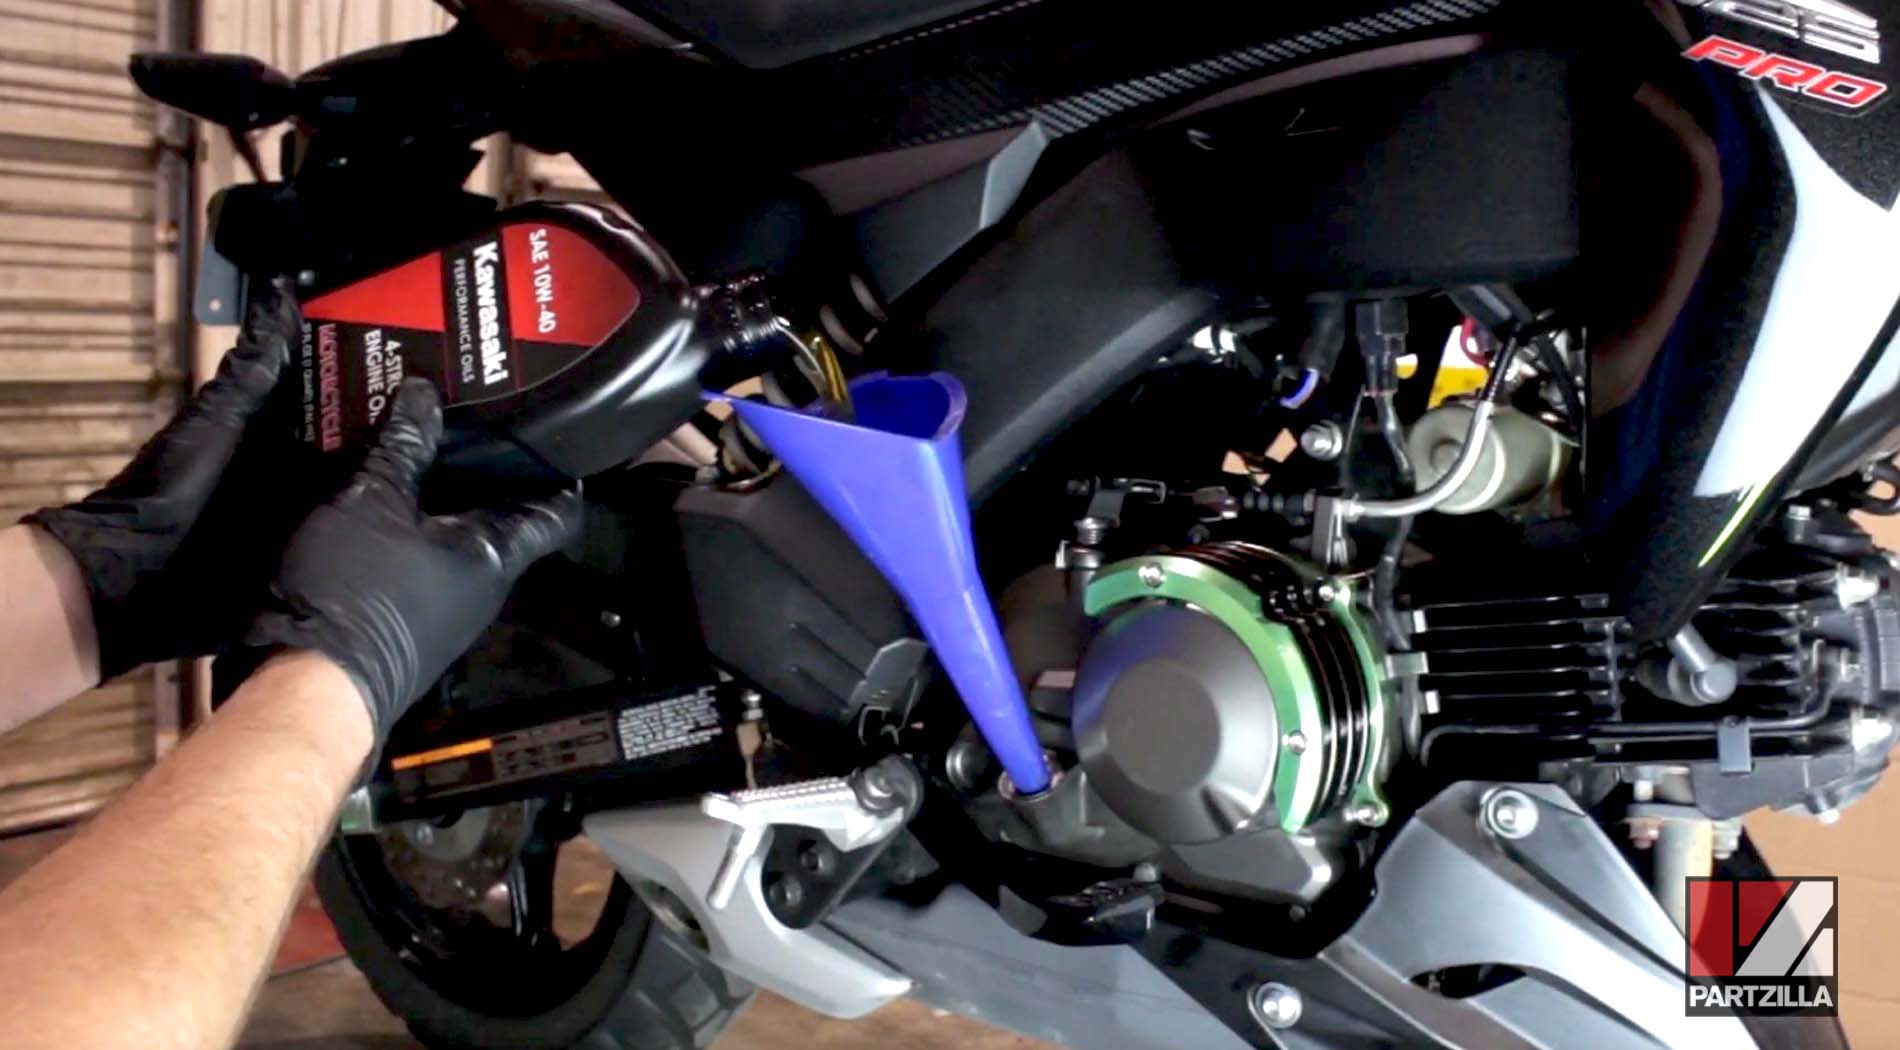
Step 7. Reinstall the lower fairing, then fill the engine with 1 quart of Kawasaki 10W-40 motorcycle oil, and reinstall the oil filler cap/dipstick.
Step 8. Start the engine, and let it idle for about 30 seconds to circulate the new oil throughout the engine. Shut off the engine, and let it sit for a couple of minutes.
Step 9. Check the oil level by removing the oil filler cap/dipstick, wiping it clean and then setting it back into the crankcase so it's flush with the crankcase.
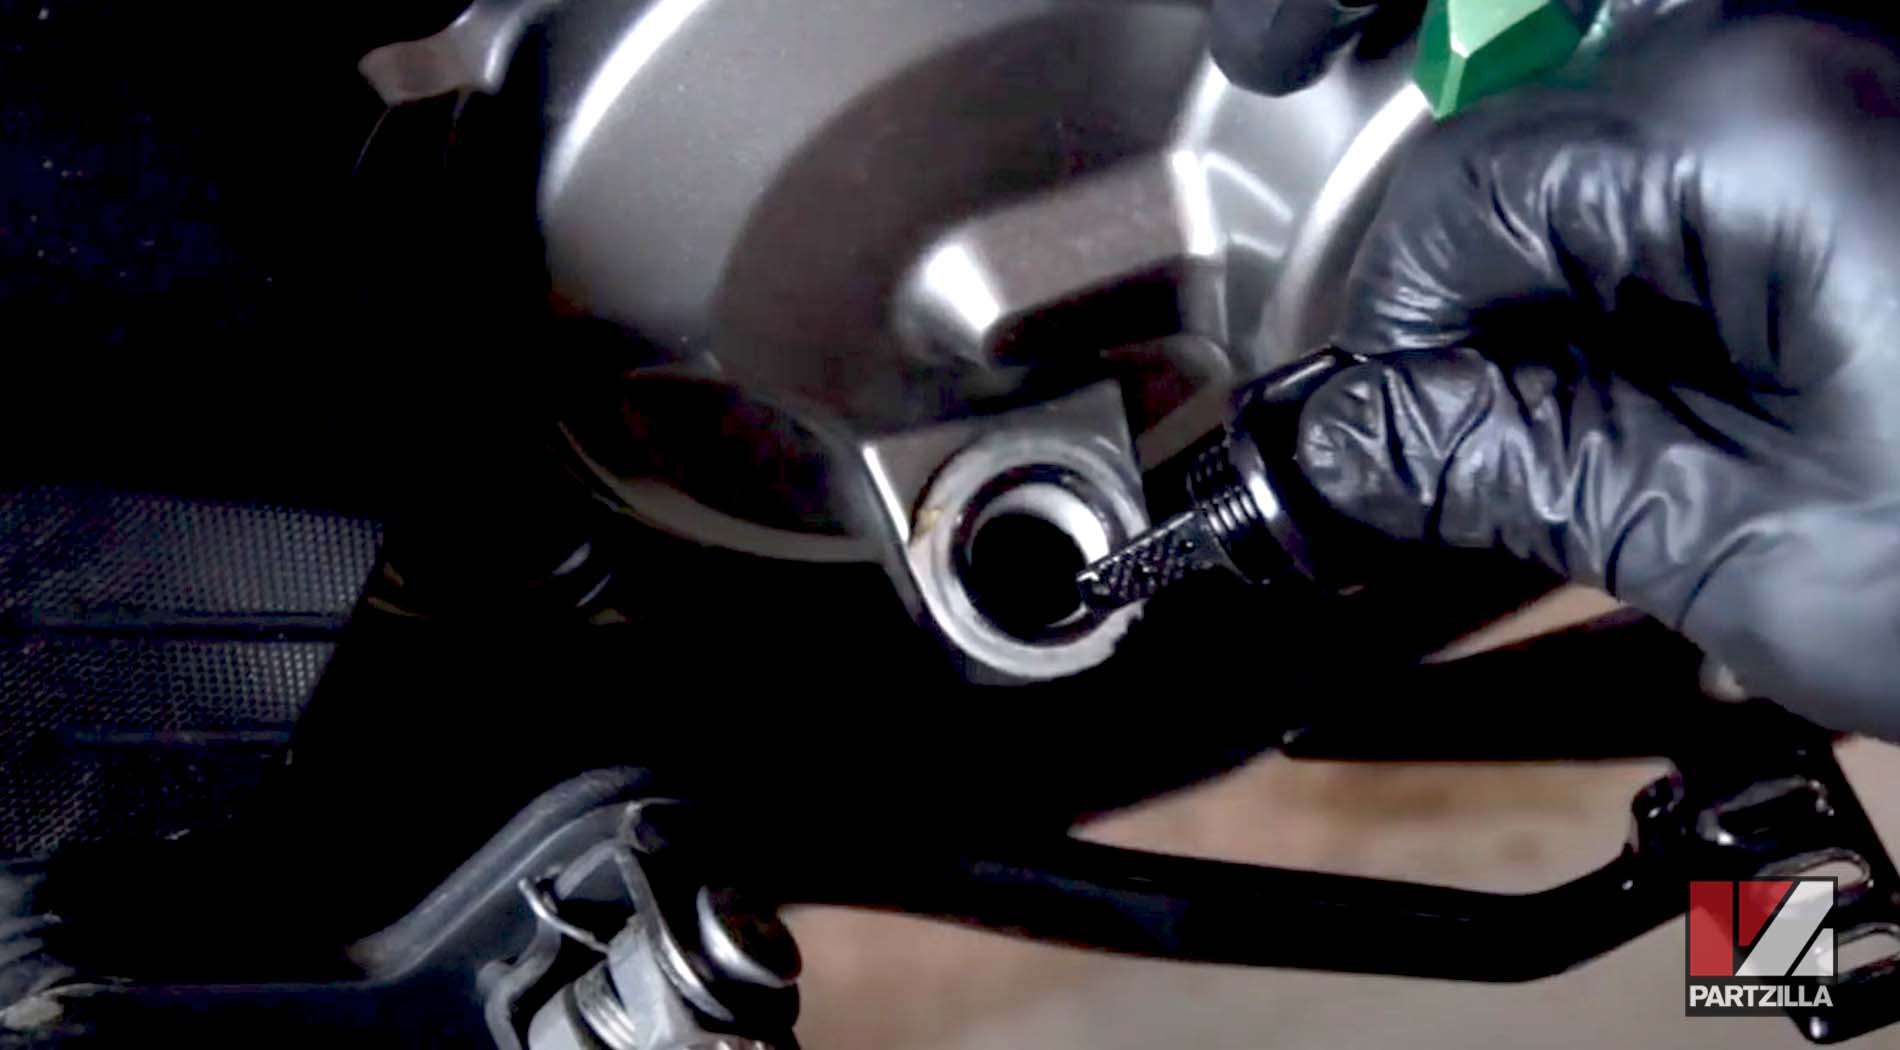
NOTE: Don't screw the filler cap/dipstick into the crankcase. Pull out the dipstick and note the oil level. The oil level should be in the middle of the hatched area on the dipstick. Top off the oil if necessary.
