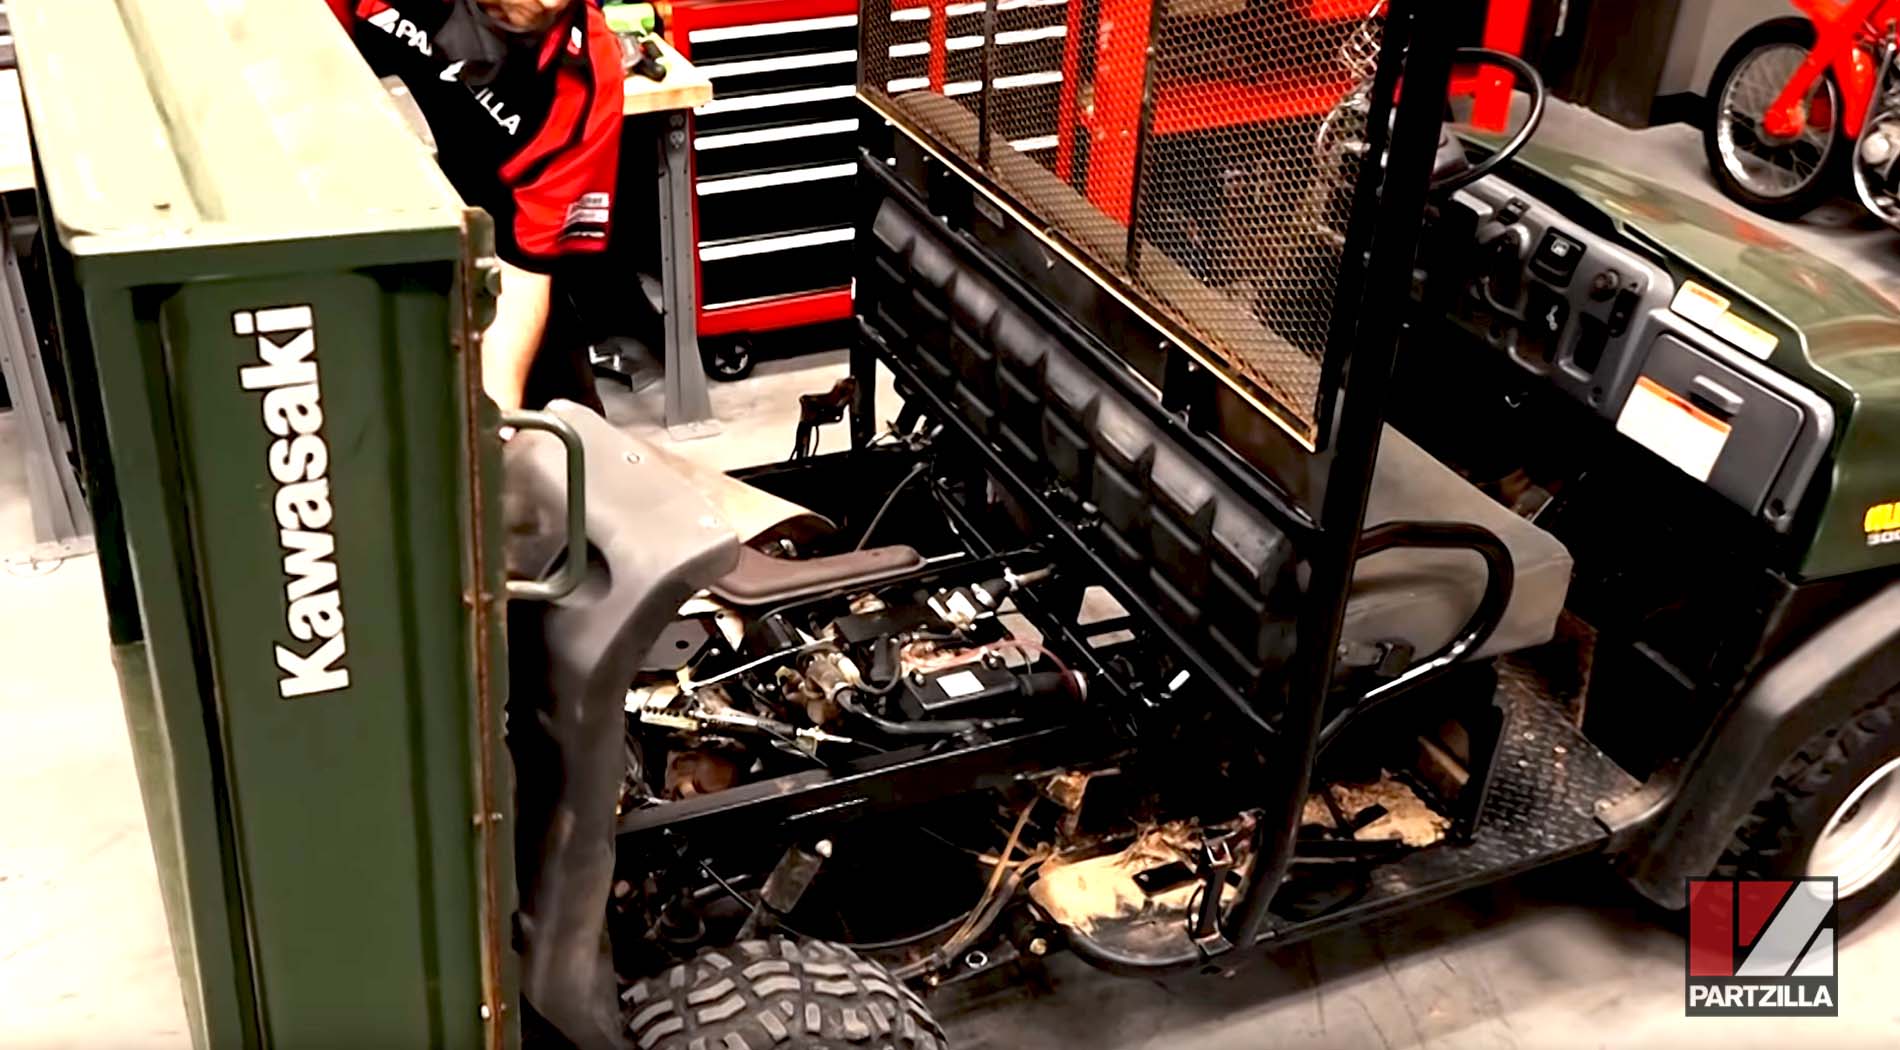
How to Clean & Rebuild a Kawasaki Mule 3000 Carburetor
Cleaning and rebuilding the carburetor on a Kawasaki Mule 3000 takes some time, but can be done with some basic tools and Kawasaki Mule 300 carburetor replacement parts.
Watch the video above anf follow the steps below to do a carburetor cleaning and rebuild for a Kawasaki Mule 3000 side by side.
Tools and Parts - Kawasaki Mule 3000 Carb Clean and Rebuild
- Ratchet and extensions
- 10mm socket
- Pliers
- Gasket scraper
- Screwdrivers

Kawasaki Mule 3000 Carb Clean & Rebuild
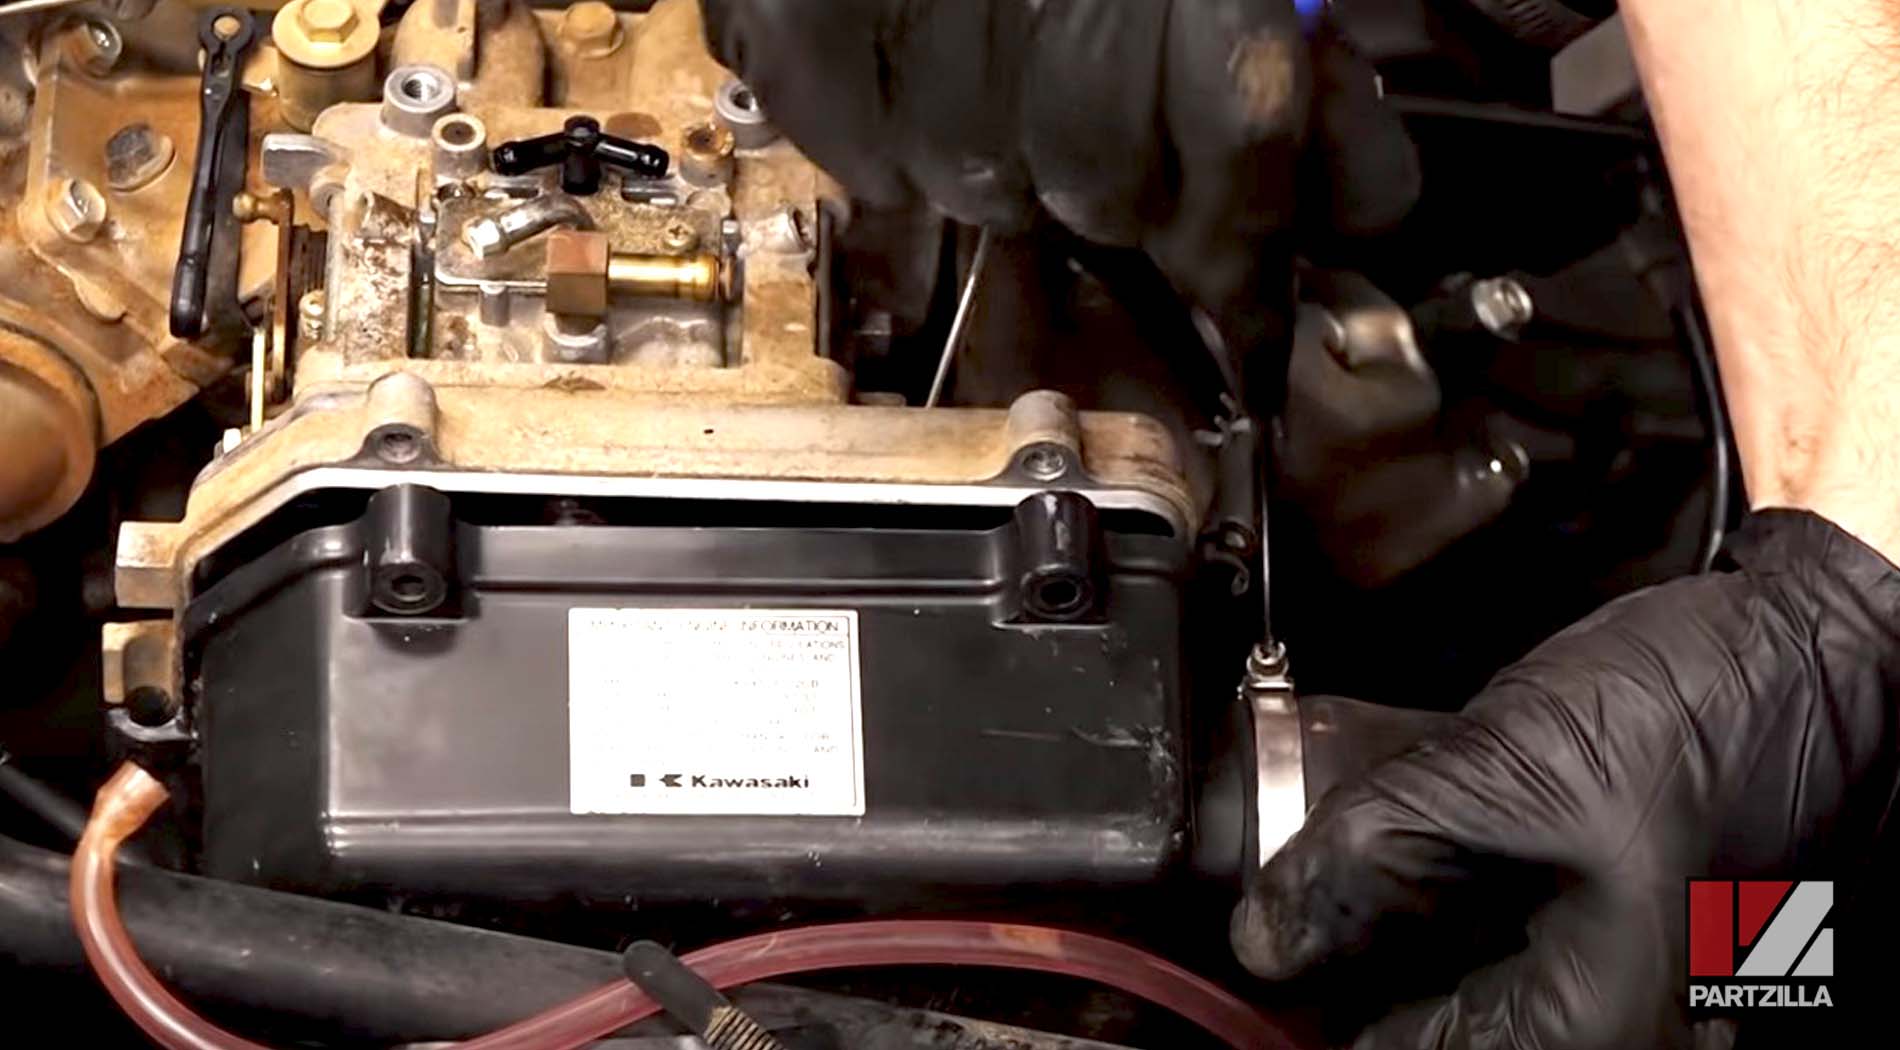
Step 1. Lift the rear bed to access the carburetor.
Step 2. Remove the carburetor top and side cover plates by taking off the 10mm bolts, and disconnecting the throttle cable linkage.
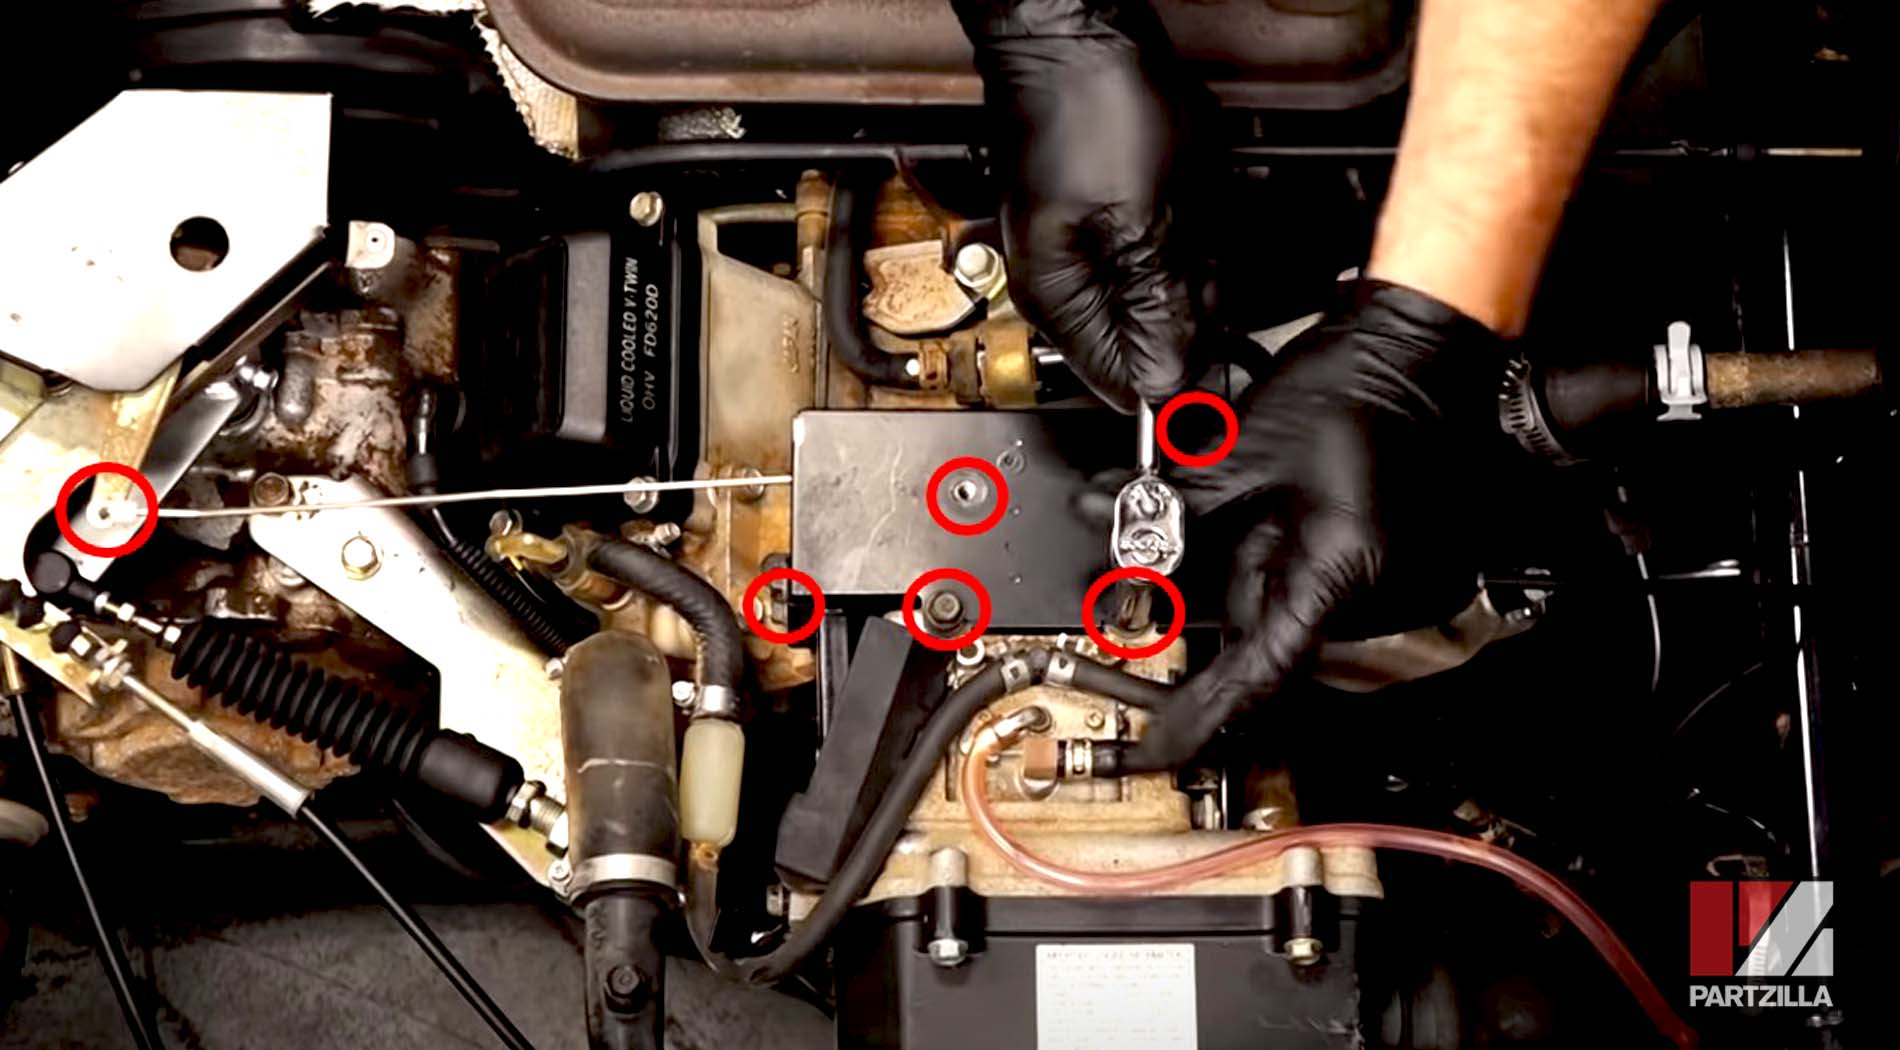
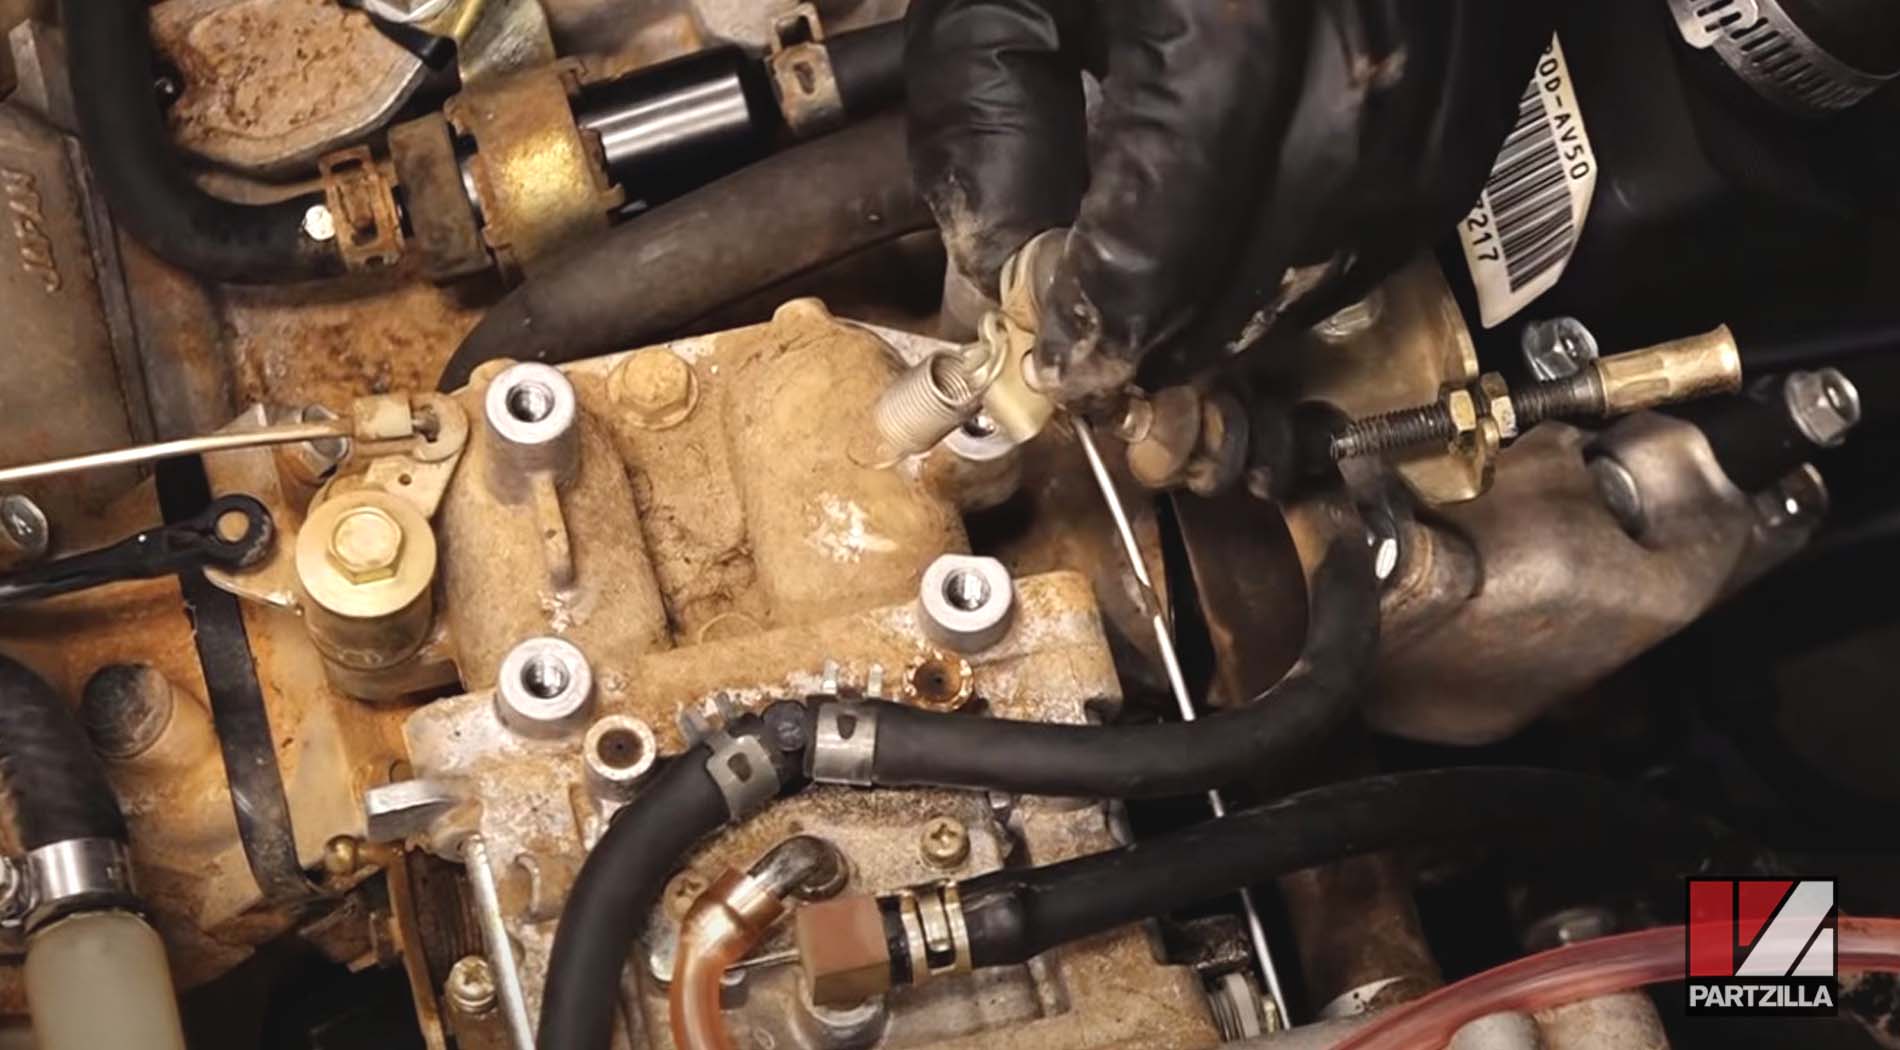
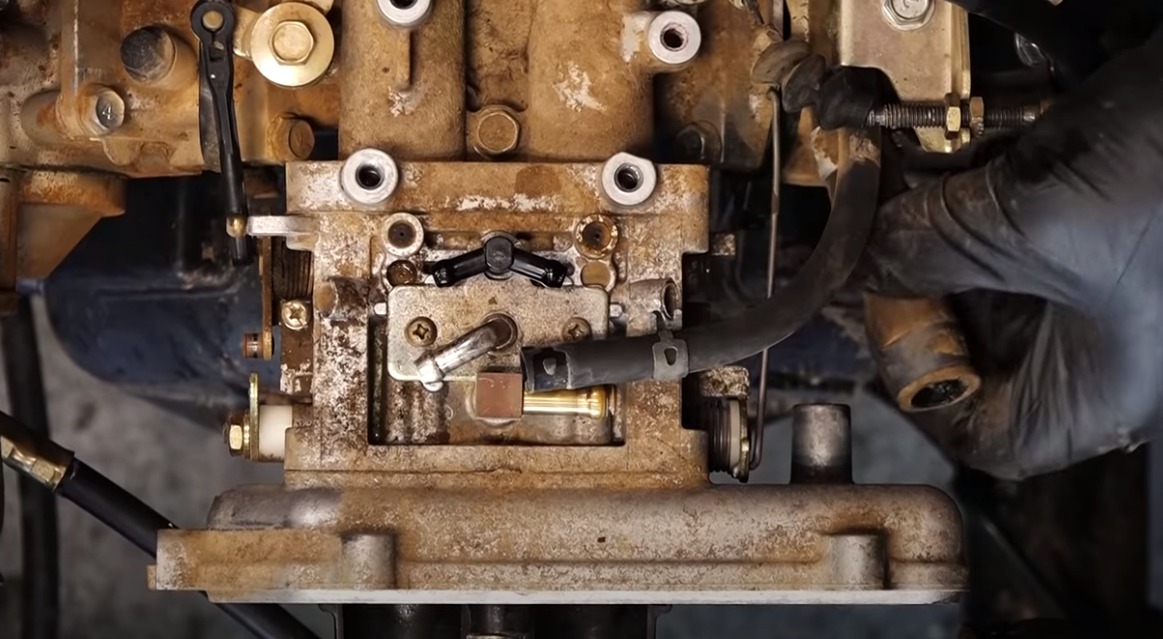
Step 3. Disconnect the throttle link by unclipping it from the carburetor body, then removing the choke linkage by taking off the 10mm bolt, and disconnecting the spring and cable arm.
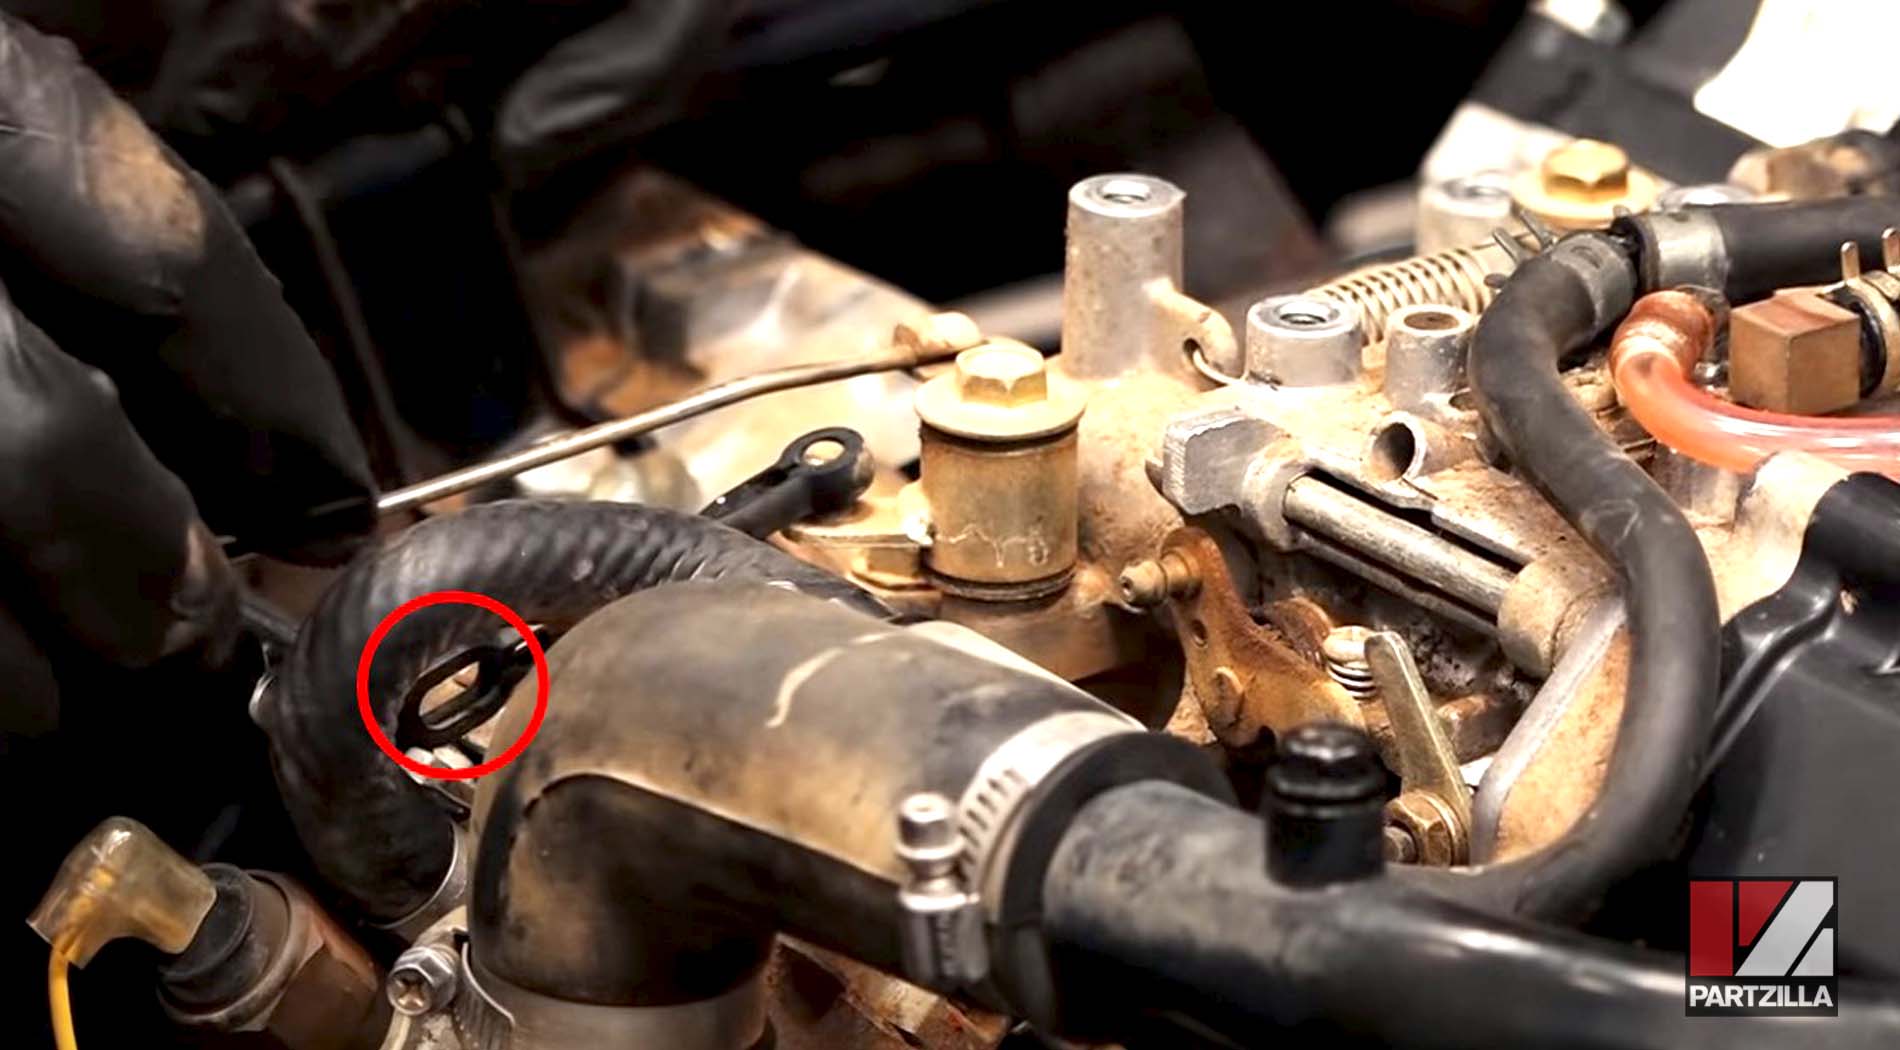
Step 4. Disconnect the fuel and vacuum hoses from the carburetor body.

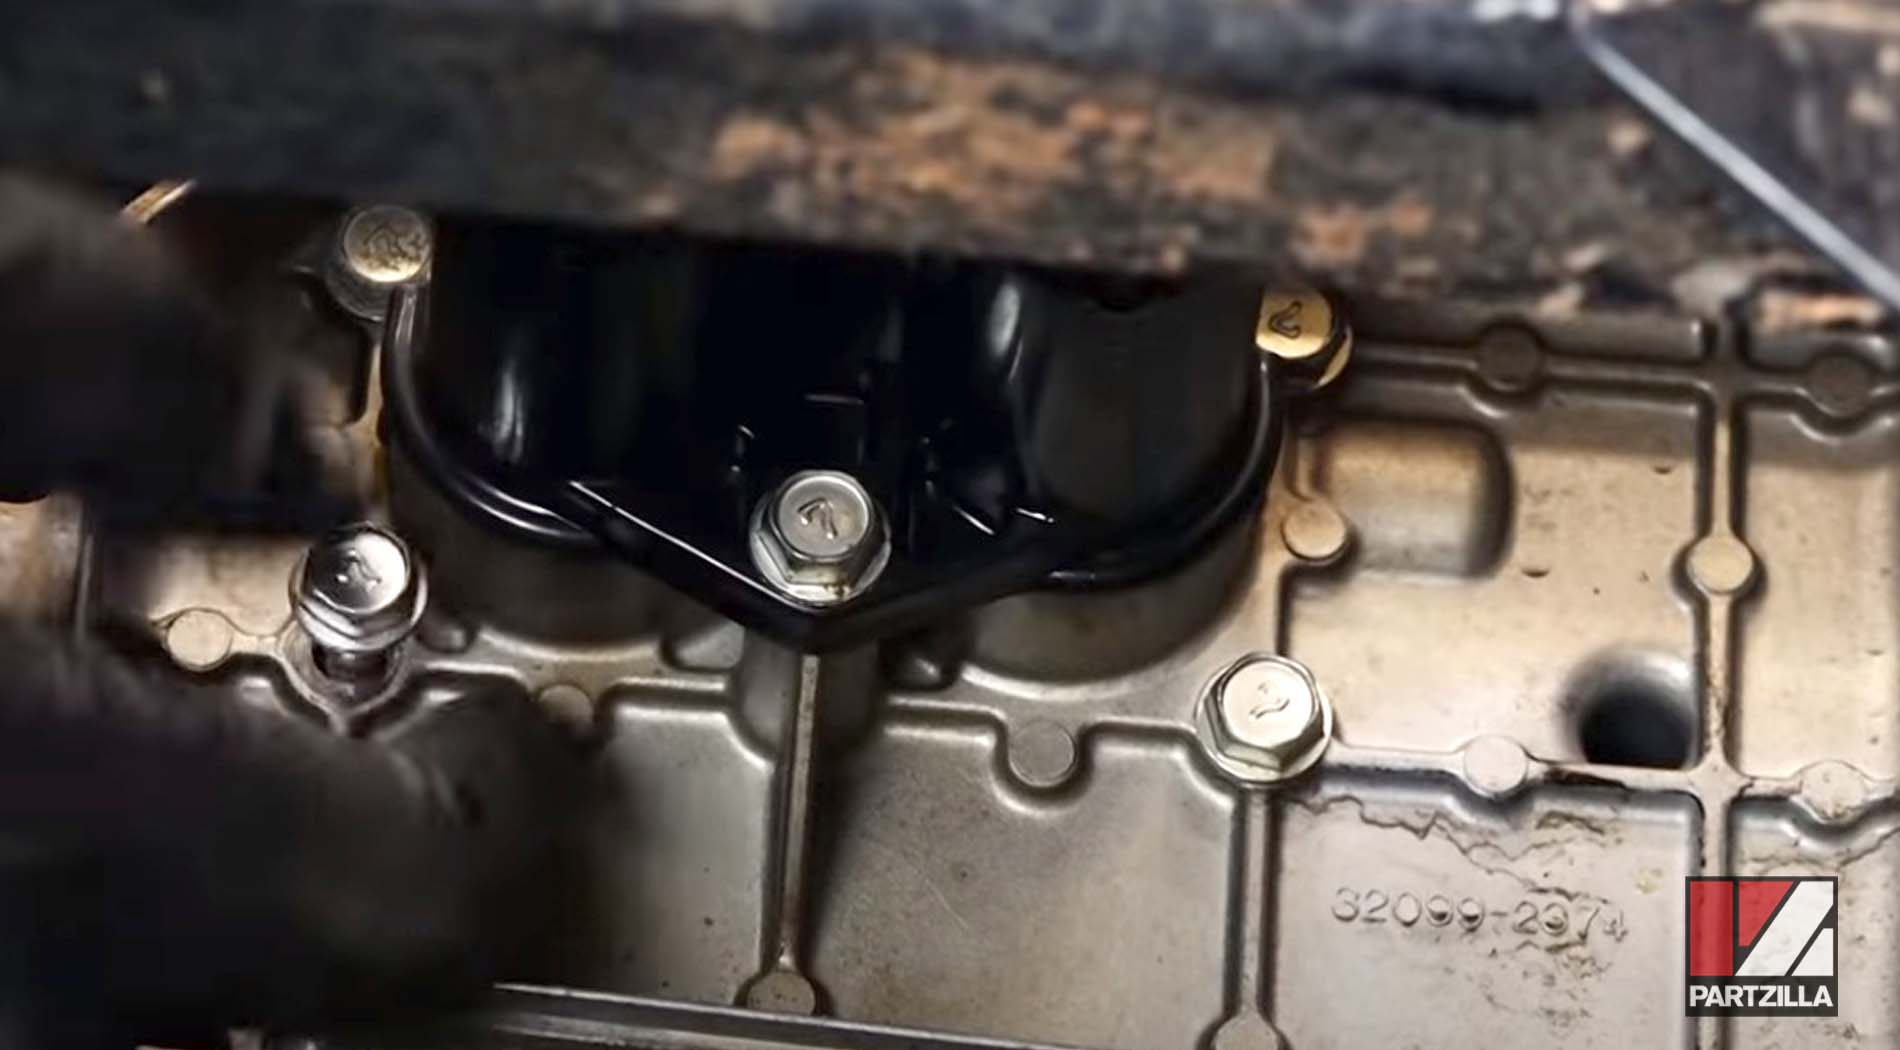
Step 5. Remove the airbox cover by taking off the four 10mm bolts and the intake hose.
Step 6. Remove the carburetor assembly from the intake manifold by taking off the four 10mm mounting bolts, disconnecting the breather hose, and then sliding the carb off the manifold.
PRO TIP: Plug the intake manifold with rags or shop towels to prevent any dirt or debris from getting into the manifold and the engine.
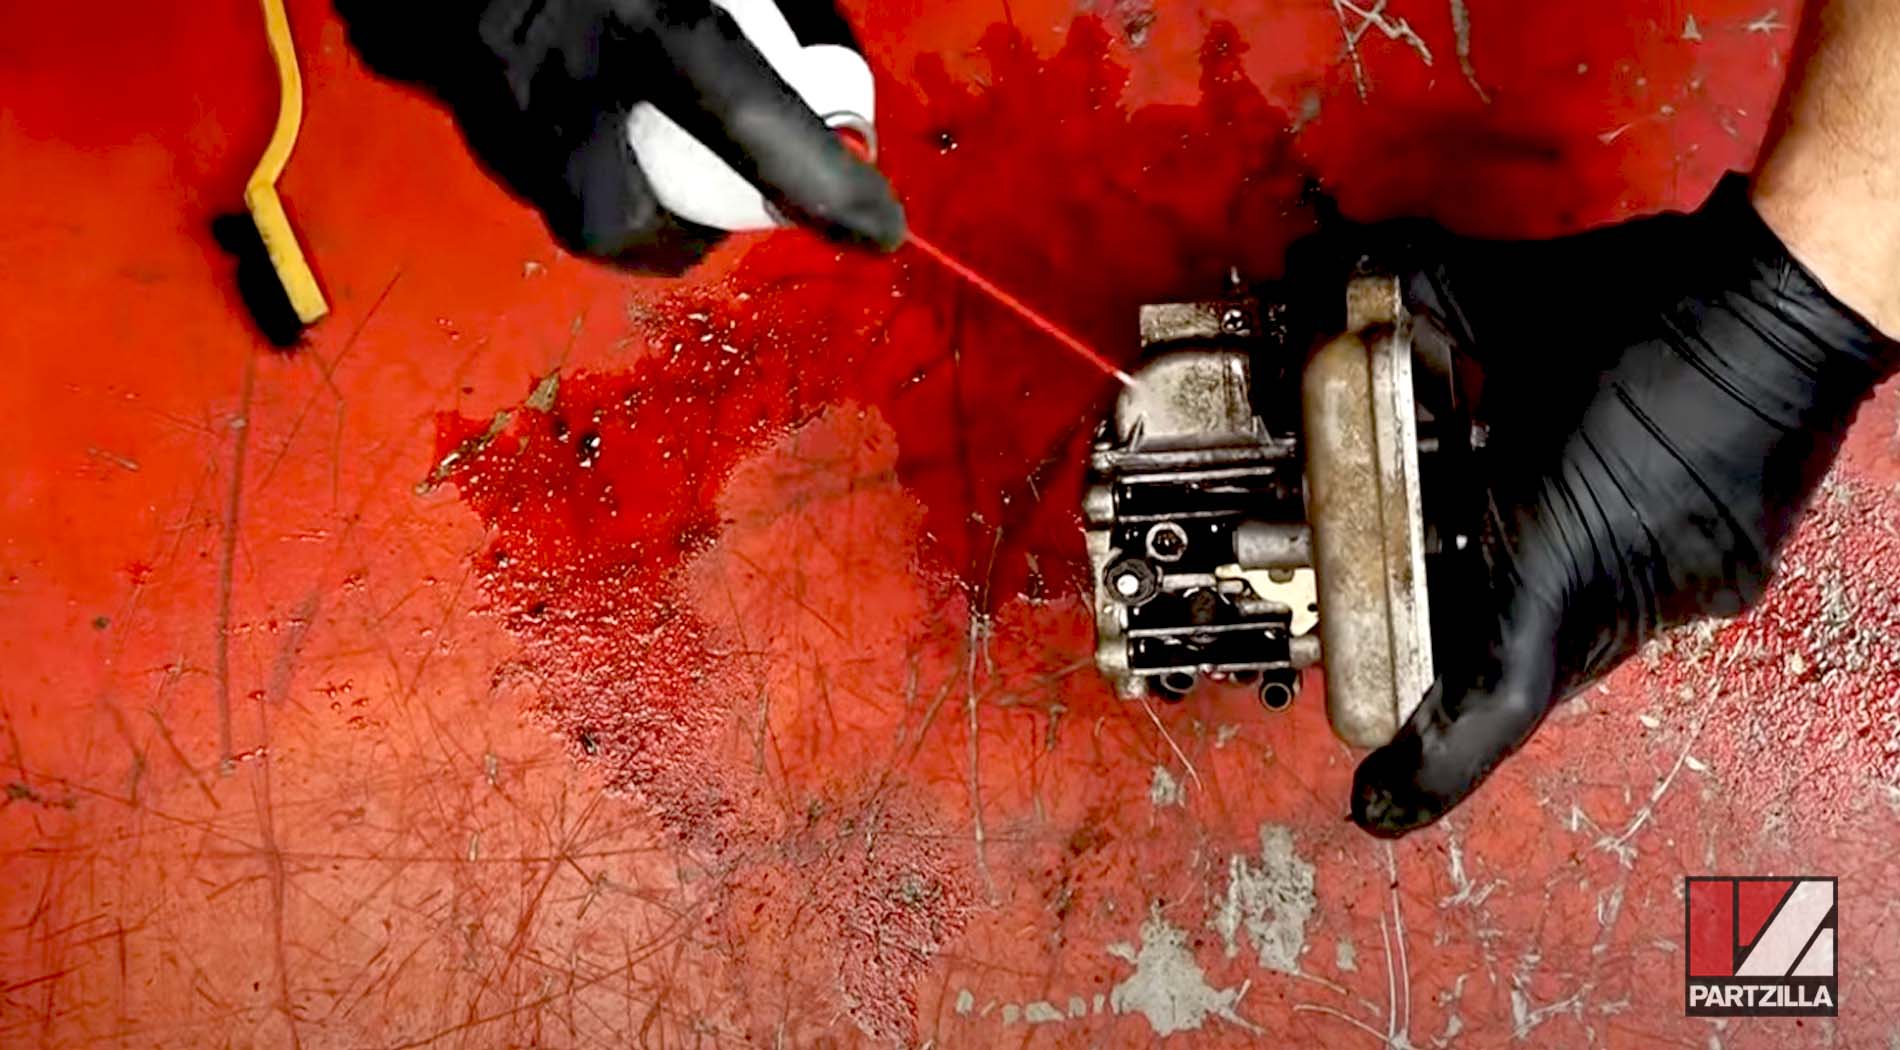
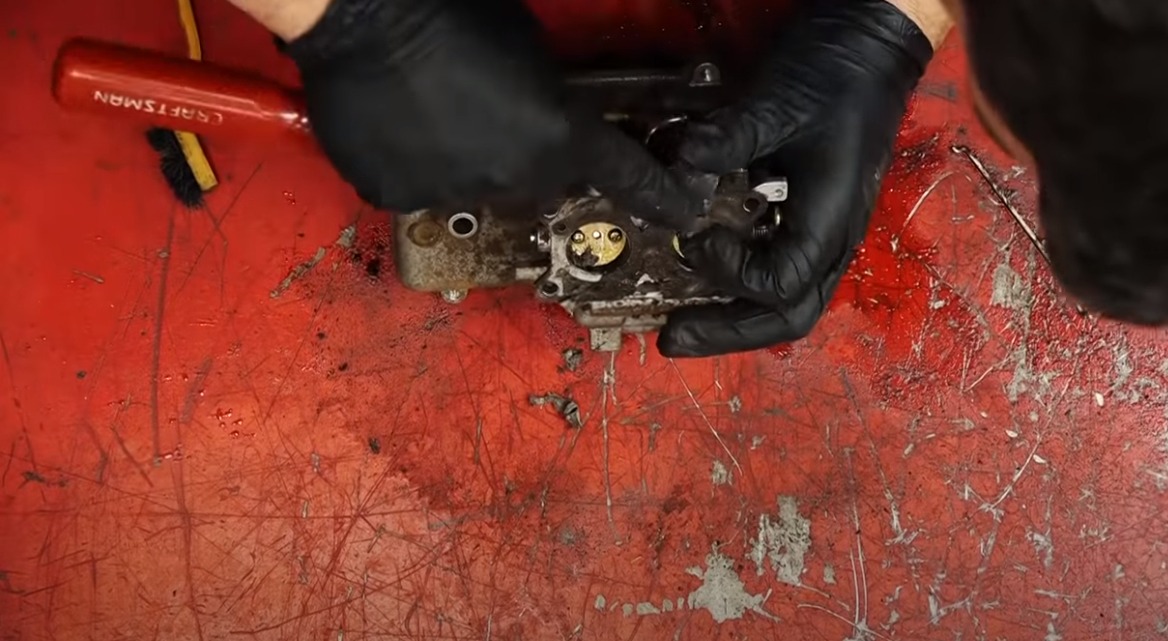
Step 7. Clean the outside of the carburetor with carb cleaner and a brush so that no dirt gets into the carb once it is disassembled. Spray carb cleaner into the various inlets and outlets on the carb body.
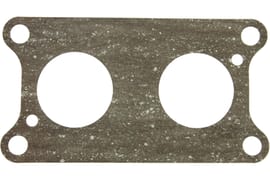
Step 8. Remove the old gasket, carefully scraping away all traces of it using carb cleaner and a gasket scraper, while making sure not to scratch or damage the surface of the carb itself.
Watch the video below for tips on how to remove gasket material.
Step 9. Remove the float bowl by taking off the four Phillips head screws, and then removing the rubber float bowl gasket beneath it.
PRO TIP: If the float bowl screws are corroded, use an impact driver to free them without stripping their heads.
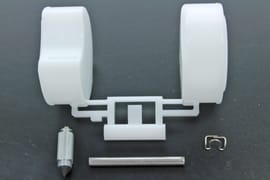
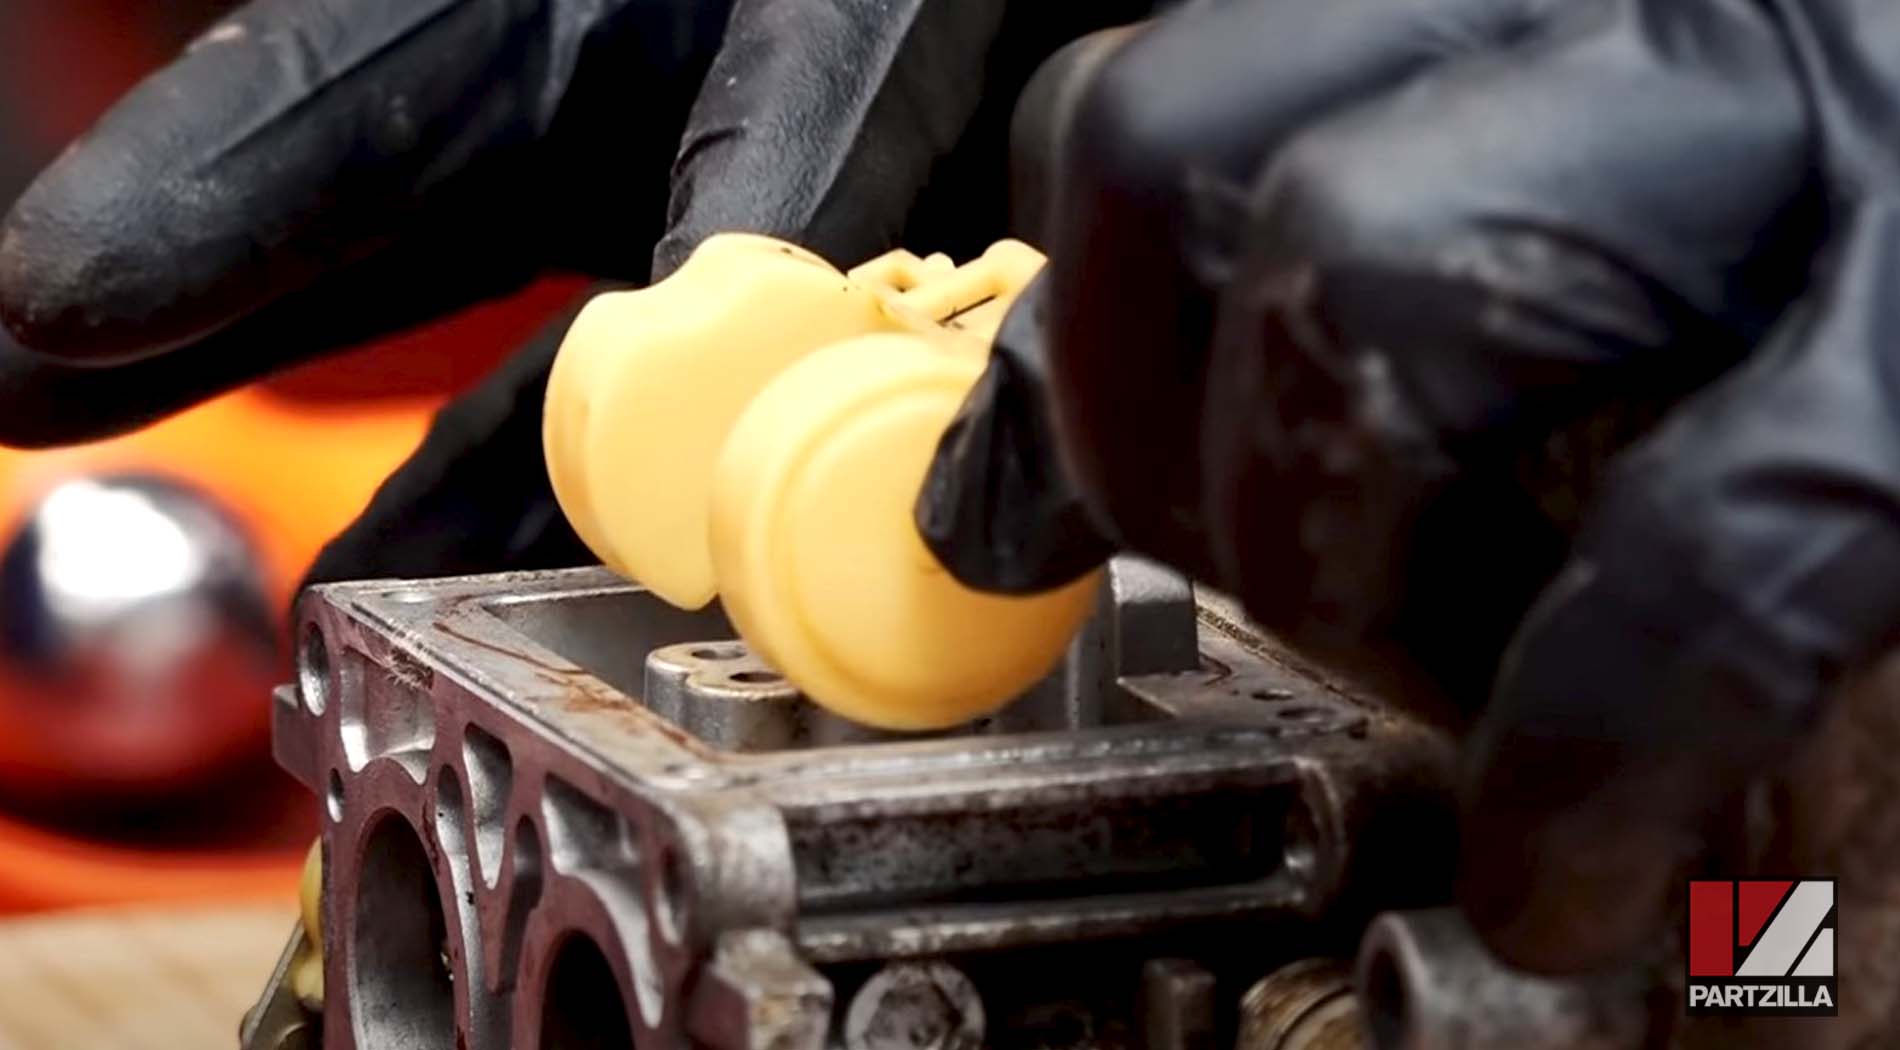
Step 10. Remove the float and float needle valve beneath it by sliding out the float pin that secures them in place.
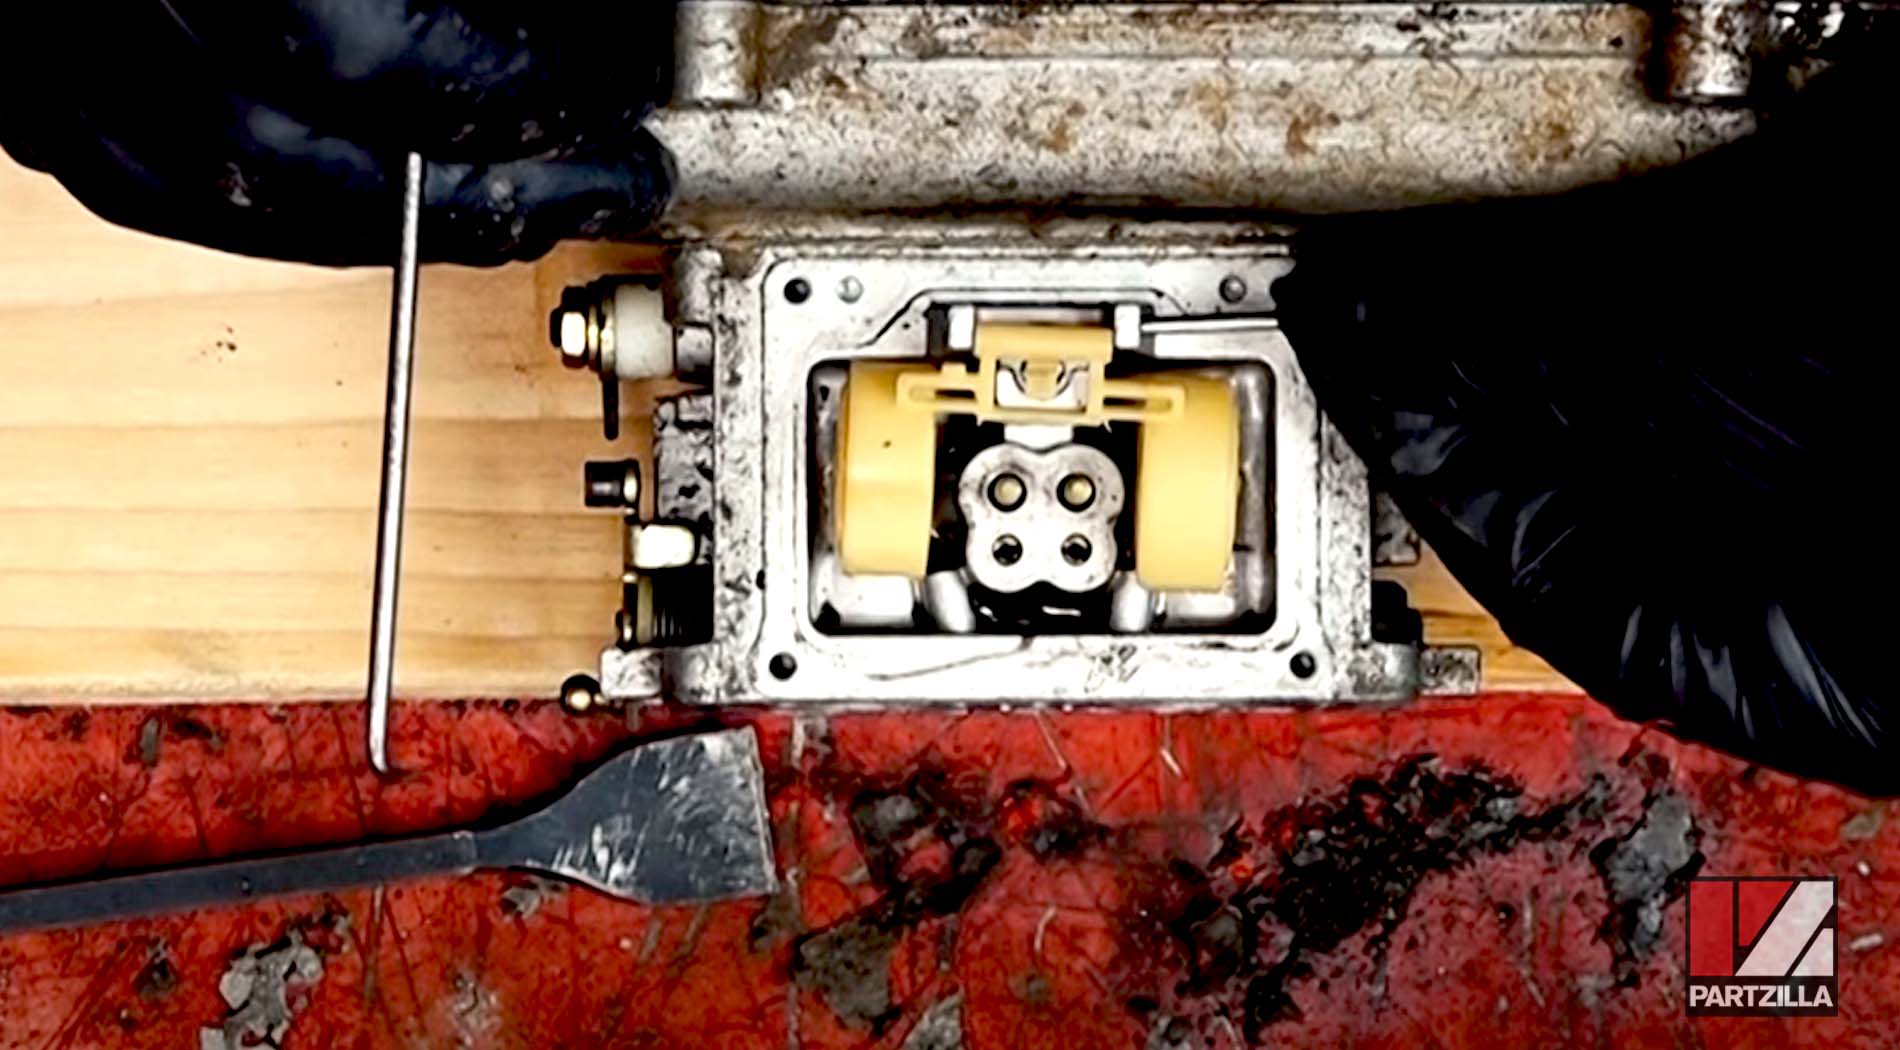
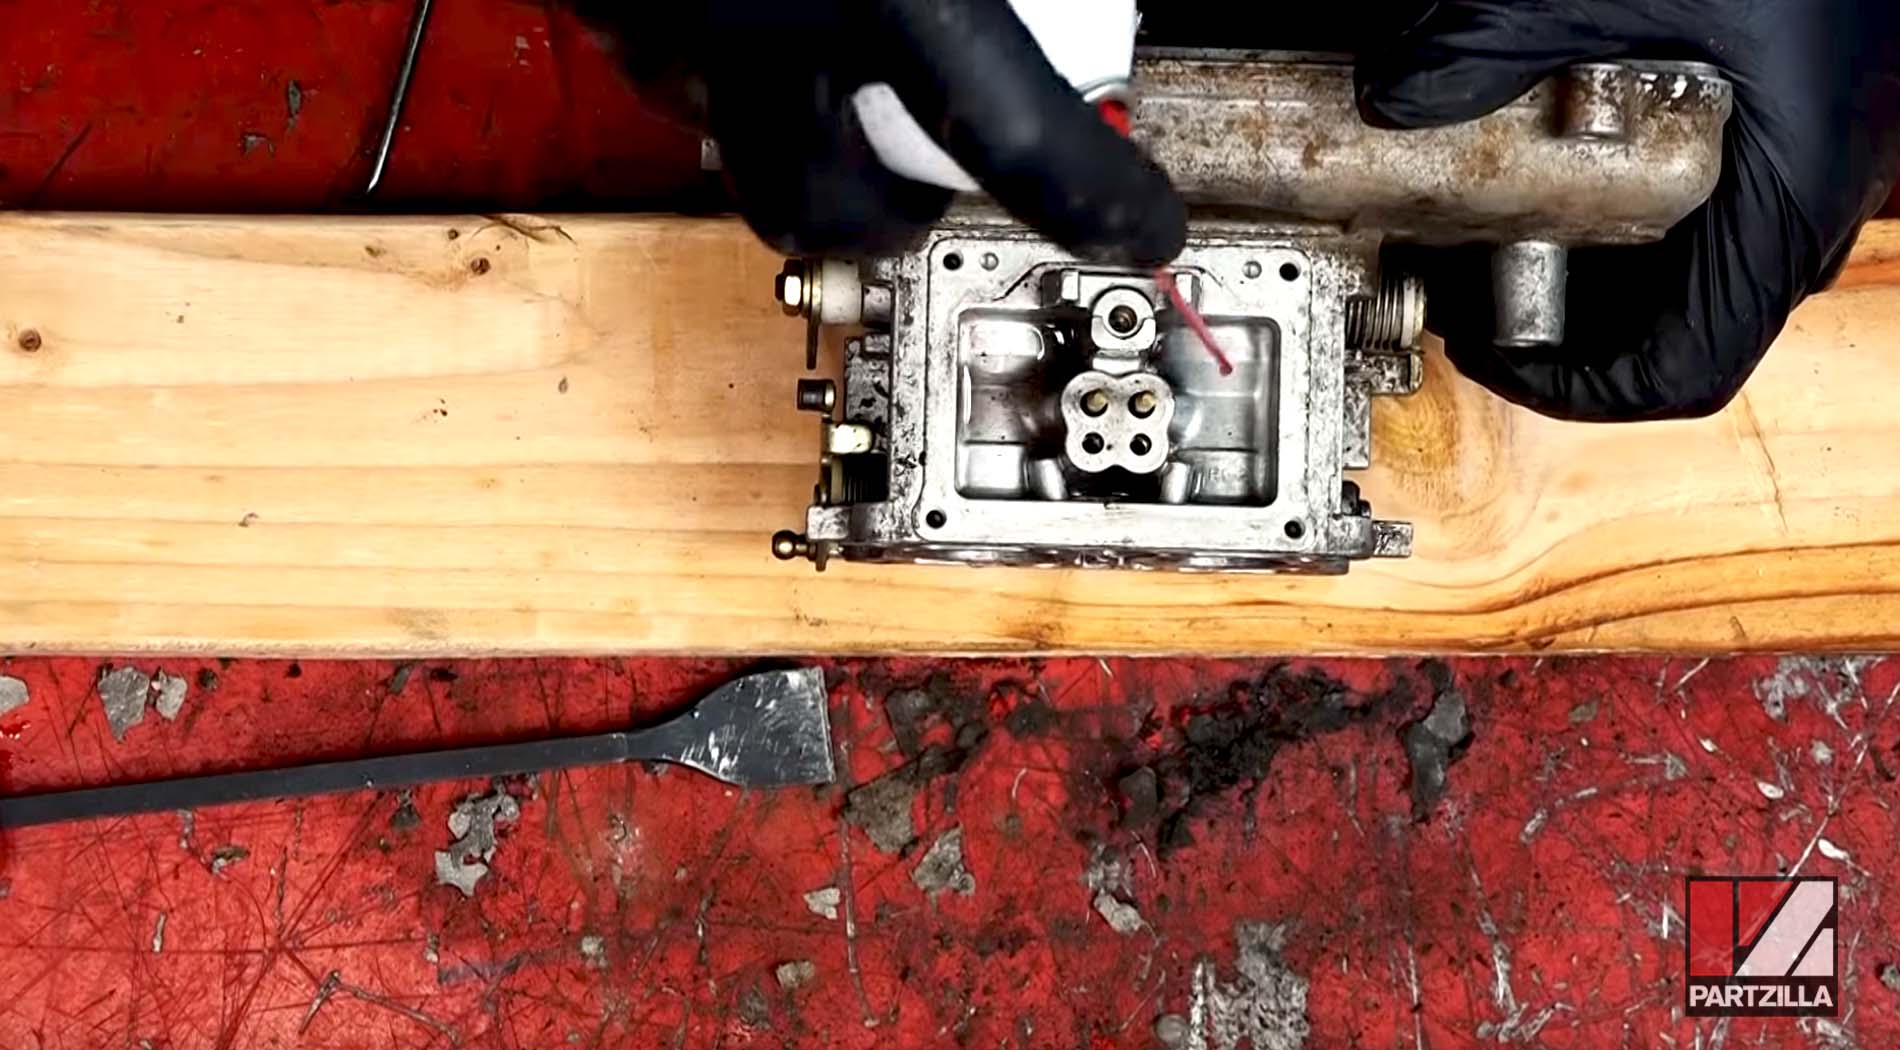
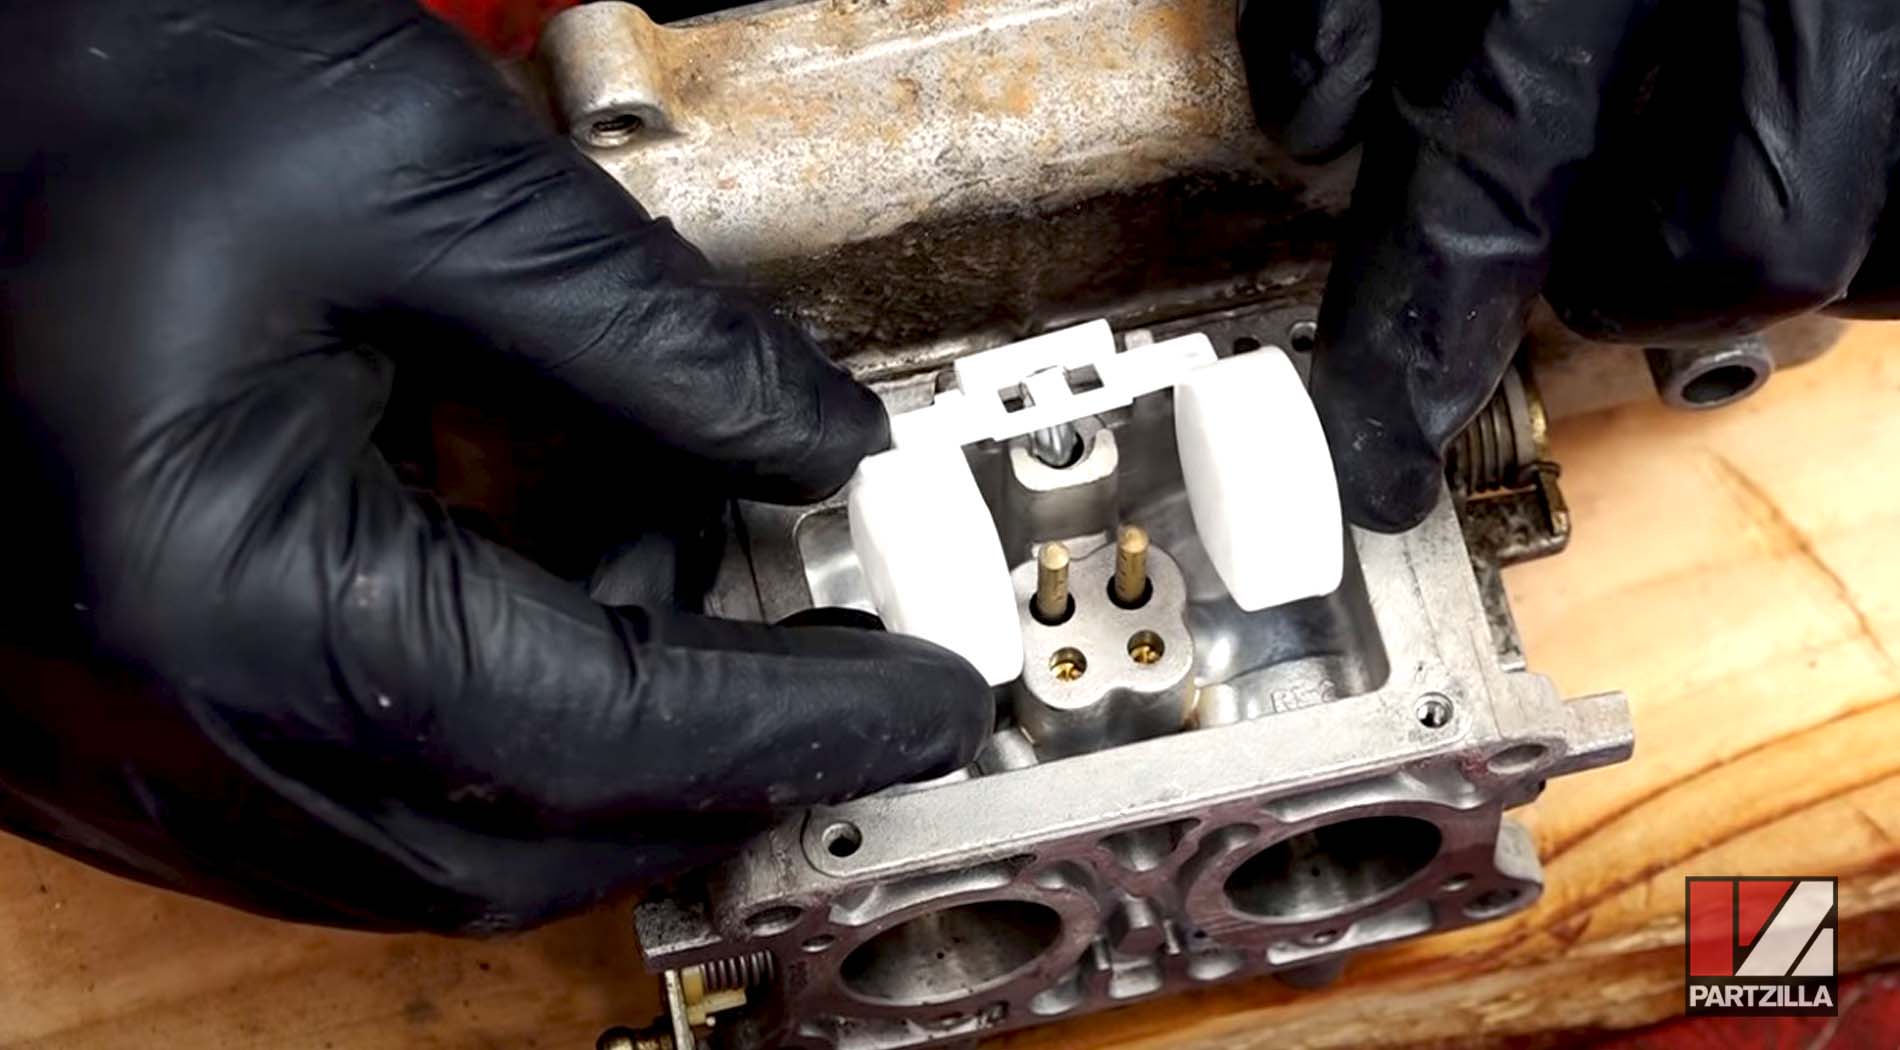
Step 11. Remove the two pilot jets by unscrewing them with a flathead screwdriver.
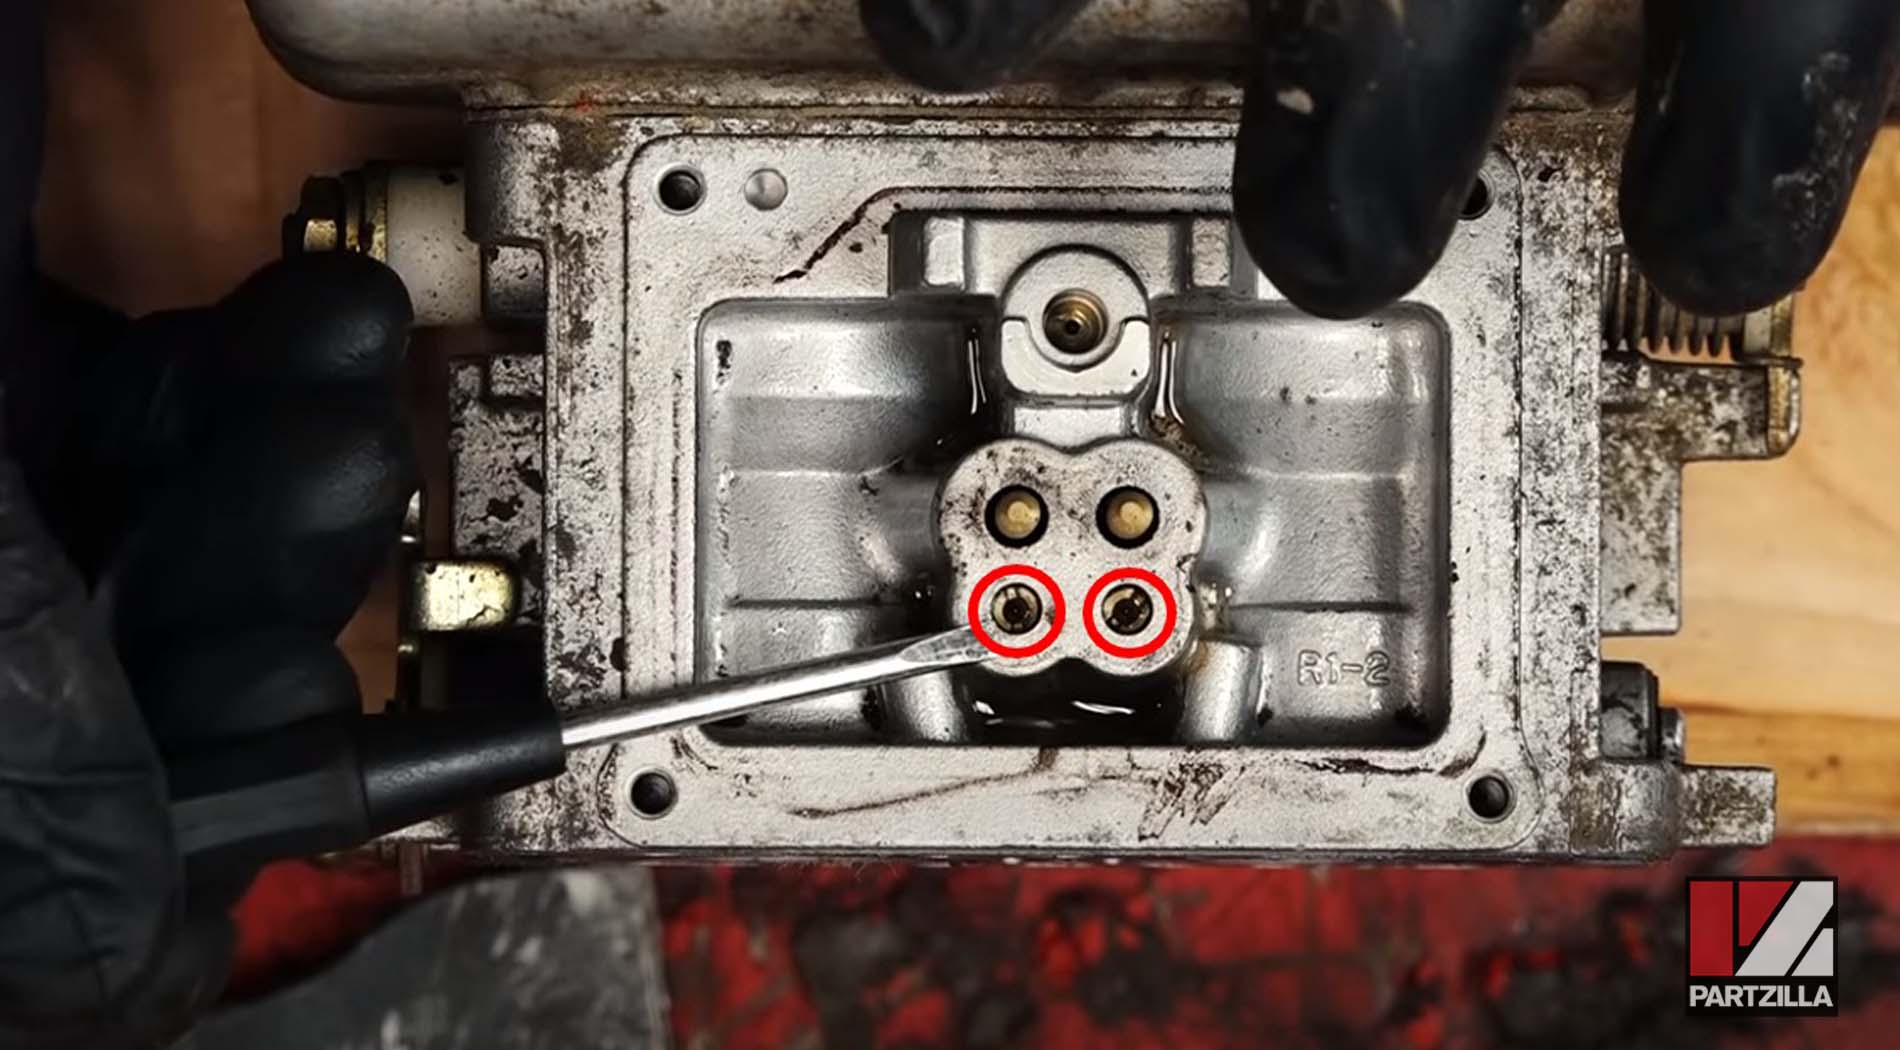
Step 12. Clean the inside of the carburetor with carb cleaner, including the passages where the pilot jets were housed. Then, blow the carb with compressed air to remove any last traces of dirt, paying particular attention to the jet's passages.
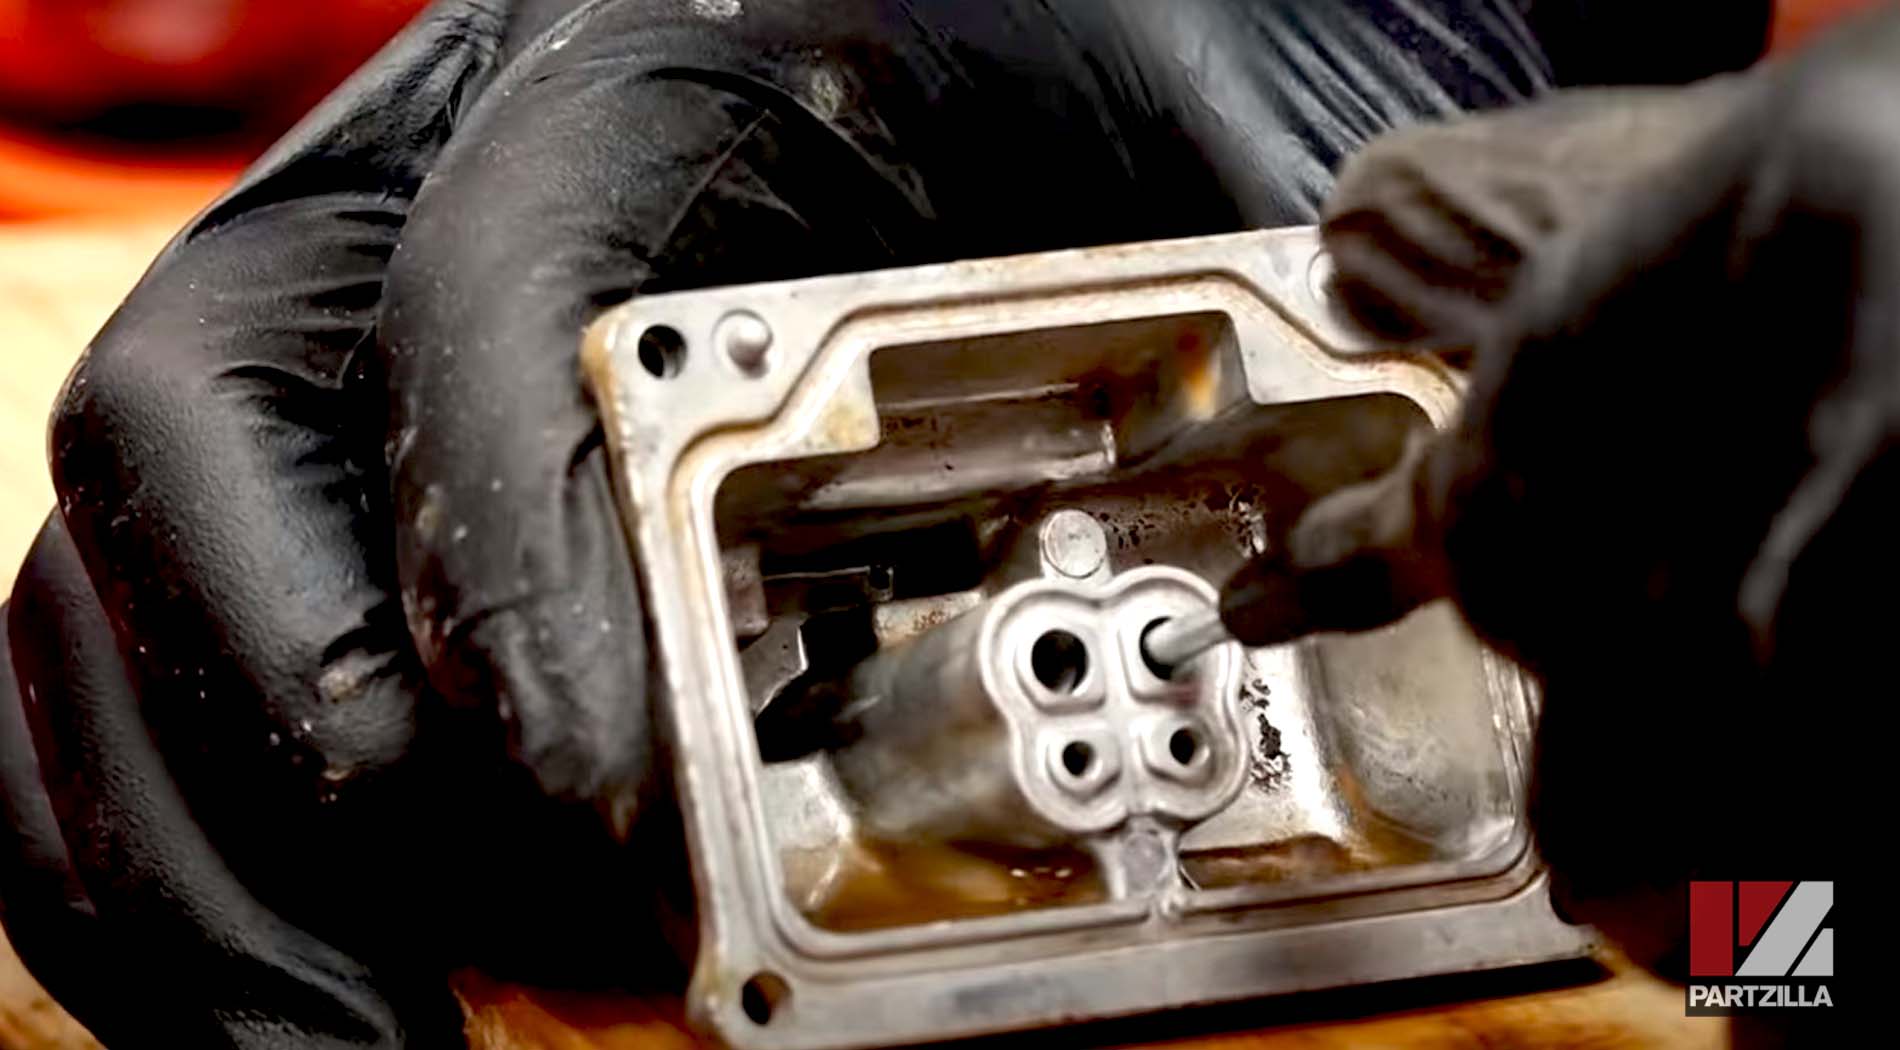
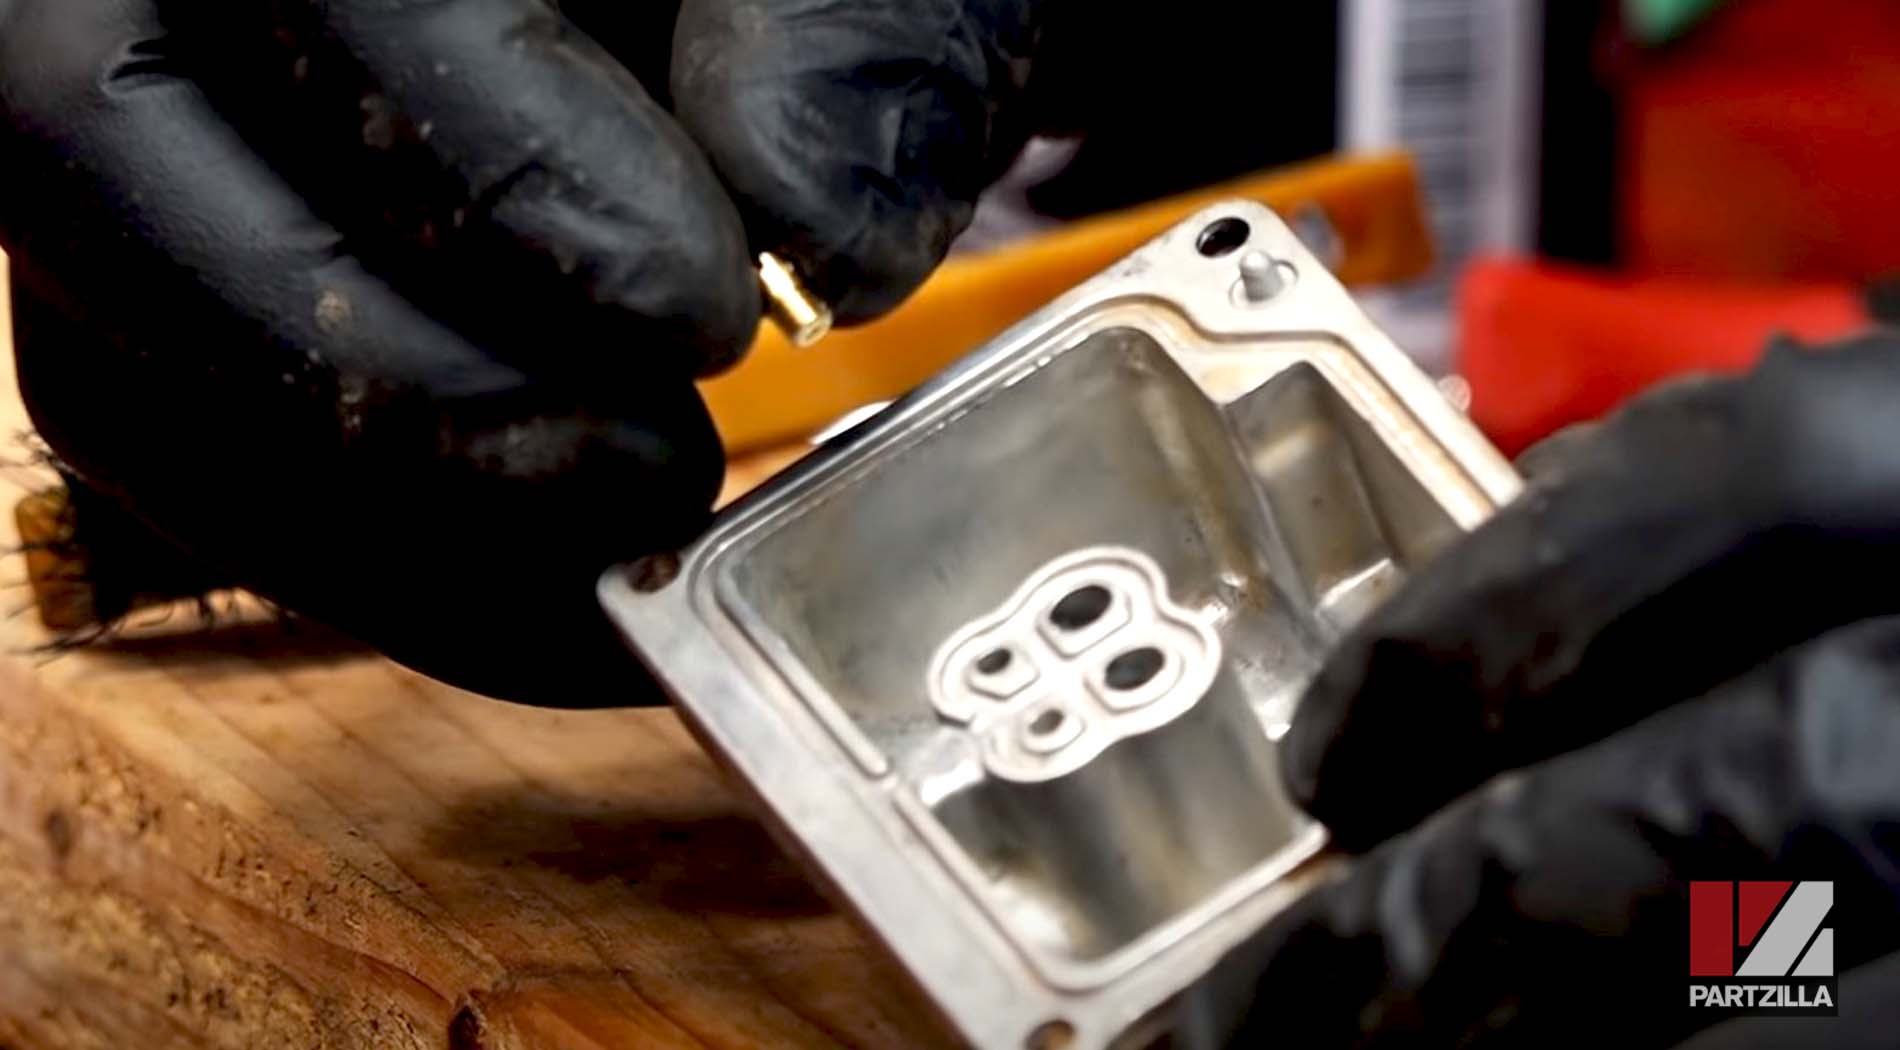
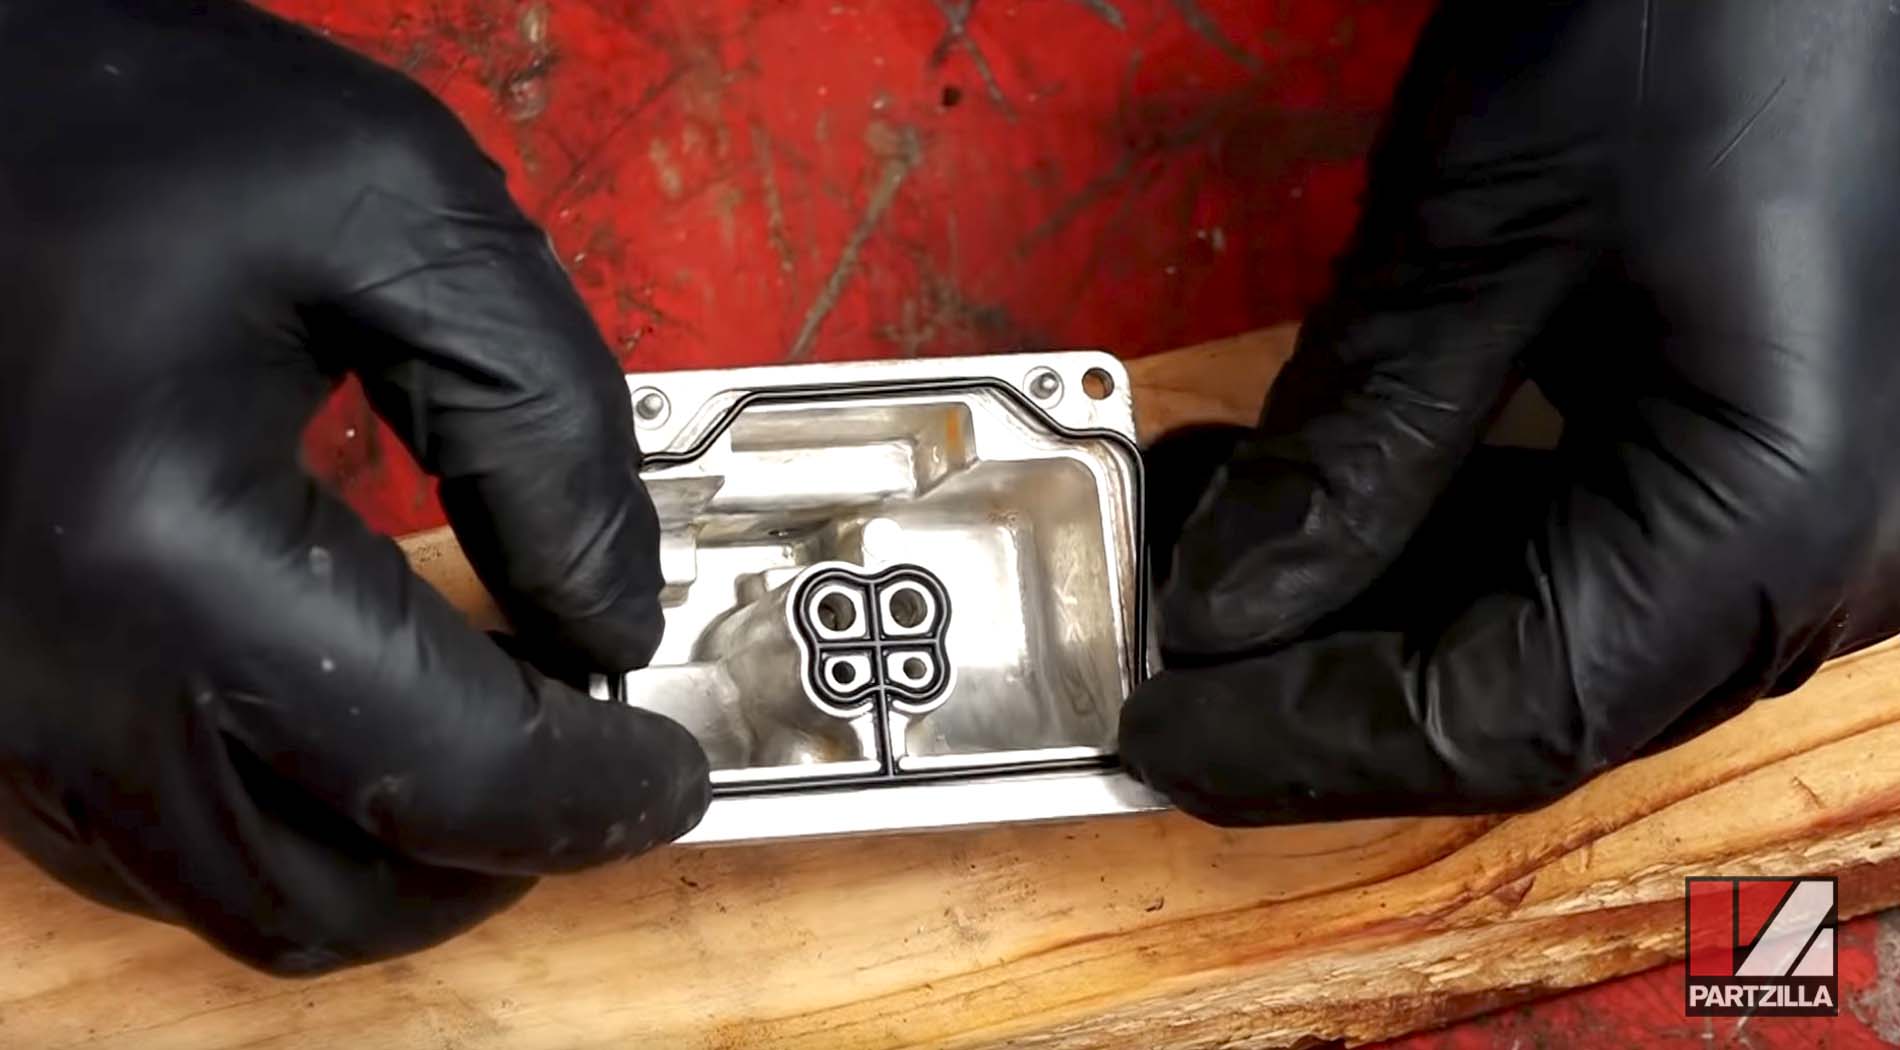
Step 13. Remove the two main jets from the float bowl by unscrewing them. Clean the float bowl with carb cleaner, and then blow it with compressed air, again paying particular attention to the jet's passages.
Step 14. Install the new main jets into the float bowl.
NOTE: Don't overtighten the main jets because they're made of brass and can be easily damaged.
Step 15. Install the new pilot jets into the carb body, again being careful not to overtighten and damage the brass jets.

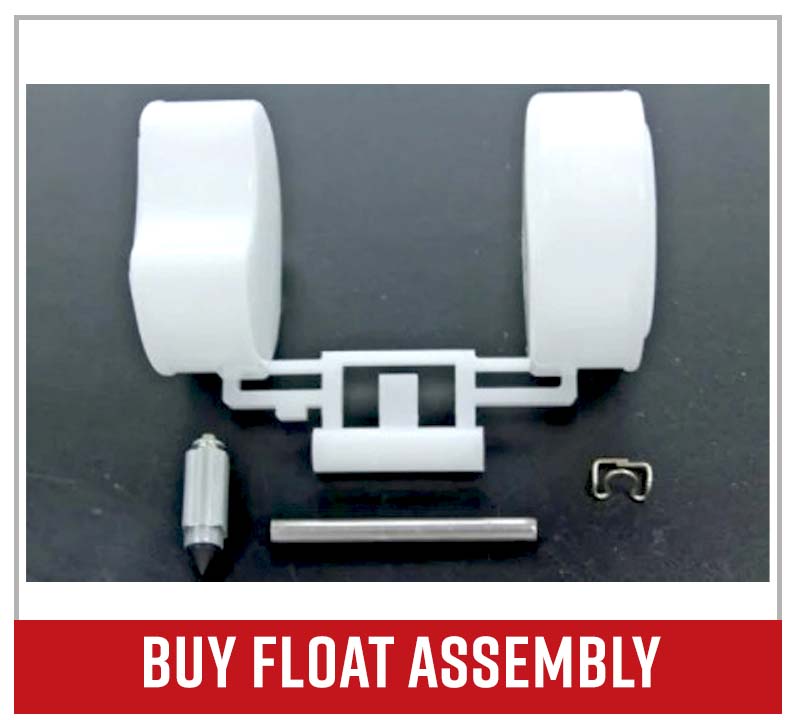
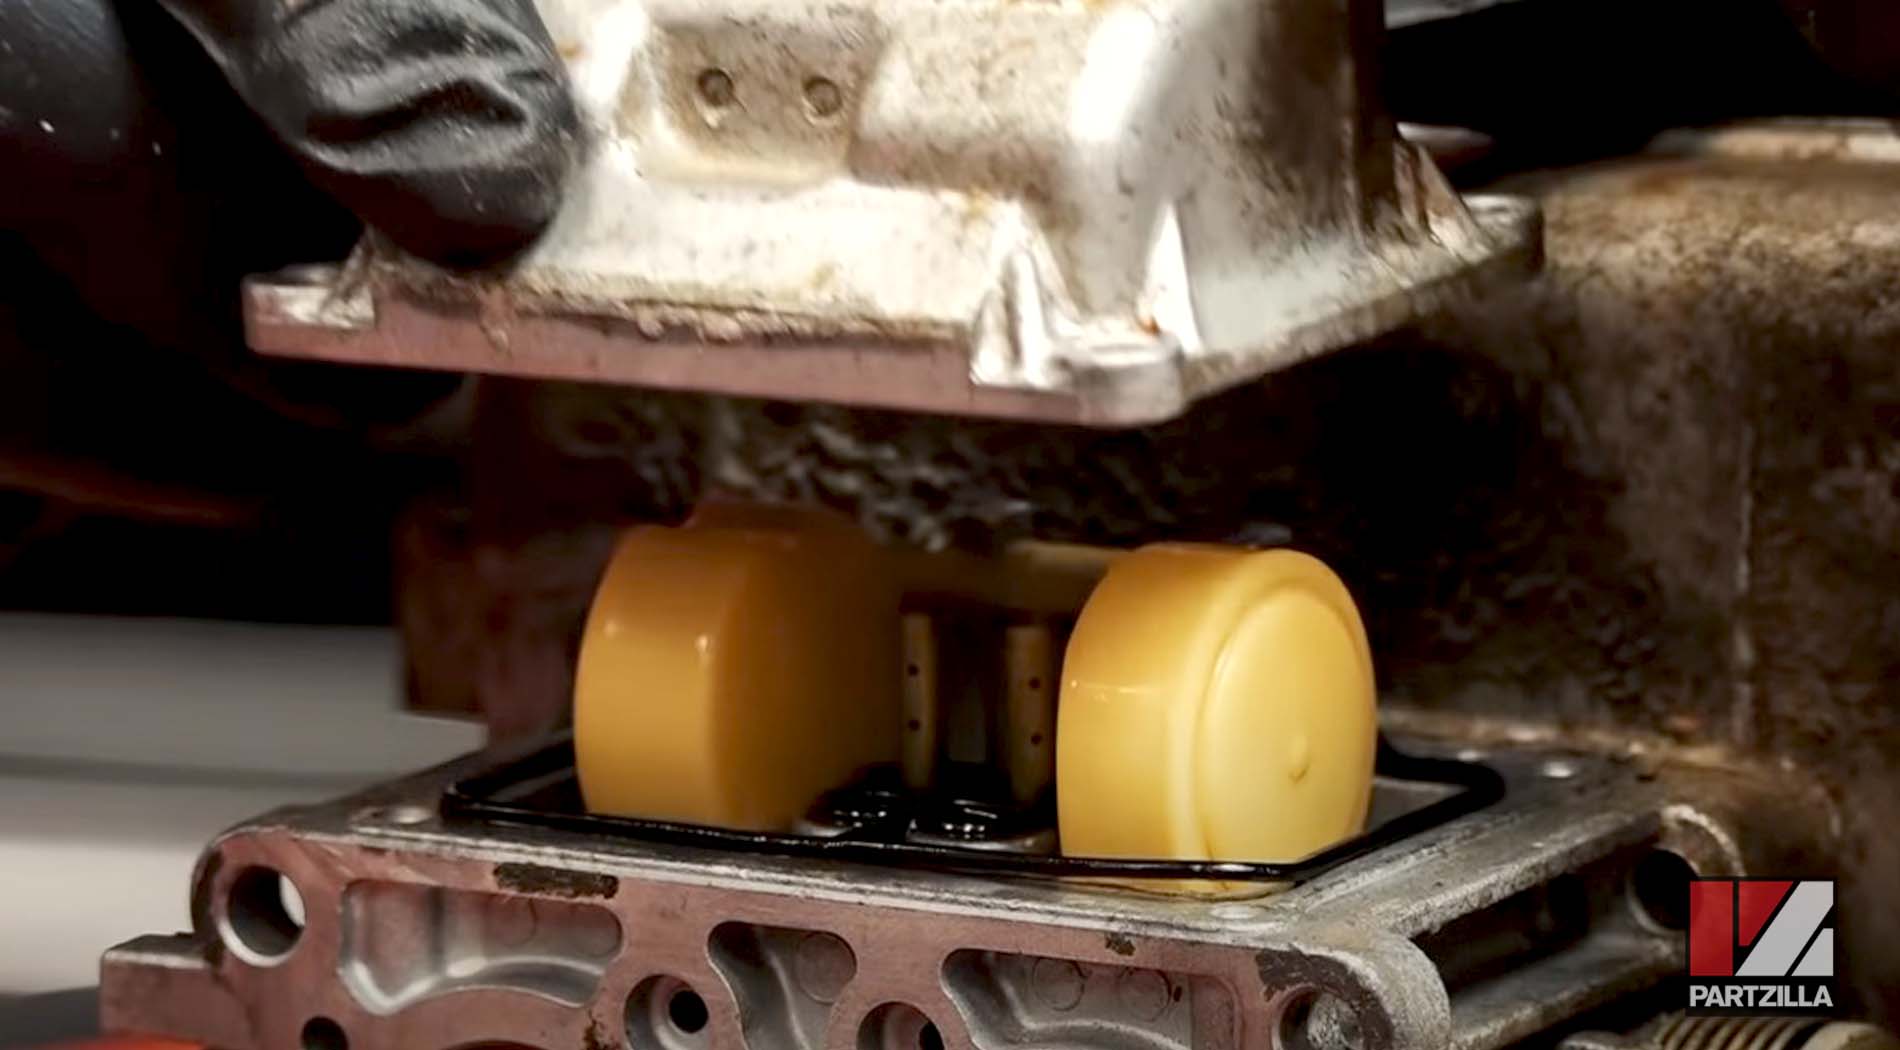
Step 16. Install the new float and float needle valve, and slide the float pin back into place.
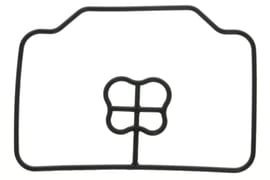
Step 17. Install a new float bowl gasket, and reinstall the float bowl onto the carburetor.
Step 18. Install a new carburetor gasket to the carb, then reinstall the carburetor assembly back onto the intake manifold anf you're done.