How to Change Kawasaki KLX 110 Oil
Changing the oil in a Kawasaki motorcycle keeps the engine clean and running smoothly, and helps protect moving parts. Doing the oil change yourself is a great way to save a few bucks while helping you learn more about what’s going on with your dirt bike.
Watch the video above and follow the steps below to change the oil in a Kawasaki KLX 110 dirt bike.
Tools and Parts – Kawasaki KLX 110 Oil Change
- 3/8th ratchet and extension
- 8mm,12mm, 17mm sockets
- Torque wrench
- Oil drain pan
Kawasaki KLX 110 Oil Change Steps
Step 1. Remove the 8mm bolts on each side of the skid plate, the two 12mm bolts behind the skid plate, followed by the skid plate itself.
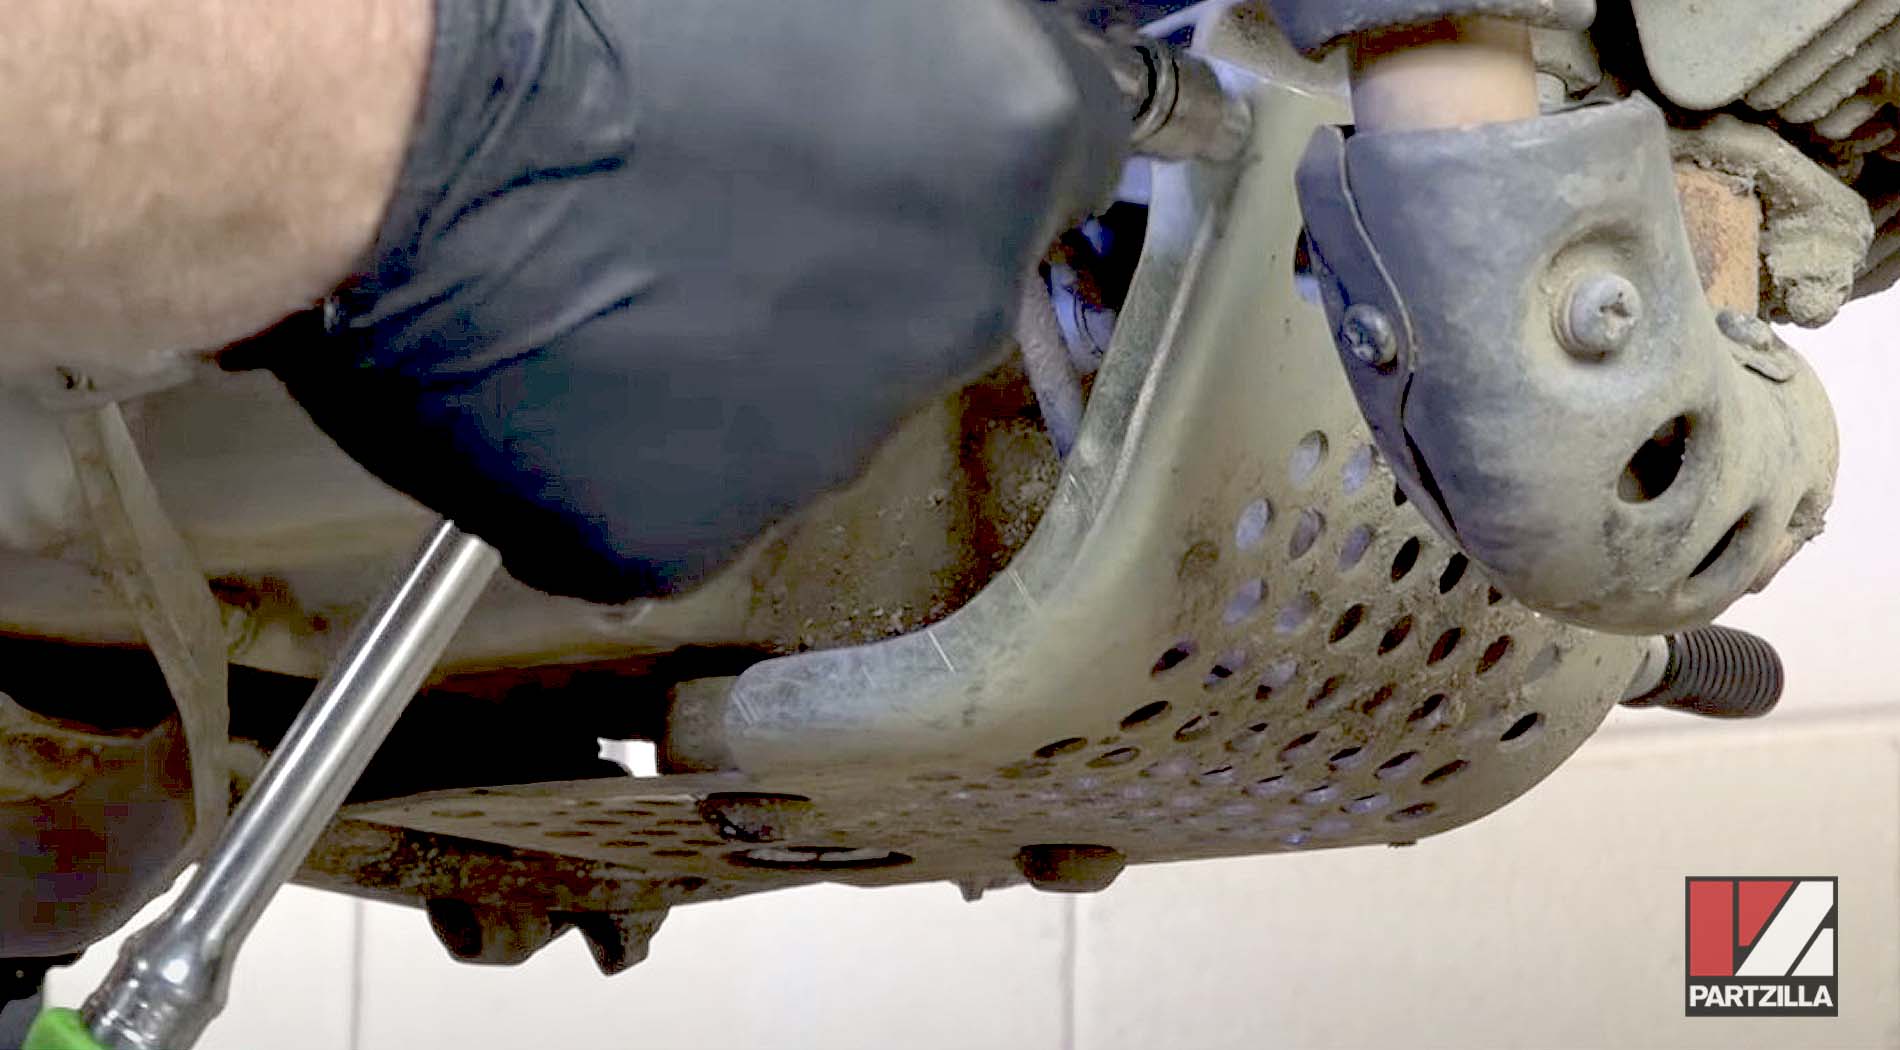
NOTE: If you ran the engine to circulate the oil before removing the skid plate, be careful not to touch the exhaust, as it'll be hot.
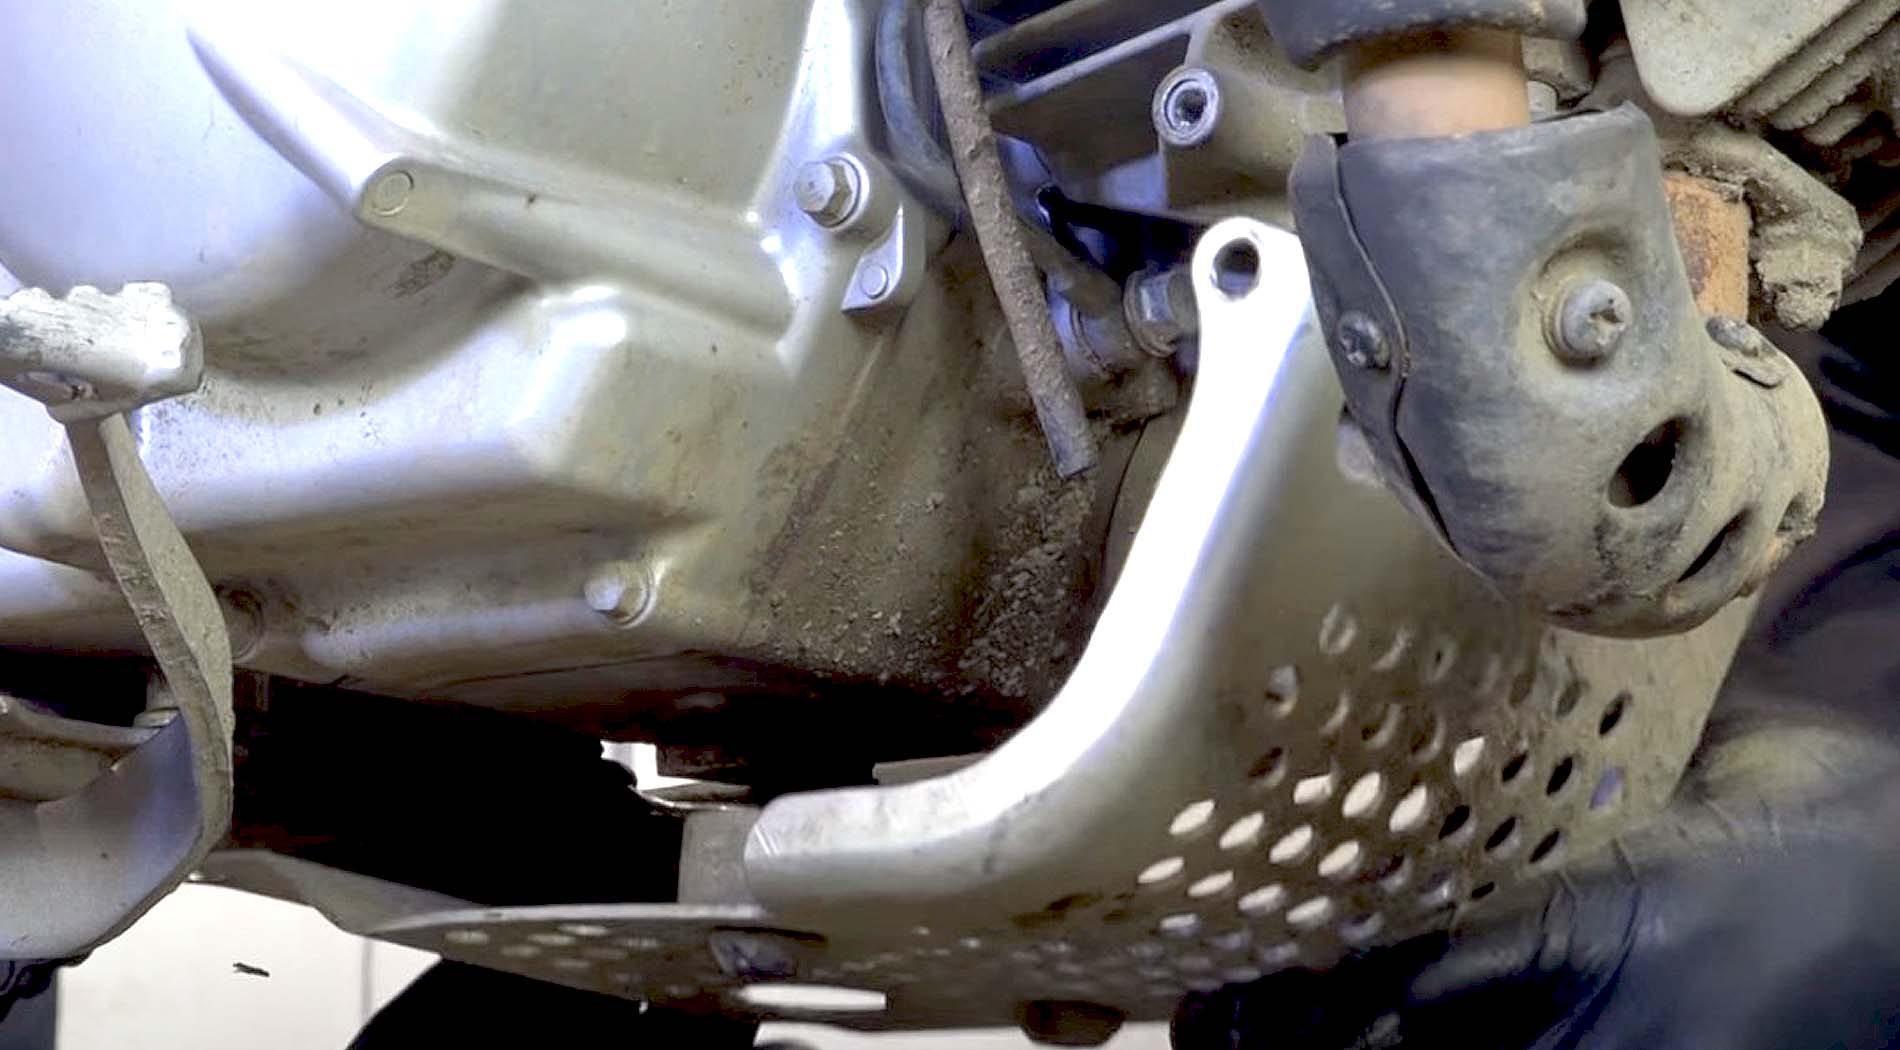
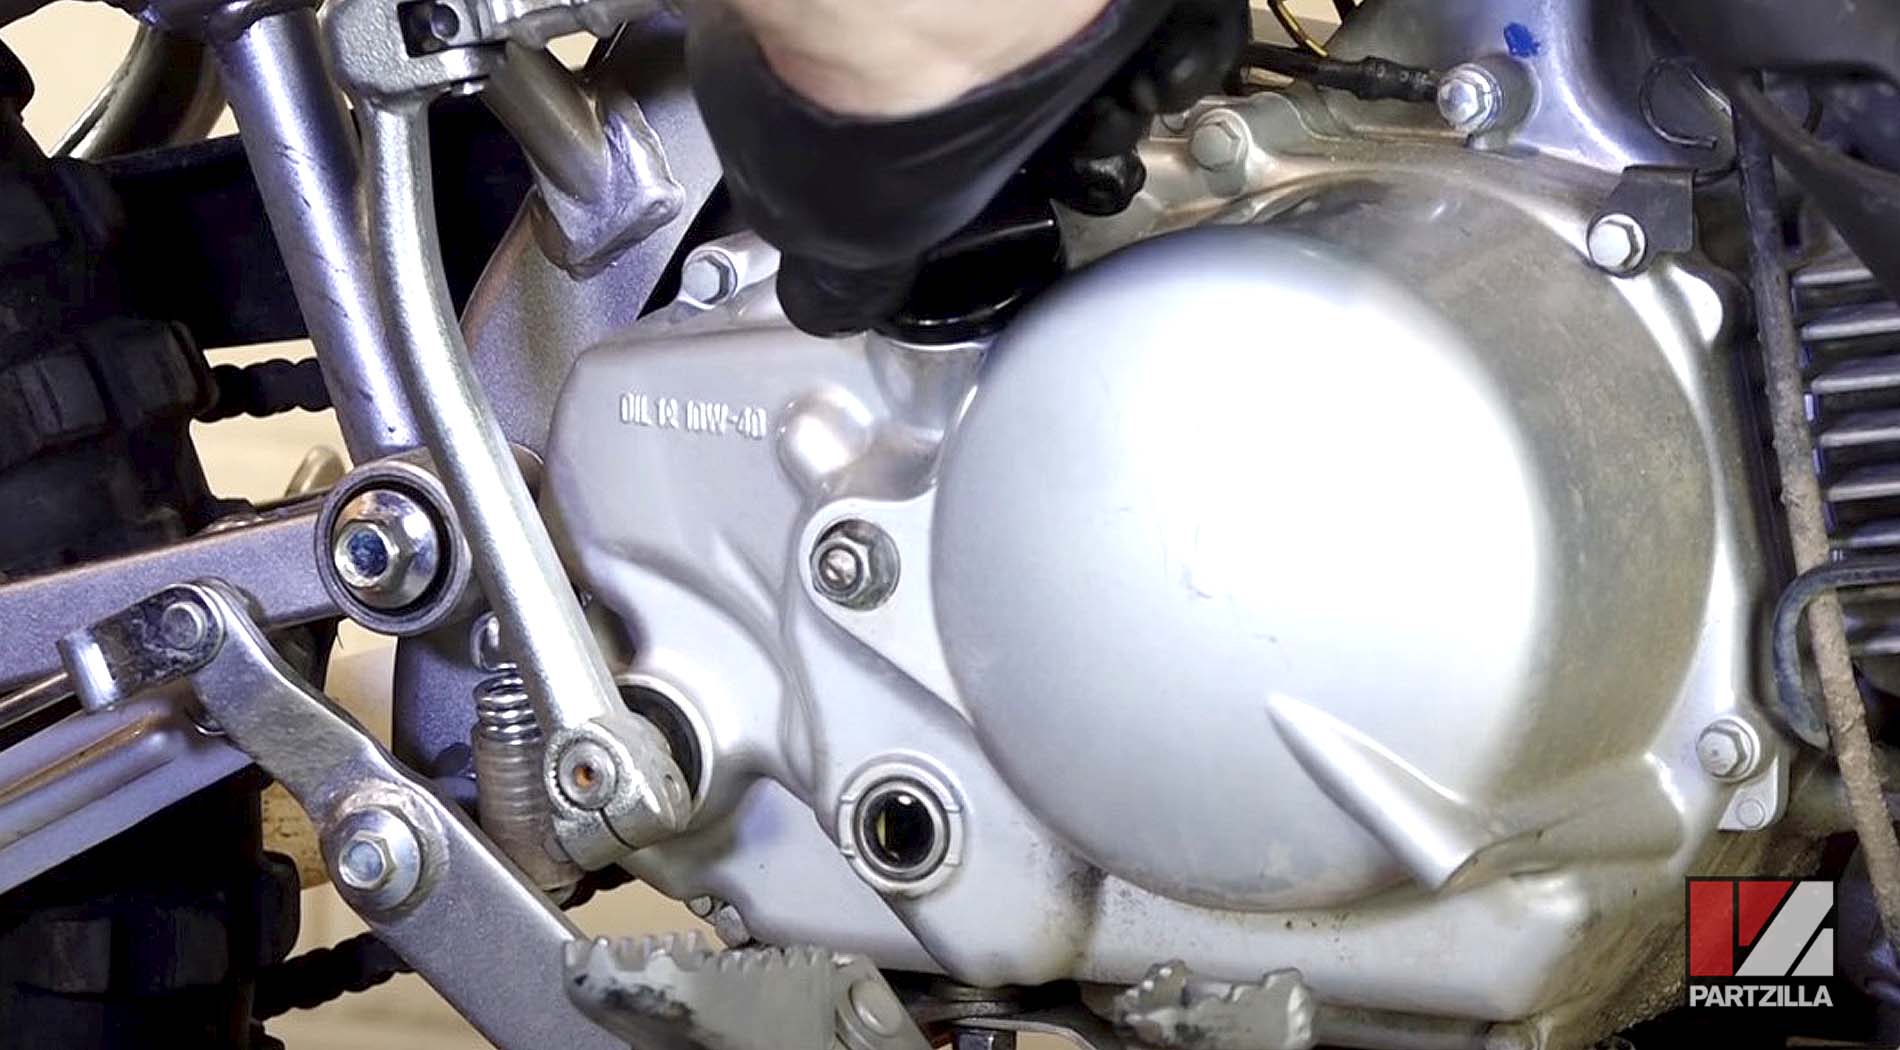
Step 2. Run the engine for a couple of minutes to circulate the oil through the system, then remove the oil fill cap.
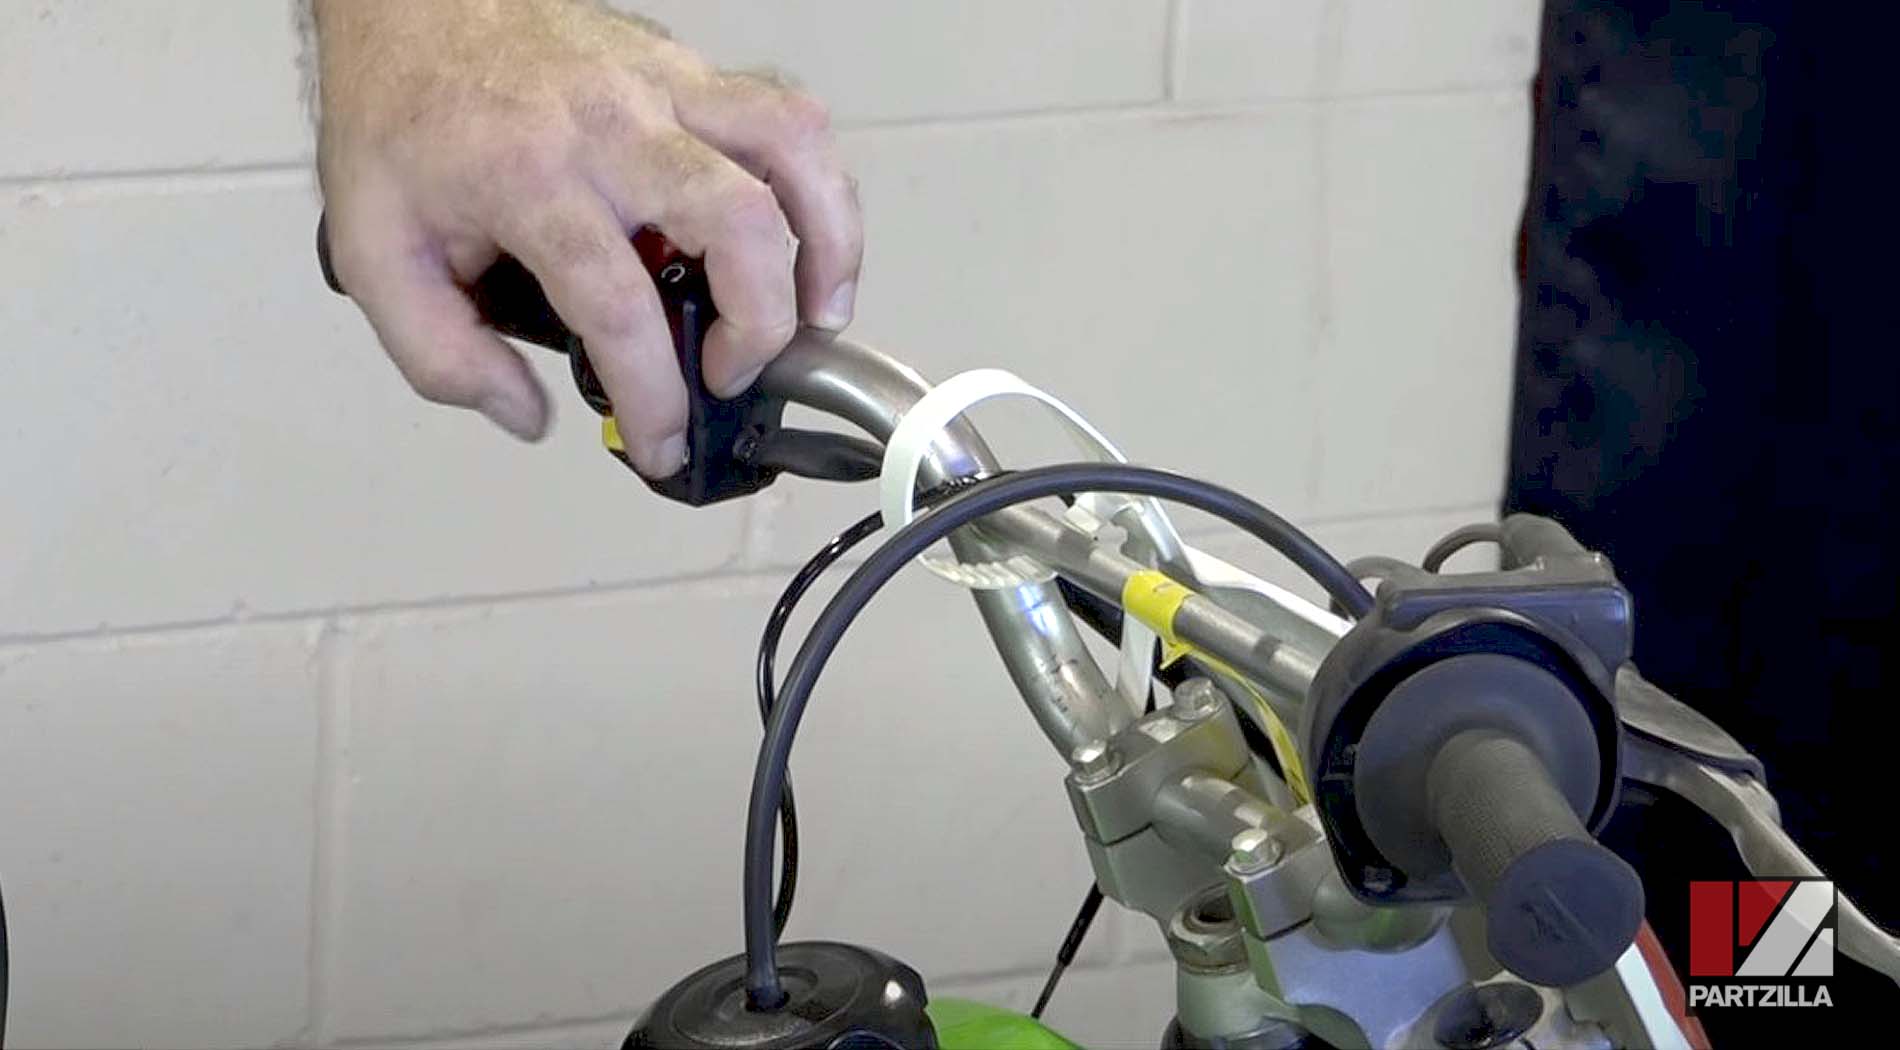
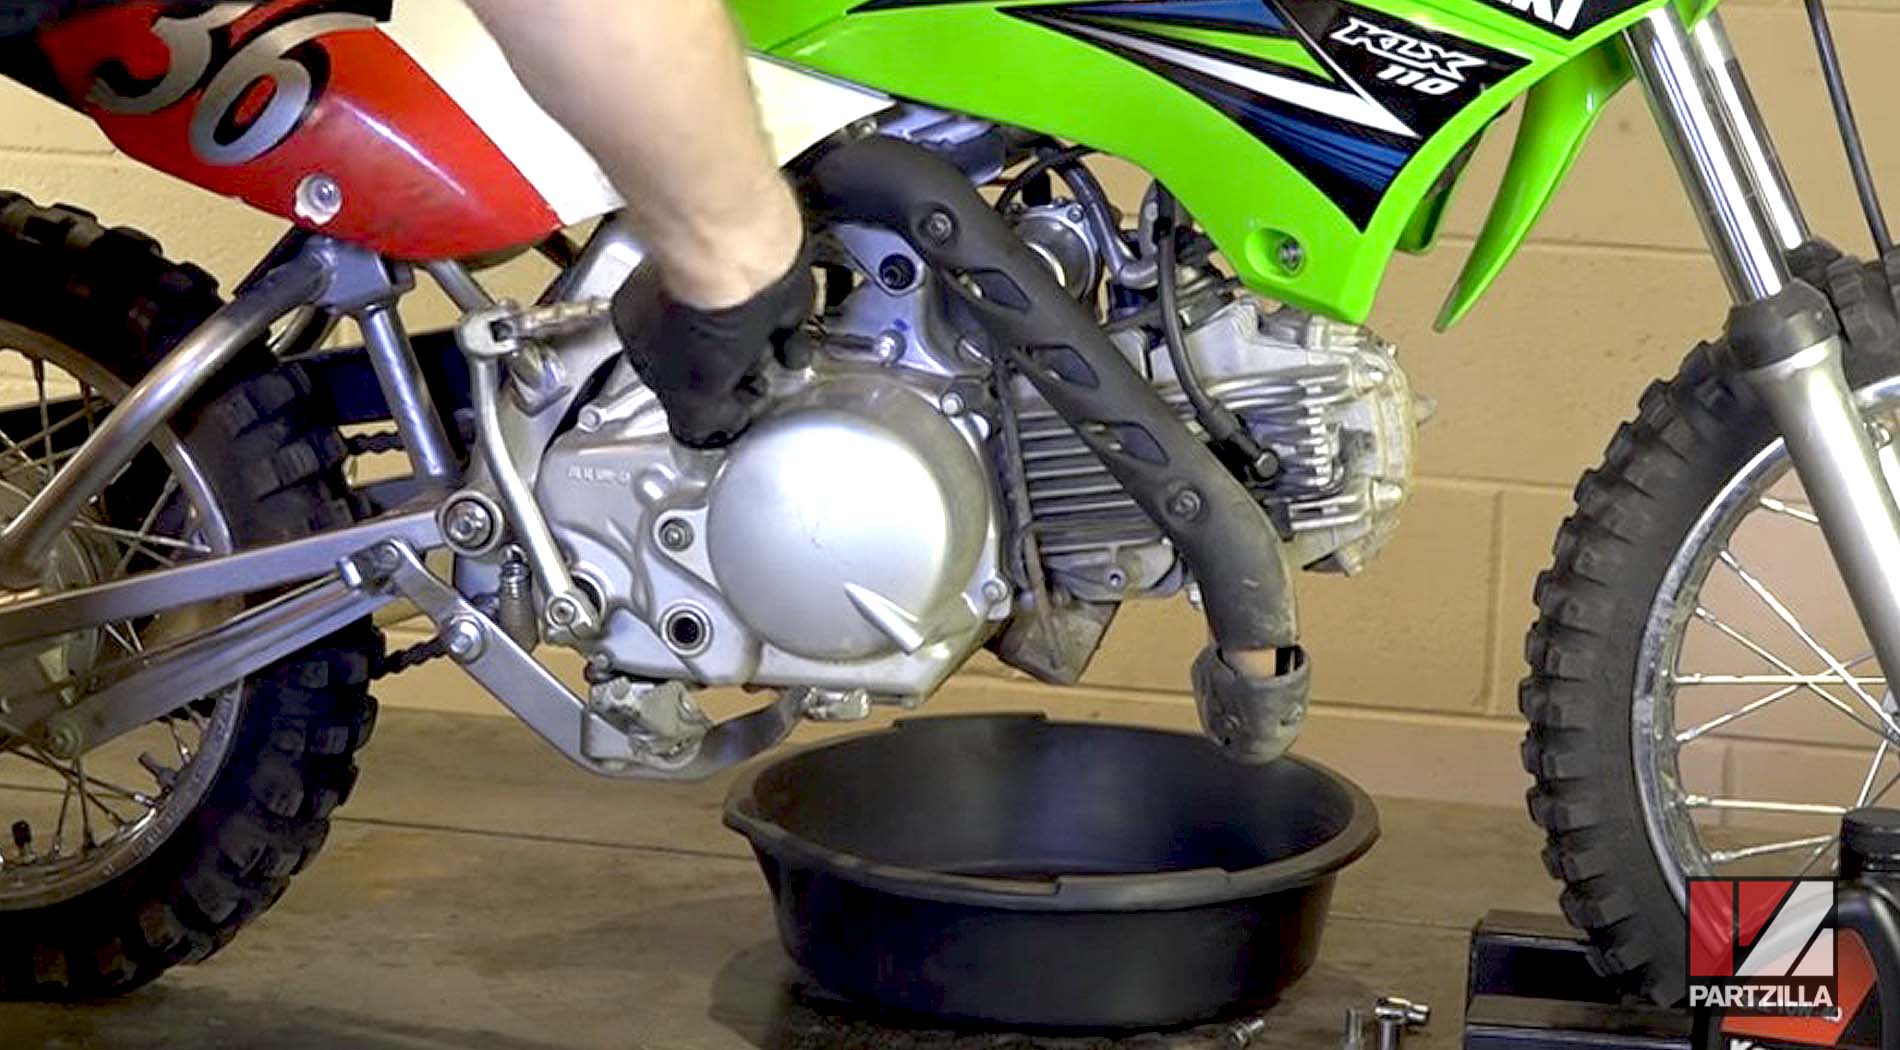
Step 3. Place an oil drain pan underneath the engine and remove the 17mm bolt to drain the oil.
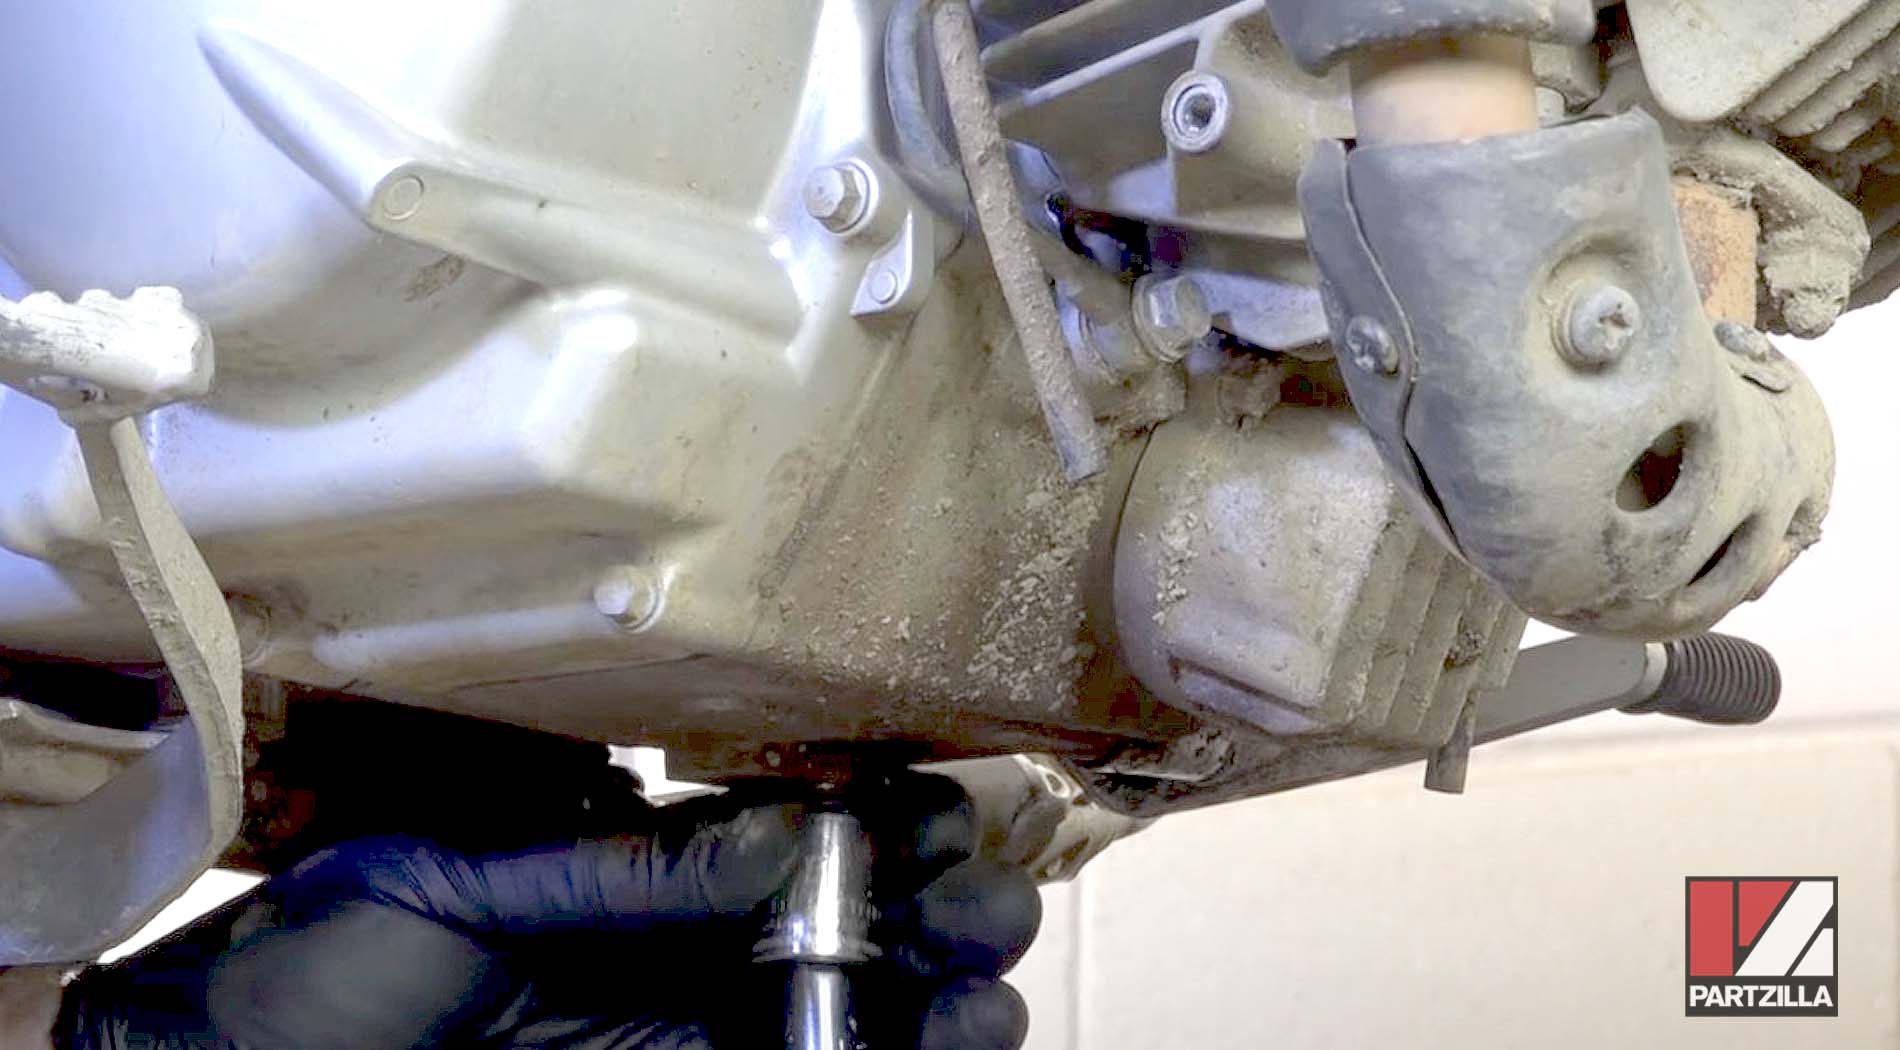
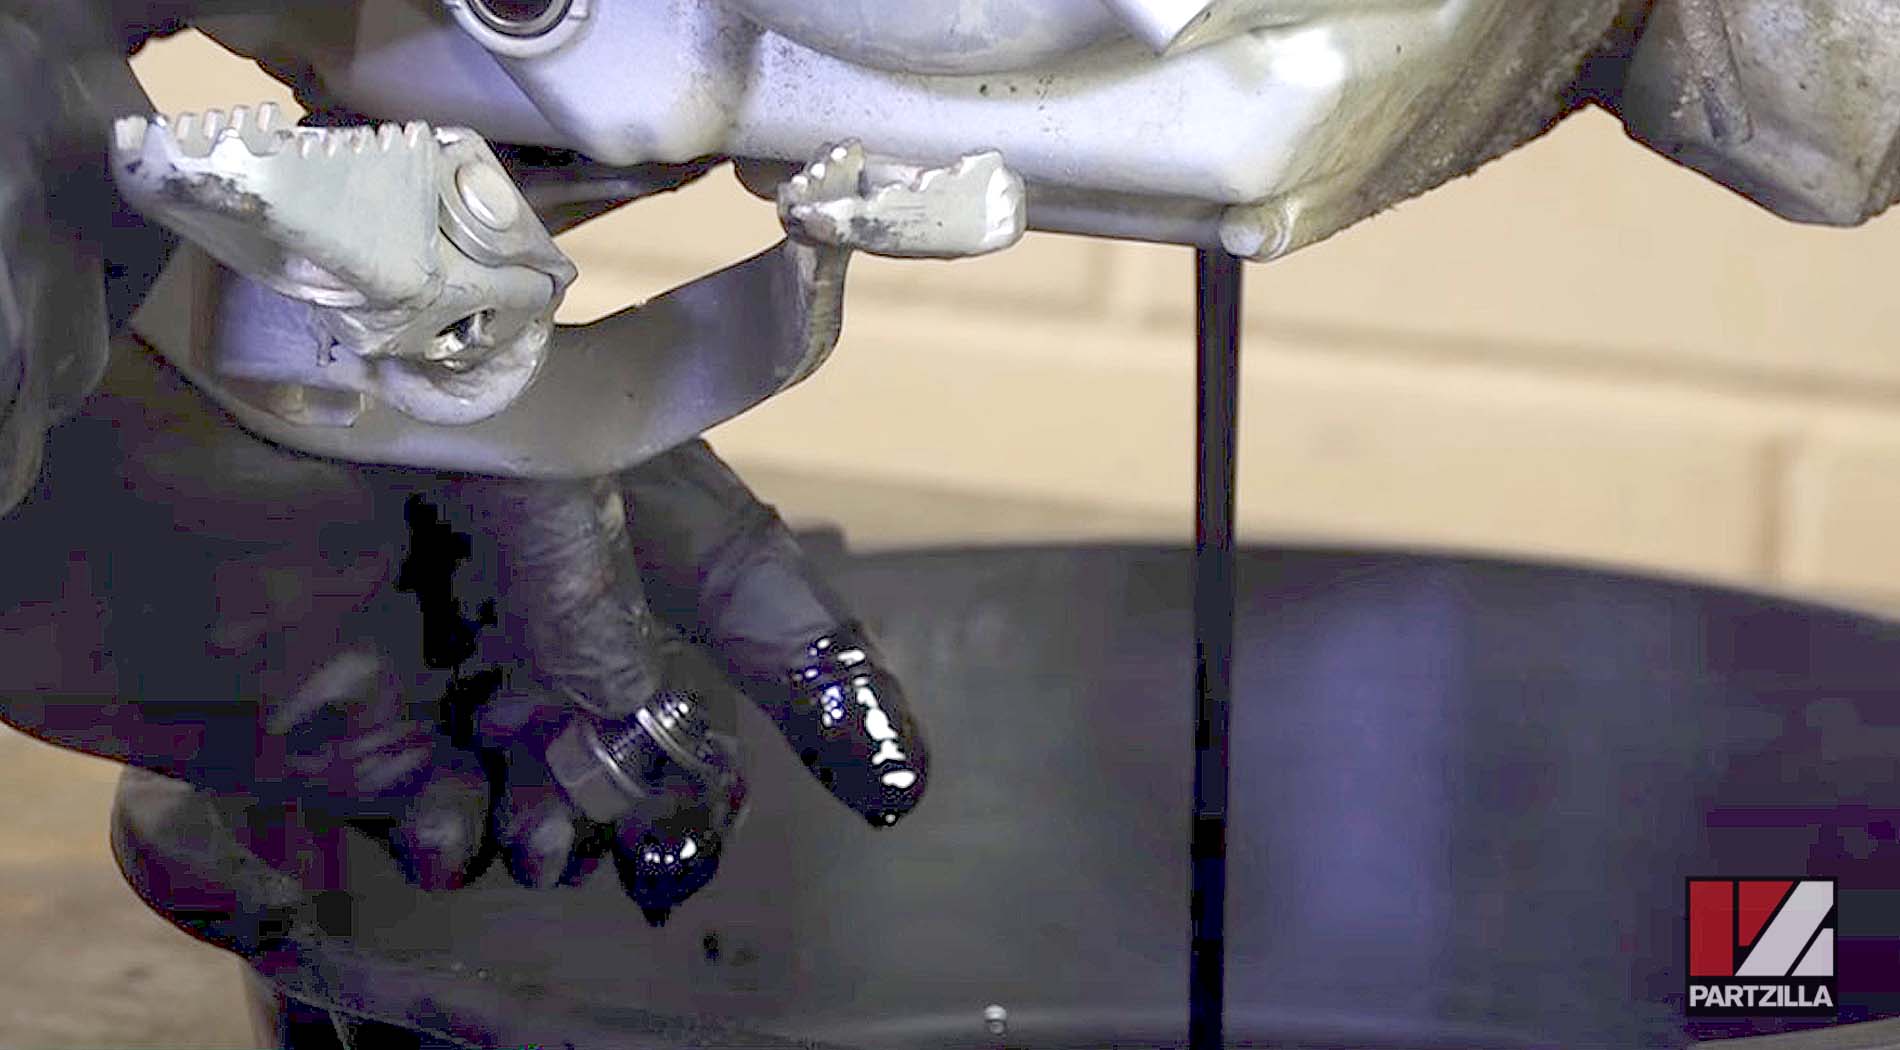
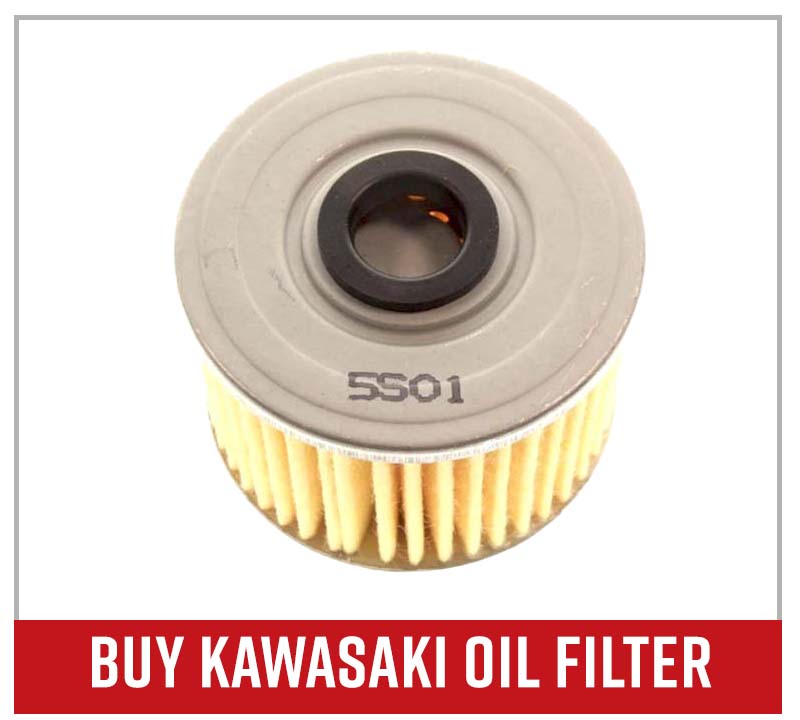
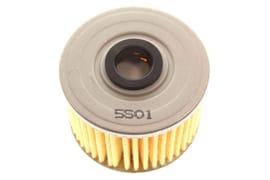
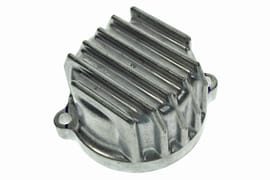
Step 4. Remove the two 8mm bolts (one on each side) holding the oil filter cover in place, followed by the cover and the oil filter itself.
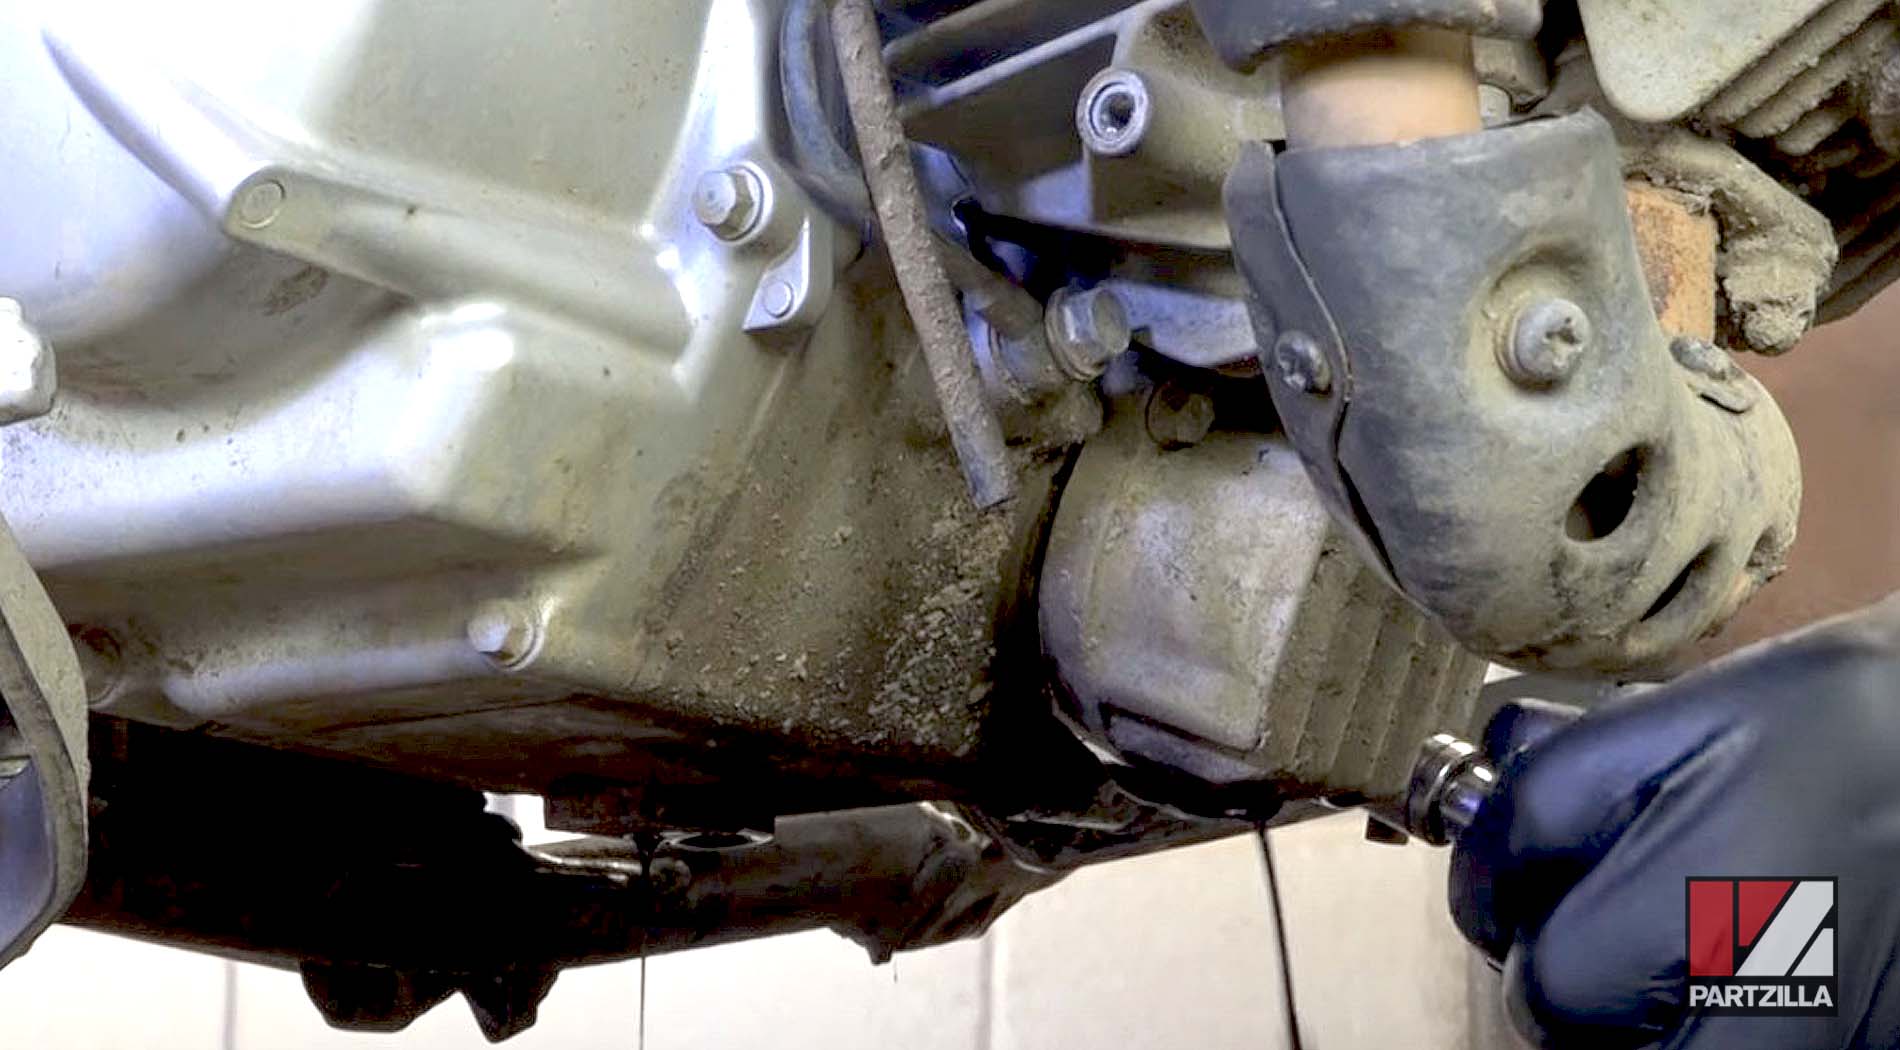
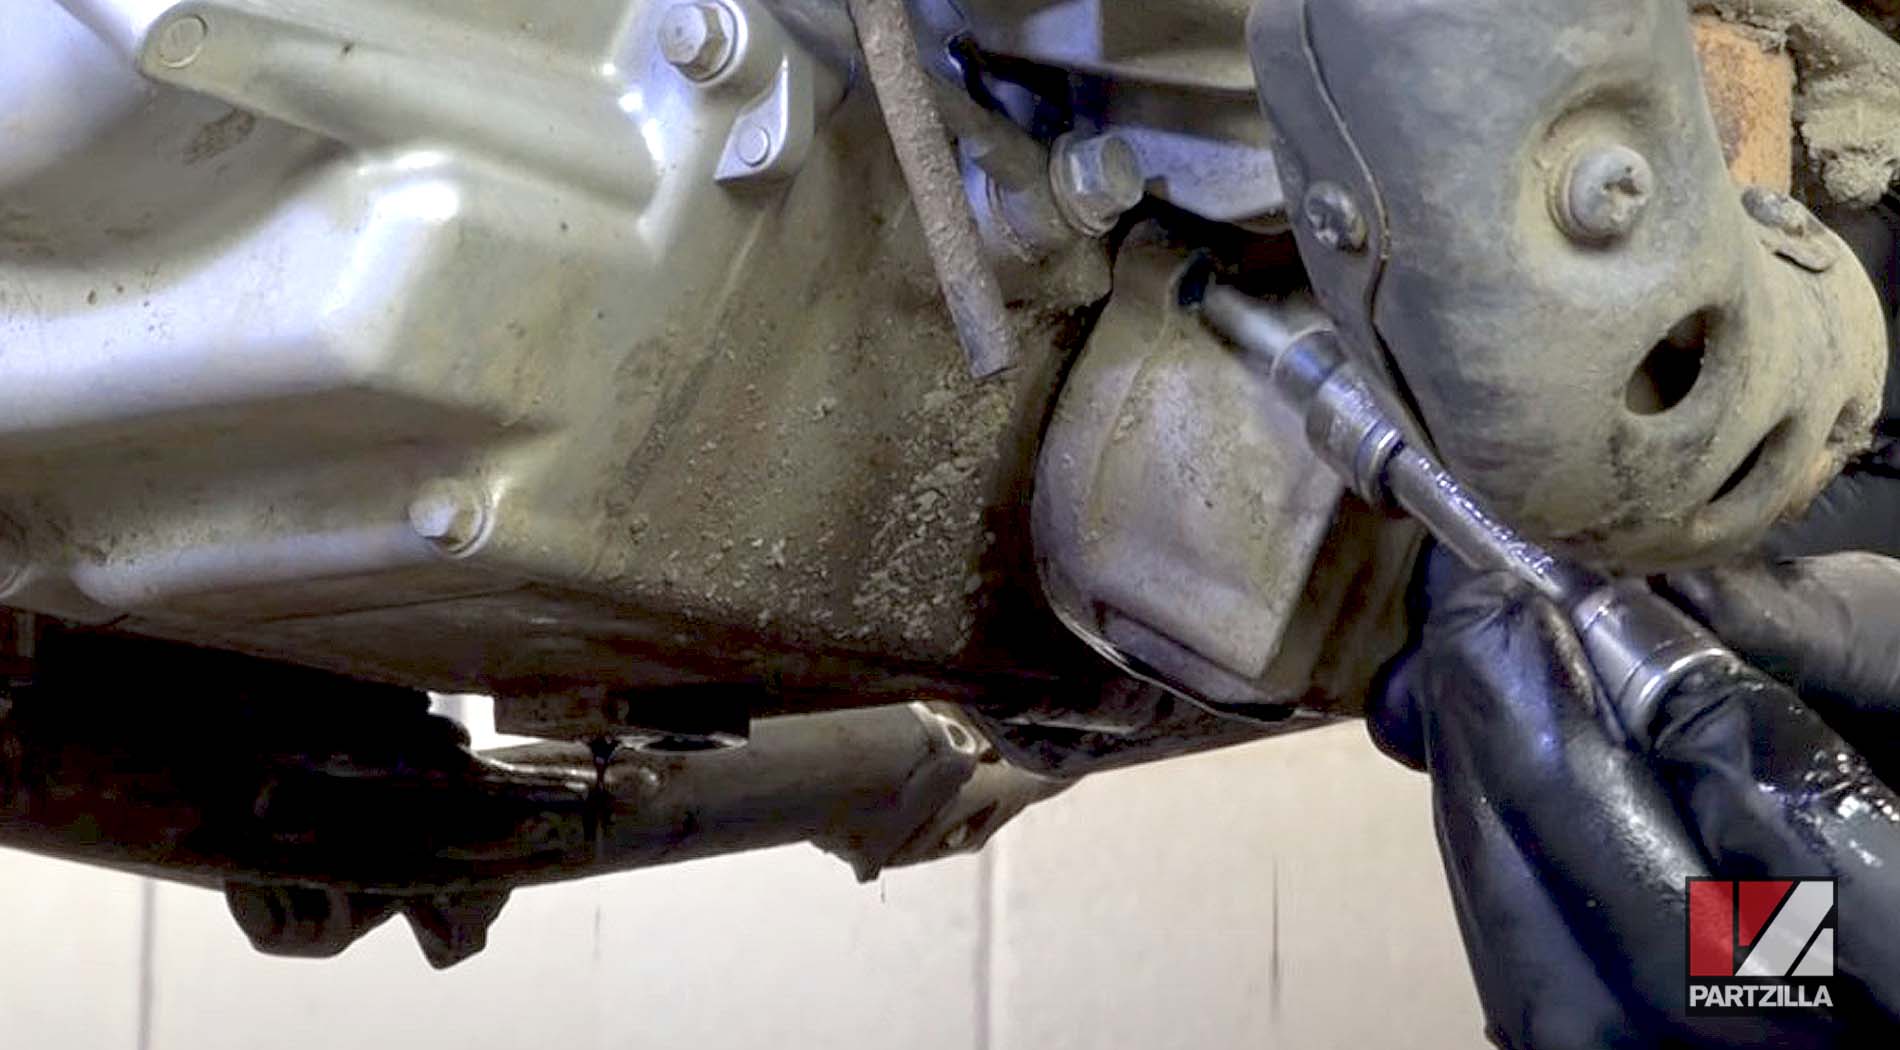
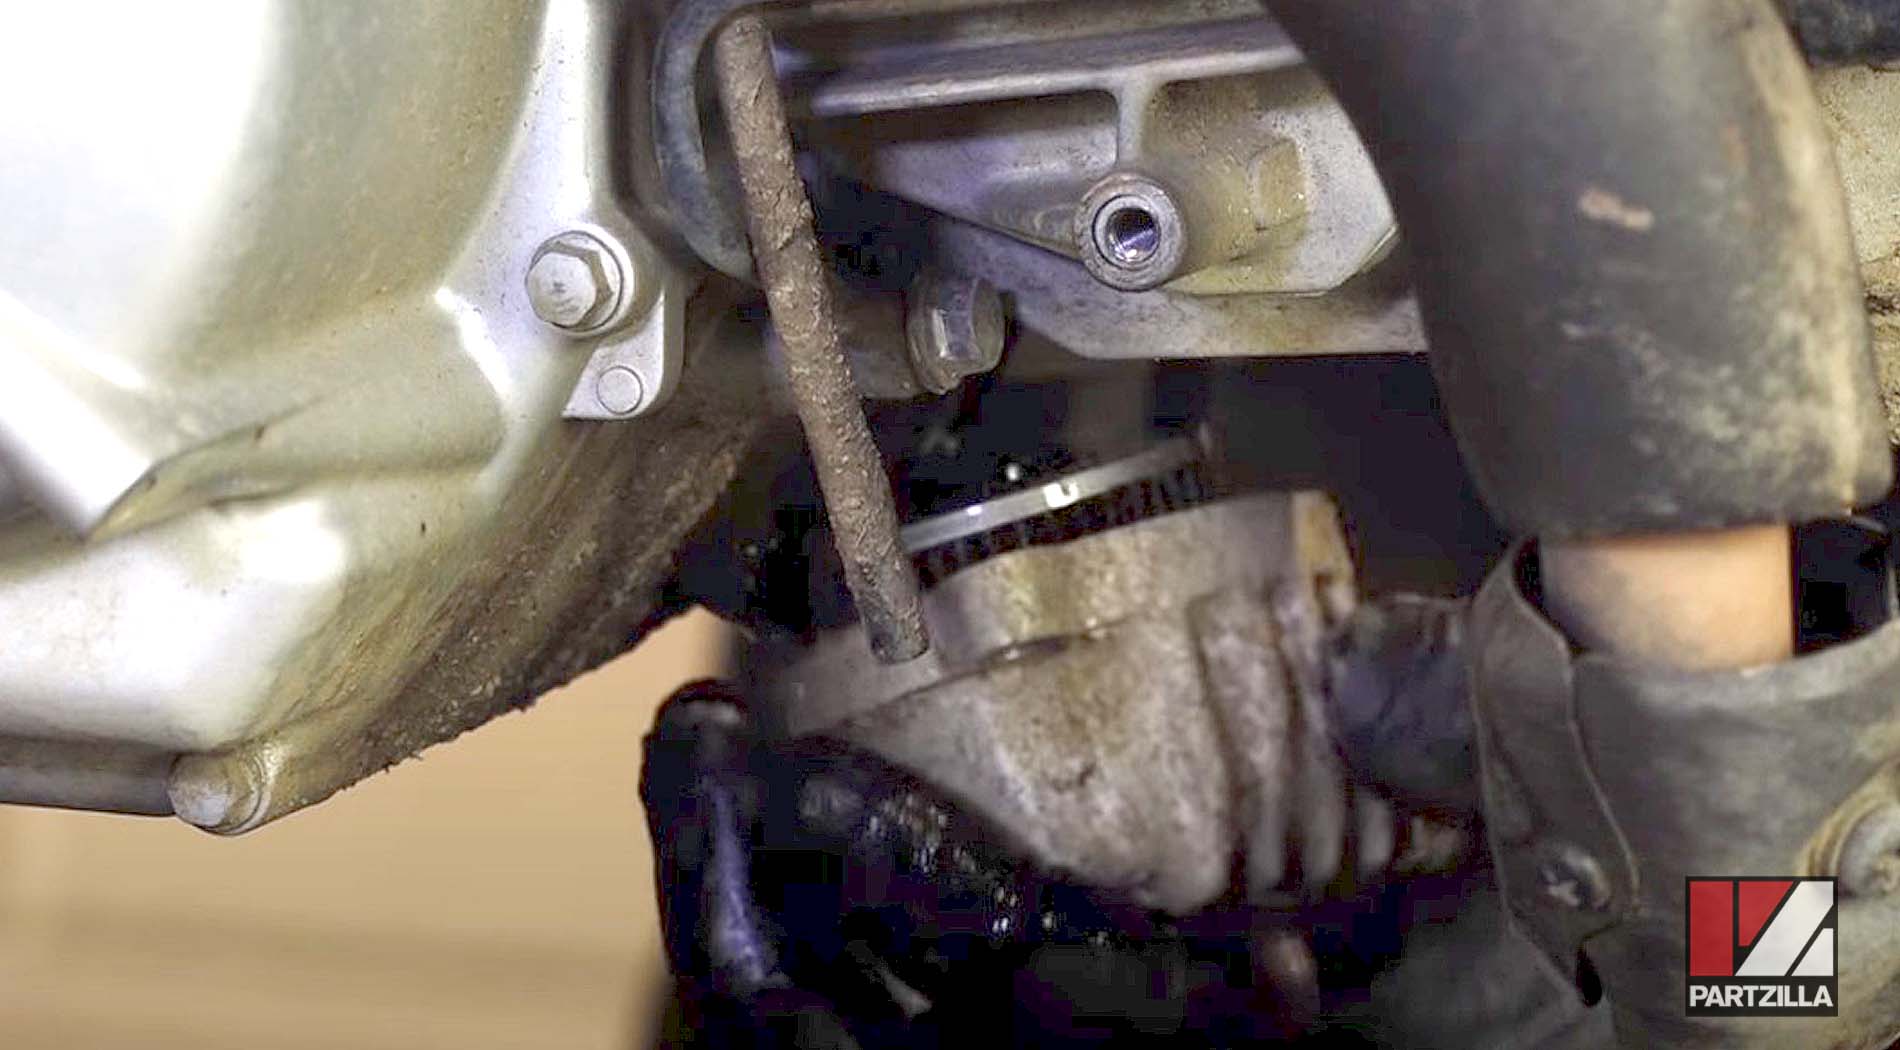
NOTE: Keep an eye on the small spring that goes on the bottom of the filter cover and the O-ring that seals the cover to the engine. The O-ring can sometimes stick to the engine when the cover is removed.
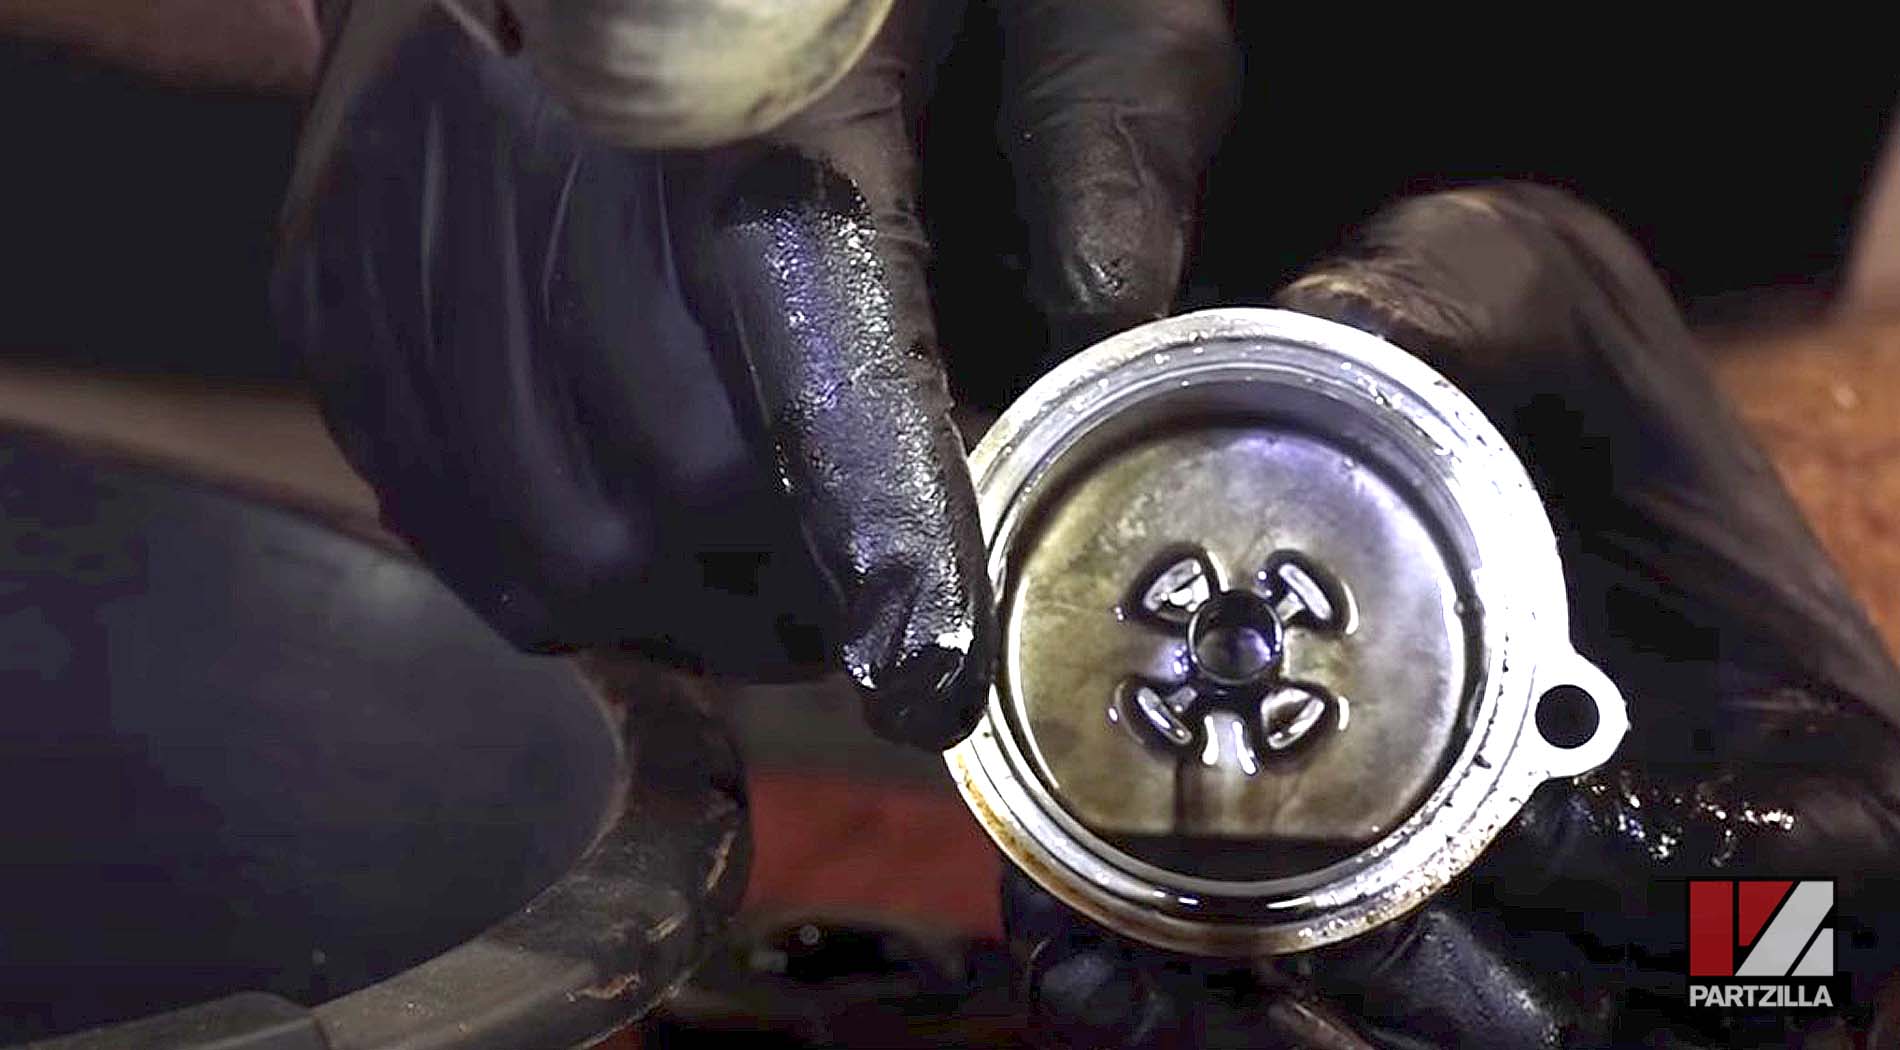
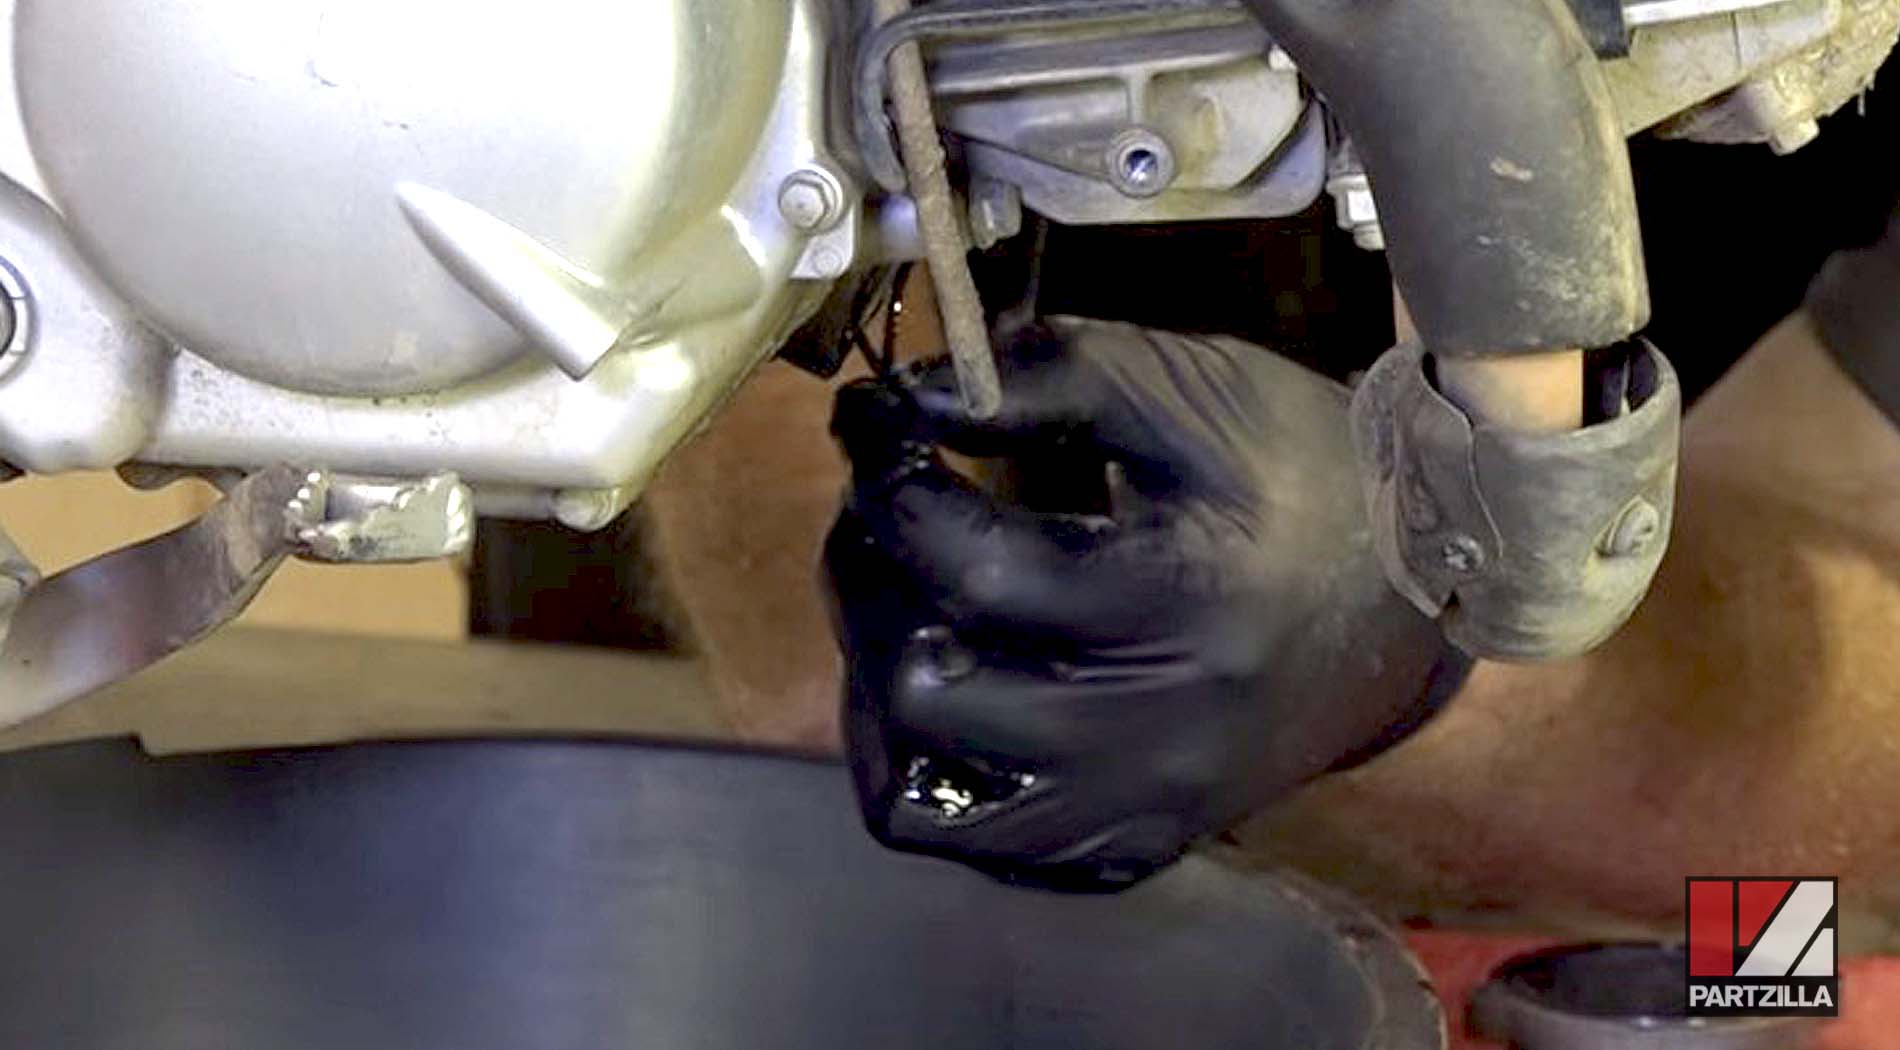
Step 5. Use brake cleaner to remove any dirt from the inside of the filter cover, and avoid getting brake cleaner on O-rings and other seals, as it'll cause them to expand and not fit properly.
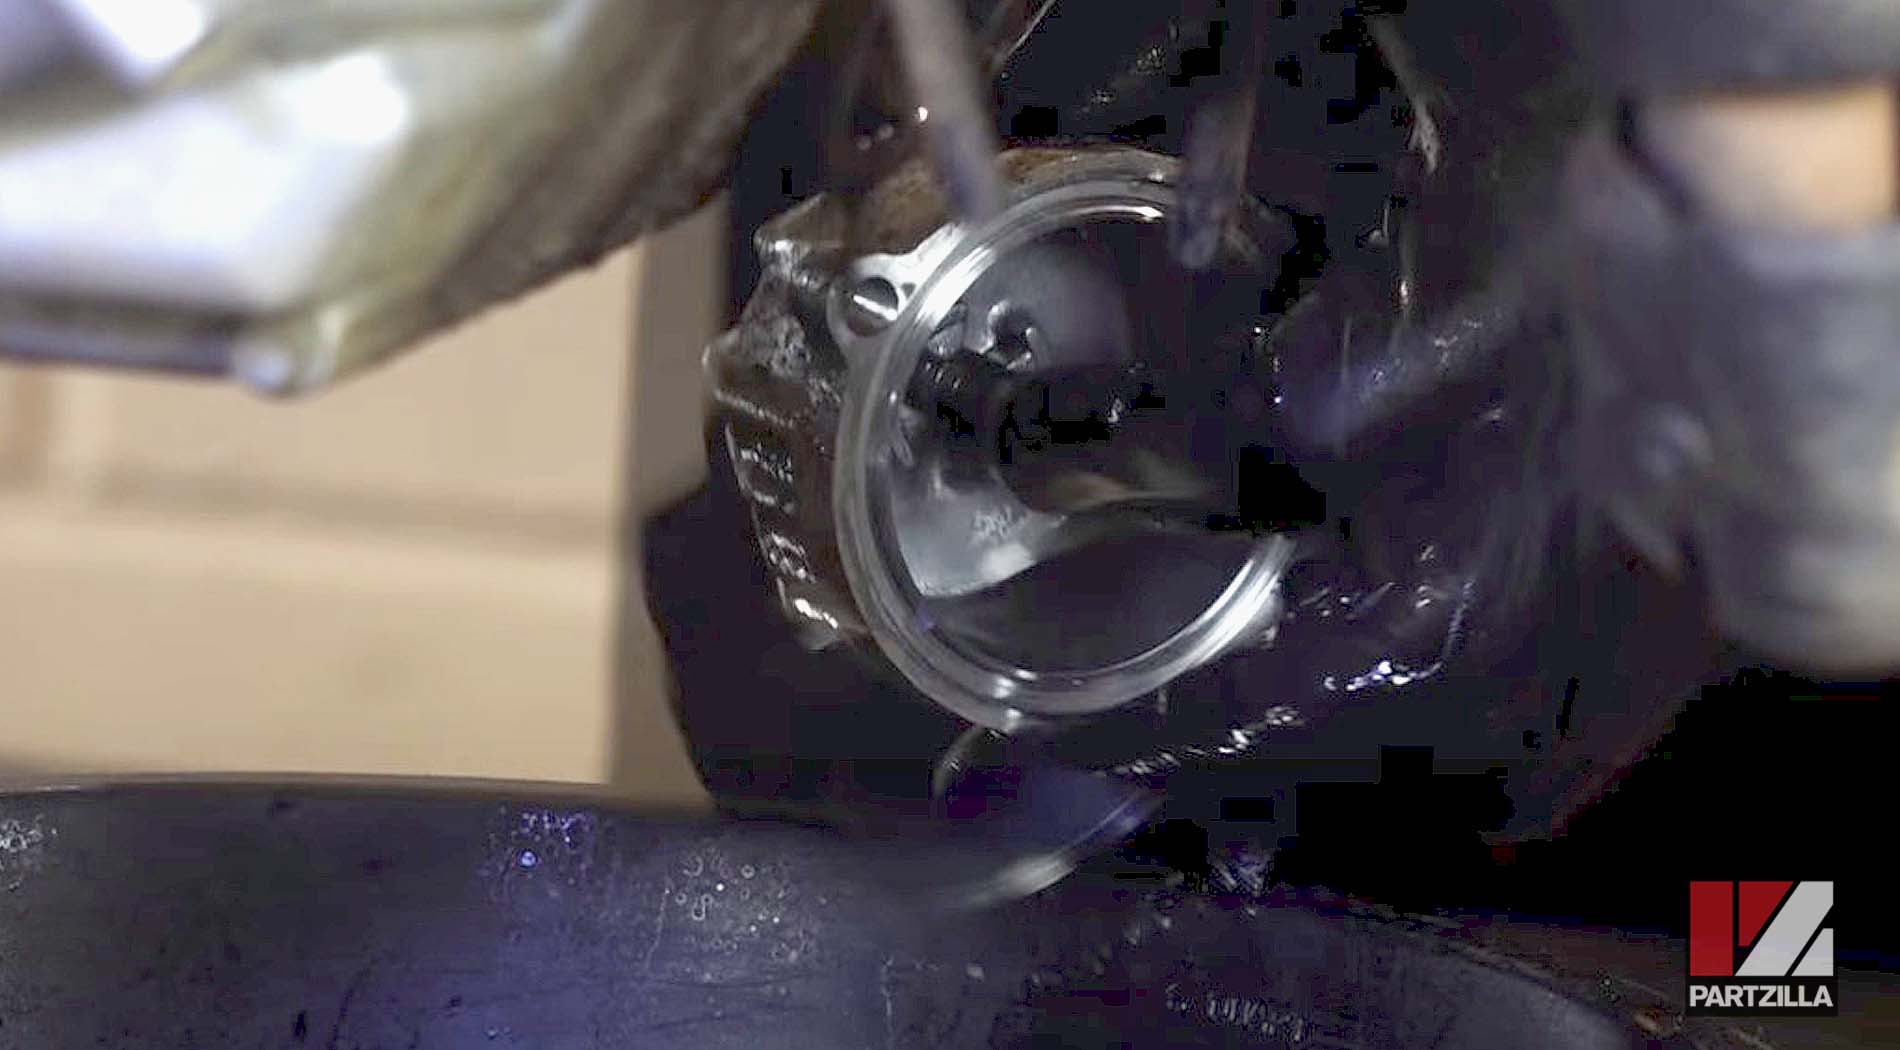
Step 6. Seat the O-ring into the groove that runs around the top of the oil filter cover.
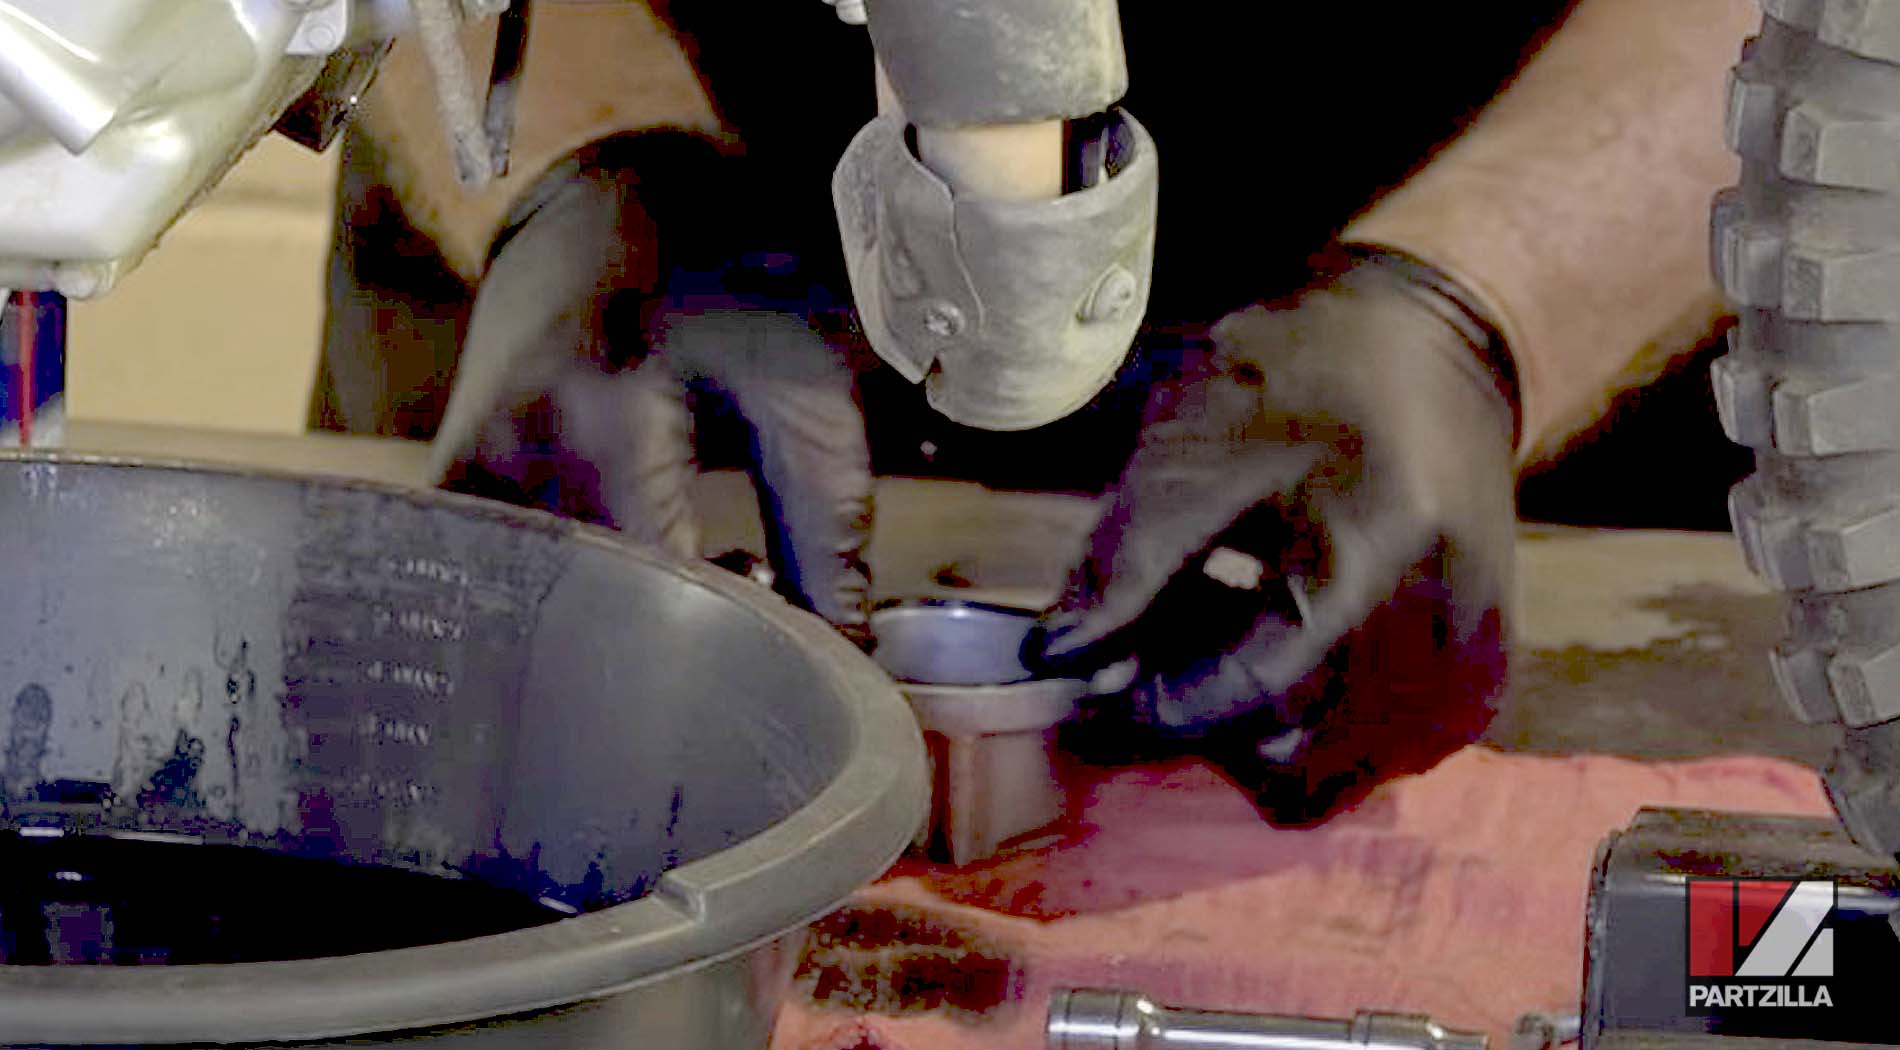
Step 7. Install the new Kawasaki oil filter with the spring in the bottom of the cover in place.
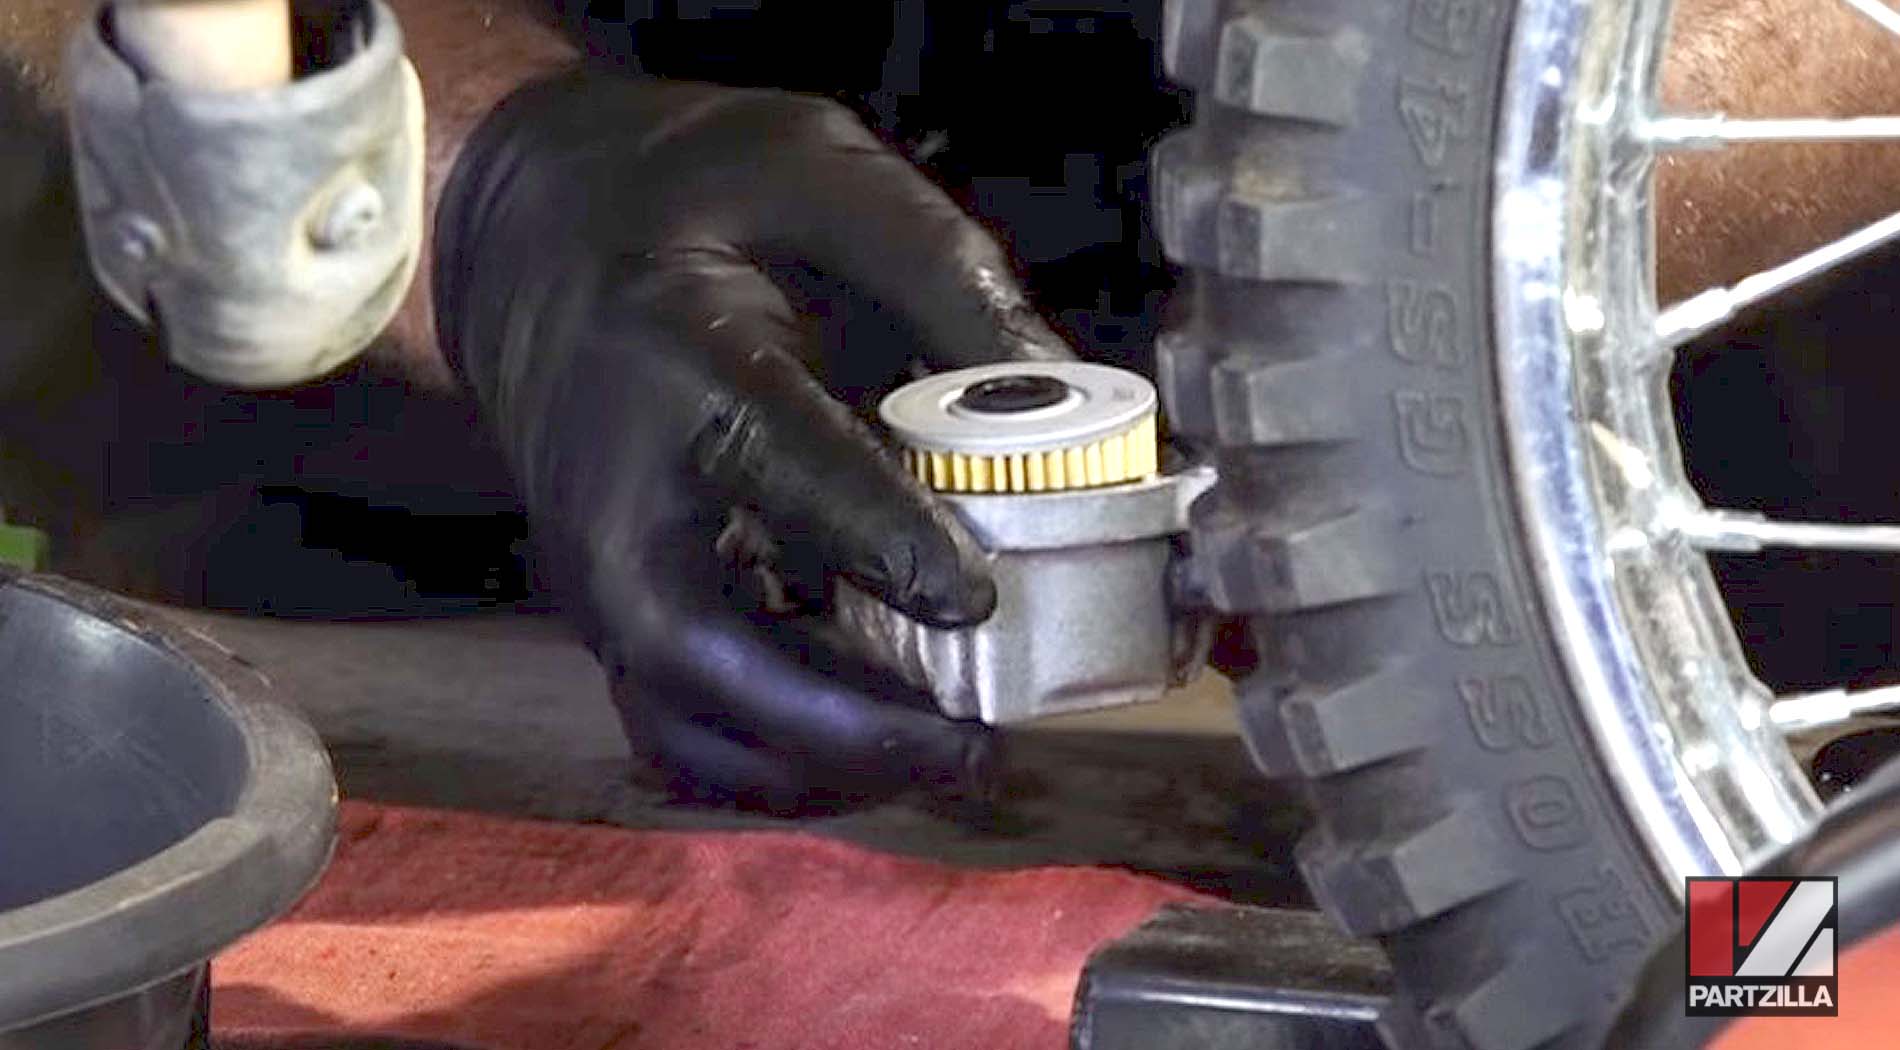
NOTE: The filter is directional and will only go in one way. In the center of the filter on one side is a black O-ring. The end without the O-ring is what fits over the spring in the bottom of the cover.
Step 8. Replace the oil filter cover assembly, and tighten the bolts that hold everything in place.
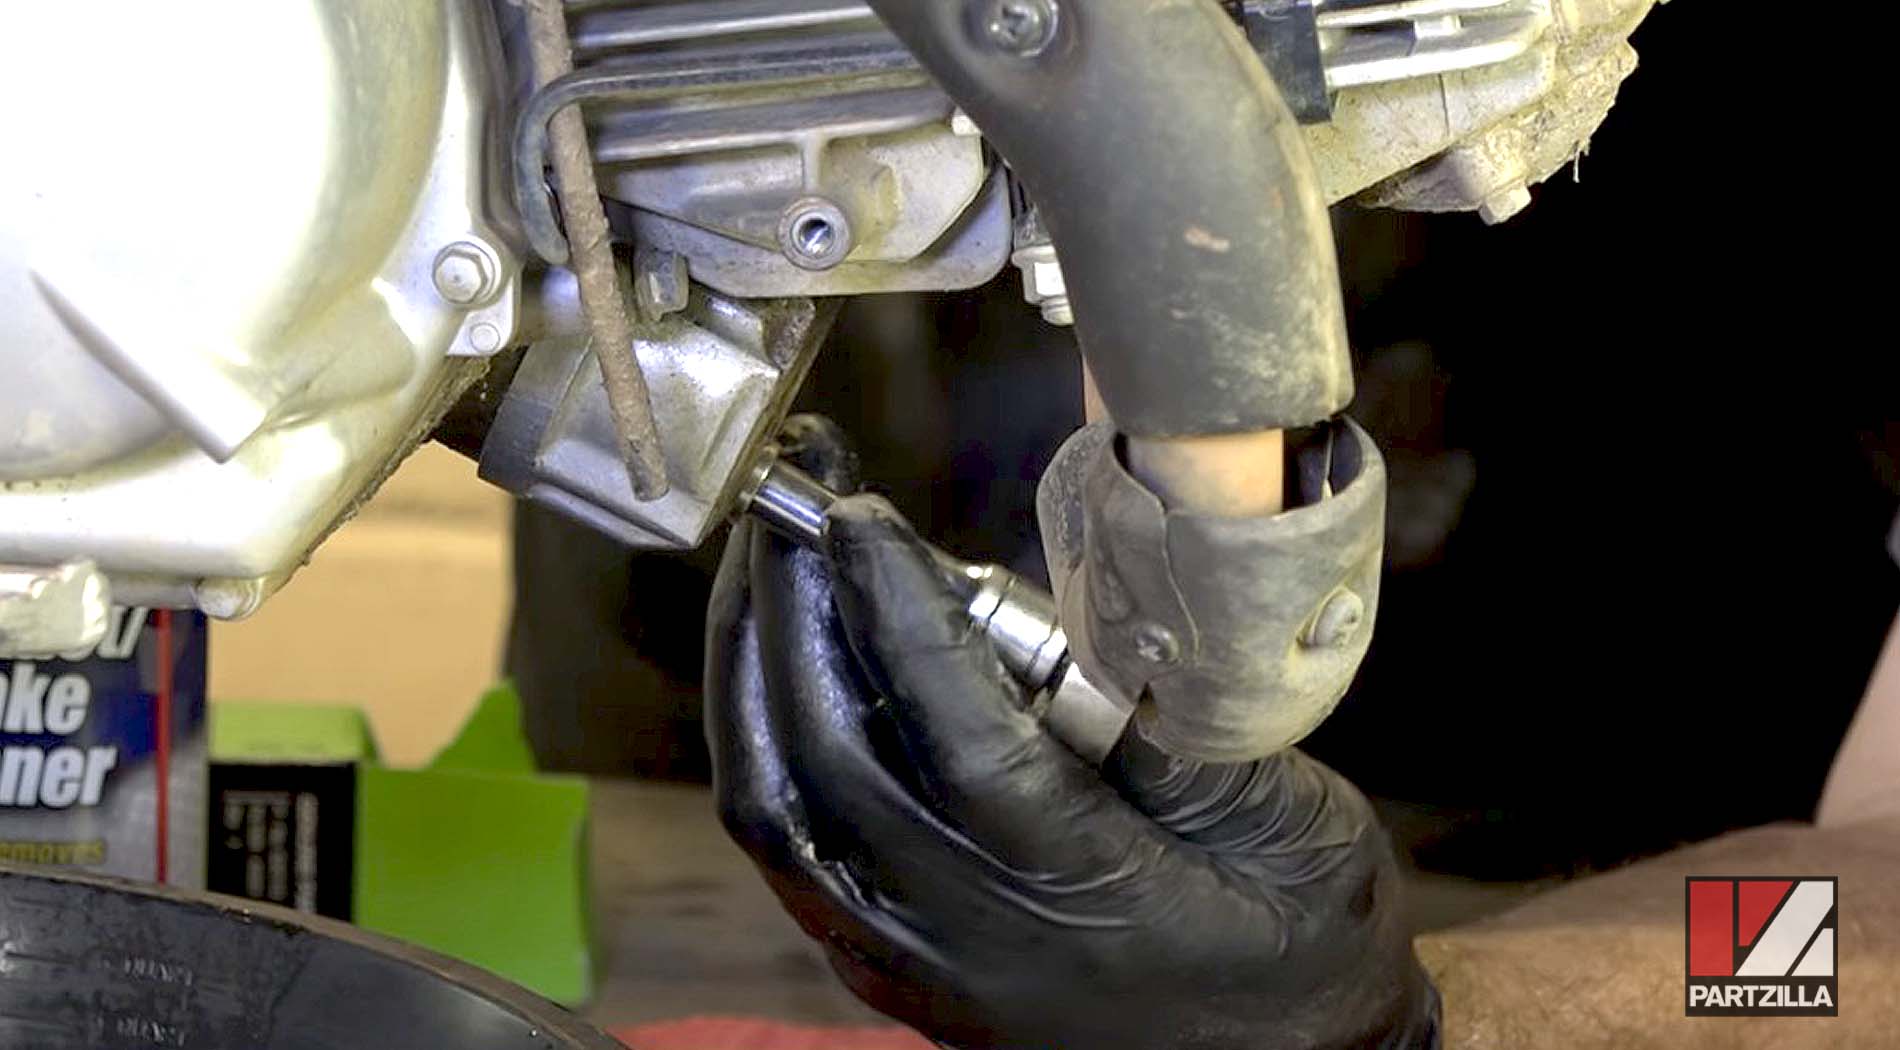
Step 9. Replace the drain plug, making sure that the crush washer is still on the plug. Thread it by hand, then use a torque wrench to tighten it to 21 foot-pounds.
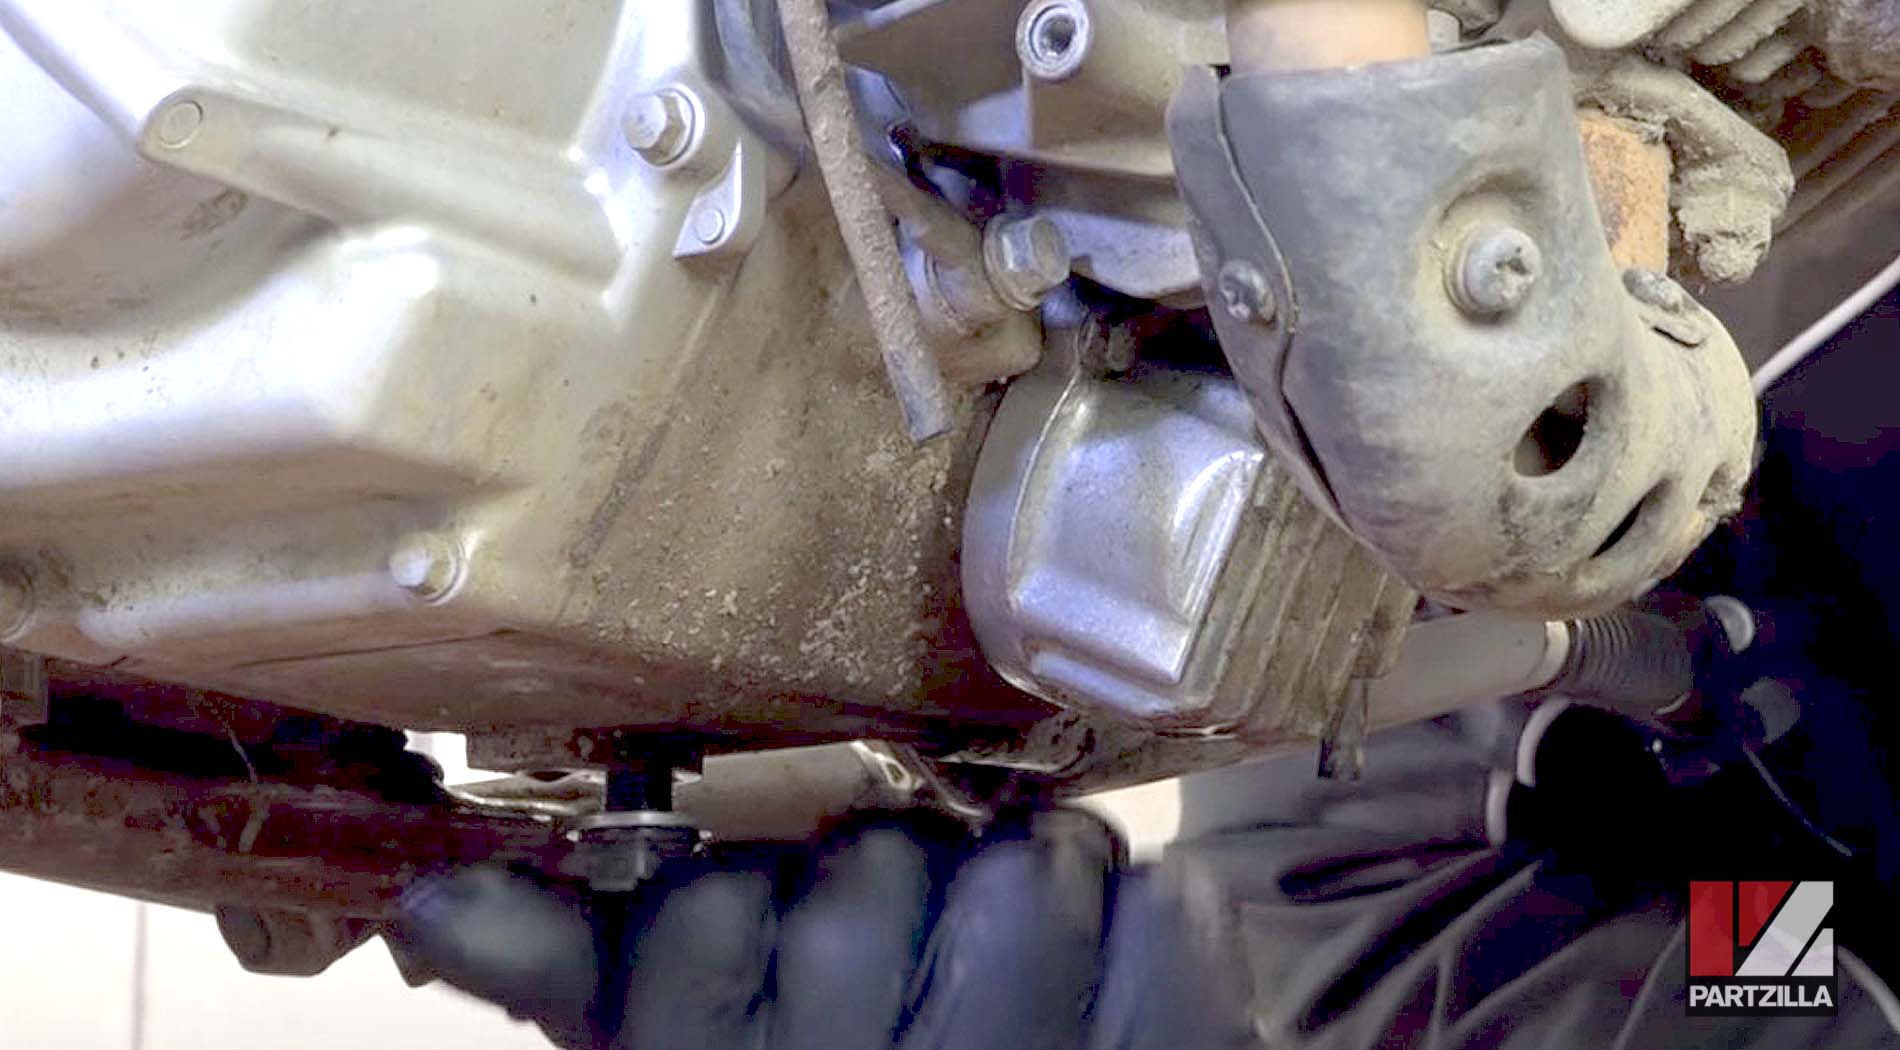
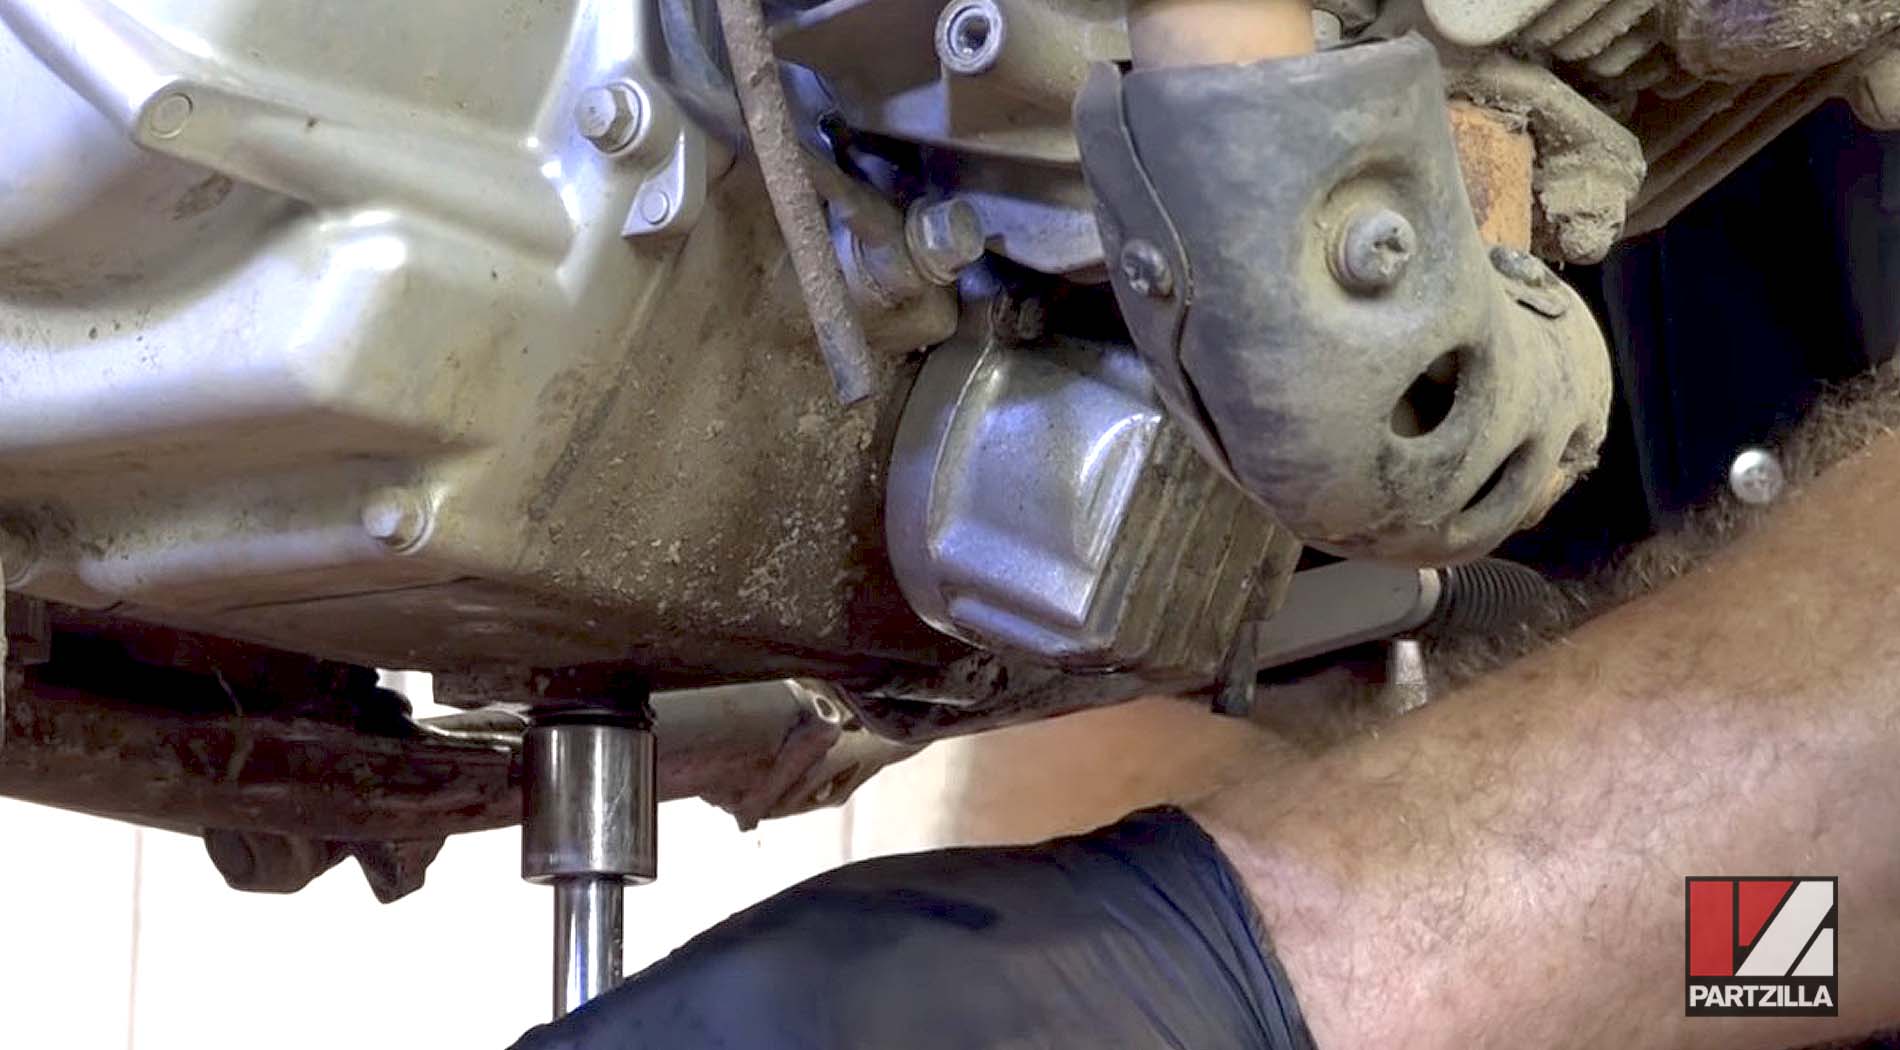
Step 10. Replace the skid plate by tightening the two 12mm bolts at the back of the plate, and the two 8mm bolts on the front.
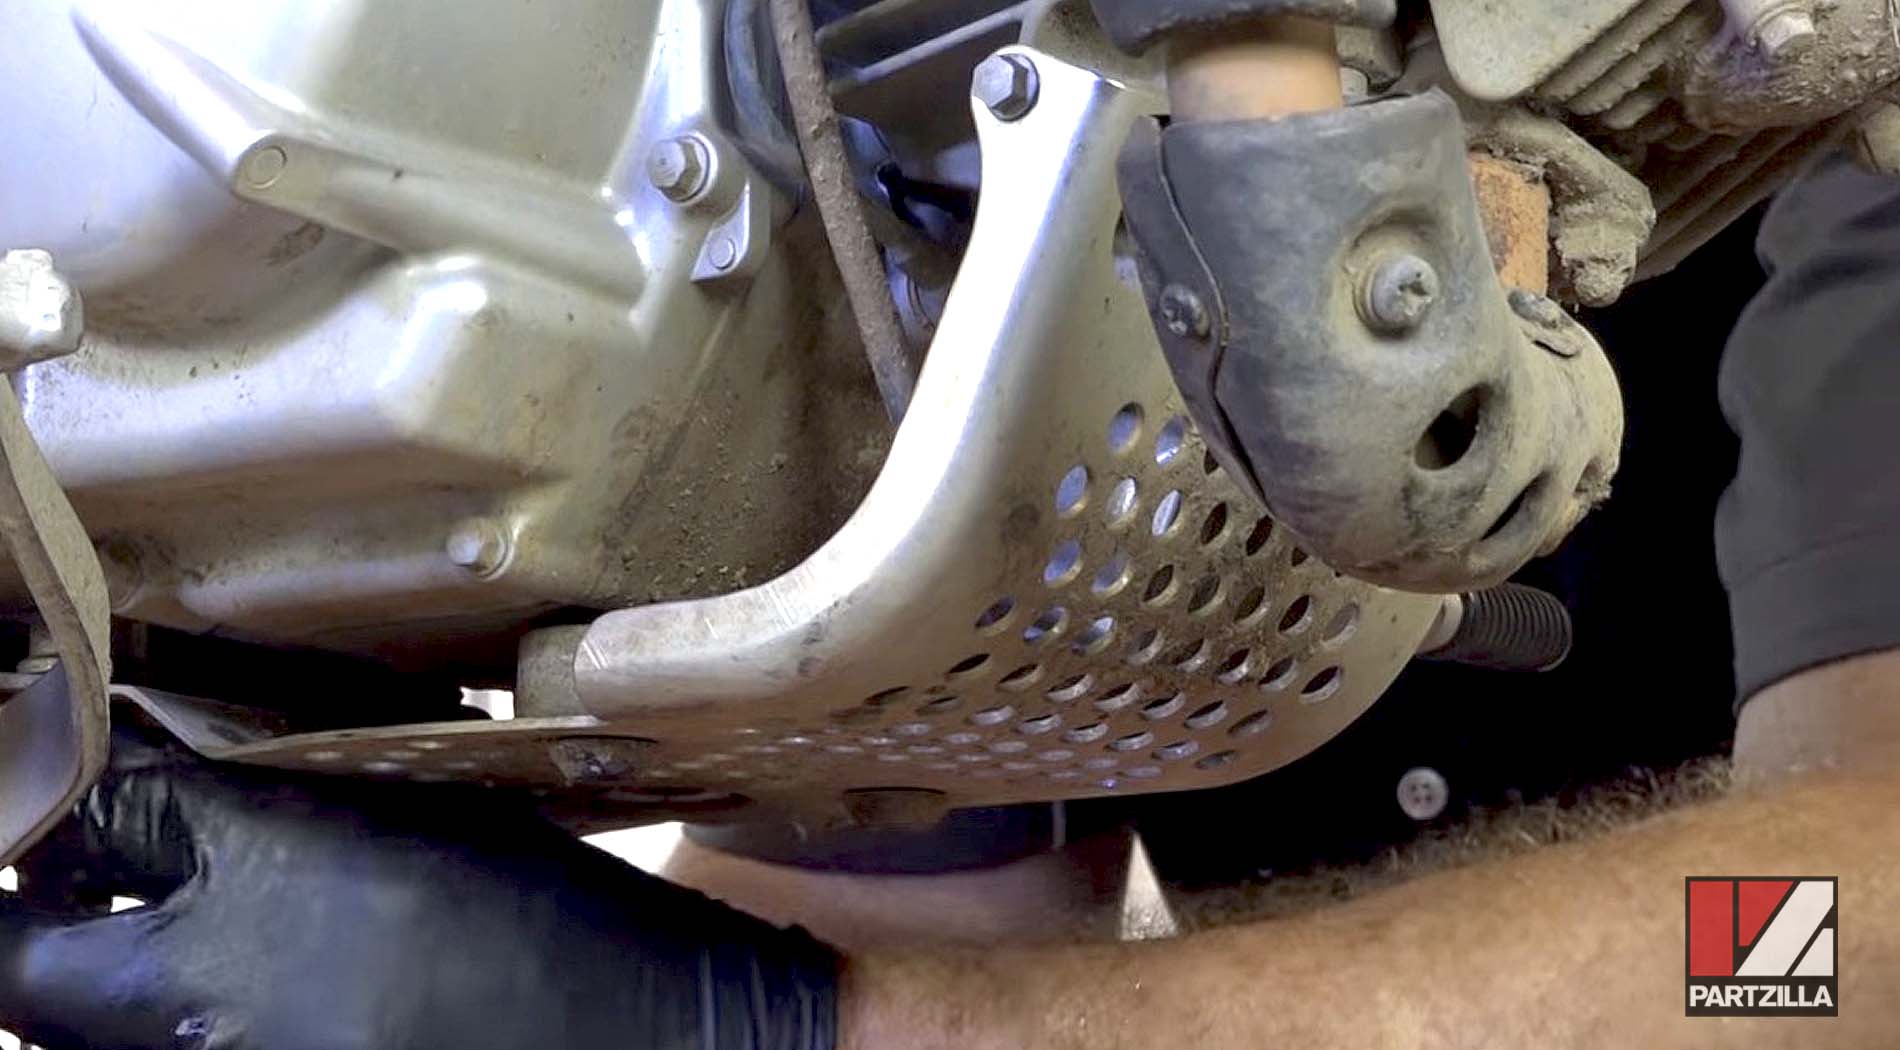
PRO TIP: Hand-tighten all the bolts before using the socket to make it easier to line up all four holes.
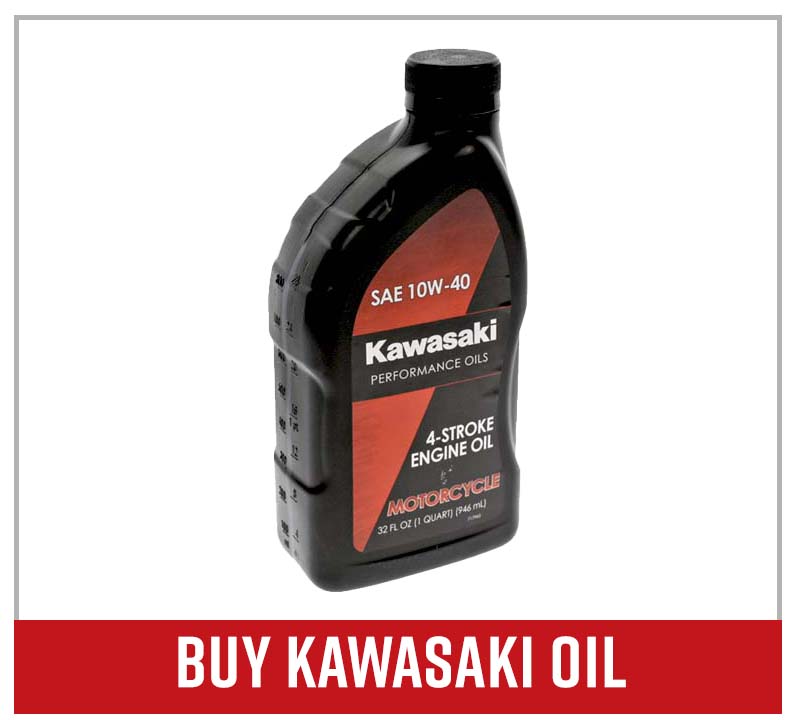
Step 11. Pour in 1 quart of 10W-40 oil, then replace the cap and run the engine for a minute or two to circulate the fresh oil.
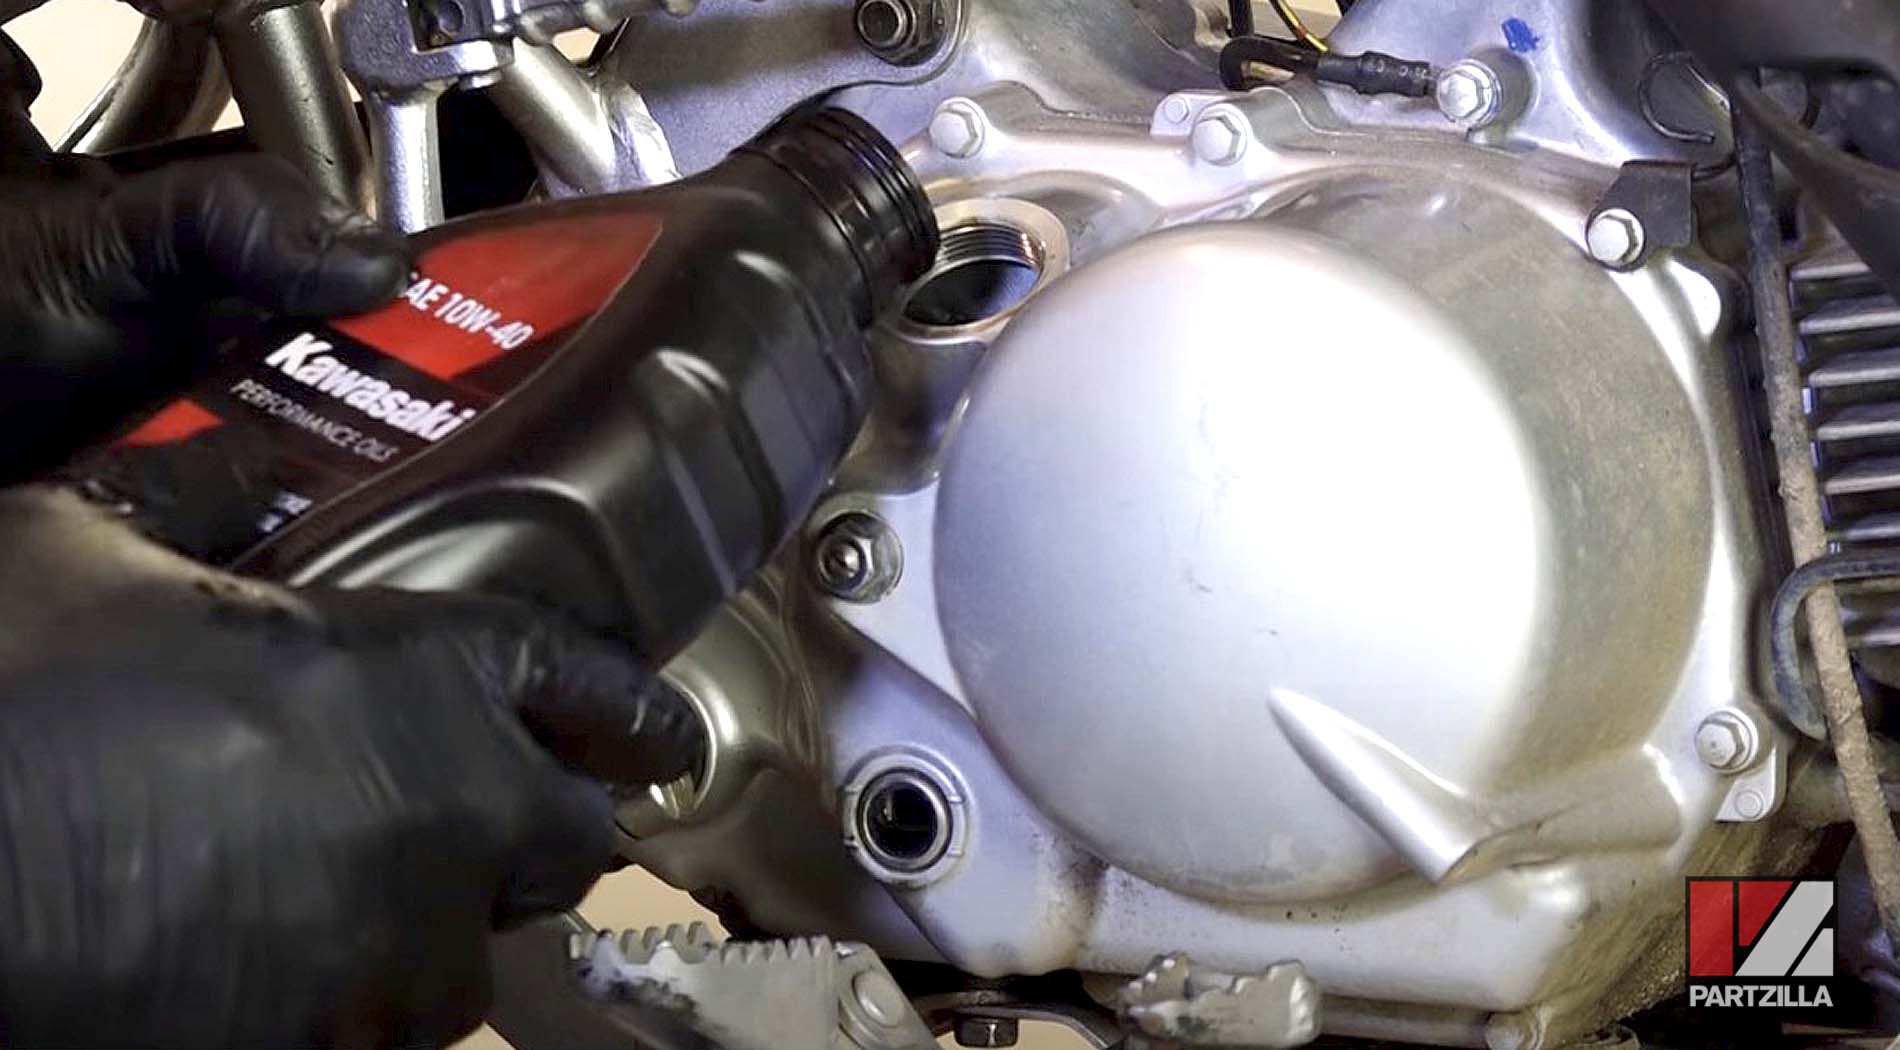
NOTE: The Kawasaki KLX 110 takes 1.1 quarts of 10W-40 oil. Depending on your machine, you may need a different amount or even a different weight, so make sure to check your manual.
Step 12. Check the sight window below the fill opening to see the oil level and top it off if necessary.
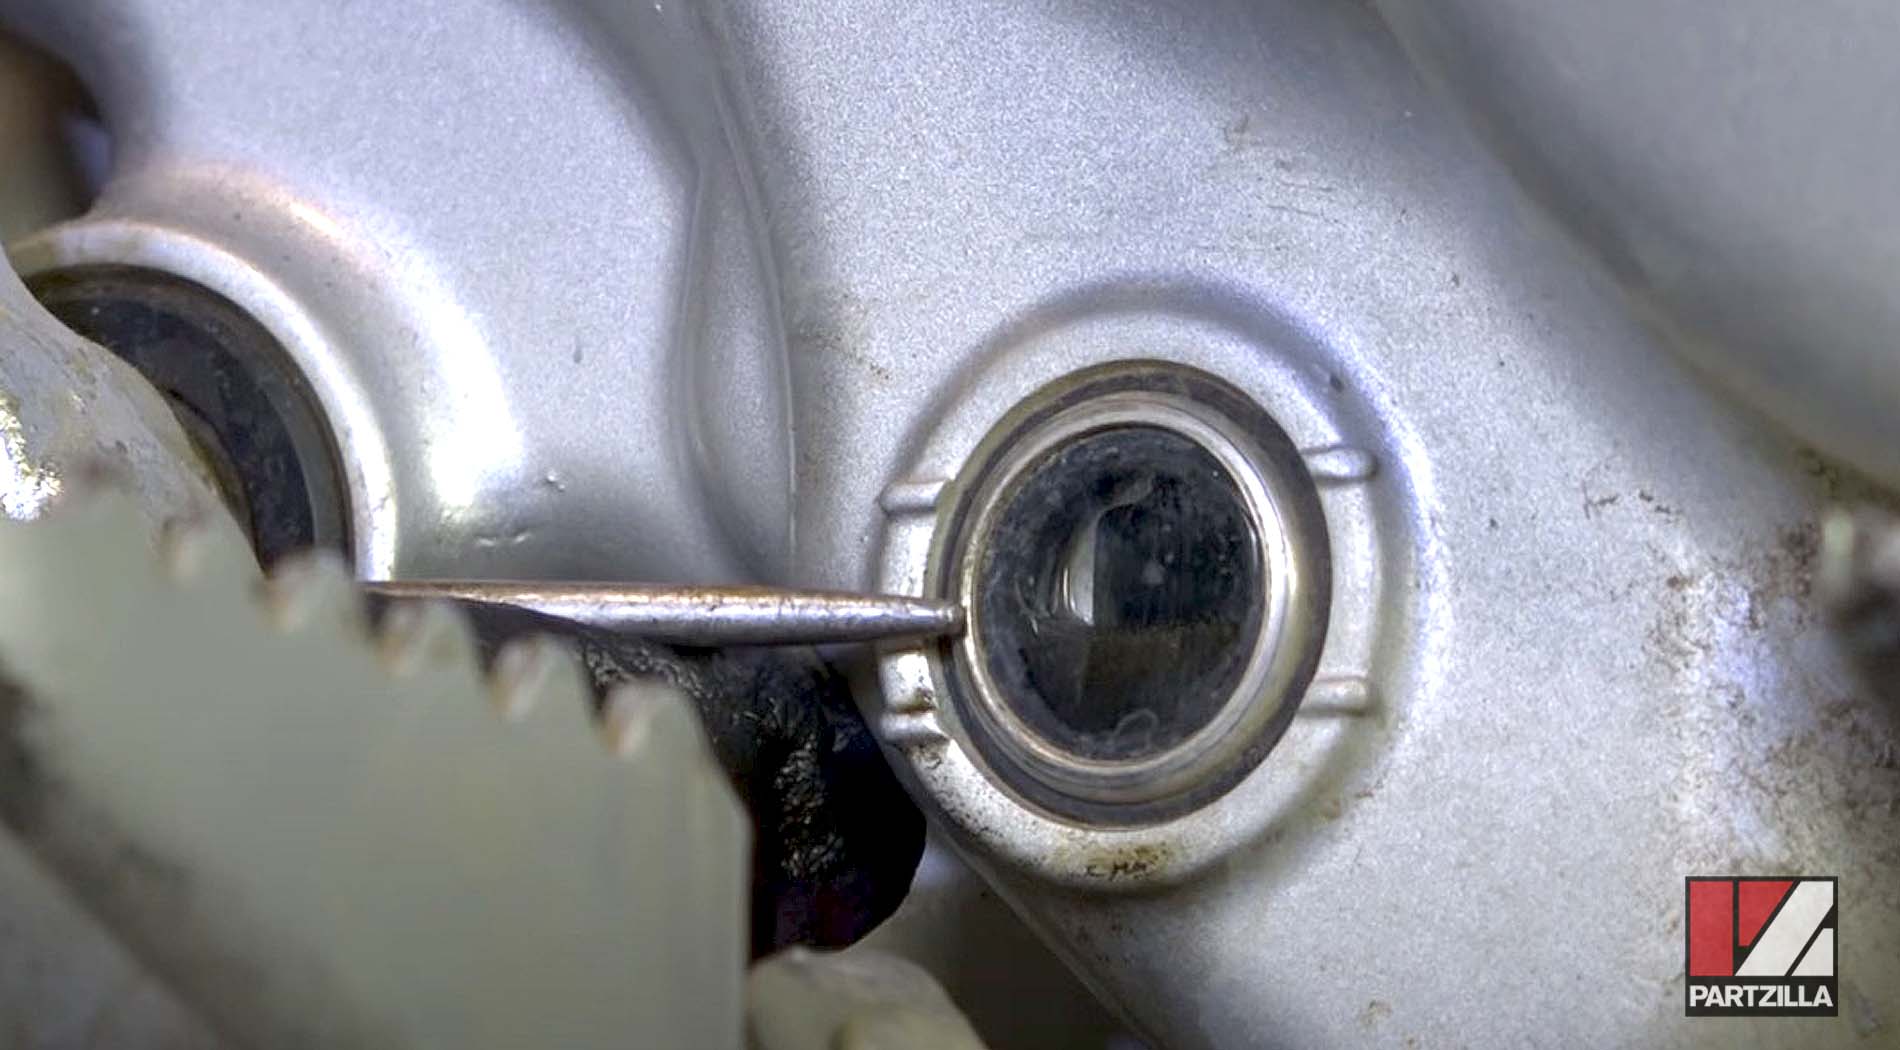
NOTE: The oil level should be in between the upper and lower markings. Add a splash of oil to get that last .1 quarts, which should get the level in the middle of the two marking lines.
Step 13. Replace the fill cap and you’re done.
