How to Change a Kawasaki KLR 650 Air Filter
After doing an oil change on a Kawasaki KLR 650, the next basic maintenance step is to clean the air filter, provided it’s reusable and still in good condition. Otherwise, you should change out the air filter.
Watch the video above and follow the steps below to clean and/or replace the air filter on a Kawasaki KLR 650 dual sport motorcycle.
Tools and Supplies - Kawasaki KLR 650 Air Filter Cleaning
- 8mm socket
- Phillips screwdriver
- Foam filter cleaner
- Foam filter treatment
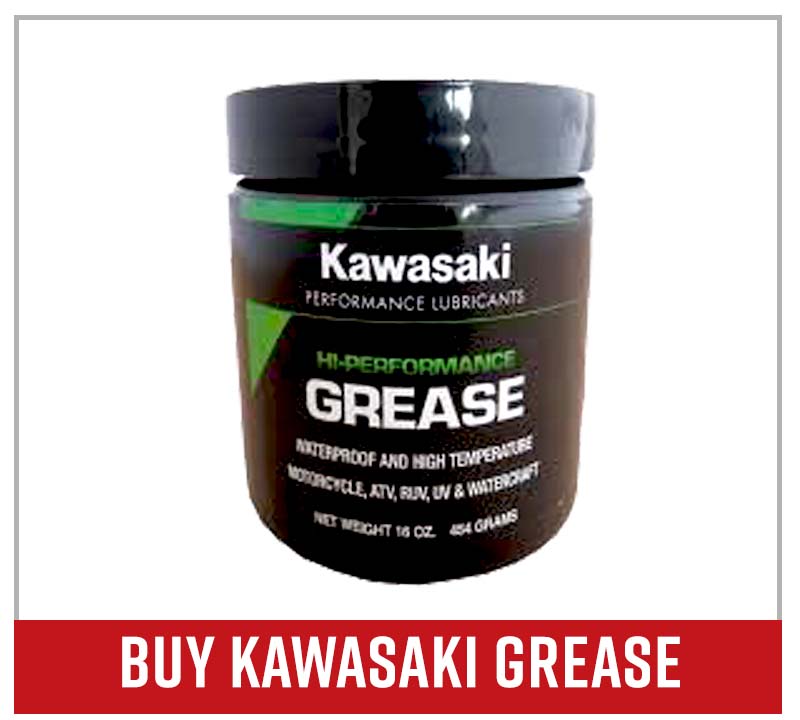
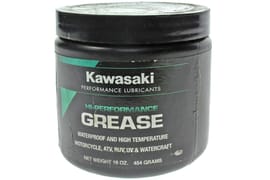
- Kawasaki high performance grease
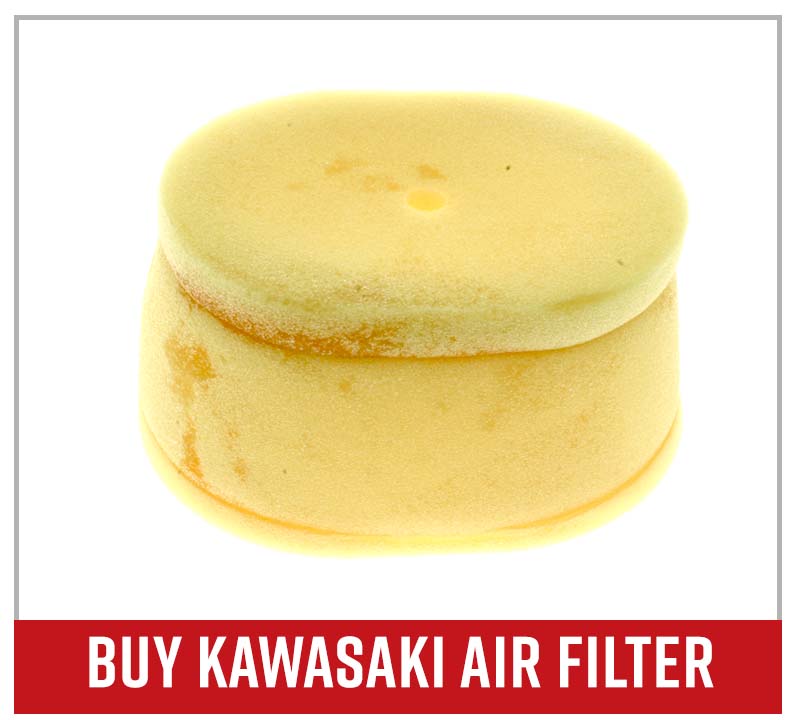
NOTE: If you need to replace the air filter instead of cleaning the one your KLR 650 already has, here’s the filter to buy: Kawasaki KLR 650 air filter.
Kawasaki KLR 650 Air Filter Removal
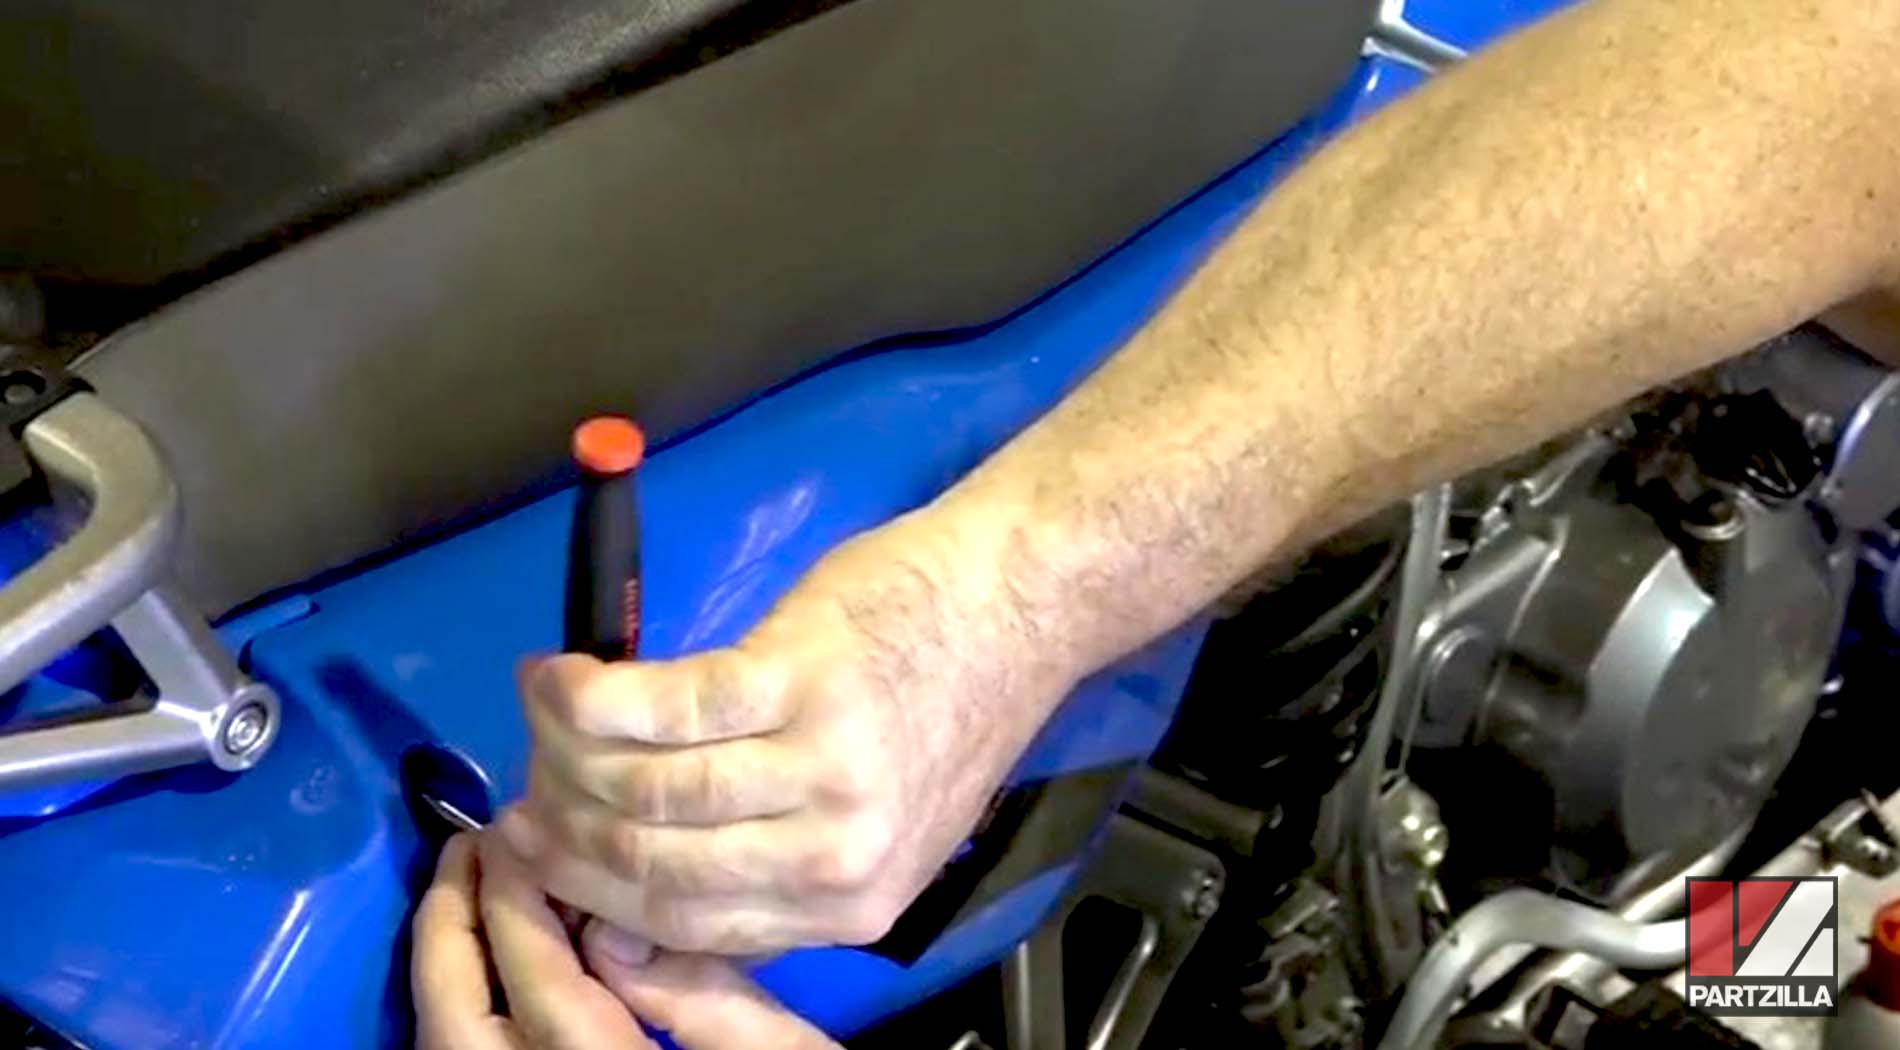
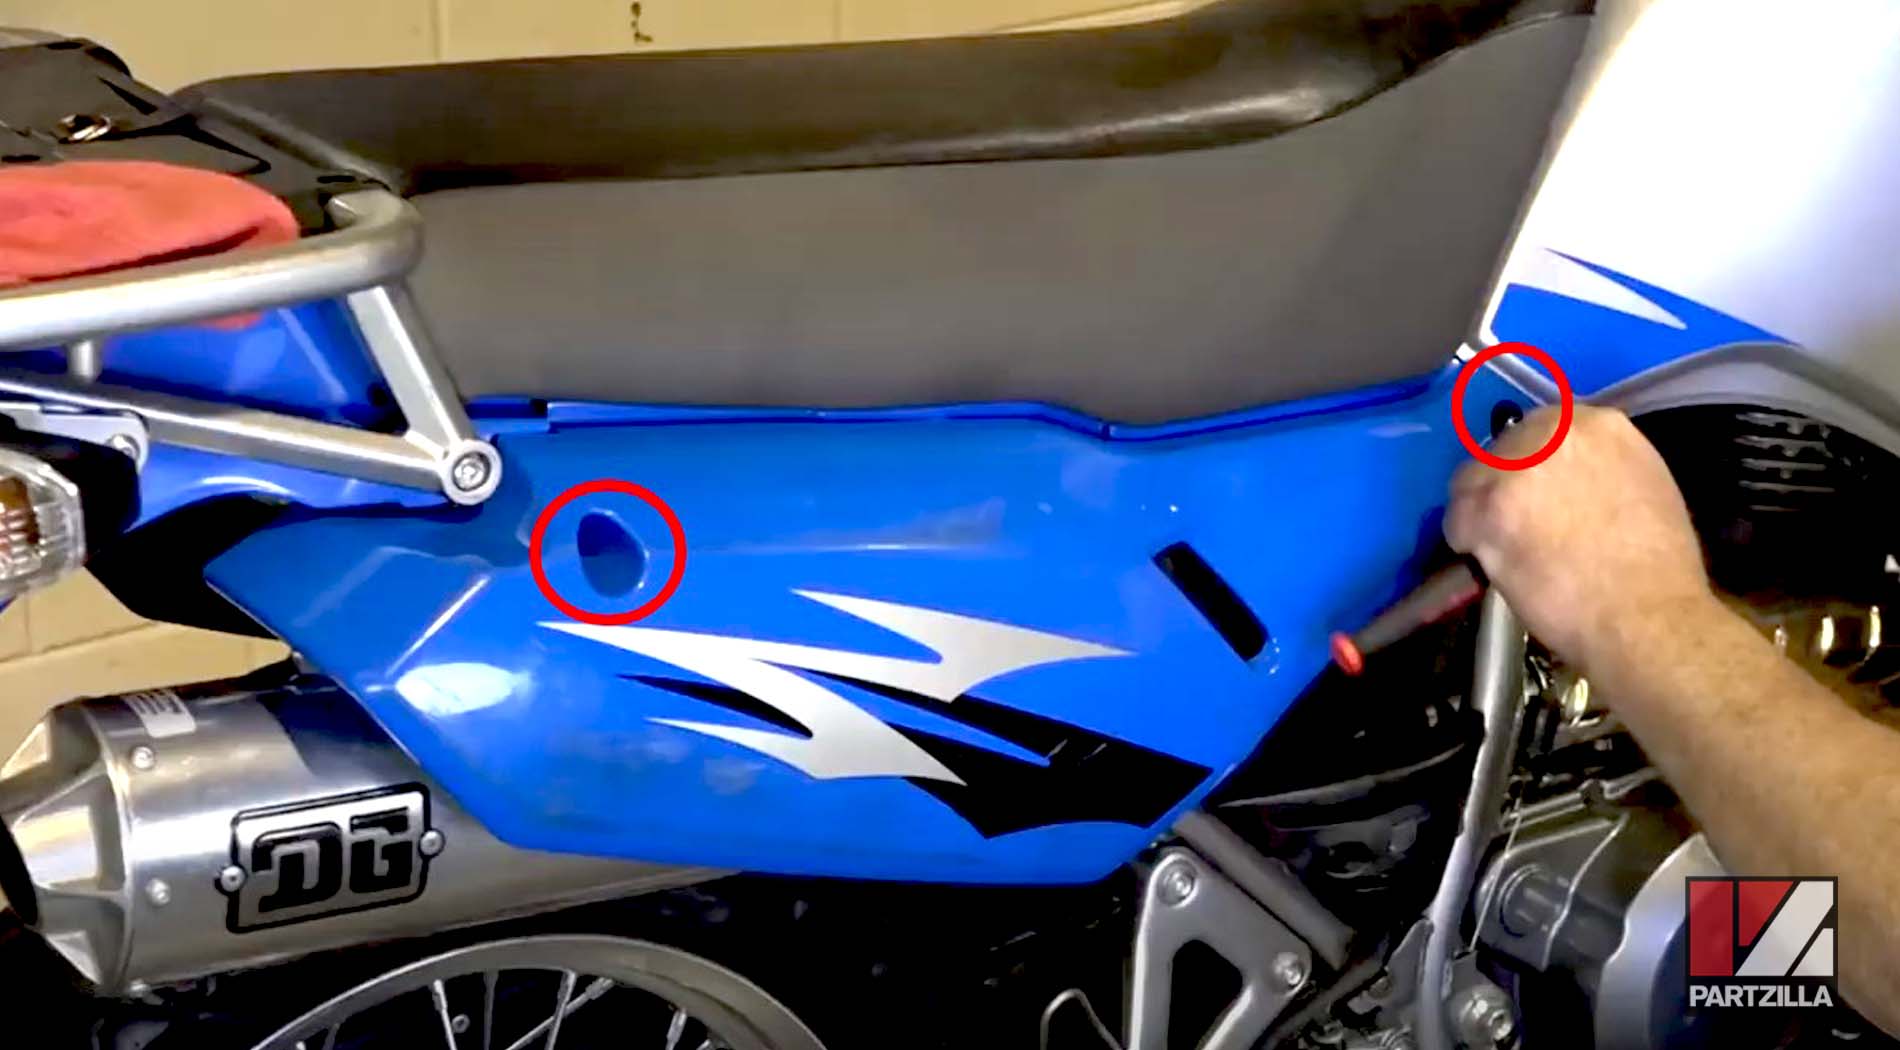
Step 1. Remove the plastic cover on the right-hand side of the machine by taking off the two 8mm bolts that hold it in place. Once the bolts are removed, pull the cover away from the machine from the bottom and tilt it out.
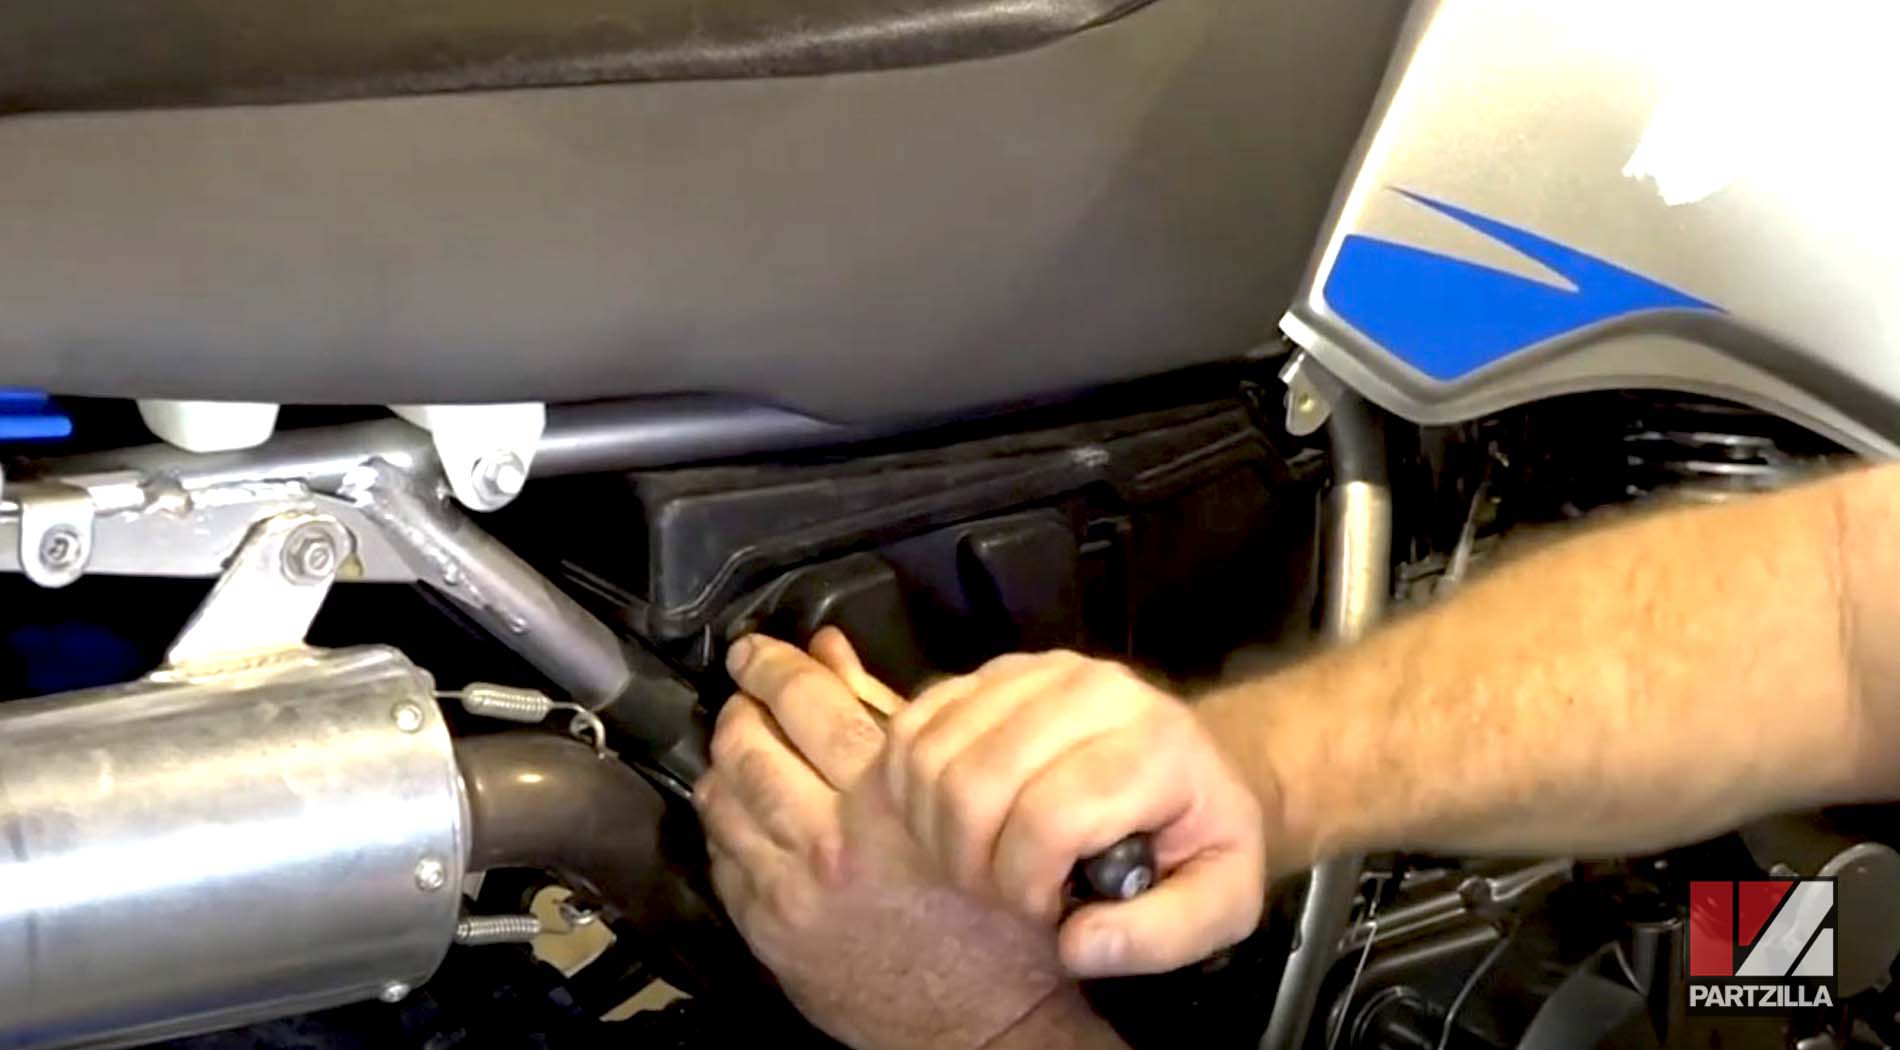
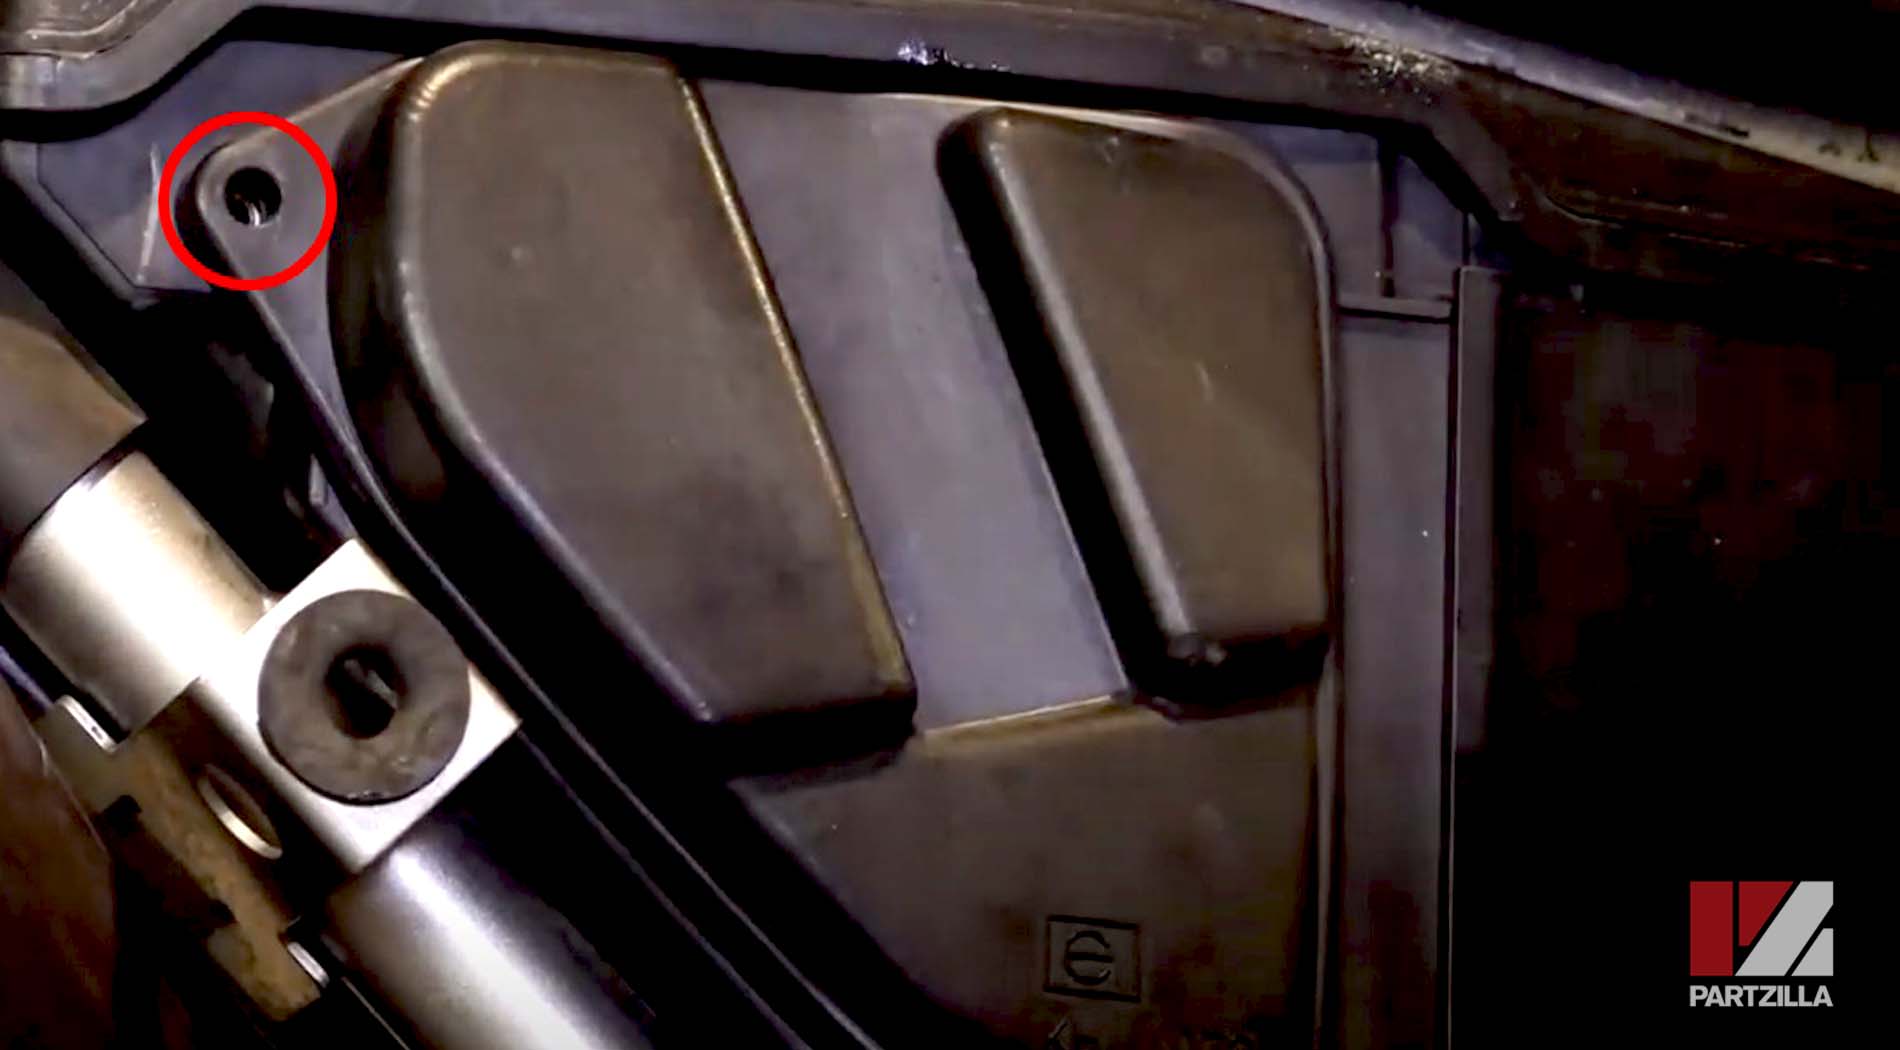
Step 2. Remove the one Phillips-head screw on the air filter cover, then open the air filter box.
Step 3. Remove the wingnut holding the air filter and the plastic cage underneath it in place, then remove the filter itself.
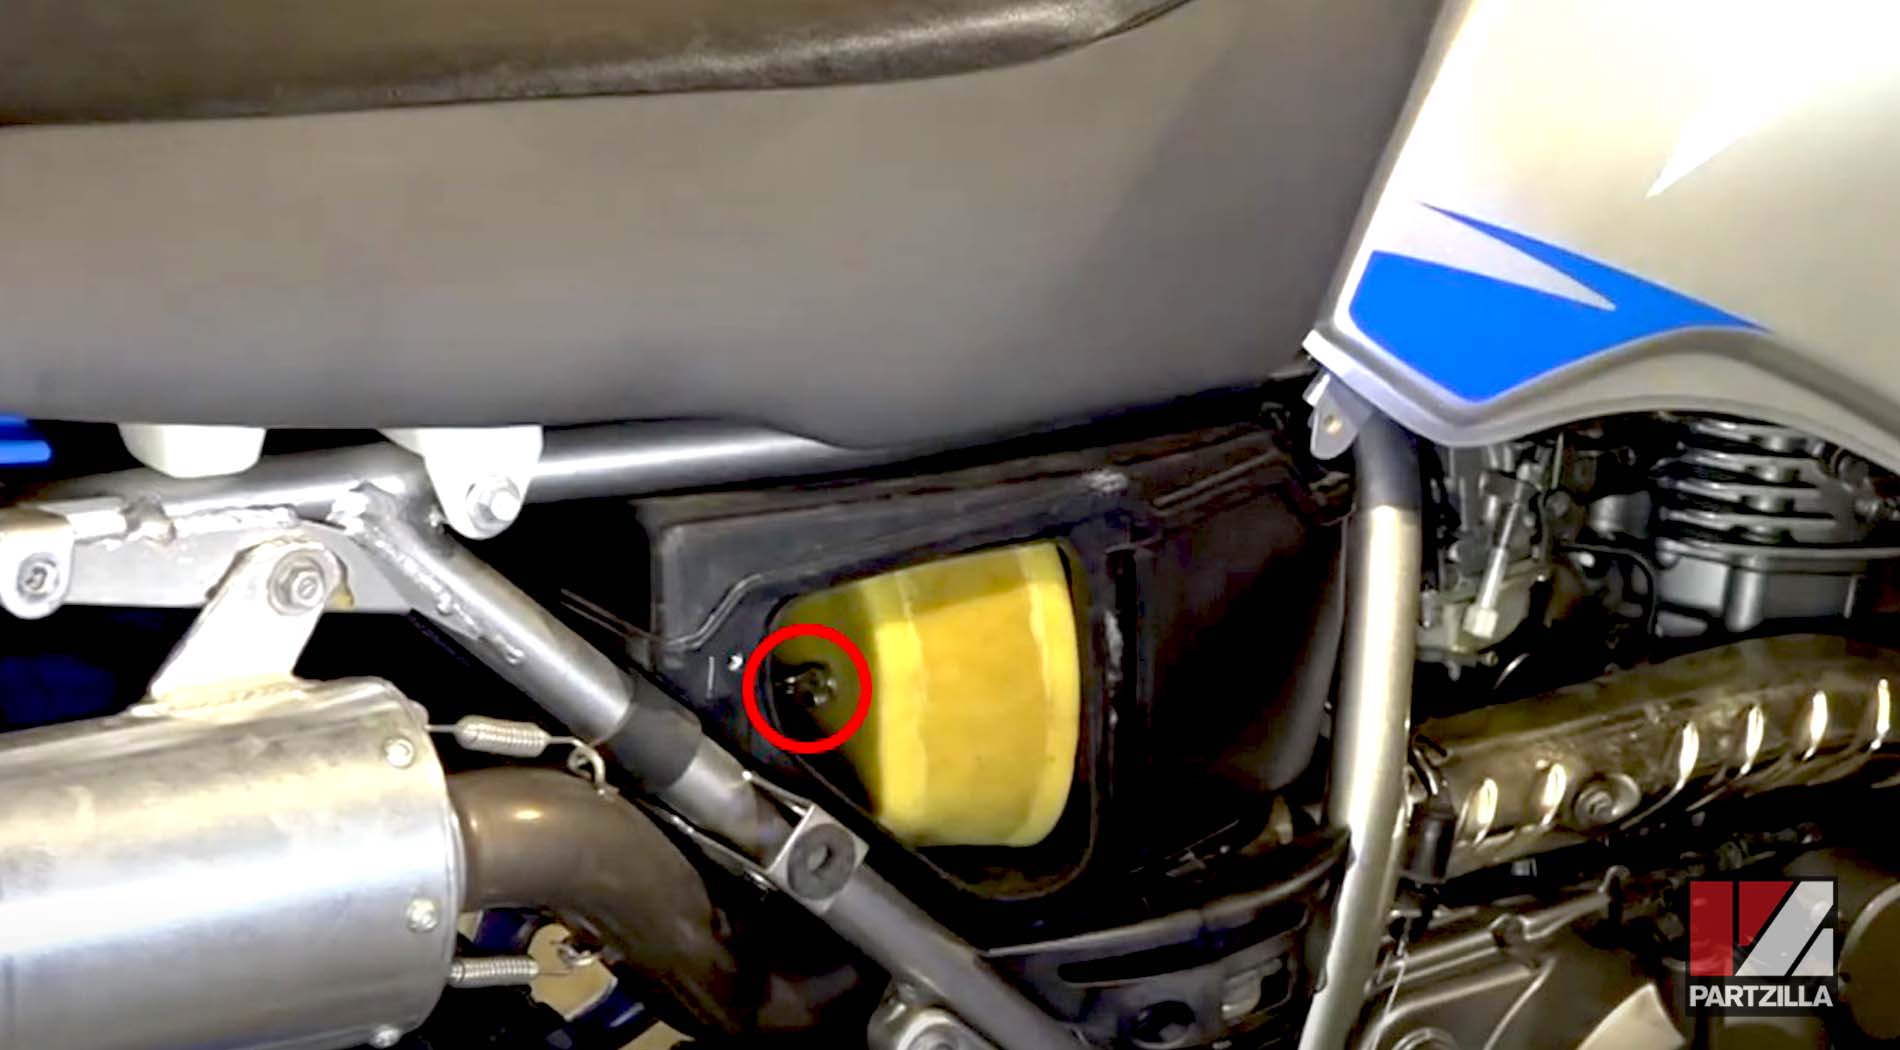
Once the filter is out, inspect it for tears. If it’s torn, you’ll need to replace the air filter with a new one. However, if the filter is intact, you only need to clean and re-treat it before putting it back in the machine.
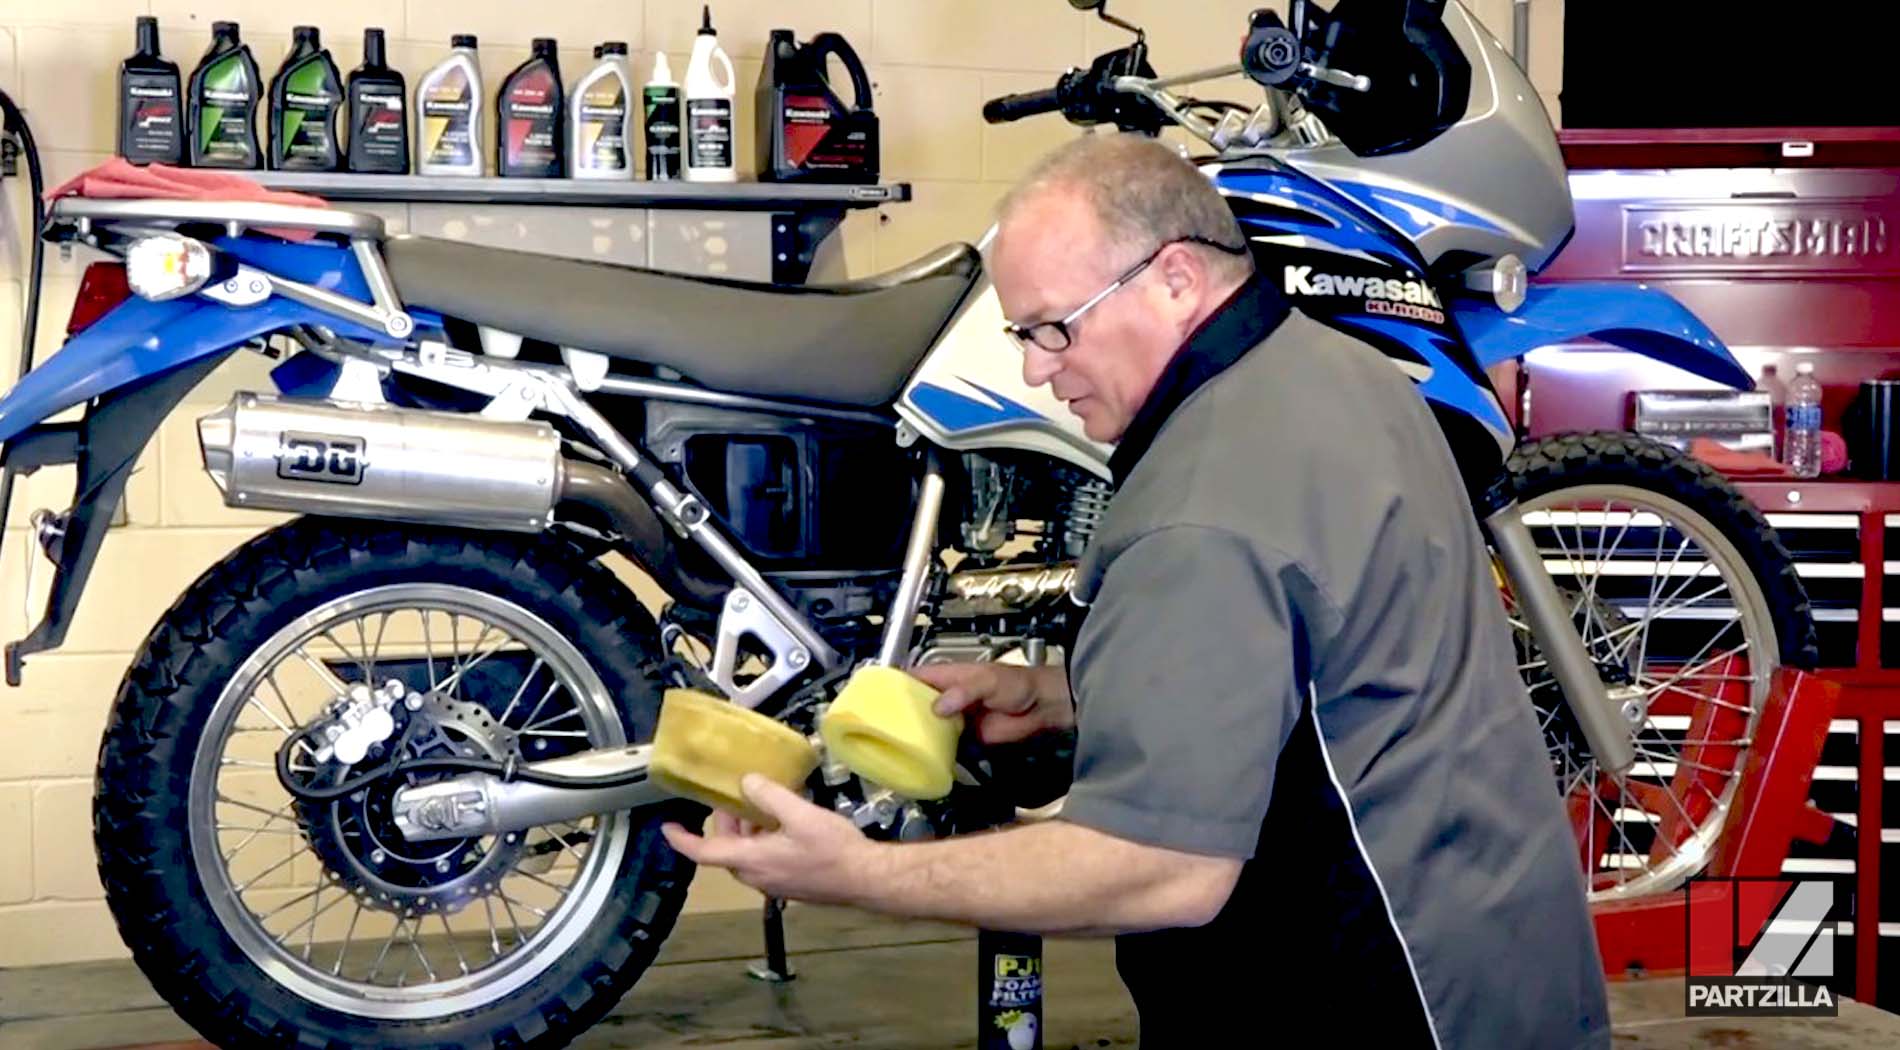
NOTE: The steps to install a new air filter can be found in the Replacing the Air Filter on a Kawasaki KLR 650 section below. You’ll still have to treat the filter, even if it’s brand new.
Cleaning and Treating the Kawasaki KLR 650 Foam Air Filter
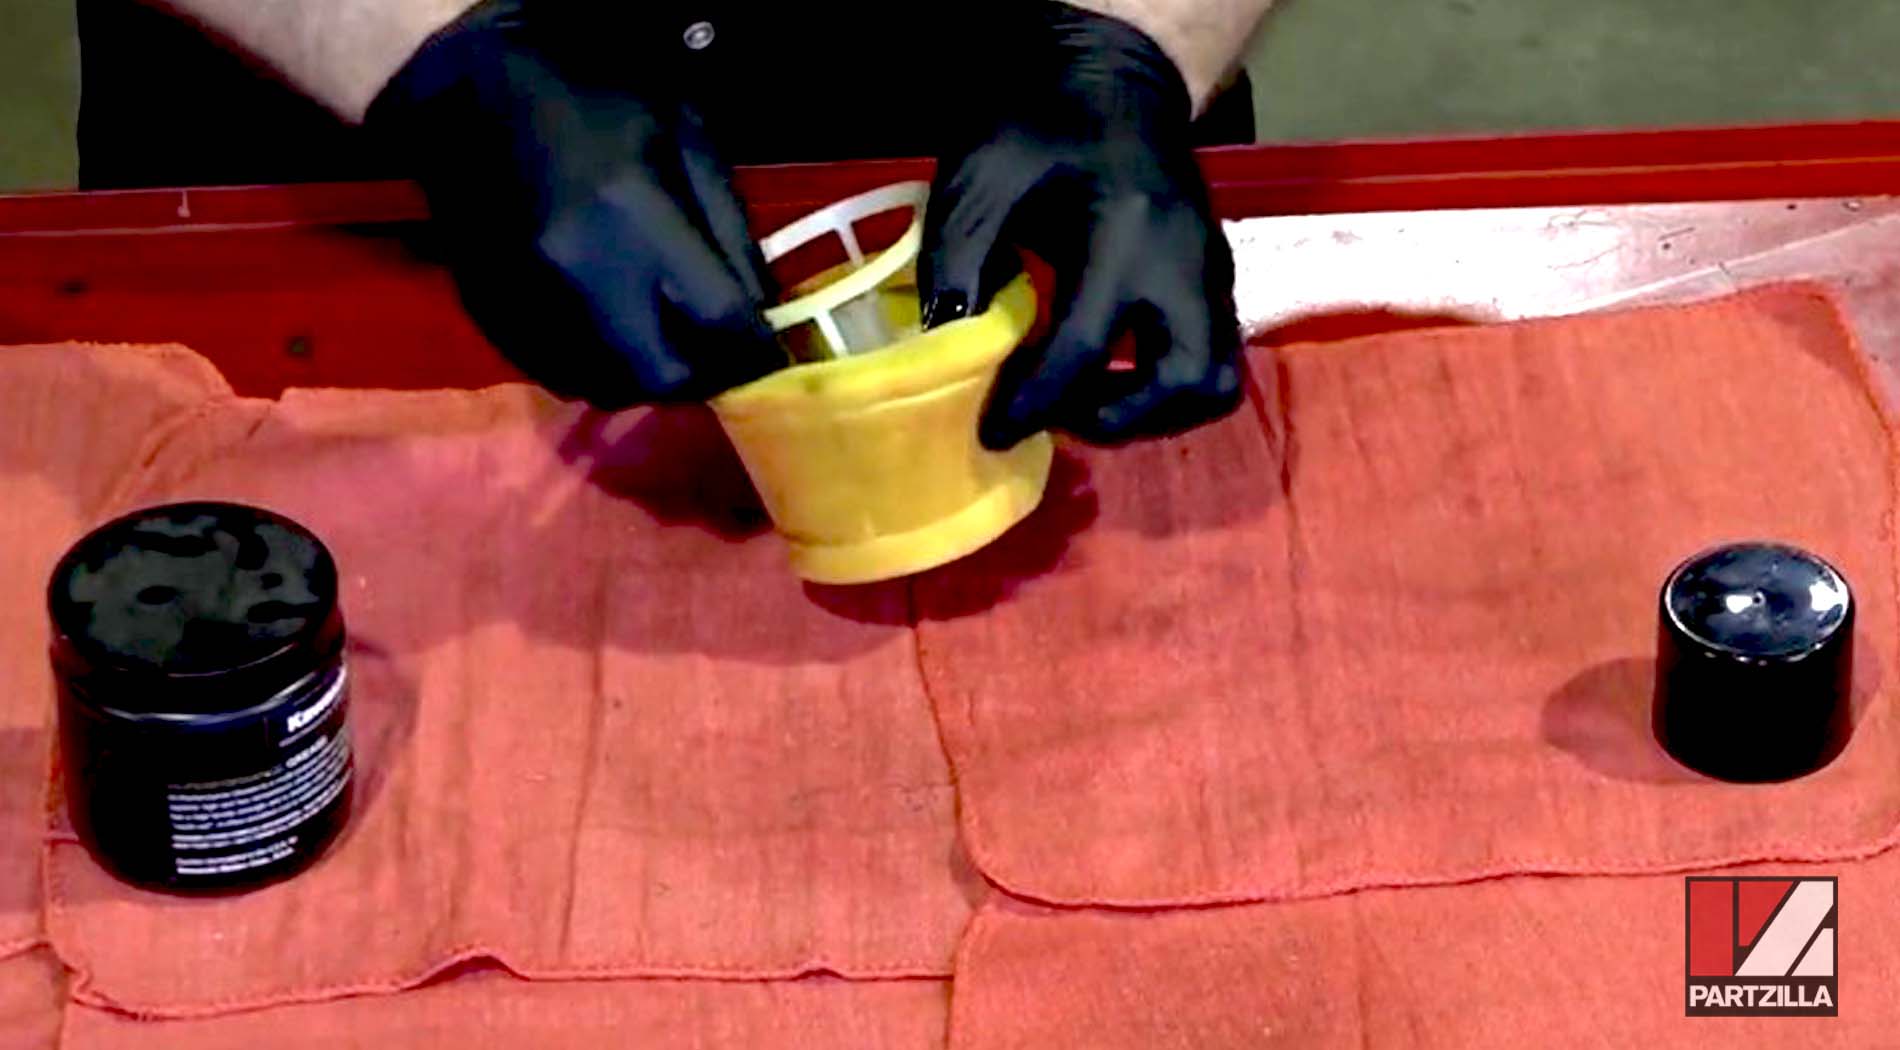
Step 1. Remove the plastic framework that gives the filter its shape by pulling the filter back and off the frame.
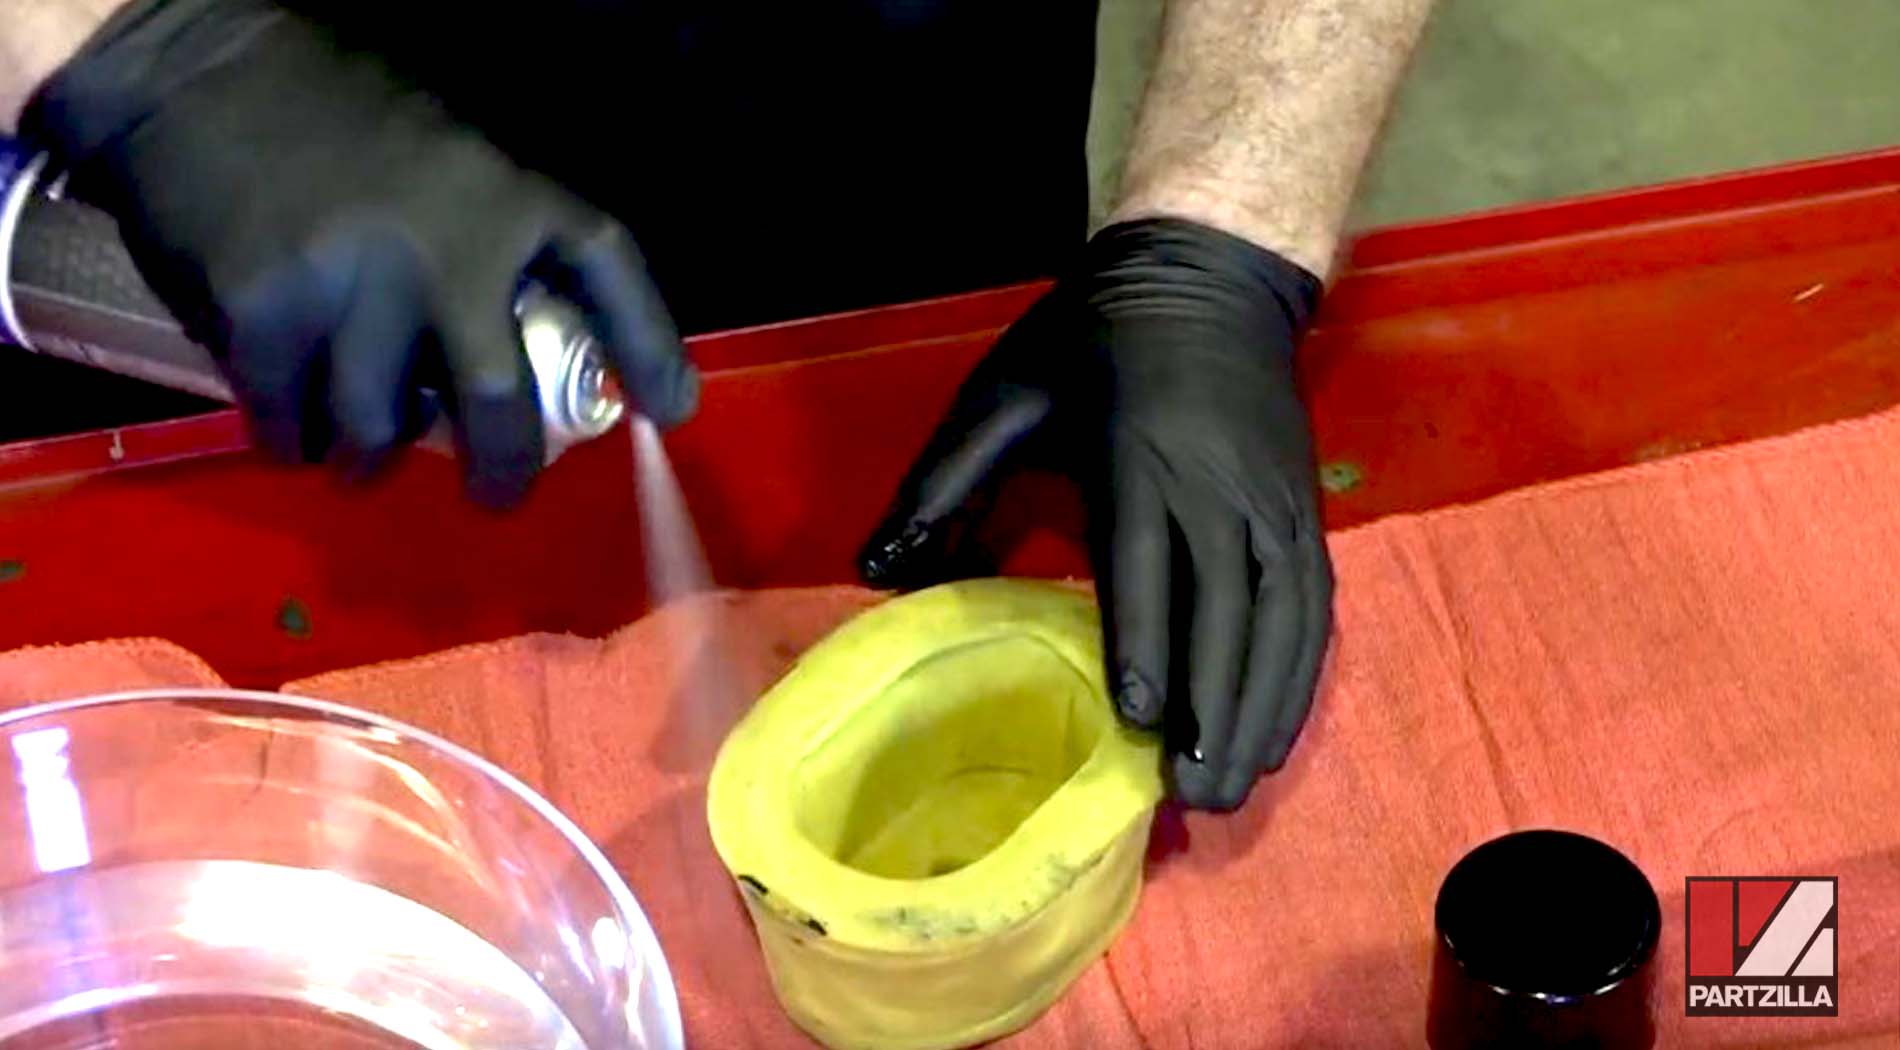
Step 2. Spray foam filter cleaner inside and outside the filter, then knead it in and wait about 15 minutes.
Step 3. Place the filter in a bowl of water and wring it out.
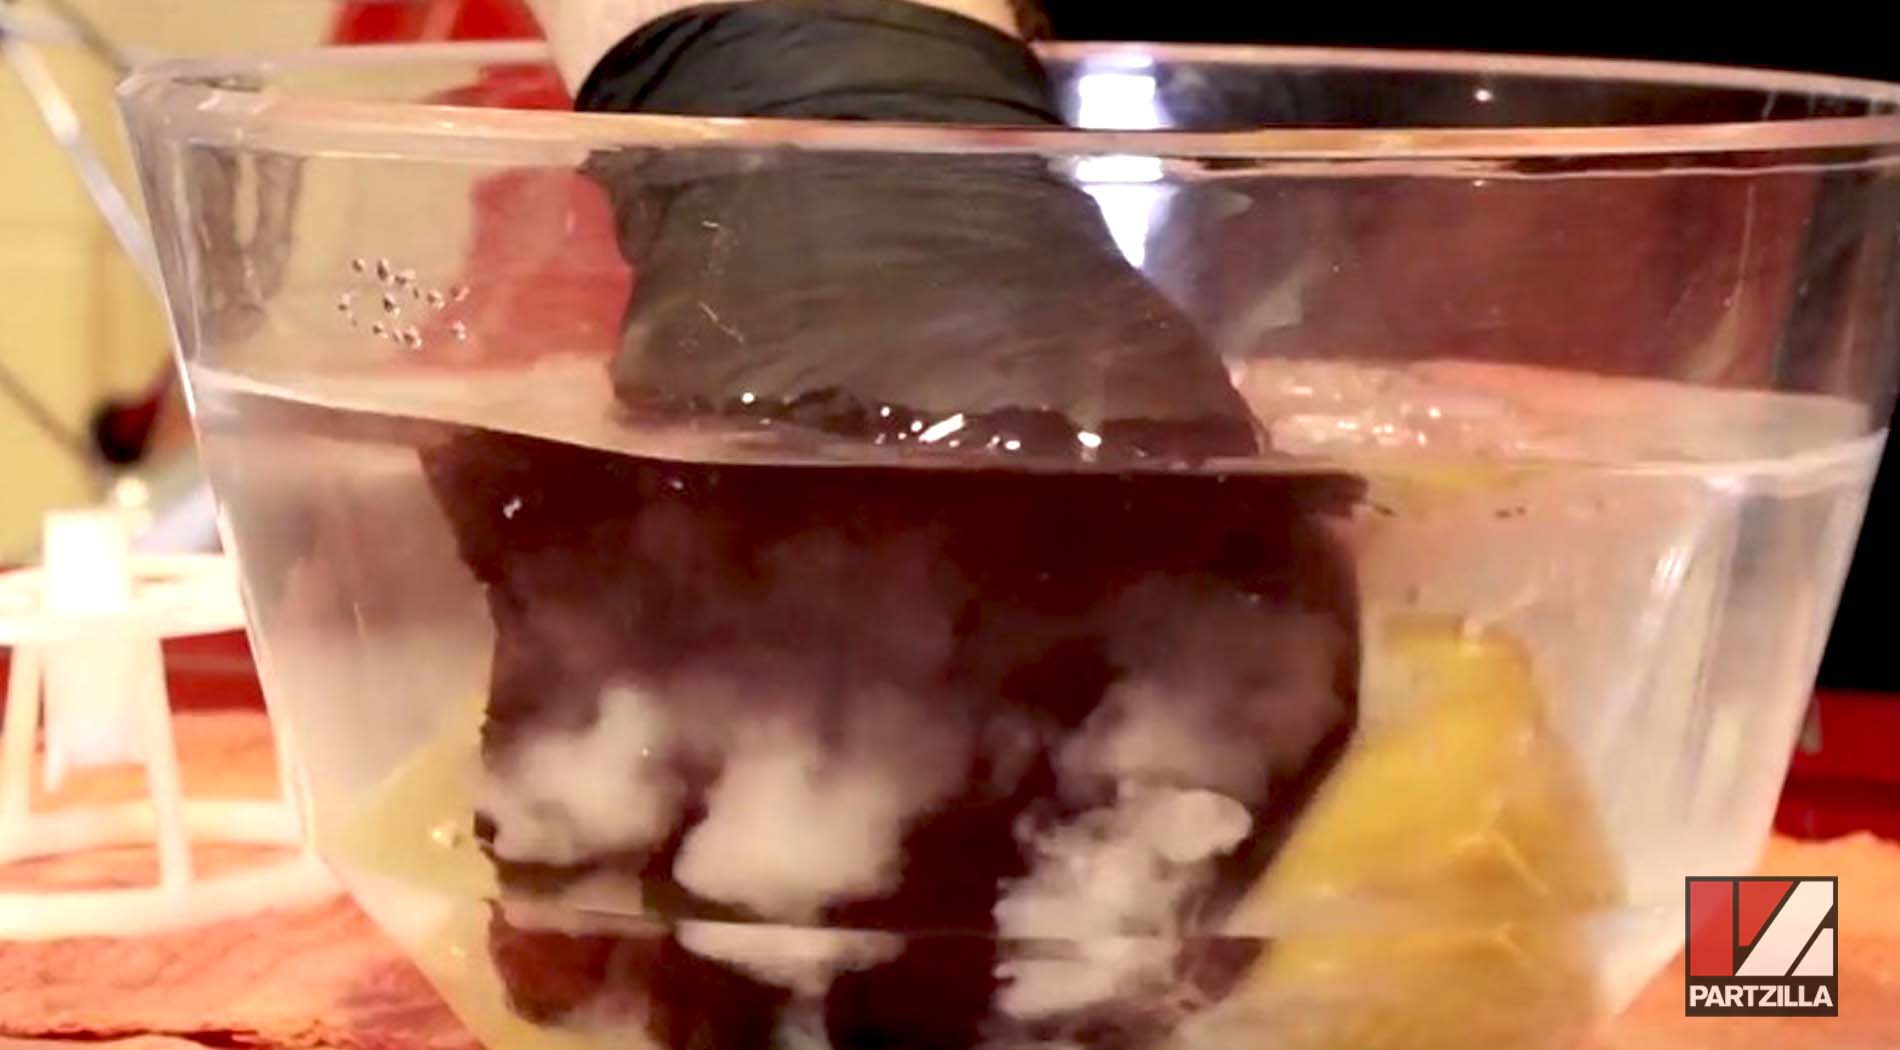
NOTE: Be gentle with the filter to avoid damaging it.
Step 4. Remove the filter from the water, then wring it out one last time and wait for it to dry completely.
NOTE: This could take hours, and you may need to let the air filter dry overnight.
Step 5. Apply a light coat of foam filter treatment oil inside and out once the filter is dry to get it ready to go back in the machine.
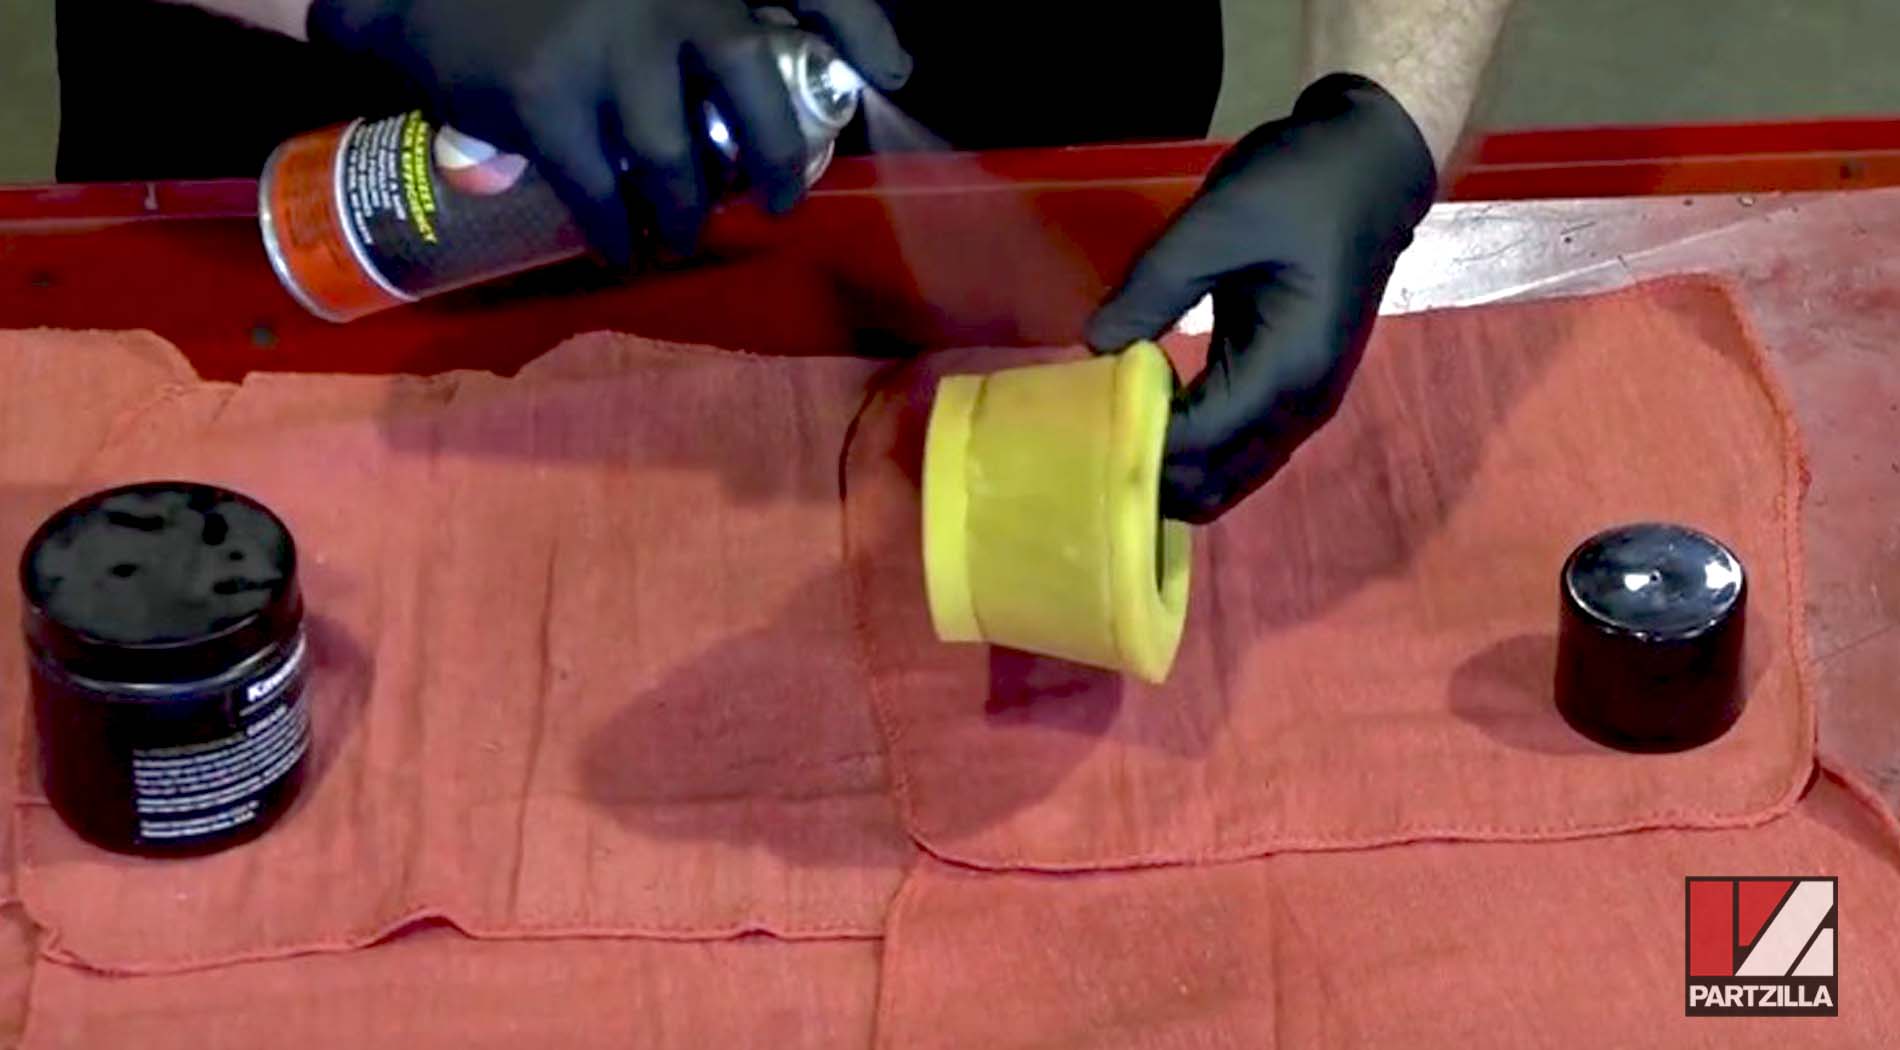
NOTE: Make sure you’re using a treatment specifically made for foam filters, not a product made for fabric filters.
Step 6. Replace the plastic framework back inside the filter.
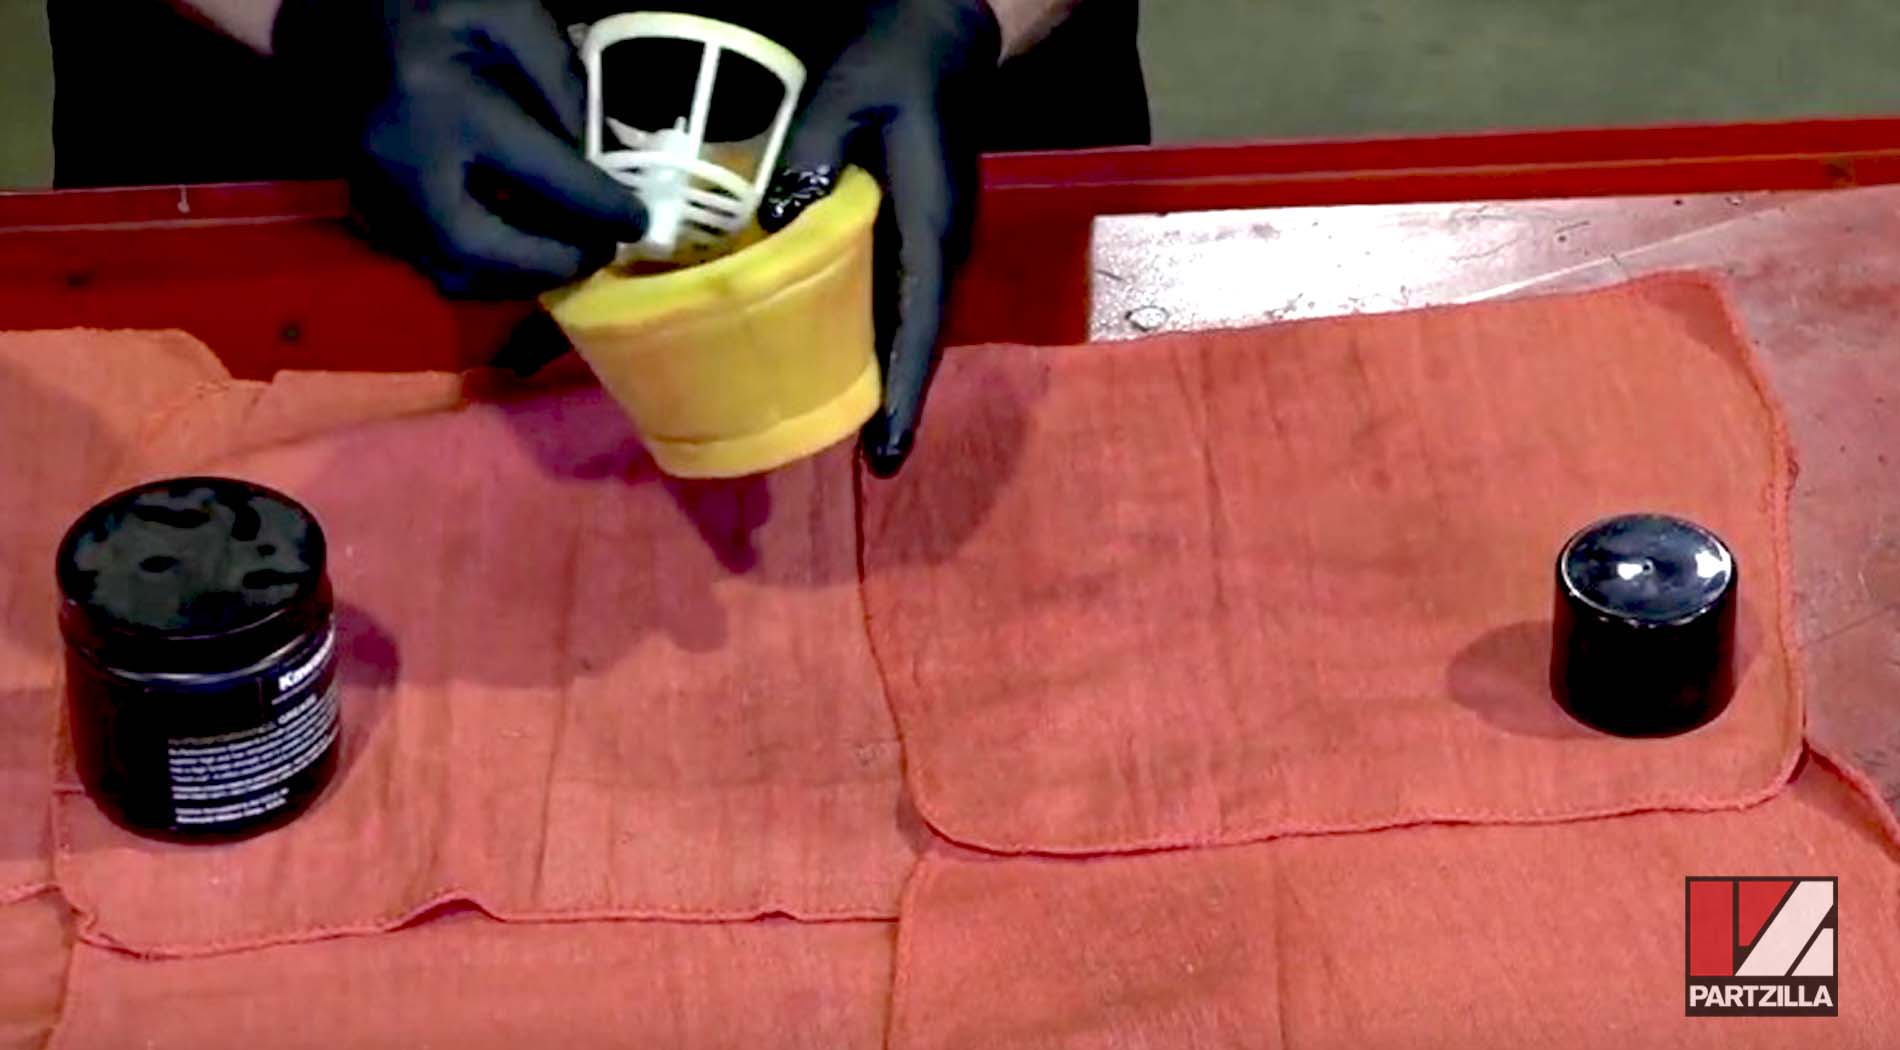
Step 7. Apply a thin layer of Kawasaki grease around the rim at the bottom of the filter where it contacts the housing.
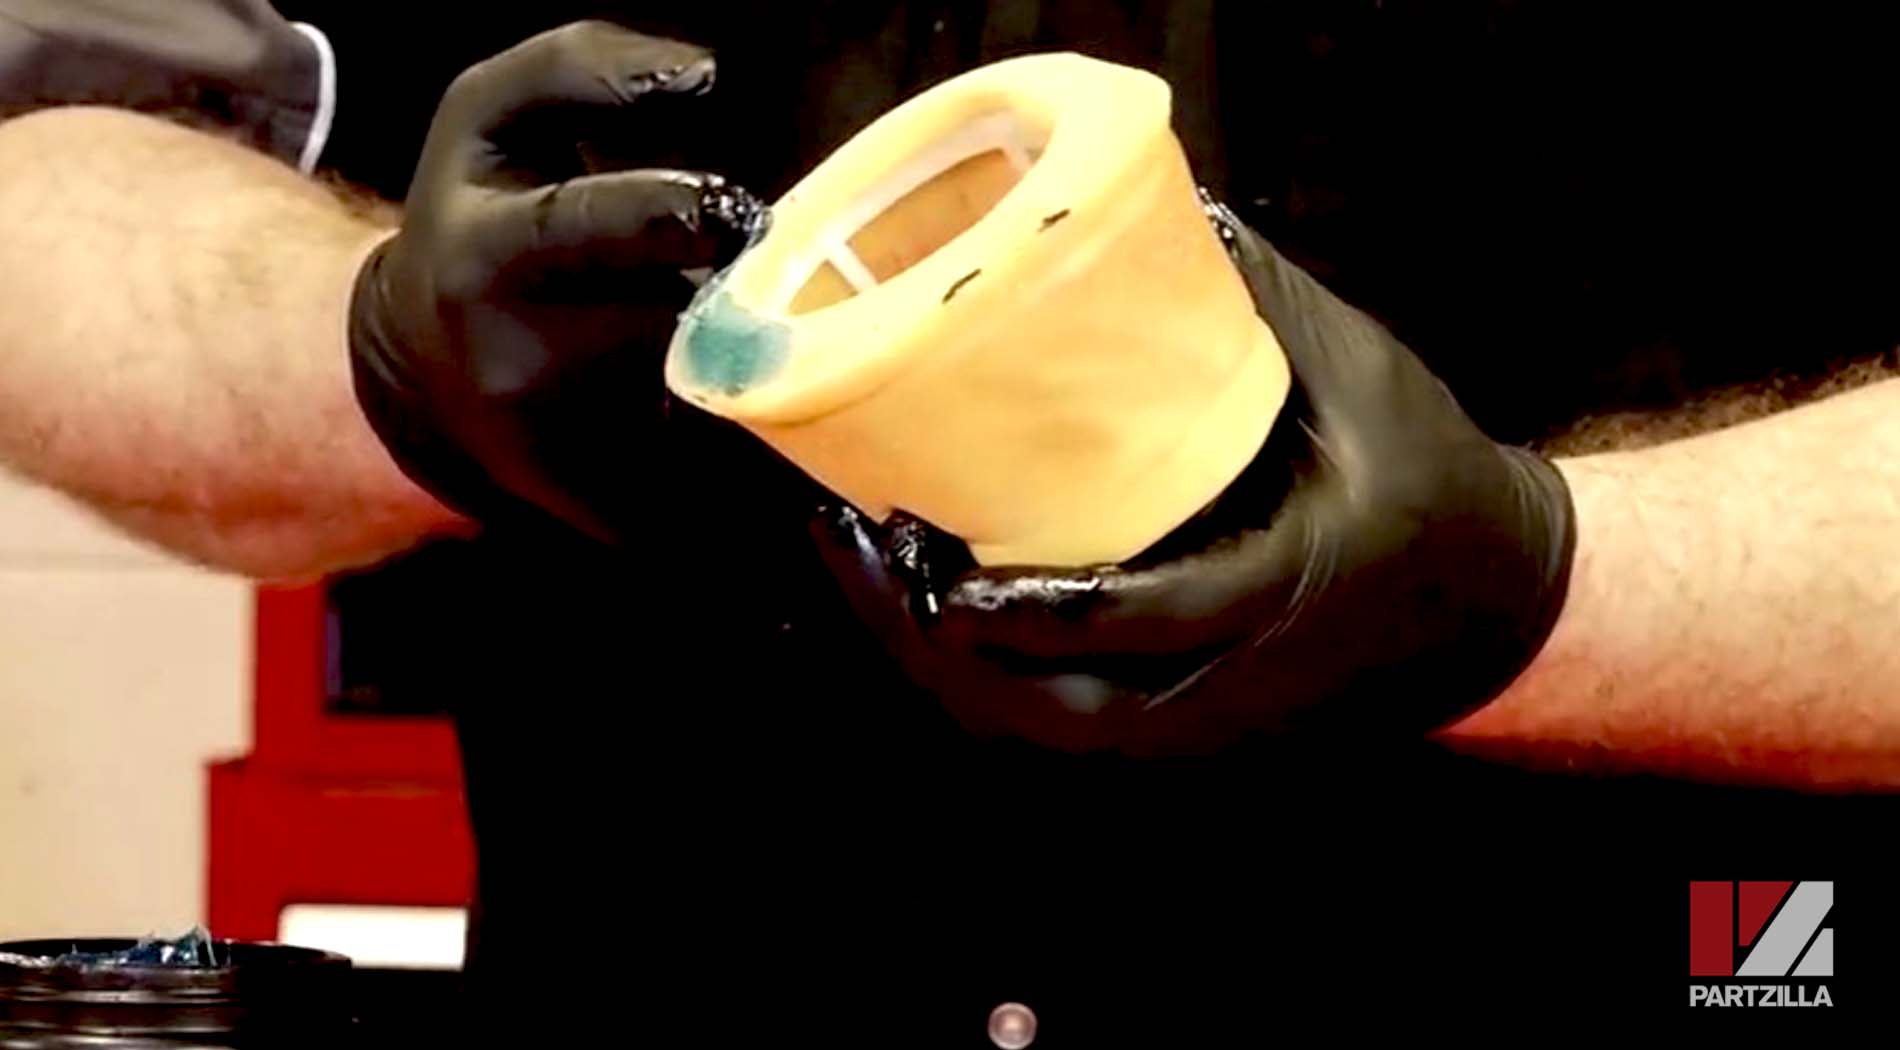
NOTE: This step isn't required, just recommended because the grease creates a nice seal to keep contaminants out of the engine.
Replacing the Air Filter on a Kawasaki KLR 650
Step 1. Check inside the airbox for any dirt, then use a rag to plug the opening leading to the engine and wipe out the airbox. Remove the rag used to plug the air intake when you’re finished cleaning the airbox.
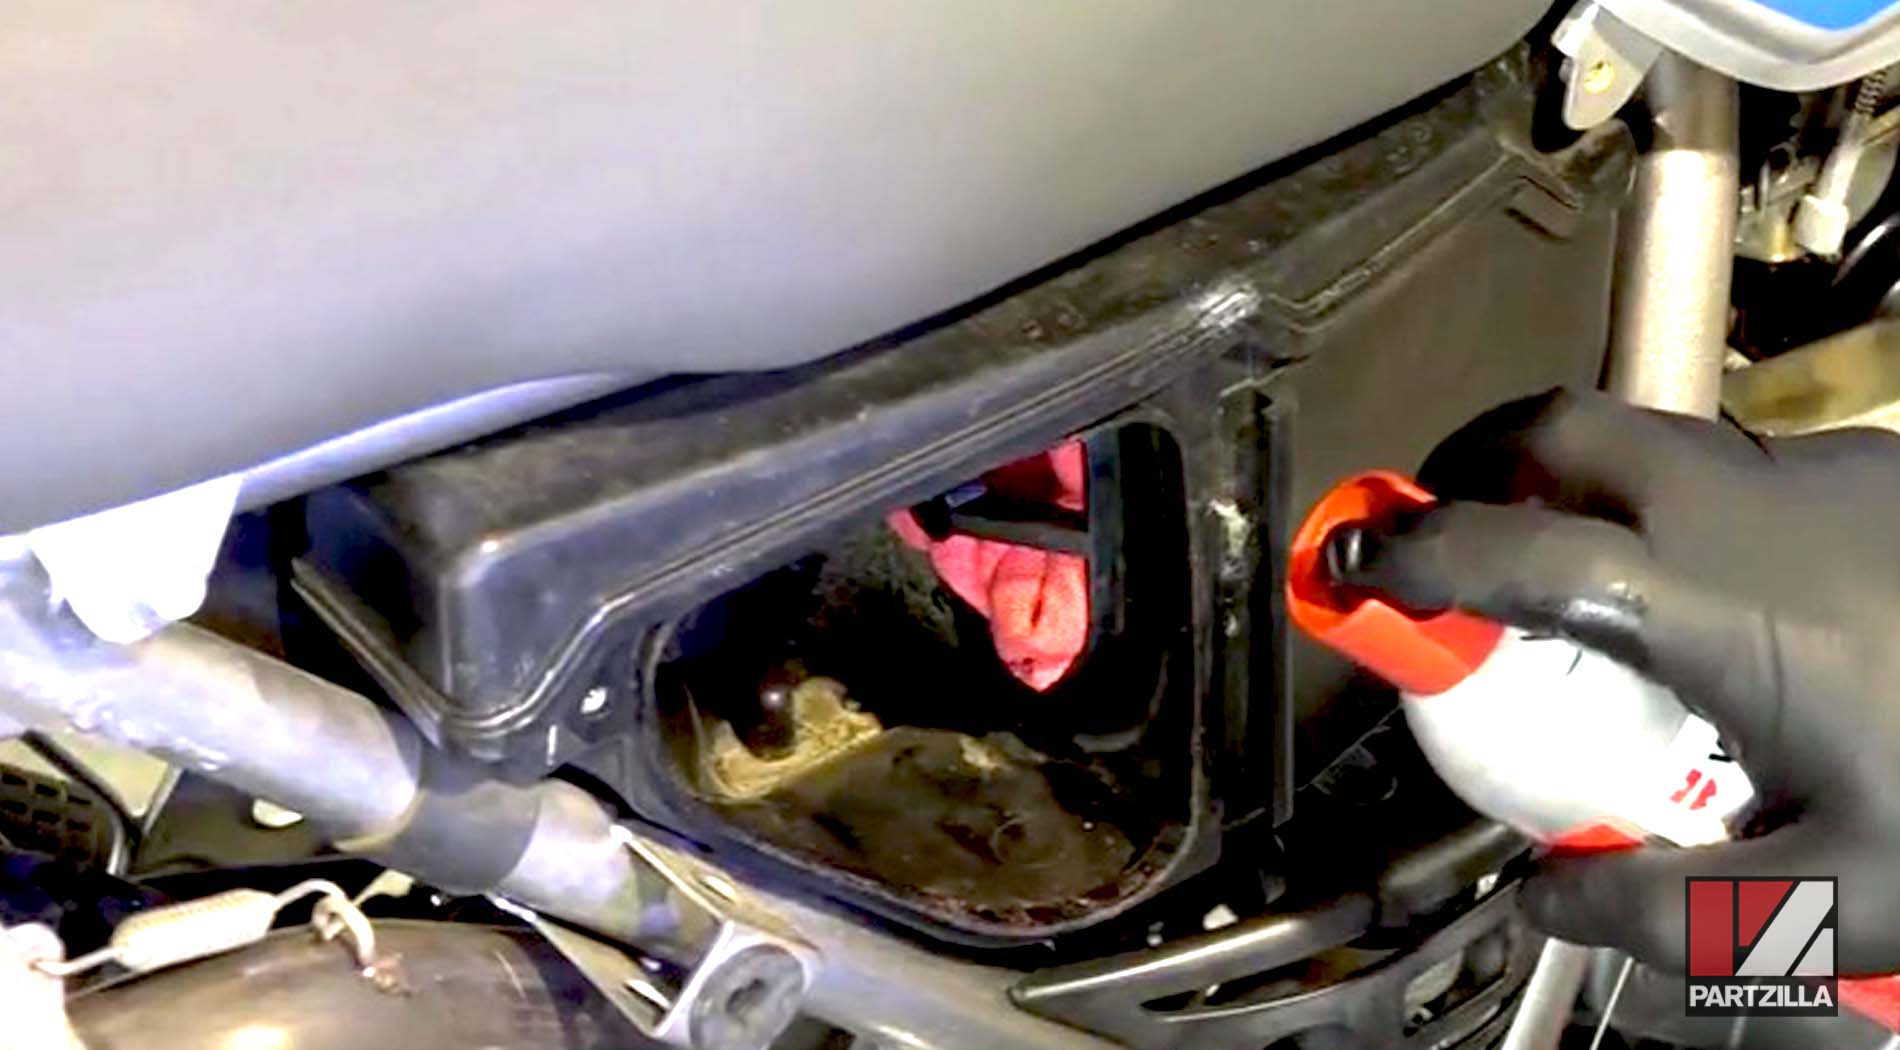
PRO TIP: Use a little brake cleaner to clean things up. It evaporates quickly, and won’t hold you up for the next step.
Step 2. Place the filter back in the airbox and retighten the wingnut.
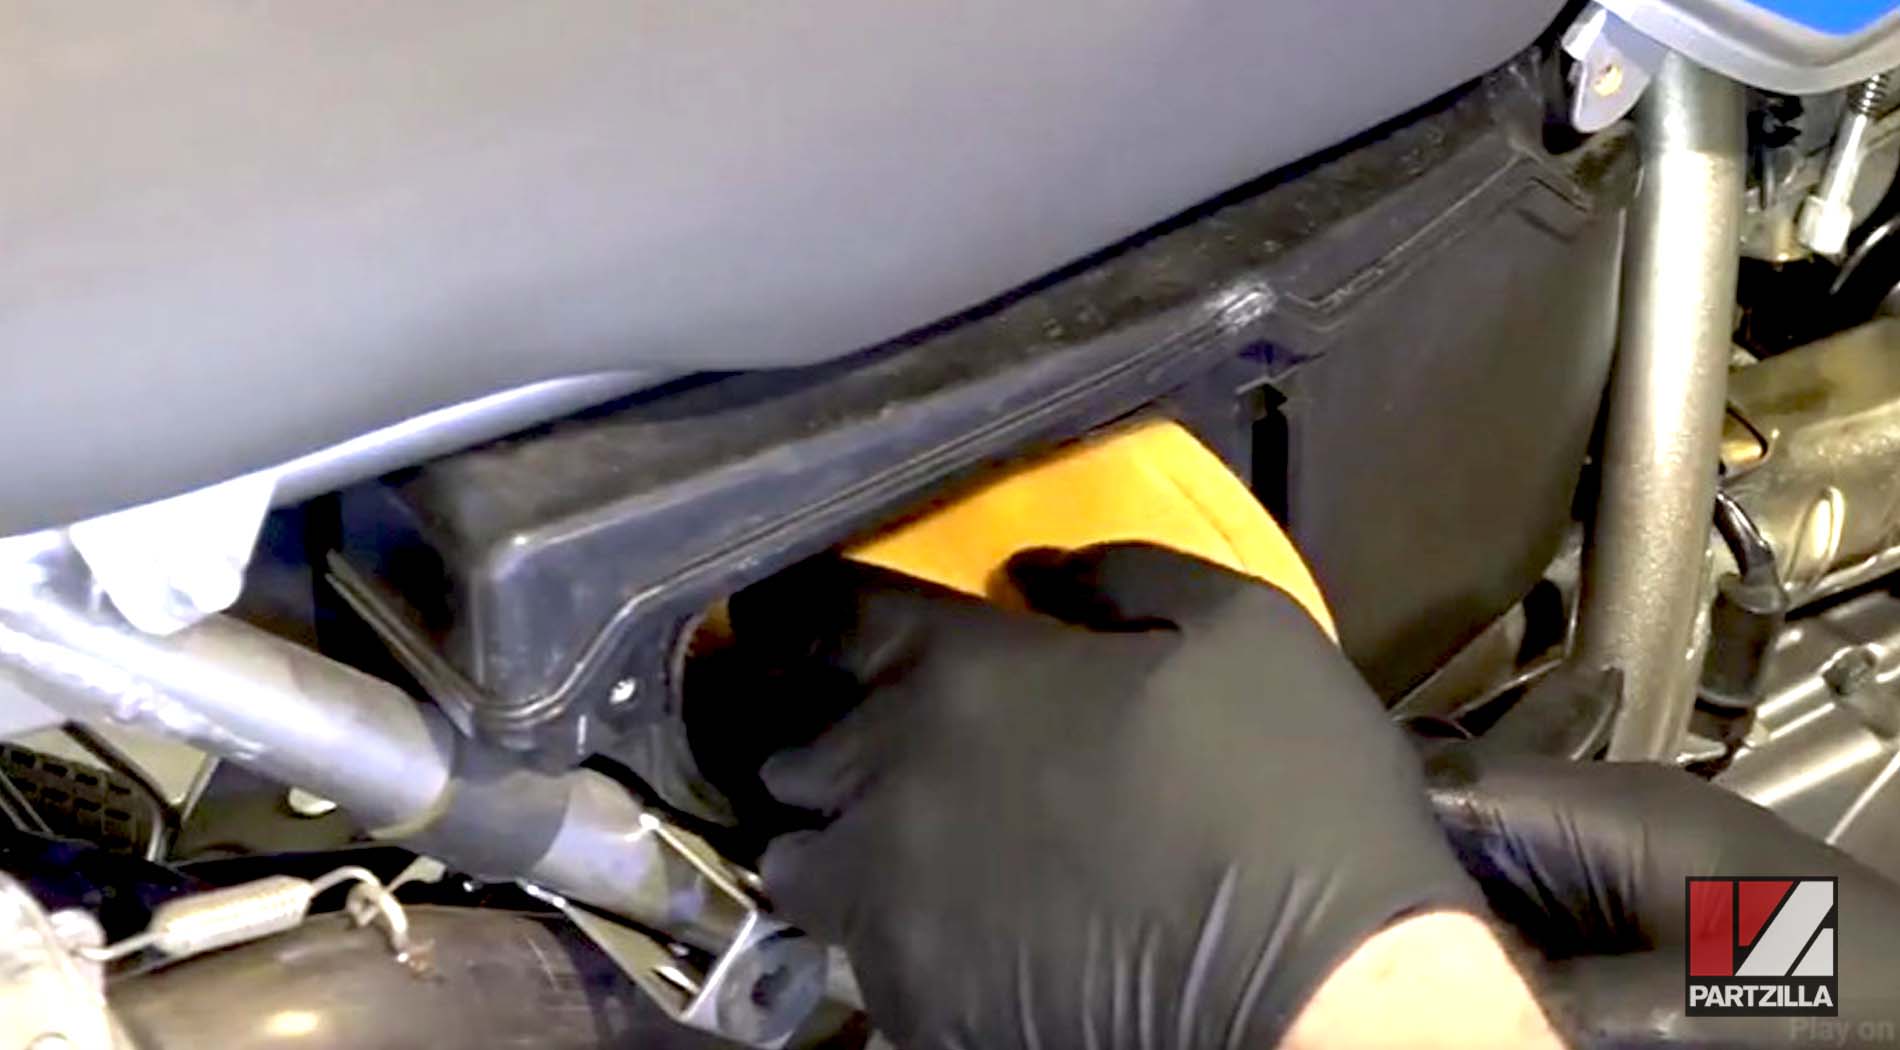
NOTE: You made need to rotate or move the filter around to get it through the opening in the airbox.
Step 3. Replace the airbox cover and the Phillips screw that holds it in place.
Step 4. Replace the plastic cover and the two 8mm bolts that hold it in place. Tighten the bolts and you’re done.
