How to Change a Kawasaki Dirt Bike Battery and Spark Plug
Replacing both the battery and the spark plug in a Kawasaki motorcycle is easy. But before changing the battery or the spark plug, it’s a good idea to test them both to see if they actually need to be replaced.
A spark plug costs next to nothing to replace, but a battery is more expensive, so a multimeter (voltmeter) will come in handy. Watch the video above and follow the steps below to learn how to change the battery and spark plug in a Kawasaki dirt bike.
Tools and Parts- Kawasaki Dirt Bike Battery & Spark Plug Change
- Phillips and flathead screwdrivers
- 8mm socket wrench
- 5/8th socket wrench
- Impact driver
- Multimeter
- Motorcycle battery
- Spark plug
NOTE: We changed the battery and spark plug in a Kawasaki KLX 110, but the steps are the same or similar for most Kawasaki dirt bikes.
Replacing a Kawasaki Dirt Bike Battery
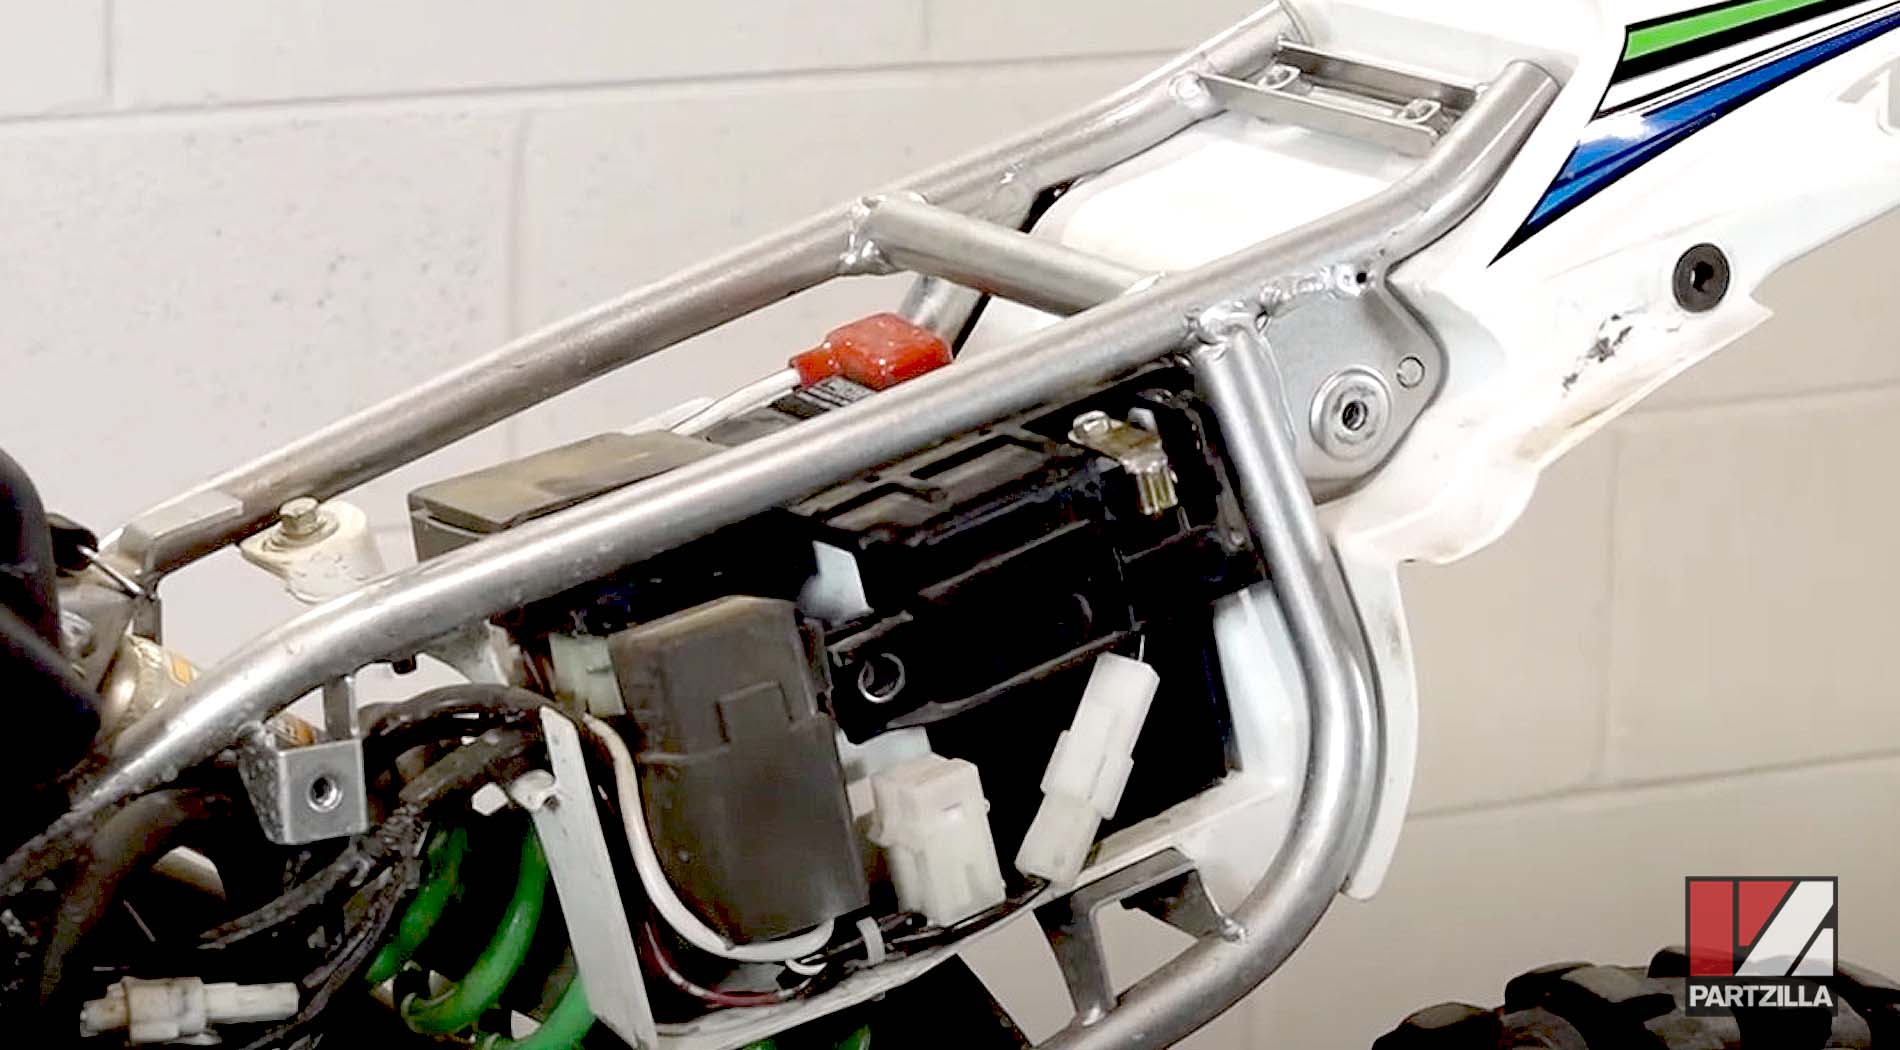
Step 1. Remove the seat and all plastics from the bike (an 8mm socket wrench should do it).
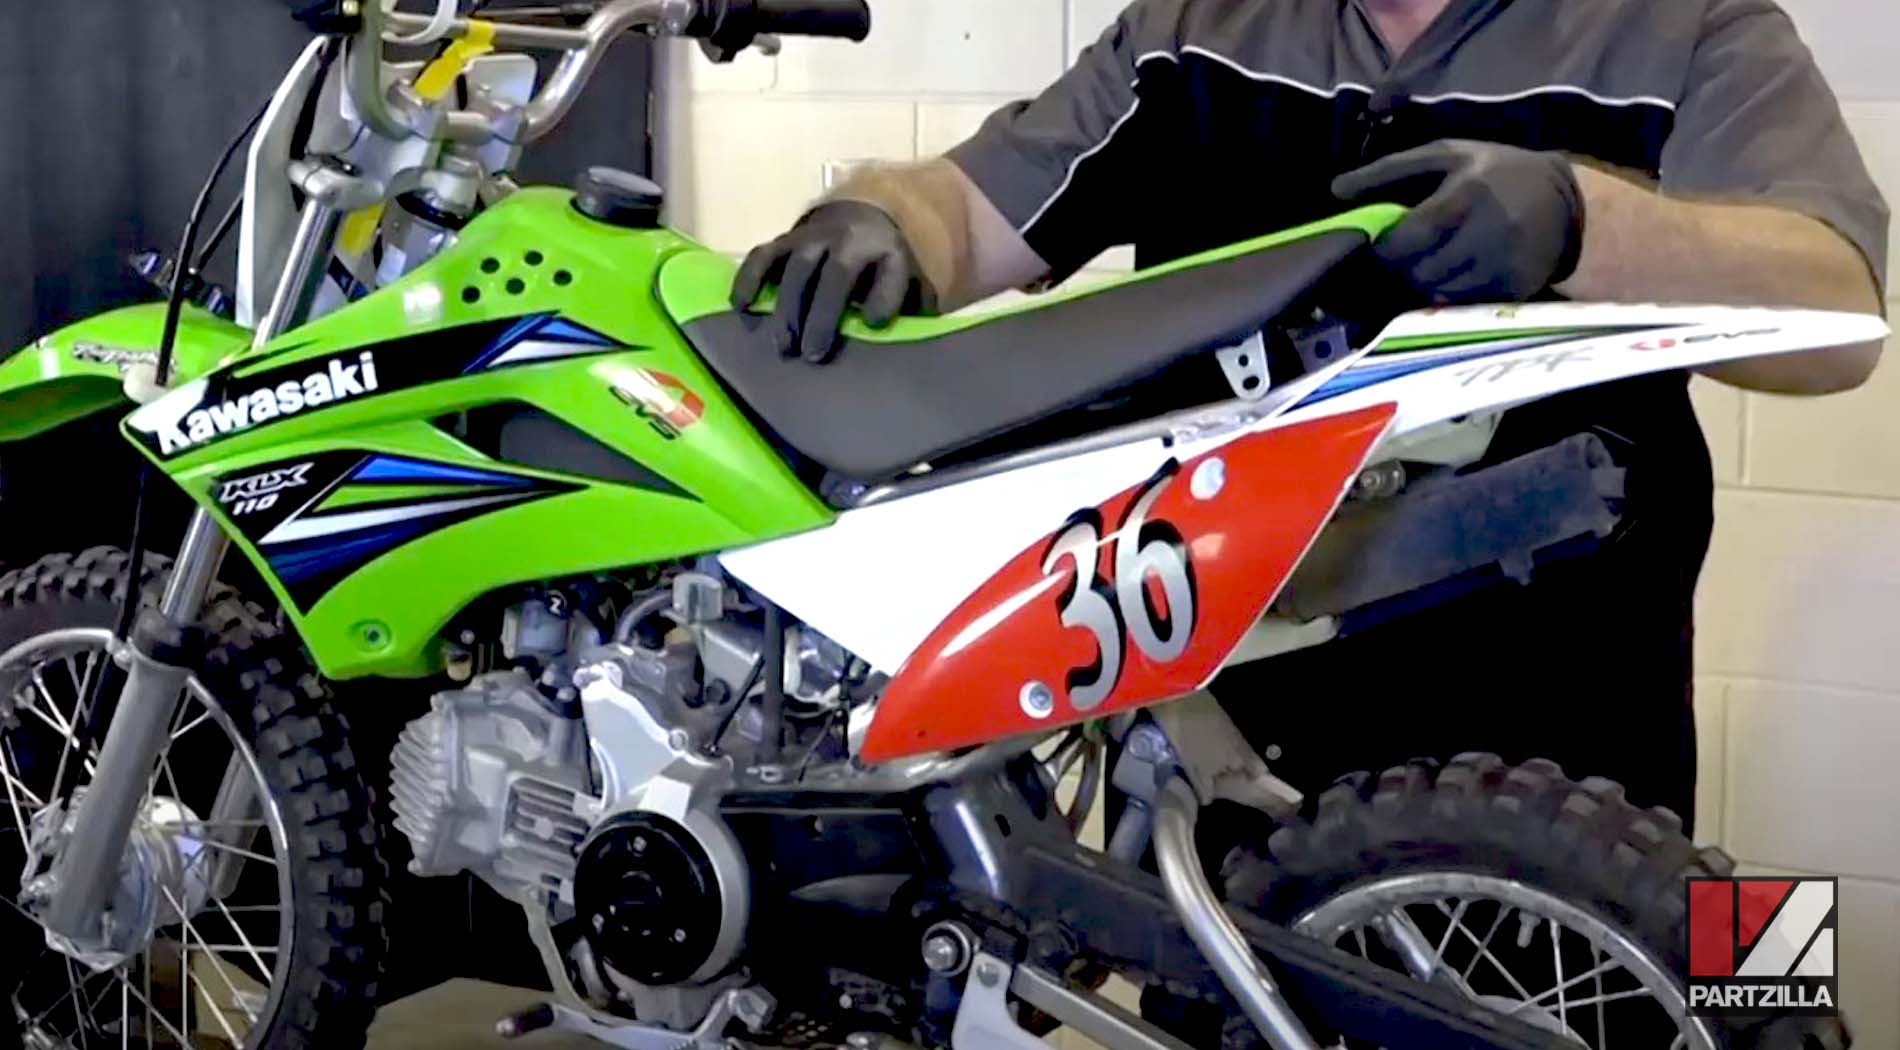
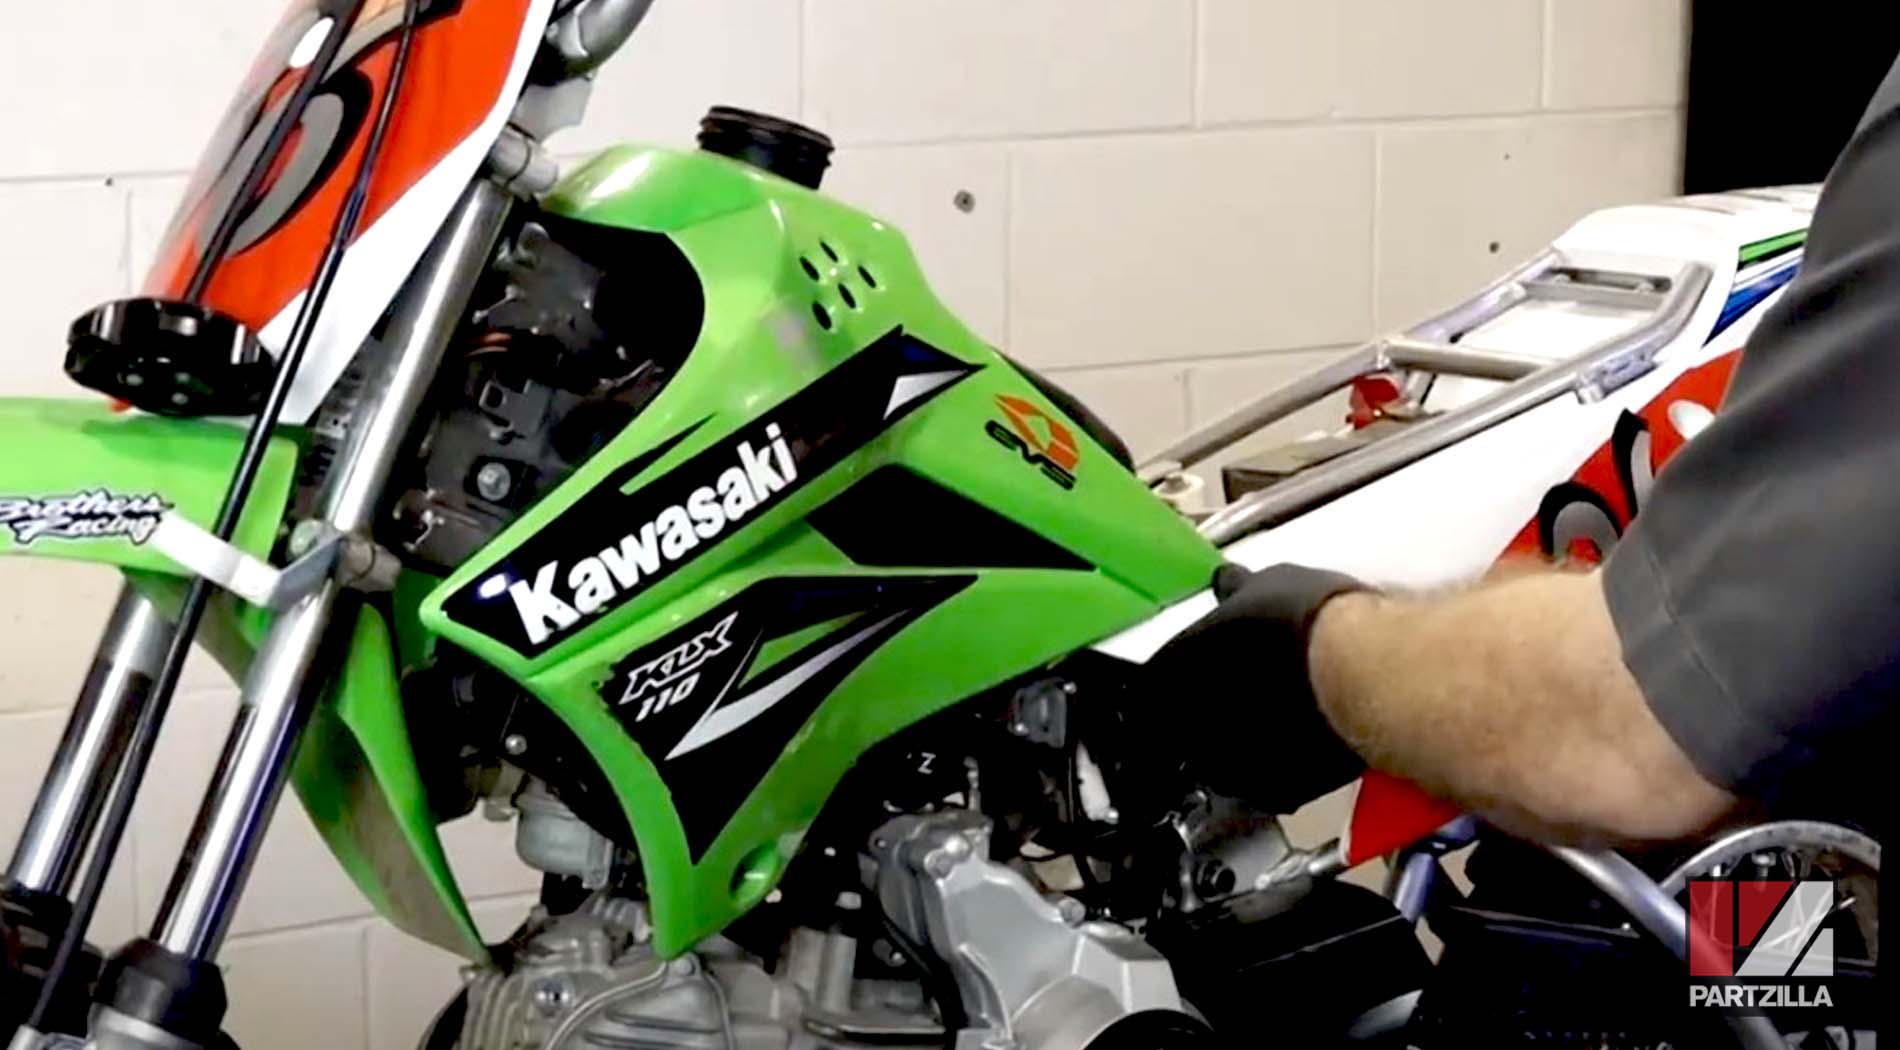
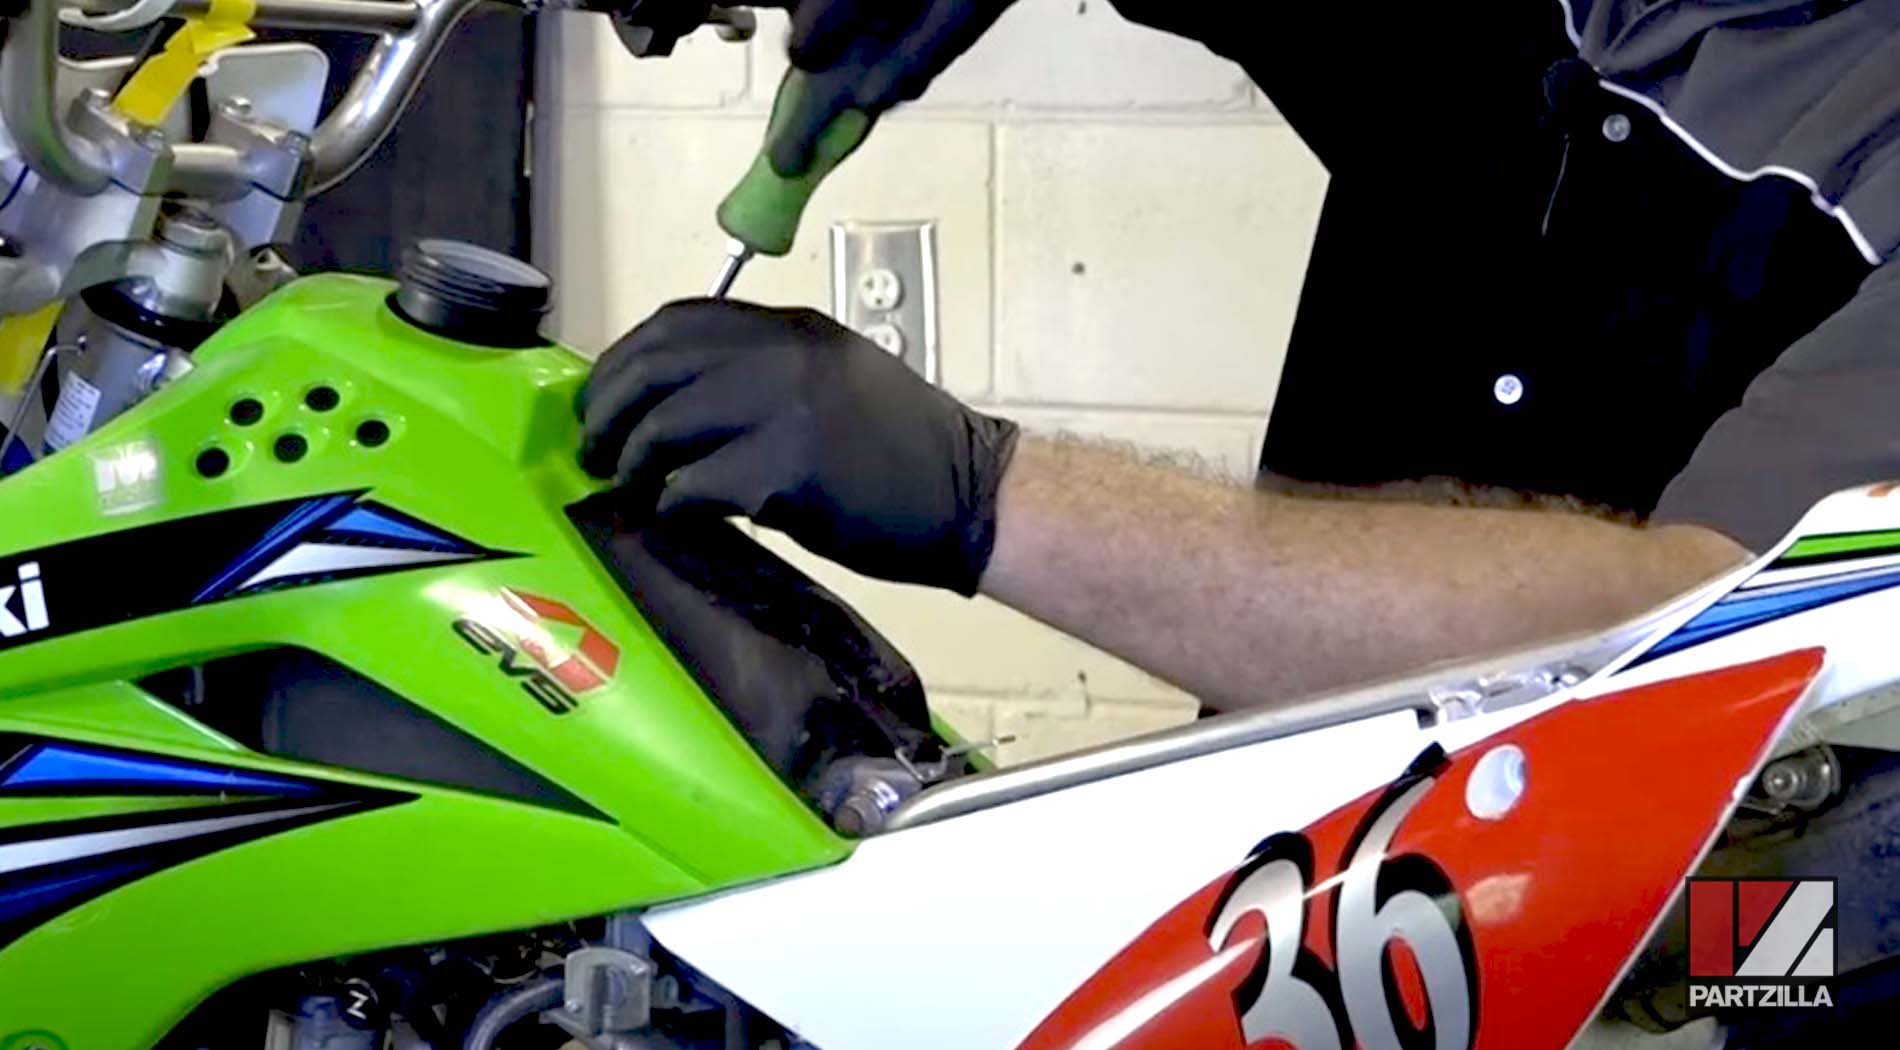
Step 2. Use a multimeter to check the voltage on the battery first before buying a new one. If the battery is only reading up to 12 volts, it’s about 75% used up and needs to be replaced.
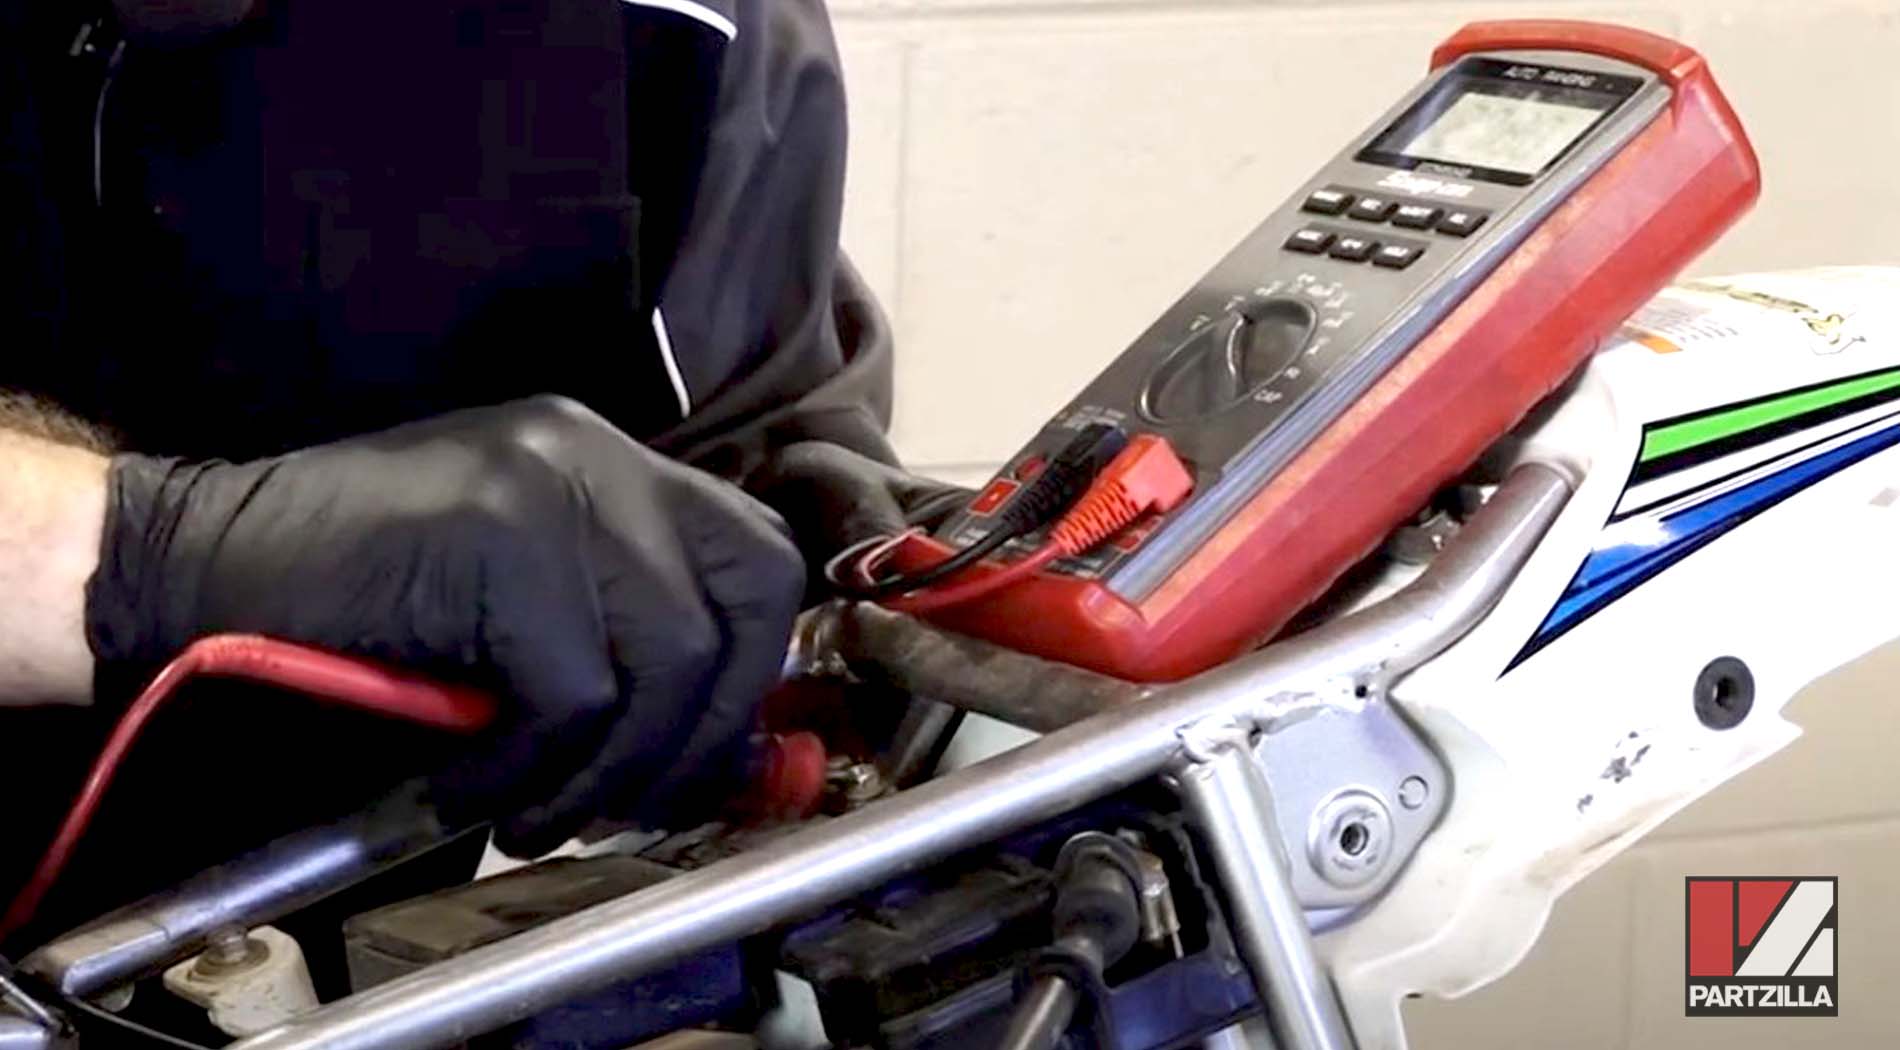

NOTE: A fully charged 12-volt battery after resting for a while with nothing pulling power from it will read 12.6 volts or higher.
Step 3. Before installing a new battery, service it for installation by filling it with electrolytes (if it doesn’t already come pre-filled) and charging it.
Step 4. Disconnect the negative terminal from the battery first, then the positive terminal. Remove the two screws that hold the battery bracket in place, then move the bracket out of the way before installing the new battery. Connect the positive terminal first, then the negative.
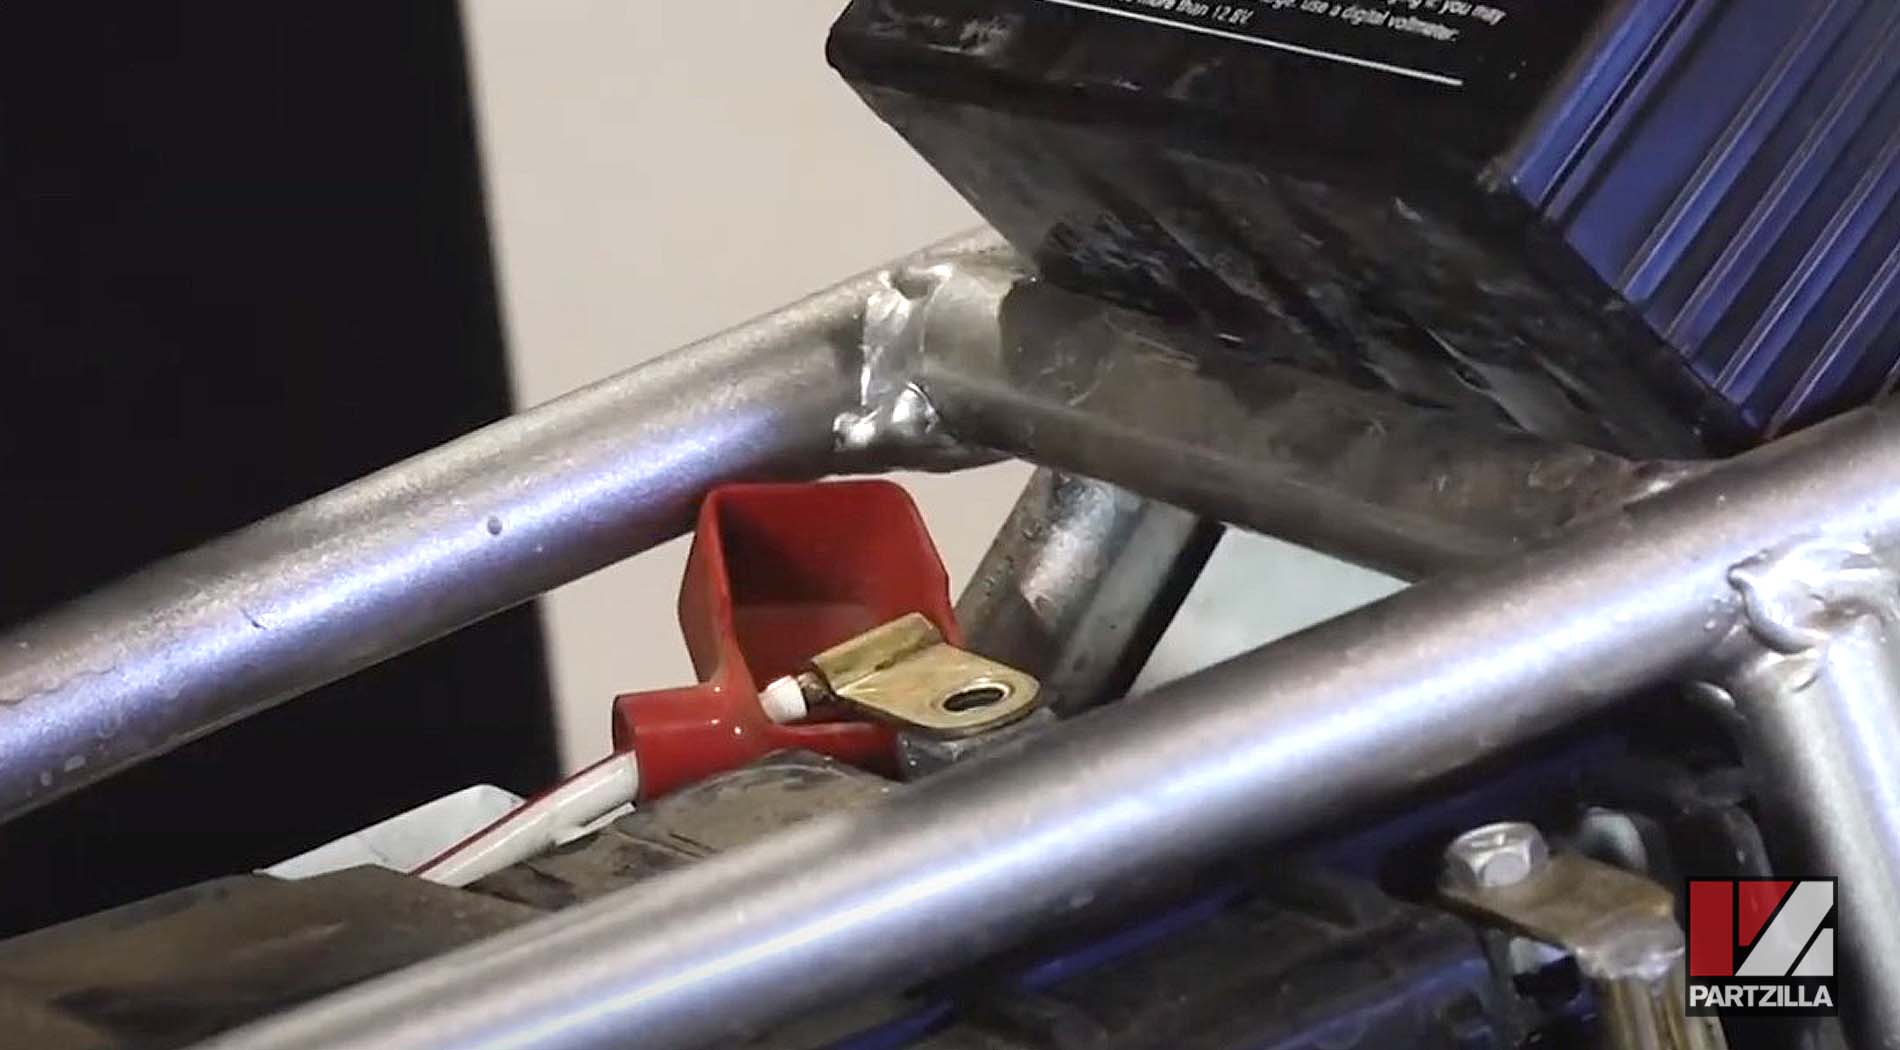
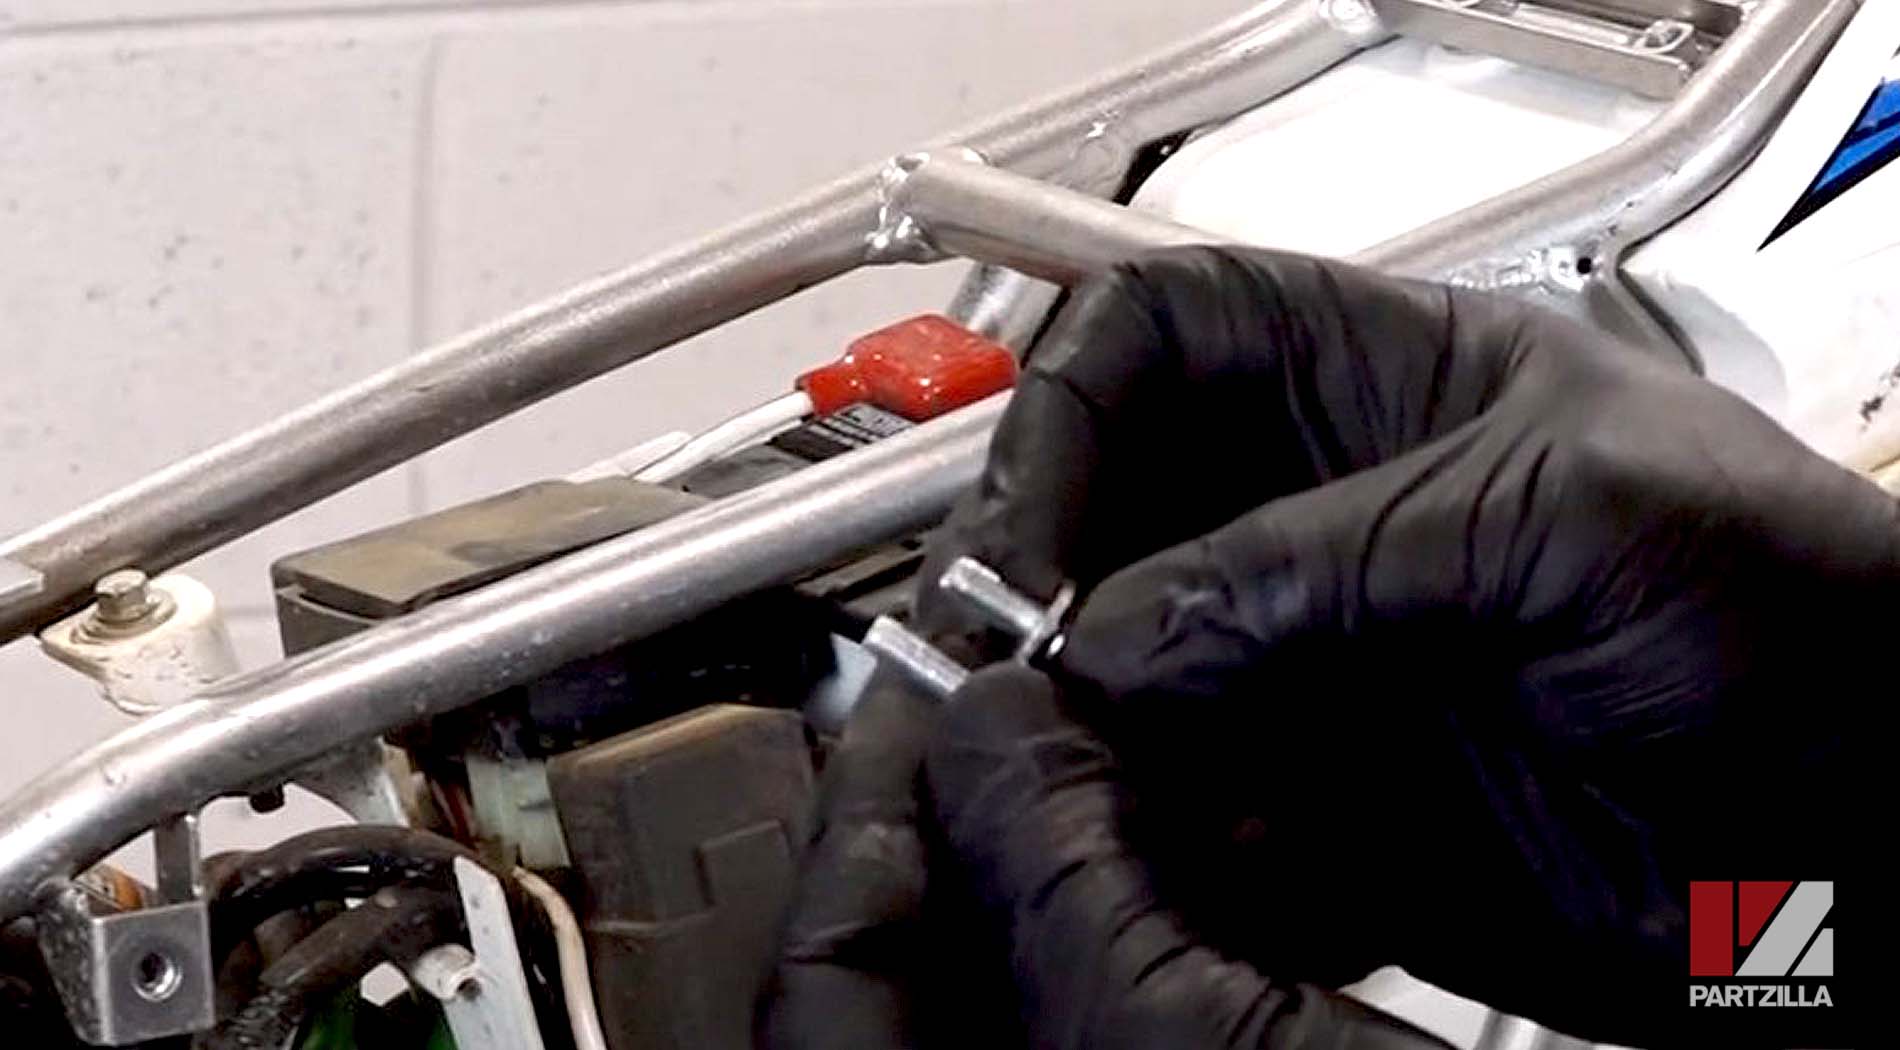
Step 5. Reinstall the battery bracket, then tighten the two screws that hold it in place and you’re done.
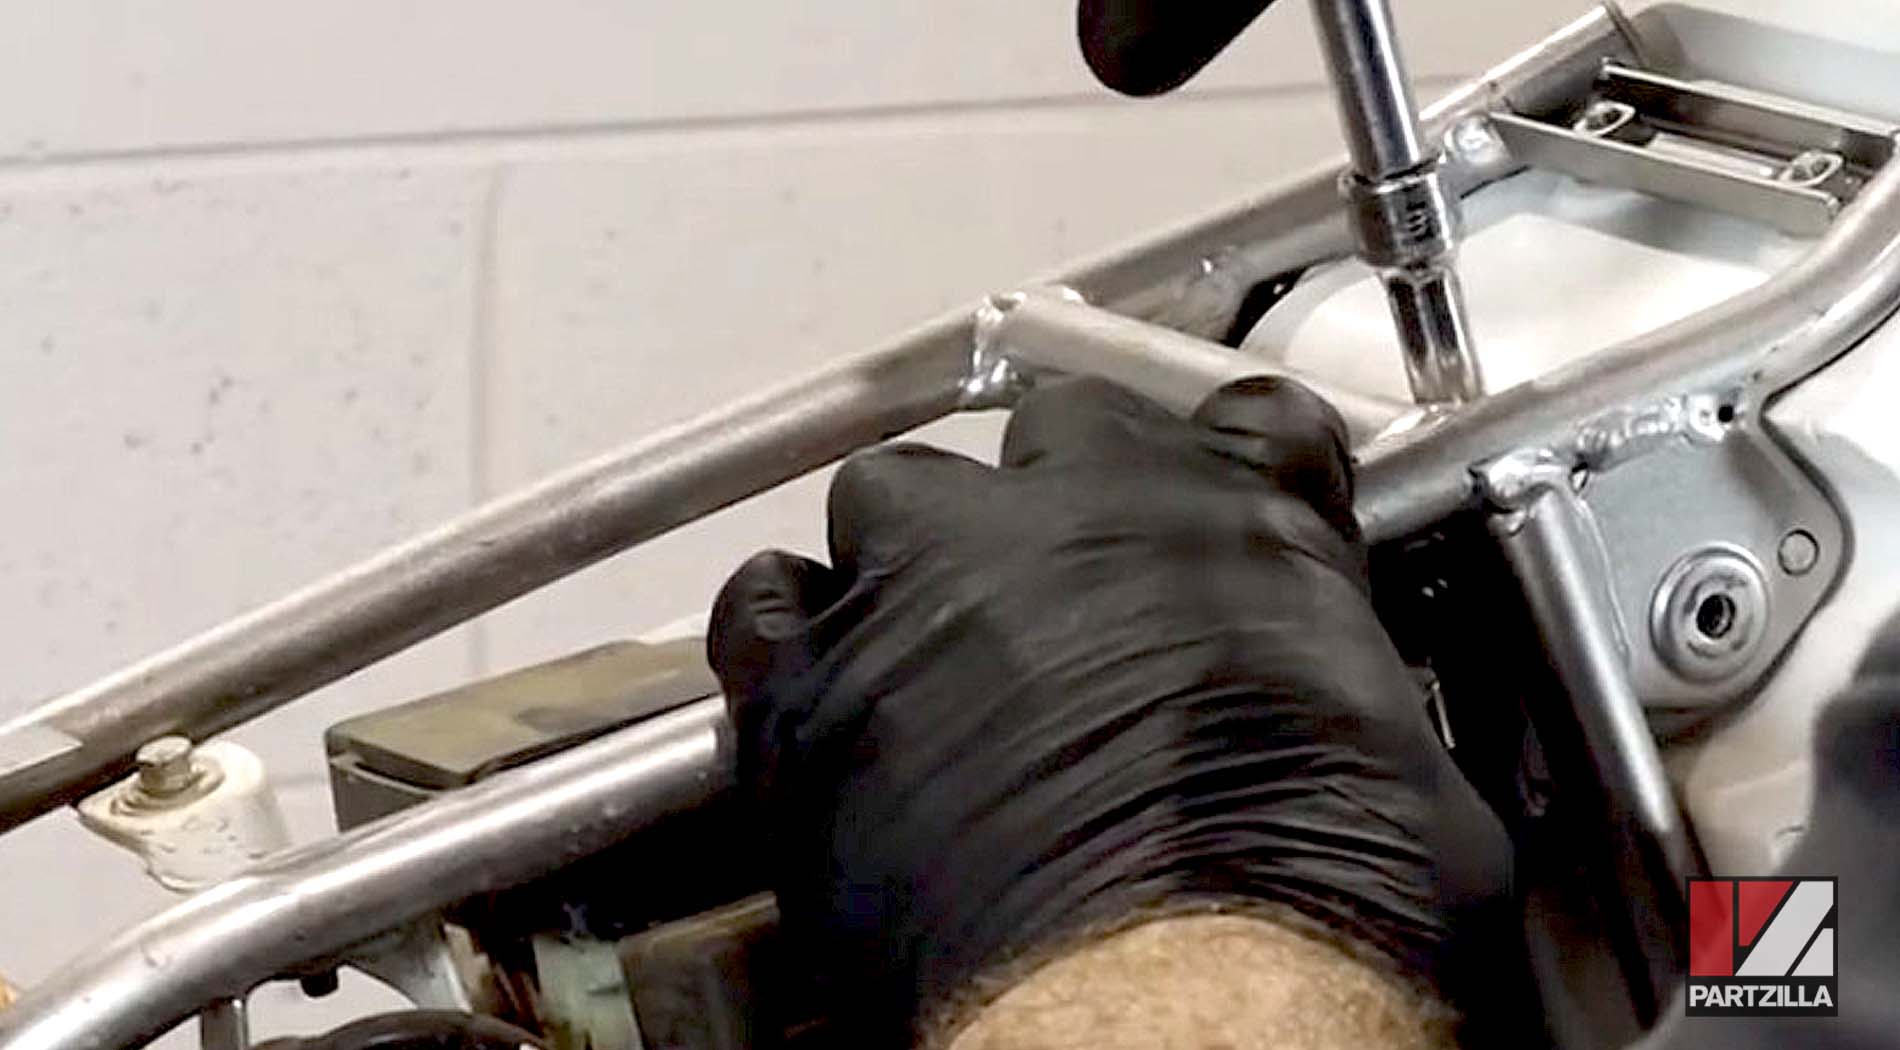
NOTE: The shorter bracket screw belongs in the back and the longer one in front.
Now it’s time to check the spark plug to see if it needs replacing. Before you do, check to make sure there isn’t any fuel anywhere on or near the machine to avoid a fire hazard. Watch the video below and follow the steps to change a Kawasaki dirt bike spark plug.
Testing and Replacing a Kawasaki Dirt Bike Spark Plug
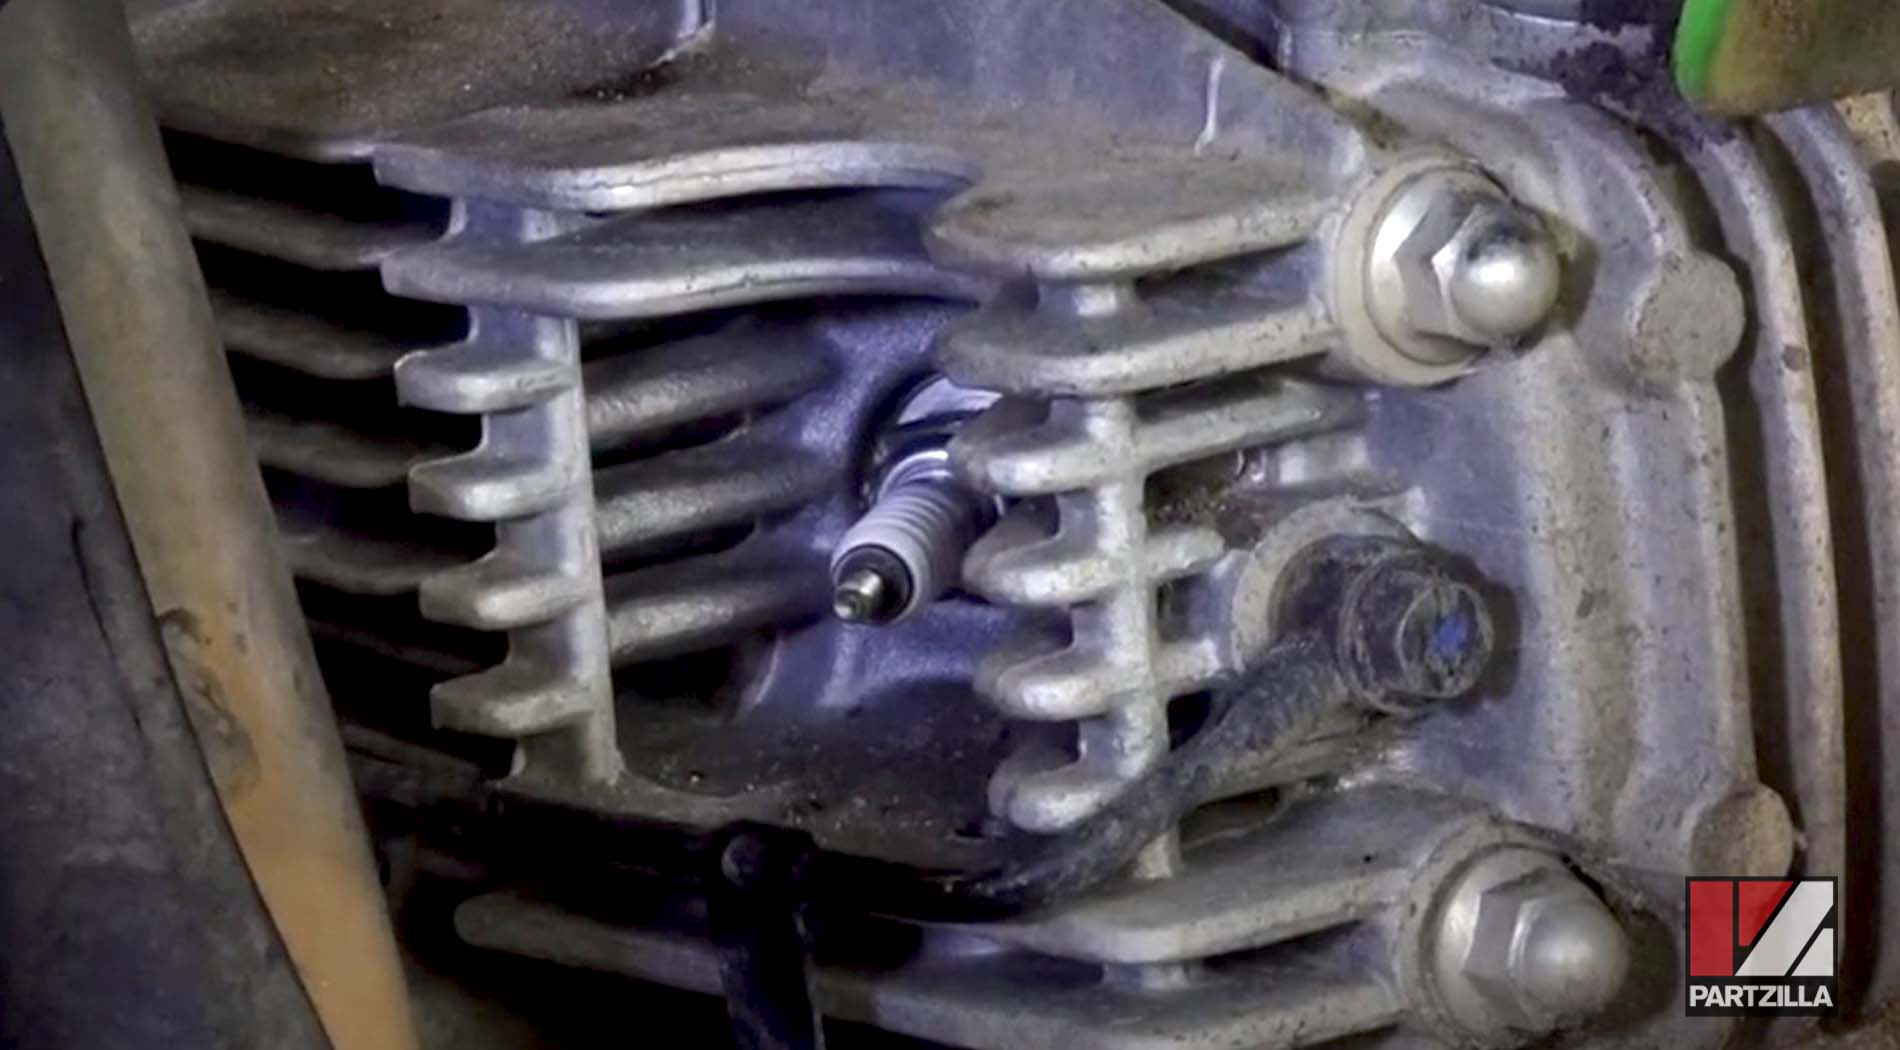
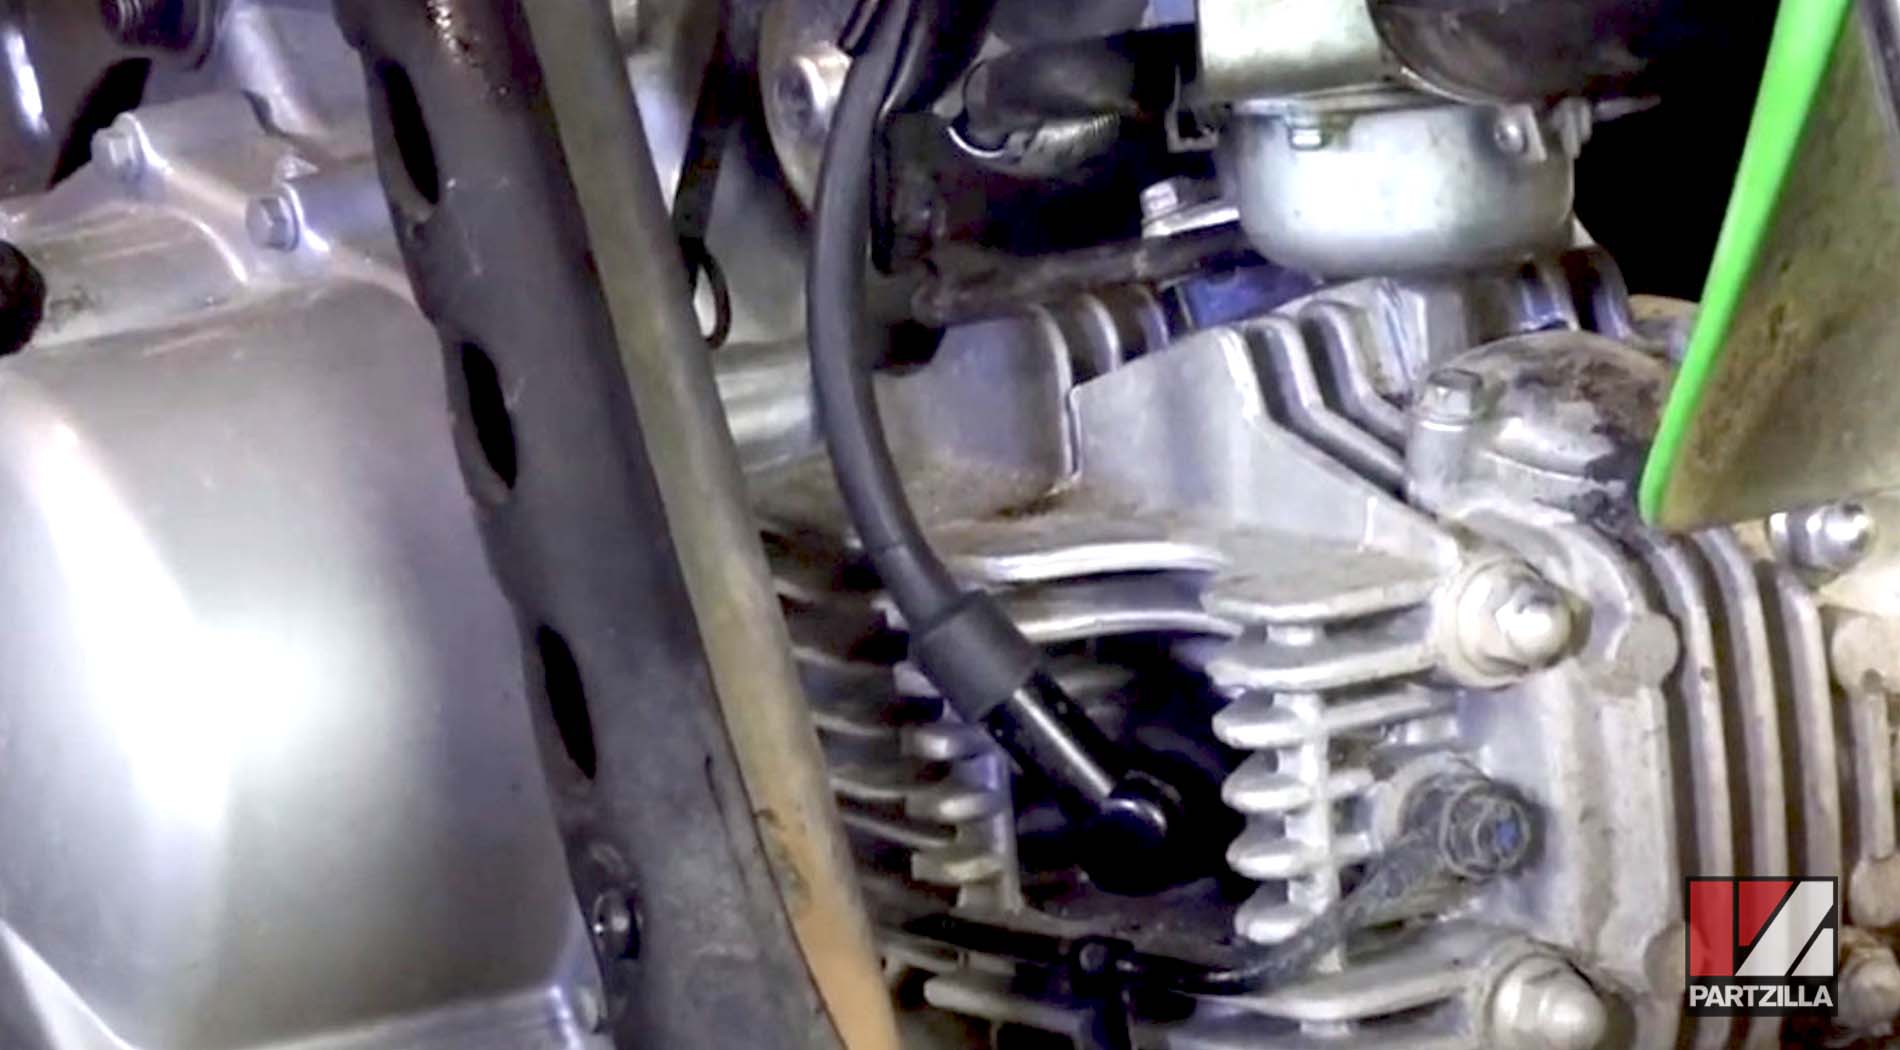
Step 1. Remove the spark plug cap, then use a 5/8th spark plug wrench to take off the plug.
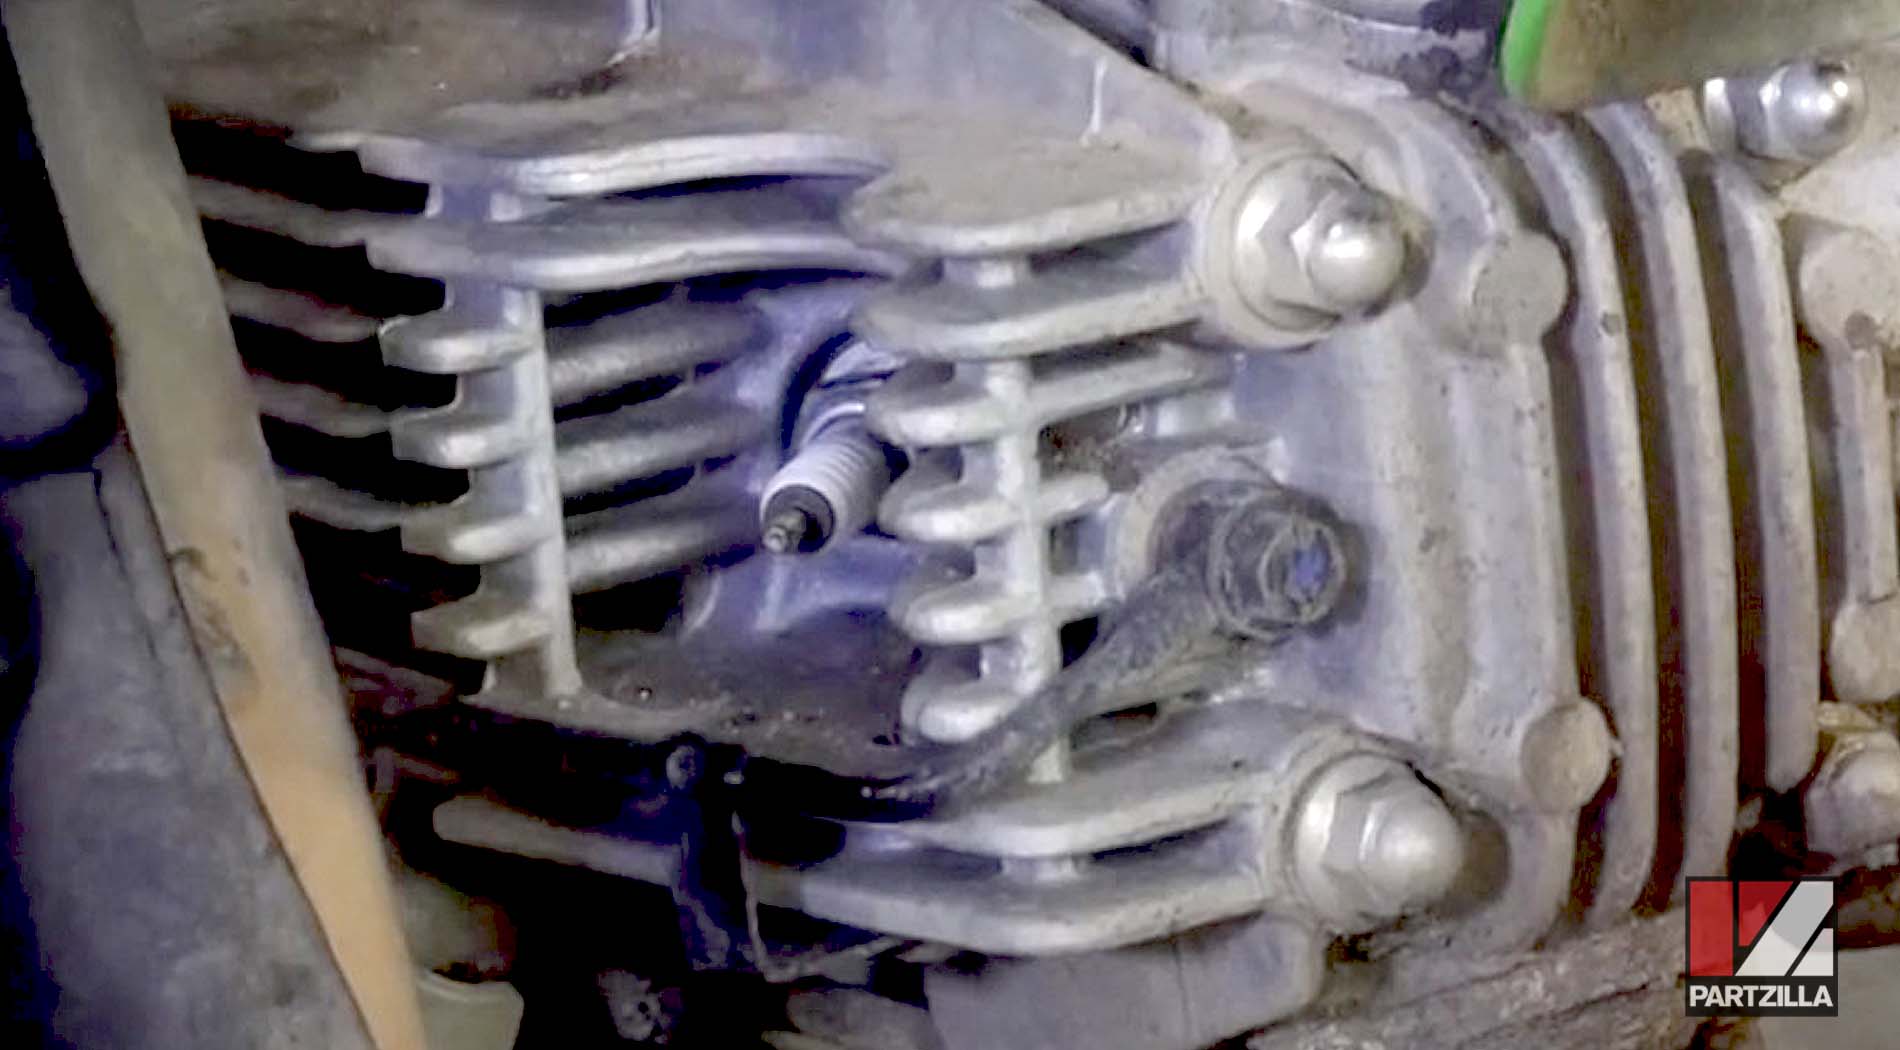
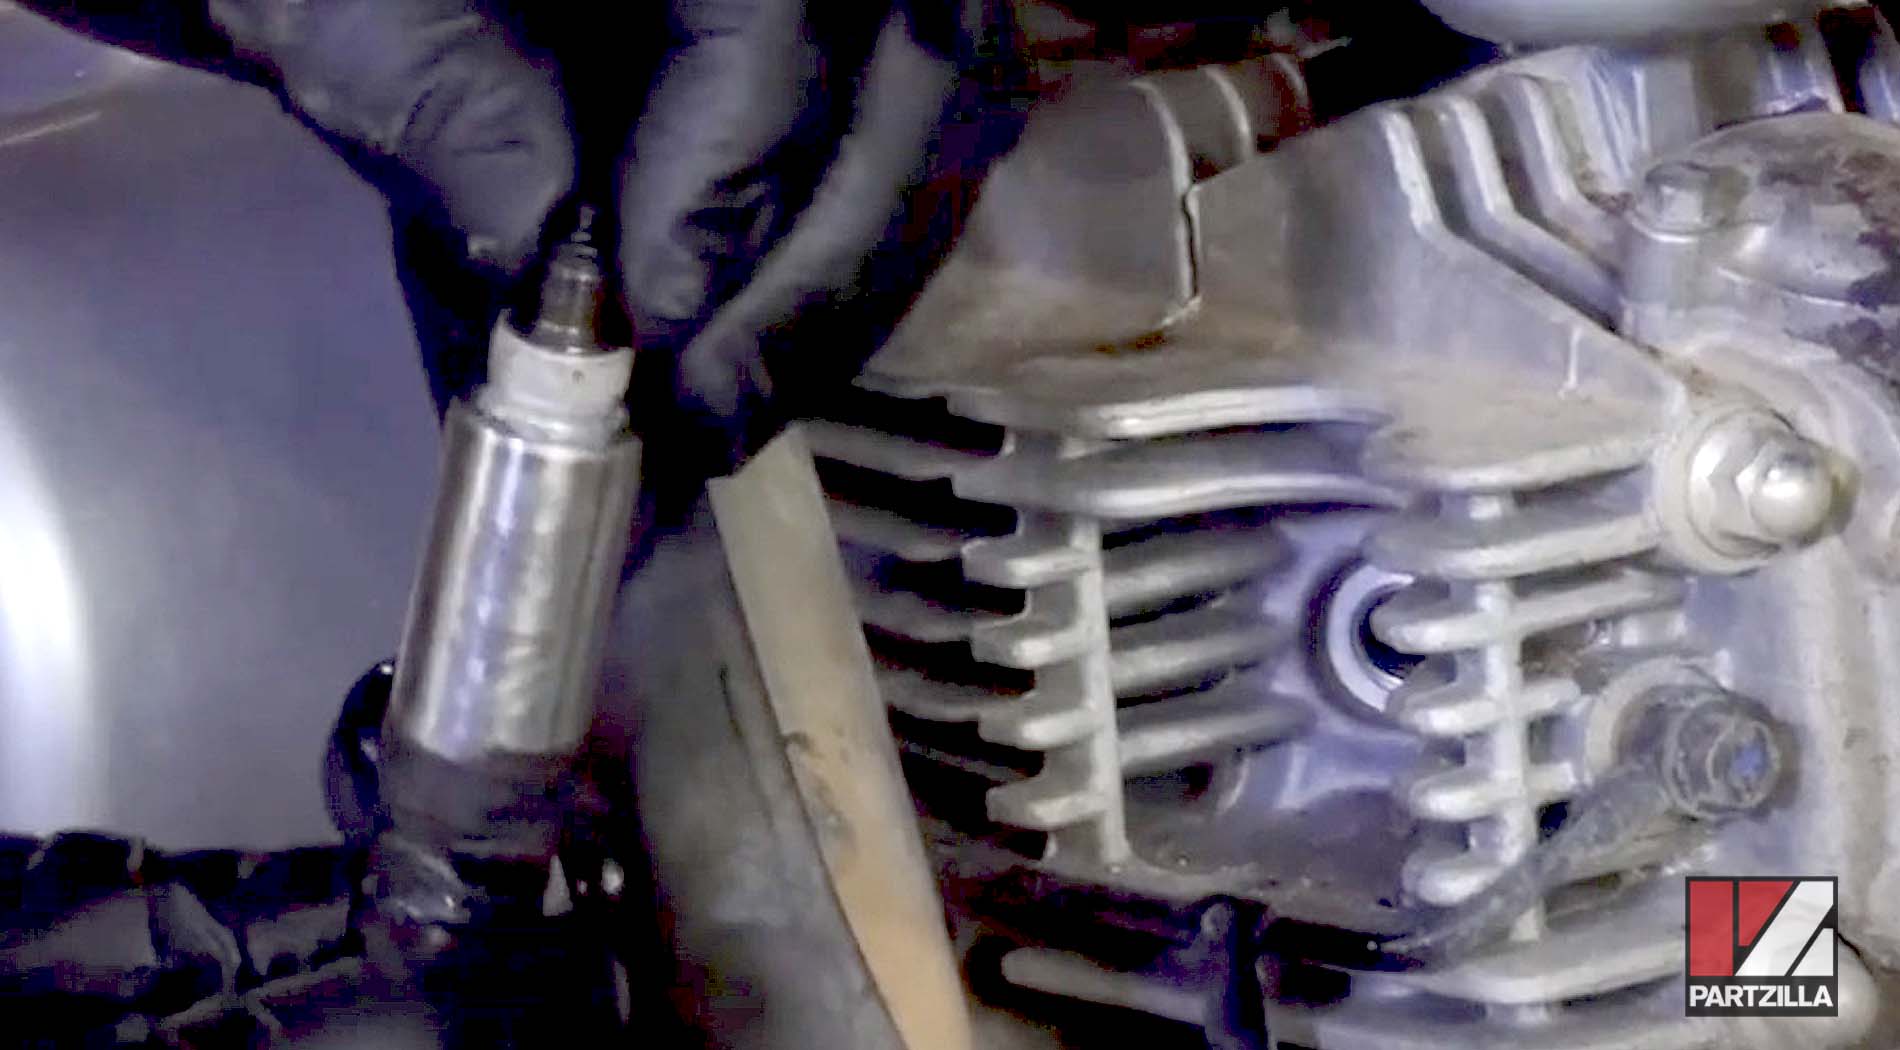
Step 2. Place the spark plug back into the cap and hold it against the engine cover to provide a ground for the spark. Next, turn over the engine a few times and look for a spark. If you don’t see one, the spark plug needs to be replaced.
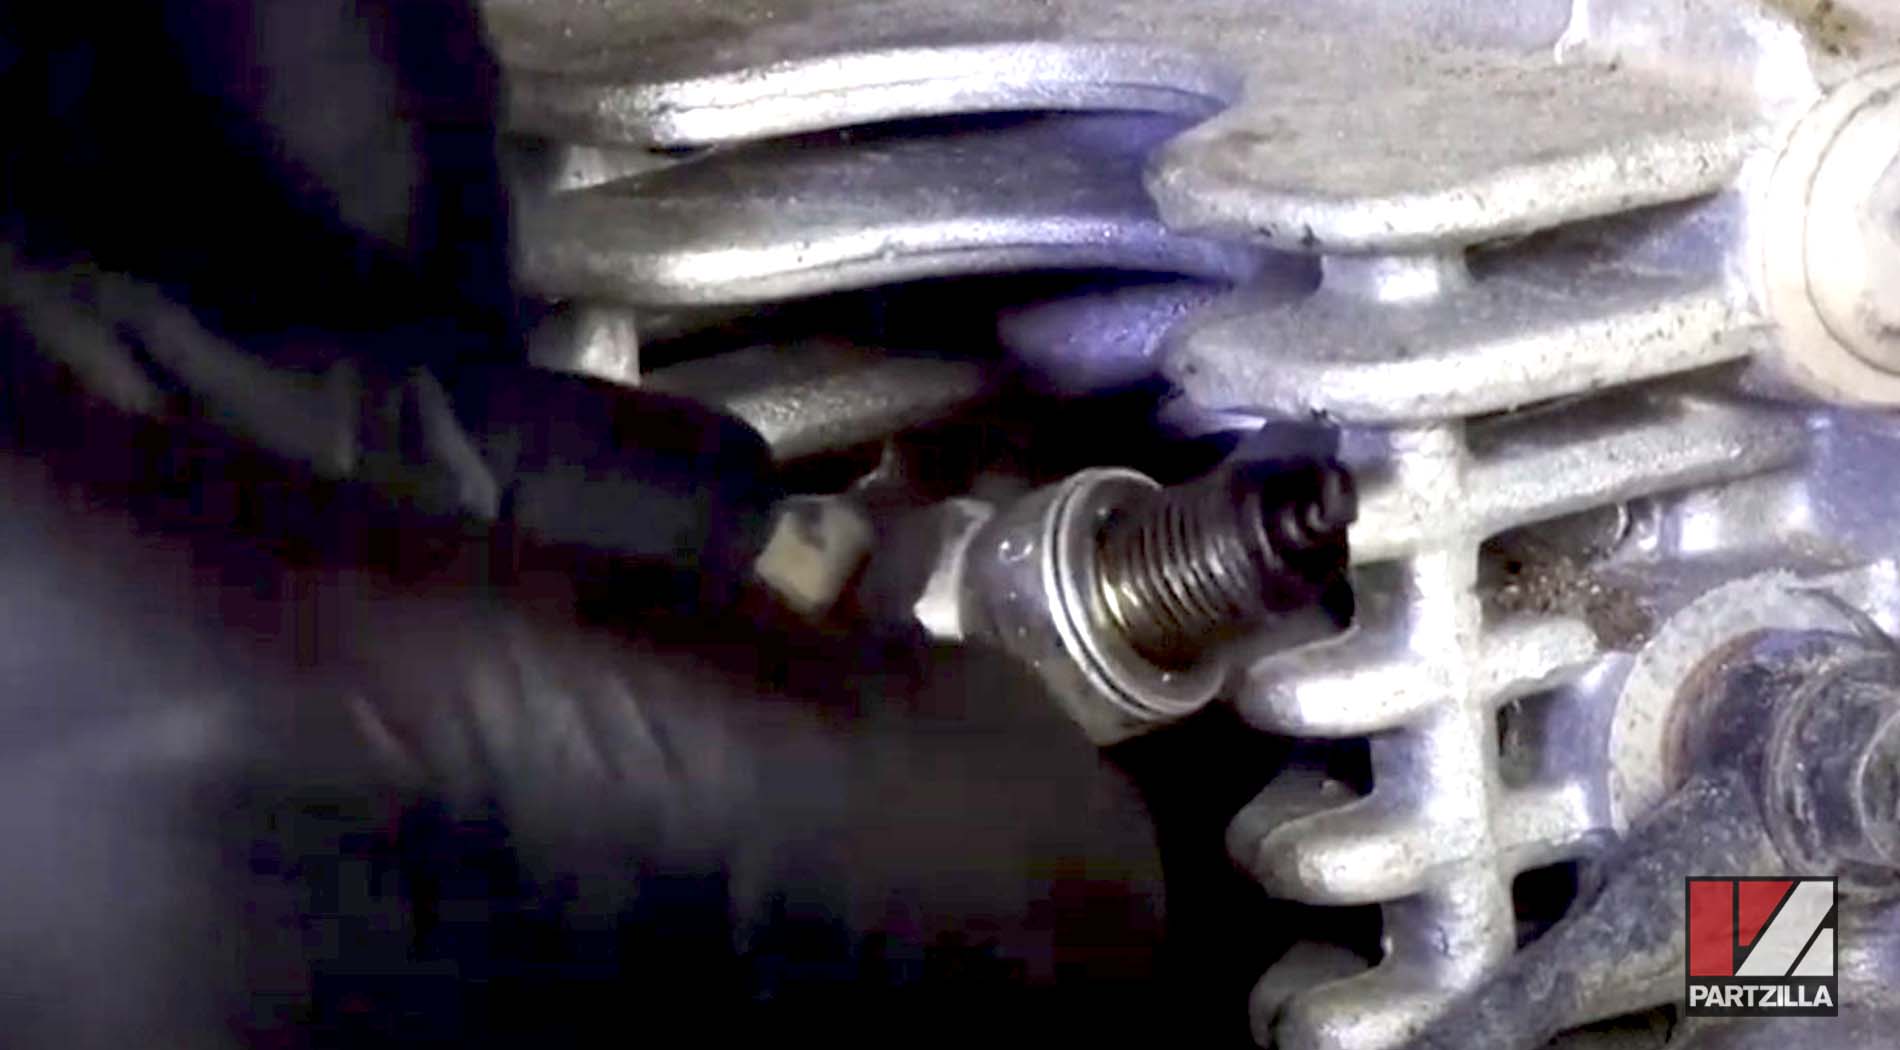
Step 3. Grab a new spark plug and repeat the previous step to ensure that you can see a visible spark.
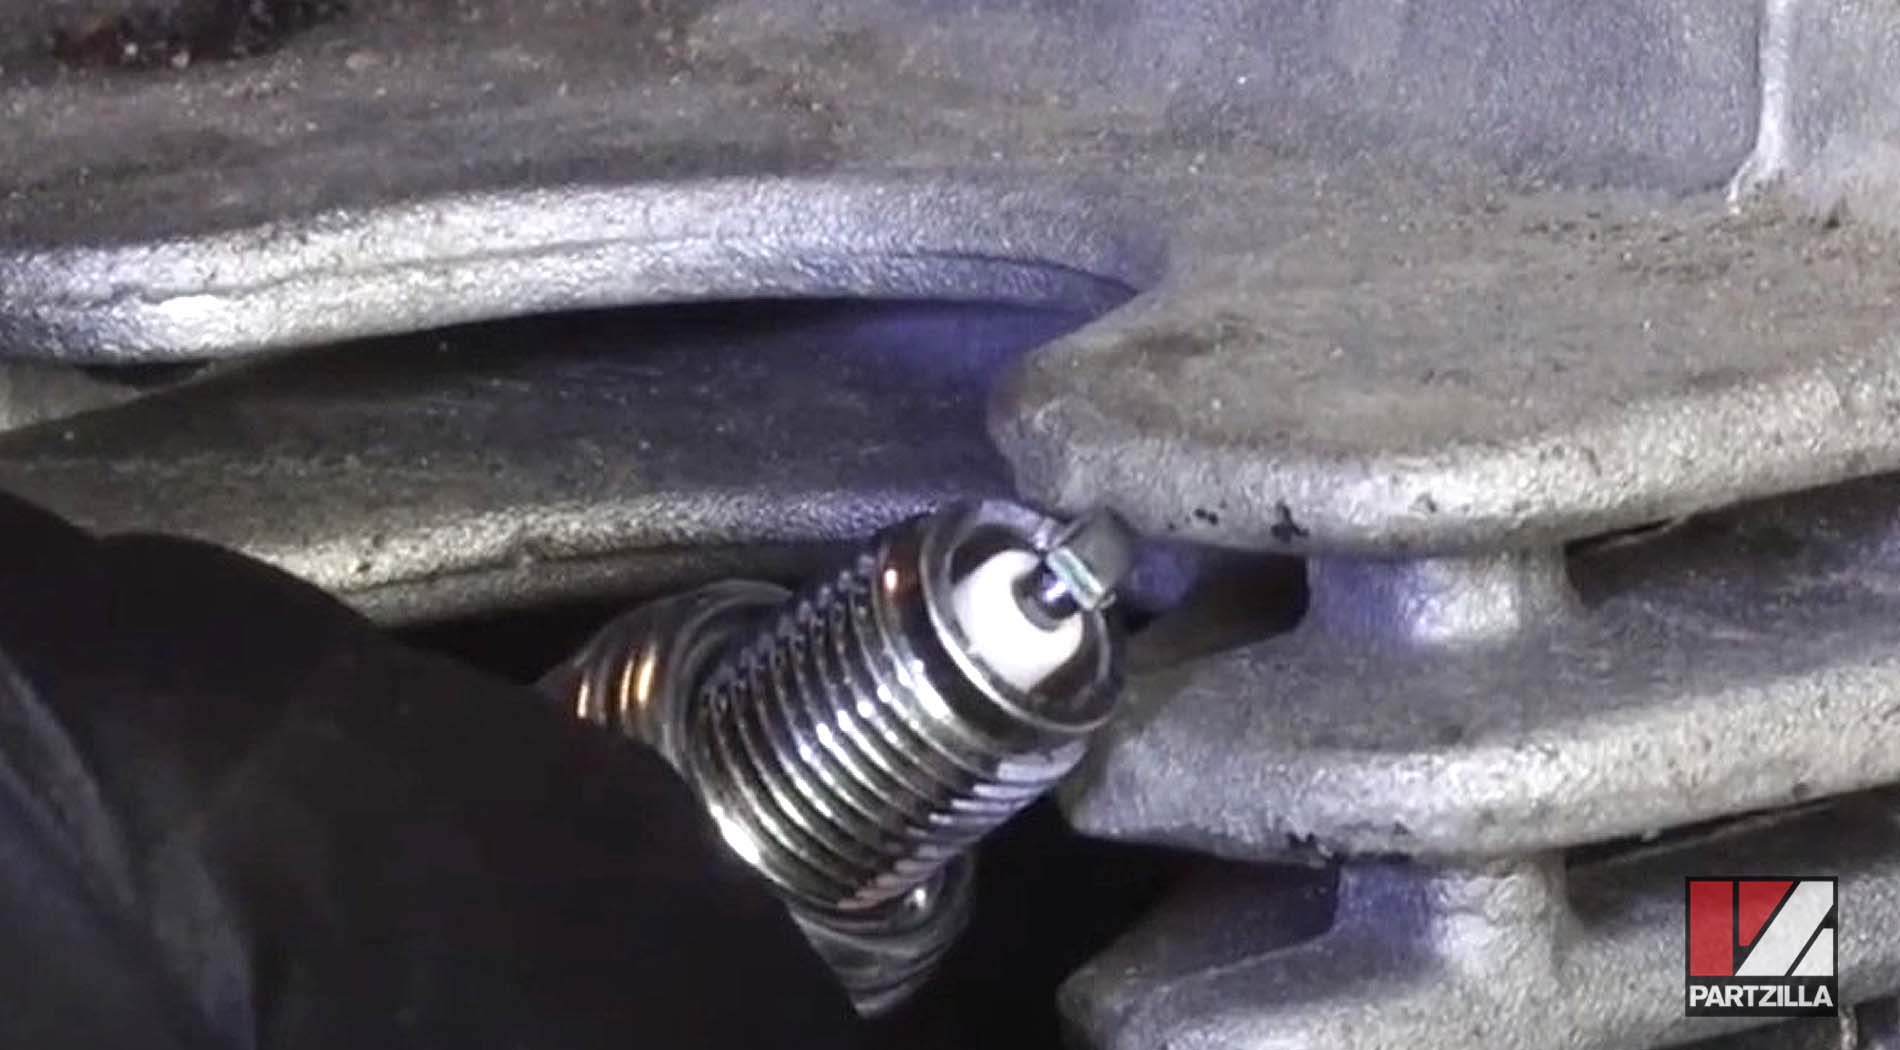
Step 4. Screw the new plug back into the engine, then secure the cap over the plug and you’re done.
