How to Fix an ATV that Won't Turn Off
You've been riding all afternoon, and now it's time to shut it down. But what happens when your ATV won't turn off? We came across that problem on our 2007 Yamaha Grizzly YFM700 and needed to get in there and do a little electrical system troubleshooting.
Unless you have this particular model, the access points may differ. Watch the video above and read on below for what you need to check when your ATV won't shut off.
See the parts diagram: Yamaha YFM700 Grizzly starting system parts diagram
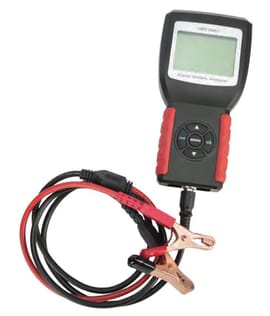
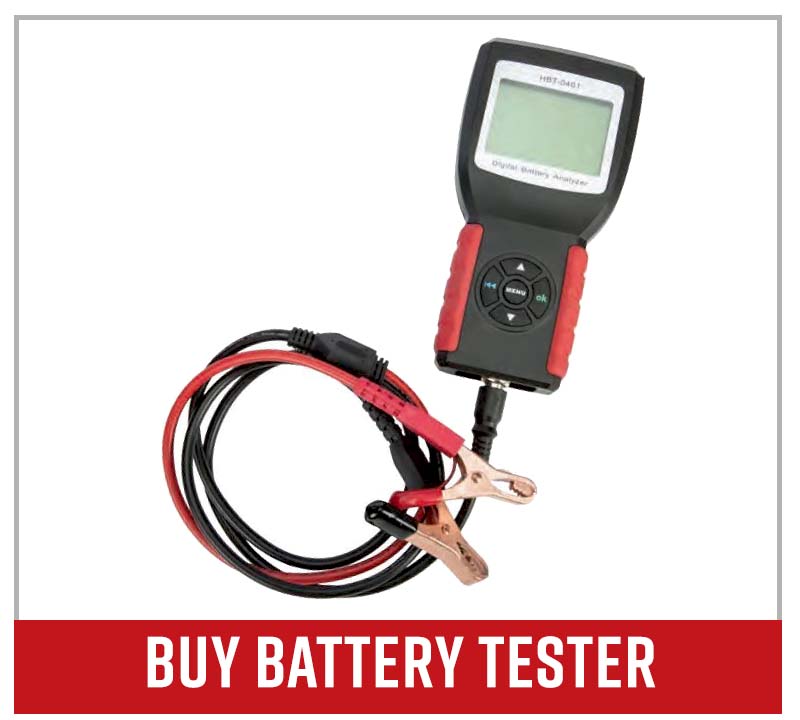
Tools - Yamaha ATV Starting Problems Troubleshooting
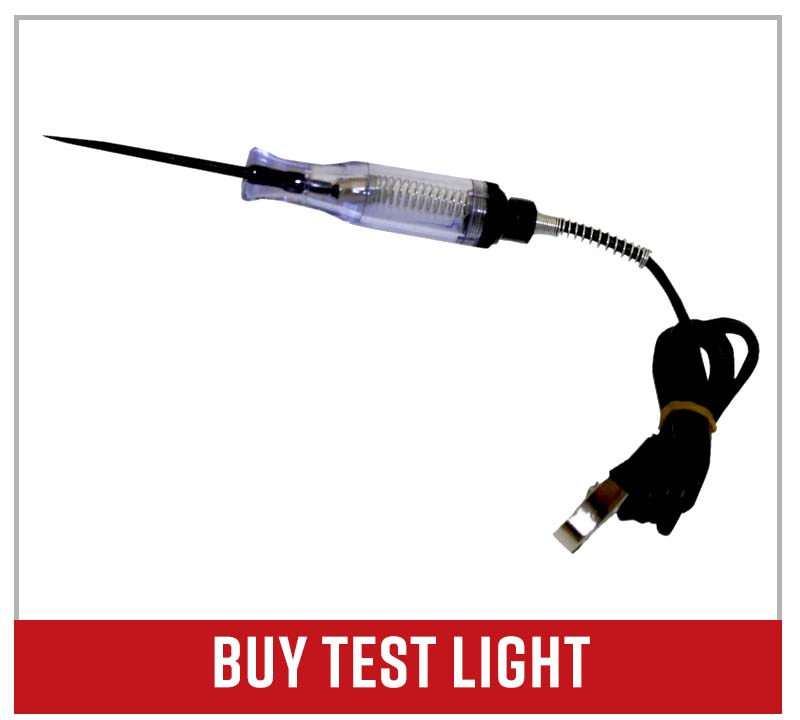
- Test light
- Digital multimeter
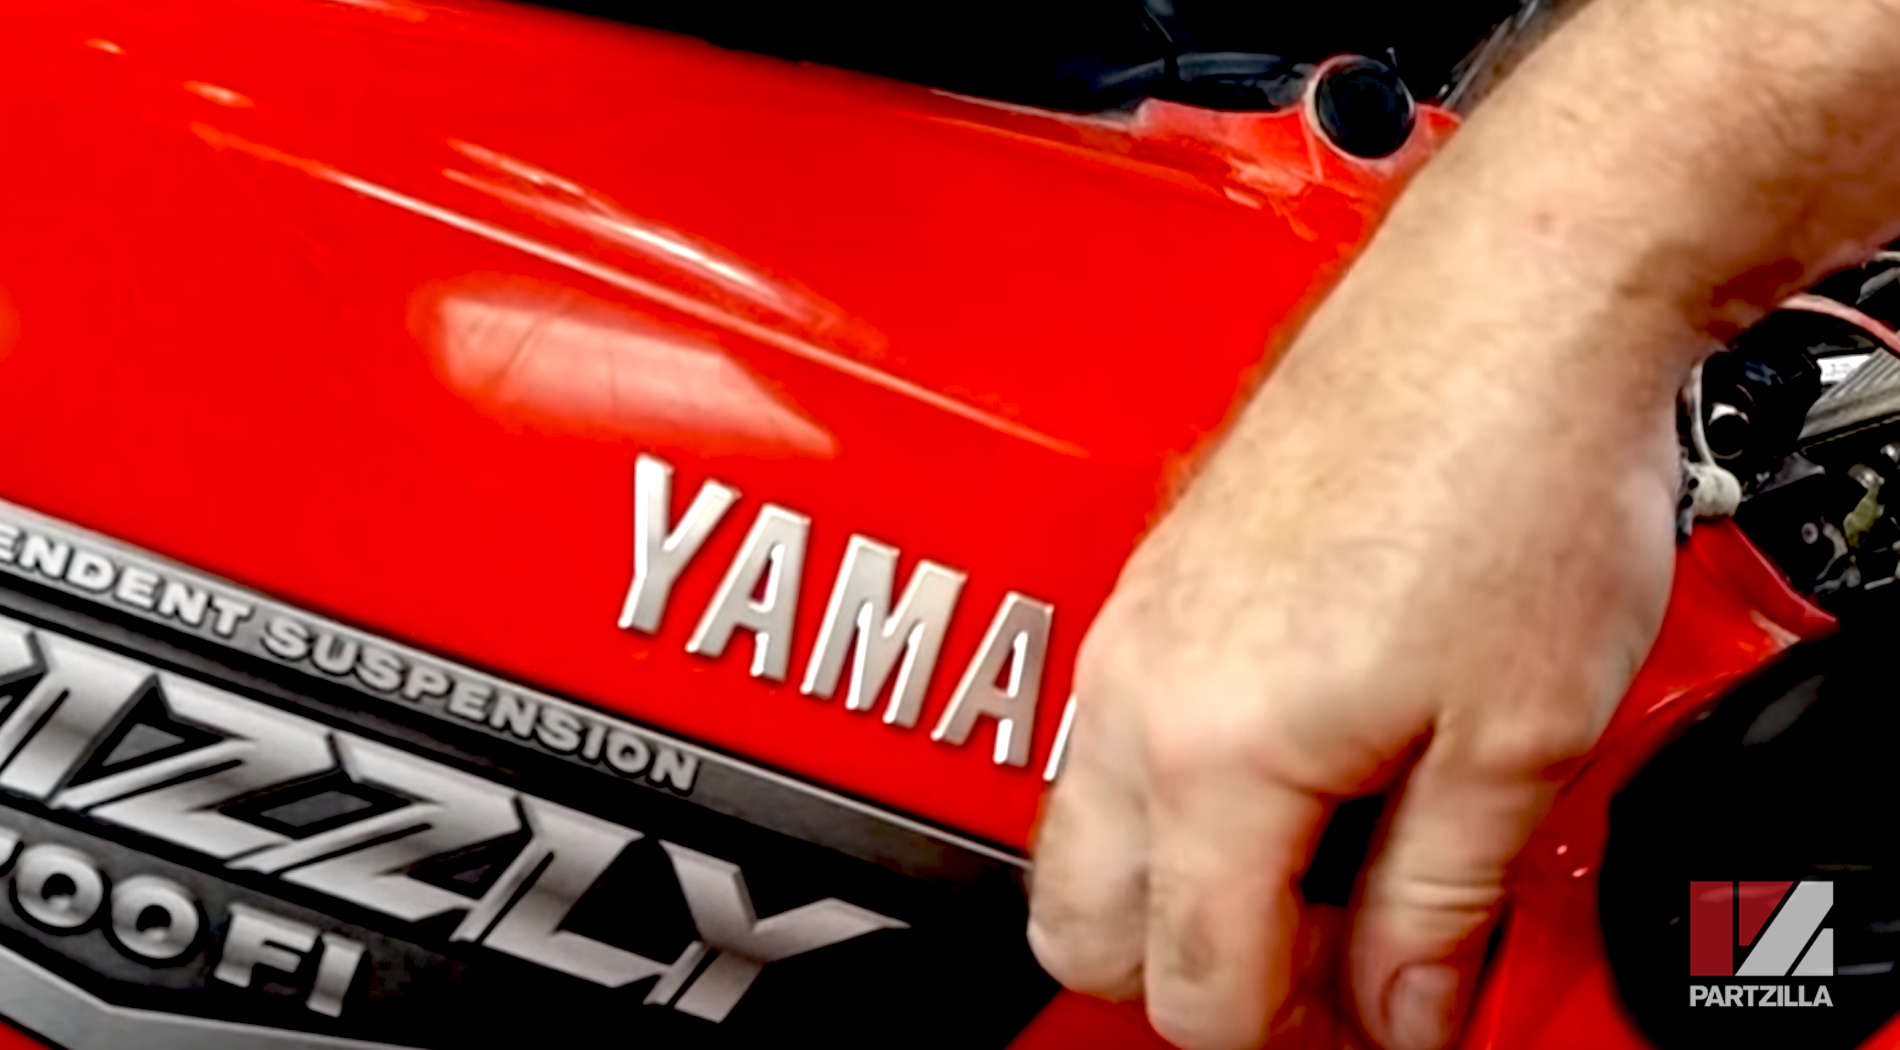
Yamaha Grizzly YFM700 Starting Problems
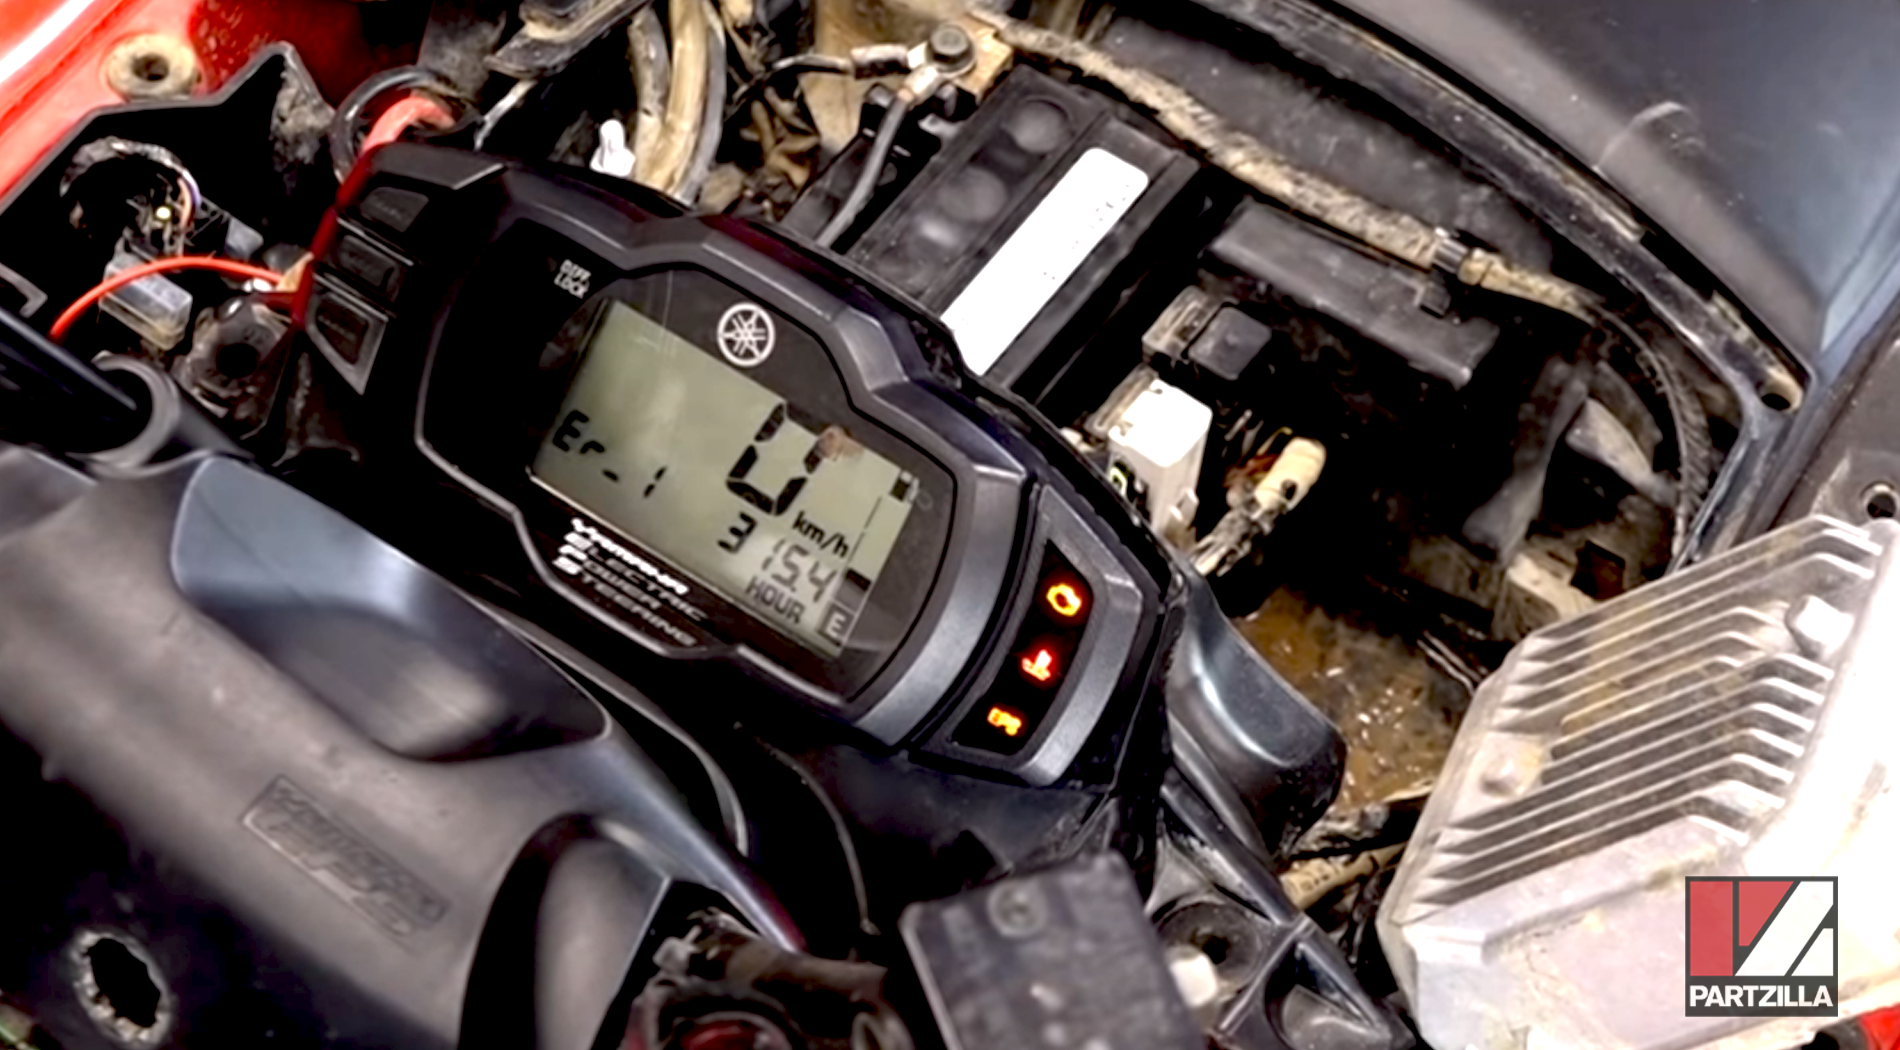
It all began when we had starting problems on our Yamaha ATV. We replaced the battery on our unit, and in the process of cleaning up the electrical system, we may have done something to trigger this problem. When we turned the switch off, the ATV's electrical system was still live.
Diagnosing a Bad Switch on an ATV
We heard a relay clicking on the right front of the ATV, so we ran a few tests to see what's triggering it.
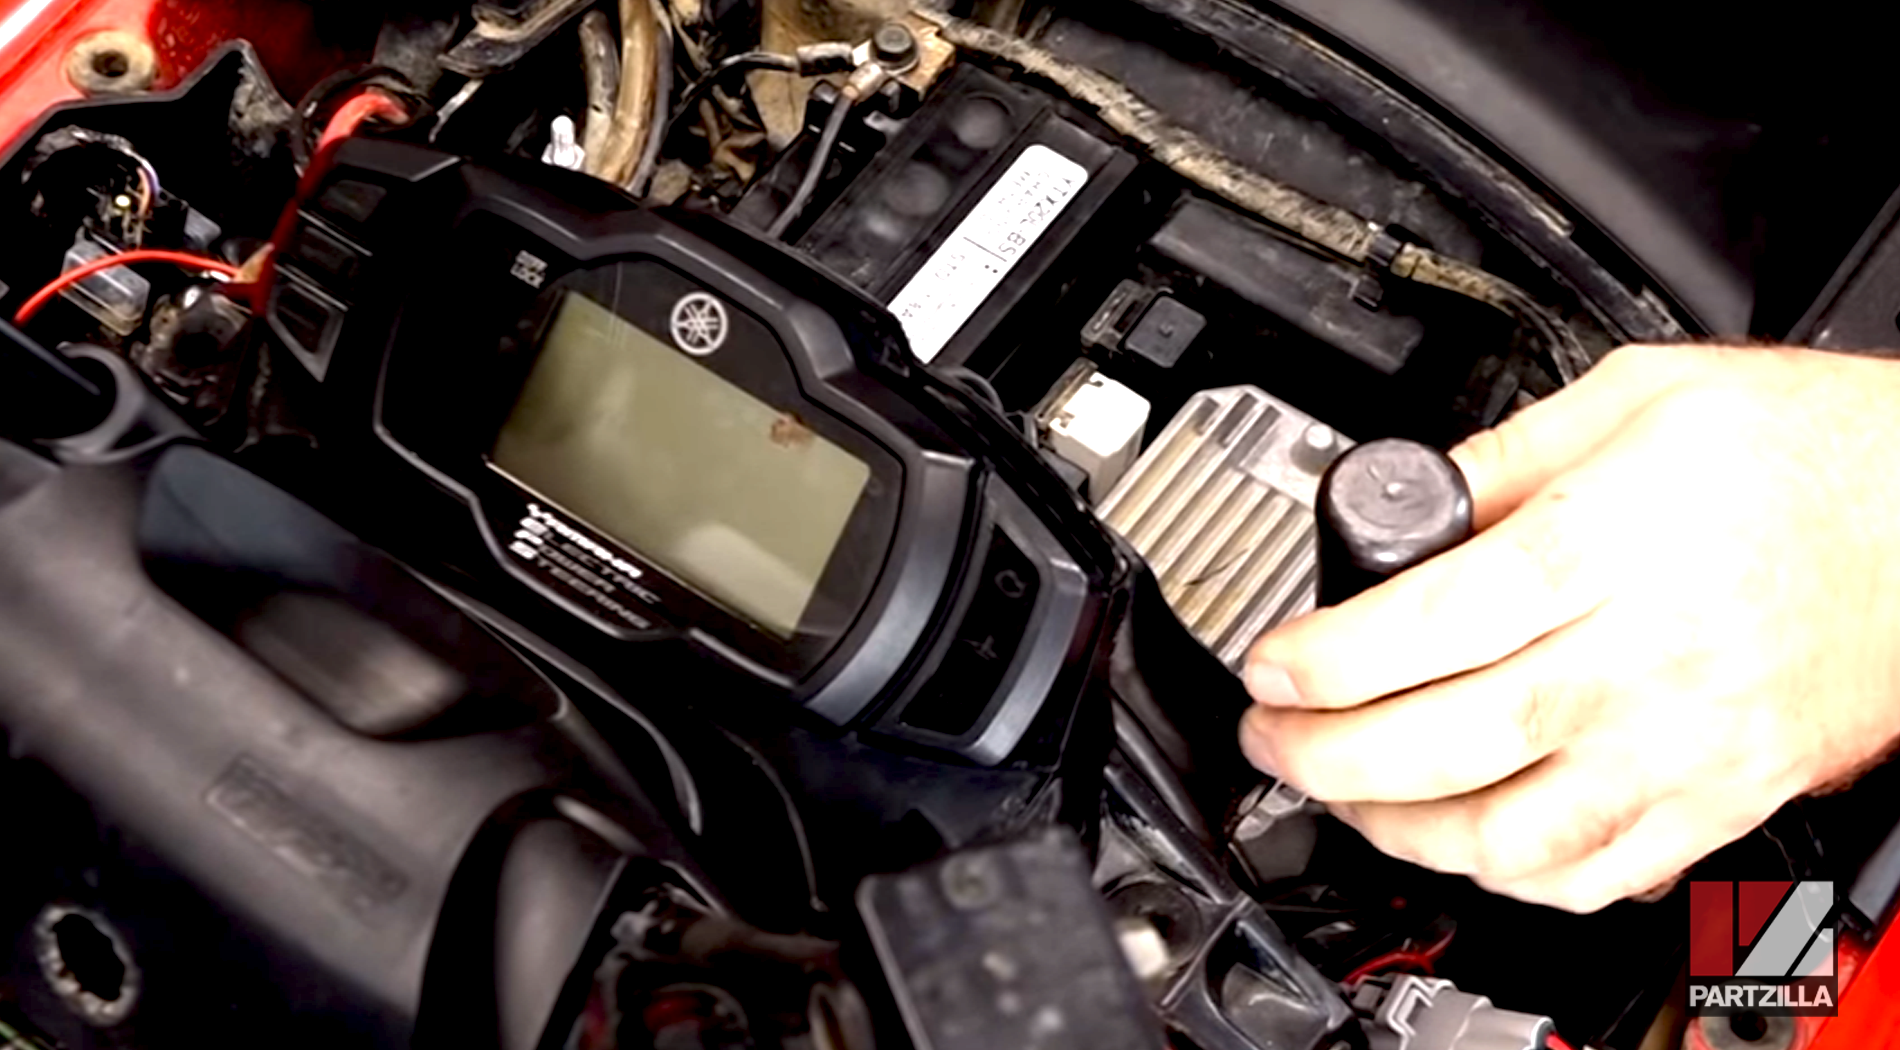
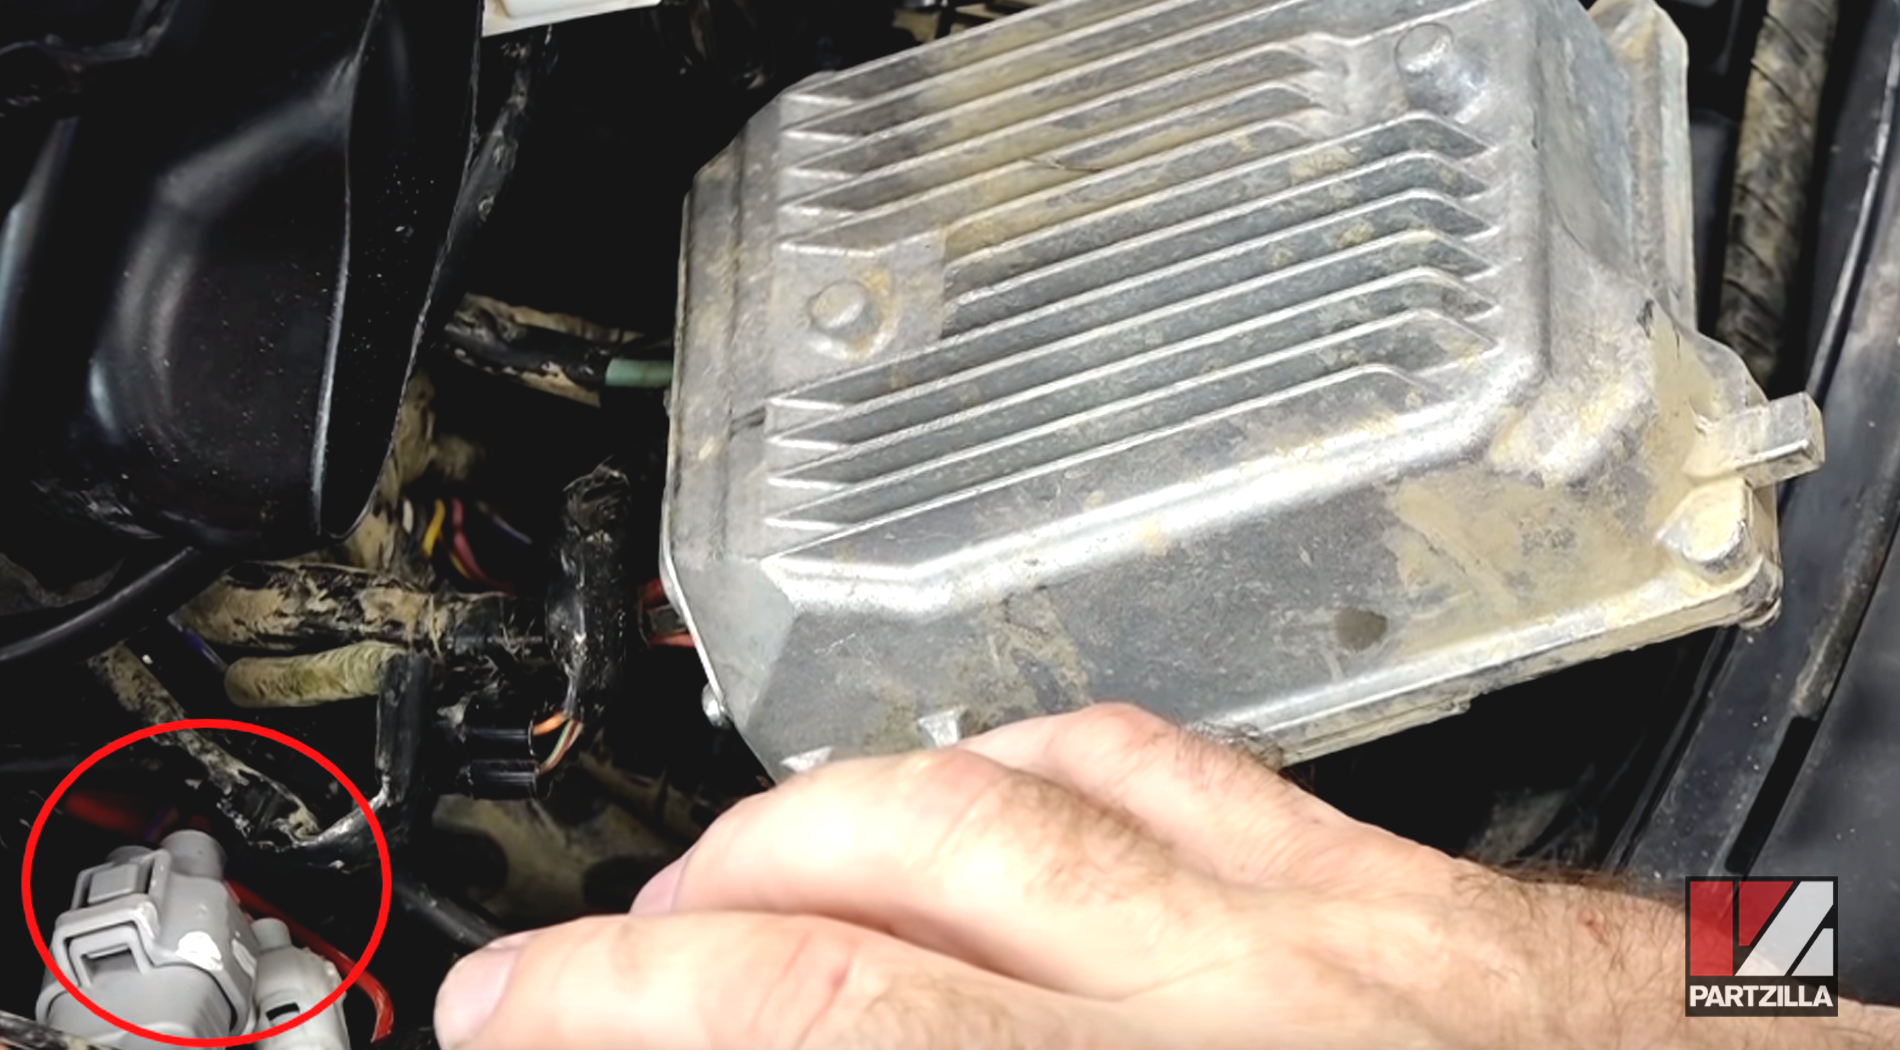
First, we checked to see if there had been any water intrusion due to a seal failure. The screws here holding the power steering control unit assembly in place were tight, so we used an impact driver to remove them. The electronic control unit (ECU) is underneath the steering unit.
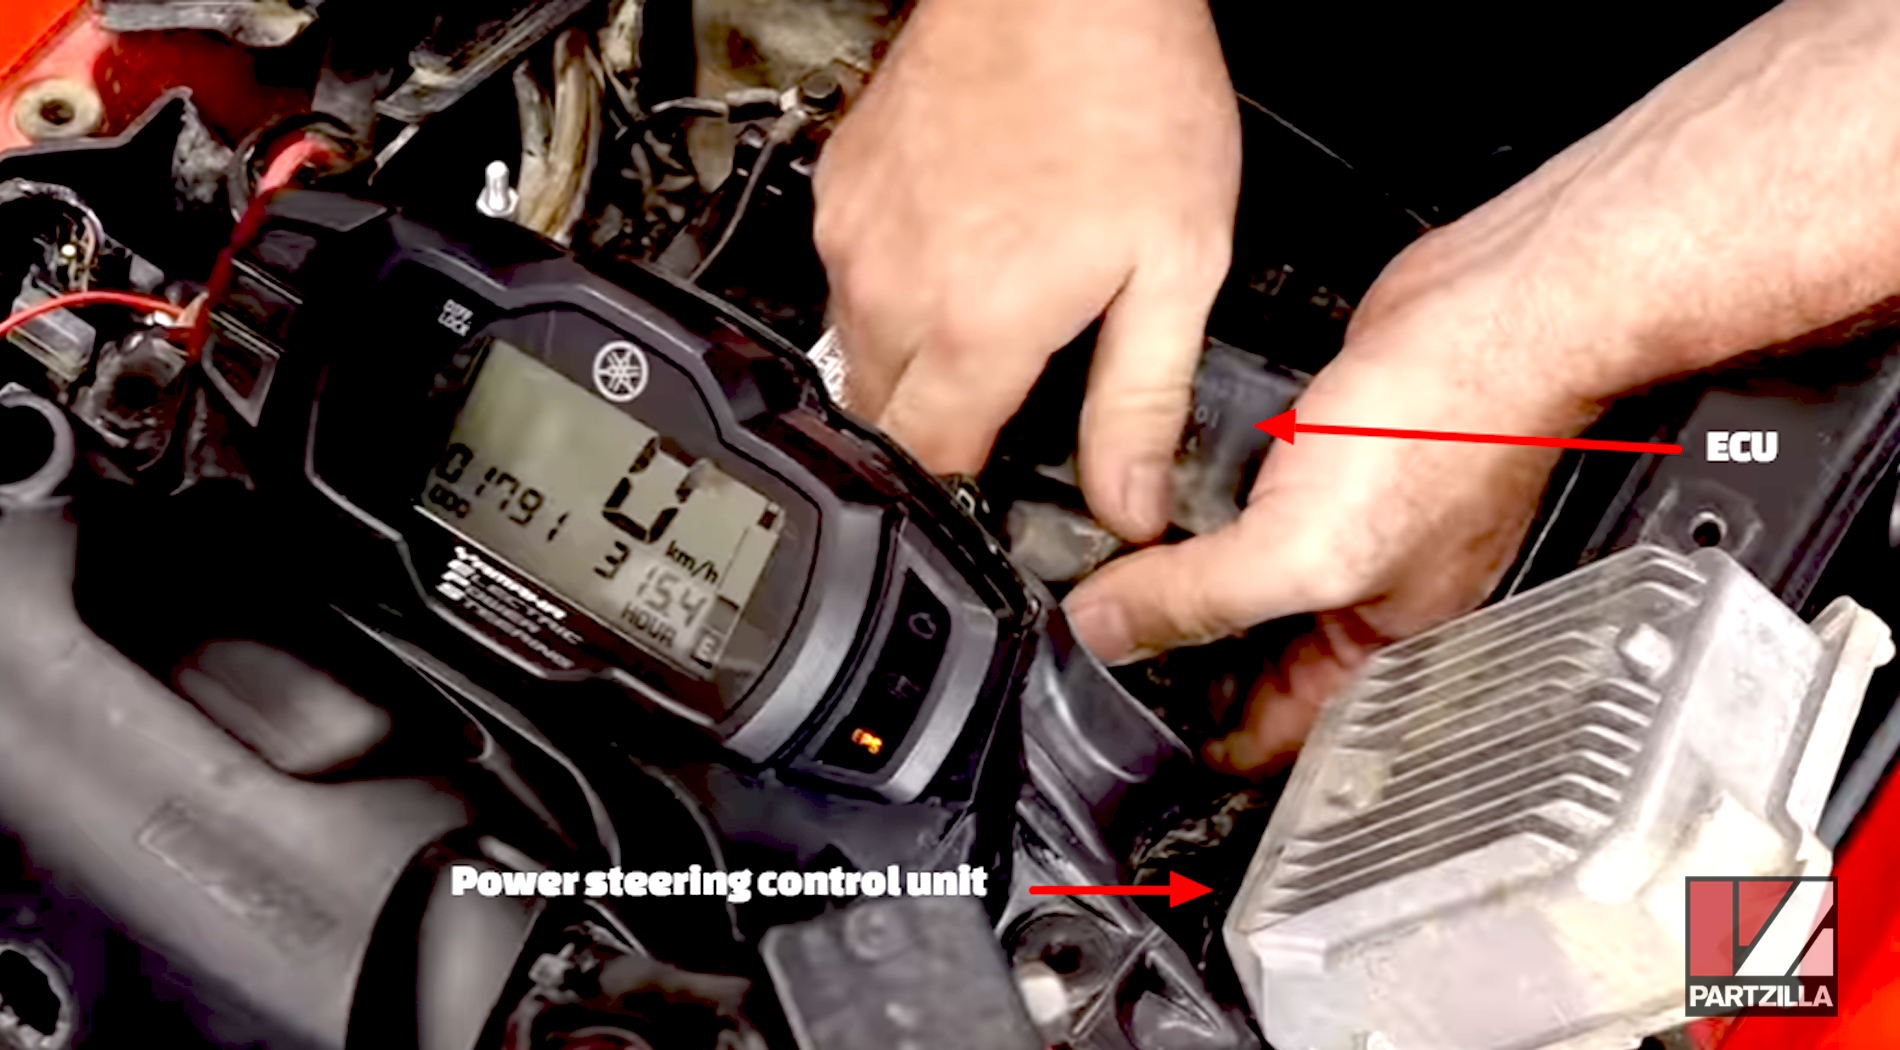
Once the power steering unit was out of the way, we accessed the ECU. You can pull it up and then unplug it to inspect it for water intrusion. Check to make sure the seal around the connections is dry and that the underlying electrical connections are also dry. While we didn't find any problems there, our display was still on, even though the switch was off.
Testing the Power Switch on a Yamaha ATV
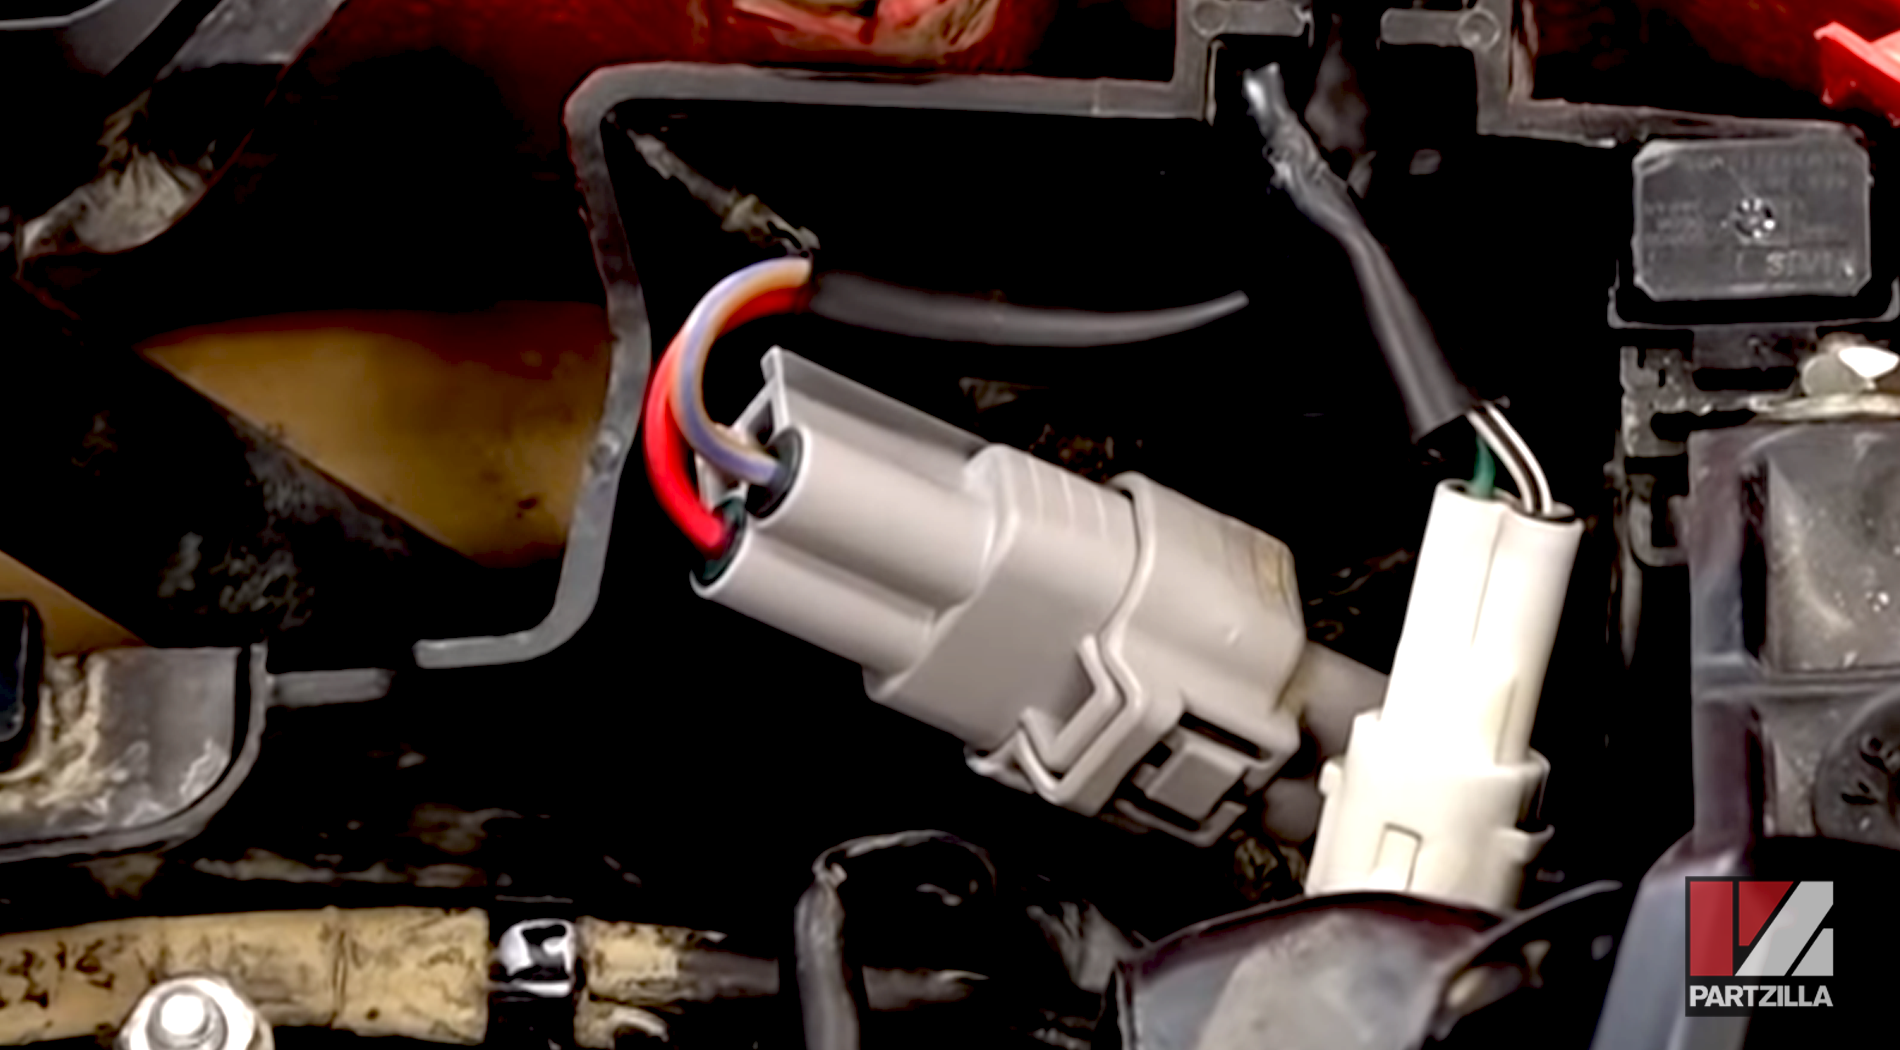
We started off by just feeling the wiring that runs from the switch itself back to the connection circled in the image below.
The wire was warm, which may explain the problem, and might also explain why the battery kept draining out before, prompting us to replace it.
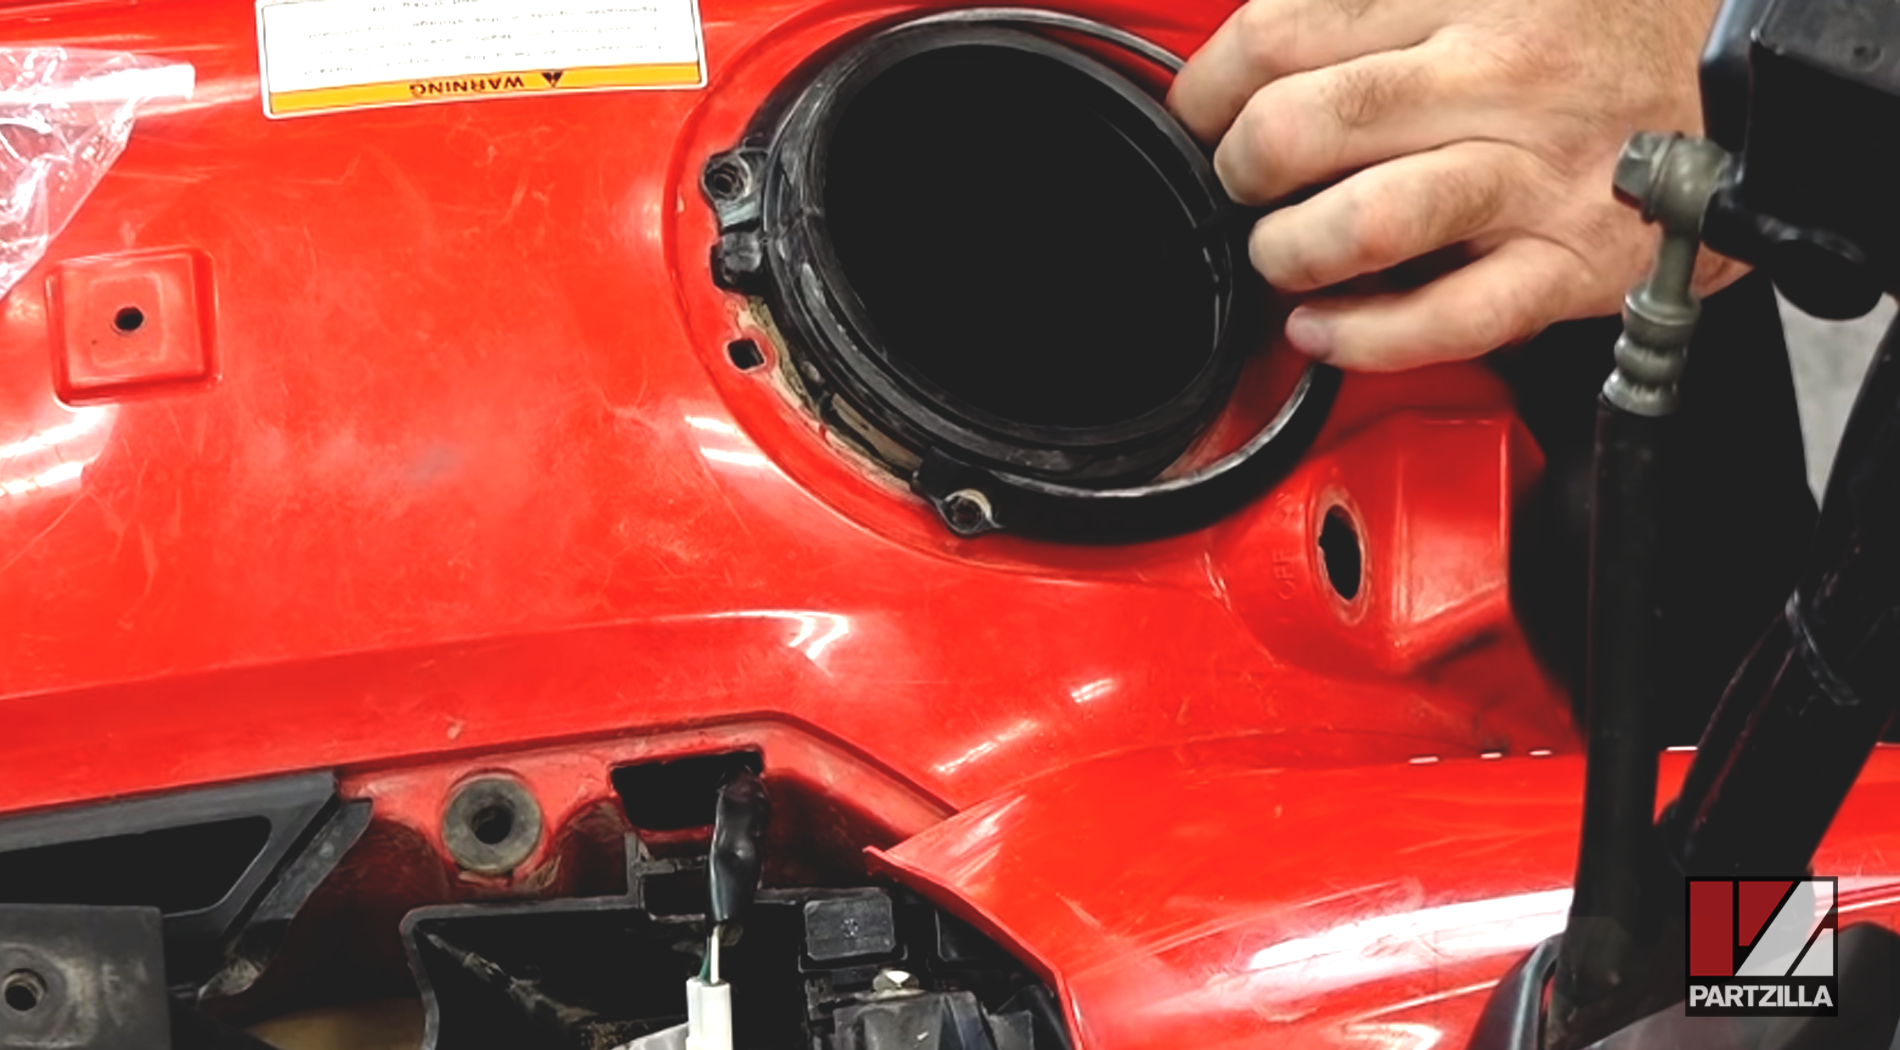
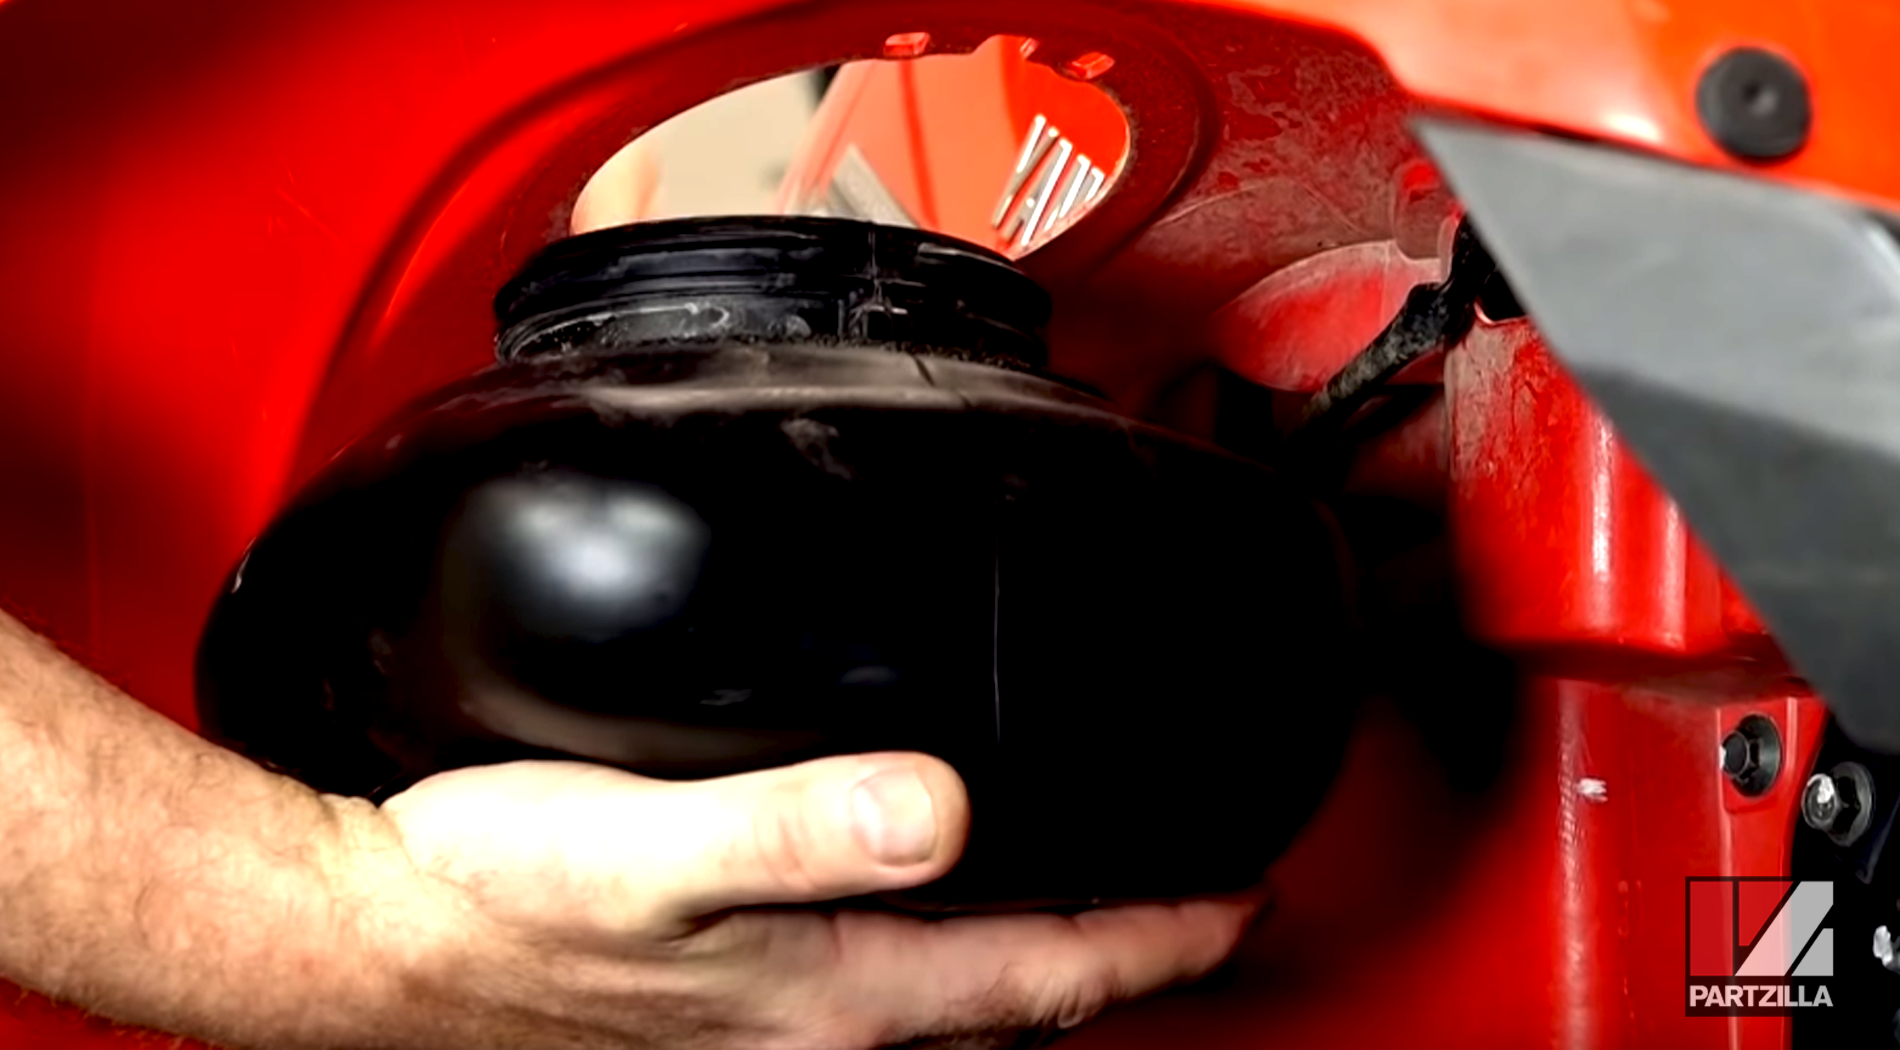
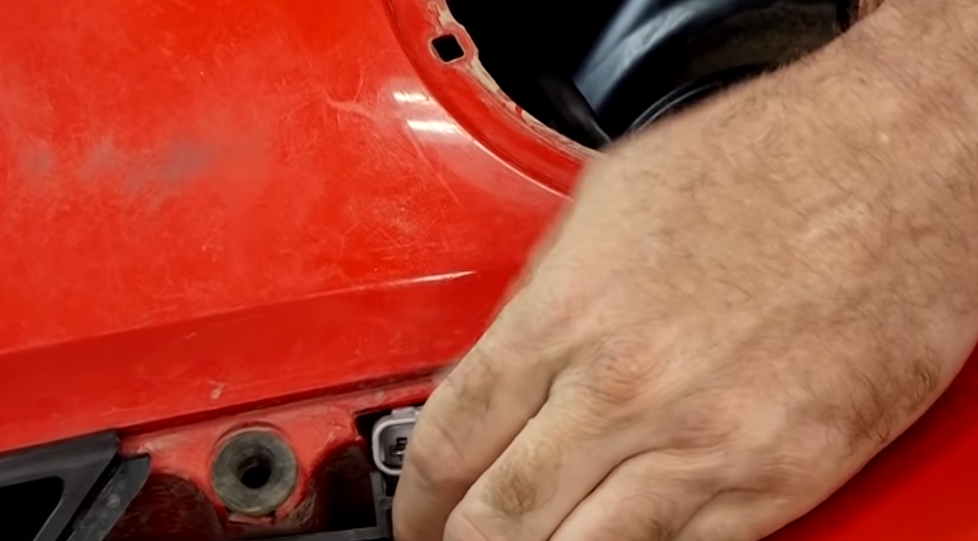
We took a closer look at that switch wiring. To do this, we disconnected the wire from the gray connector above, and then hand-loosened and removed the locking ring holding the actual switch in place. Once we did that, we pulled the wiring from under the right front fender to remove it.
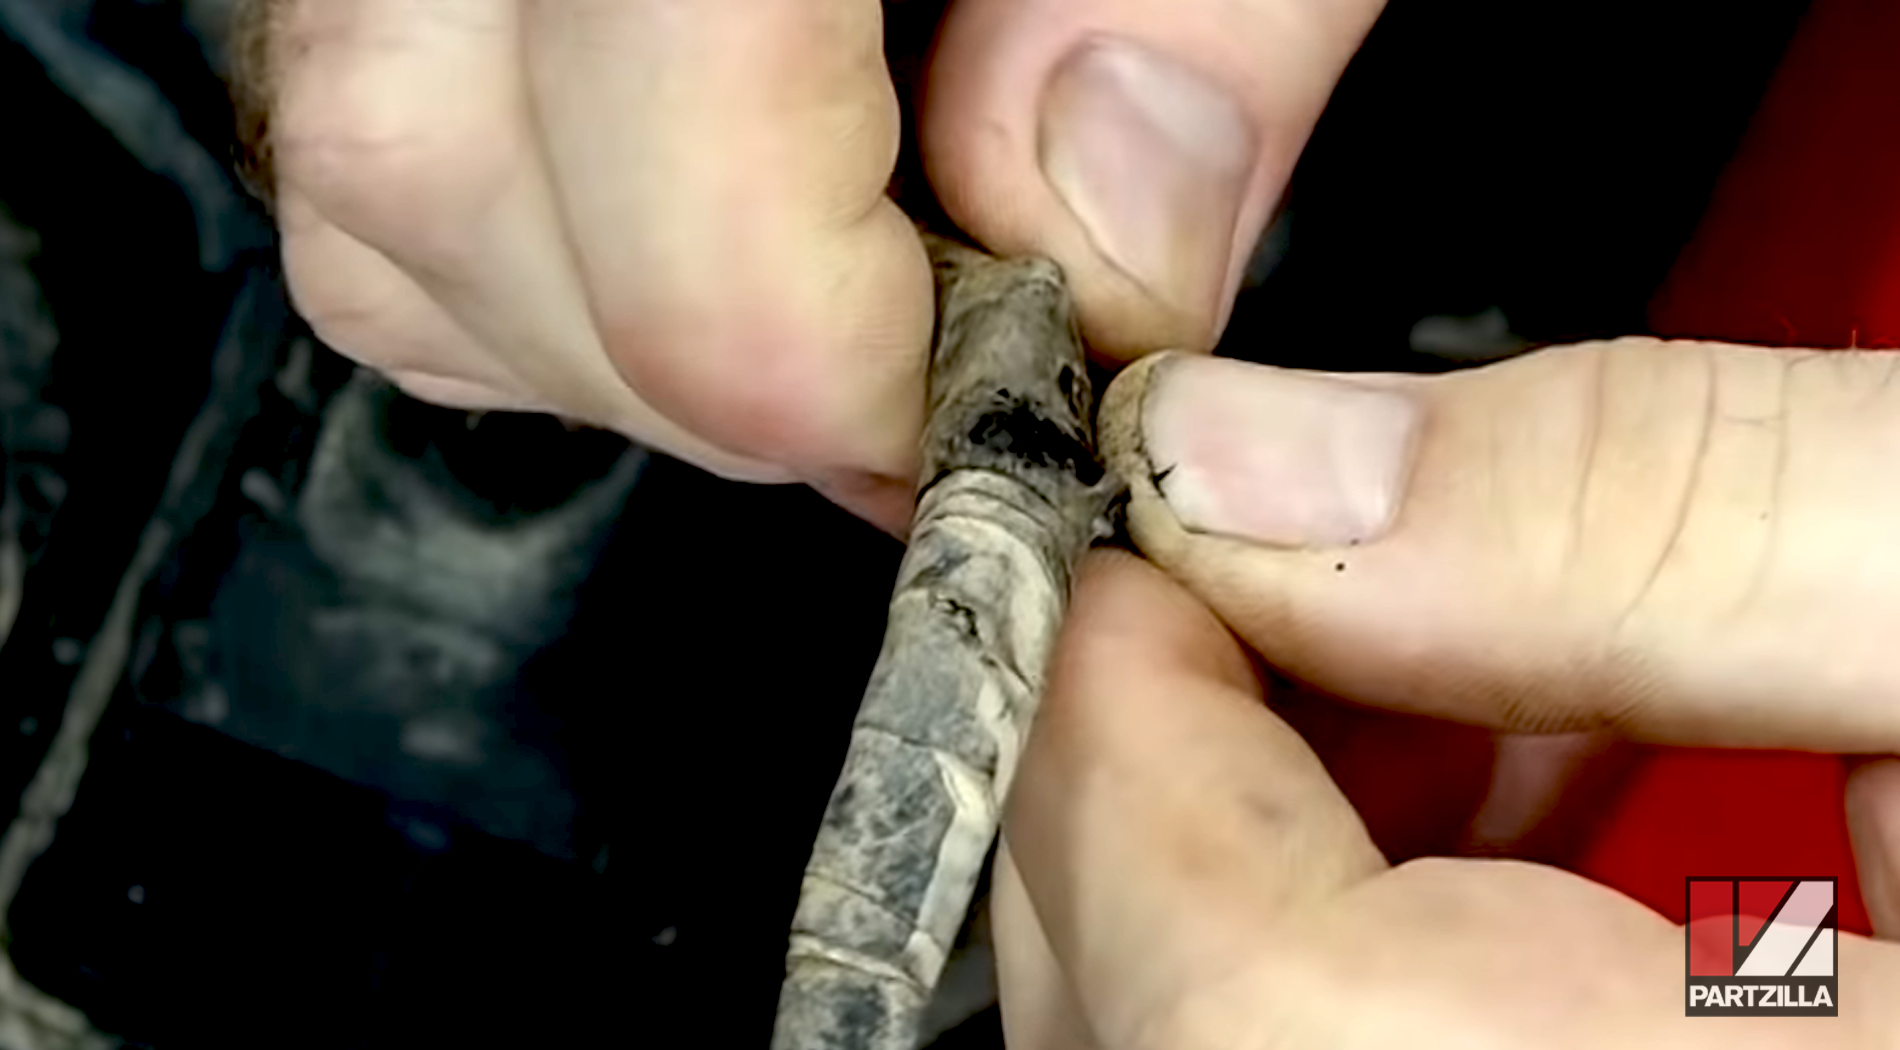
Once removed, we saw the problem. Apparently the previous owner had stripped back the sheath protecting the wiring and made another connection for some electrical accessory. With the wires exposed inside this electrical tape, a connection was made when we pressure washed the unit.
The moral of this story: If you buy a used unit, ask the previous owner if they installed any accessories. The connections, if not done properly, can lead to all sorts of problems down the road.
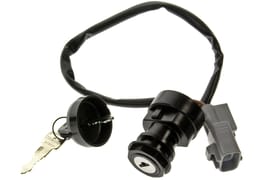
How to Replace the Switch Assembly on a Yamaha Grizzly
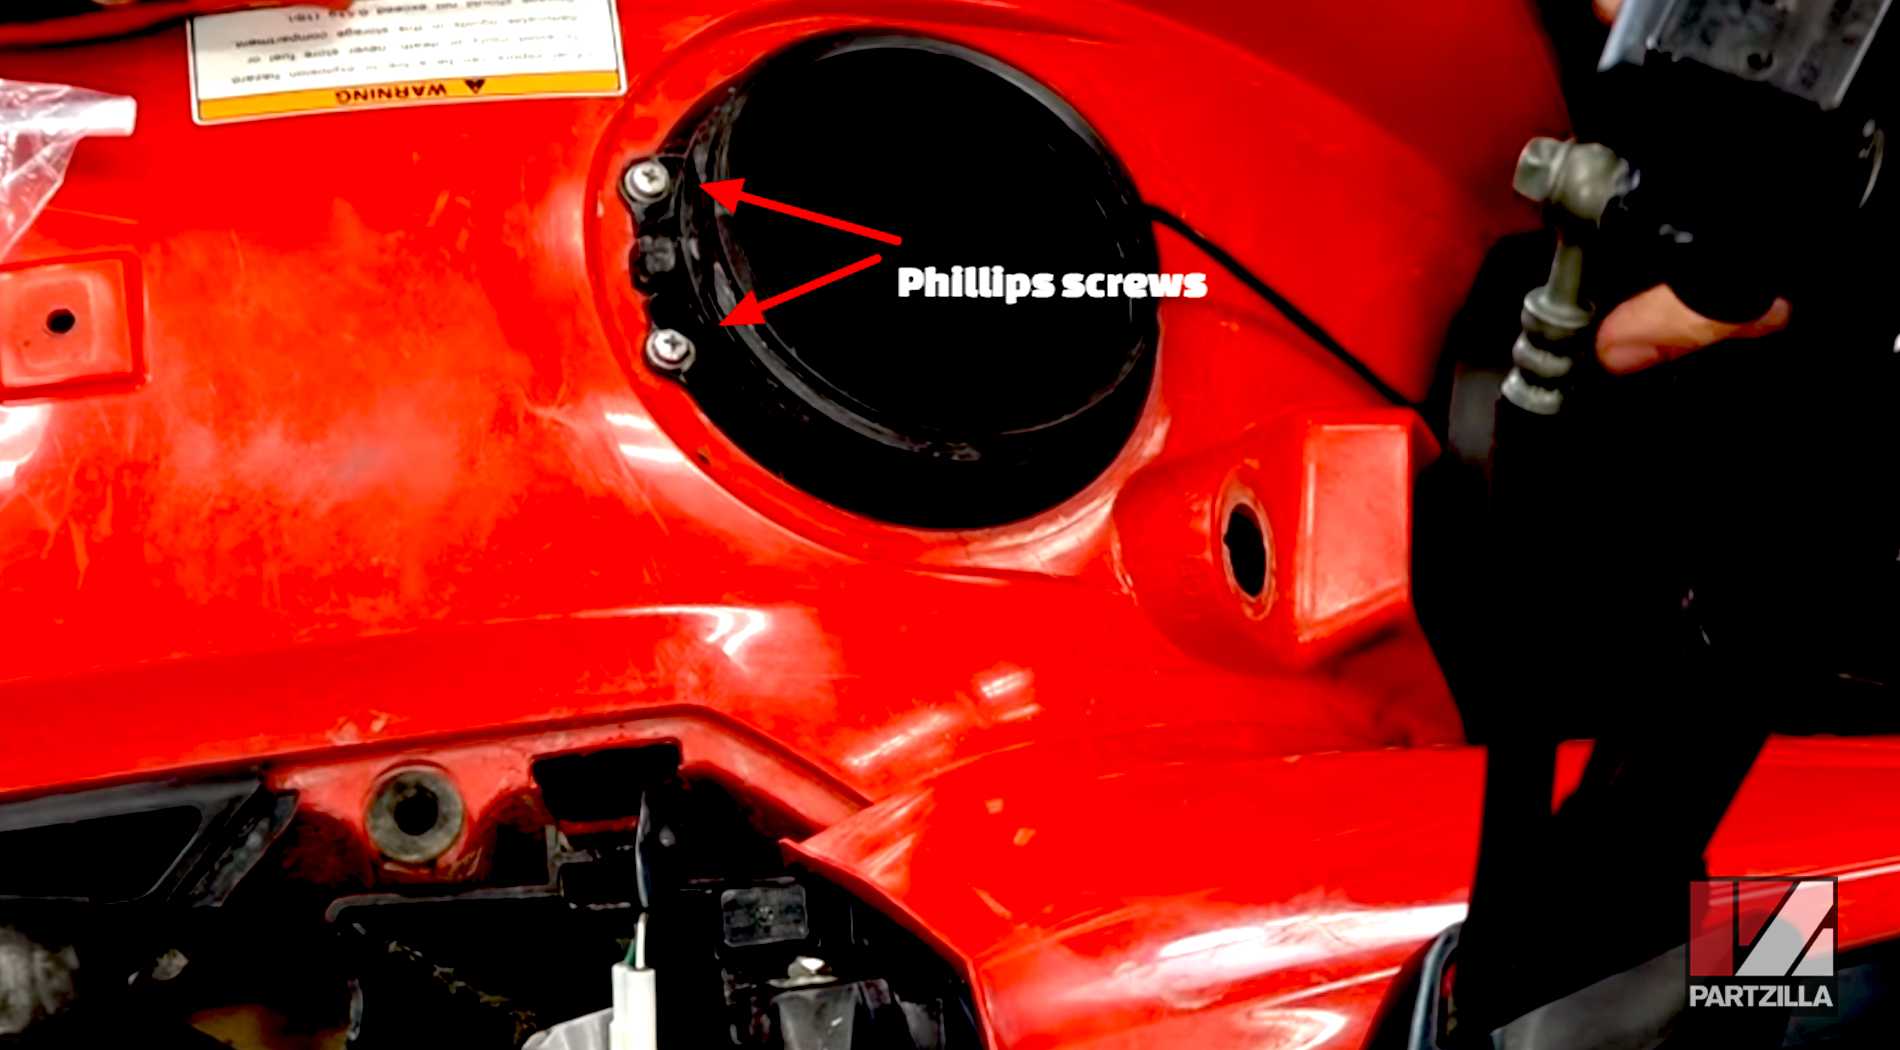
Step 1. Remove the storage box to have more room to snake the wiring behind the plastic. Start by removing the two Phillips screws, then use a screwdriver to pry the snap ring assembly out of its channel and walk it off.
Step 2. Push on the rim of the storage box a little and it should drop straight down.
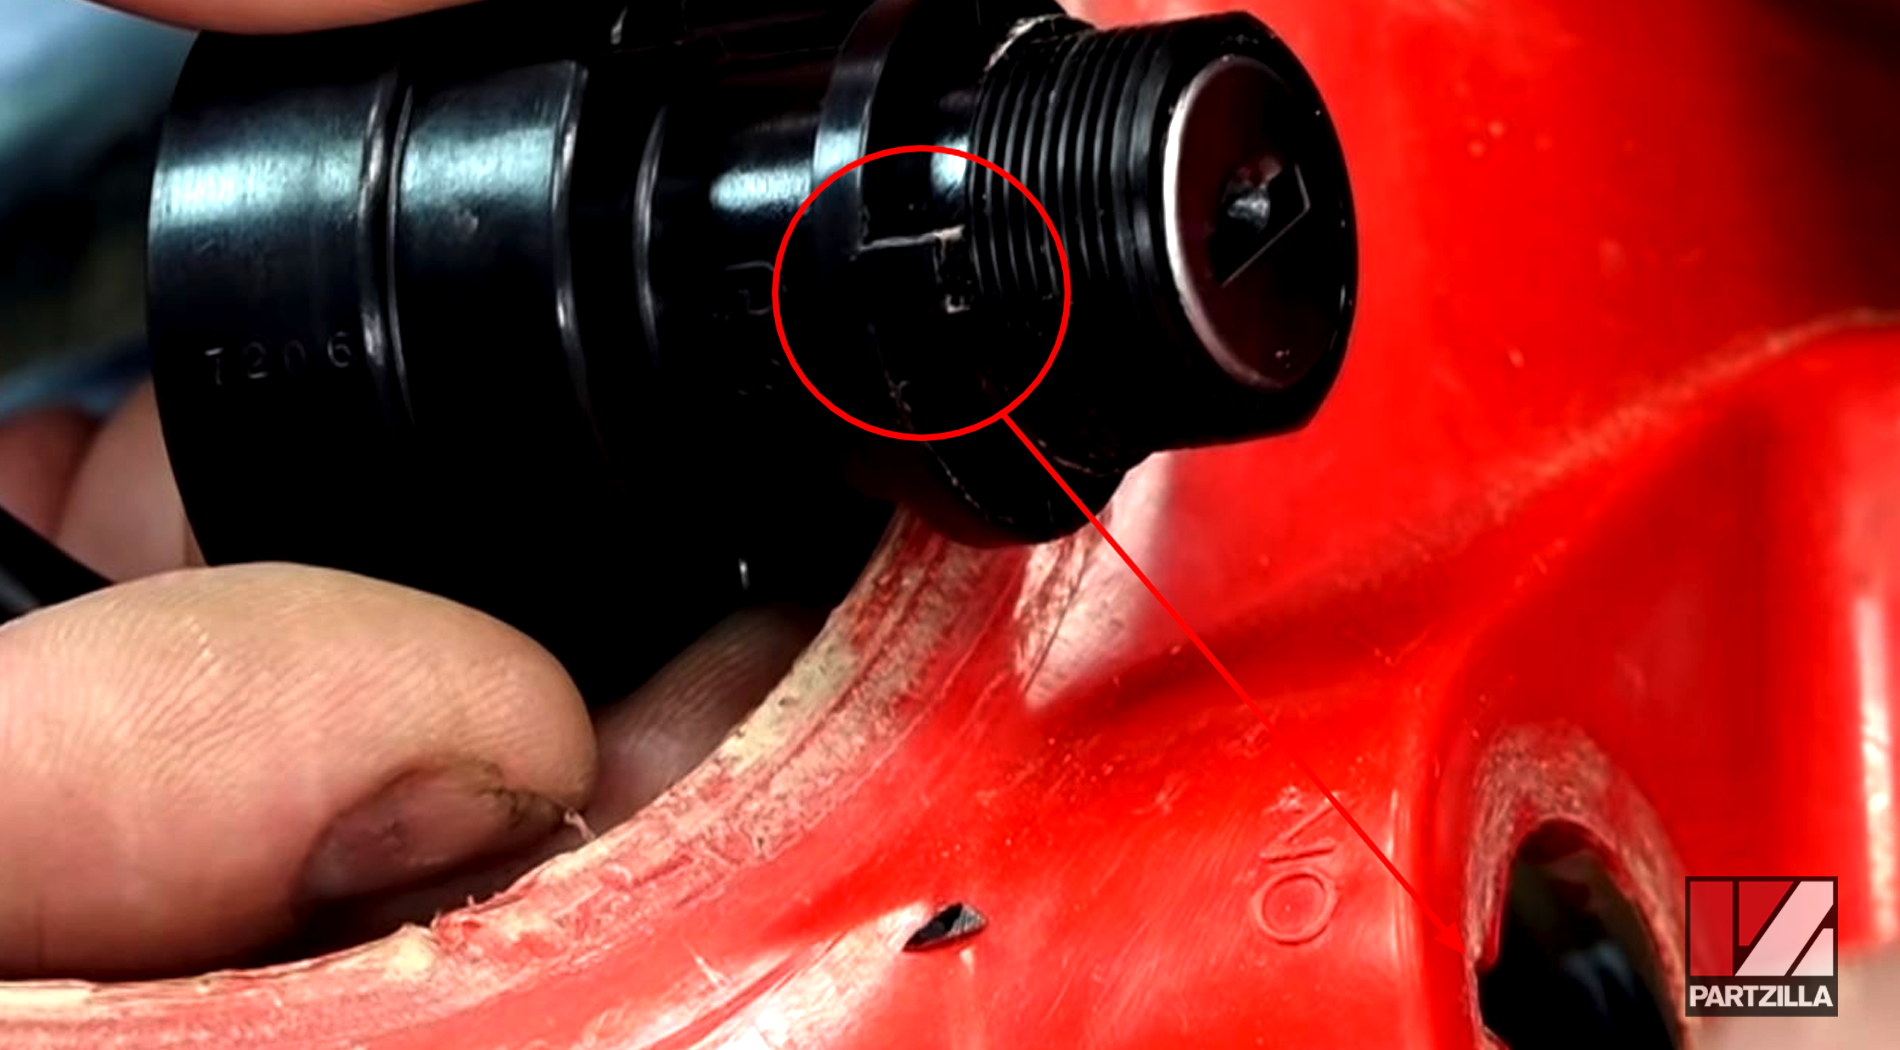
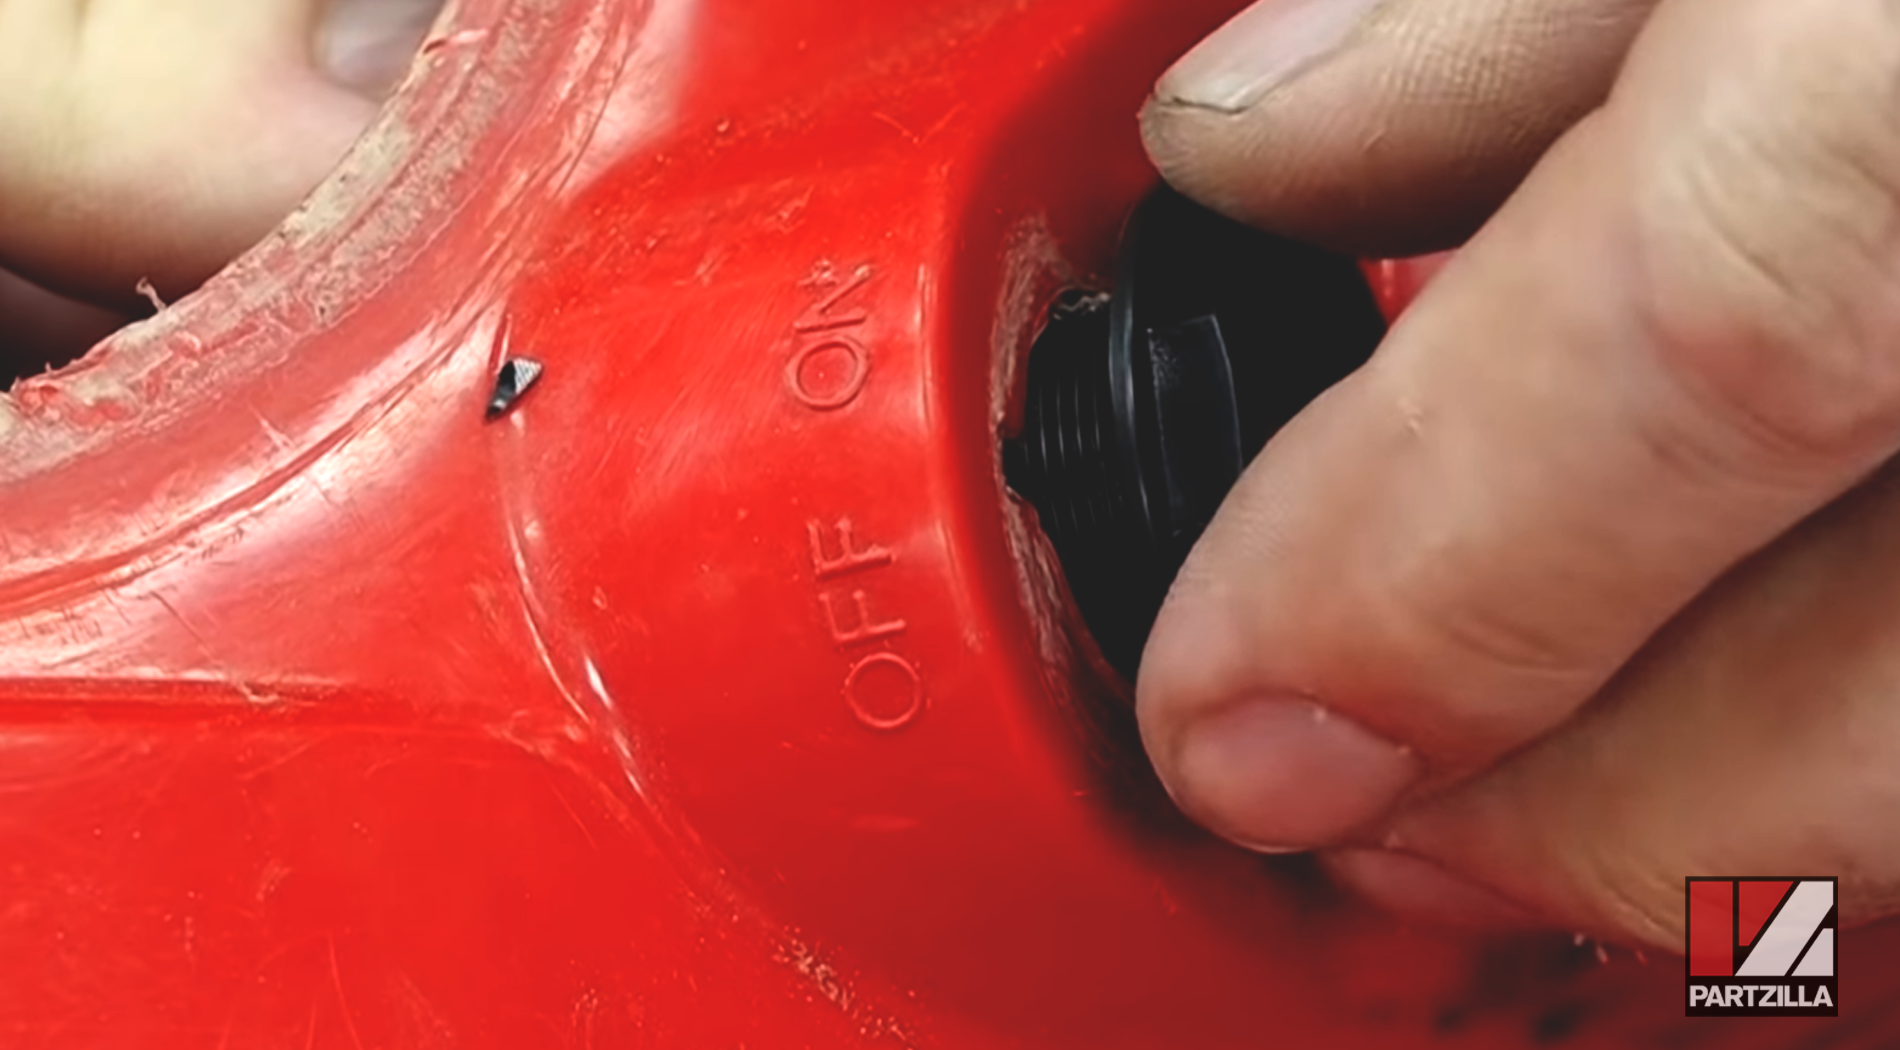
Step 3. From behind the plastic, insert the key-end of the switch assembly into its opening. There's a notch on the switch. Make sure it aligns with the cutout for the notch in the switch opening shown below.
Step 4. Hand-tighten the lock ring, then use a set of channel locks to get it snug. Don't over-tighten it. They're plastic threads and you'll strip them easily if you do.
Step 5. Thread the plug end of the cable up from behind the plastic and into the bay with the electronics.
Step 6. Reconnect the new switch into the electrical system.
After following these steps, your Yamaha ATV should power off and on like normal again. Now that you know what to do when your ATV won't turn off, check out the video below to see what to do if your Yamaha YFM700 won't turn on.