How to Change a Kawasaki Dirt Bike Tire
Manually changing the tire on a Kawasaki KLX 110 dirt bike takes some muscle, plenty of patience and a few specialty tire tools to get the job done, but it's not as difficult as it sounds.
Watch the video above or follow the steps below to learn how to manually change the rear tire on a Kawasaki KLX 110 dirt bike.
Tools and Parts - Kawasaki KLX 110 Tire Change
- Ratchet and 14mm, 22mm sockets
- 14mm, 12mm and 10mm wrenches
- Torque wrench
- Pliers
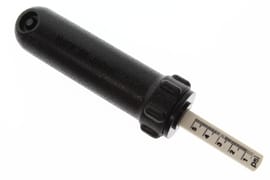
- Valve stem remover
Kawasaki KLX110 Rear Tire Change - Remove the Old Tire
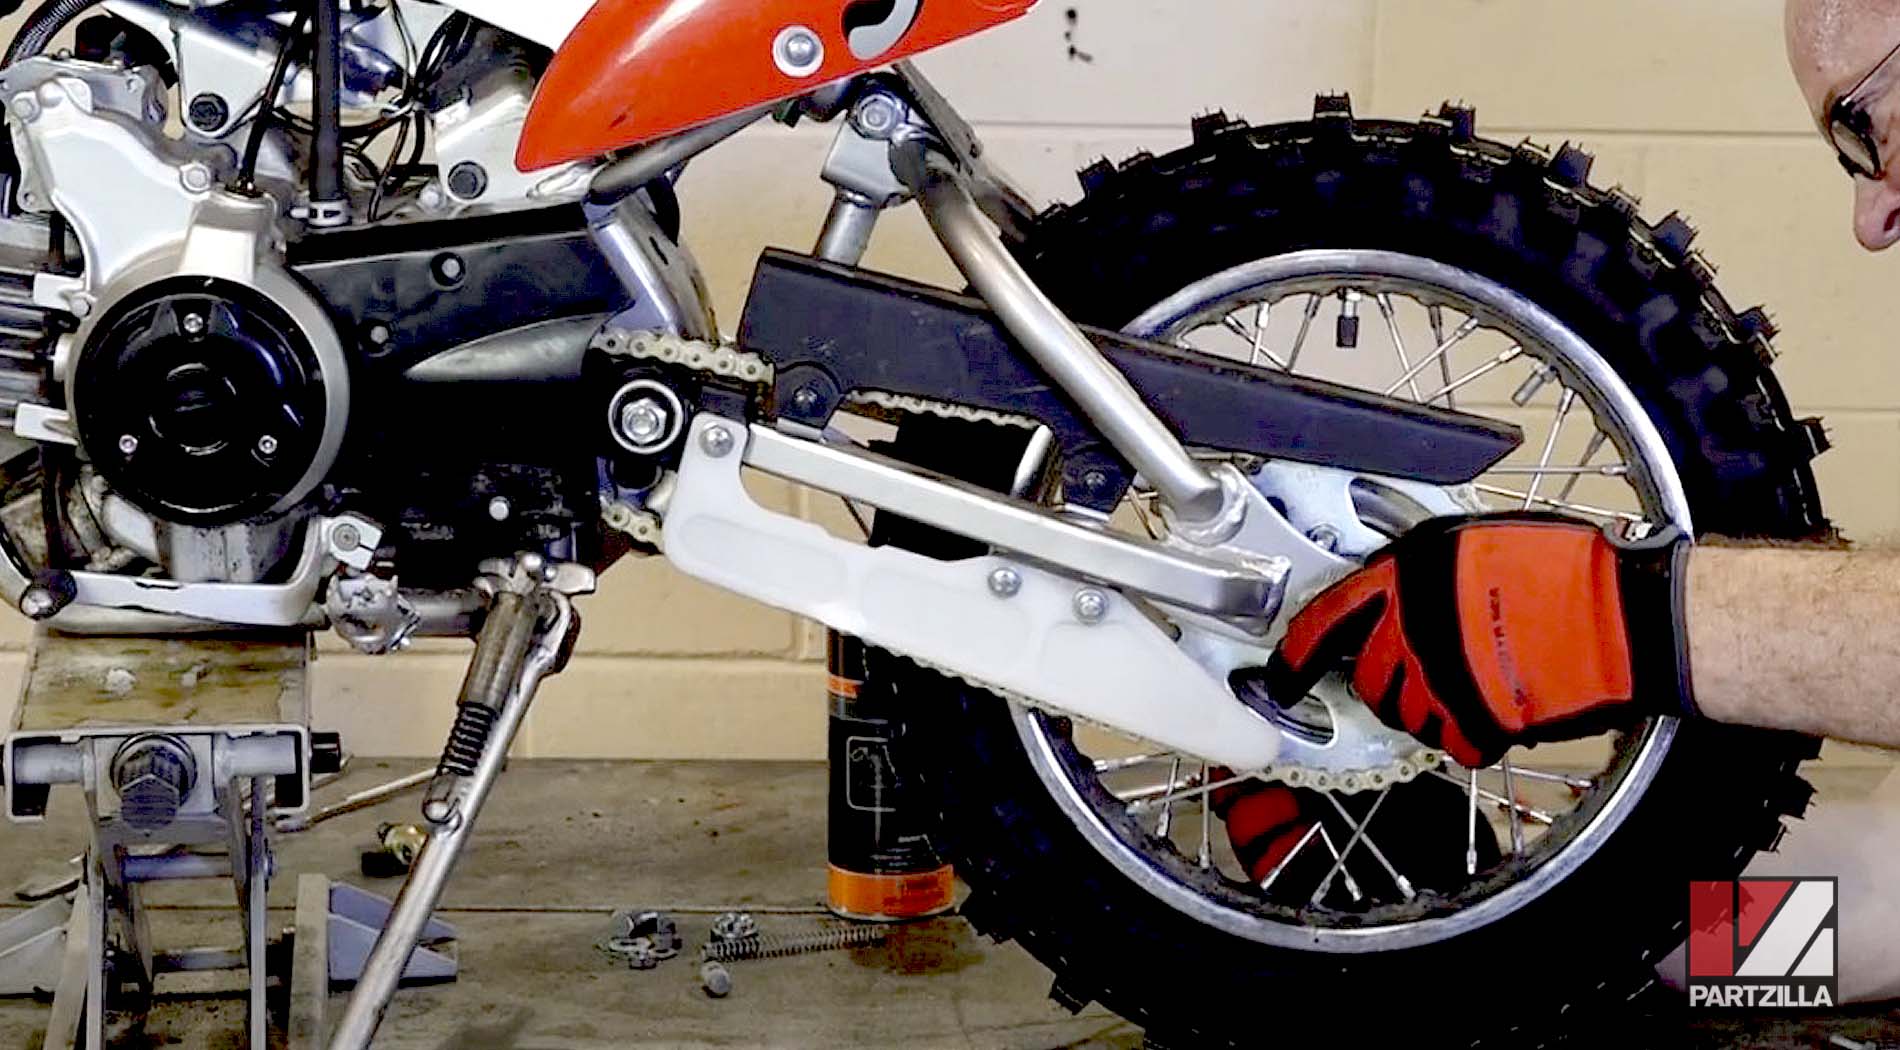
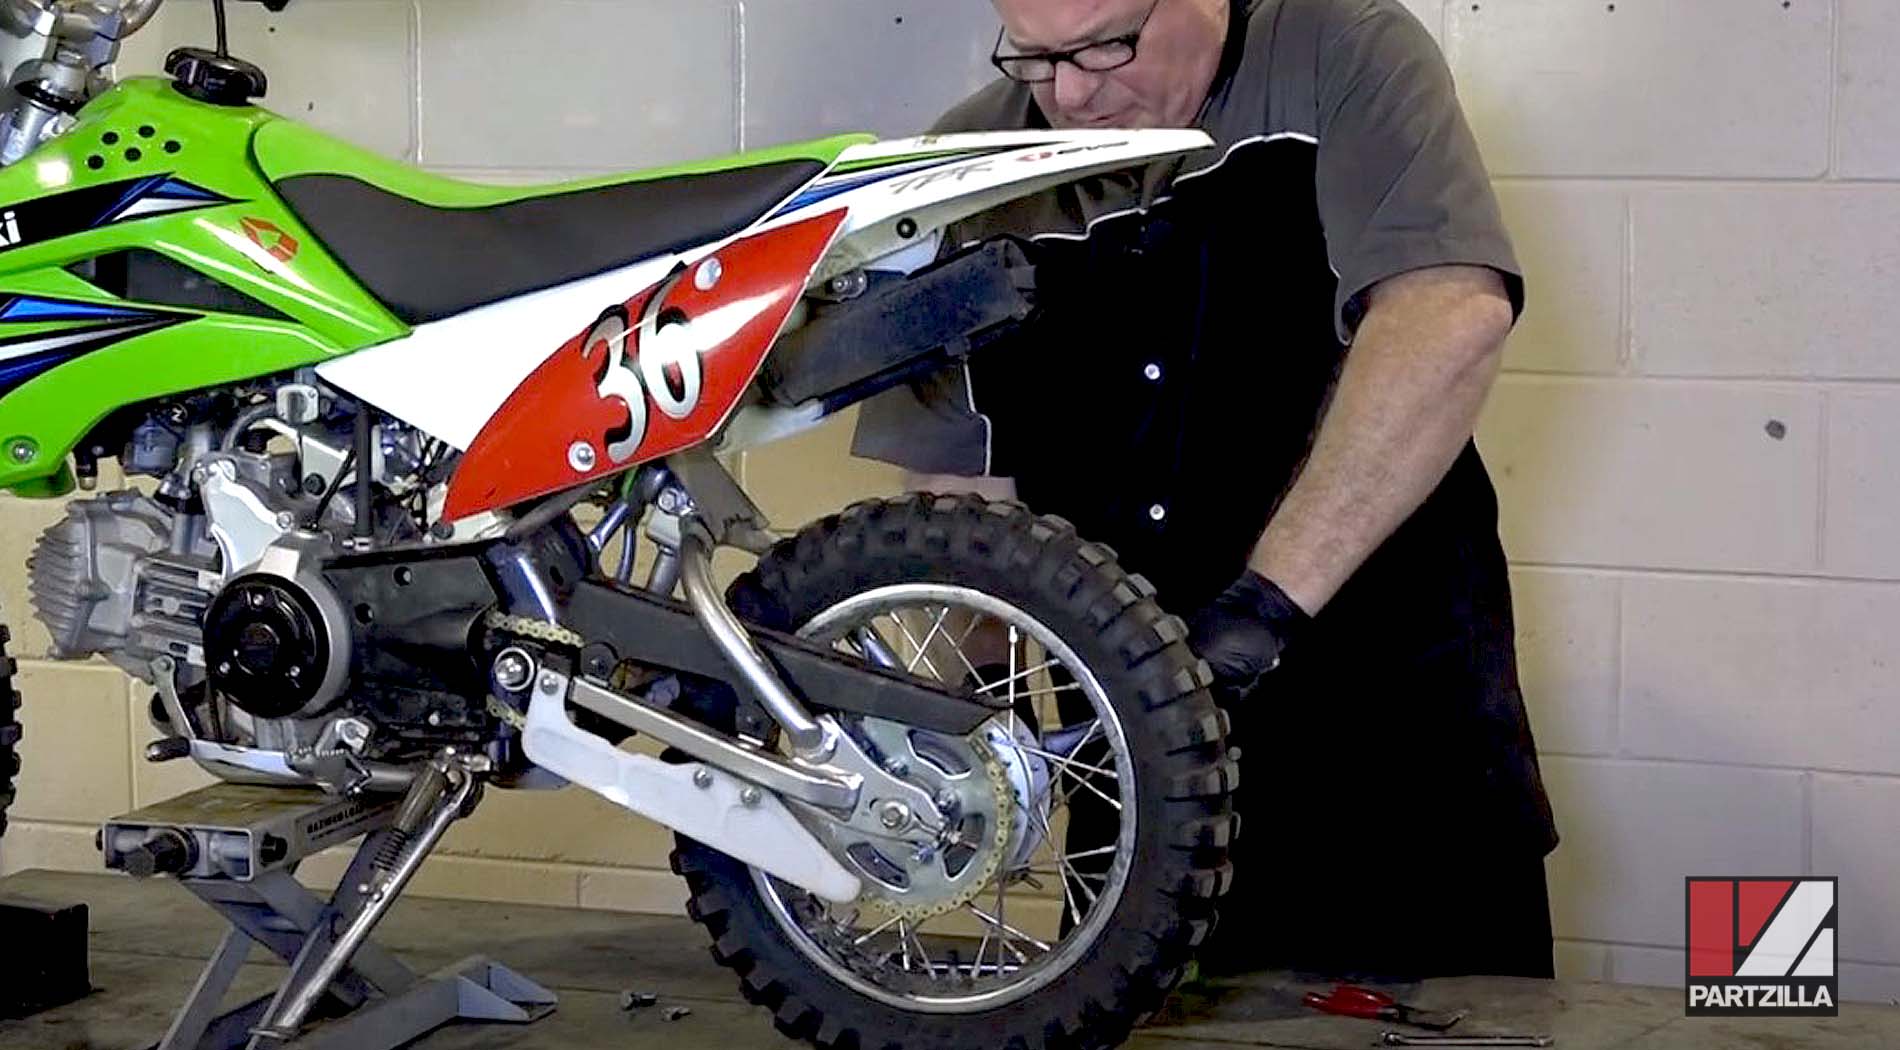
Step 1. Get the bike up on a scissor lift, then remove the cotter pins, the brake lever arm and the axle nut.
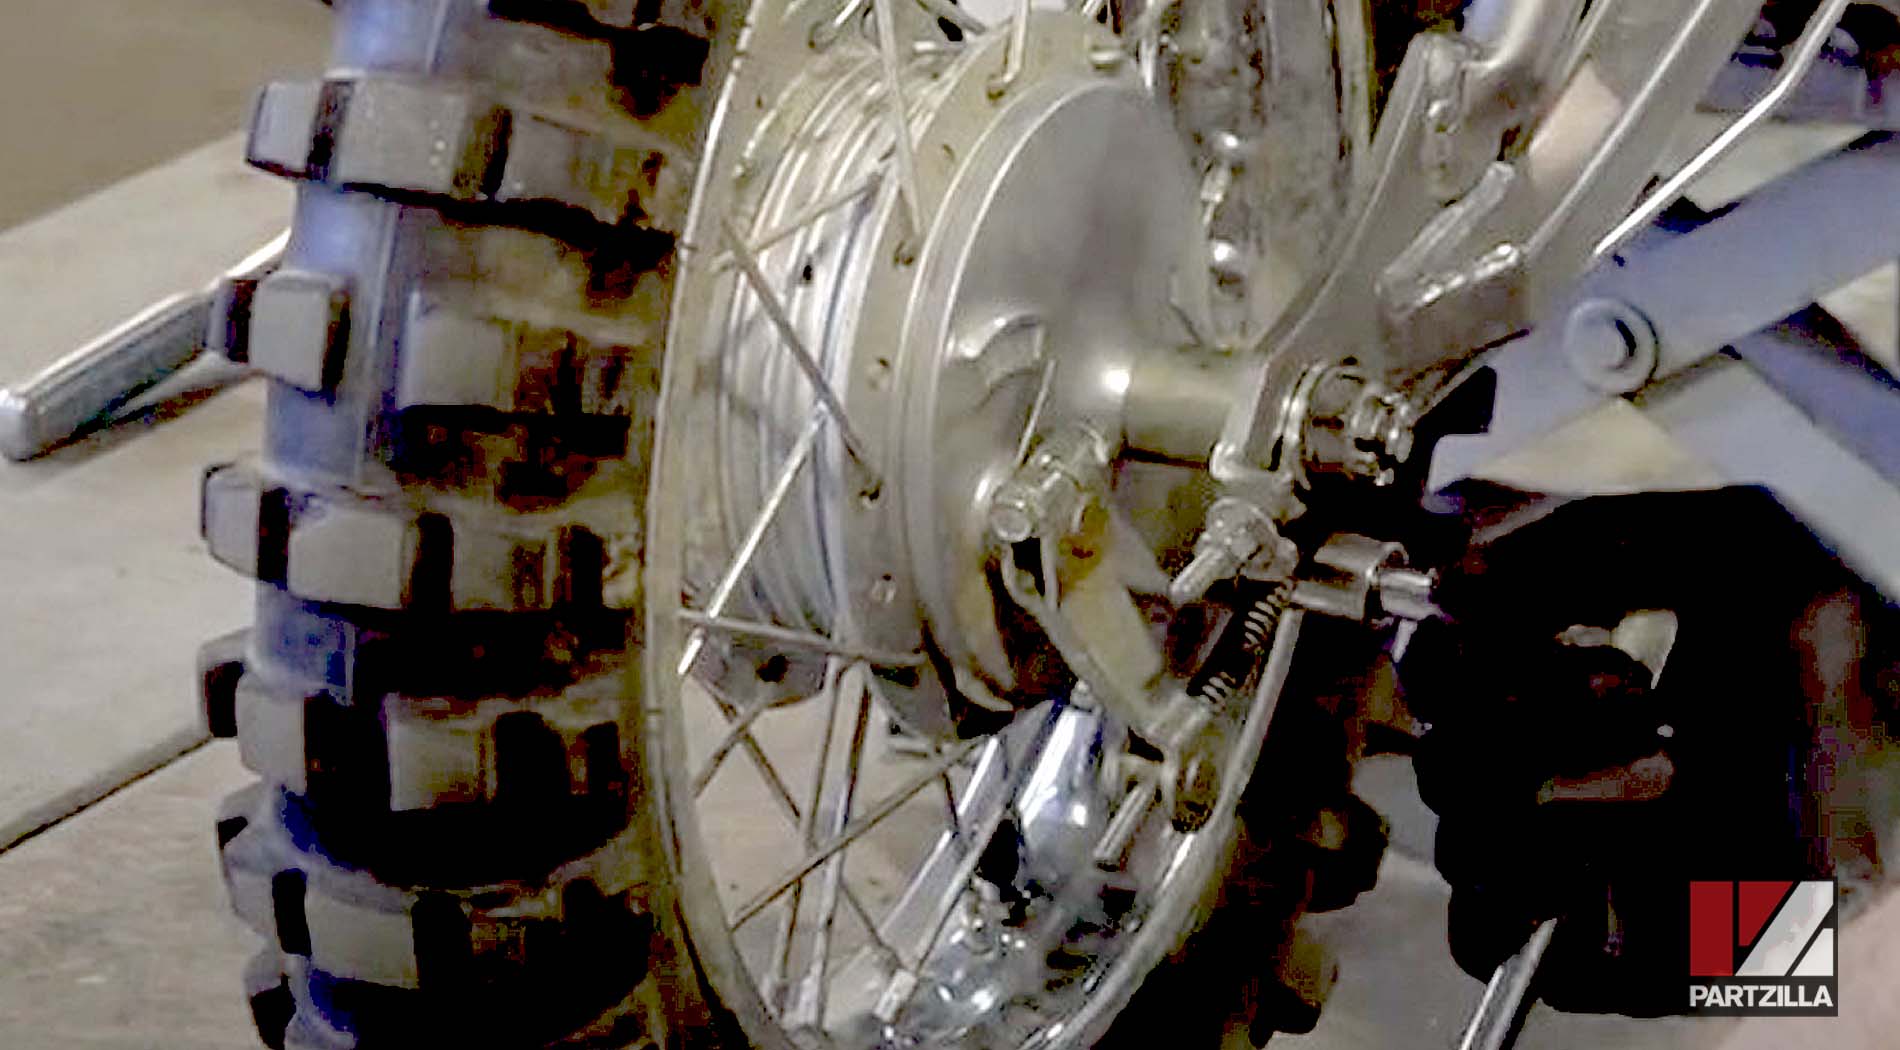
Step 2. Rotate the hub, then push the brake down so that the arm and spring will come out.
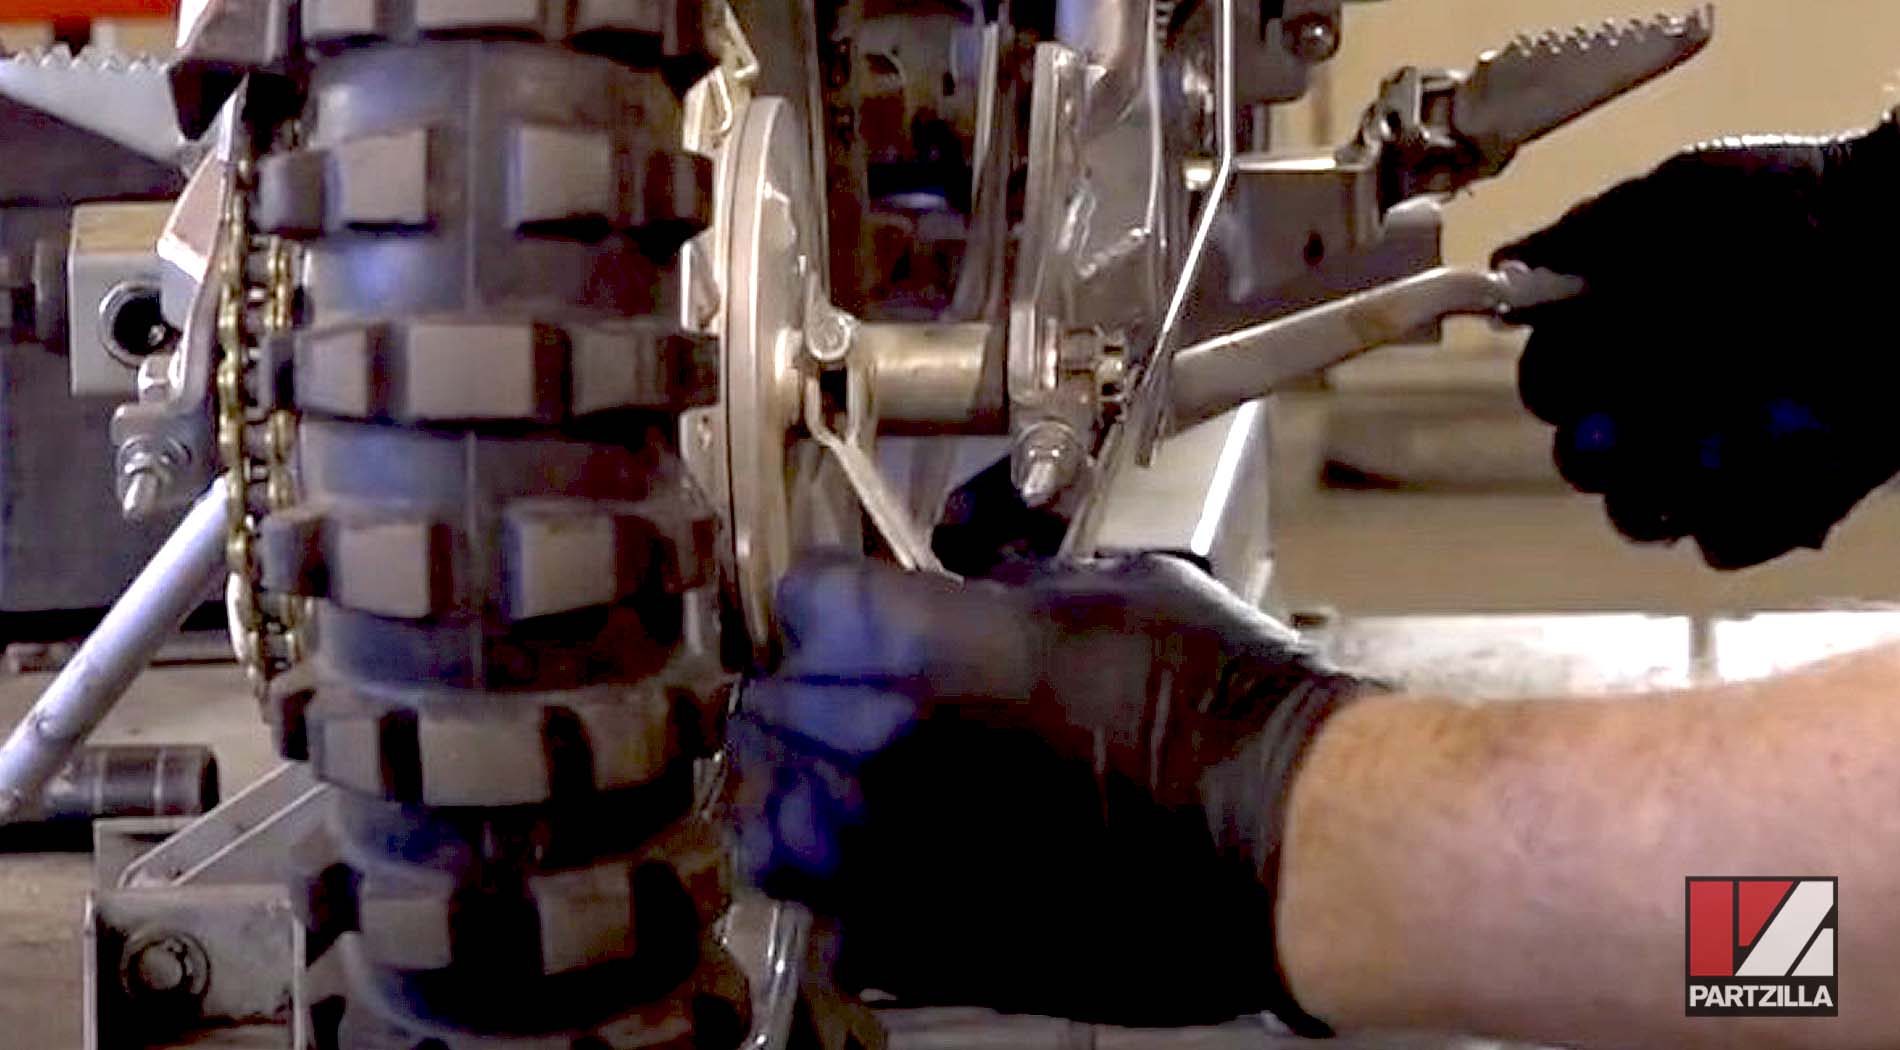
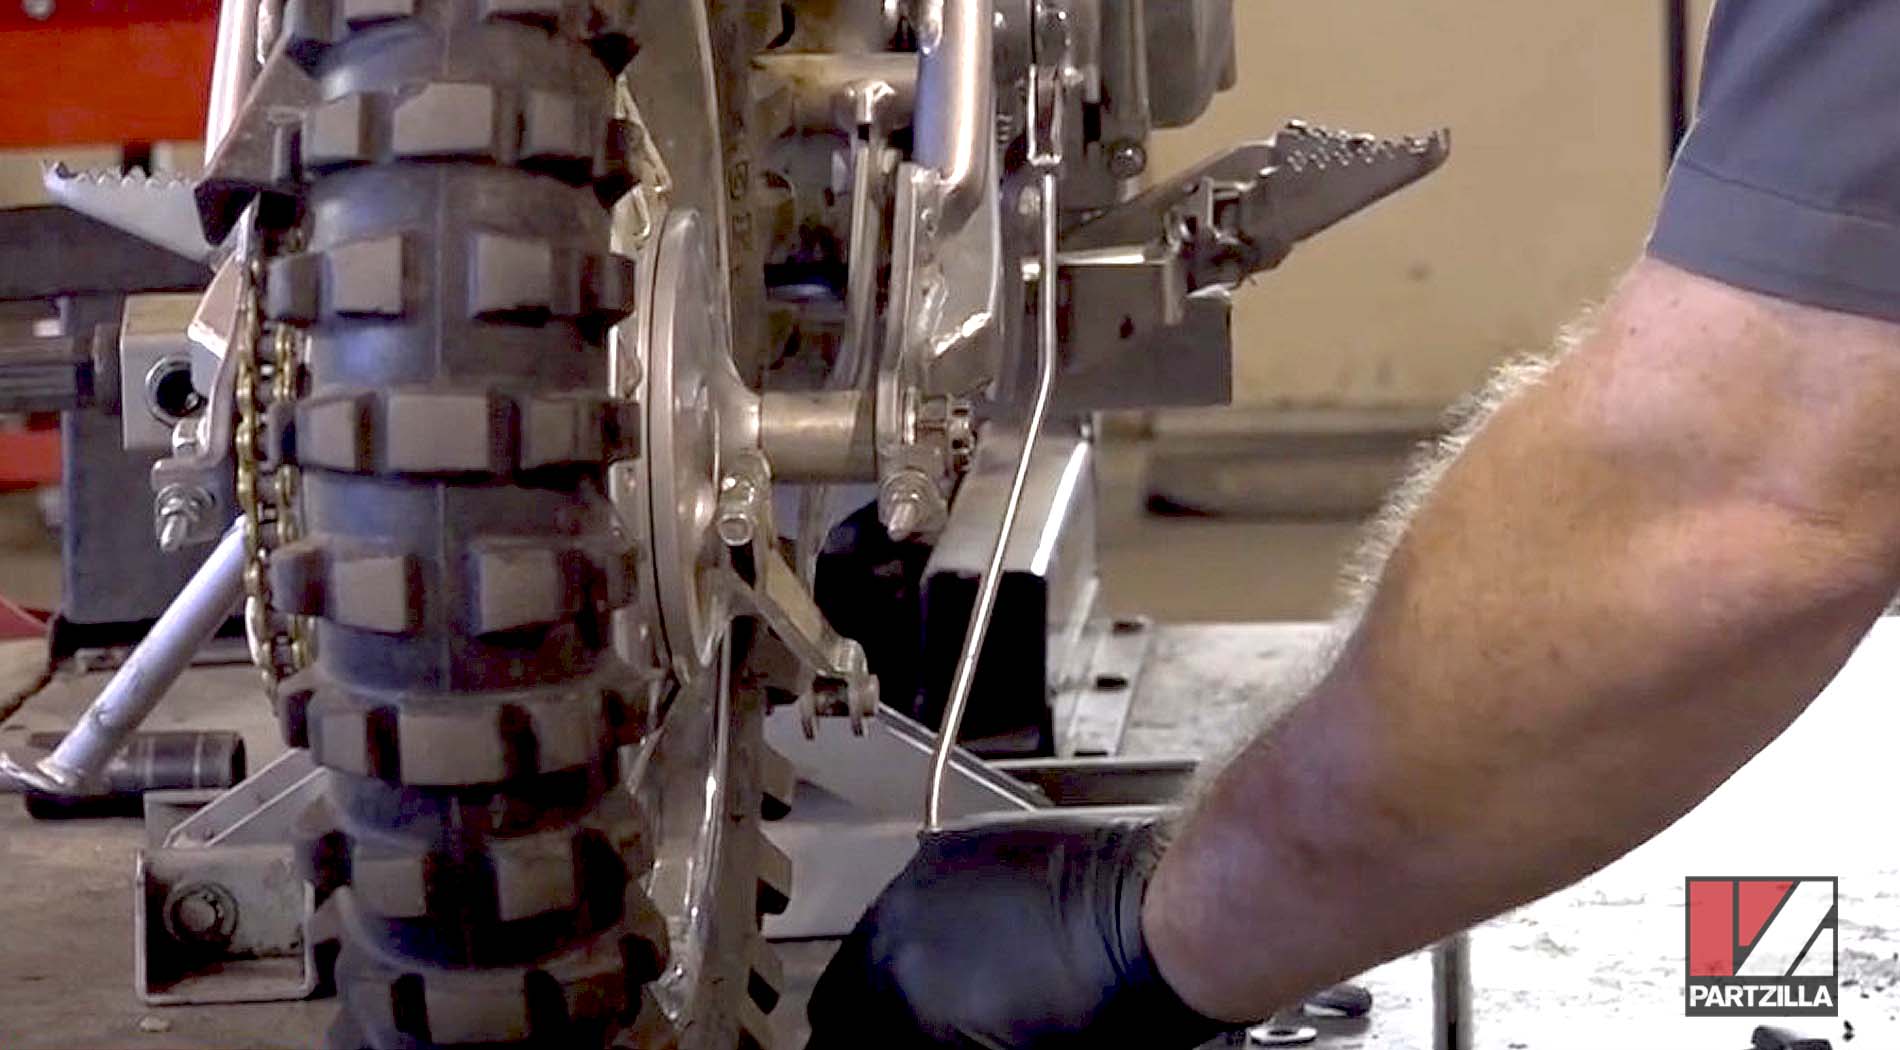
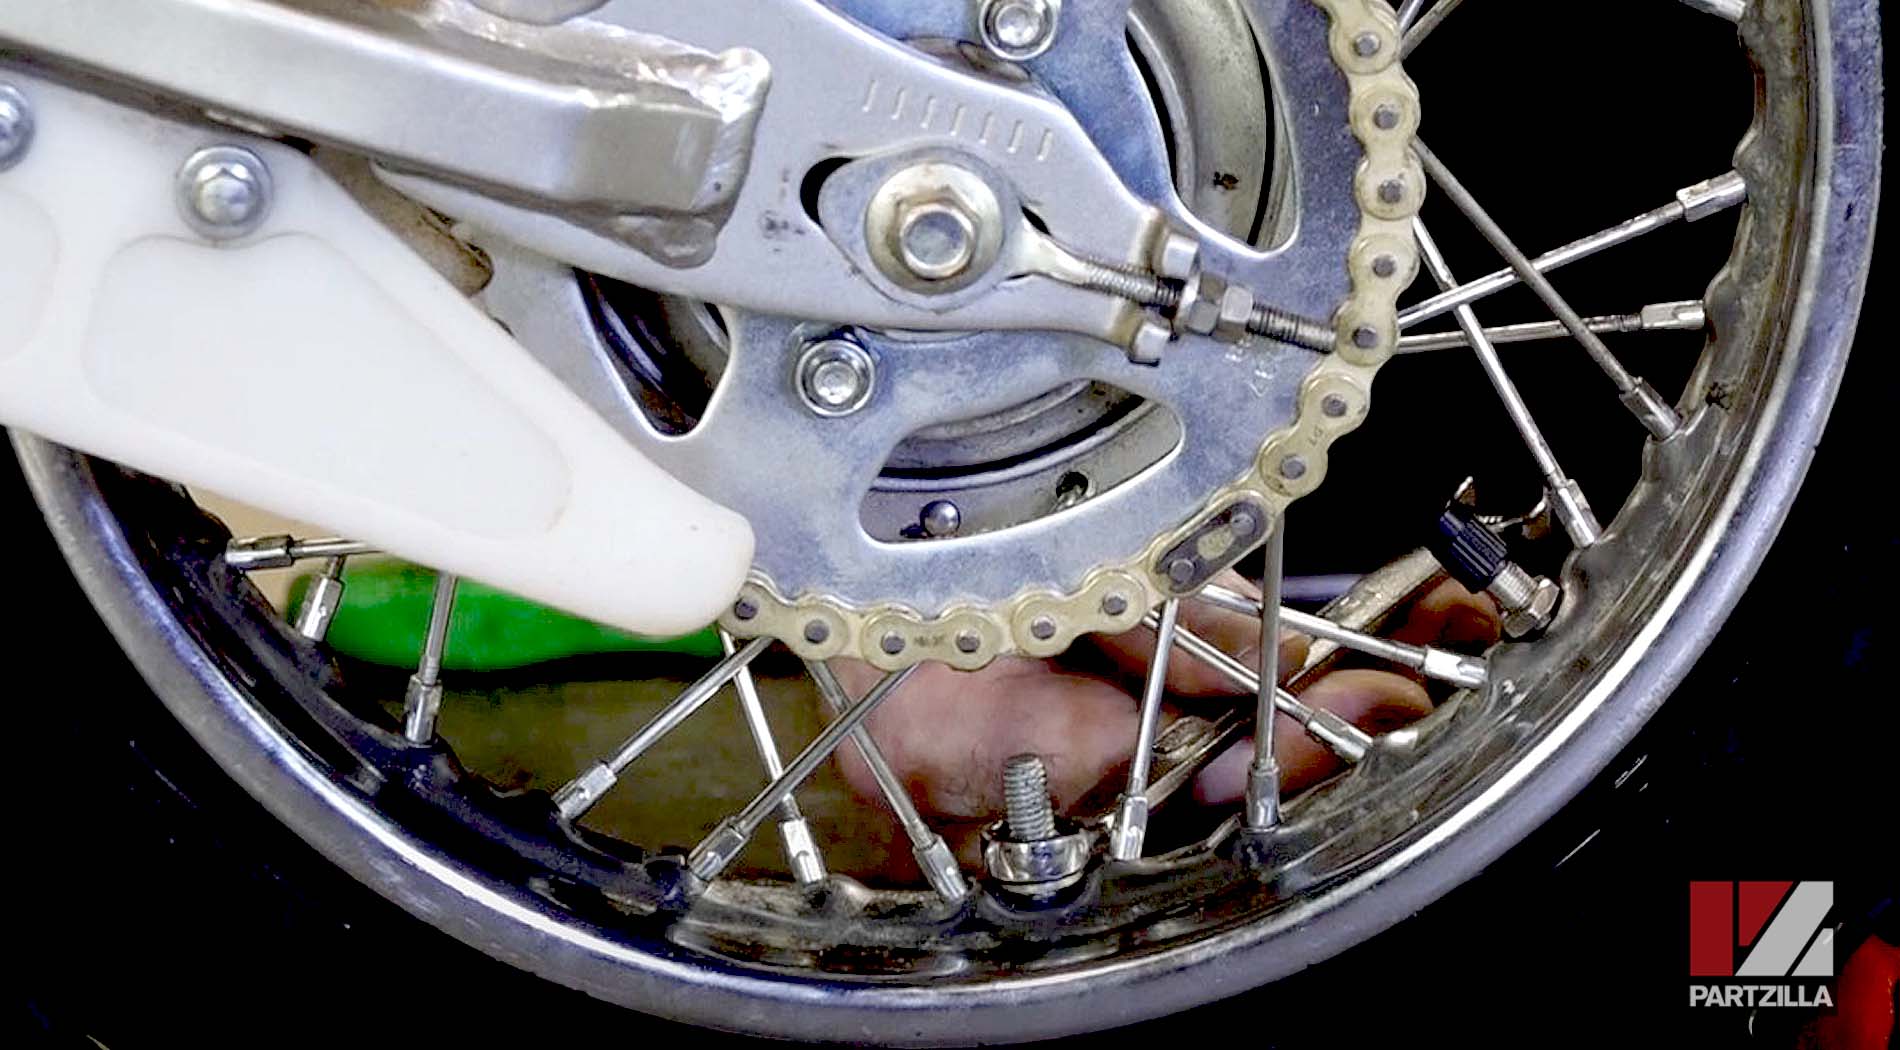
Step 3. Pull the axle out and guide the chain off, then remove the spacer and the wheel.

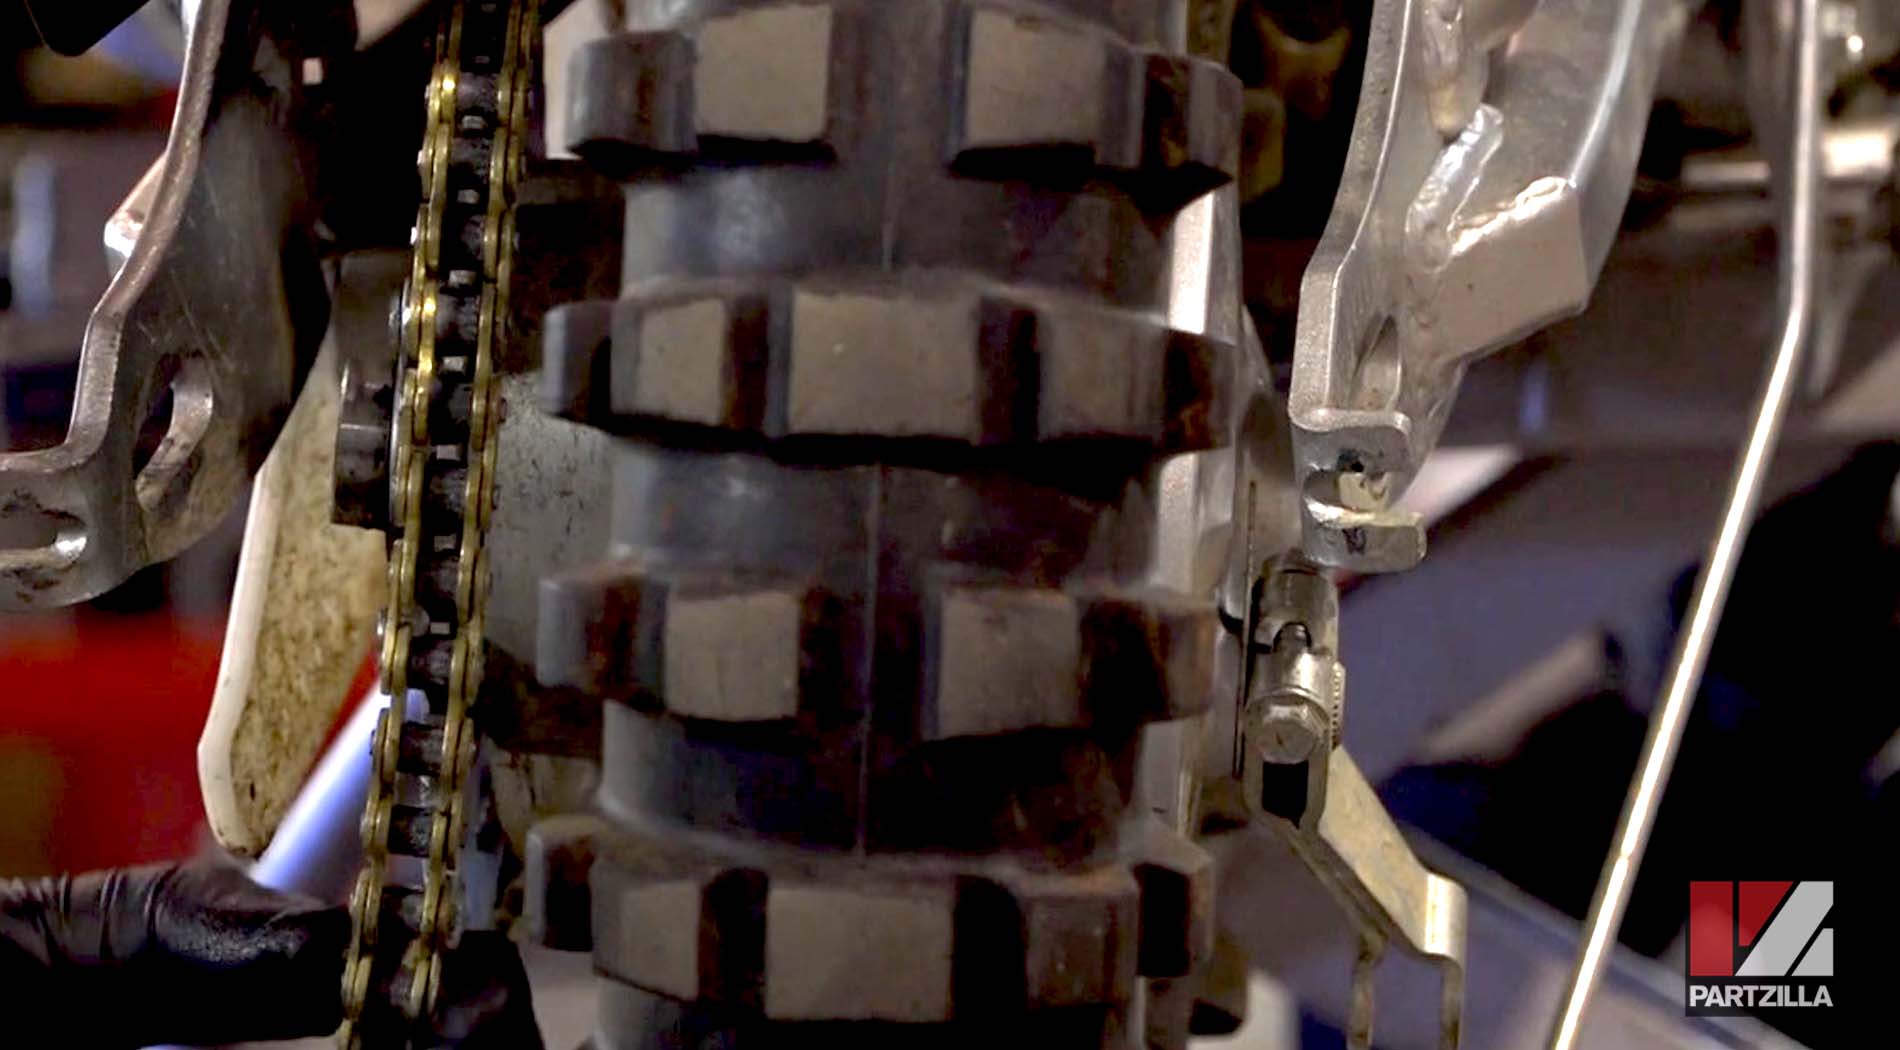
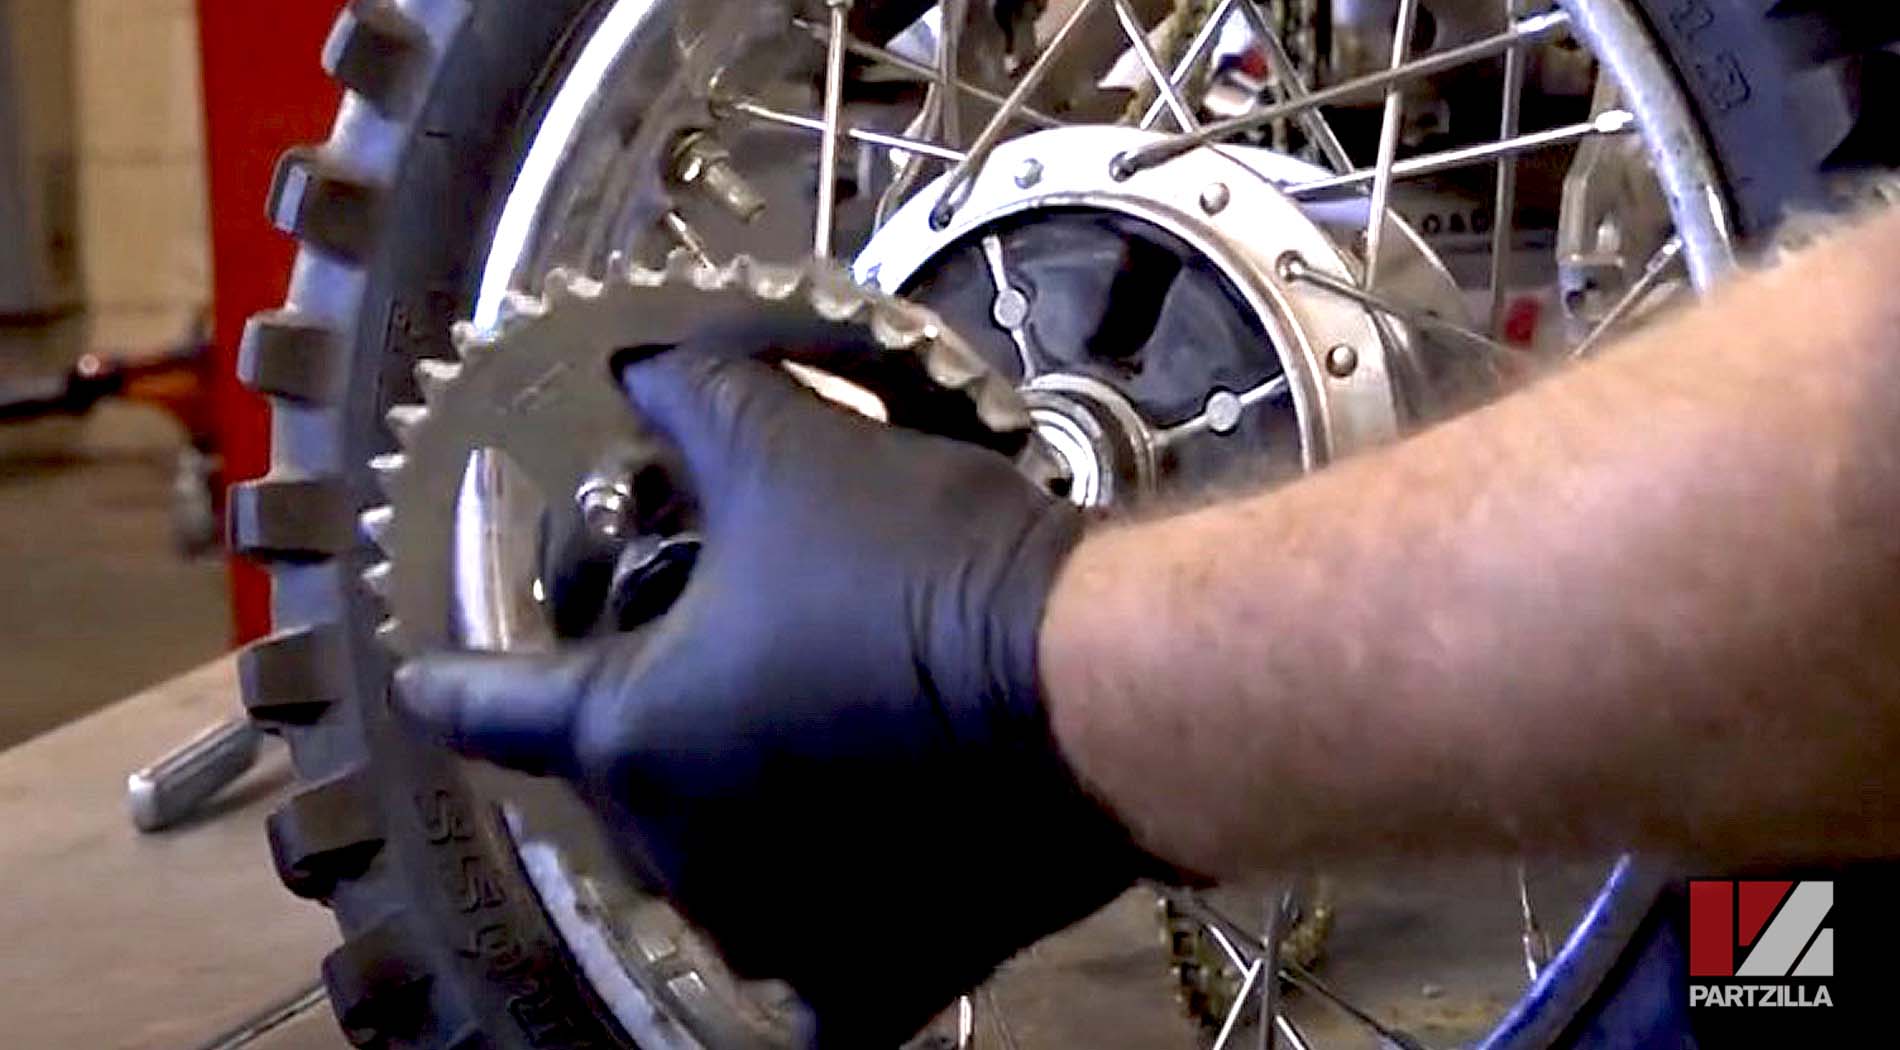
Step 4. Remove the brake hub, then lift out the sprocket and the drive.
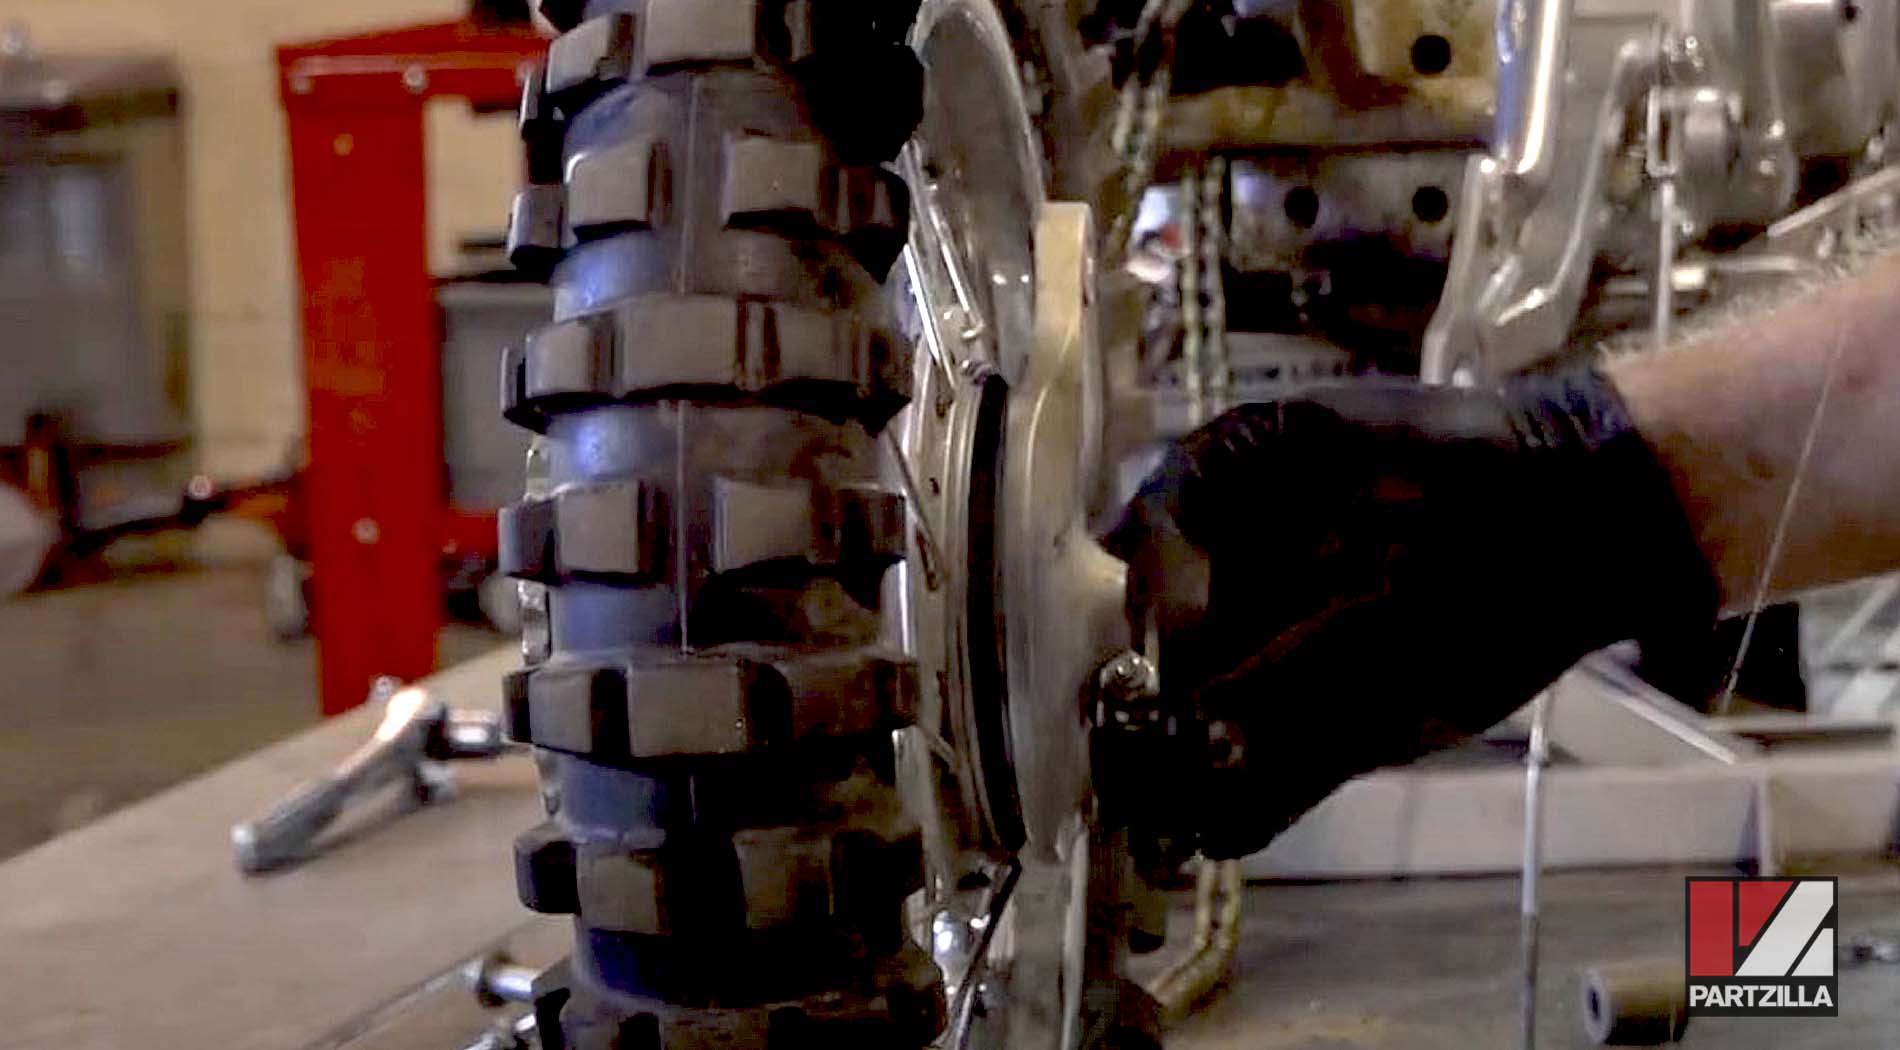
Step 5. Let the air out of the tire, which you can do by holding the valve in with a small screwdriver or by using a valve stem remover.
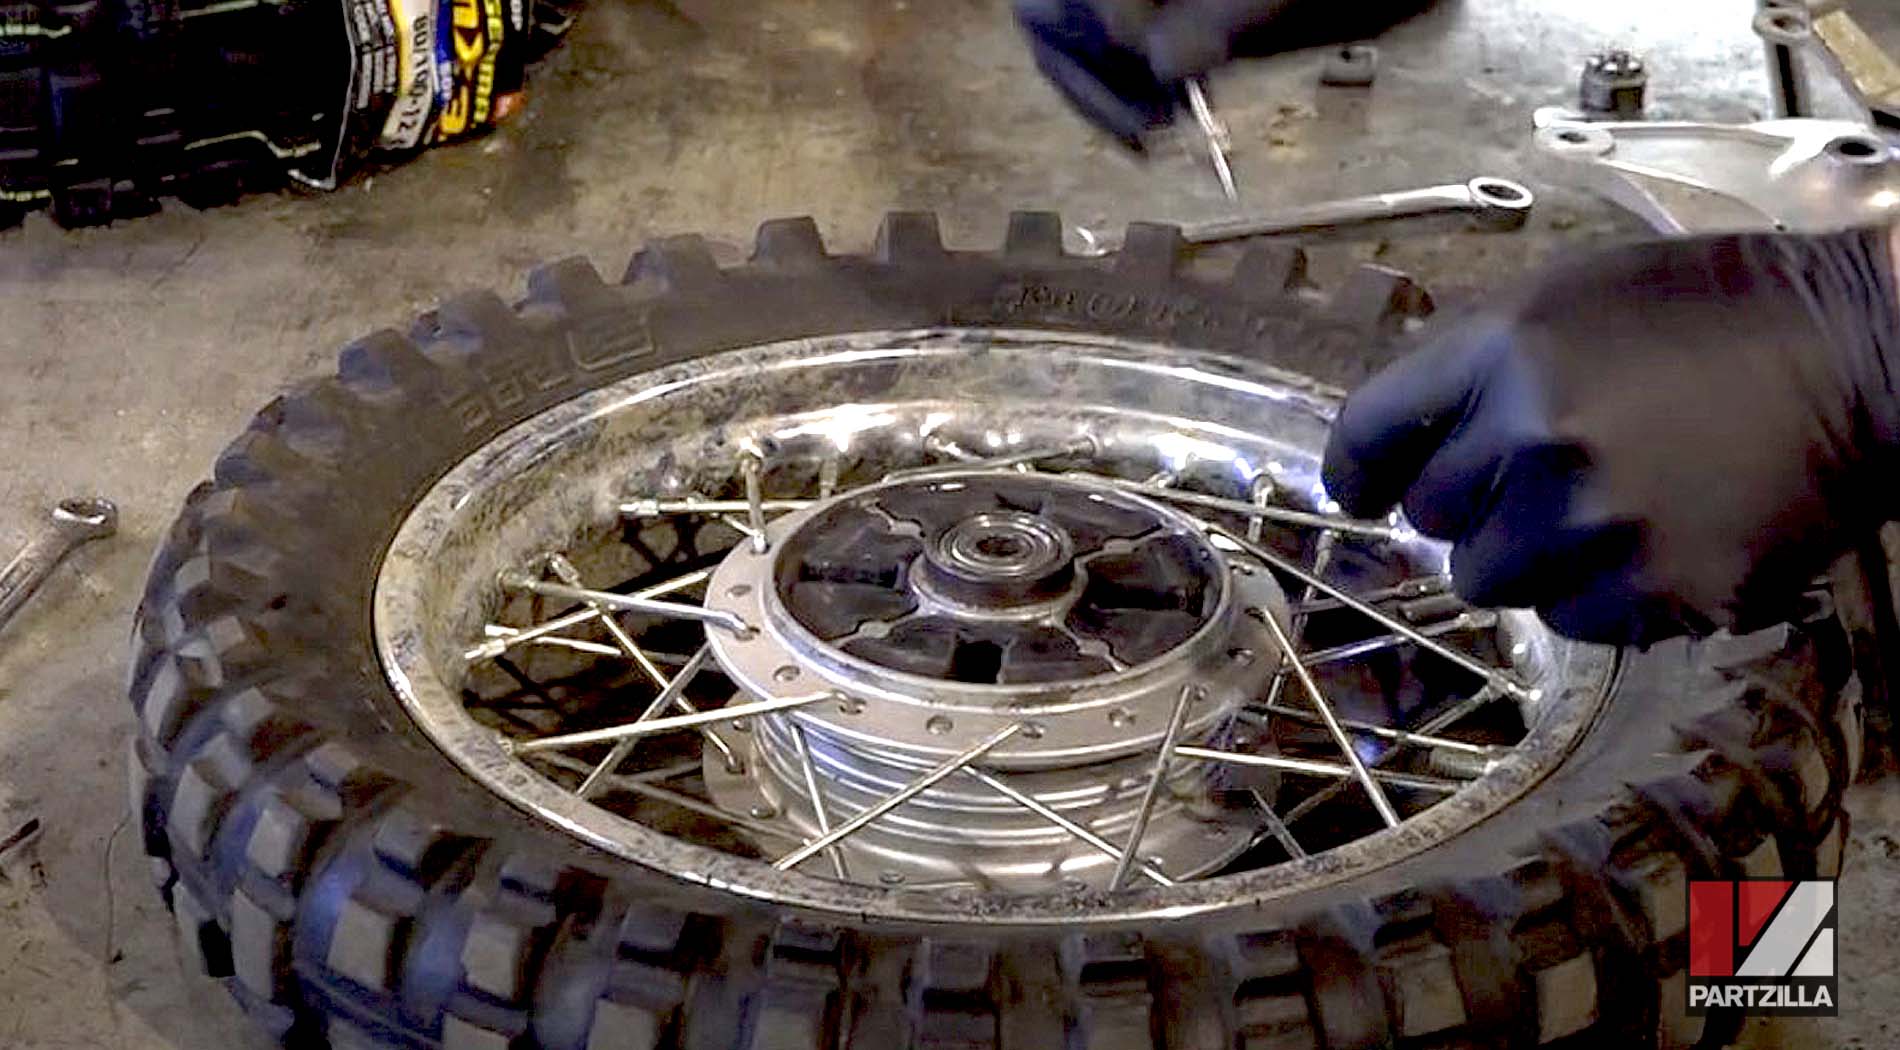
Step 6. Remove the rim lock from the tire.
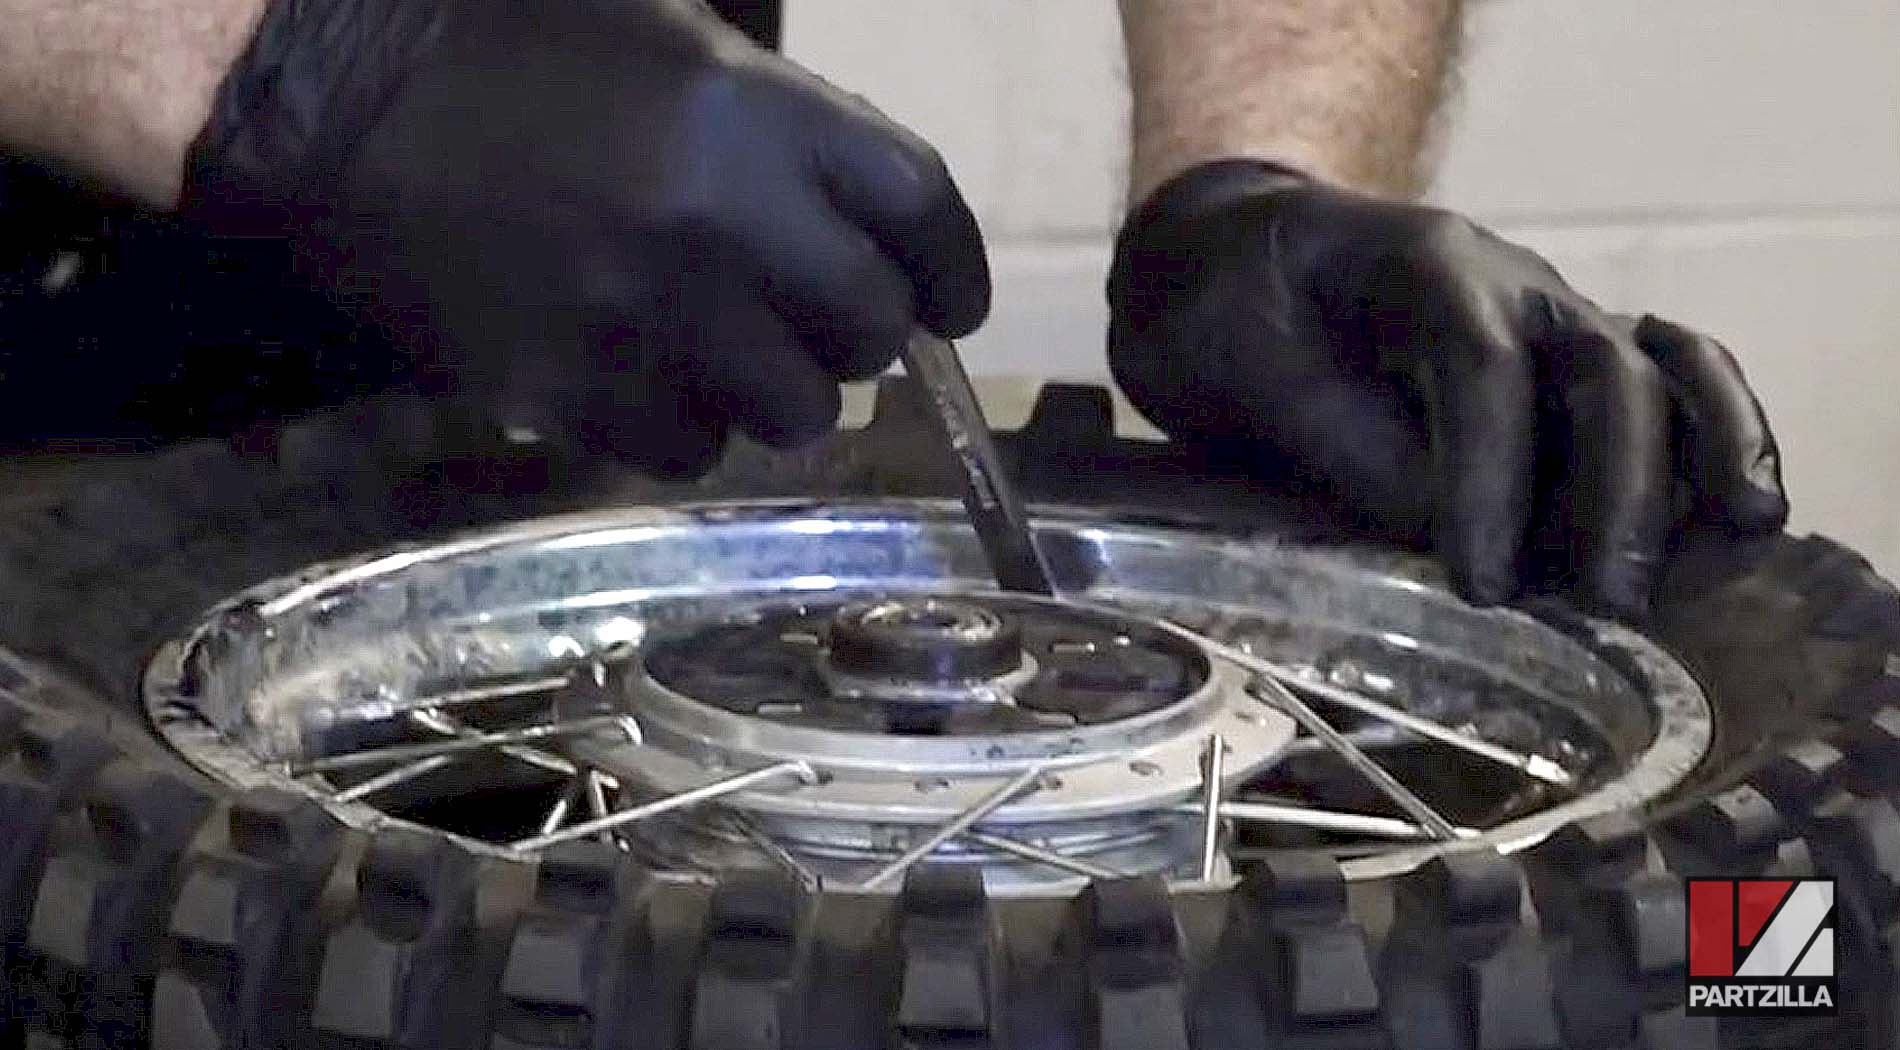
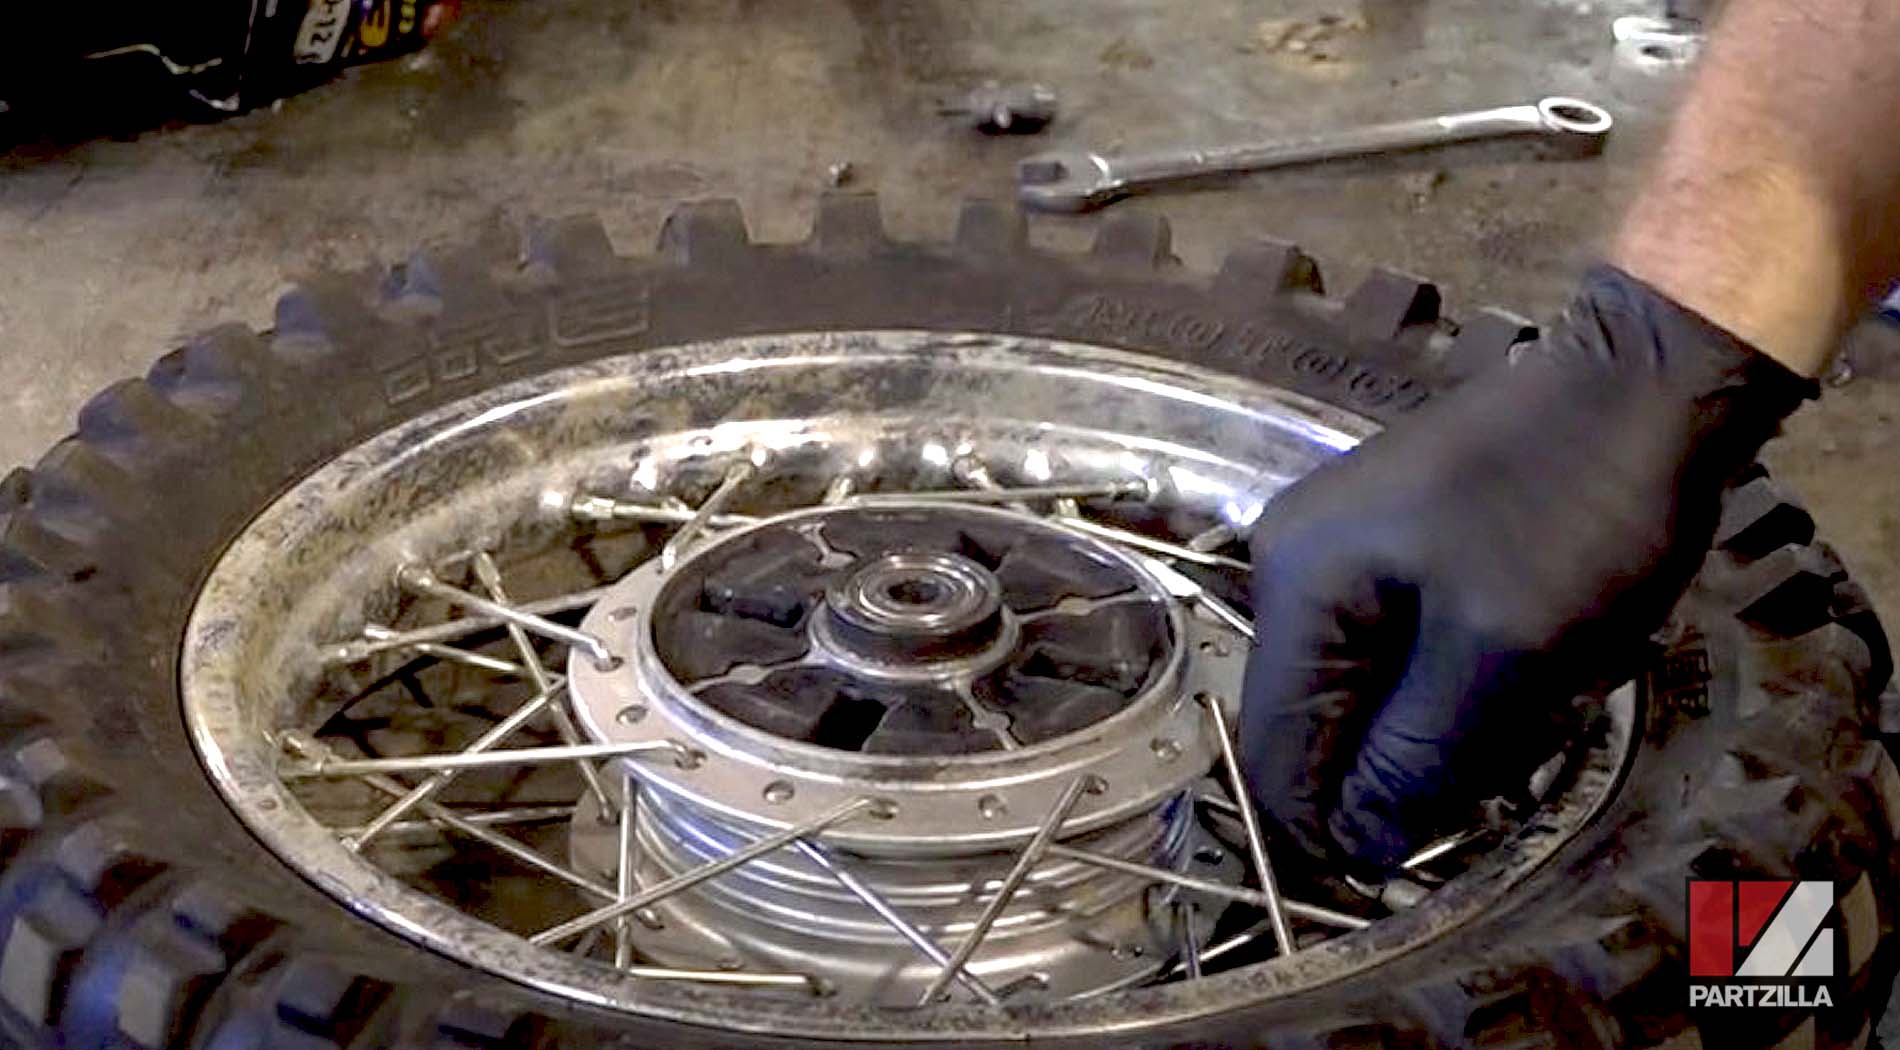
Step 7. Remove the nut that holds the tube in place.

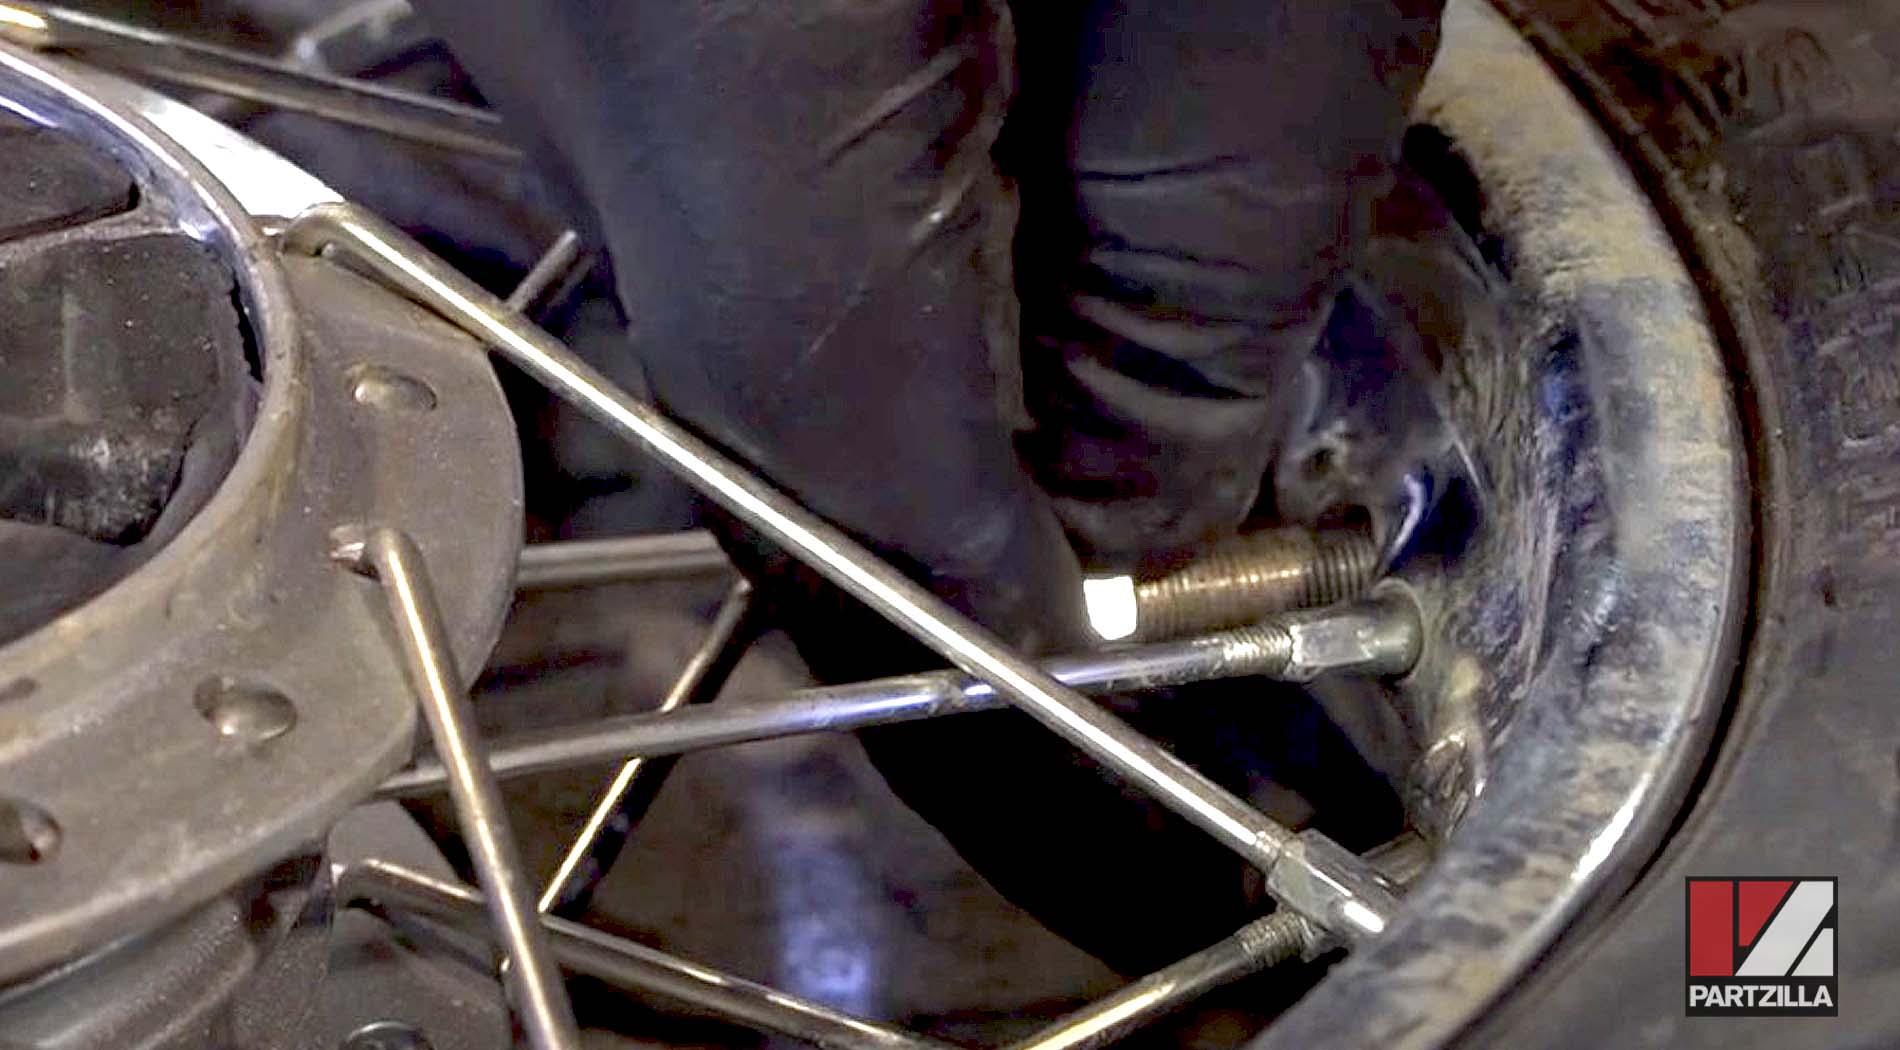
Step 8. Push down on the tire to break it away from the bead.

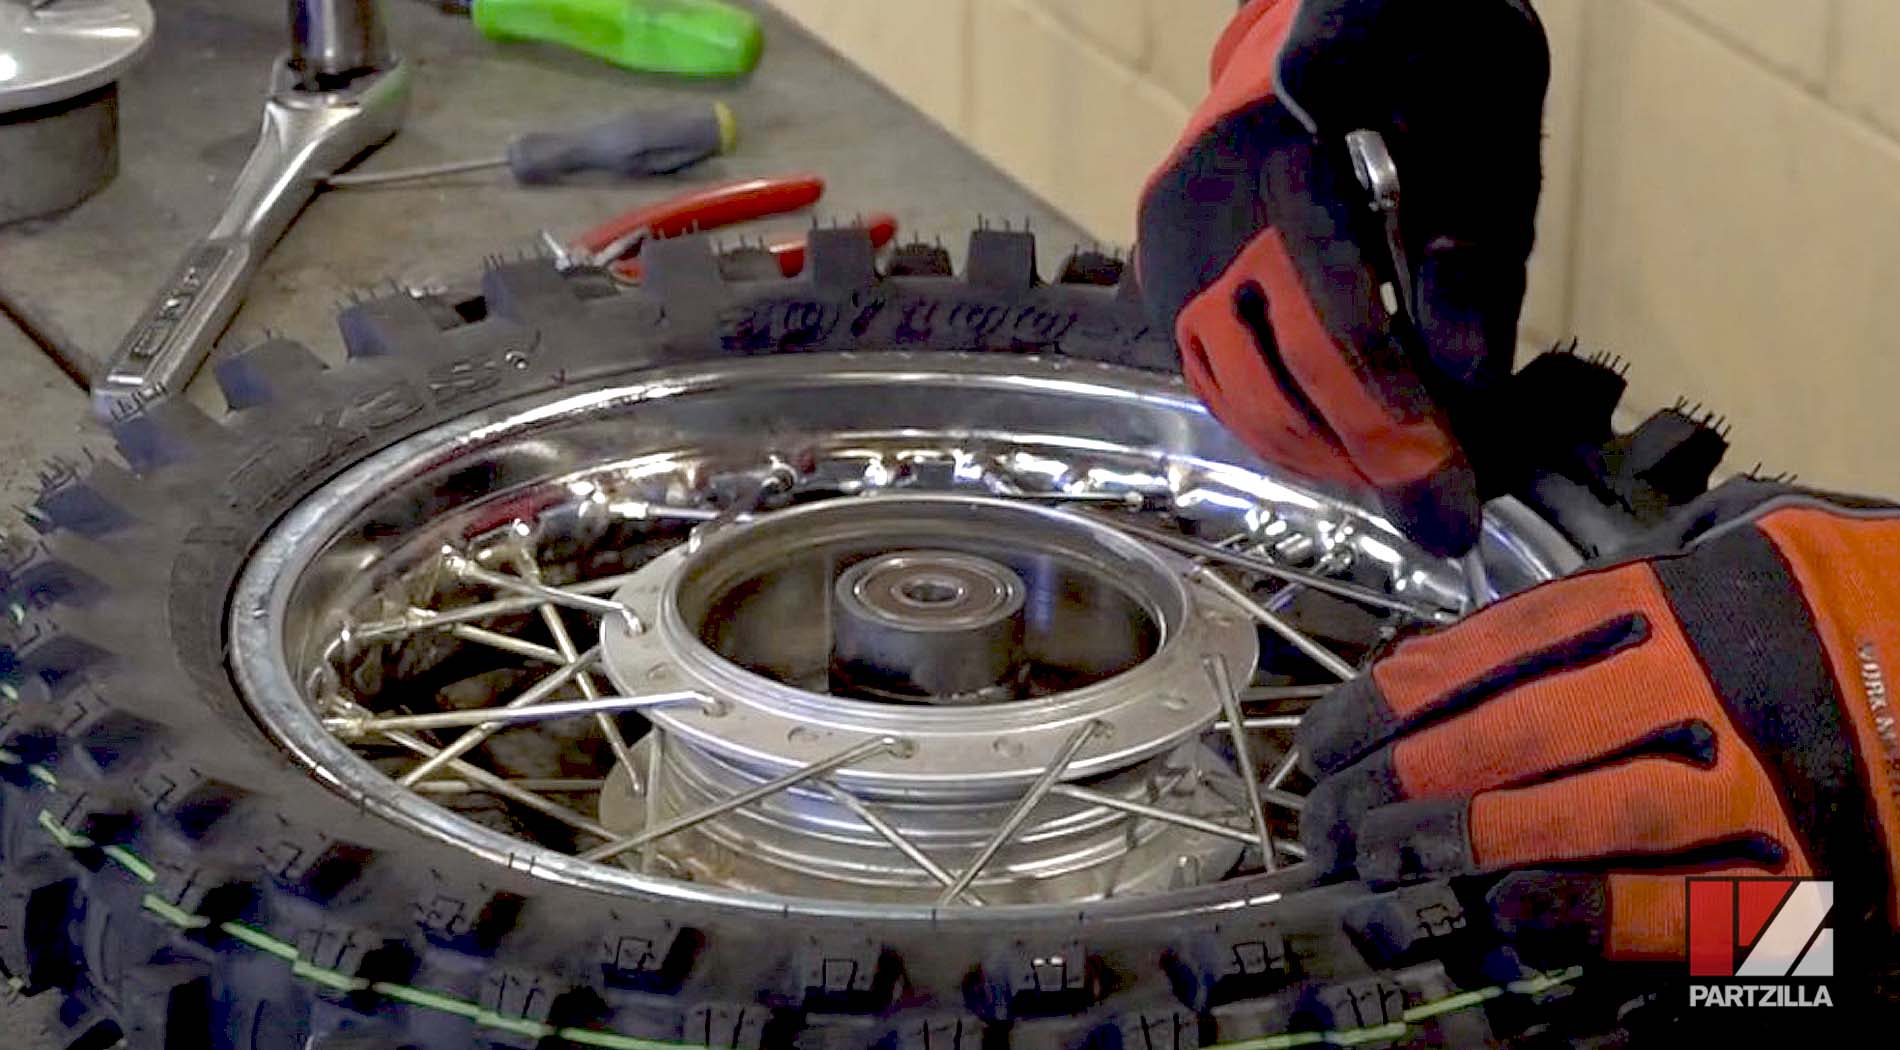
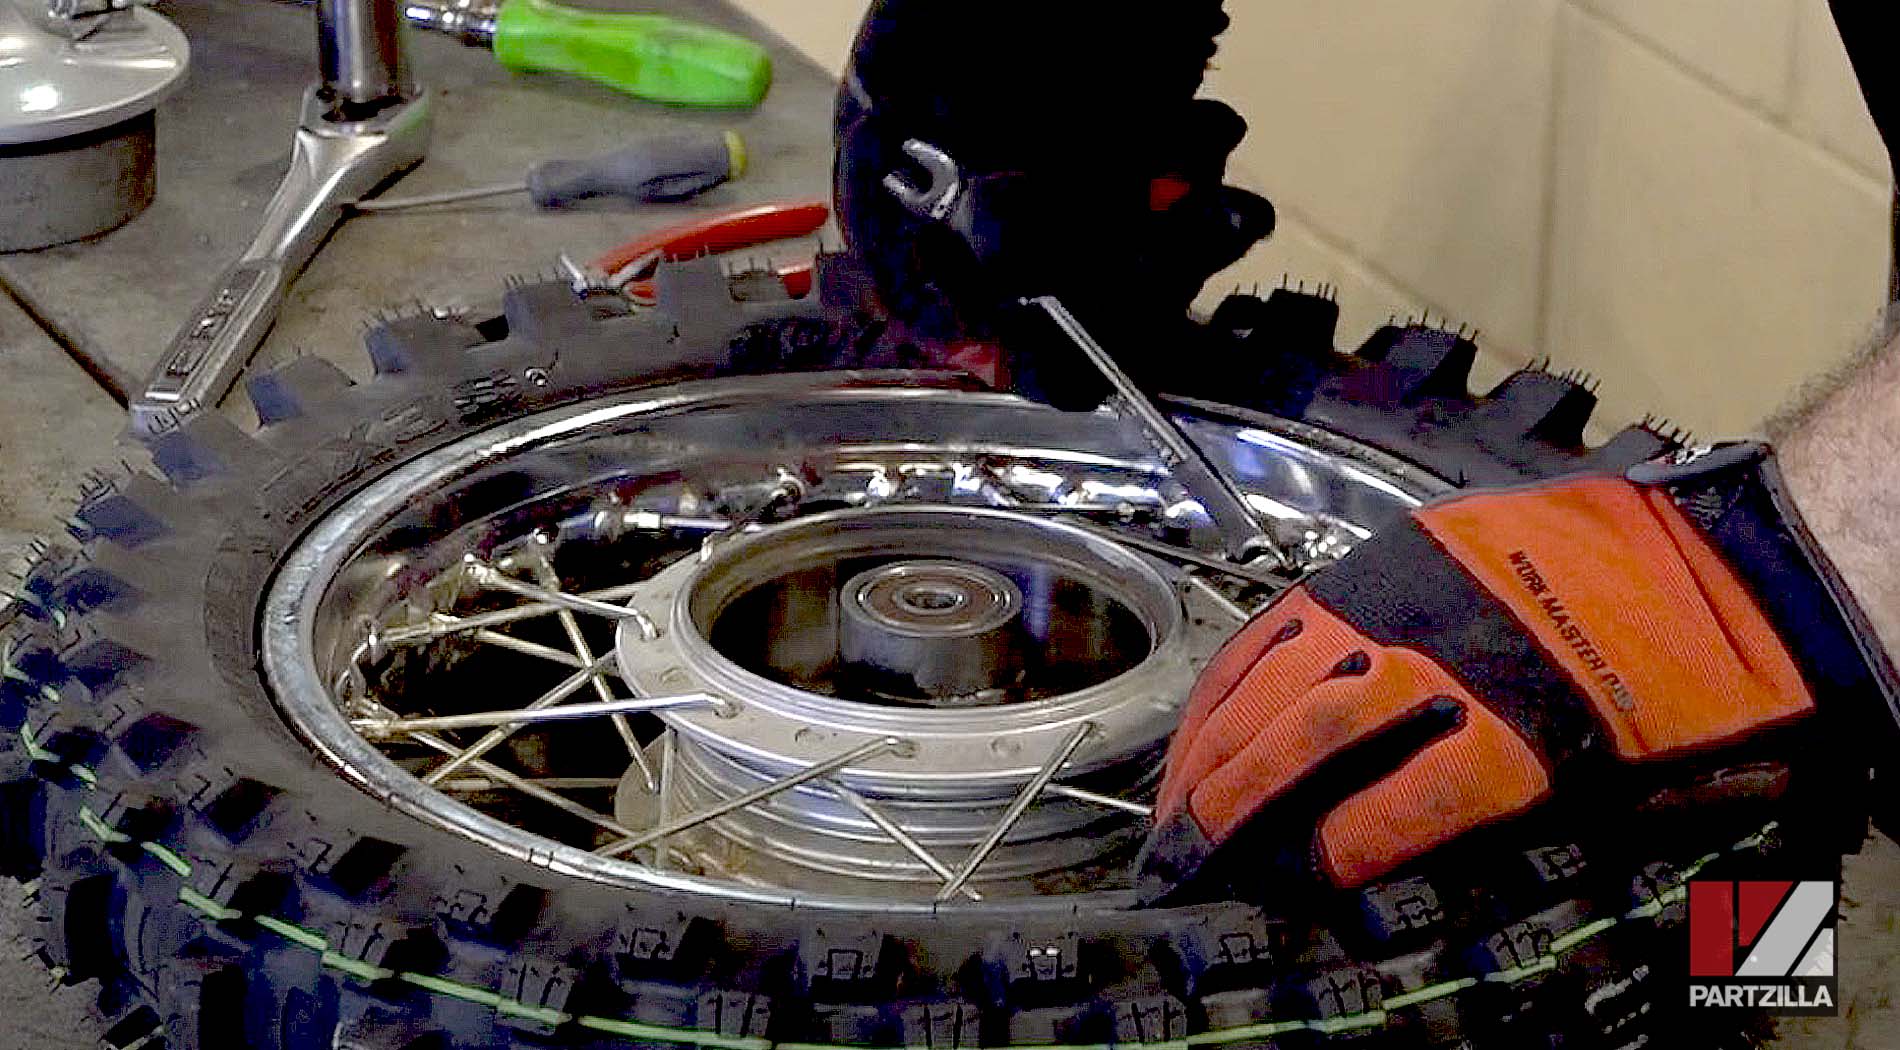
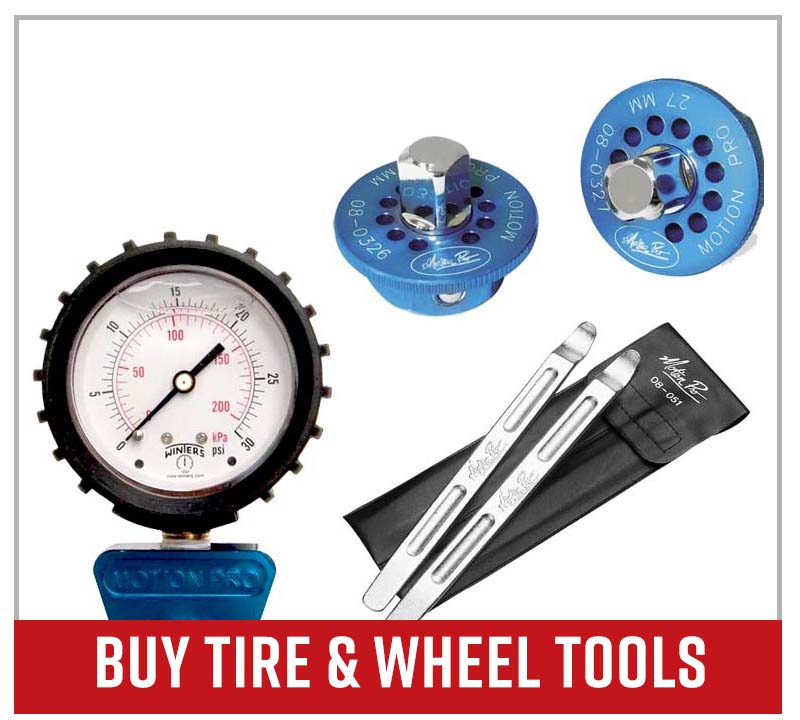
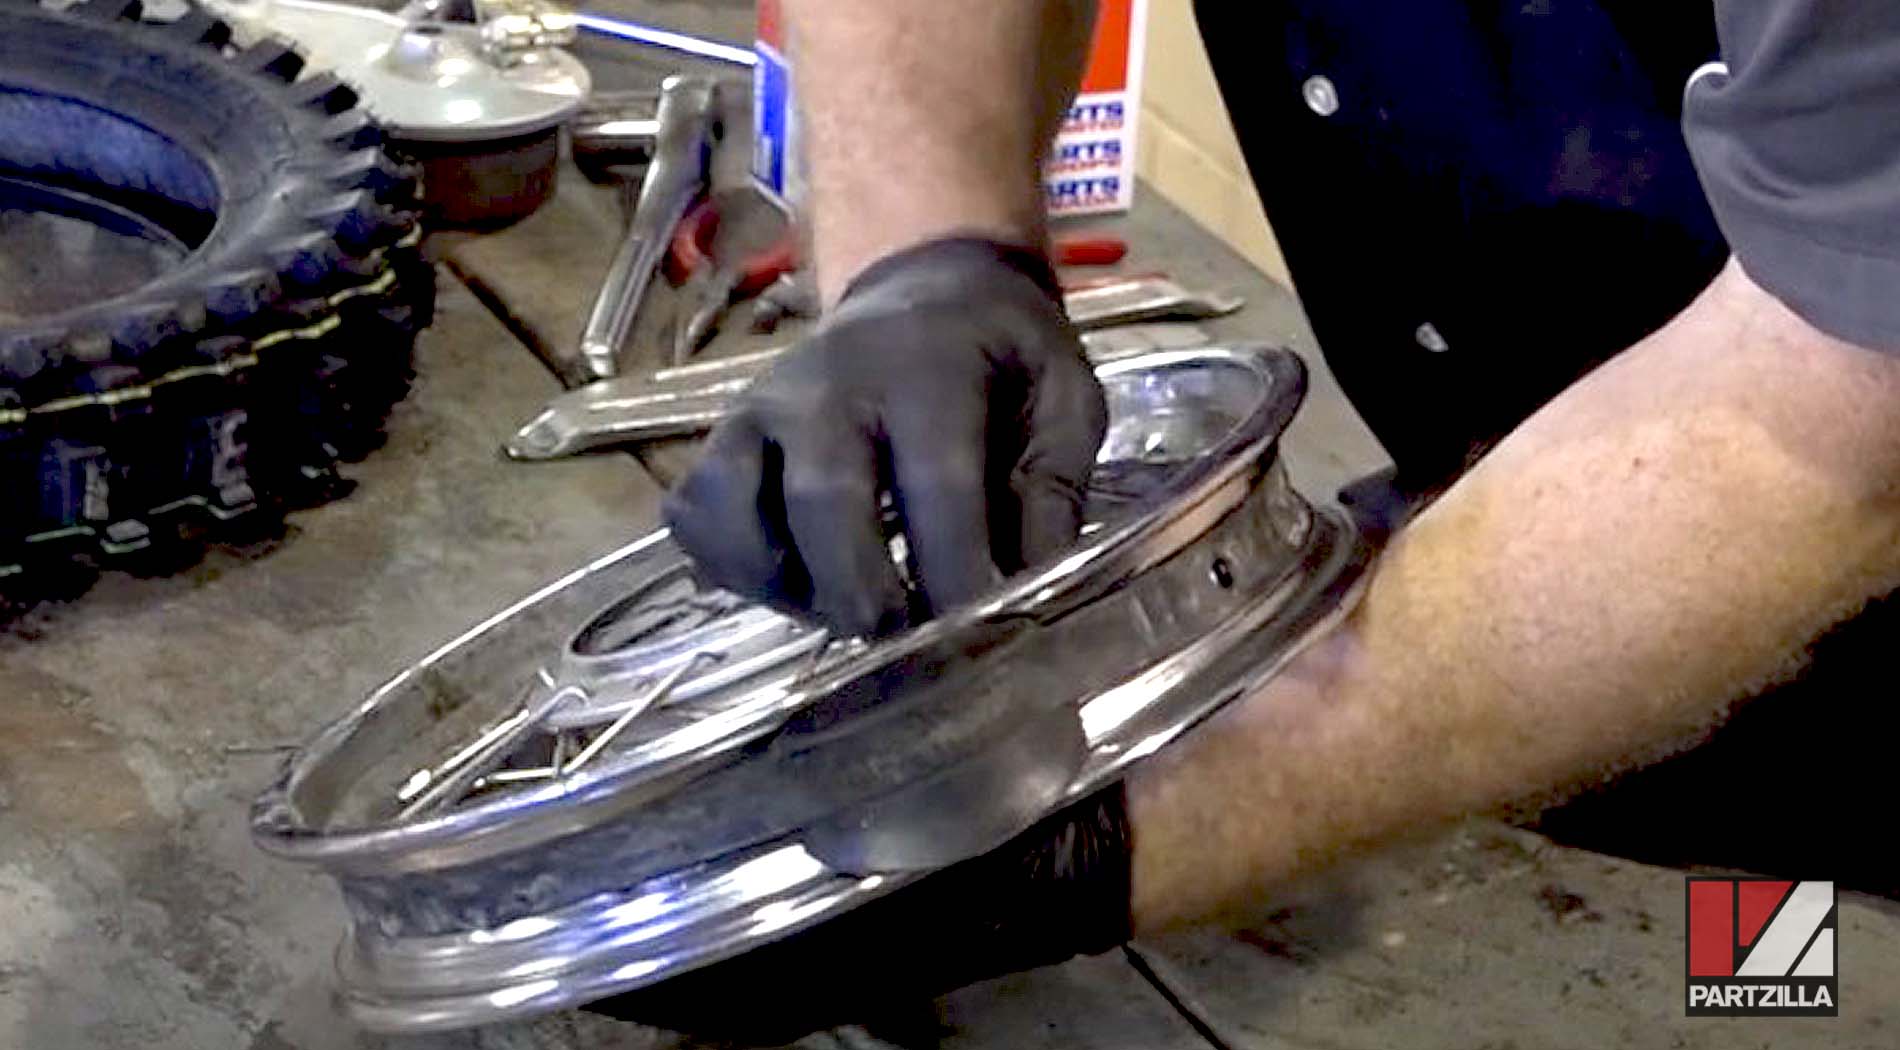
Step 9. Use a set of tire irons to remove the tire from the wheel. Start by bringing the tire over the lip, and then work your way around with the tire irons until you get the rest of the tire off the wheel.
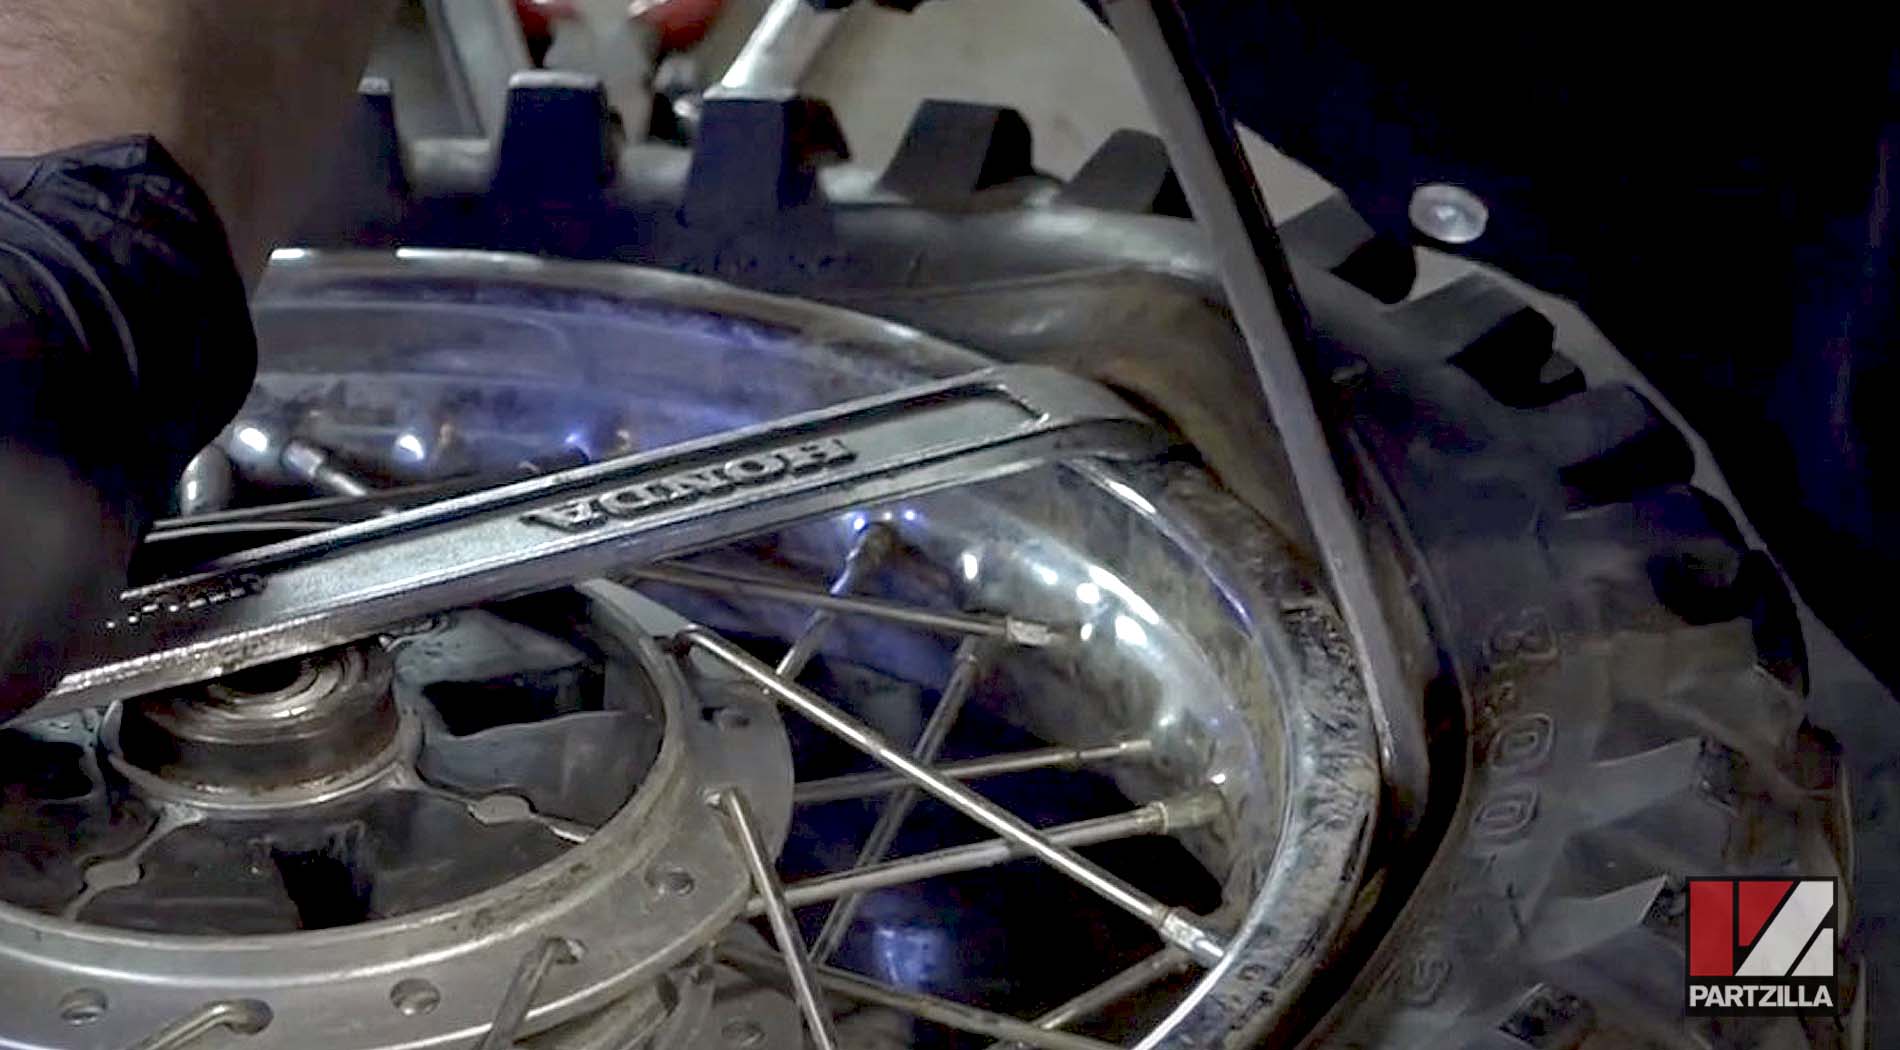
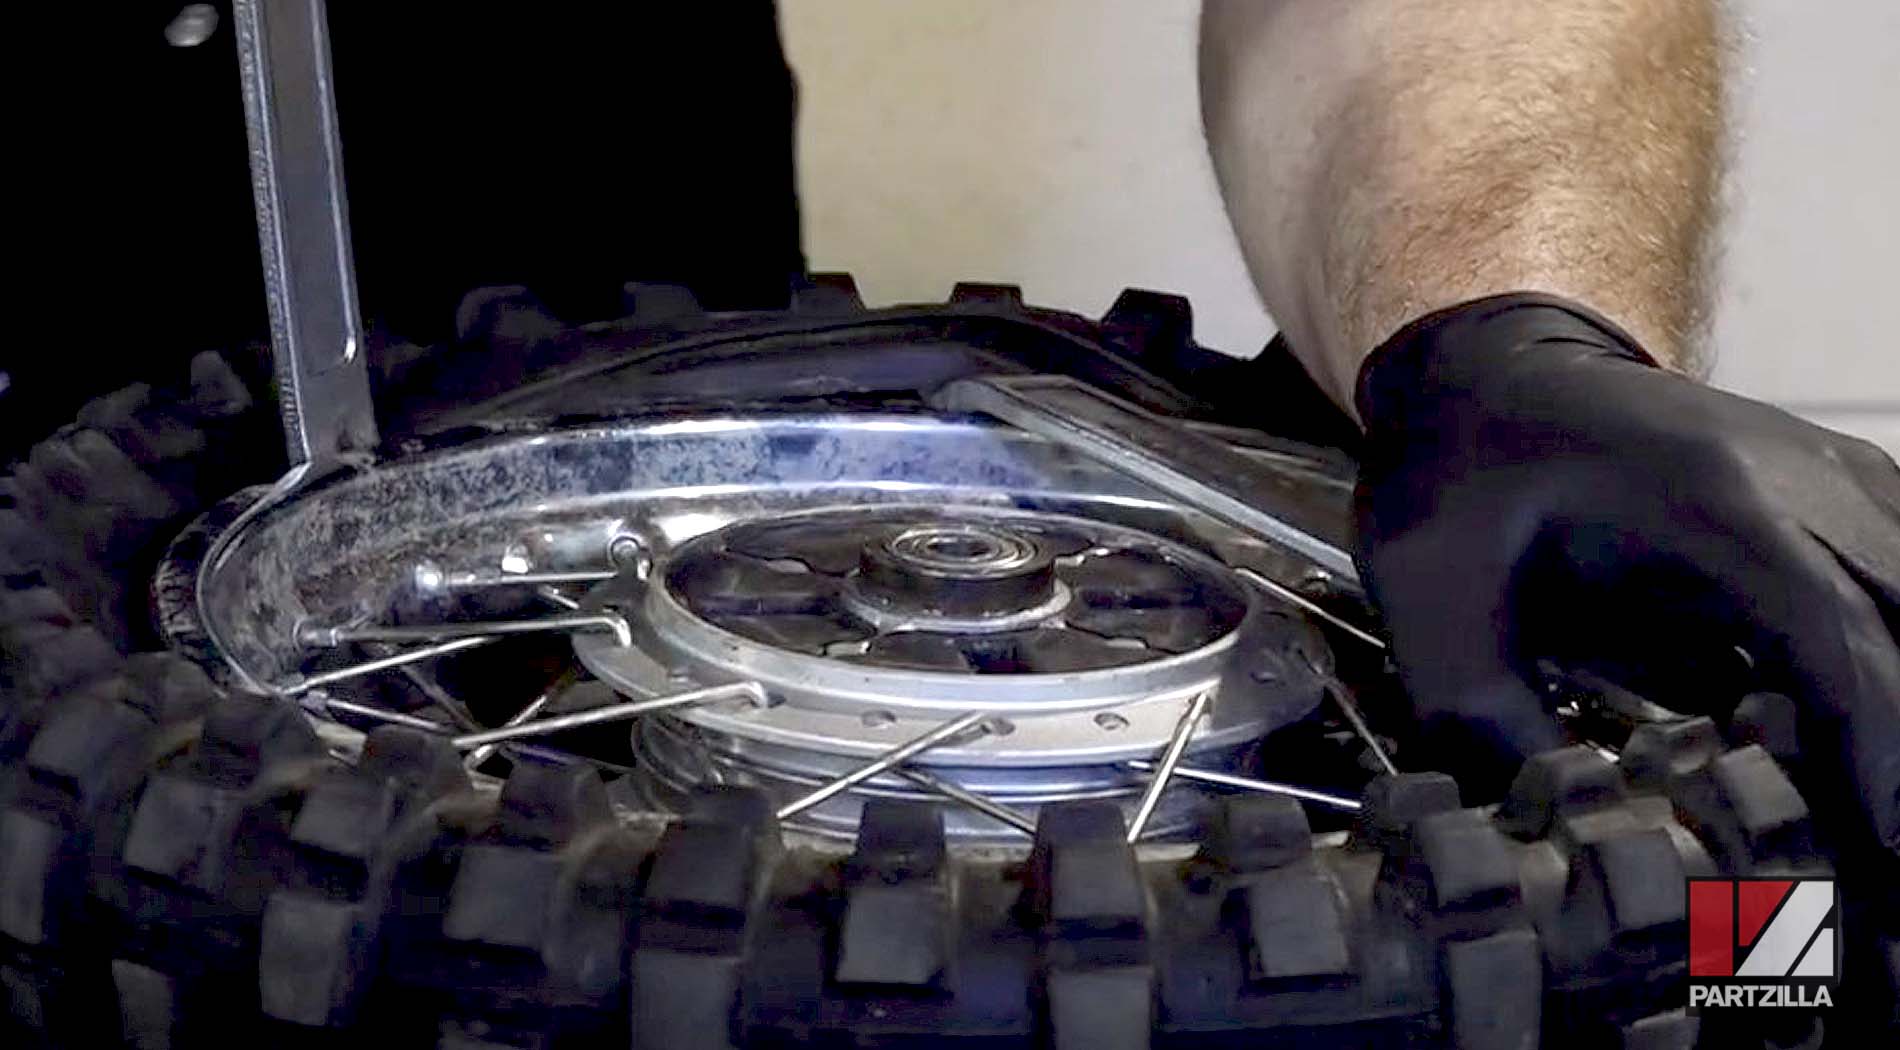
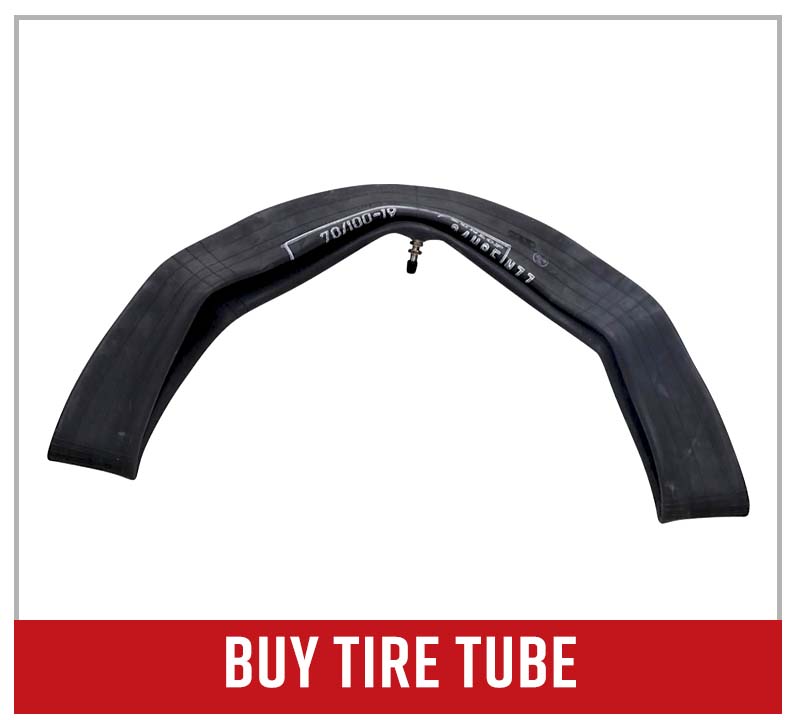
Push the valve in and pull the tube out before pulling the tire completely off the rim.
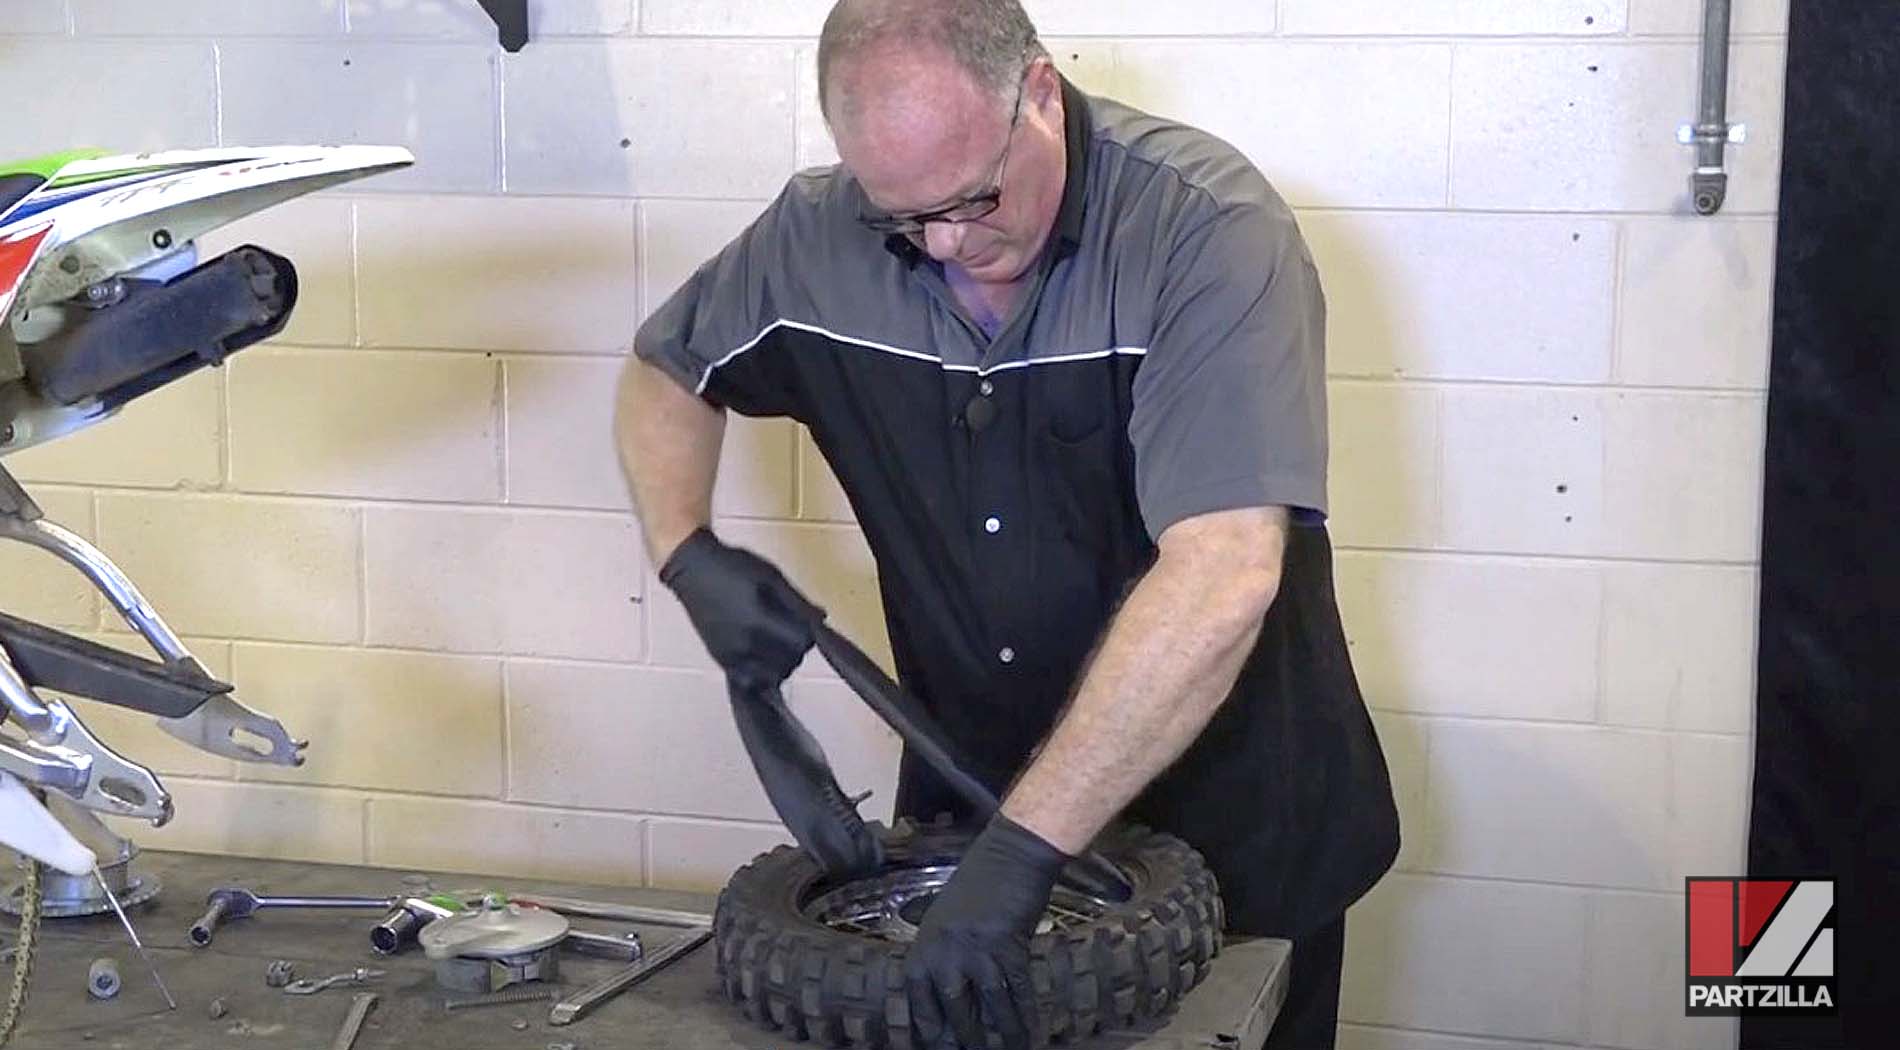
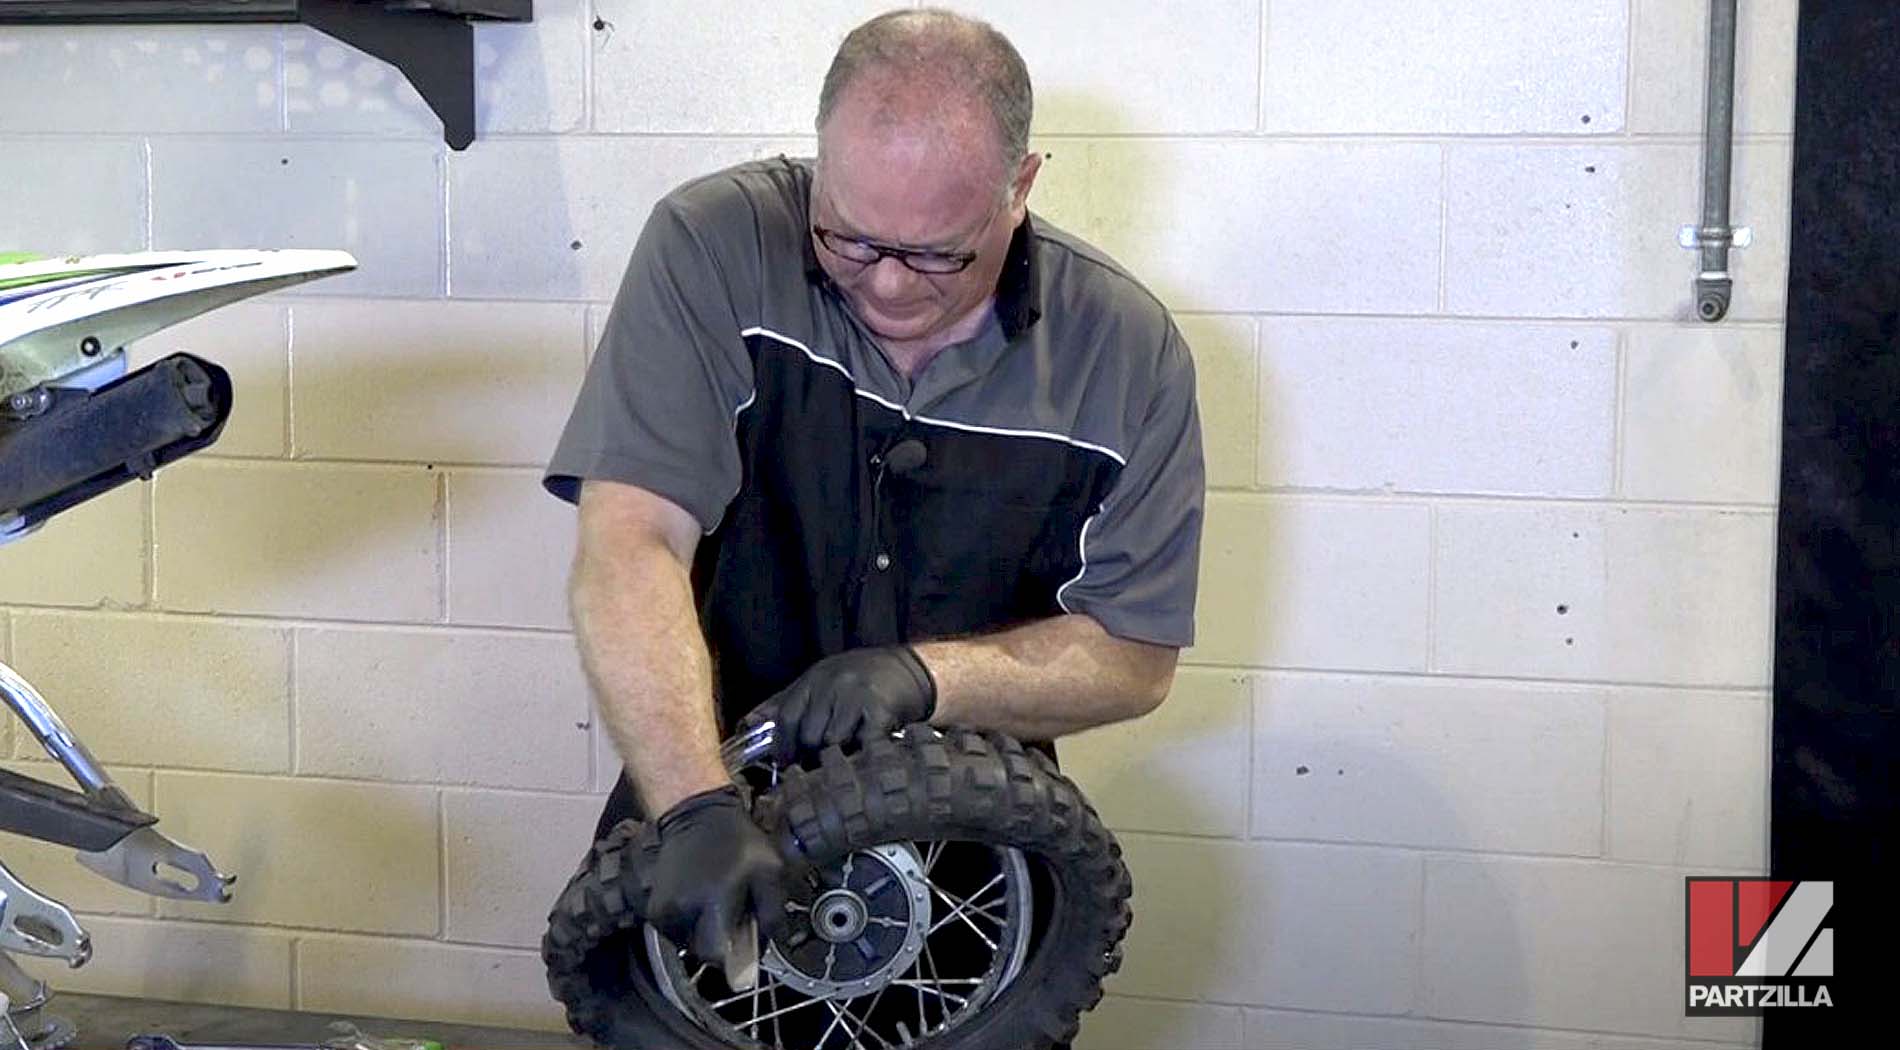
PRO TIP: Now is a good time to inspect the rubber band that goes around the wheel to make sure it hasn't been poked through anywhere, and to inspect the spokes to make sure they’re not loose.
Kawasaki KLX110 Rear Tire Change - Install the New Tire
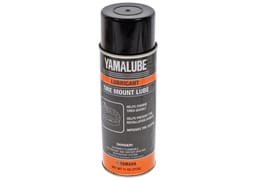
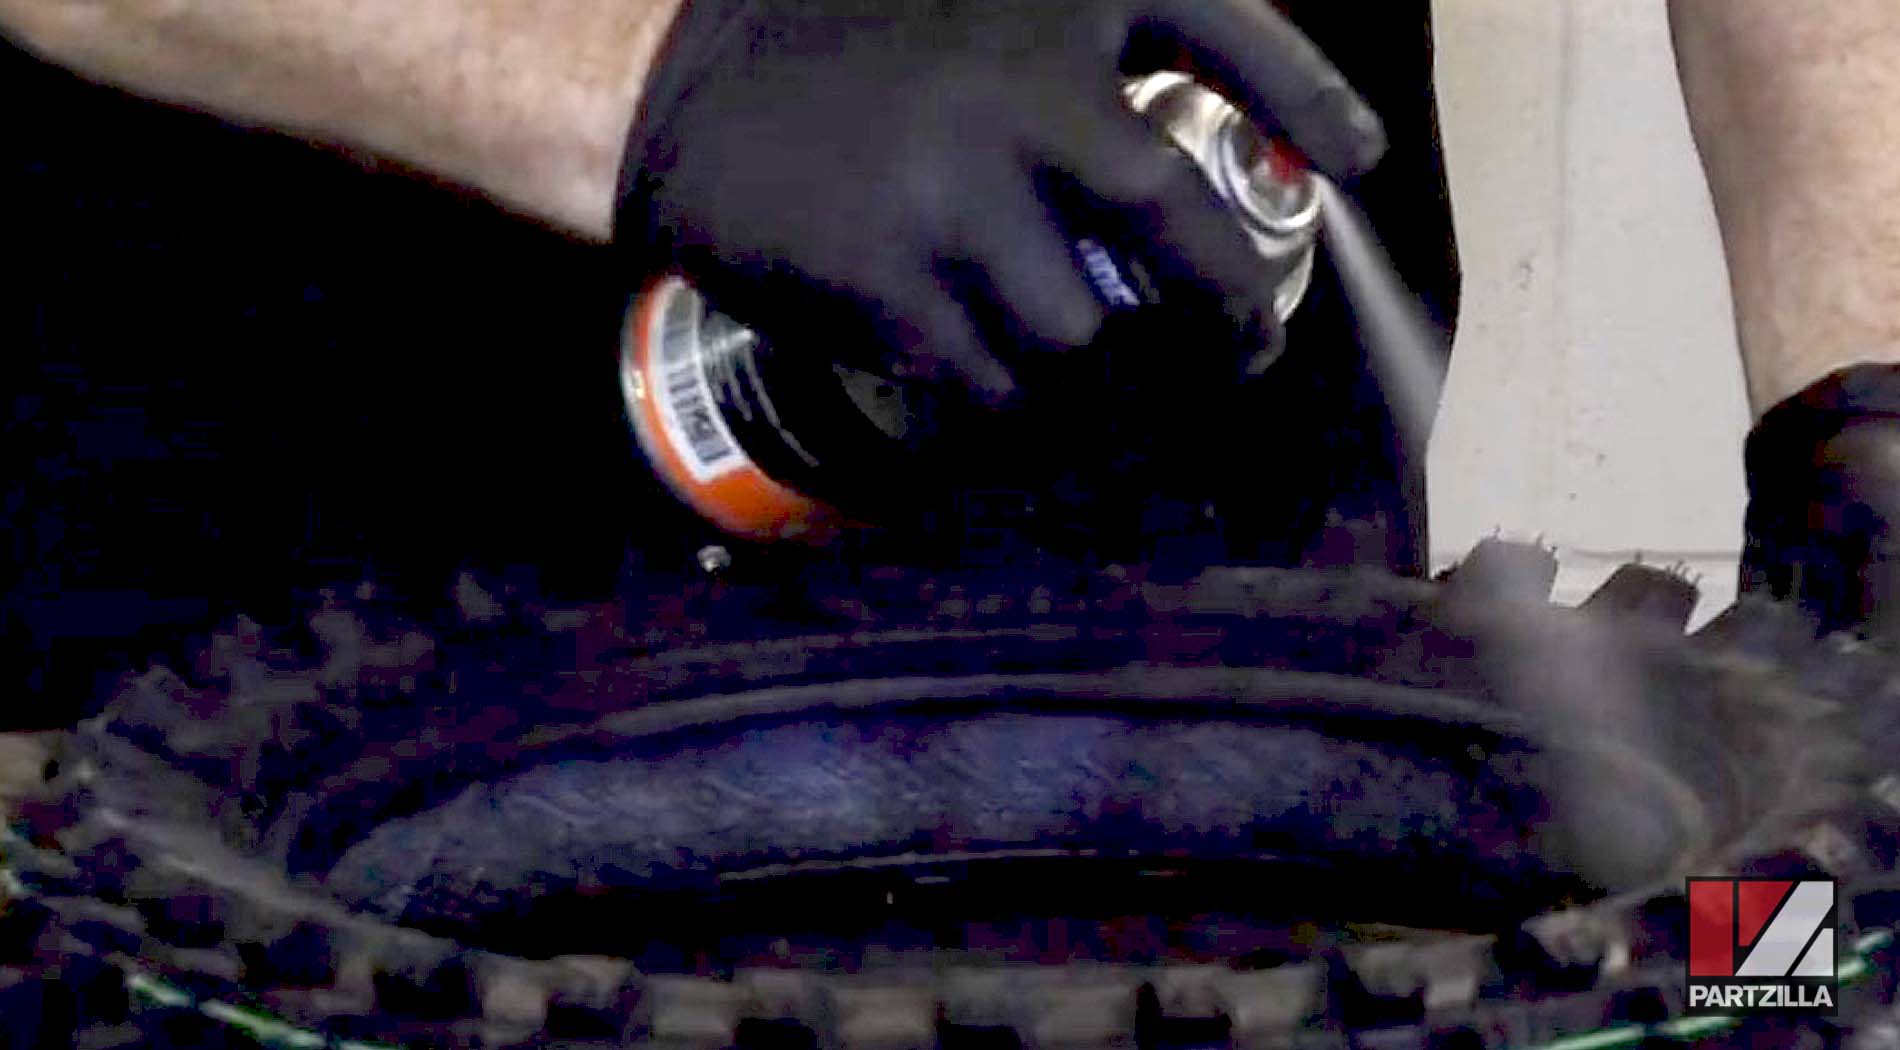
Step 10. Spray down the edge of the inner part of the new tire with tire mount lube.
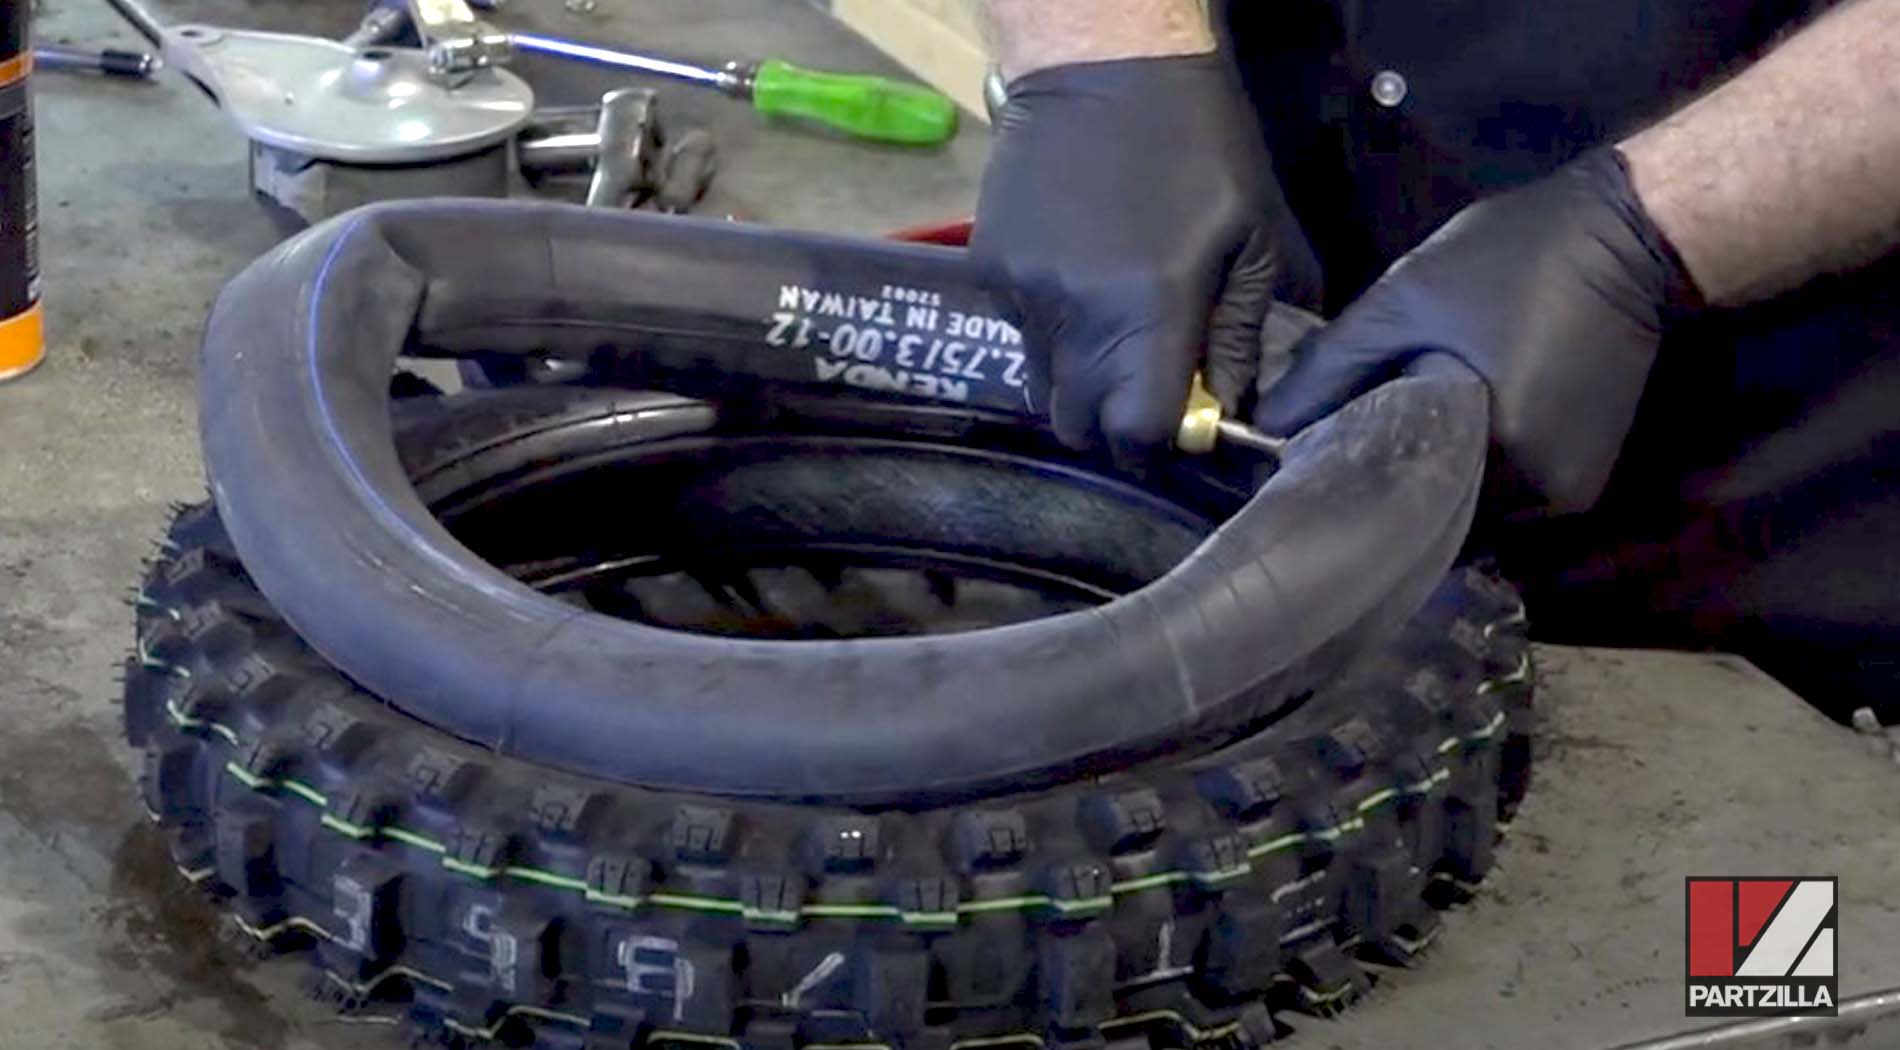
Step 11. Fill the new tube with enough air for it to stay up inside the tire, then squeeze it up into the tire, making sure it doesn't get twisted as you're pushing it in.
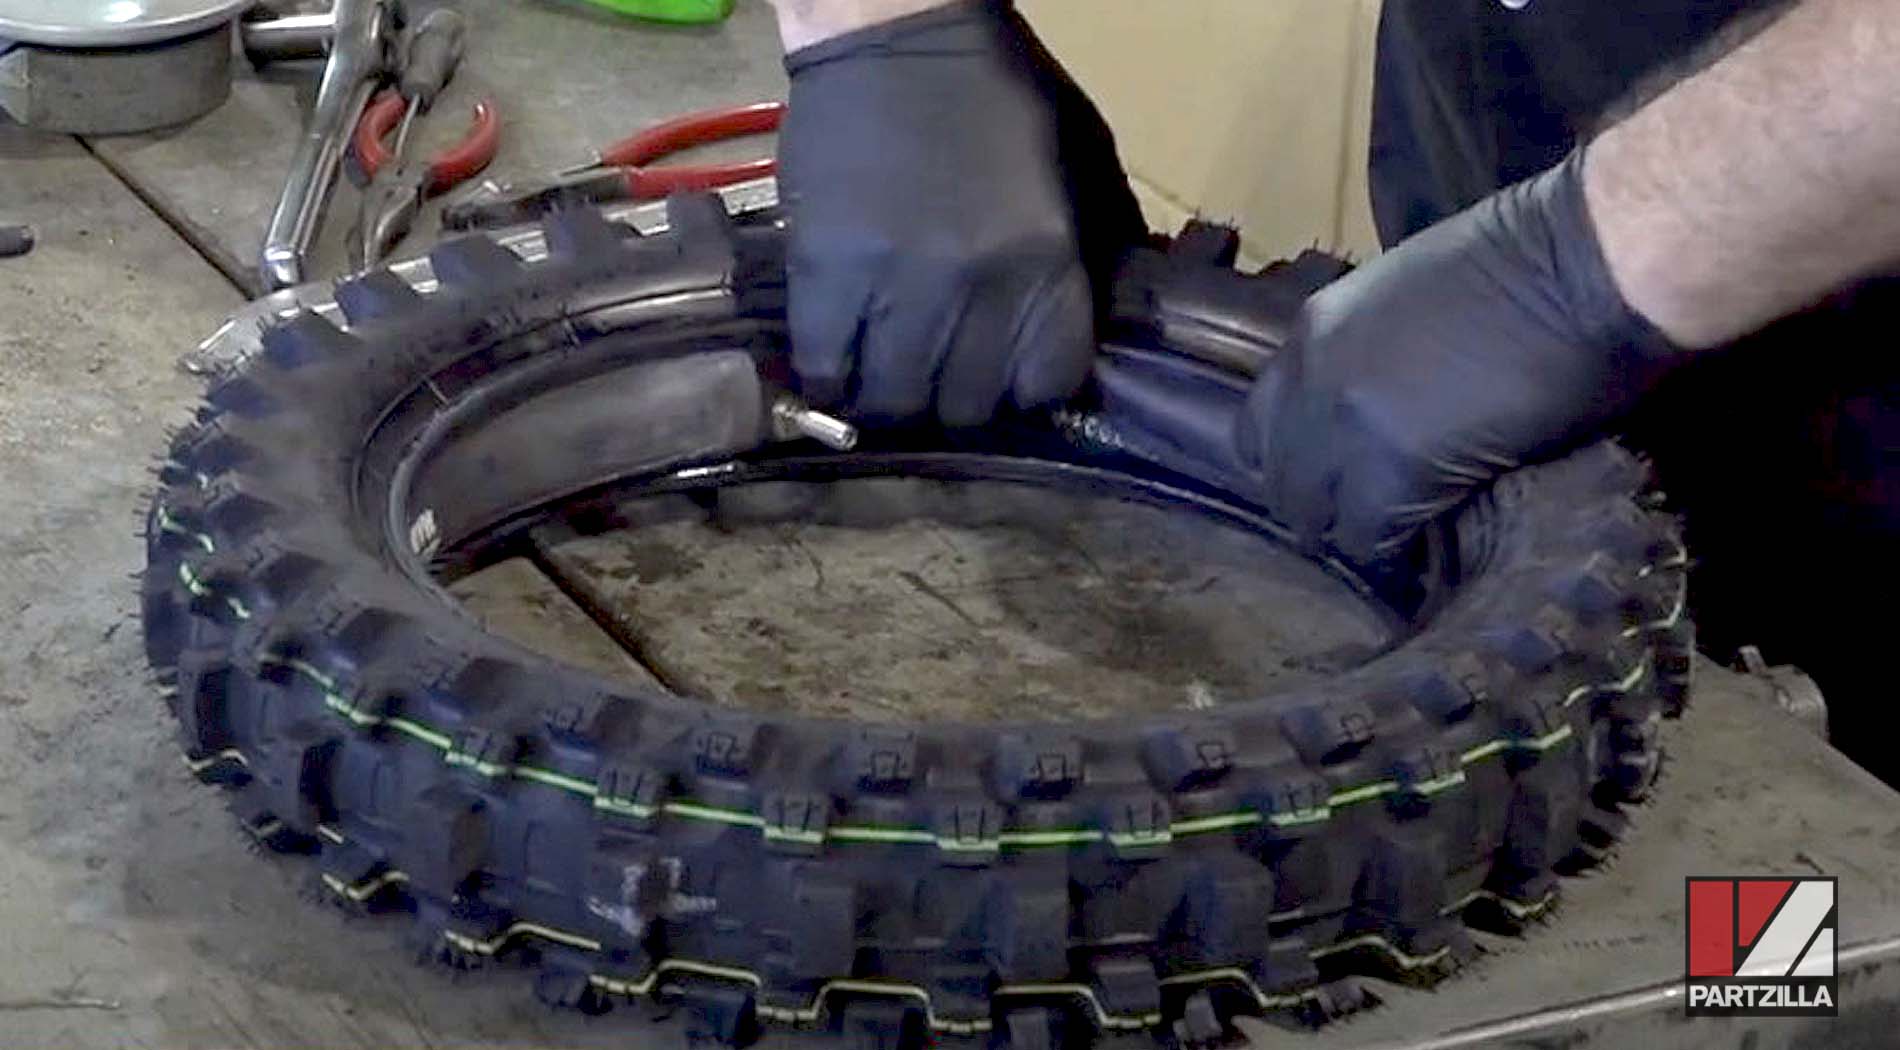
Step 12. Spray down the rim with the tire mount lube.
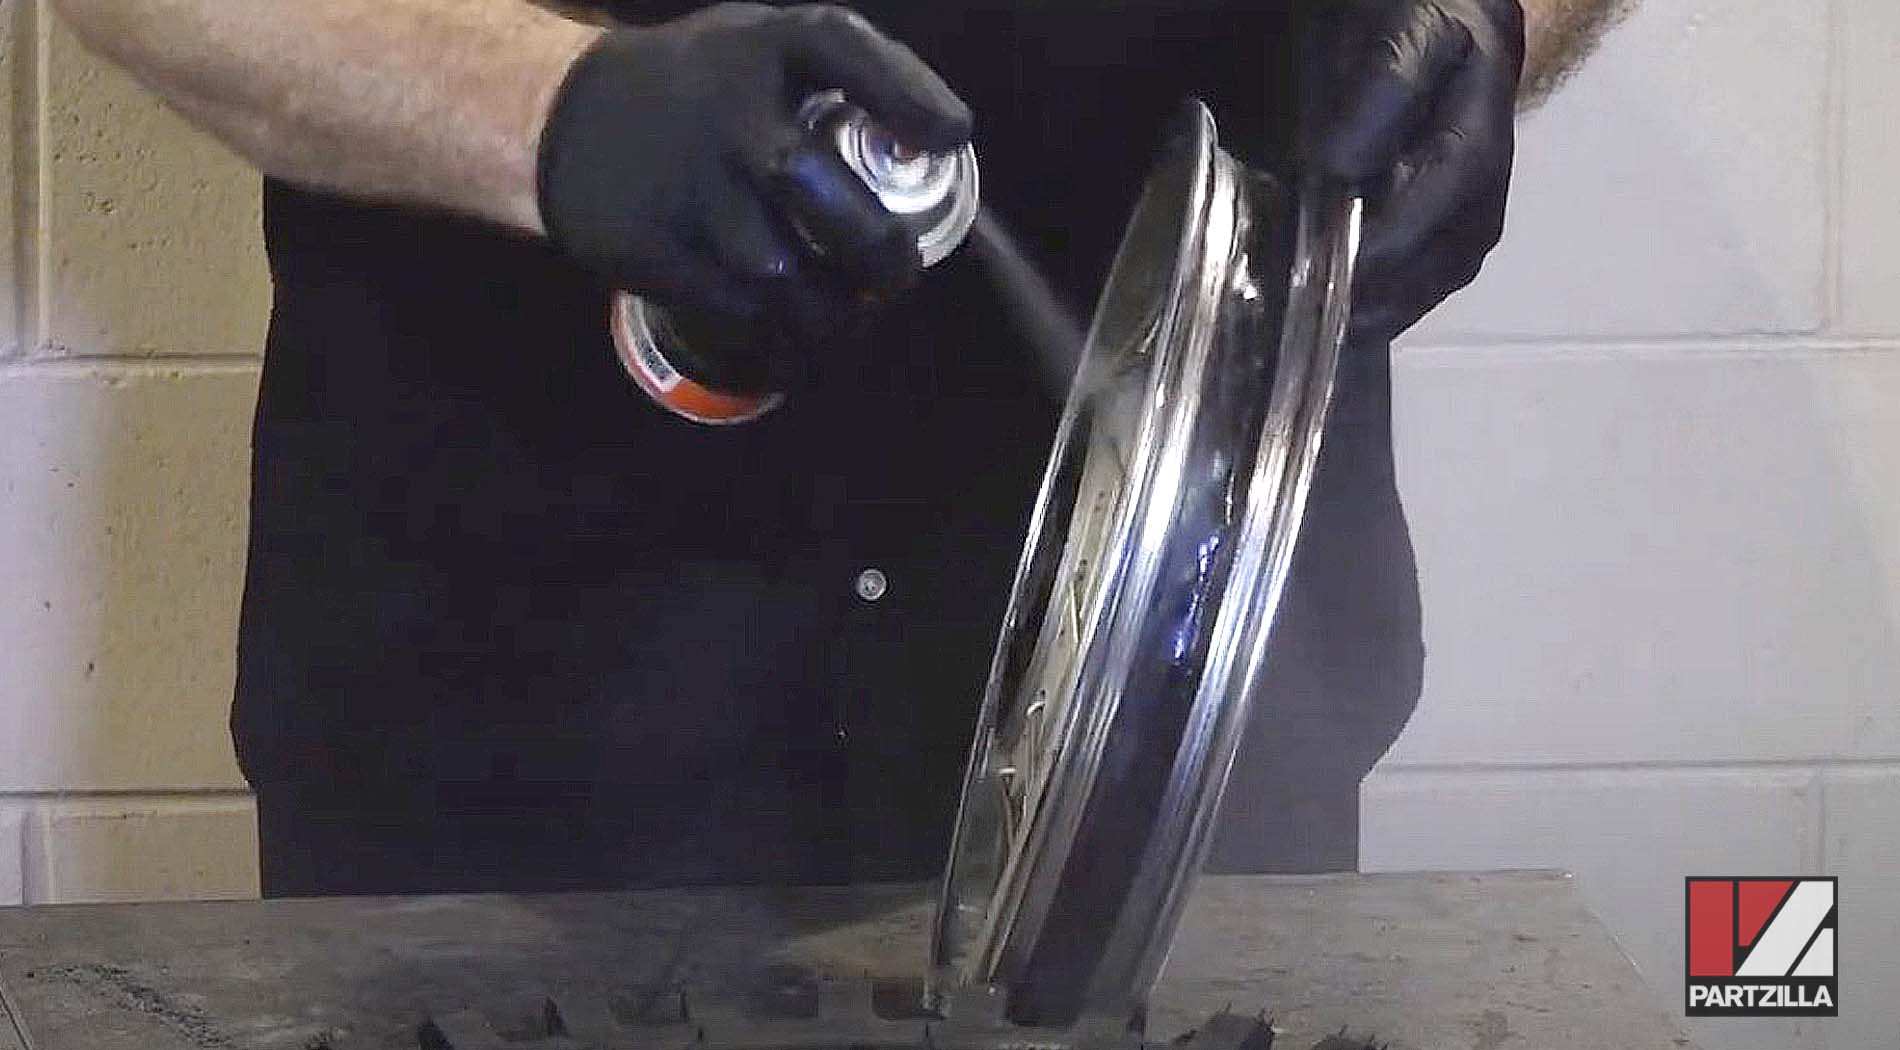
Step 13. Line the new tire up where the valve goes through the wheel, then put in the valve nut and give it a couple of turns to hold the tire in place.
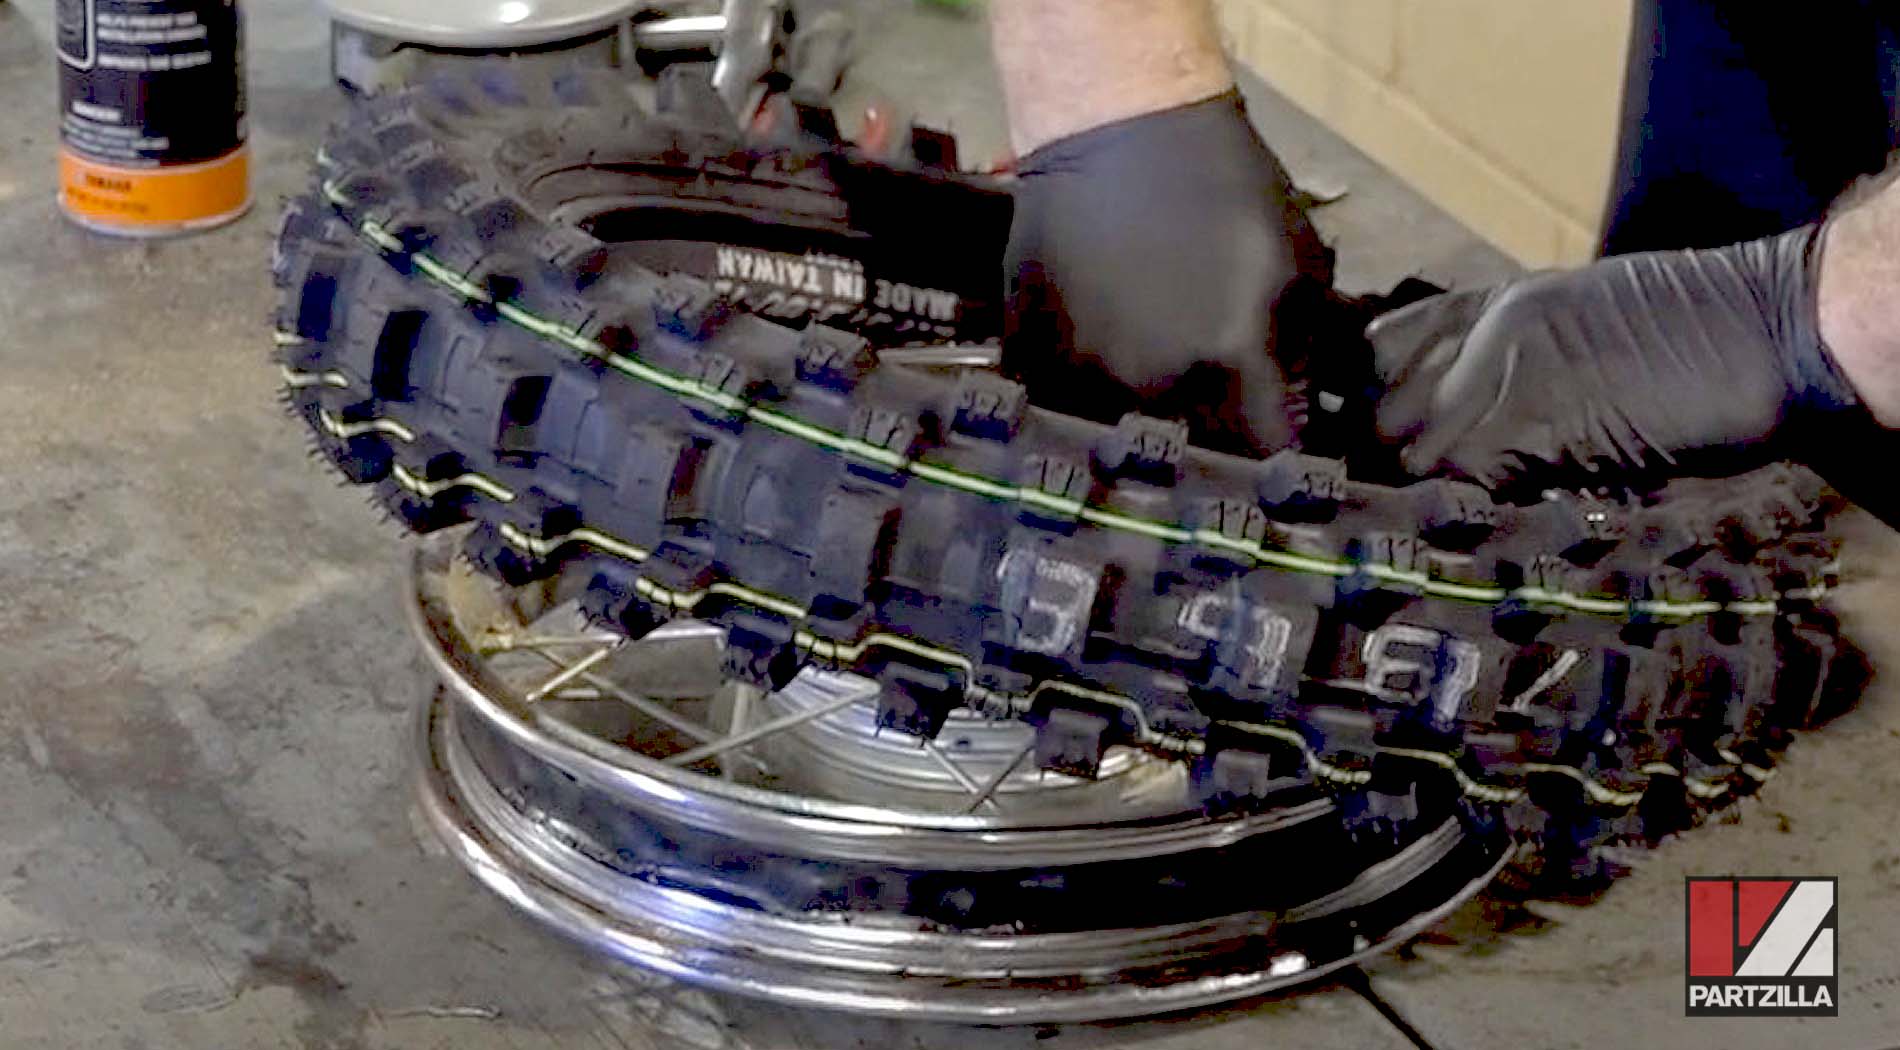
Step 14. Work the tire down into the rim, starting where the rim lock is. Push the tire in and start working it around with the tire irons until the rim lock is in place.
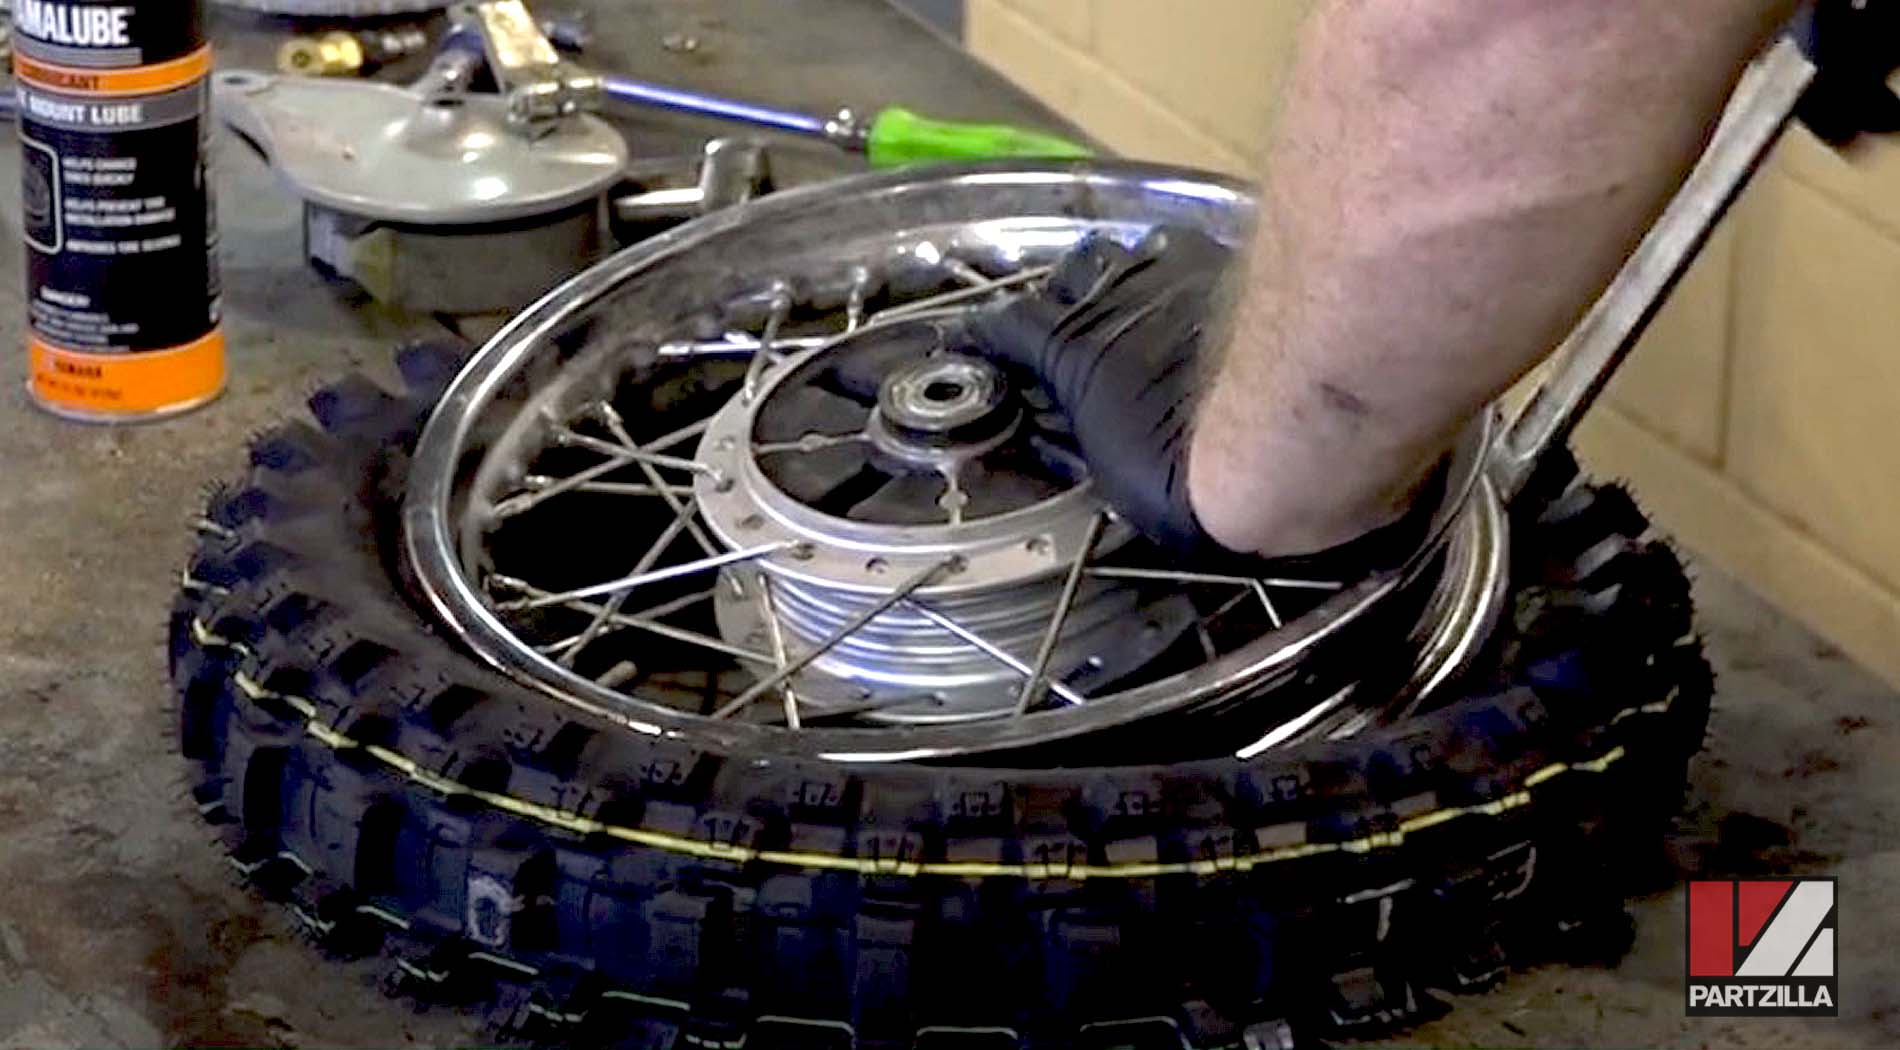
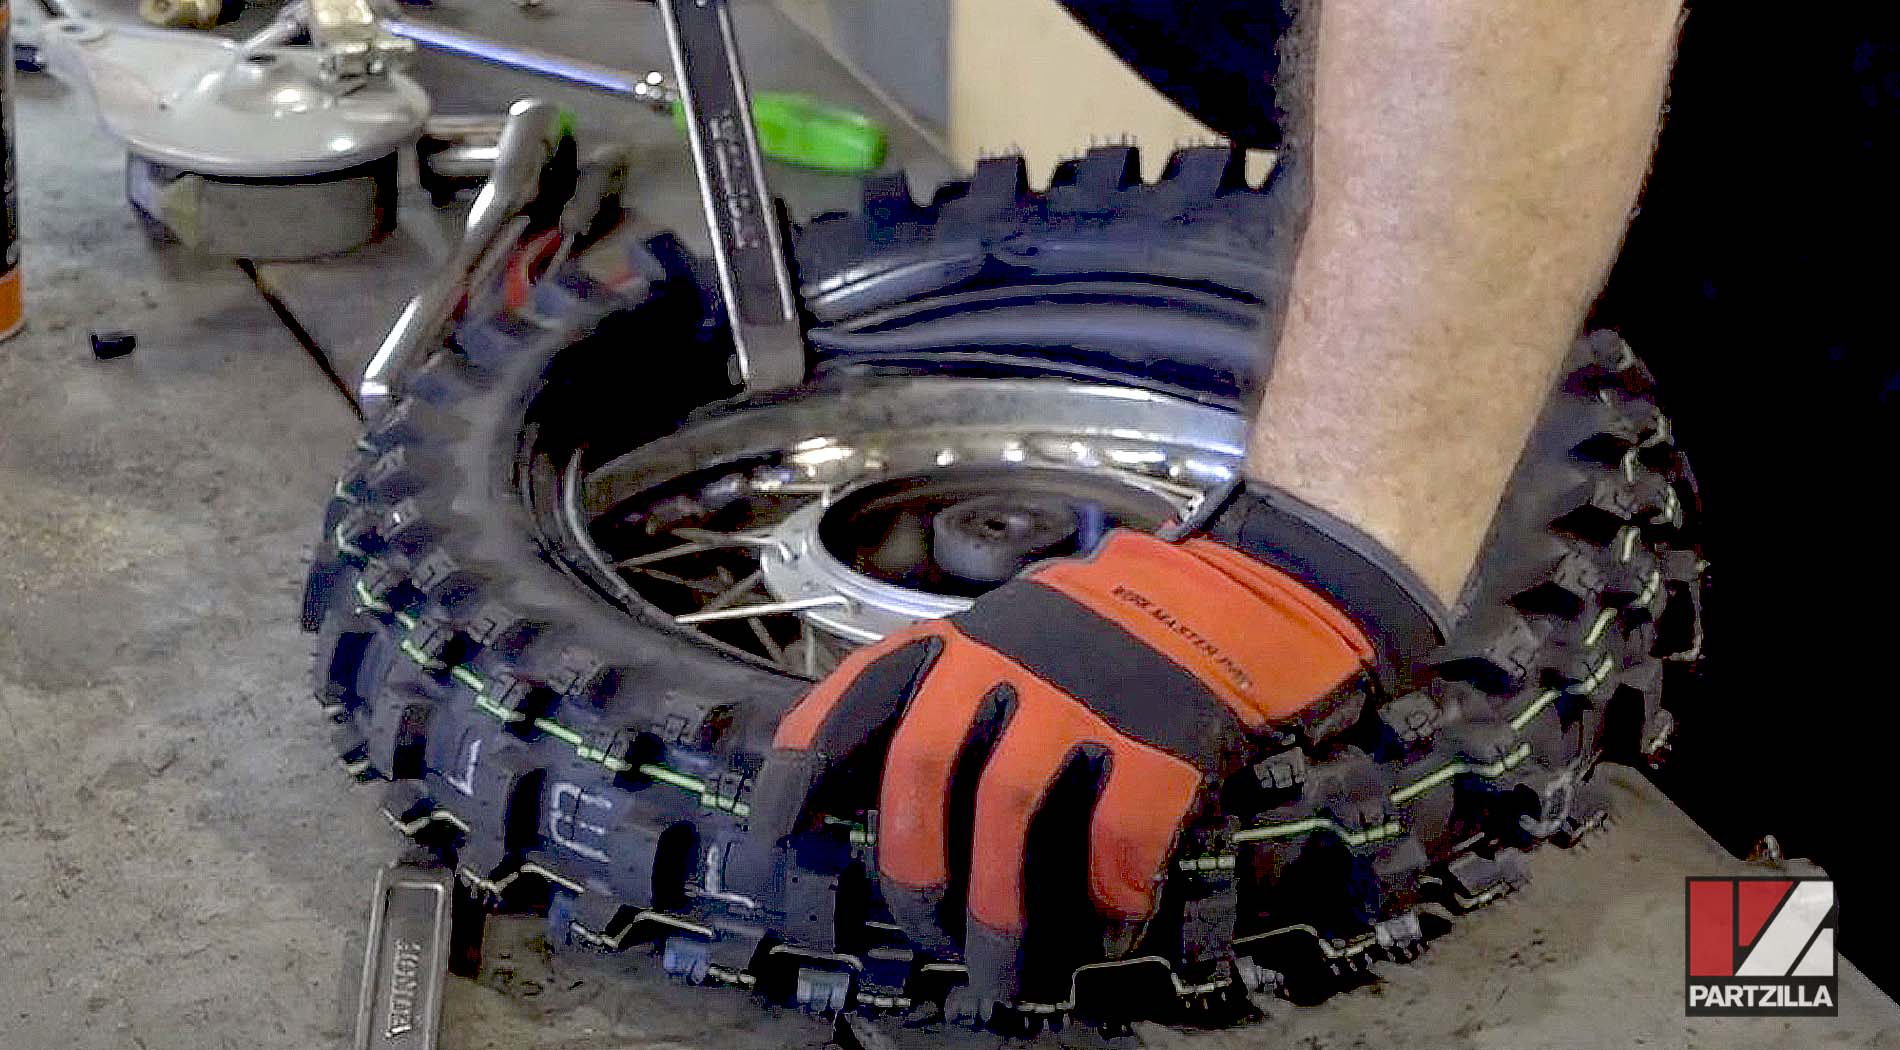
NOTE: As you're doing this on both sides, make sure the tube is pushed up out of the way so you don't pinch it. Be patient and work the tire in with the irons a little bit at a time, and keep the tire off the bead.
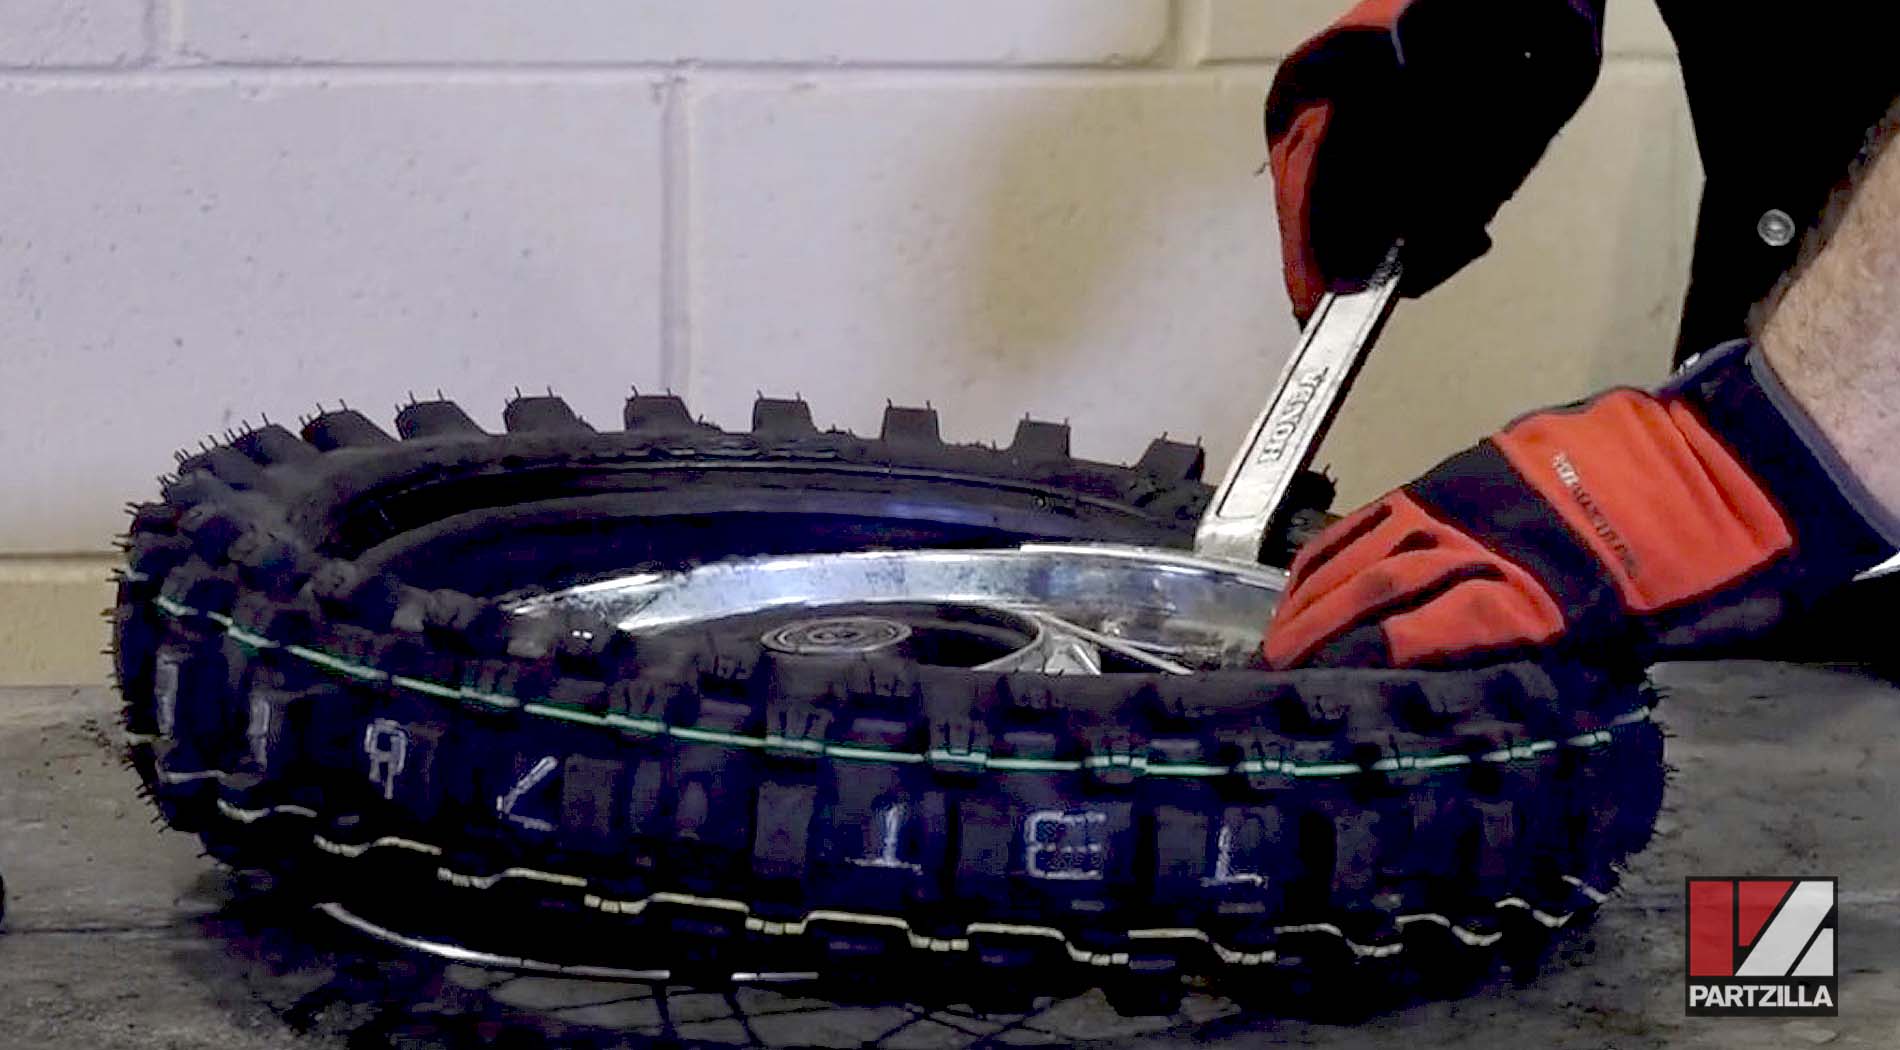

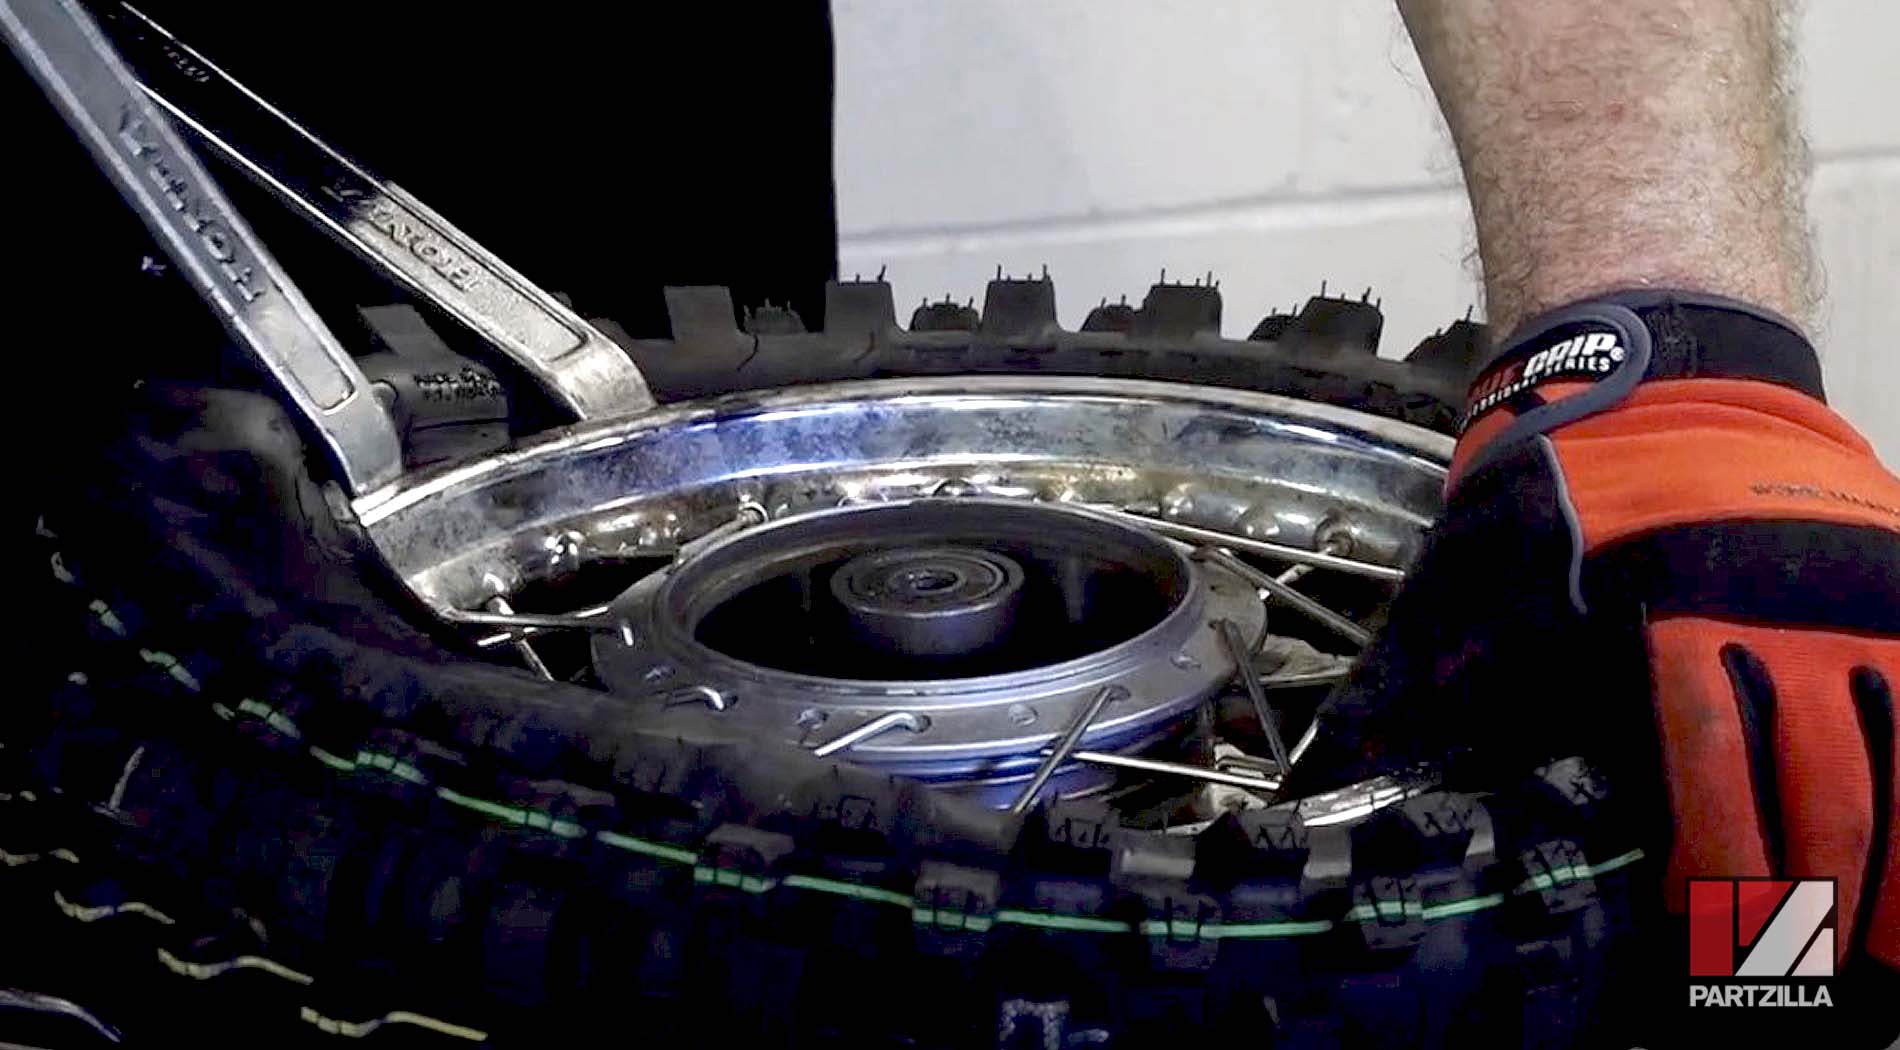
Step 15. Put some air in the tire once it’s in place before you tighten down the rim lock.

NOTE: Make sure you don’t pinch the tube while you’re doing this, and that the bead gets set all the way around the rim on both sides.
Step 16. Use a tire pressure gauge to set the pressure once the tire is seated properly. The pressure for this tire is about 34 psi.
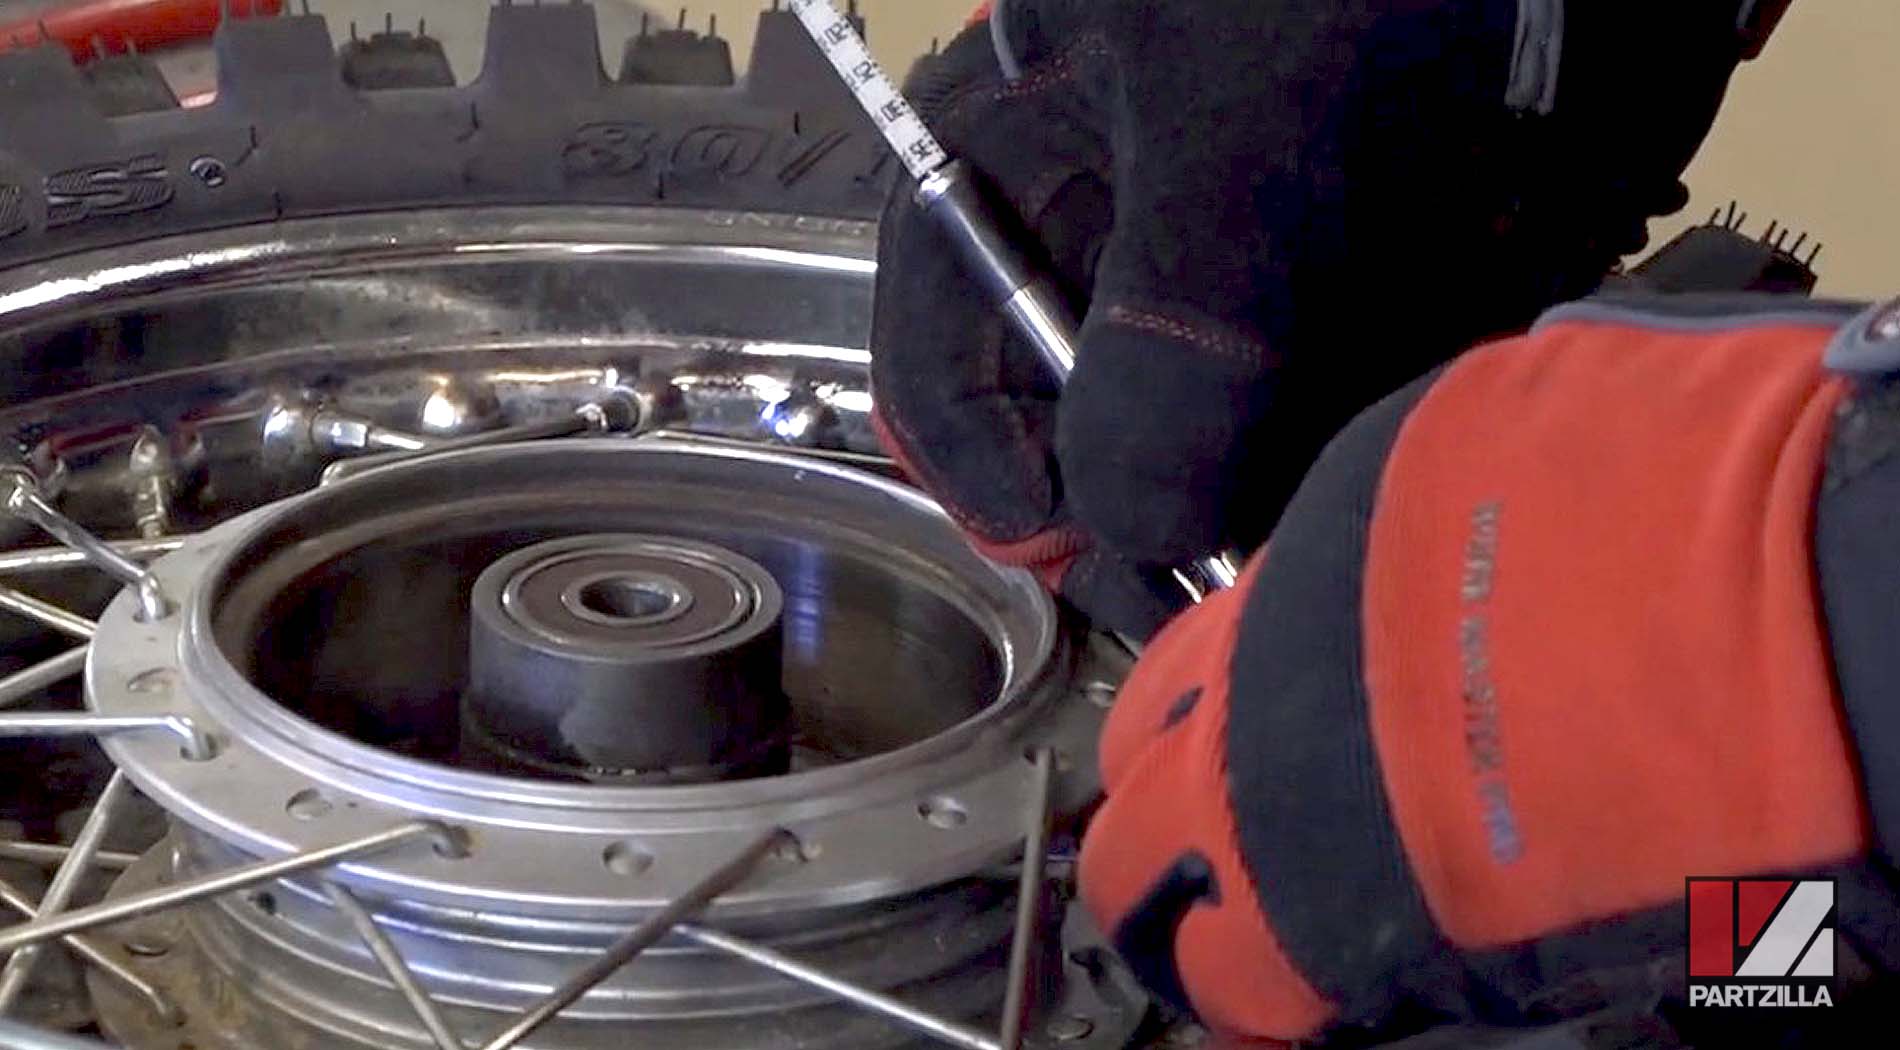
Step 17. Lock down the valve stem and the rim lock (including its washer), then put the valve stem cap on and reinstall the tire back onto the bike.
