Heli-Coil vs Time Sert: Comparing Thread Repair Kits
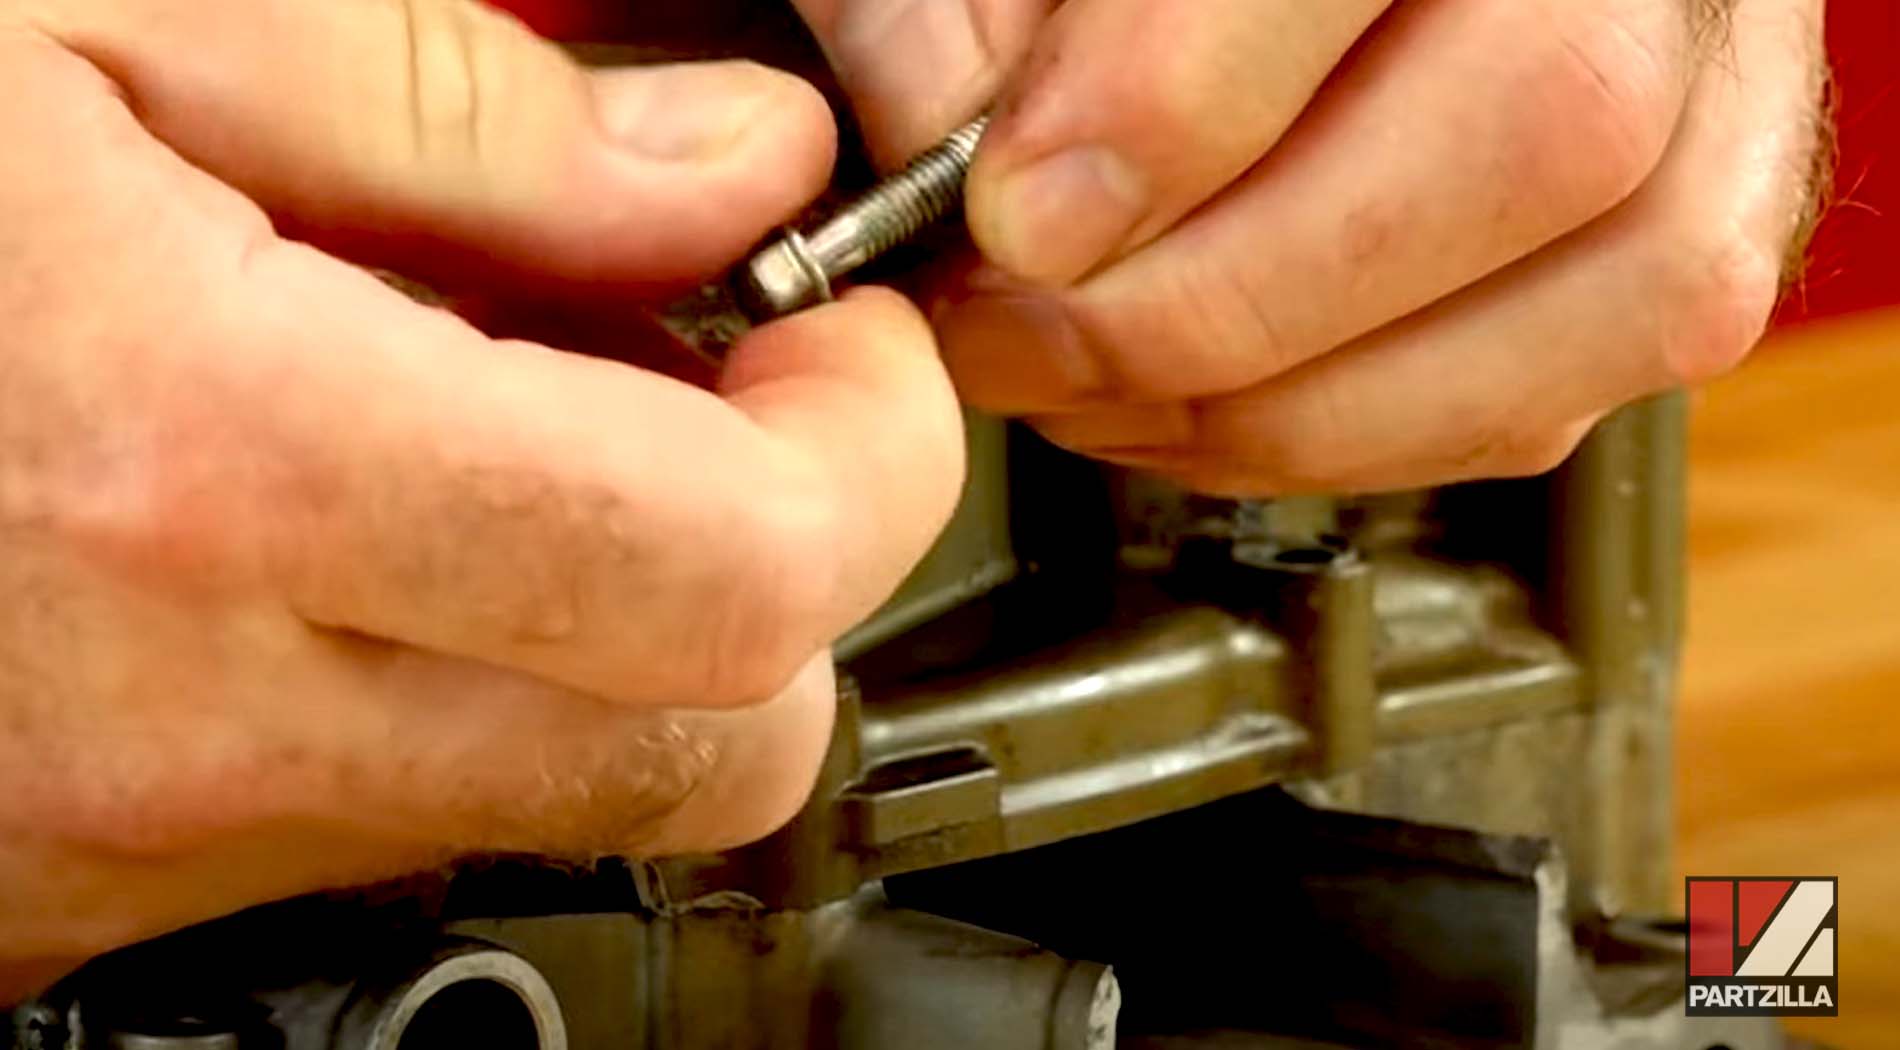
You’re in a big hurry trying to get out the door and you end up stripping the threads on an engine block. Sound familiar? It happens to the best of us.
When you’re dealing with stripped threads on engine cases, you have several choices. Worse case scenario, you can replace the cases, or you can try using a thread insert repair kit instead.
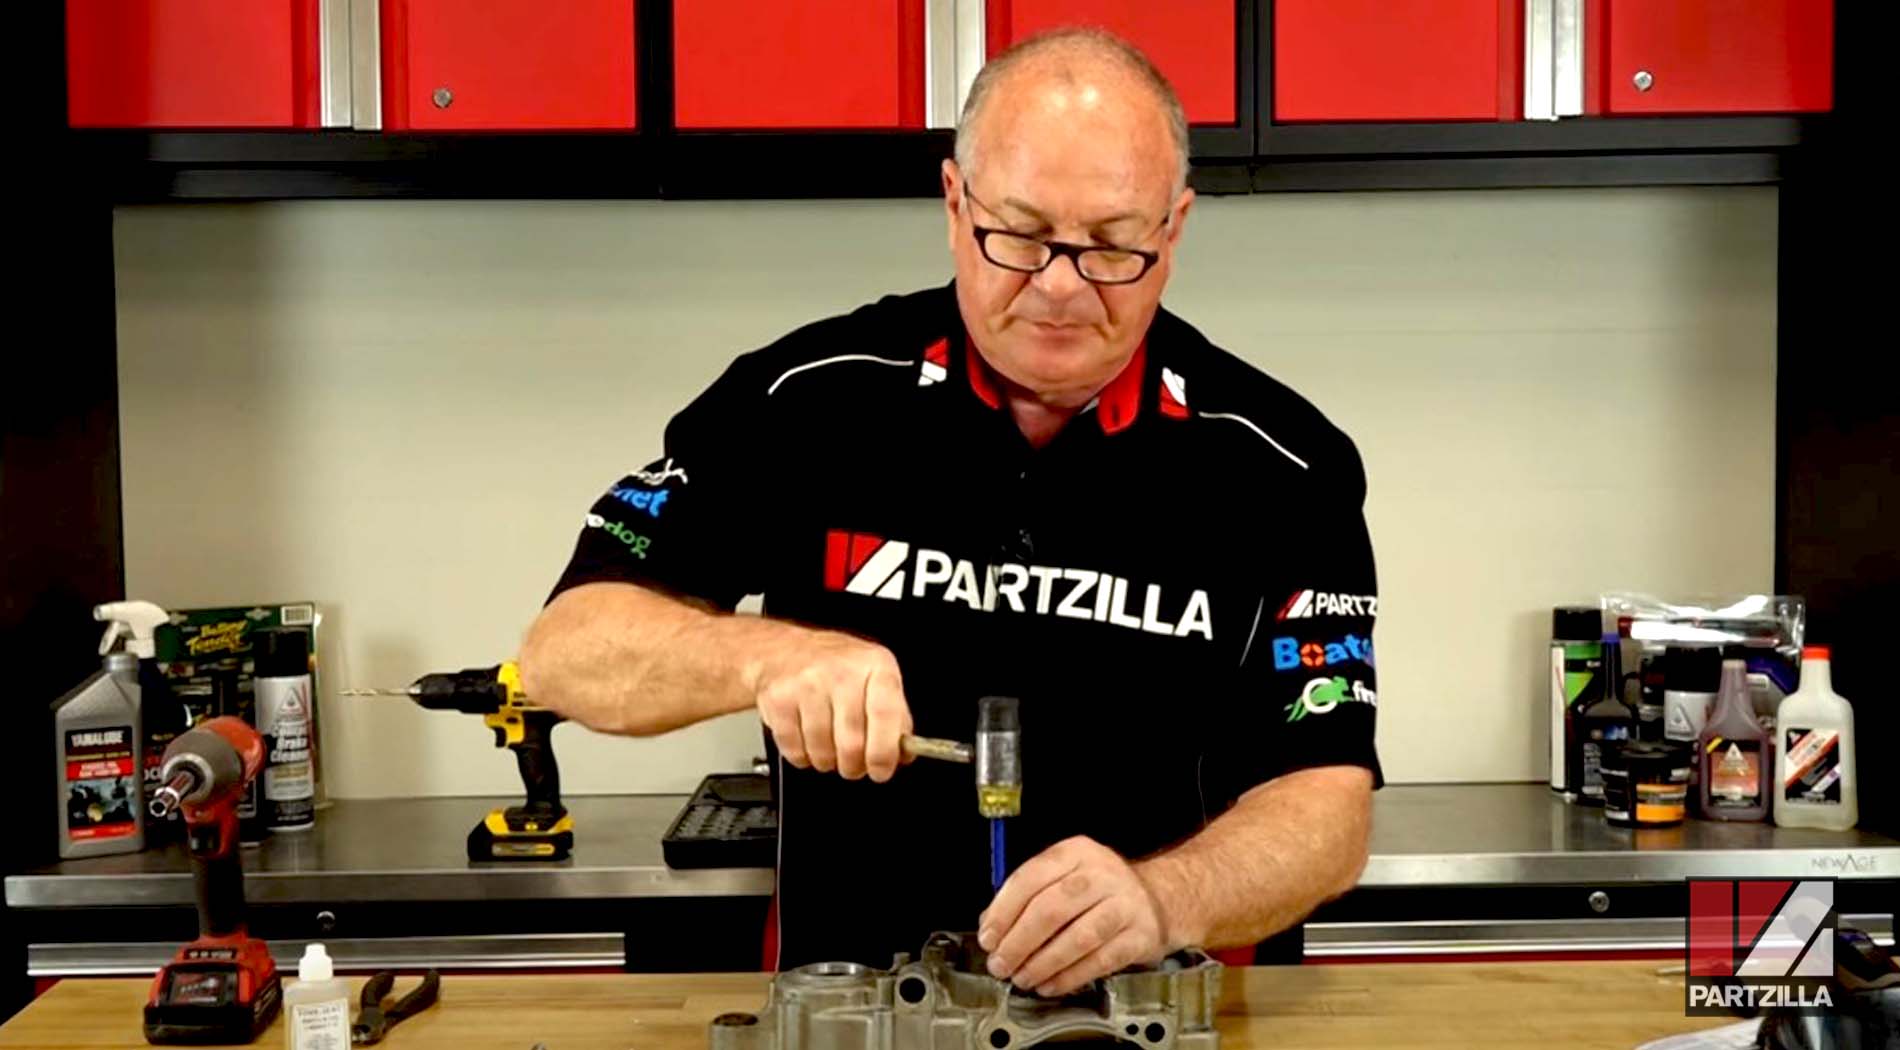
When it comes to thread insert kits, two immediately come to mind: the Heli-Coil and the Time Sert kits. In the video above, John Talley strips out two bolt holes from an engine case to demonstrate how to use the Heli-Coil and Time Sert thread repair kits, so you can decide for yourself which one is best for you. Read on for more about using Time Sert vs Heli Coil thread insert kits.
Heli-Coil
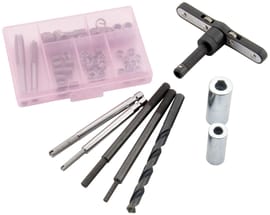
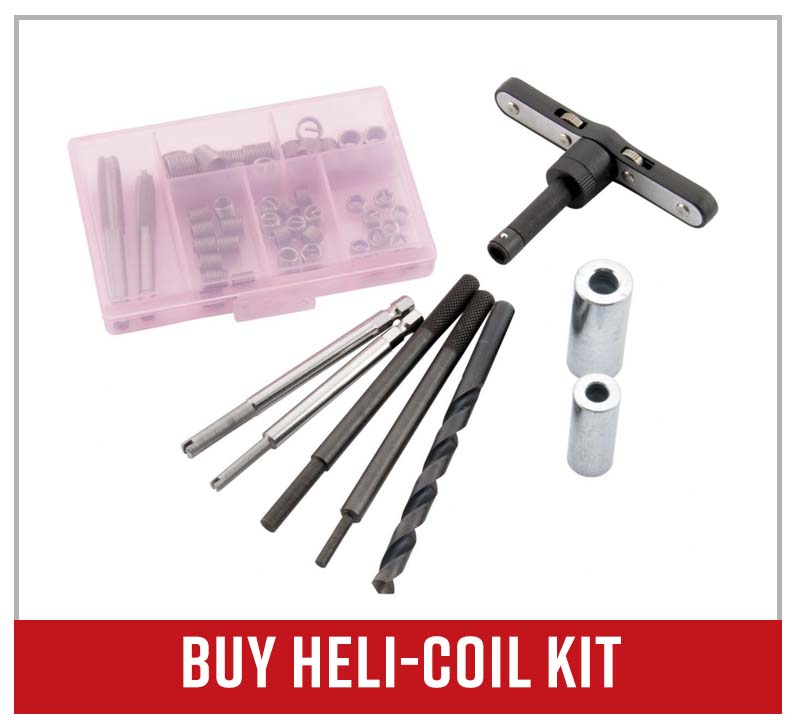
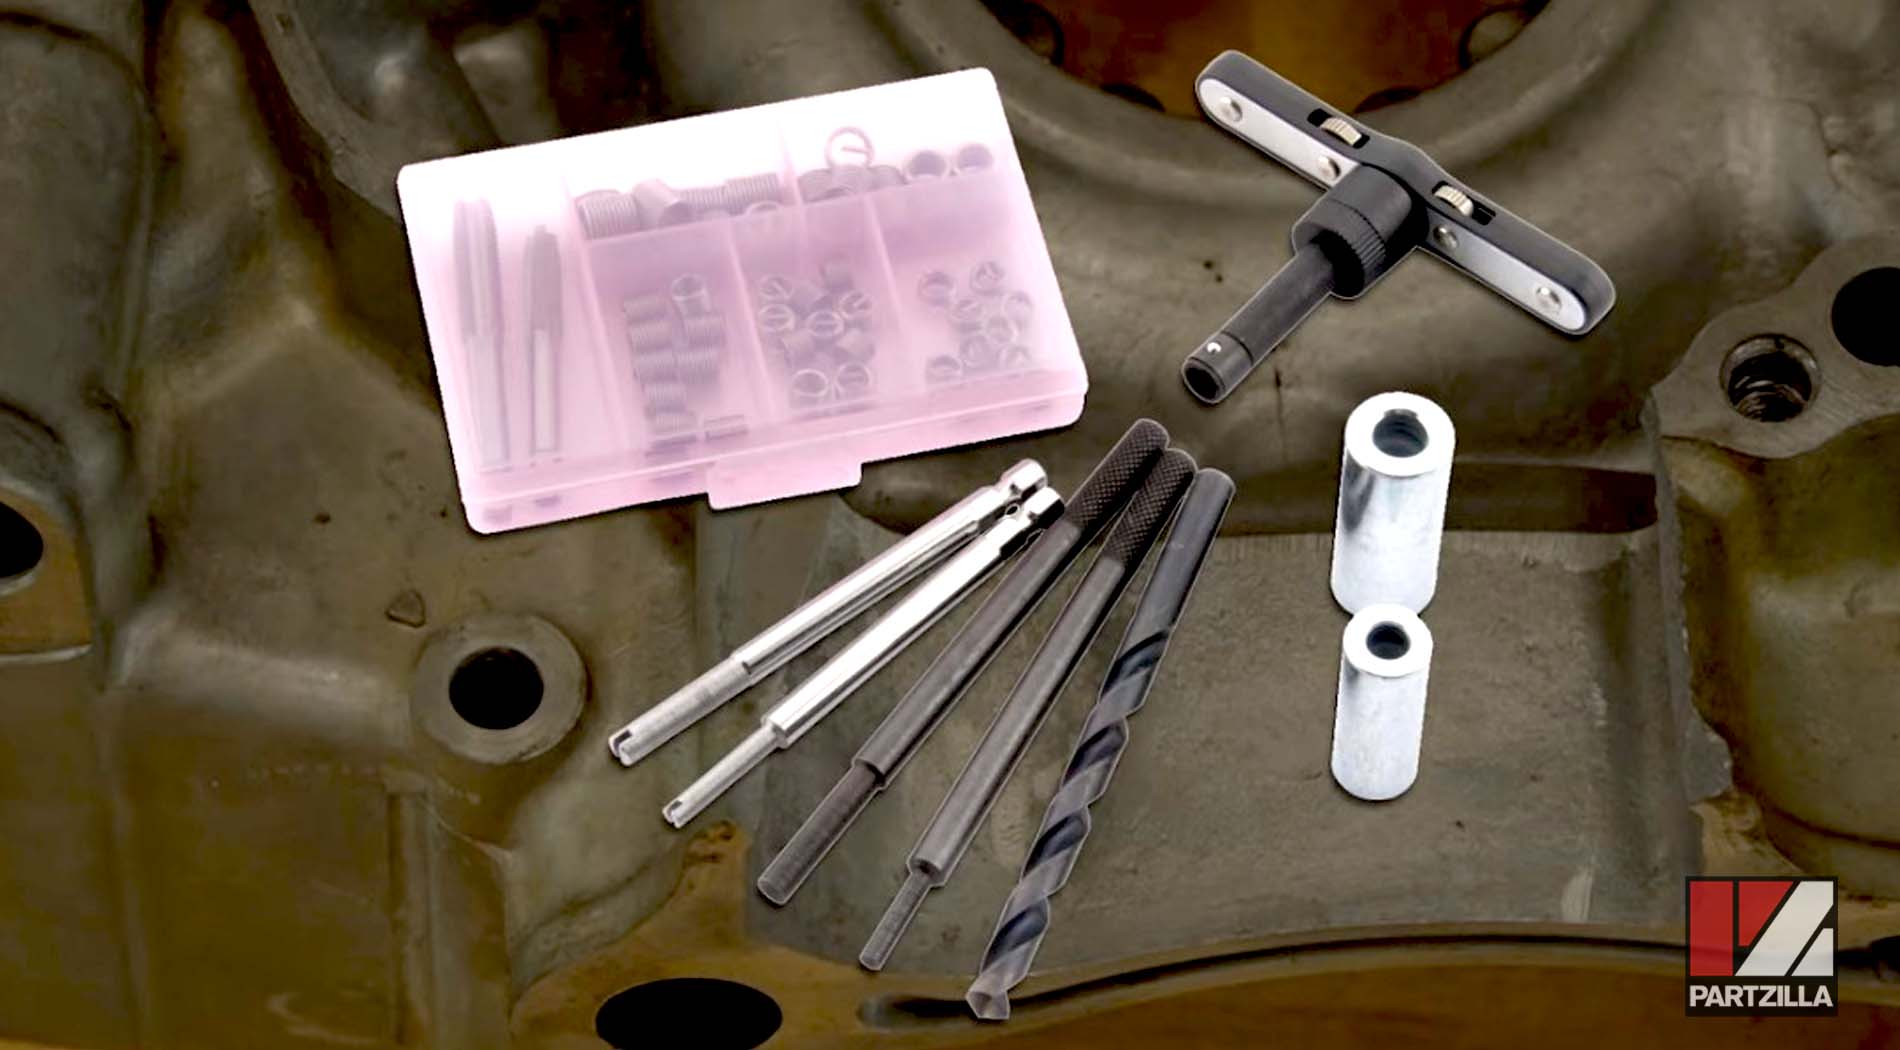
The Heli-Coil thread insert kit comes with a guide, a tool that actually does the insertion and the setting of the Heli-Coil itself, and a tap which is used to put in the threads that the Heli Coil is going to attach to, plus the necessary drill bit.
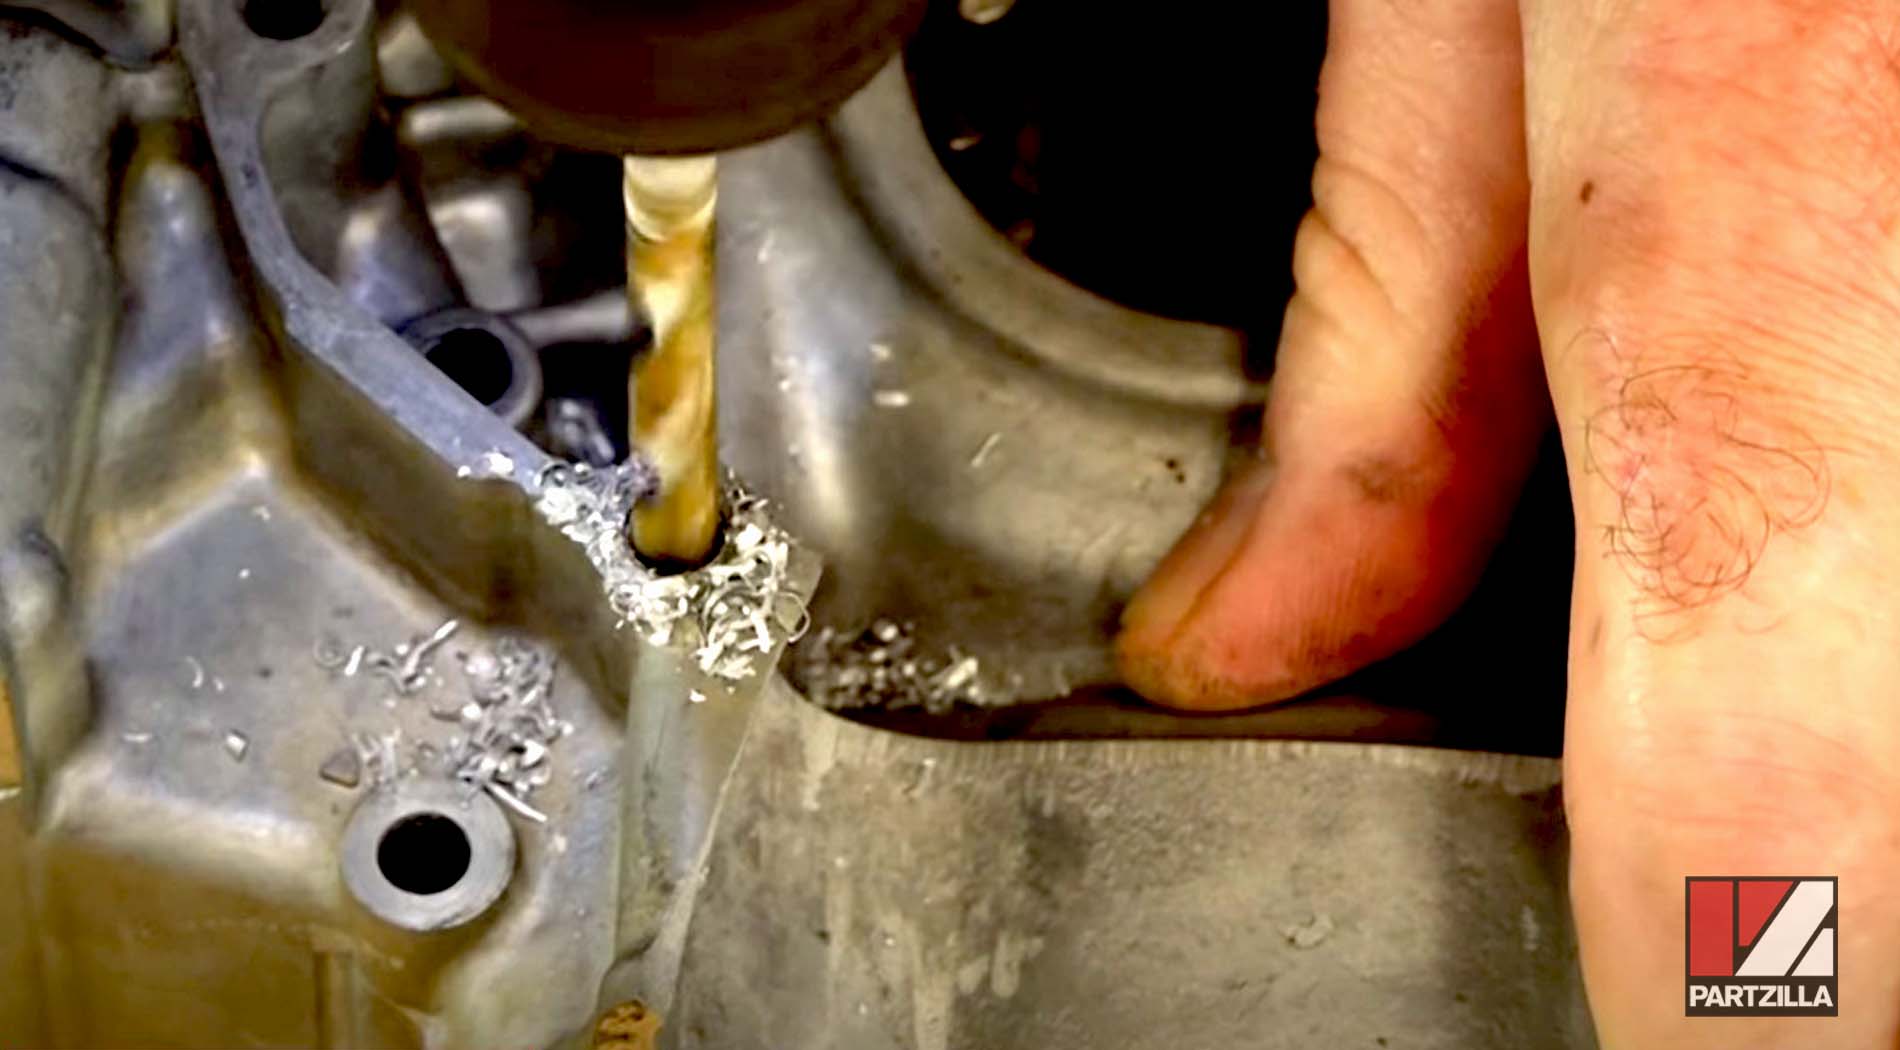
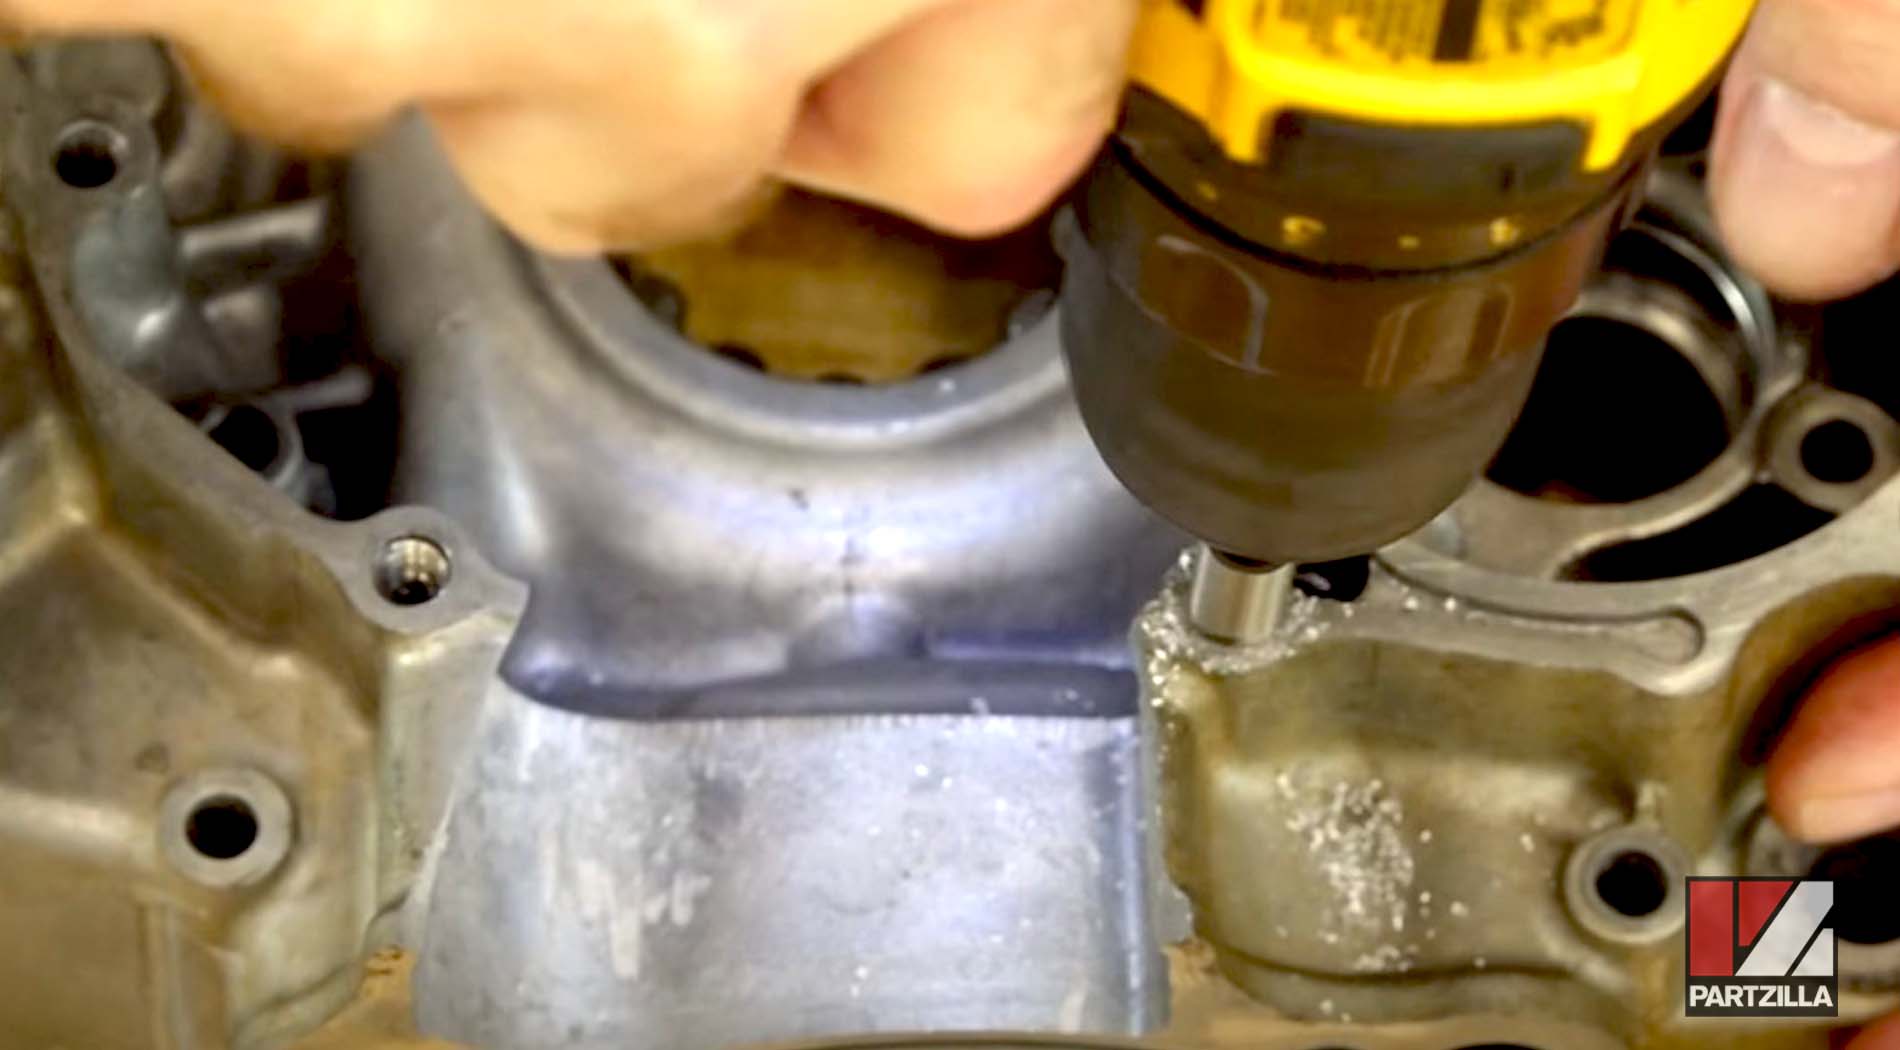
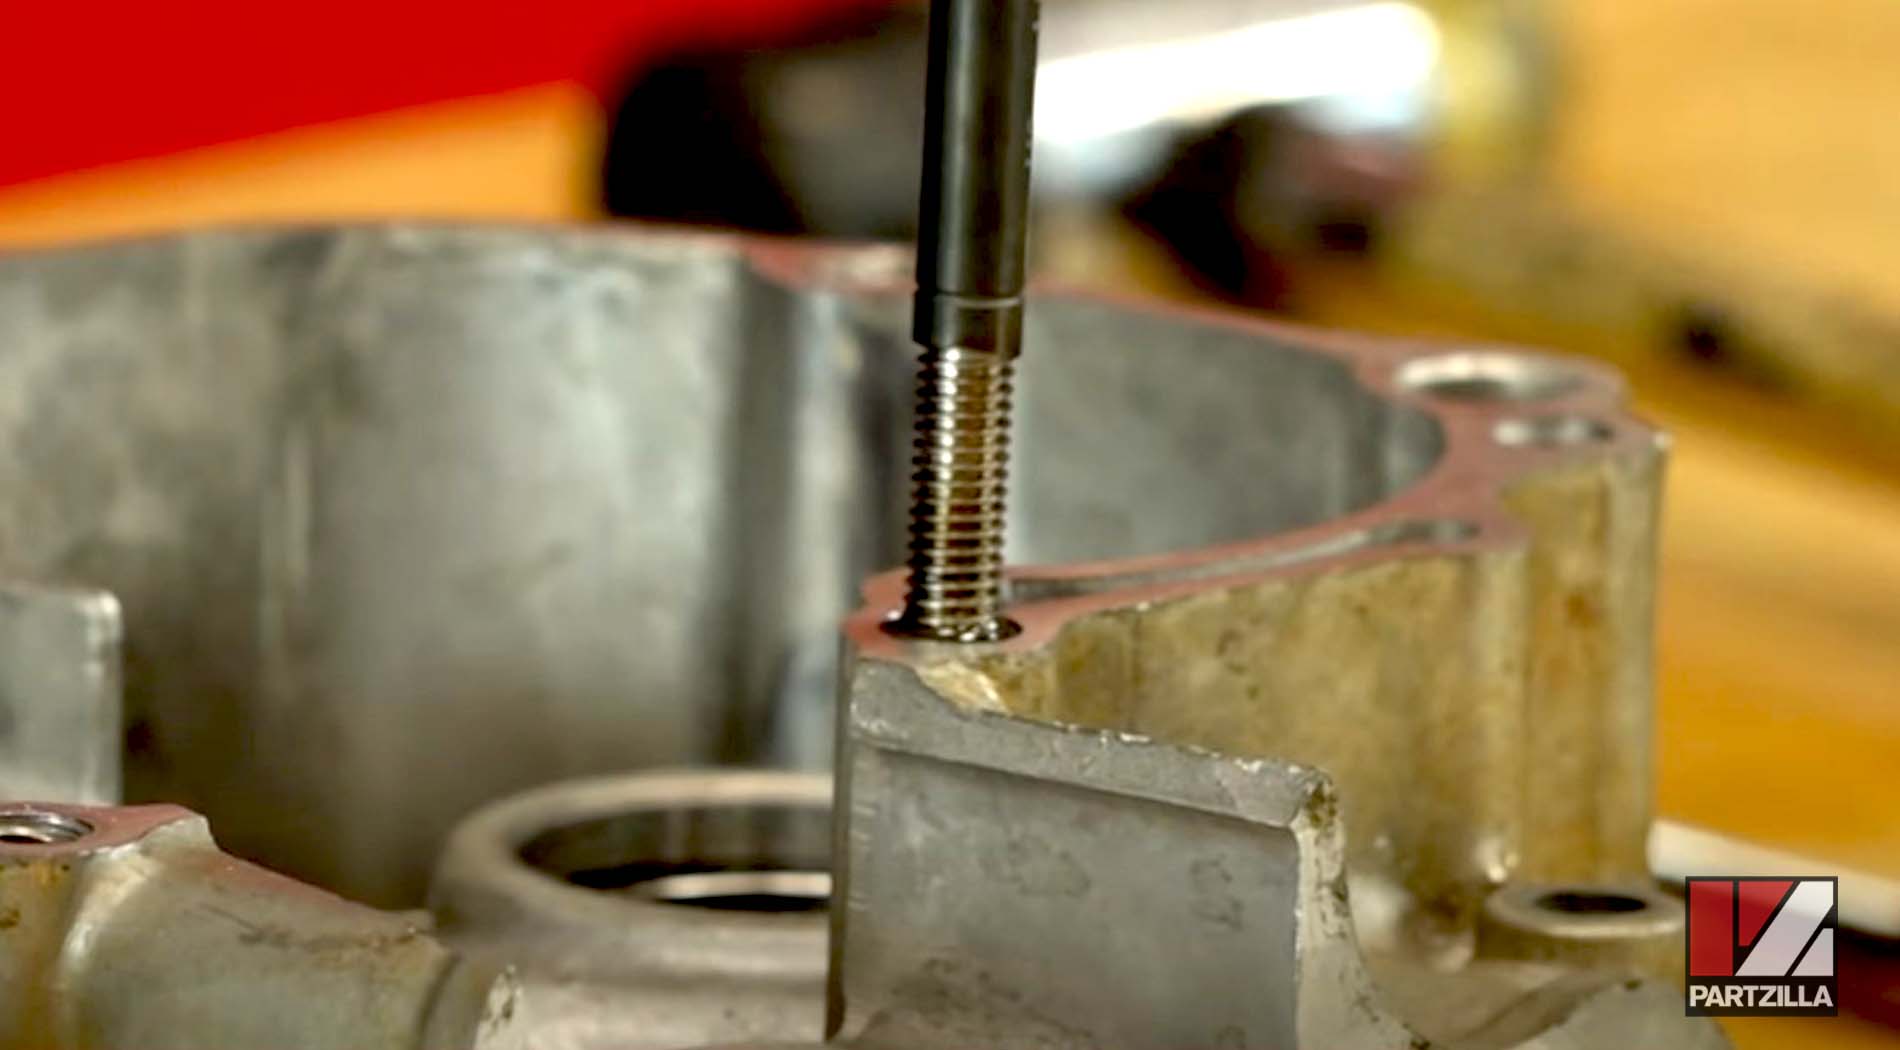
When using the Heli-Coil kit, you start by using the provided drill bit to drill the hole out, keeping the drill as perpendicular as possible.
Next, you’ll use the tap to cut the threads. When it starts to bind while you’re tightening it down, simply back it off. That'll more or less cut the thread, and then you can keep going. If it gets really tough, use some cutting oil to help it along a little bit.
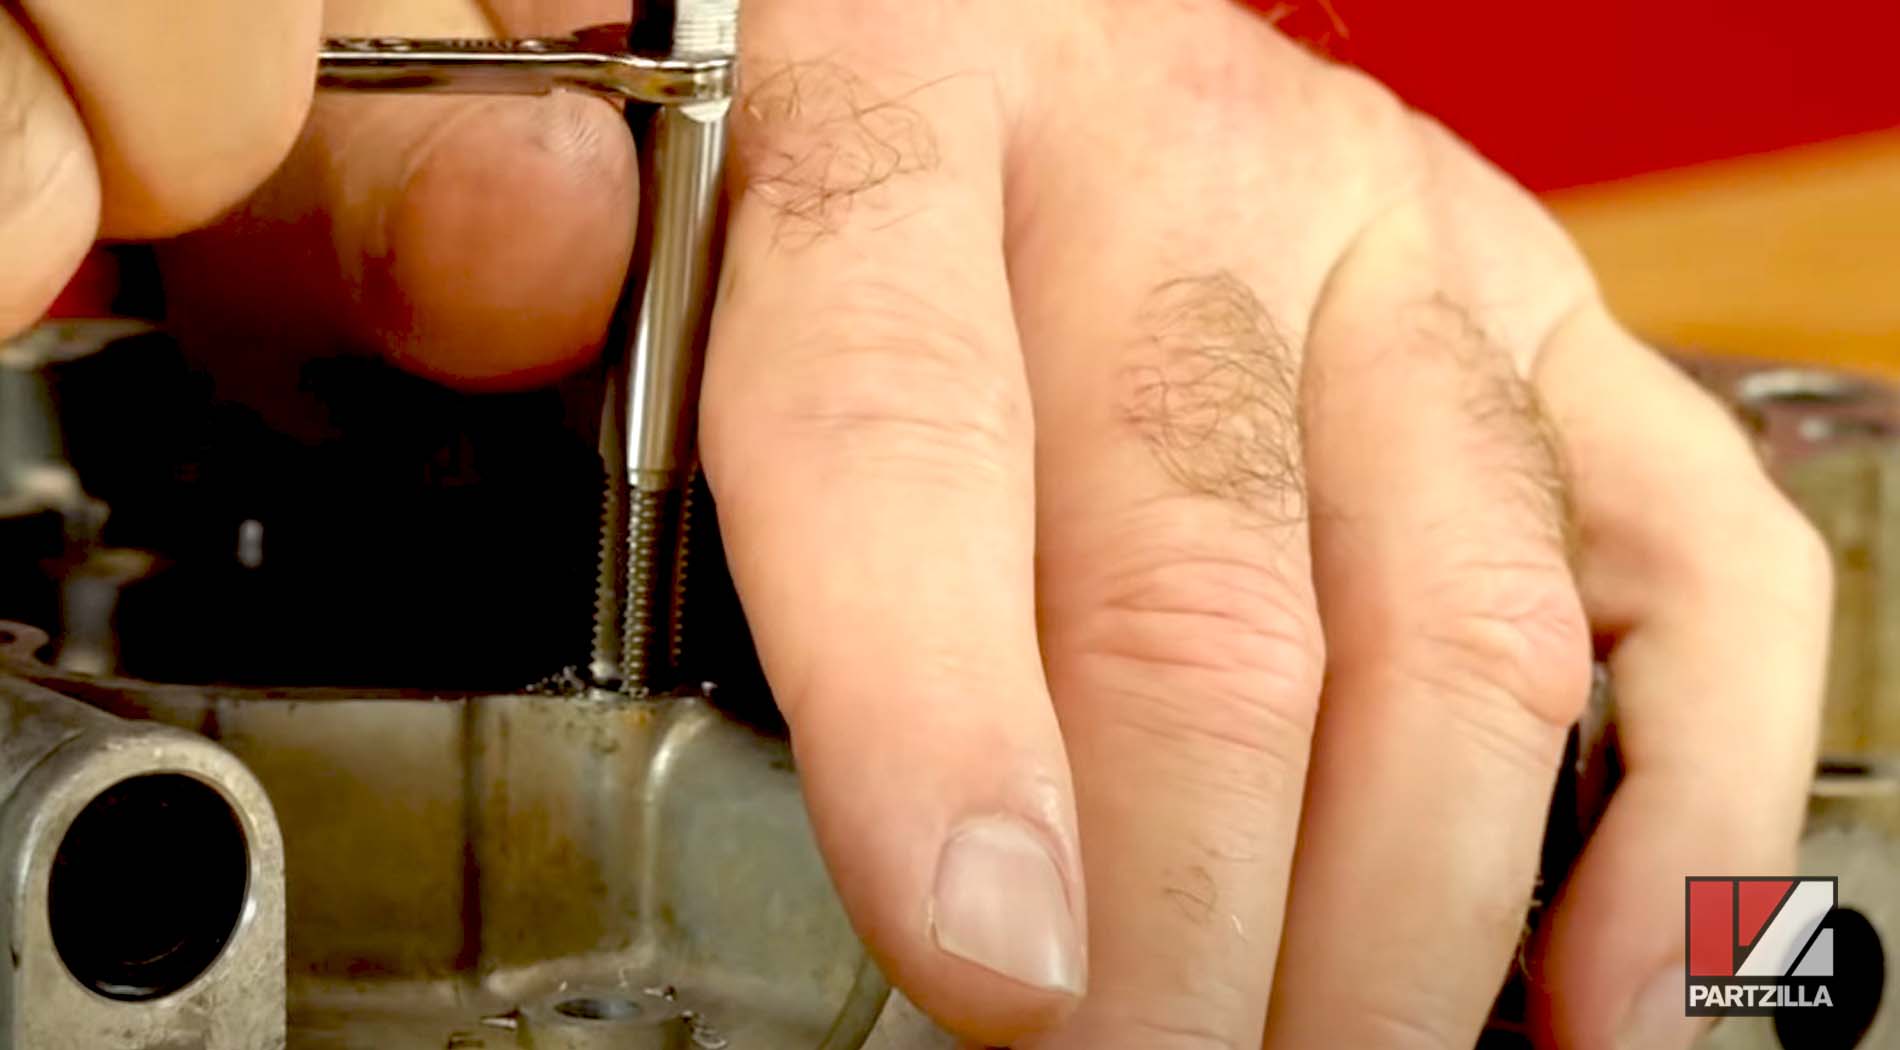
NOTE: If you’re drilling through an engine case or any other part you intend to reuse, cover up all areas to keep the metal shavings out. The engine case we used for this demonstration is not a working case.
Next, use the guide and insertion tool to get it to go down into the threads. You’ll want them to end up in between a quarter and a half turn below the surface.

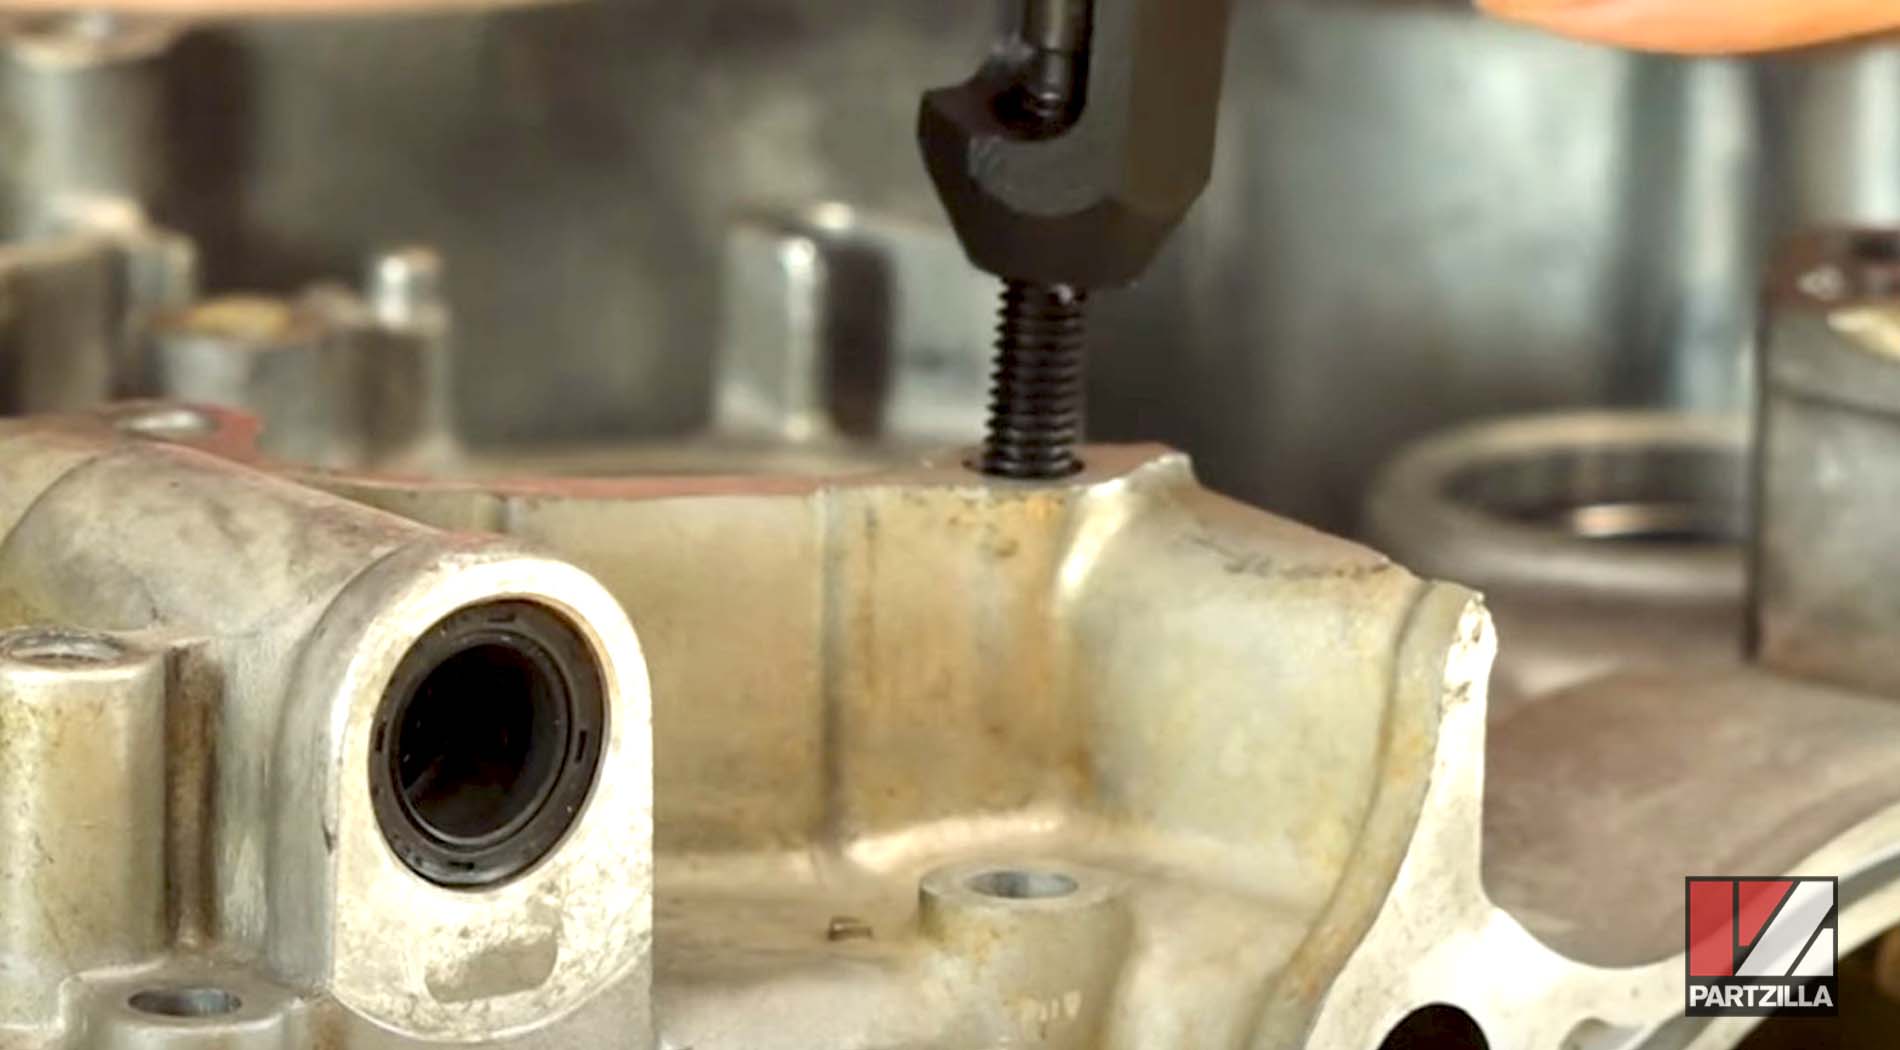
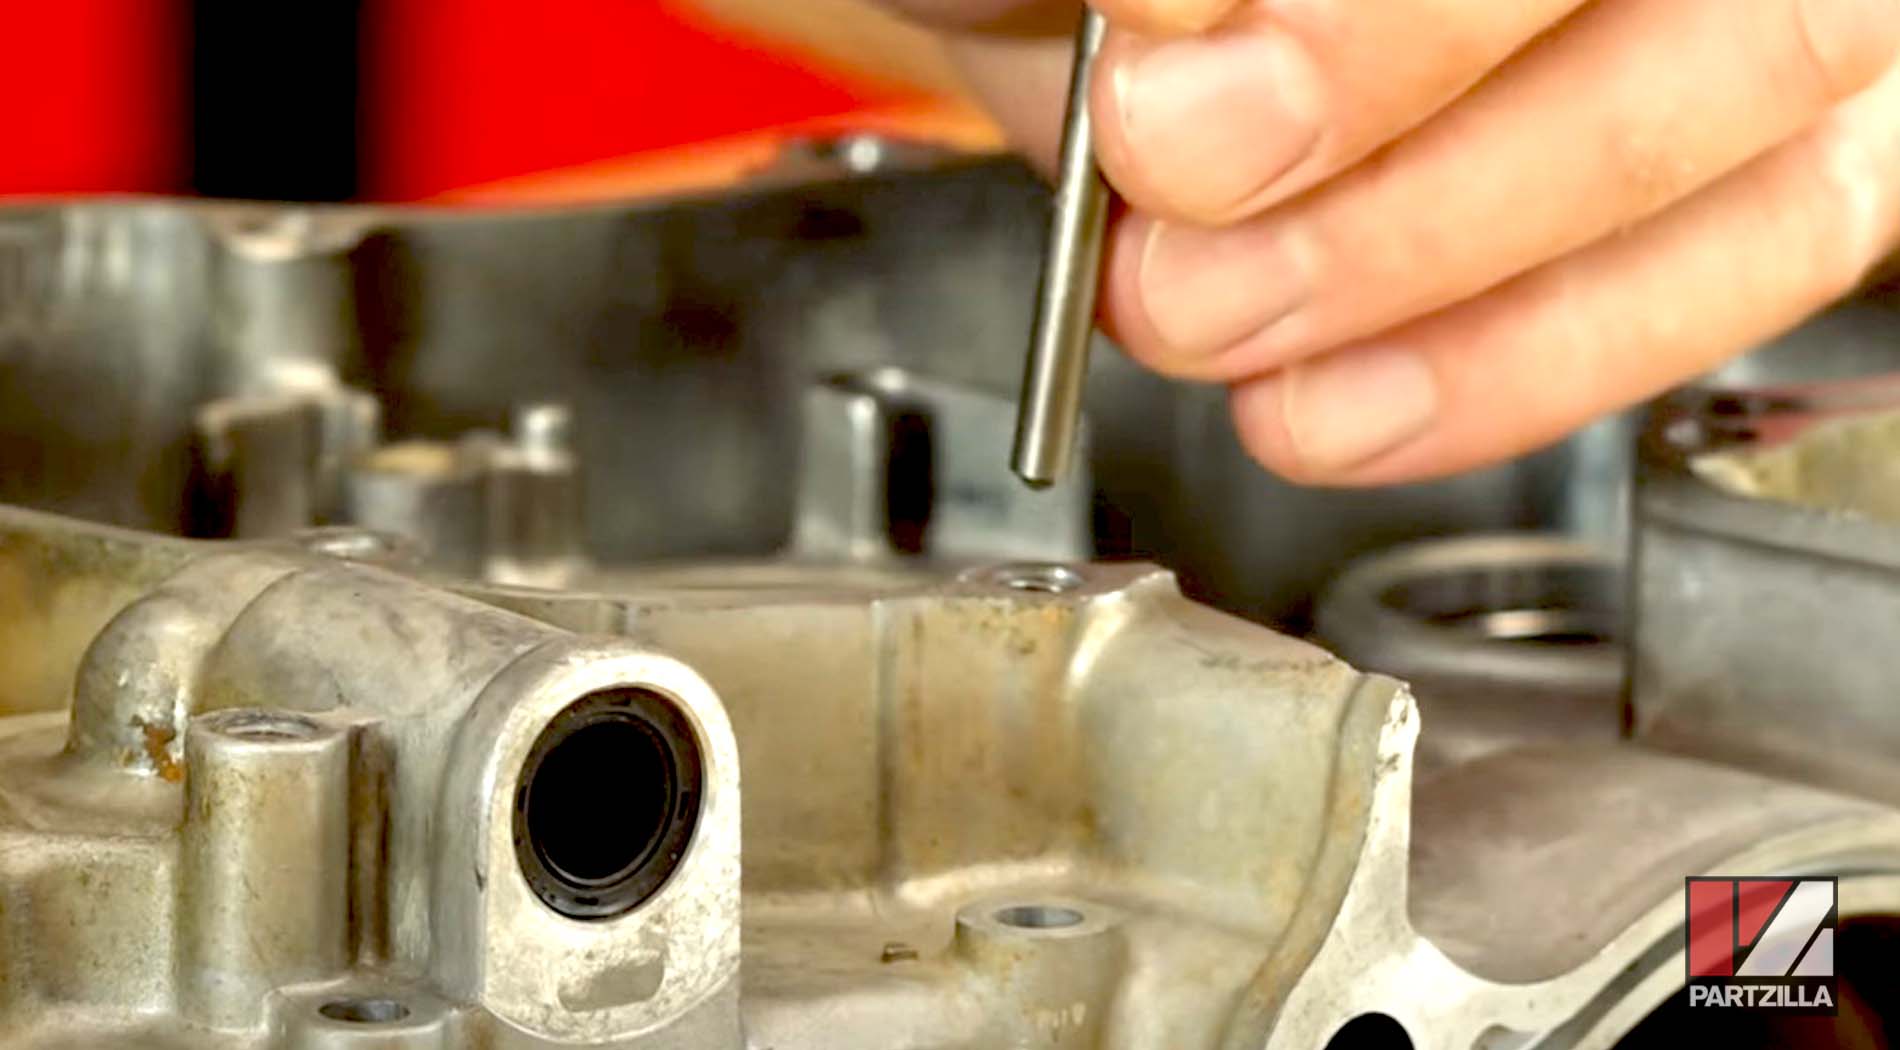
Even though there are plenty of threads in there to hold the bolt, the trick is if it needs to go past the end of the Heli-Coil, it can't because there's a little tang sitting in there. To go past it, you need to break that tang off, or else it's going to bottom out against it. For breaking the tang off, find a square edged punch that fits just inside the hole and then pop it loose.
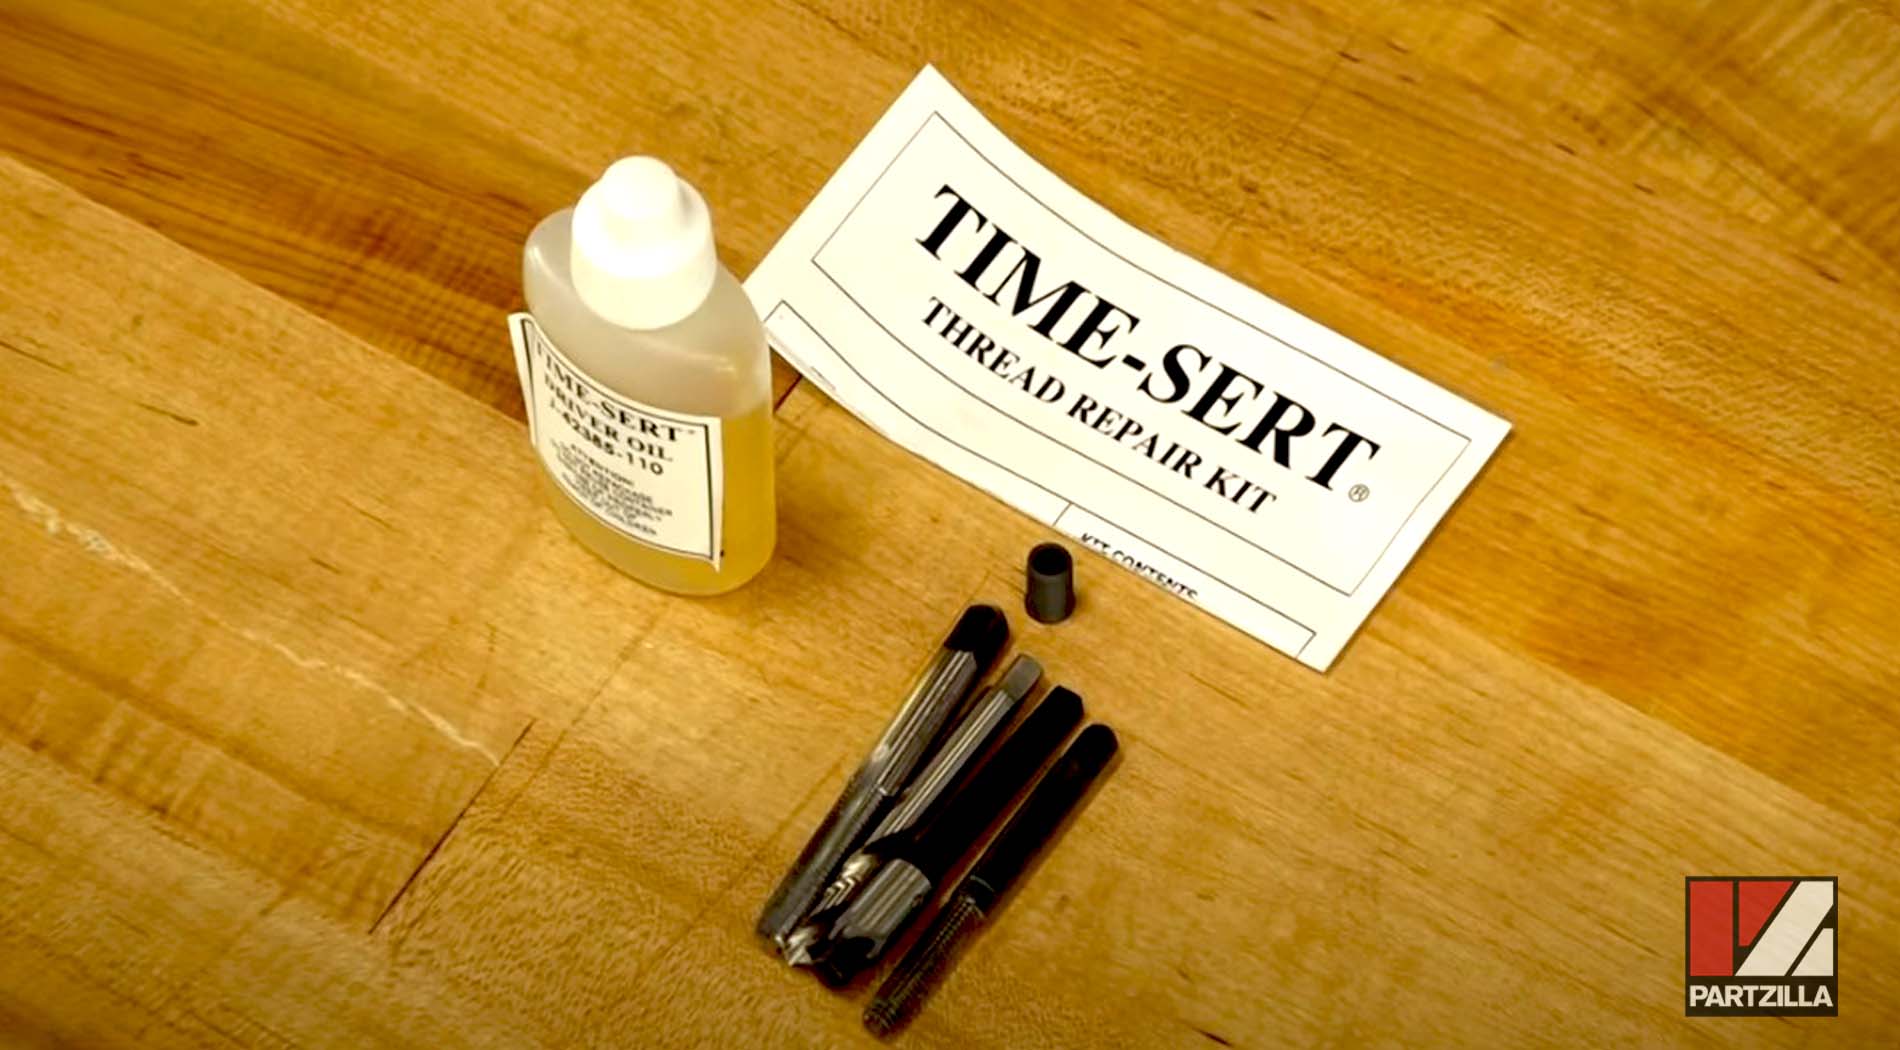
Time Sert
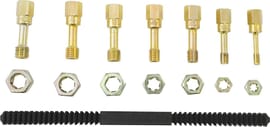
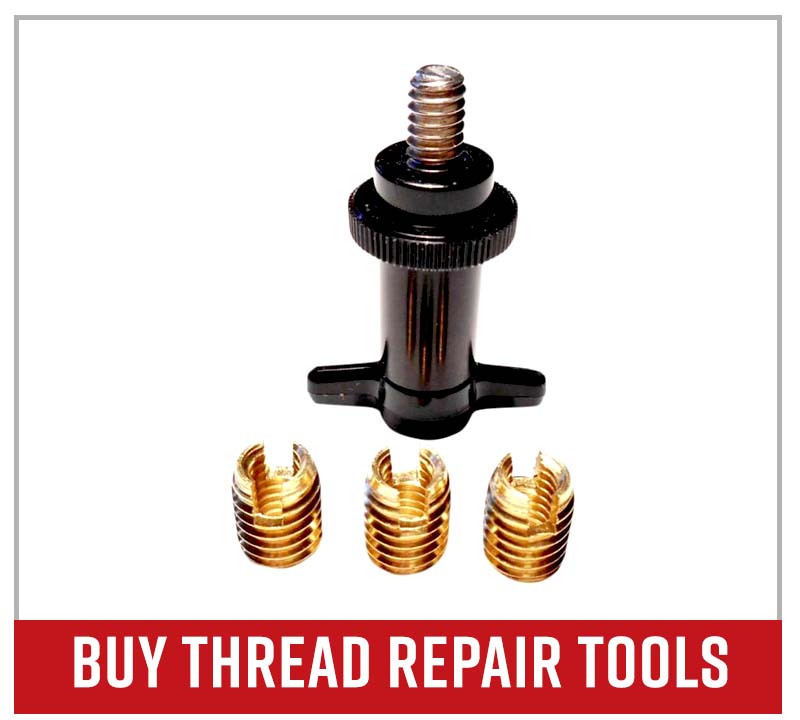
The Time Sert kit is a bit more comprehensive than the Heli-Coil. It comes with the Time Sert itself, which is a solid piece, plus the correct drill bit, a countersink, a threader and the insertion tool.
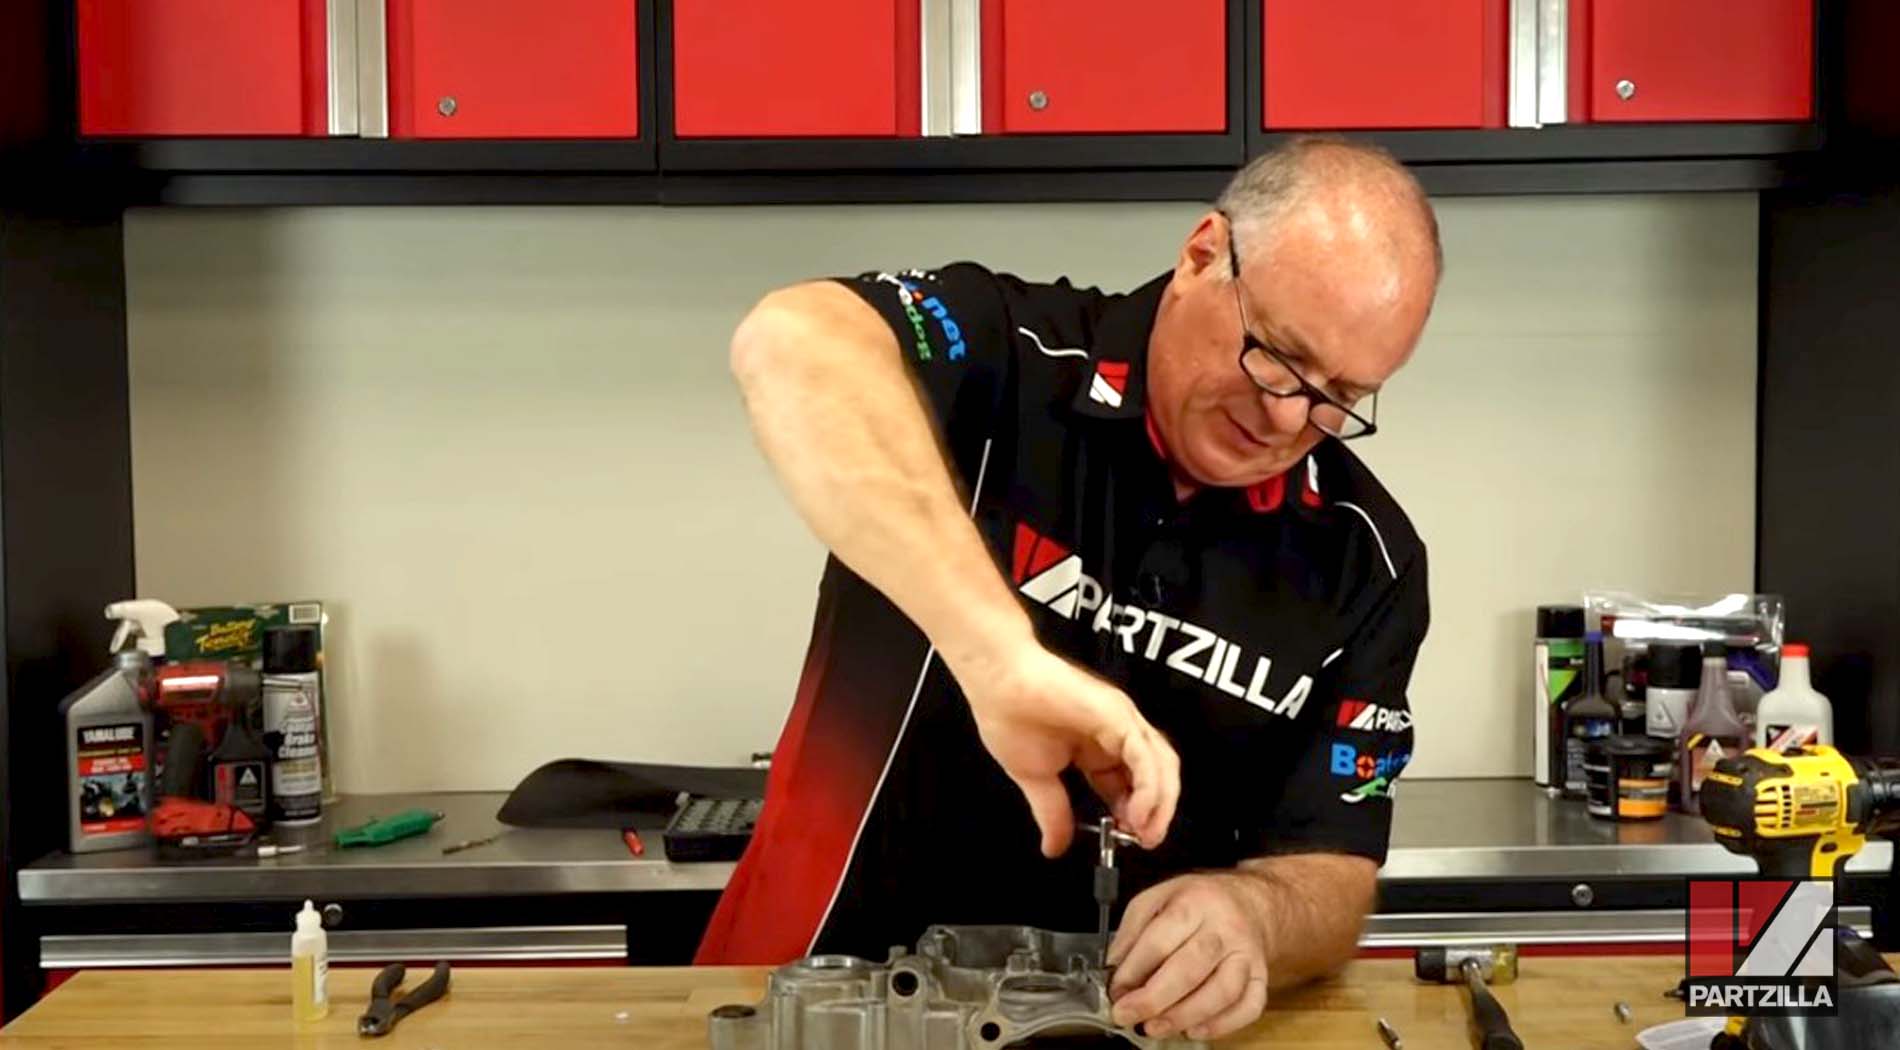
Just like with the Heli Coil, you’ll start by using the drill bit provided in the kit to get the hole drilled out.

One notable difference between the Time Sert and the Heli-Coil is that the Time Sert has a countersink that allows it to go all the way below the level of the surface you're working with.
Next, you’ll cut the threads until you feel the threader bottom out.
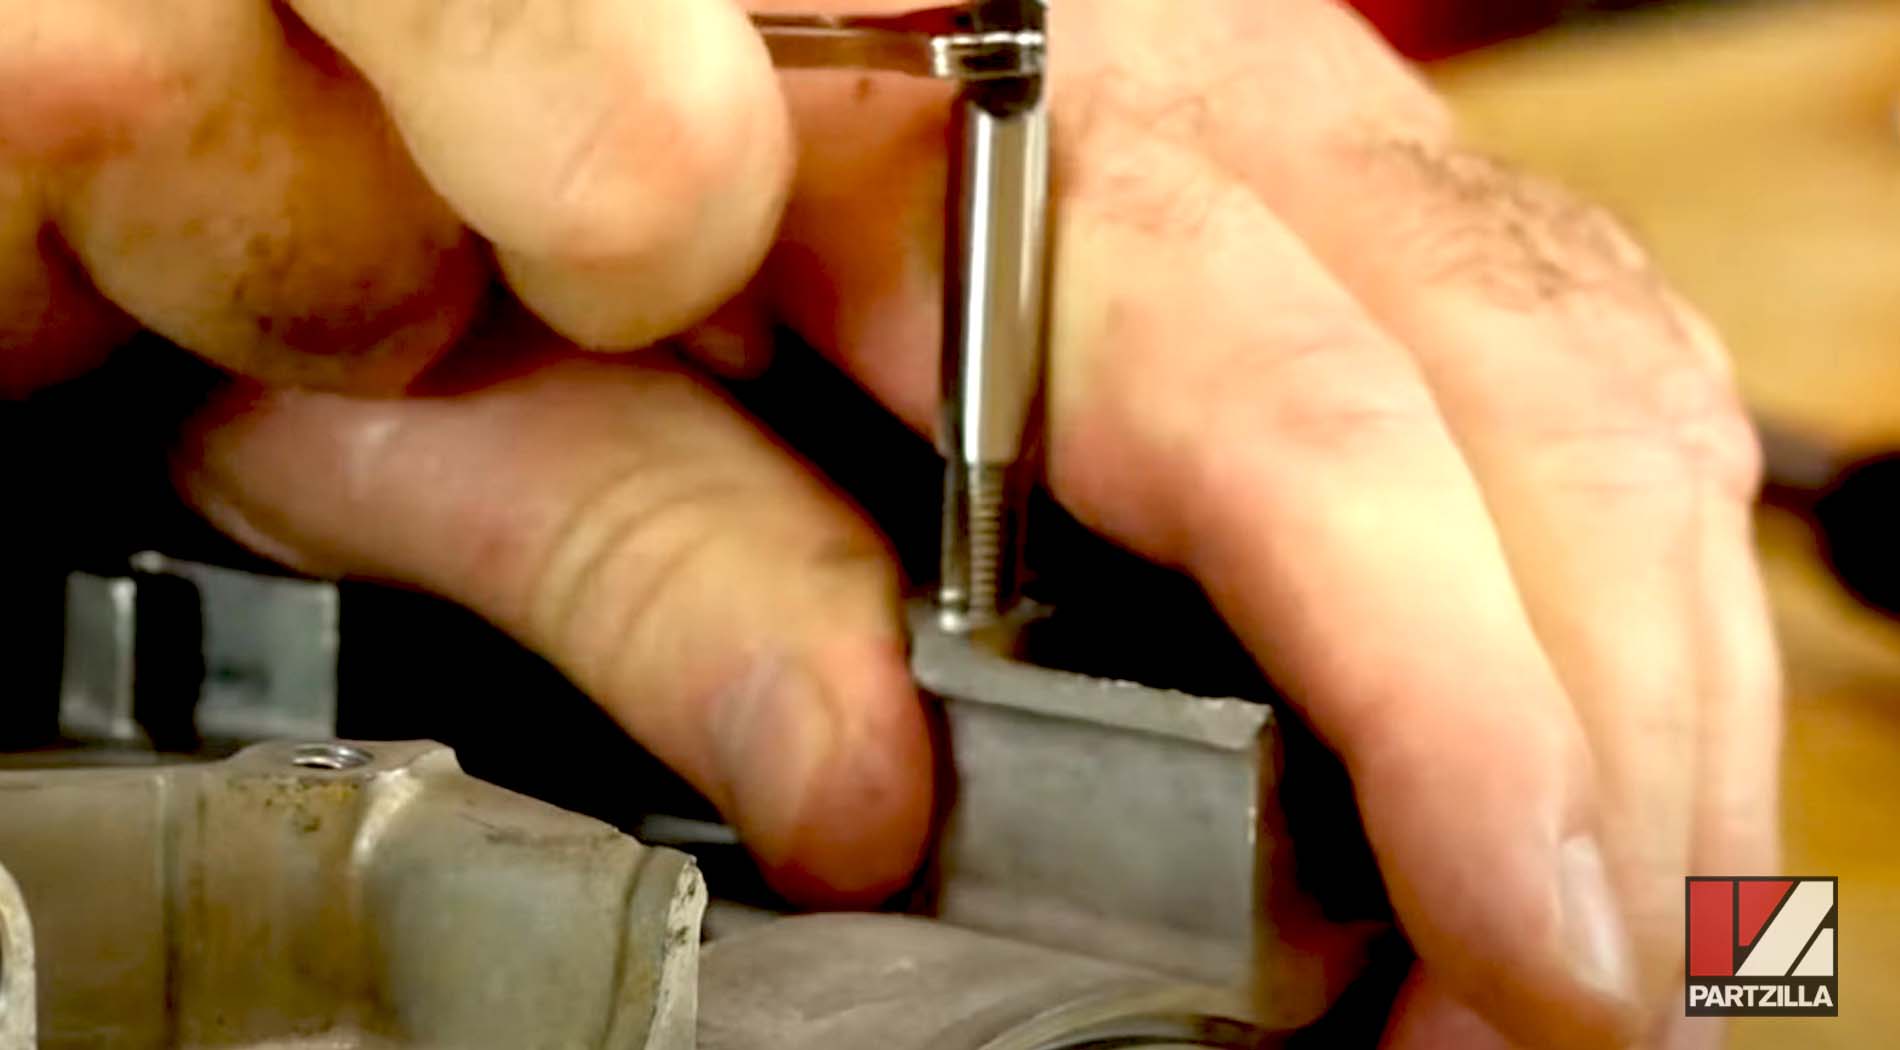
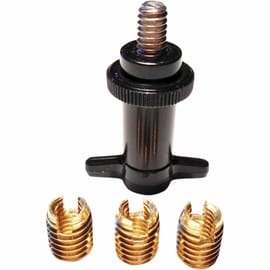
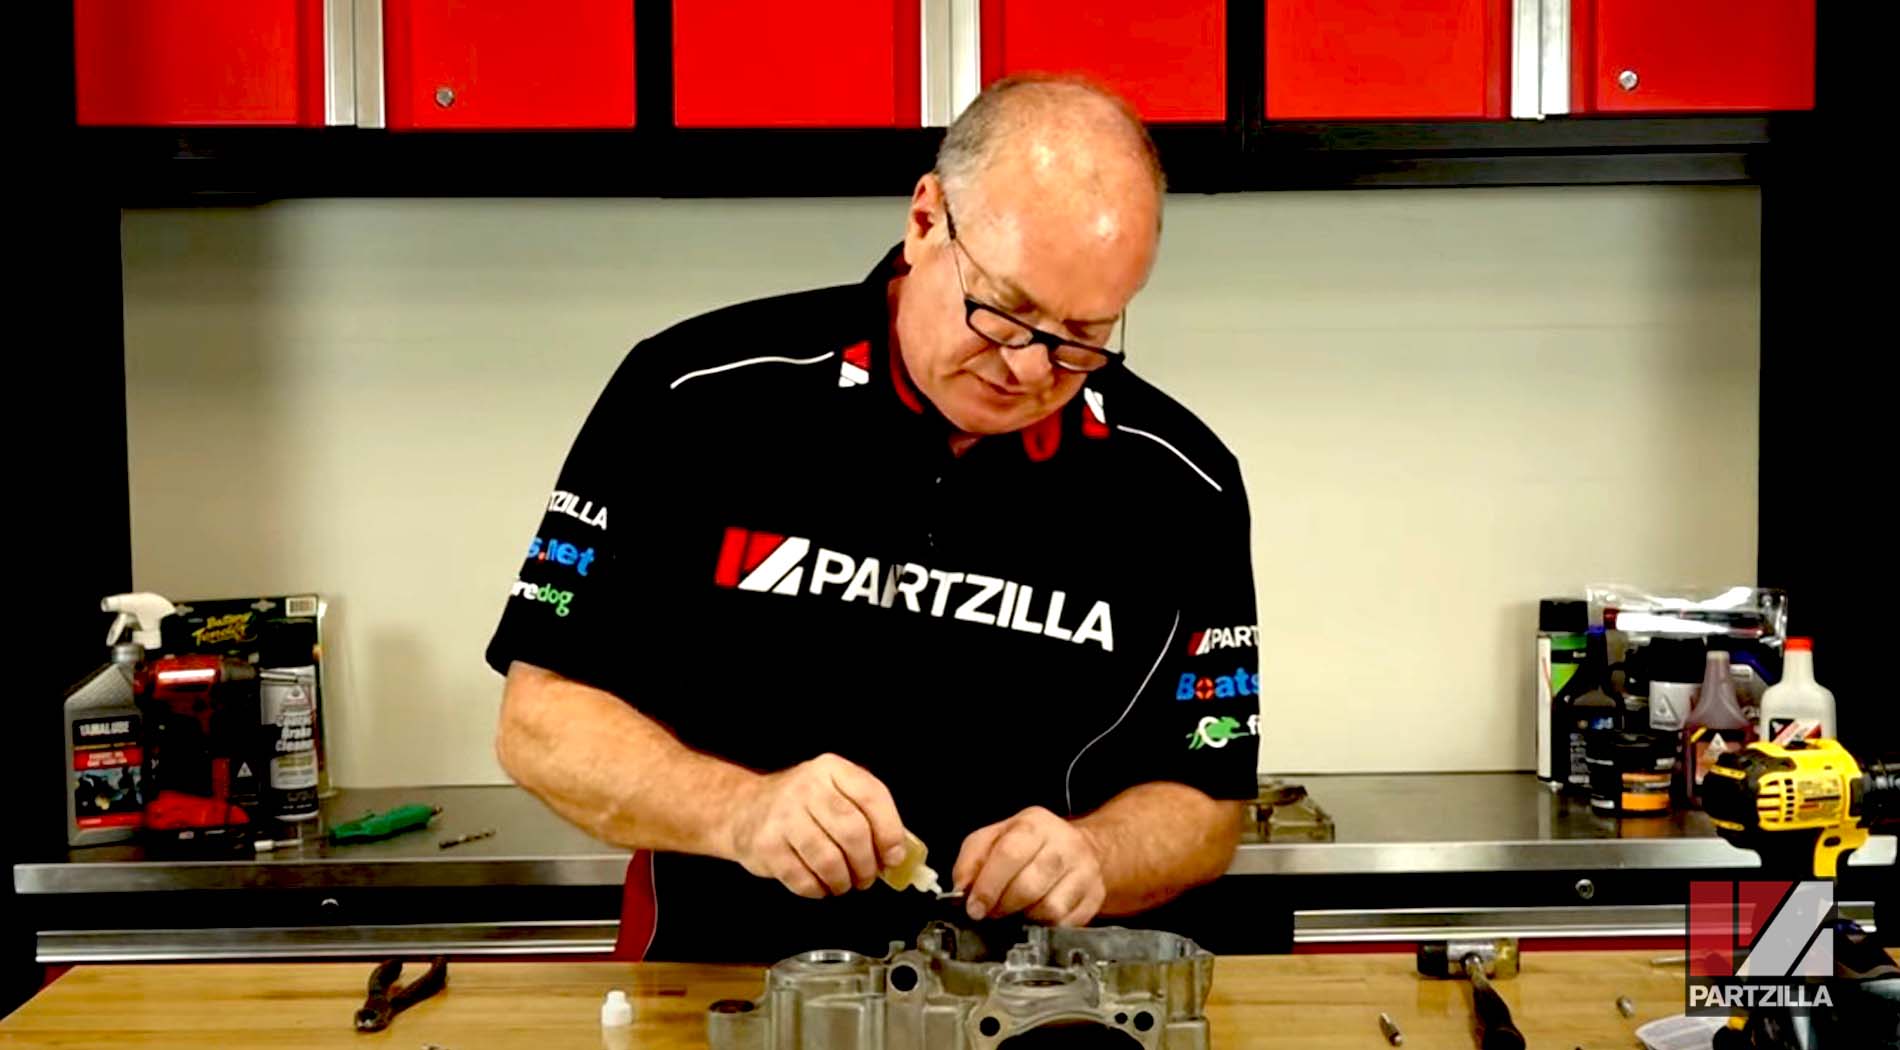
Once that’s done, you’ll be using the insertion tool, which has the advantage that it doesn't grab a tang or anything similar. The Time Sert is one piece tapered on the end, and as the insertion tool goes through it, it expands it down at the bottom to lock it in place. The kit includes some oil to apply on the insertion tool so that it has an easier time going through the end of the Time Sert itself.
Once it’s almost bottomed out, all you have to do is drive it just past the end of the Time Sert and then back out the insertion tool.
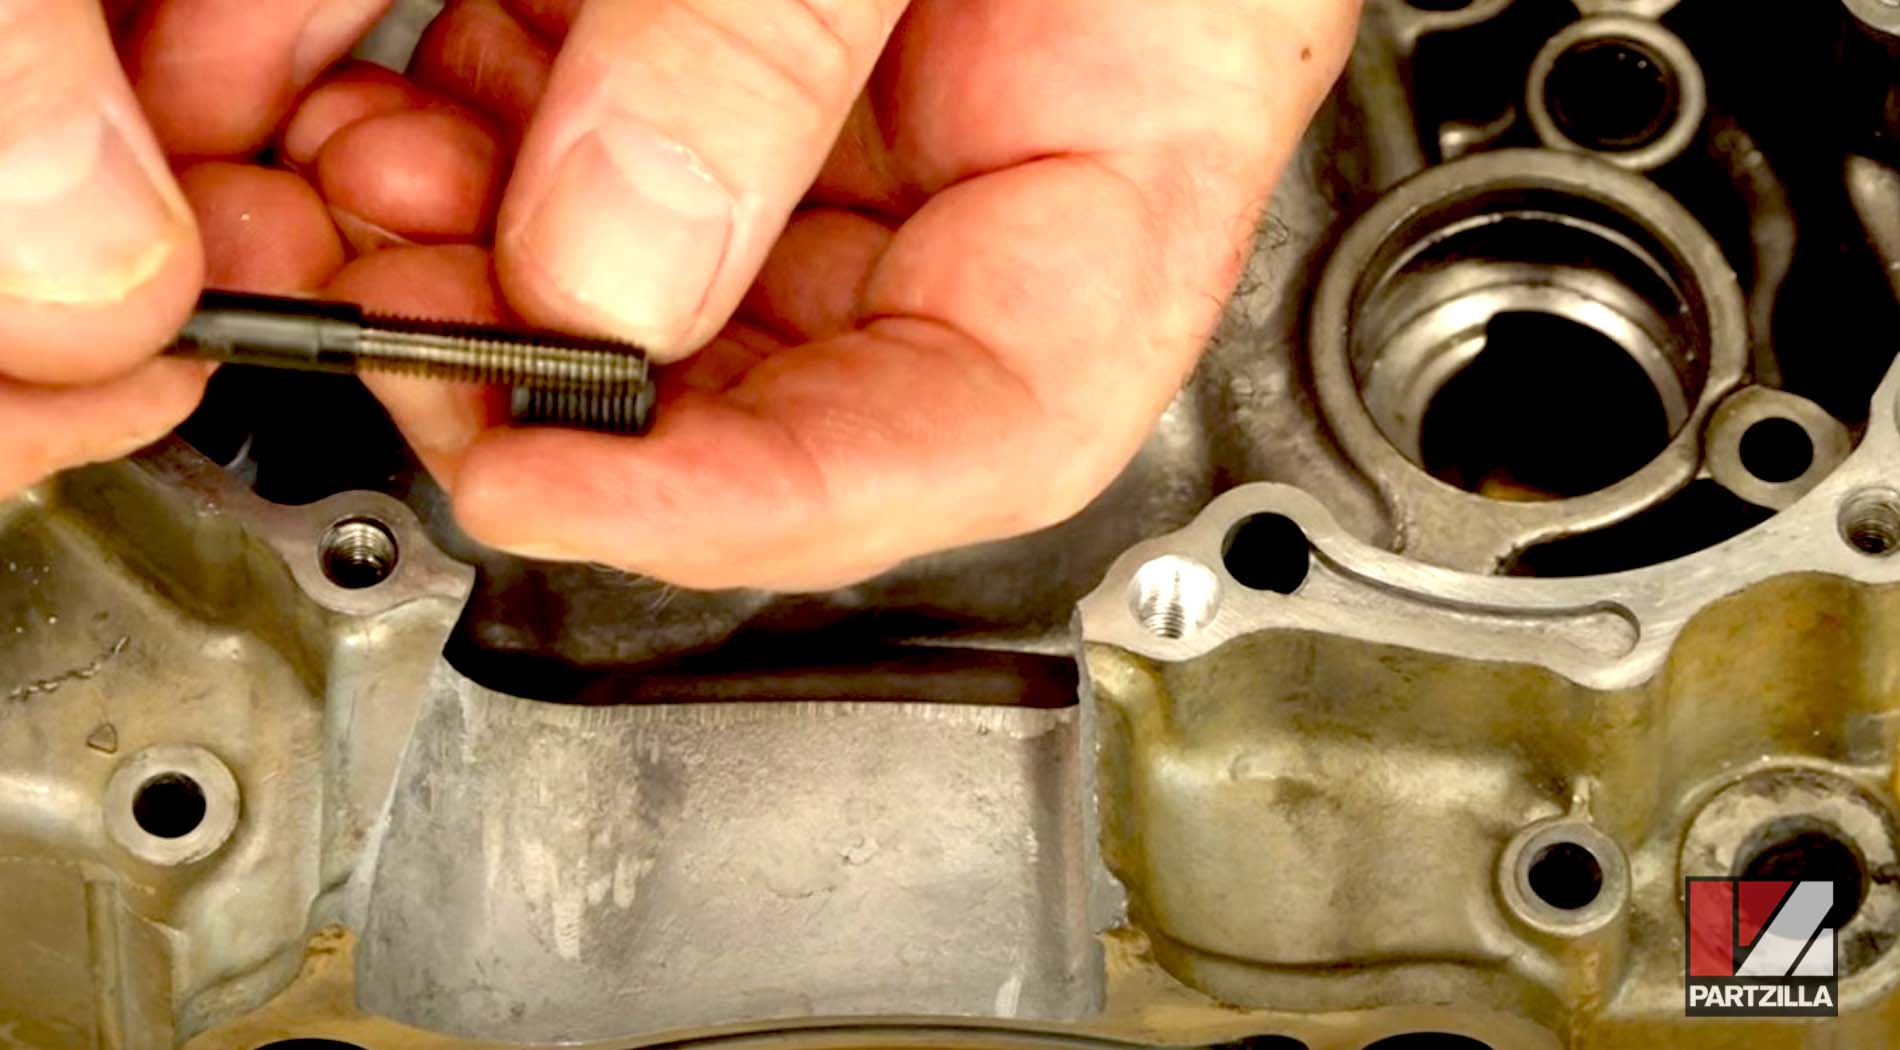
Heli Coil vs Time Sert
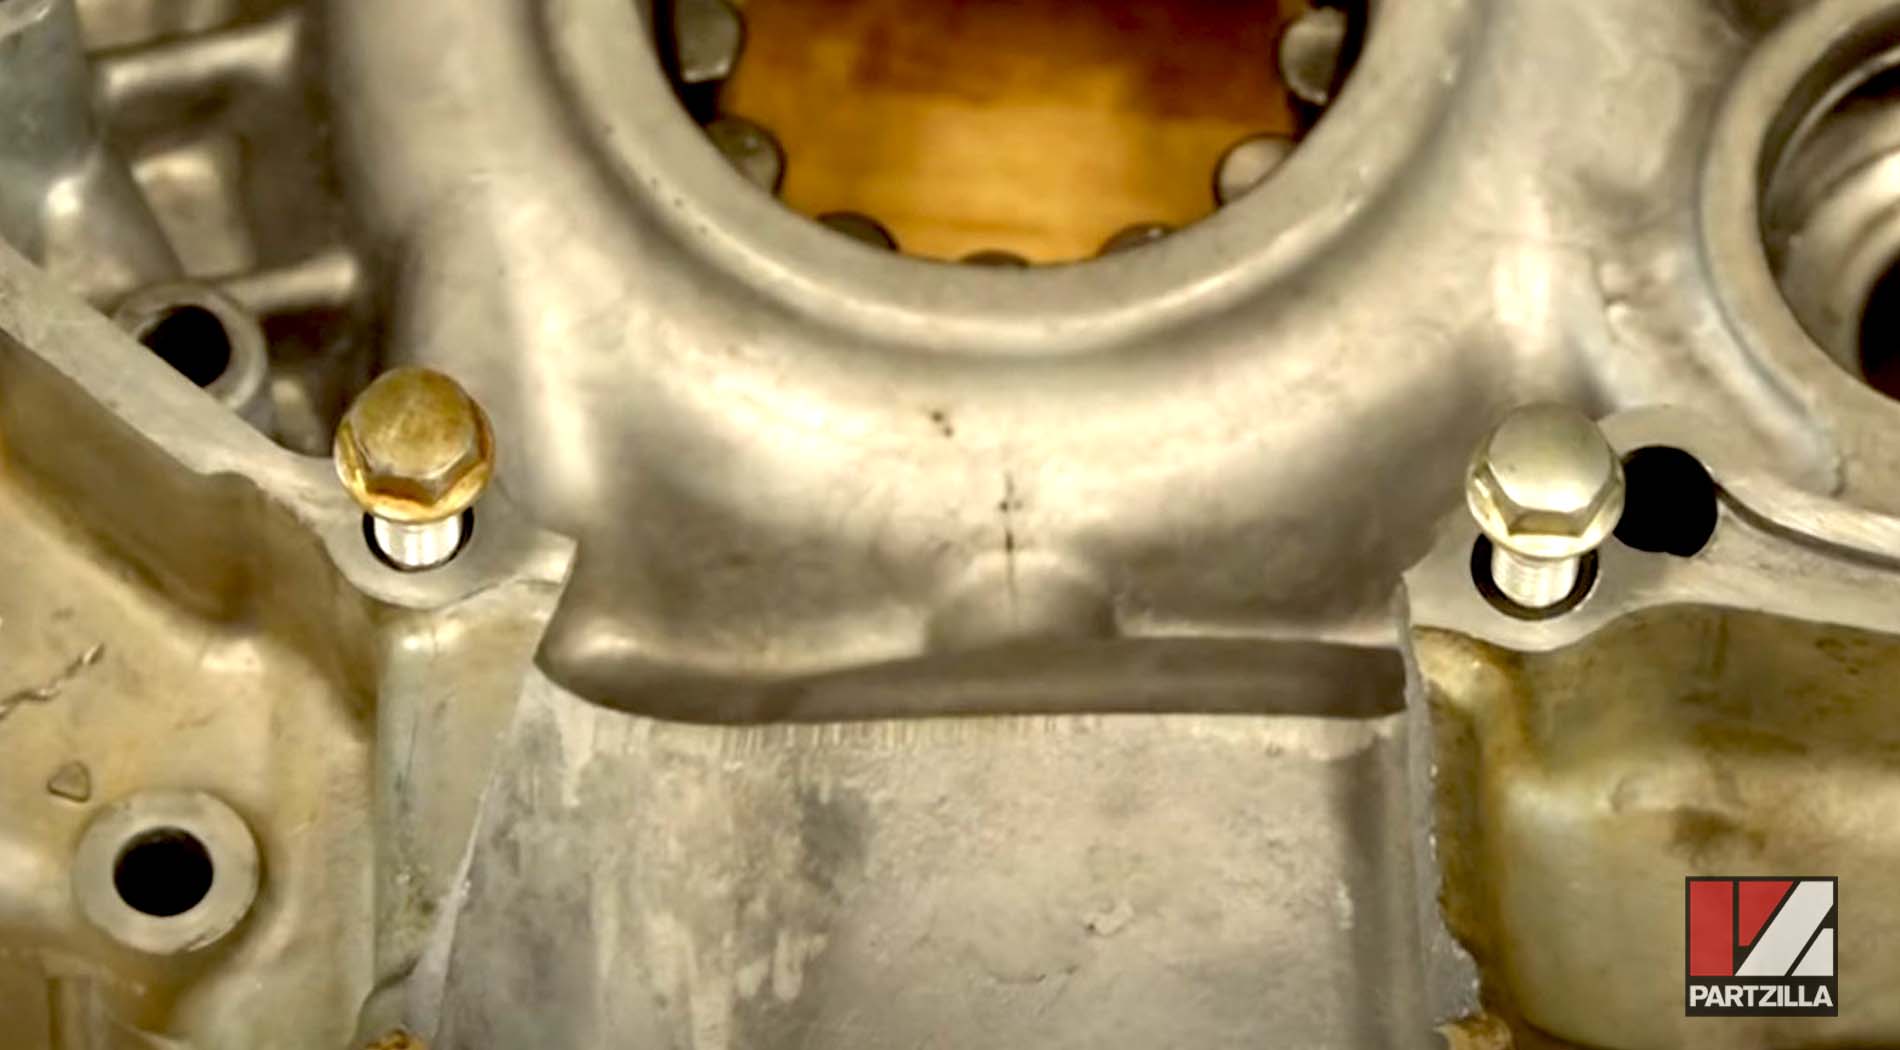
The Heli-Coil, which was used to install the left bolt in the picture below, works well for one-time use. However, if you're going to use it over and over again, it may not be the better choice. The Time Sert, which was used to install the bolt on the right, is said to be a more durable tool than the Heli-Coil.
Related: How to Remove a Stripped Screw