Can-Am Maverick X3 LED Spotlights Installation
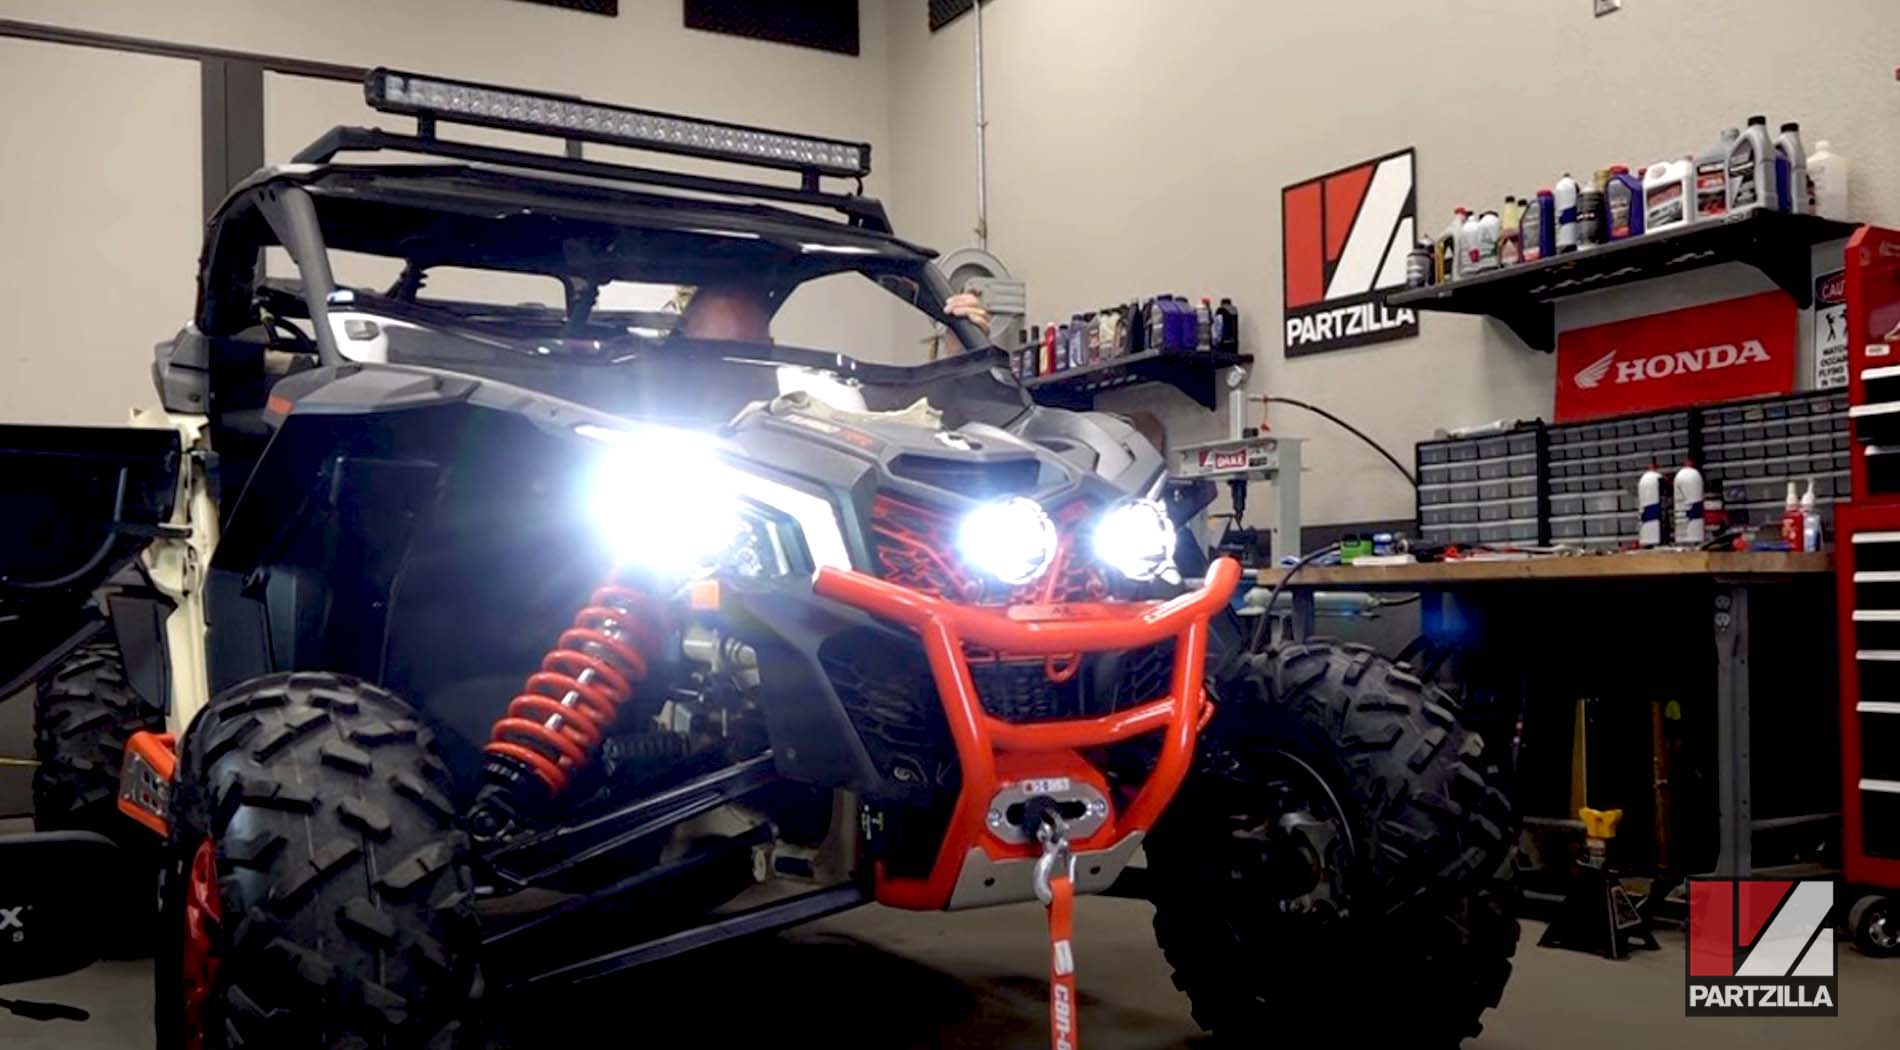
Adding spotlights to a Can-Am Maverick that already has a substantial lighting system, including a light bar, is an upgrade made for the purpose of focusing further down a trail at night.
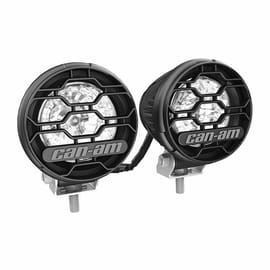
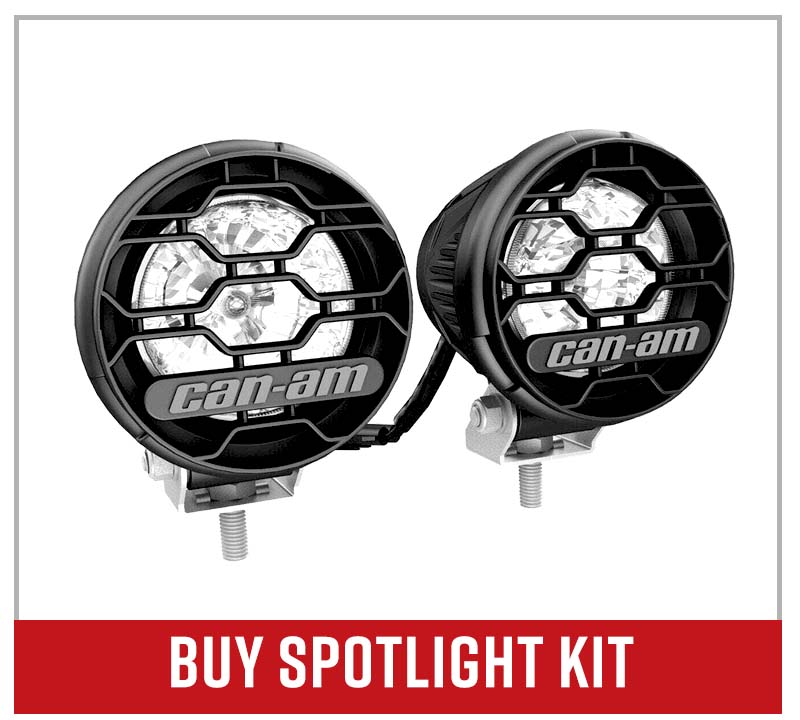
Spotlights allow time to react quicker to whatever's coming at you at high speeds. For this upgrade, we went with the OEM spotlight kit from Can-Am. However, for this project you also need to order the appropriate wiring kit for your vehicle, and a bumper that allows mounting of the spotlights, which the factory bumper on the Maverick X3 isn’t equipped for.
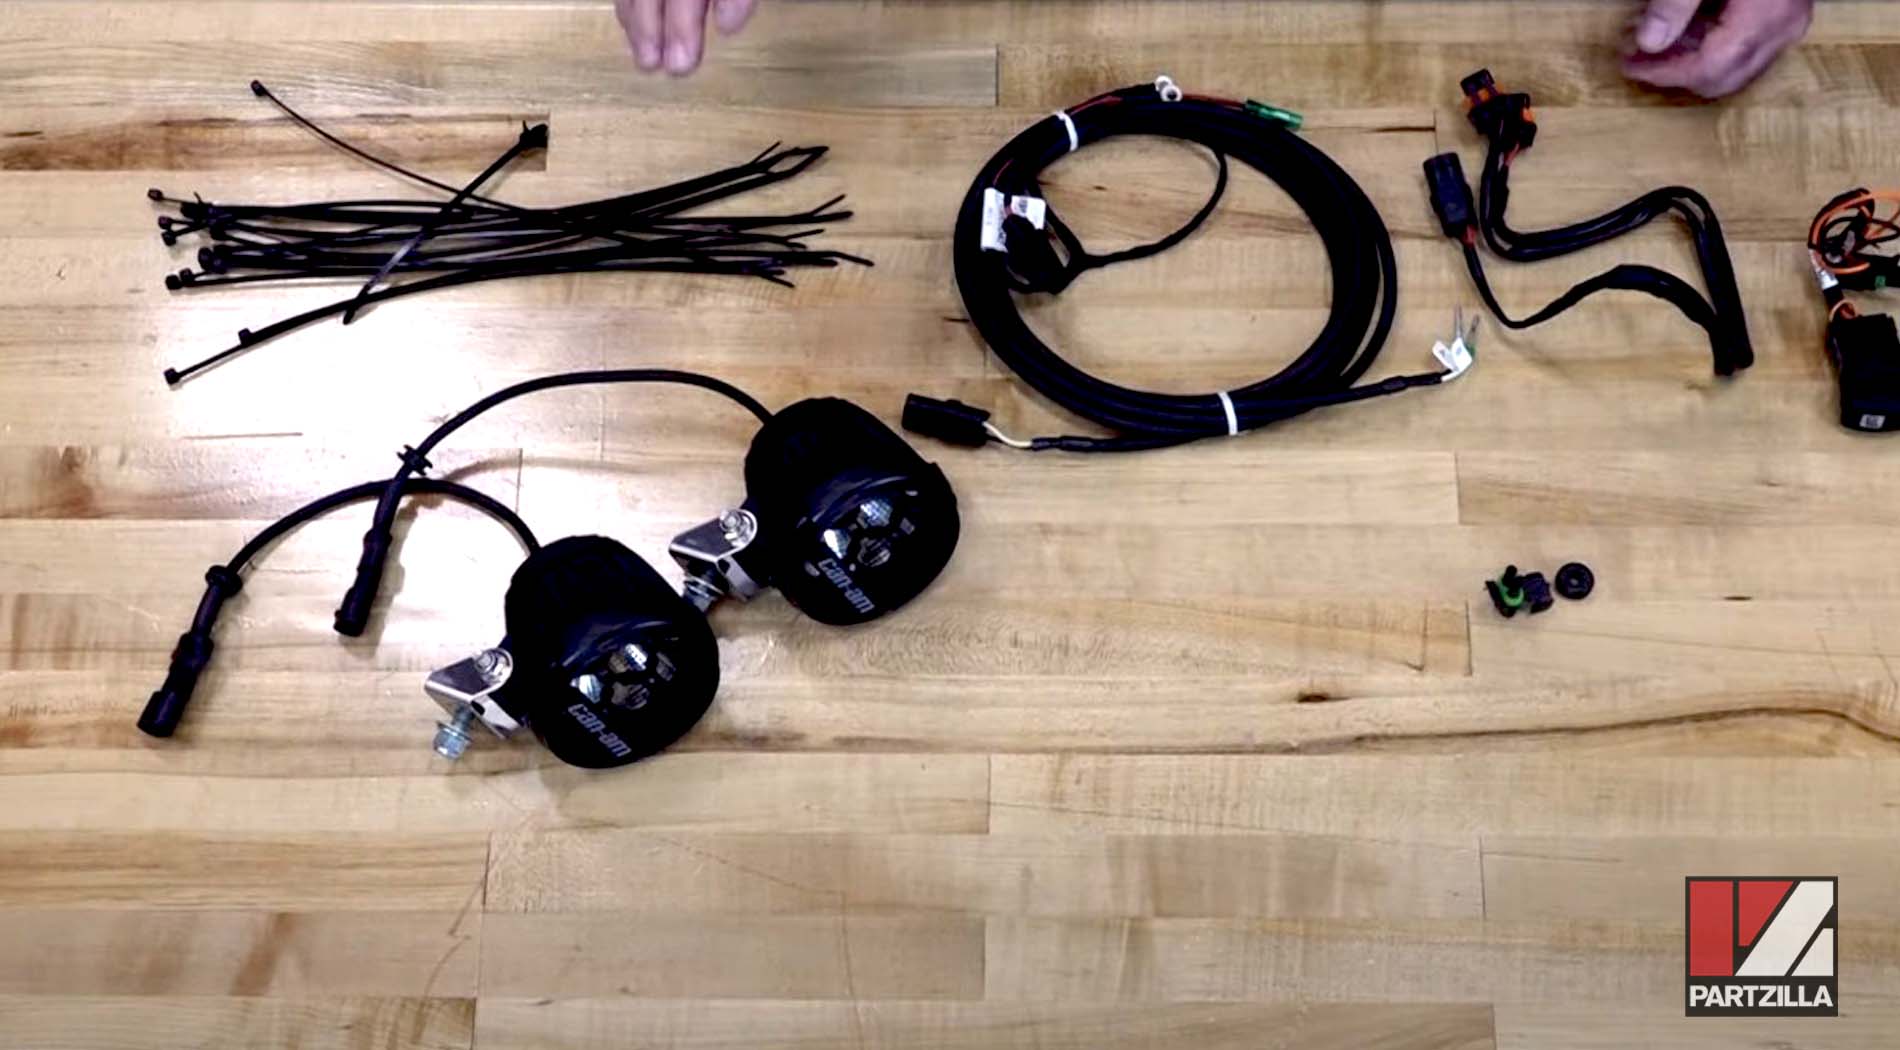
No special tools are needed for this installation other than standard tools like ratchets and extensions, and either a drill or a die grinder. Watch the video above and follow the steps below to do a spotlight installation on a Can-Am Maverick X3 side-by-side.

PRO TIP: Bungee tie the passenger door back so it doesn’t get in the way while you’re doing the installation. Also, when you're taking things apart, get all the nuts and bolts together for each section, put them in a plastic bag and label each bag to avoid mistakes when it comes time to put everything back together.
Can-Am Maverick Spotlight Installation Steps
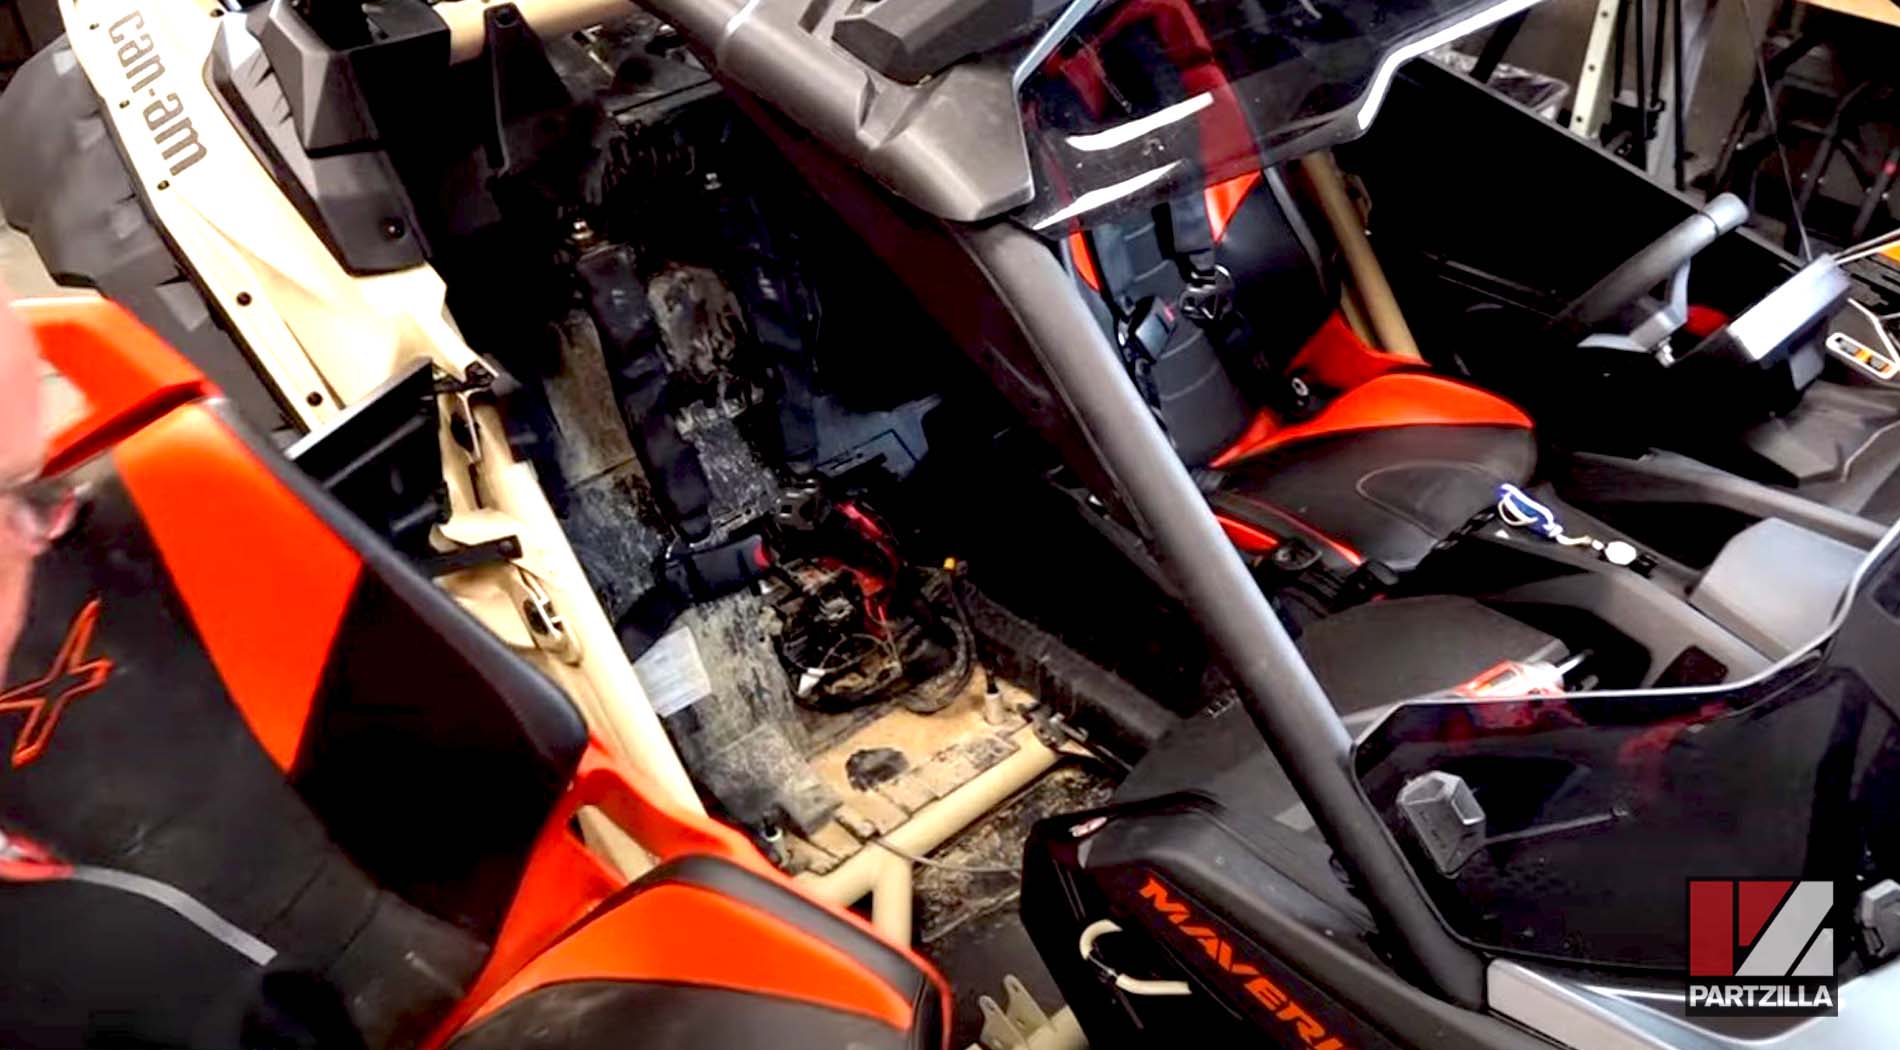
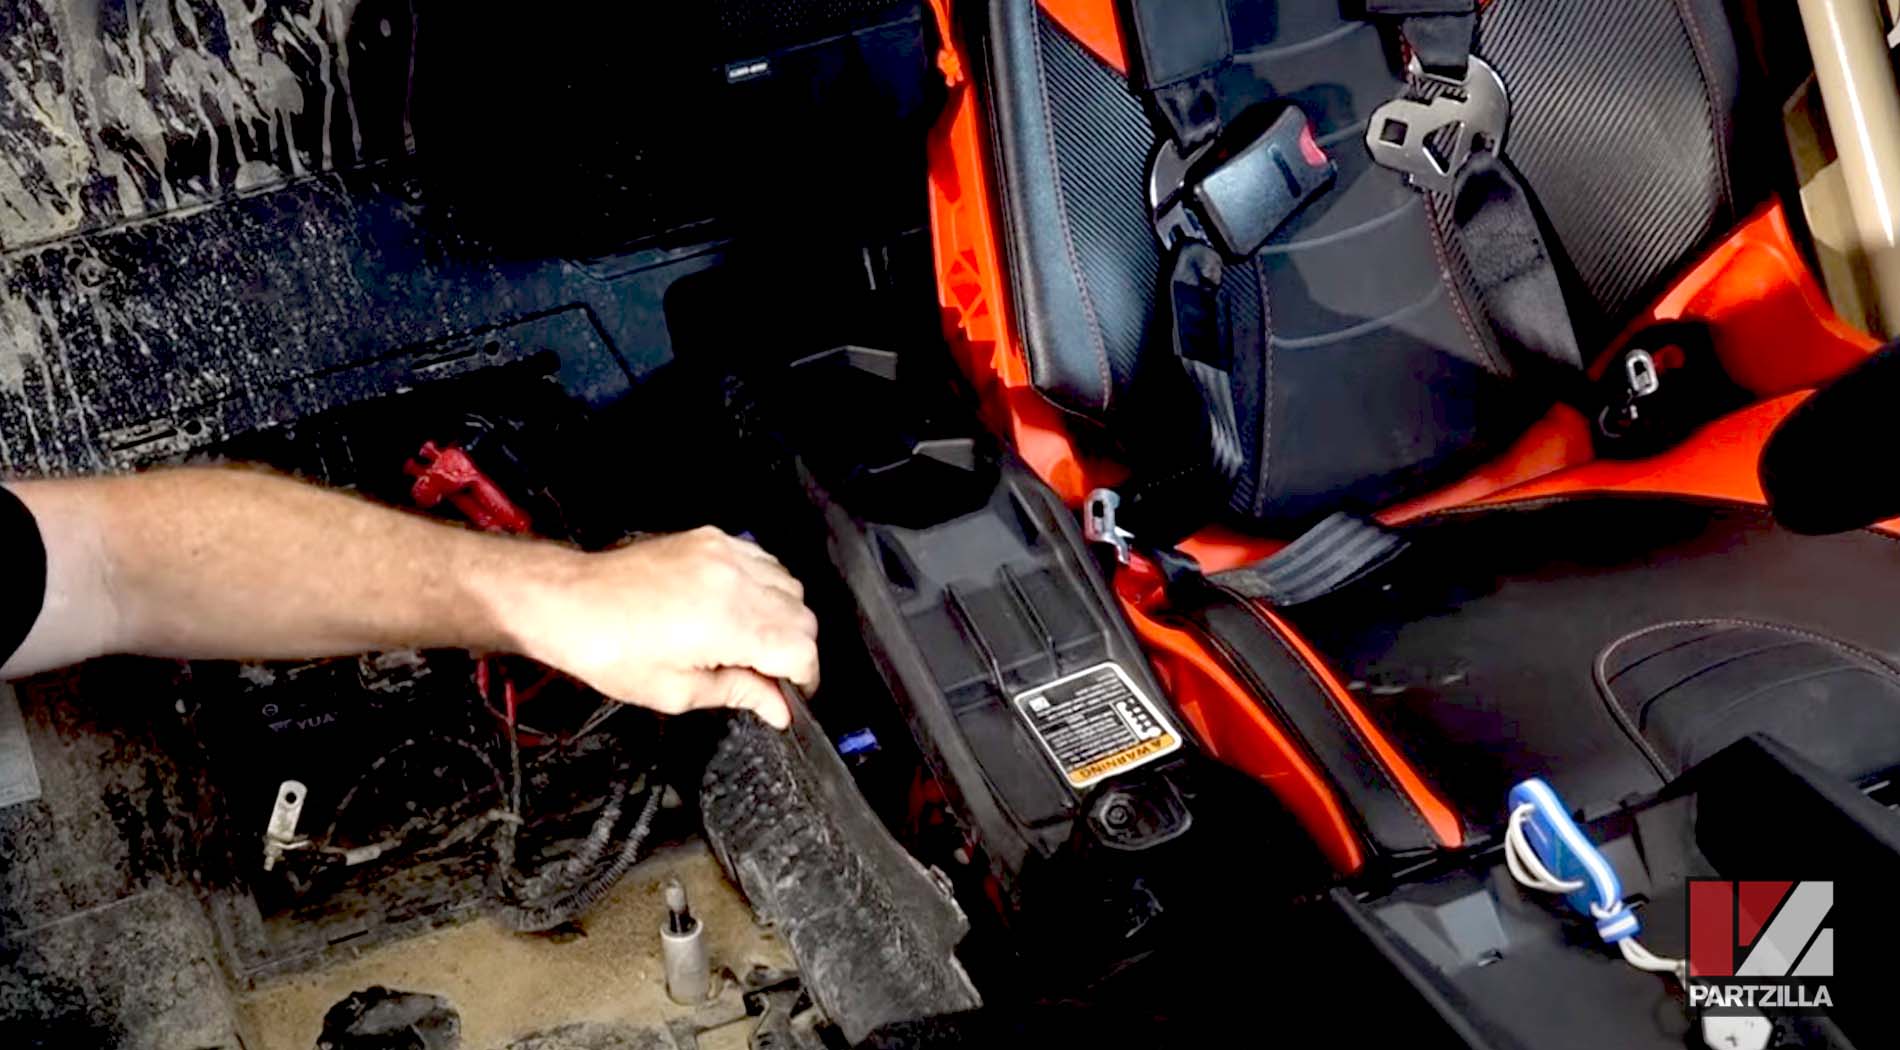
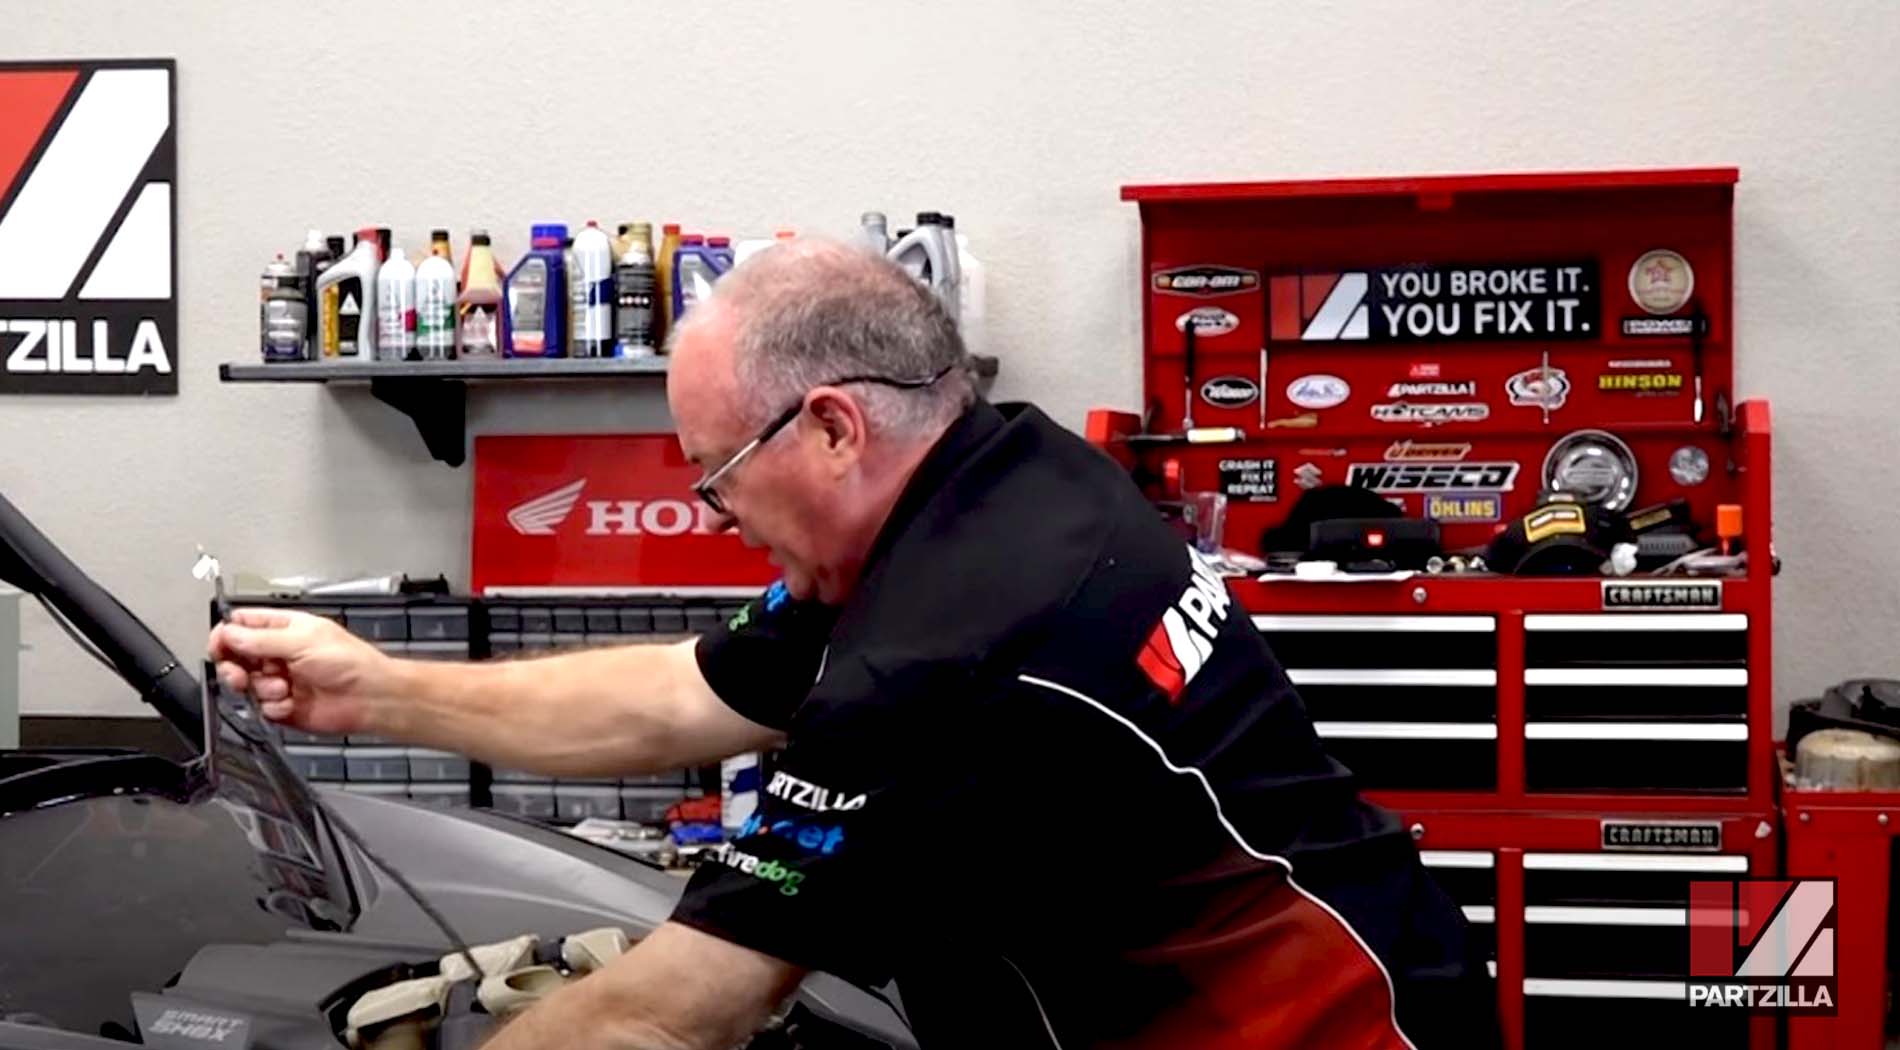
Step 1. Detach the lap belt from the passenger seat, then remove the seat itself.
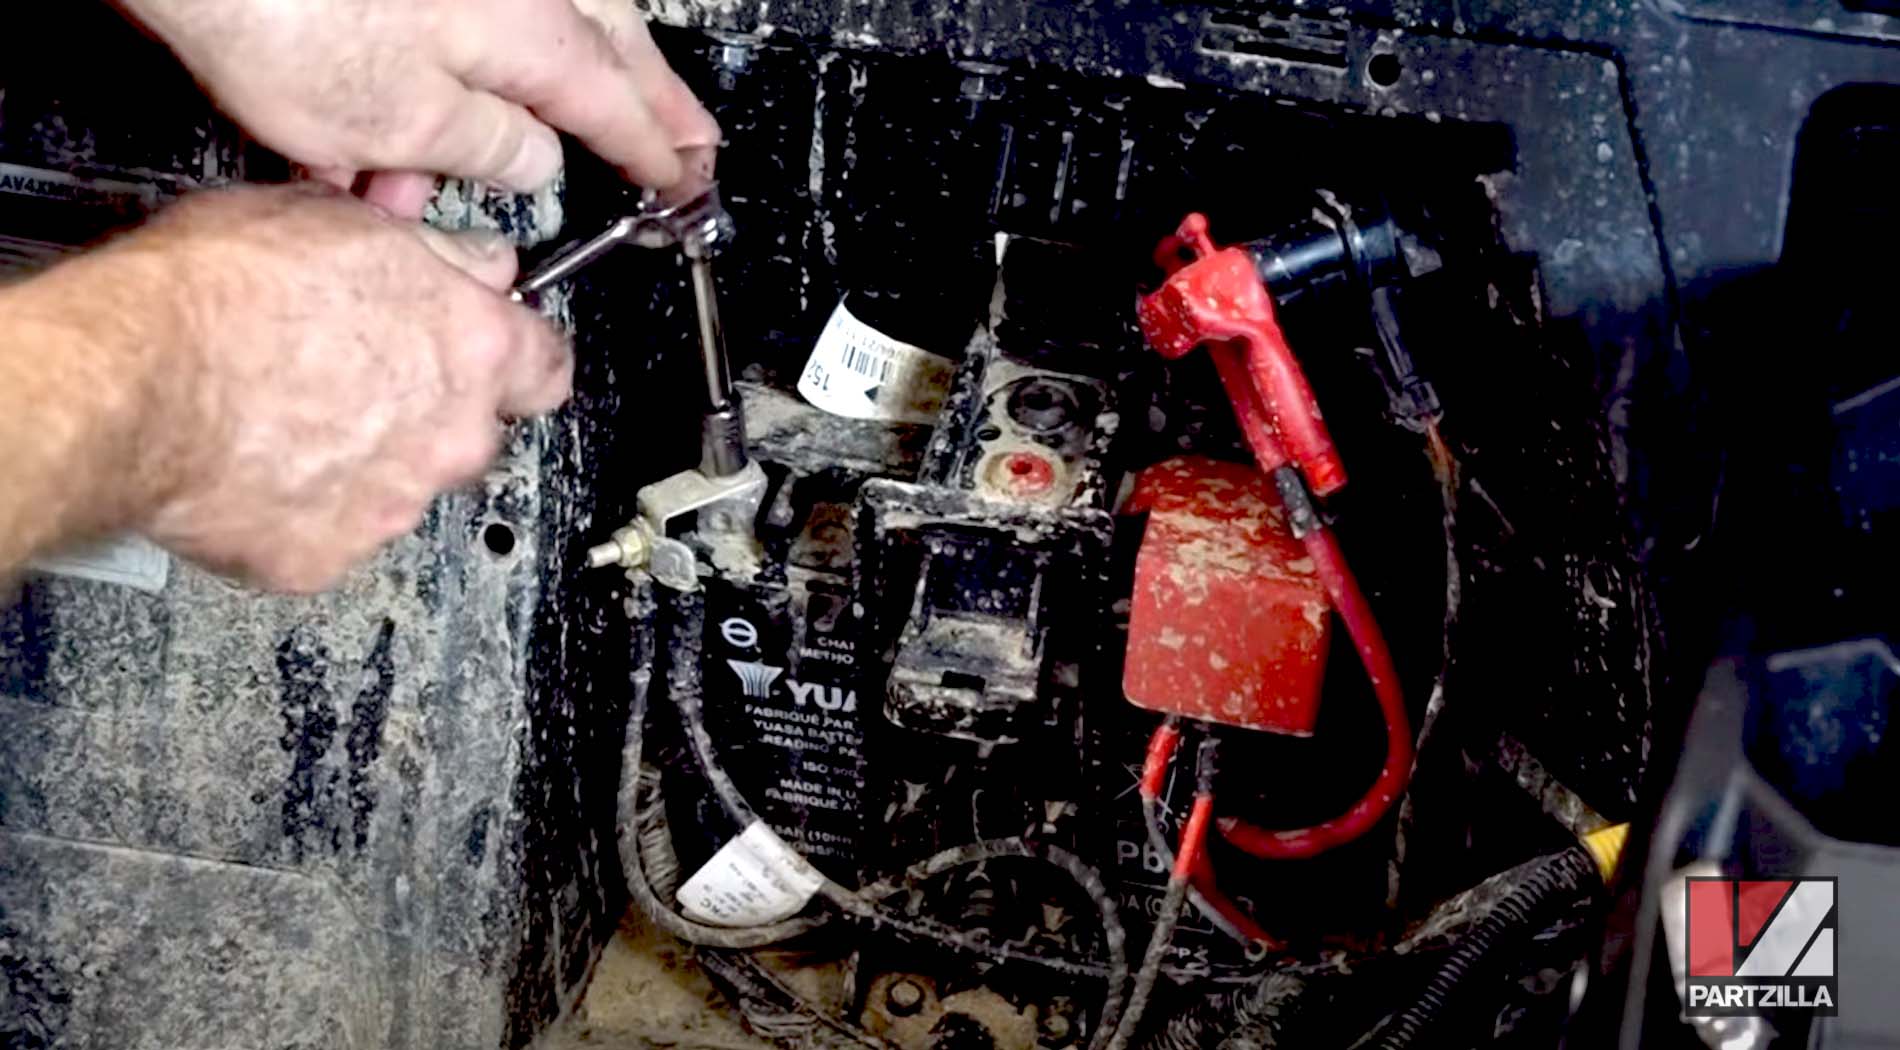
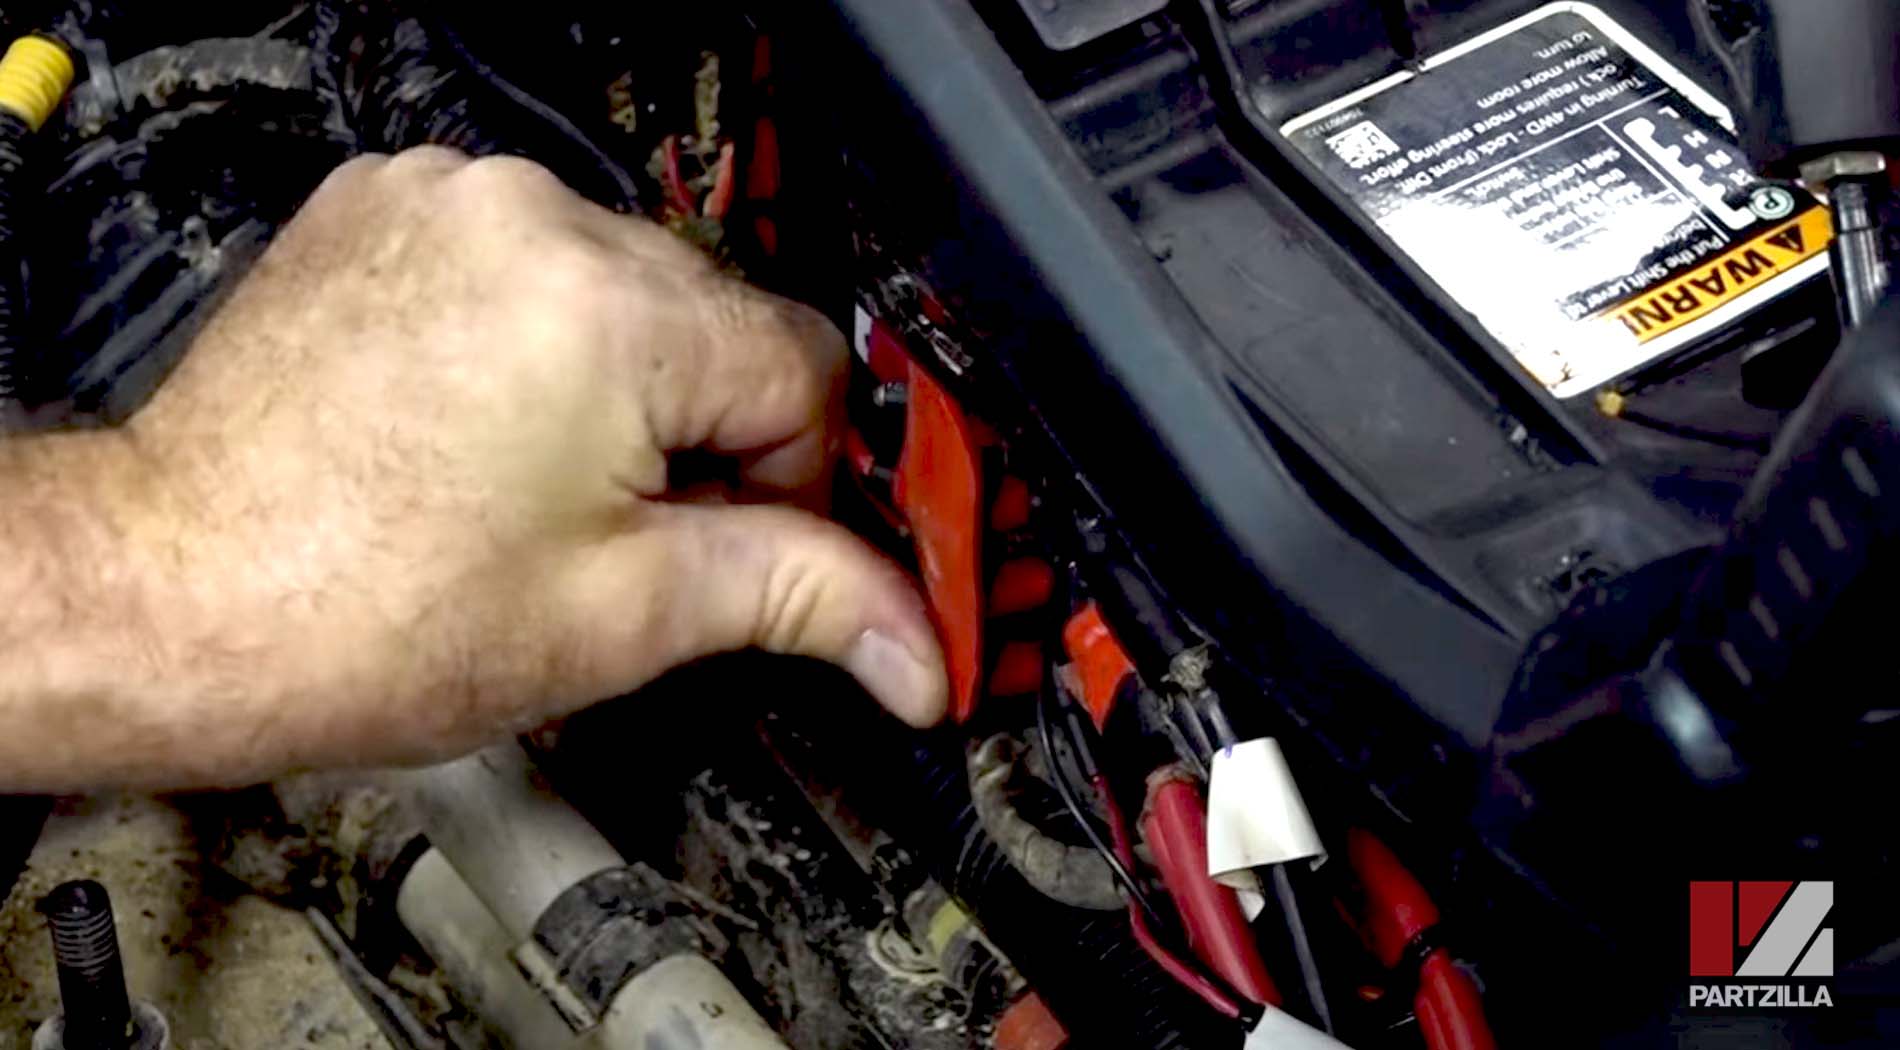
Step 2. Disconnect the negative side of the battery.
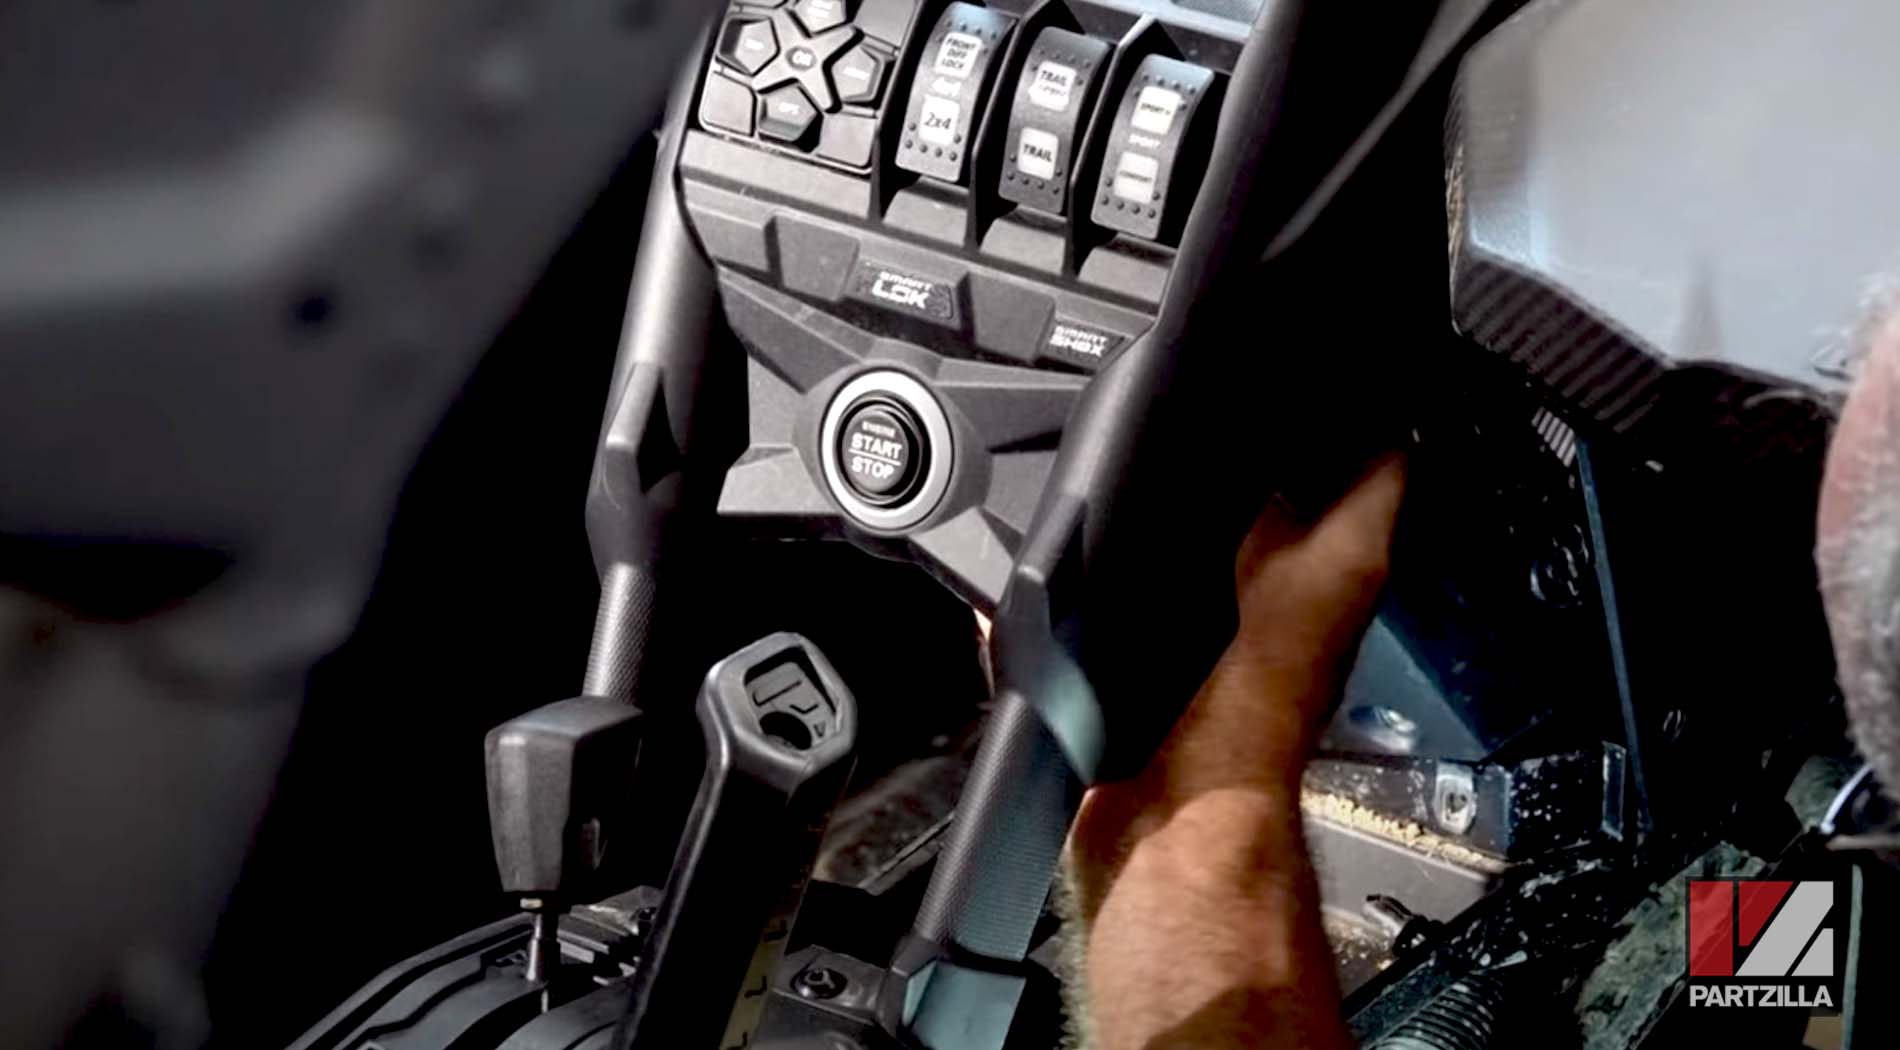
Step 3. Remove the panels from the center console.
NOTE: The next steps involve running cables through the main cabin, starting with the primary cable. The wiring will end up where the power access point is with three contacts for a negative, a positive, and an accessory to trigger a relay.
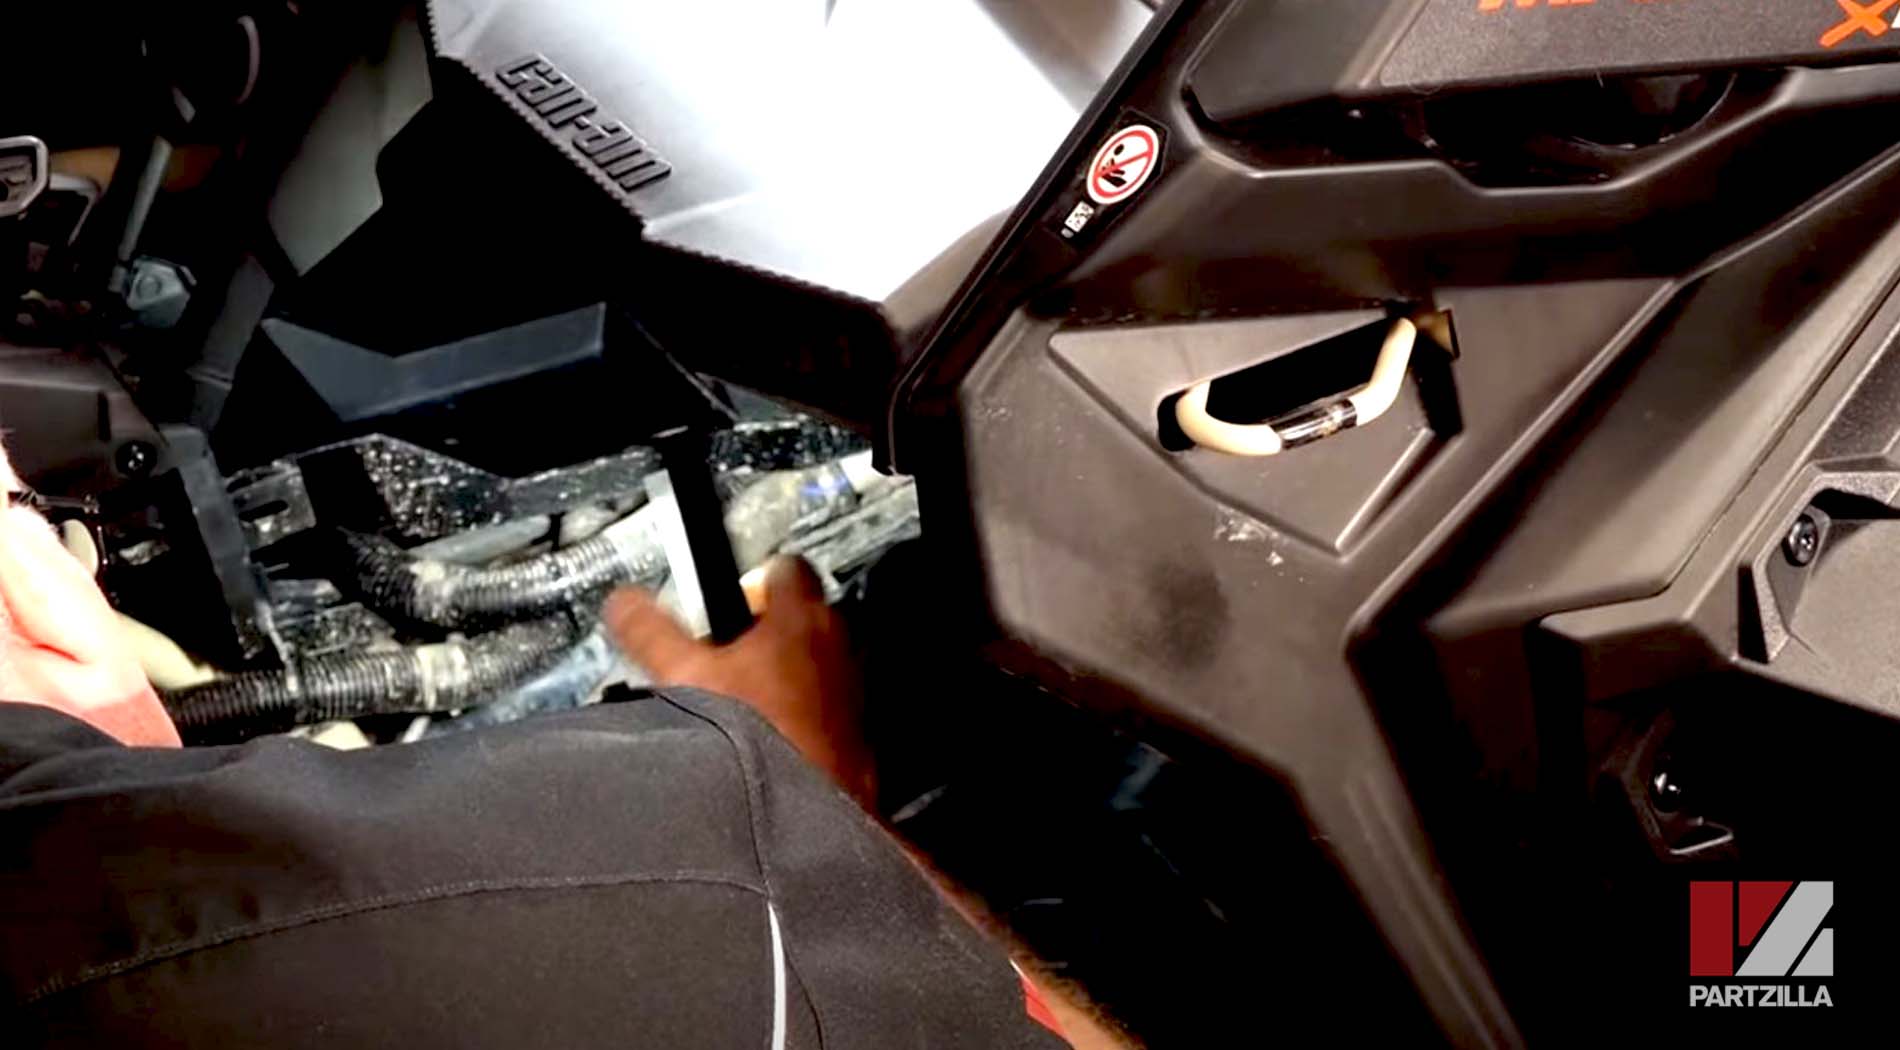
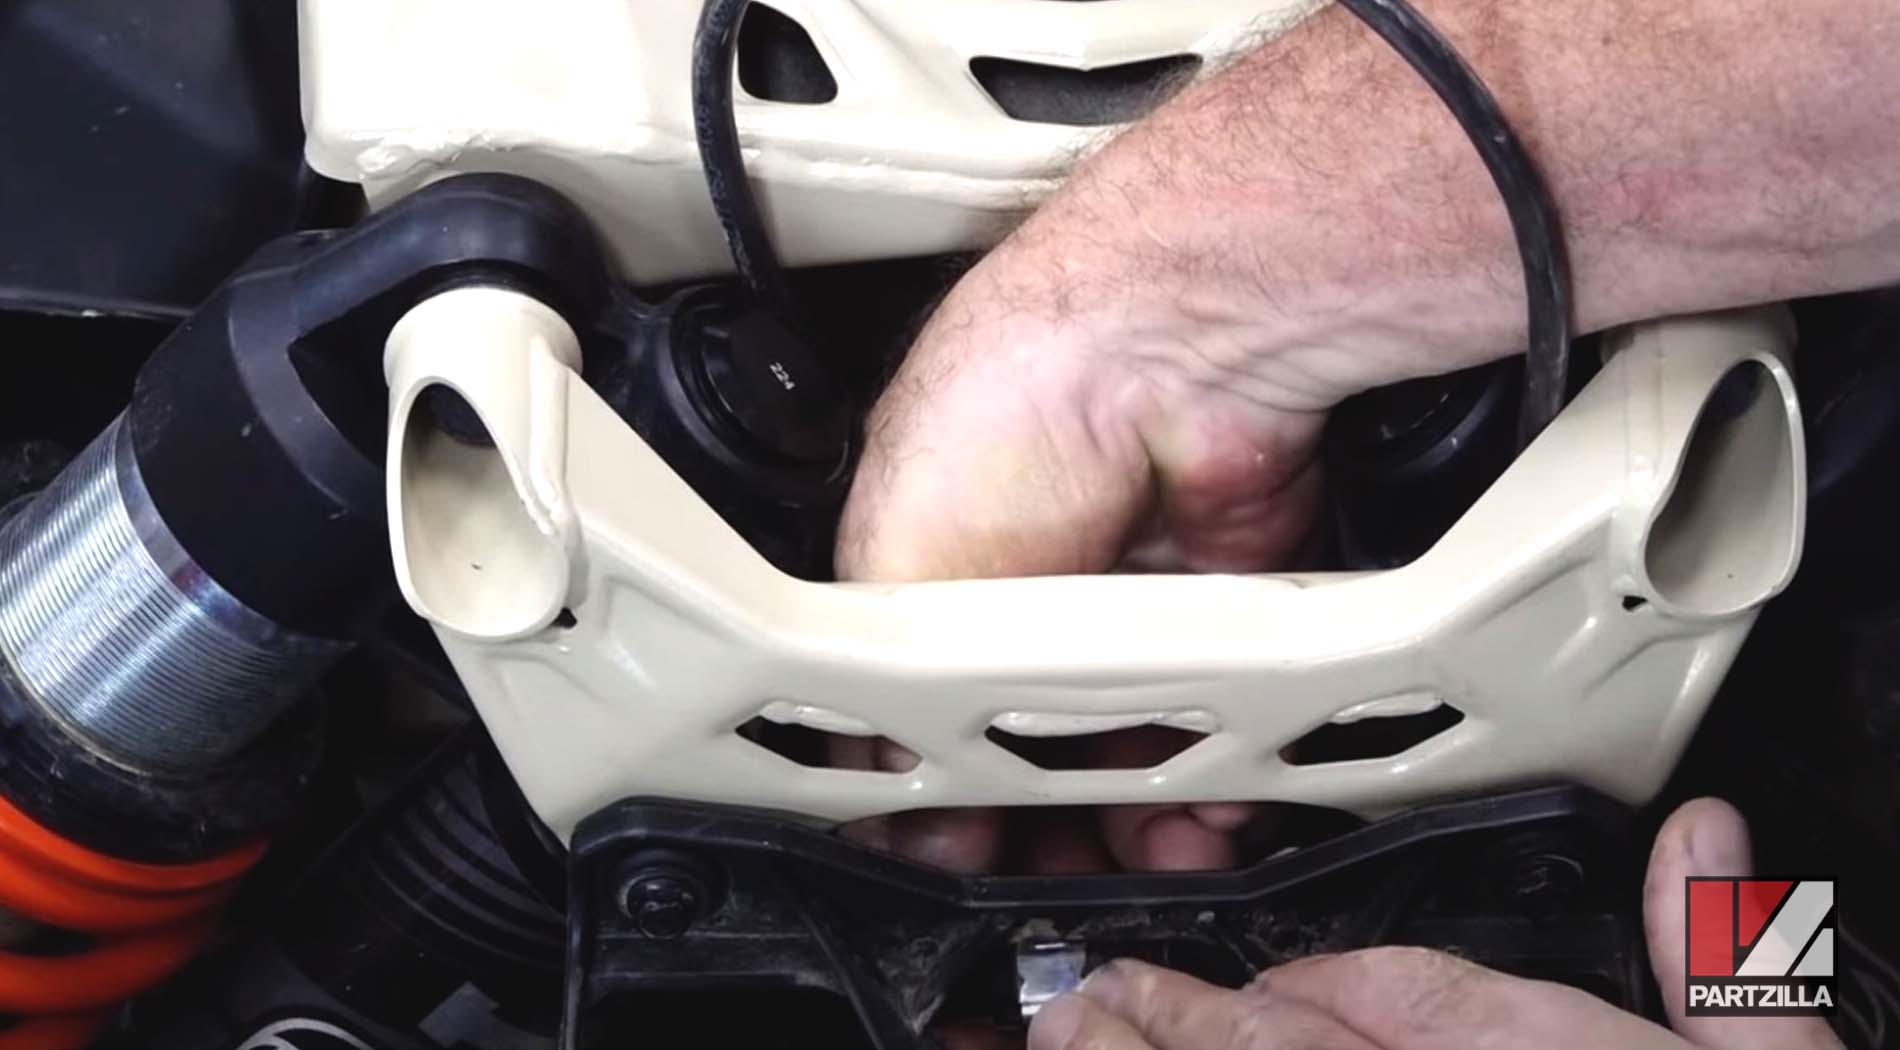
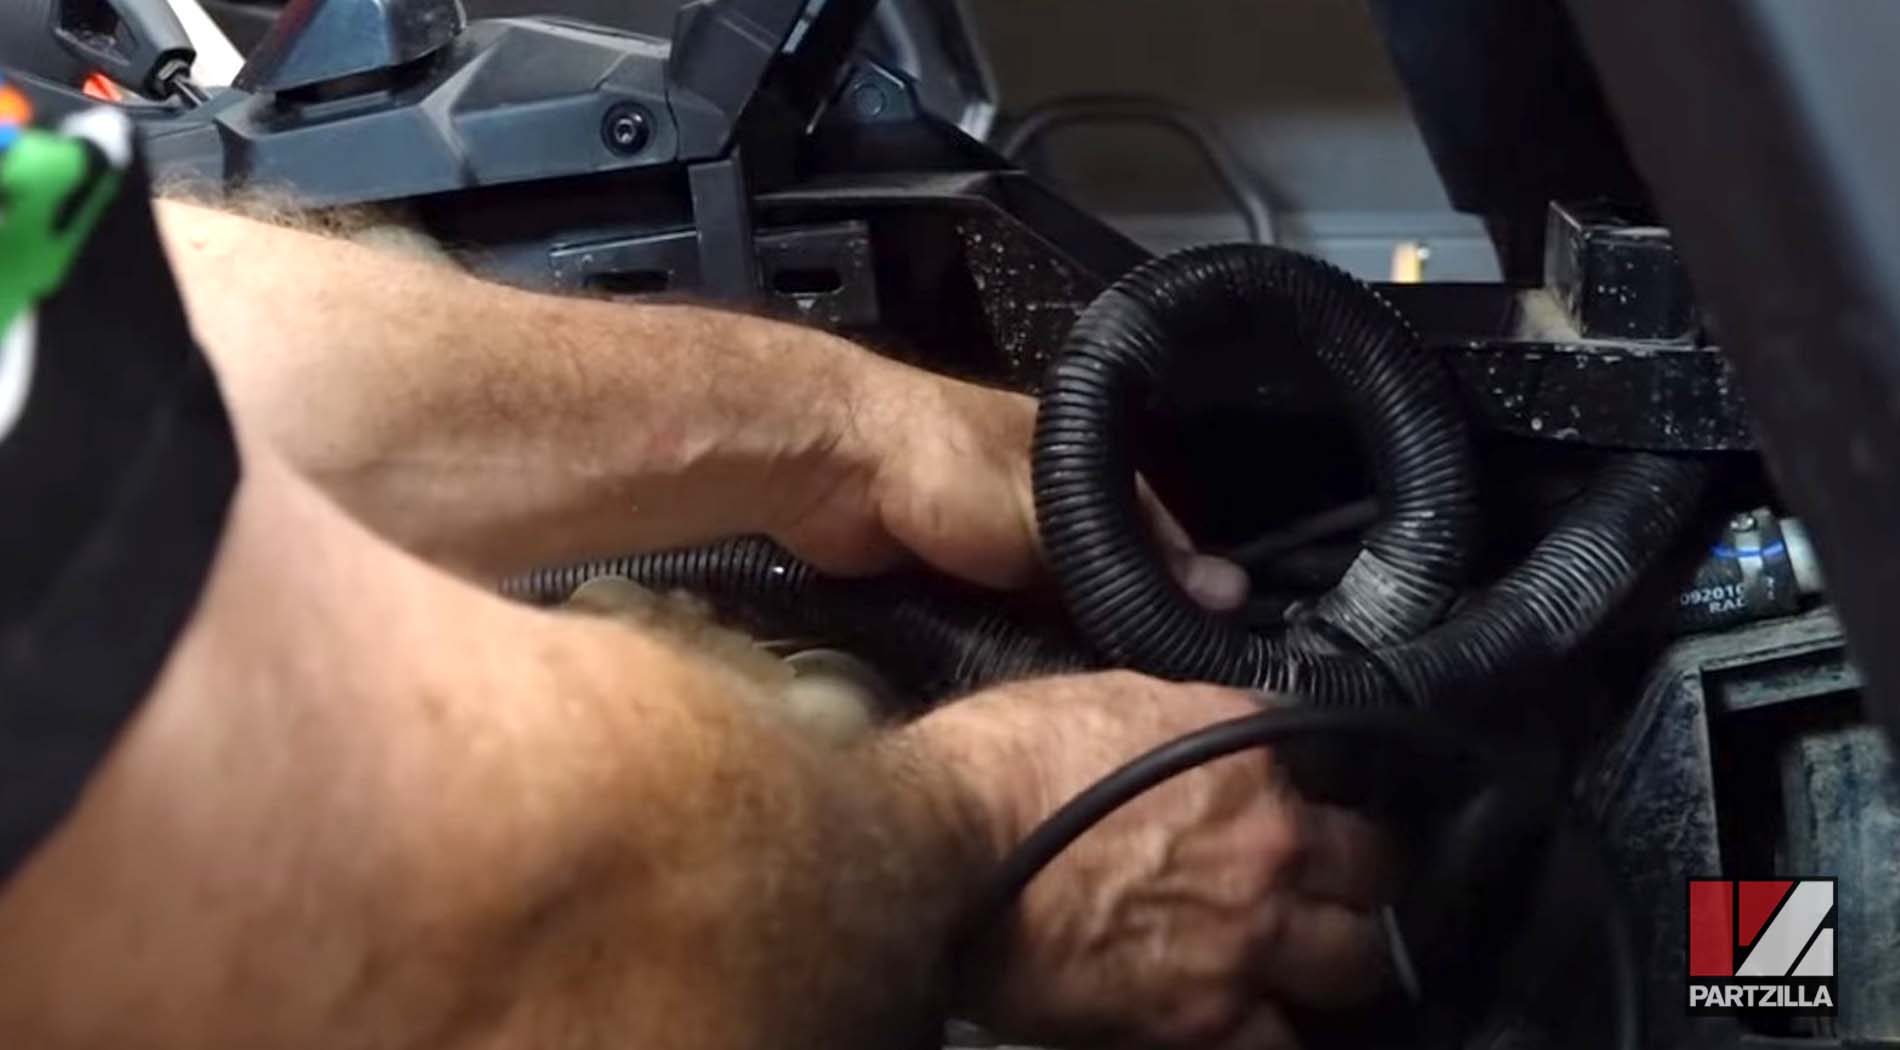
Step 4. Find the grommet with a zip tie under the shock towers and cut off the tie to expose the wiring harness. Next, pull the wiring harness up and out of the way.
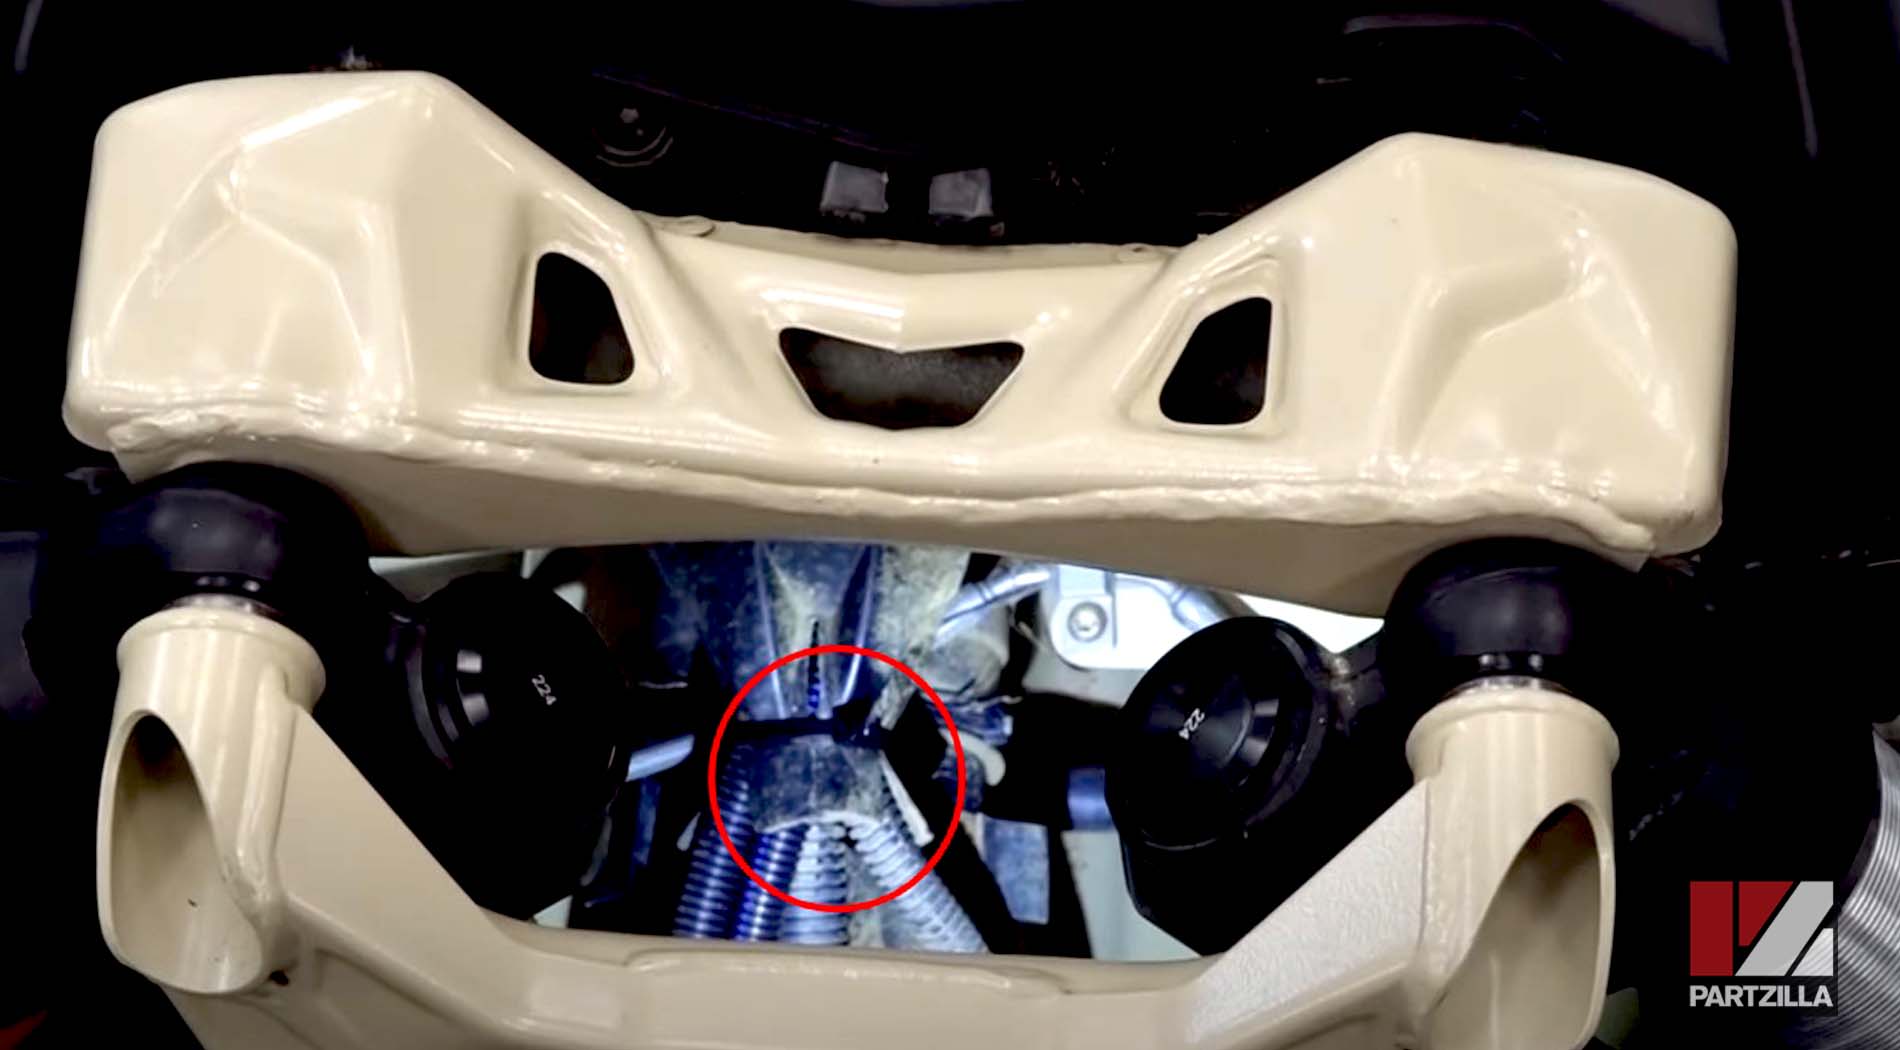
NOTE: Tuck as much of the wiring harness away from the winch, suspension and radiator as possible to keep it clear.
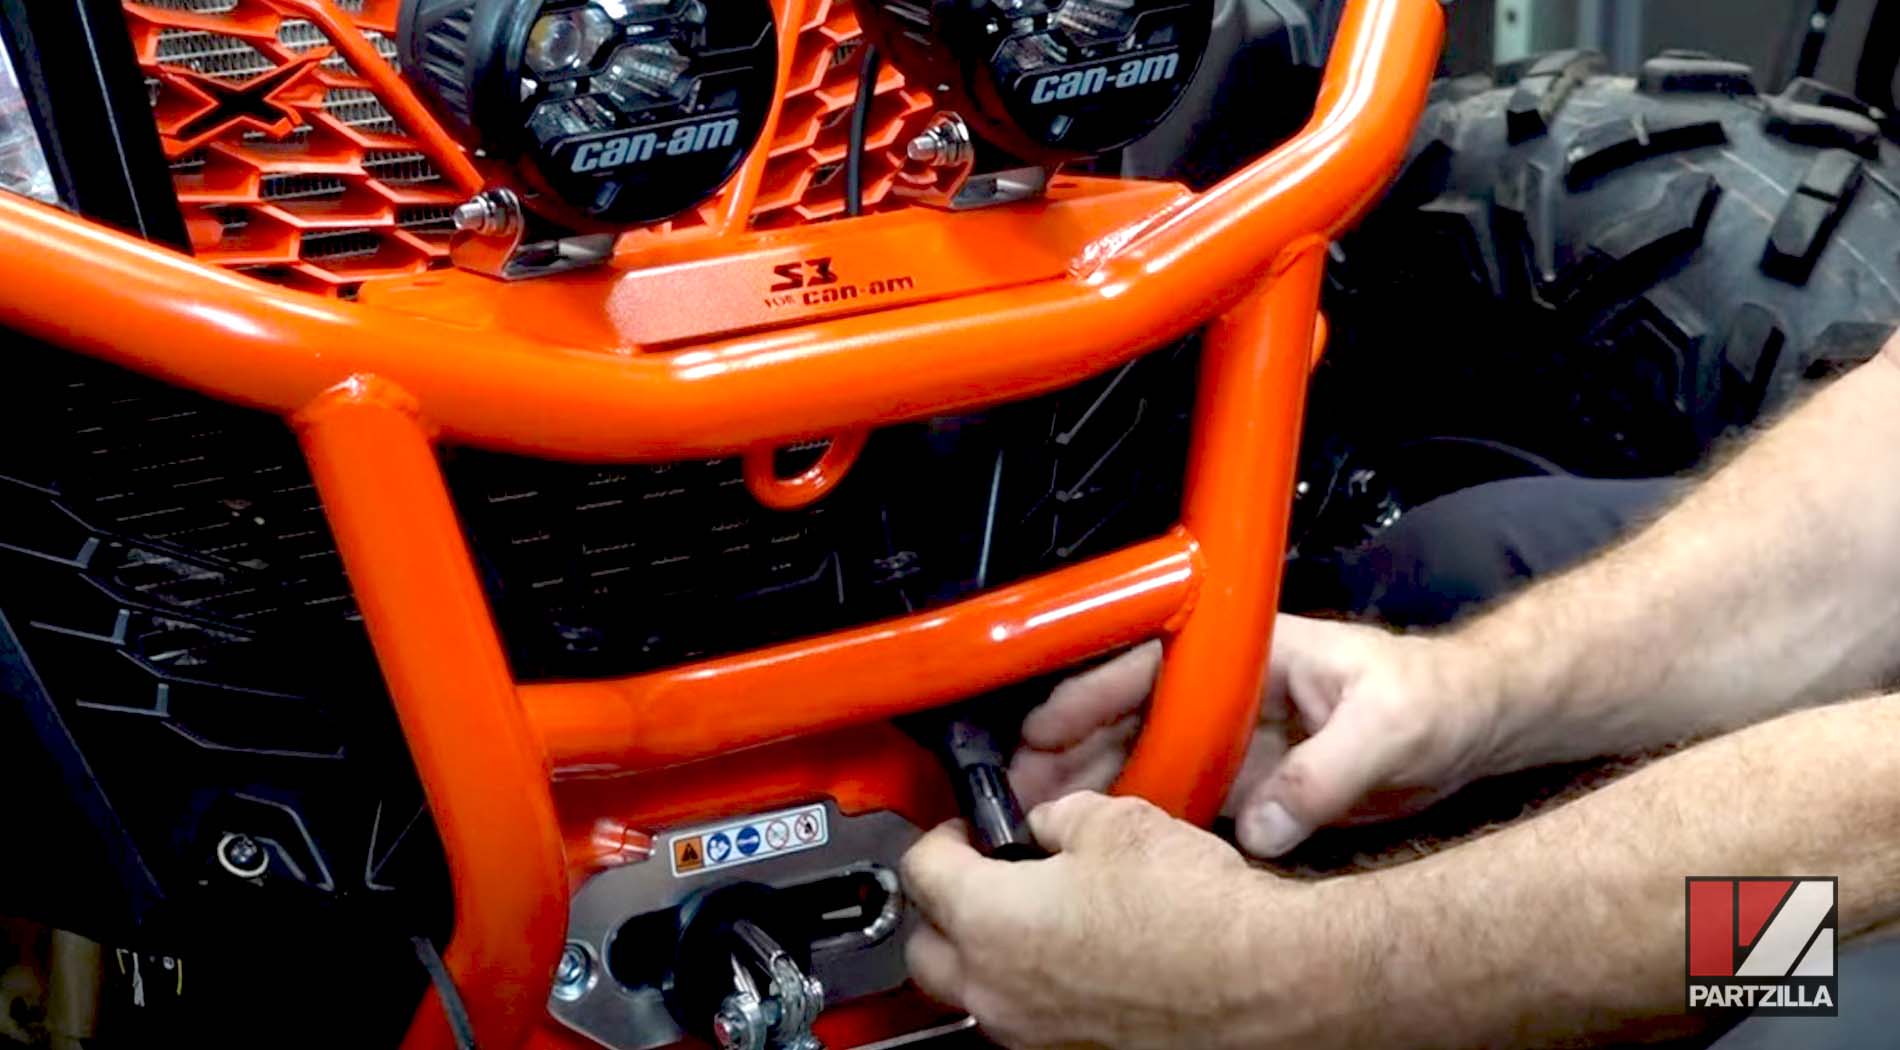
Step 5. Mount the standard bolt to the bracket of one spotlight onto the bumper, and install the washer and flanged lock nut on the bottom of the bolt. The bolt needs to be lined up and tightened into a couple of slots that it needs to sit in on the bracket so it can seat properly. Repeat the process for the second spotlight.
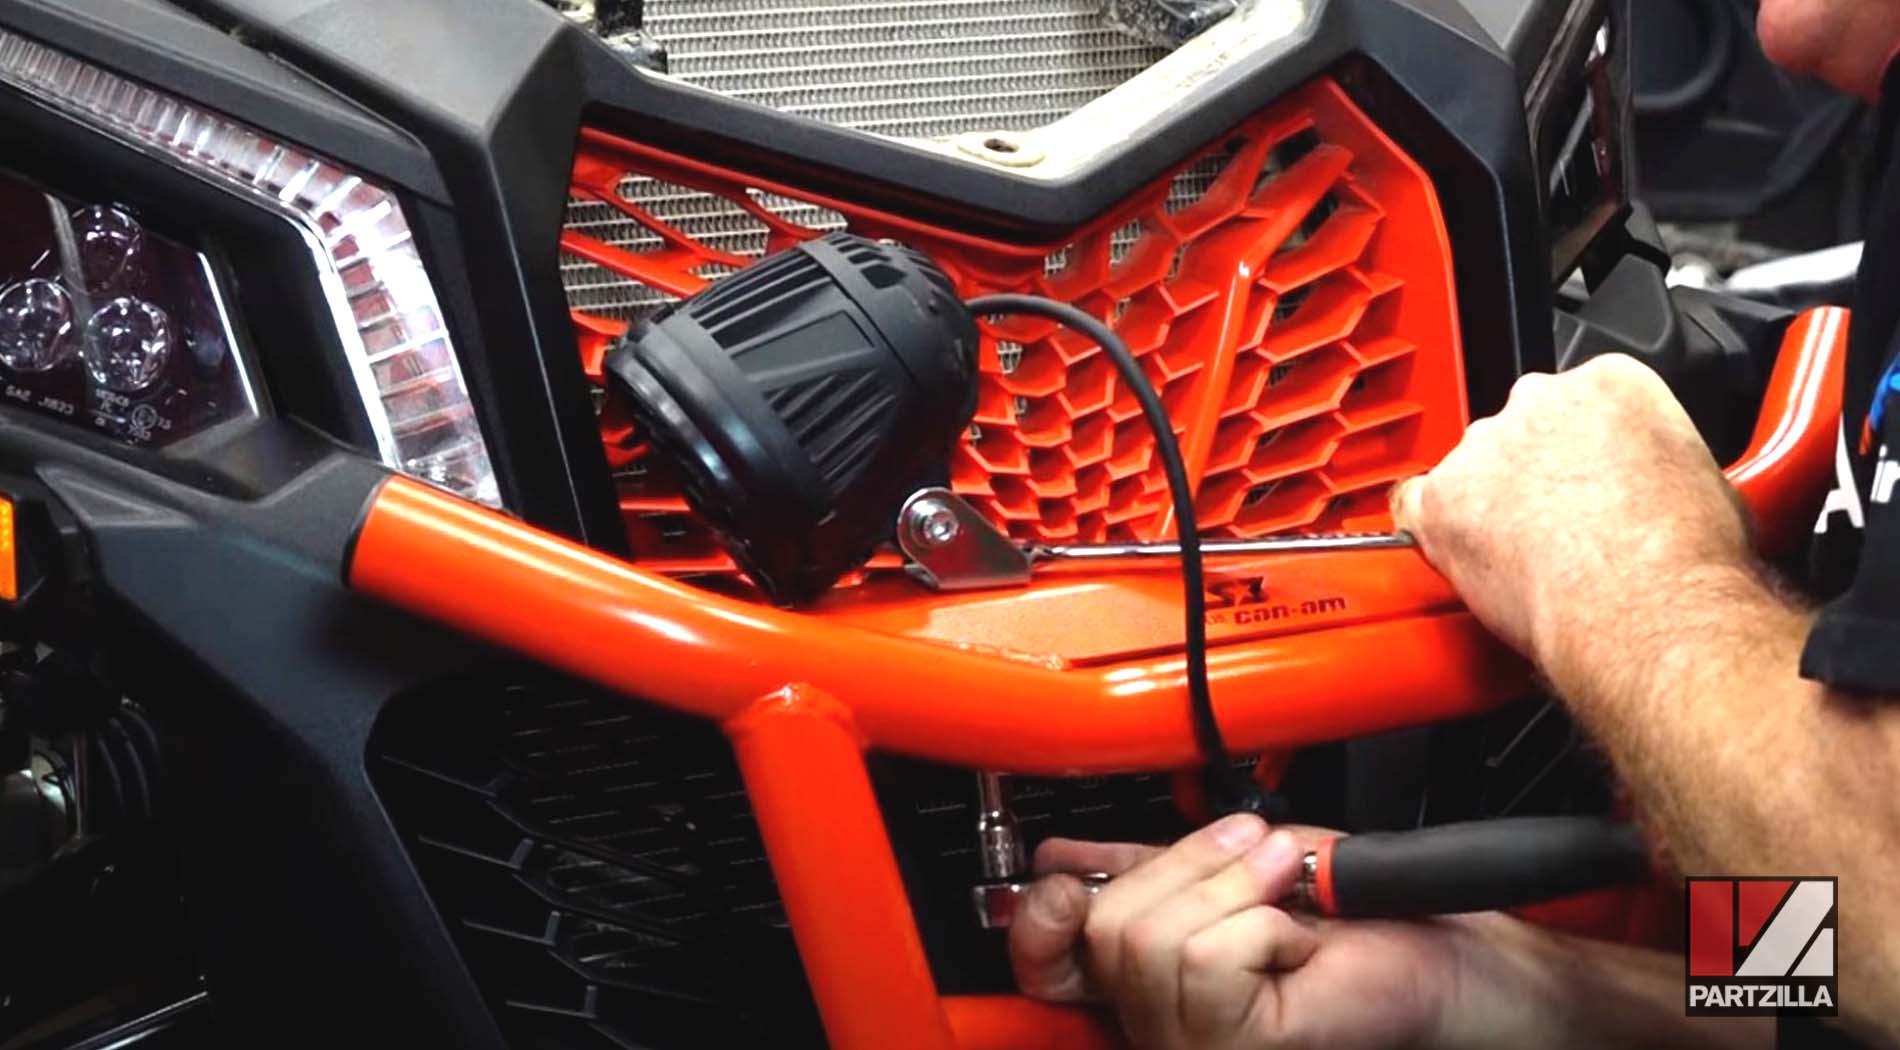
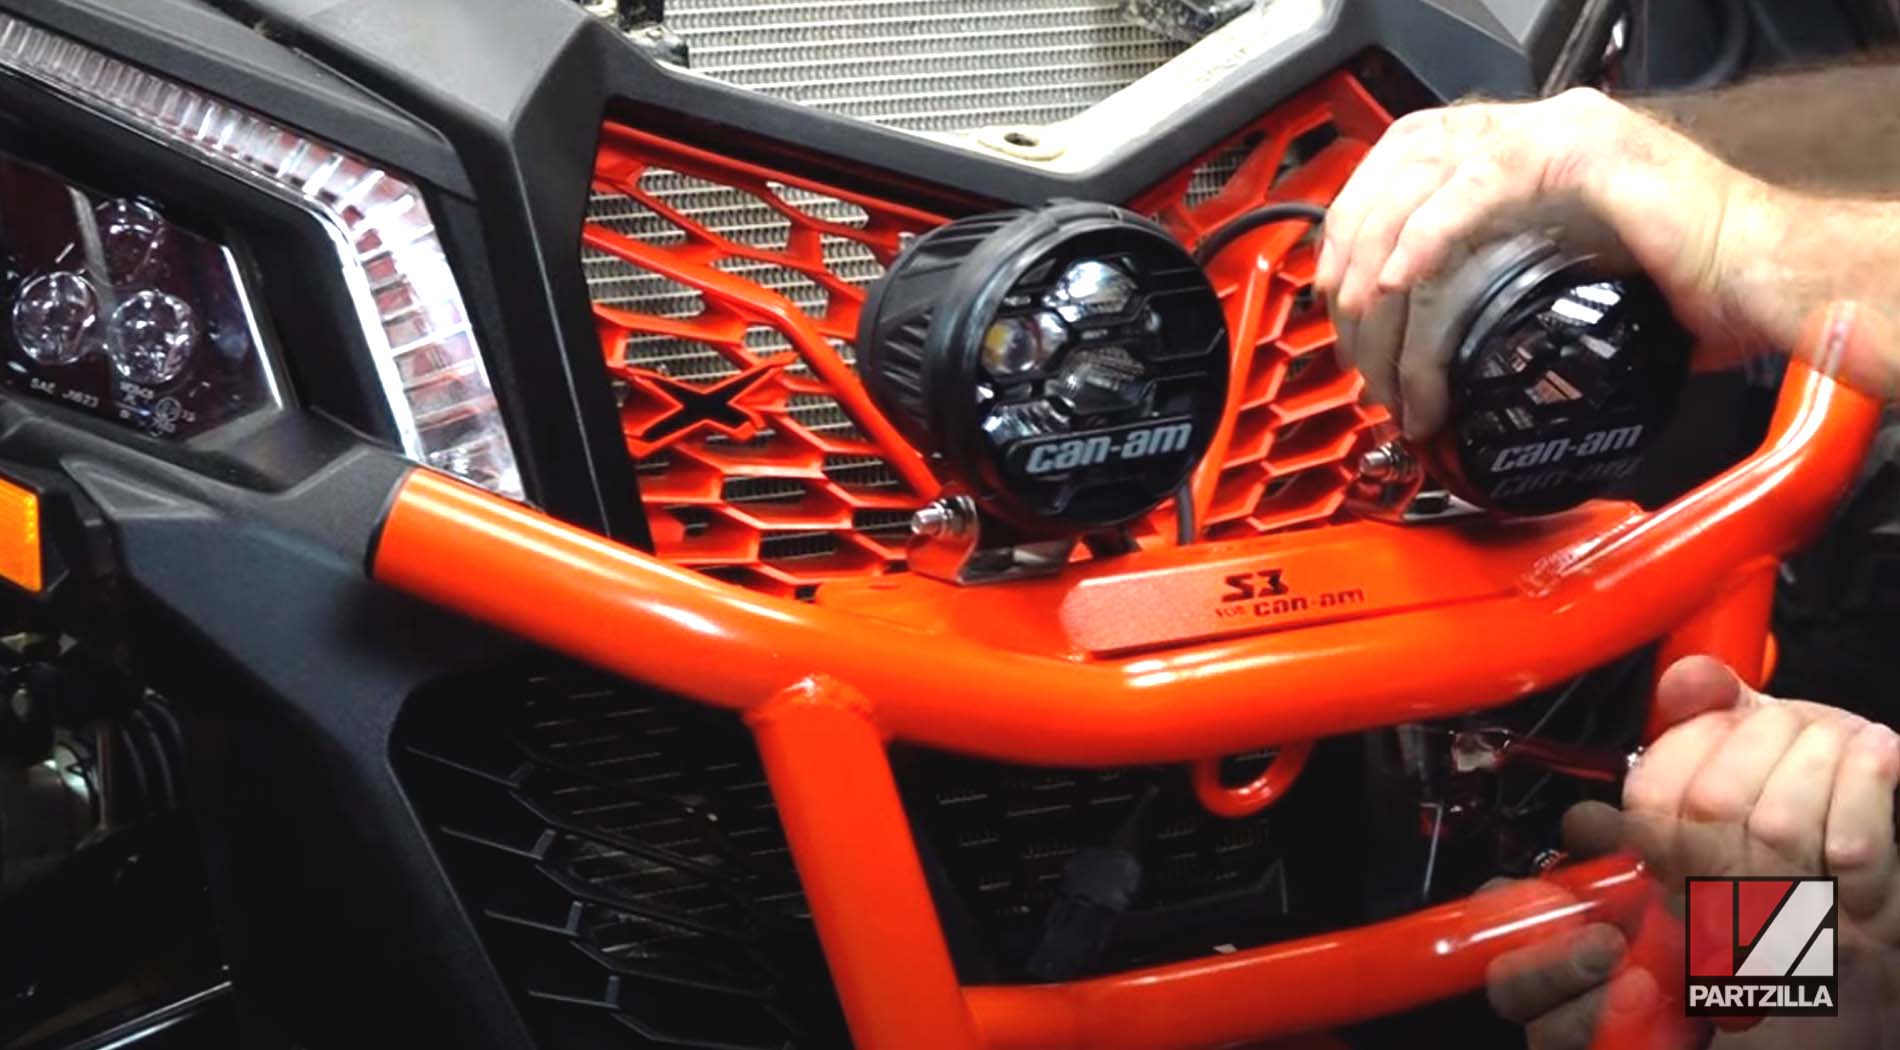
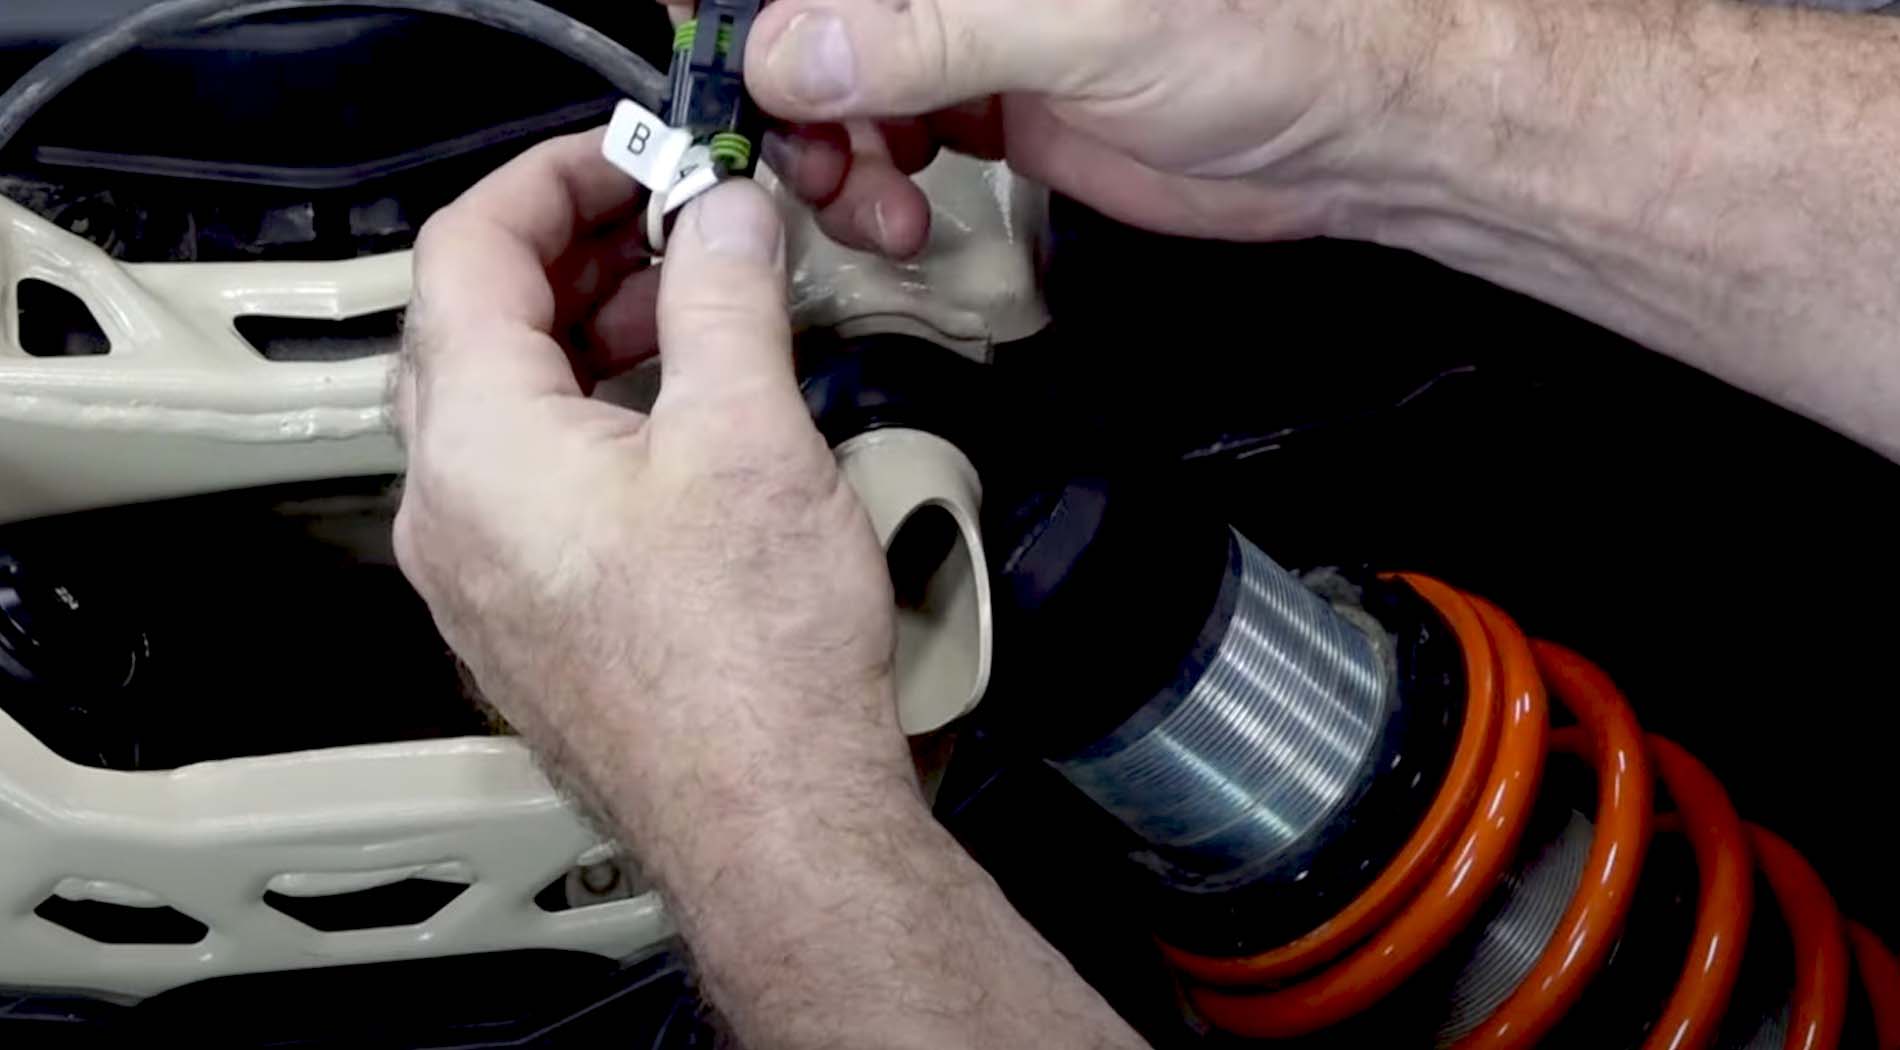
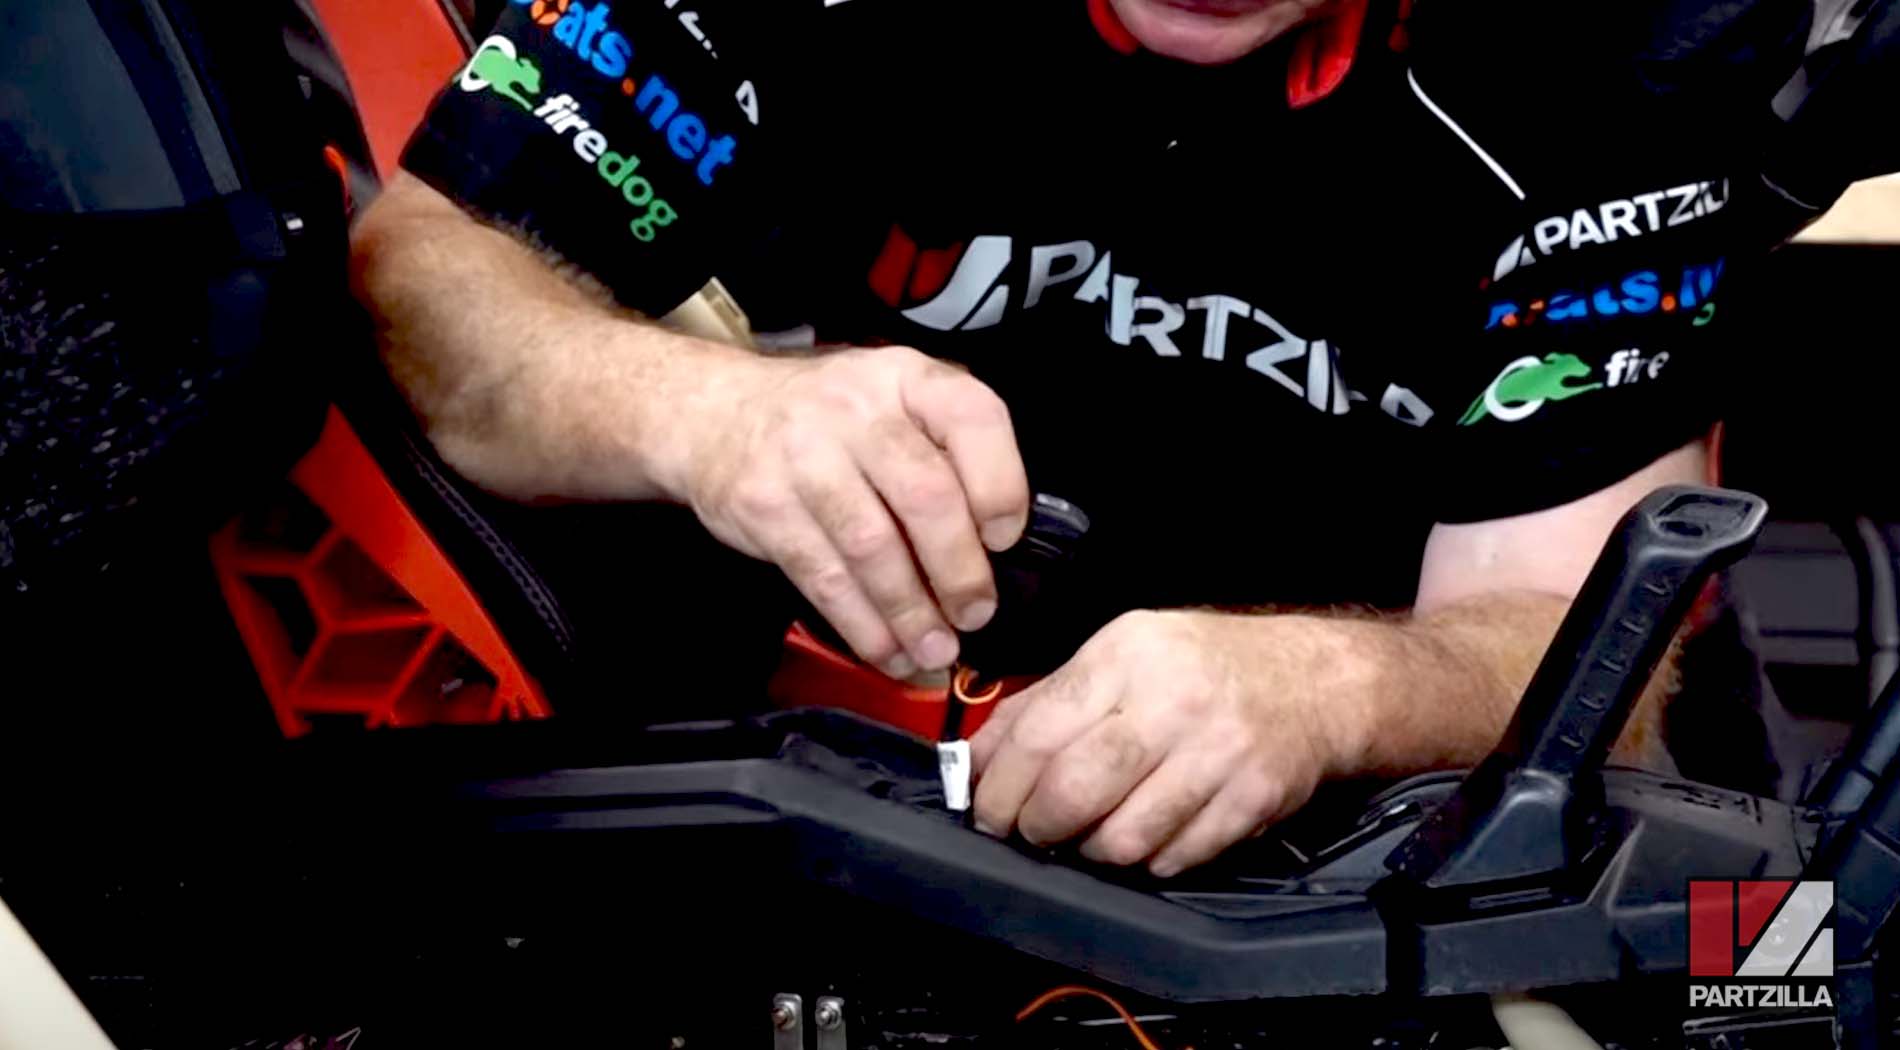
Step 6. Put the connector on for the LED harness. The side labeled B goes to the red, and the side labeled A goes to the black. You’ll feel and hear both click when they seat.
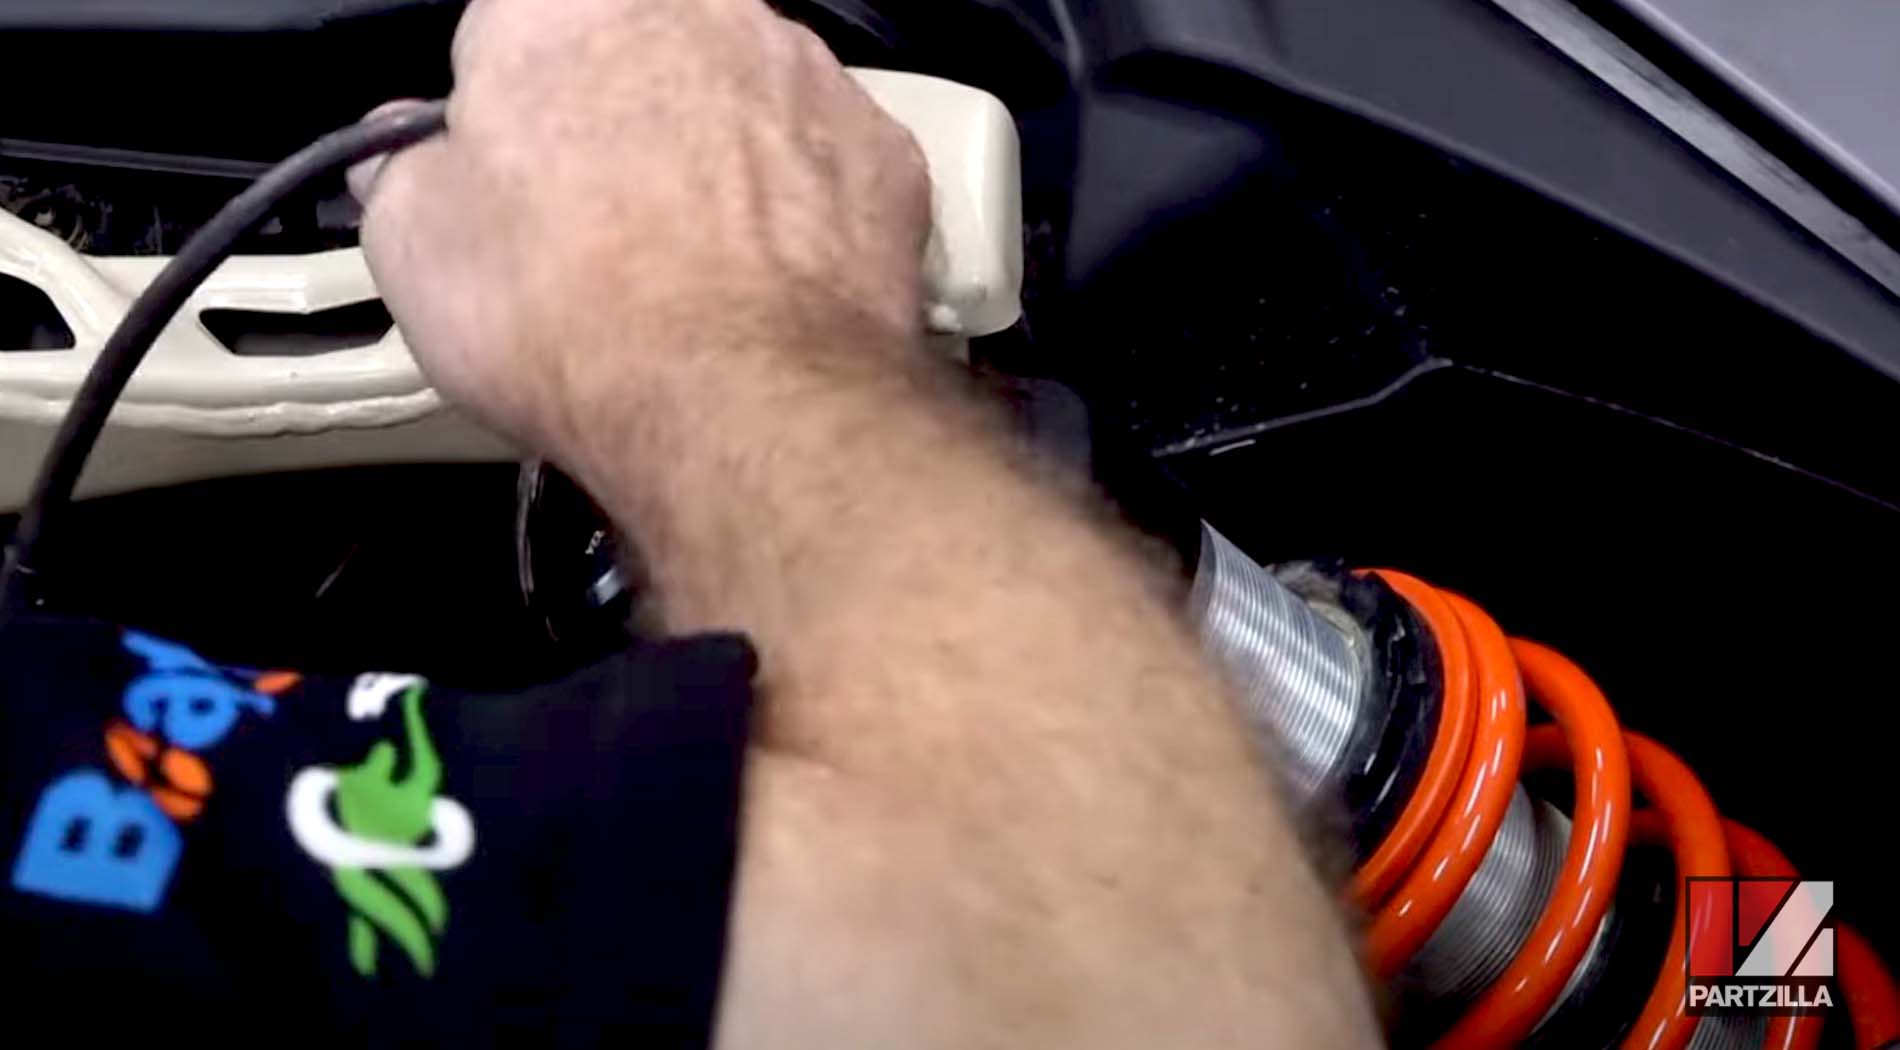
Step 7. Bring the cable straight down for each of the LEDs, since you’re going to make the connection on the back side of the fascia. The main cable goes to the back side of the radiator, and a connection will be made to the main harness. Feed it over the top of the bumper bracket that holds onto the winch, then make the connection, tuck it back up behind and push it until you hear it click. Next, feed it right up the middle on the back side of the radiator fan. Get it pulled up and clip it dead center.
NOTE: A good rule of thumb while making these connections is to follow the path of the existing wiring harness.
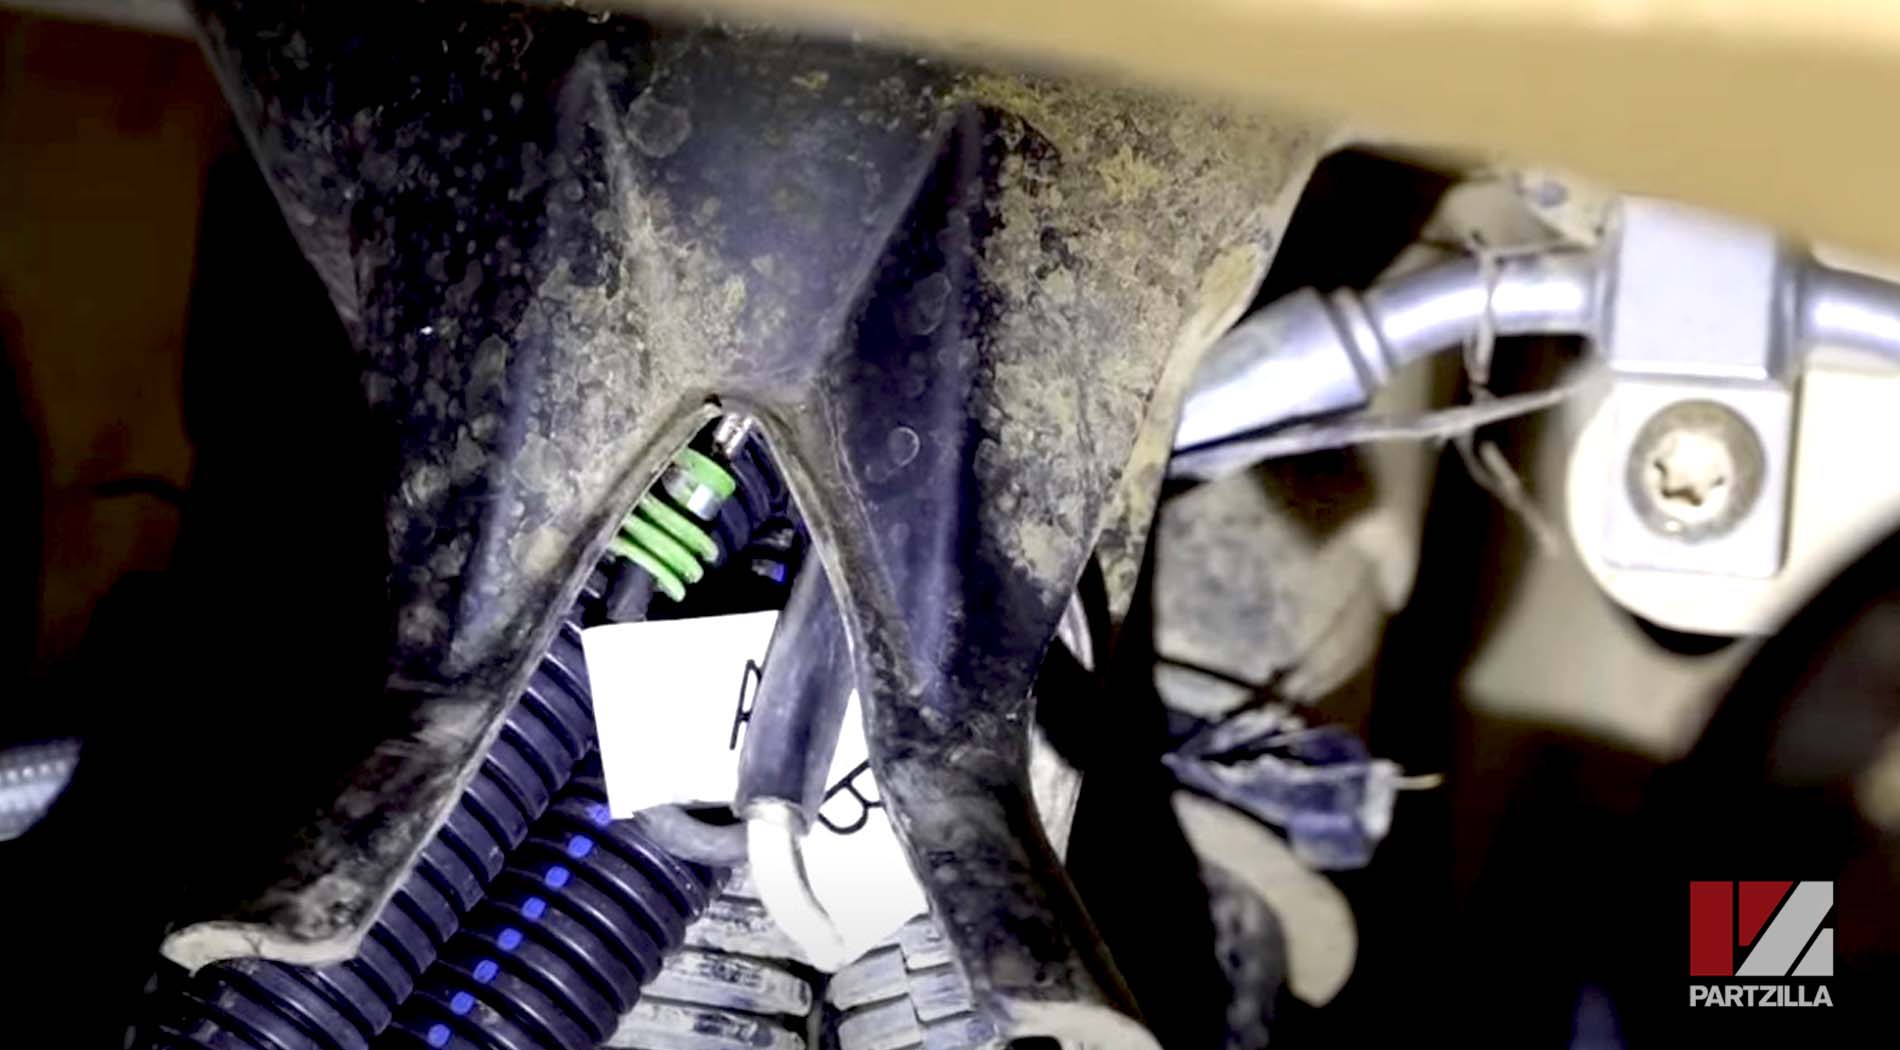
Step 8. Pull back the excess, and add a couple of zip ties. Don't forget to close down on the main grommet that's coming through. Put a new zip tie back around the grommet.
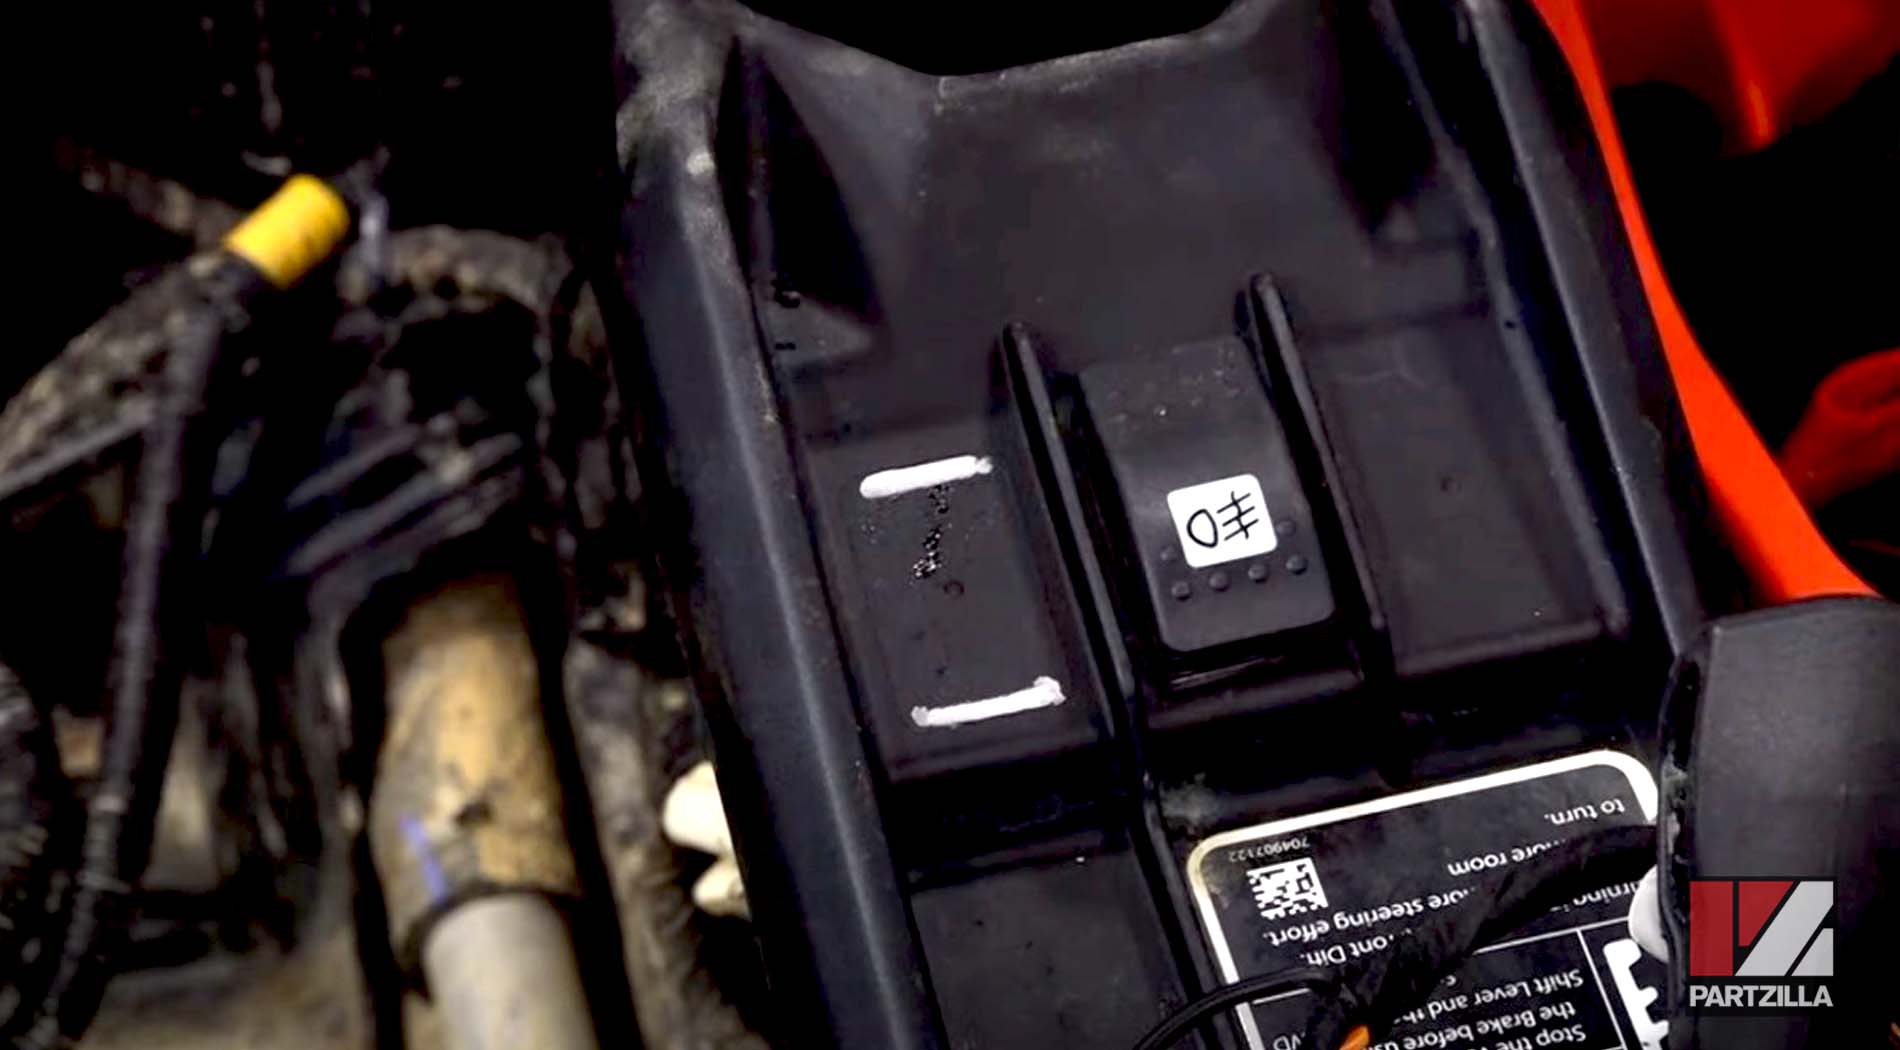
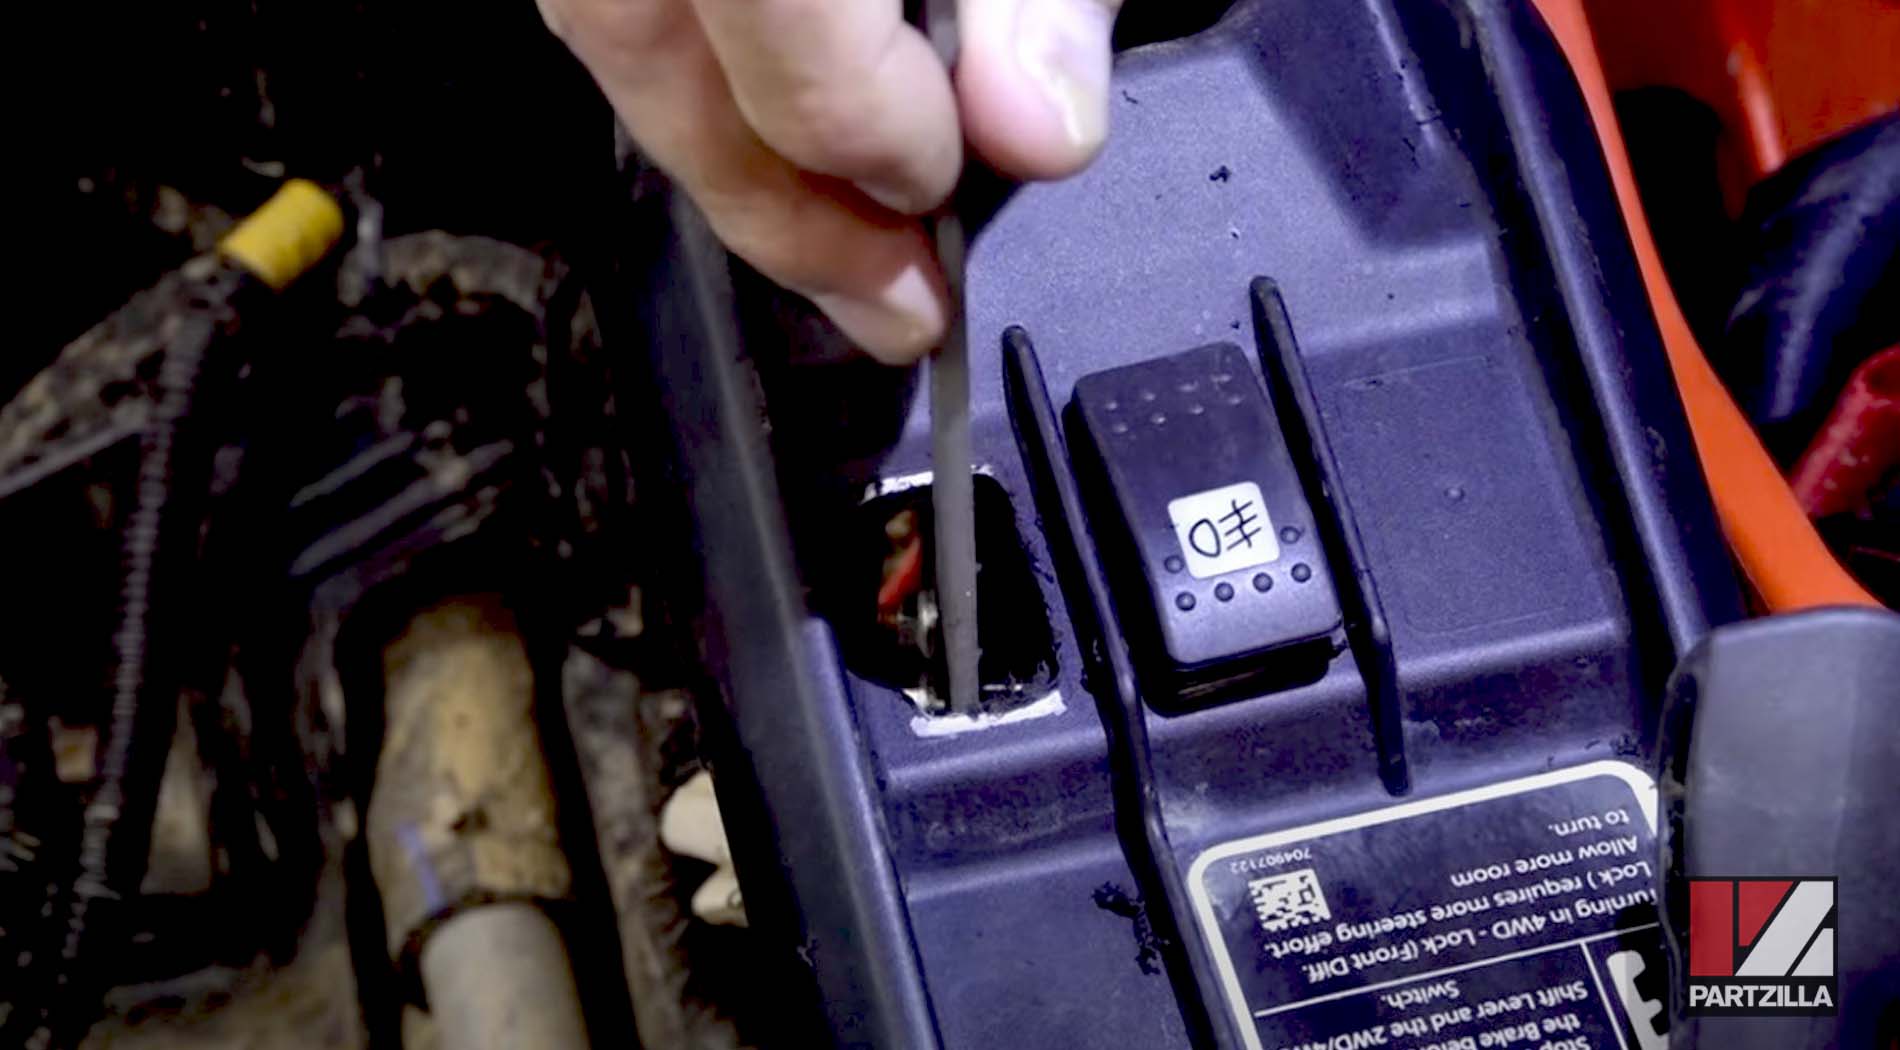
Step 9. Use a drill or die grinder to cut out the opening for the spotlight switch in the center console. Mark the lines where you need to cut, then drill out the hole, square off the corners with a file and install the switch.
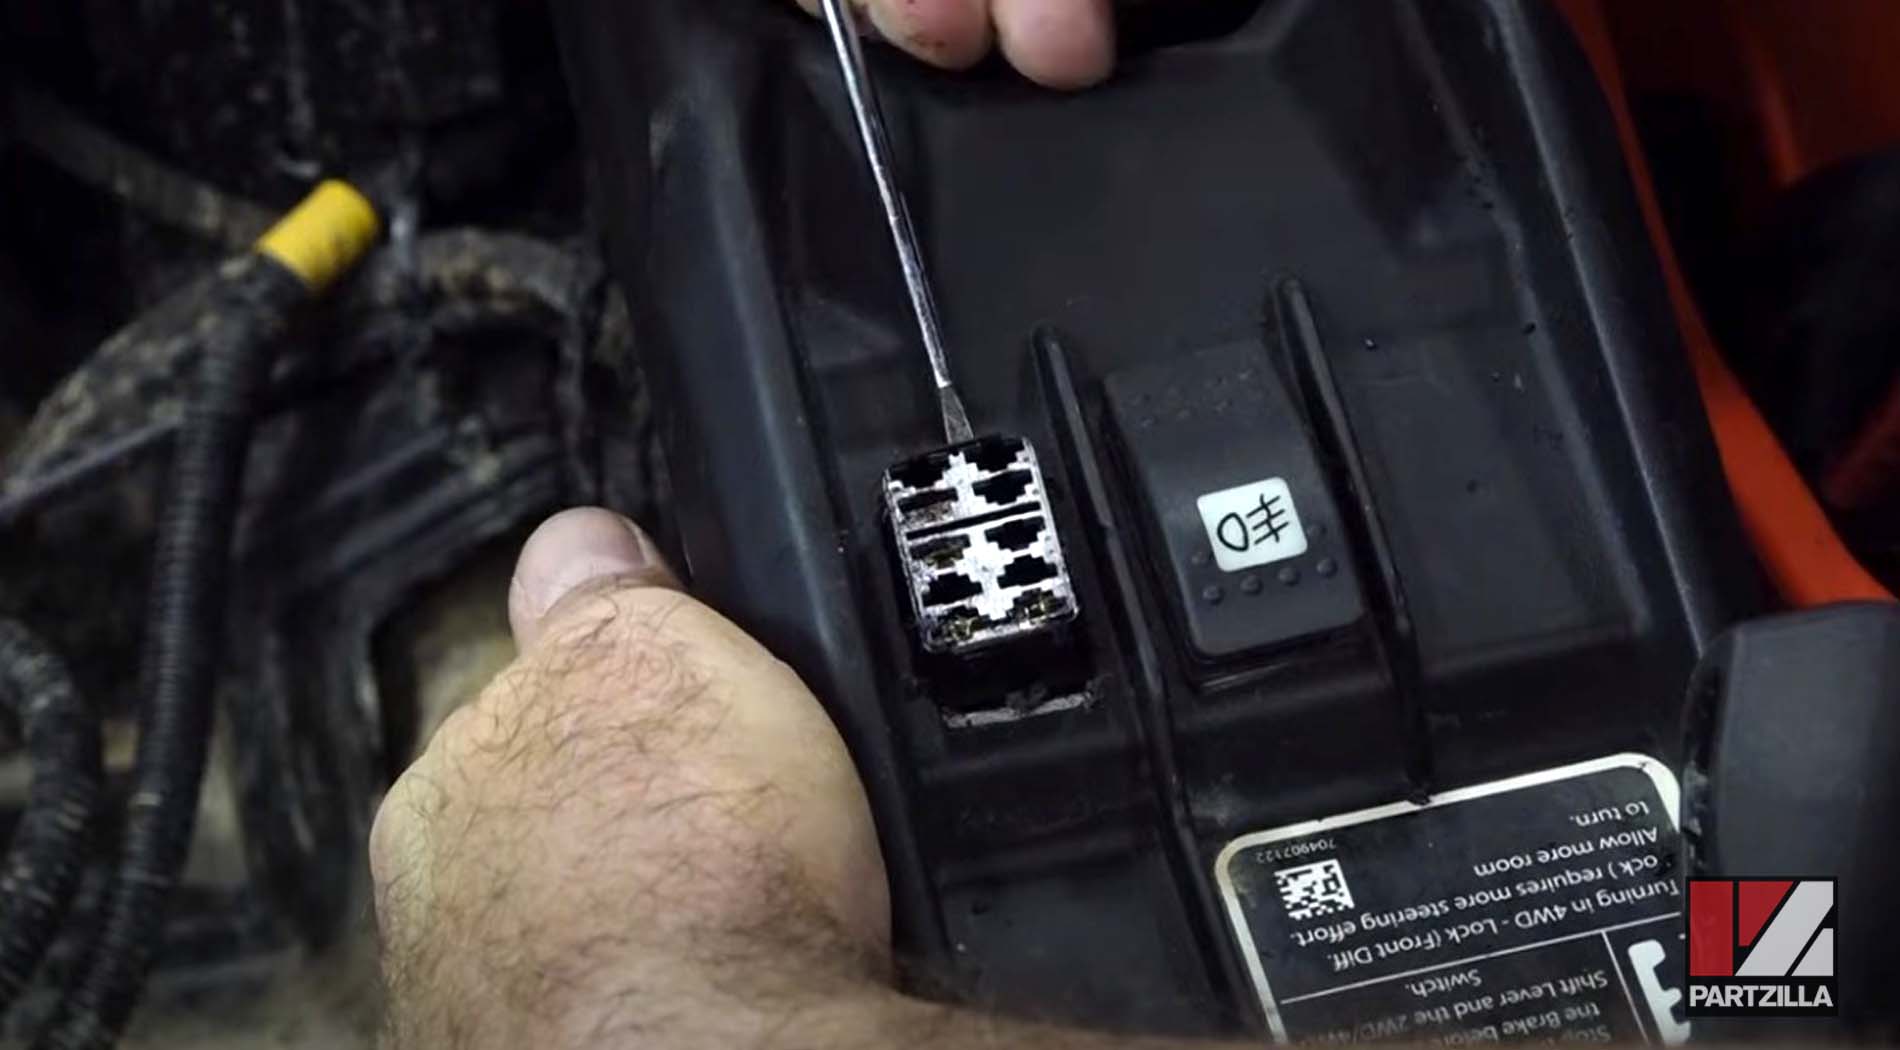
NOTE: Make sure you've got your connection in correctly and that it’s locked in tight and engaged.
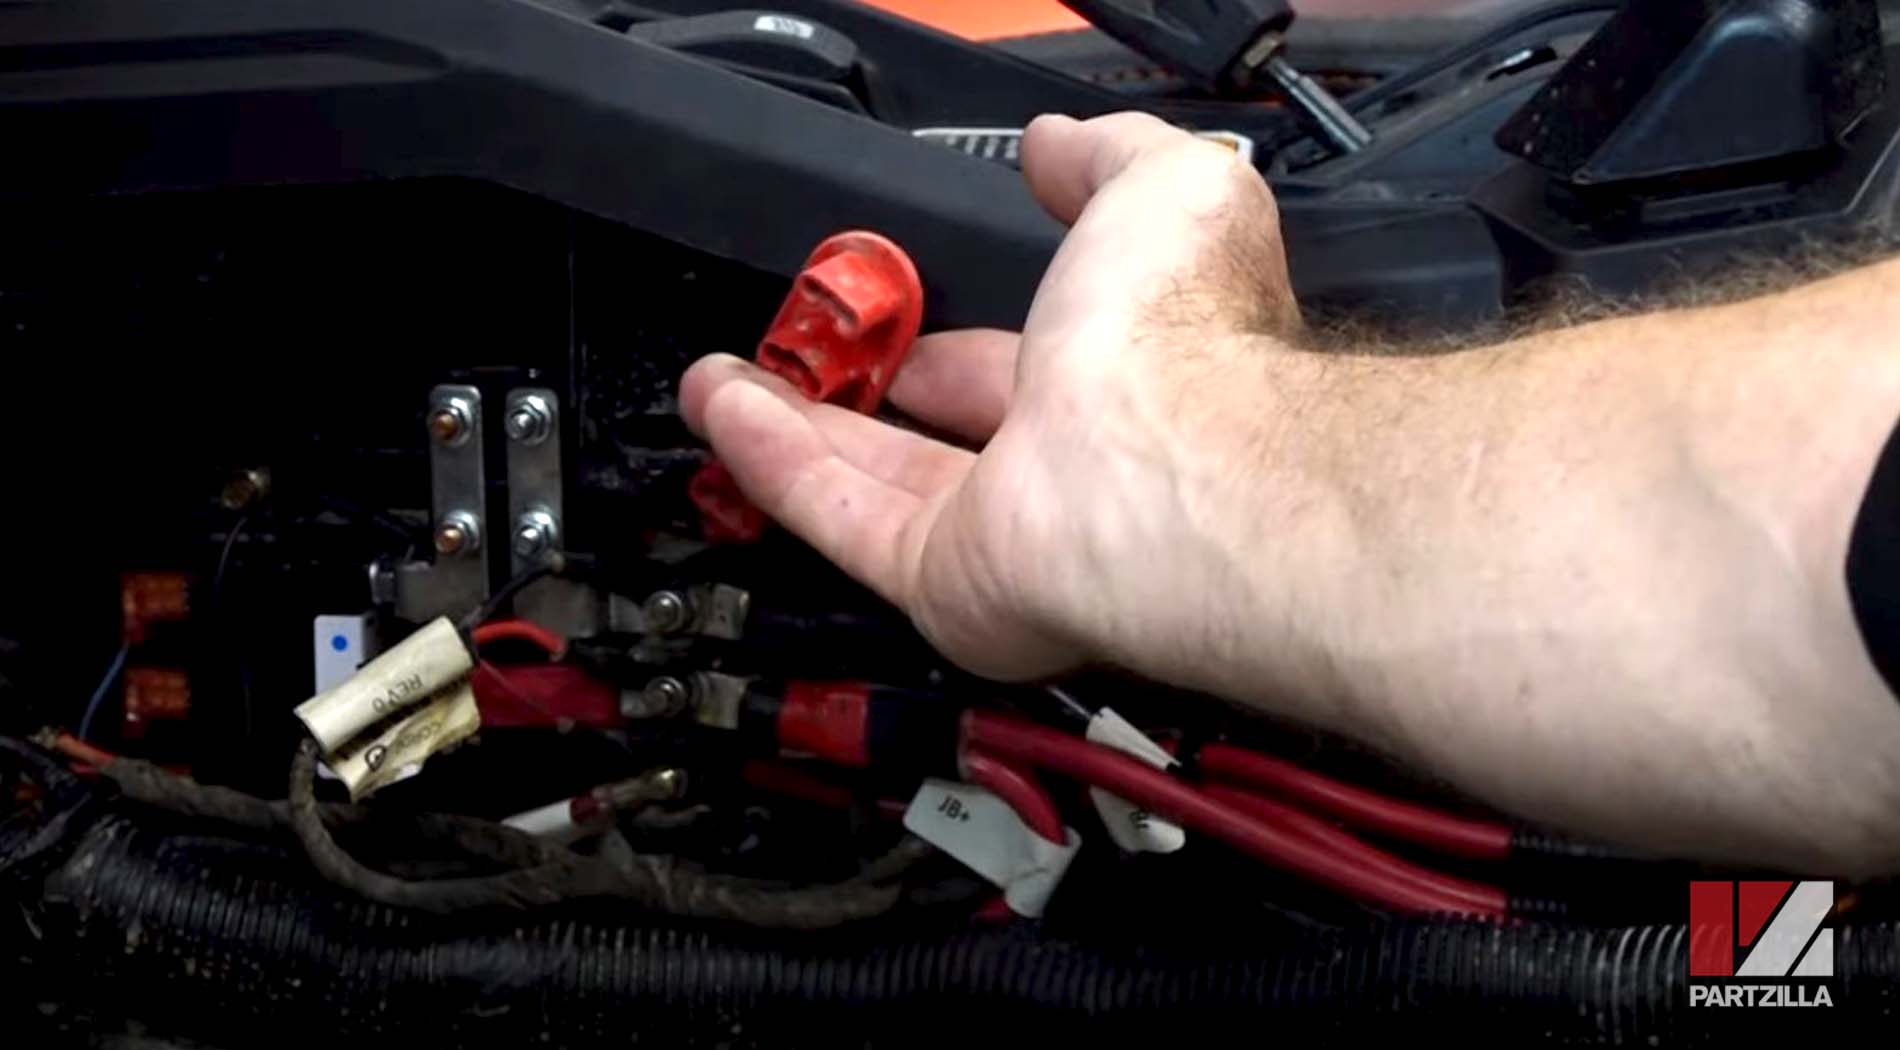
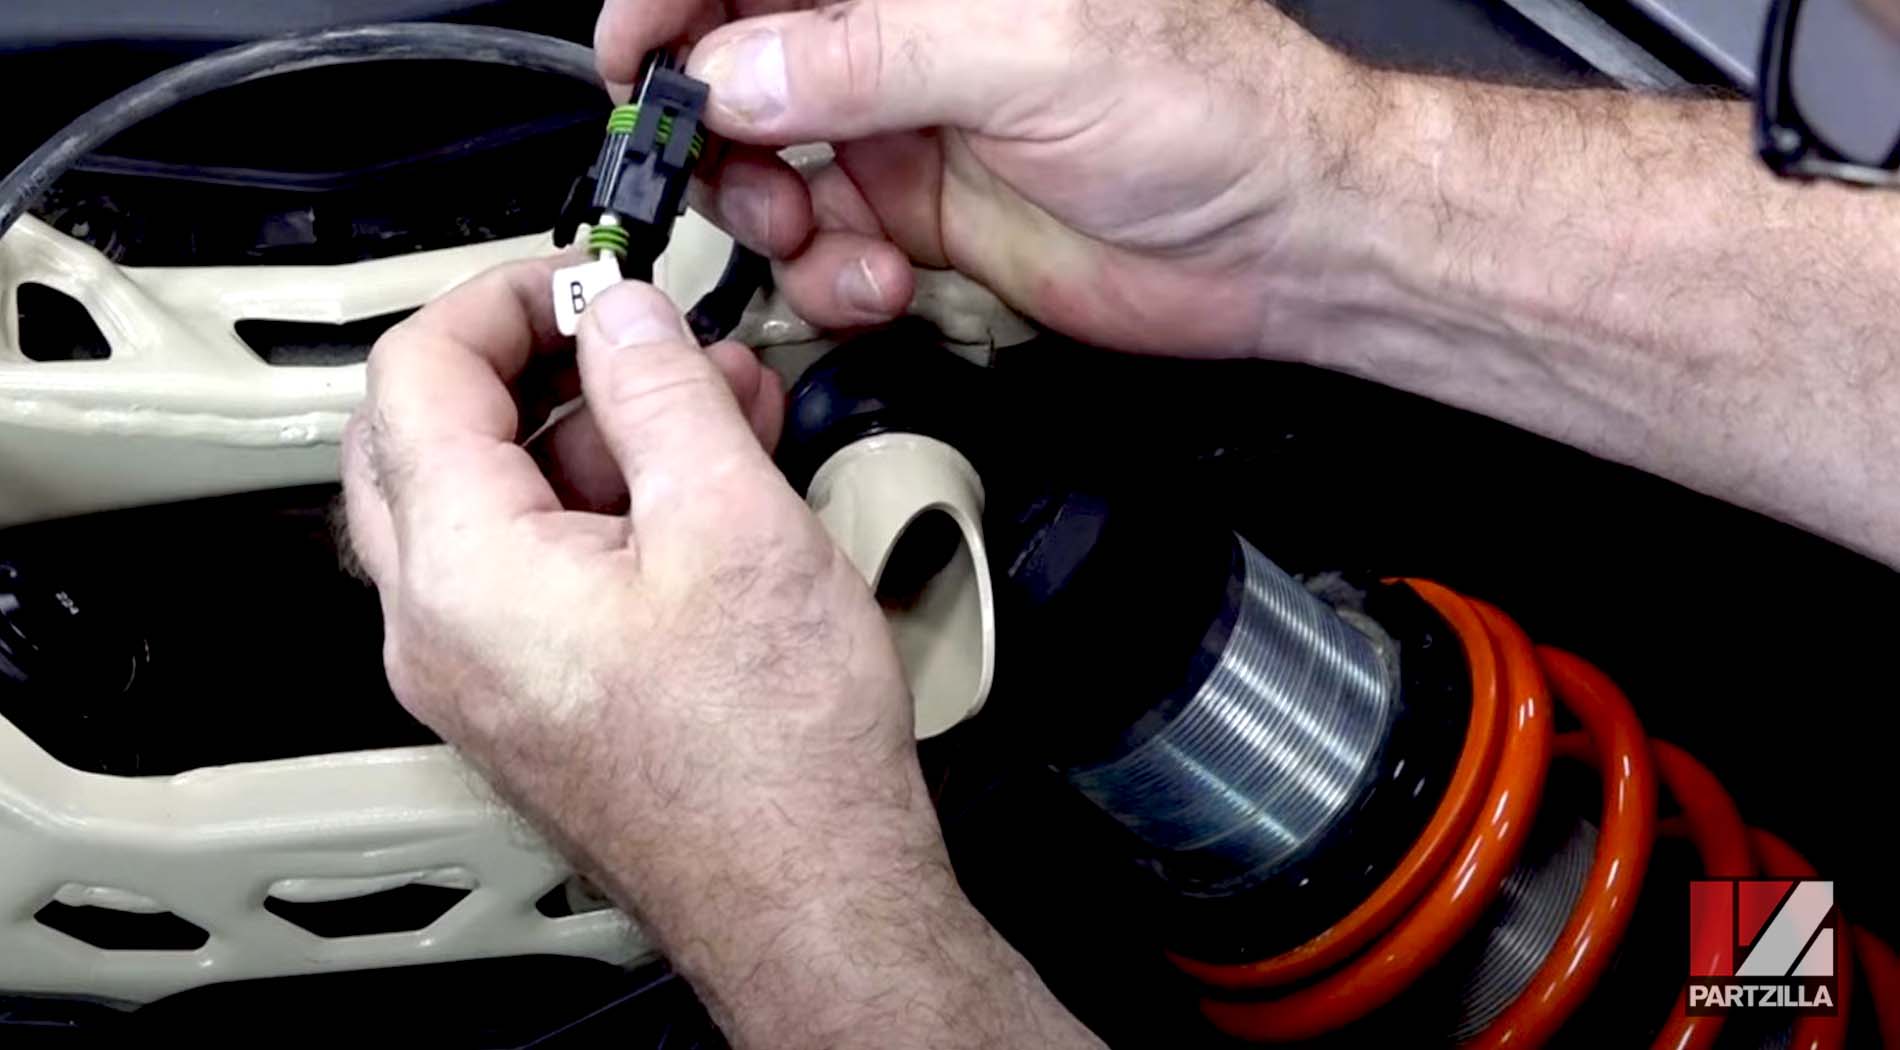
Step 10. Pull the loom back and follow the main wire back, and feed it behind the primary wires after you make the connection. Next, pull the out the terminal connection bolts one at a time, connecting the black wire to the top power ground terminal and the red wire down on the bottom accessory terminal, then tighten the bolts.
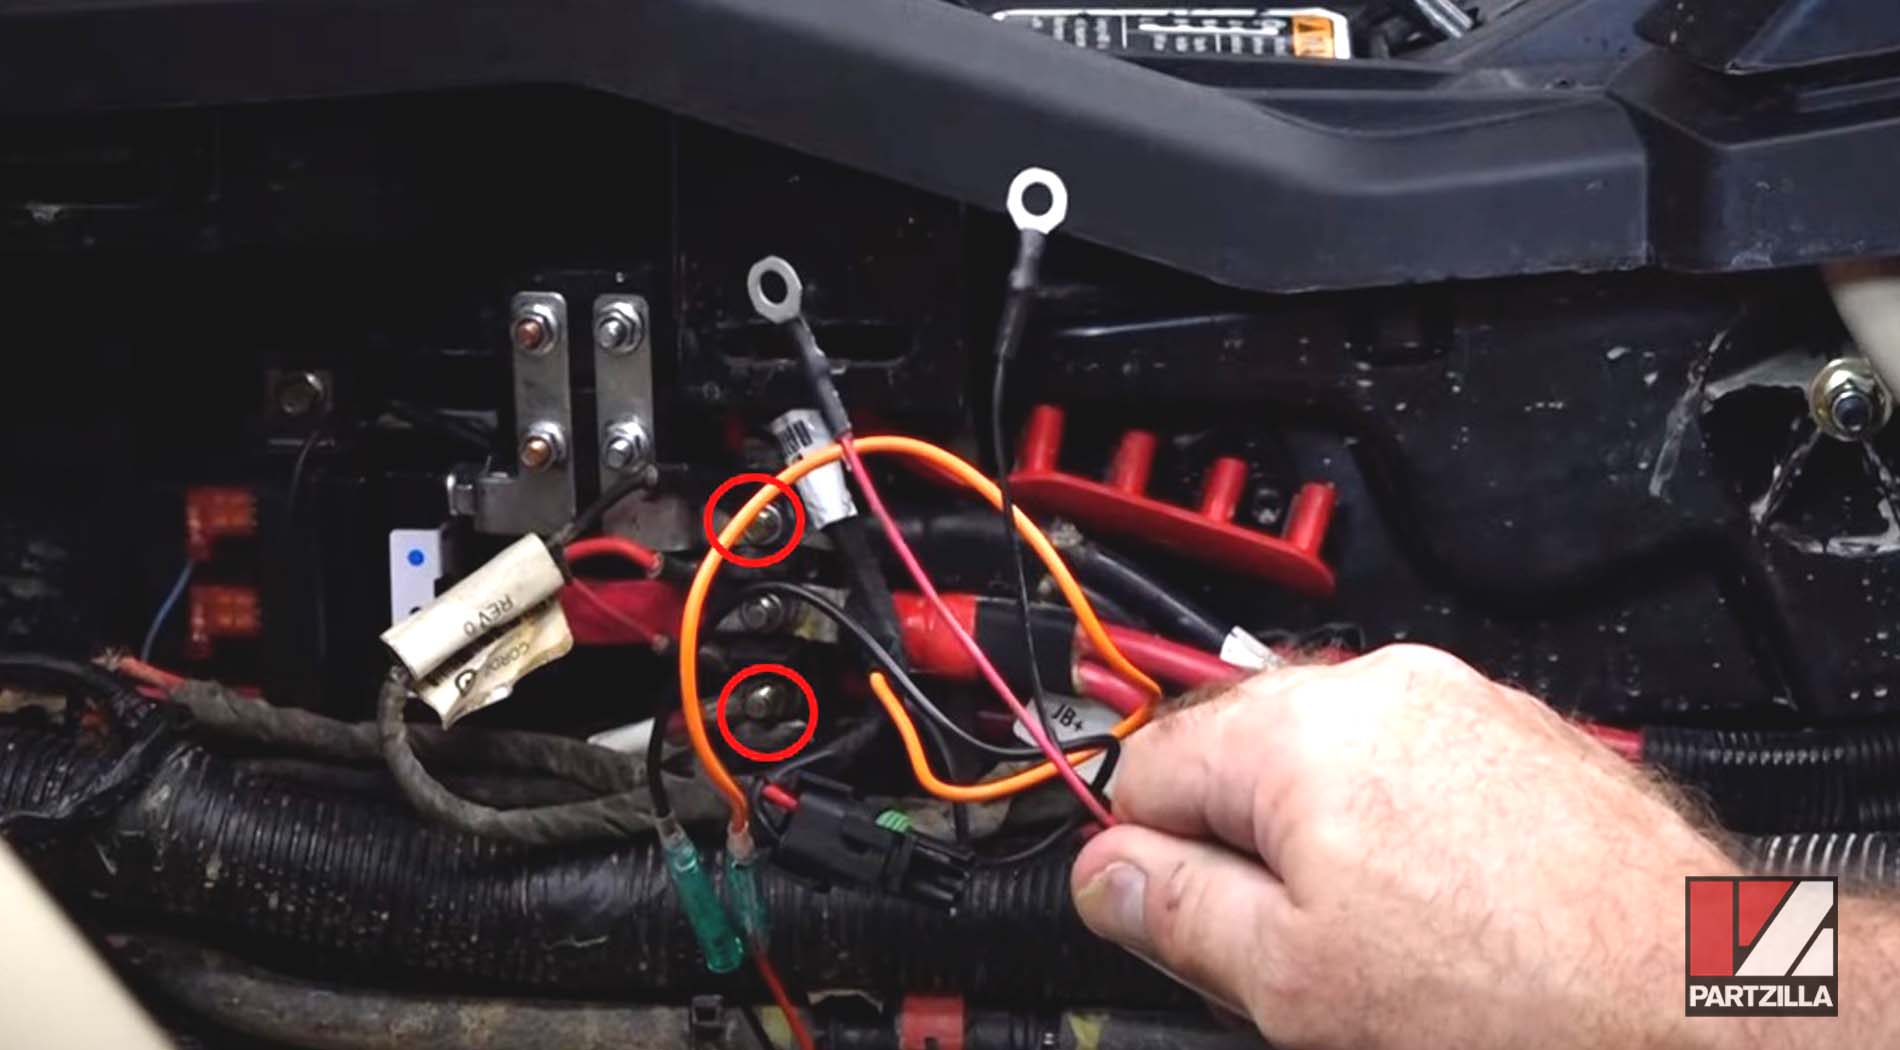
NOTE: Make sure the terminal connection bolts have dielectric grease on the threads before reconnecting them.
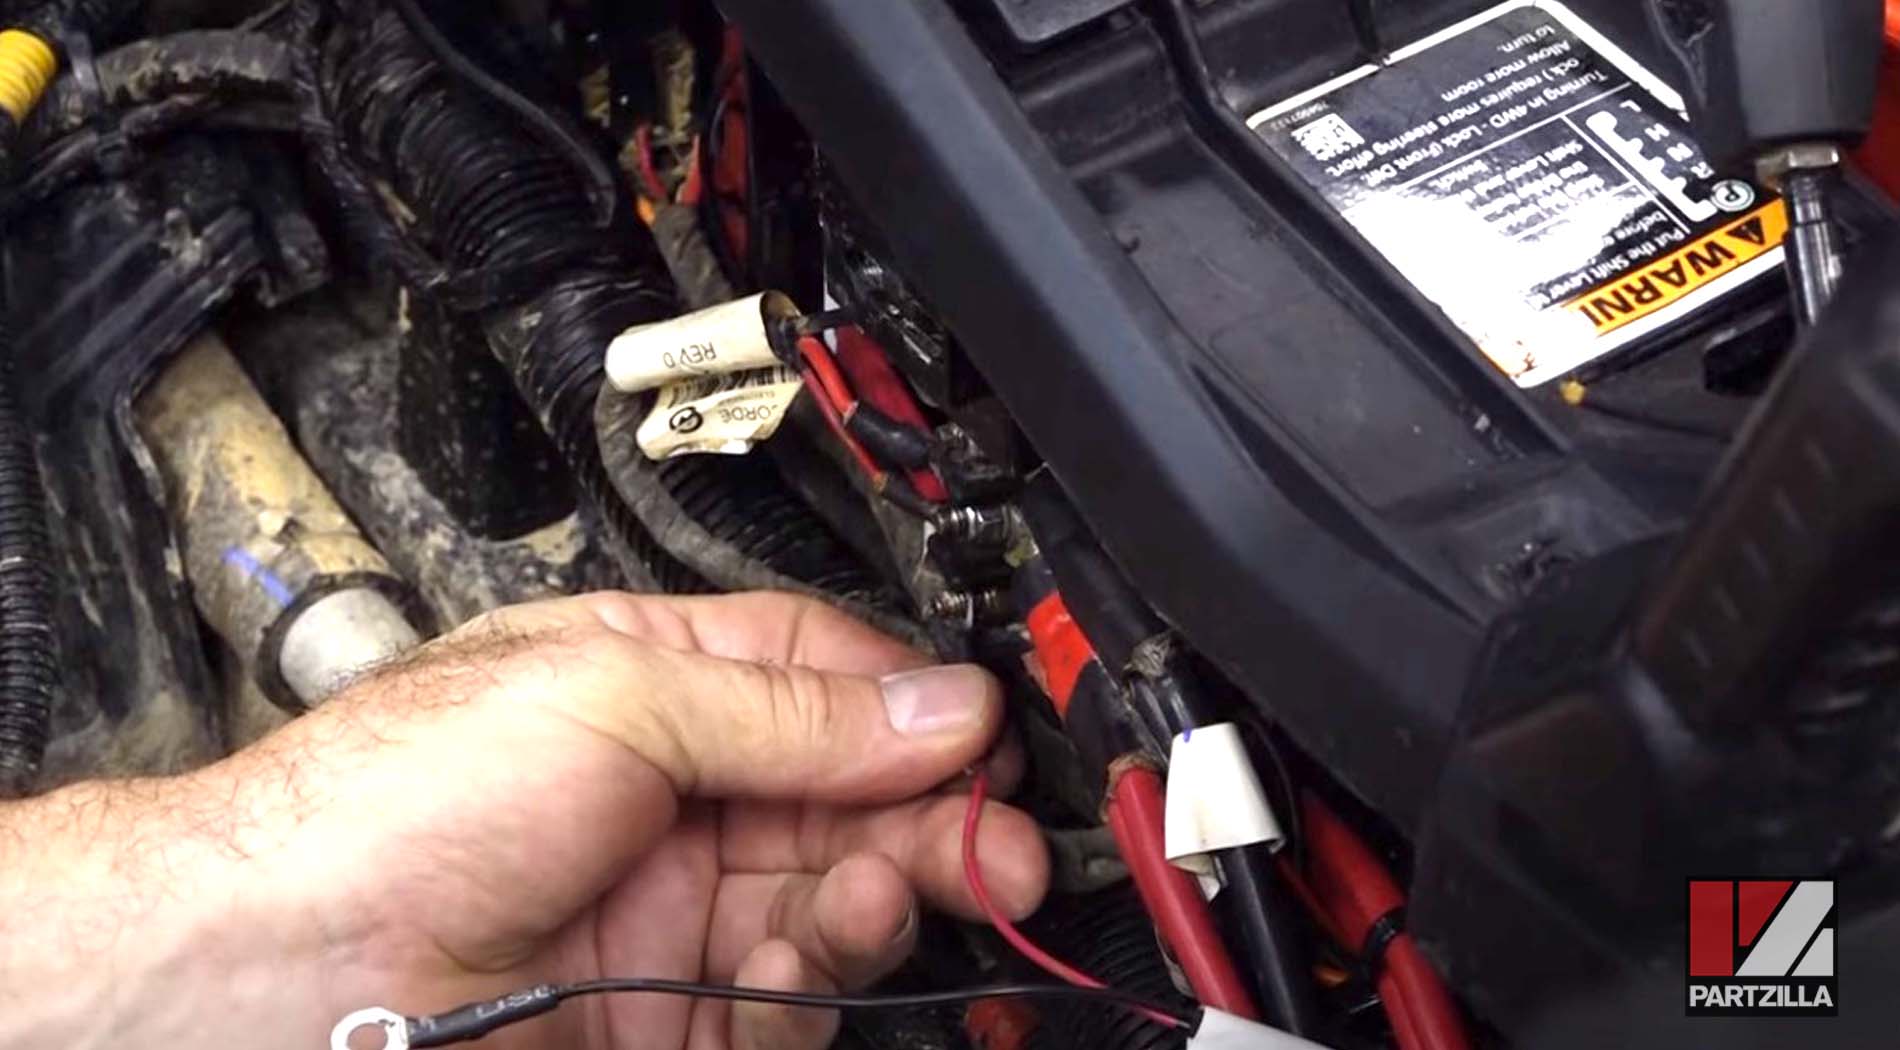
Step 11. Get the protective cover for the terminals back in place, then take the remainder of the wire, coil it up and tuck it dead center.
Step 12. Reconnect the negative side of the battery and test the lights, then replace the center console panels and the seat and you’re done.
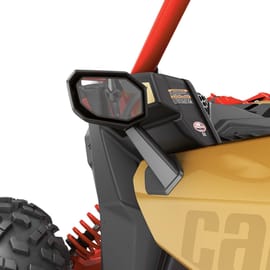
Another accessory upgrade to improve visibility on a Can-Am Maverick is to install side view mirrors. Watch the video below to see a side mirror installation for a Can-Am Maverick X3.