How to Check Yamaha ATV Starting Problems
There's nothing quite as frustrating as when your ATV won't start as you're ready to ride. Fortunately, diagnosing Yamaha ATV starting problems is easy to do.
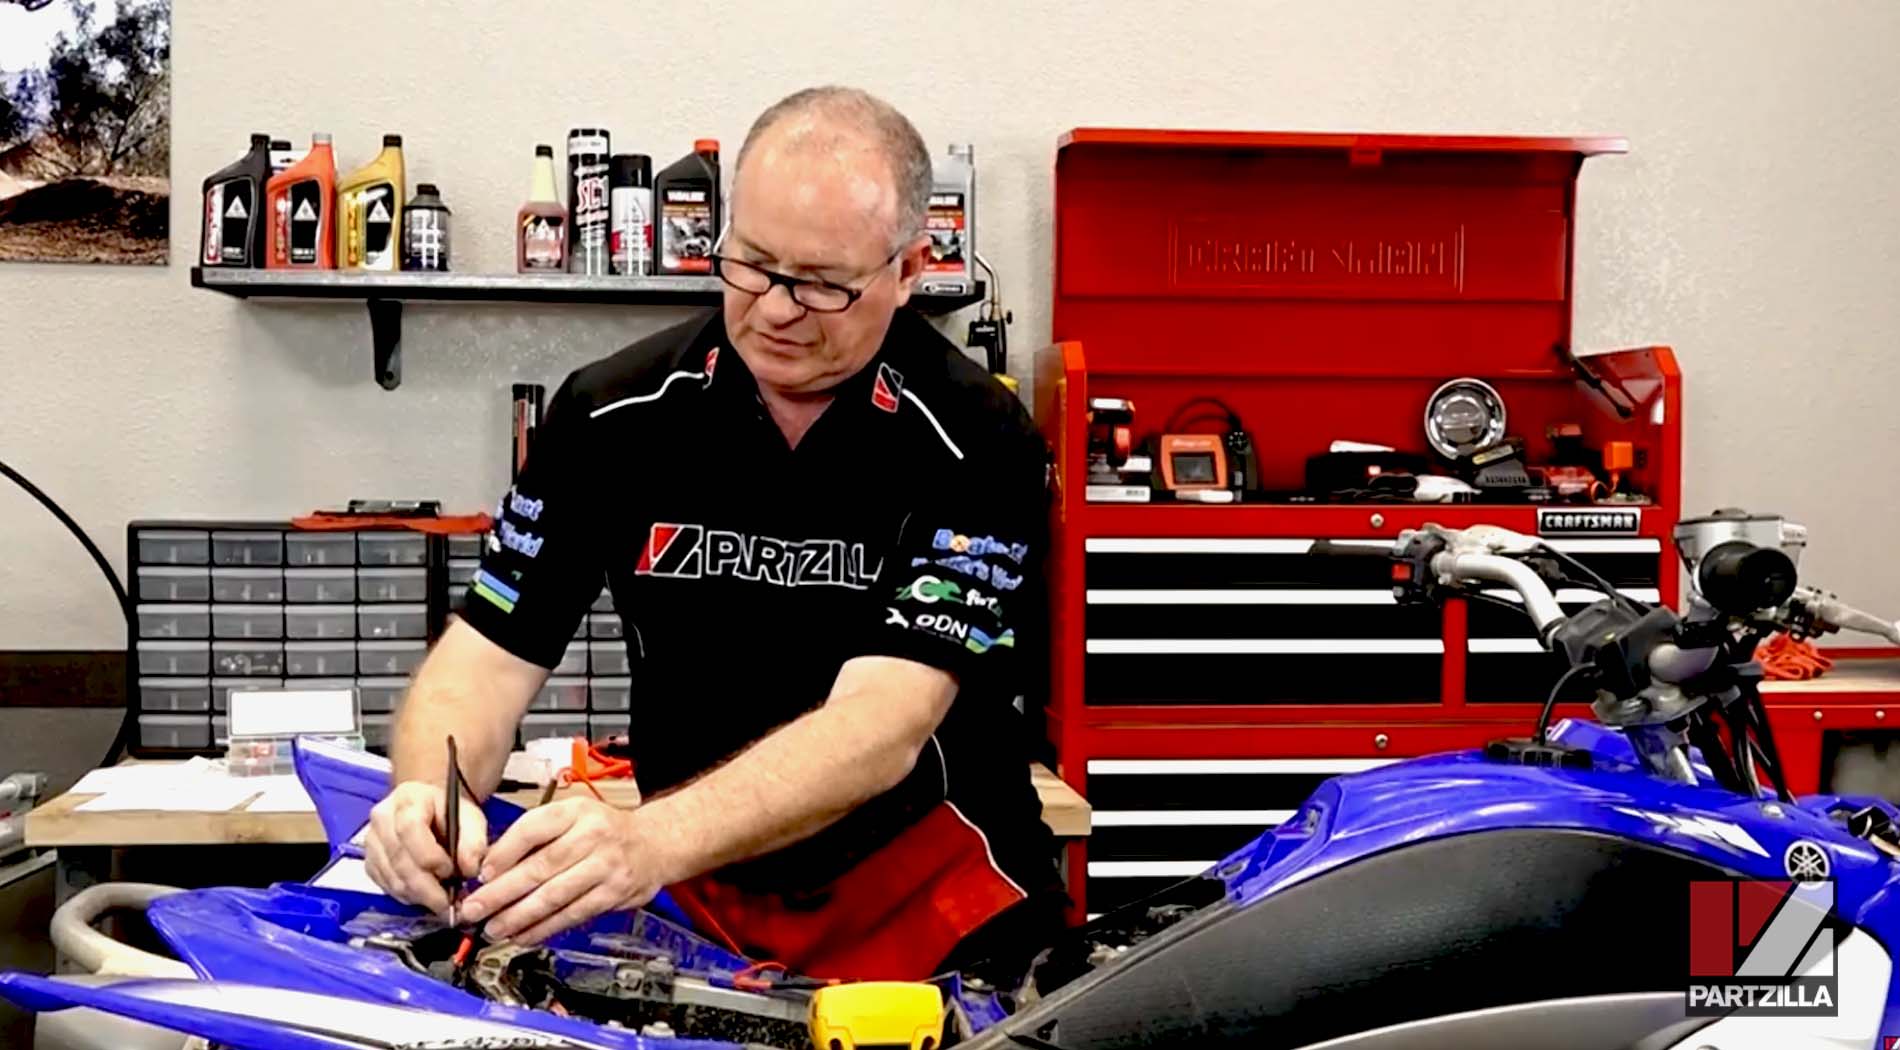
Even if you have a new battery and your Yamaha ATV won't start, a simple test light and a digital voltage meter can help you identify the problem. Whether your machine's "no start" problem is a fuse blowout or a starter gone bad, watch the video above or follow the steps below to learn how to check a Yamaha ATV for starting problems.
Tools and Parts - Yamaha ATV Starting System Check
- Digital multimeter
- Test light
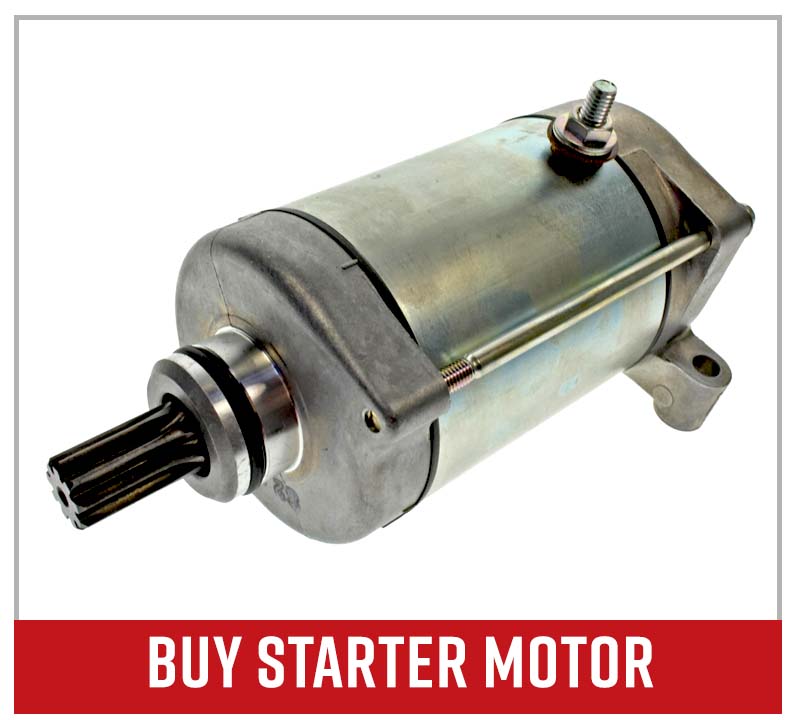
- Starter motor
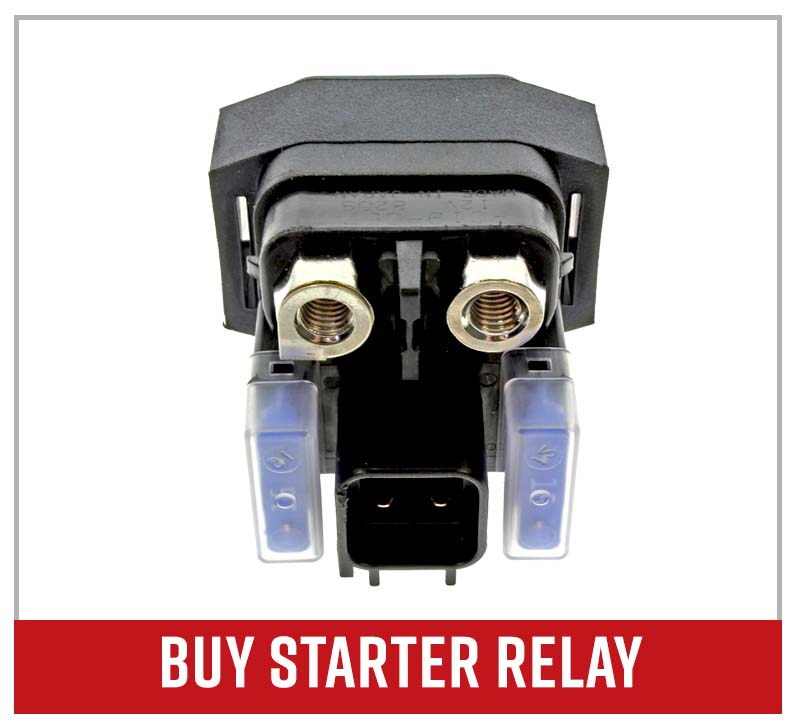
- Starter relay
NOTE: We ran these tests on a 2009 Yamaha YFZ450R, but you can follow the same or similar steps for other model Yamaha ATVs. Before diagnosing starting problems on a Yamaha ATV, have a digital voltage meter and a test light on hand. While the problem might be something as simple as a blown fuse, you may need other parts such as a new battery or a starter relay assembly.
Yamaha YFZ450R Starting System Diagnosis
Step 1. Remove the seat, turn the ignition key and flip the starter switch on. If the machine doesn't fire up, you don't hear anything and nothing electrical comes on, it's time to check the battery.
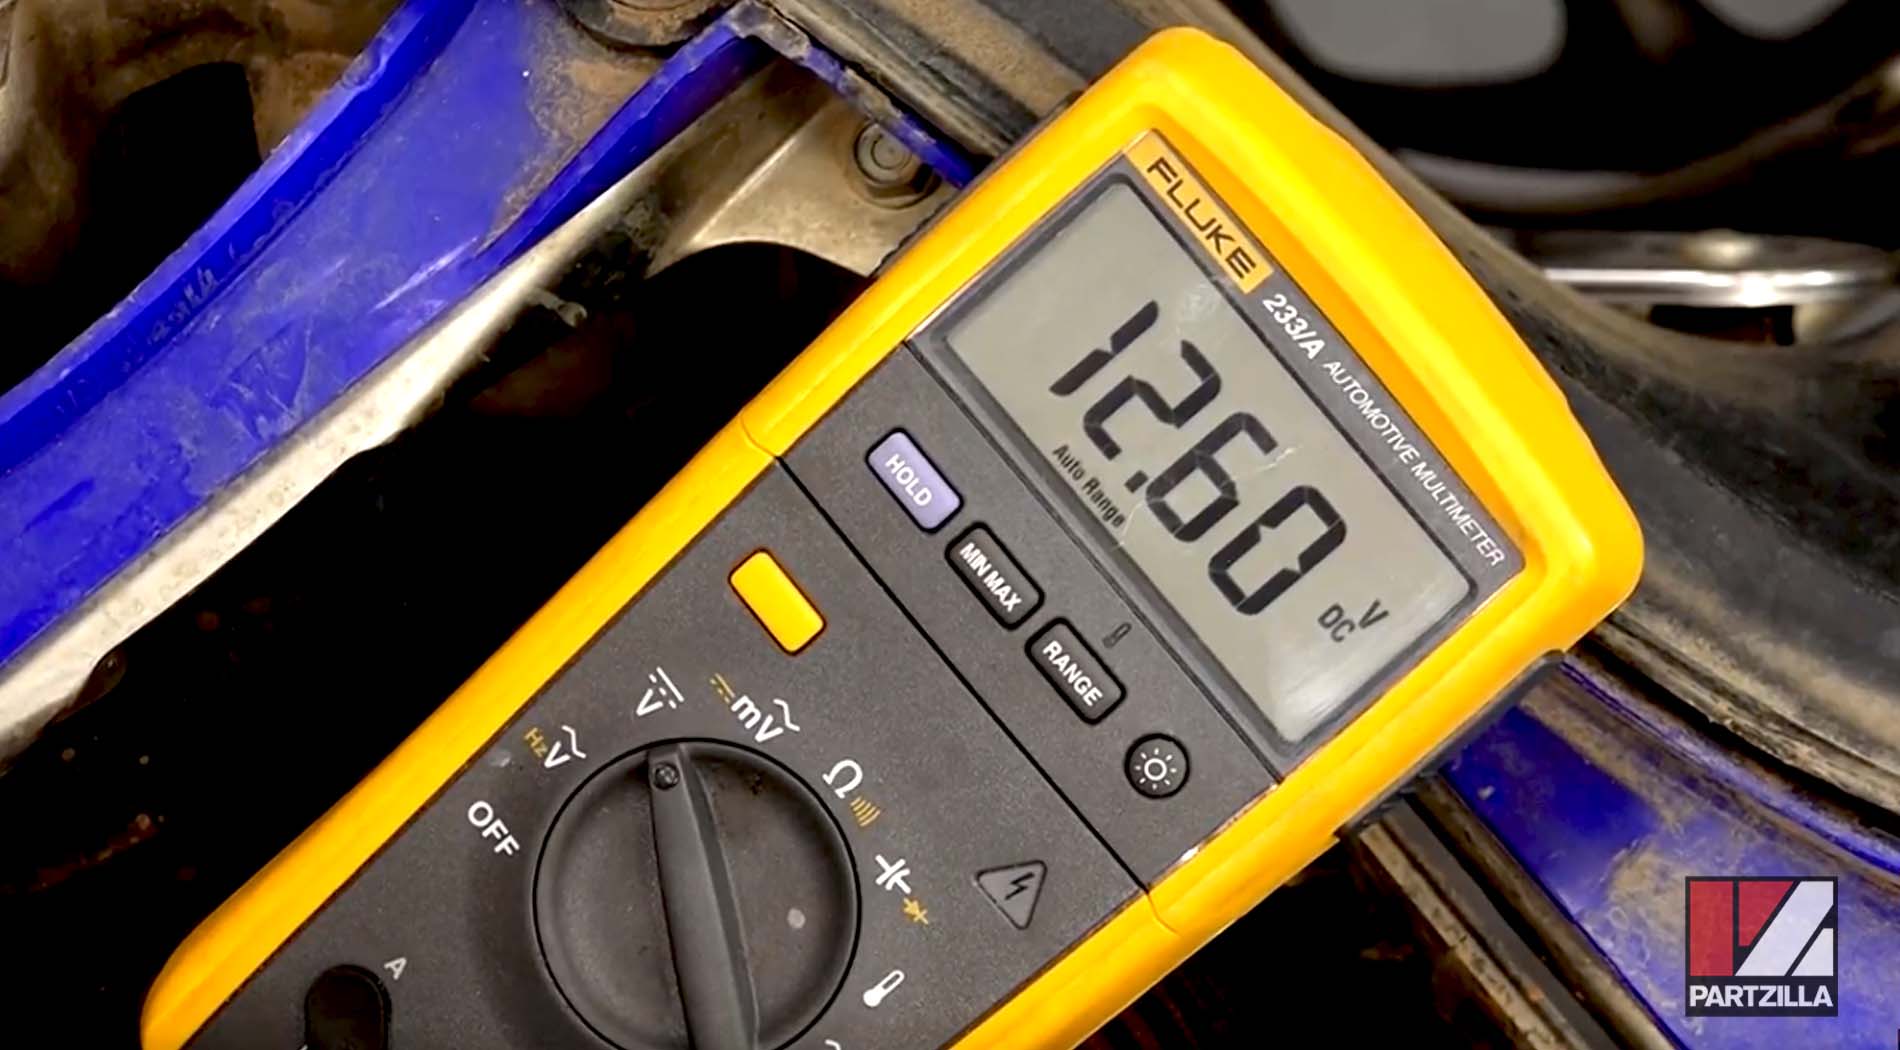
Step 2. Set your voltmeter to DC volts and connect it to the battery. The battery should read a voltage of approximately 12.5 to 12.6 volts. Anything less means the battery needs to be recharged or replaced.
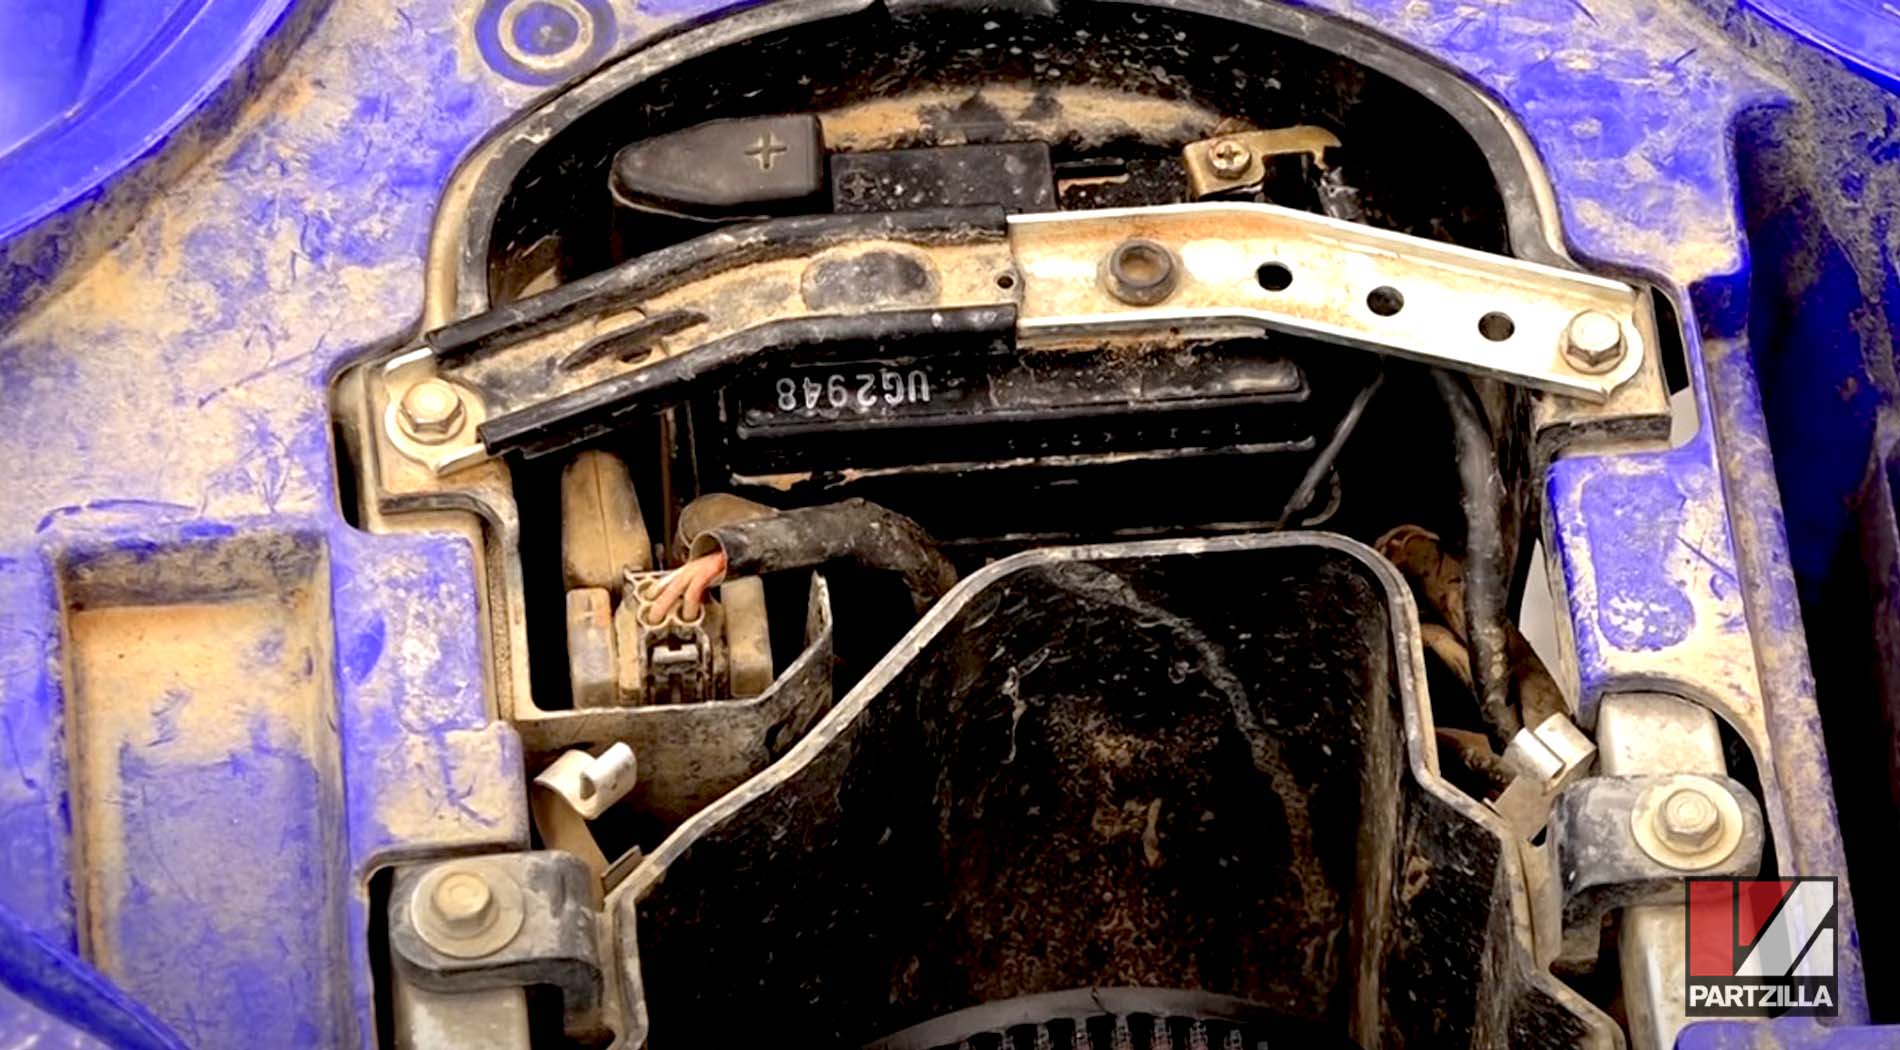
Step 3. If the battery is good to go, find the main fuse for the whole machine, which is located above the starter solenoid.
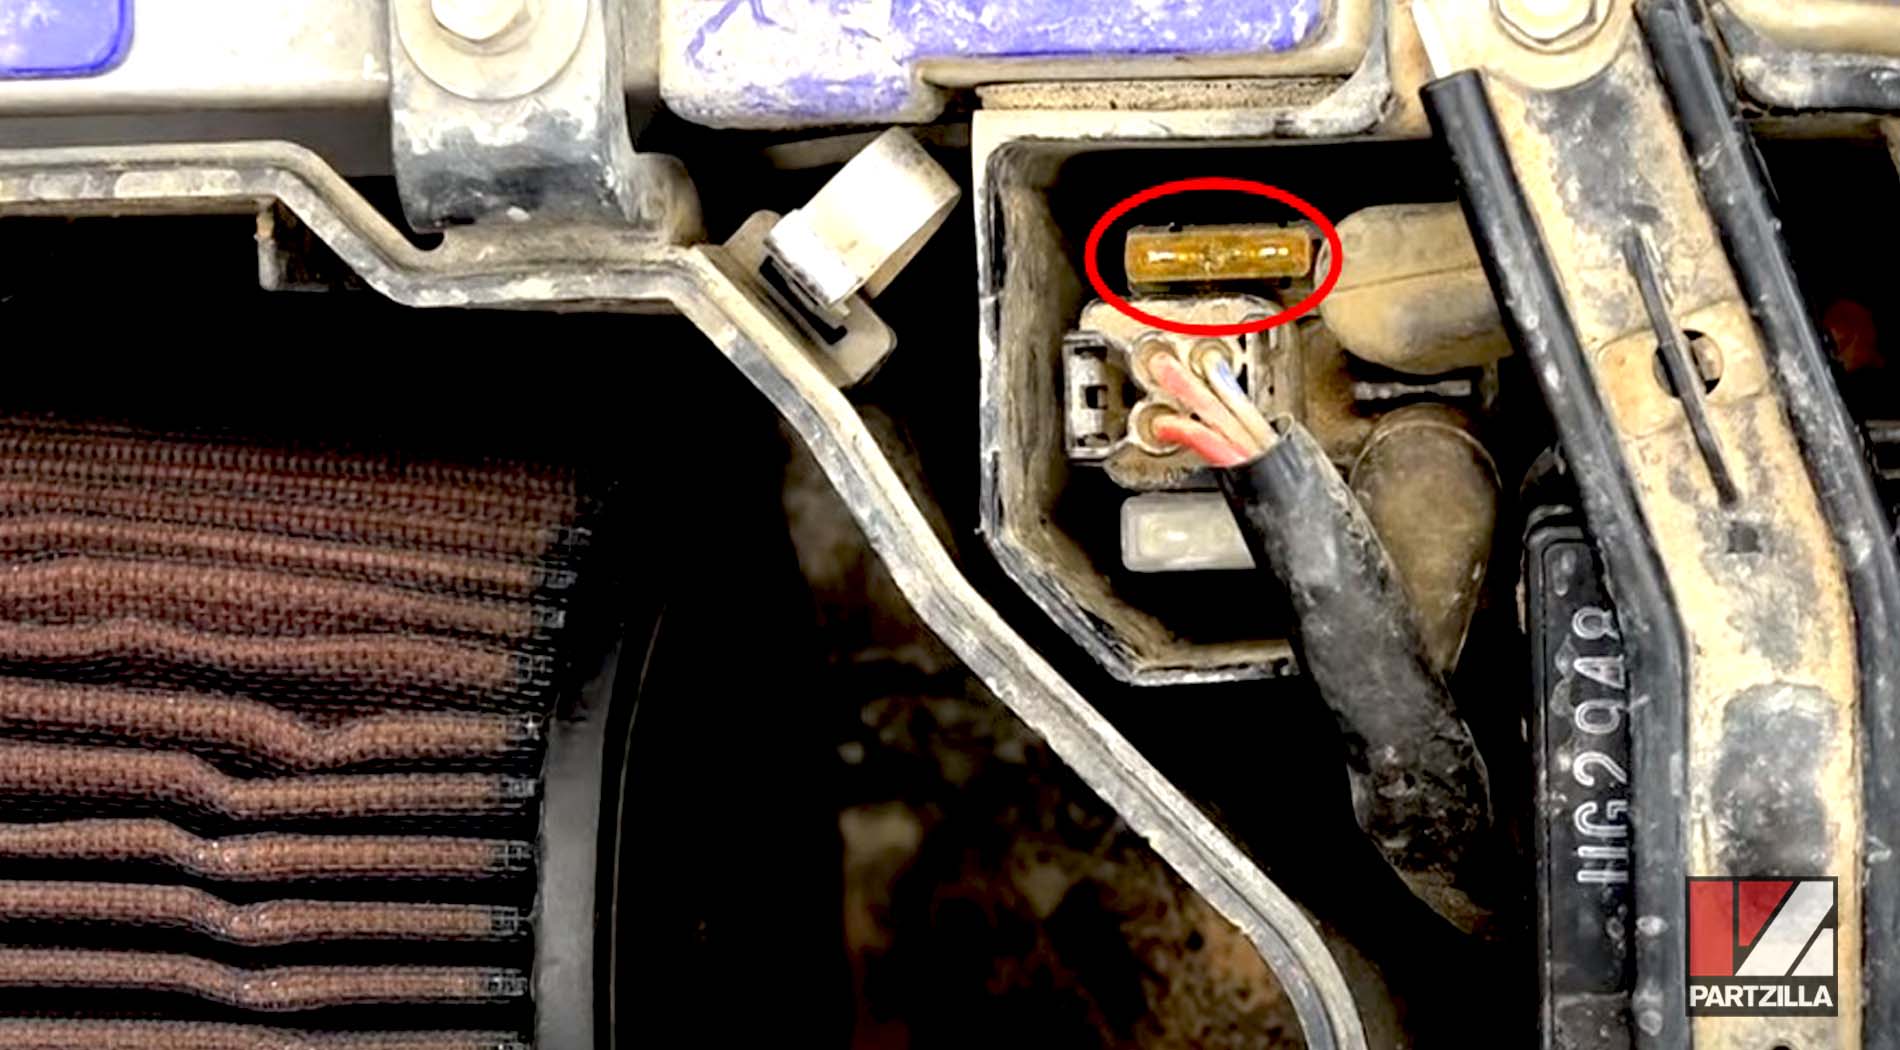
NOTE: The Yamaha YFZ450R has a compartment that houses a spare fuse, which is found below the main fuse compartment.
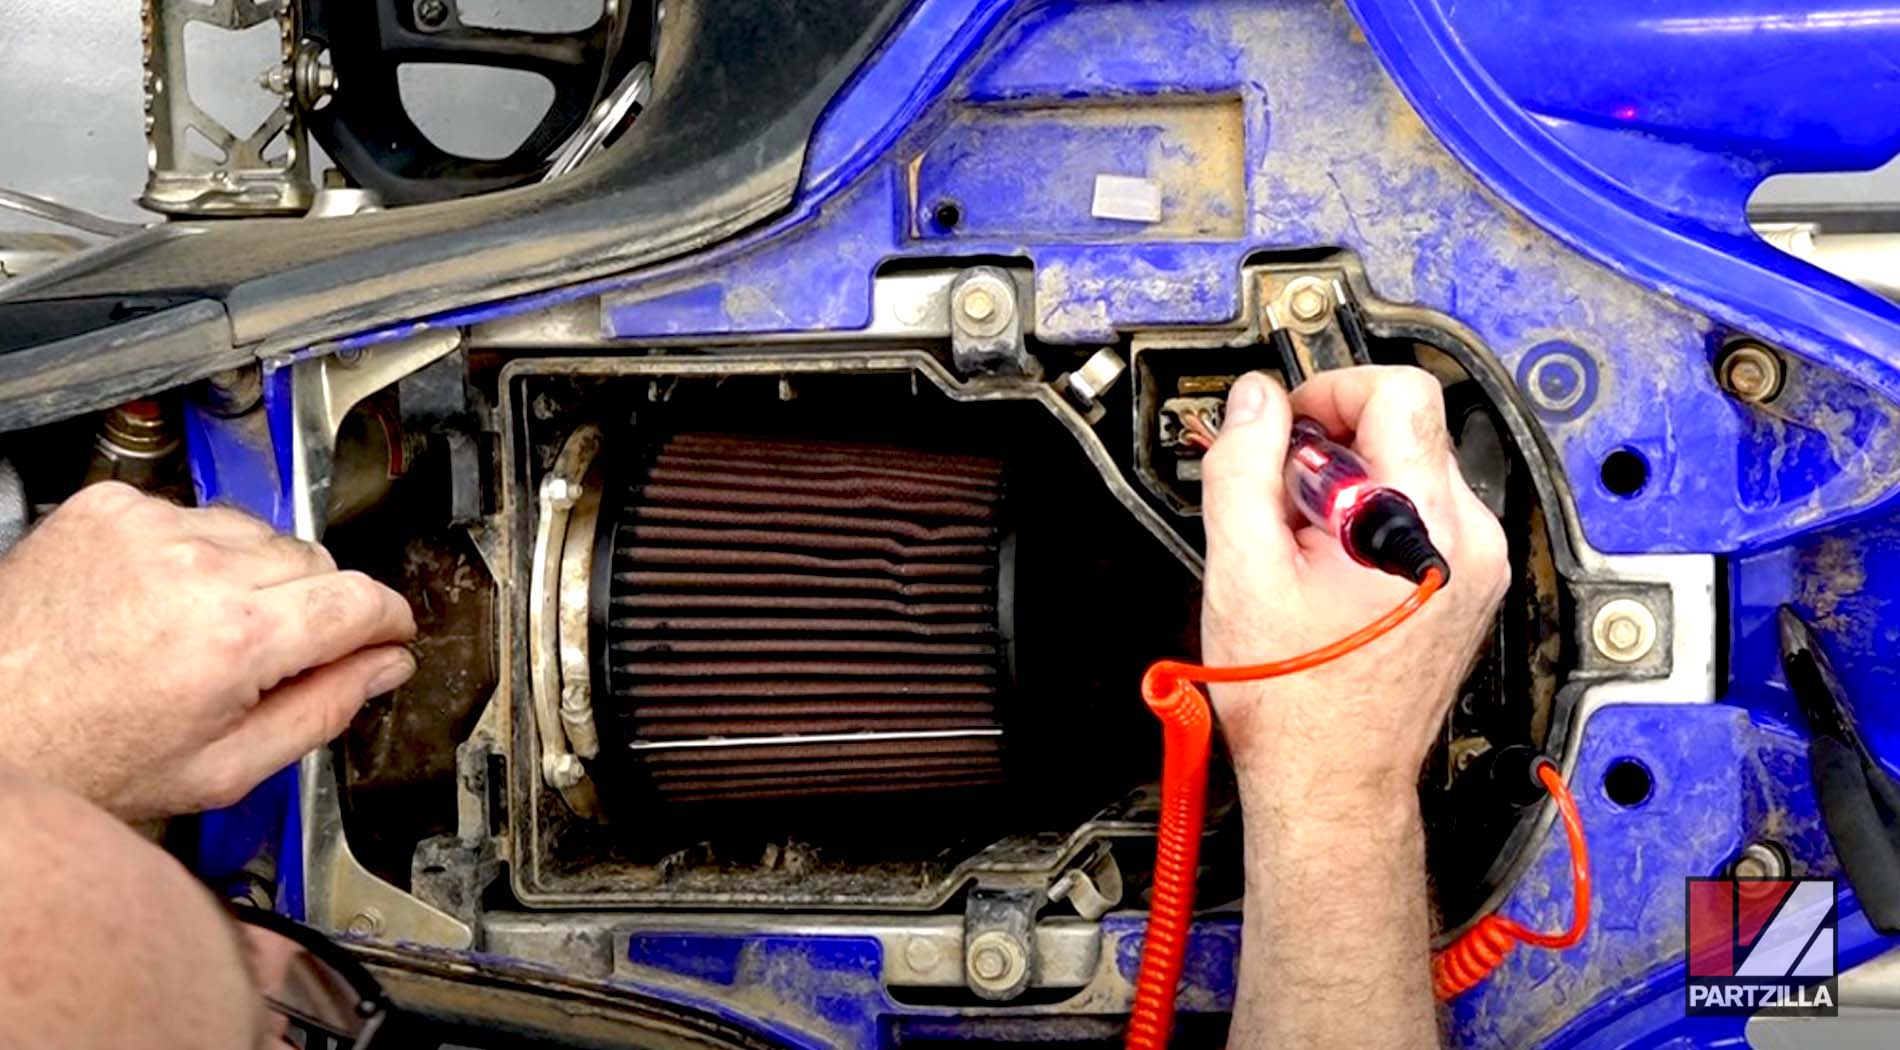
Step 4. Use a test light to check for voltage on both the left and right sides of the main fuse. If the test light shows voltage for both sides, the fuse is good. However, if the test light shows voltage for one side but not the other or doesn't light up for either side, the main fuse has blown out.
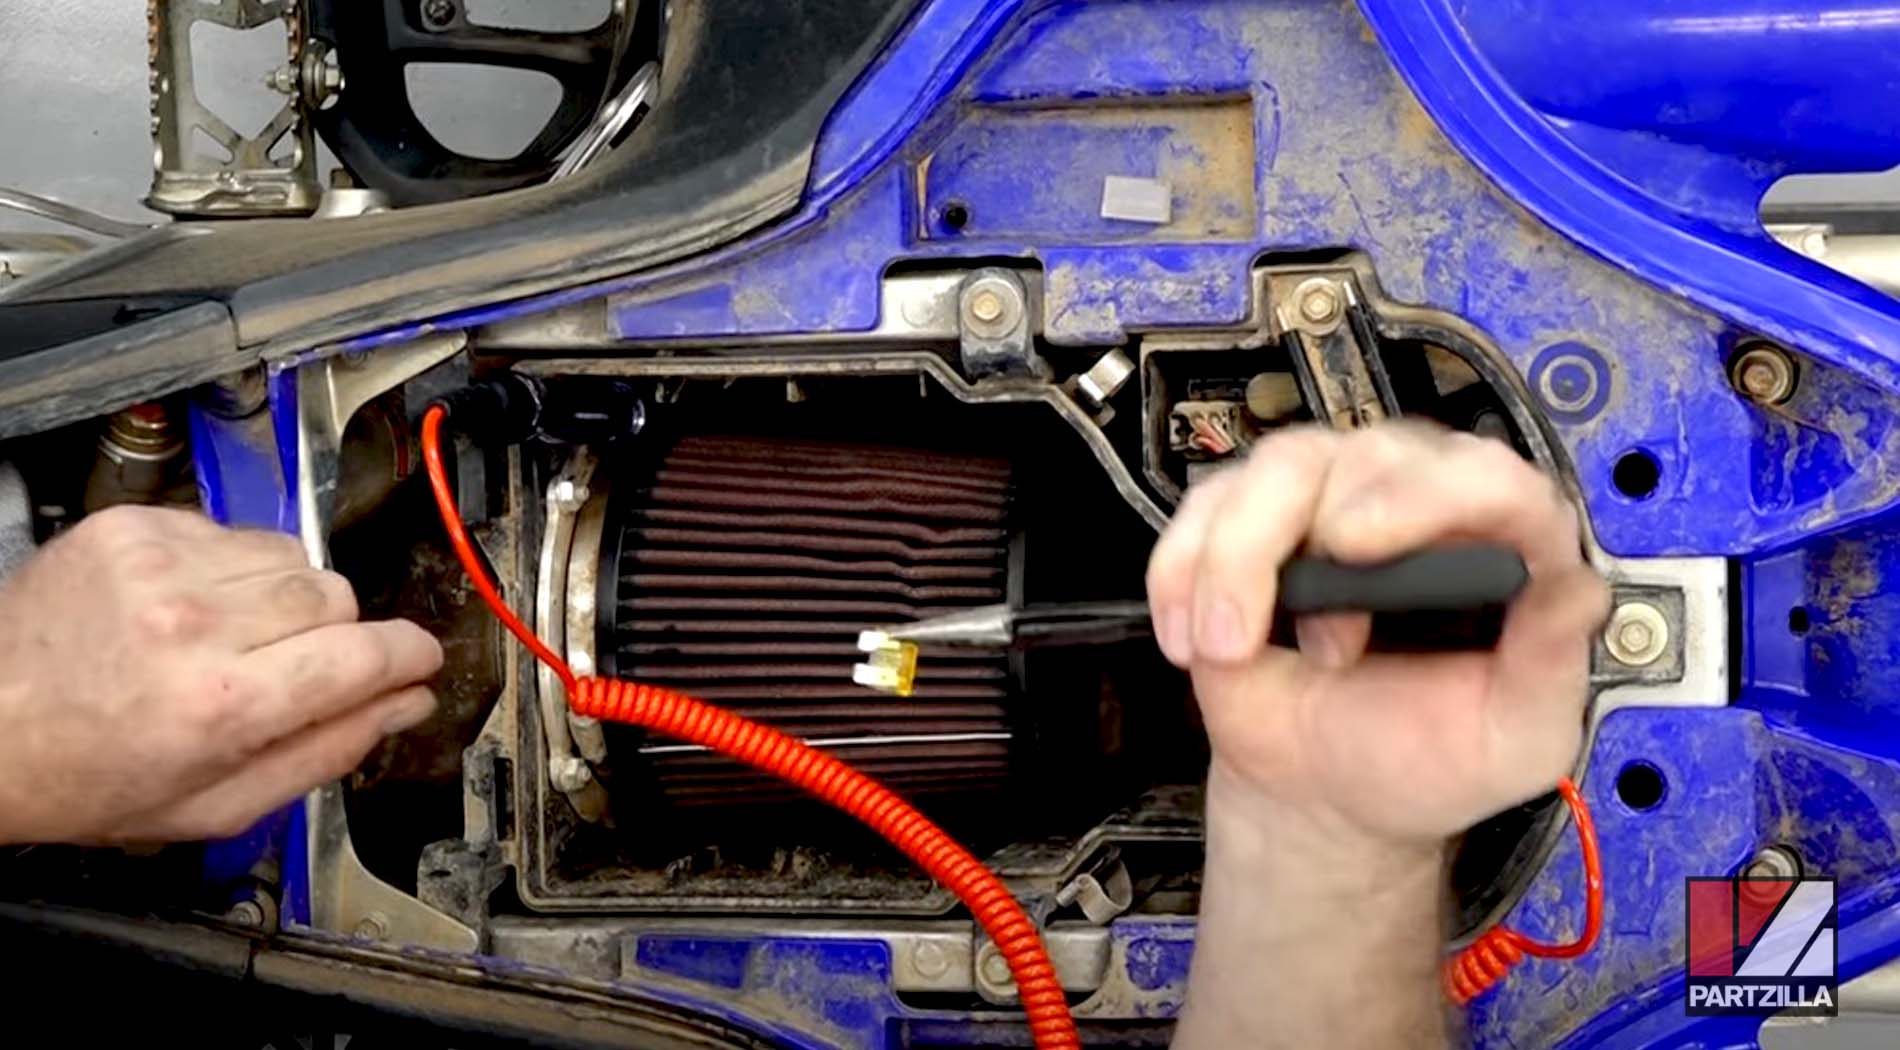
Step 5. If the main fuse is blown out, Yamaha provides a spare fuse, which is found in the compartment below the starter solenoid. Replace the main fuse with the spare fuse provided. If the machine doesn't have a spare, get a 20 amp fuse to replace the main fuse.
Step 6. After replacing the main fuse with a new fuse, start up the machine to test if the new fuse does the trick.
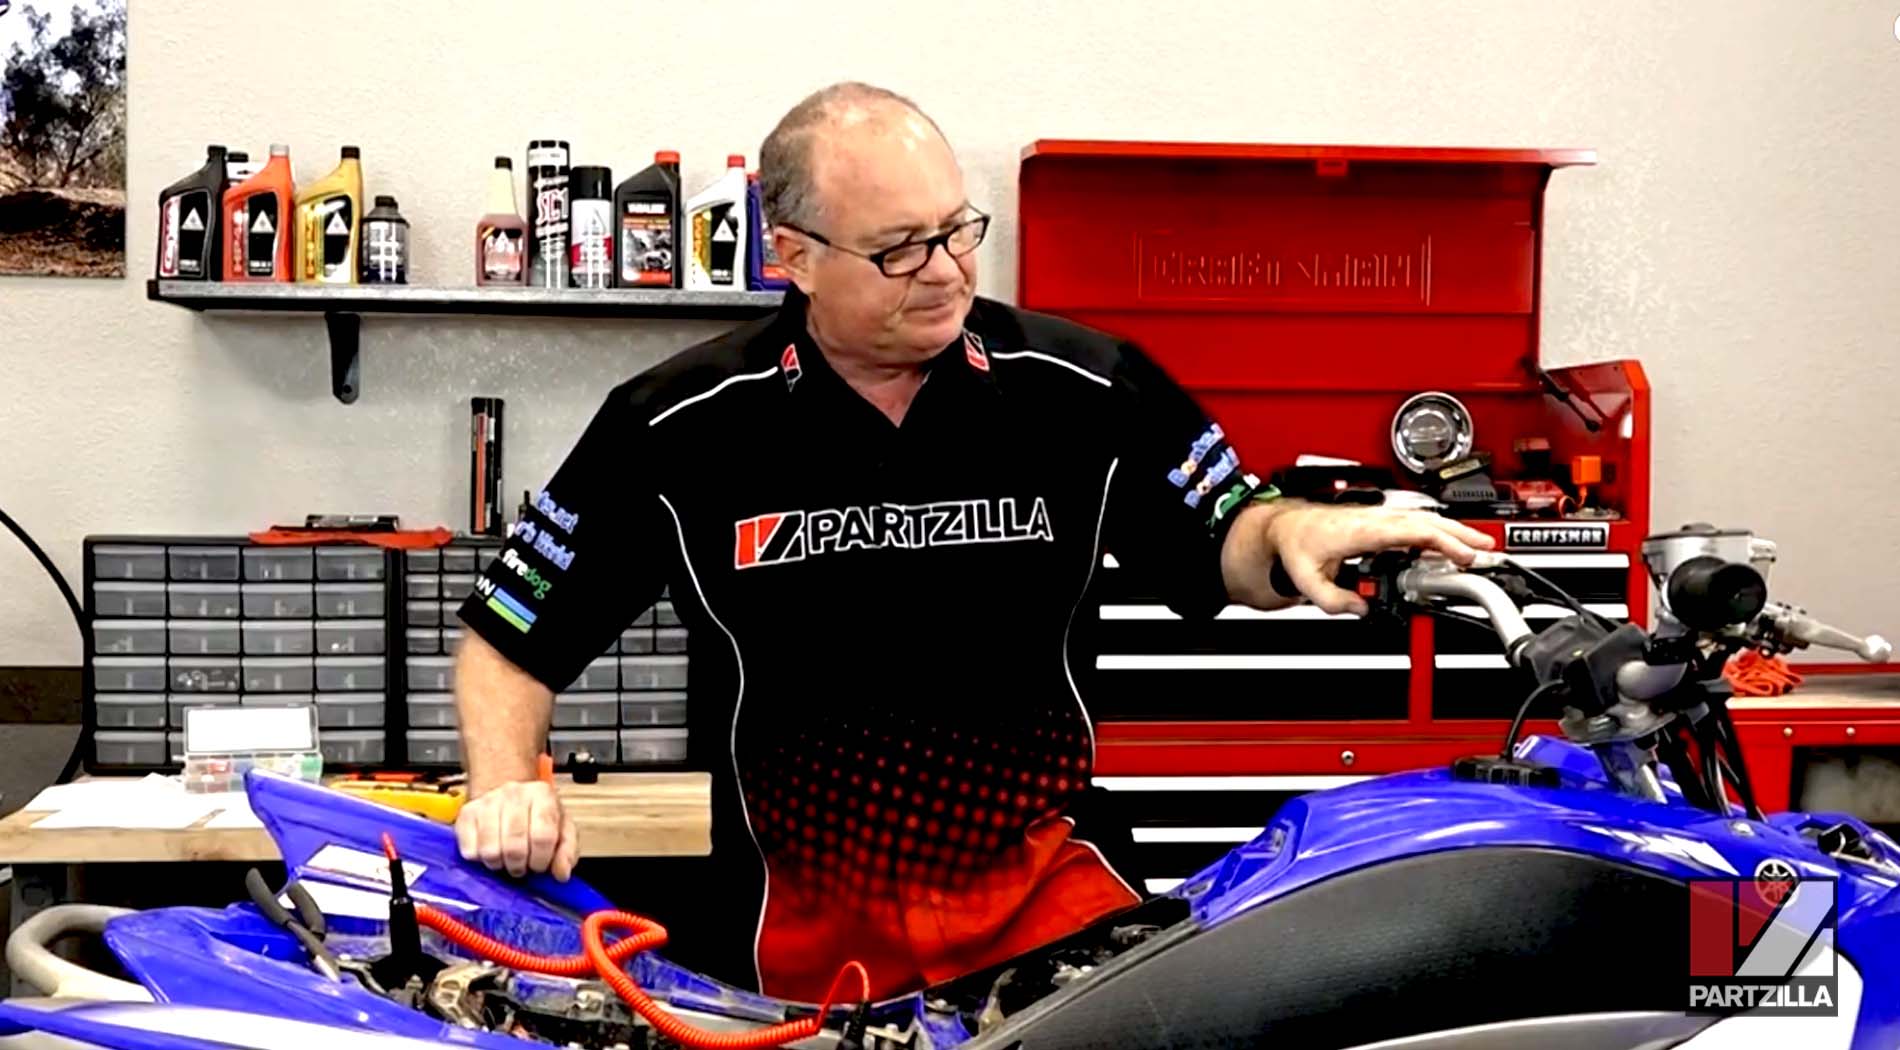
Step 7. If the machine fires up after replacing the main fuse, check the starter solenoid for voltage. Turn off the machine and then start it back up again, then hit the starter switch to hear the solenoid close. Listen for a loud click to make sure it's working. Even if you hear it, double-check it by using the test light while turning the starter switch on and off to check for voltage.
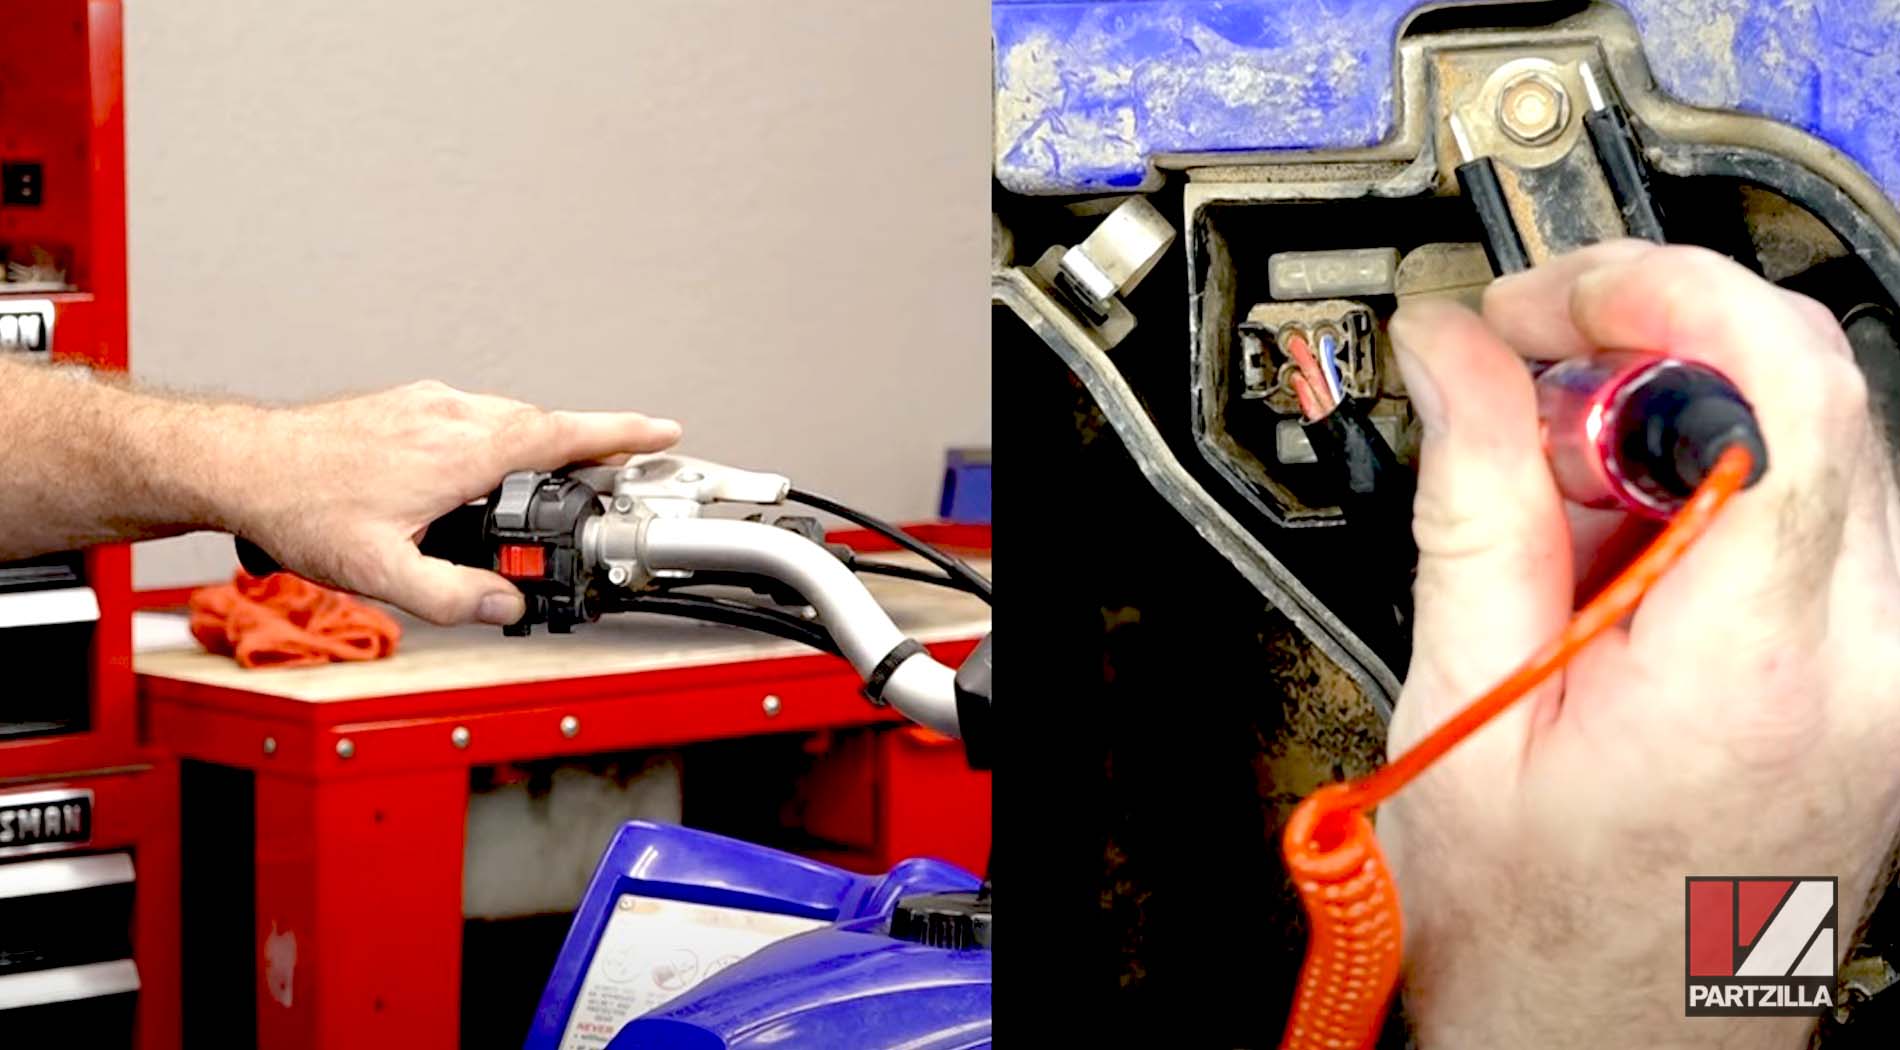
Step 8. After hearing the starter solenoid click and seeing voltage from the test light, you still want to check the starter itself by also applying the test light to it for voltage. If the test light shows voltage but the machine still doesn't turn on, you have a bad starter on your hands.
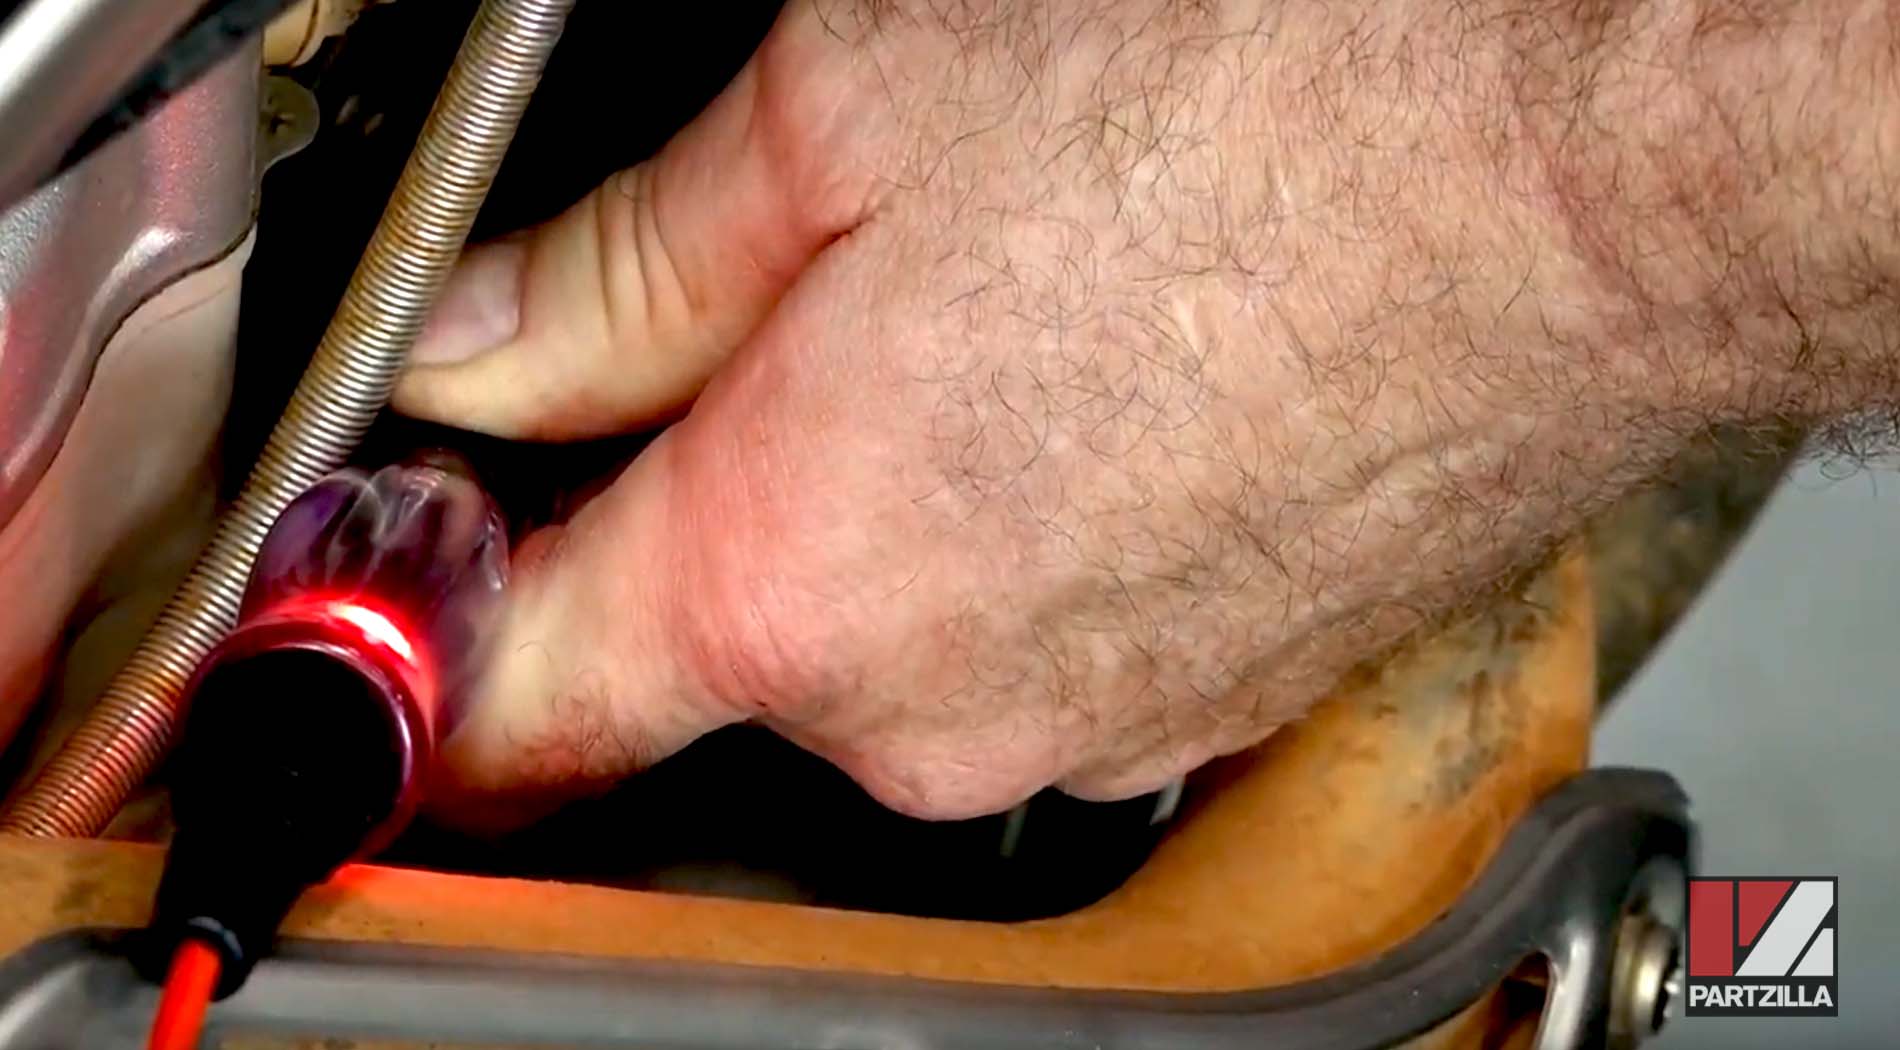
Step 9. If the ATV turns over but won't start, it means the starter has gone bad and you'll need to buy a new Yamaha ATV starter.
Do you have a different model Yamaha ATV? As mentioned, we ran these tests on a YFZ450R, but you can run the same or similar tests on other Yamaha ATV models. Watch the video above to see the starting problem tests we ran on a Yamaha Grizzly 700.
