Troubleshooting Kawasaki KLX Battery and Fuel
Leaving a dirt bike sitting idle for months is normal, but nothing is more frustrating than when you’re ready to ride that bad boy again and it refuses to start. When that happens, the problem is usually either a dead battery, stale fuel, or a combination of the two.
Watch the video above and follow the steps below to learn how to test and replace the battery on a Kawasaki motorcycle, and diagnose whether or not the fuel has gone bad.
Tools and Parts – Kawasaki KLX Battery Test and Replace
- Ratchet and 8mm socket
- Flathead screwdriver
- Philips screwdriver
- Multimeter
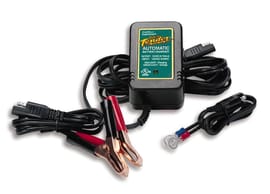
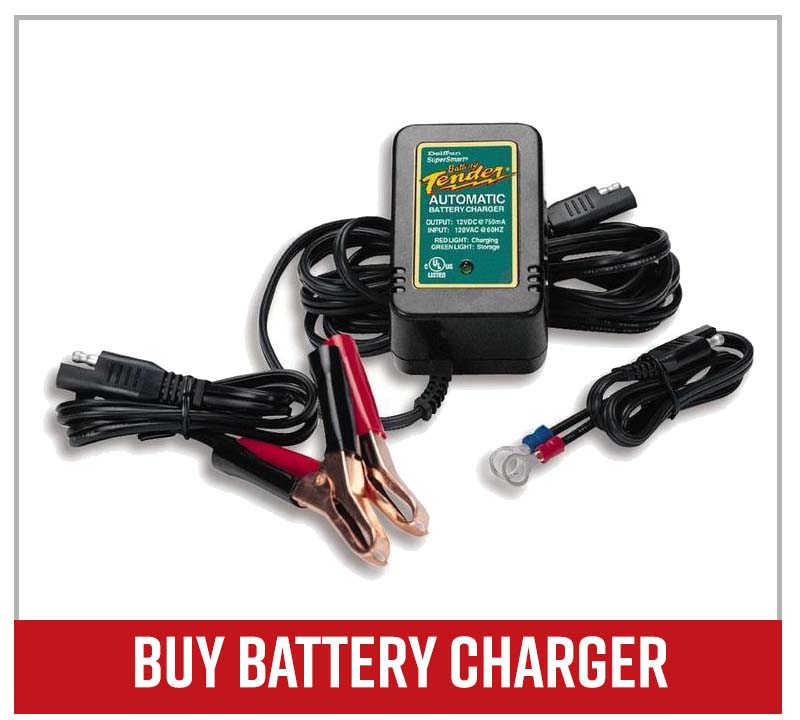
- Battery tender
- Battery

Testing and Replacing a Kawasaki KLX110 Battery
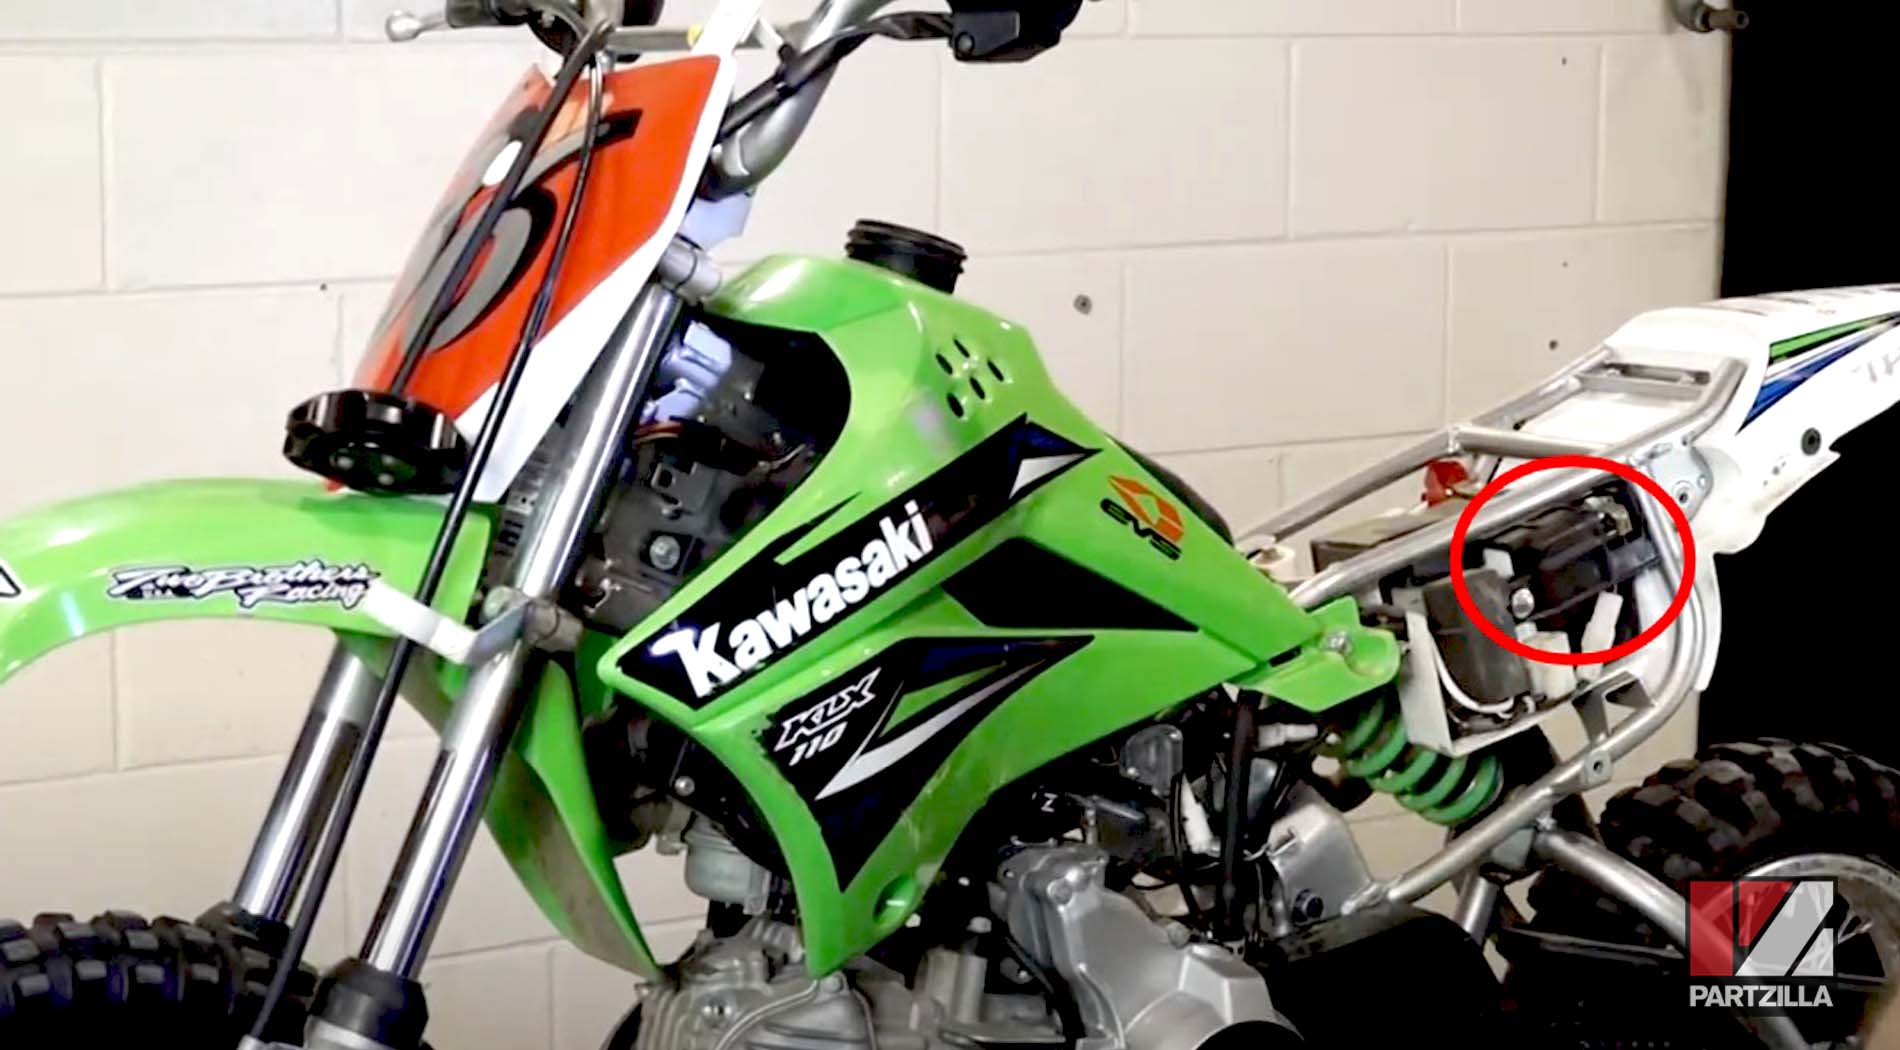
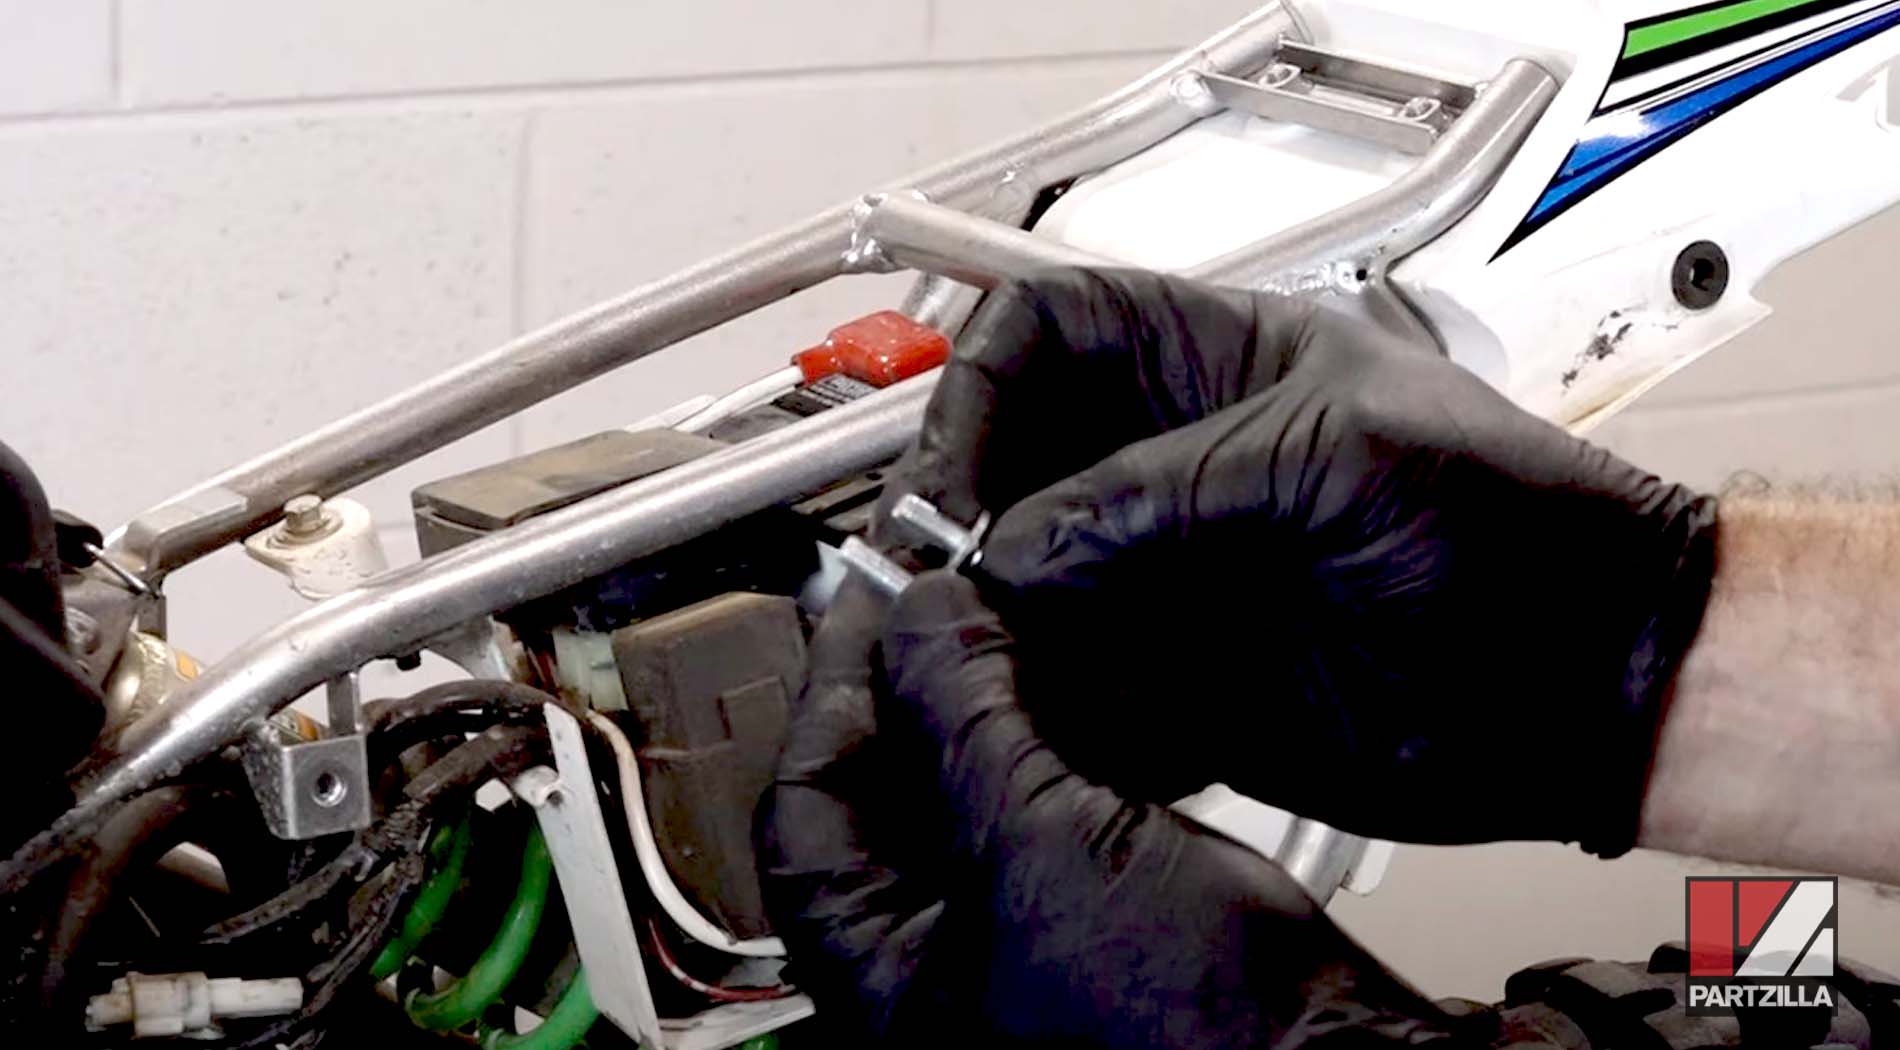
Step 1. Remove the seat, side covers, and engine shroud to access the battery.
Step 2. Set a multimeter to DC volts and check the battery’s voltage. The battery should hold between 12 and 13 volts.
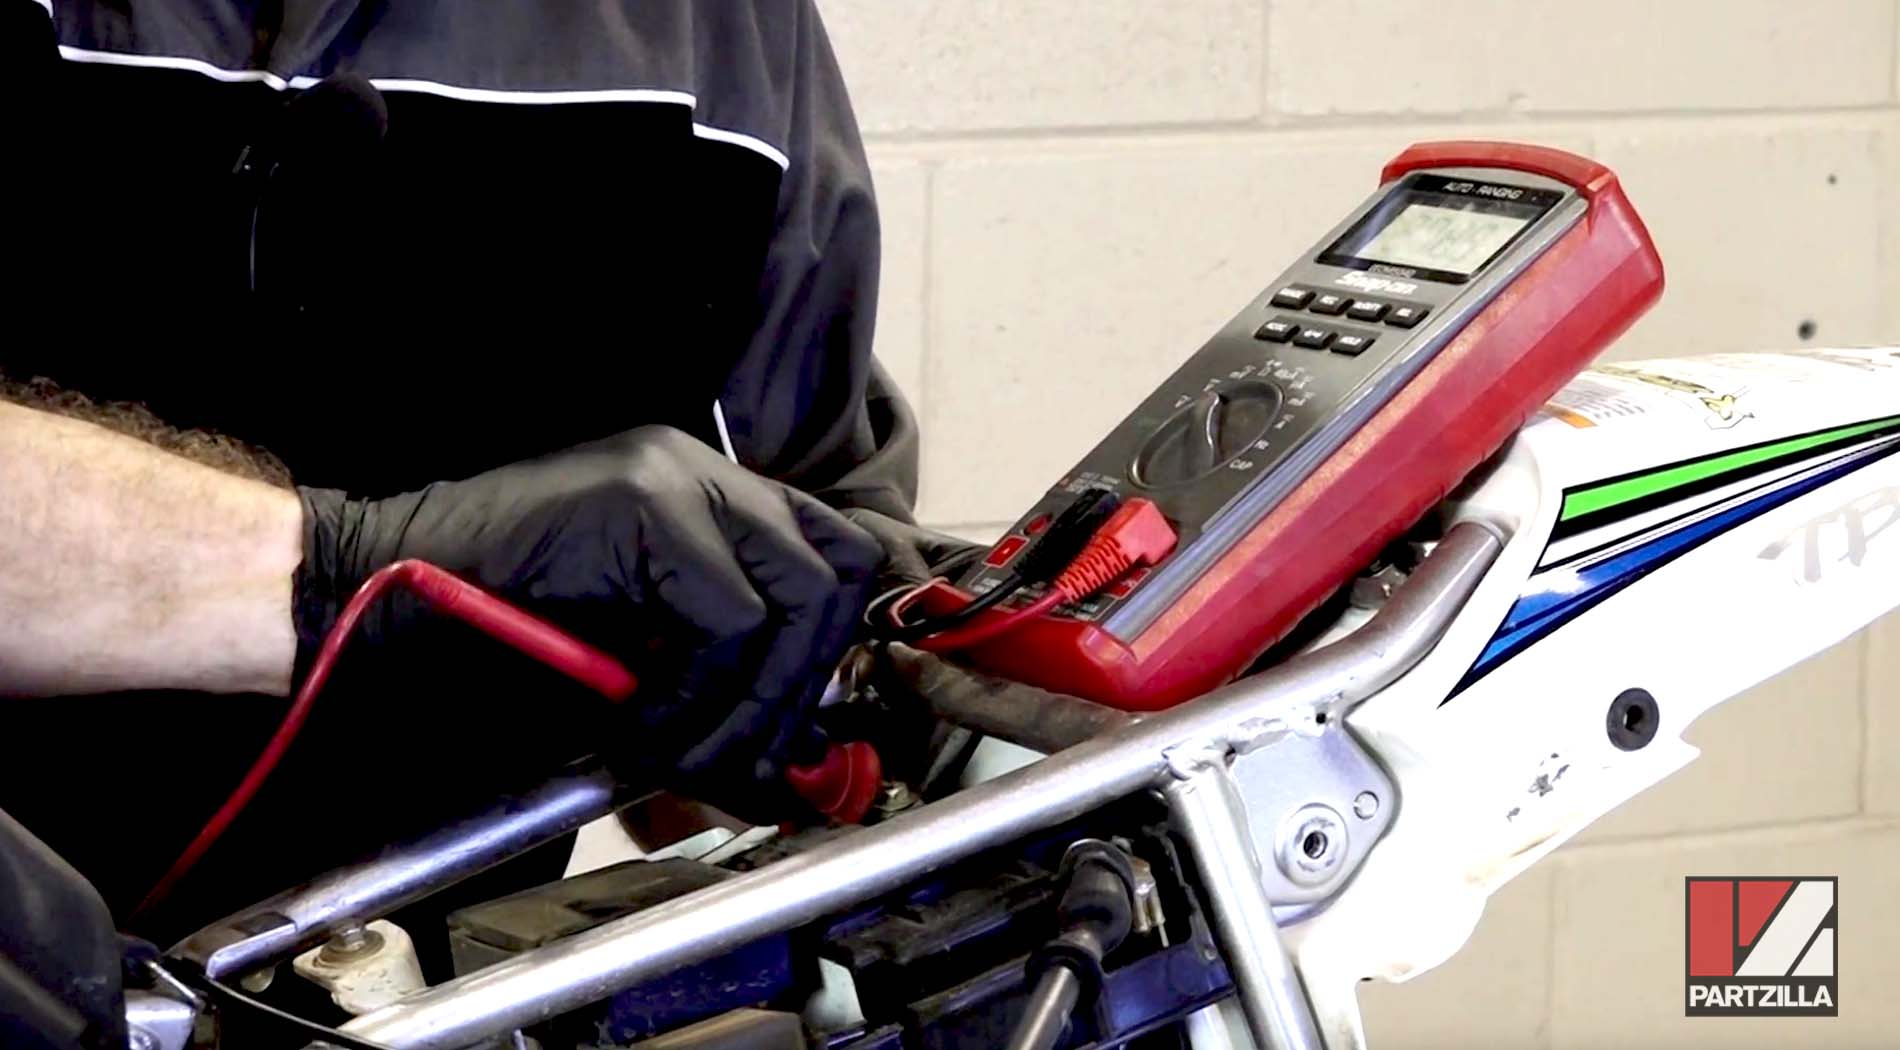
PRO TIP: A battery that is a volt or two less than 12 volts can probably be recovered with a charge, but a battery that is considerably lower than 12 volts has probably sulfated and will need replacing.
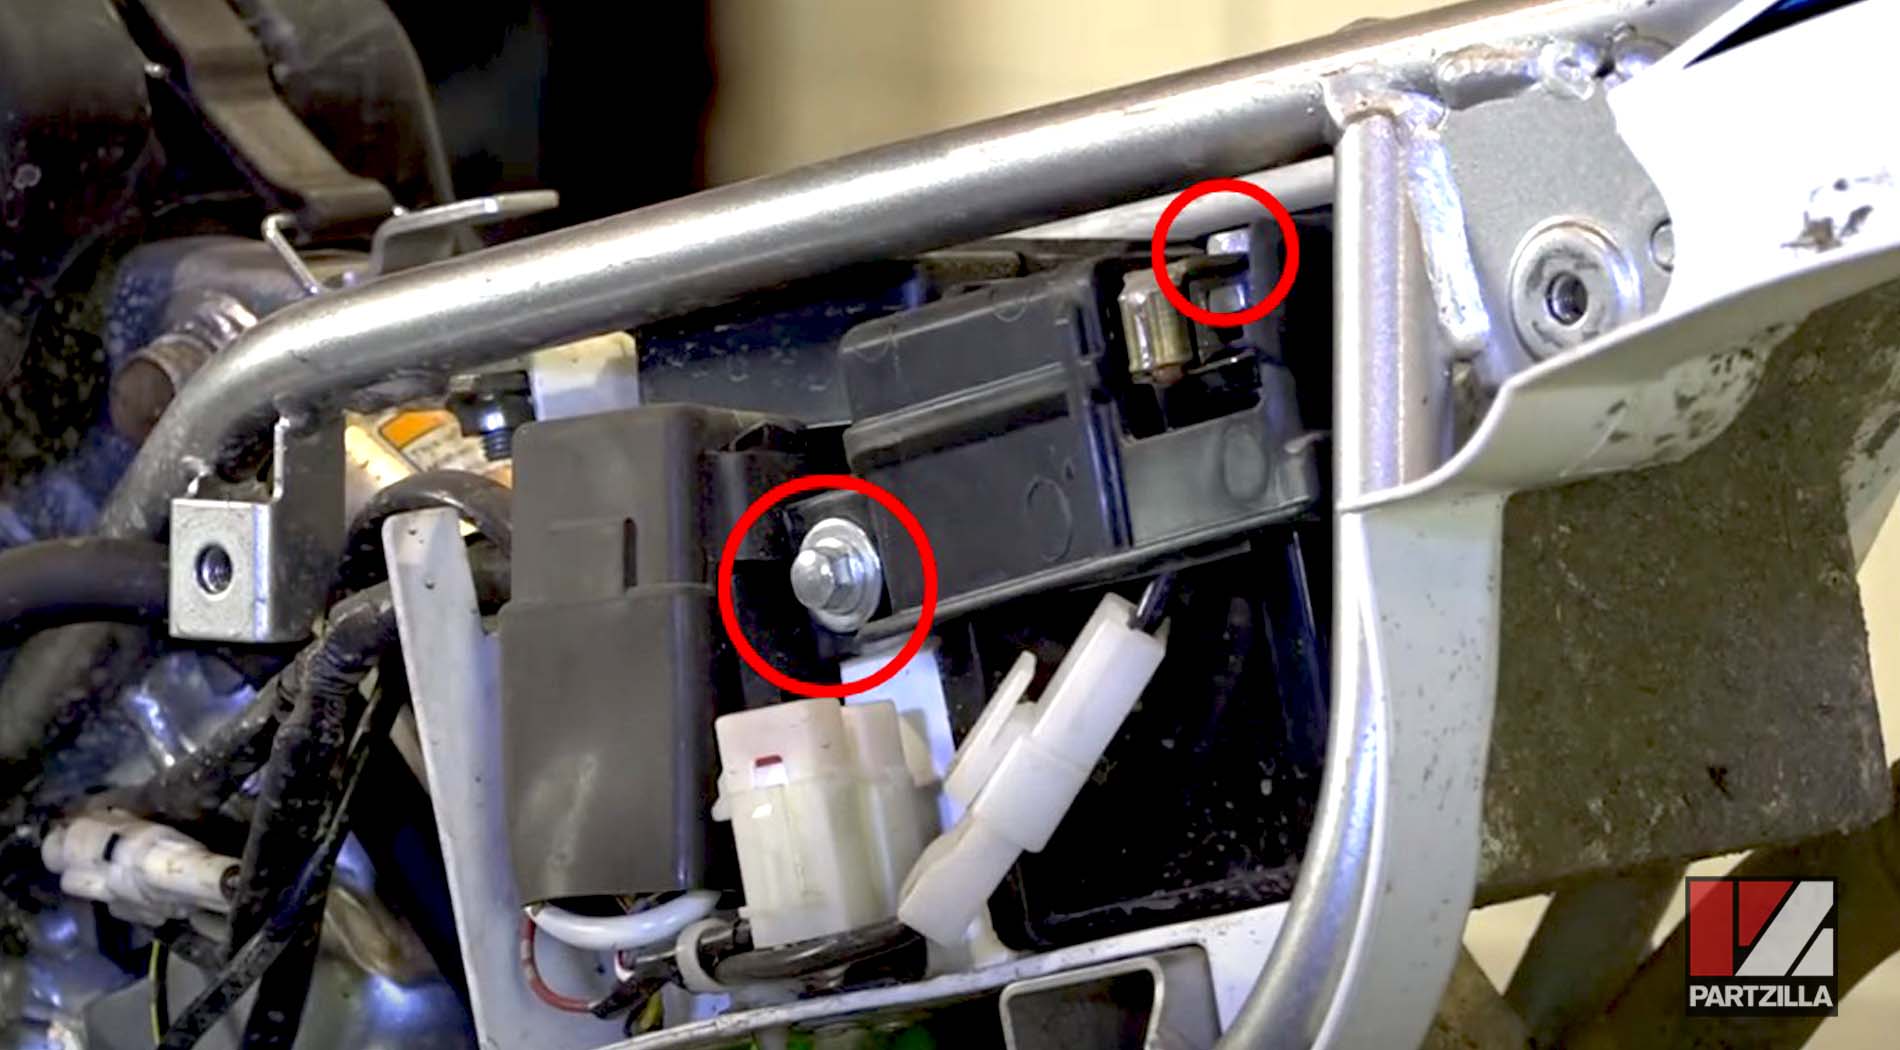
Step 3. Remove the battery by disconnecting the cables from the terminals and removing the bracket holding it in place.
Step 4. Charge the battery with a smart charger or battery tender.
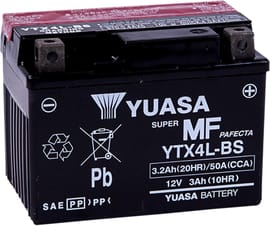
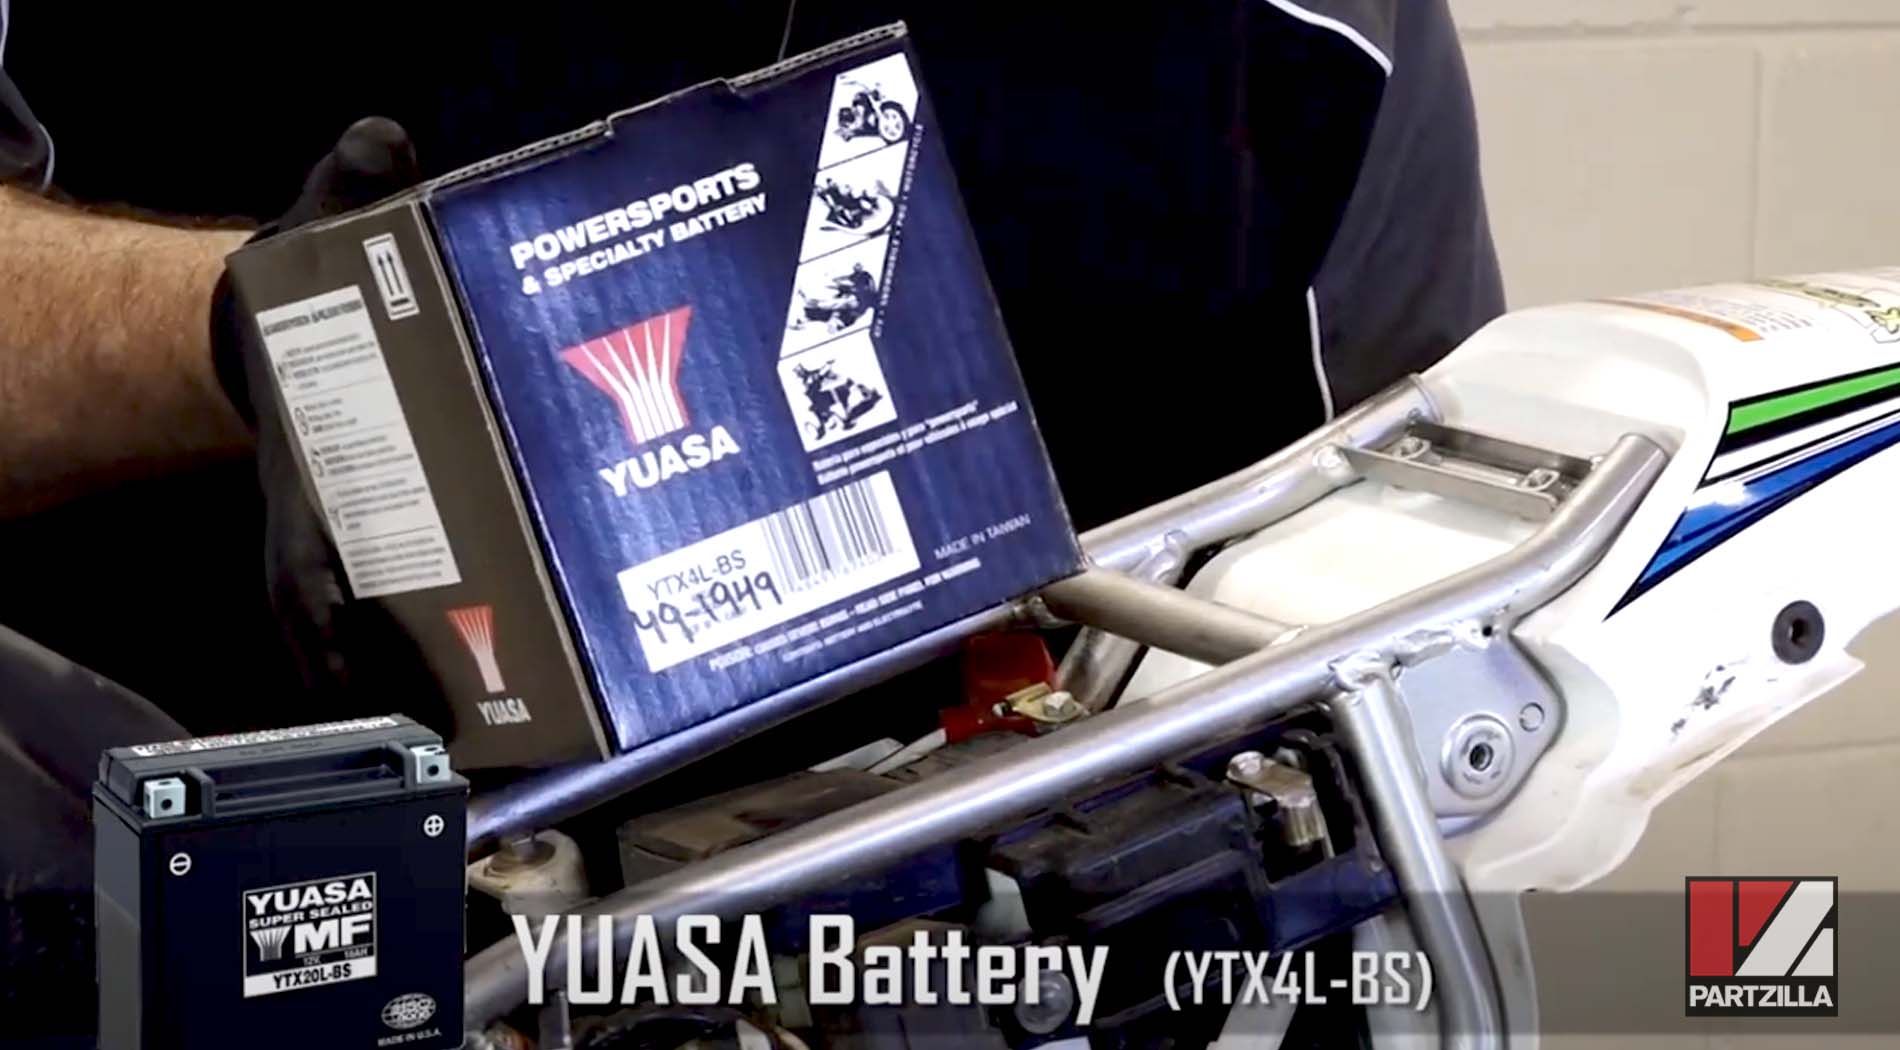
PRO TIP: If the battery needs replacing, we recommend getting a maintenance-free factory sealed battery. These batteries come ready with the electrolyte in the cells. The maintenance-free battery for the Kawasaki KLX110 is the YUASA YTX4L-BS.
Step 5. Install the battery into the motorcycle, and reconnect the bracket and the battery cables.

NOTE: There are two screws securing the battery bracket. The longer of the two should be reinstalled at the back of the bracket.
Remove the battery and connect it to a battery tender. This helps prevent the battery from losing voltage and potentially becoming irreparably damaged when you leave your bike idle for long periods of time. The tender pays for itself by keeping the battery in peak health, so you won’t have to buy a new battery every few months. If your Kawasaki KLX110’s battery is good and the engine turns over but it won’t fire up, the next thing to check is the fuel.
Diagnosing Kawasaki KLX110 Fuel Problems
Step 1. Loosen the drain screw in the base of the carburetor float bowl to allow the fuel in the carb to drain out through the drain tube. Position an empty container to catch the fuel.

Step 2. Inspect the fuel for signs that it’s old or if the fuel system is contaminated.
Healthy Fuel
- Clear and almost colorless
- Neutral odor
- Clean, free of debris
Contaminated Fuel
- Dark or discolored
- Acrid odor, like turpentine
- Dirty, has debris
Contaminated fuel is also an indication there’s debris clogging the carb or fuel lines, which means the fuel system needs to be drained out.

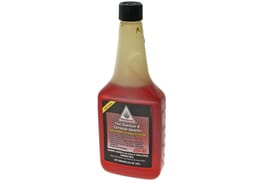
Adding fuel stabilizer to the fuel tank increases the life of the fuel and prevents it from going bad for several months. If the fuel in your KLX dirt bike is bad, the next step will be to pull out the carburetor and thoroughly clean it. Watch the video below to see how to clean and rebuild a Kawasaki KLX110 carburetor.