How to Clean & Rebuild a Kawasaki KLX110 Carburetor
A clean carburetor can make the difference between your Kawasaki dirt bike running like a champ, or like a chump. In fact, if the carb gets dirty and clogged enough, it'll prevent your bike from running at all.
Watch the video above and follow the spes below to do a Kawasaki KLX110 carburetor cleaning and rebuild.
Tools and Parts - Kawasaki KLX110 Carb Cleaning
- Ratchet
- 8mm socket
- 8mm wrench
- Screwdrivers
- Pliers
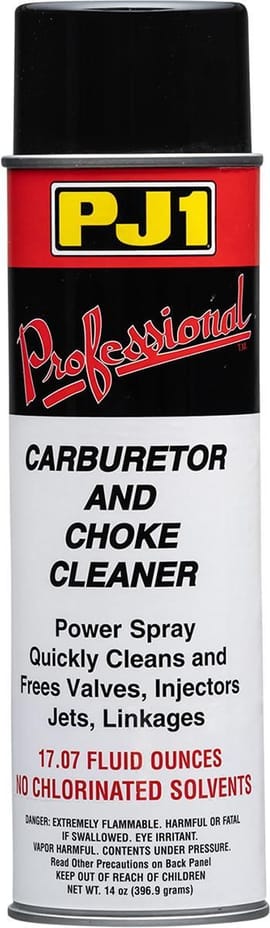
- Carb cleaner

Parts
The exact parts you'll need depends upon how dirty or worn your bike's carburetor is. You can find all the individual OEM Kawasaki parts for a KLX110 carburetor, as well as a complete carburetor assembly here.
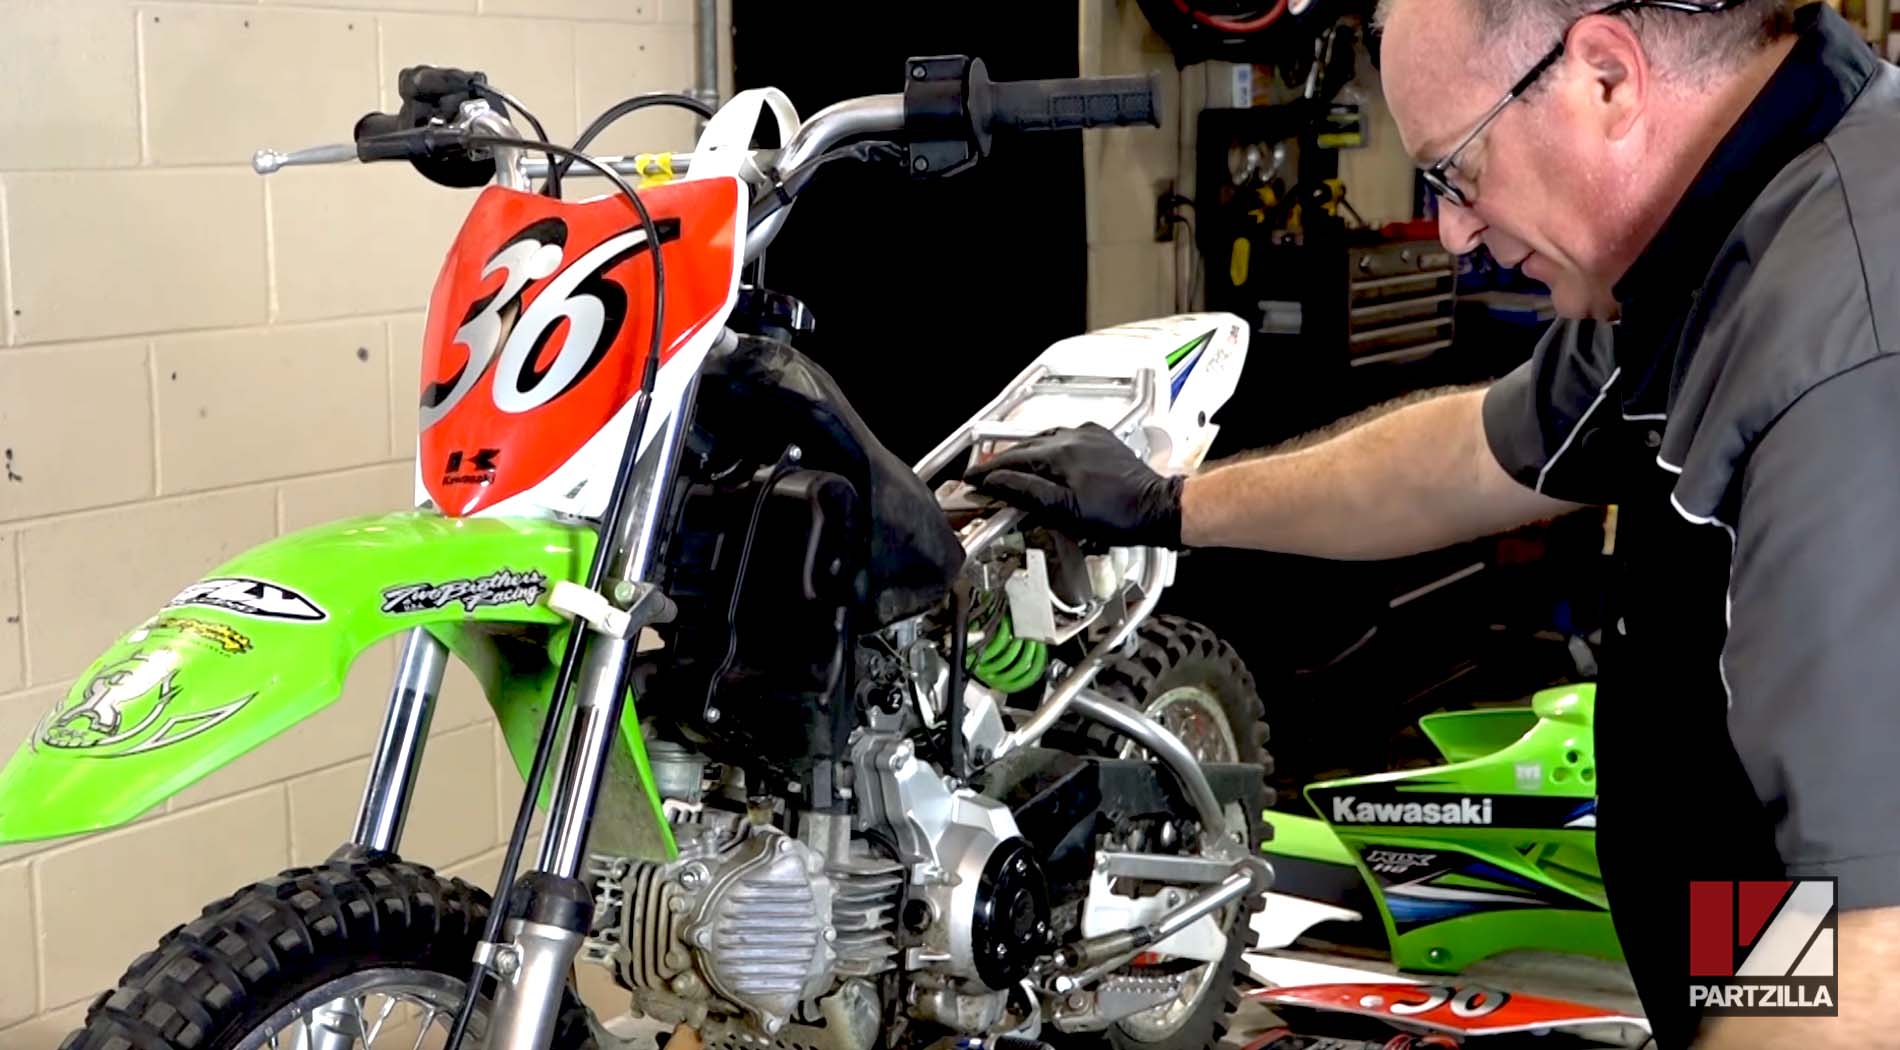
Removing a Kawasaki KLX110 Carburetor
Step 1. Shut off the fuel at the fuel tap.
Step 2. Remove the drain screw, and drain any remaining fuel from the float bowl. Reinstall the drain screw.
Step 3. Remove the two 8mm mounting bolts from the rear of the carburetor body.
Step 4. Release the clamp, and remove the fuel line from the right side of the carburetor.
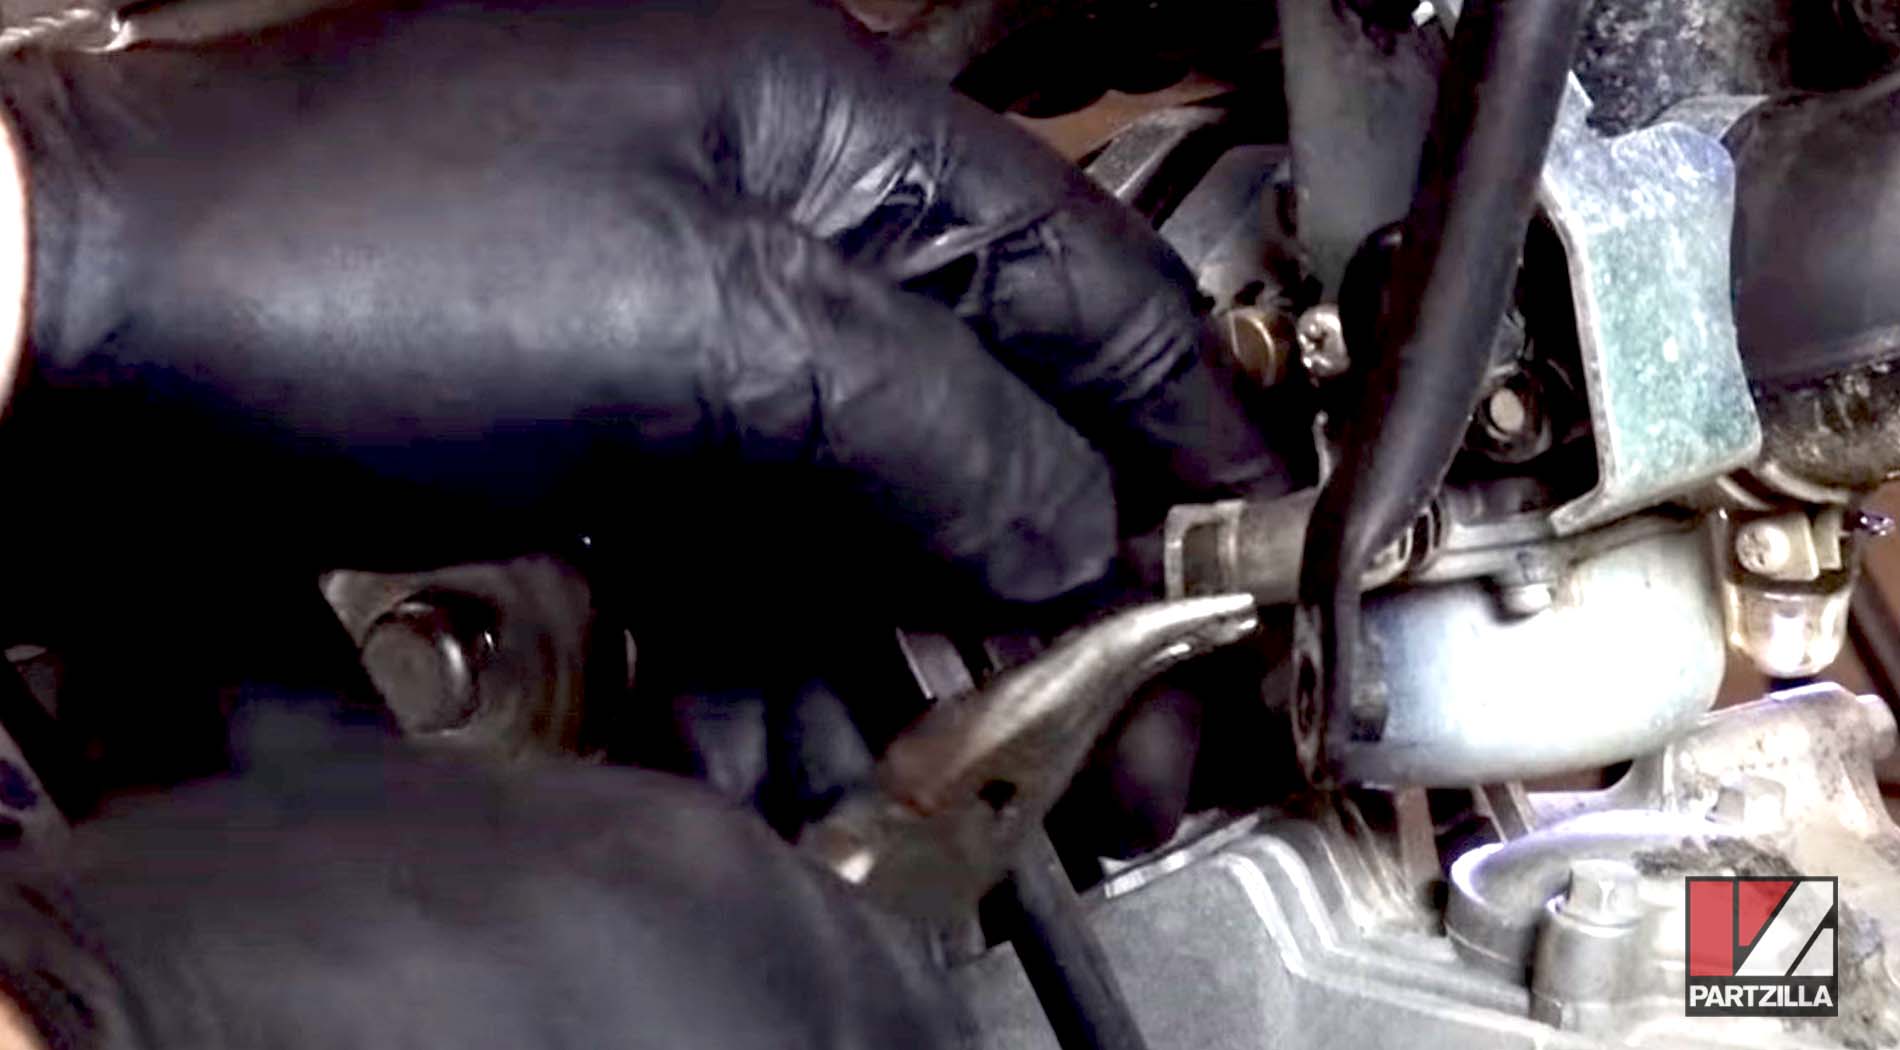
Step 5. Remove the spacer from between the carburetor and the intake pipe.
NOTE: The O-ring in the spacer faces the intake pipe so you can reinstall it later facing in the same direction.
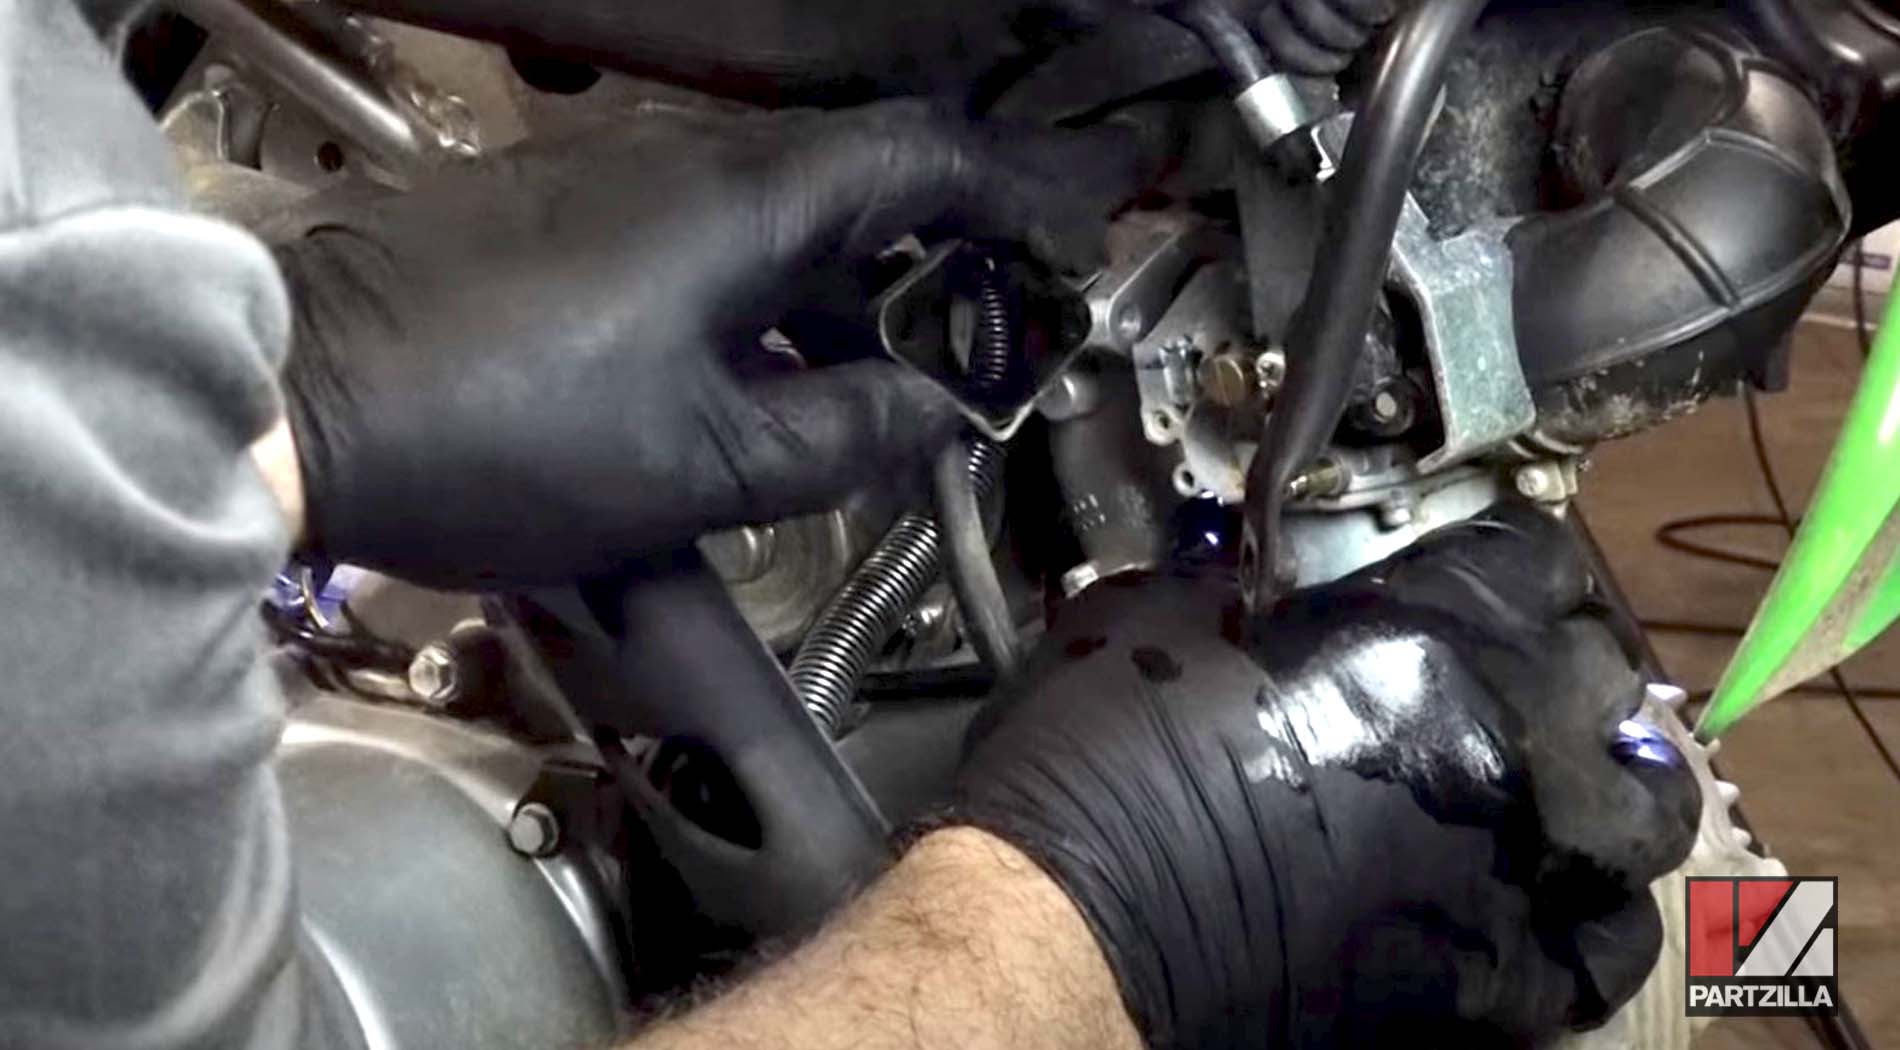
Step 6. Loosen the clamp, and remove the duct on the front of the carburetor that leads to the airbox.
Step 7. Release the clamp, and remove the breather line from the left side of the carburetor.
Step 8. Unscrew the cap from the top of the carburetor, and remove the throttle spring and needle jet from the carburetor body.
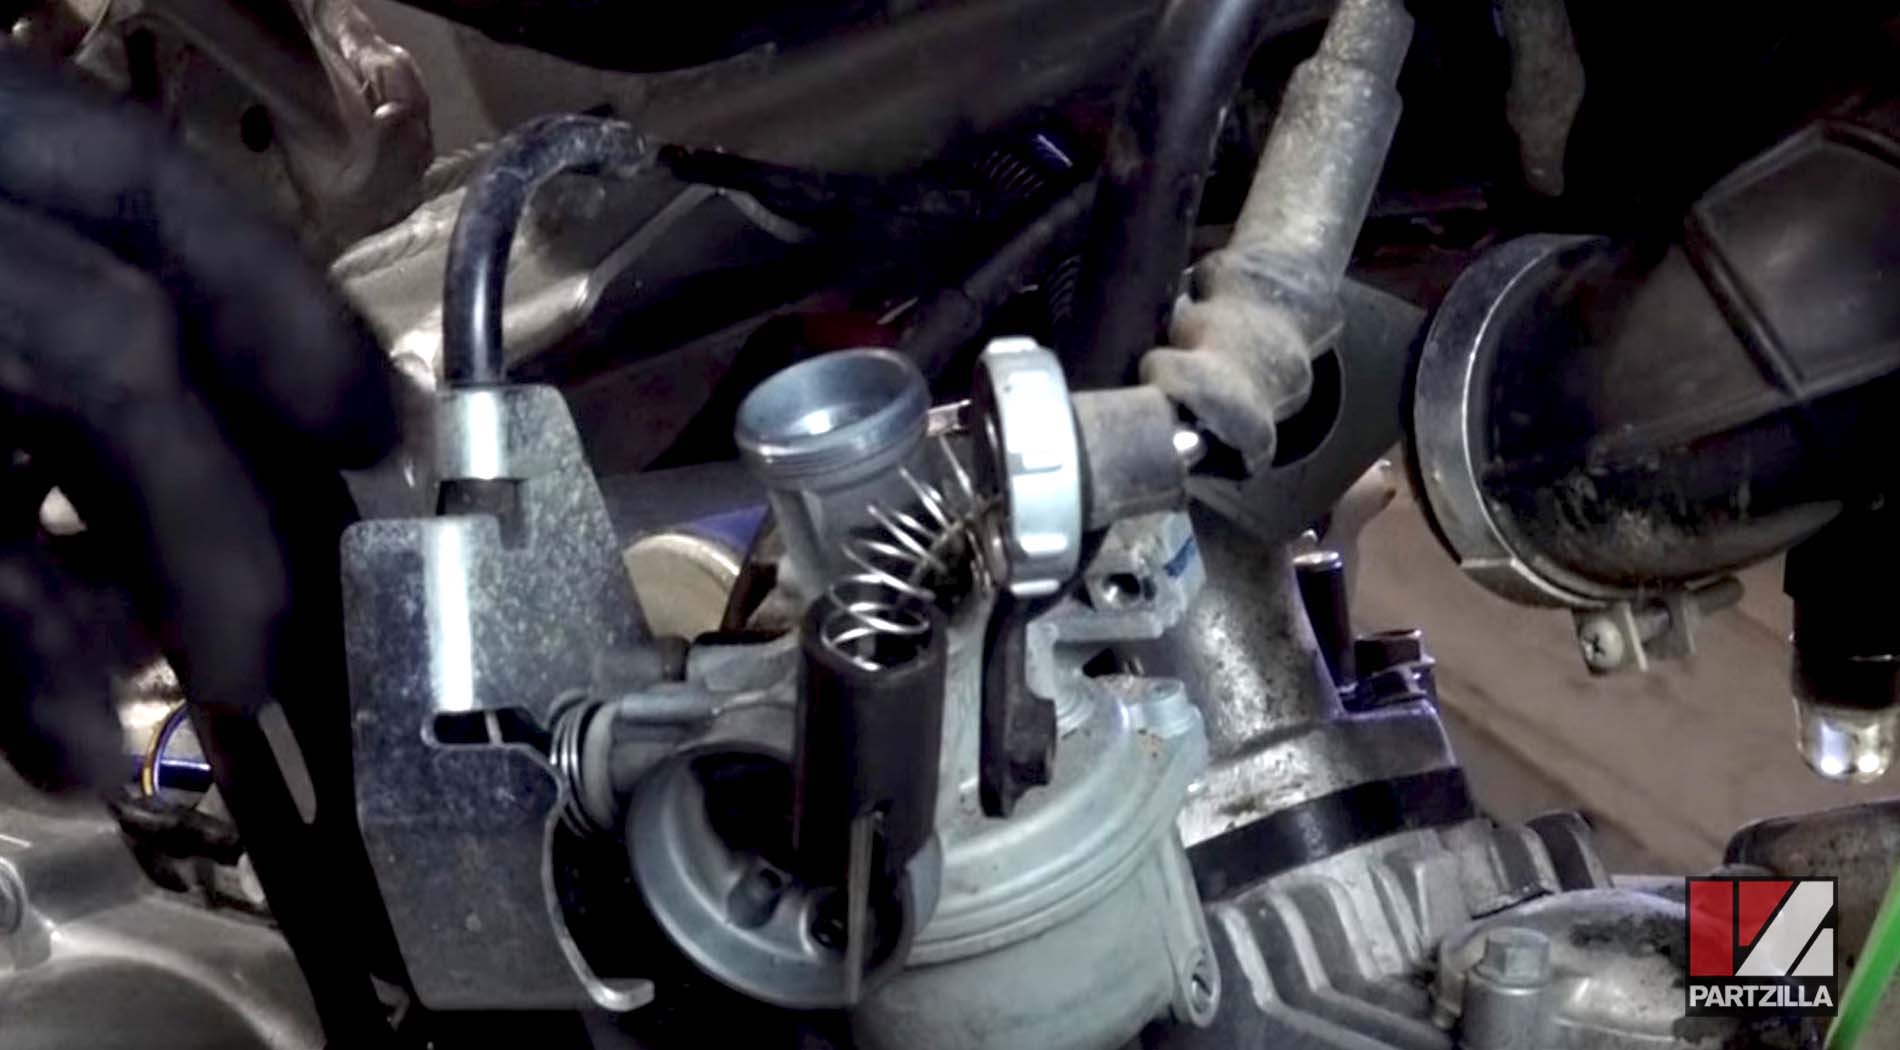
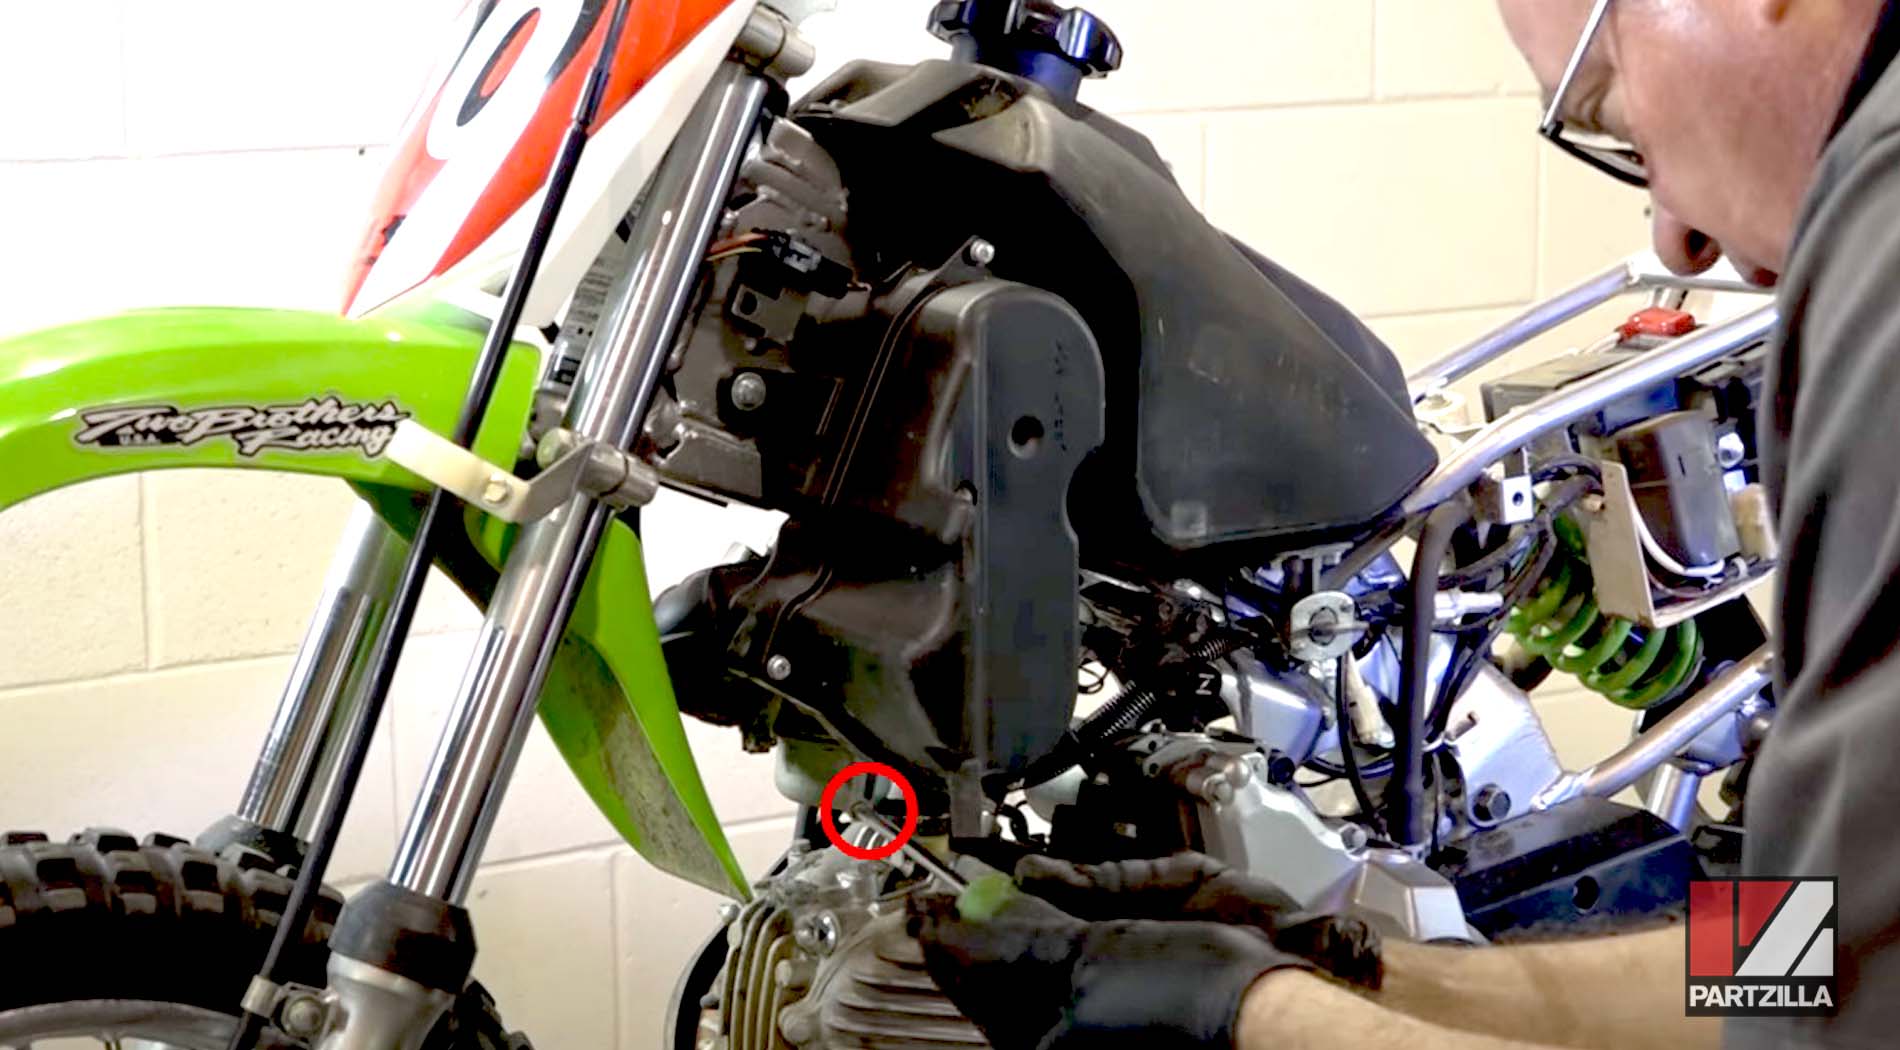
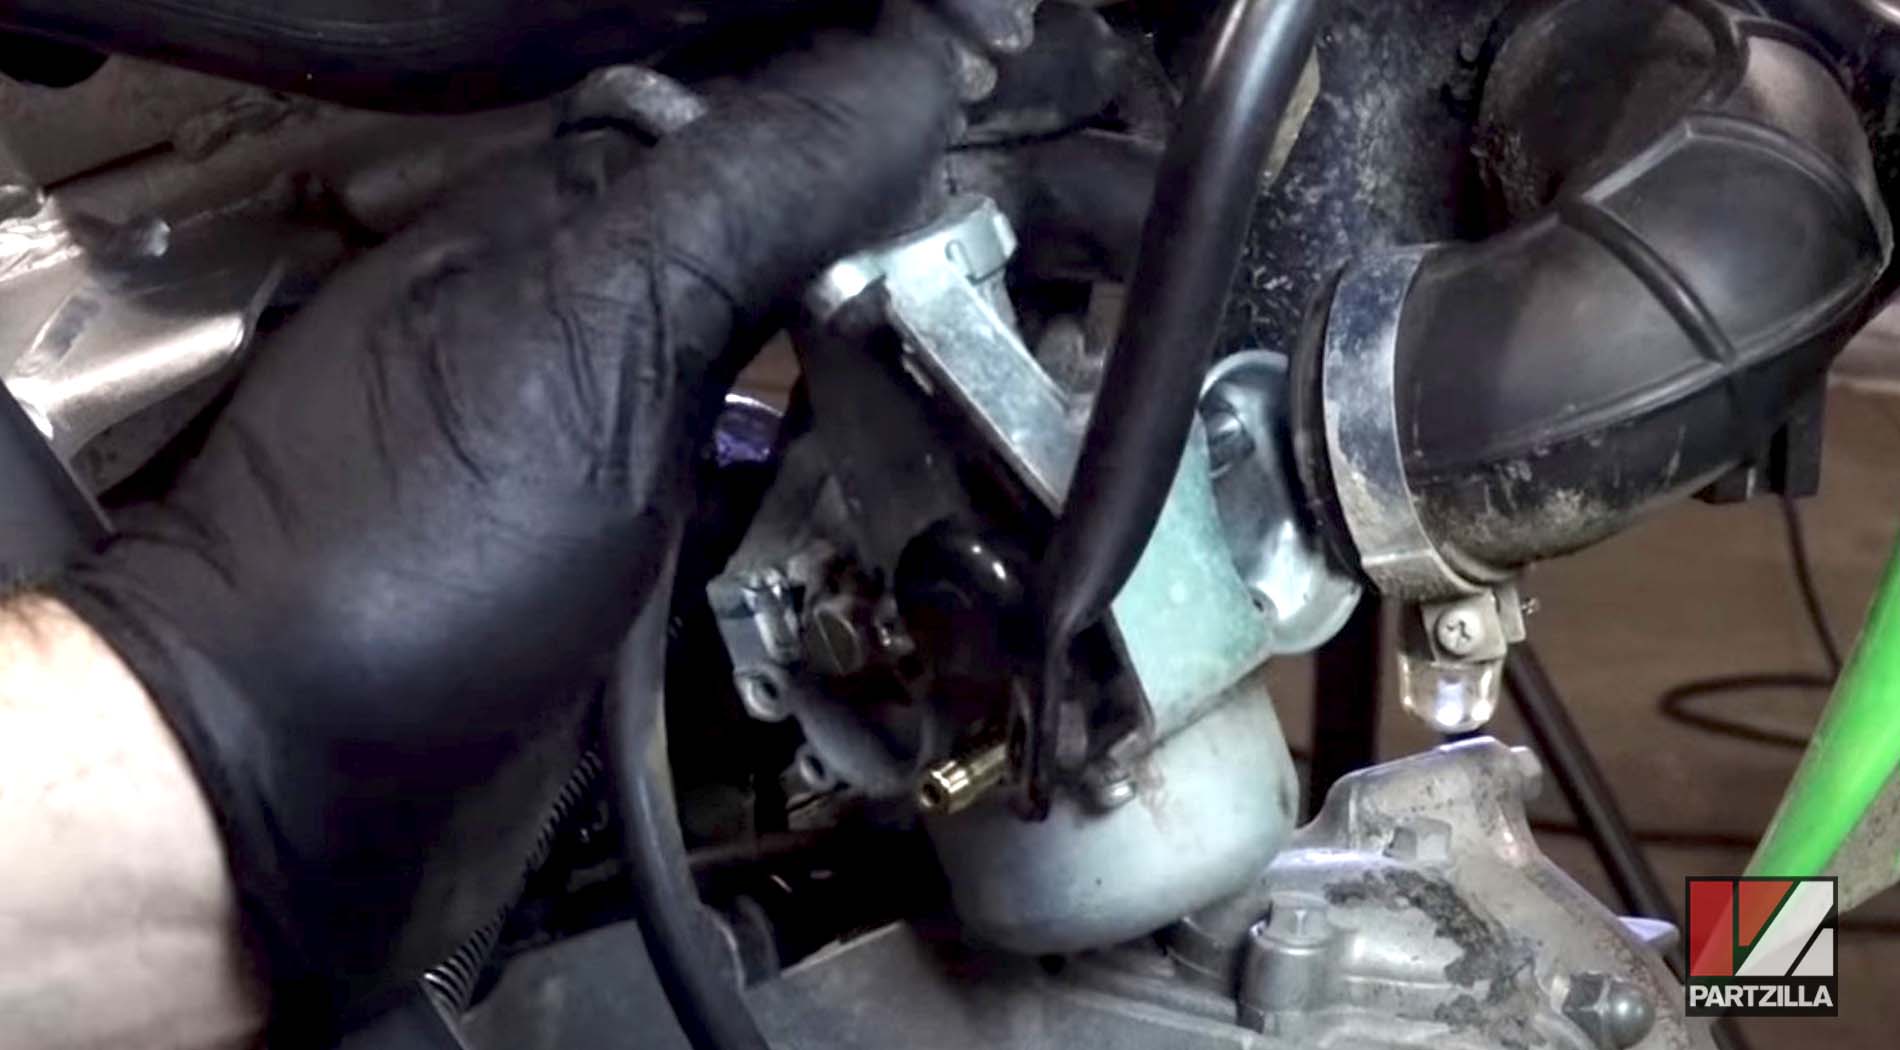
Step 9. Disconnect the choke cable from the carburetor body, and remove the carburetor from the motorcycle.
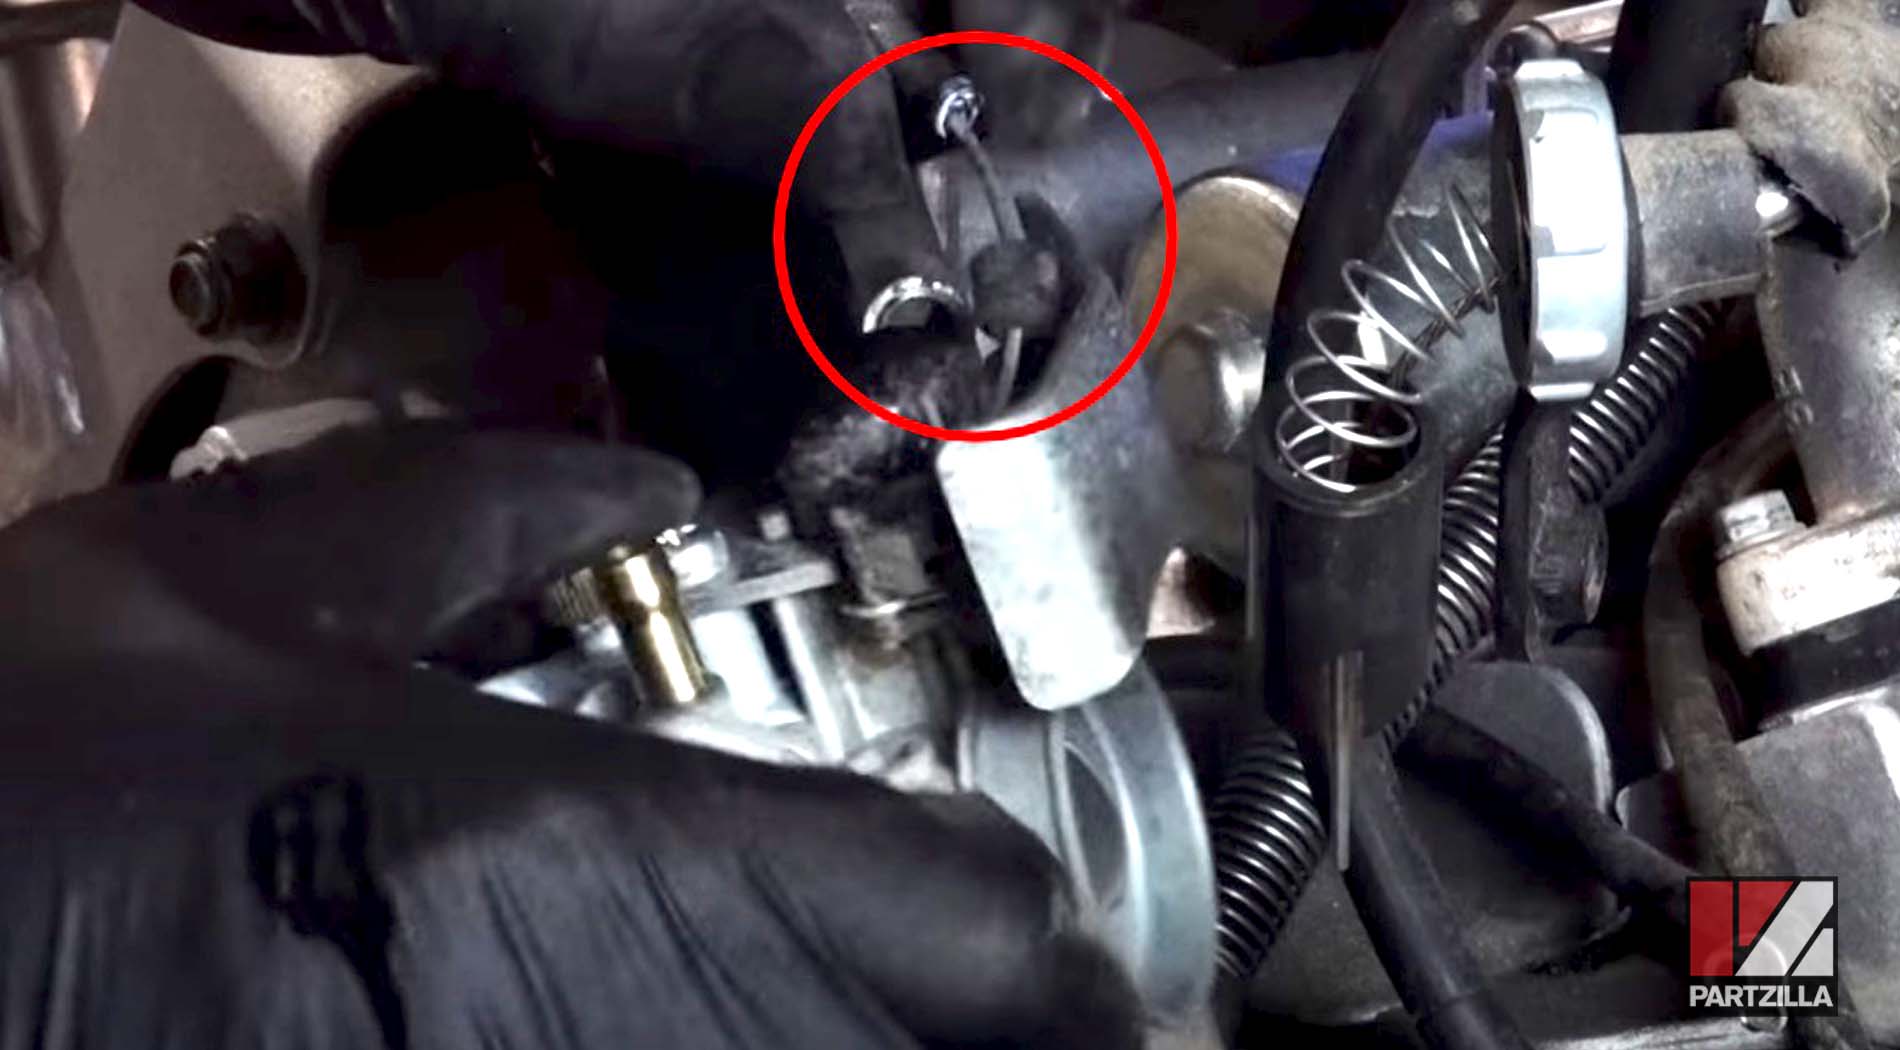
PRO TIP: Clean the outside of the carburetor assembly with contact/brake cleaner to remove as much dirt and debris as possible. Less debris means less chance of any contaminants getting into the carburetor when you disassemble it.
Disassembling a Kawasaki KLX110 Carburetor
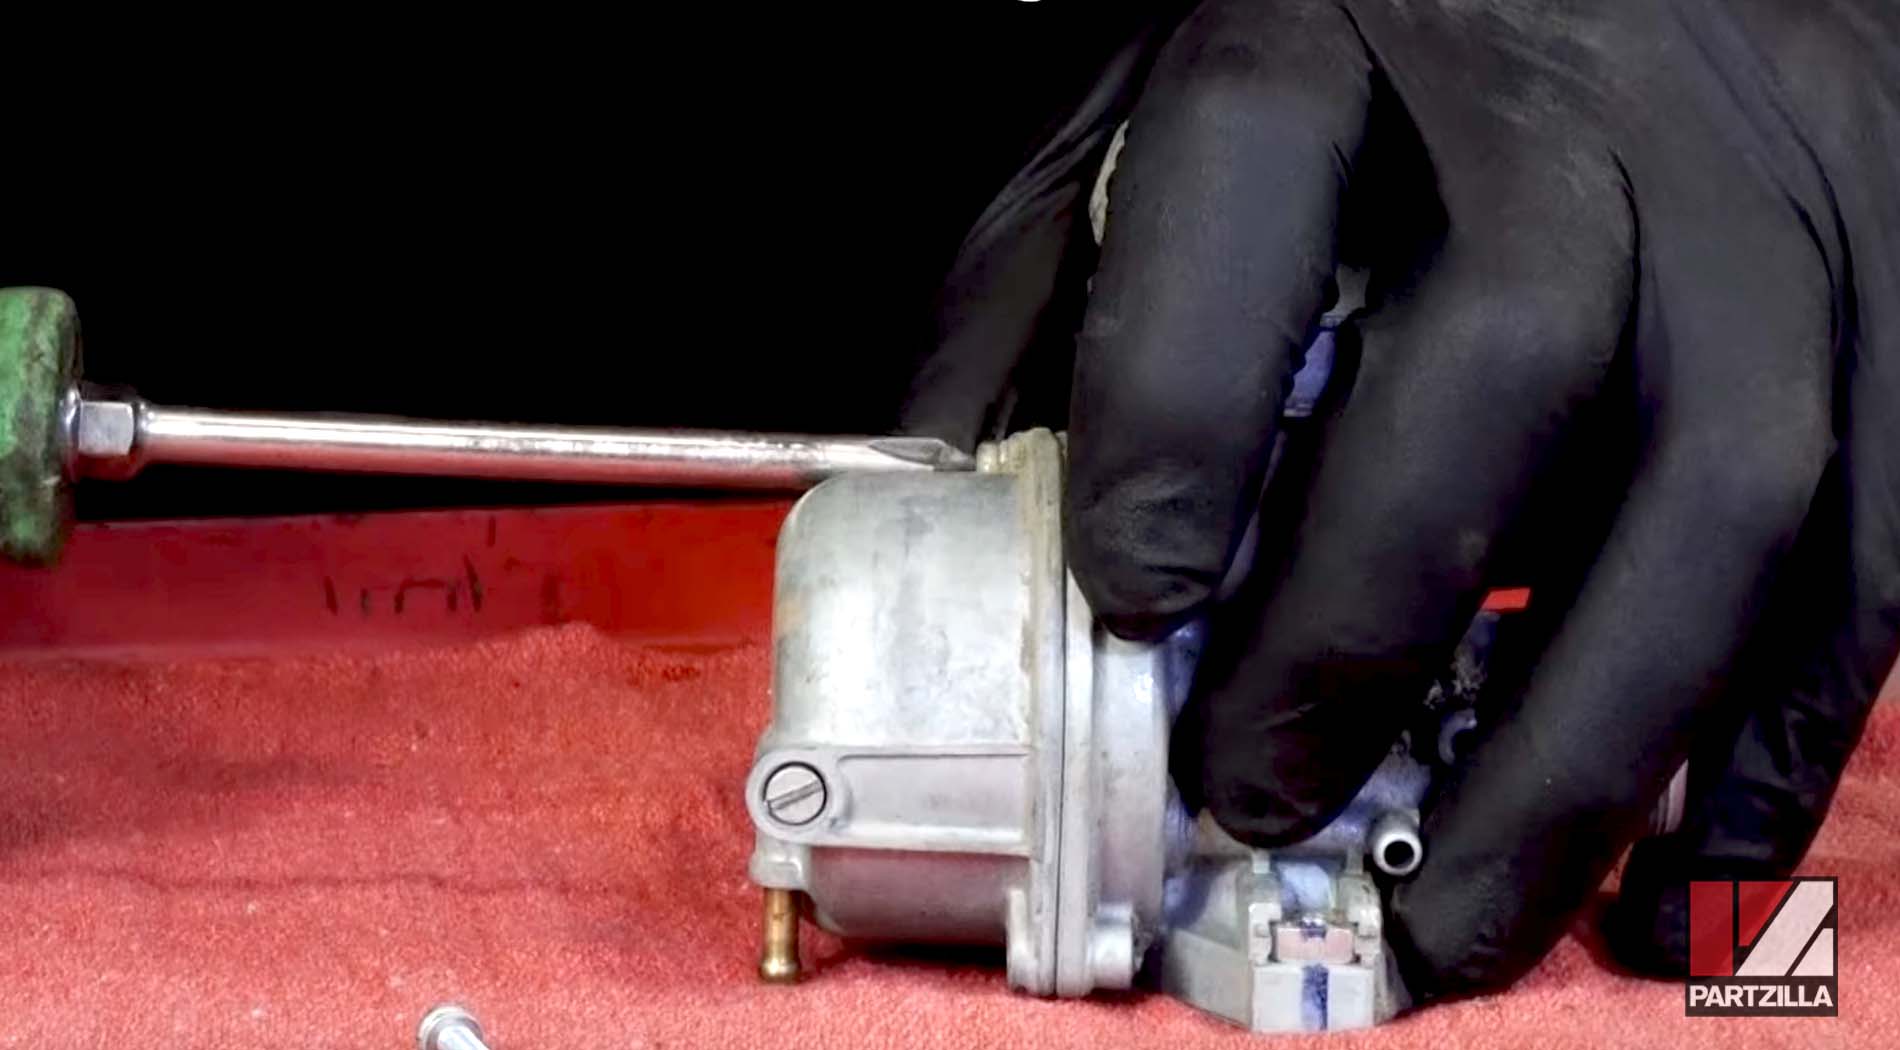
Step 1. Remove the two float bowl screws and the float bowl from the carburetor body.
Step 2. Pull the retaining pin from the top of the float, and remove the float from the float bowl.
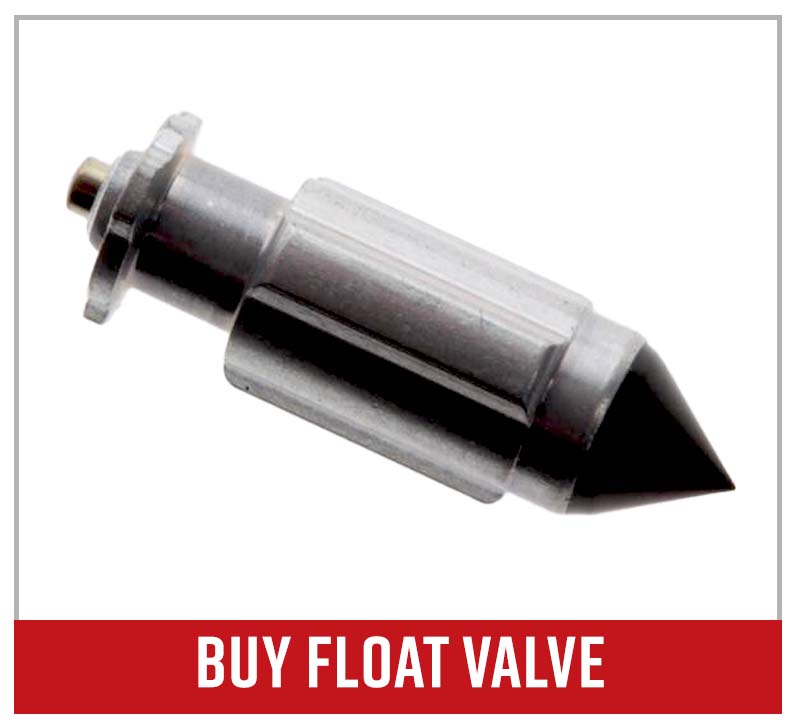
Step 3. Inspect the float valve for cracks or damage at its rubber tip, and replace the valve if necessary.

Step 4. Remove the main and needle jet assembly, and take the idle jet off from the carburetor body.
NOTE: If any of the jets are worn or the buildup of contaminants is such that they can't be adequately cleaned, replace the jets. Even the smallest contaminants can clog a carburetor jet, so be very thorough when cleaning them.
Cleaning a Kawasaki KLX110 Carburetor
Step 1. Clean the jets with carb cleaner, making sure there are no traces of dirt or debris left on or in the jets.
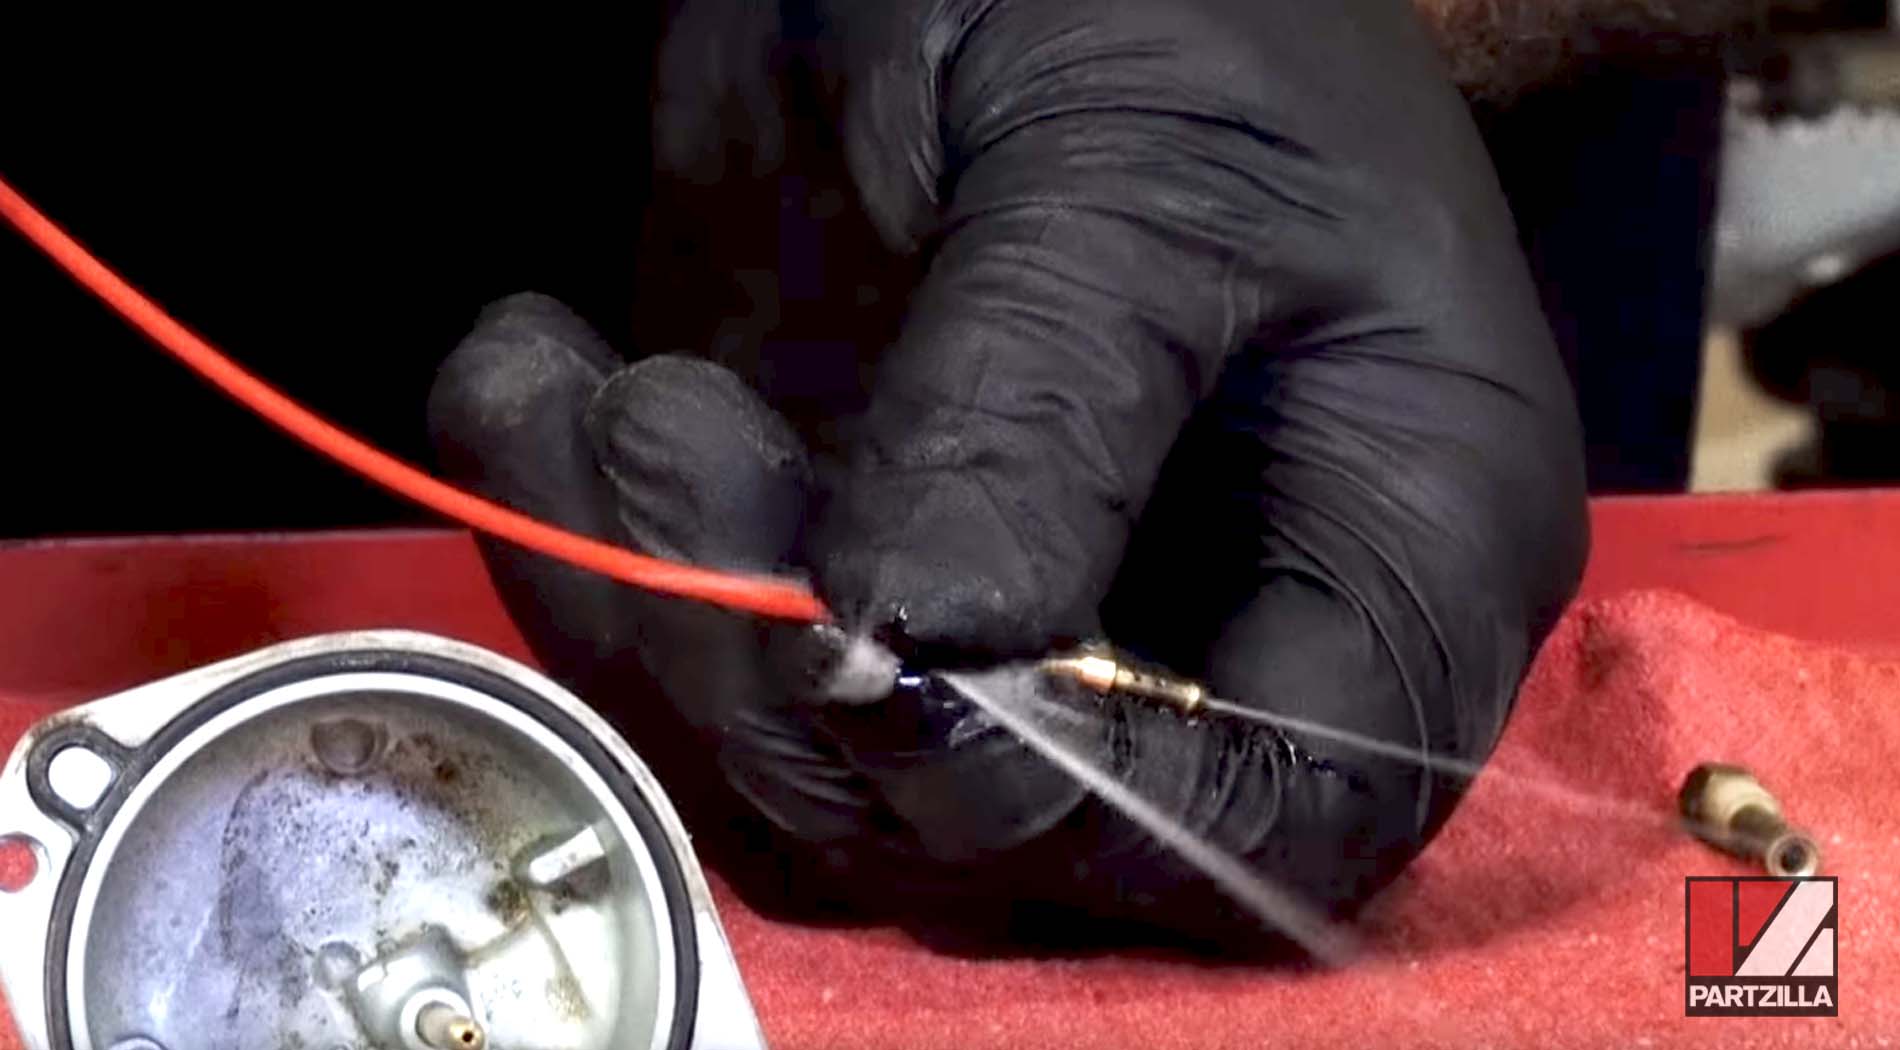
Step 2. Flush the channels in the carburetor body that hold the main and idle jets with carb cleaner to remove all traces of dirt or debris.
Step 3. Clean the inside of the float bowl with carb cleaner to remove any dirt or debris.
PRO TIP: Avoid getting carb cleaner on the float bowl's gasket, because carb cleaner will cause the gasket to swell up and make reassembling the float bowl and carburetor body difficult.
Rebuilding a Kawasaki KLX110 Carburetor
Step 1. Reinstall the main and needle jet assembly, followed by the idle jet into the carburetor body.
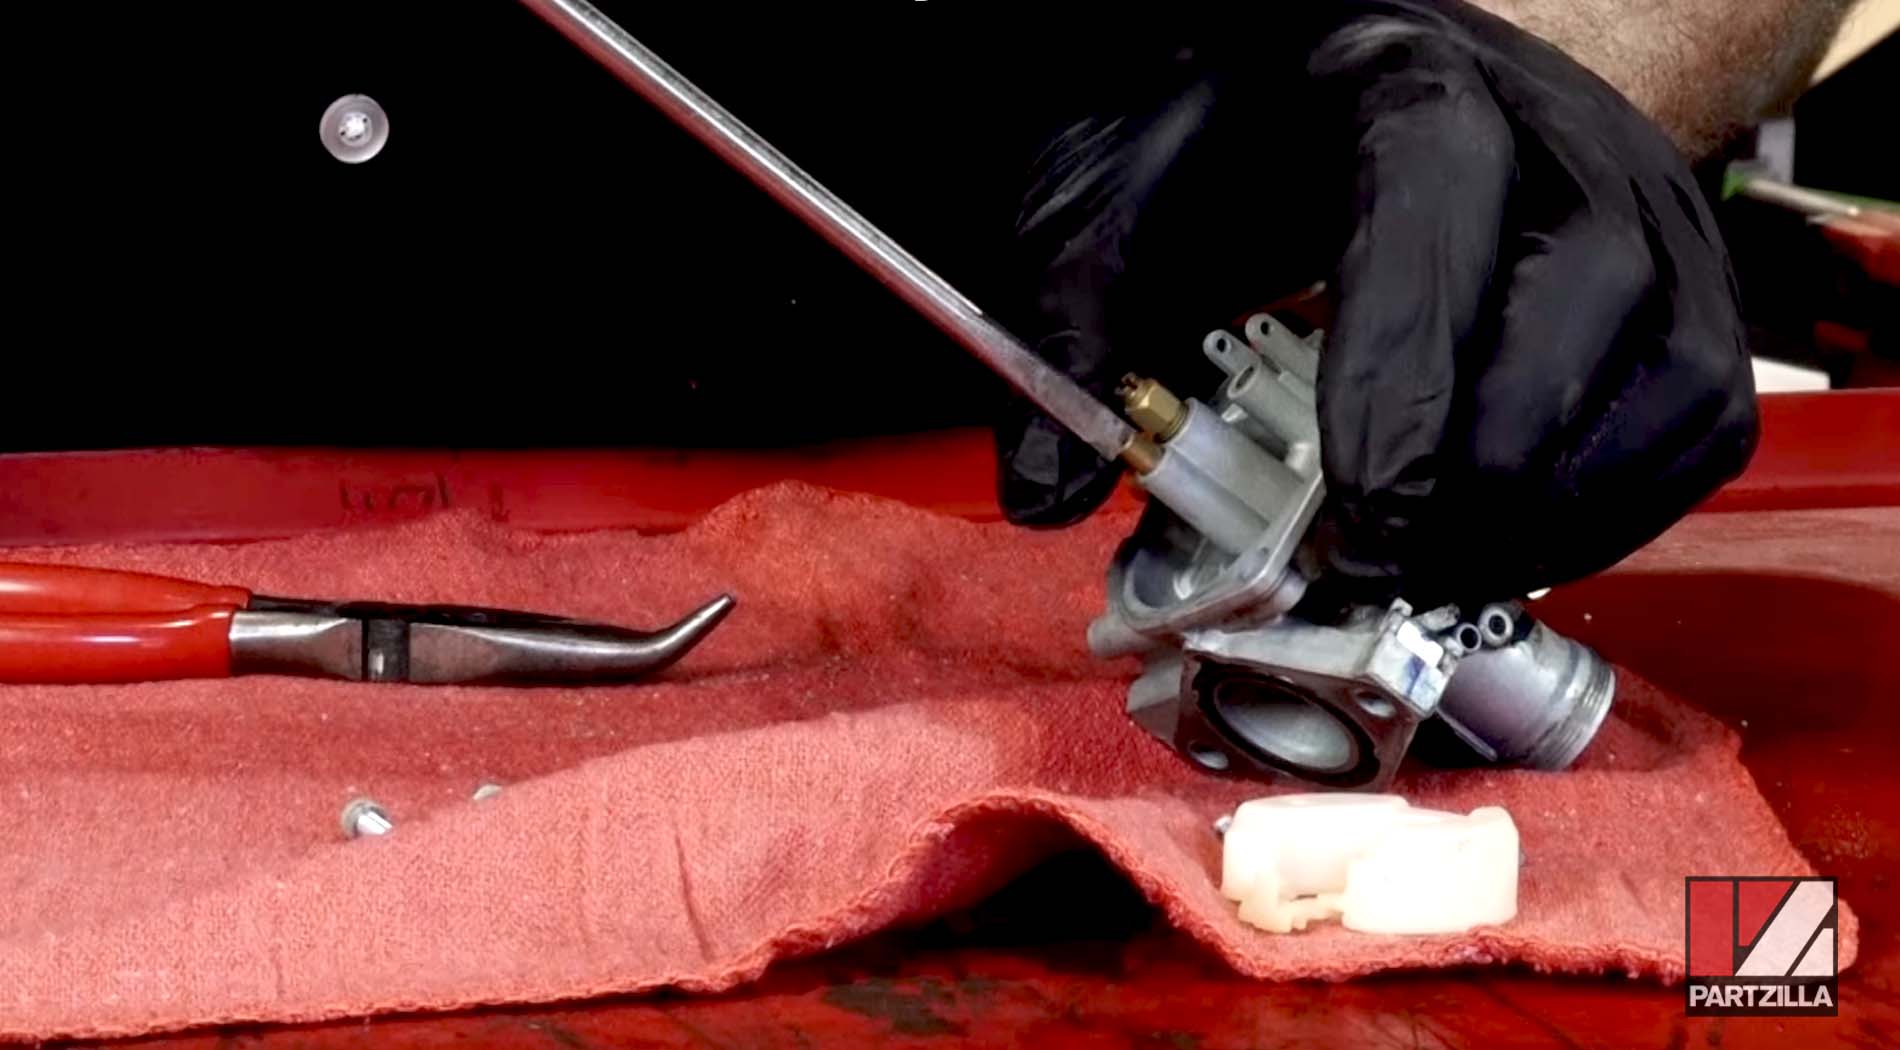
NOTE: Don't overtighten the jets, because they're made of brass and it's easy to damage them.
Step 2. Set the float valve back in place on the float, then reinstall the float back into the carburetor body, and the retaining pin to secure the float in place.

Step 3. Reinstall the float bowl and you're done rebuilding the carburetor.
To reinstall the carburetor, simply reverse the steps you followed to remove it from the motorcycle.