Honda TRX 400EX Top End Rebuild Part 3
Welcome to the third installment of our 2007 Honda TRX 400EX top end rebuild project, where we install a new piston, gaskets and valve seals and complete the build.
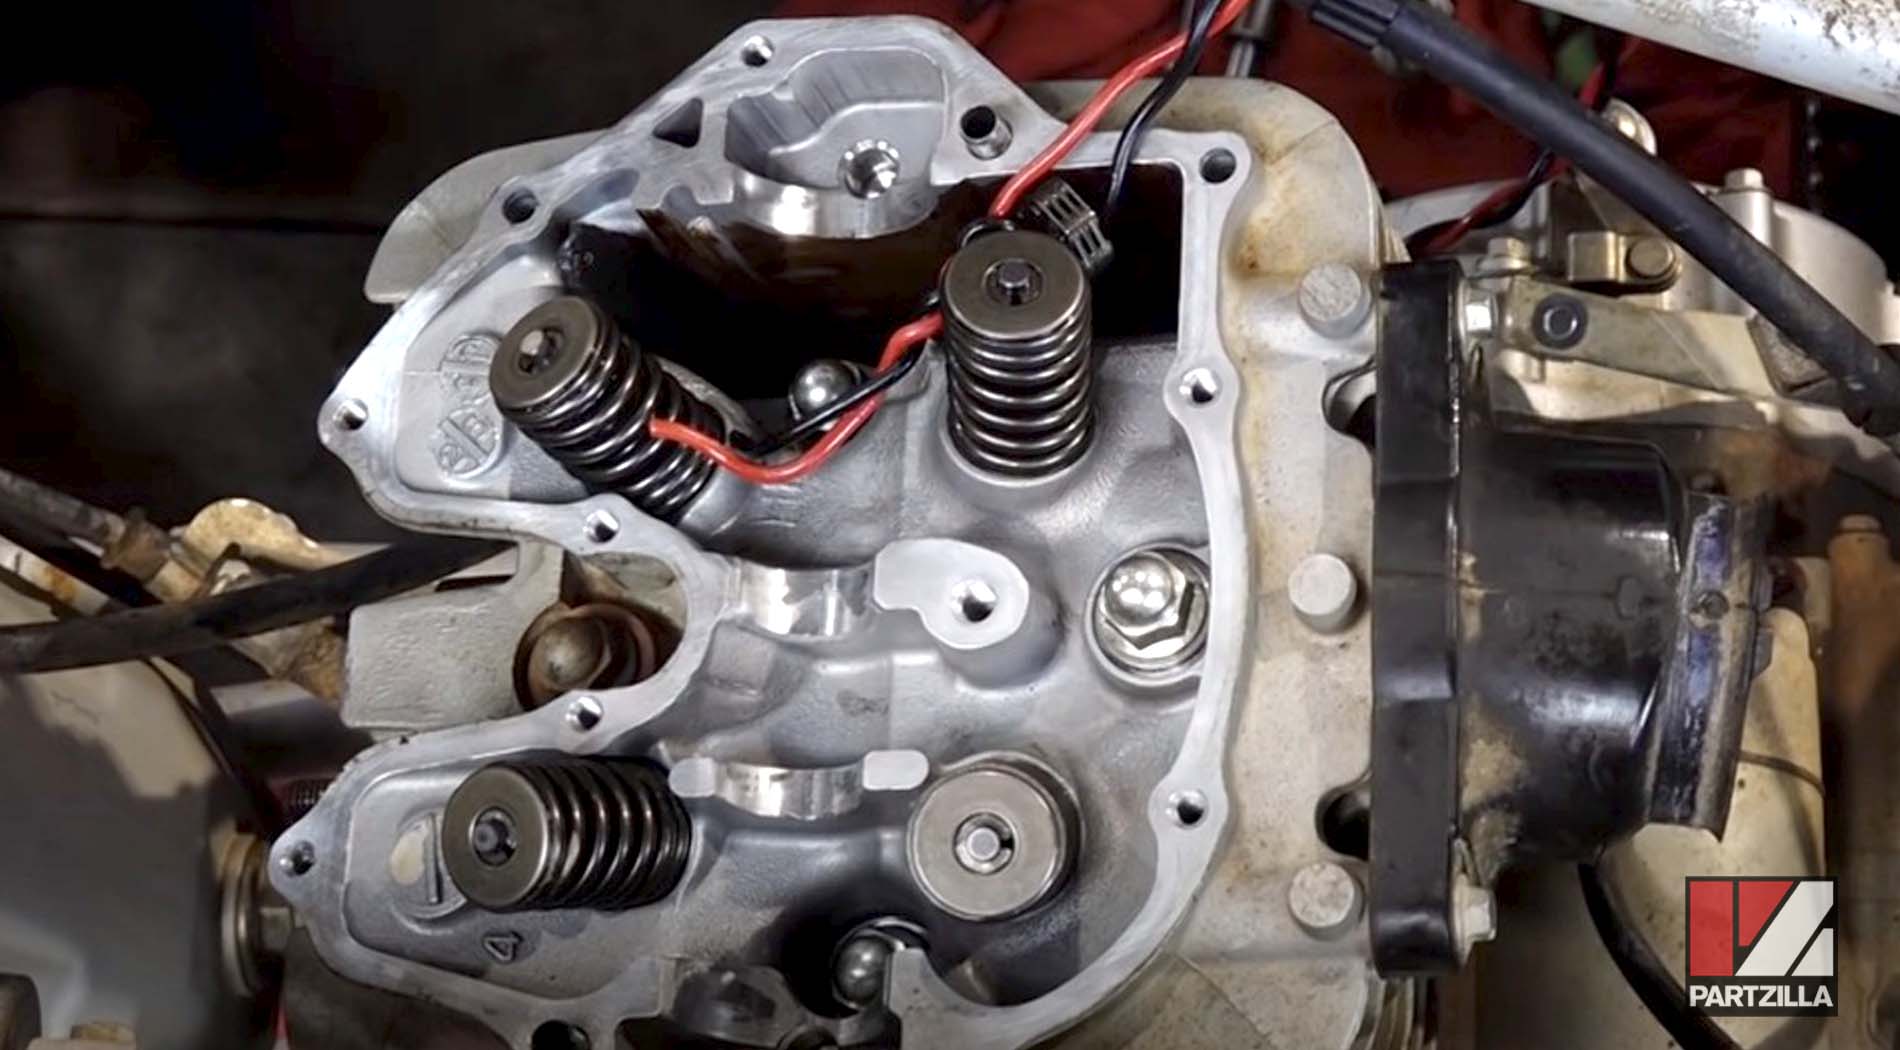
After tearing down the engine and inspecting the cylinder head, it’s time to reassemble the head. Watch the video above or follow the steps below to learn how to rebuild the top end of a Honda TRX400 engine.
Tools and Parts - Honda TRX400 Top End Rebuild
- Ratchet and extensions
- Screwdrivers
- Metric socket set
- Metric Allen set
- Needlenose pliers
- Rotary wire brush
- Oil
- Shop towels

Honda TRX 400 ATV Top End Rebuild
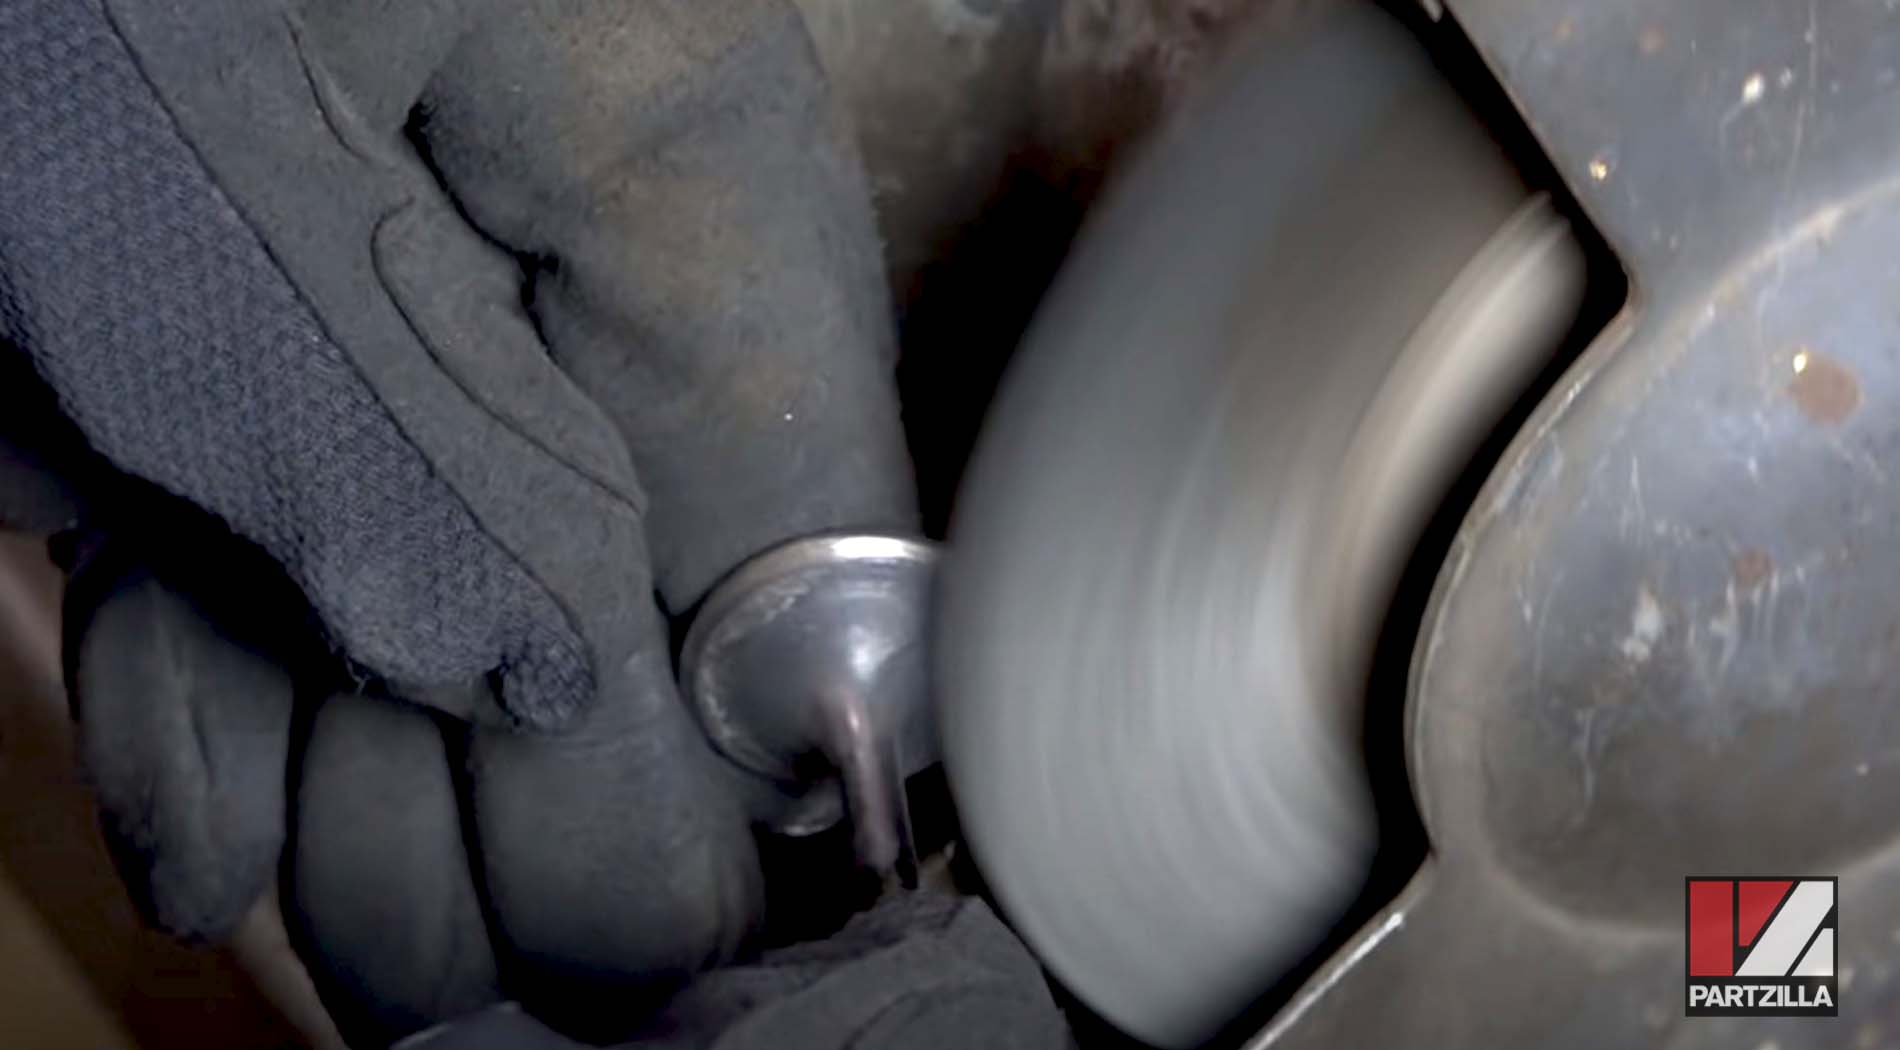
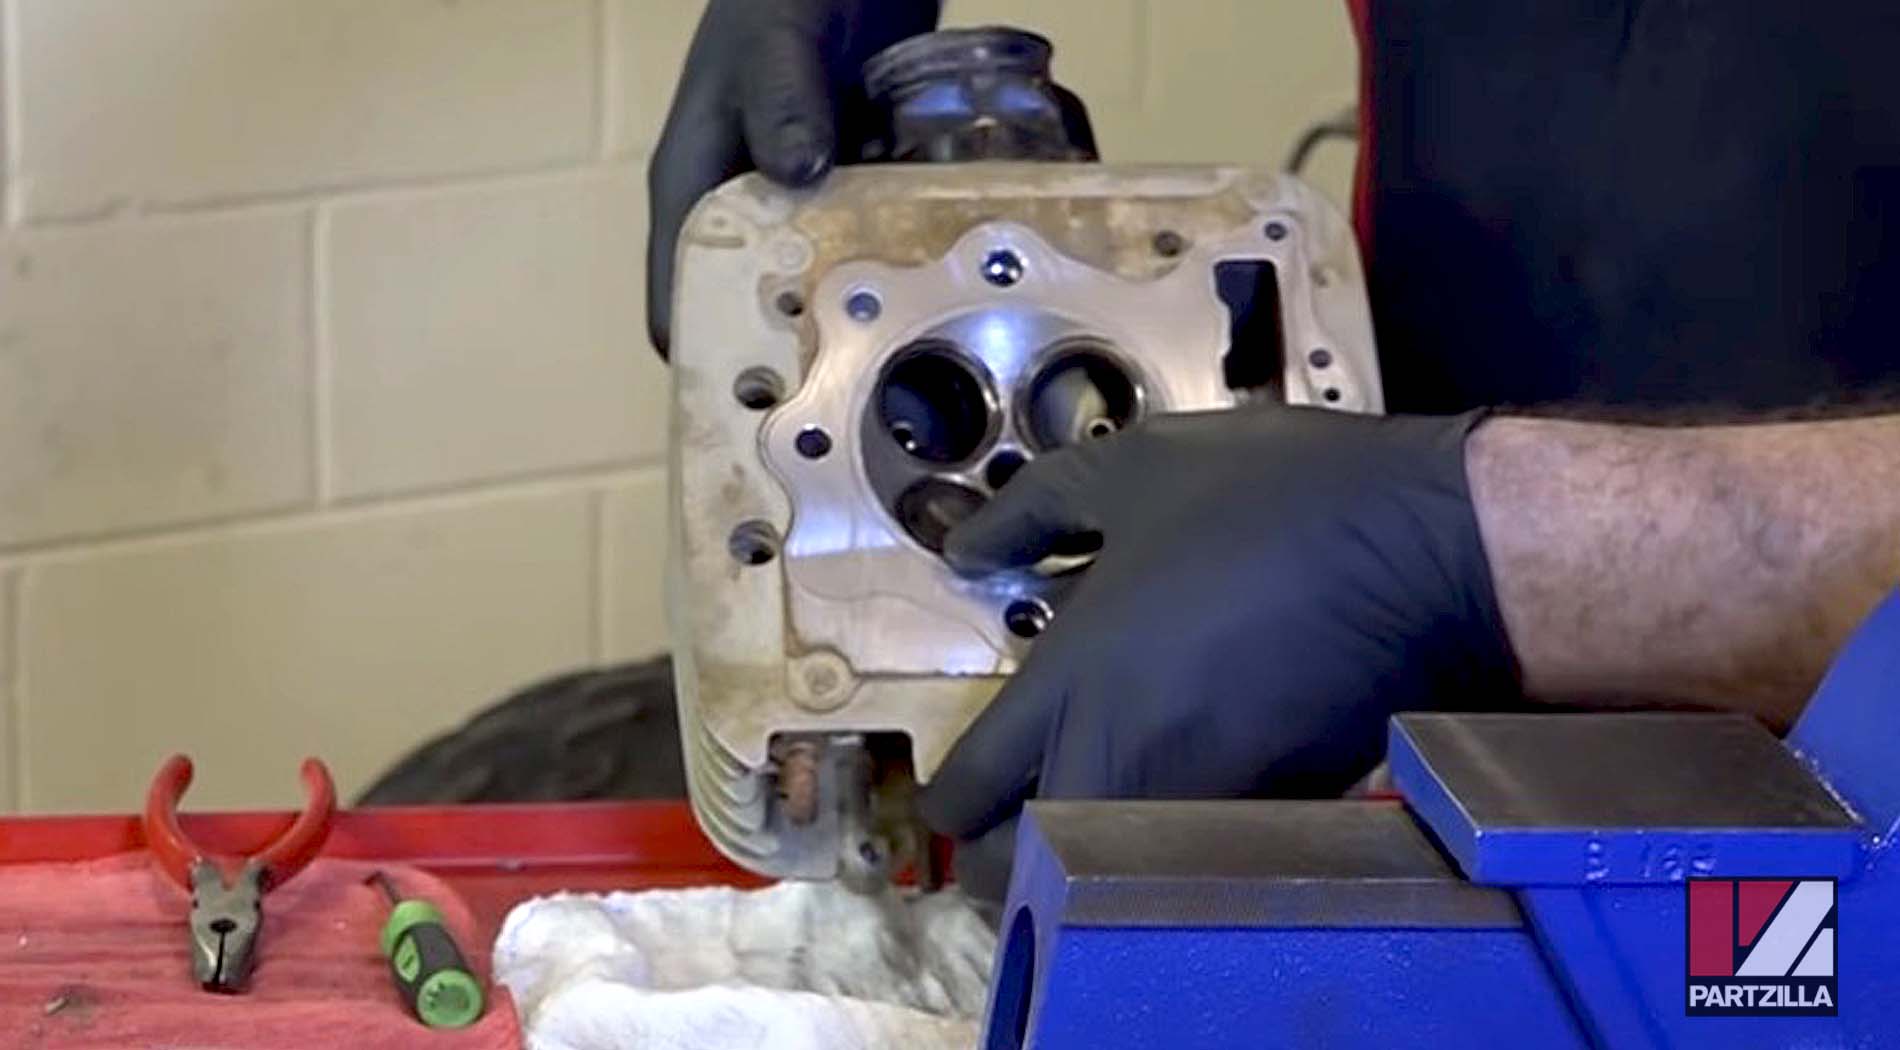
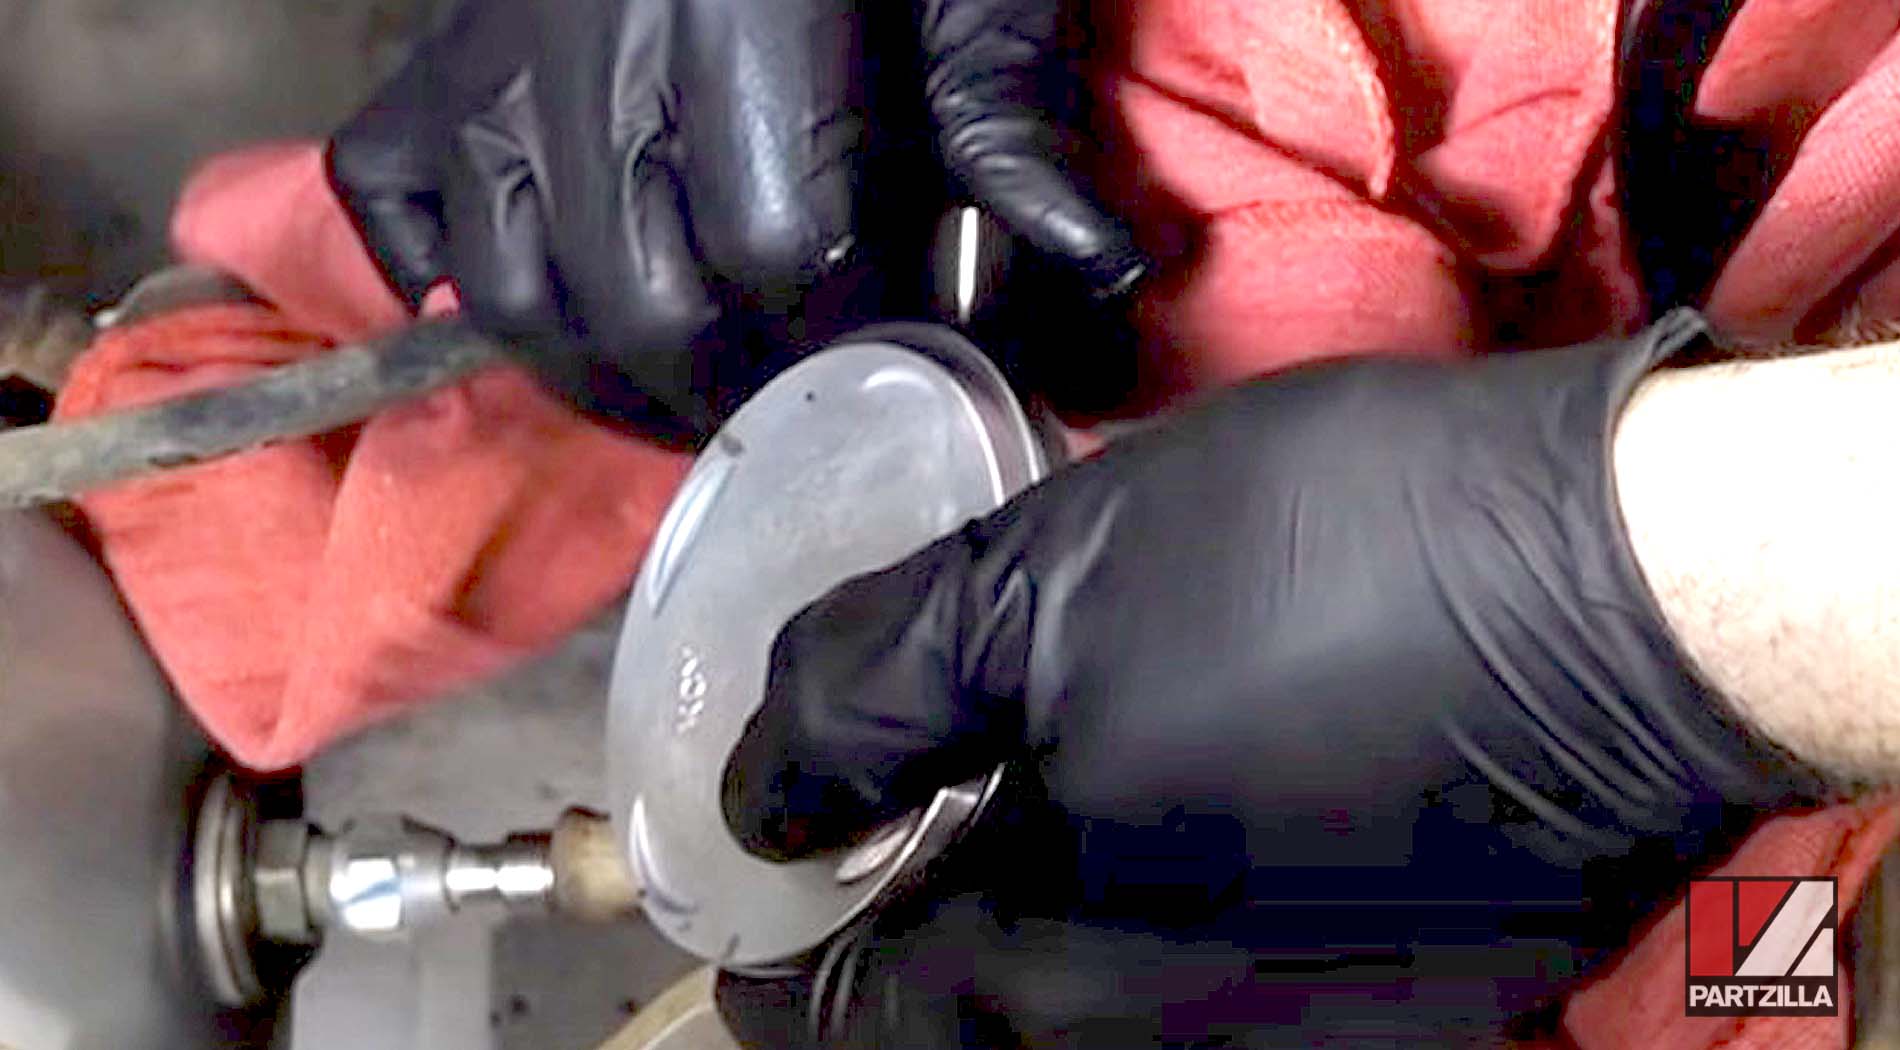
Step 1. Use a rotary wire brush to clean the valves.
Step 2. Use contact cleaner to clean off any residual left by the old head gasket.

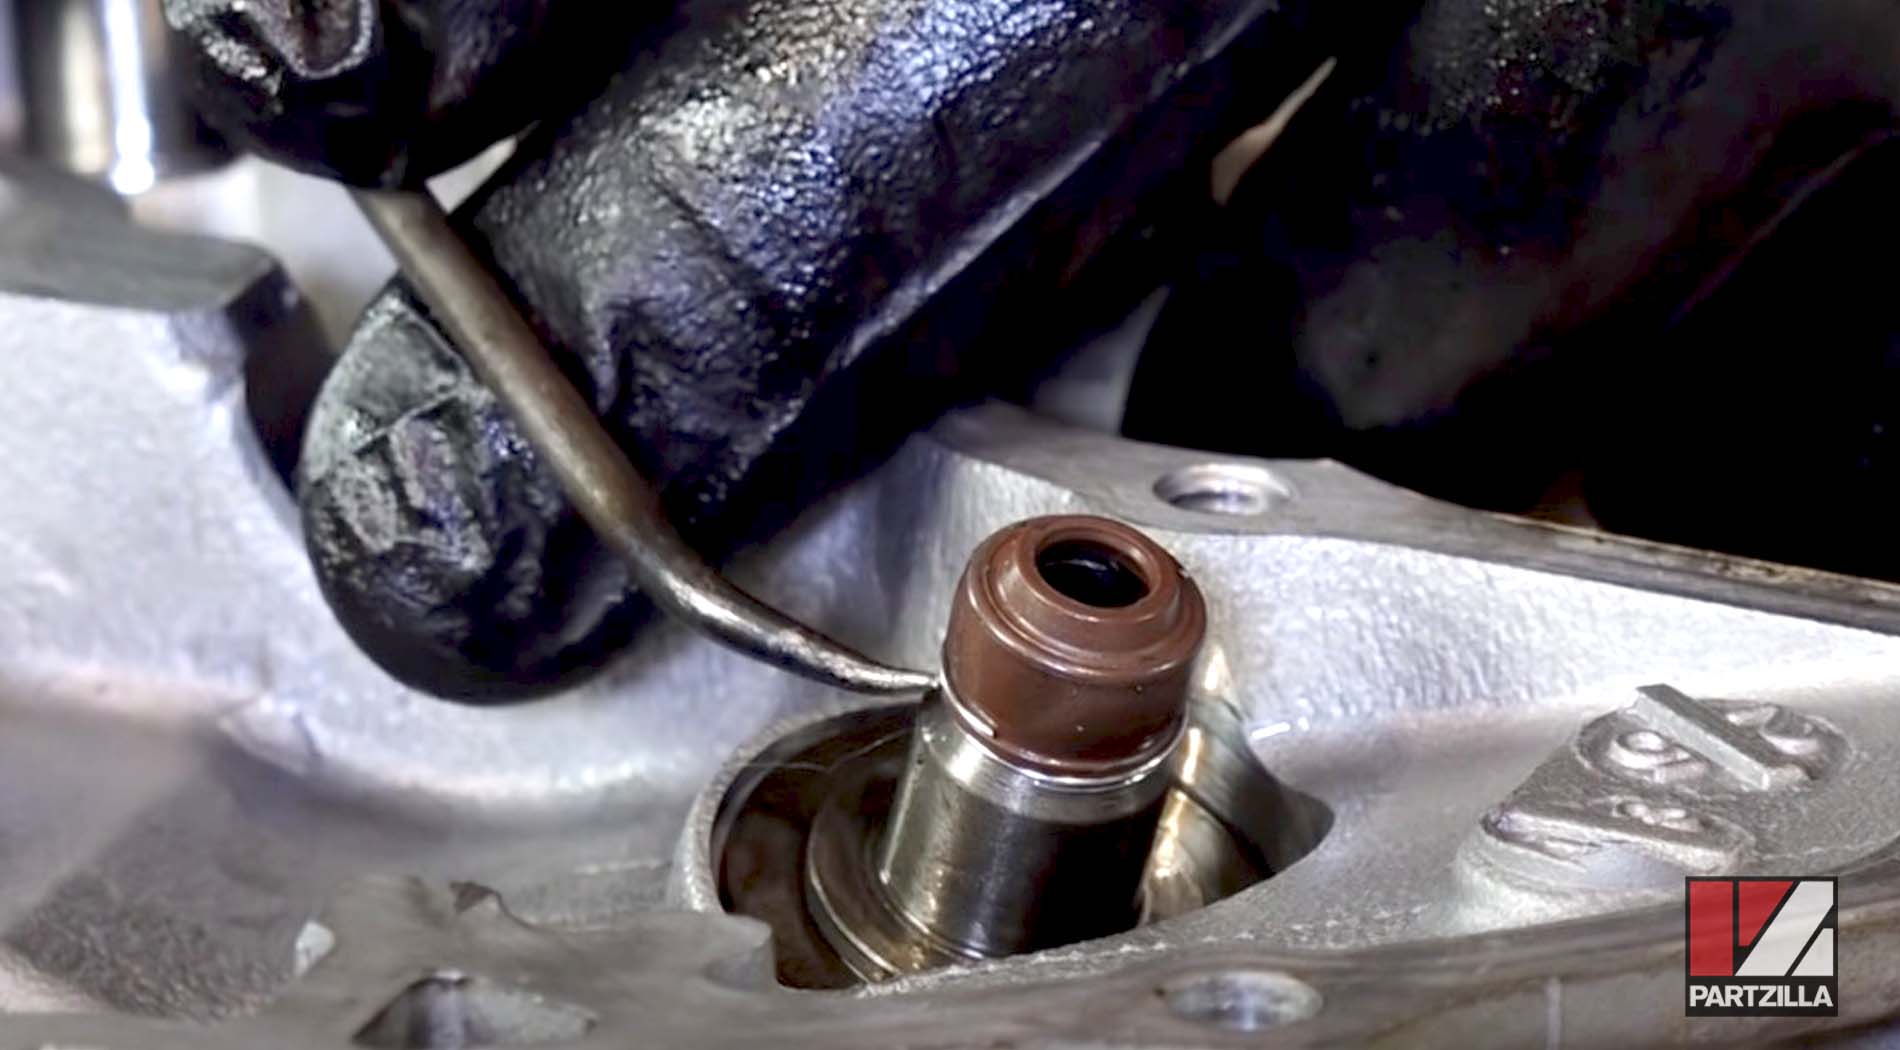
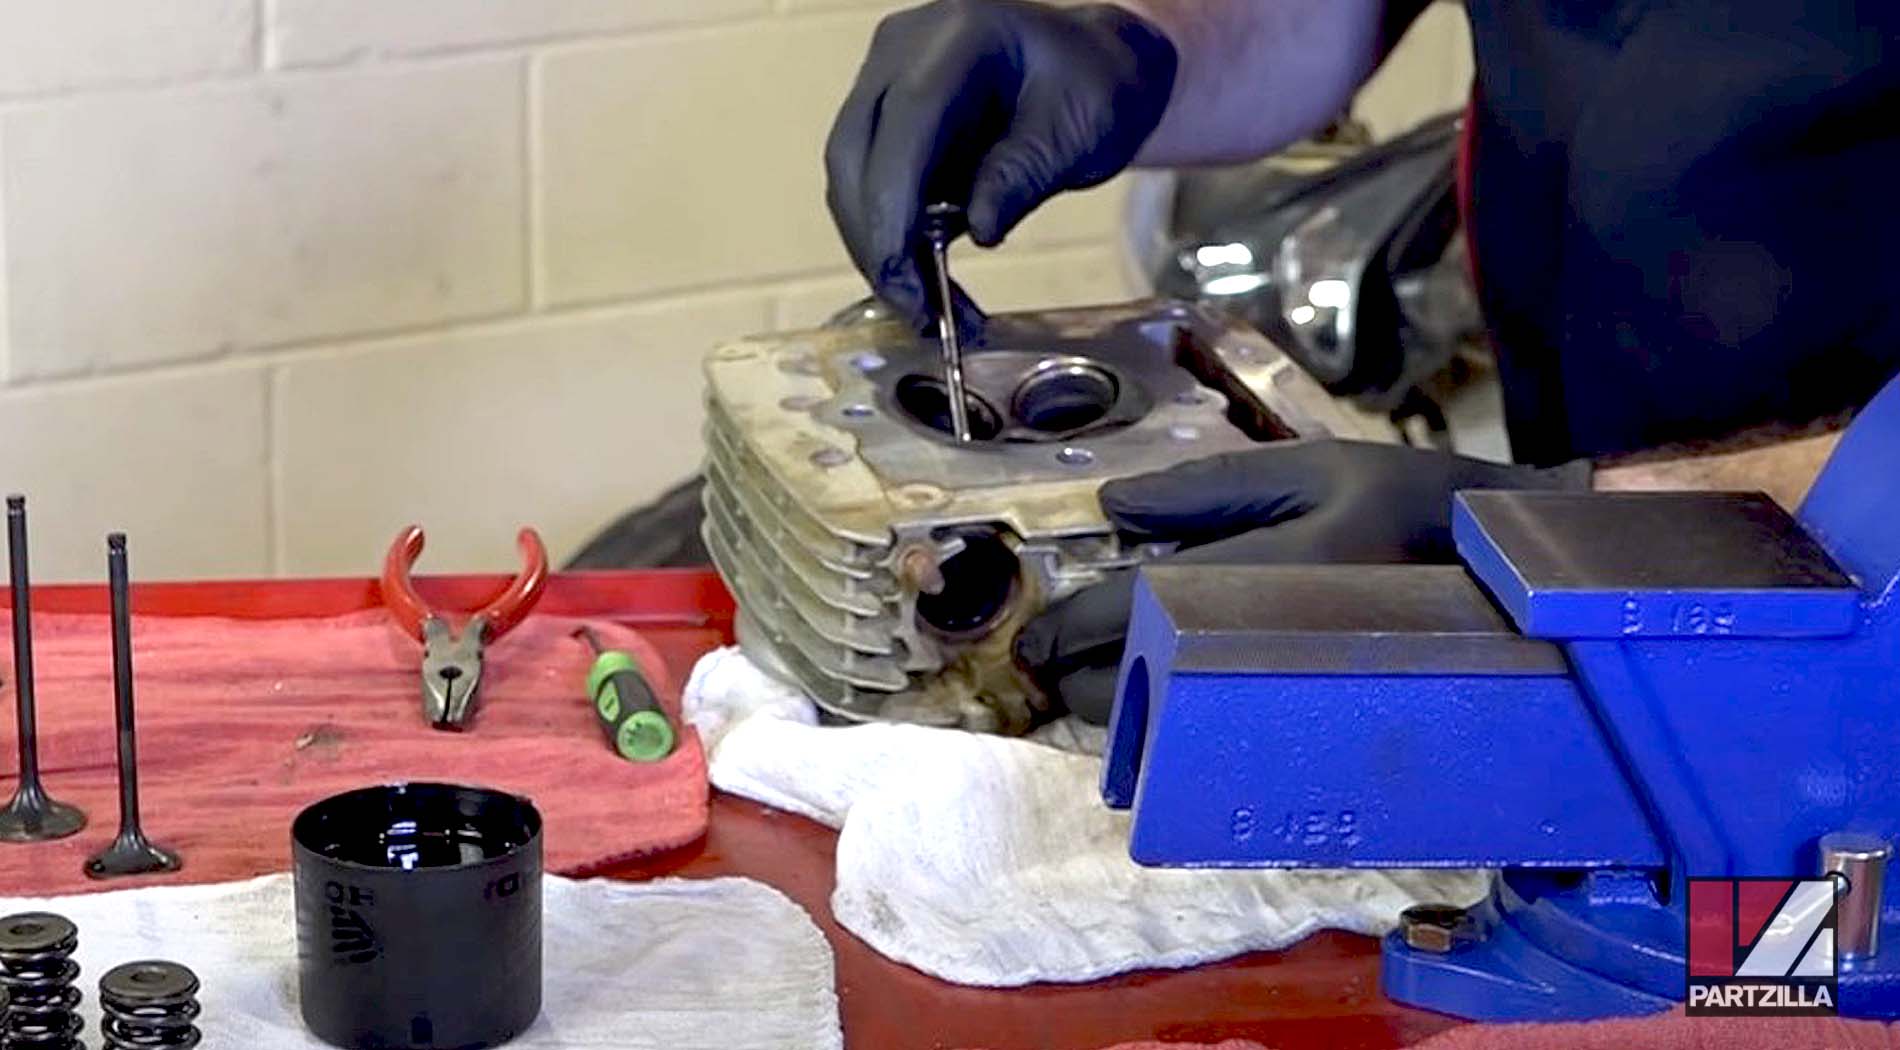
Step 3. Use needlenose pliers to remove the old valve seals and replace them with four new ones. Make sure you get the snap rings at the bottom of the seals out and install the new ones in with the rings on.
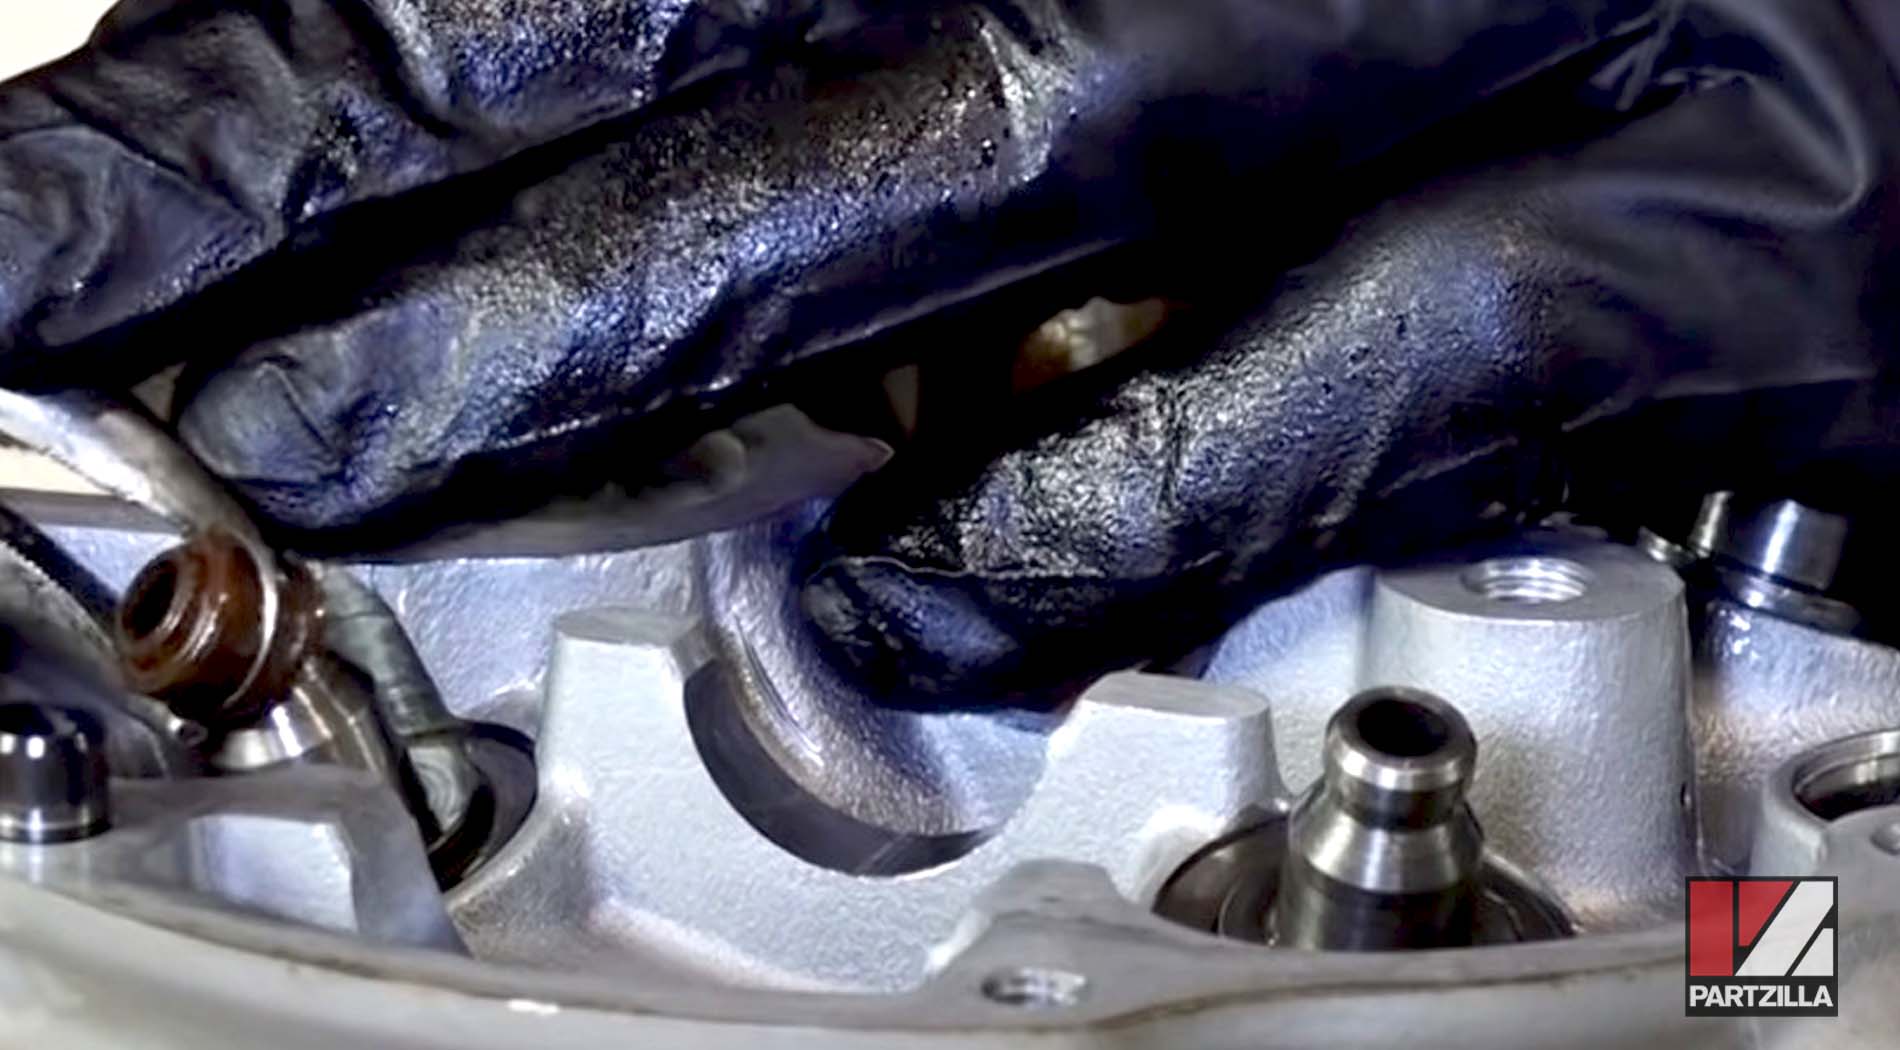
PRO TIP: Use an 11mm socket over the valve seals to push them on.
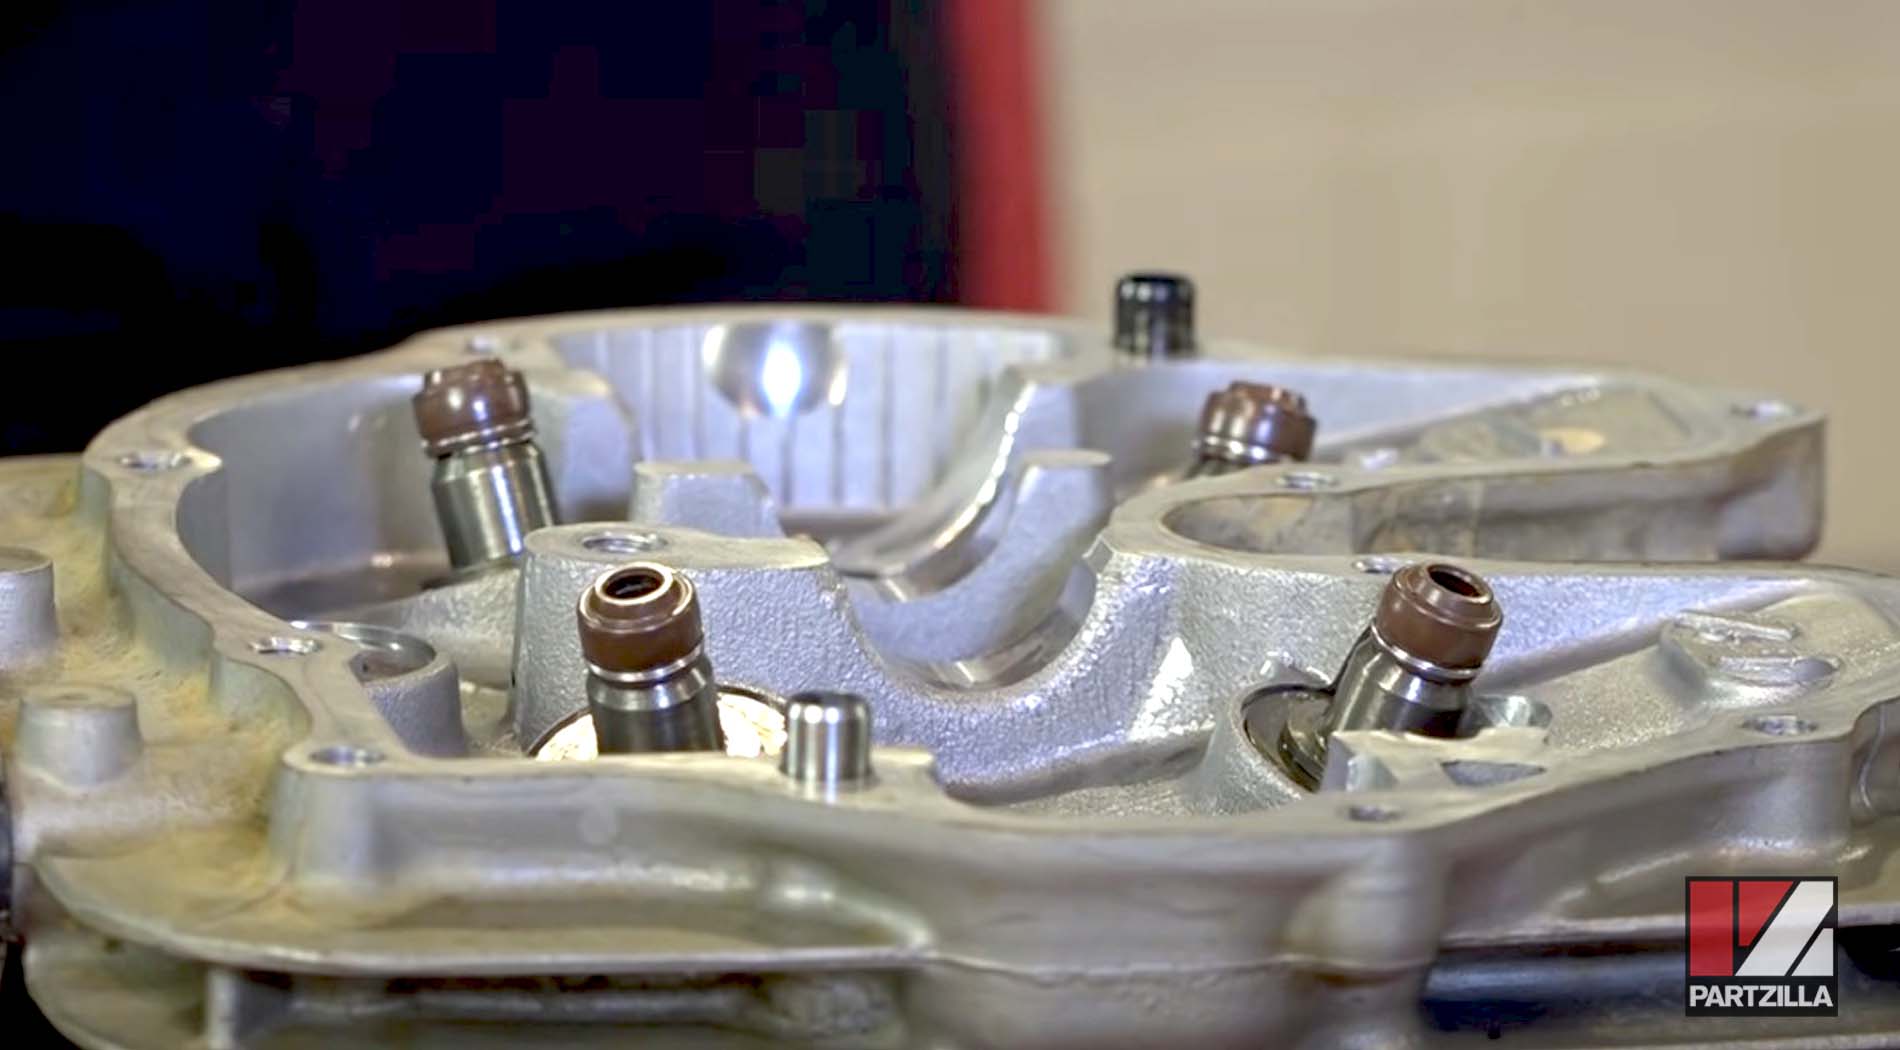
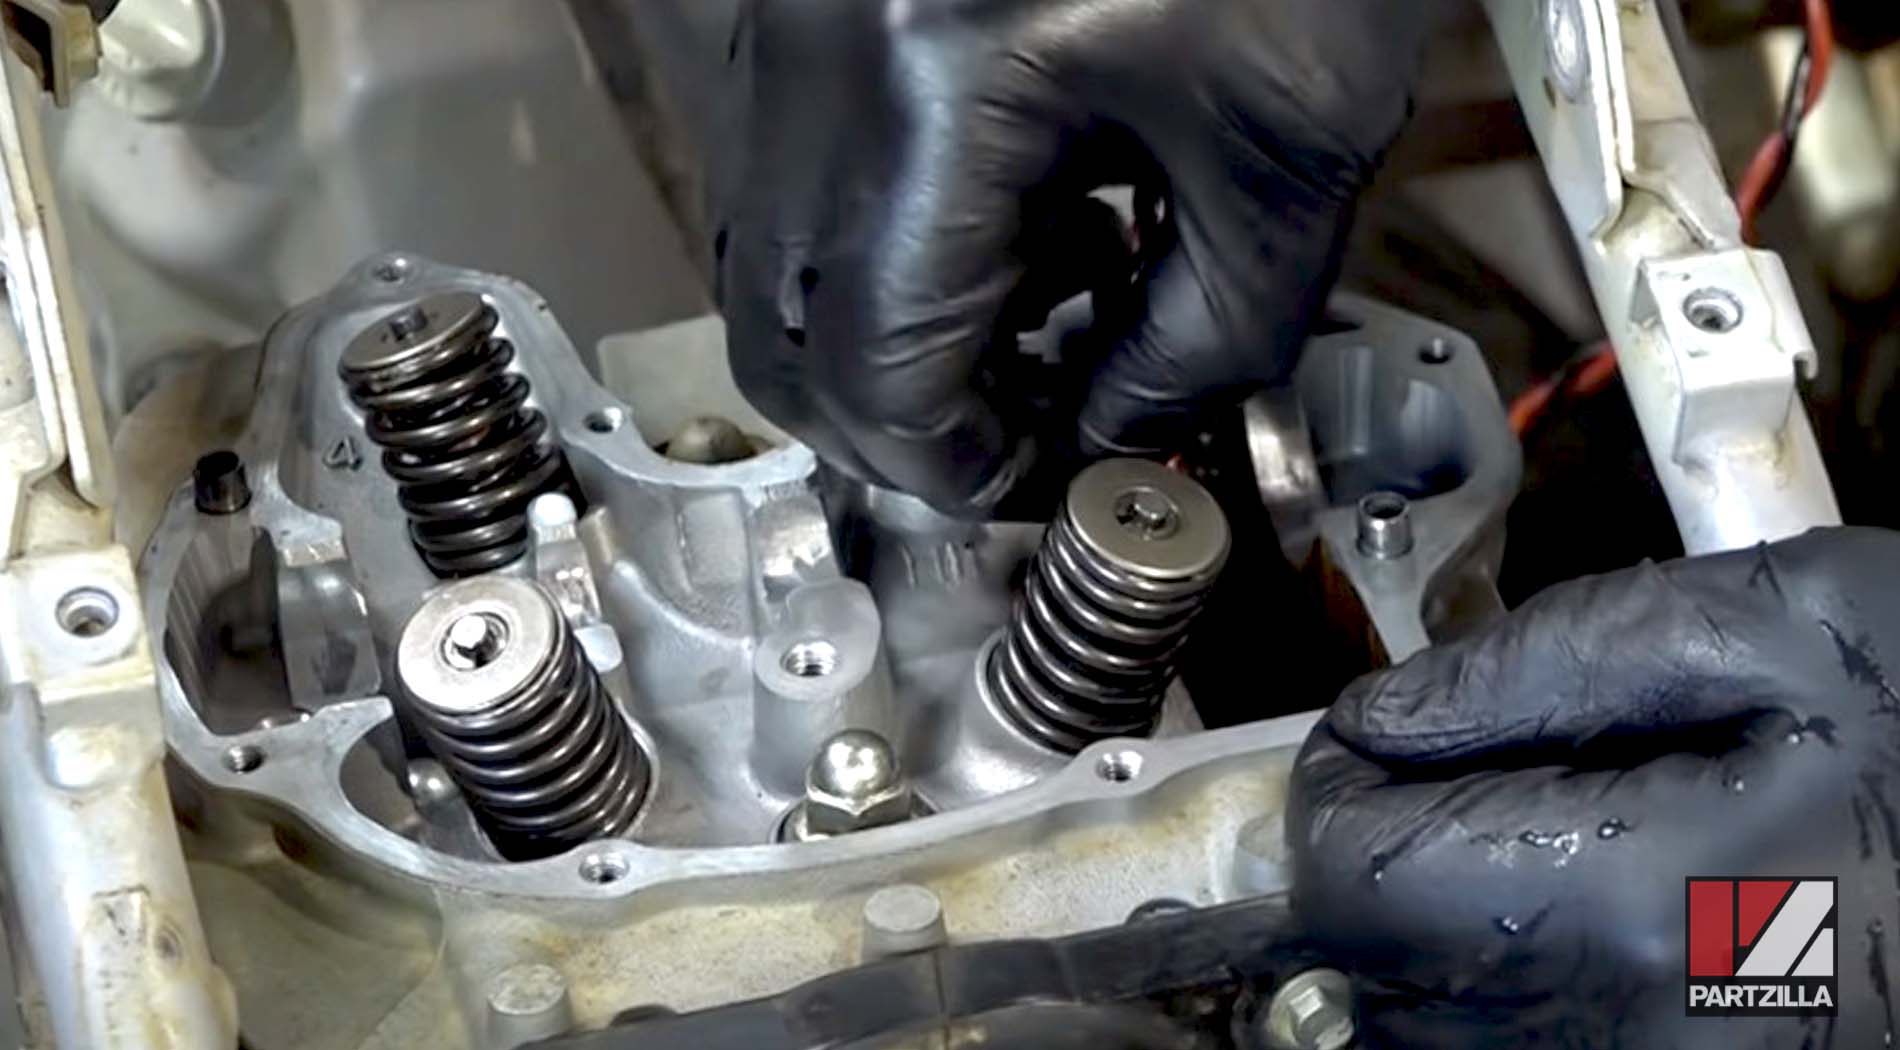
Step 4. Install the valves by first dipping the stem of each valve in a little bit of oil, then sliding each one into its proper place.
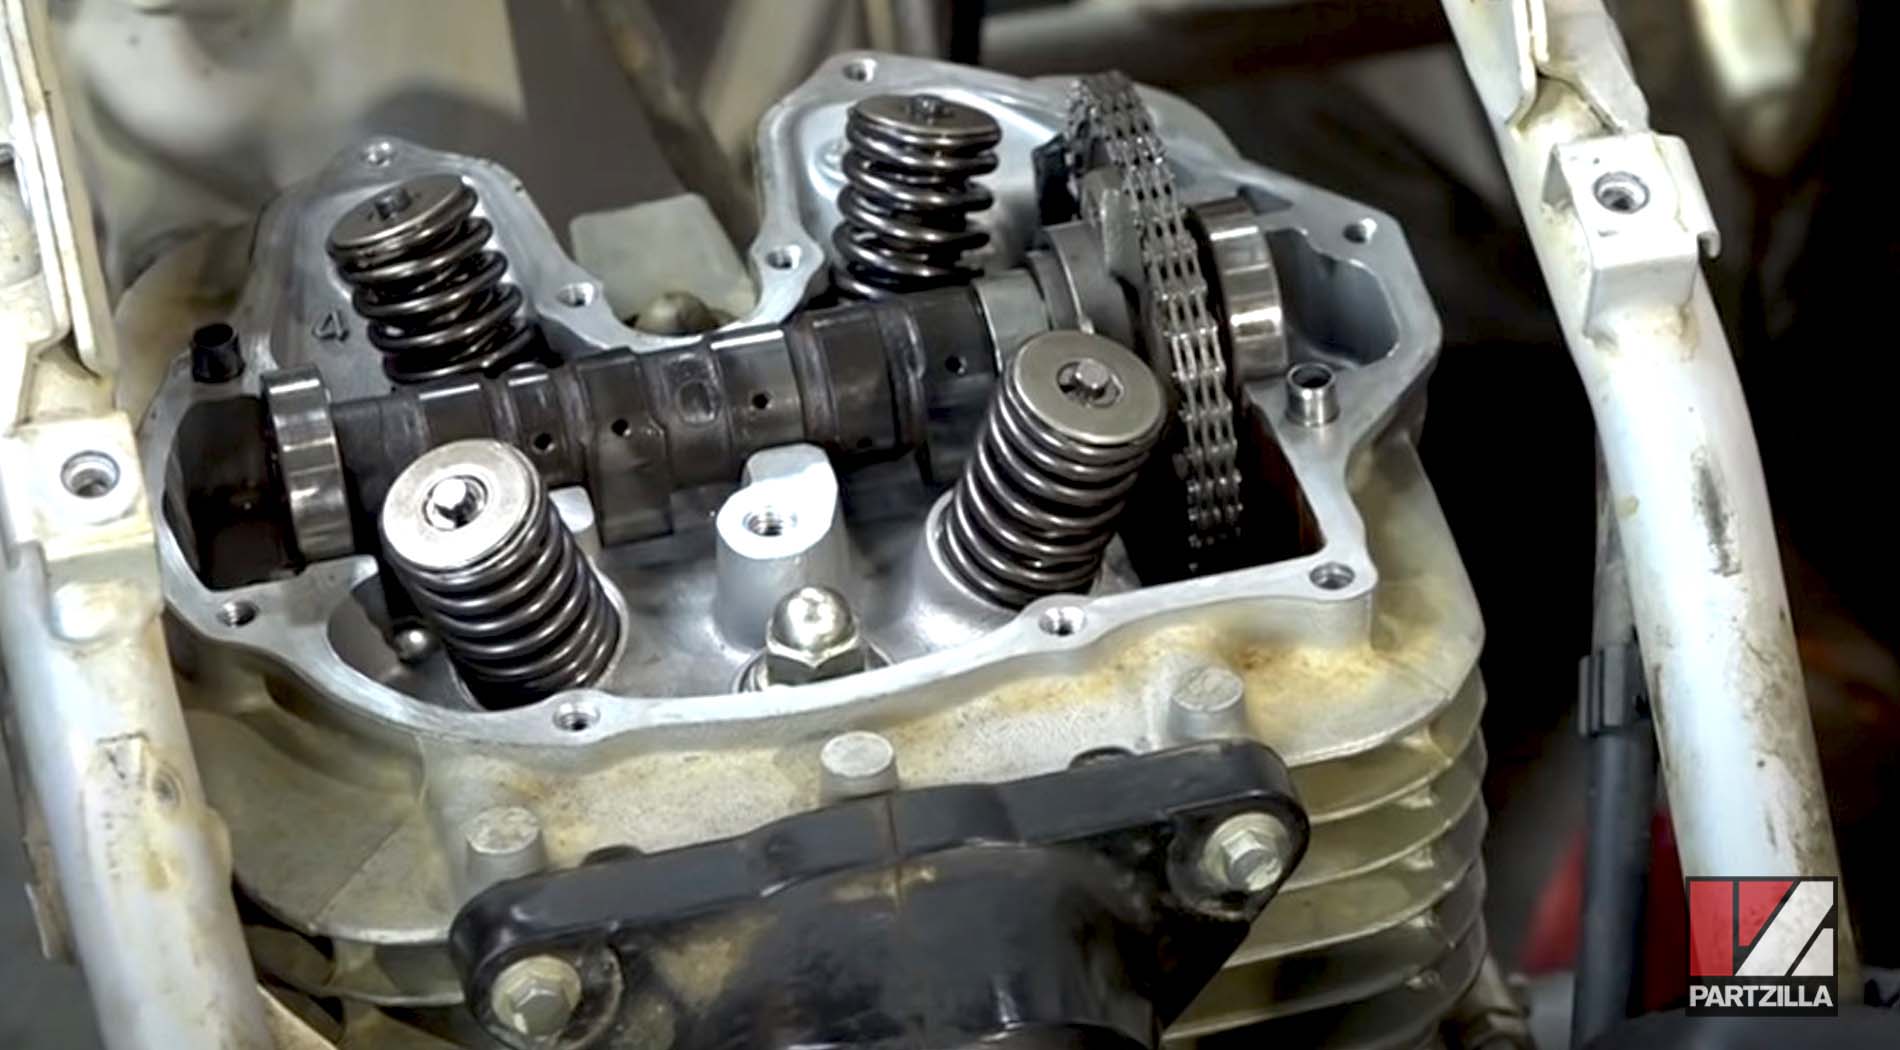
Step 5. Install the valve springs, then use a valve spring compressor to compress the springs, and needlenose pliers and your finger to install the valve keepers onto the springs.
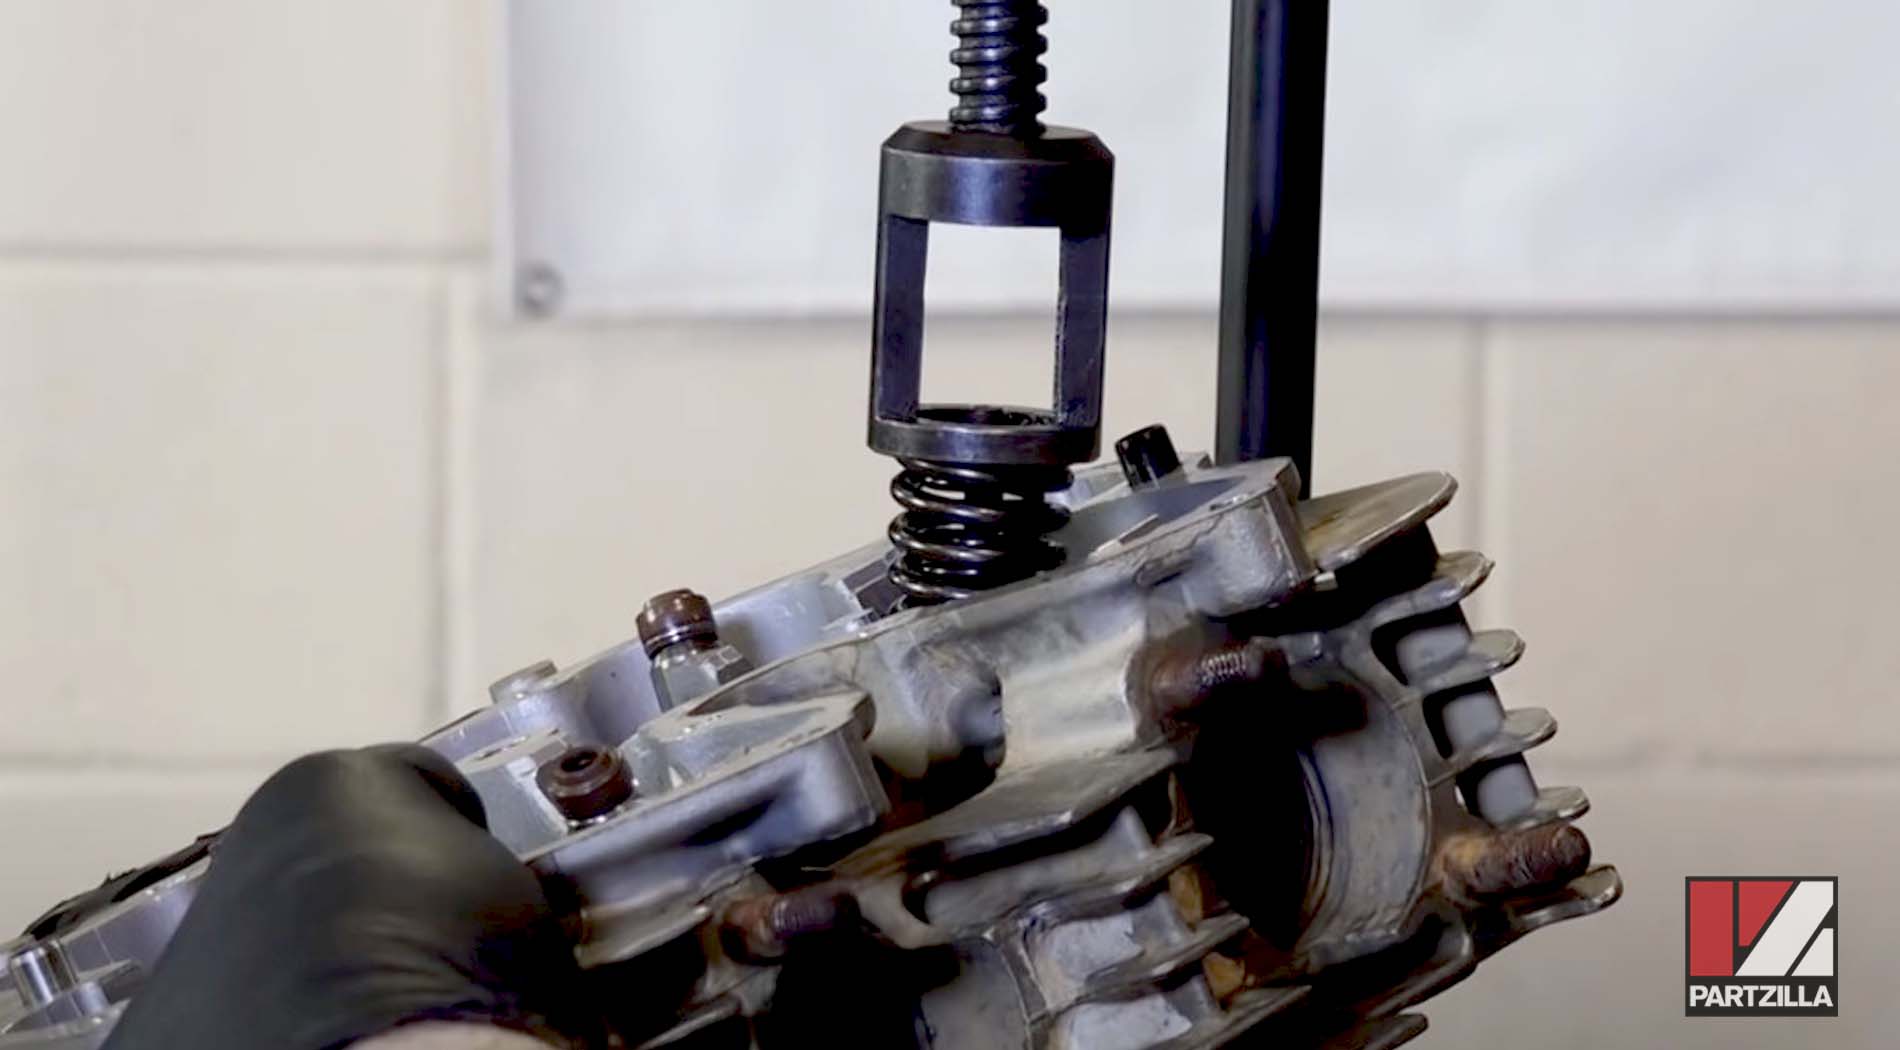
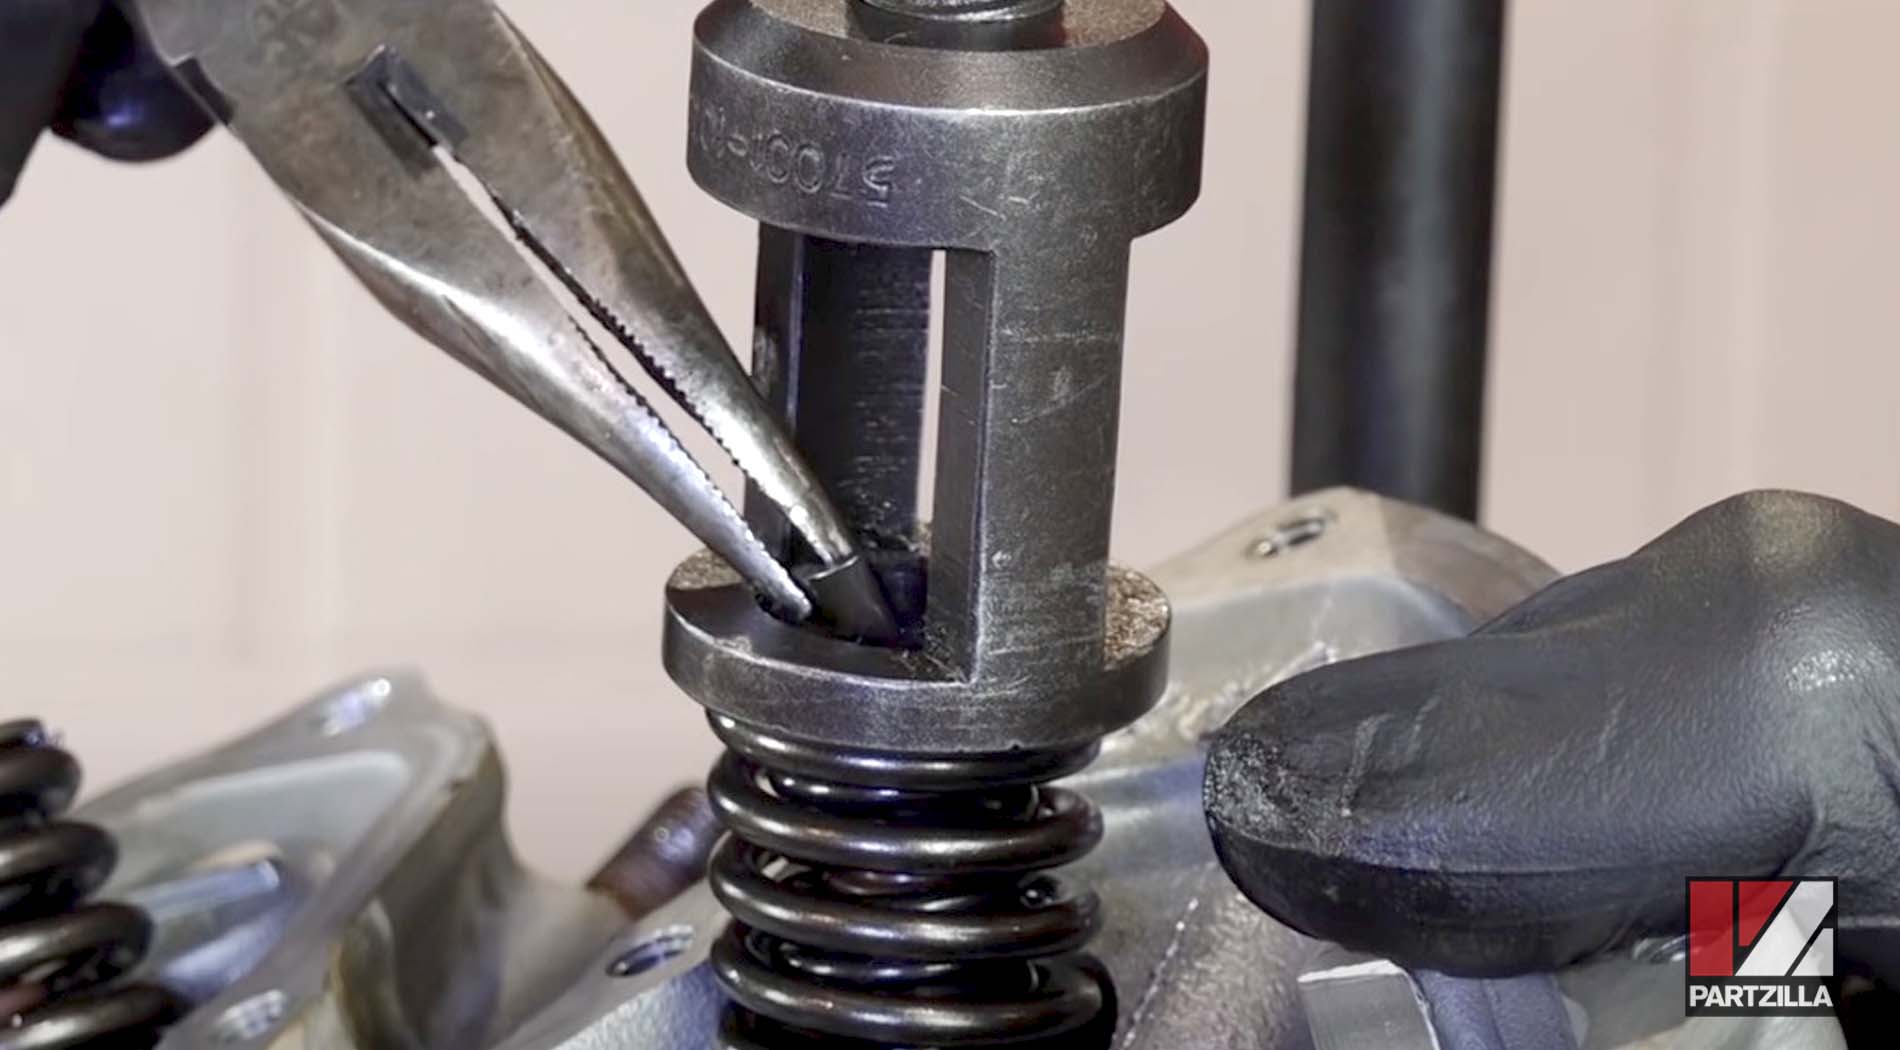
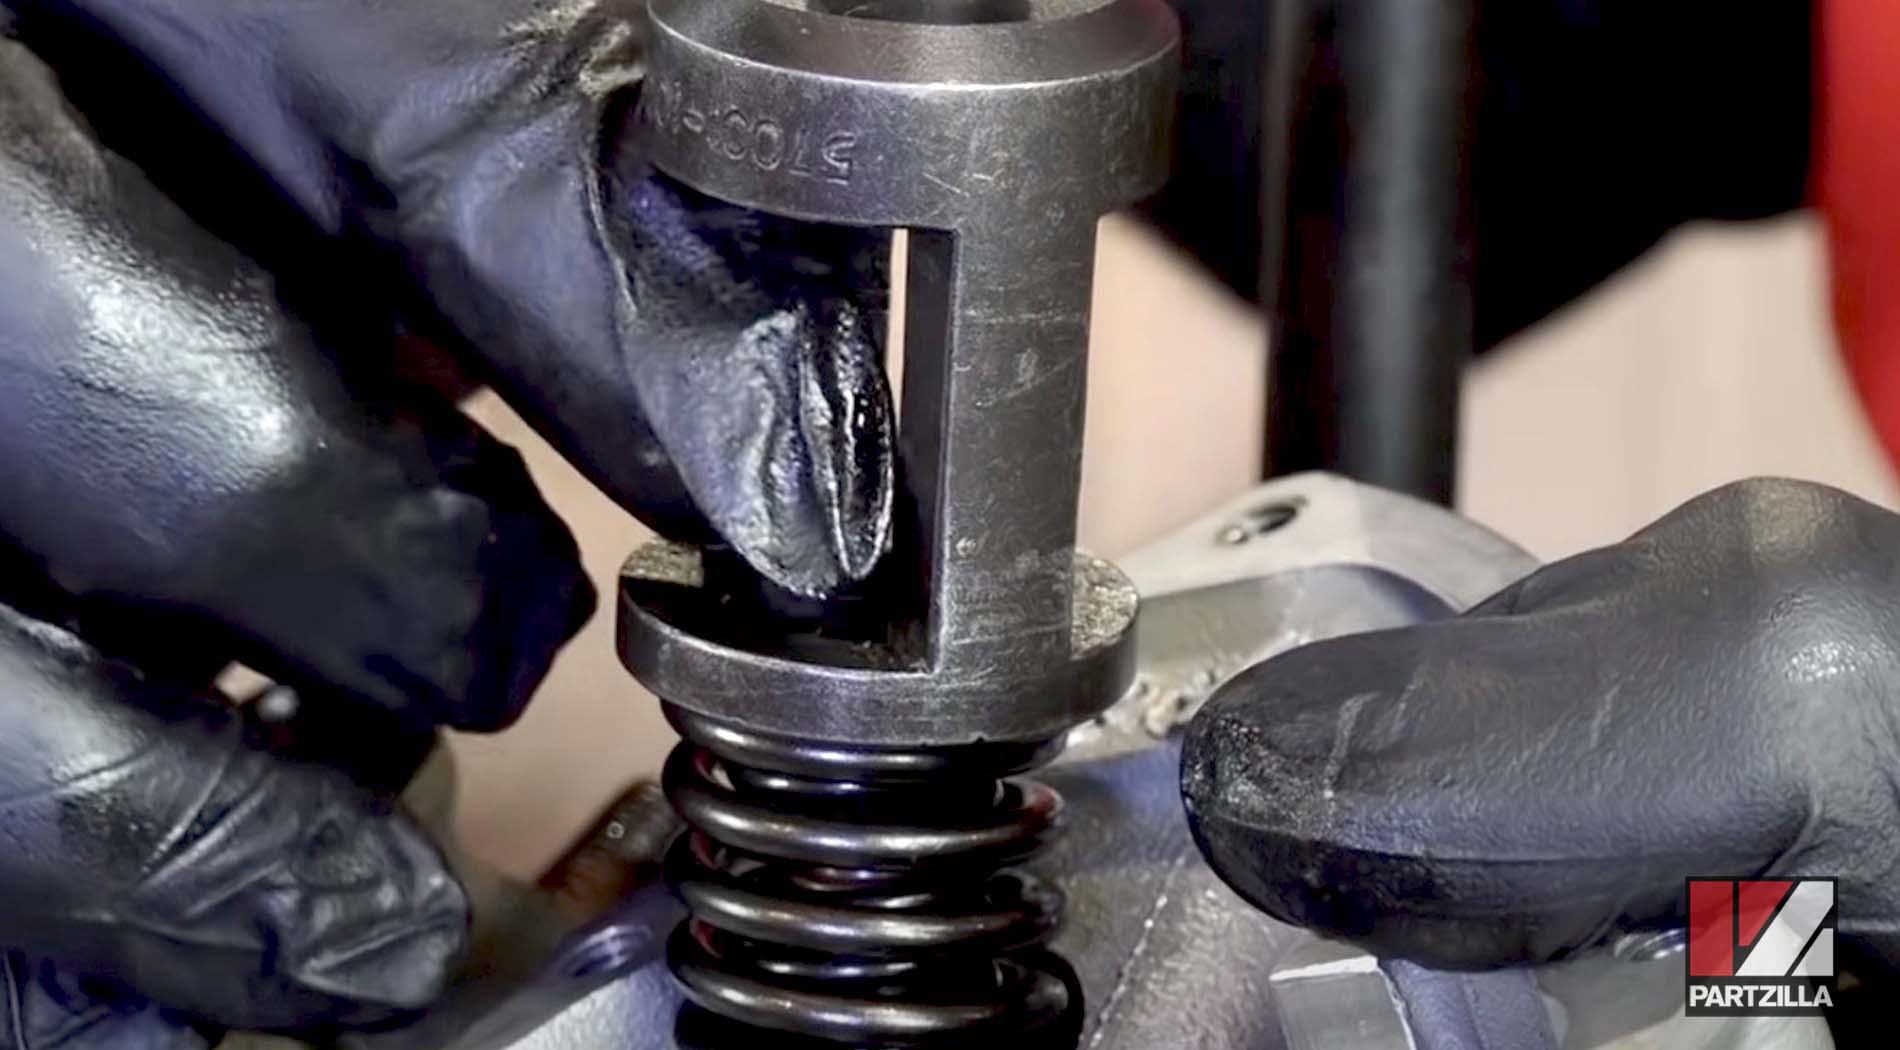
NOTE: Once you release the tension on the spring, the valve keepers will lock down onto the valve stem.

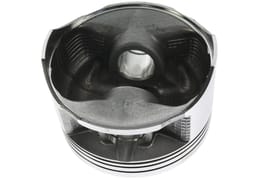
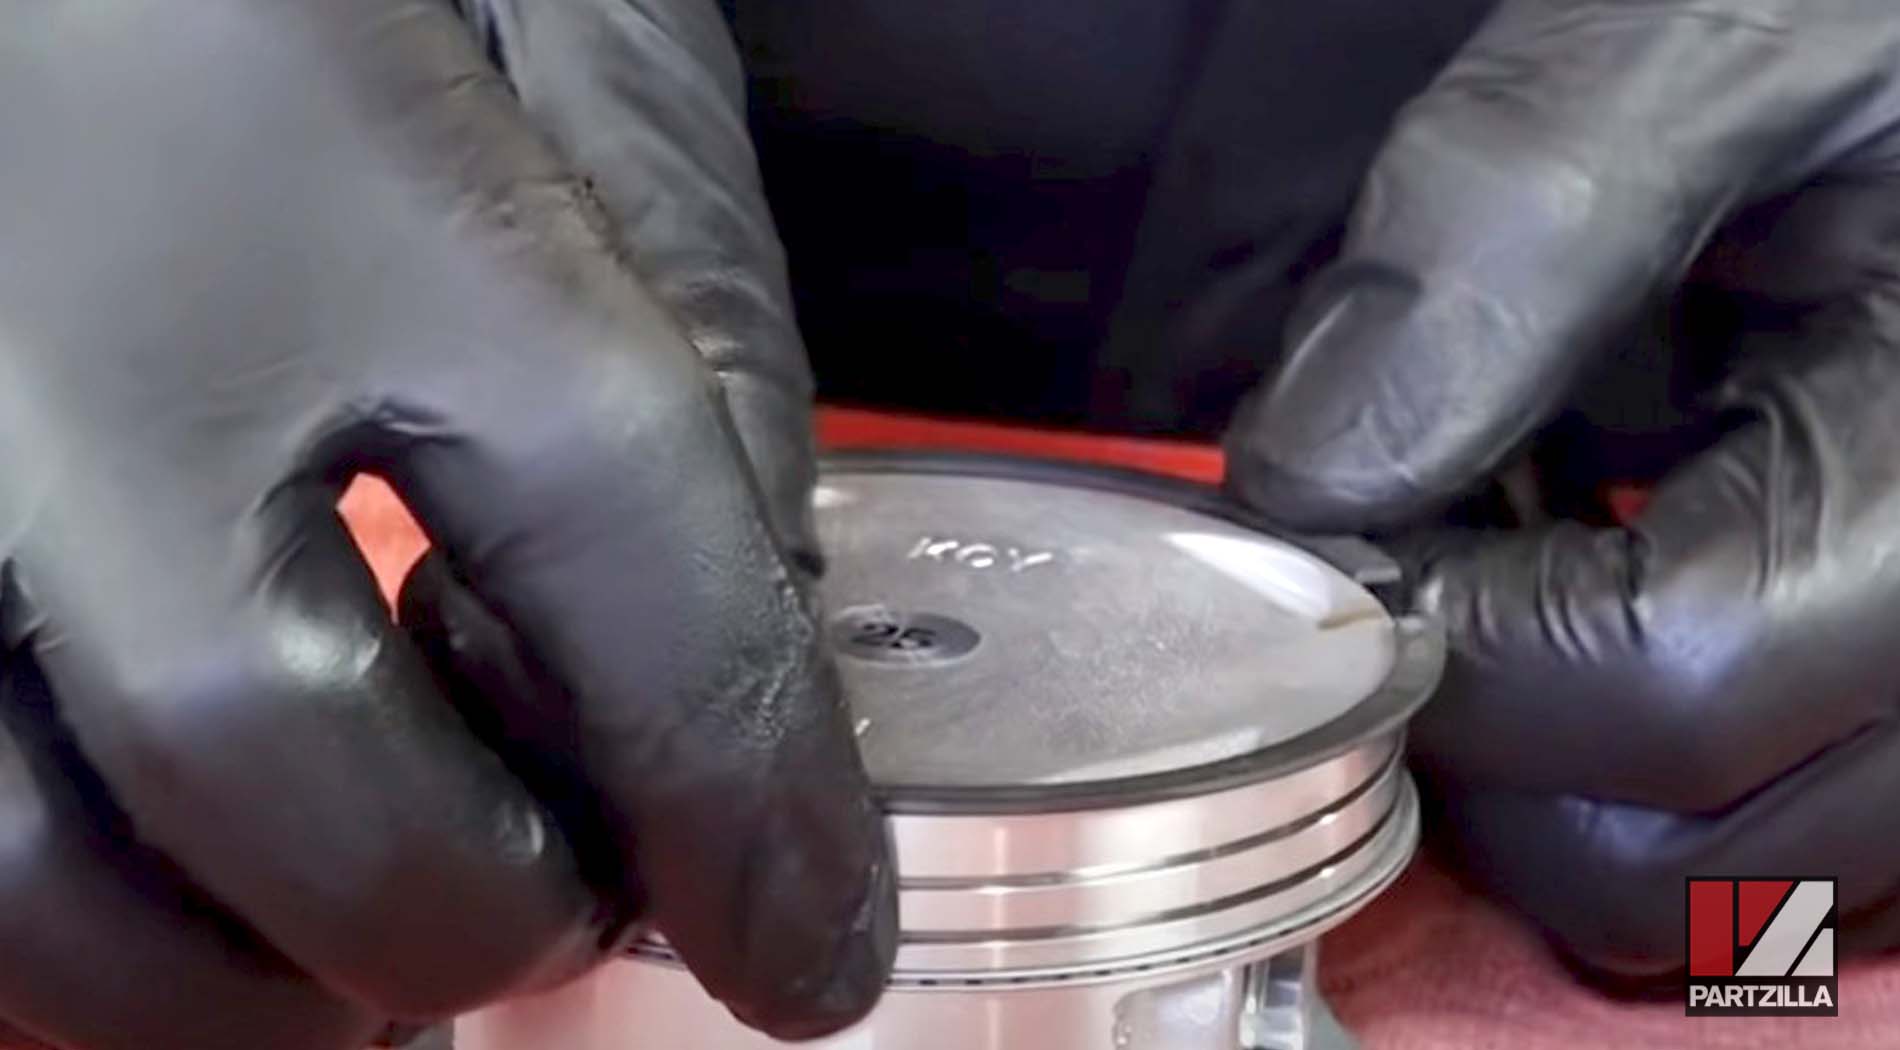
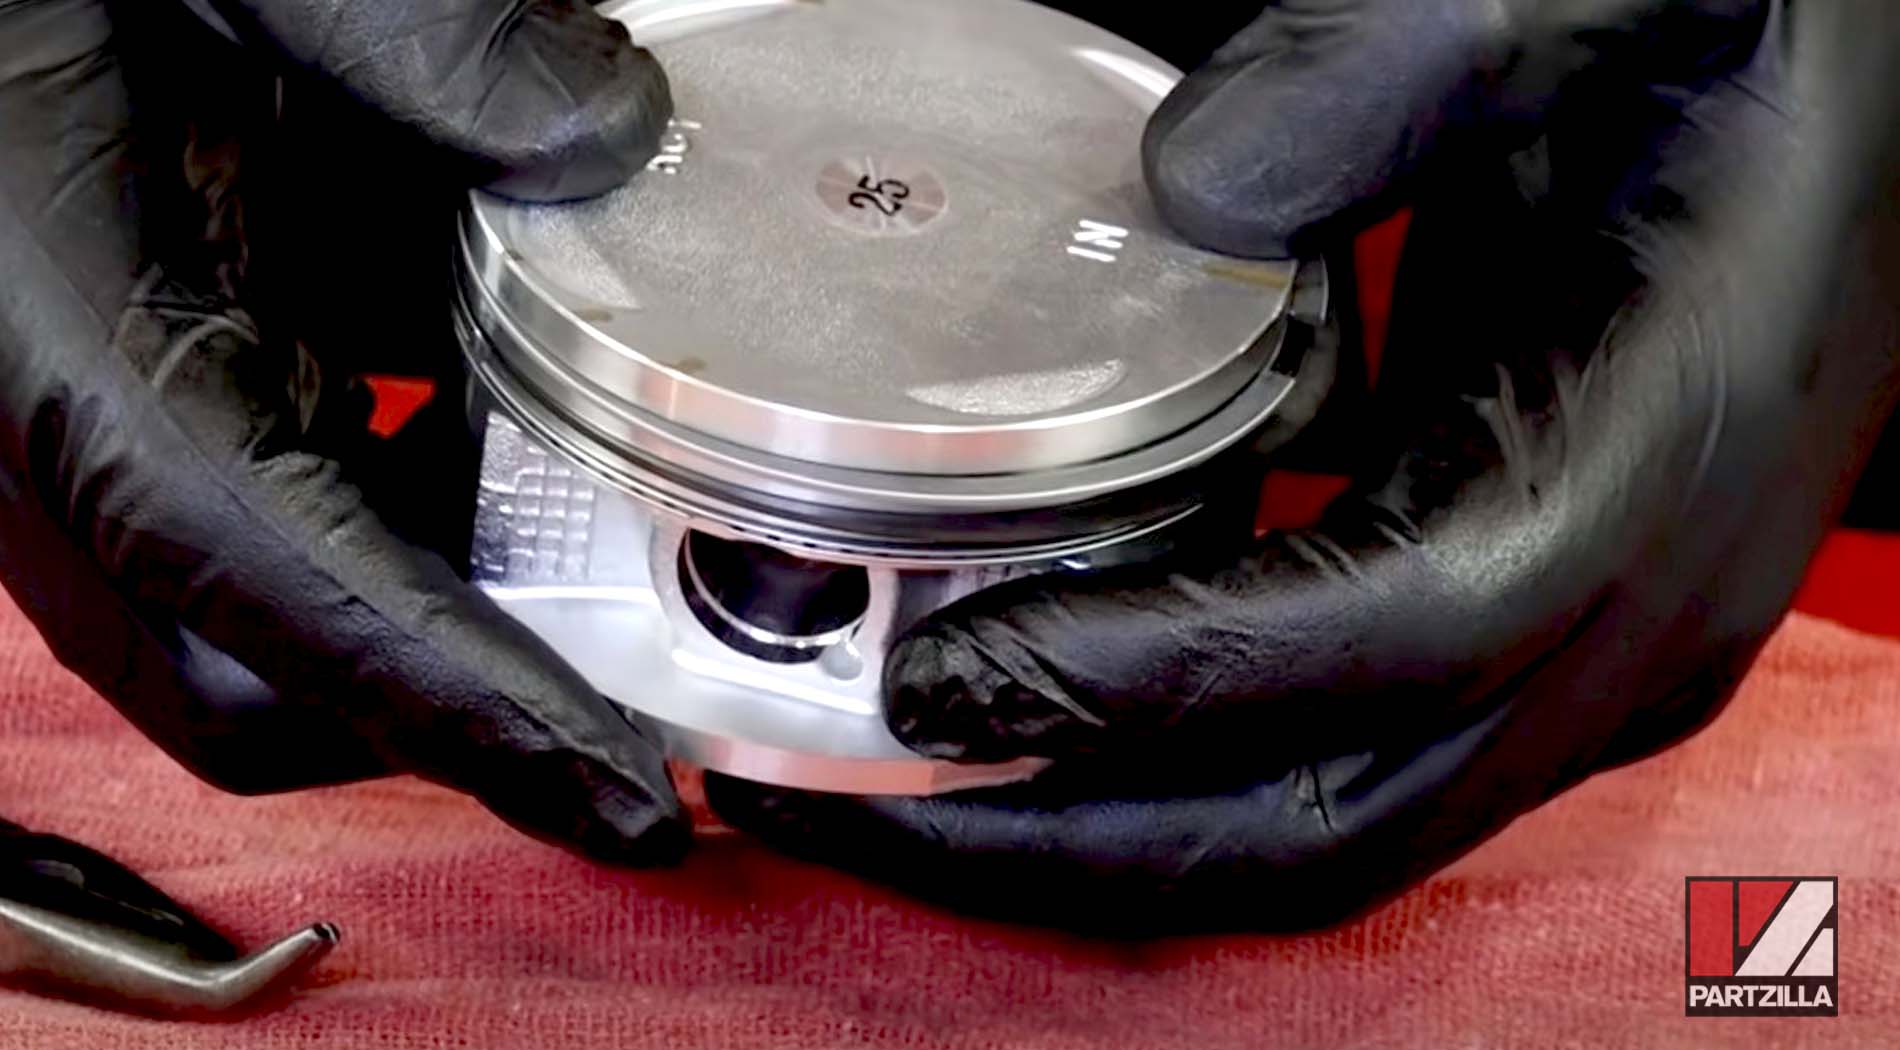
Step 6. Install the new piston rings onto the new piston.

NOTE: Use our Honda TRX400 crankshaft piston parts diagram for additional reference.
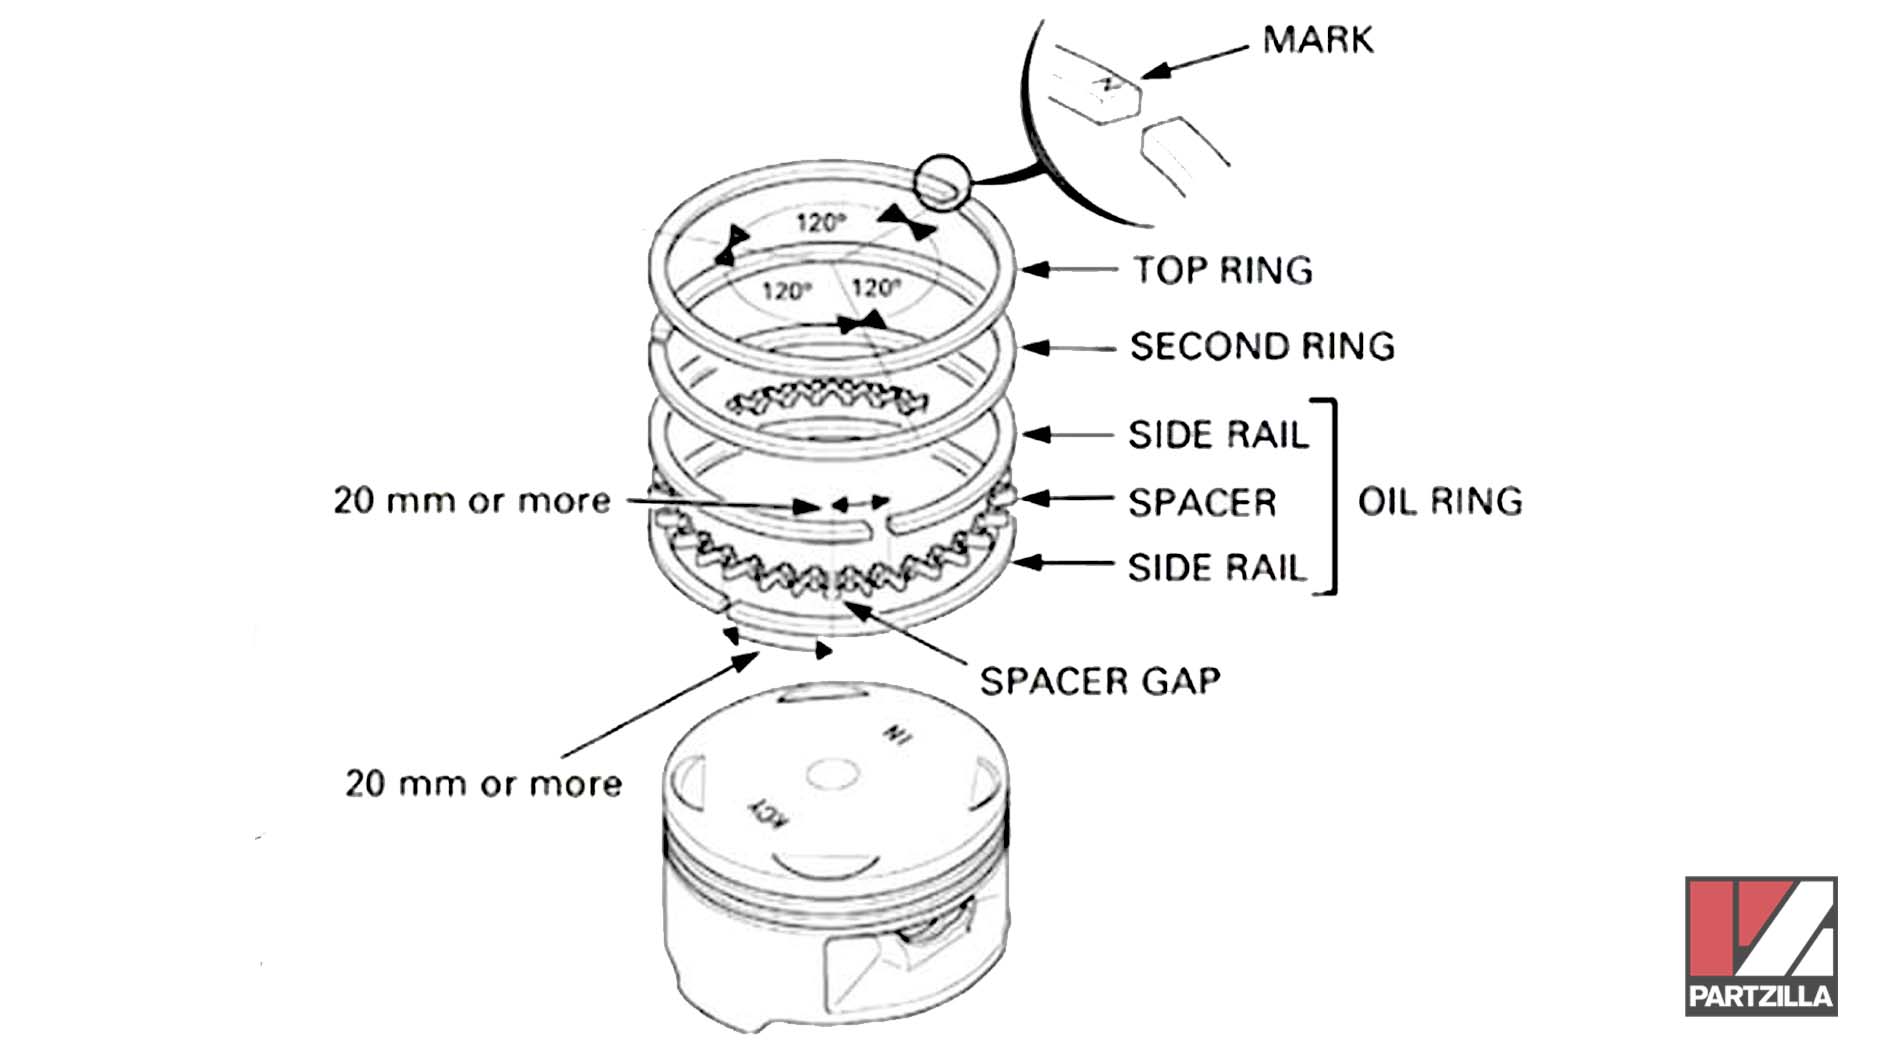
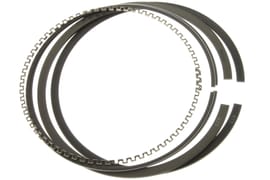
The oil ring is made up of a spacer and a lower and upper ring. Each ring is marked with a number that shows you the top half of the ring. The way to tell the top ring apart from the second ring is the top ring, on the outside edge, is chamfered on either side, and has a dome shape to it. The second ring, looking at it from outside, from the top, looks like it has an angle where it kicks out that’s wider toward the bottom of the ring than on the top.
Start with the oil ring first, which is made up of three different pieces. Put the spacer in first, then the bottom oil ring then the top oil ring. Next, install the second ring and finish it with the top one.

Once you get them in place, spin them into the orientation where they are 120 degrees away from each other.
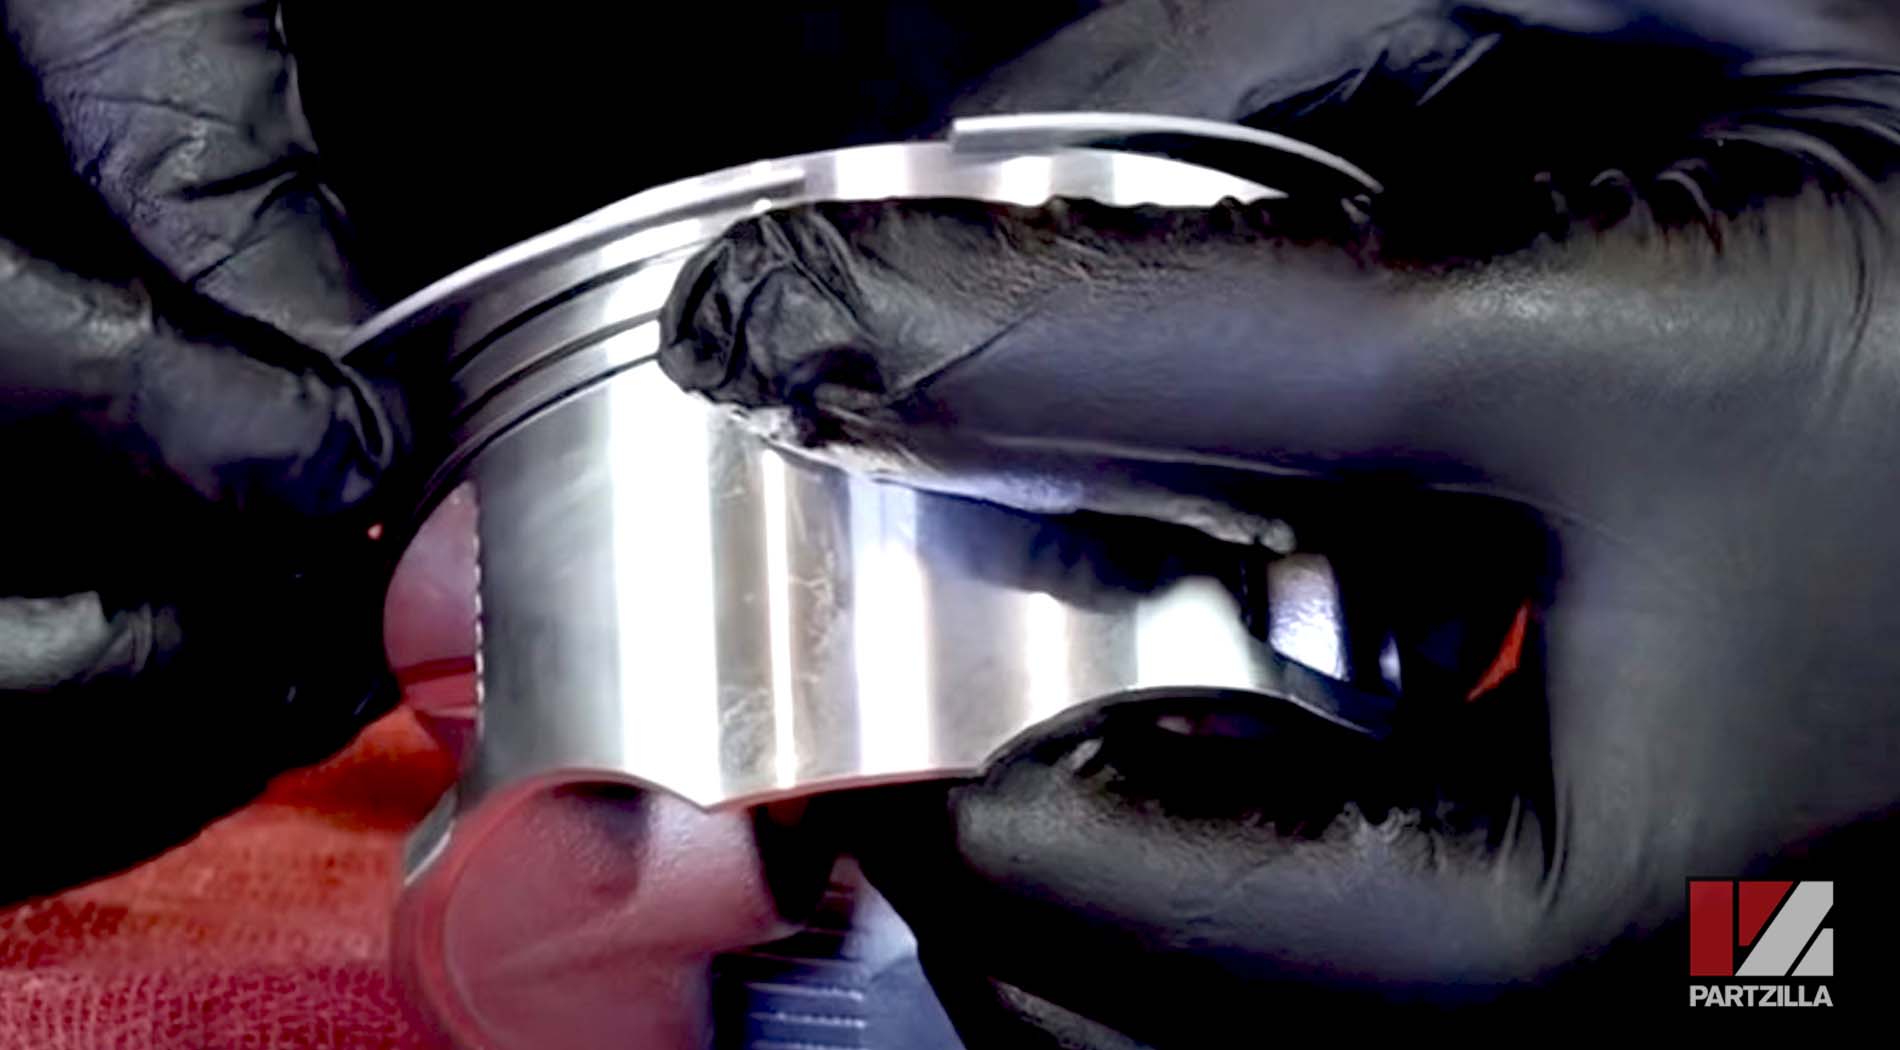
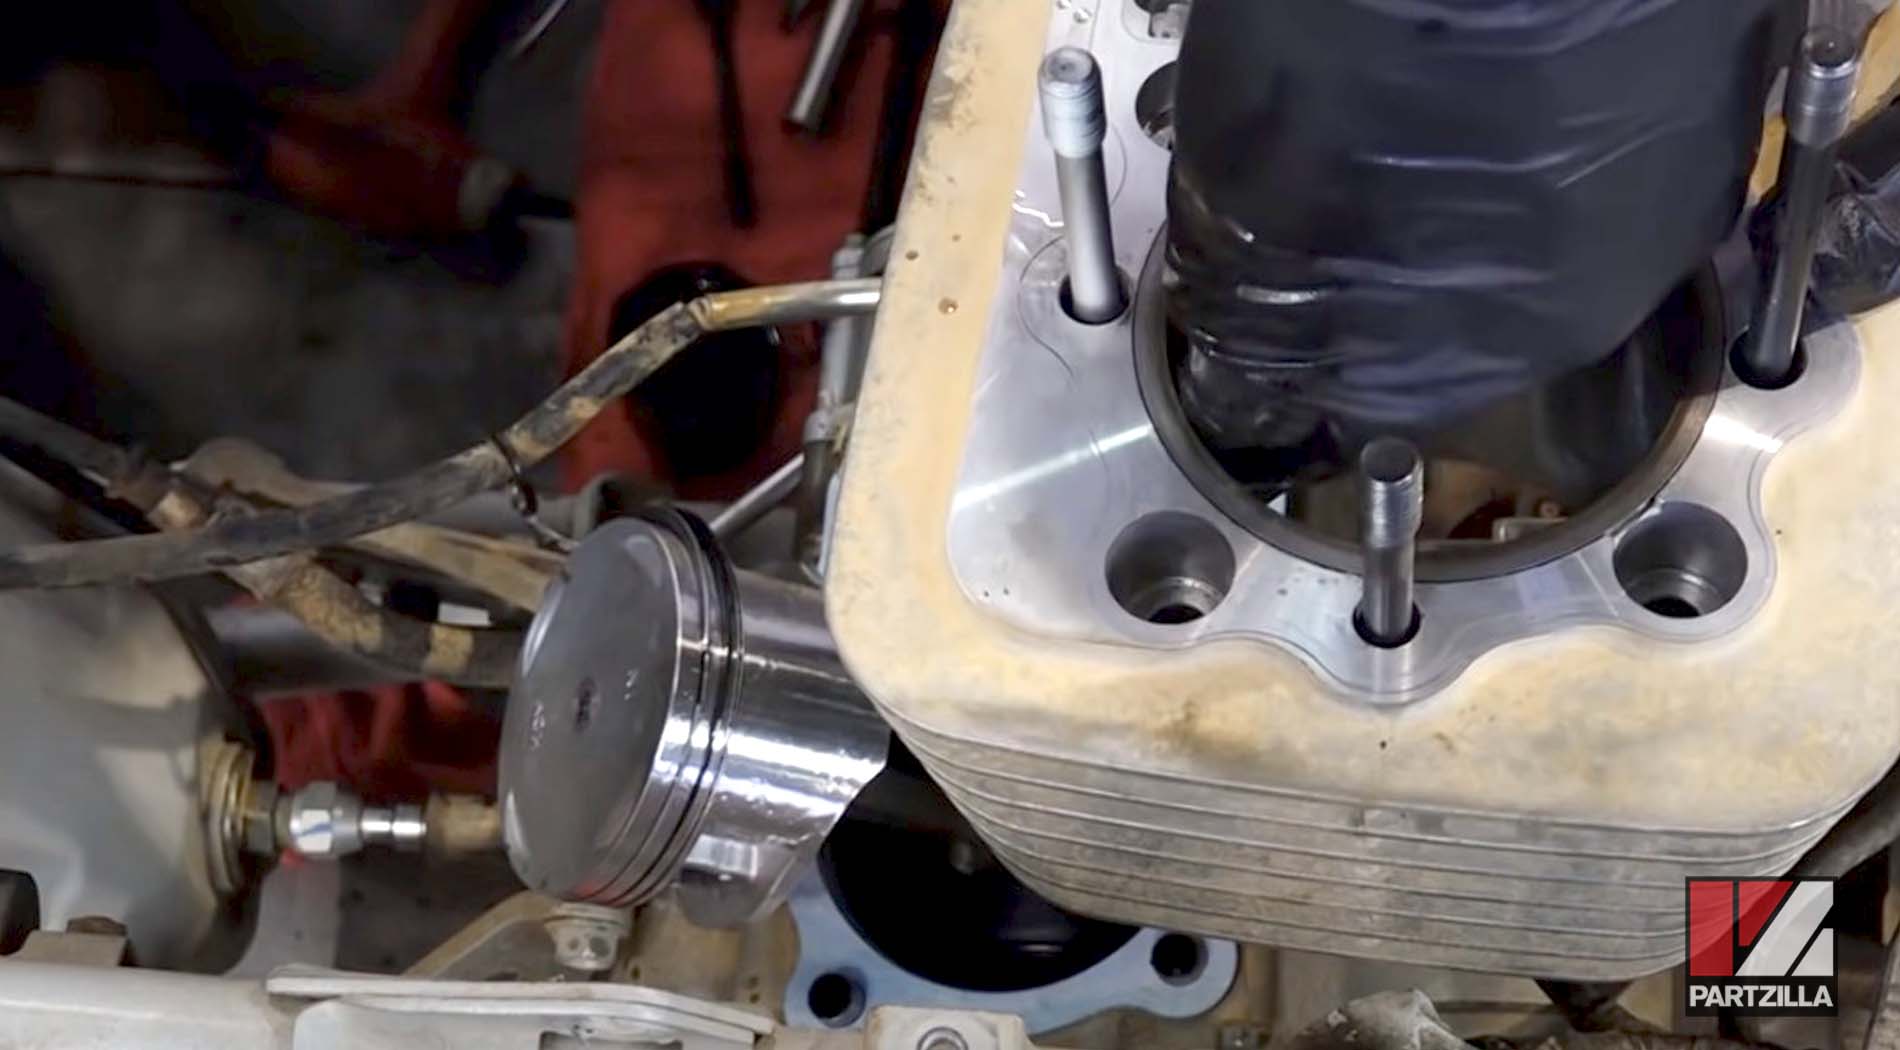
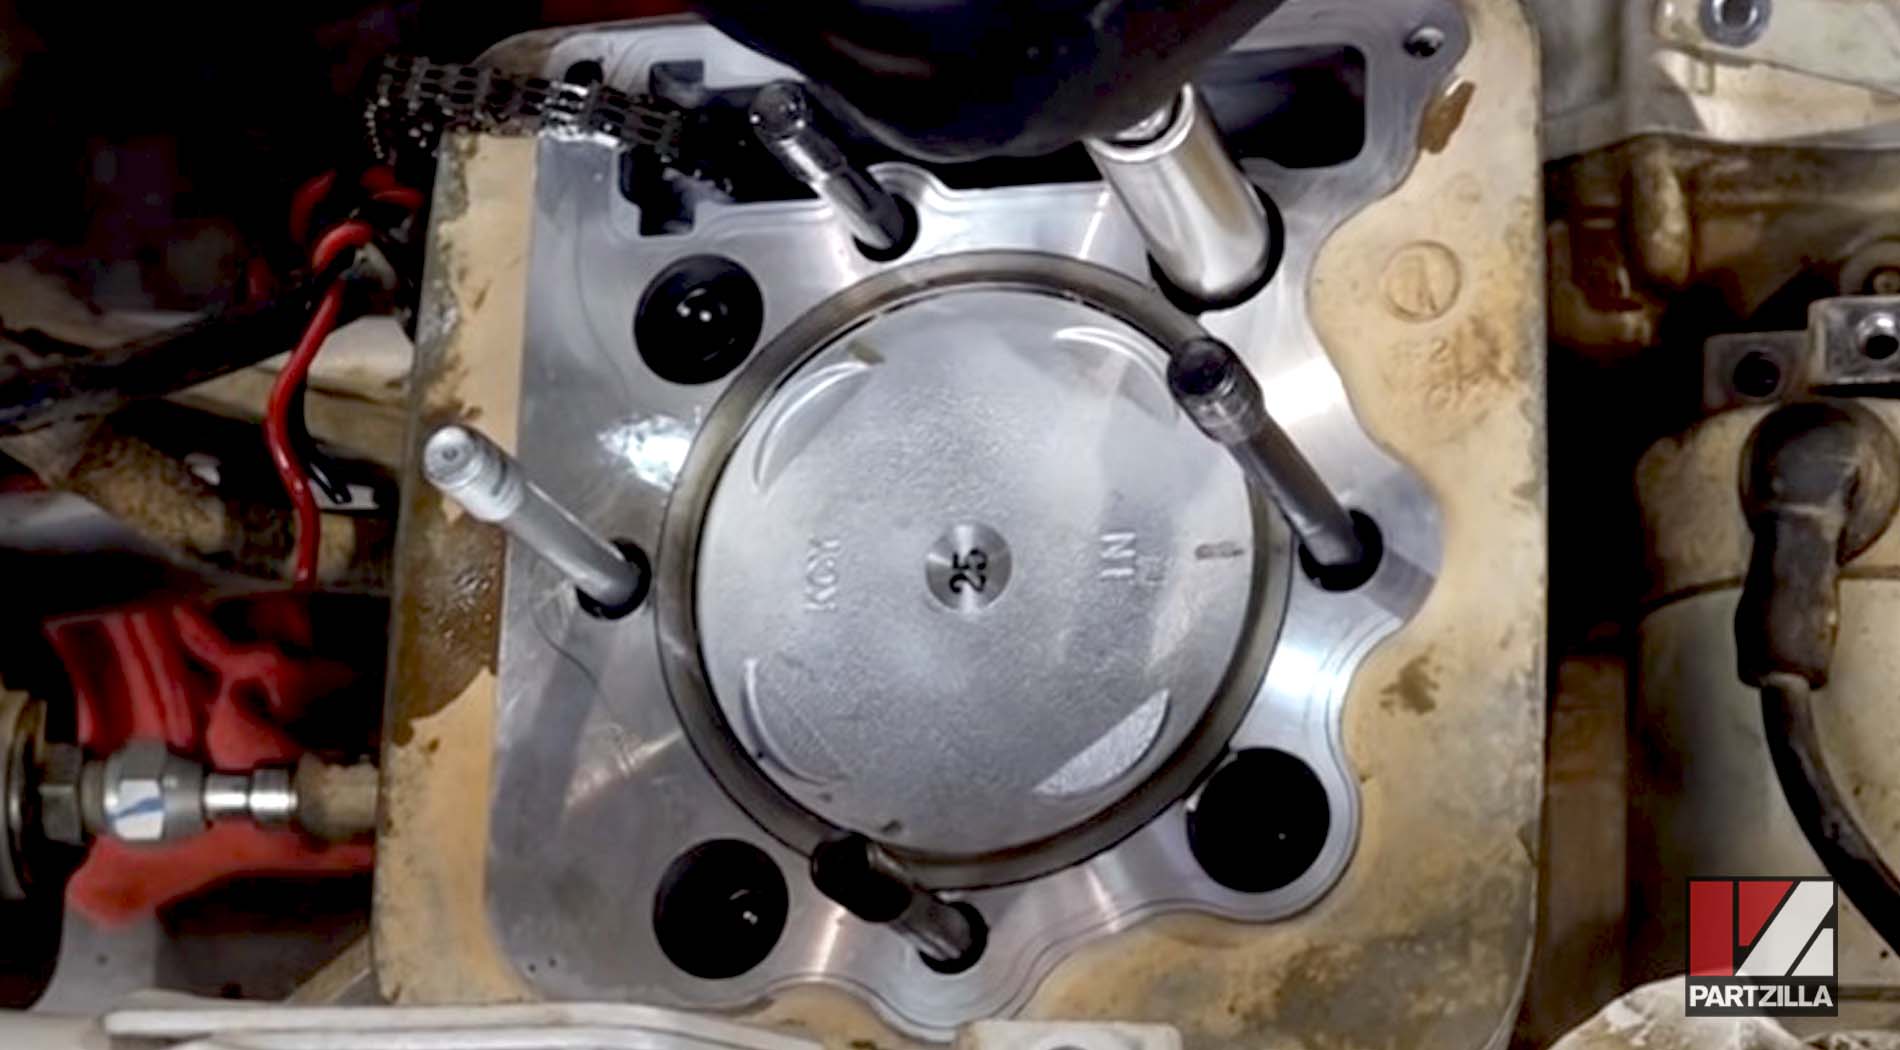
Step 7. Install one piston circlip, making sure the end of it is facing away from the outer section.
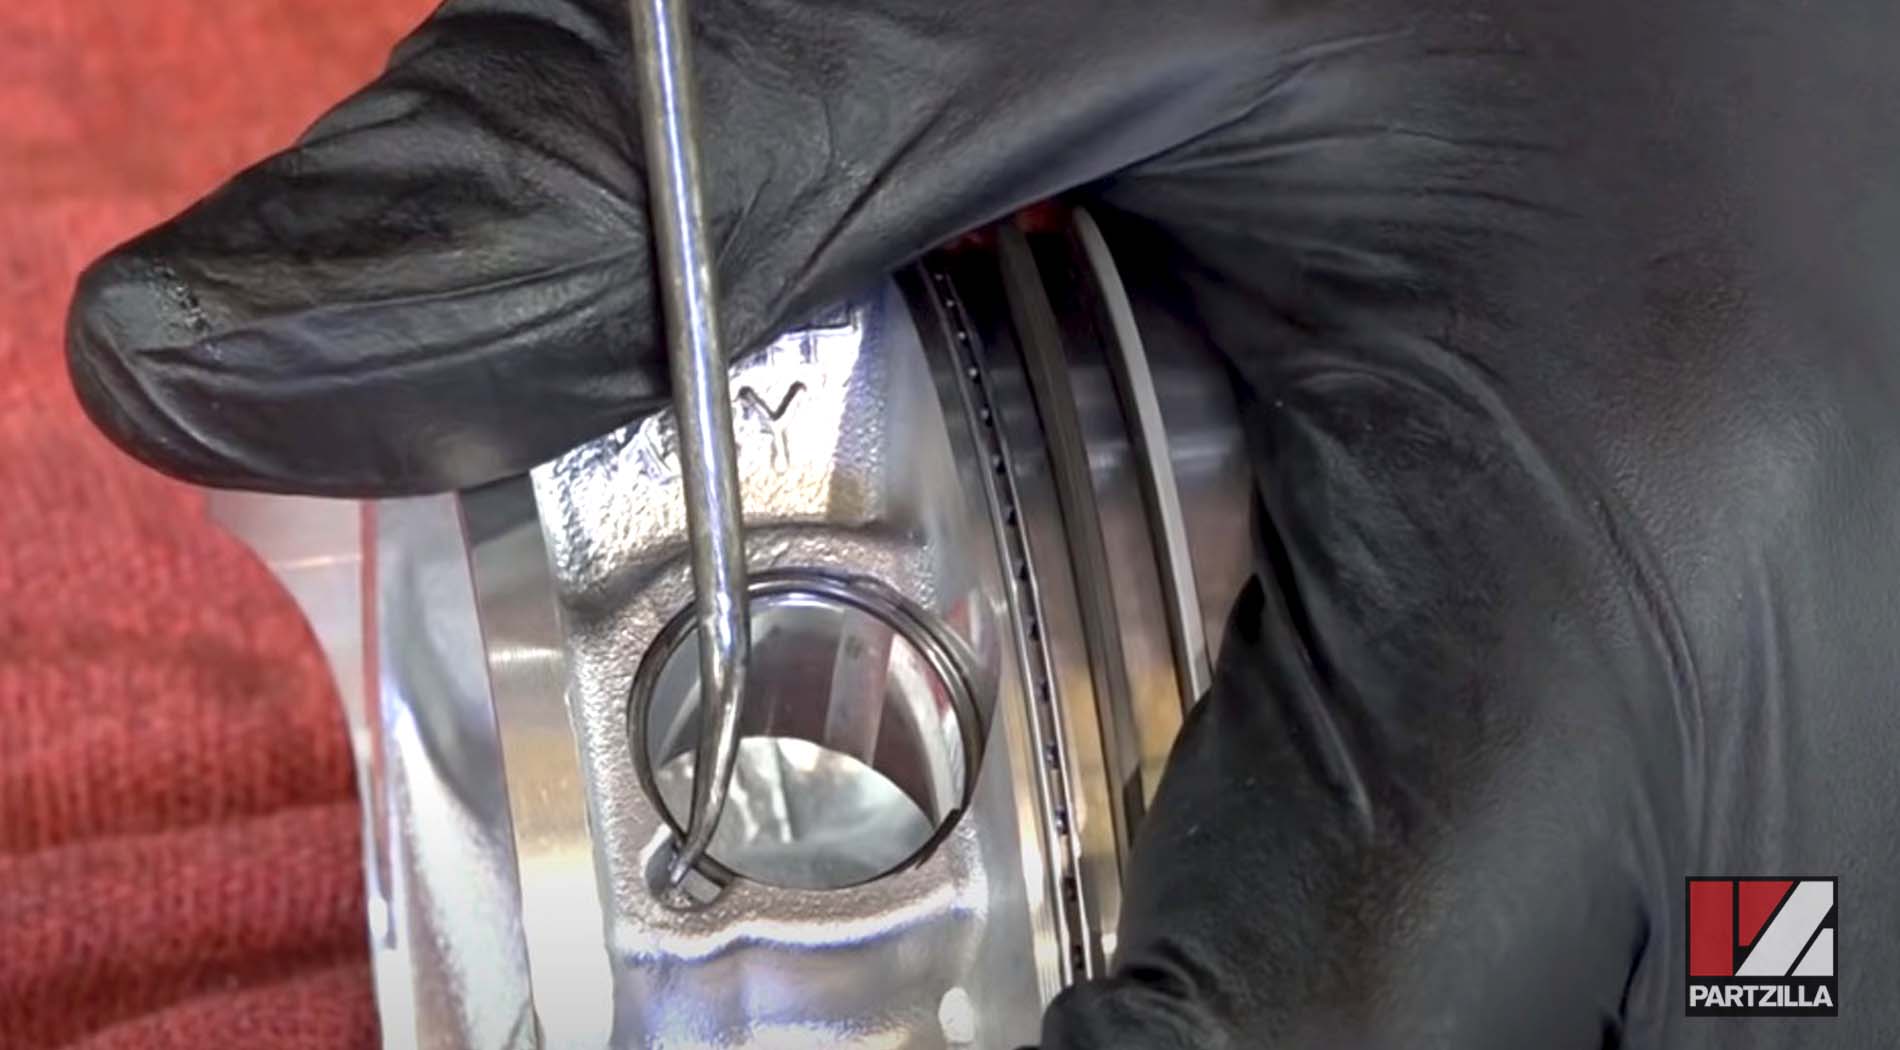
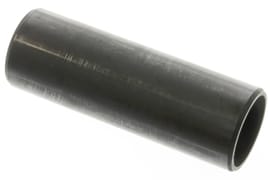
Step 8. Install the wrist pin on the other end of the piston and lower it down onto the connector rod. Make sure it's lined up, and just push it in until it bottoms out against the circlip, then install the other circlip on the other side of the piston.
Step 9. Clean off any residual gasket material leftover from the old base gasket.

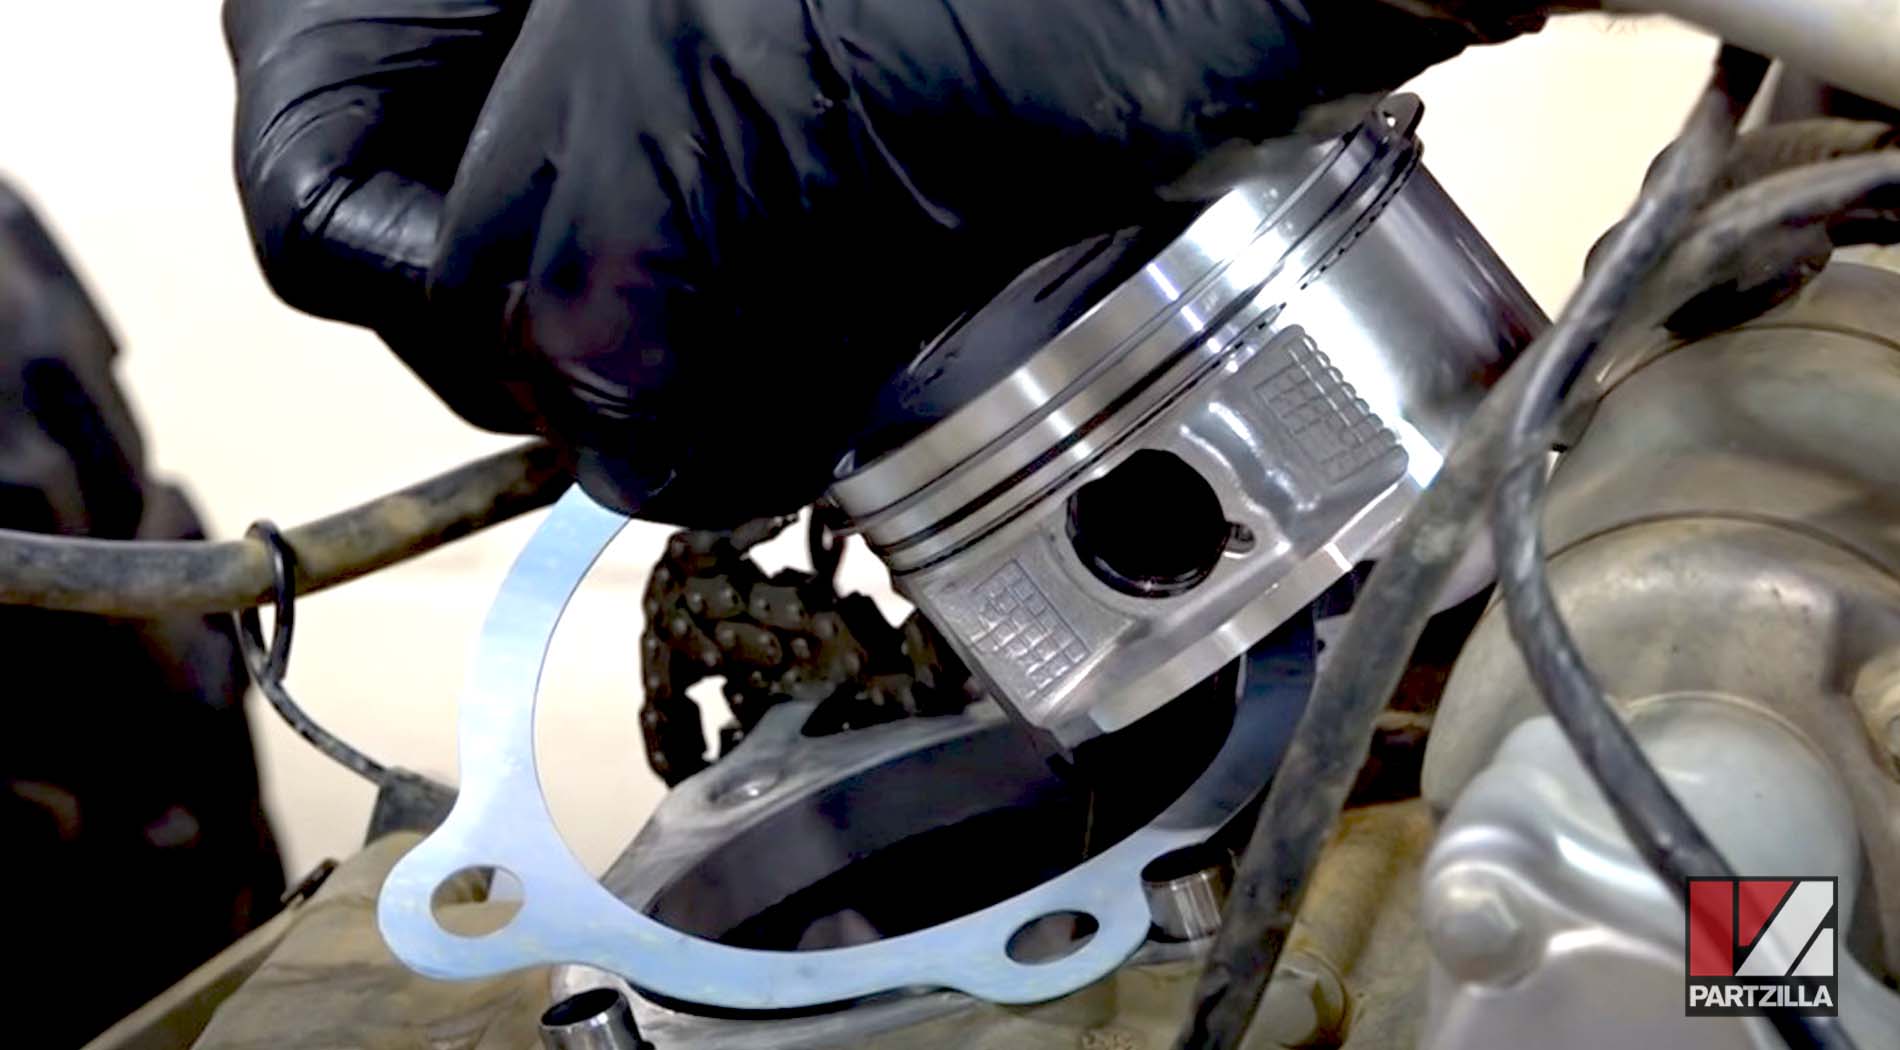
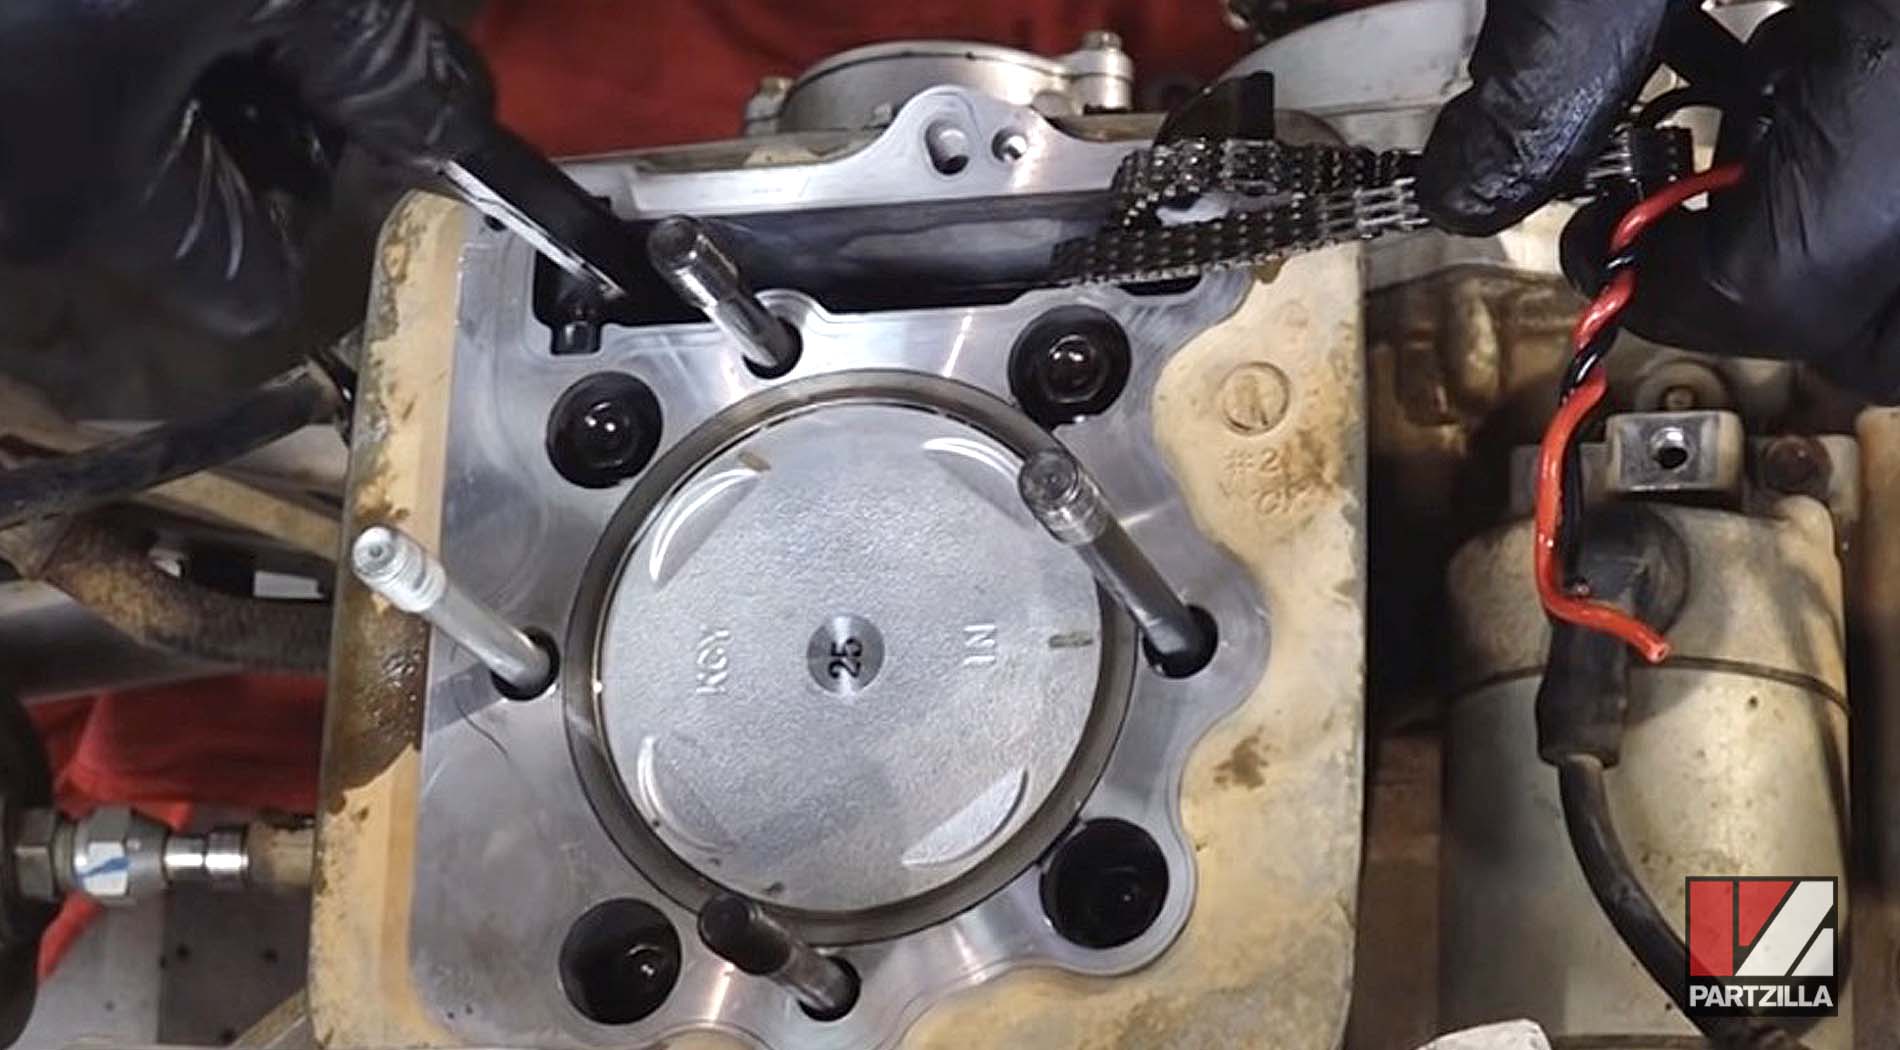
Step 10. Install the new base gasket (included in the Honda gasket kit), then feed the timing chain up through it, being very careful not to rip the gasket.

Step 11. Install the O-ring that goes on the base of the cylinder, which slides into the little groove right down on the bottom.
NOTE: This seal doesn’t come with the gasket set from Honda.
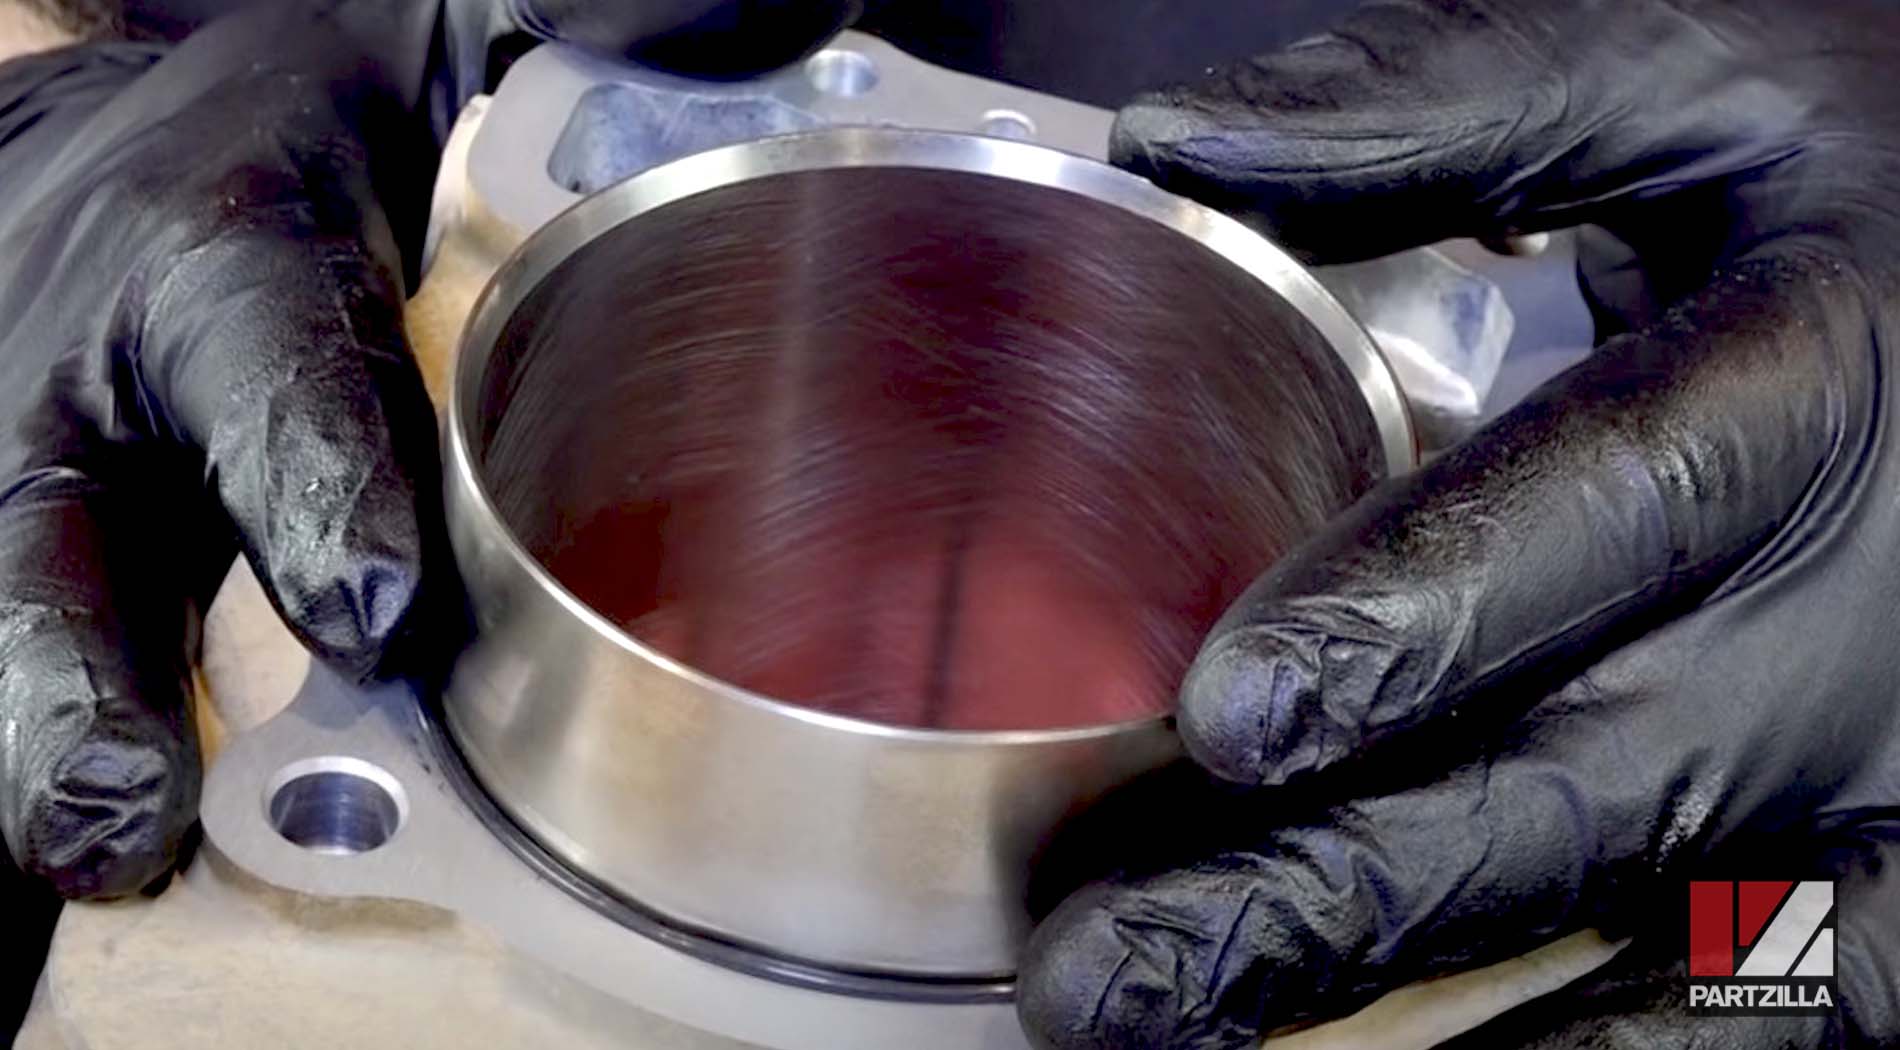
Step 12. Add a little bit of oil around the piston rings and the piston, then oil down the bore before putting the cylinder on.

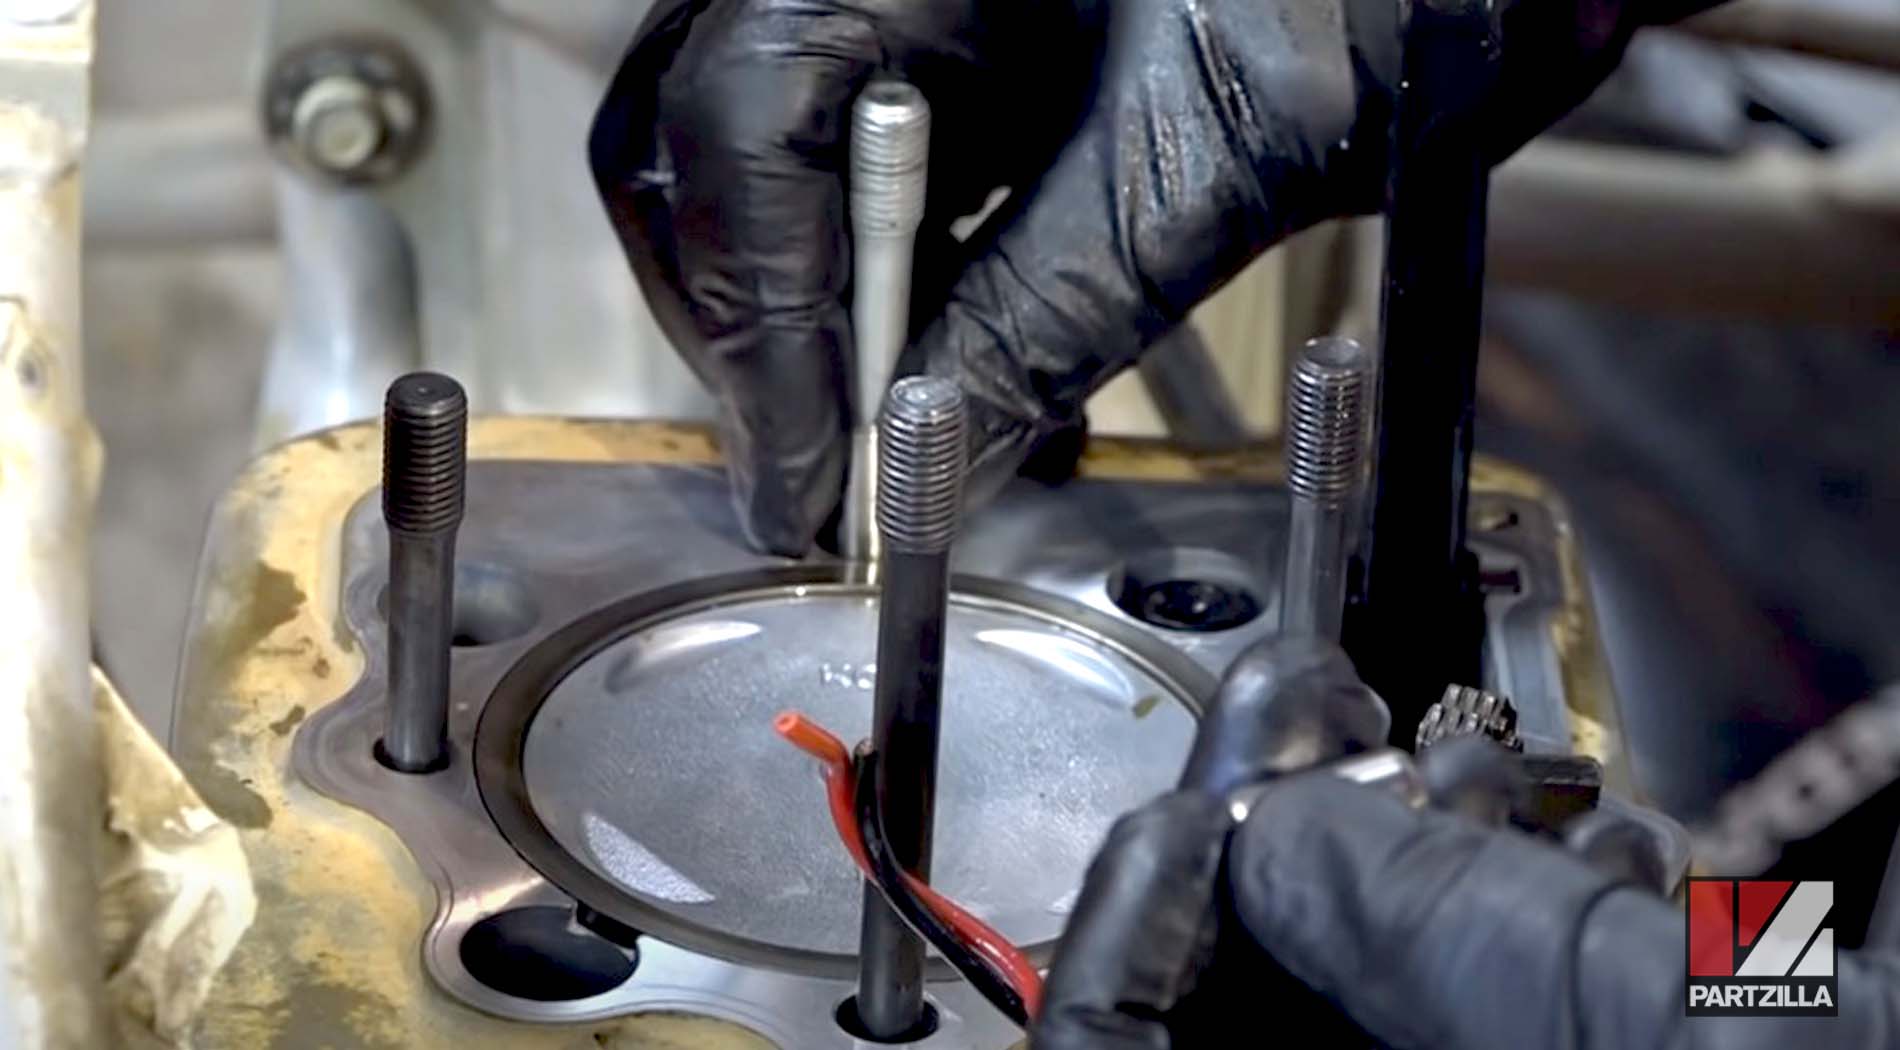
Step 13. Line up the cylinder with the piston and feed the piston rings up into the bore. Push it all the way down, line it up on the dowels, then pull the chain all the way up through and get it out of the way while you seat the cylinder down.
PRO TIP: Use the tips of your fingers to compress it on either side and then start working it up into the bore.
Step 14. Torque the cylinder head bolts by putting around 10-15 pounds in a crisscross pattern, then adding an additional 32 foot-pounds again in a crisscross pattern.
Step 15. Install the timing chain guide, making sure it engages on the bottom.
NOTE: If you rock it back and forth and if it flips up, it’s not engaged properly.
Step 16. Install the two dowels for the head.

Step 17. Install a new head gasket (included in the Honda gasket kit) and then feed the timing chain through it.

Step 18. Feed the timing chain up through the head and lower it down, making sure it's aligned on the two dowels just installed.

Step 19. Install the four washers for the cylinder nuts, being extra careful to not let the one next to the timing chain drop into the engine.
Step 20. Install the cylinder nuts and torque them to 10-15 pounds to begin with, then go around again and torque them to 32 foot-pounds.
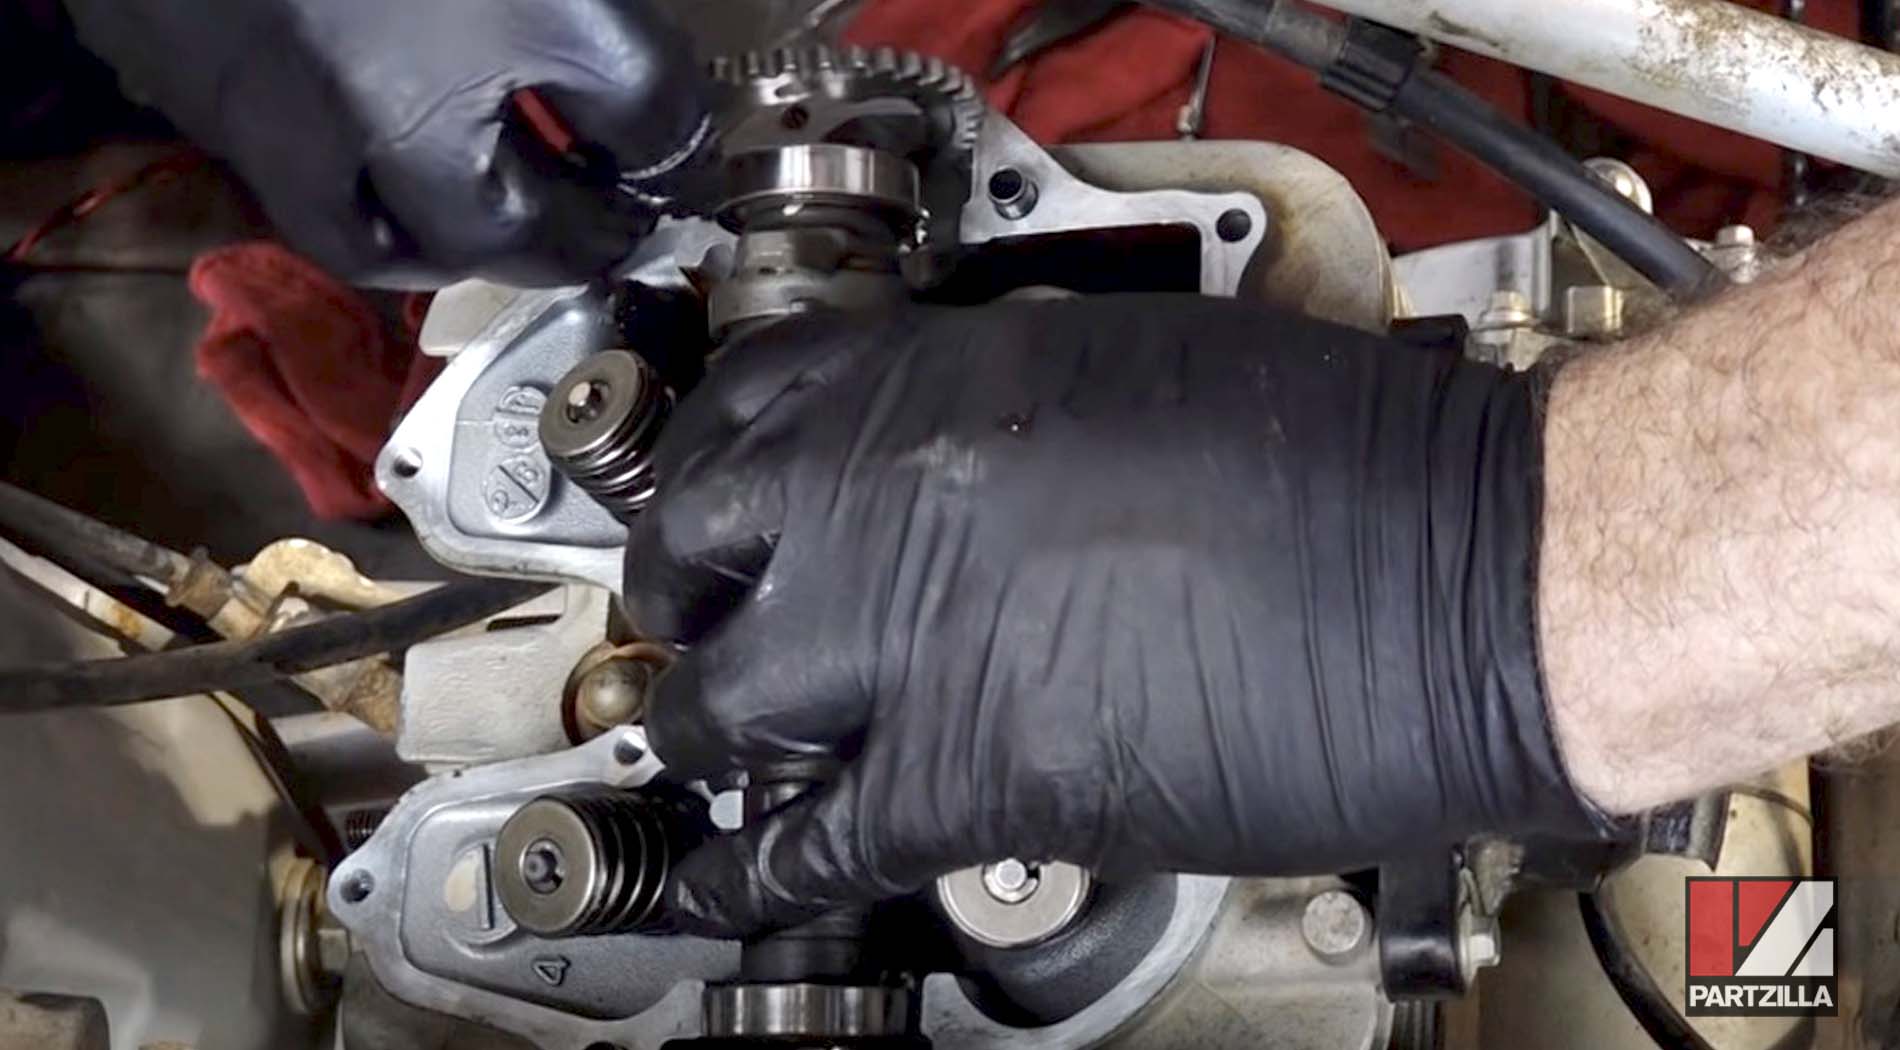
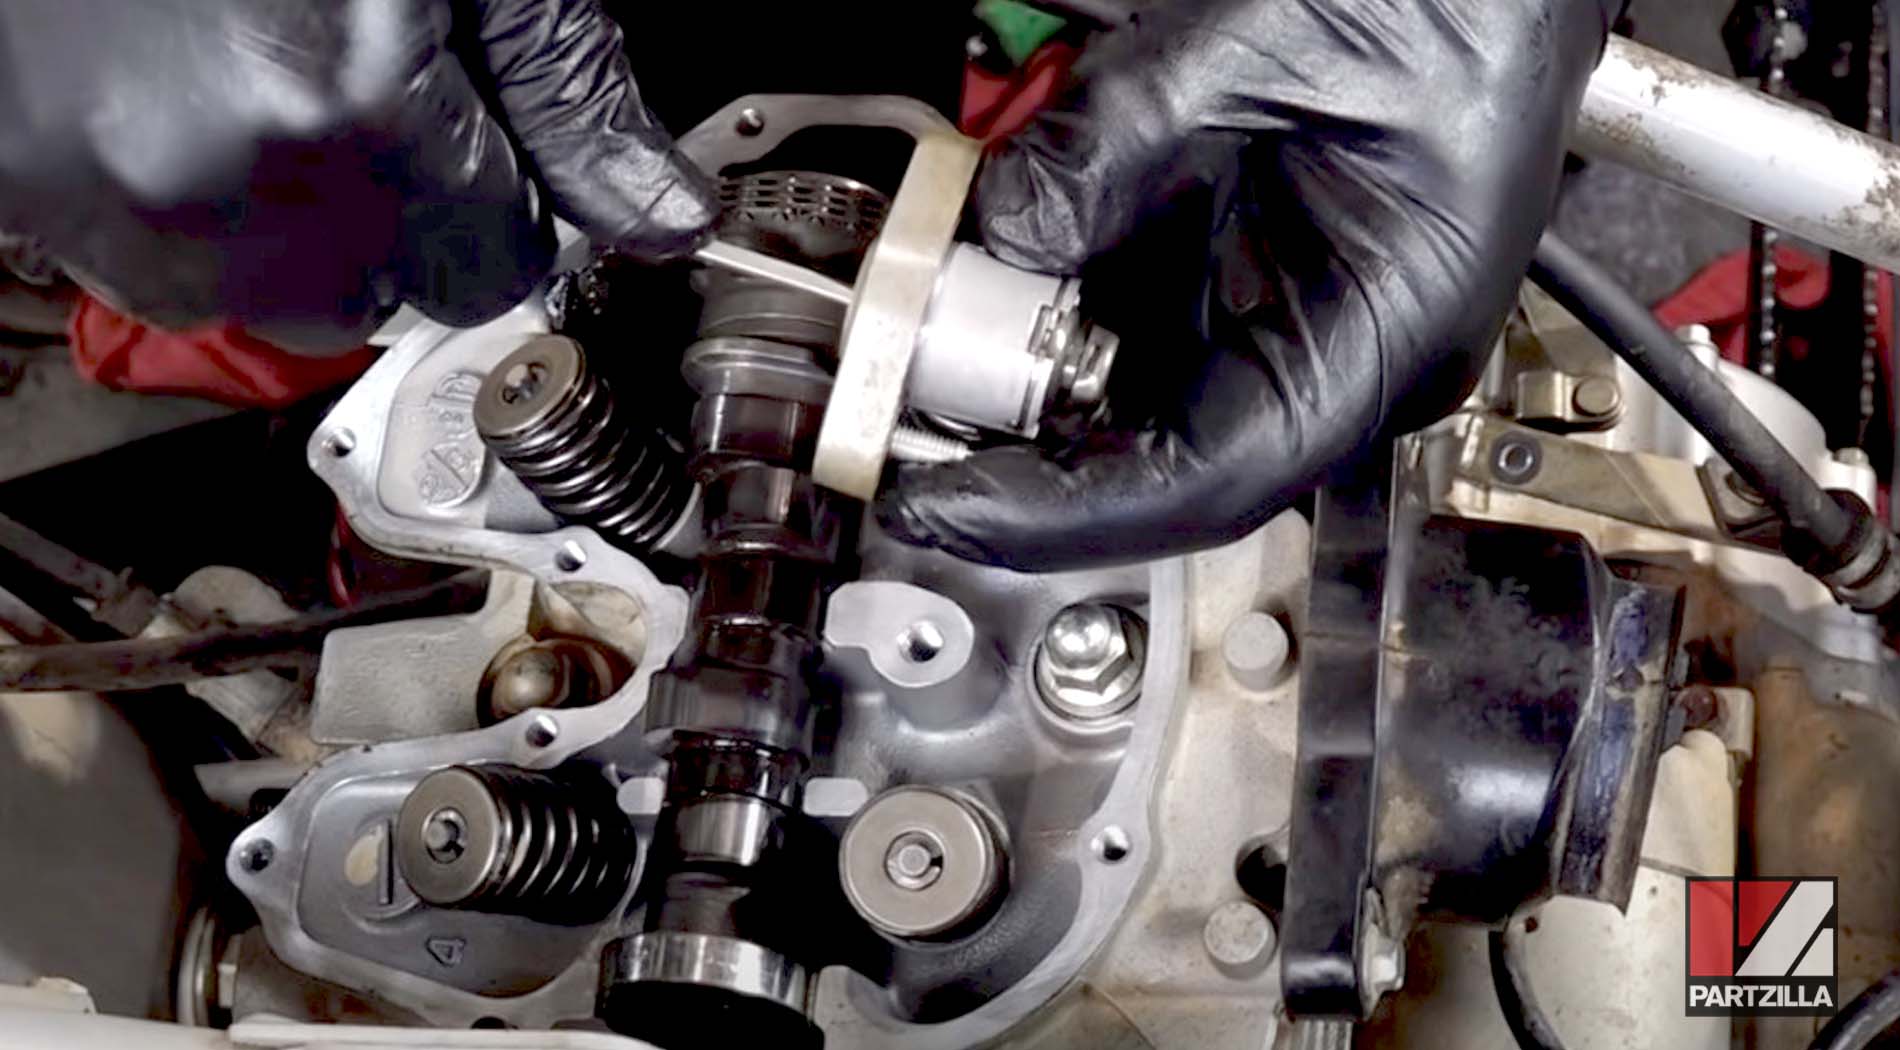
Step 21. Install the spring and the plunger for the decompression mechanism on the camshaft.
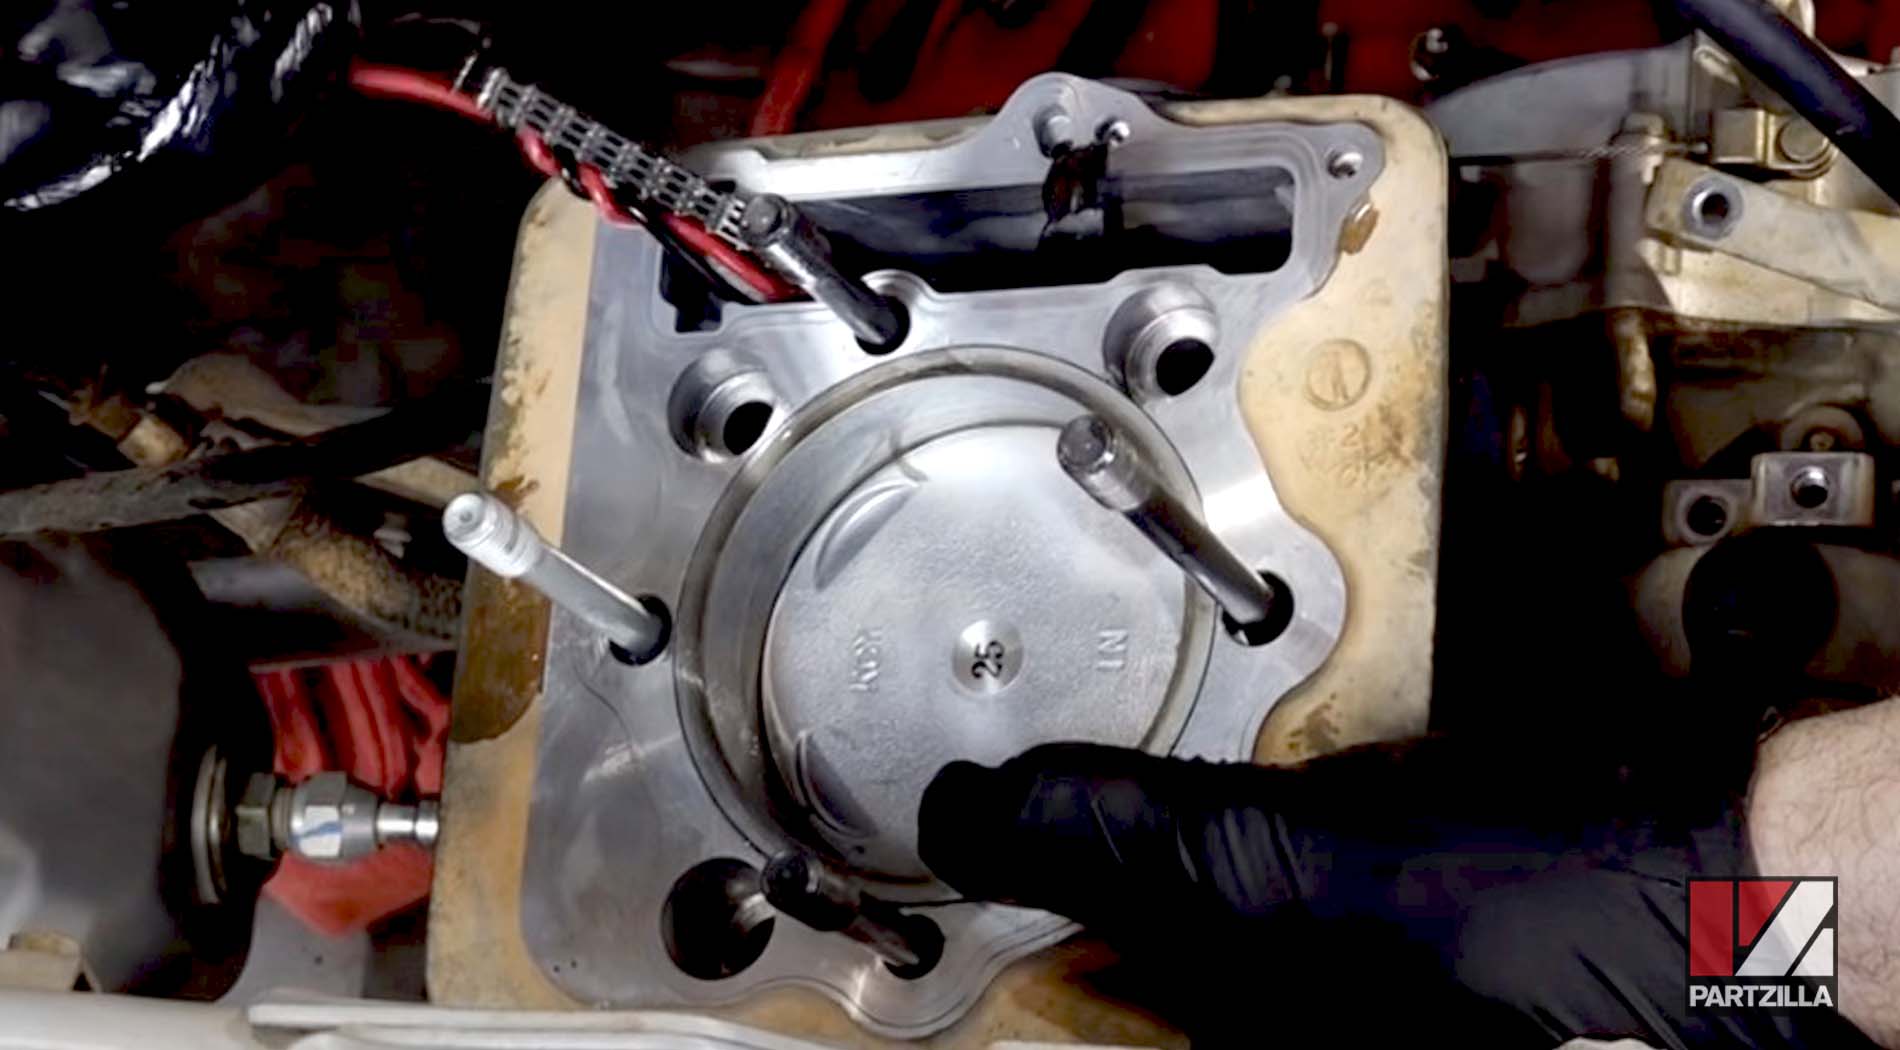
Step 22. Install the camshaft with the timing chain draped over the top of it. Next, tilt up the camshaft and slide on the timing gear sprocket, then slide the chain over the sprocket and bring the sprocket back up onto the camshaft where the bolts are going to feed through.
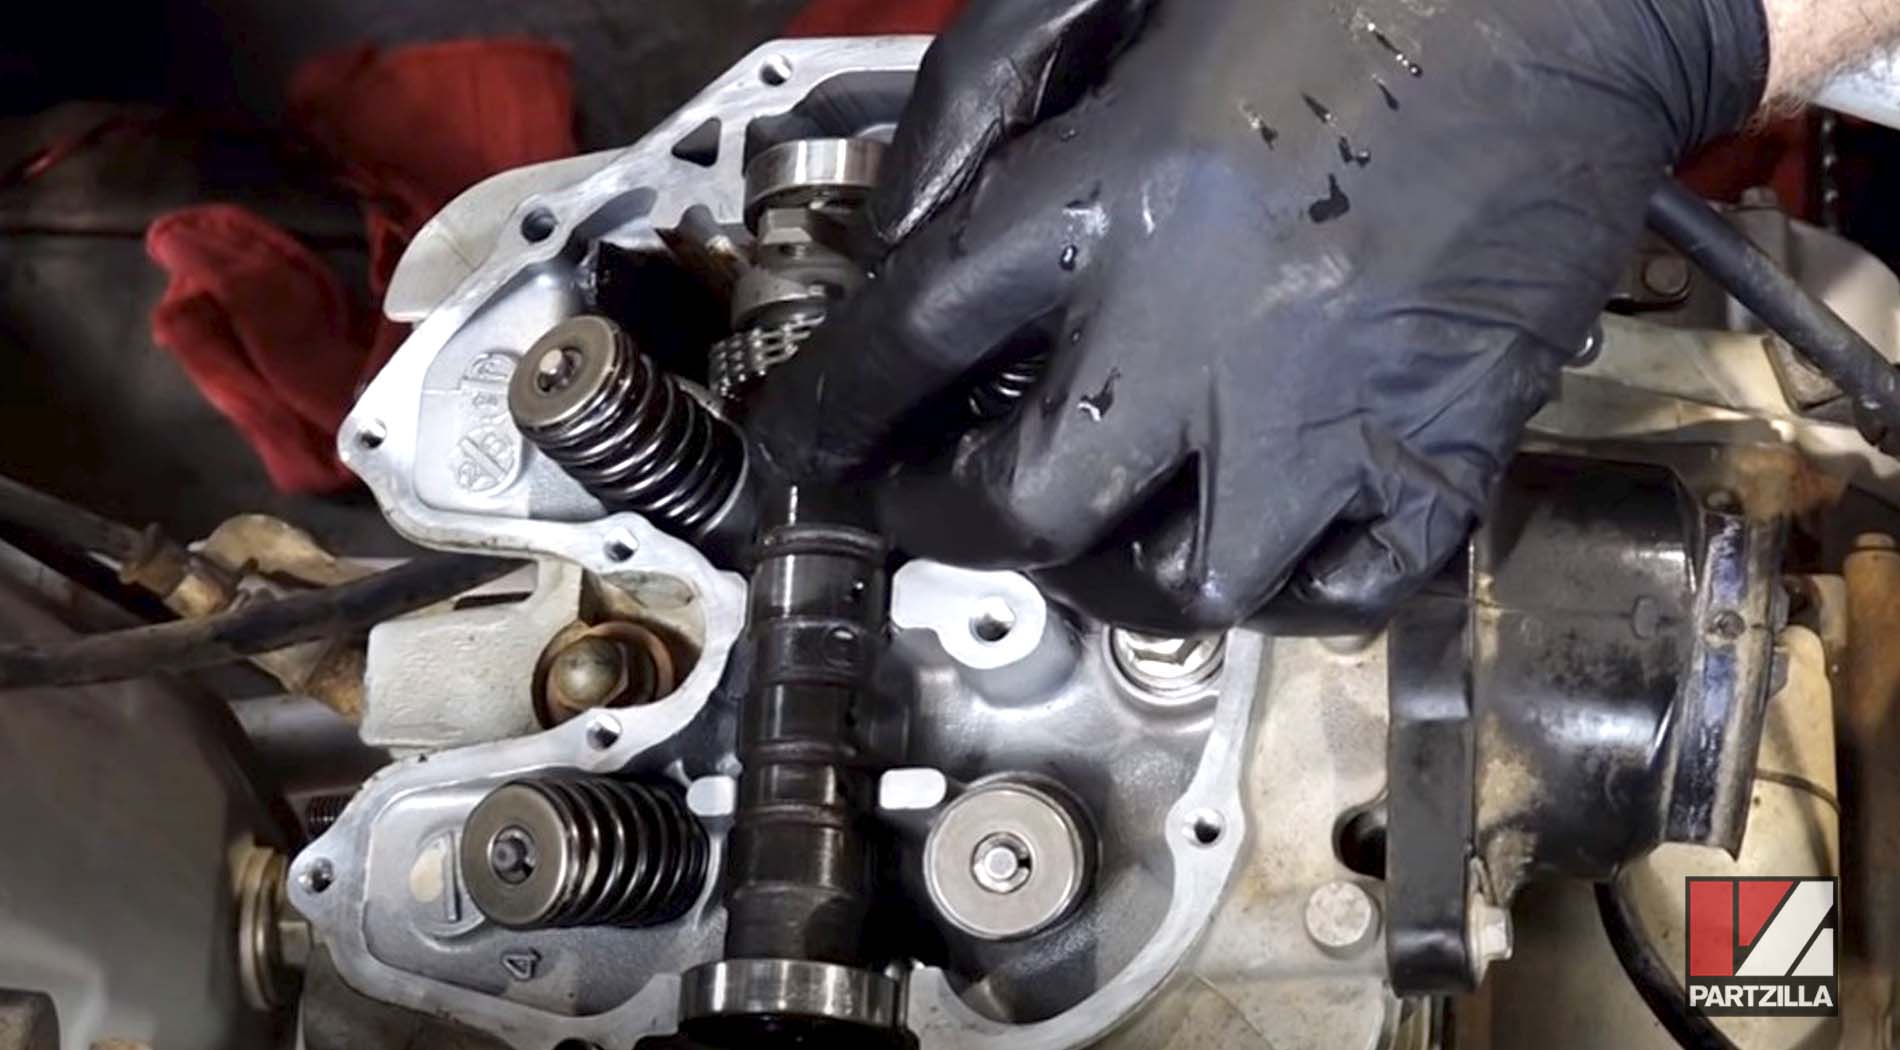
Step 23. Install the two dowels on either end of the camshaft.
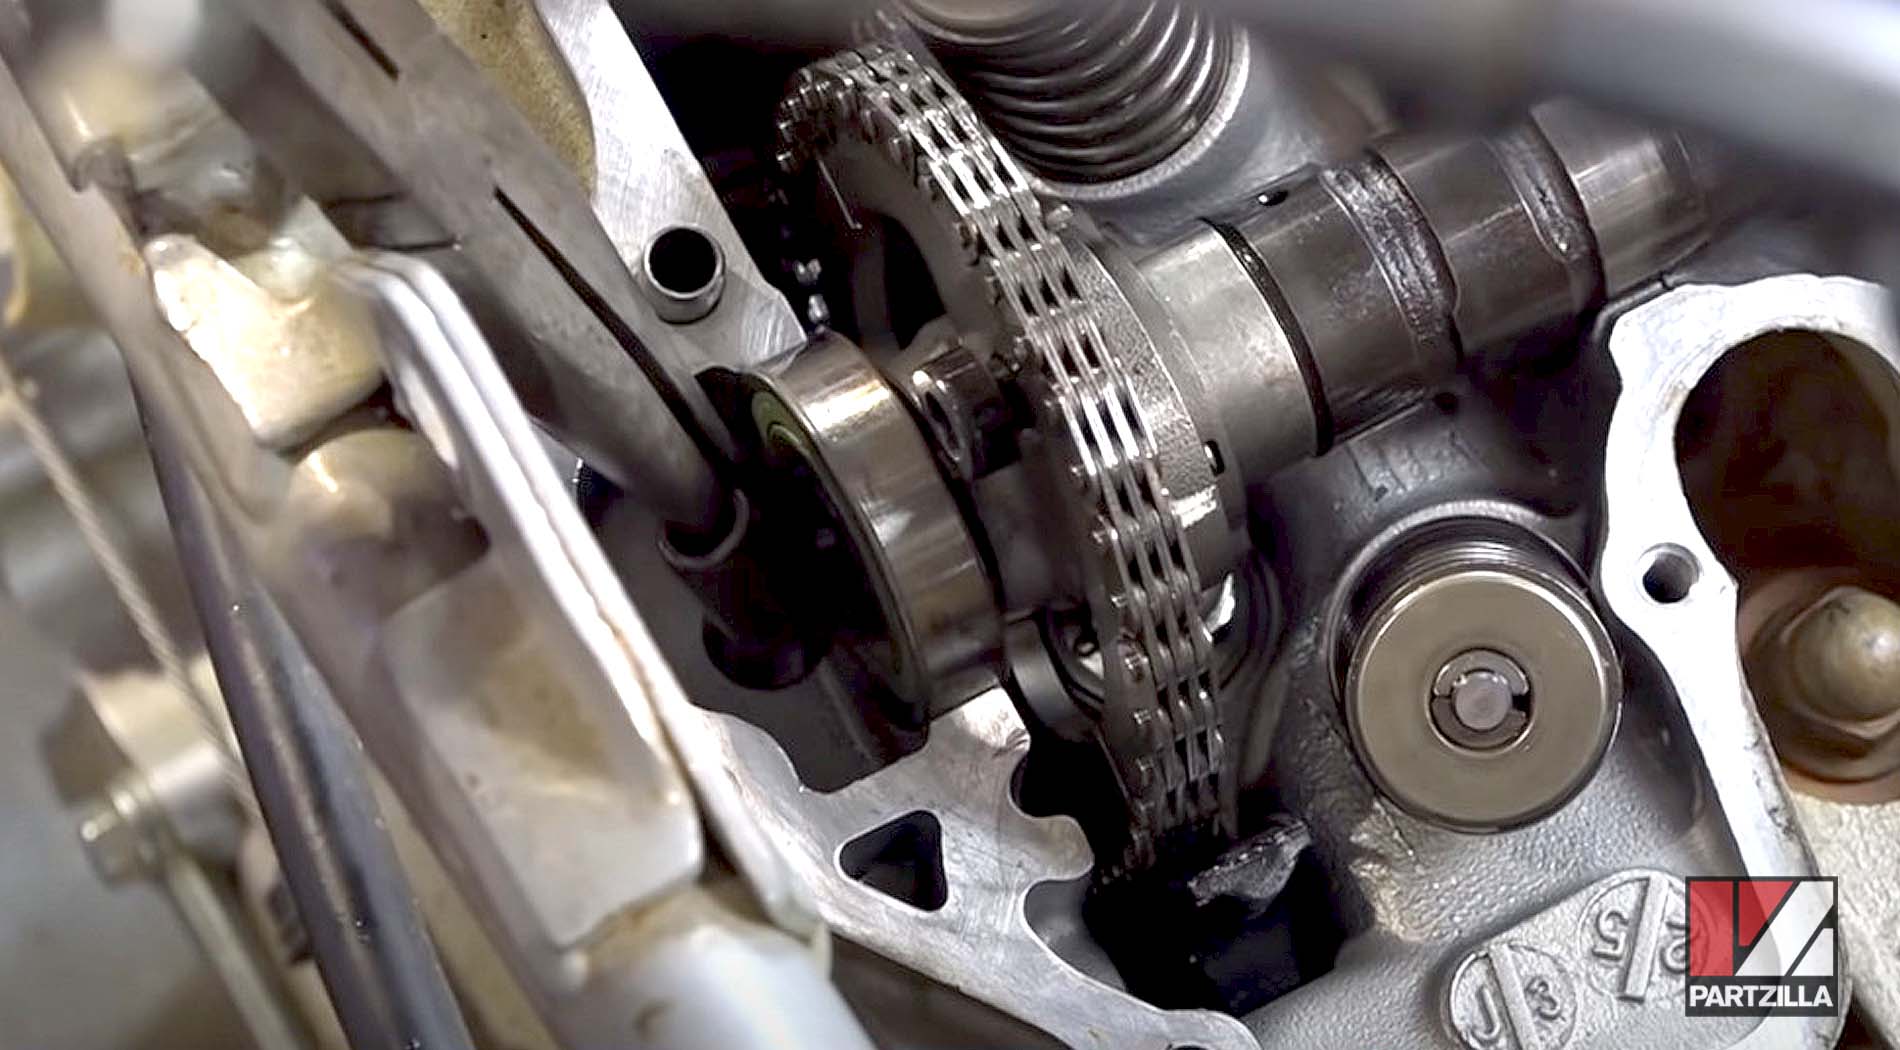

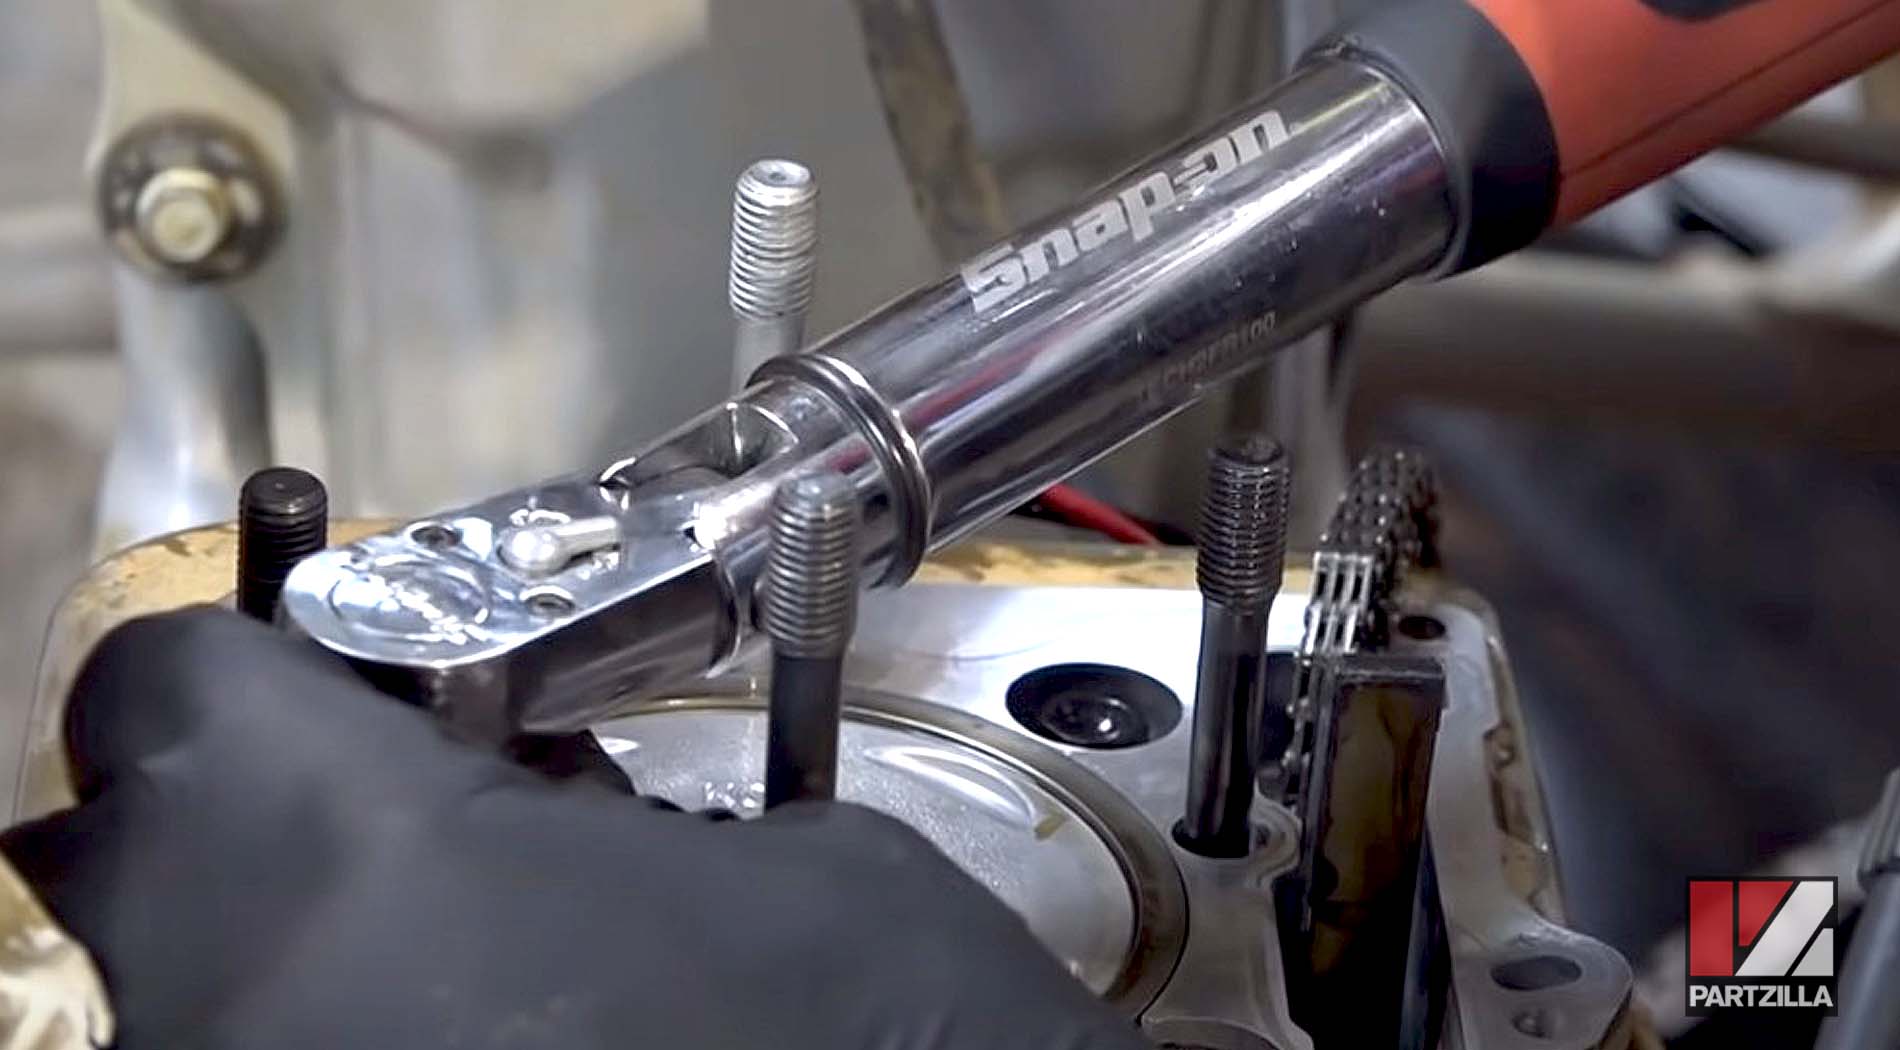
Step 24. Install the camshaft bolts, starting with the top, then rotating it 180 degrees and doing the ones at the bottom.
Step 25. Install the two 8mm base bolts for the cylinder.

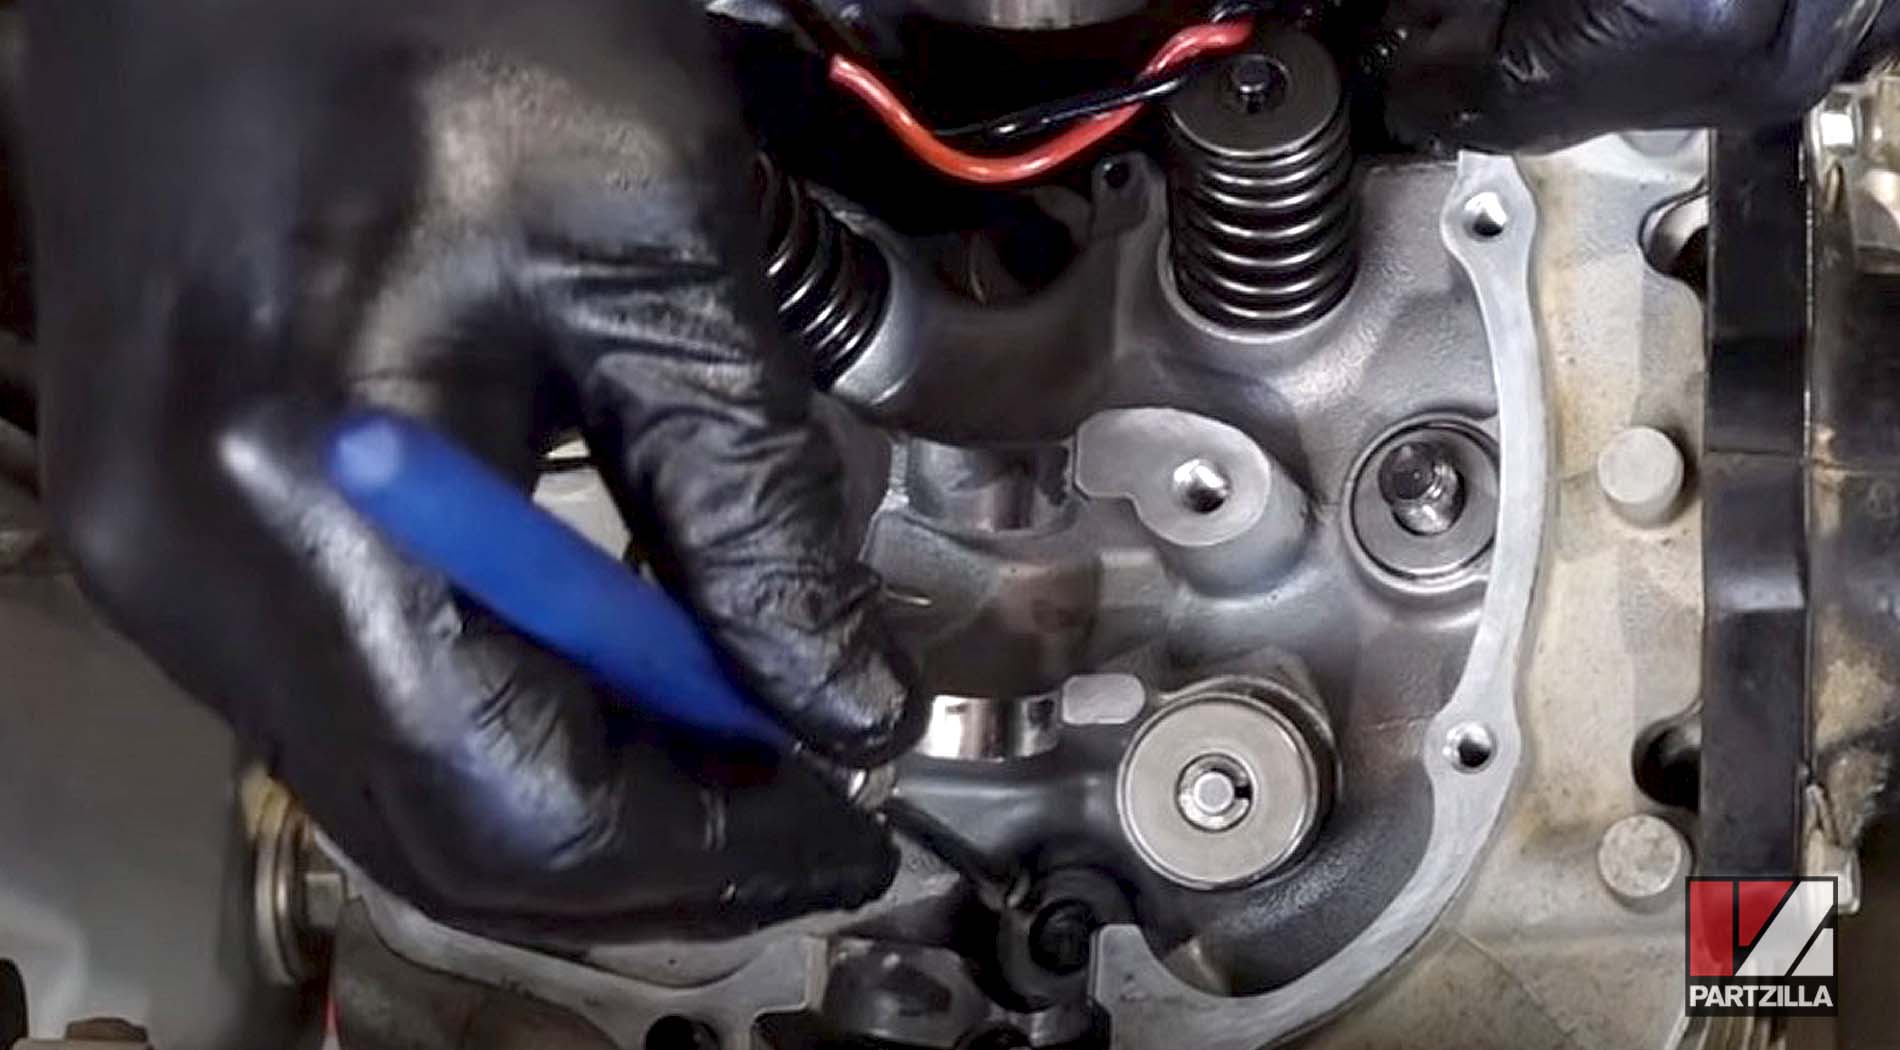
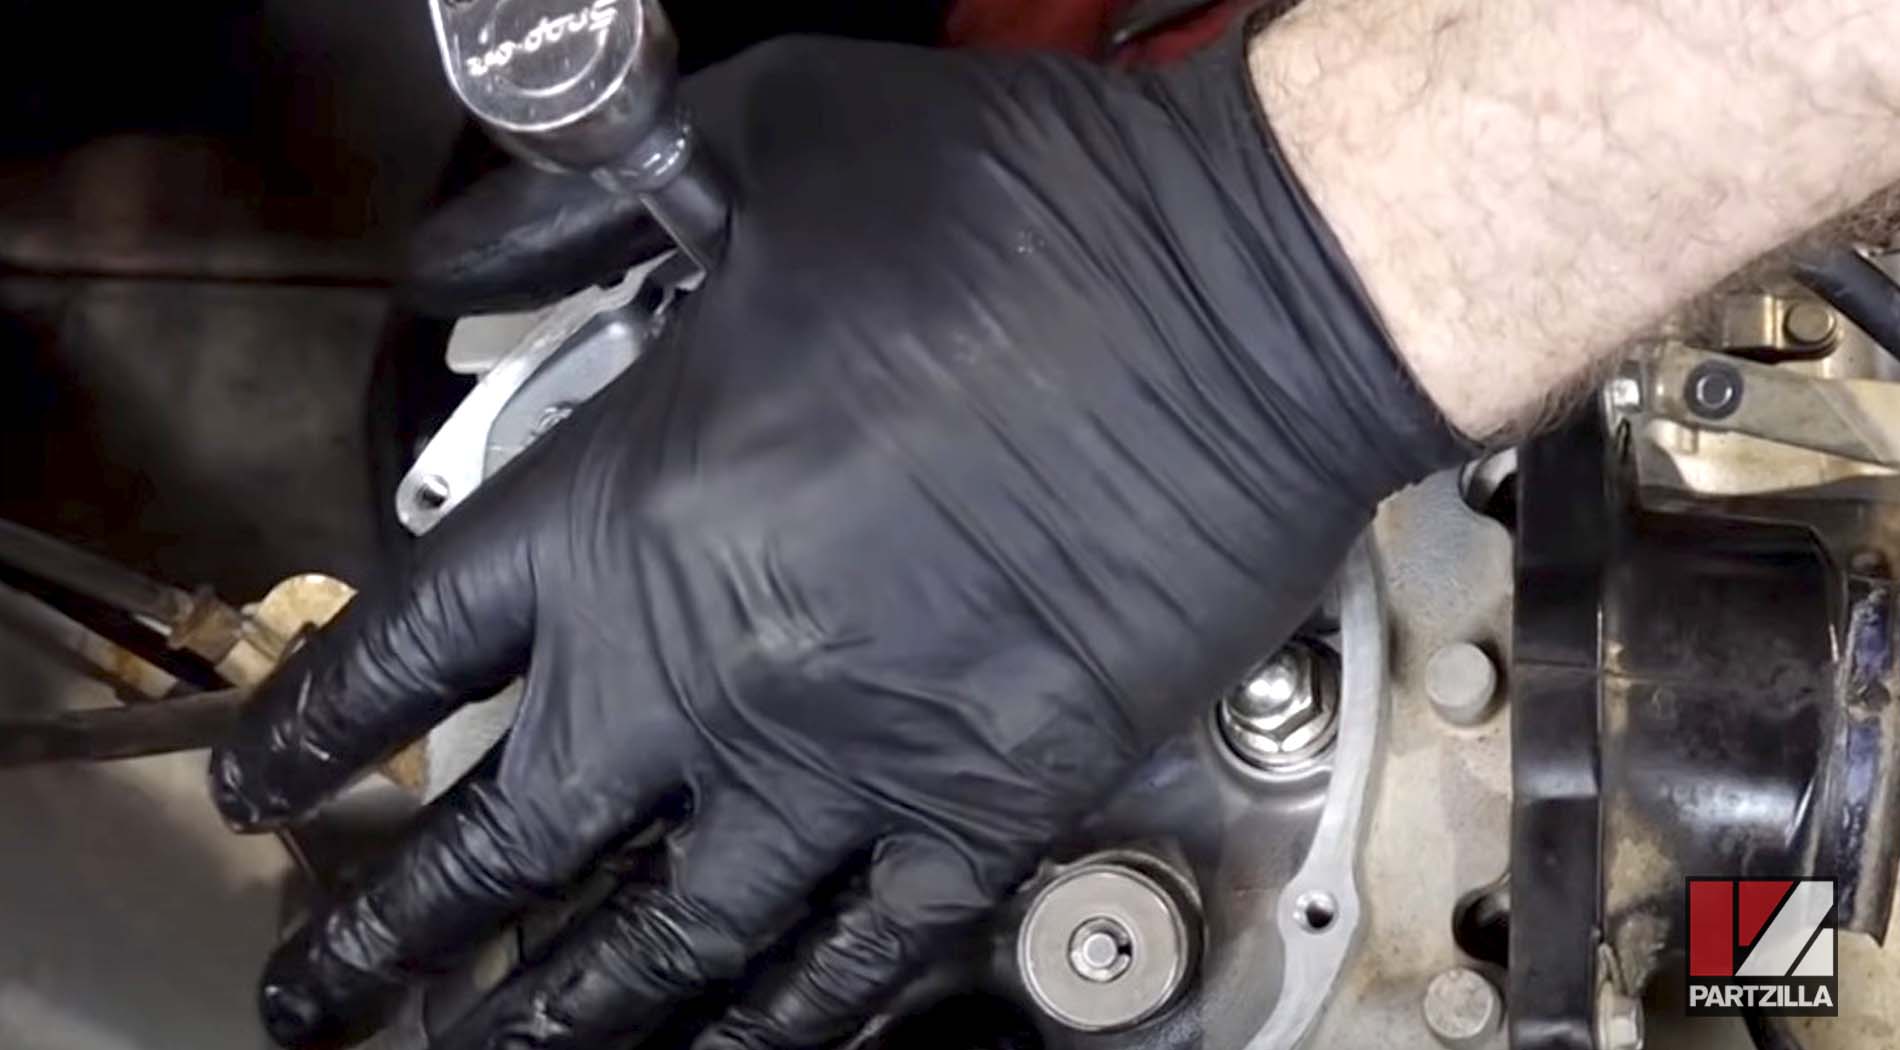
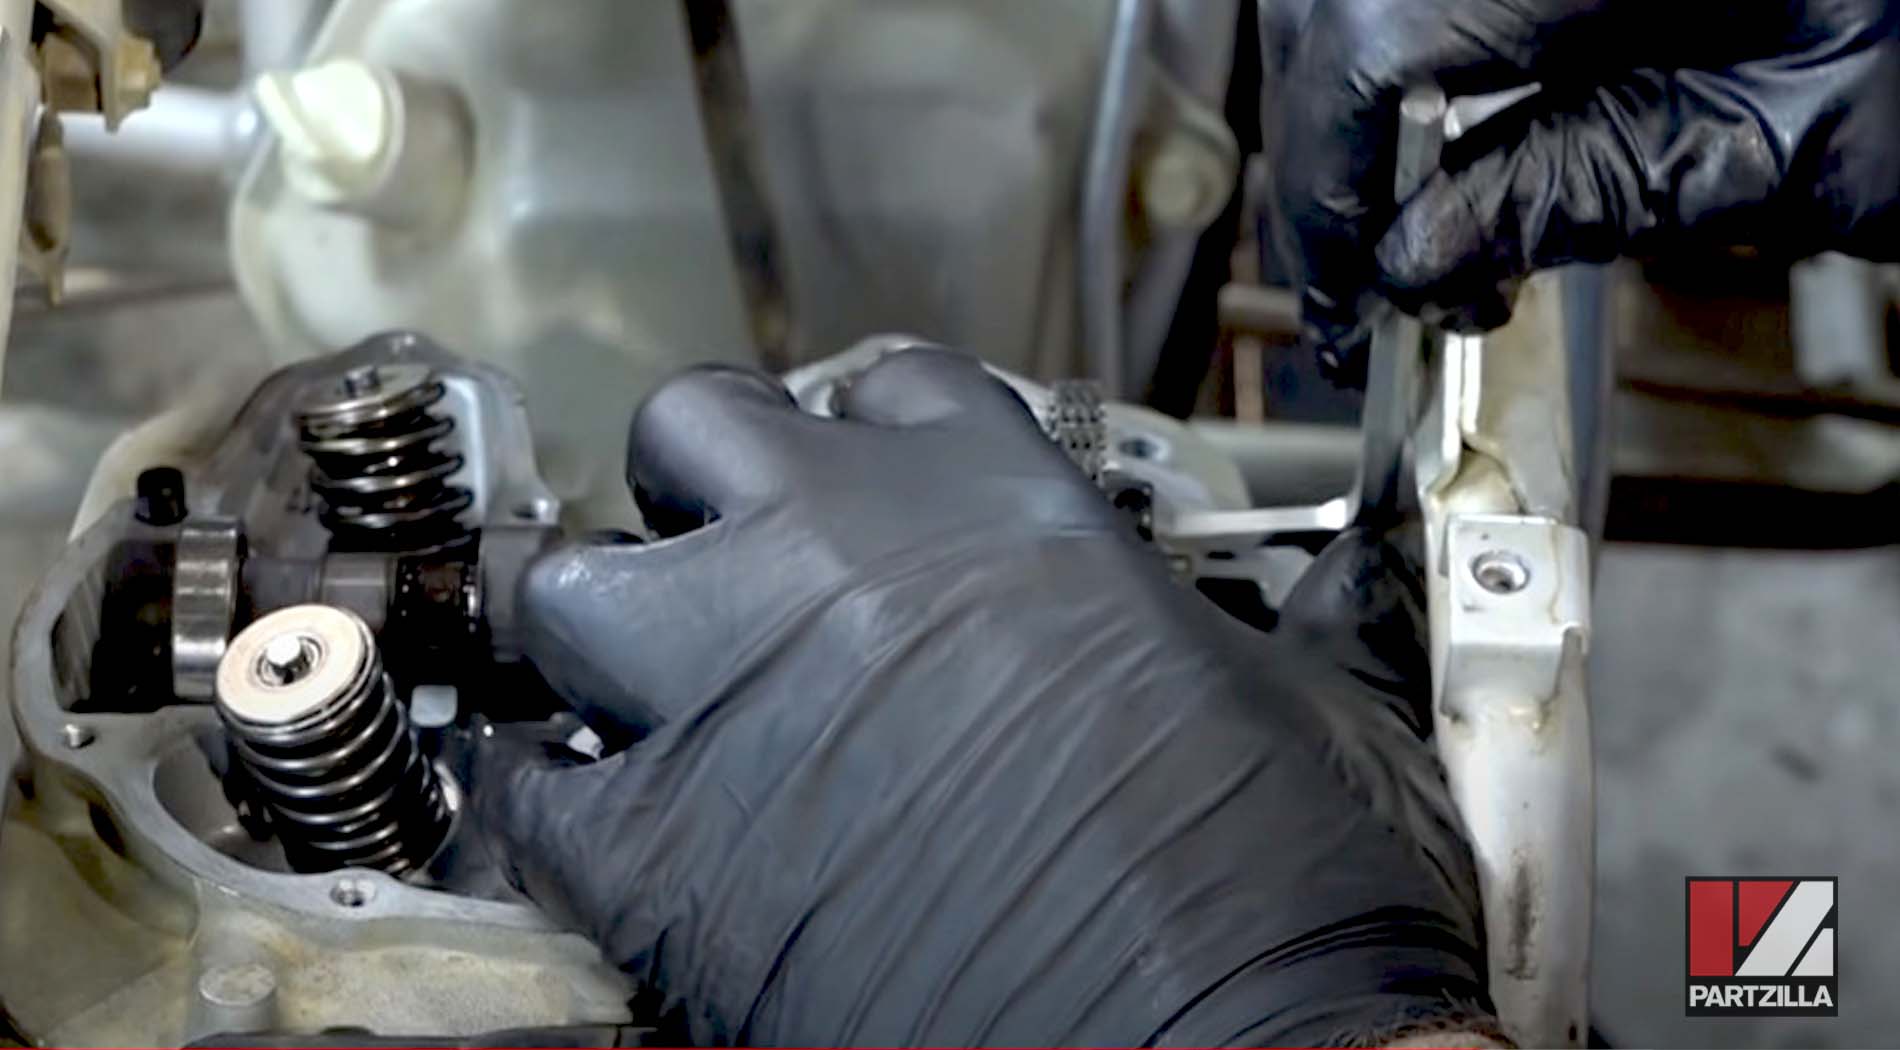
Step 26. Prepare the camshaft chain tensioner for installation by using a flat-blade screwdriver to turn it counterclockwise and bring its piston all the way back. Next, install the tensioner with its gasket in place into the cylinder, followed by its two 8mm bolts. Then tap the tensioner to release the spring, which will put the appropriate amount of tension on the chain.

Step 27. Install the valve cover gasket (included in the Honda gasket kit), then put a little oil over the cam lobes to make sure they're lubricated on startup.
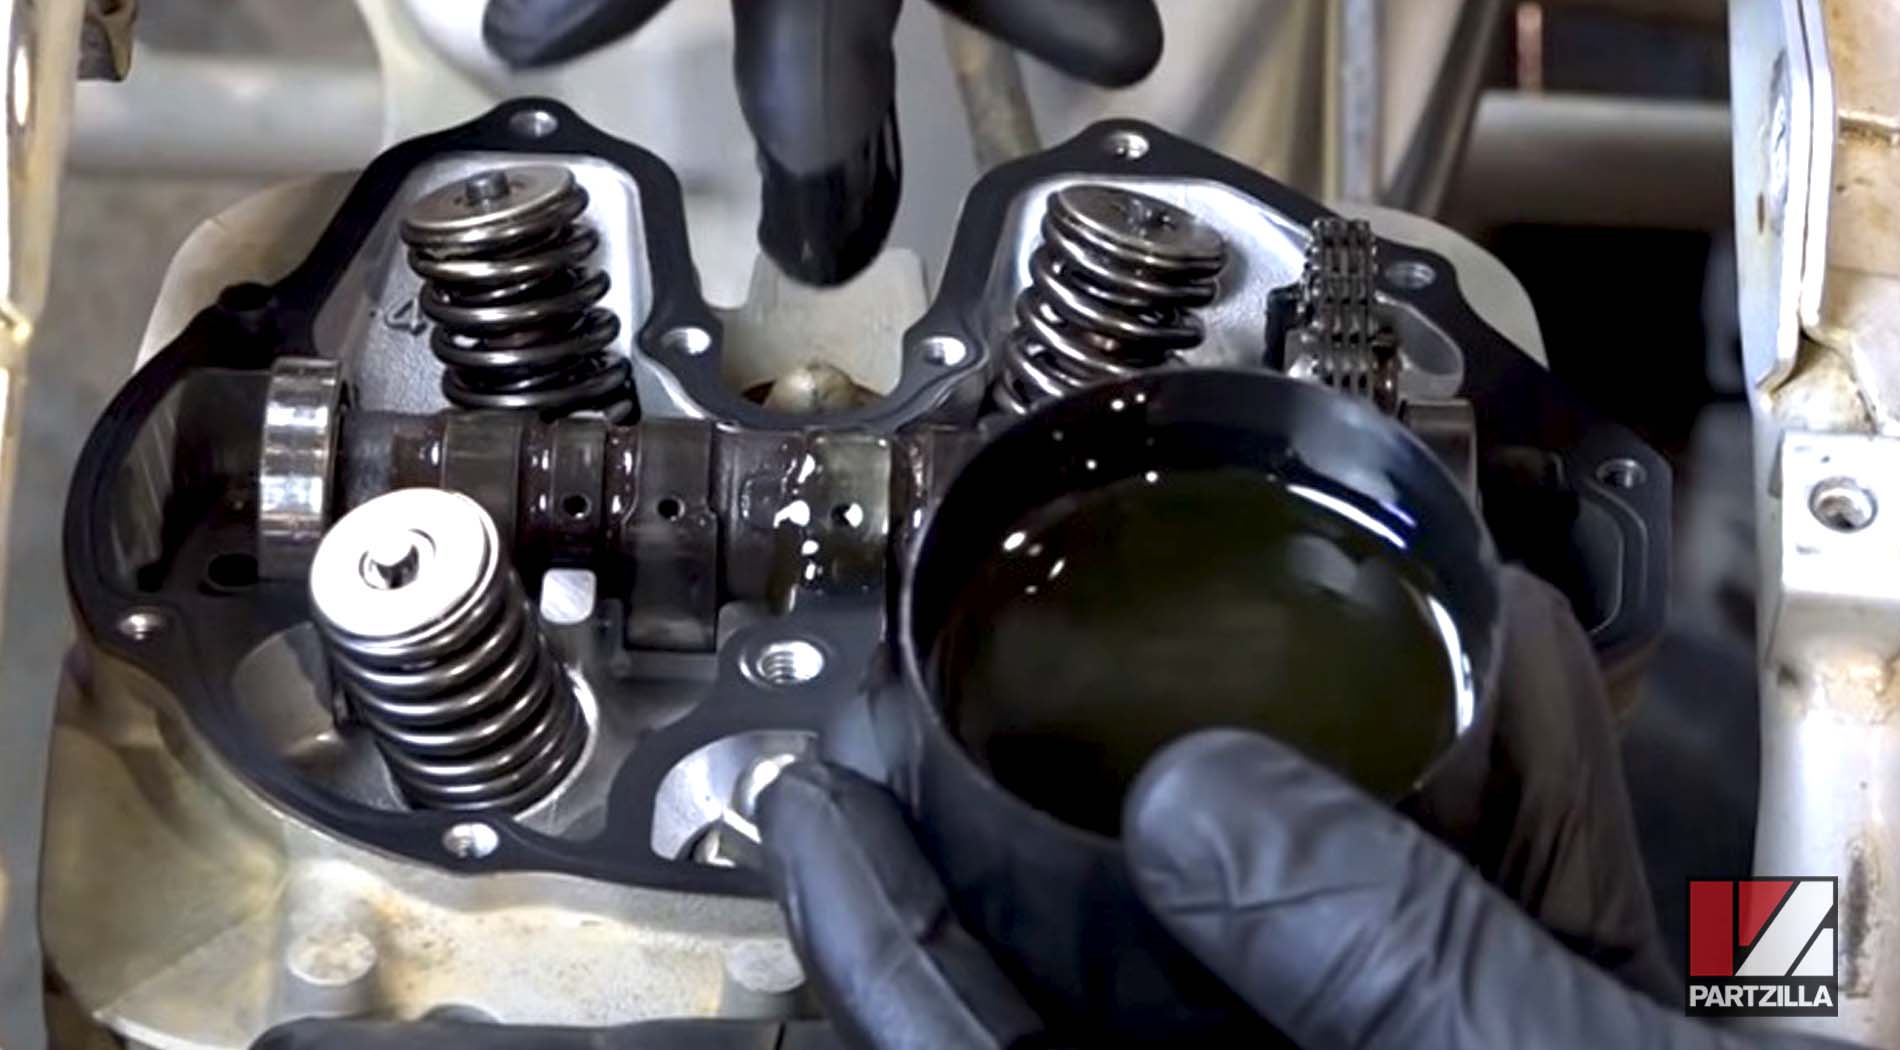
Step 28. Install the head cover and tighten down its 8mm bolts.
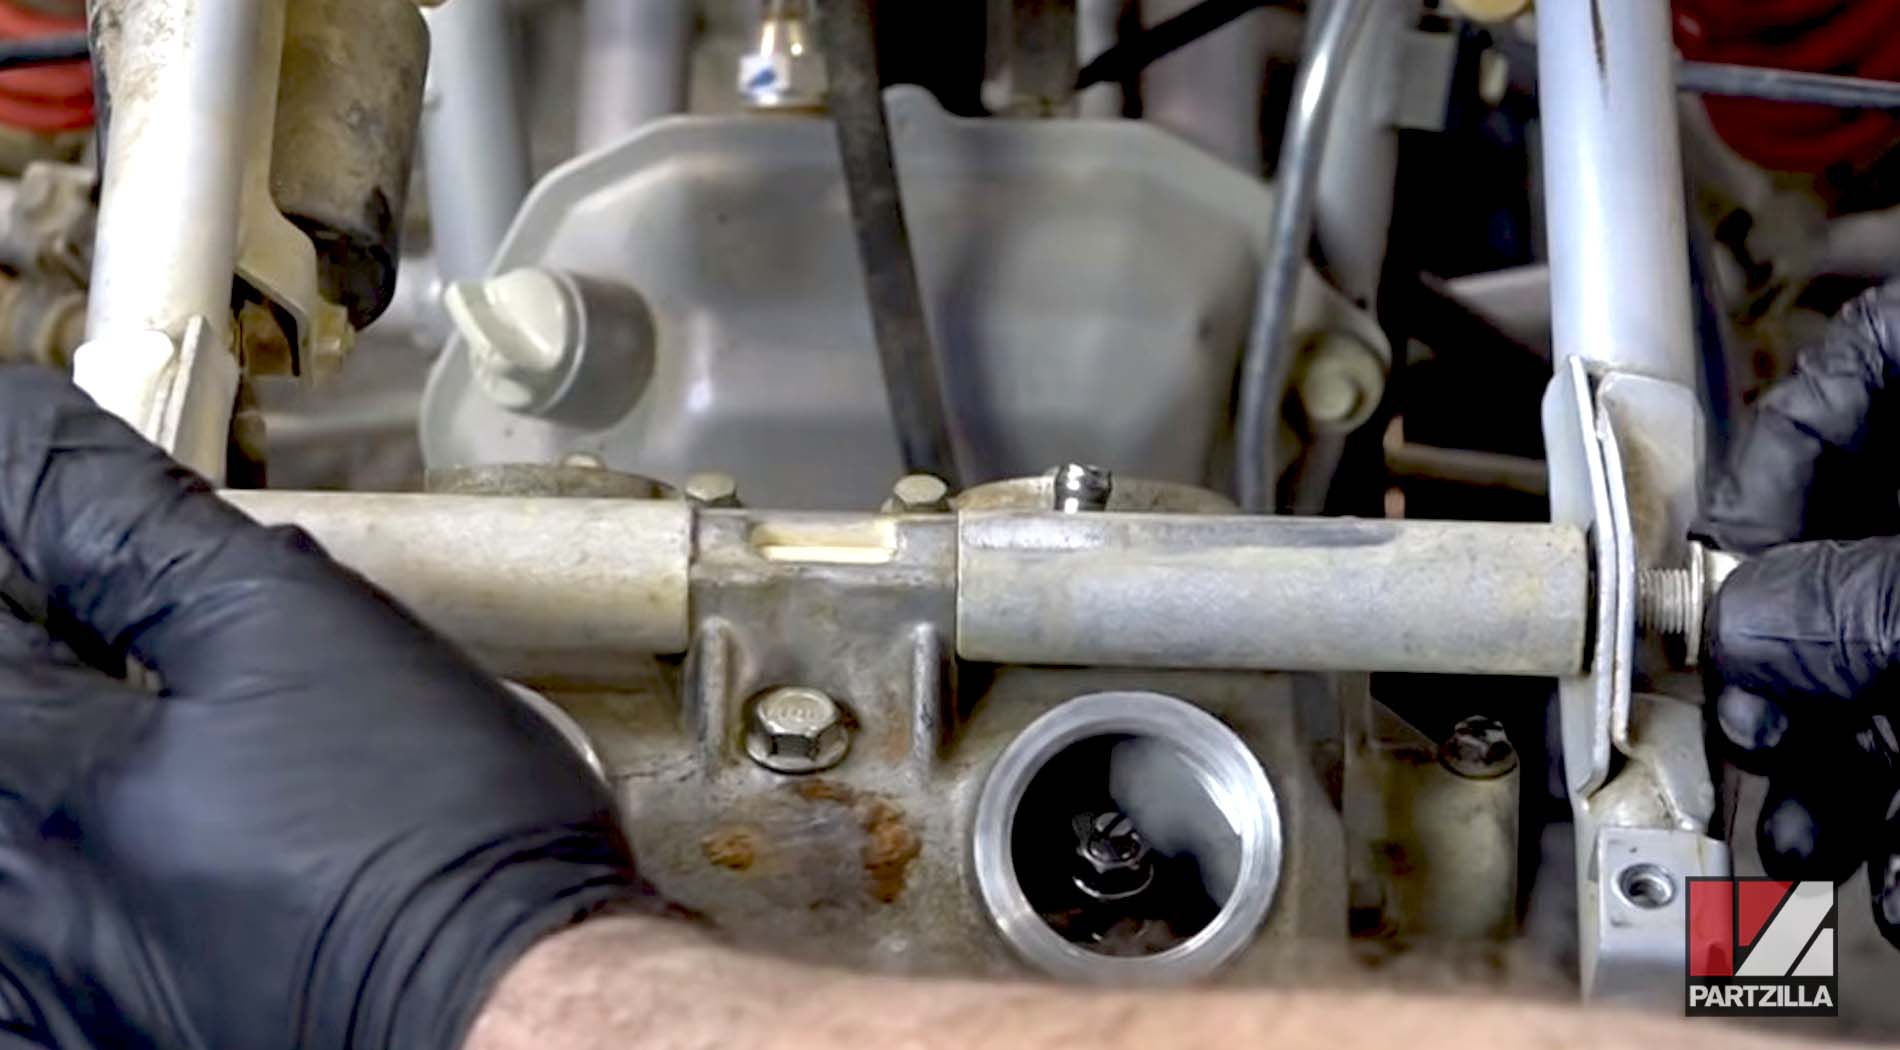
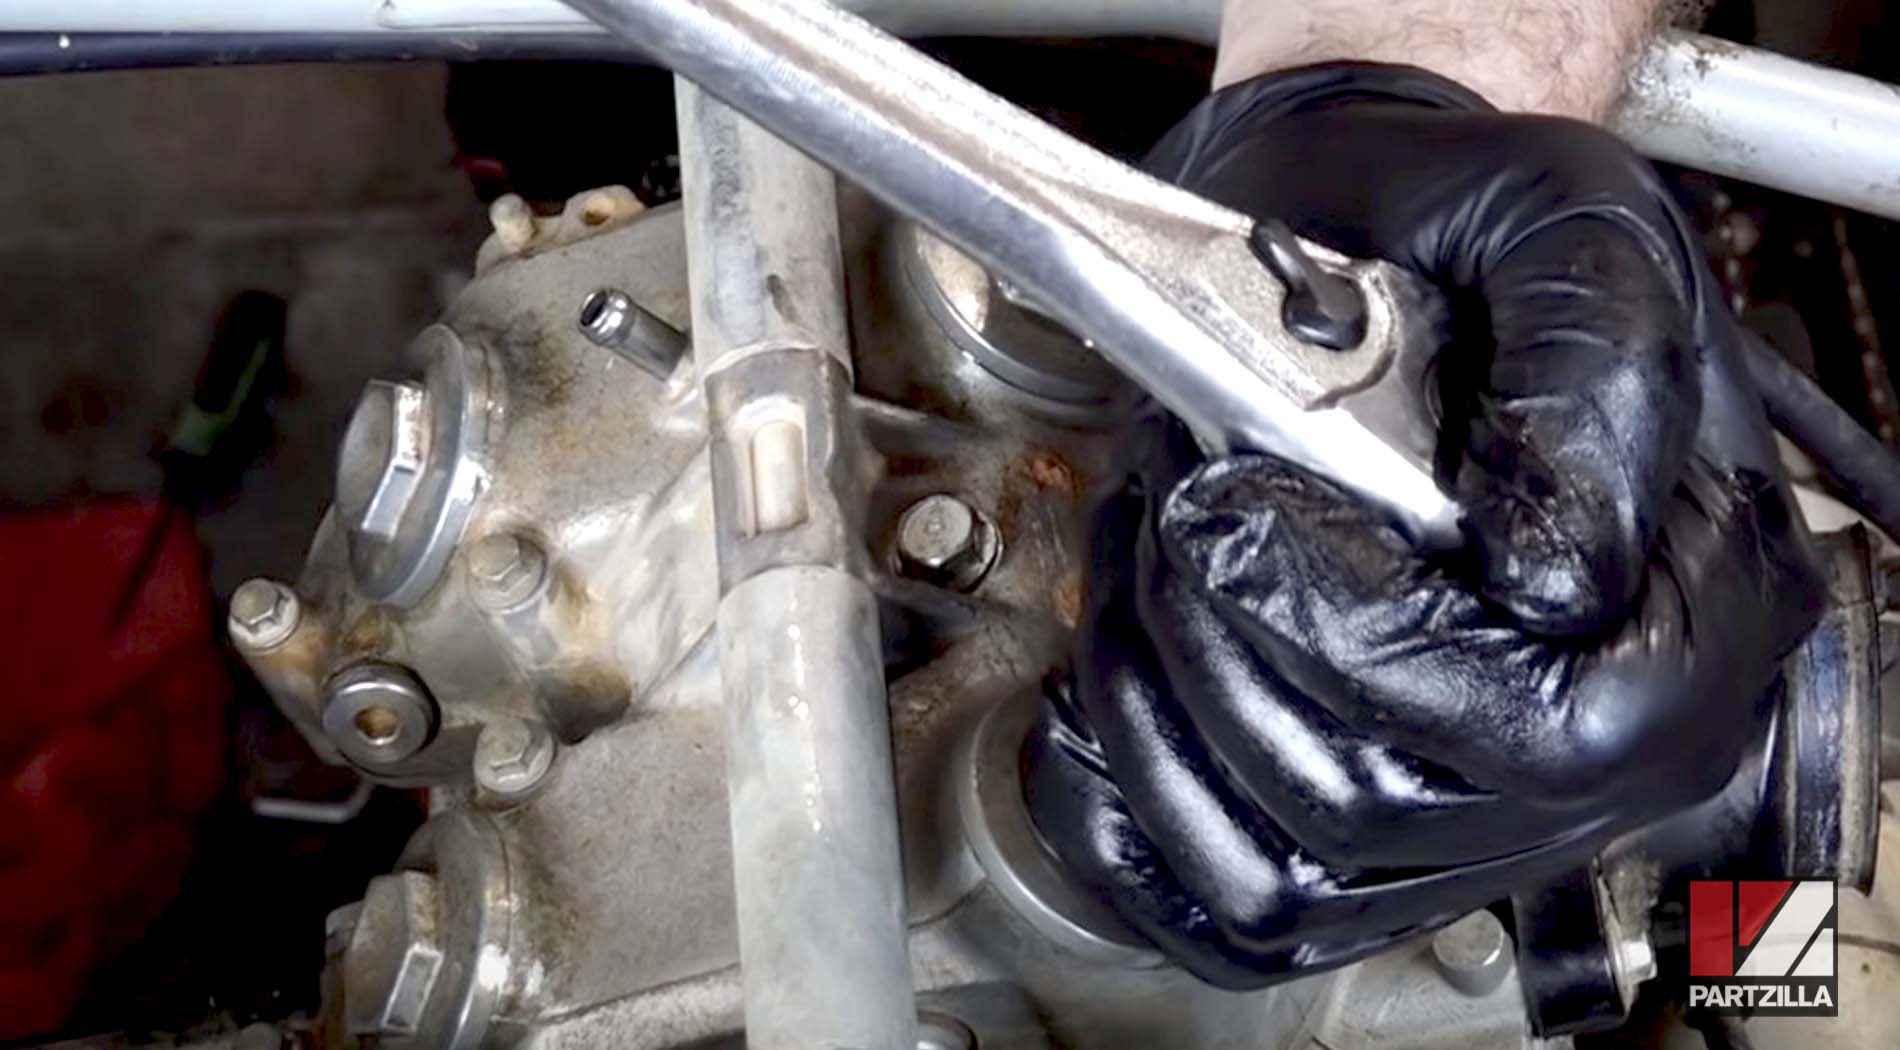
Step 29. Install the main motor mount for the head and its two large spacers.
Step 30. Adjust the valves: 0.1mm on the intake, 0.12mm on the exhaust.
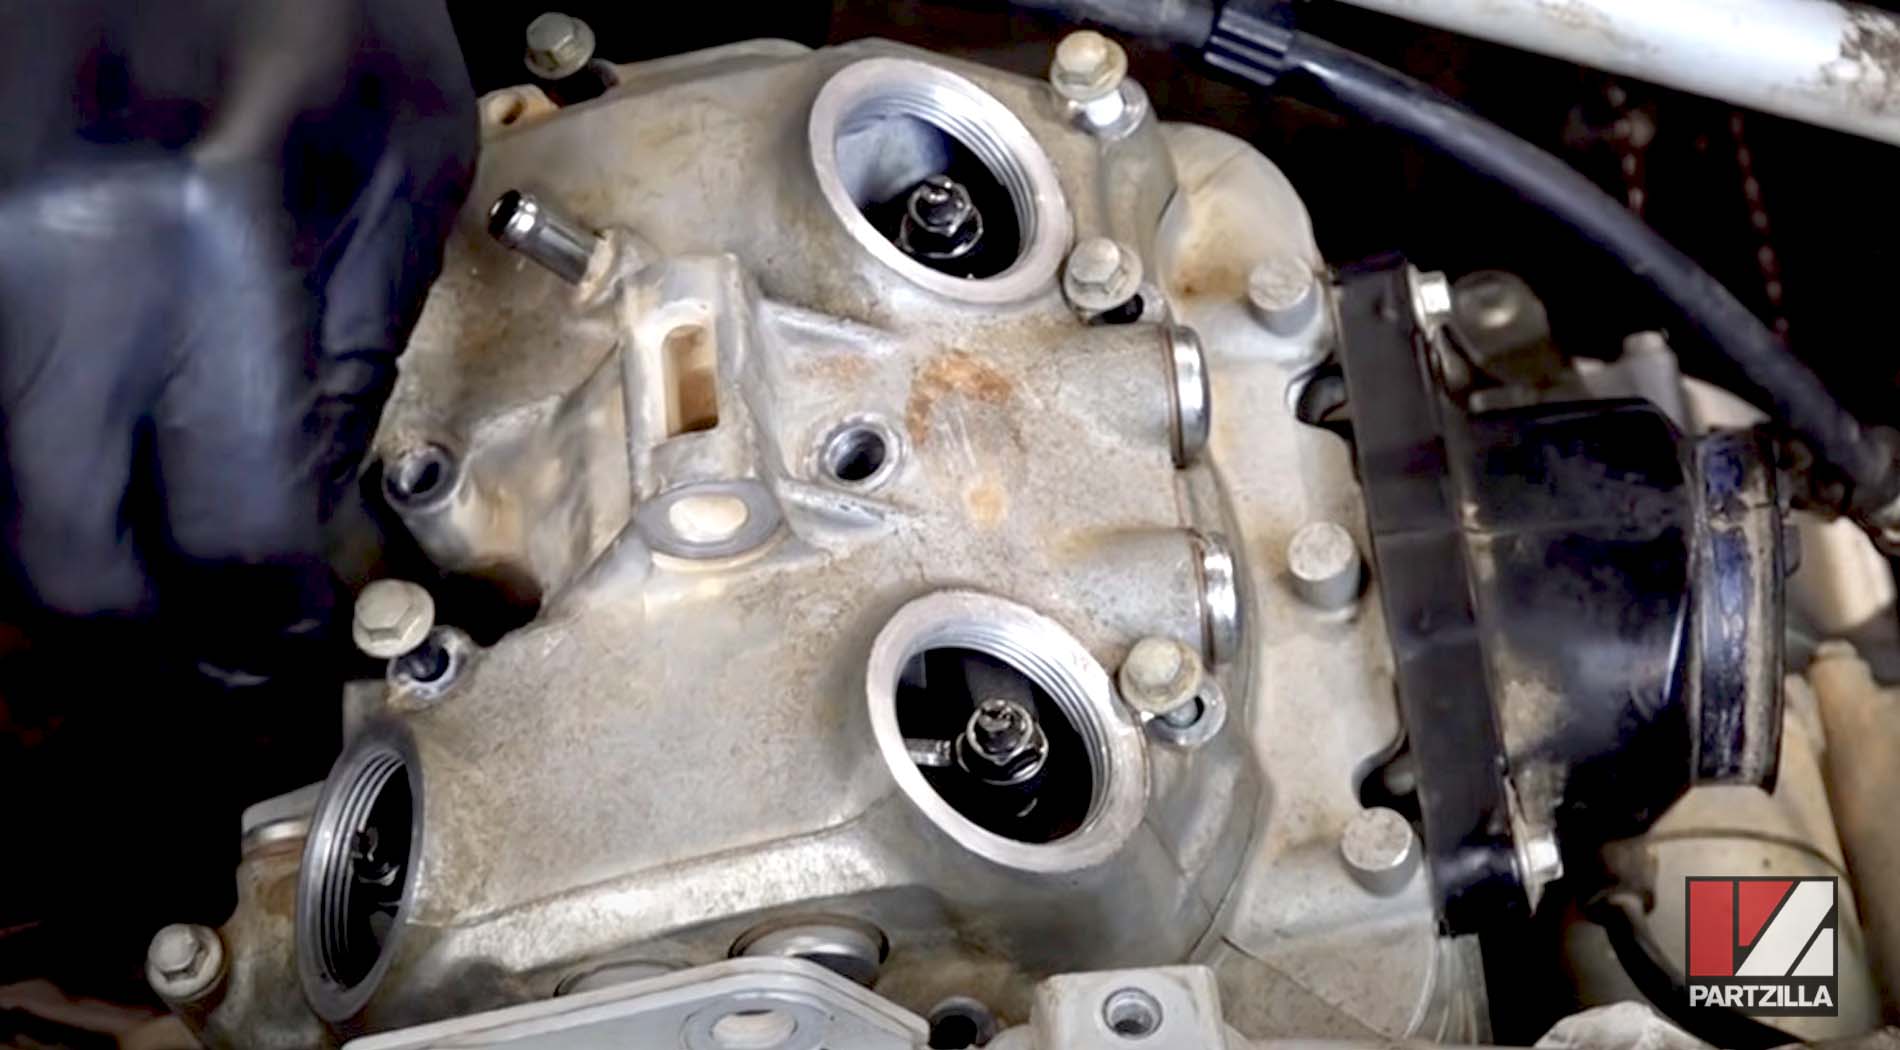
Step 31. Install the valve cover inspection caps.
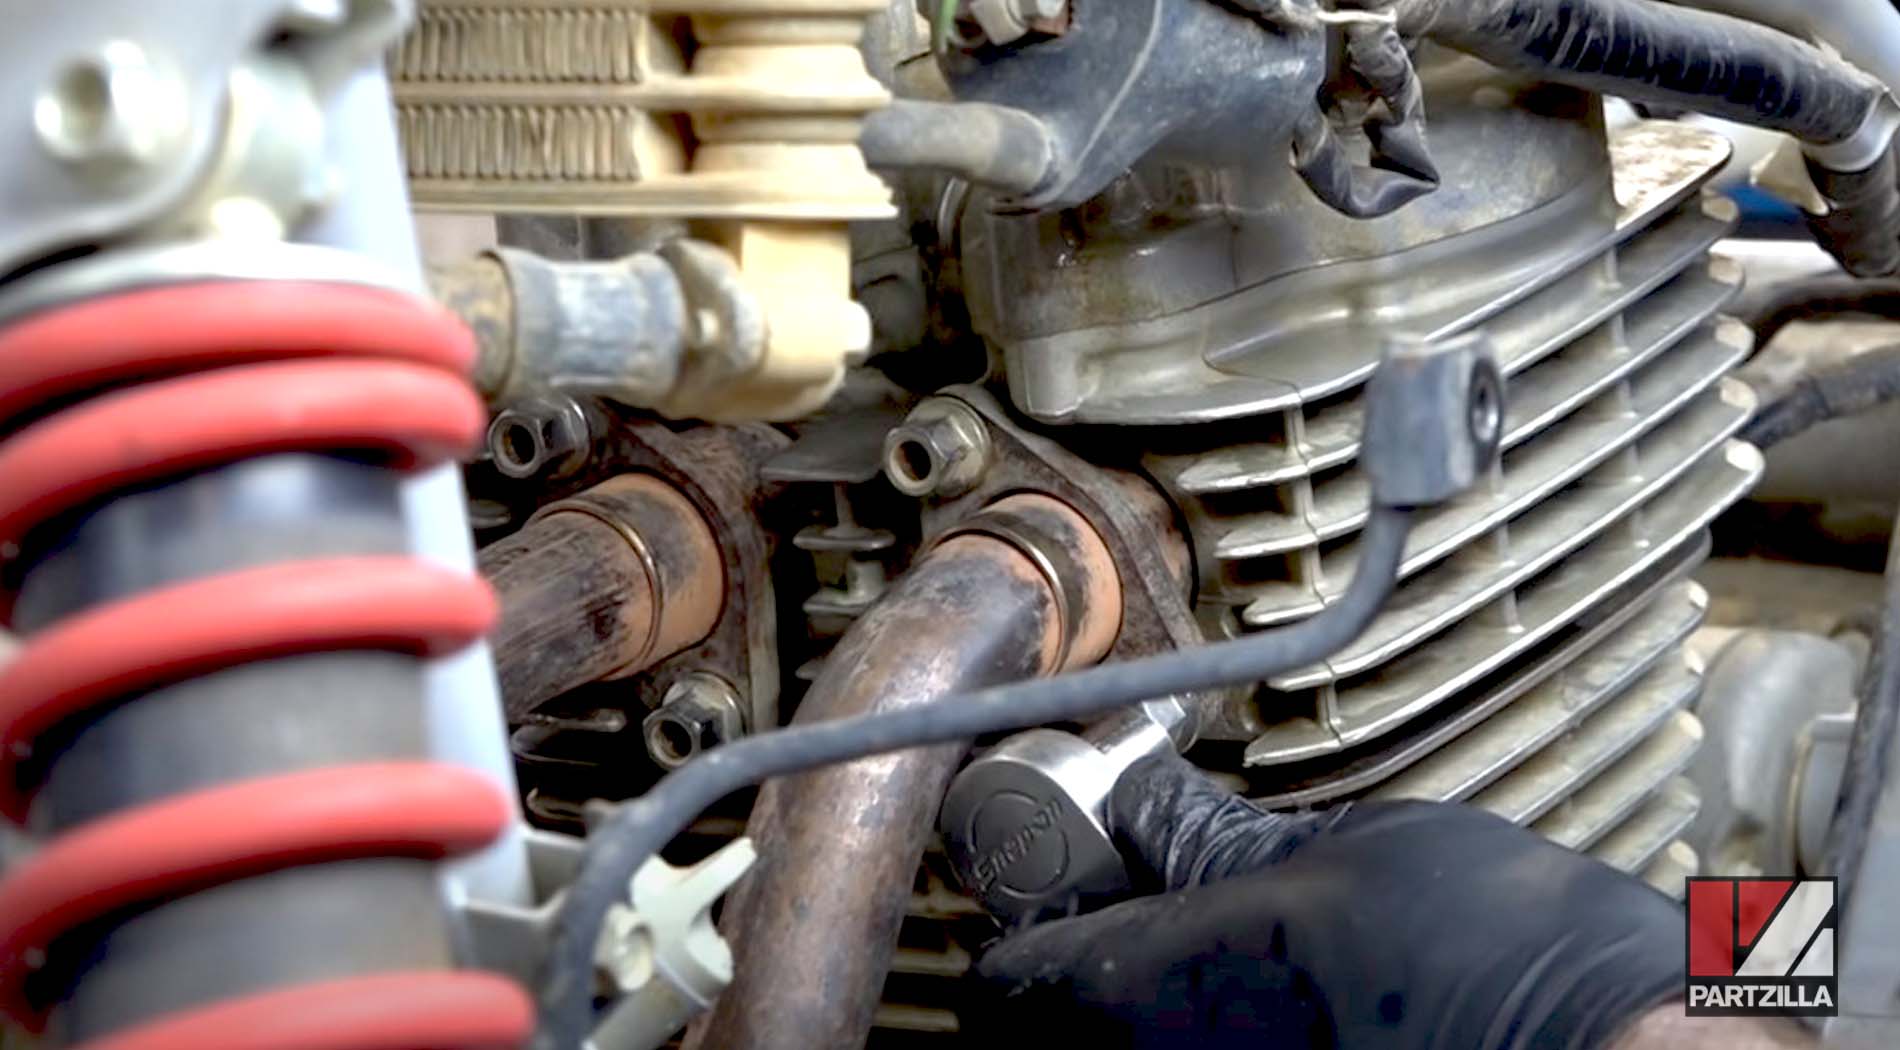
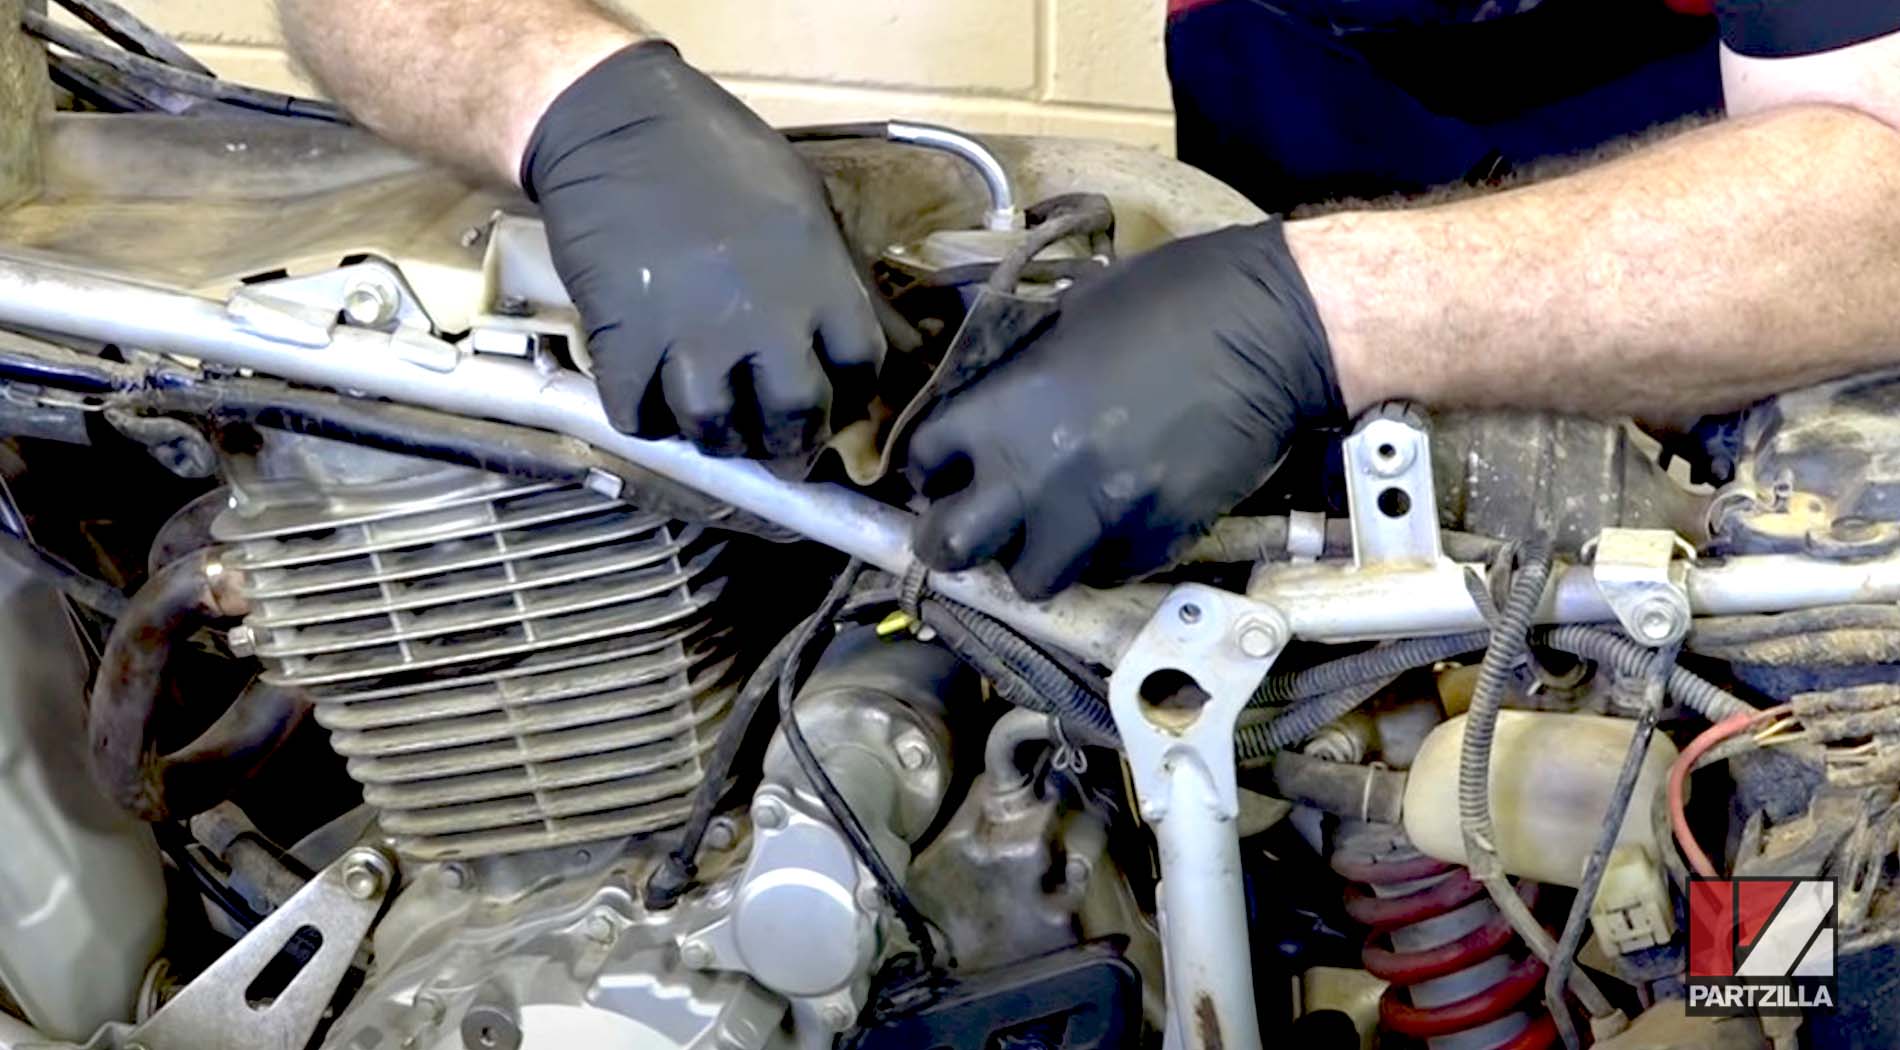
Step 32. Install the crush washers that seal up the exhaust manifold, followed by the exhaust flanges, and tighten the 12mm bolts that hold them in place.
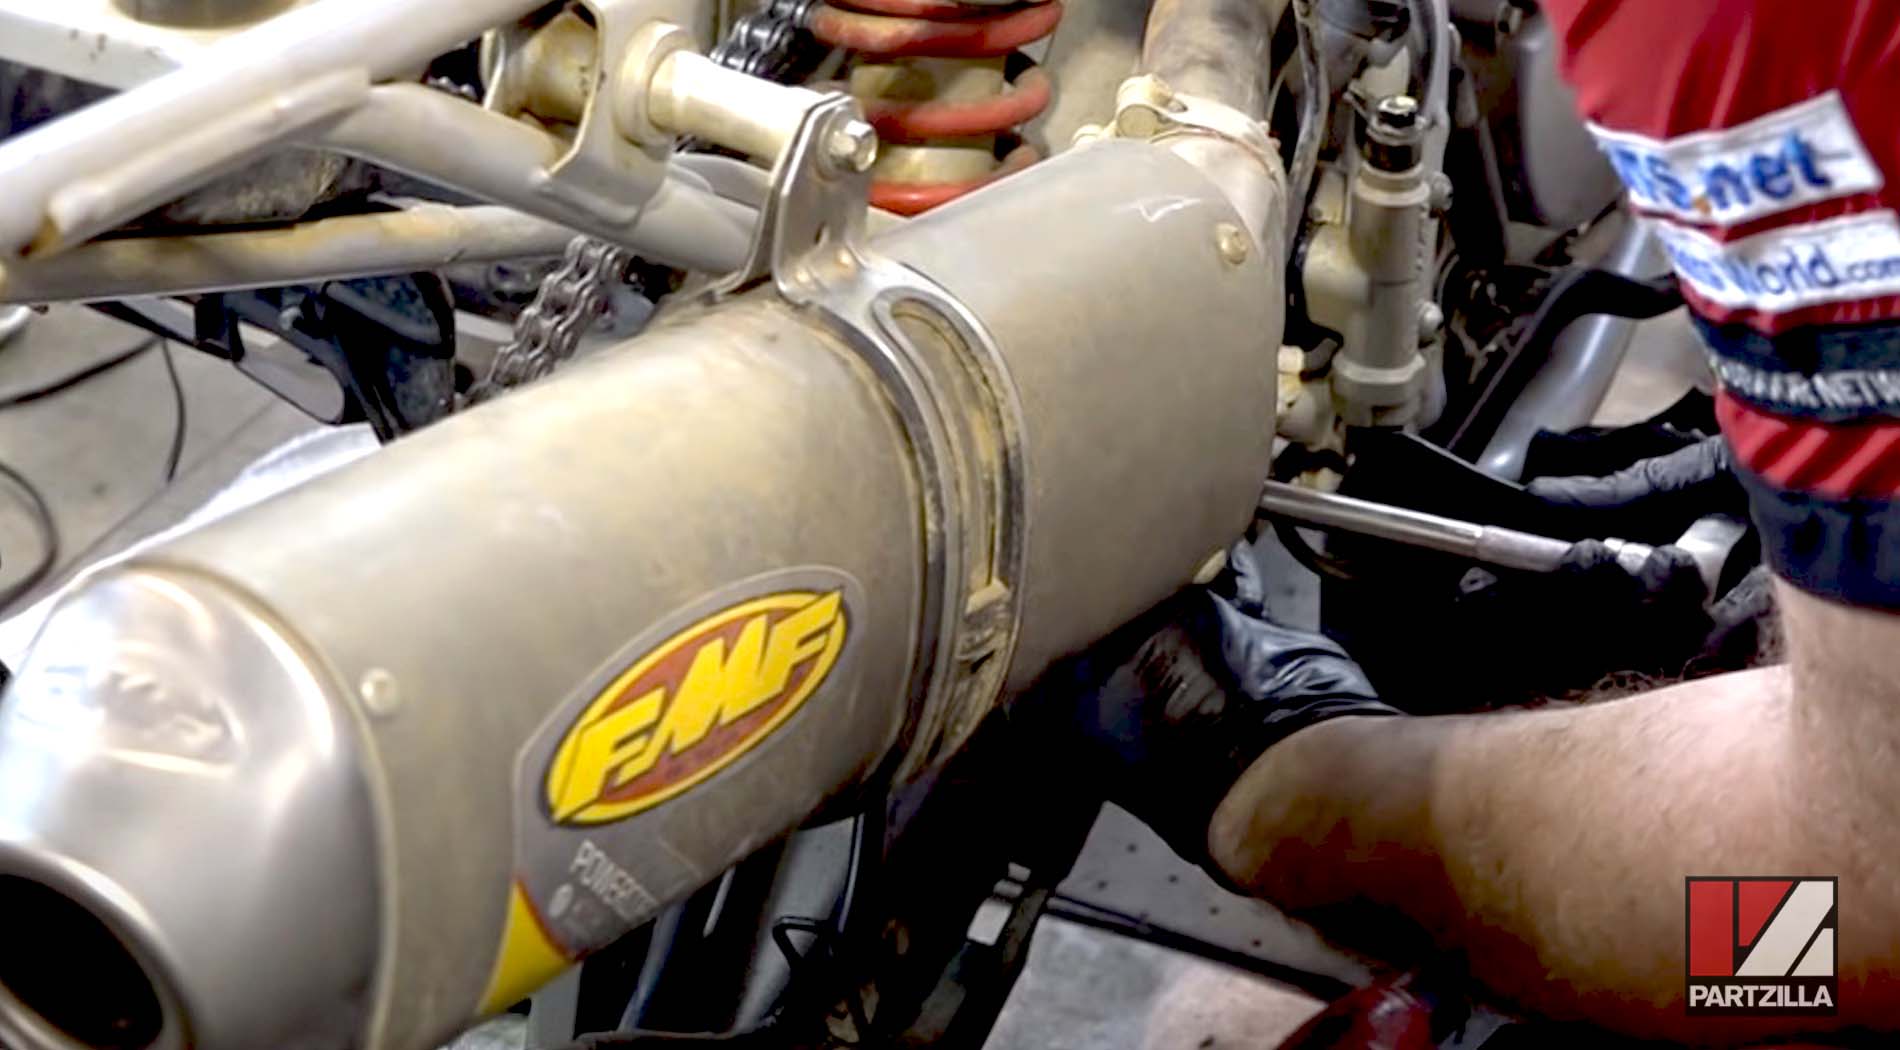
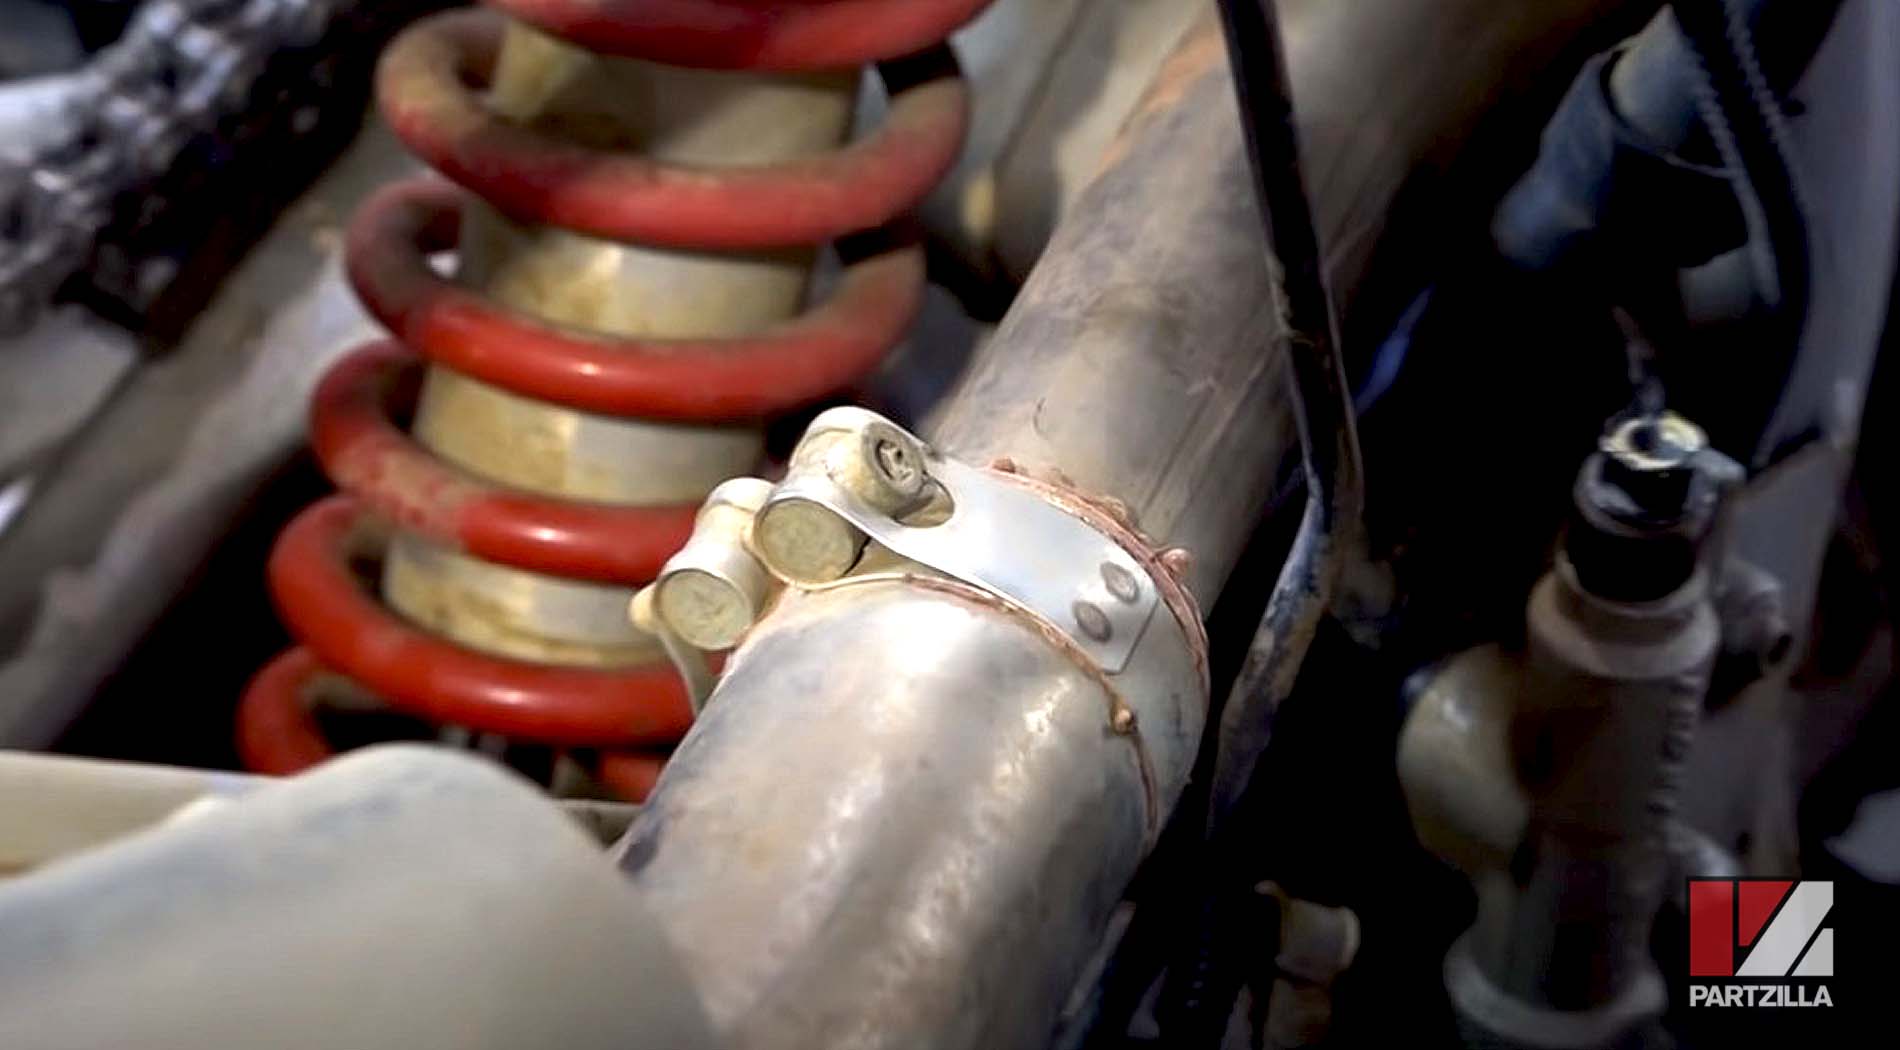
Step 33. Install the slip-on exhaust, then tighten down the bolts and the clamps that hold it in place.
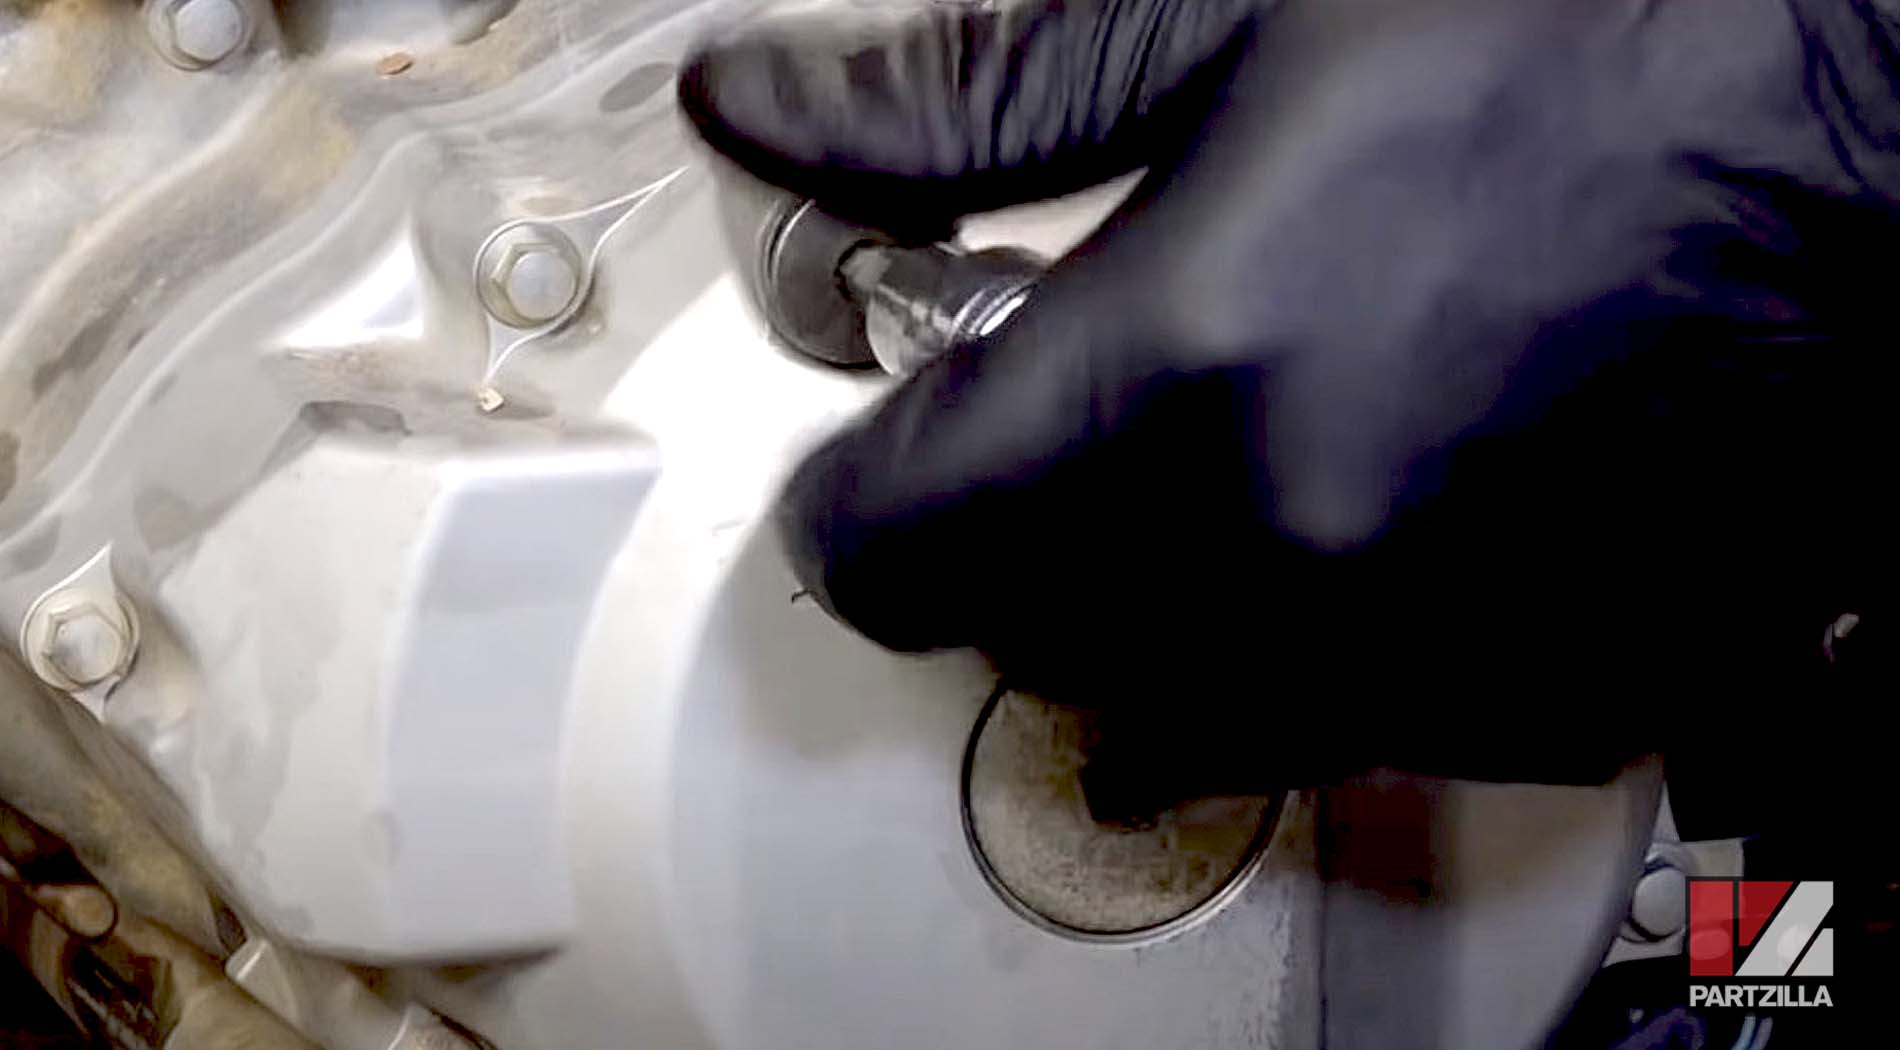
Step 34. Reinstall the inspection plugs for the crankshaft.
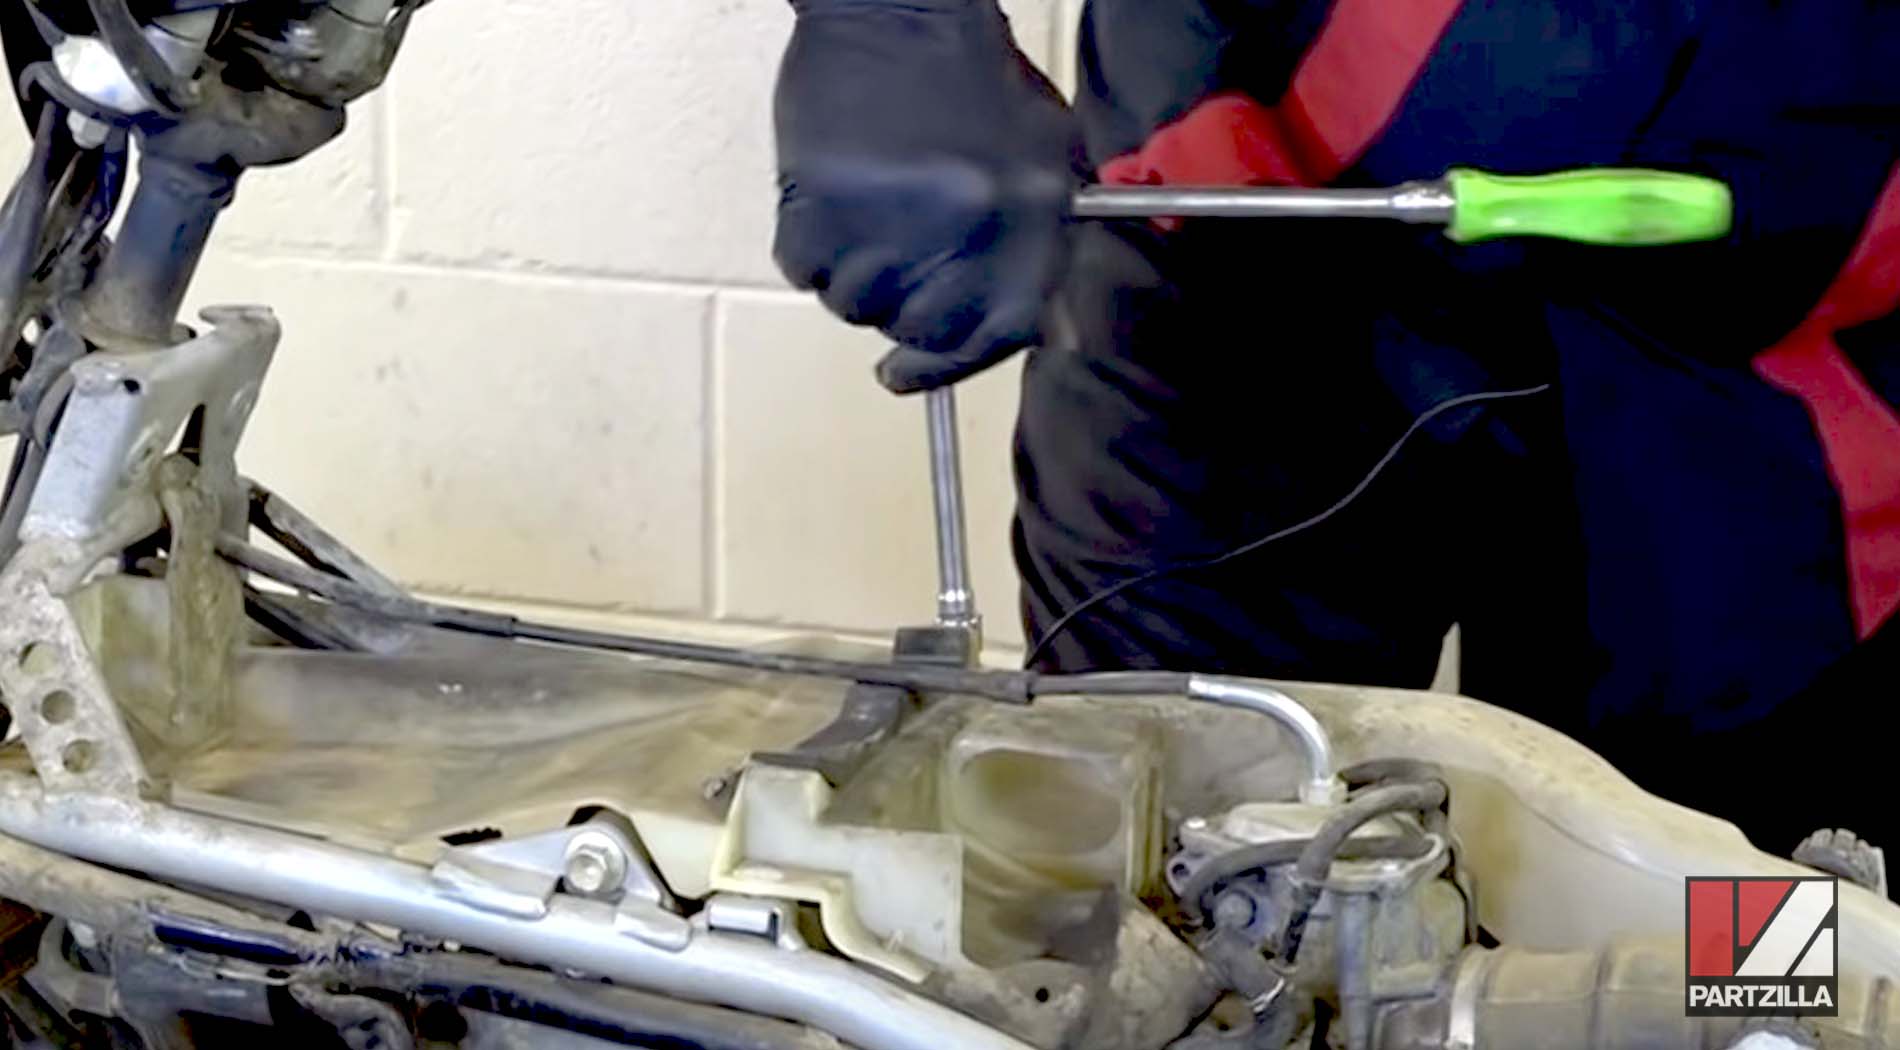
Step 35. Slide the intake back on, then retighten the clamp on the intake boot on the front and the back of the carburetor. Next, install the three 10mm bolts that hold the airbox in place. Reinstall the plastic shield that goes up under the fuel tank, which is held in place by a couple of 10mm bolts.

Step 36. Route the fuel line up from the carb through the rubber flap, then reinstall the fuel tank, hook up the fuel hose and turn the fuel on.
All that’s left is to reinstall the plastics on the Honda ATV and go through the break-in procedure. The first 50 miles are really important for this, so don't run it wide open. Keep varying your speed, starting and stopping a lot to get the rings to seat back in properly.