Yamaha YZ450F Crankcase Cover Replacement
When supercross competitor Scott Champion crashed his 2018 Yamaha YZ450F, he brought it to us to get some repairs done, including replacing the crankcase cover.
The crash Scott discussed with our Yamaha motorcycle pro John Talley included, among other things, putting a hole in the crankcase cover. Watch the video above or follow the steps below to learn how to replace the crankcase cover on a Yamaha YZ450 dirt bike.
Tools and Parts - Yamaha YZ450F Crankcase Cover Replacement
- 8mm, 10mm sockets
- T25 Torx wrench
- 10mm wrench
- 4mm, 5mm, 6mm, 14mm Allens
- Ratchet and extensions
- Needlenose pliers
Yamaha YZ450 Crankcase Cover Change
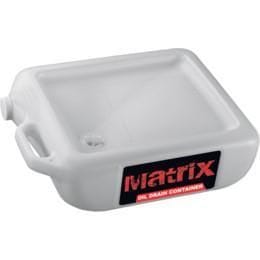
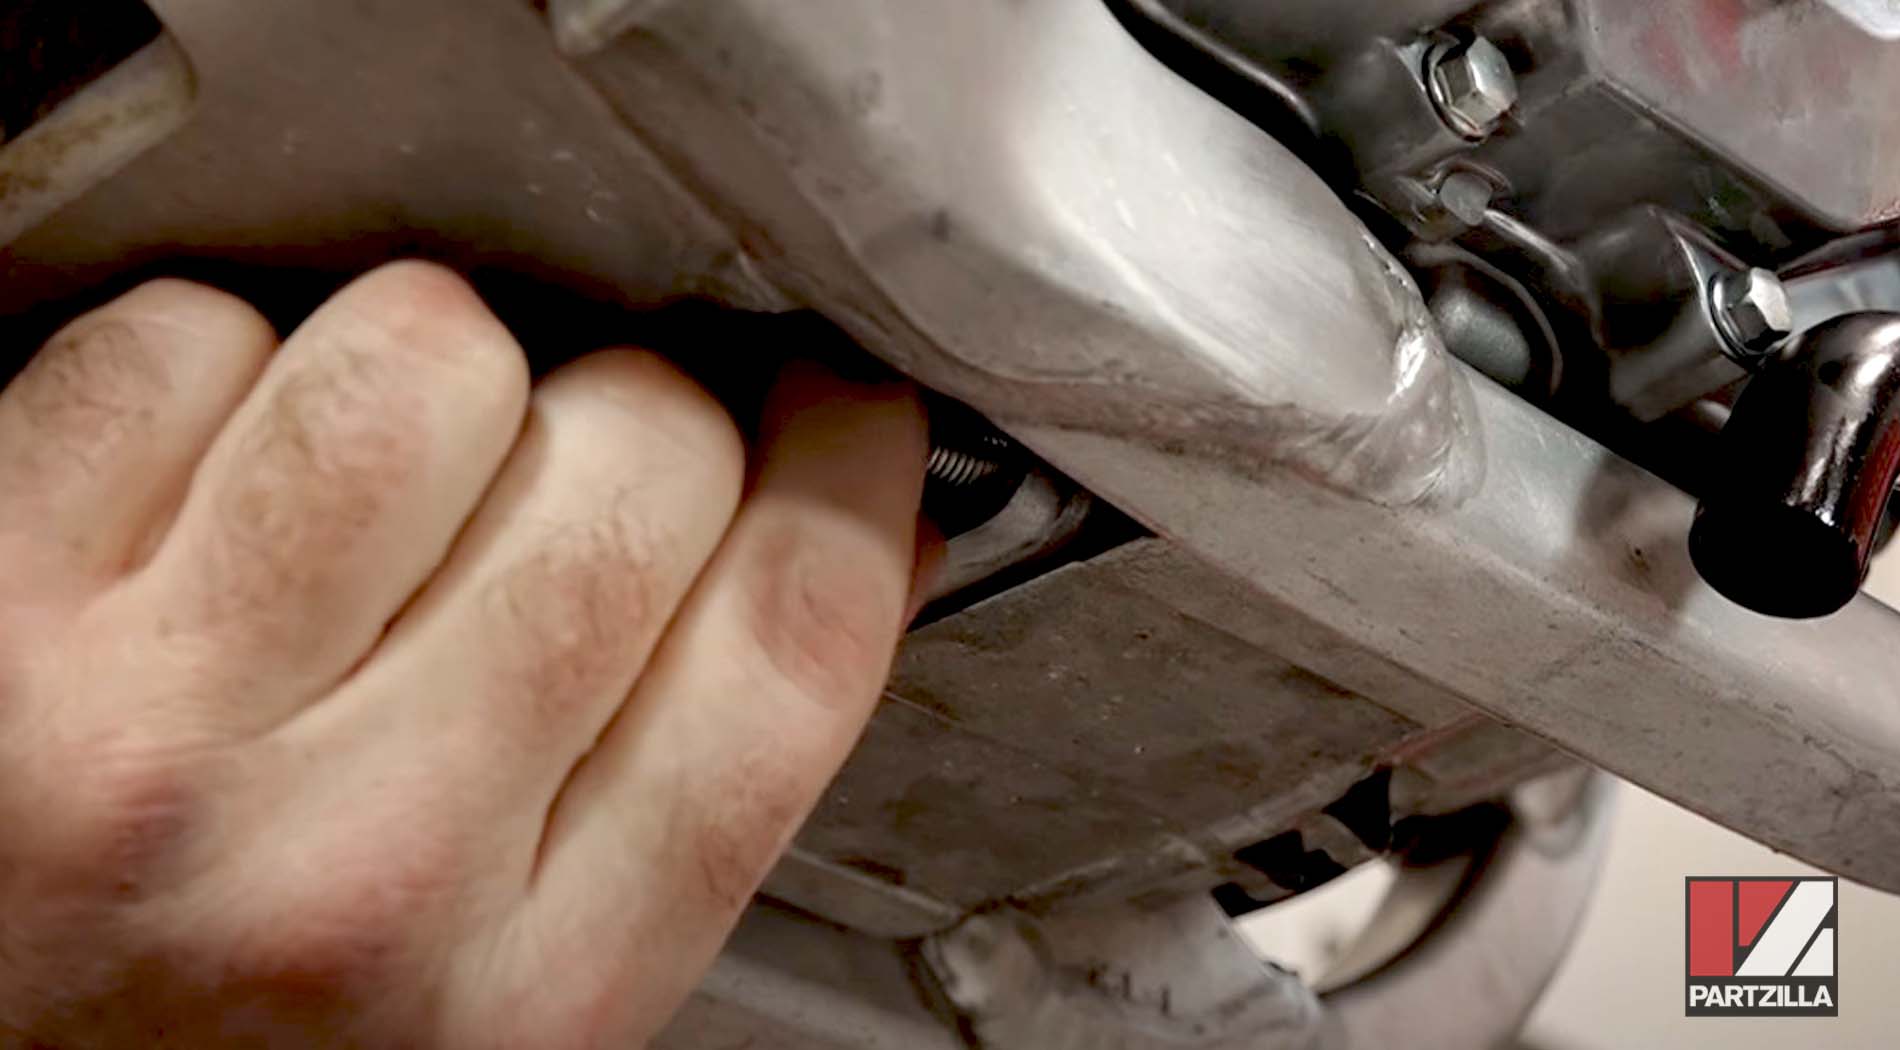
Step 1. Place a drain pan under the motorcycle, then remove the oil drain bolt from the bottom of the bike and let the engine oil drain out.

NOTE: The oil in Scott’s dirt bike was new, but it still needed to be drained out. However, there was no need for an oil filter change on this bike.
Step 2. Disconnect the motorcycle battery.

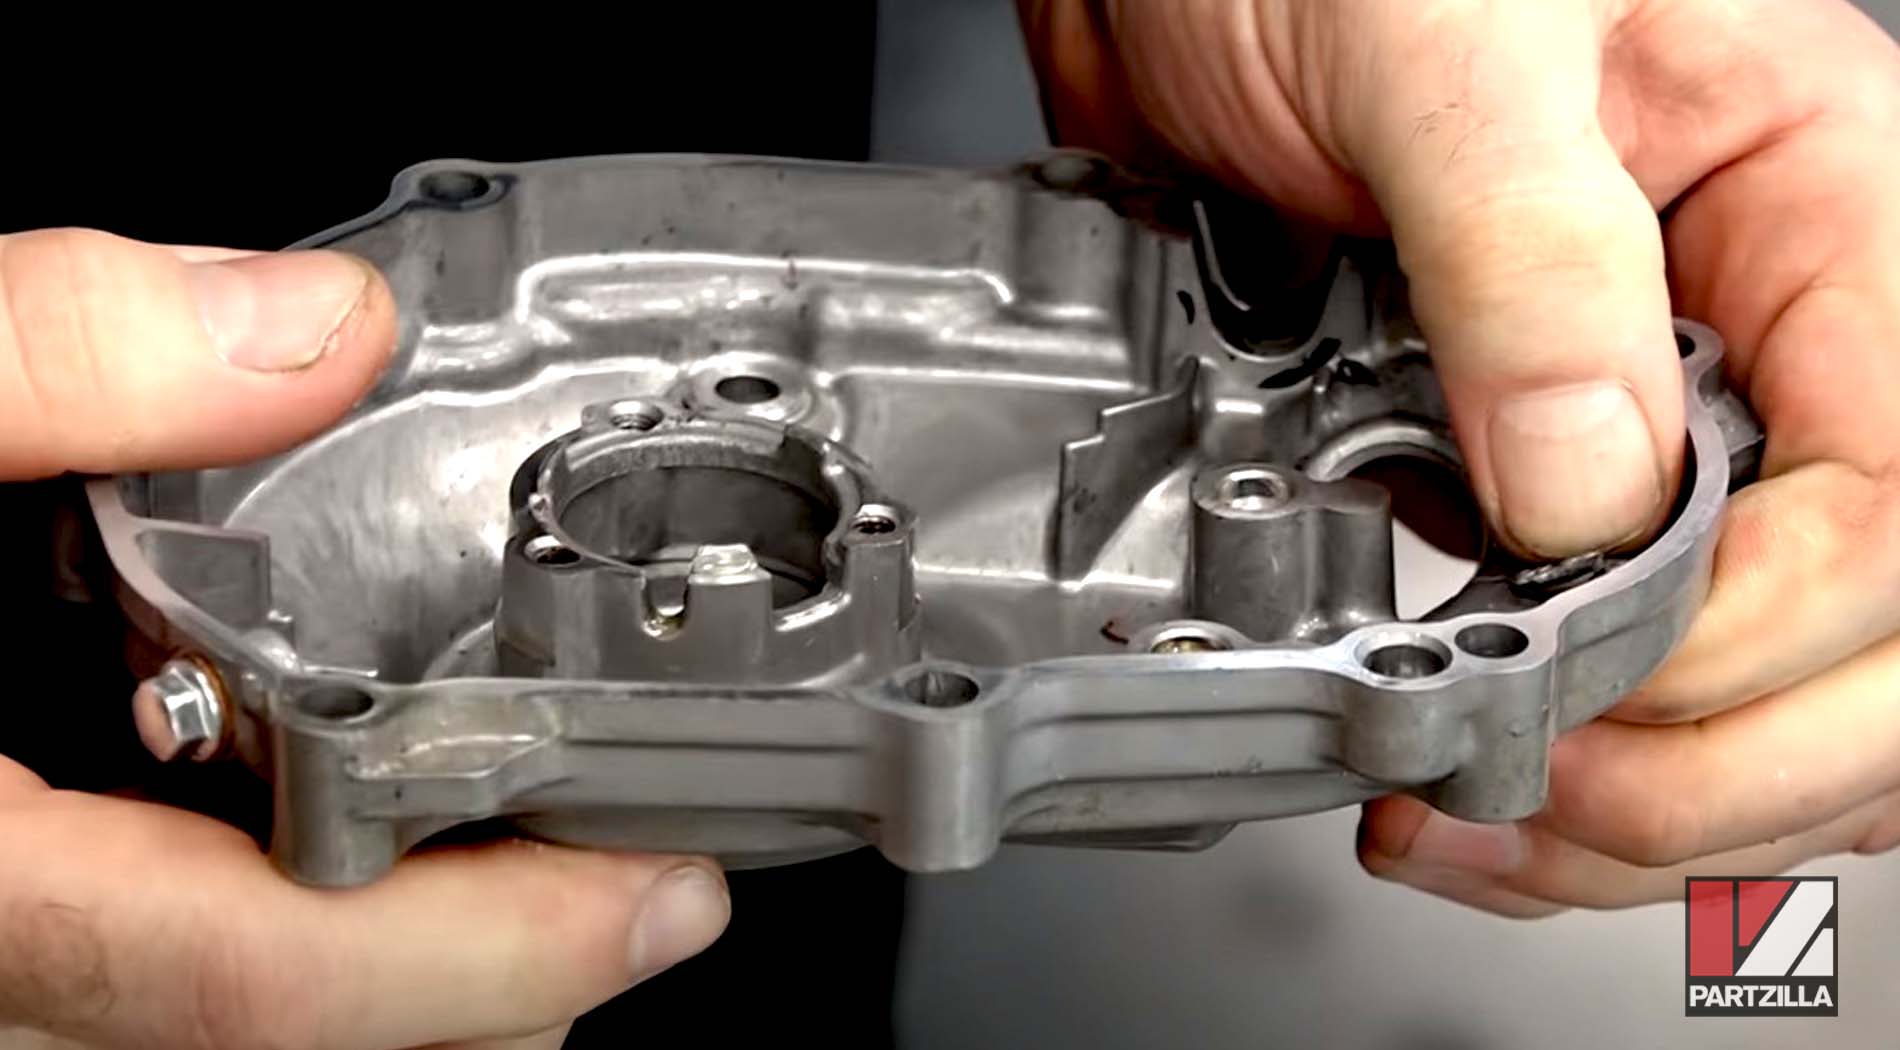
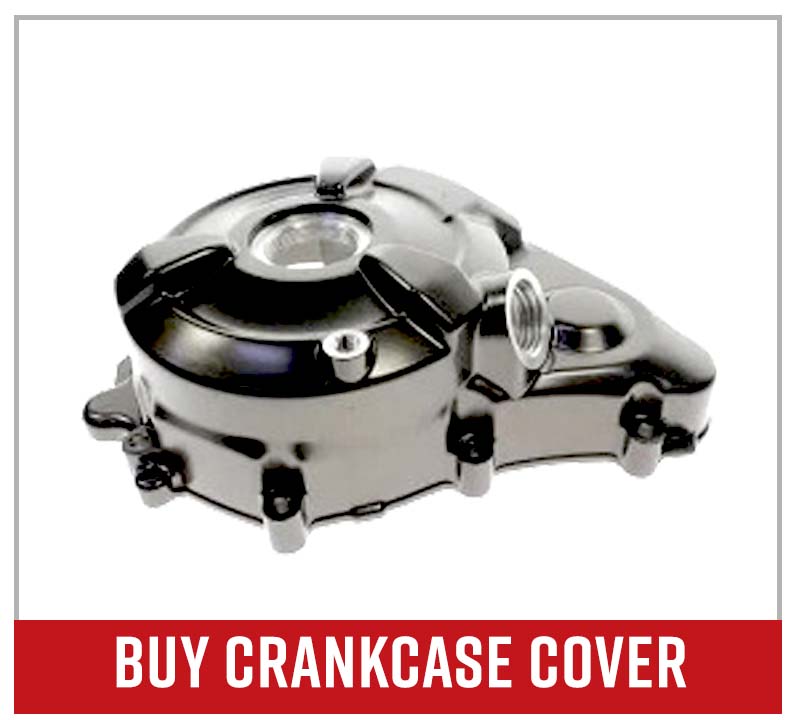
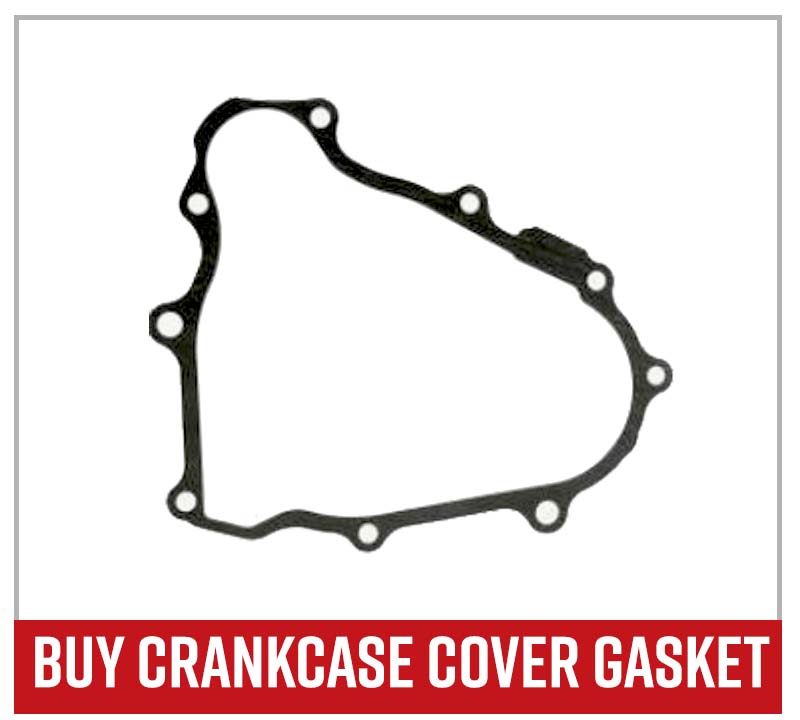
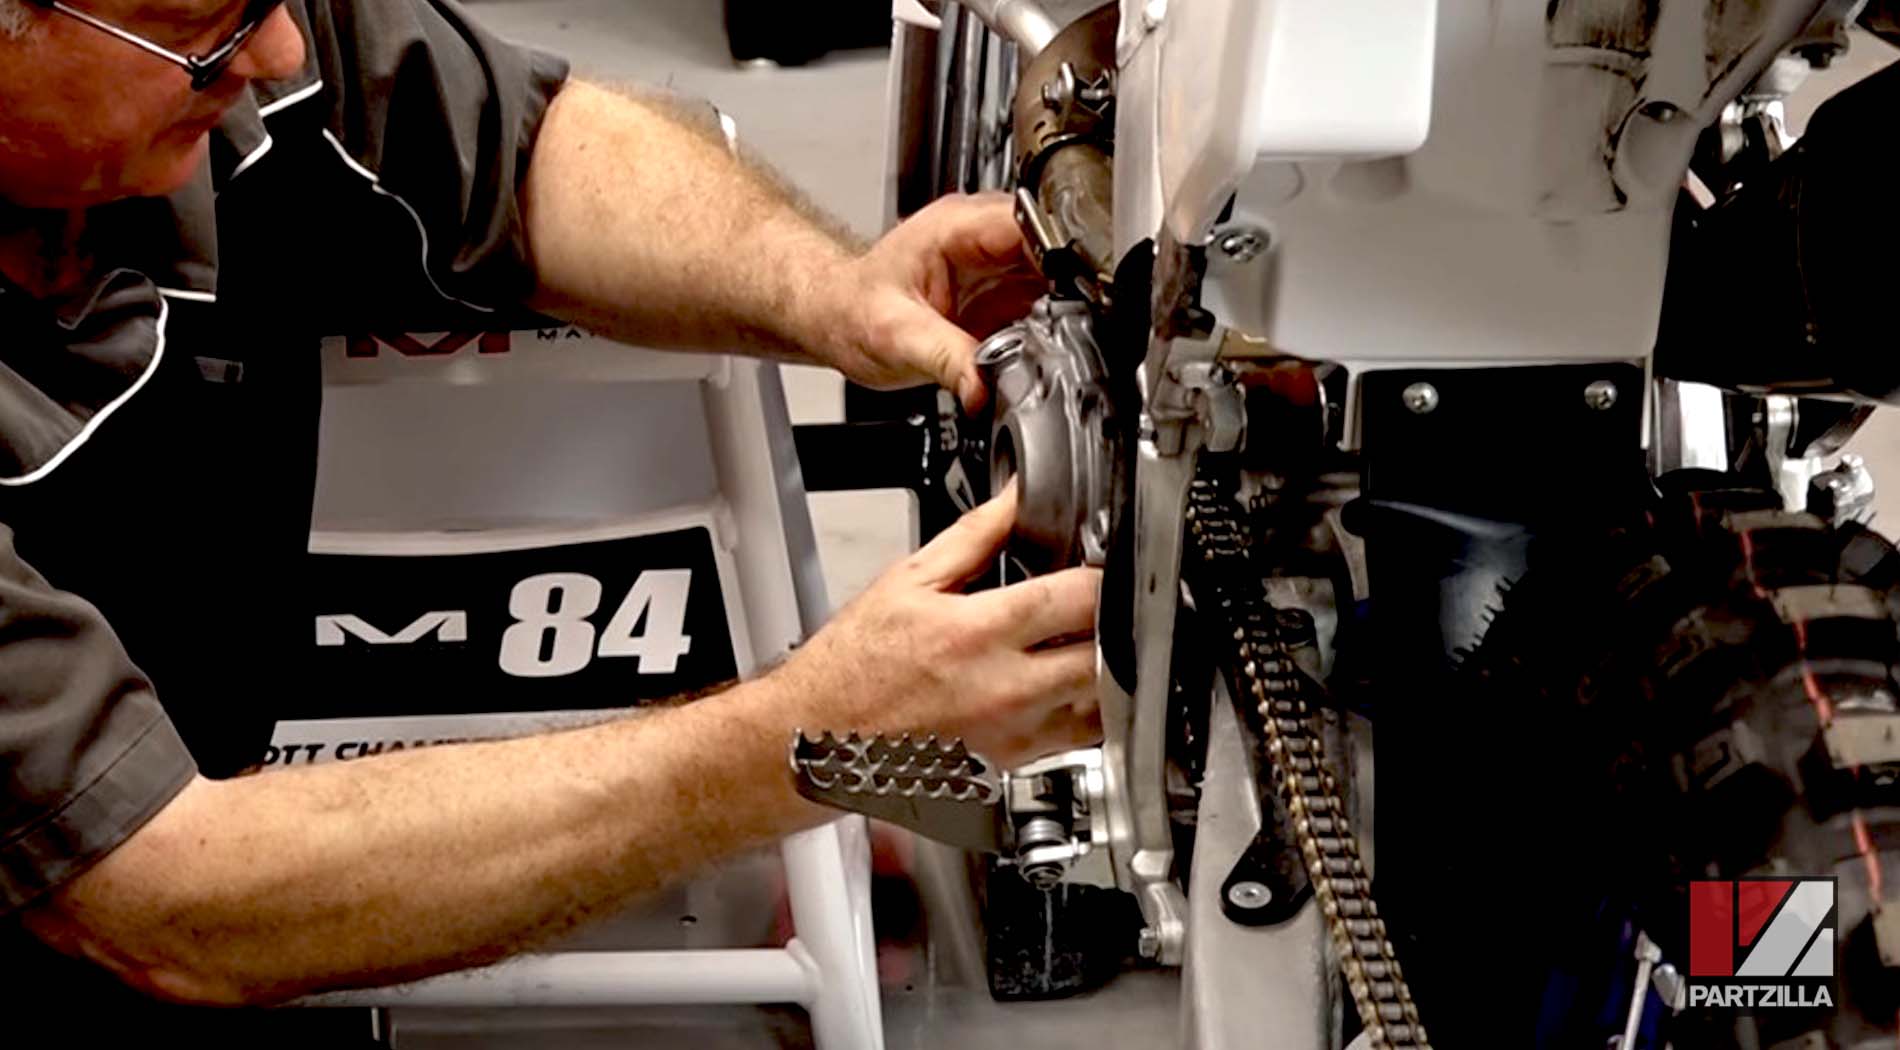
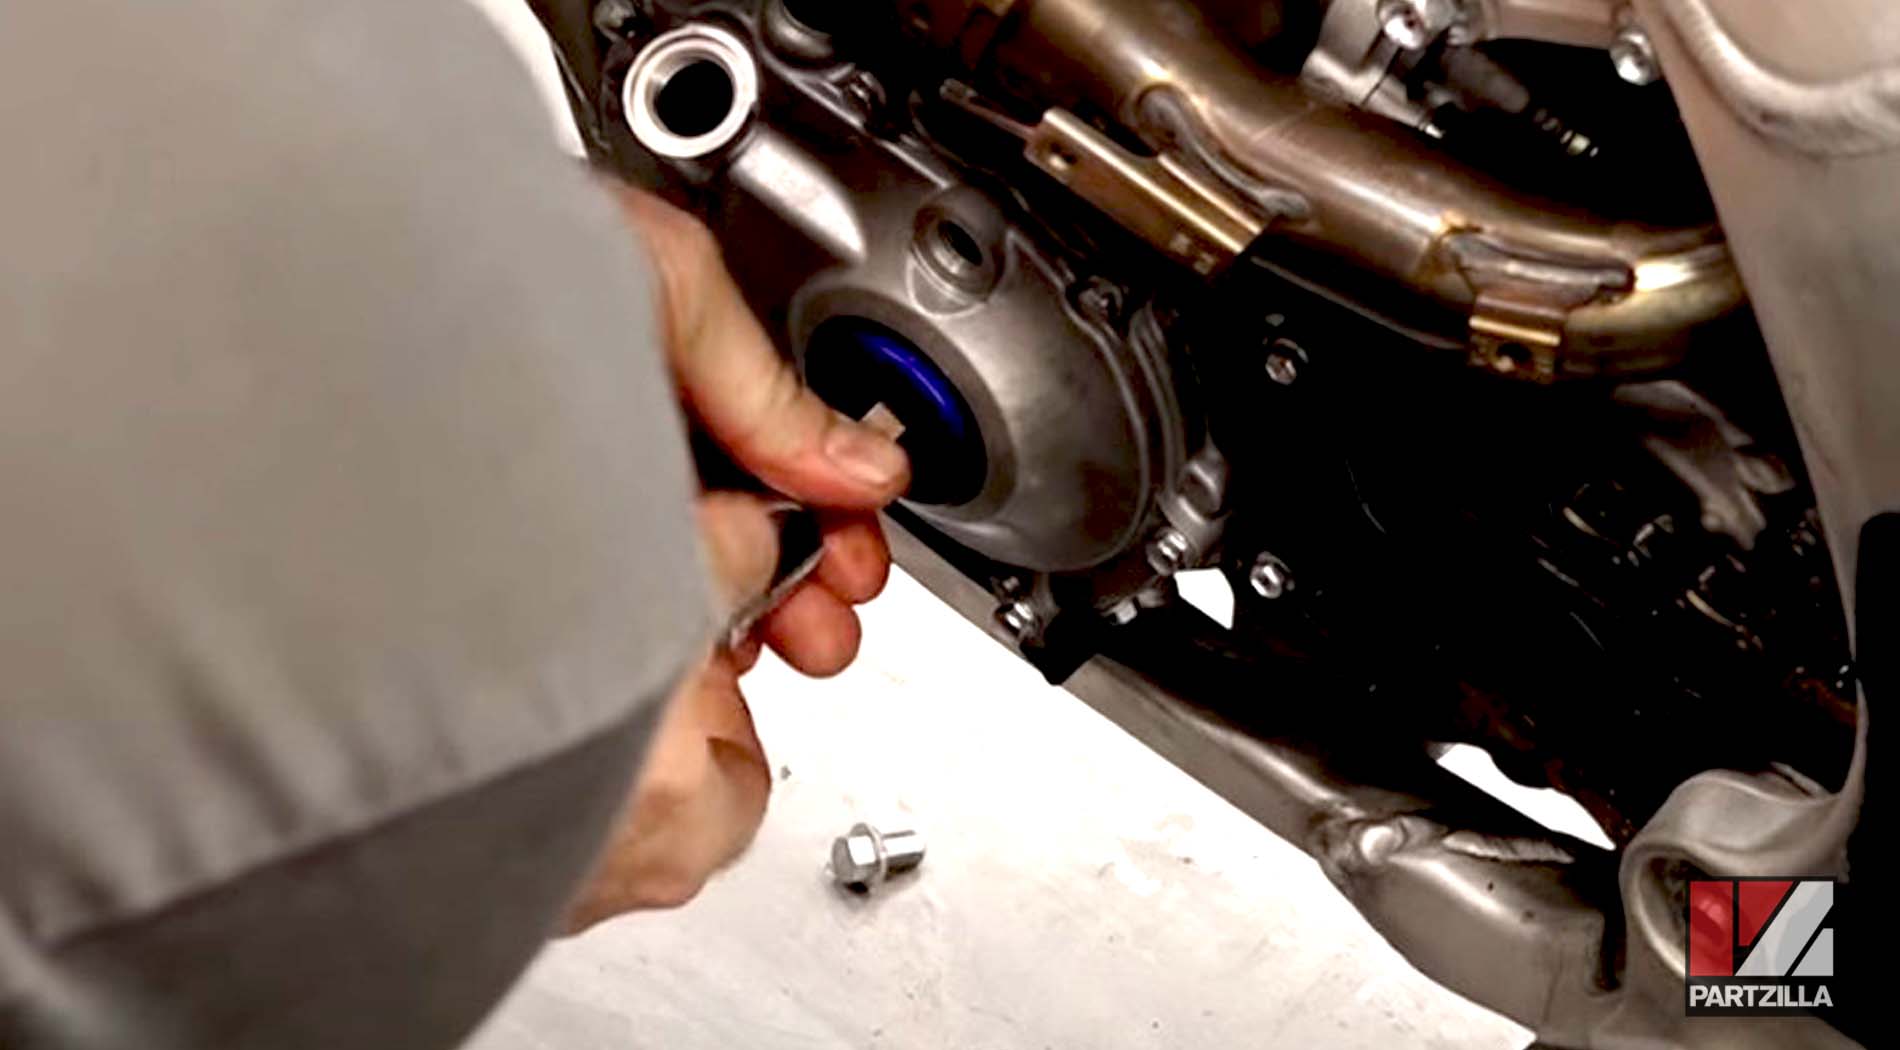
Step 3. Remove the crankcase cover bolts, the cover itself and the gasket behind it.
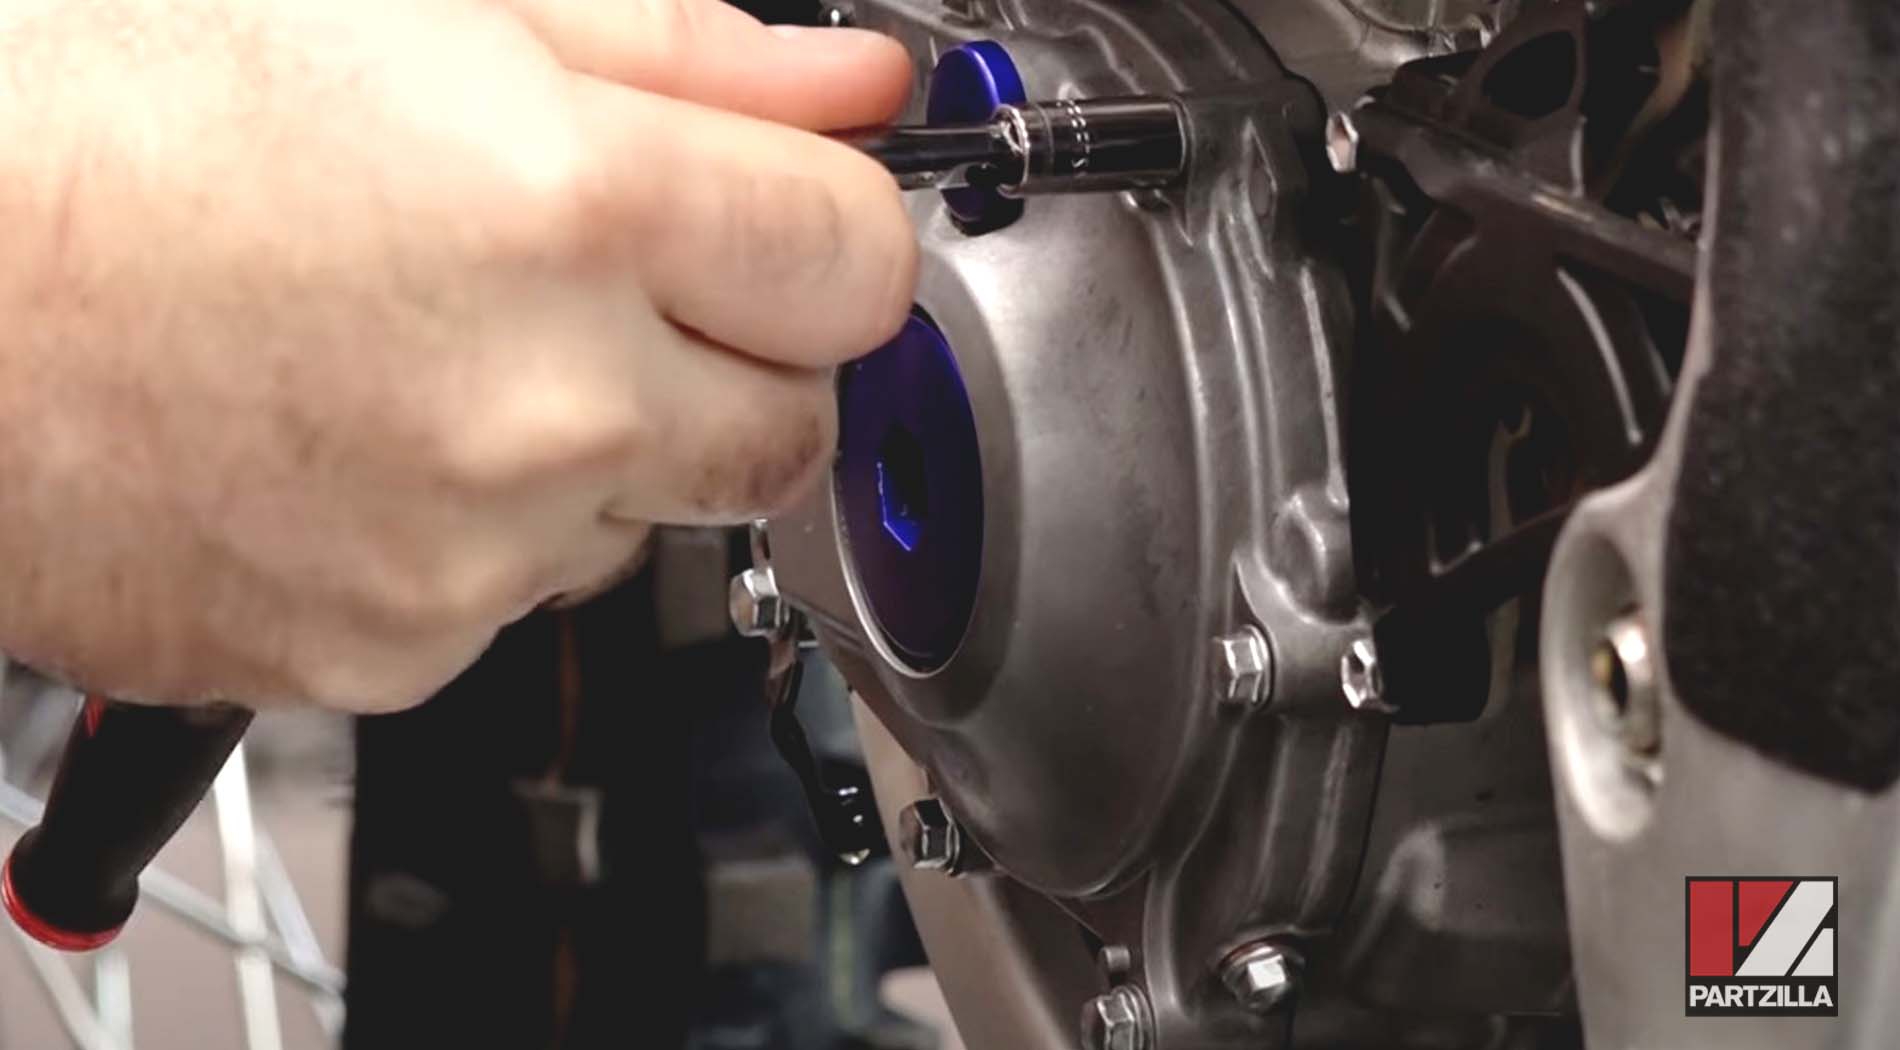
NOTE: One bolt at the very top of the cover has a copper washer behind it, so make sure you don’t lose it.
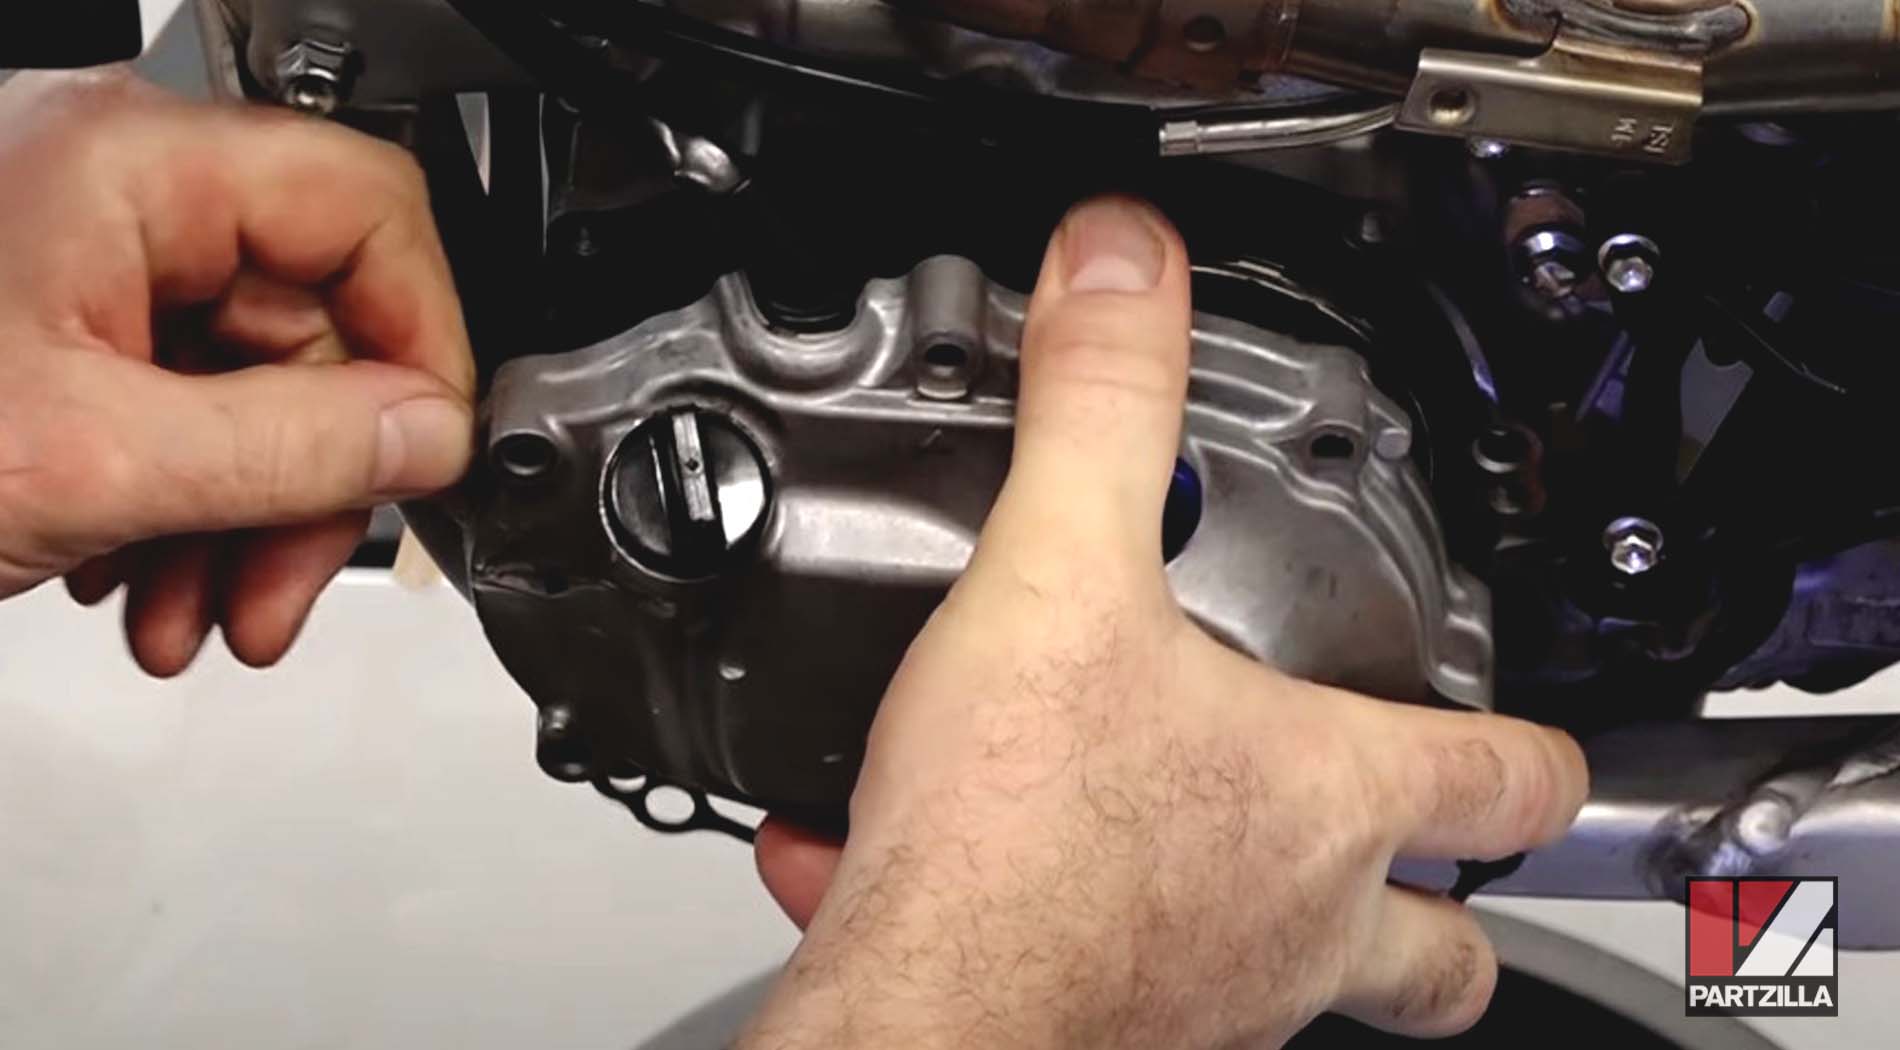
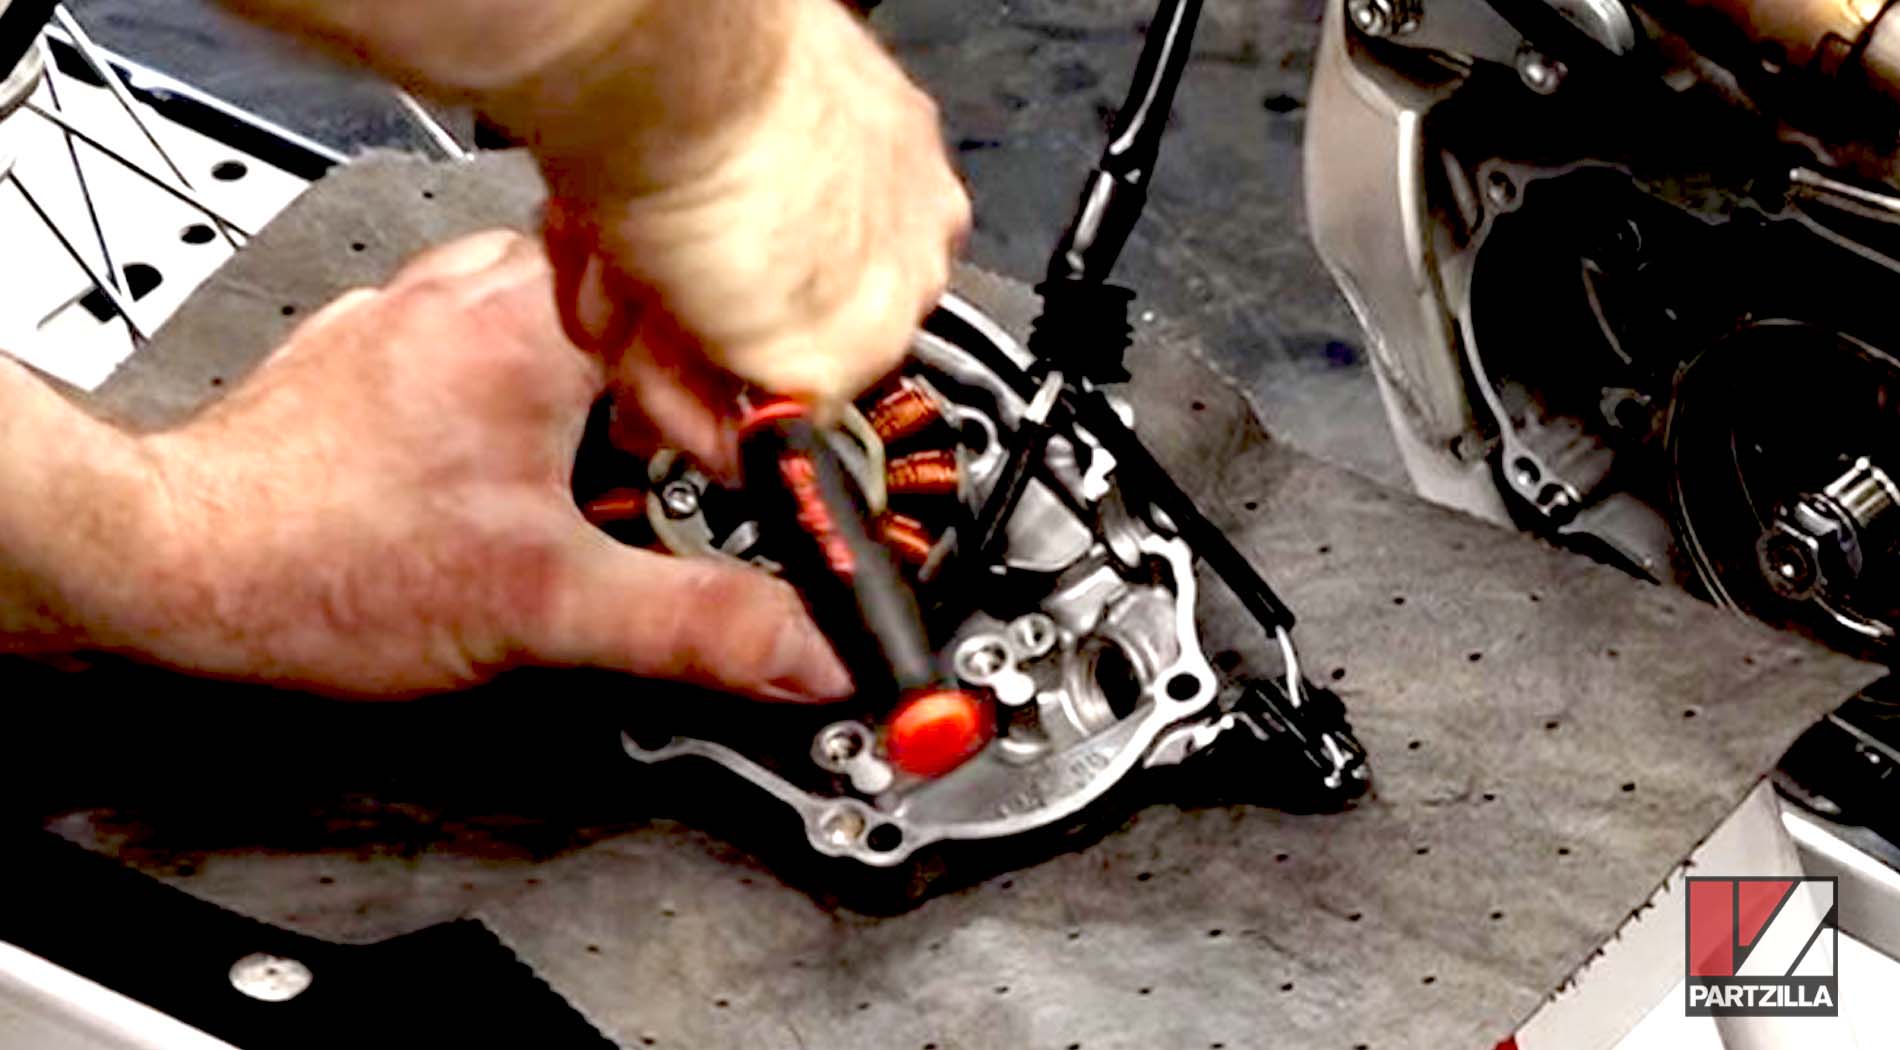
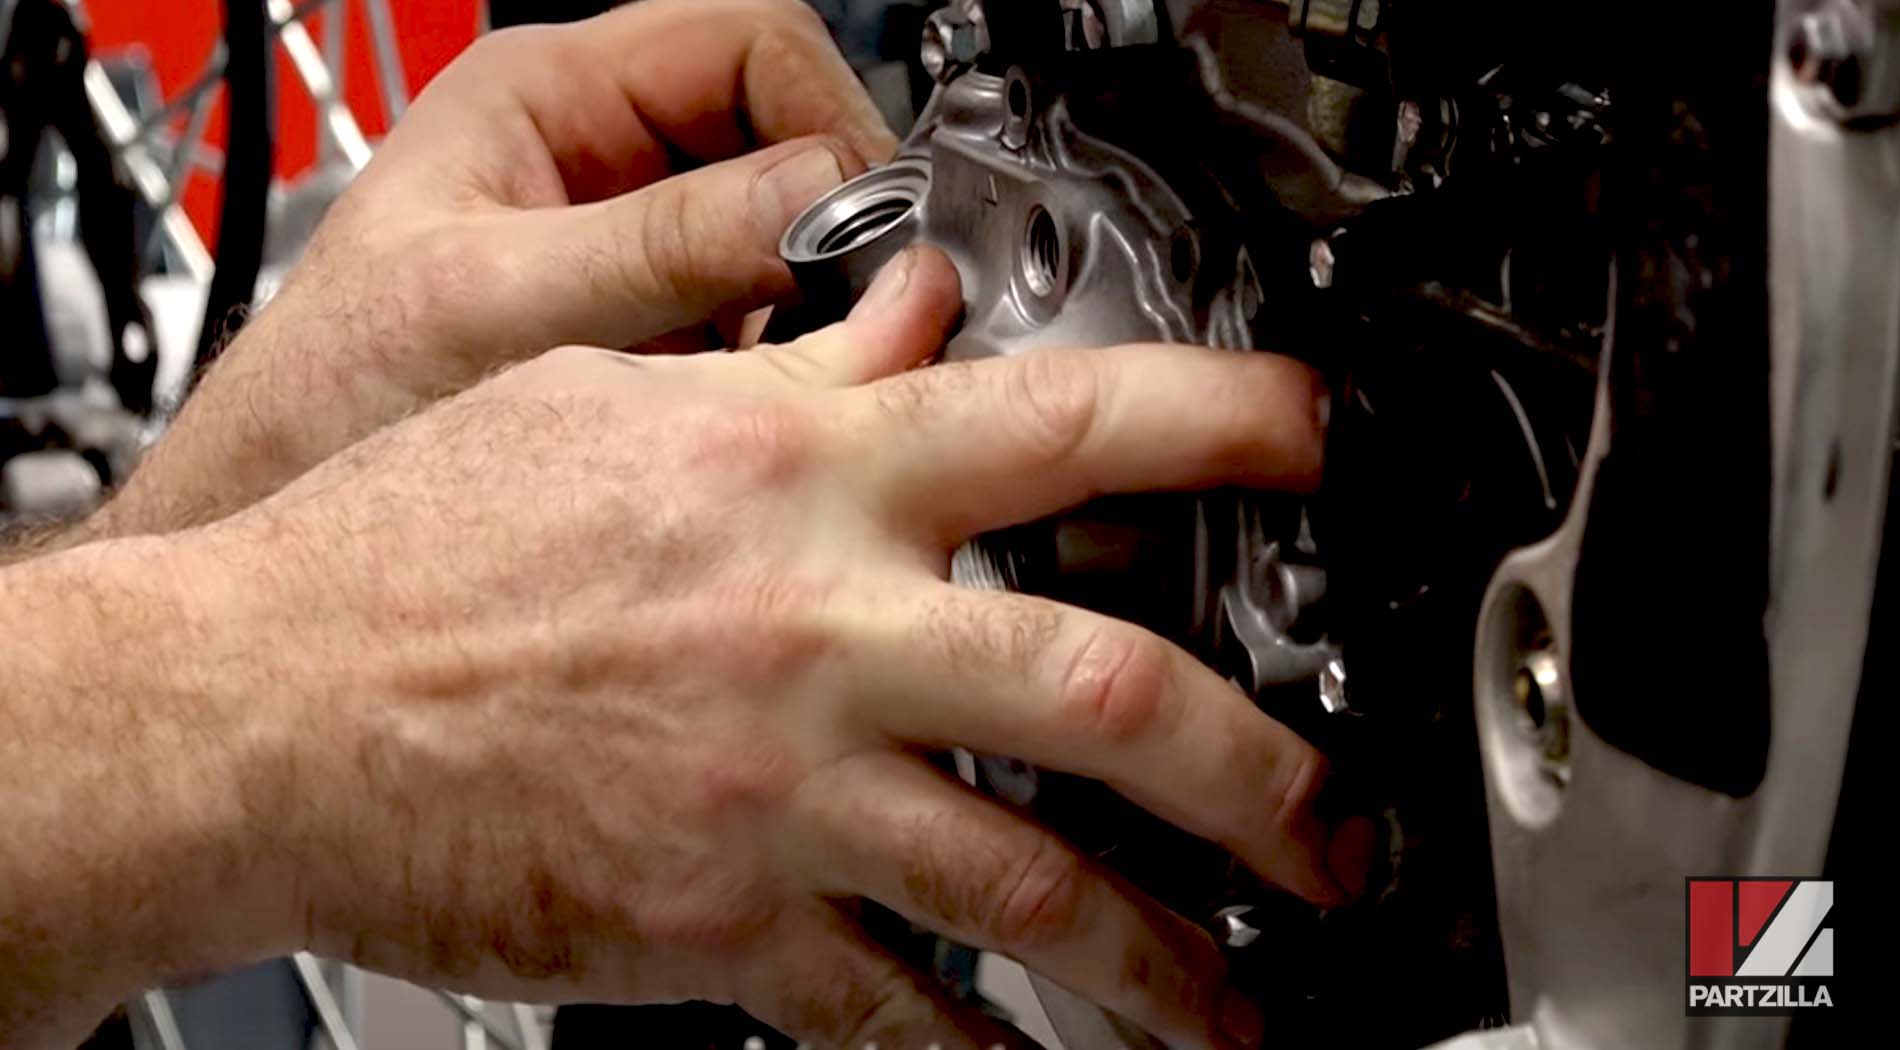
Step 4. Pull the stator and the pickup coil out of the crankcase.
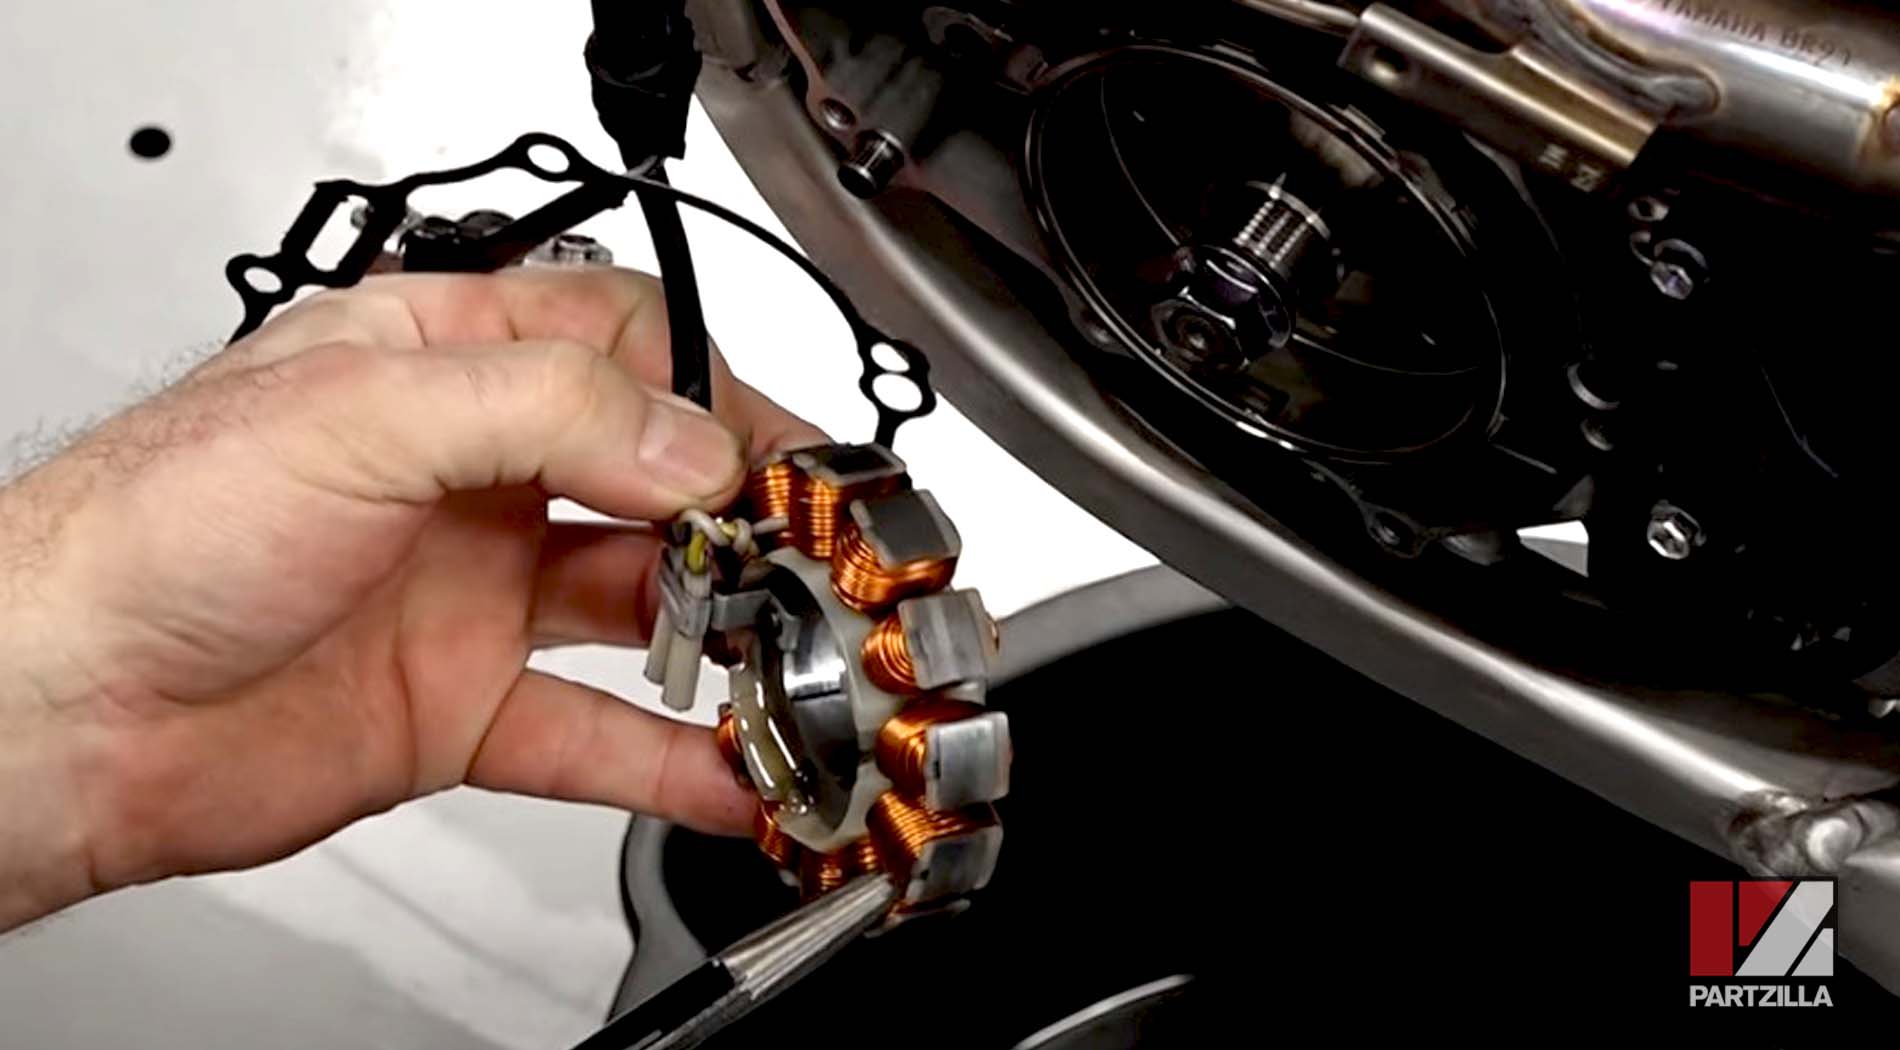
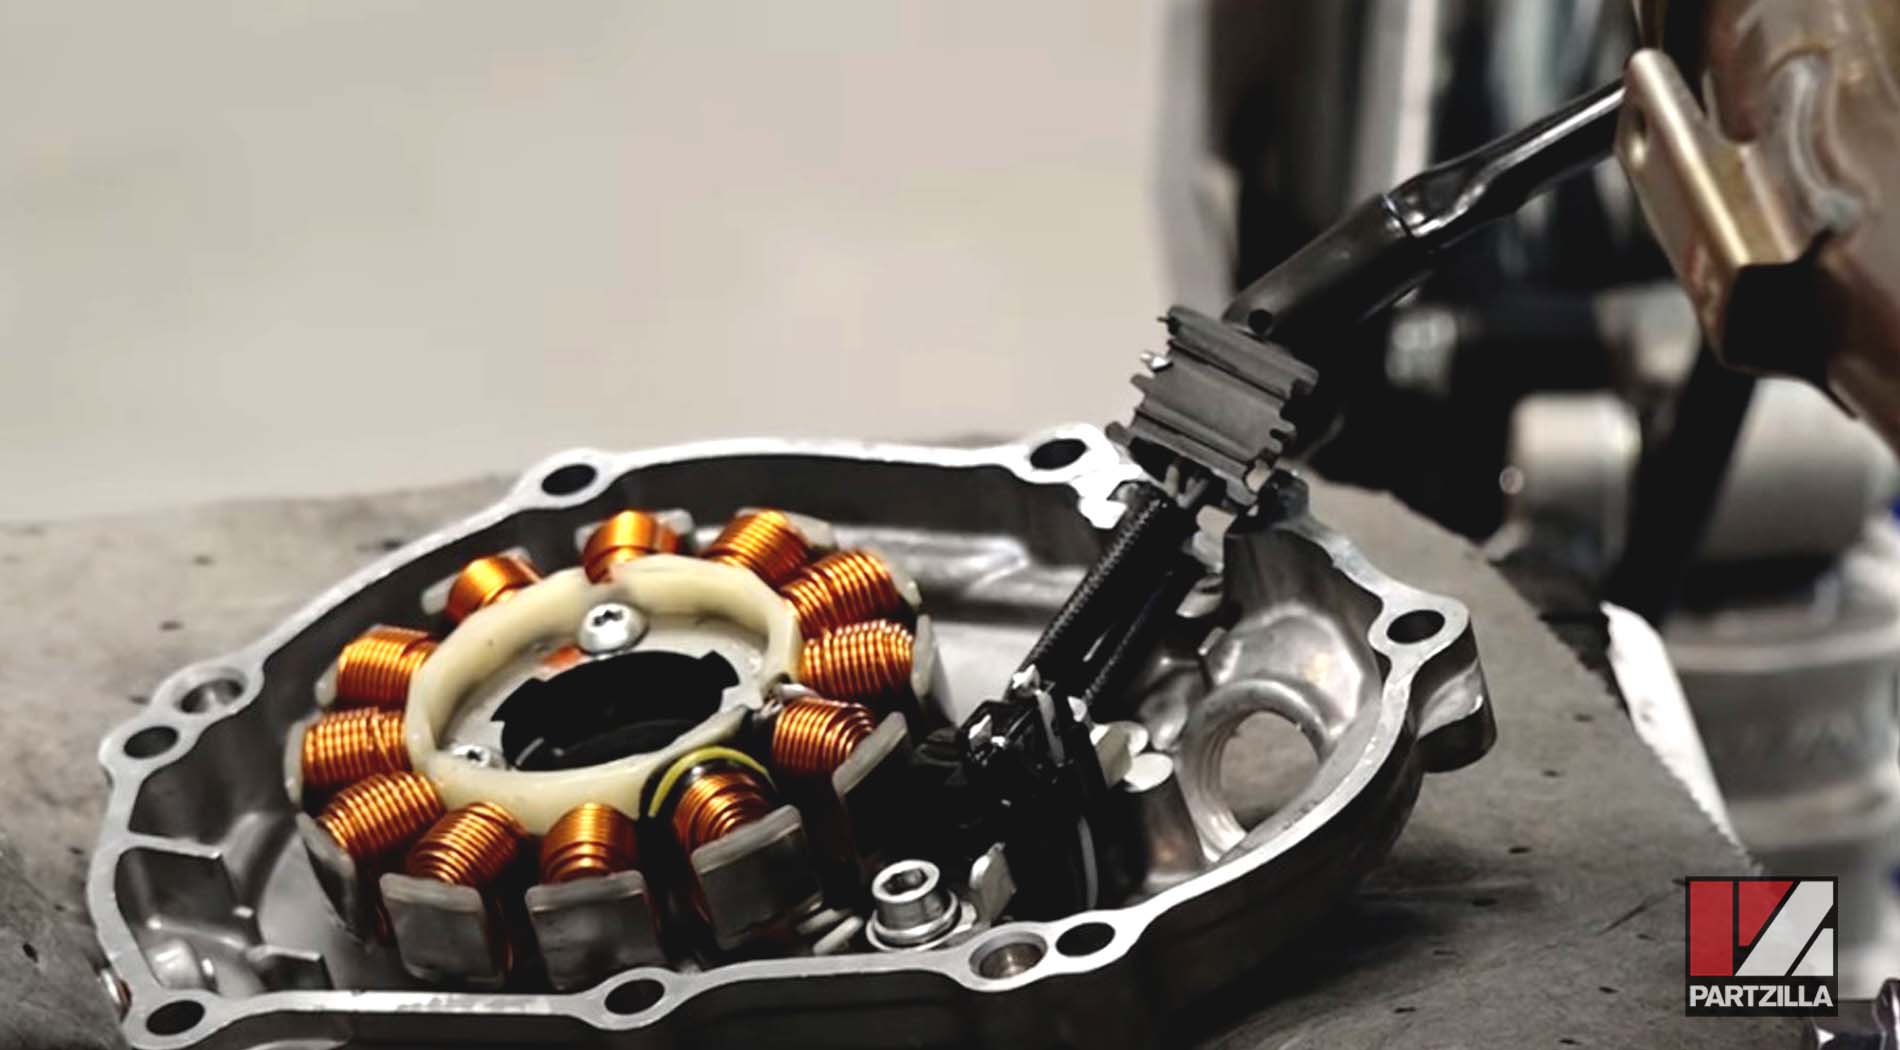
Step 5. Mount the stator onto the new crankcase cover.
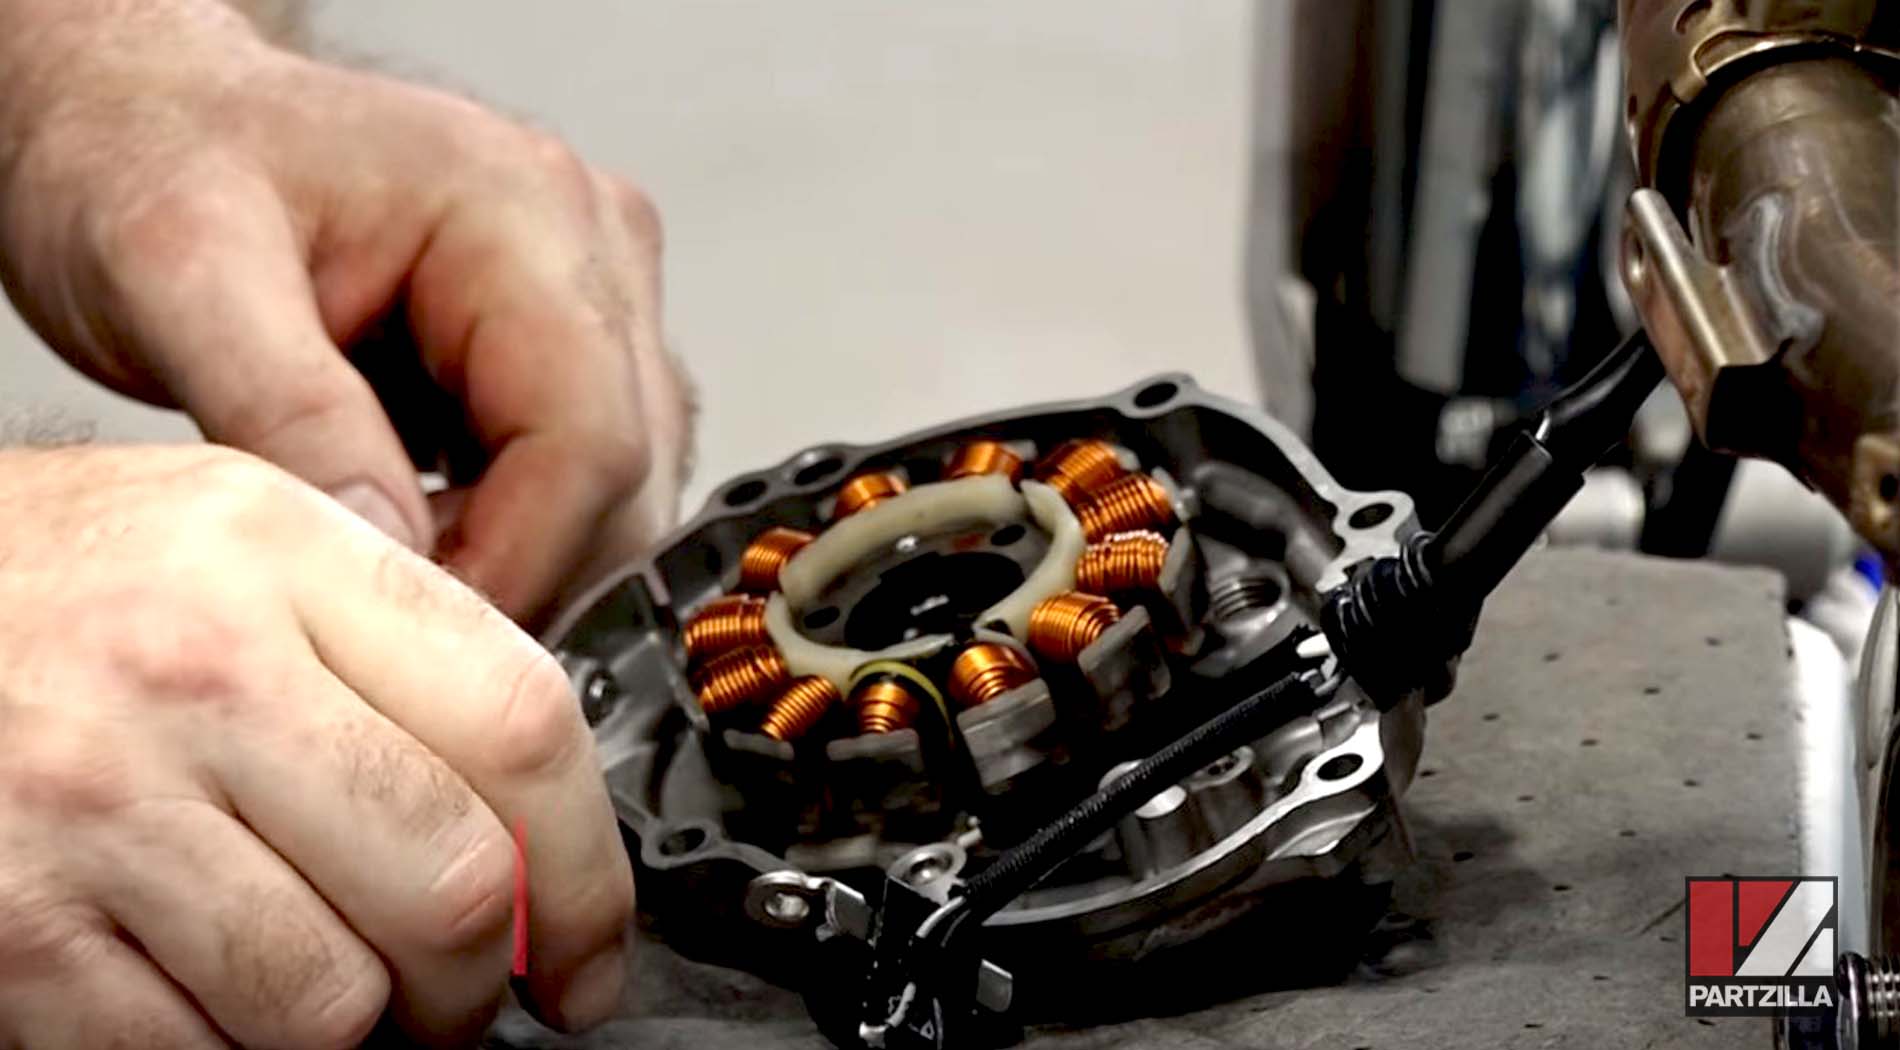
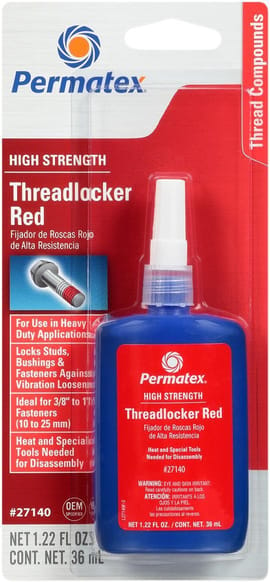
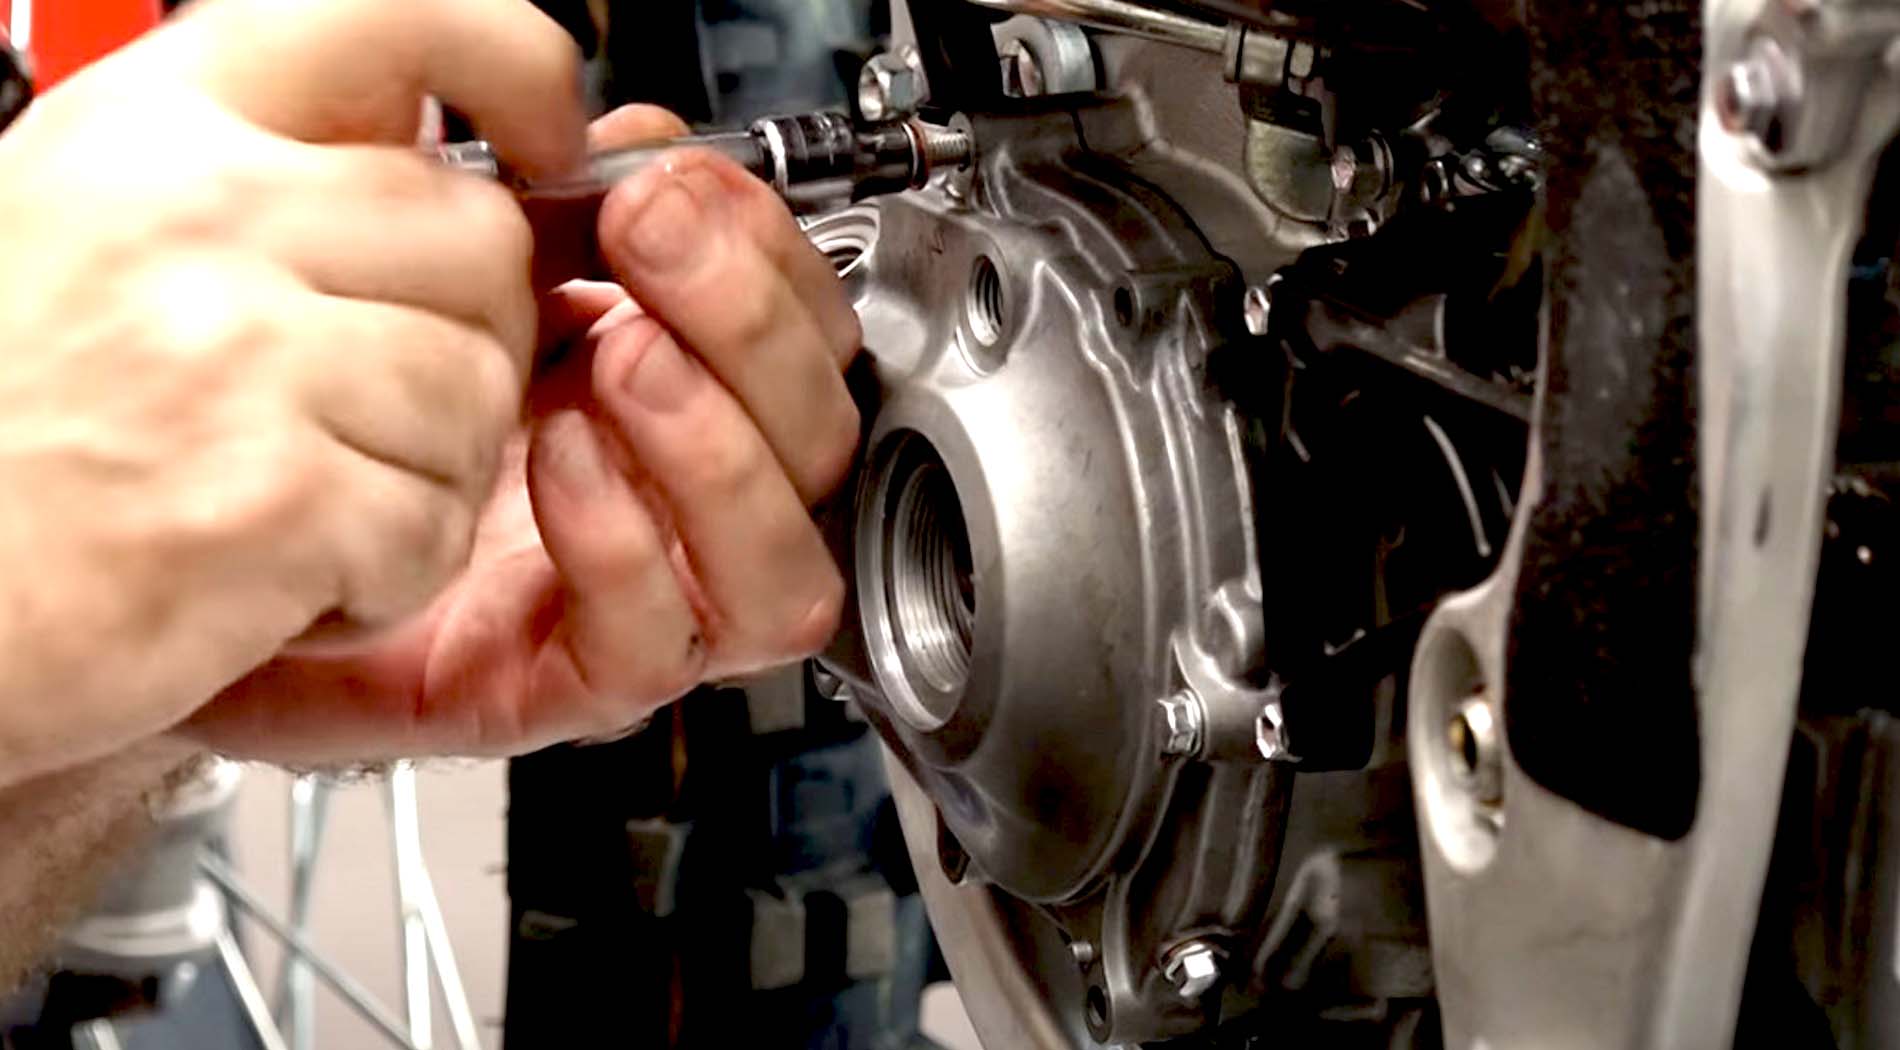
Step 6. Add red threadlocker to the bolts that hold the stator and the pickup coil in their place.

Step 7. Install the three bolts that hold the stator in place and tighten them down.
Step 8. Mount the pickup coil into the crankcase, then install the bolts that hold it in place and get them snugged down.

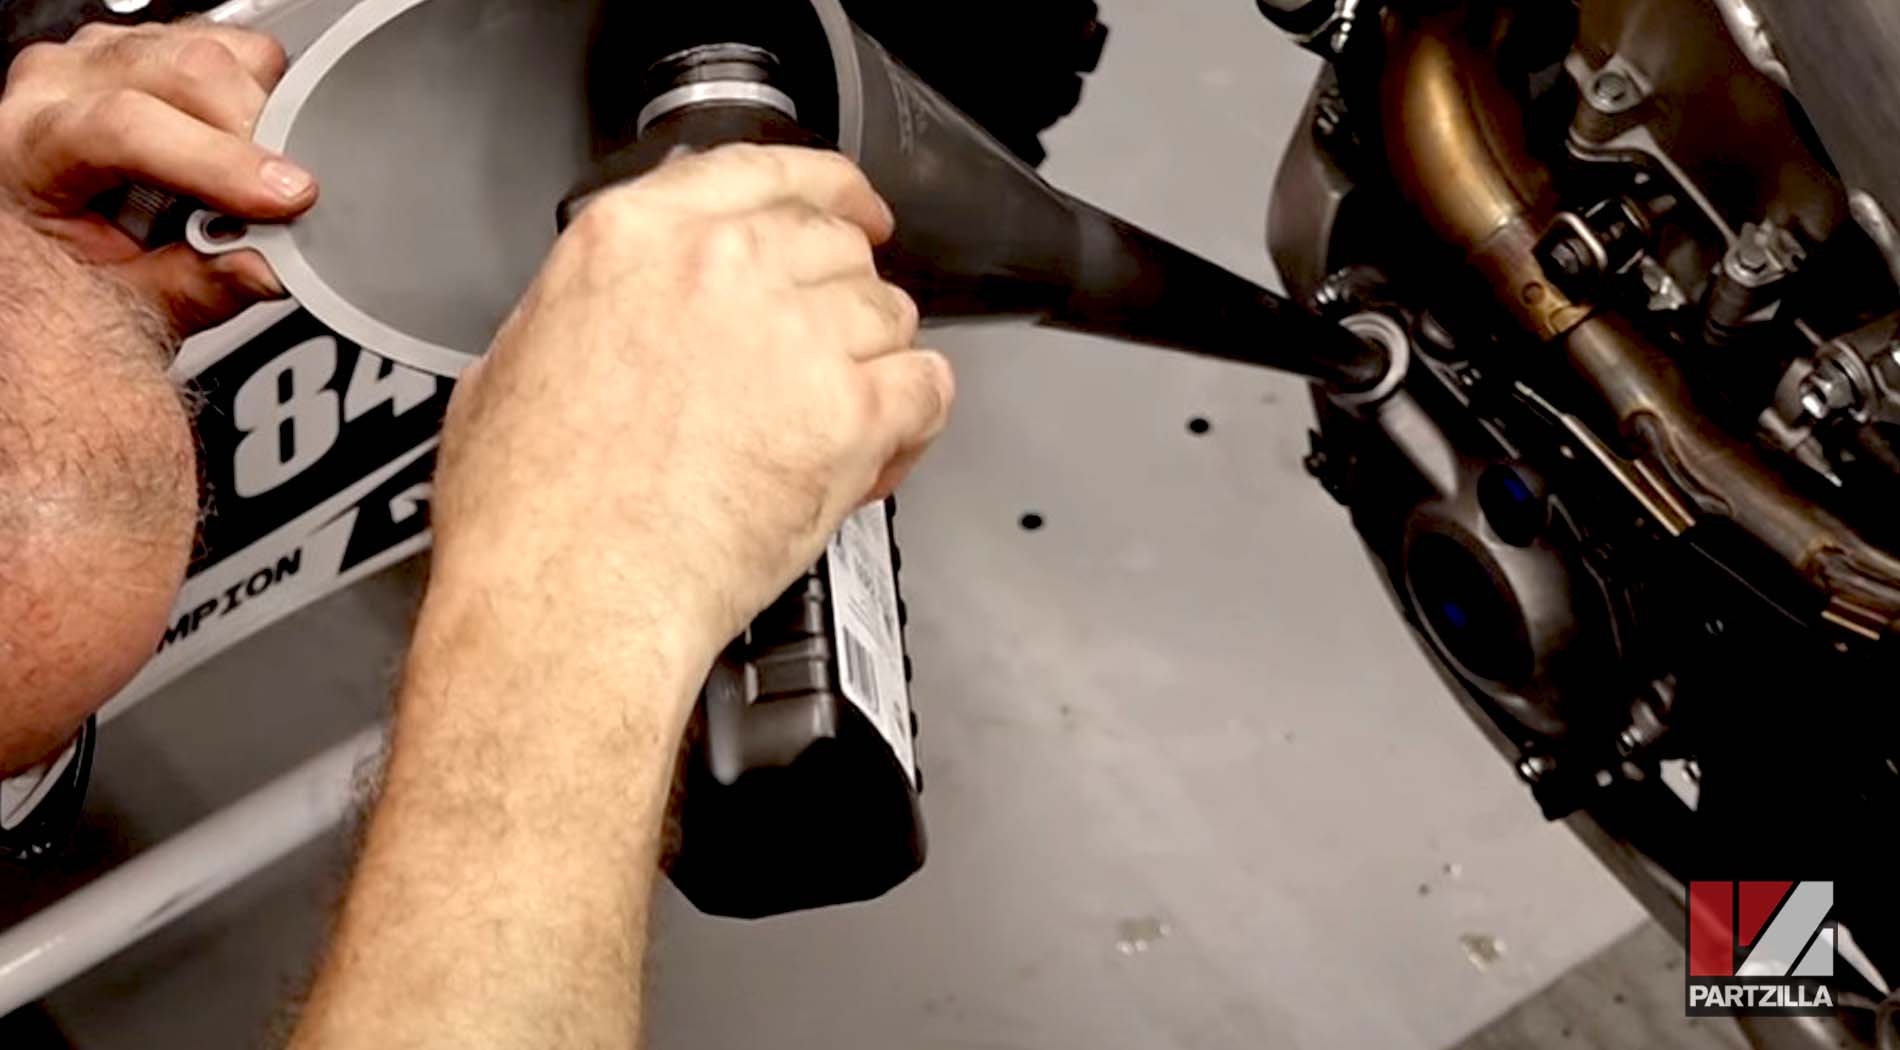
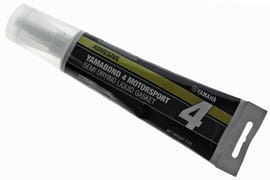
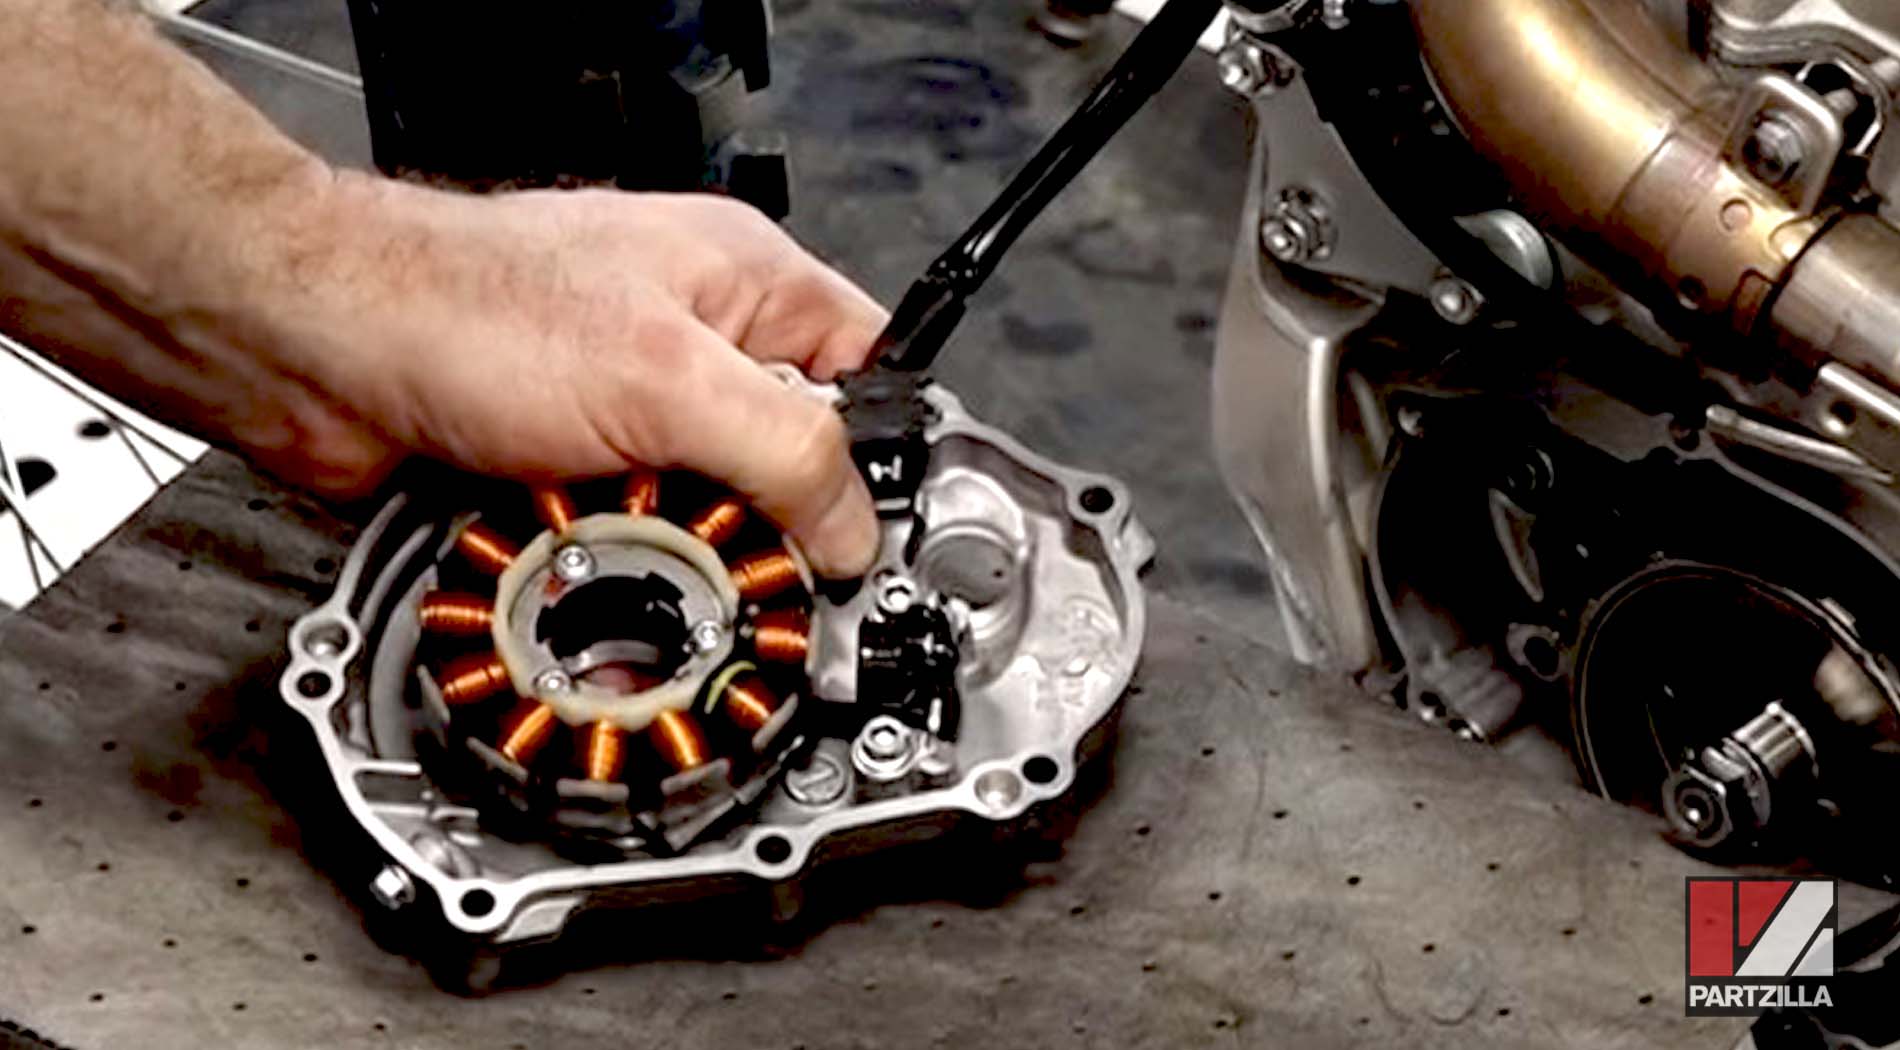
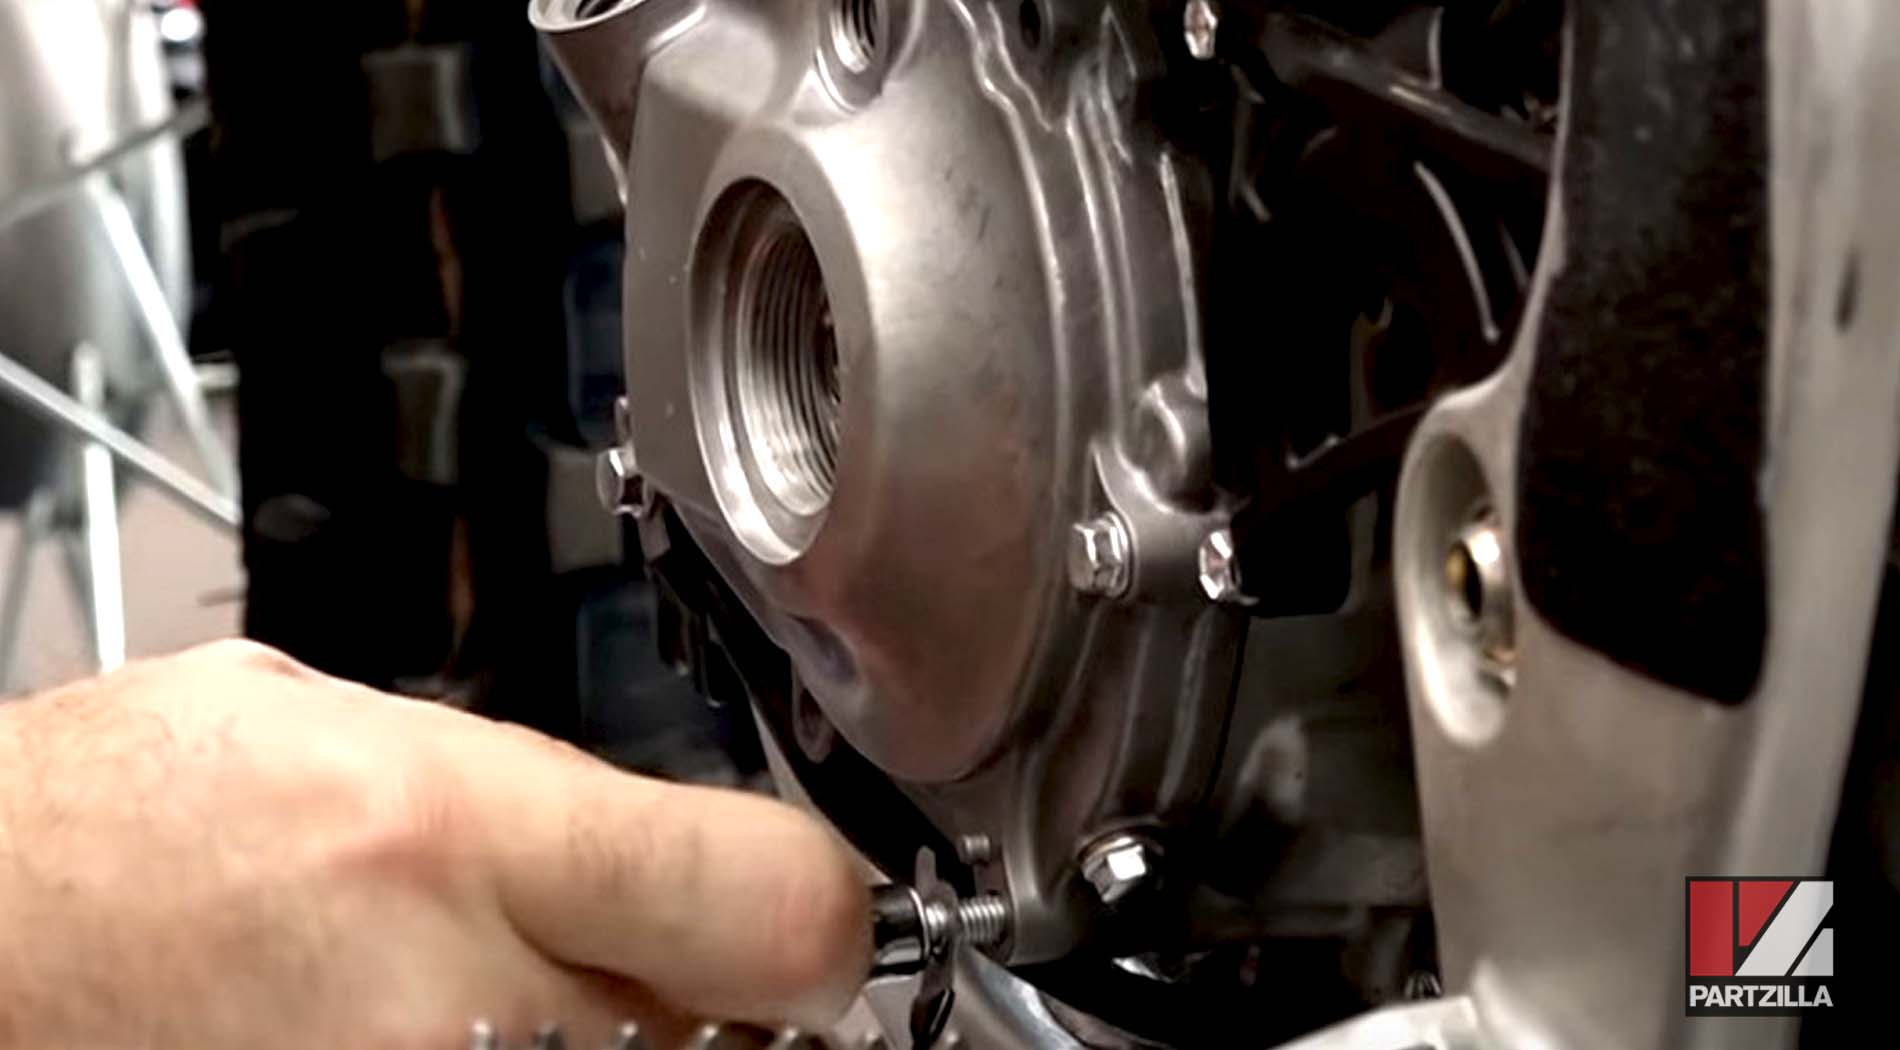
Step 9. Add a little bit of Yamabond adhesive around the groove of the crankcase to ensure it makes a good seal.
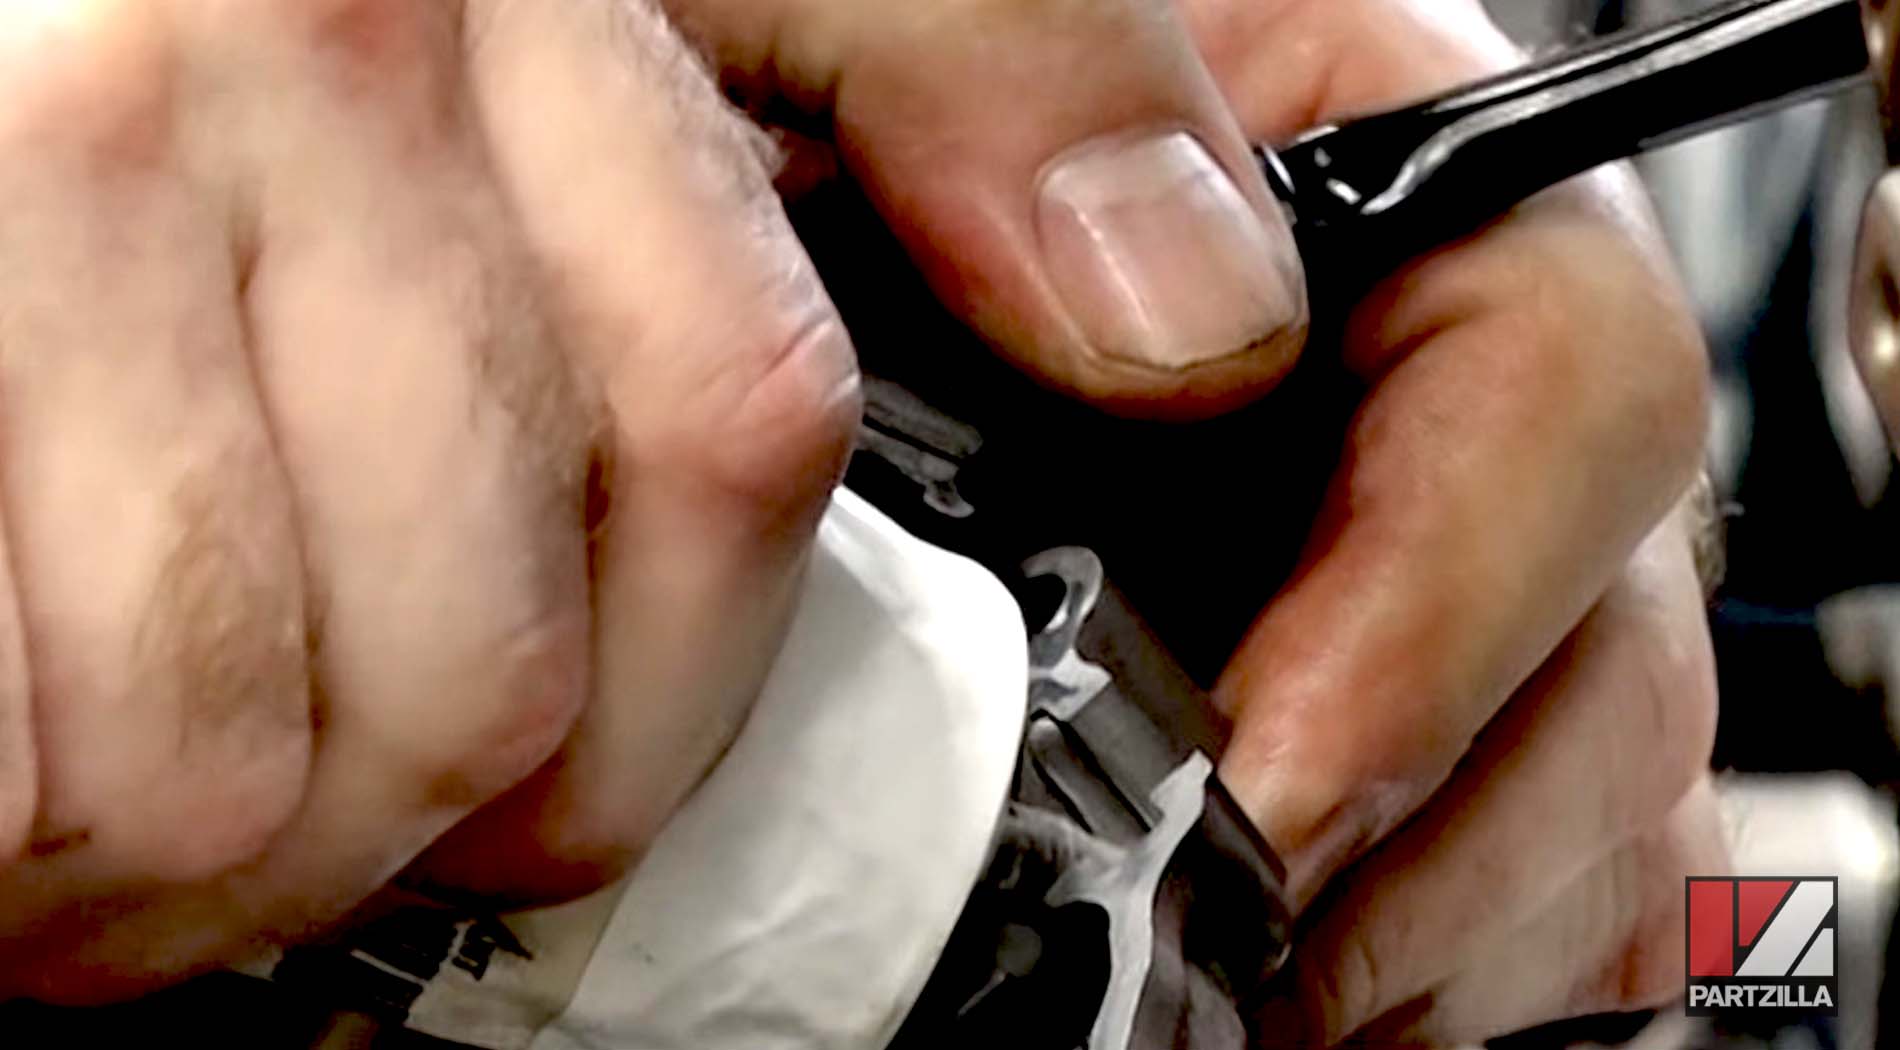
Step 10. Install the small plate that holds the wires back and tighten it down.
Step 11. Mount the new crankcase cover gasket onto the machine, followed by the cover itself.
NOTE: Be careful when pressing the crankcase cover on, since the rotor has magnets in it and it's going to try to pull in. Don't let it pinch your fingers when you go to seat it.
Step 12. Reinstall the crankcase cover bolts, then get them snugged down.
NOTE: Remember to install the copper washer along with the top cover bolt, which goes where the arrow is up top. Also, makes sure the two bolts at the bottom have the cable holders reattached before installing them.
Step 13. Reinstall the inspection covers back onto the crankcase cover.
Step 14. Reinstall the oil drain bolt with its crush washer.

Step 15. Refill the engine with oil (half a liter for this bike), then check the site gauge to make sure the oil level is correct. Top off the oil if necessary and and you’re done.