Yamaha R6 Engine Rebuild Part 3: Cylinder Head Install
Welcome to the third and final part of our step-by-step guide to rebuilding a Yamaha R6 engine.
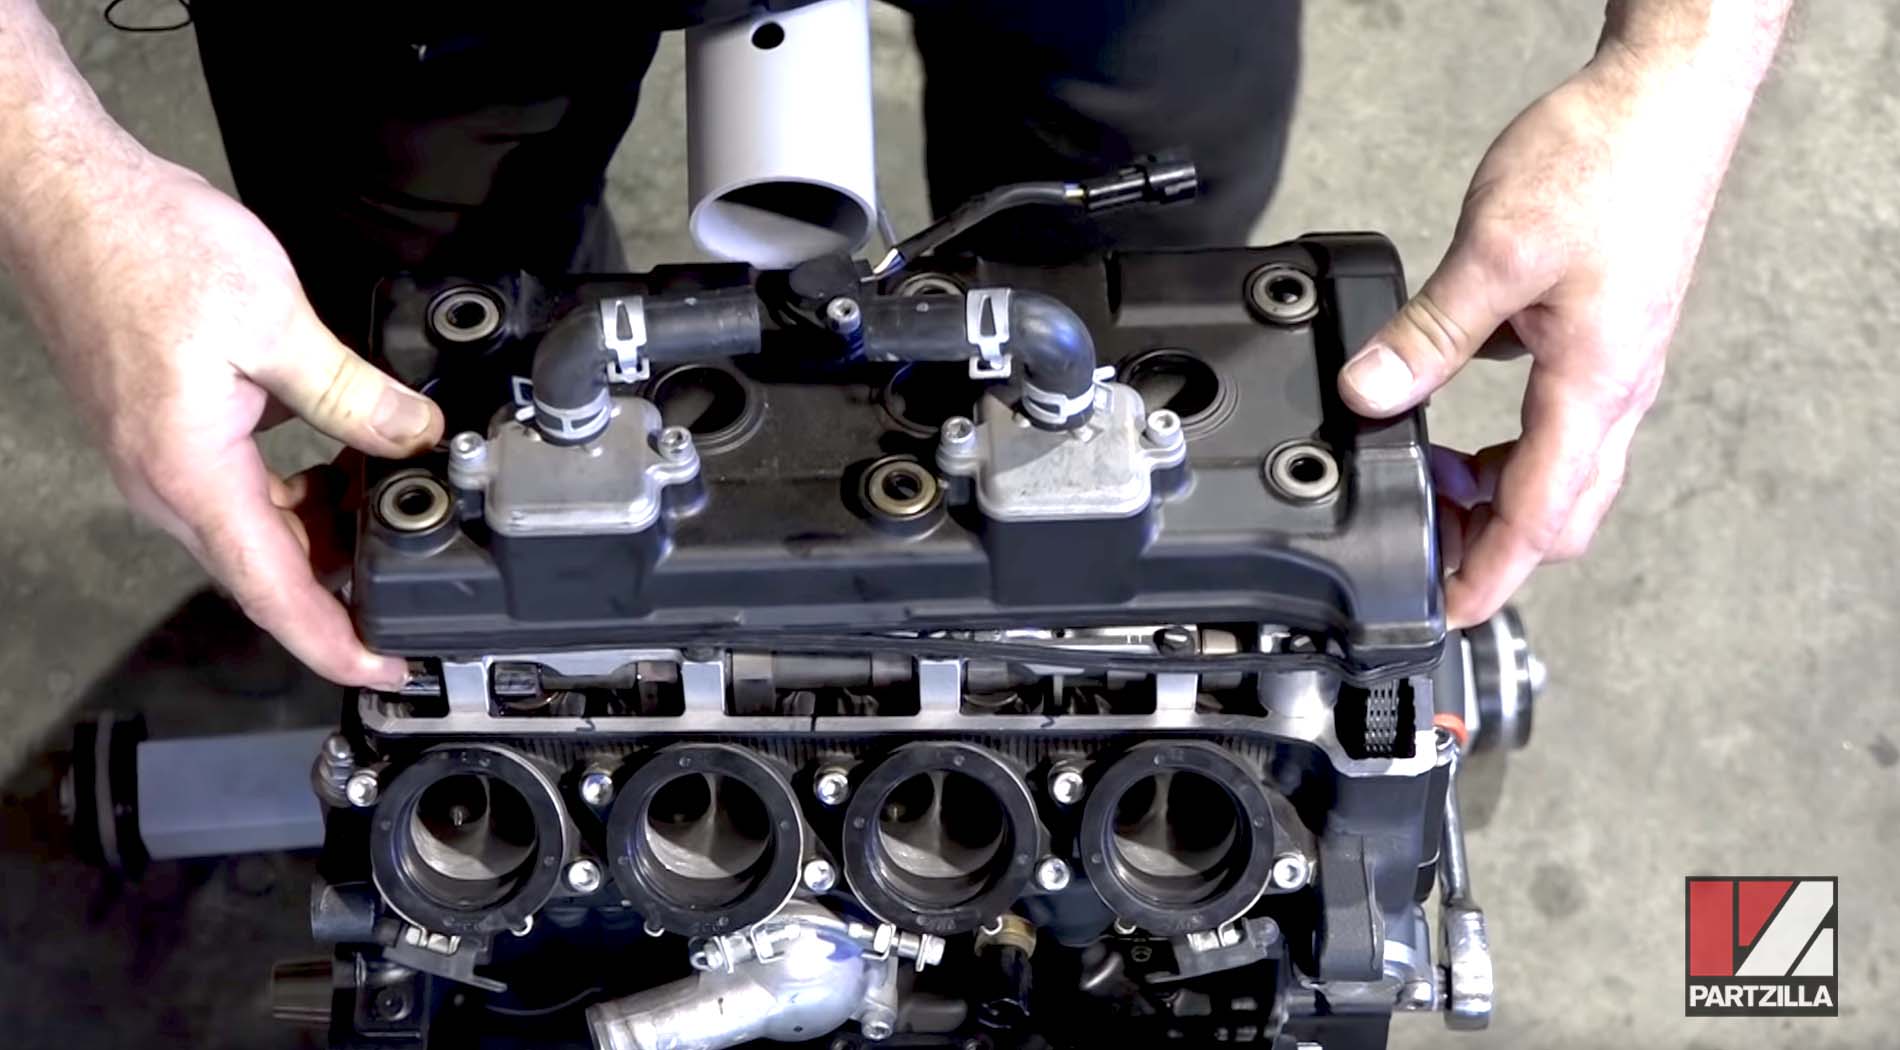
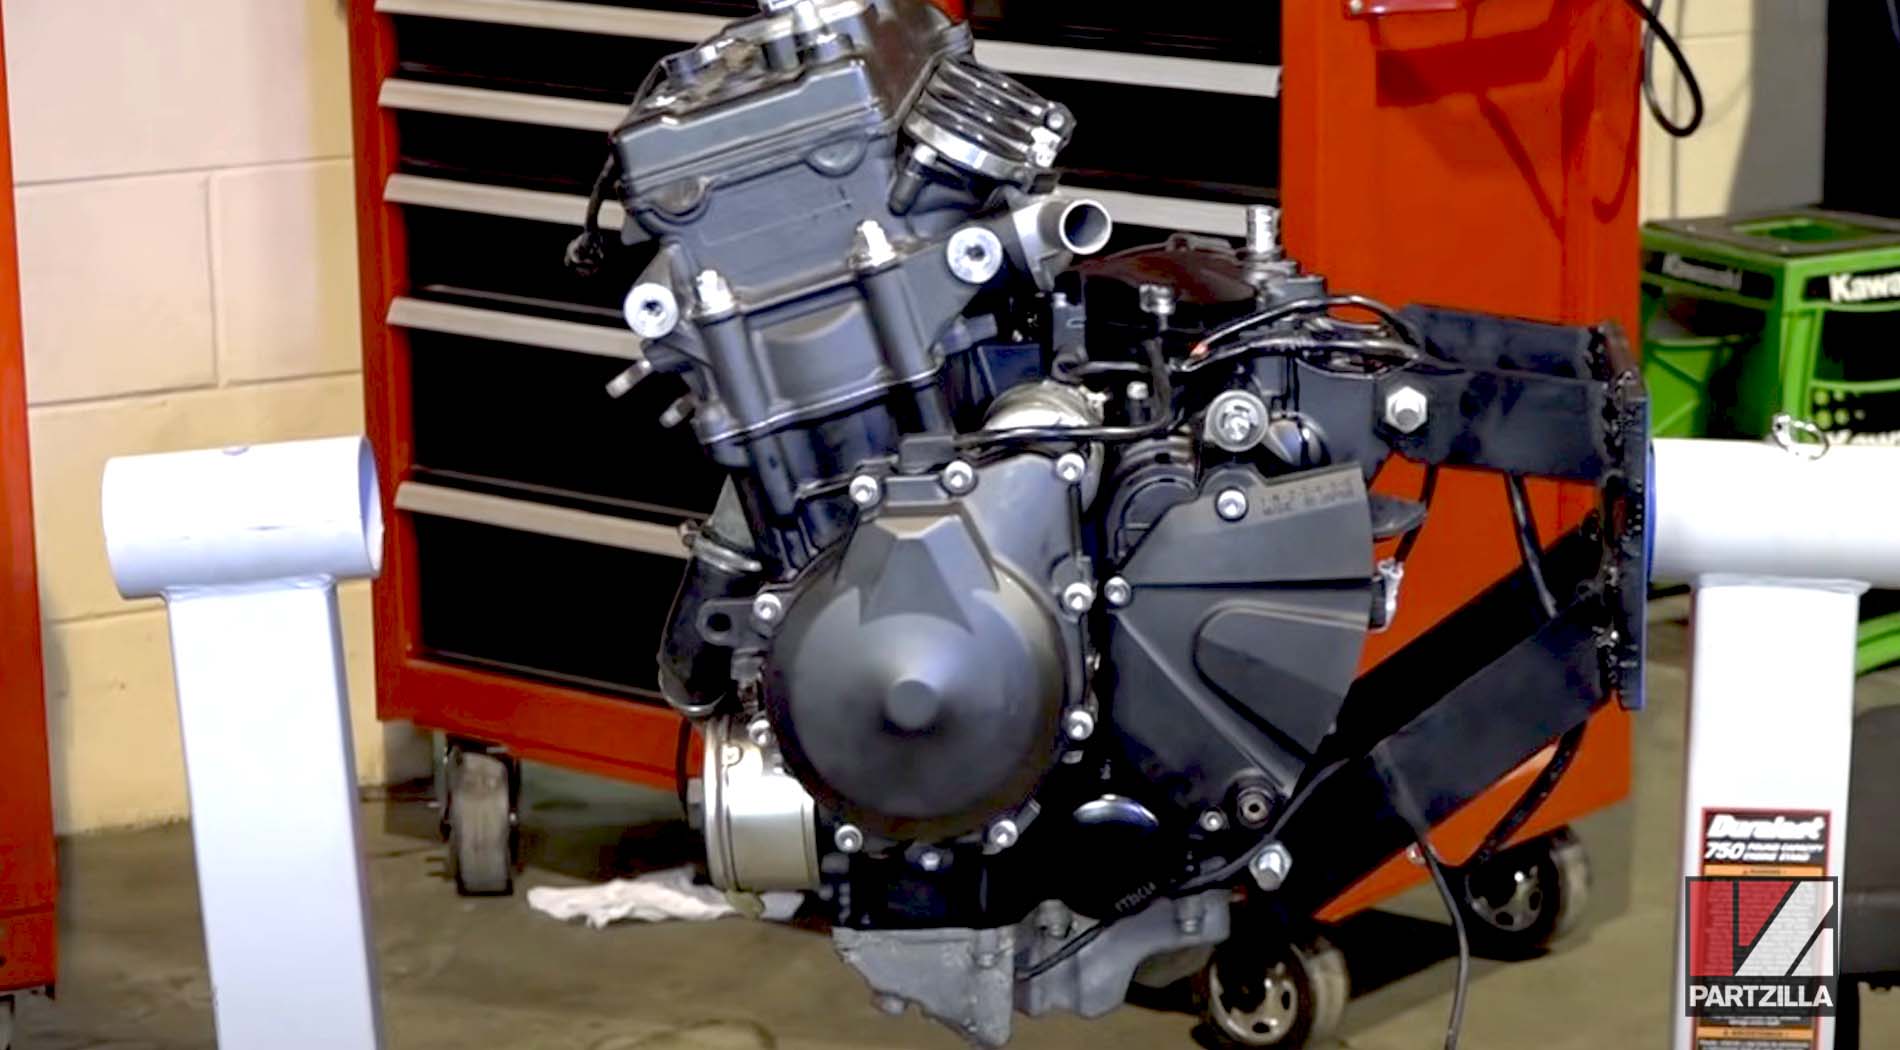
In this part, we install the cylinder head, set the timing, install the clutch and the water pump, and complete the R6 rebuild process.
Watch the video above and follow the steps below to install the cylinder head on a Yamaha R6 motorcycle. Use our Yamaha R6 engine parts diagrams for additional reference.
If you missed parts 1 and 2, watch them here:
Yamaha R6 Engine Rebuild Part 1: Bottom End to Piston Install
Yamaha R6 Engine Rebuild Part 2: 636 Wiseco Piston Install to Head Install
Tools and Parts – Yamaha R6 Engine Rebuild Cylinder Head Installation
- Ratchet and extensions
- Set of sockets
- 5mm, 6mm, 8mm,10mm Allens
- 10mm wrench
- T30 Torx
- Screwdriver
- Magnet
- Pick tool
- Flywheel holder tool
- Torque wrench
- Punch tool
- Pliers
- Piston ring pliers
- Soft blow hammer
- Stud removal-installation set
- Feeler gauge
- Piston ring compressor
- Clutch holder tool
- Angle meter
- Red threadlocker
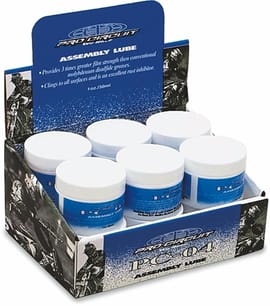
- Assembly lube
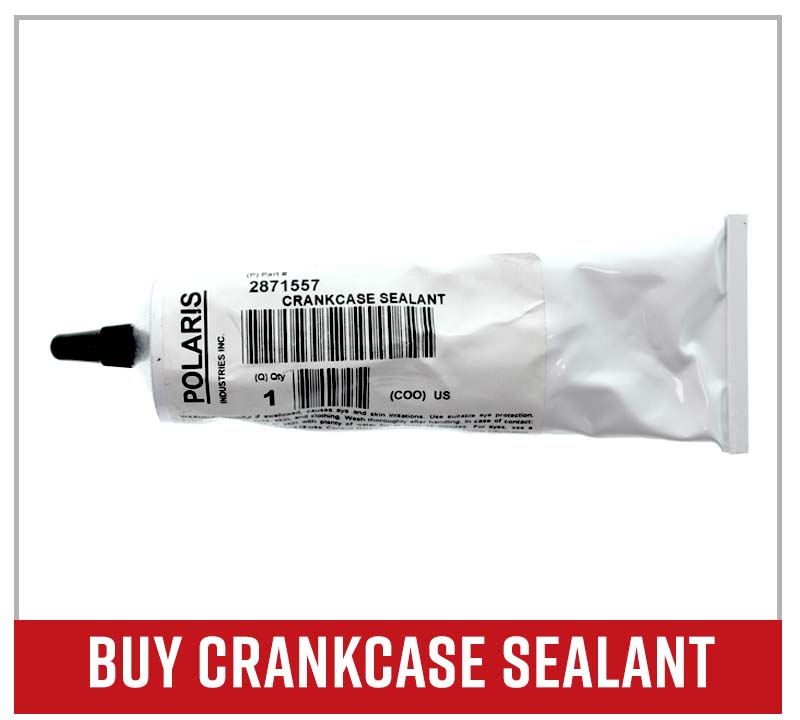
- Crankcase sealant

NOTE: The OEM parts you'll need to rebuild a Yamaha R6 motor will vary according to the amount of wear on your engine.

Yamaha R6 Engine Rebuild Part 3: Head Install & Final Steps
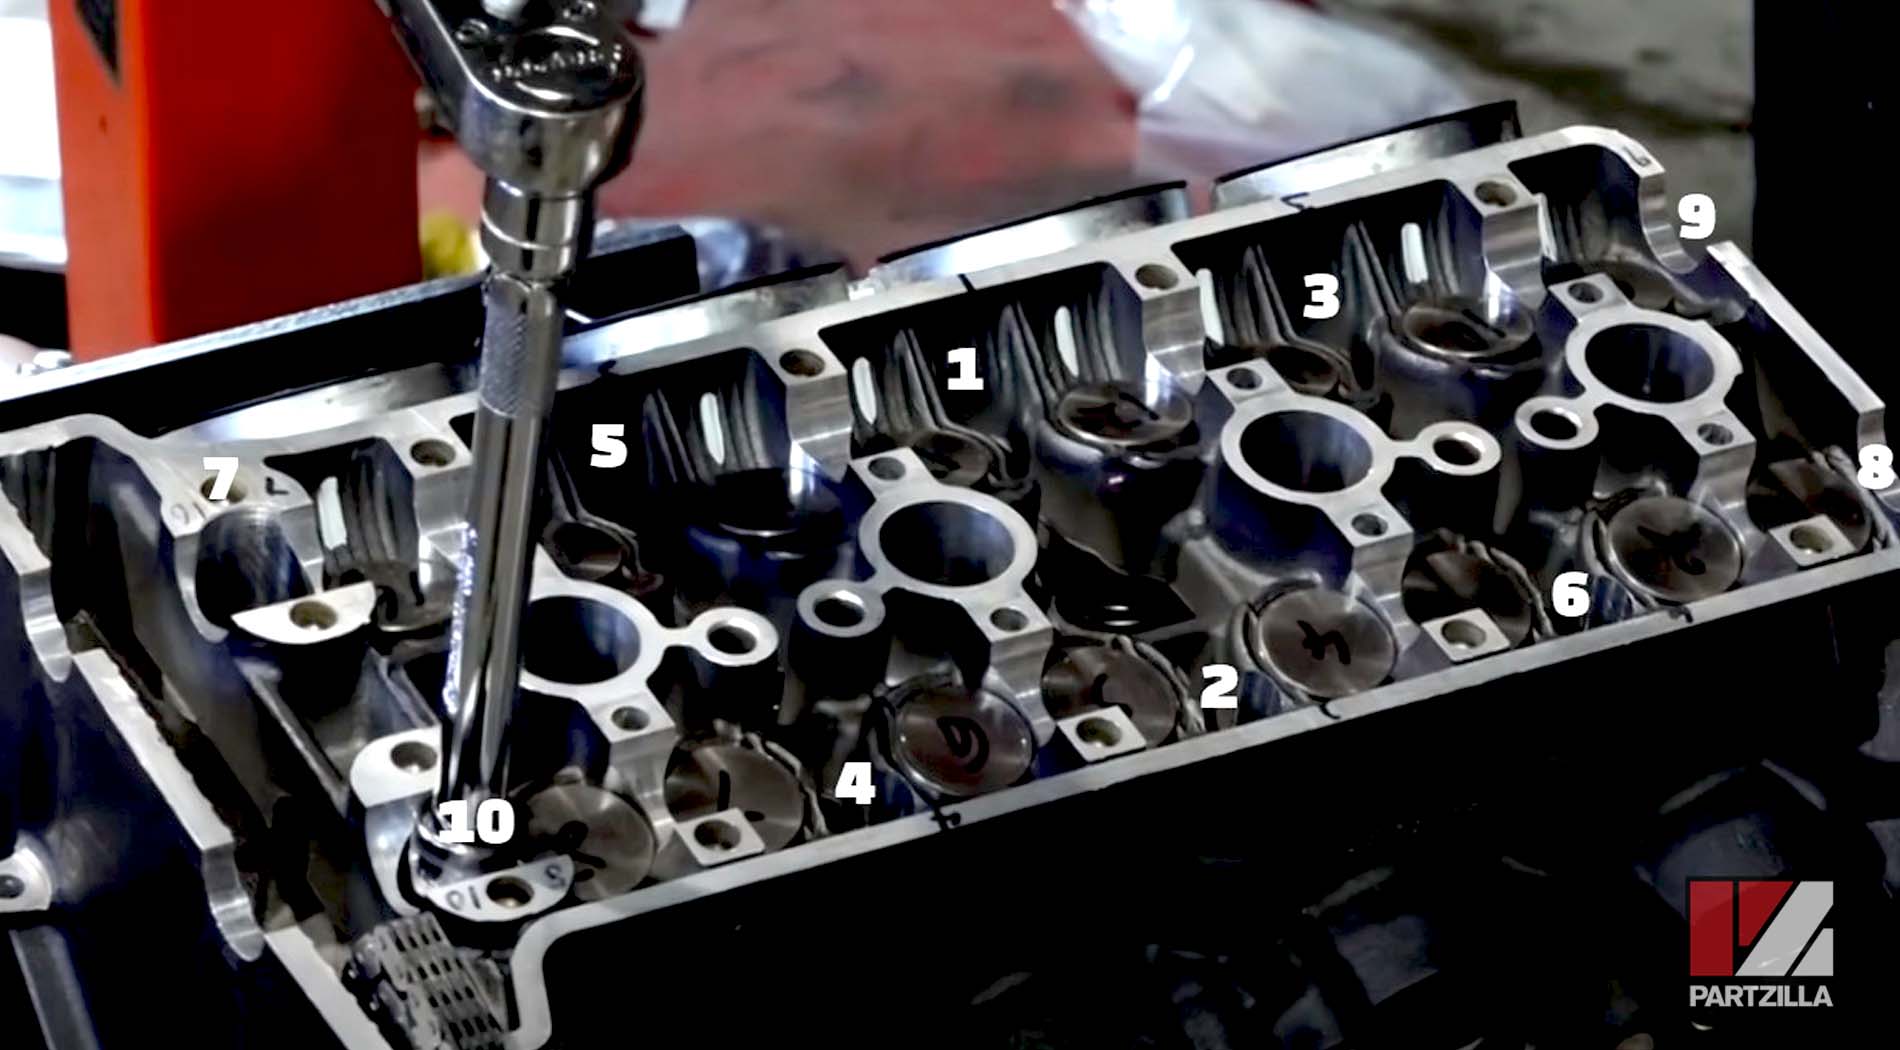
Step 1. With the cylinder head back on the crankcase, the cylinder head bolts must be tightened in a specific order:
1. Torque bolts #1 through #7 and bolt #10 to 18 foot-pounds.
2. Torque bolts #8 and #9 to 22 foot-pounds.
3. Re-torque bolts #1 through #7 and bolt #10 to 31 foot-pounds.
4. Re torque bolts #8 and #9 to 44 foot-pounds.
5. Torque the two 5mm Allen bolts at the right side of the cylinder head to 8.9 foot-pounds.
Step 2. Apply assembly lube to the camshaft journals and lifter valve heads, and install the two camshafts, making sure the exhaust camshaft (the one with the notched journal in the middle) is above the exhaust valves, and the intake camshaft is above the intake valves.
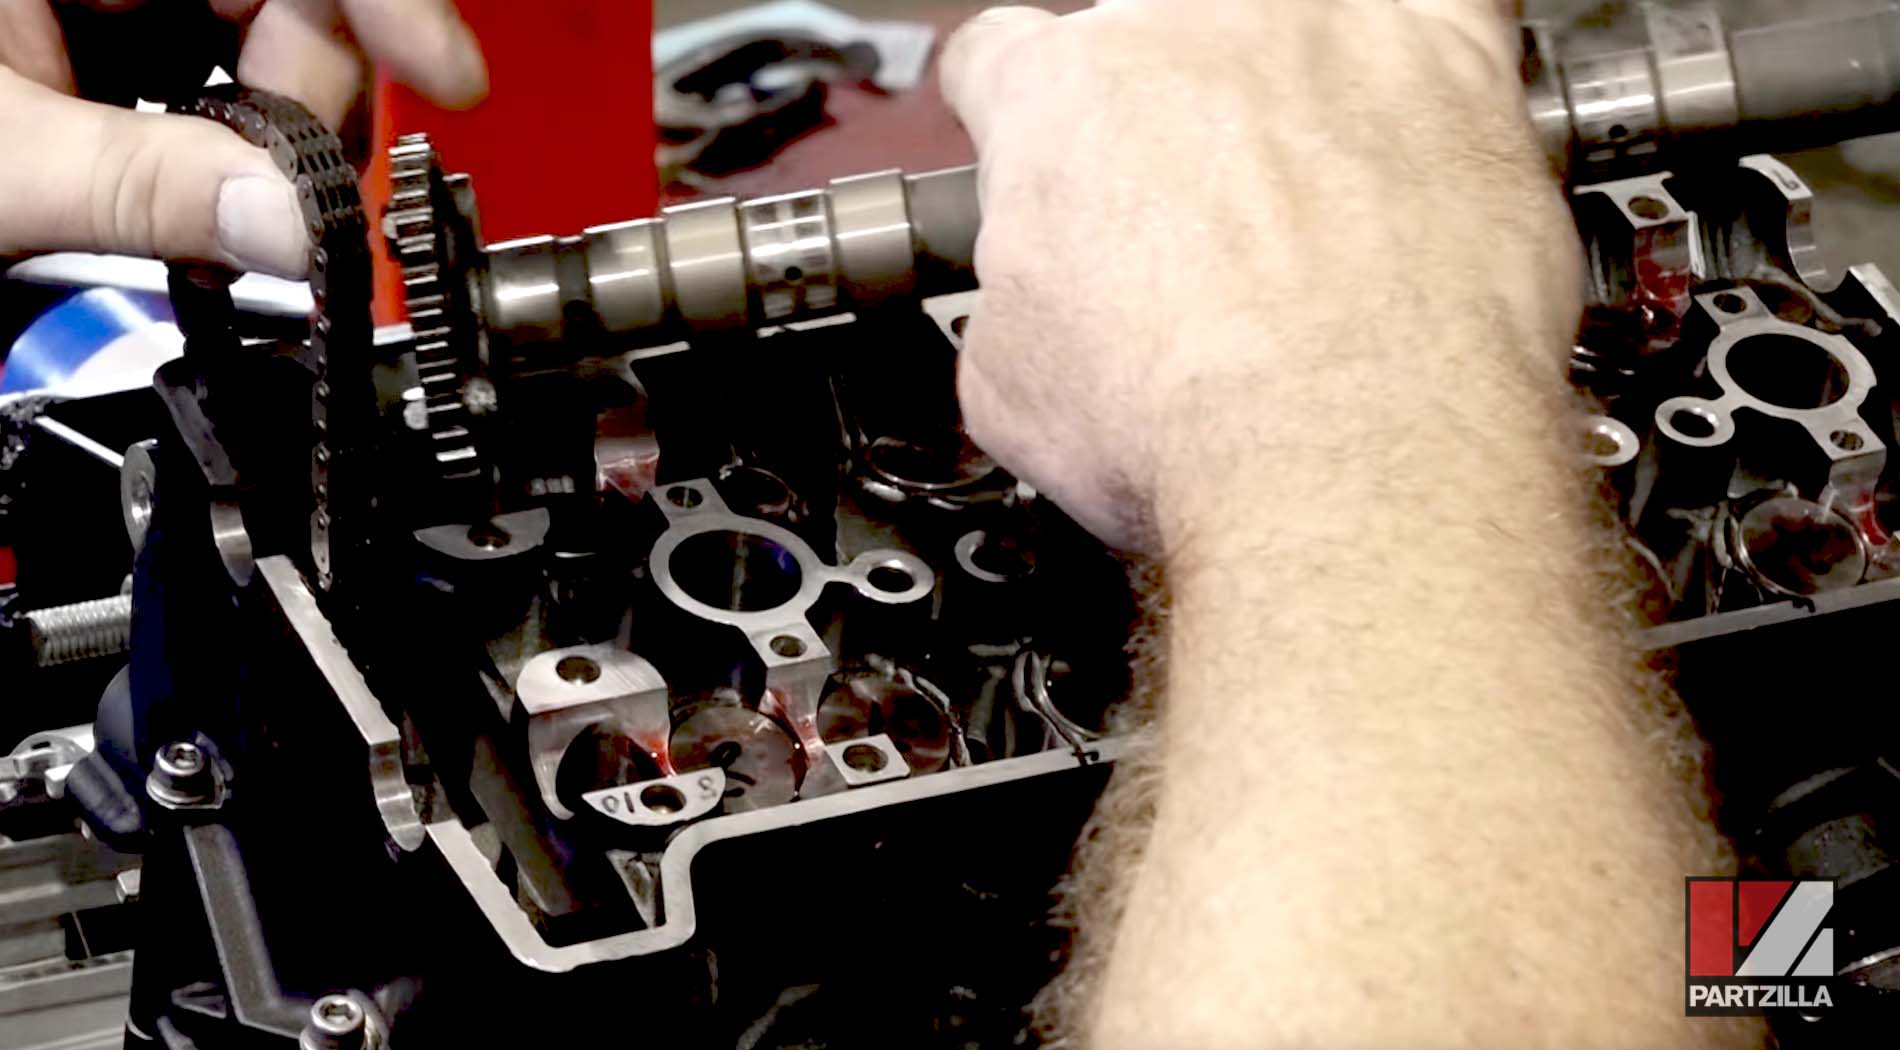
Step 3. Make sure the engine is at top dead center (TDC) by rotating the timing chain rotor clockwise until the rotor's T-mark is aligned with the line created by the two halves of the crankcase.
Step 4. With the engine at TDC, adjust the camshafts so their timing marks are level with the cylinder head.
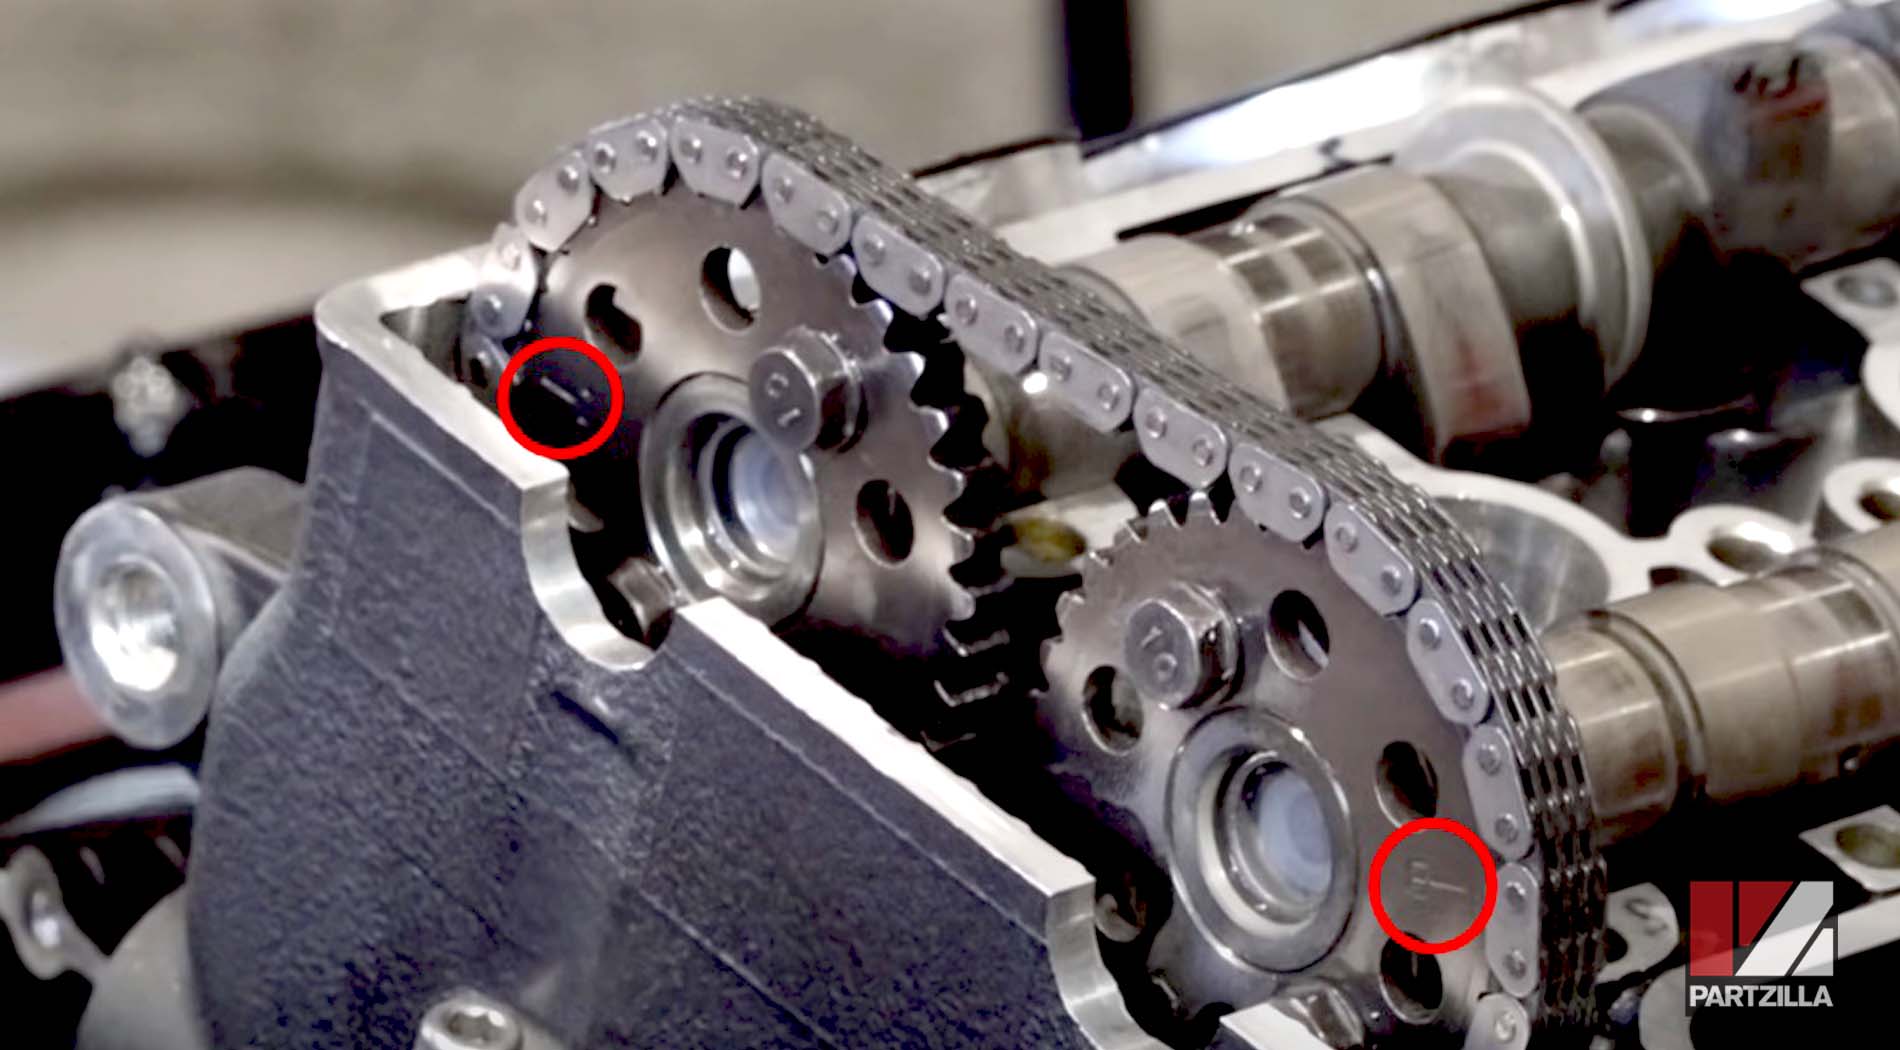
Watch the video below to see how to set the cam timing on a Yamaha R6.
Step 5. Apply assembly lube to the camshafts, and install the caps that hold the camshafts with the arrows embossed on the caps pointing toward the timing chain. The caps for the intake camshaft have the letter I embossed on them, and the caps for the exhaust camshaft have the letter E.
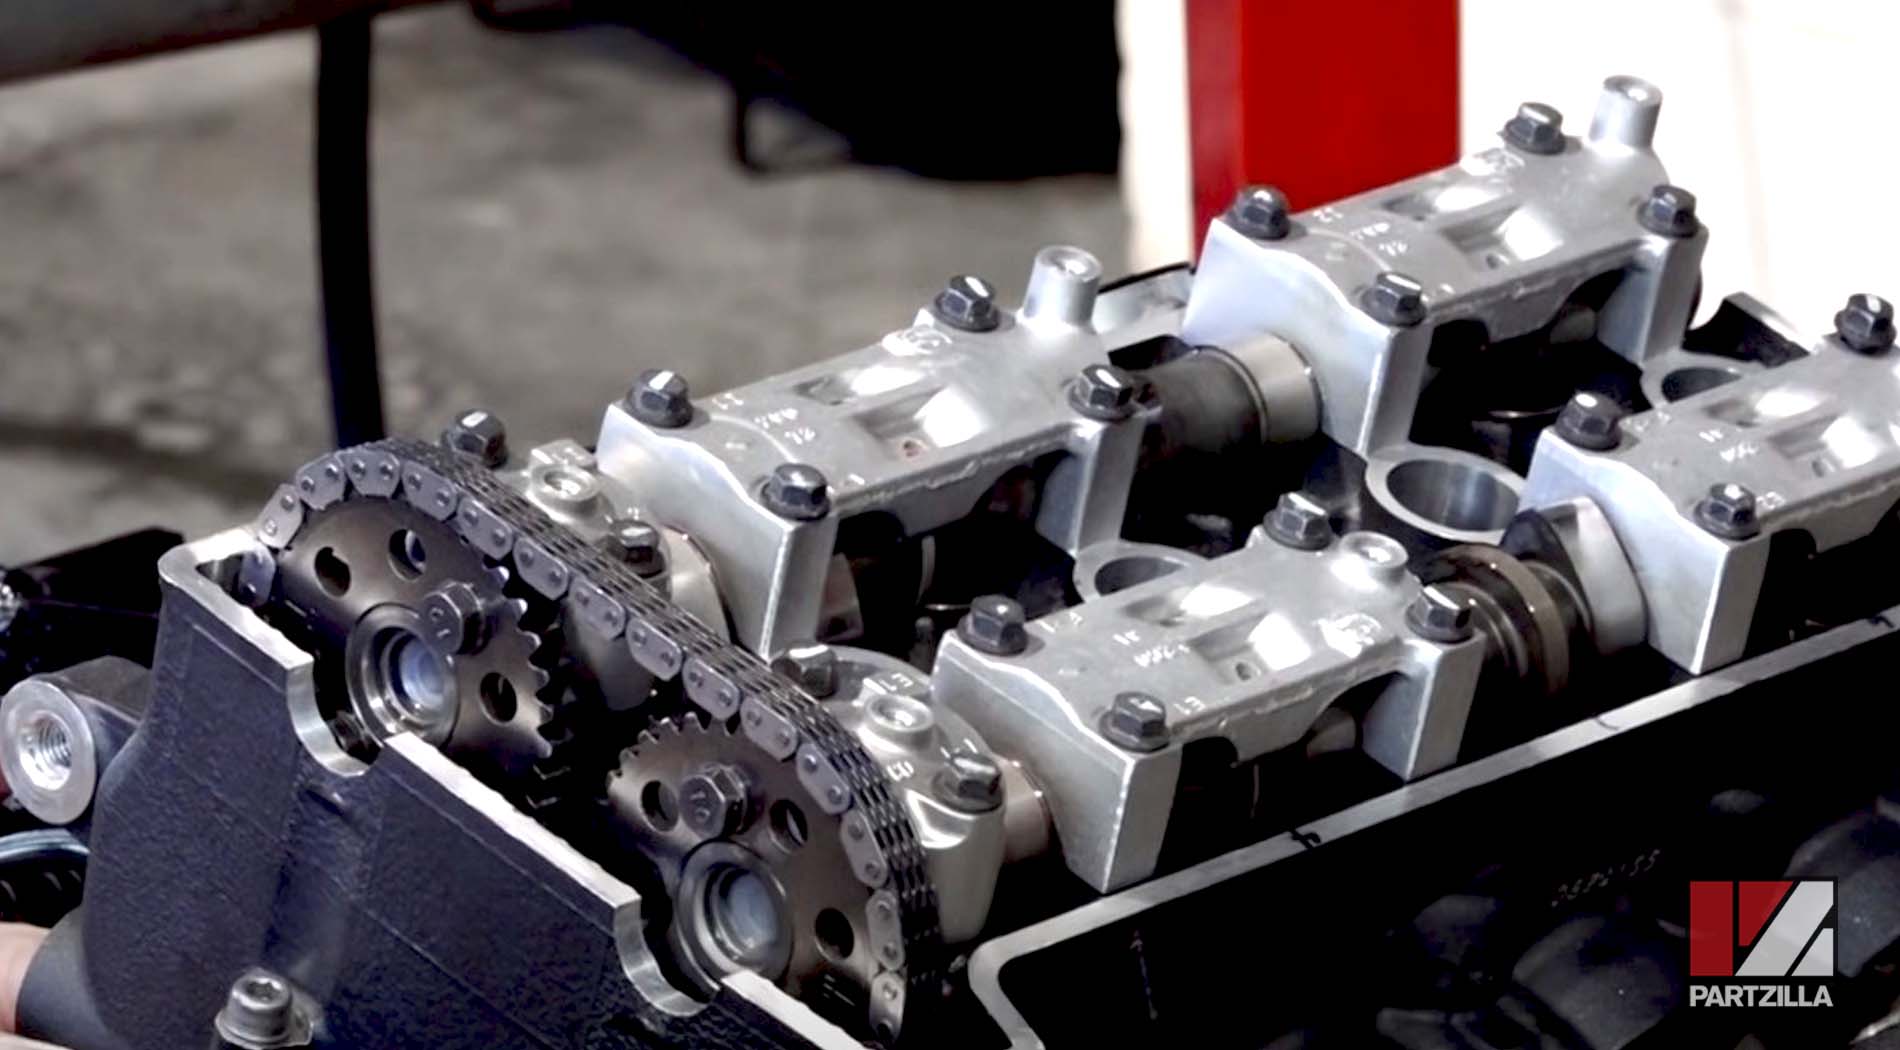
Step 6. Tighten the camshaft caps a couple of turns at a time to distribute the pressure on the camshafts evenly. This will prevent warping or cracking a camshaft. Torque the cap bolts to 7.4 foot-pounds.
Step 7. Reset the timing chain tensioner, install it in the cylinder, and then tap it to release its mechanism that will apply the correct tension to the timing chain. Use red threadlocker on the timing chain tensioner’s two bolts.

Step 8. Turn the engine over a couple of times by rotating the timing chain rotor clockwise. Re-check that the cam timing is correct and readjust it if necessary (Step 3 and Step 4).
Step 9. Insert a new valve cover gasket into the groove around the valve cover, and install the cover back onto the cylinder head. Install the valve cover bolts and tighten the cover down.
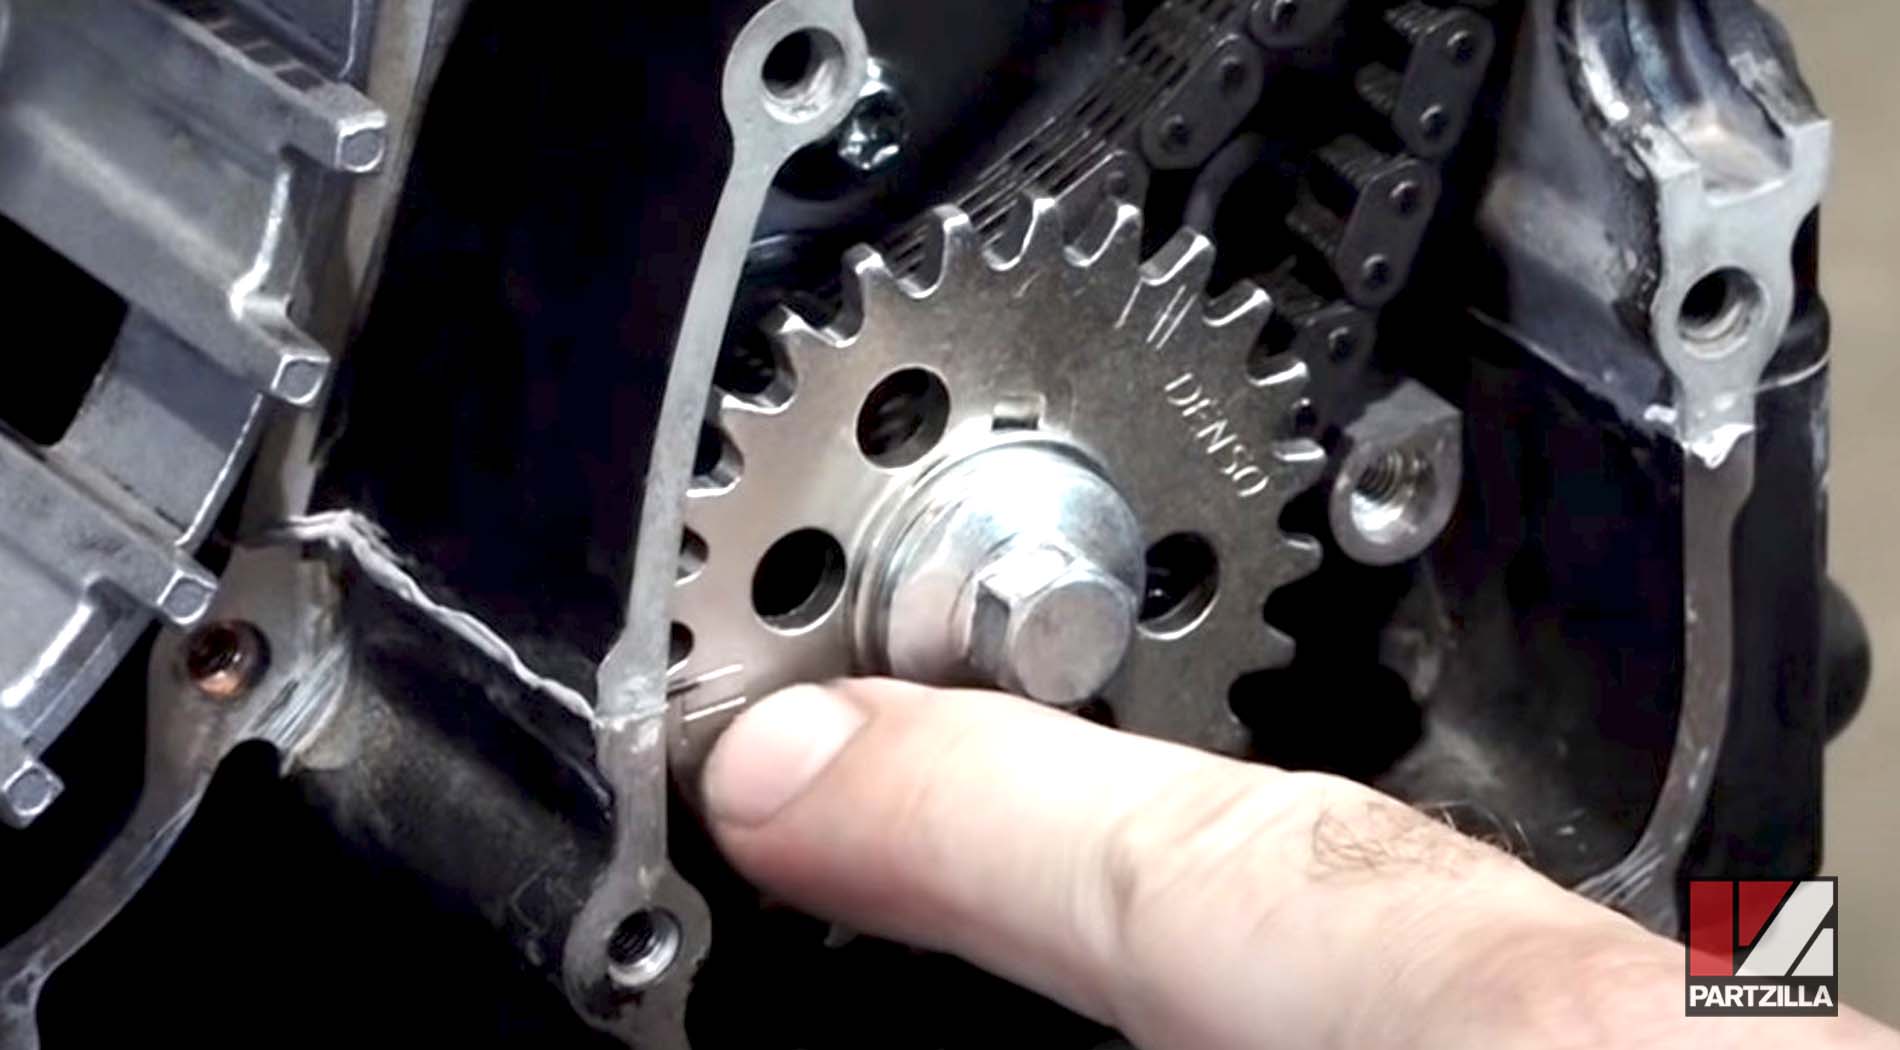
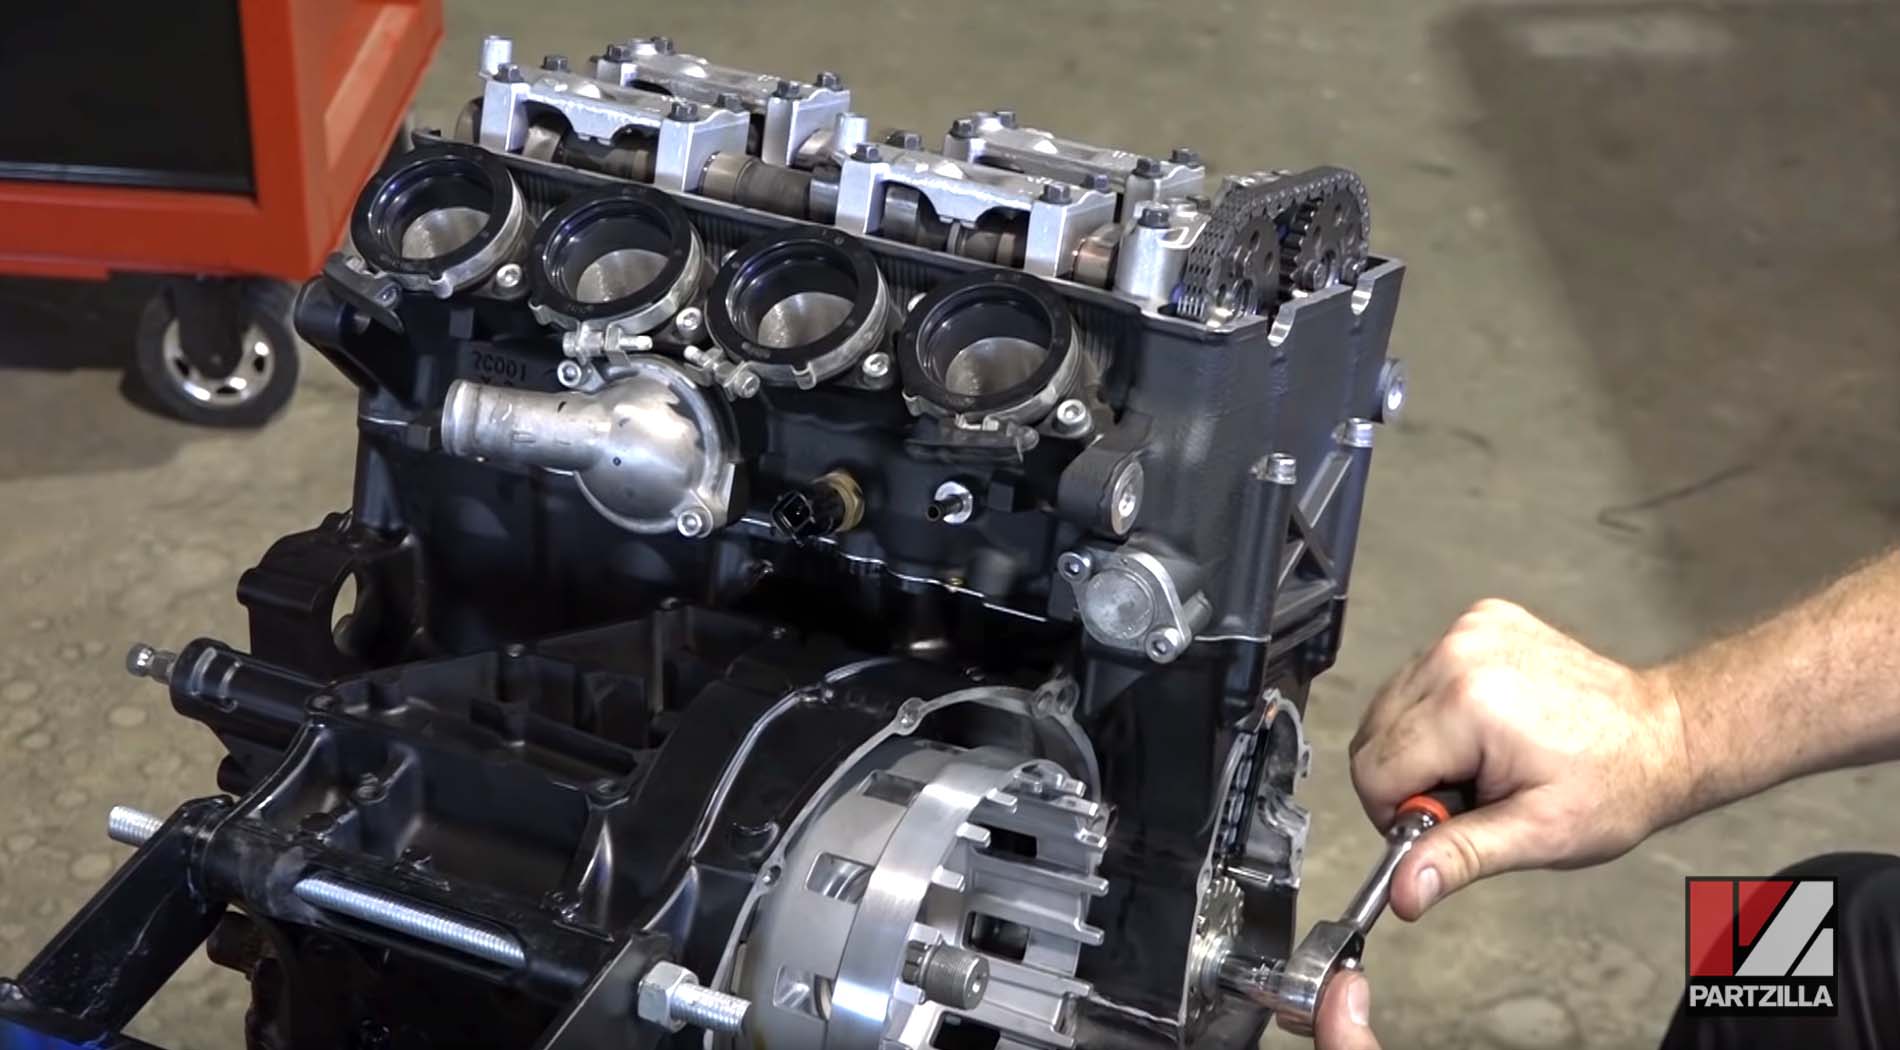
Step 10. Apply a smear of oil to the flywheel’s central bearing, and install the flywheel. Hold the flywheel in place with a flywheel tool, and torque the flywheel bolt to 52 foot-pounds.
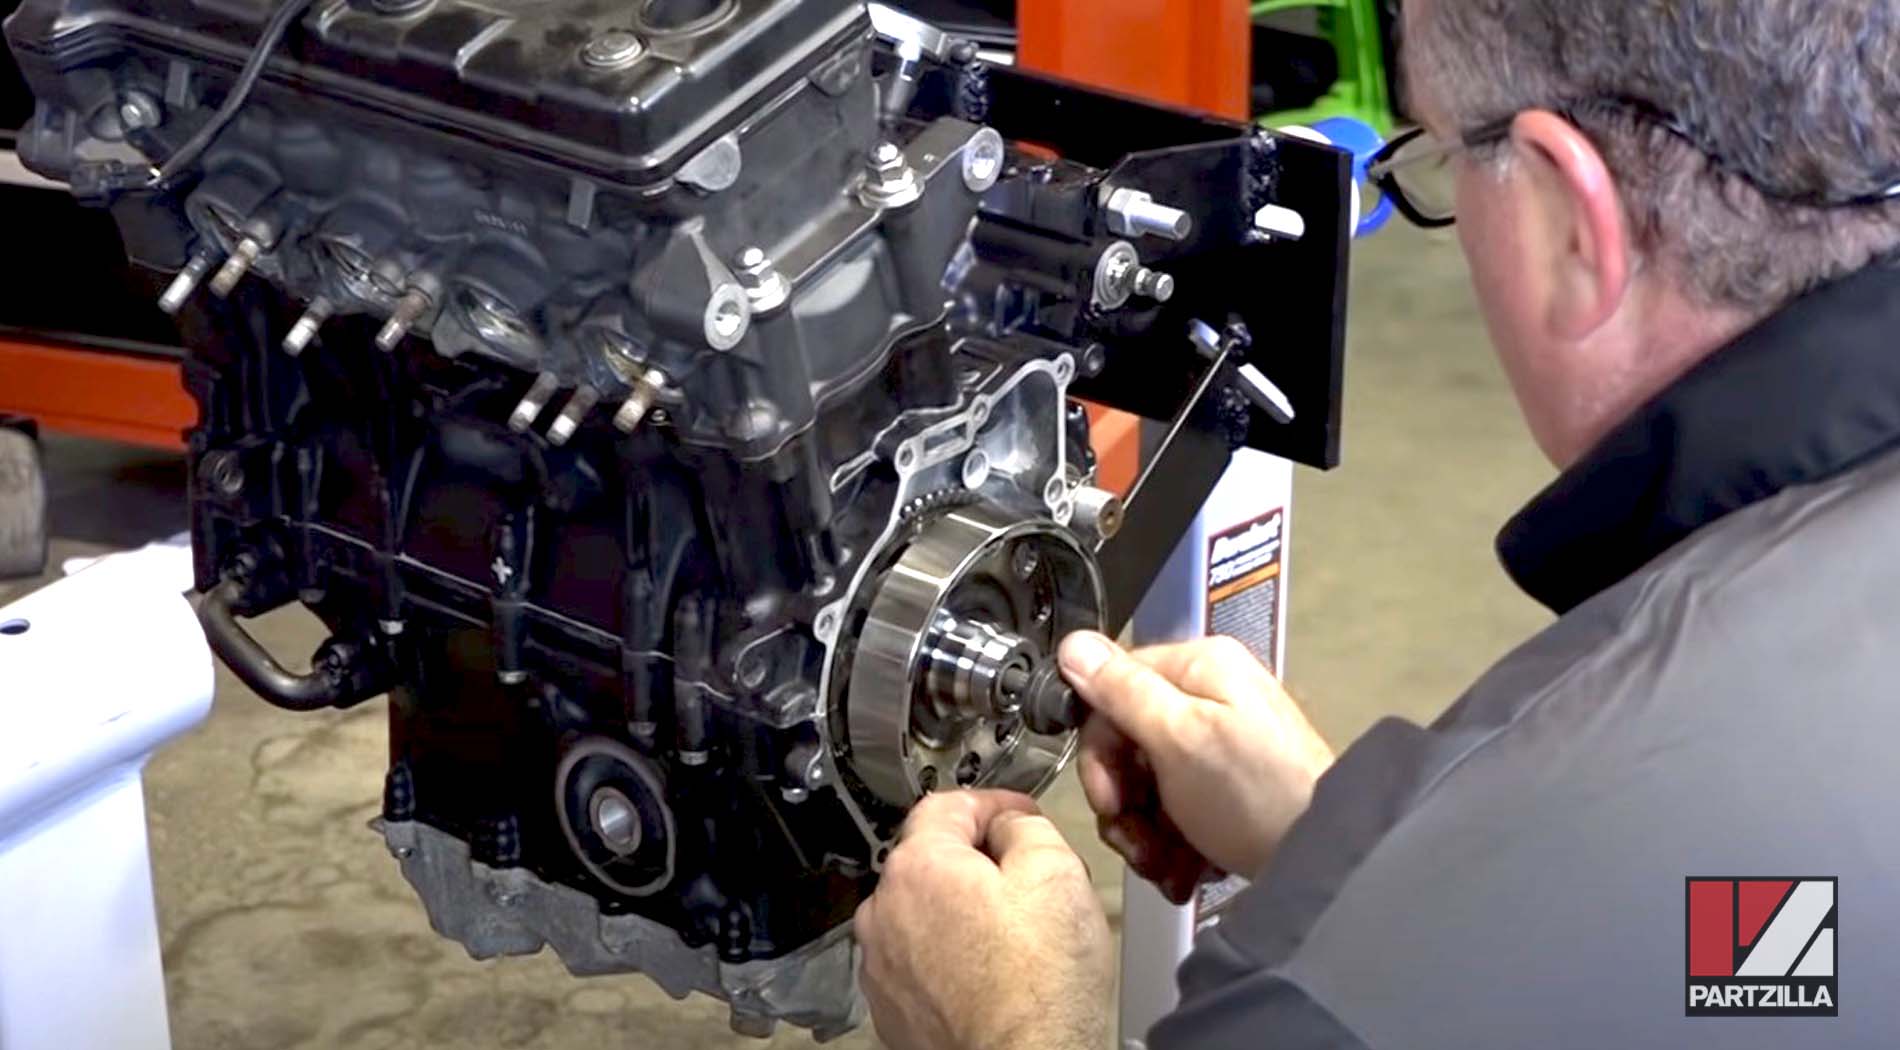
Step 11. Before removing the flywheel tool, torque the timing chain rotor nut to 26 foot-pounds.
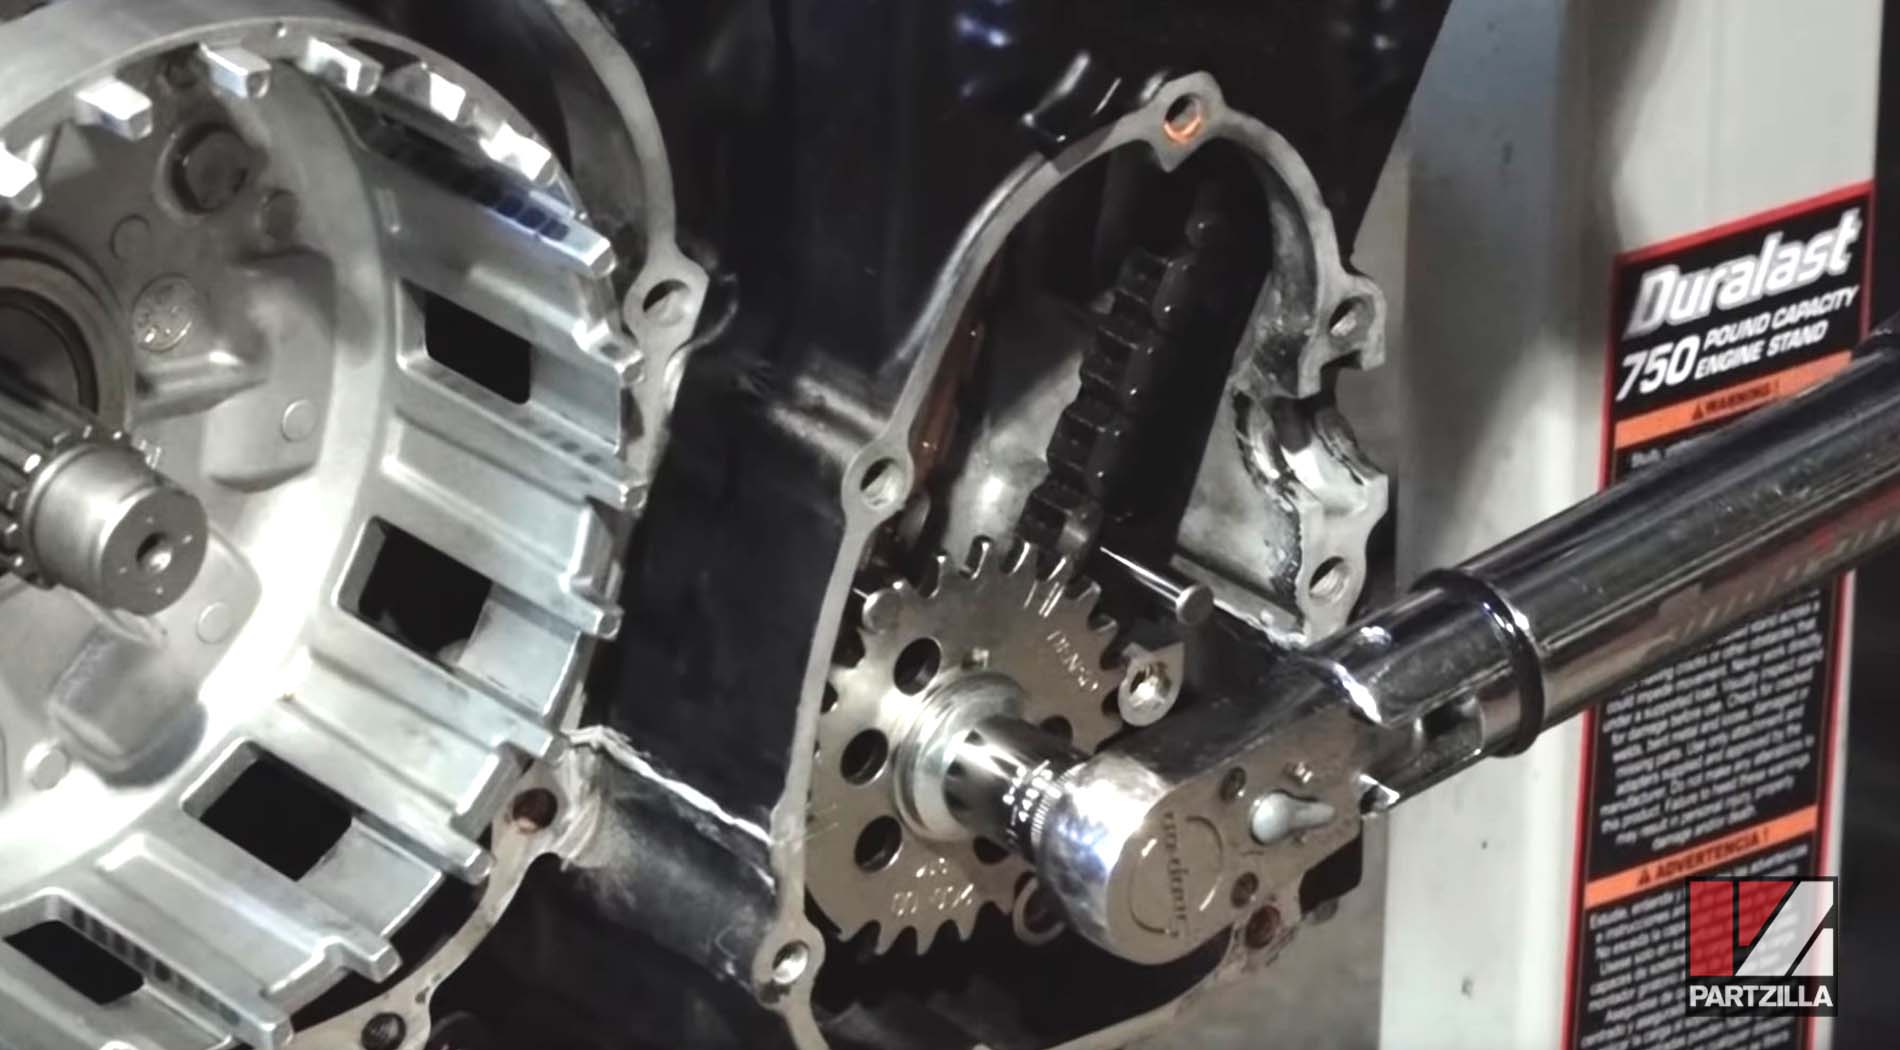
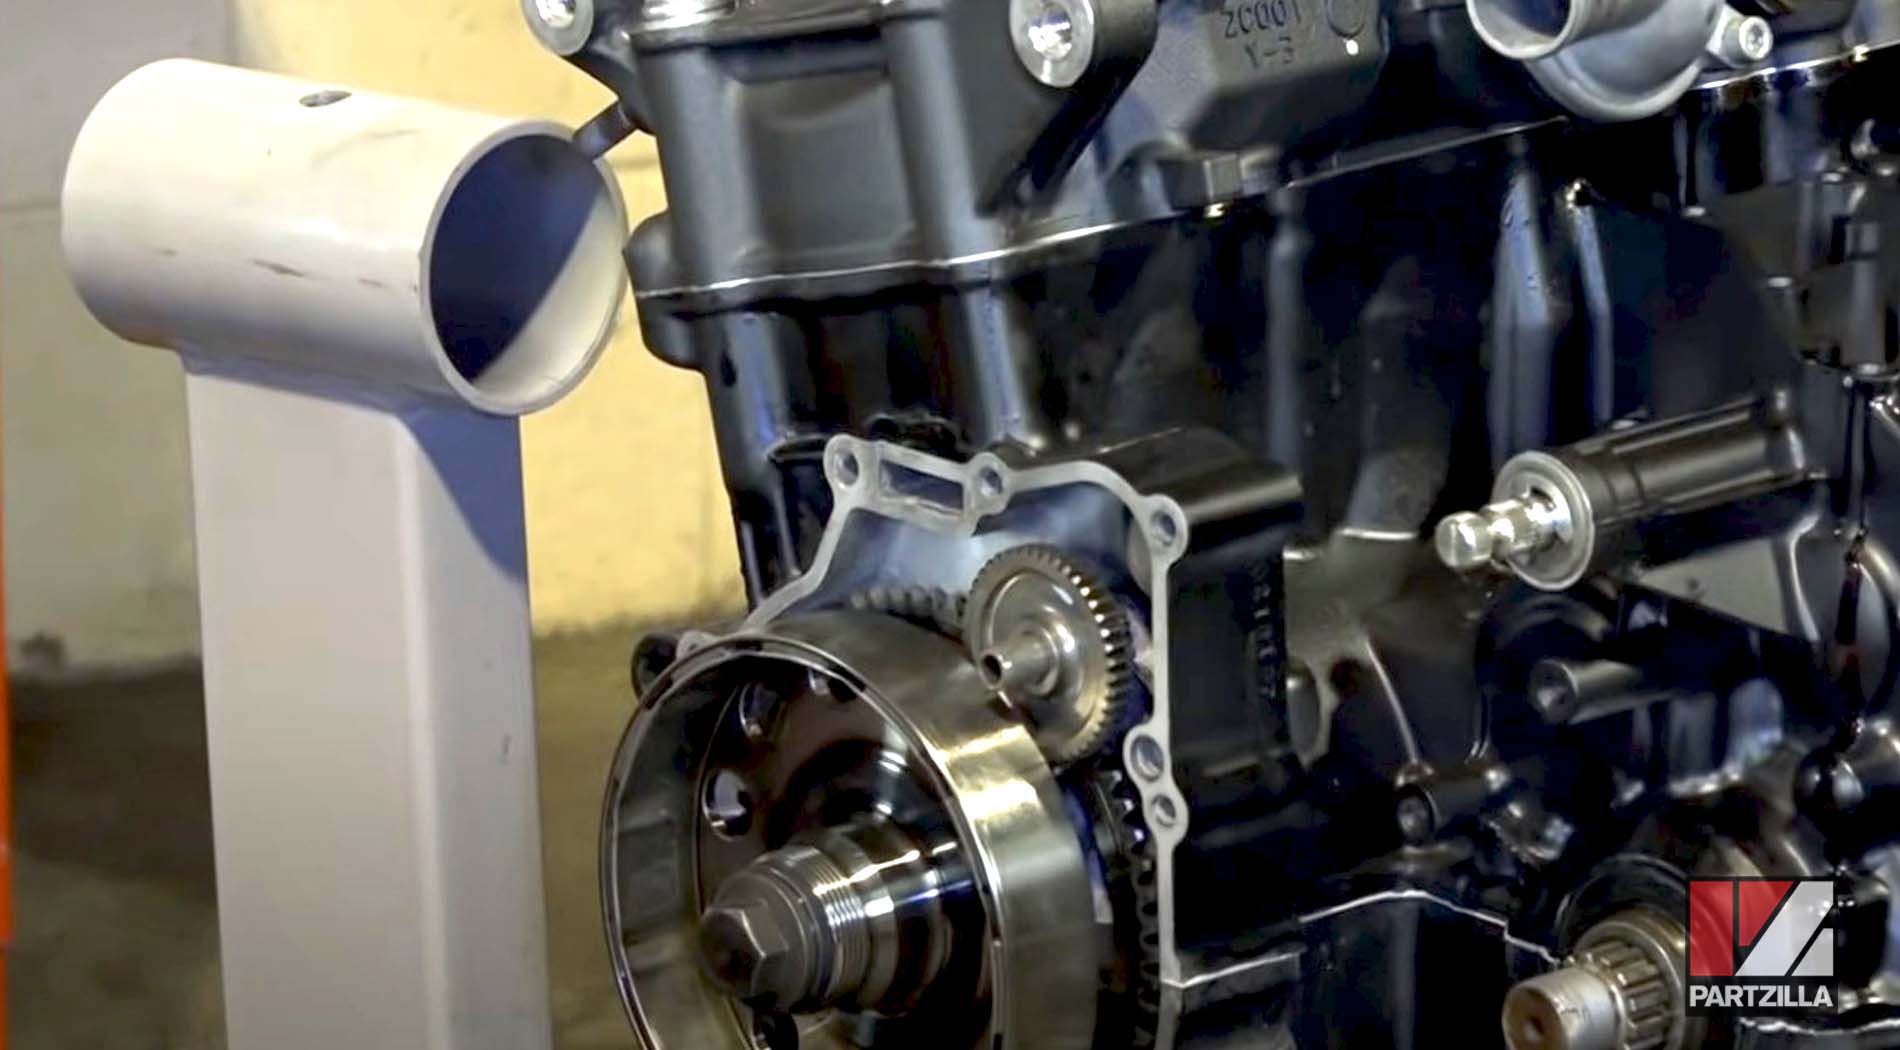
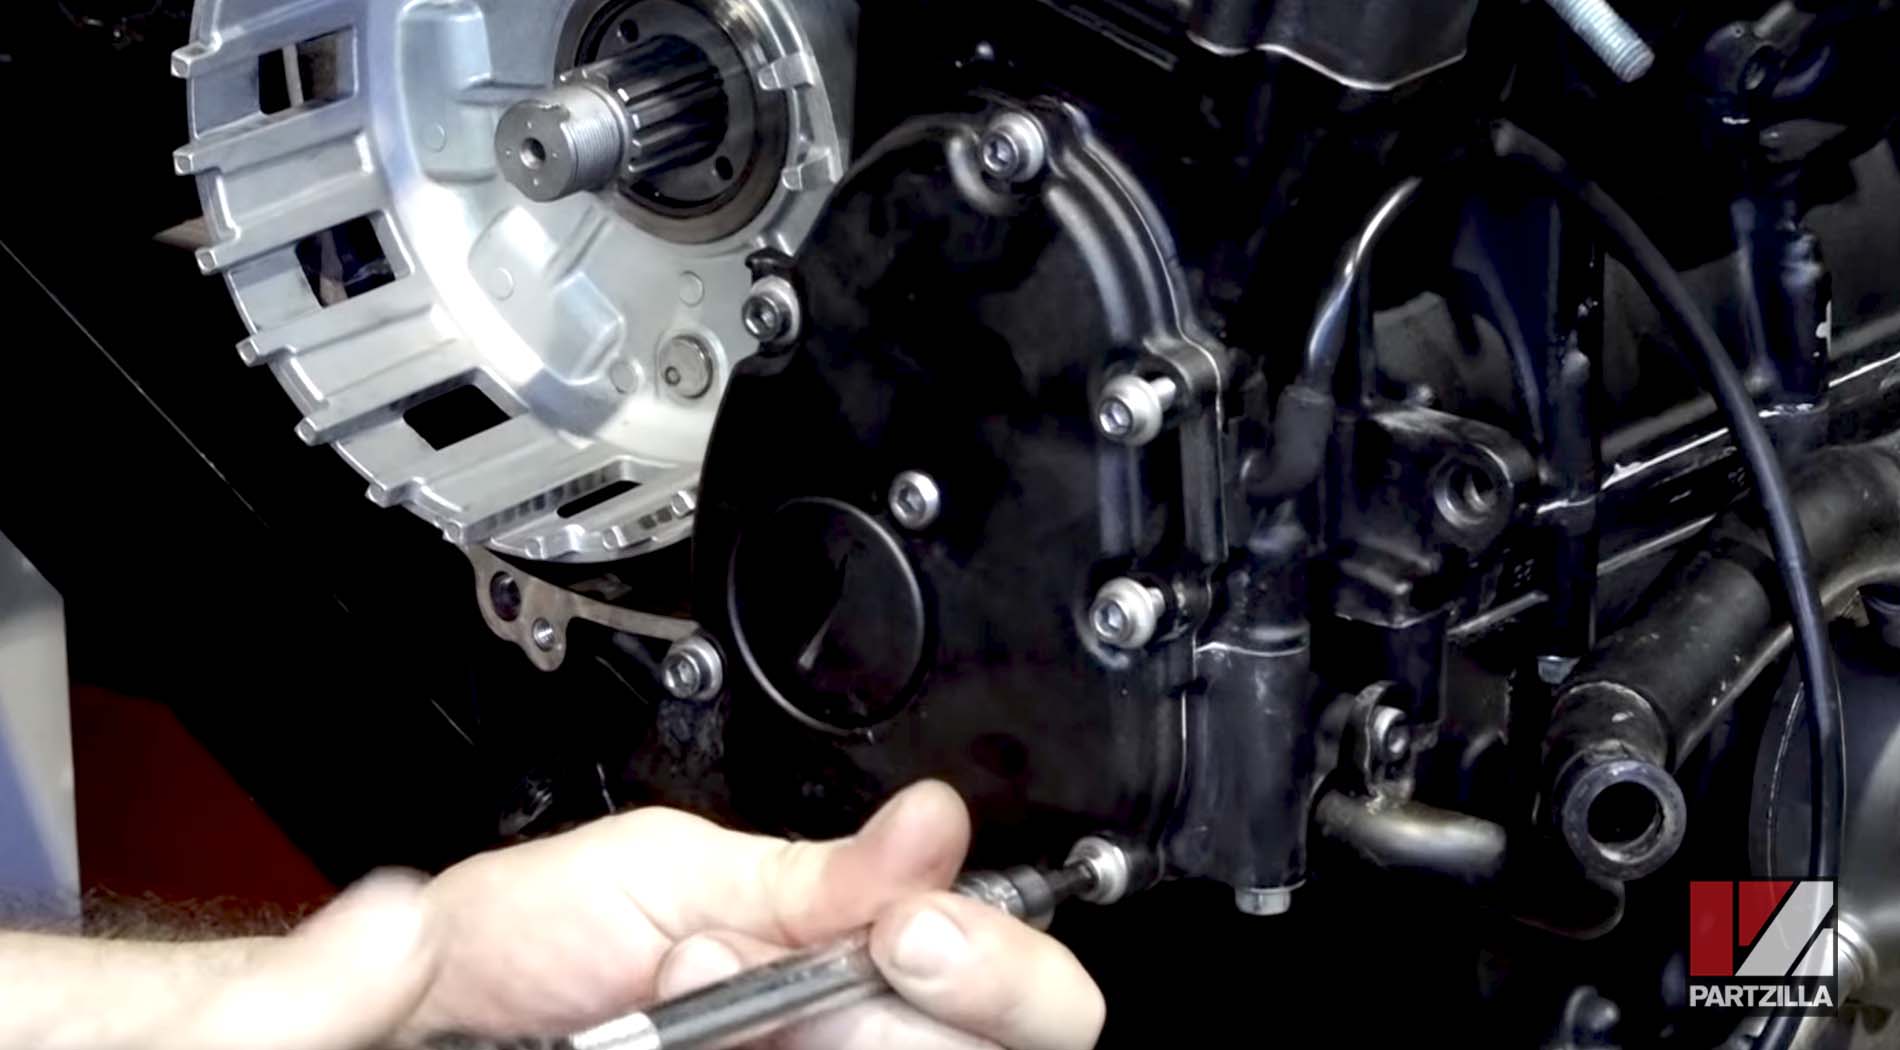
Step 12. Install the reduction gear beside the flywheel, install the two stator cover dowels into the crankcase, and install the stator and stator cover using a new cover gasket.
NOTE: If you removed the stator from the stator cover, put a bead of crankcase sealant around the cover’s aperture that houses the stator cable rubber grommet, and apply red threadlocker to the stator mounting bolts.
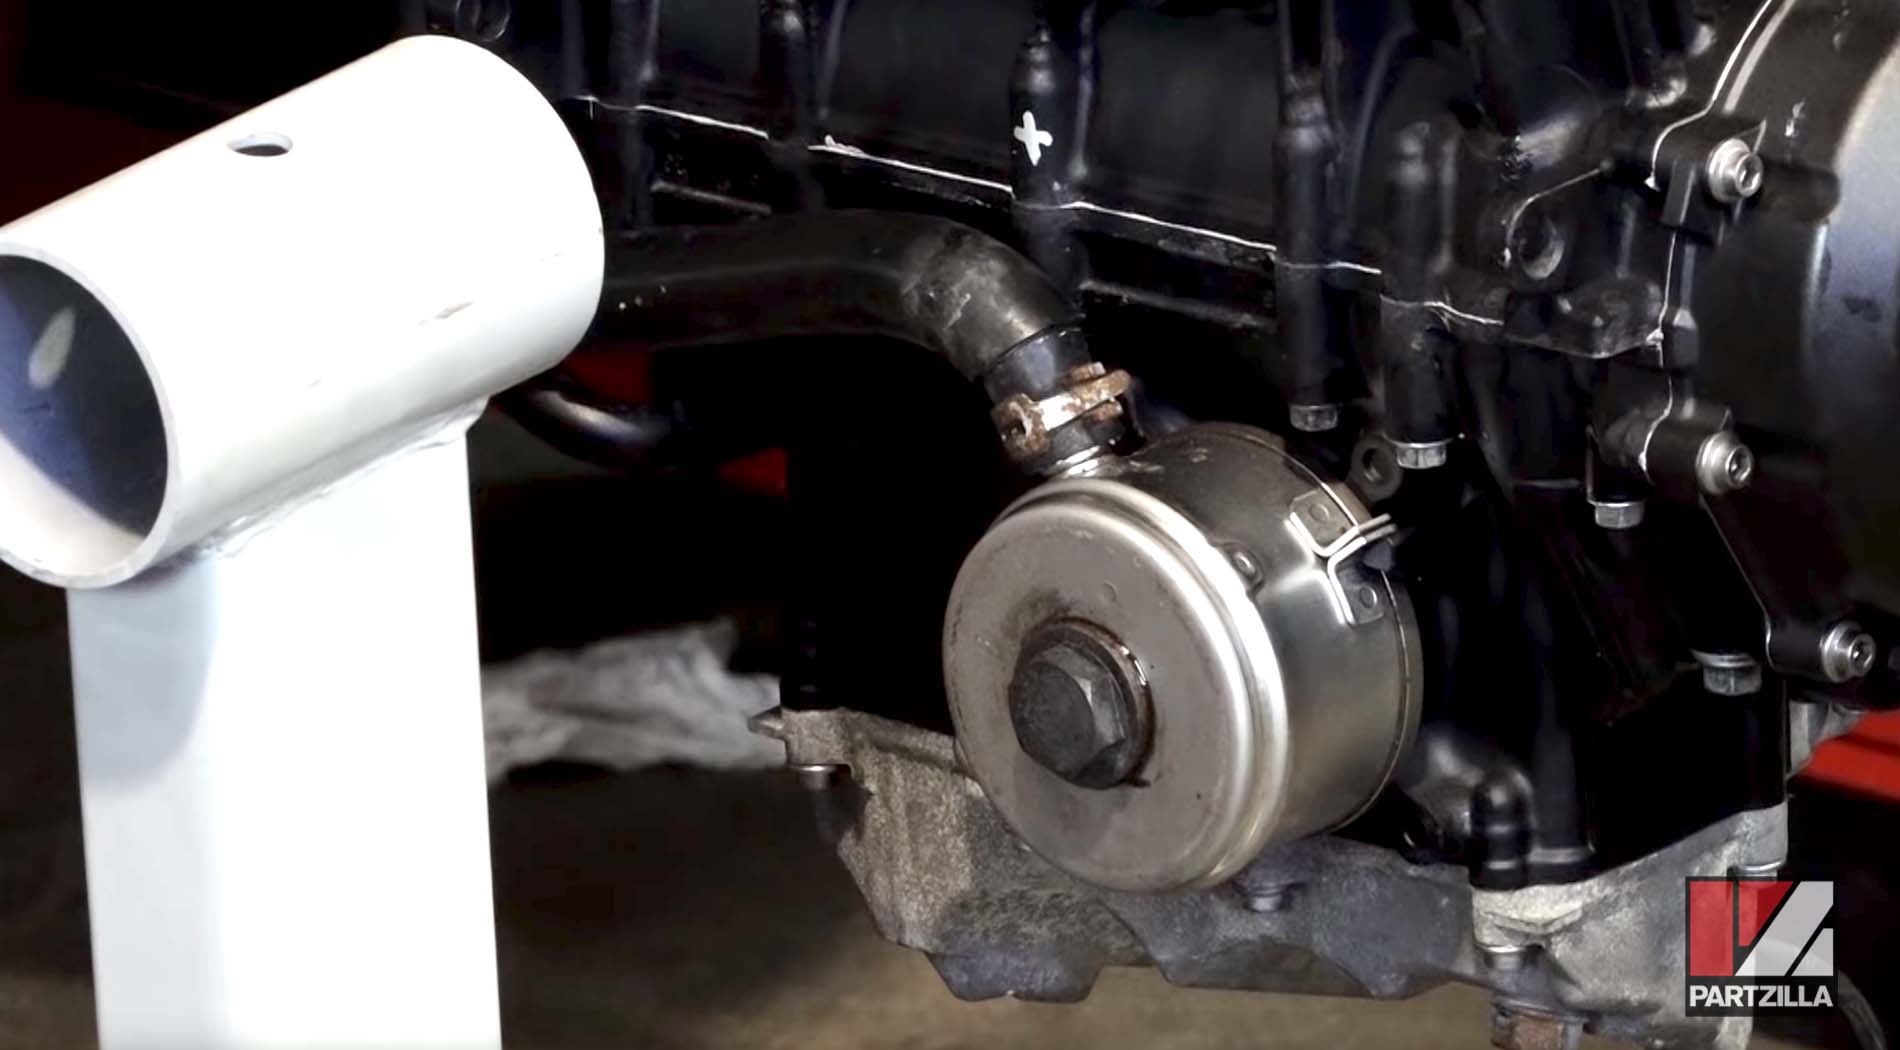
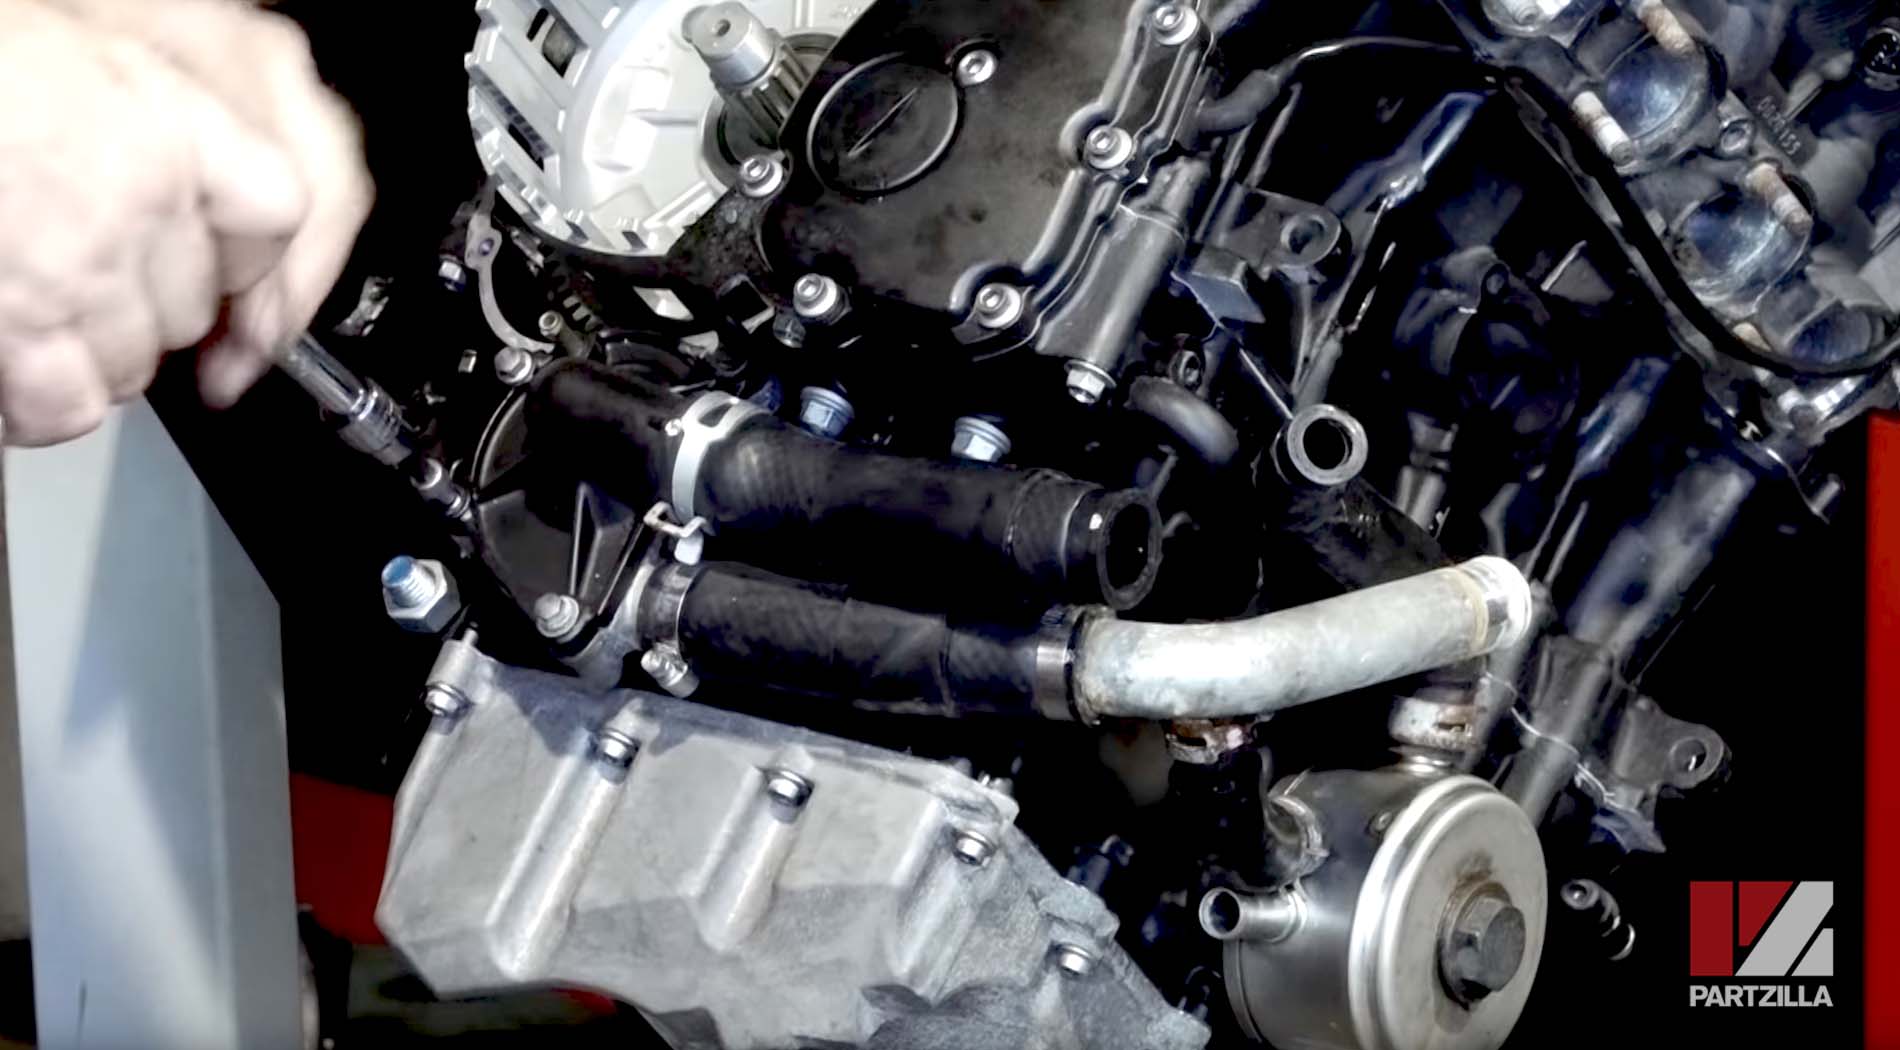
Step 13. Install the oil cooler assembly, and torque the mounting nut to 46 foot-pounds.
Step 14. Install the oil pump cover. Add a bead of sealant to the aperture on the crankcase that houses the rubber grommet, and use a new oil pump cover gasket.
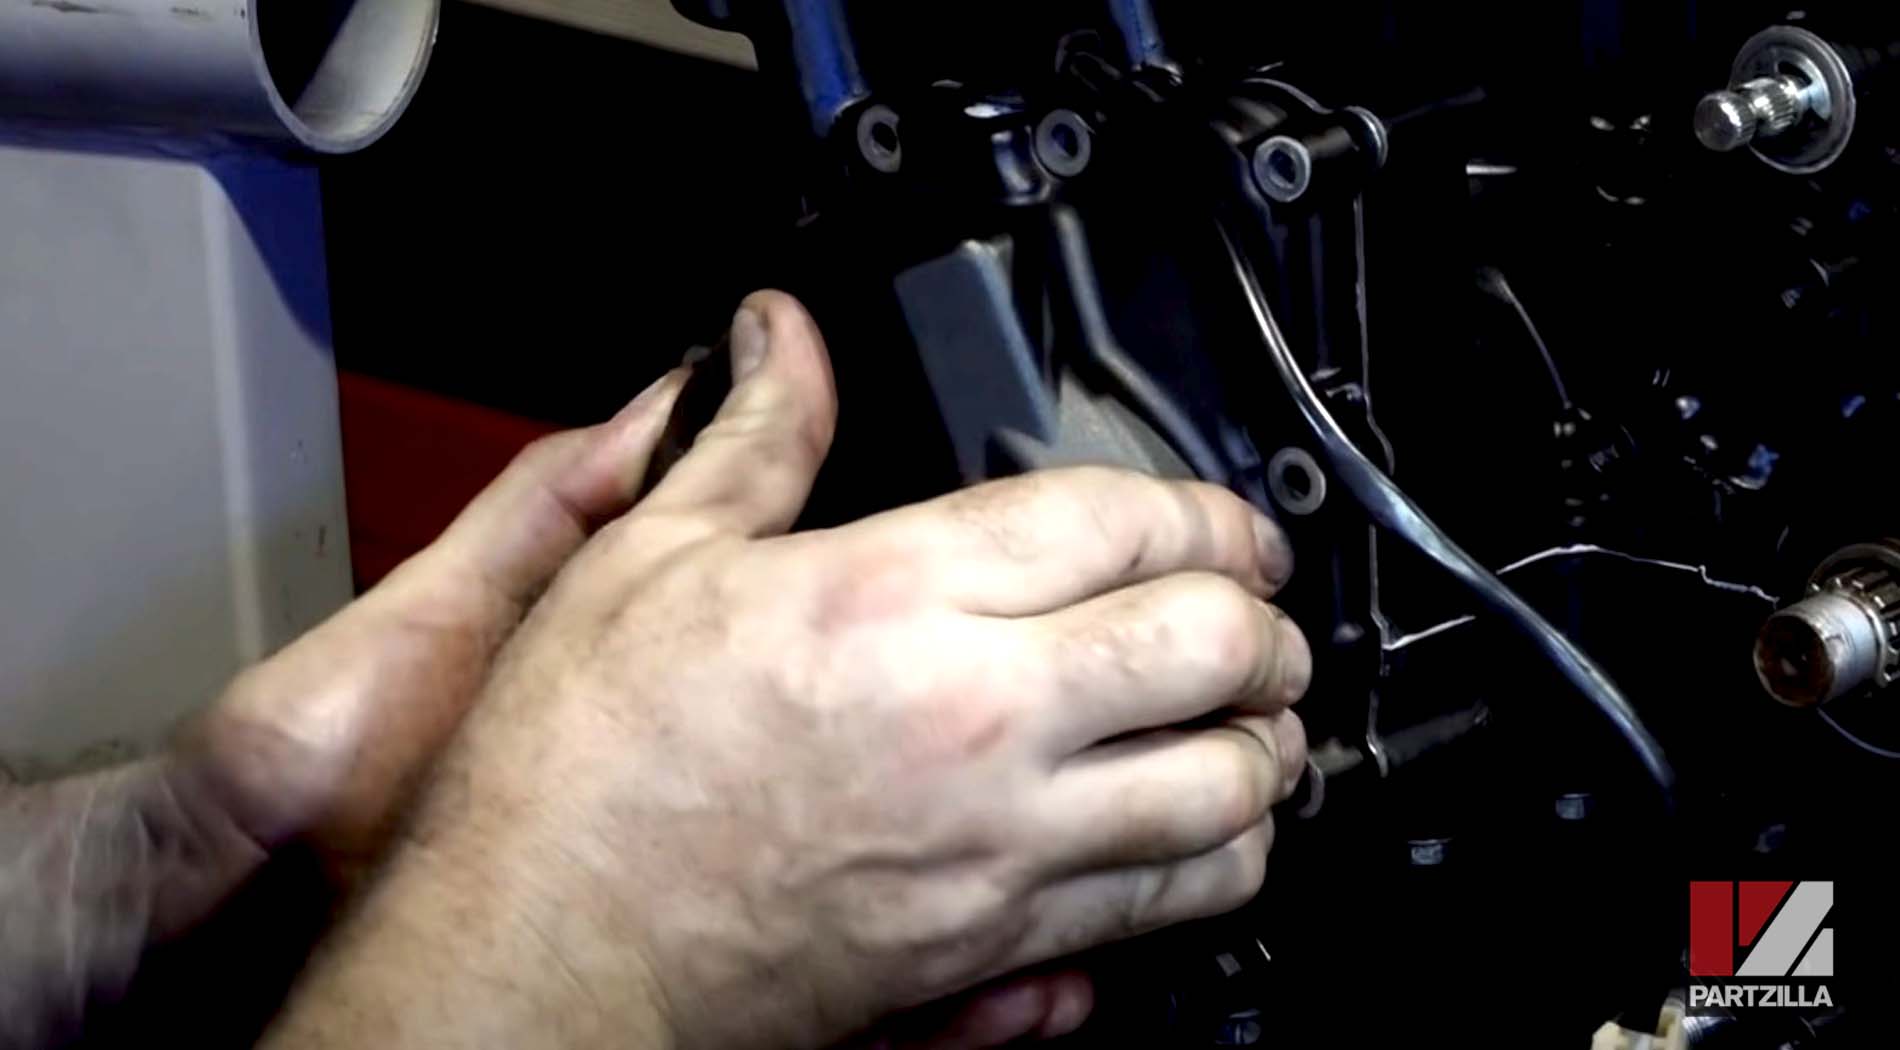
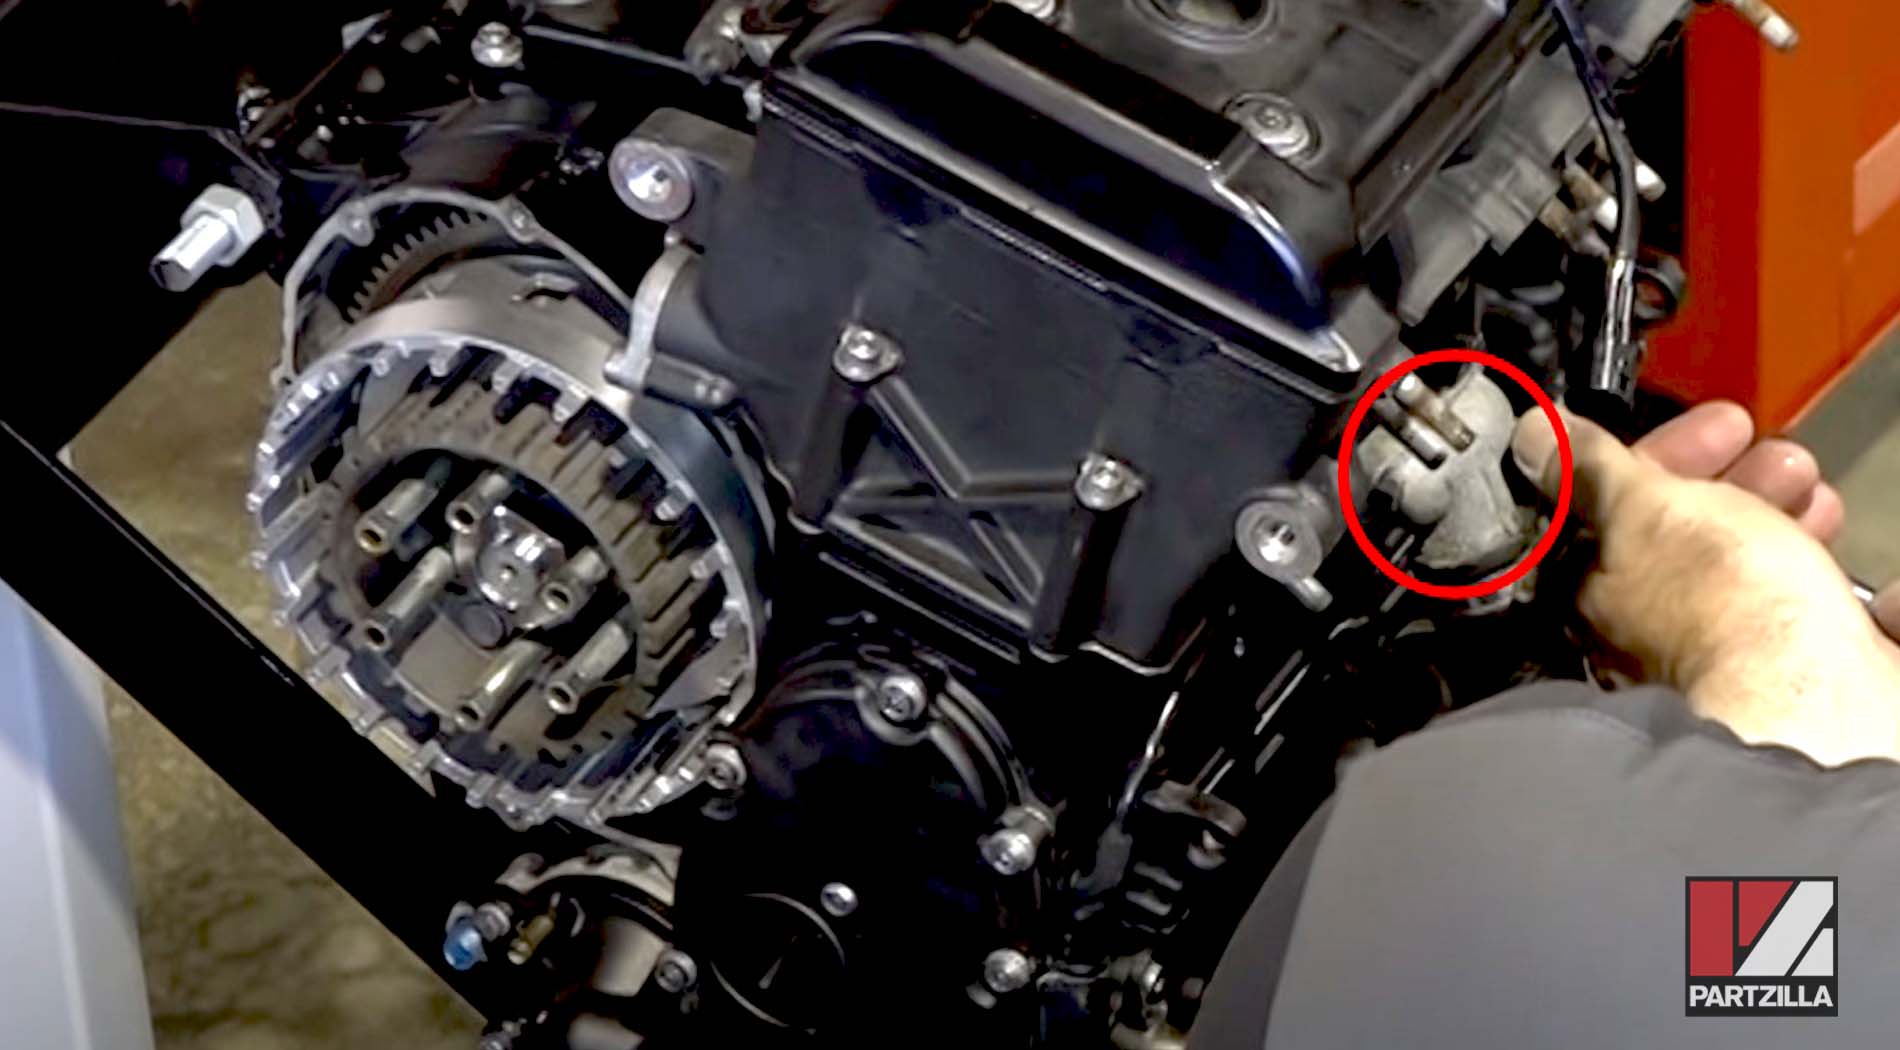
Step 15. Install the water pump.
NOTE: Make sure you oil the pump’s O-ring before installing it into the crankcase.
Step 16. Remount the clutch basket.
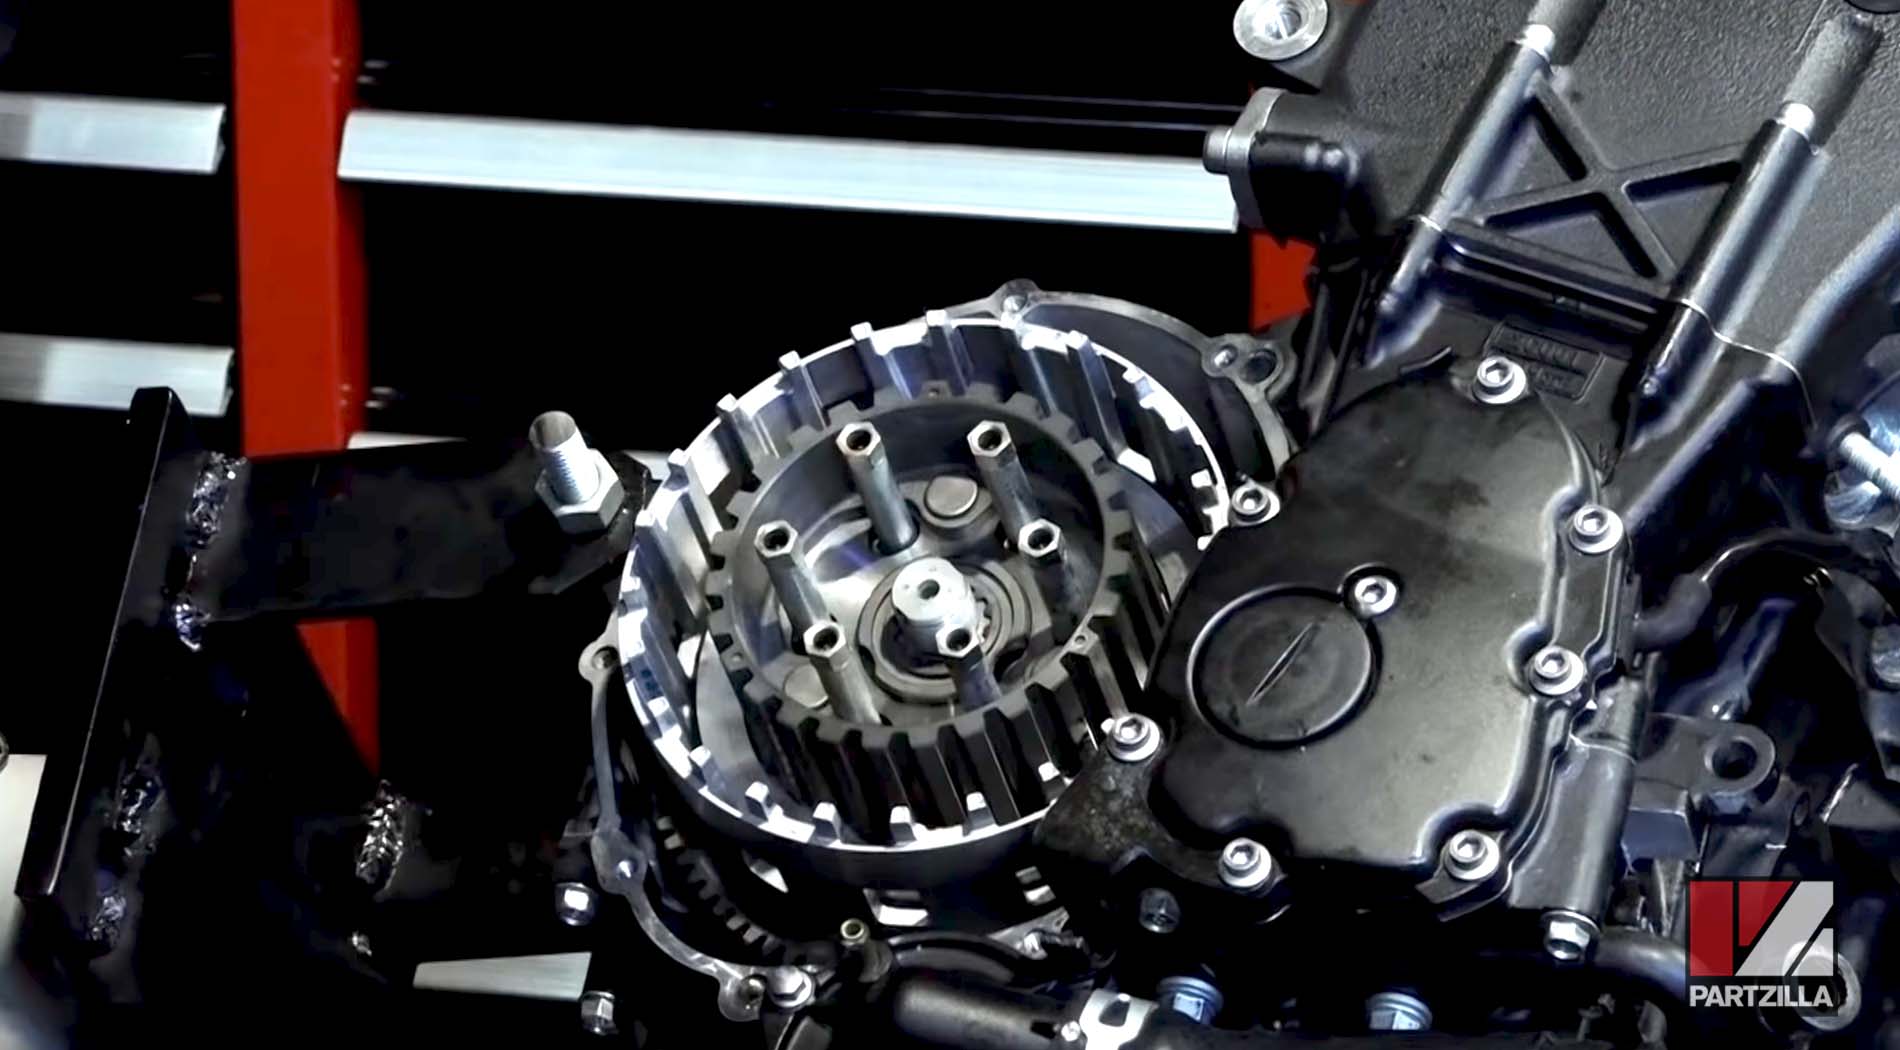
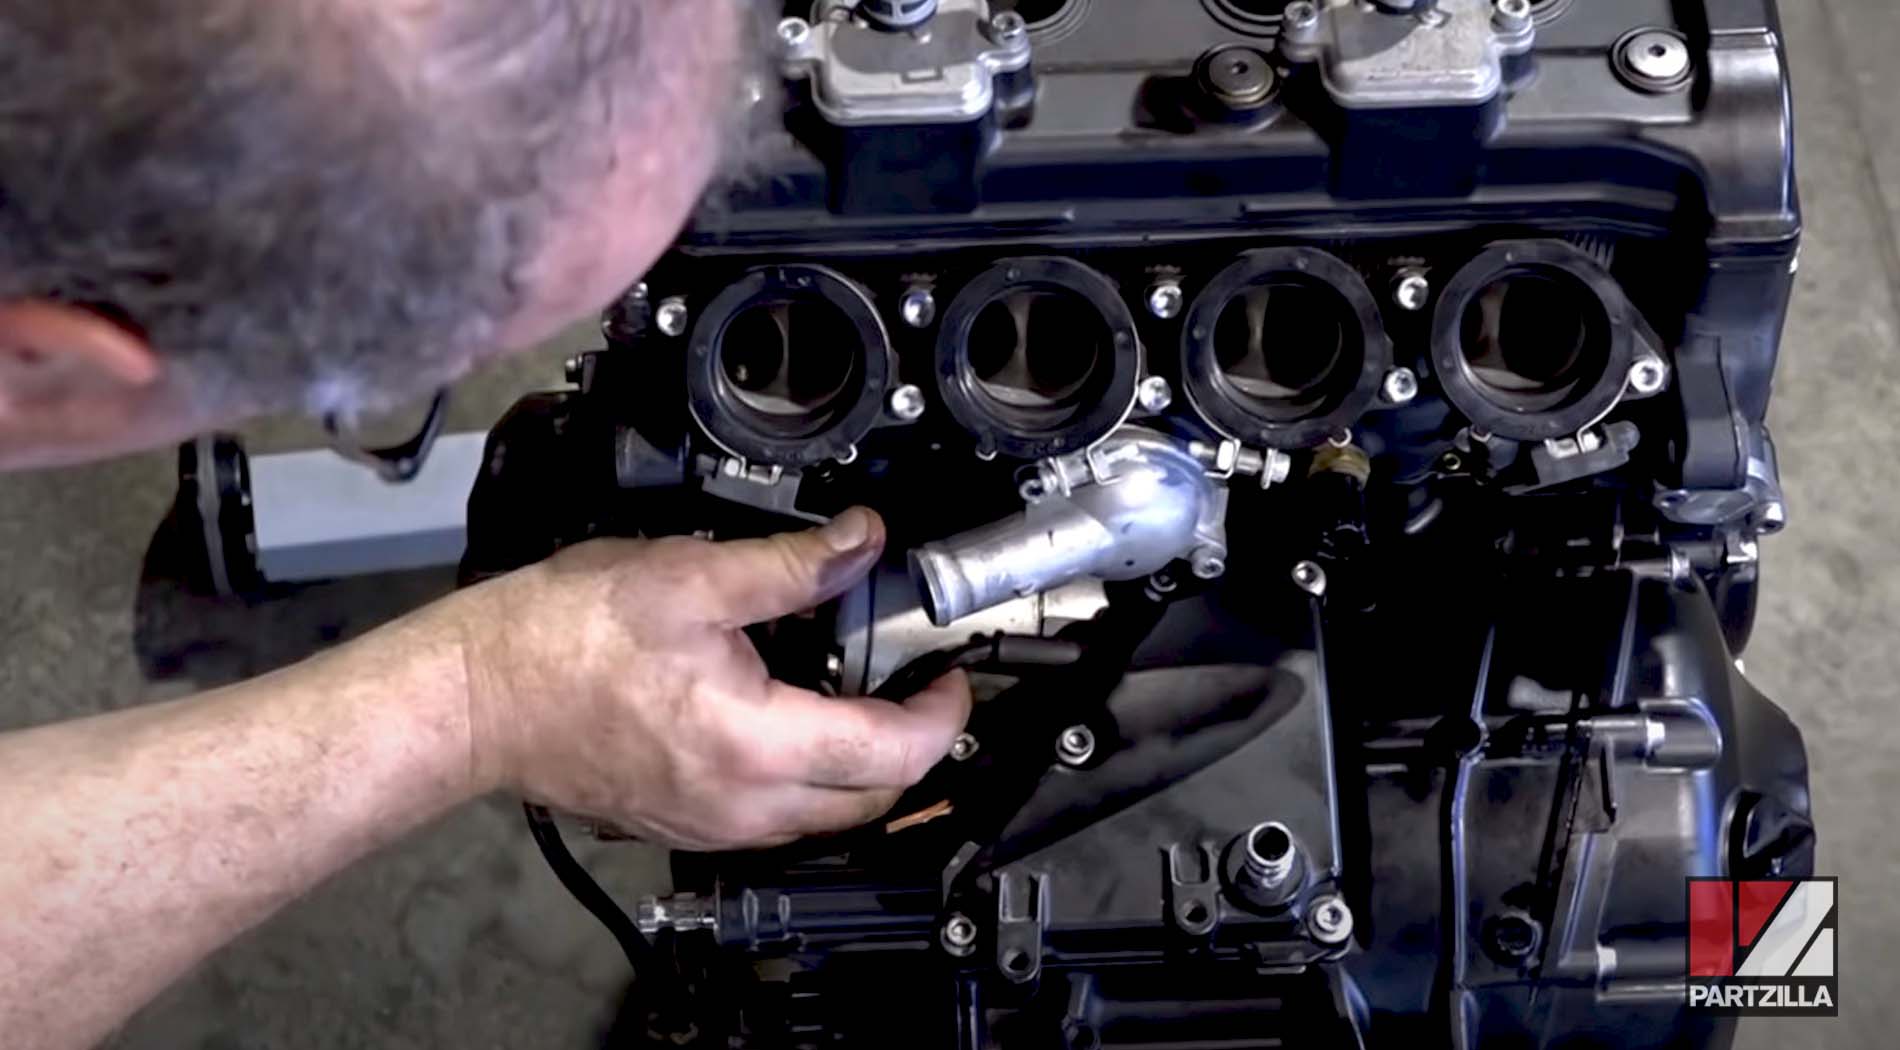
Step 17. Install the breather cover at the top of the motor and the water port at the front of the motor.
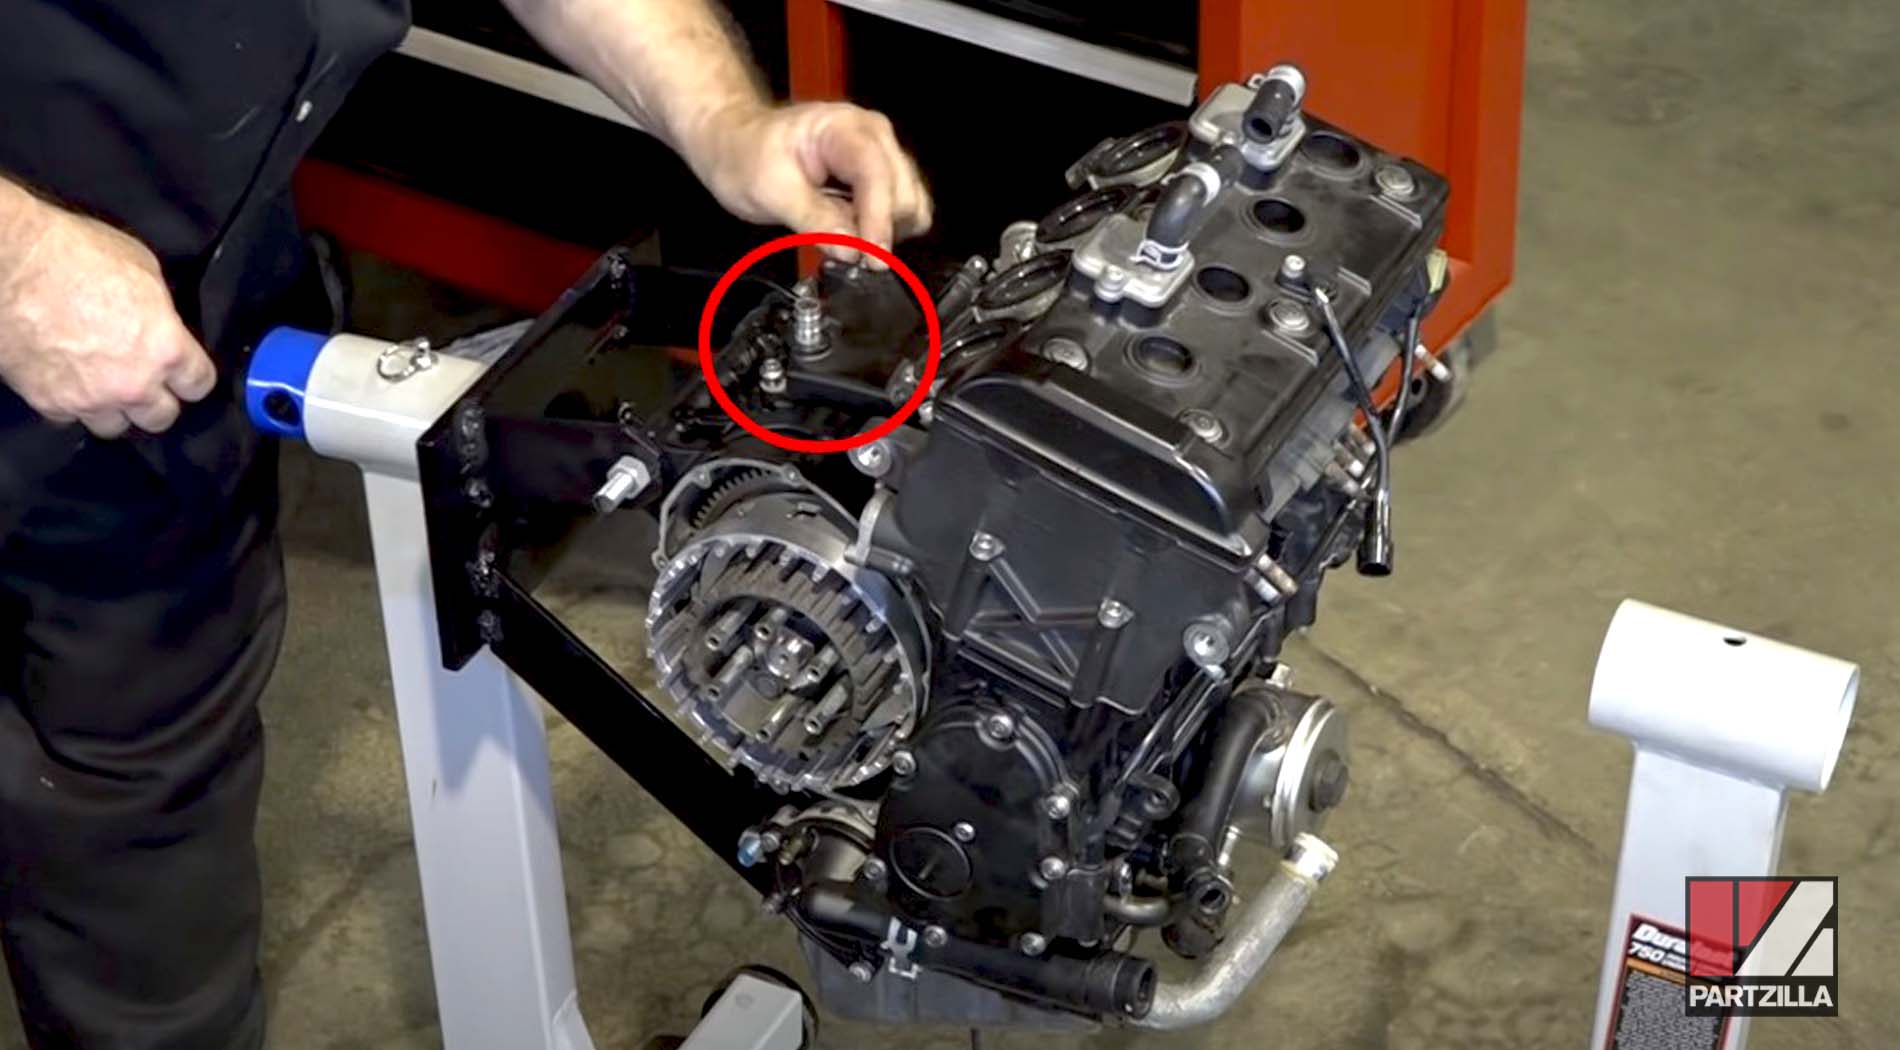
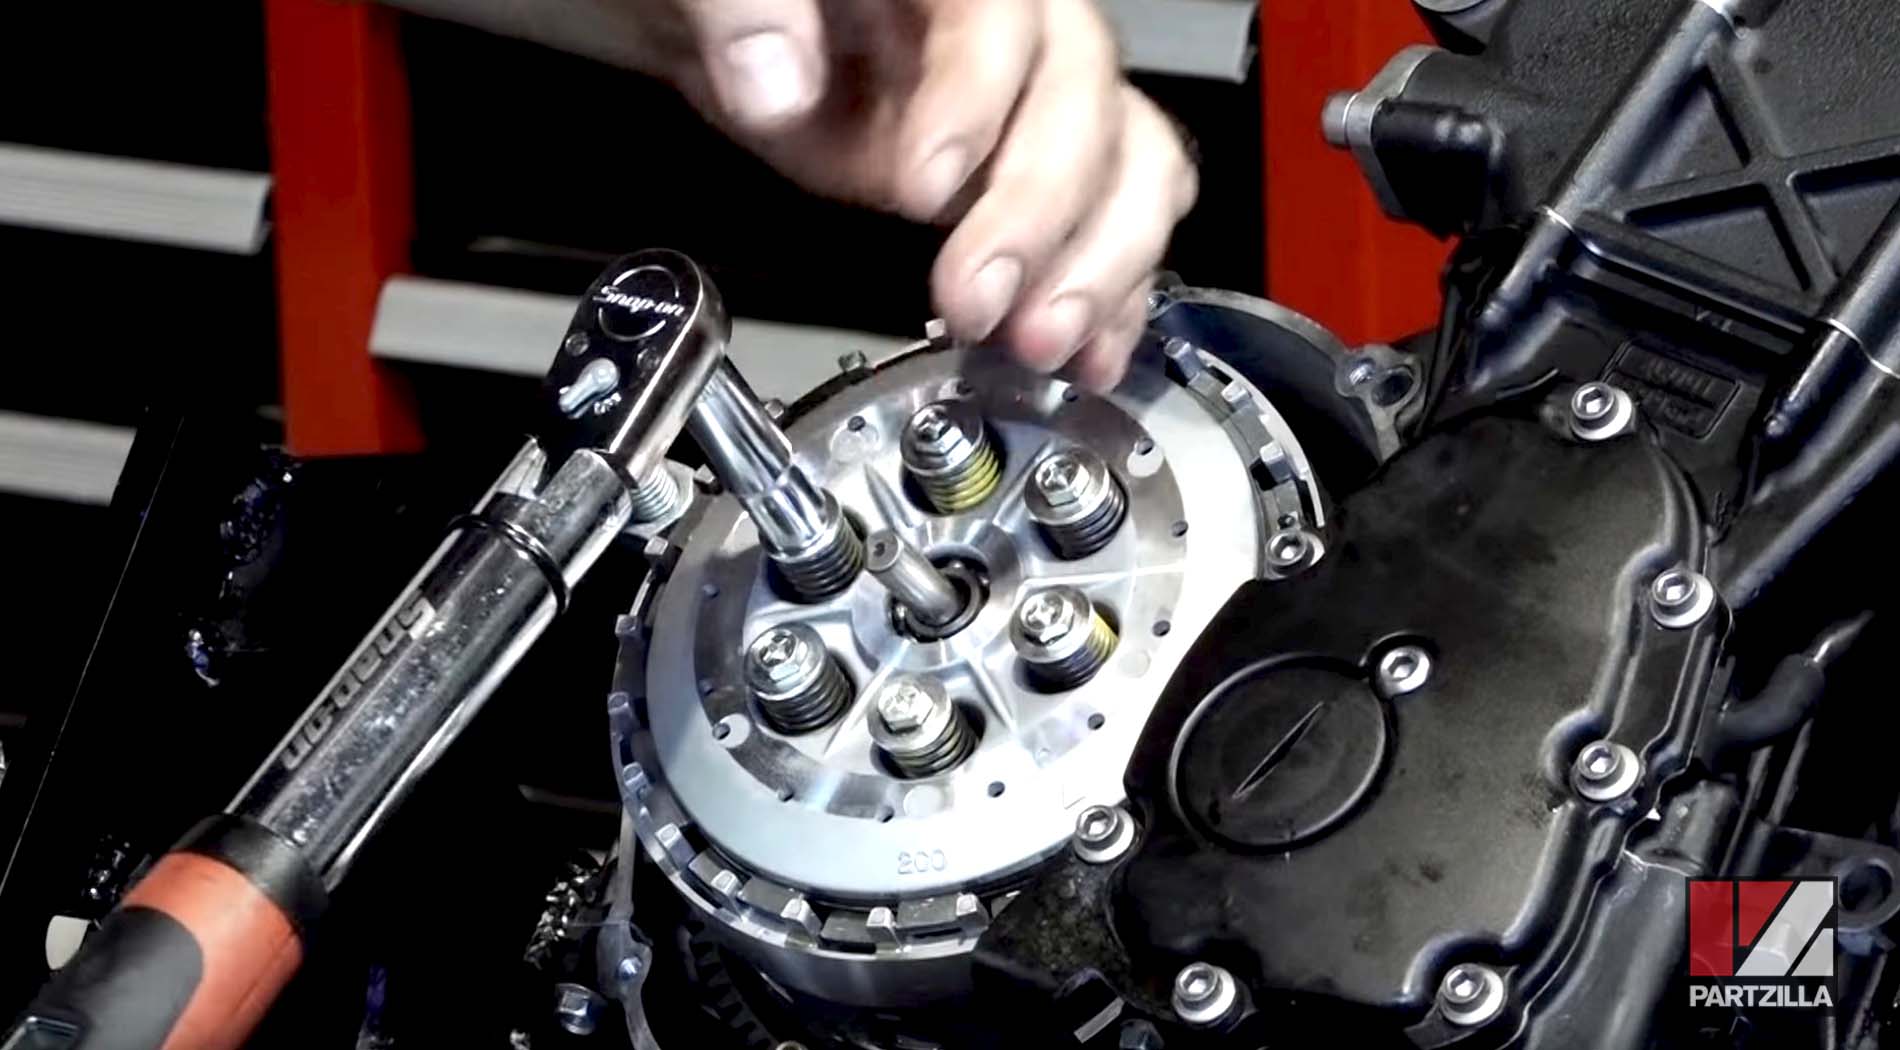
Step 18. Using a clutch holder tool, torque the clutch basket nut to 85 foot-pounds, and stake the bolt once it’s torqued down.
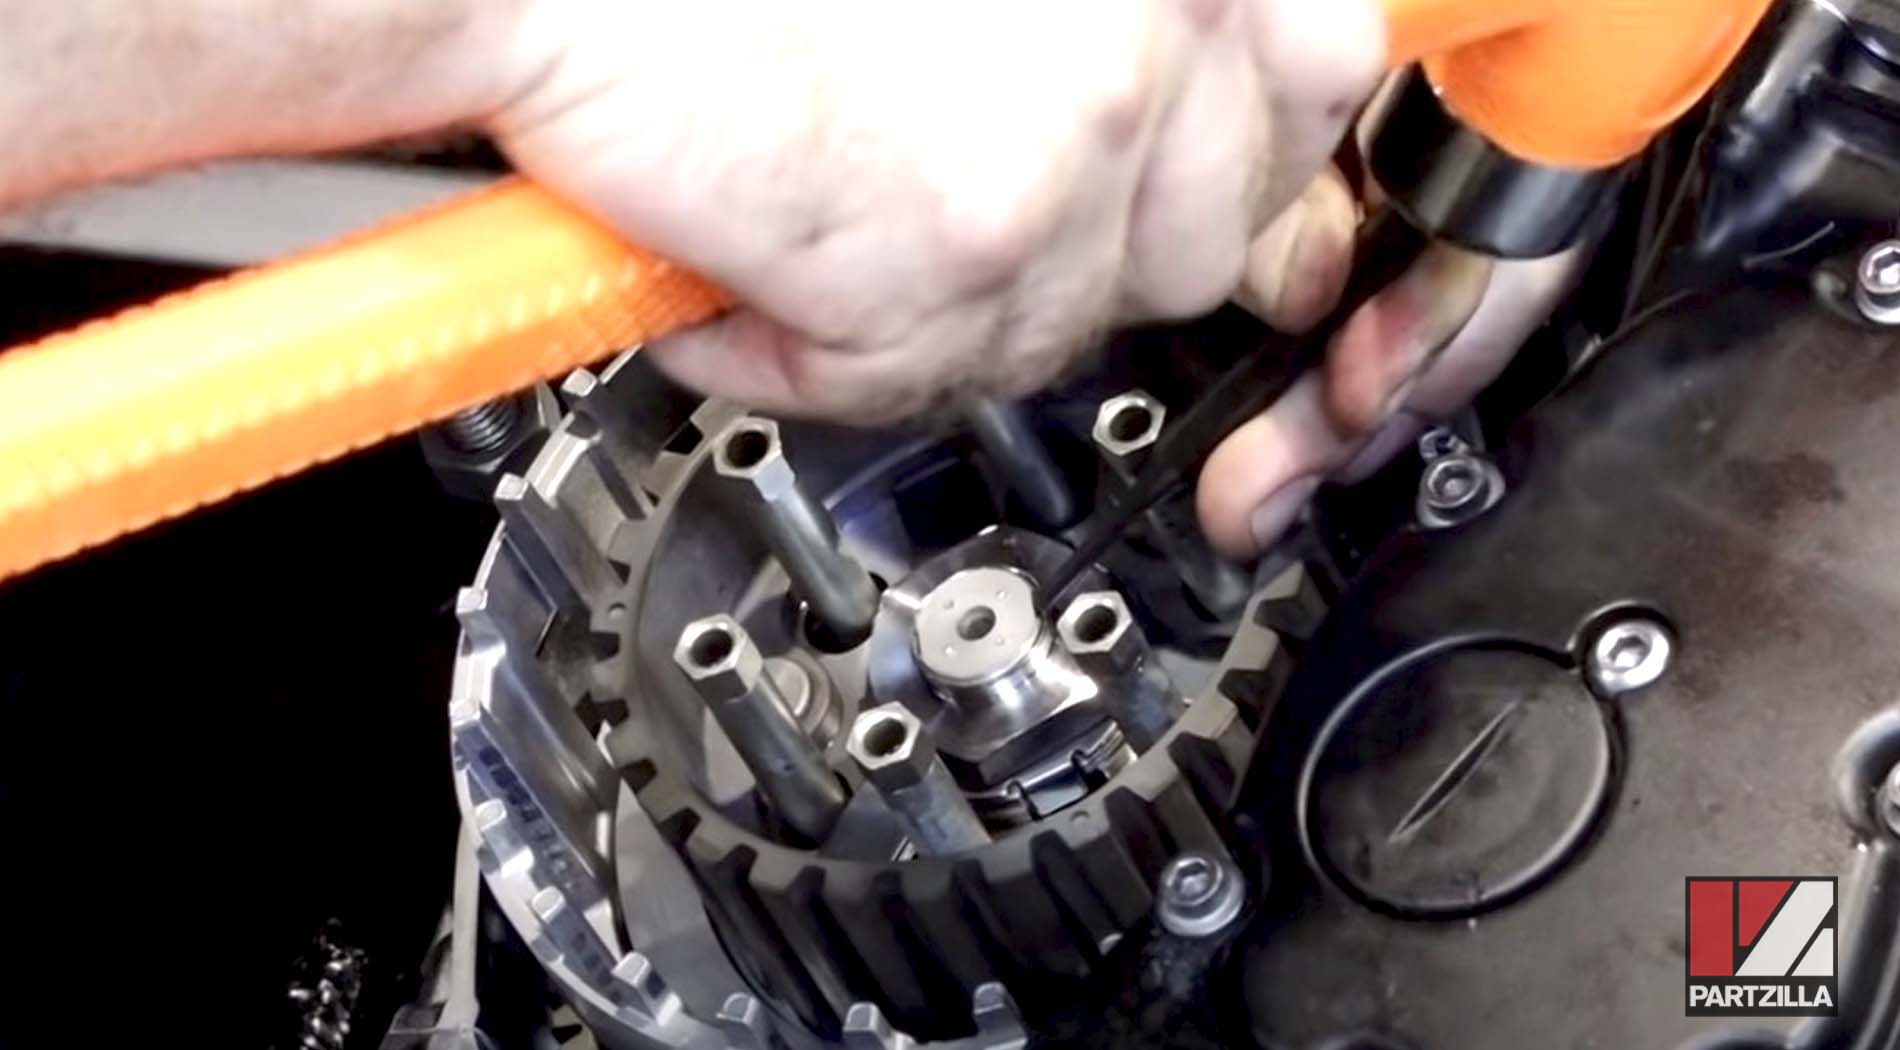
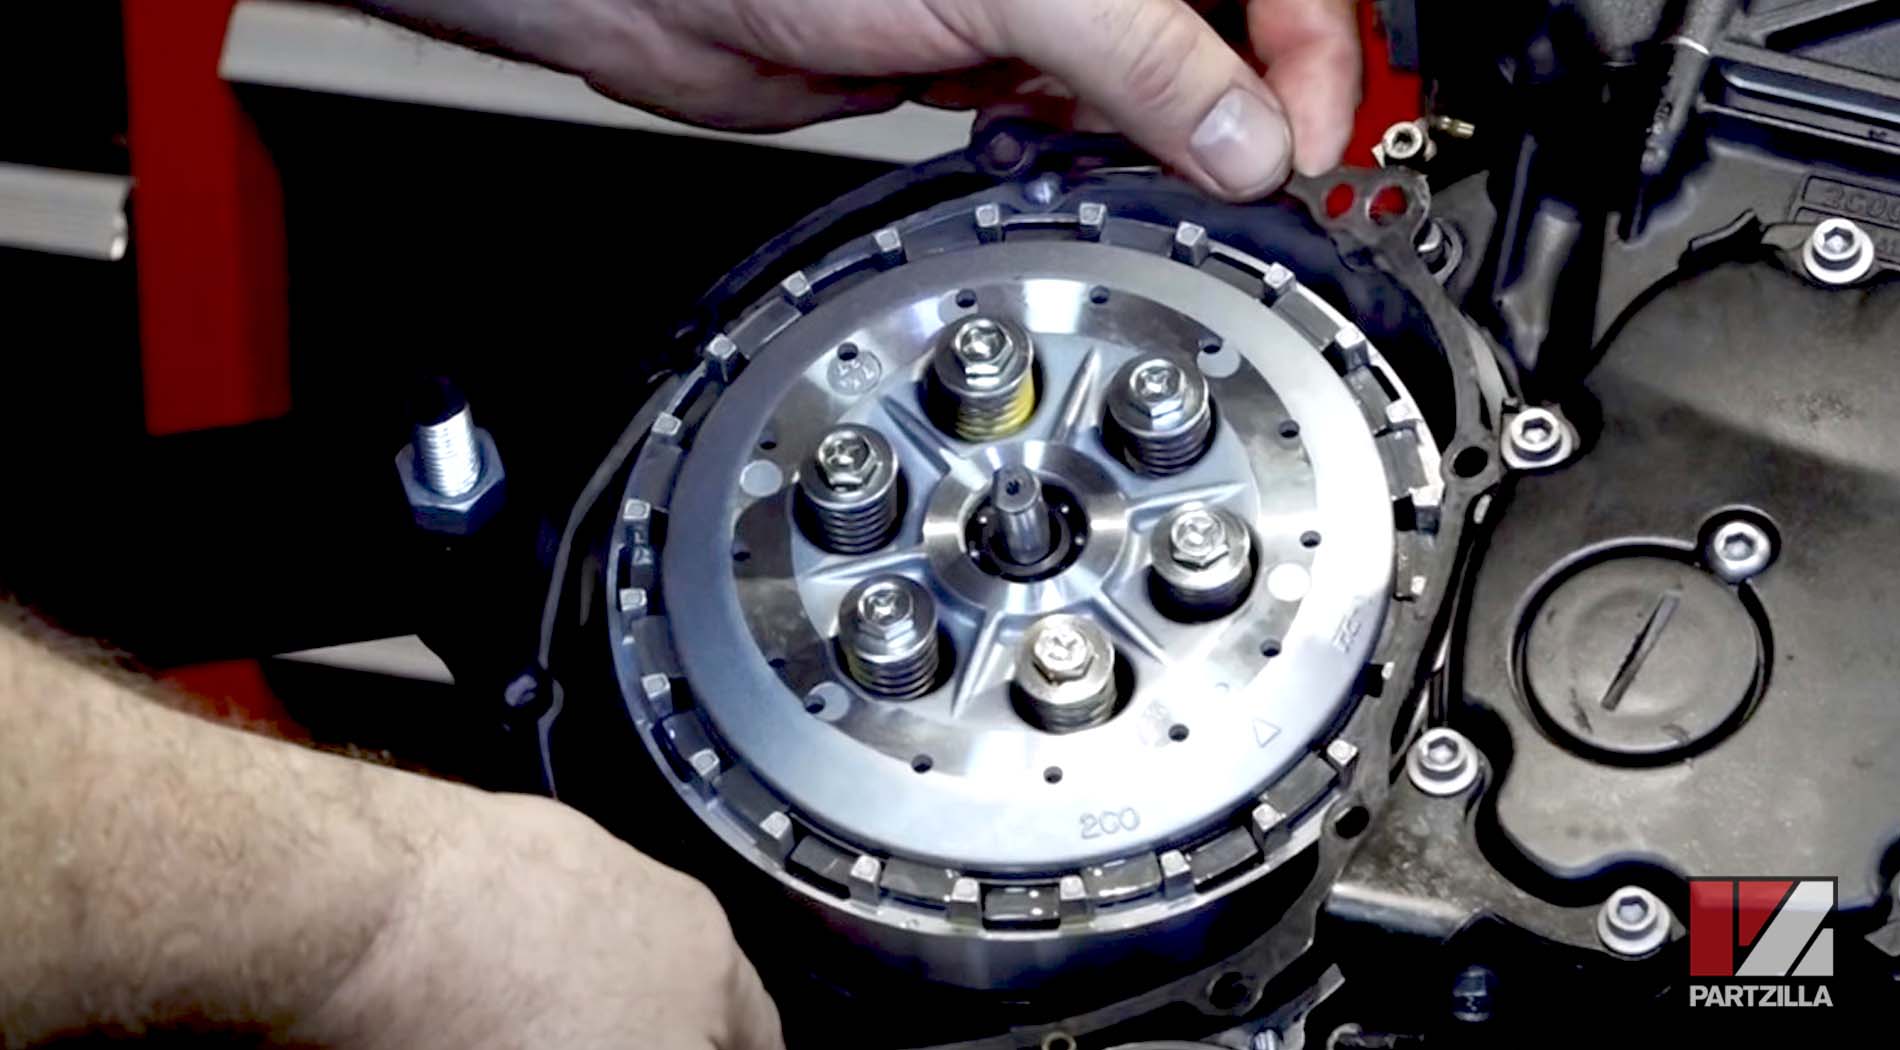
Step 19. Install the clutch plates and clutch springs. Tighten the springs in a diagonal pattern to apply pressure to the clutch evenly. Torque the springs to 6 foot-pounds.
Step 20. Install the dowels in the crankcase, then install the clutch cover with a new gasket.
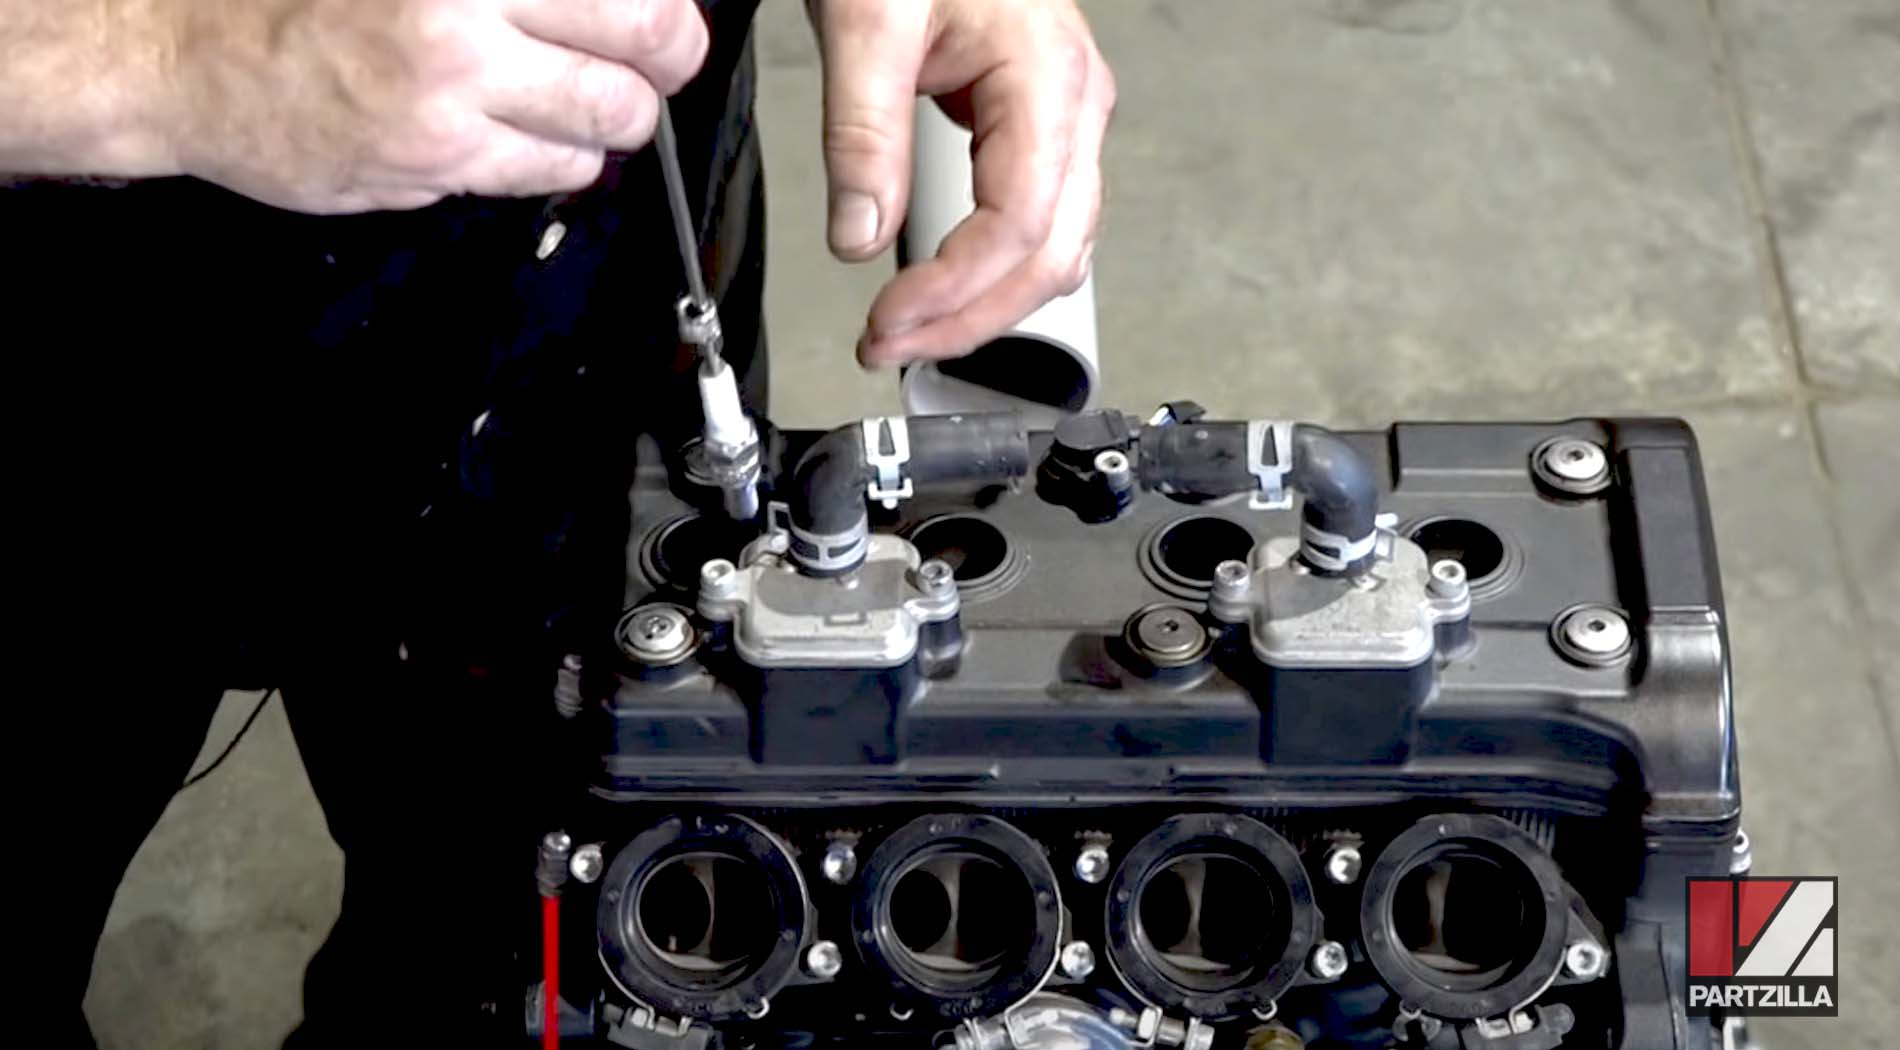
Step 21. Install the starter motor, crankshaft position sensor, the spark plugs (torqued to 9.6 foot-pounds) and the oil filter.
The Yamaha R6 engine rebuild is complete. Once the motor is back in your motorcycle, go easy for the first few rides. The new parts will be bedding in, so don’t go ragging on the motor until it’s been through a handful of heat cycles and has a lot of miles under its belt.