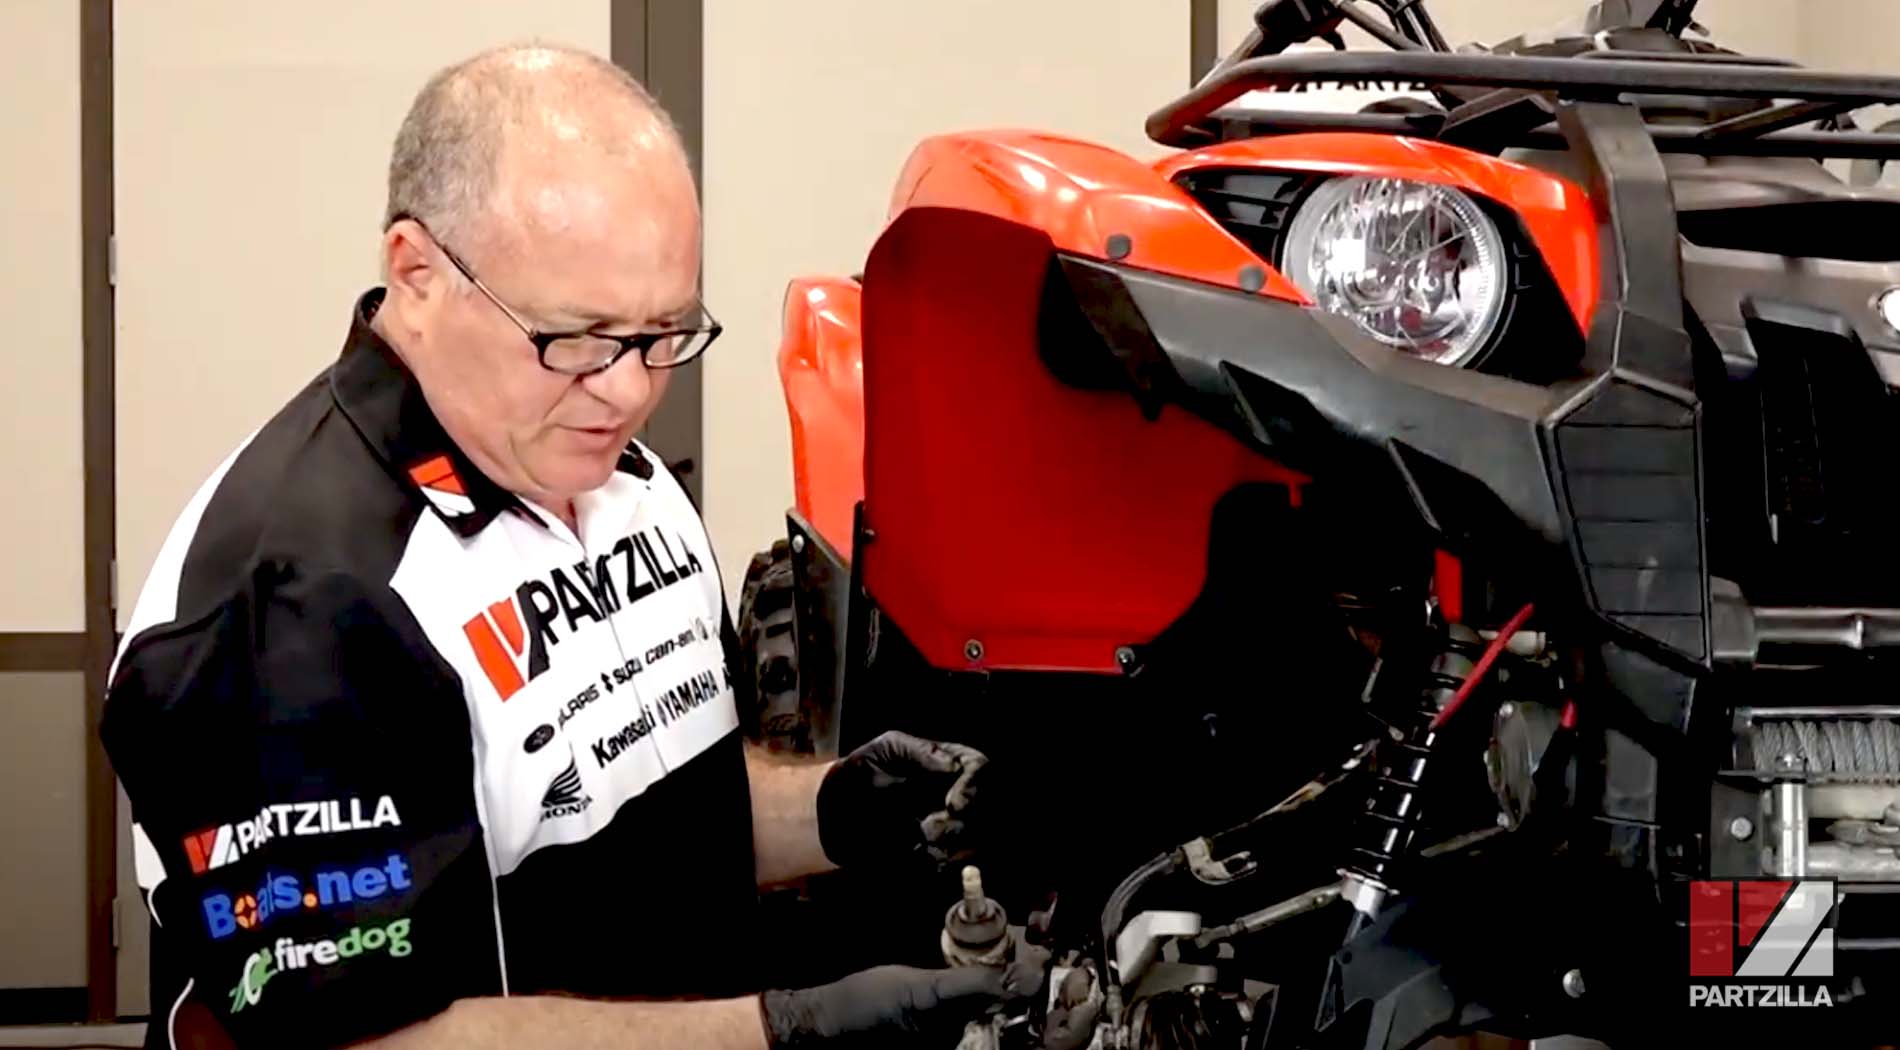
How to Replace Yamaha Grizzly Upper Ball Joints
Yamaha builds the Grizzly YFM700 tough, but there are parts of it that are prone to easy wear, such as the upper ball joints. Exposed under the front fenders with stones, mud and sand being flung around by the wheel, the upper ball joints take a real hammering.
Nothing can survive that sort of punishment forever, so when an upper ball joint develops rips and tears in its rubber boot, or you start feeling a bit of play in the wheel, it’s time to replace the ball joint. Watch the video above and follow the steps below to learn how to replace the upper ball joints on a Yamaha Grizzly YFM700.
Tools and Parts – Yamaha YFM700 Upper Ball Joint Replacement
- Ratchet and extensions
- 10mm-17mm sockets
- 10mm, 12mm, 17mm wrenches
- Punch tool
- Pliers
- Hammer
- Torque wrench
- 1.5 inch pipe
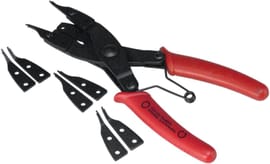
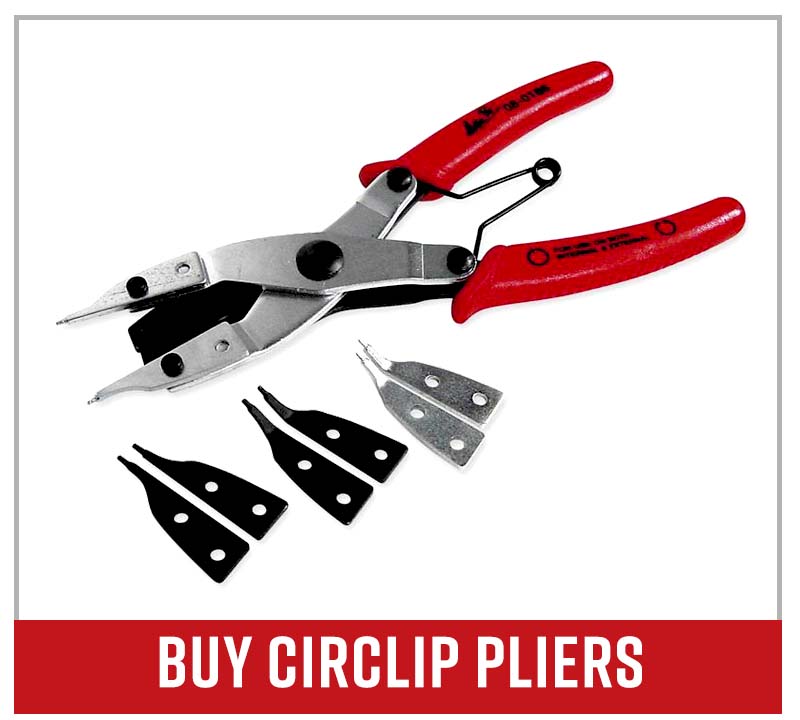
- Circlip pliers
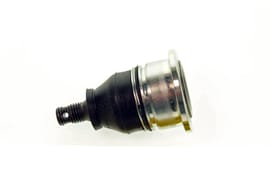
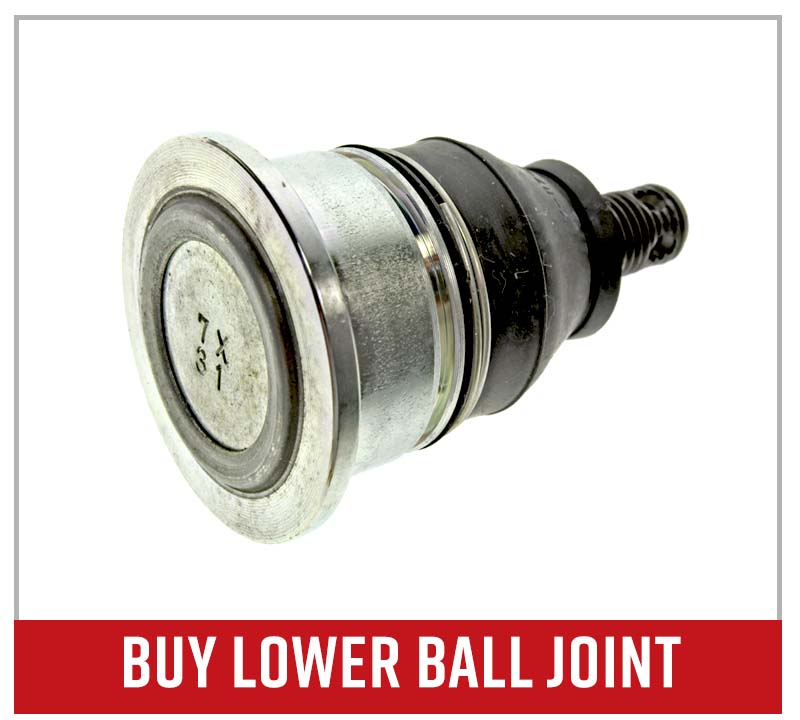
- Upper ball joint
Yamaha Grizzly YFM700 Upper Ball Joint Replacement
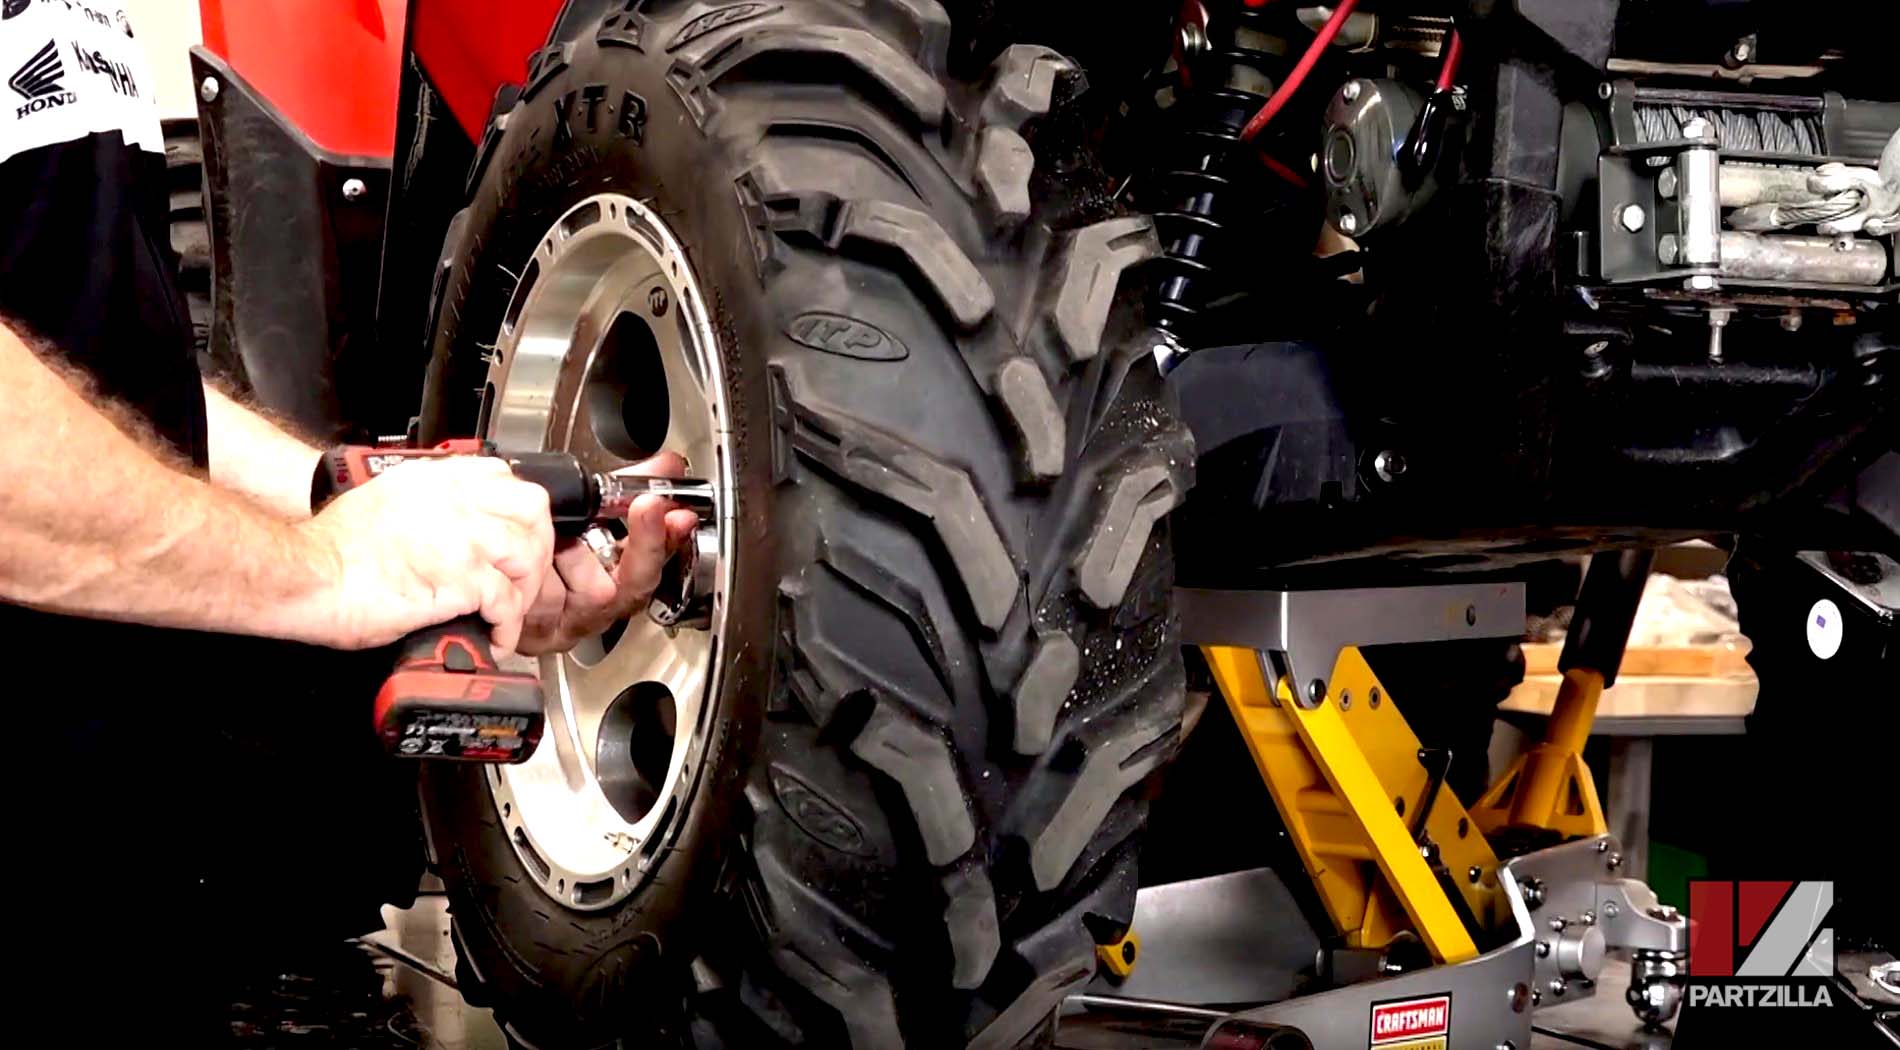
Step 1. Remove the front wheel.
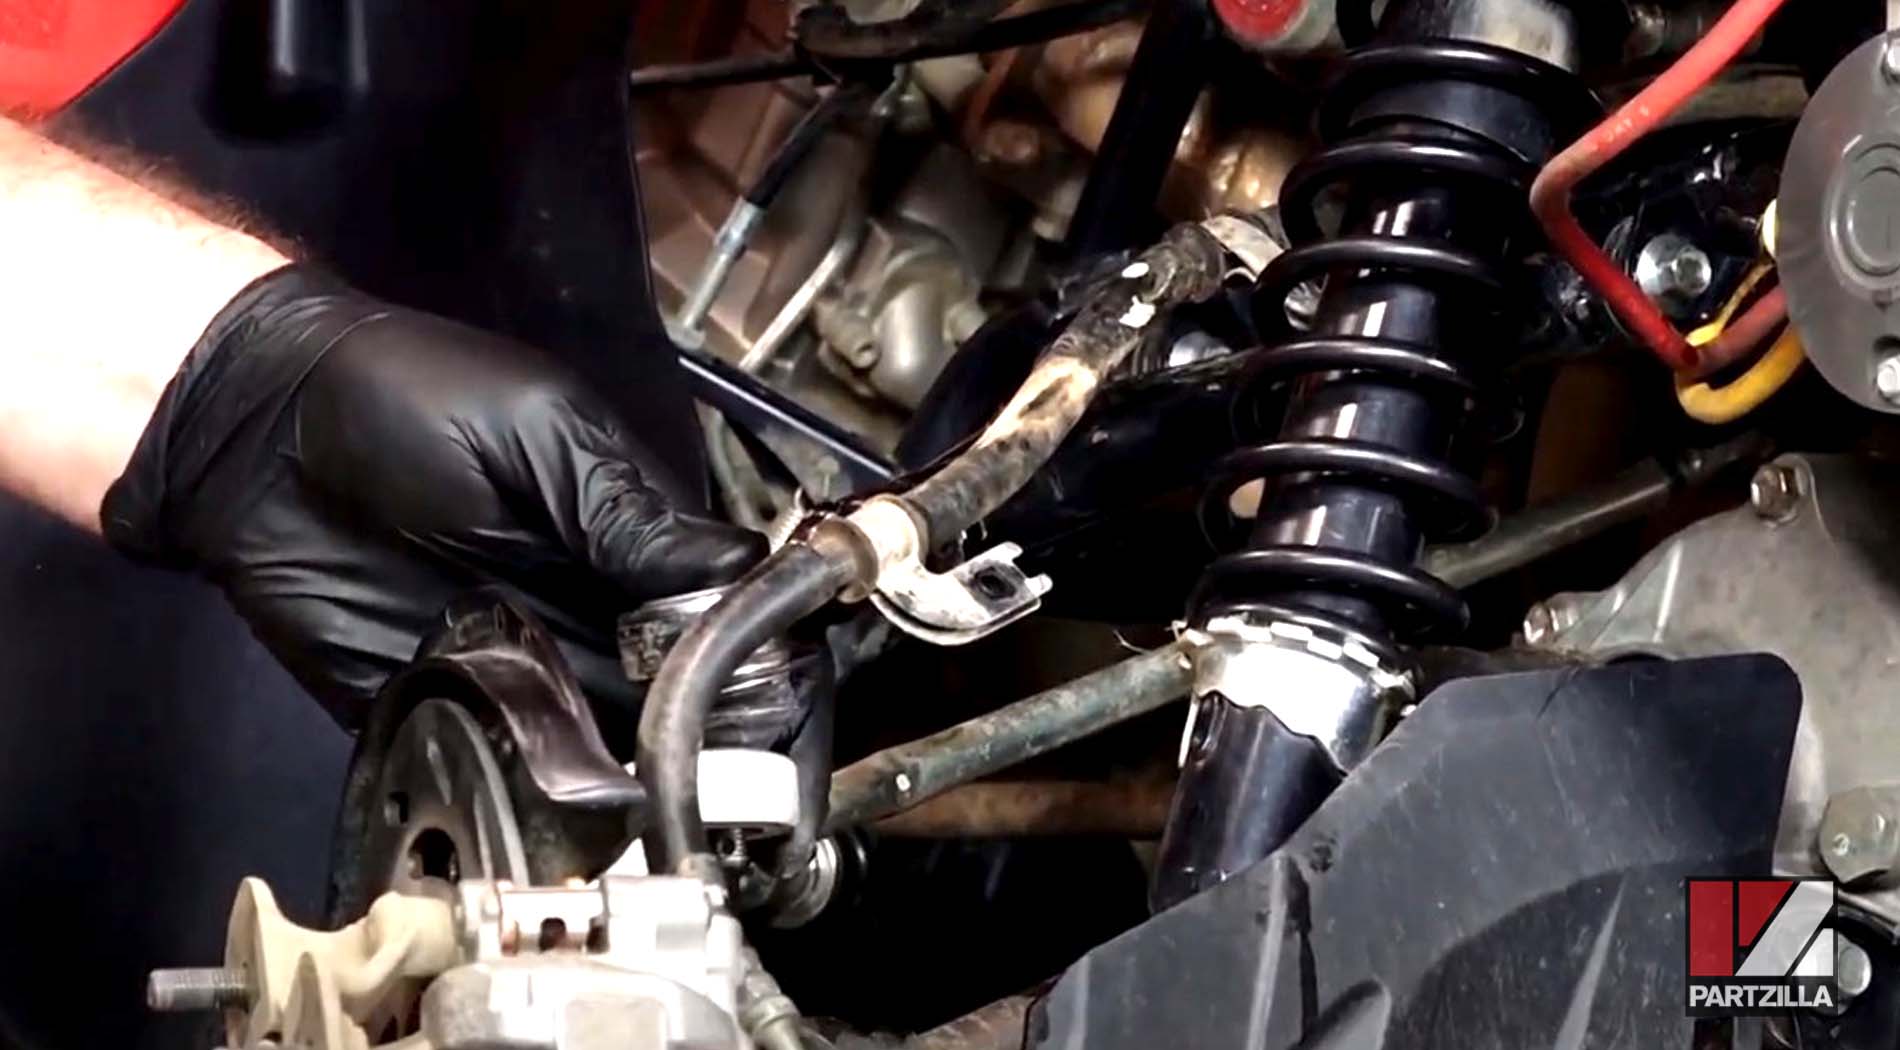
Step 2. Remove the two bolts that attach the brake line to the upper A-arm.
Step 3. Remove the union bolt and its two washers from the back of the brake caliper, then pull the brake line out so it no longer runs through the upper A-arm. Next, reconnect the union bolt and washers to stop any more brake fluid from dripping out.
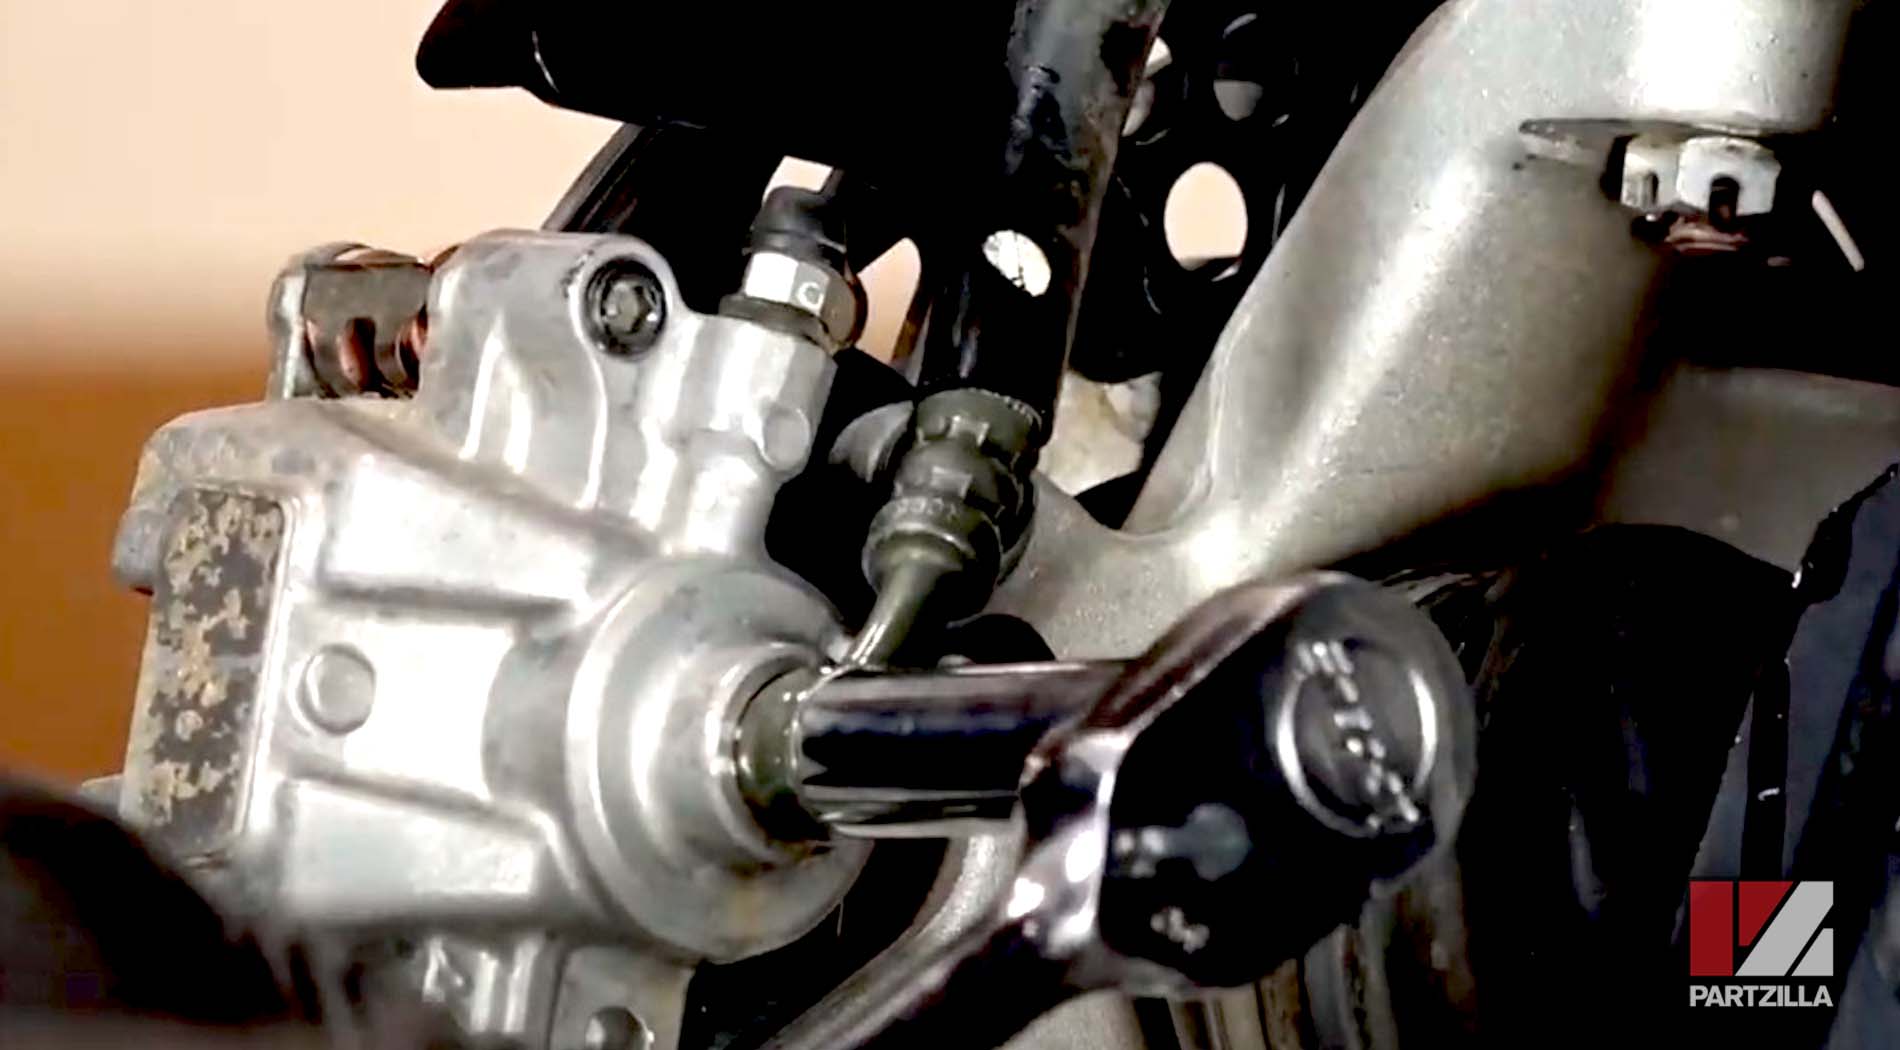
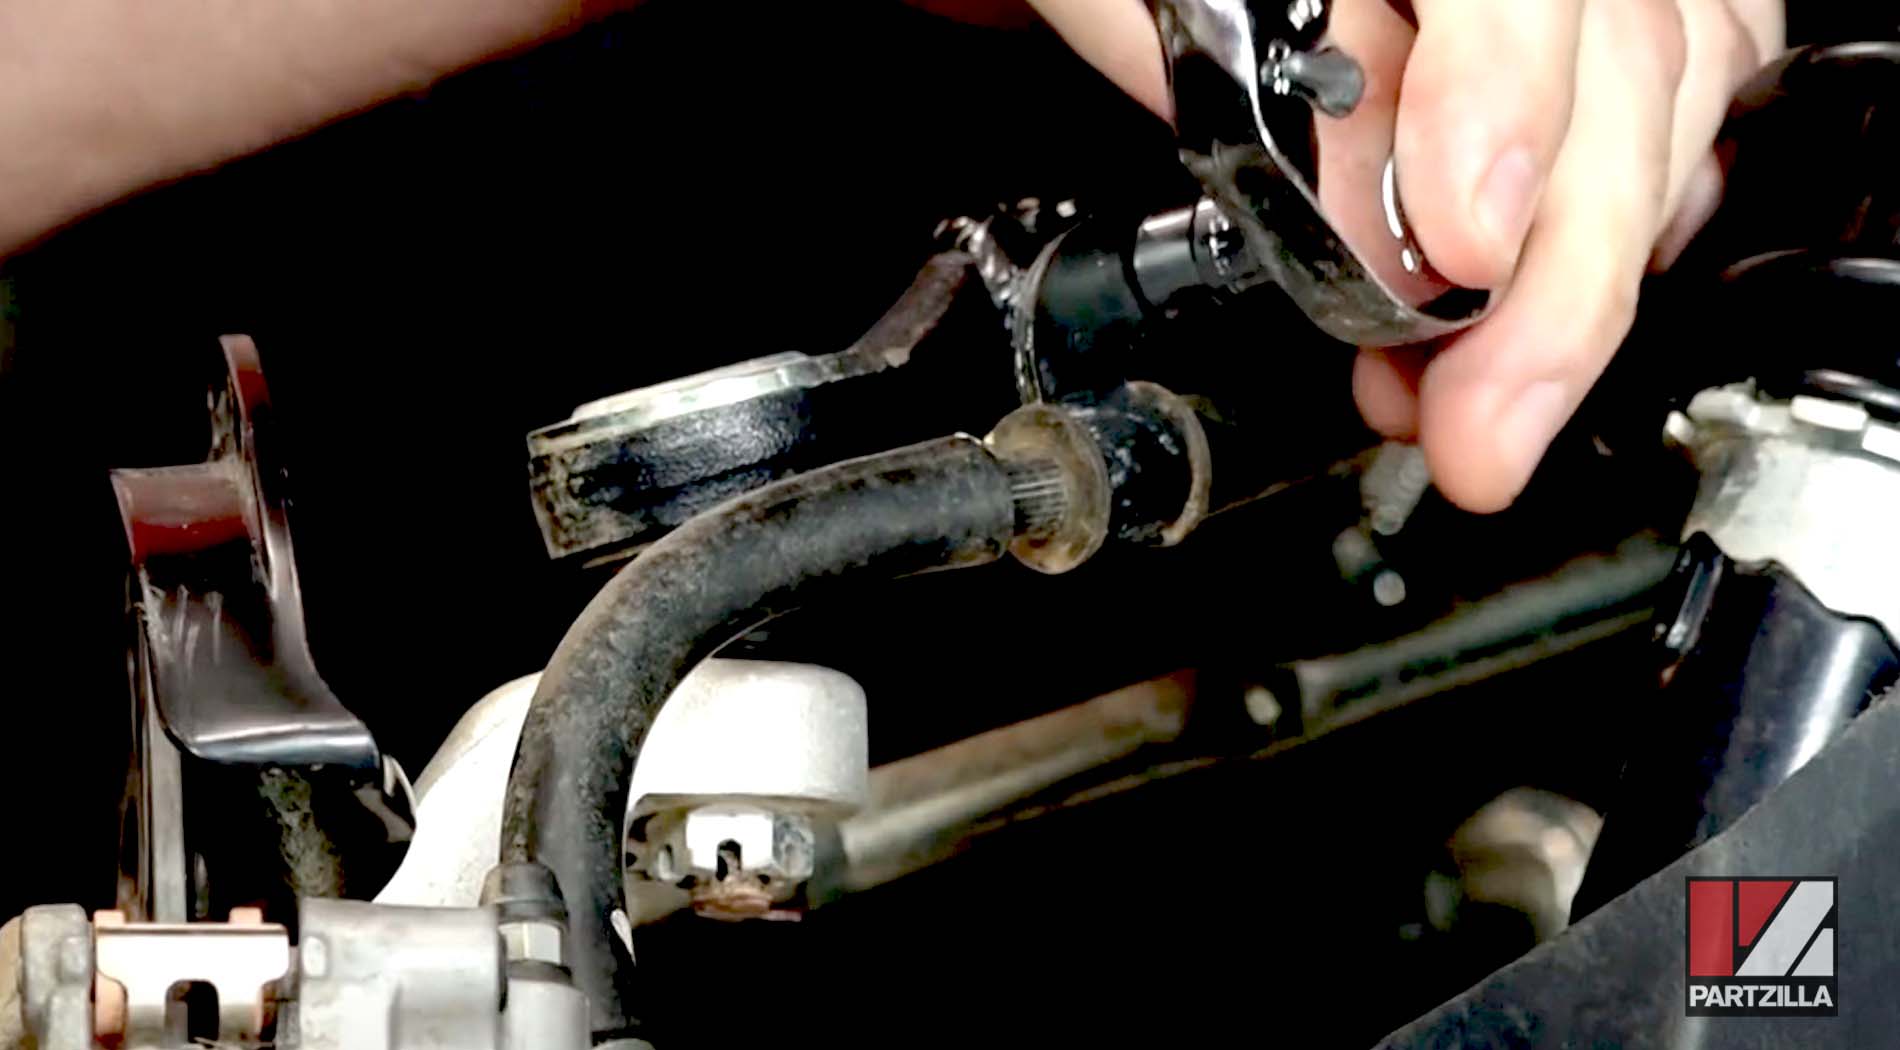
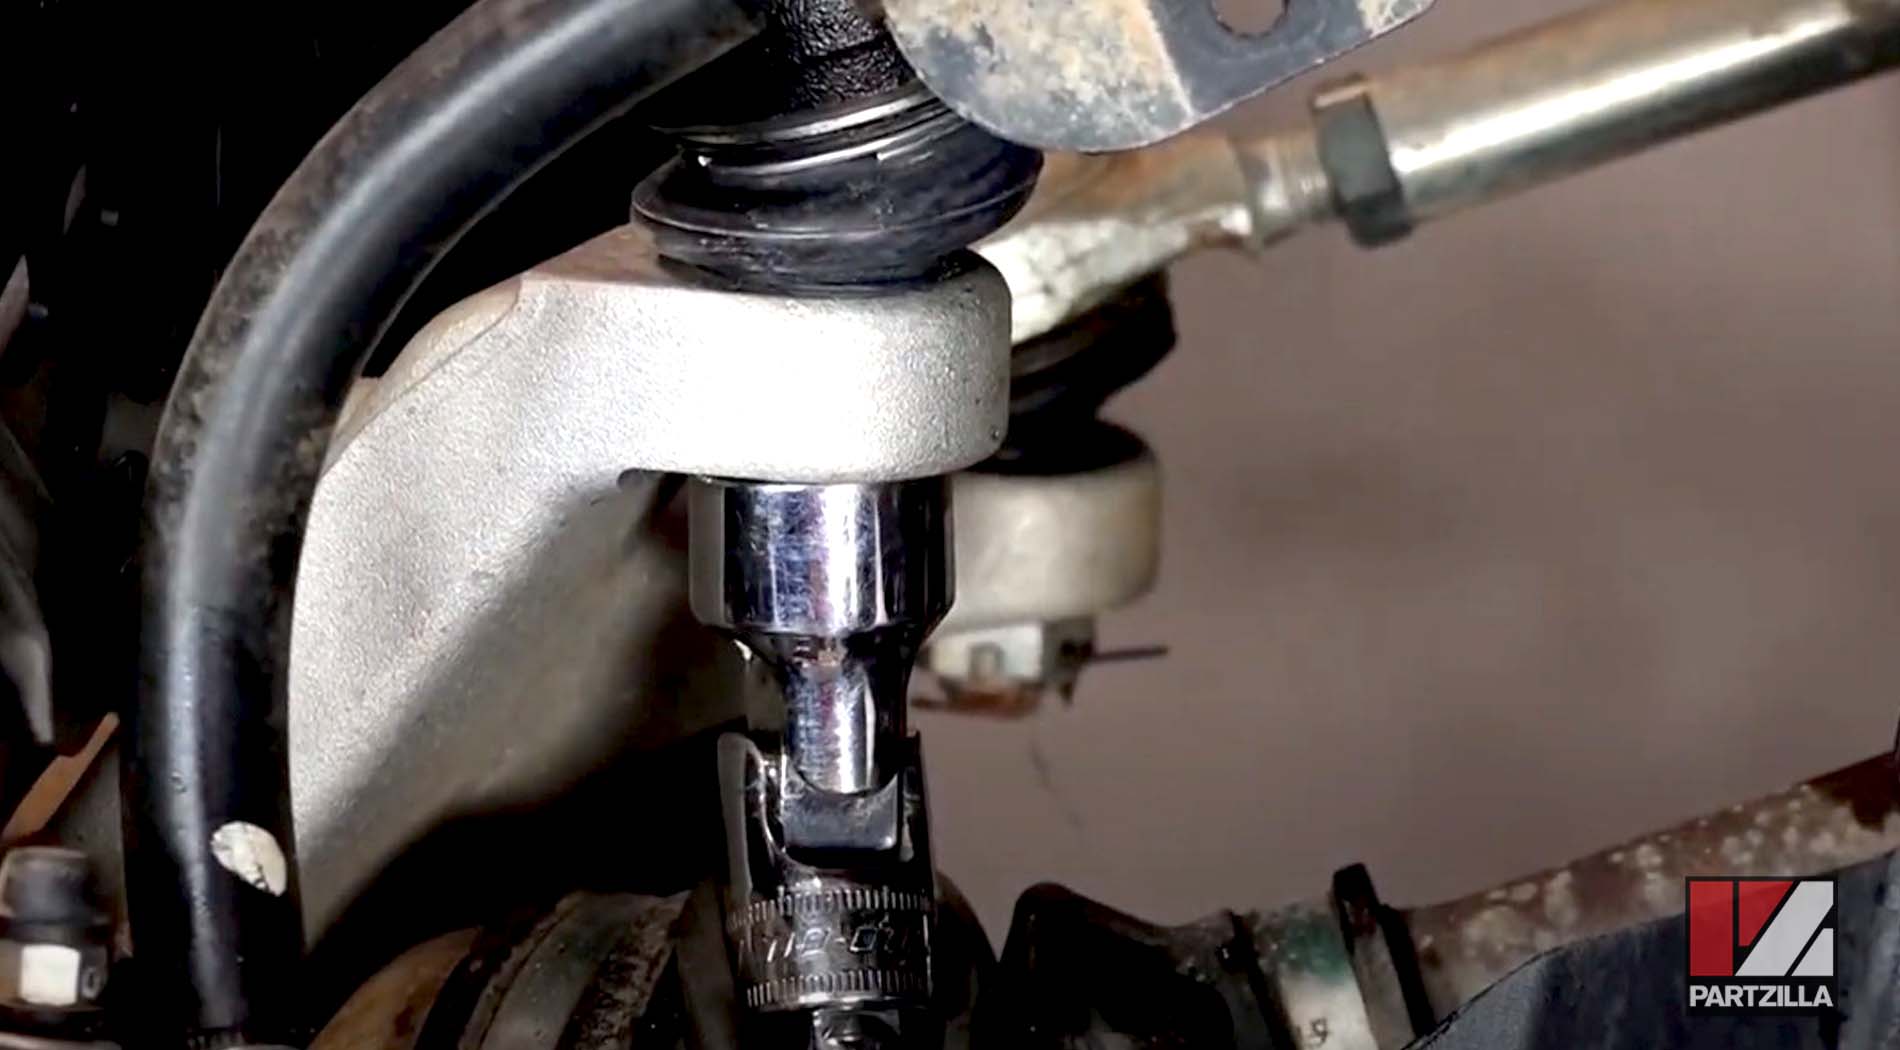
Step 4. Remove the cotter pin and 17mm castle nut from the upper ball joint, then use a punch and hammer to tap the upper ball joint out of the steering knuckle.

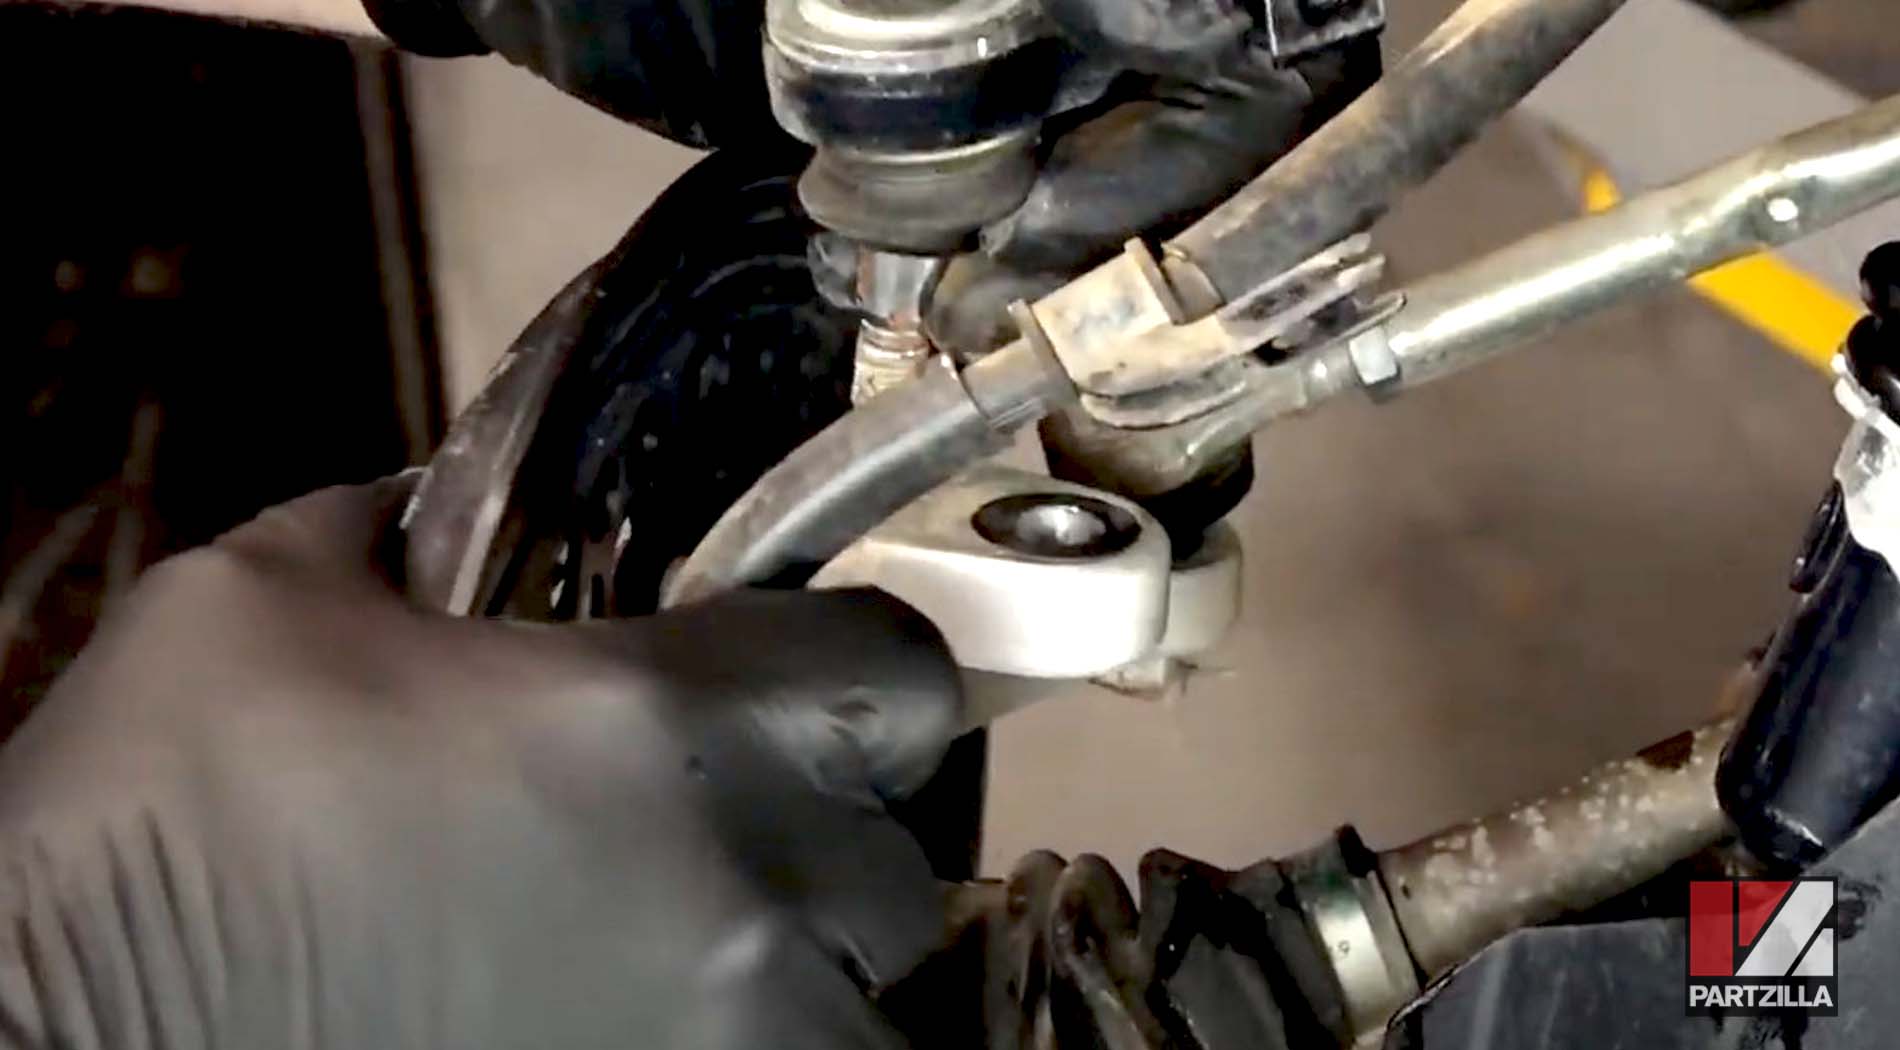
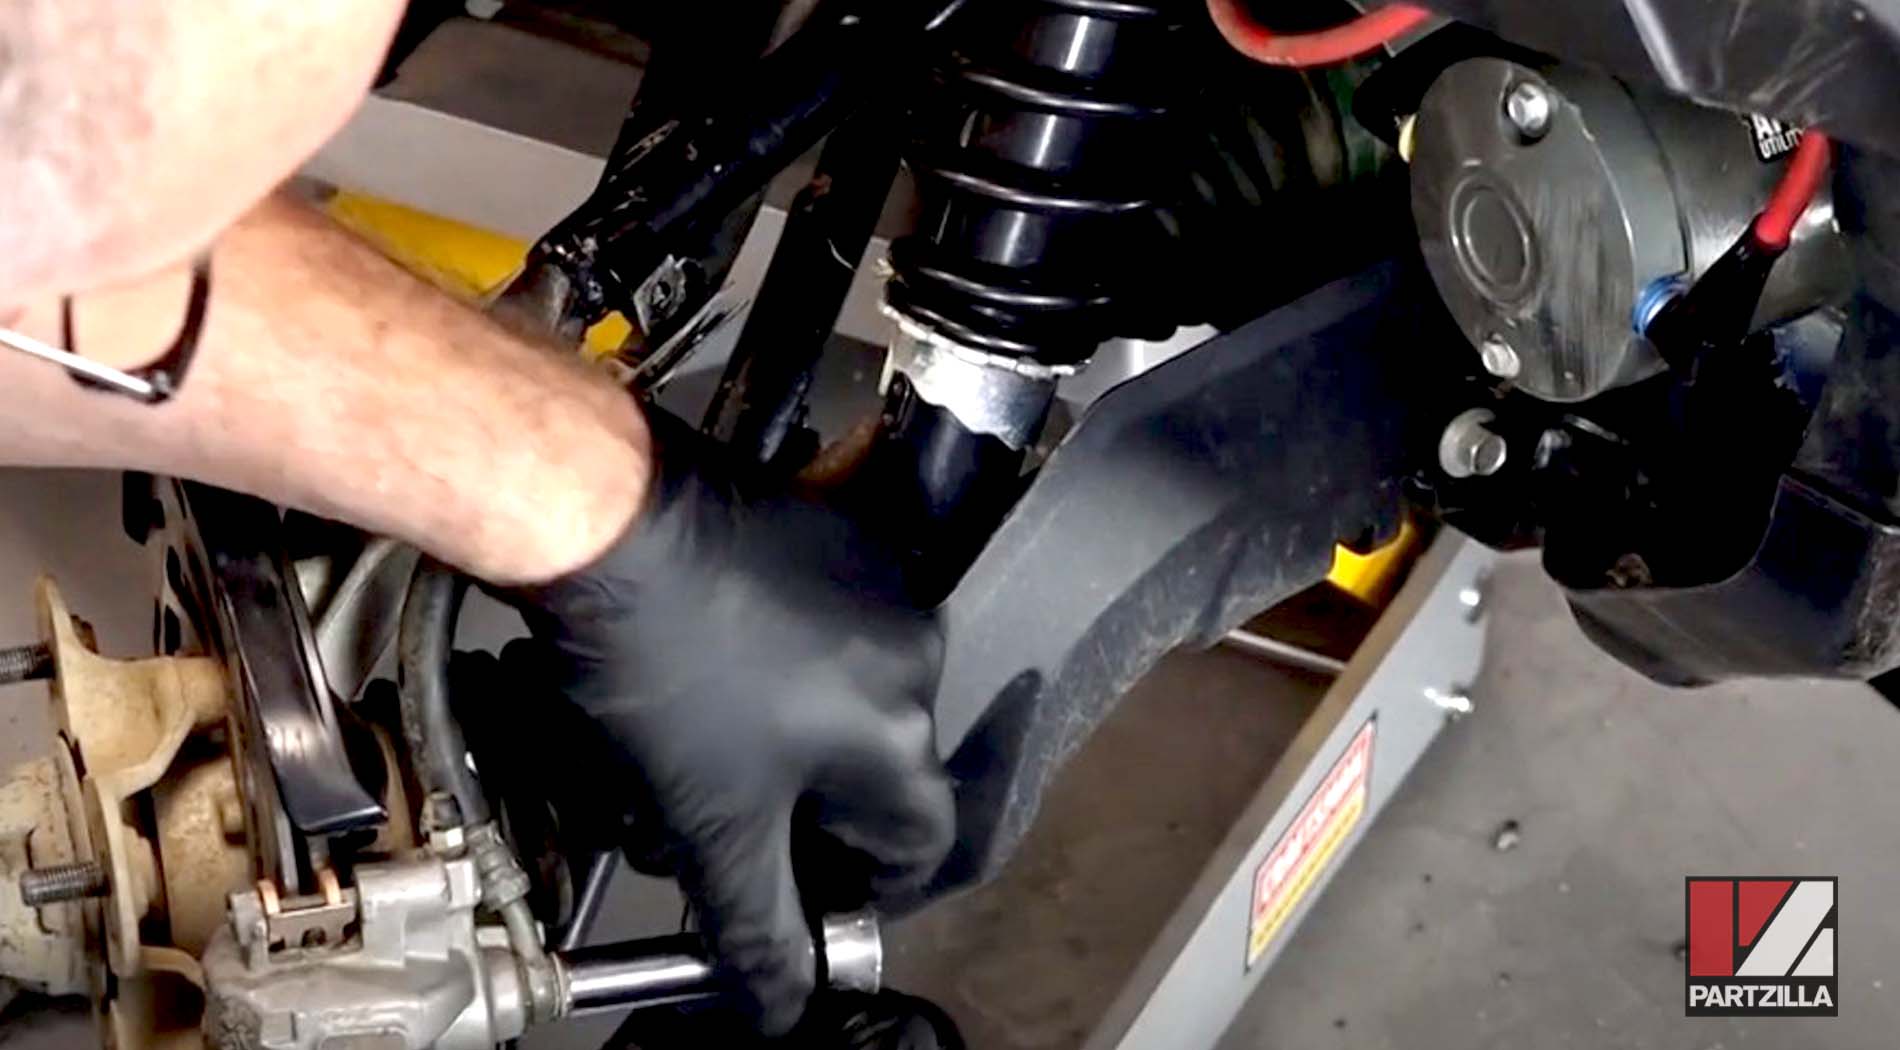
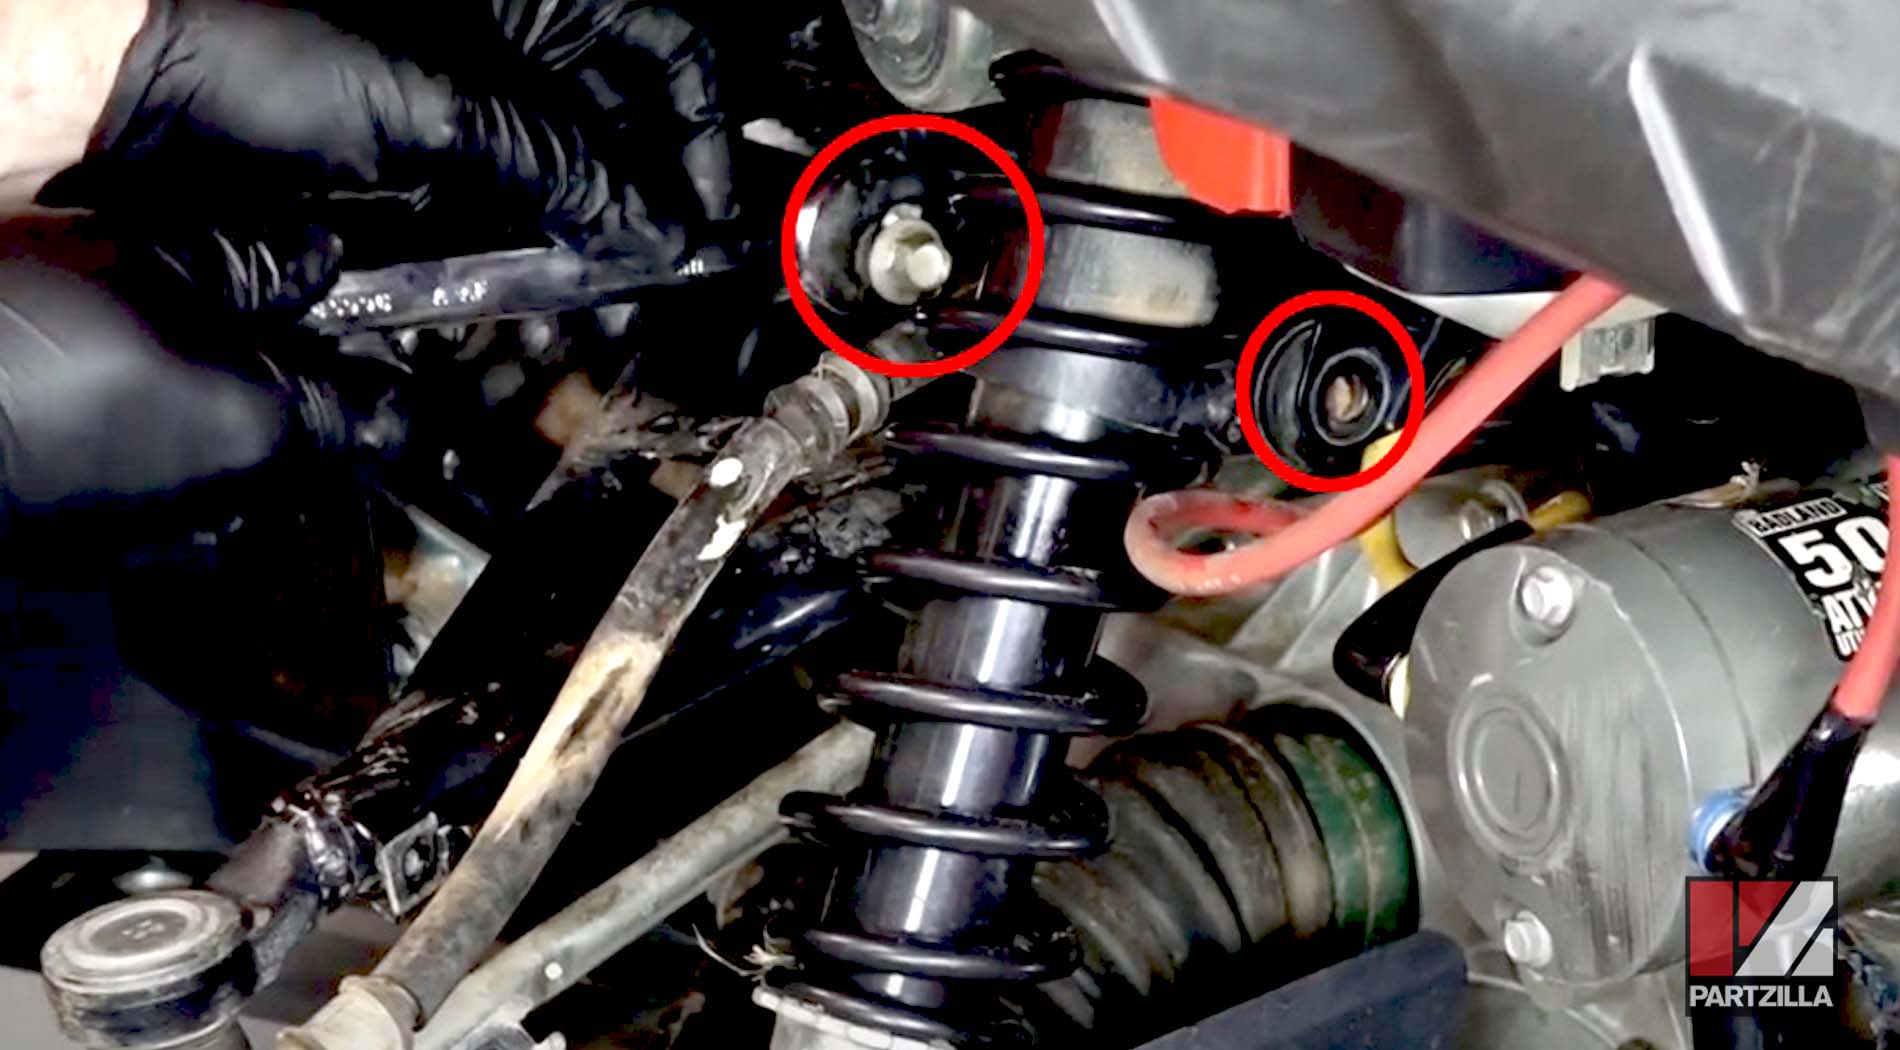
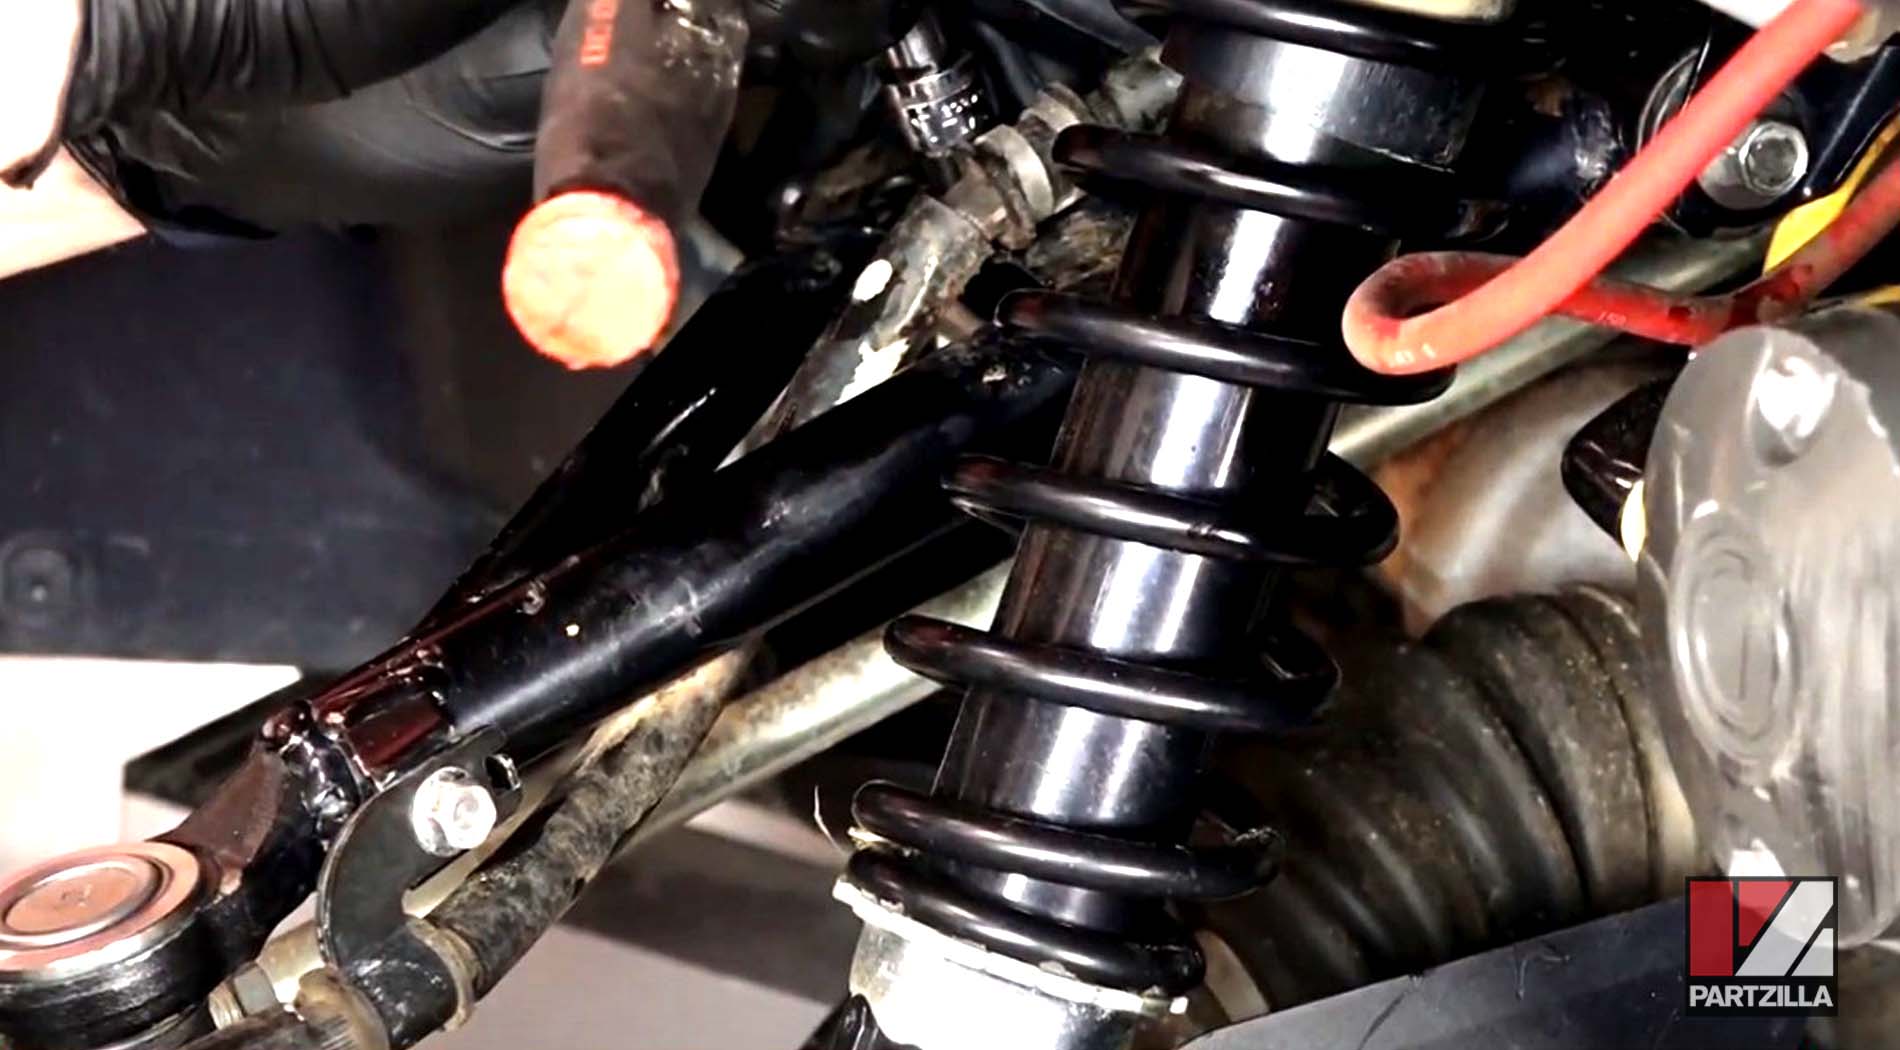
Step 5. Remove the two pivot bolts that hold the upper A-arm to the frame, followed by the upper A-arm itself.
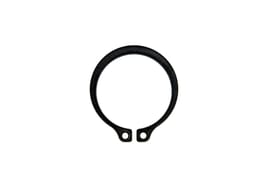
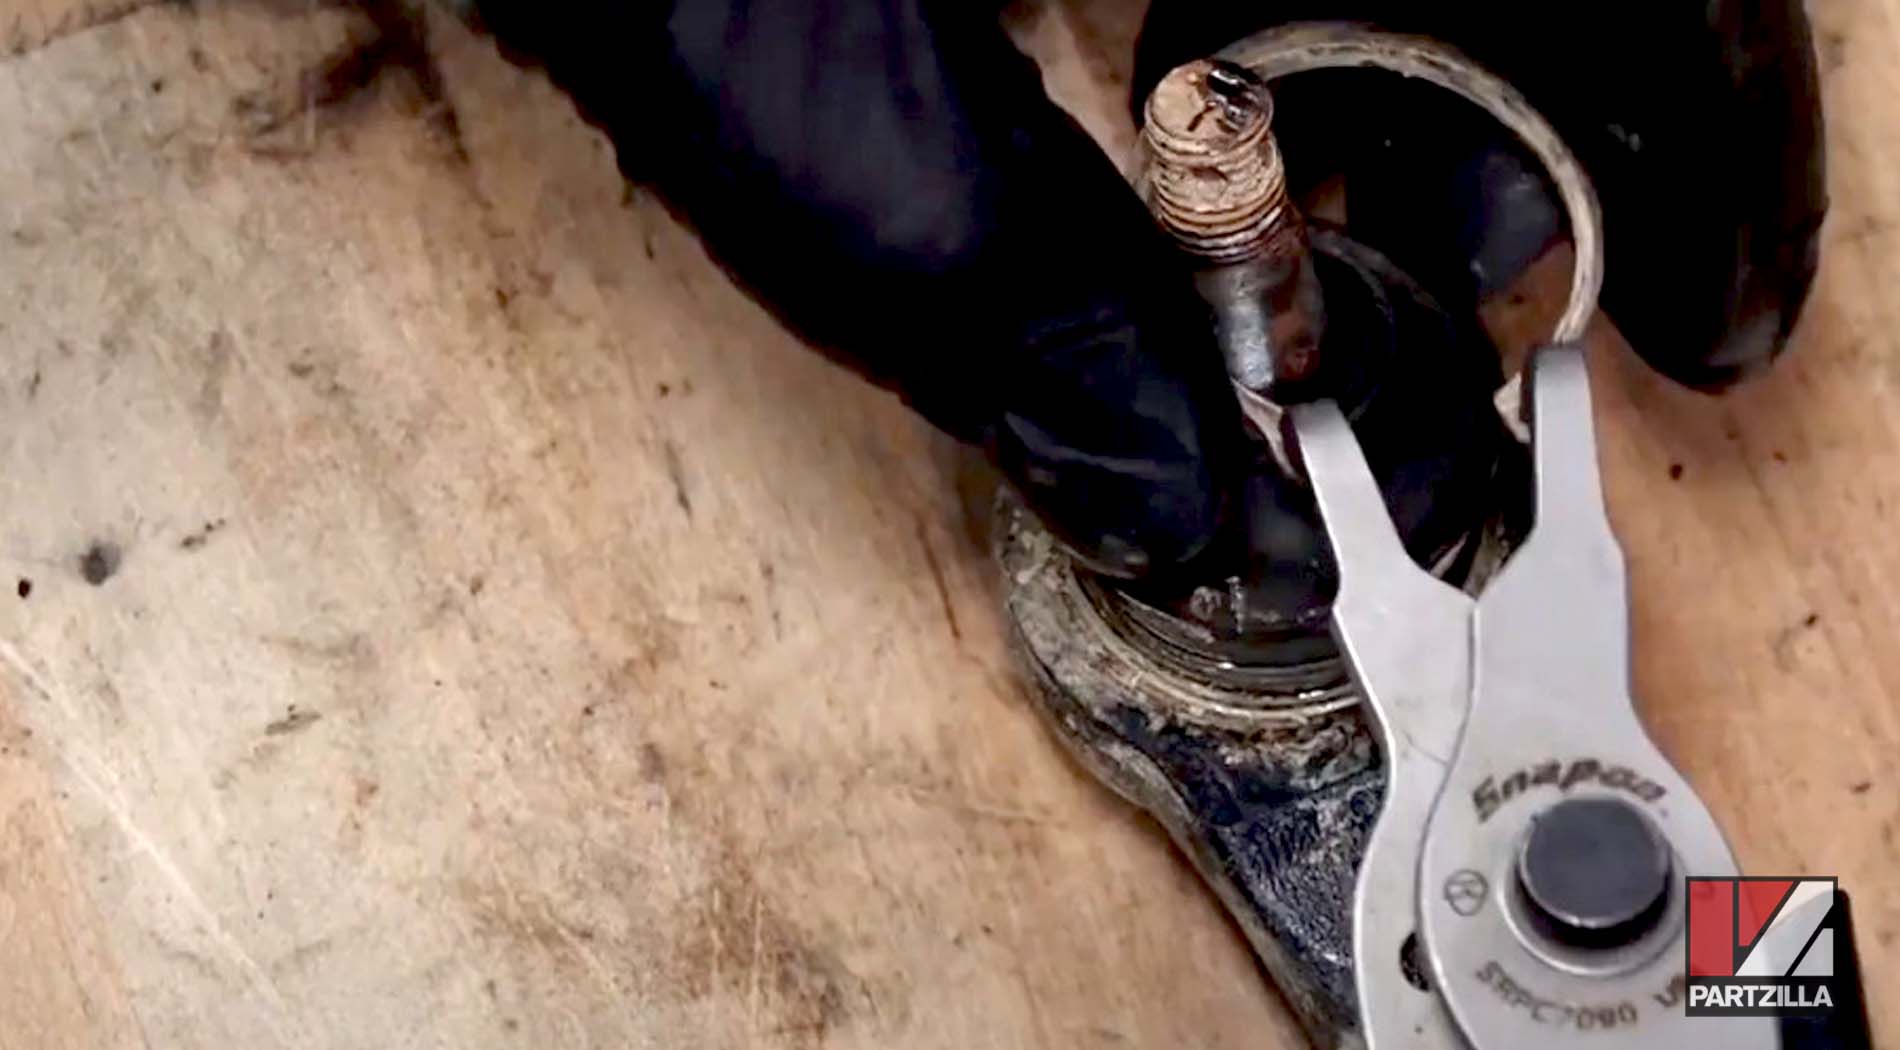
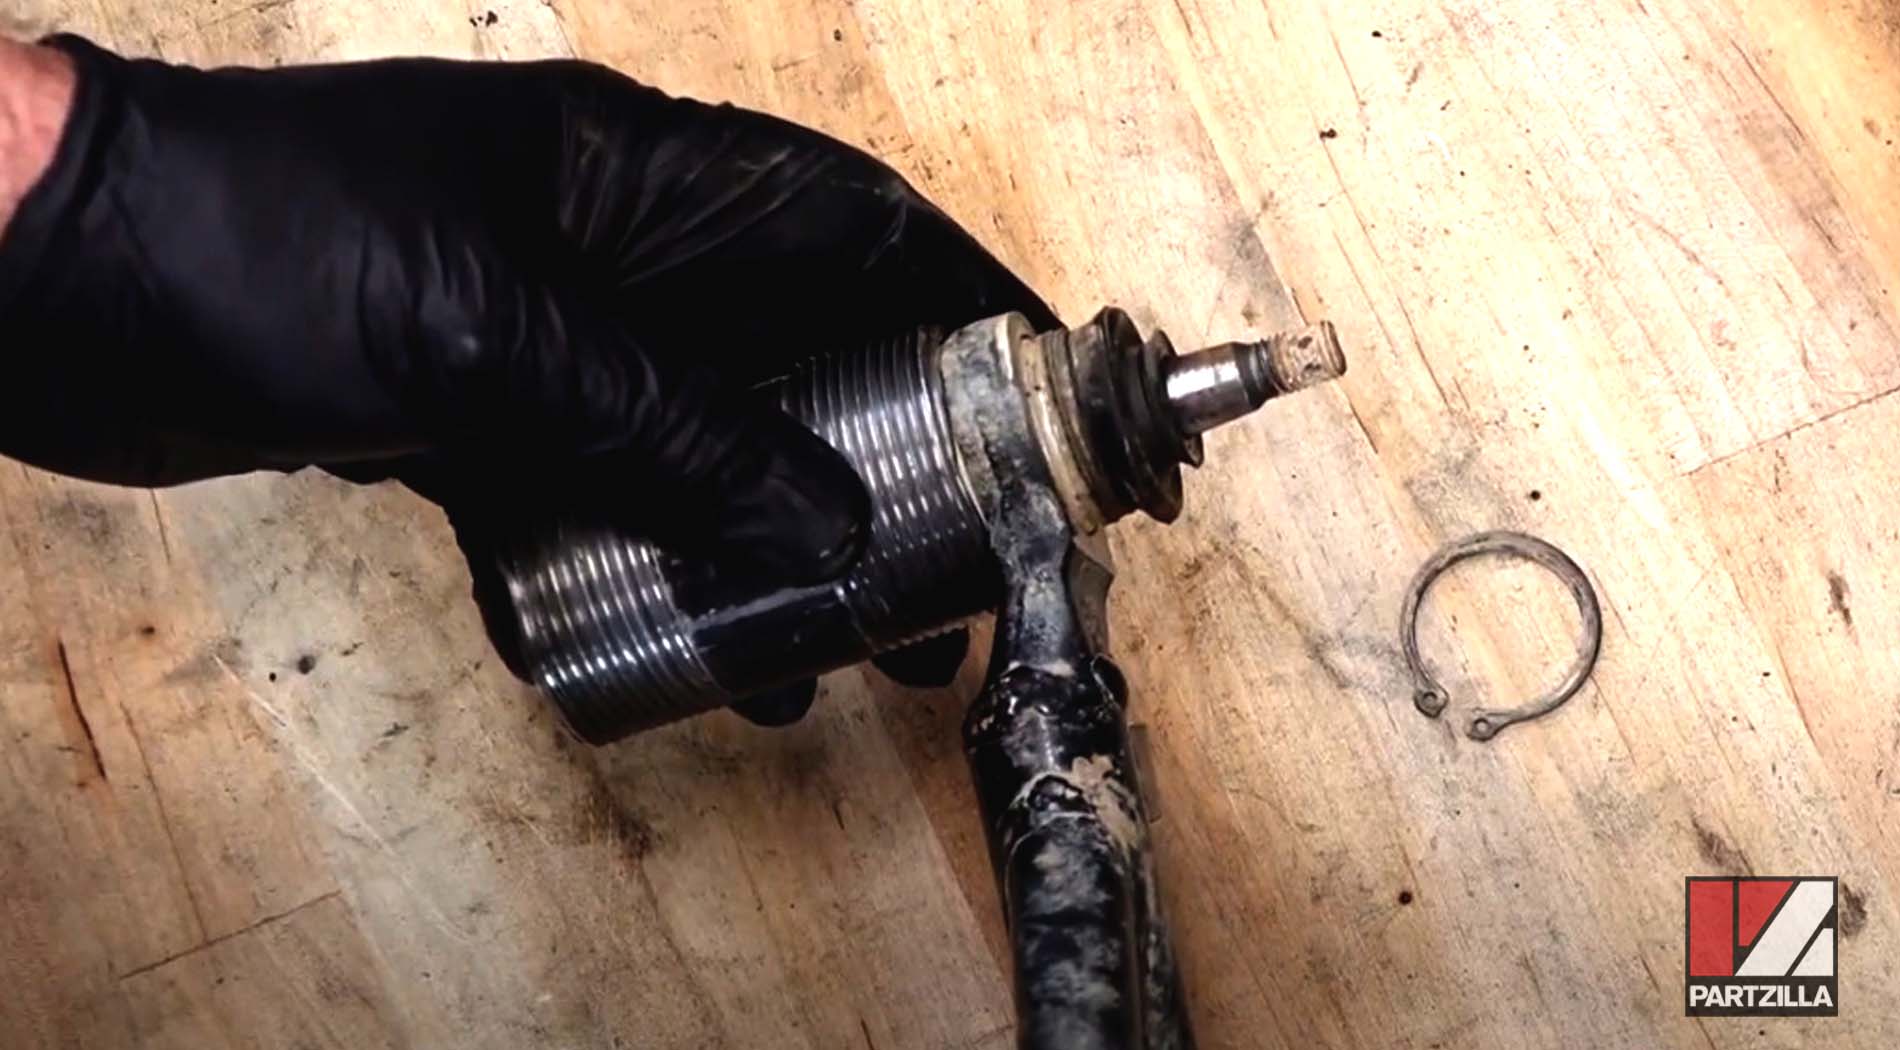
Step 6. Remove the circlip from the base of the upper ball joint.
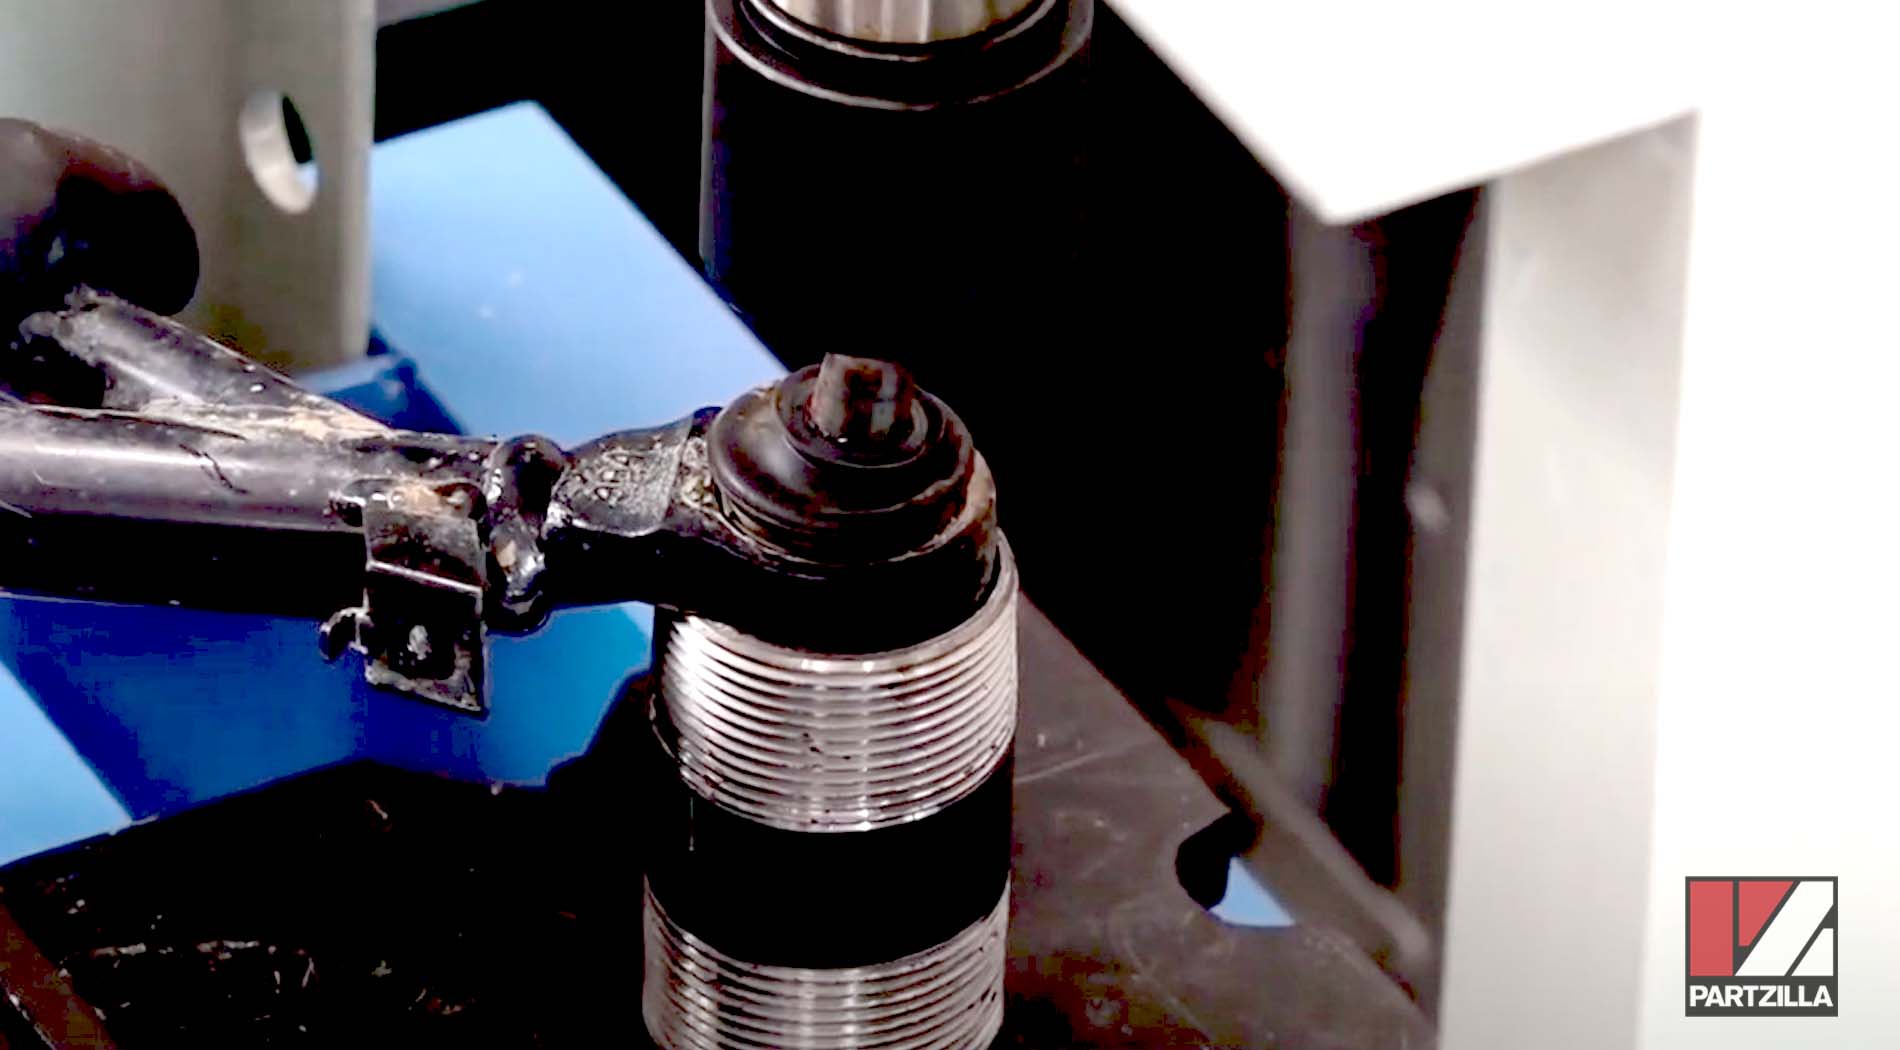
Step 7. Place the A-arm and upper ball joint over a piece of 1.5 inch pipe, then use a press to force the ball joint out of the A-arm and down into the pipe.
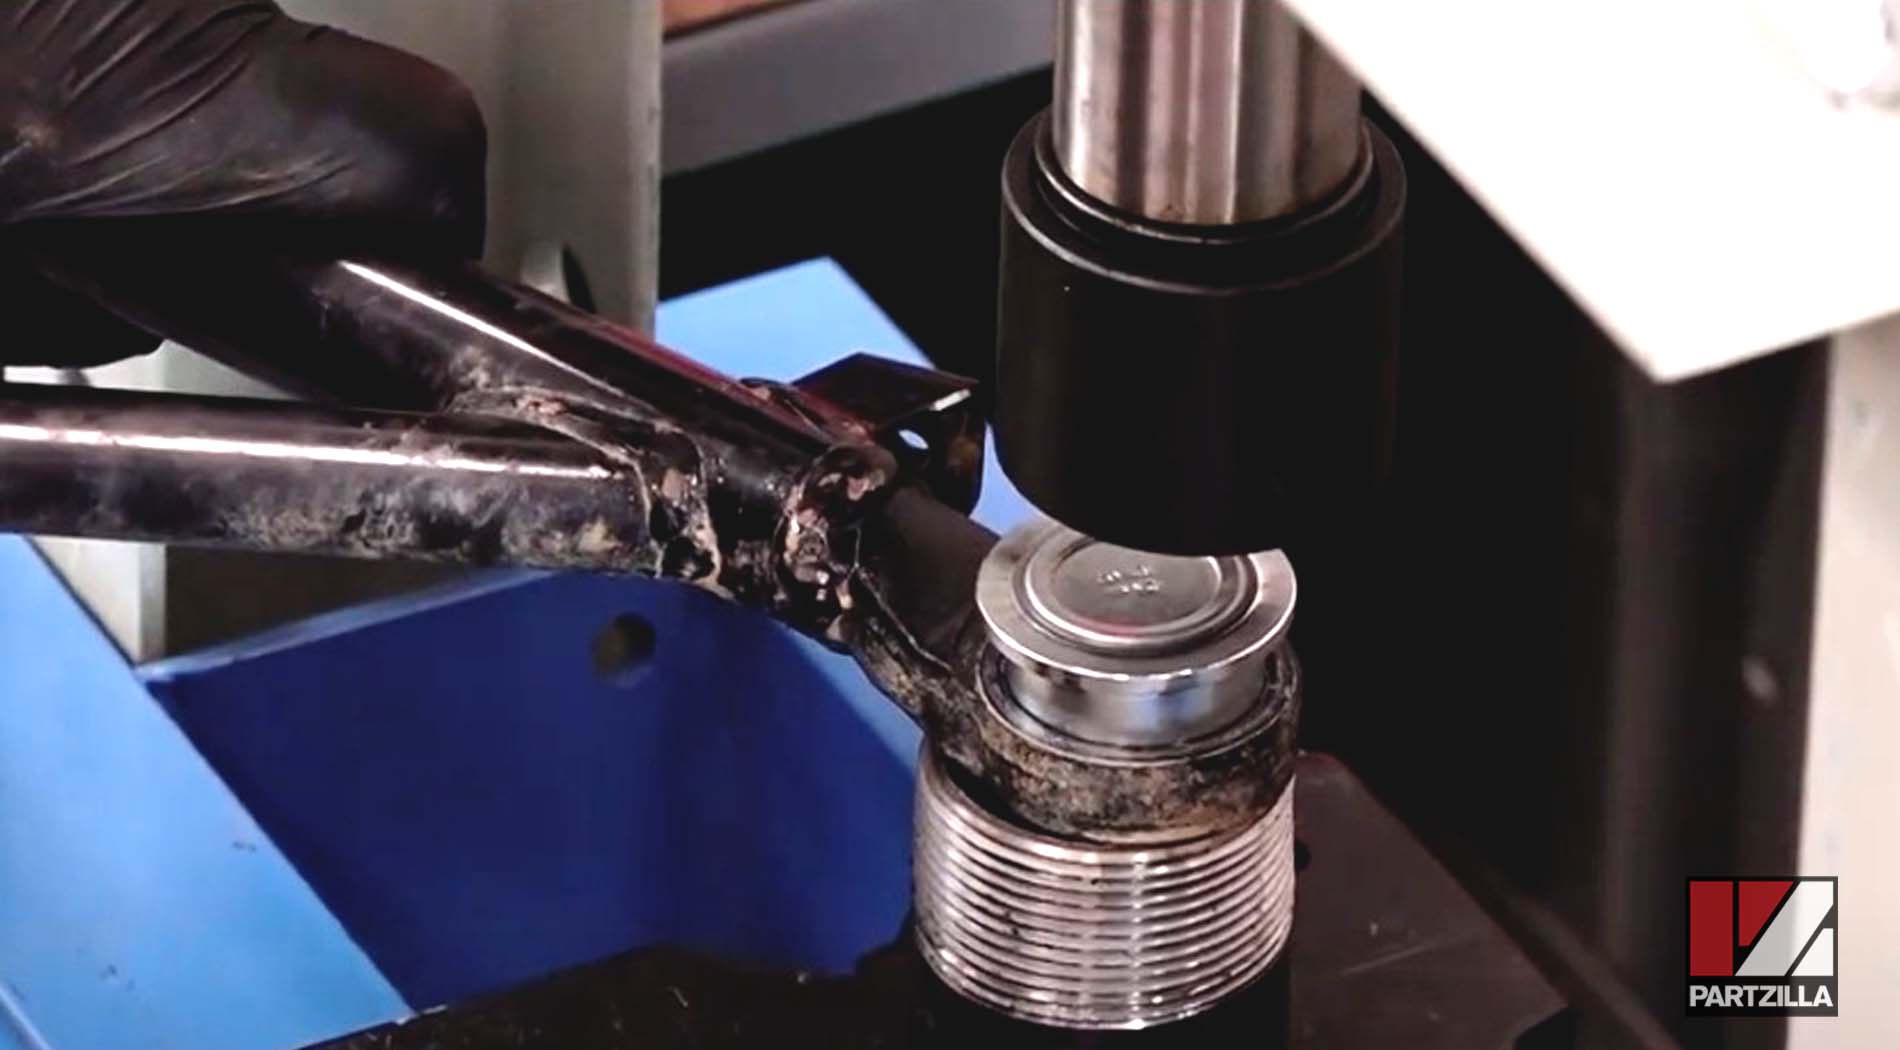
Step 8. Flip the A-arm over, then position a new upper ball joint over it and use the press to press it into the A-arm.
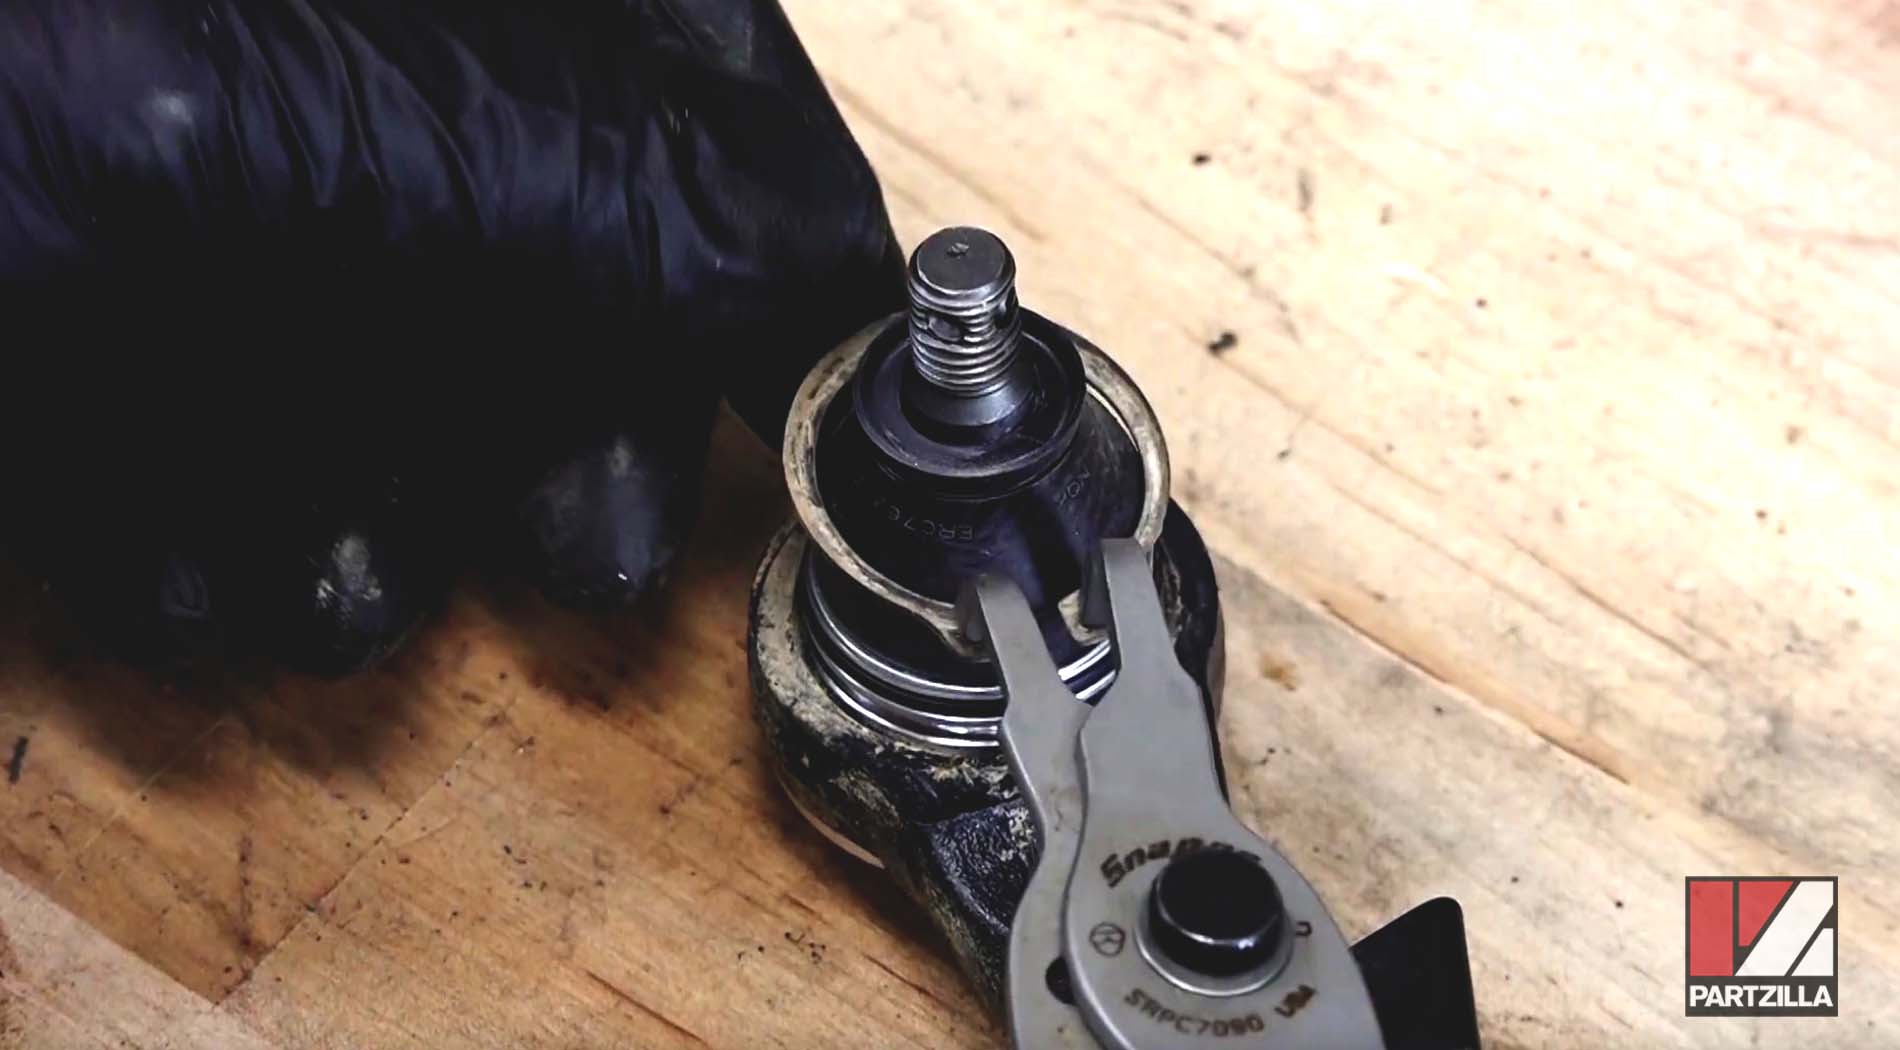
Step 9. Replace the circlip or install a new circlip if it’s worn out.
Step 10. Clean and grease the two pivot bolts, then reinstall the upper A-arm back onto the frame. Torque the bolts to 32 foot-pounds.
Step 11. Push the upper ball joint back into the steering knuckle and reinstall the 17mm castle nut. Torque the castle nut to 18 foot-pounds, then reinstall the cotter pin.
Step 12. Remove the union bolt and two washers from the brake caliper, and re-route the brake line so it runs through the upper A-arm again. Next, reconnect the union bolt and its washers.

Step 13. Reinstall the two bolts that attach the brake line to the upper A-arm.
Step 14. Reinstall the front wheel.
NOTE: Because air gets introduced to the brake system when the union bolt is removed from the caliper, you’ll have to bleed the brake system. Watch our Yamaha Grizzly brake bleed video below for reference.
Ready to replace a lower ball joint next? Watch our Yamaha Grizzly YFM700 lower ball joint replacement video below to see how it’s done.