How to Change Yamaha Grizzly 700 Oil
Oil changes come with the territory of ATV ownership, and you can save money on this basic maintenance task by doing them yourself on your Yamaha Grizzly.
With just a handful of tools and basic mechanic skills, these simple steps will help you pull off a YFM700 oil and filter change. Watch the video above and follow the steps below to change the oil in a Yamaha Grizzly 700. Use our Grizzly 700 oil pump parts diagram for additional reference.
Tools and Parts – Yamaha Grizzly YFM700 Oil Change
- Torque wrench
- 17mm socket
- 3/8th ratchet and extension
- 65mm oil filter wrench
- Brake contact cleaner
- Gasket
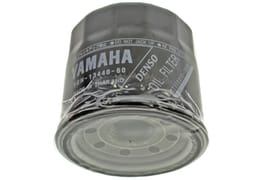
- Yamaha Element oil filter
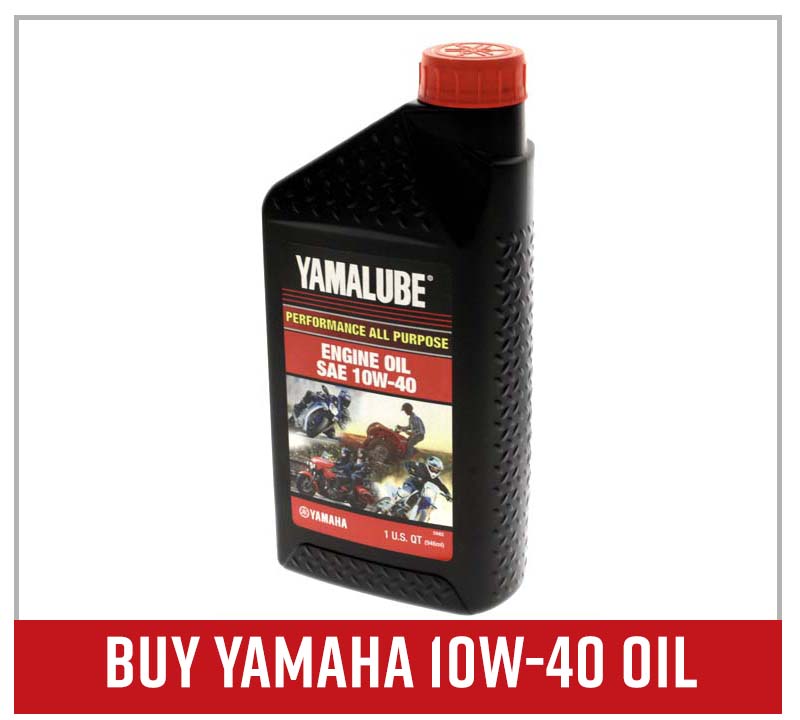
- Yamalube 10W-40 oil
PRO TIP: Before you begin with the oil and filter change, start up the engine and let it idle for a few minutes to warm up the oil. This makes it easier to drain.
2007 Yamaha Grizzly 700 Oil Change
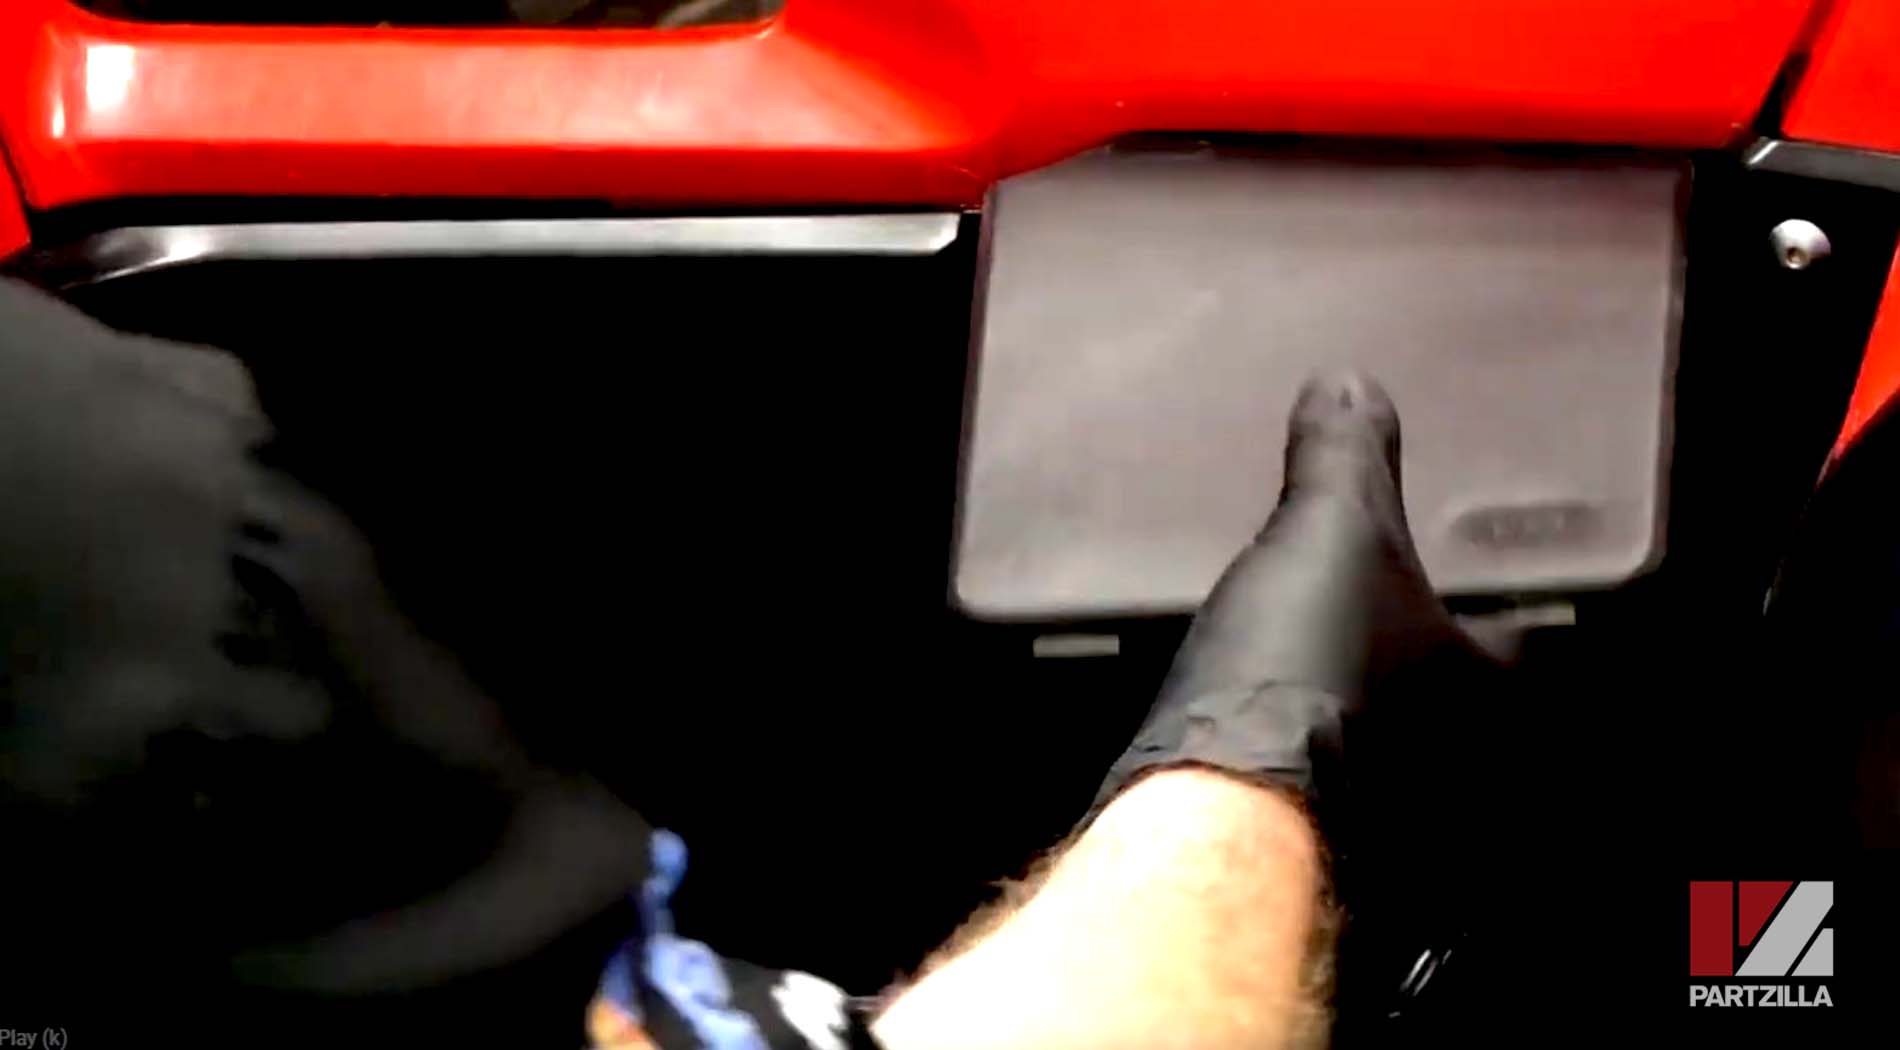
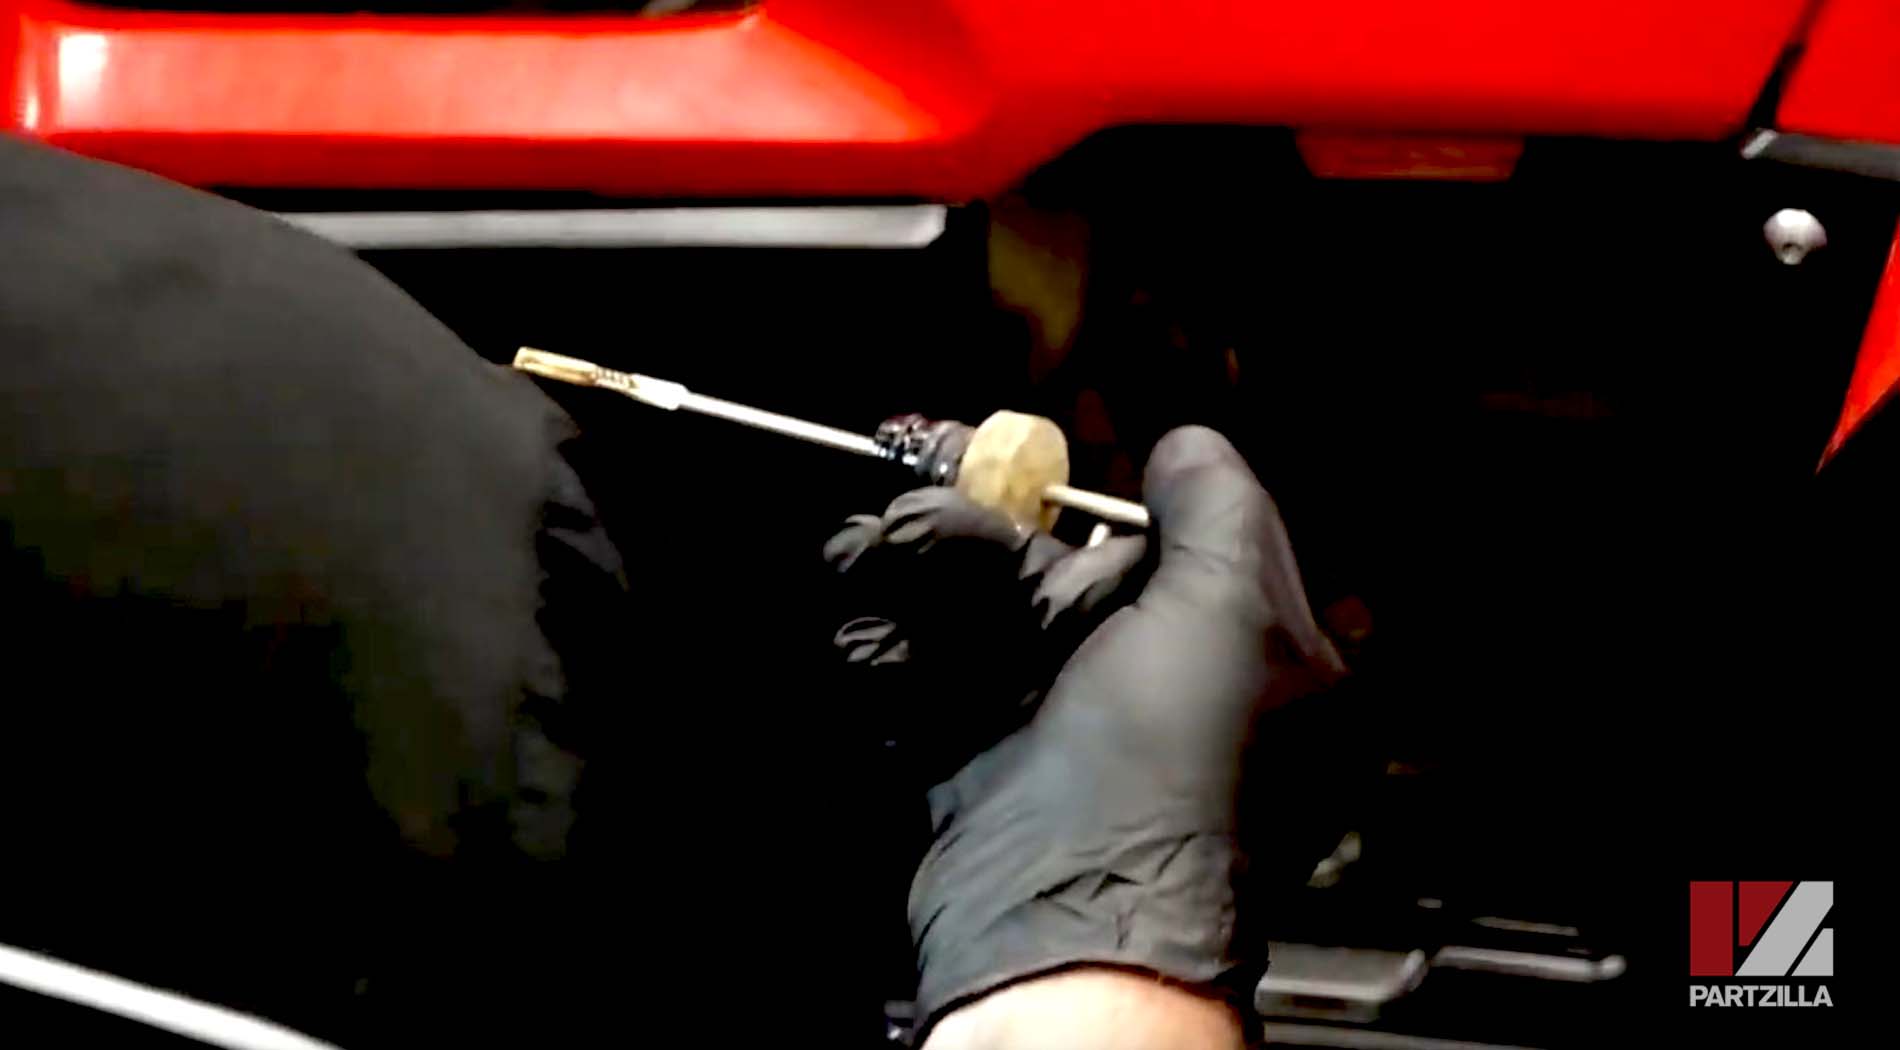
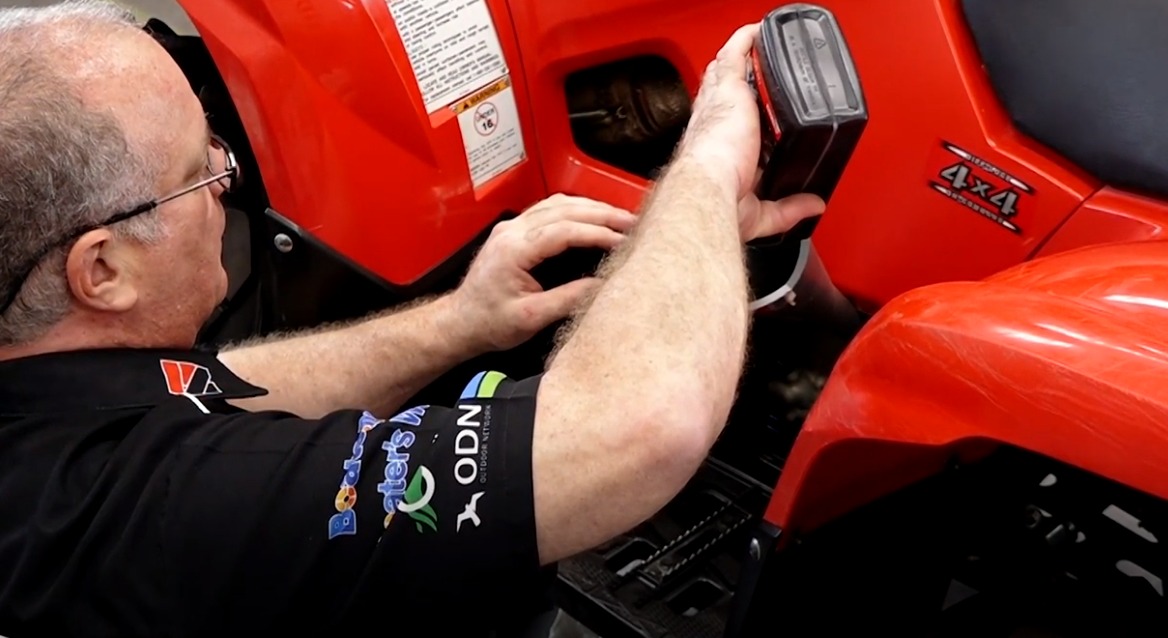
Step 1. Pull off the side cover to access and remove the dipstick.
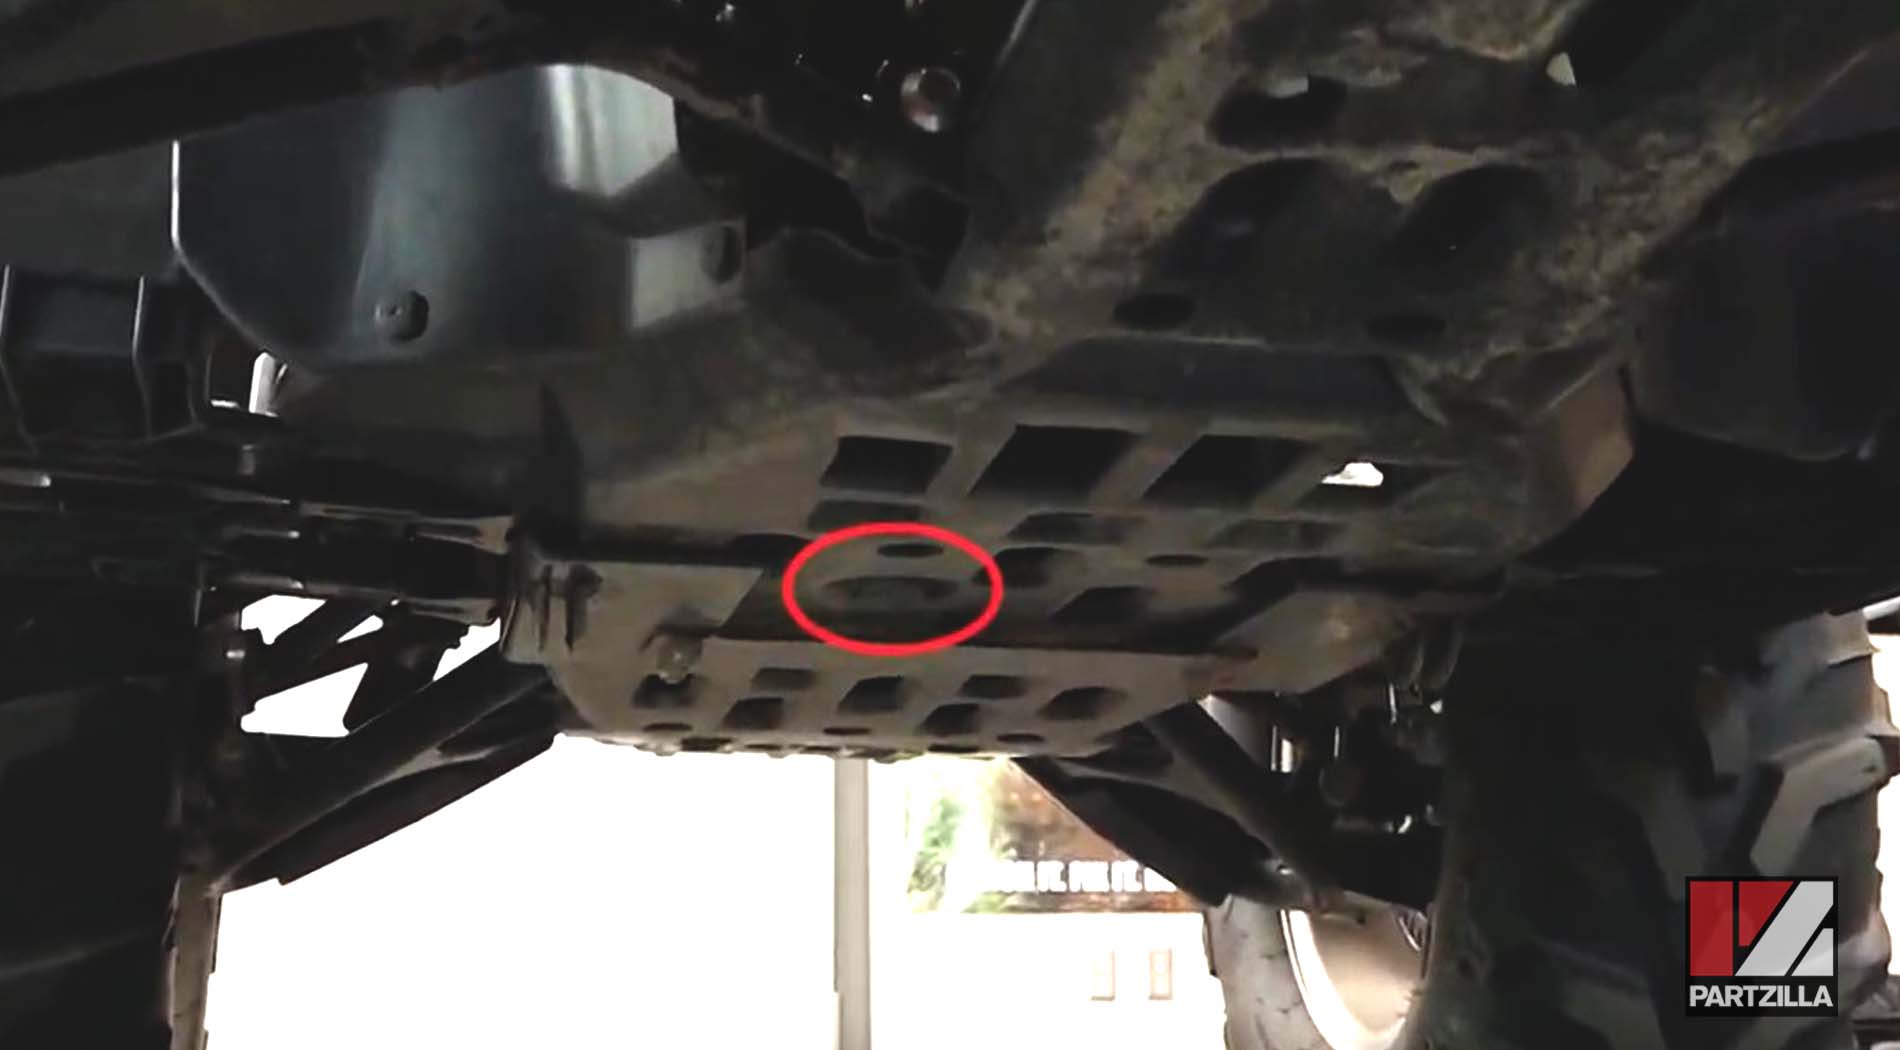
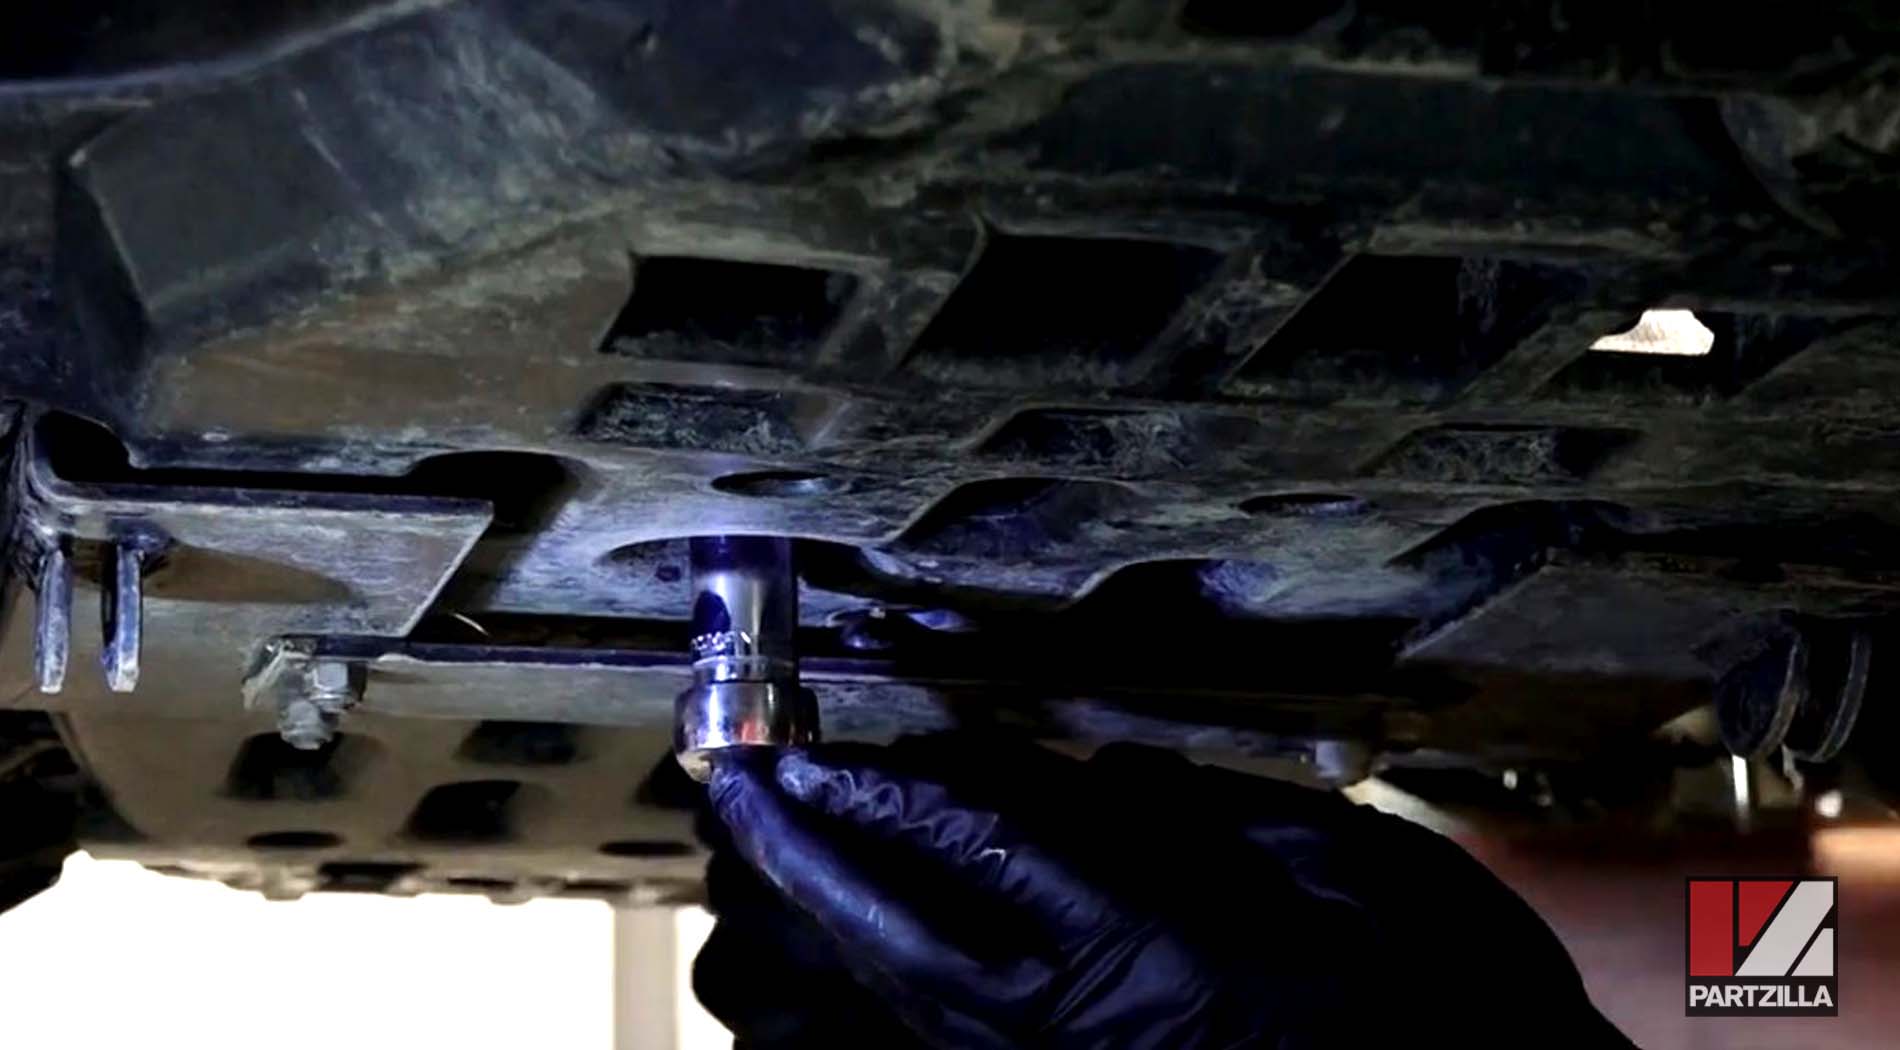
Step 2. Reach under the bottom of the machine to find and remove the 17mm bolt drain bolt.
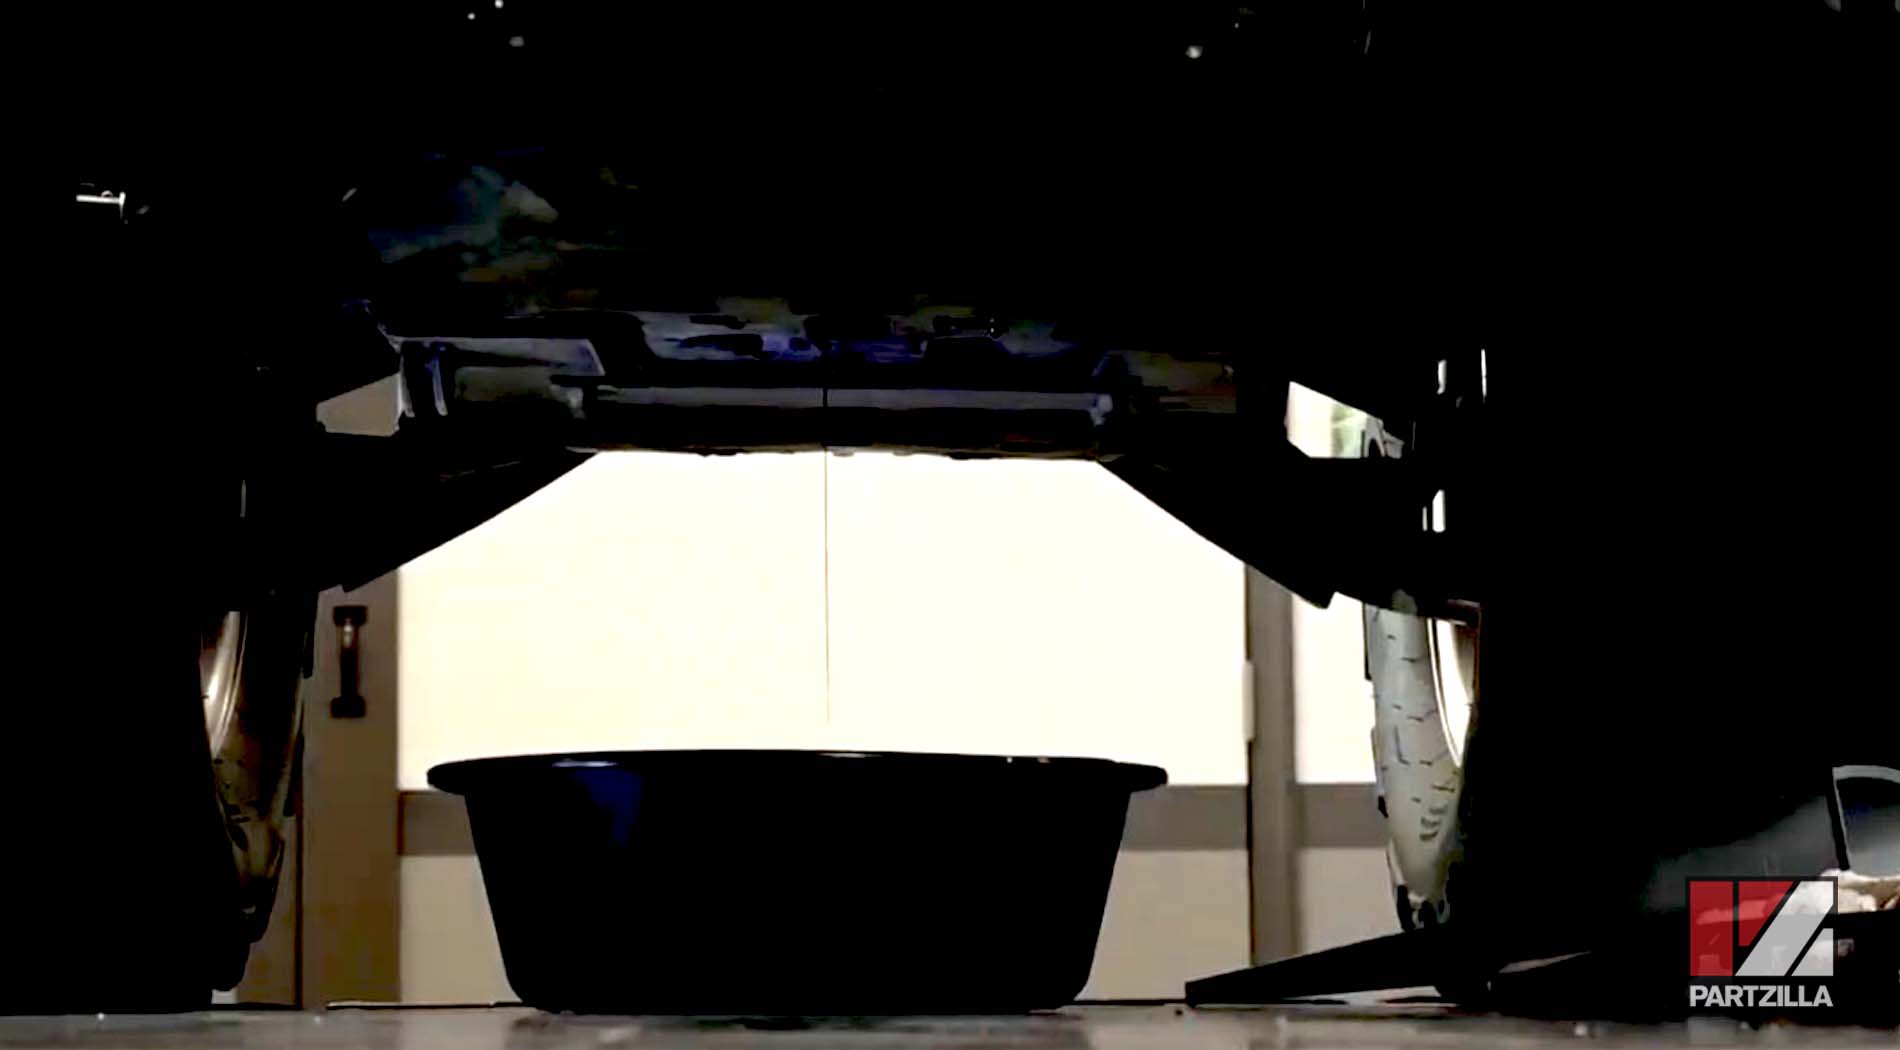
Step 3. Drain the oil completely out of the machine into an oil drain pan.
Step 4. Replace the drain bolt. Make sure the beveled edge of the gasket or crush washer is facing the front of the bolt (flat side down) when placing it. Once the gasket and drain bolt are back on the machine, torque the drain bolt to 22 foot-pounds.
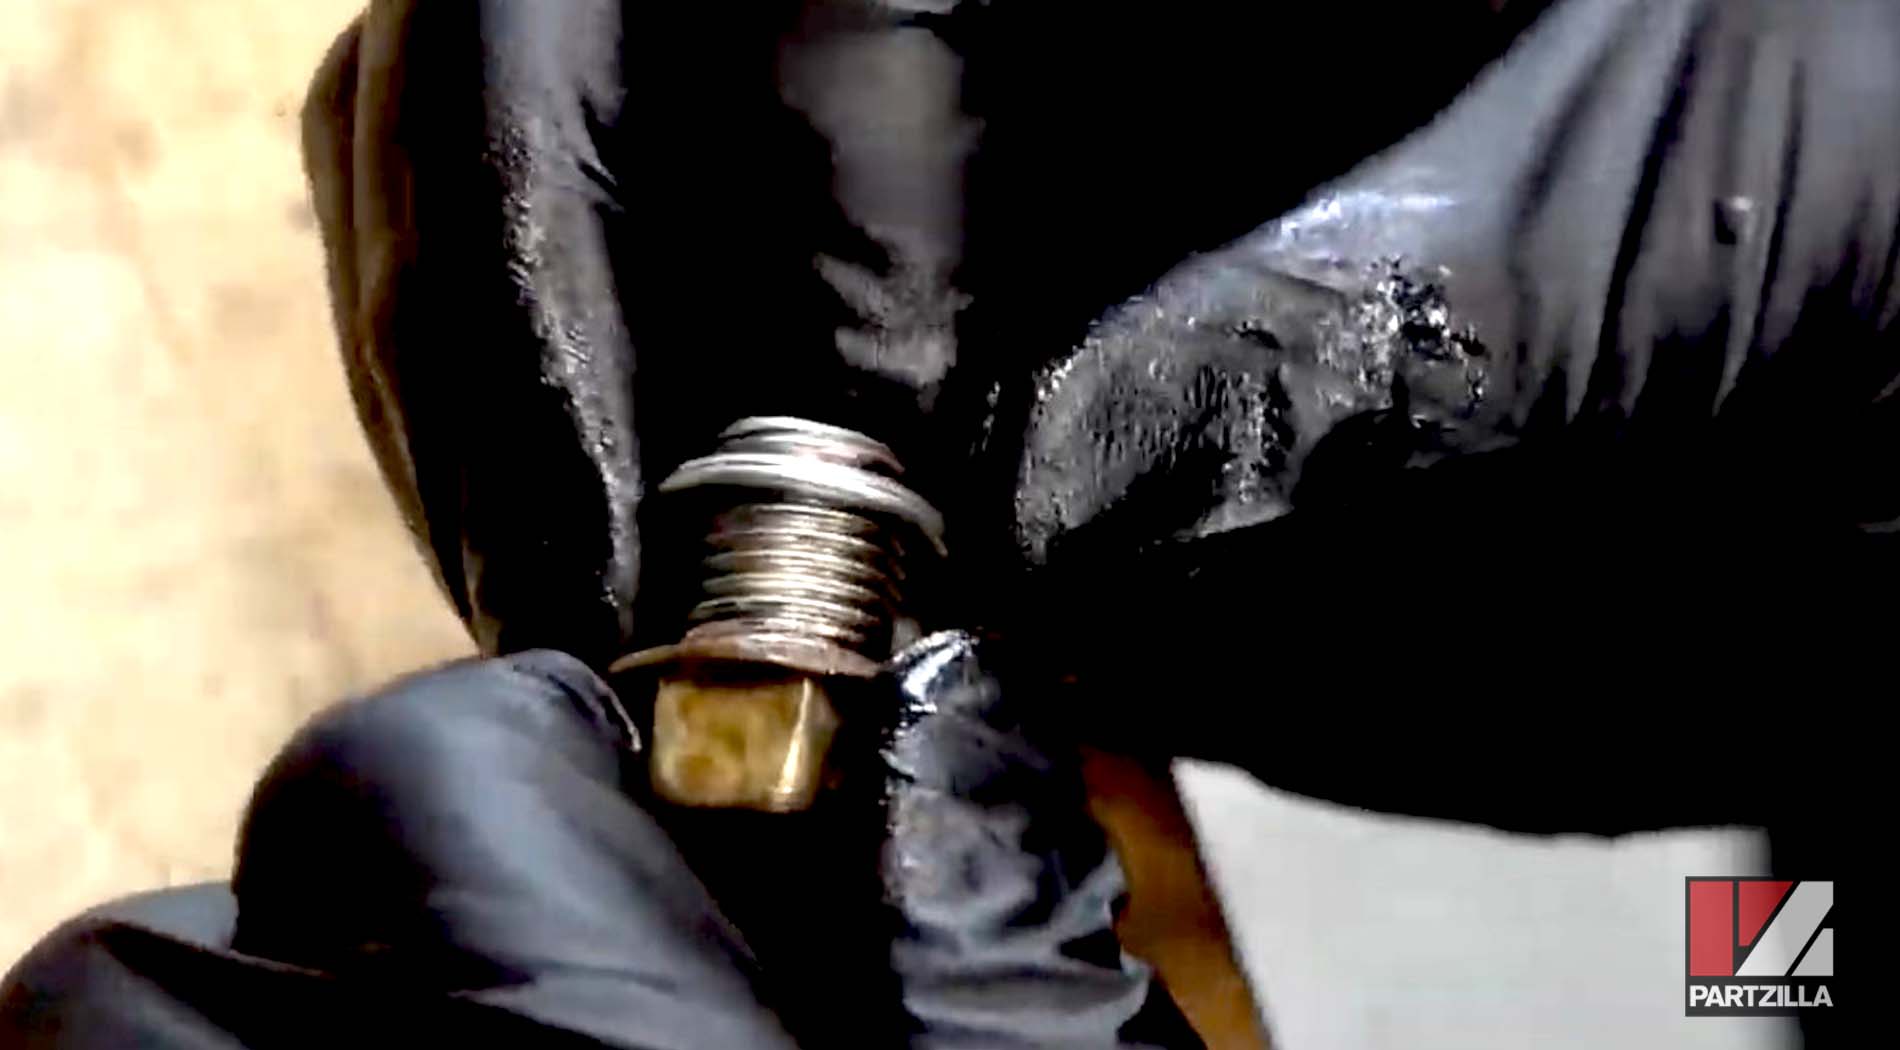
NOTE: Before putting the drain bolt back in, check to make sure the crush washer or gasket for the bolt isn’t flattened, which is an indicator that it’s worn out and needs to be replaced. If the crush washer or gasket is worn out, we recommend removing it and replacing it with a new gasket.
Step 5. Use an extension and a 65mm oil filter wrench to remove the oil filter.
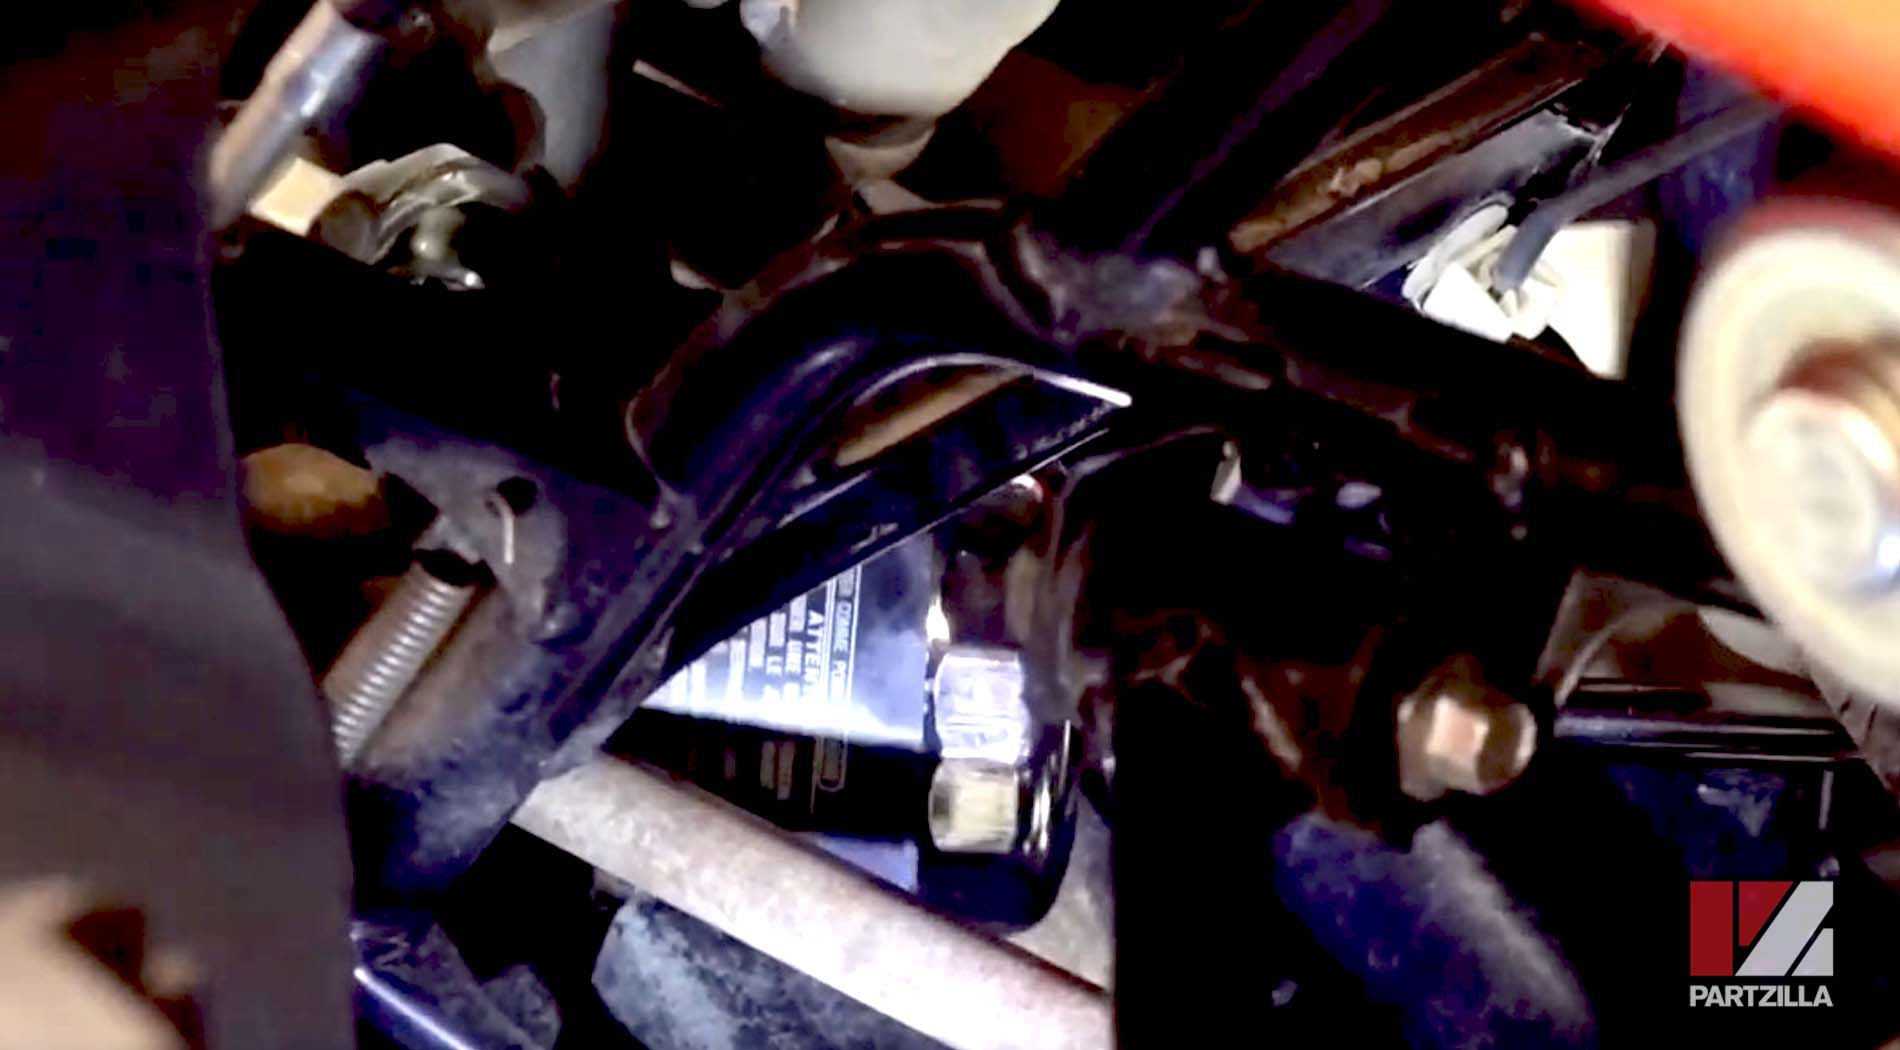
PRO TIP: If you don’t mind going the extra mile, remove the skid plates first to avoid getting oil on them. Otherwise, you can leave them on to save some time, and then use contact cleaner to remove any excess oil off them after the job is done.
Step 6. Add a little bit of oil to the O-ring on the new oil filter before installing it to make it easier to remove next time. Use your oil filter wrench and extension to get the new oil filter in place by reversing the process of how you removed it, and then torqueing it to 12 foot-pounds.

Step 7. Refill the oil tank with Yamalube 10W-40 oil using the specifications provided by Yamaha, which is 2.2 quarts of oil.
PRO TIP: Add 2 quarts of oil first, then let your machine run for a minute with the dipstick on to circulate the oil. Next, shut your machine off and let it sit for 10 minutes.
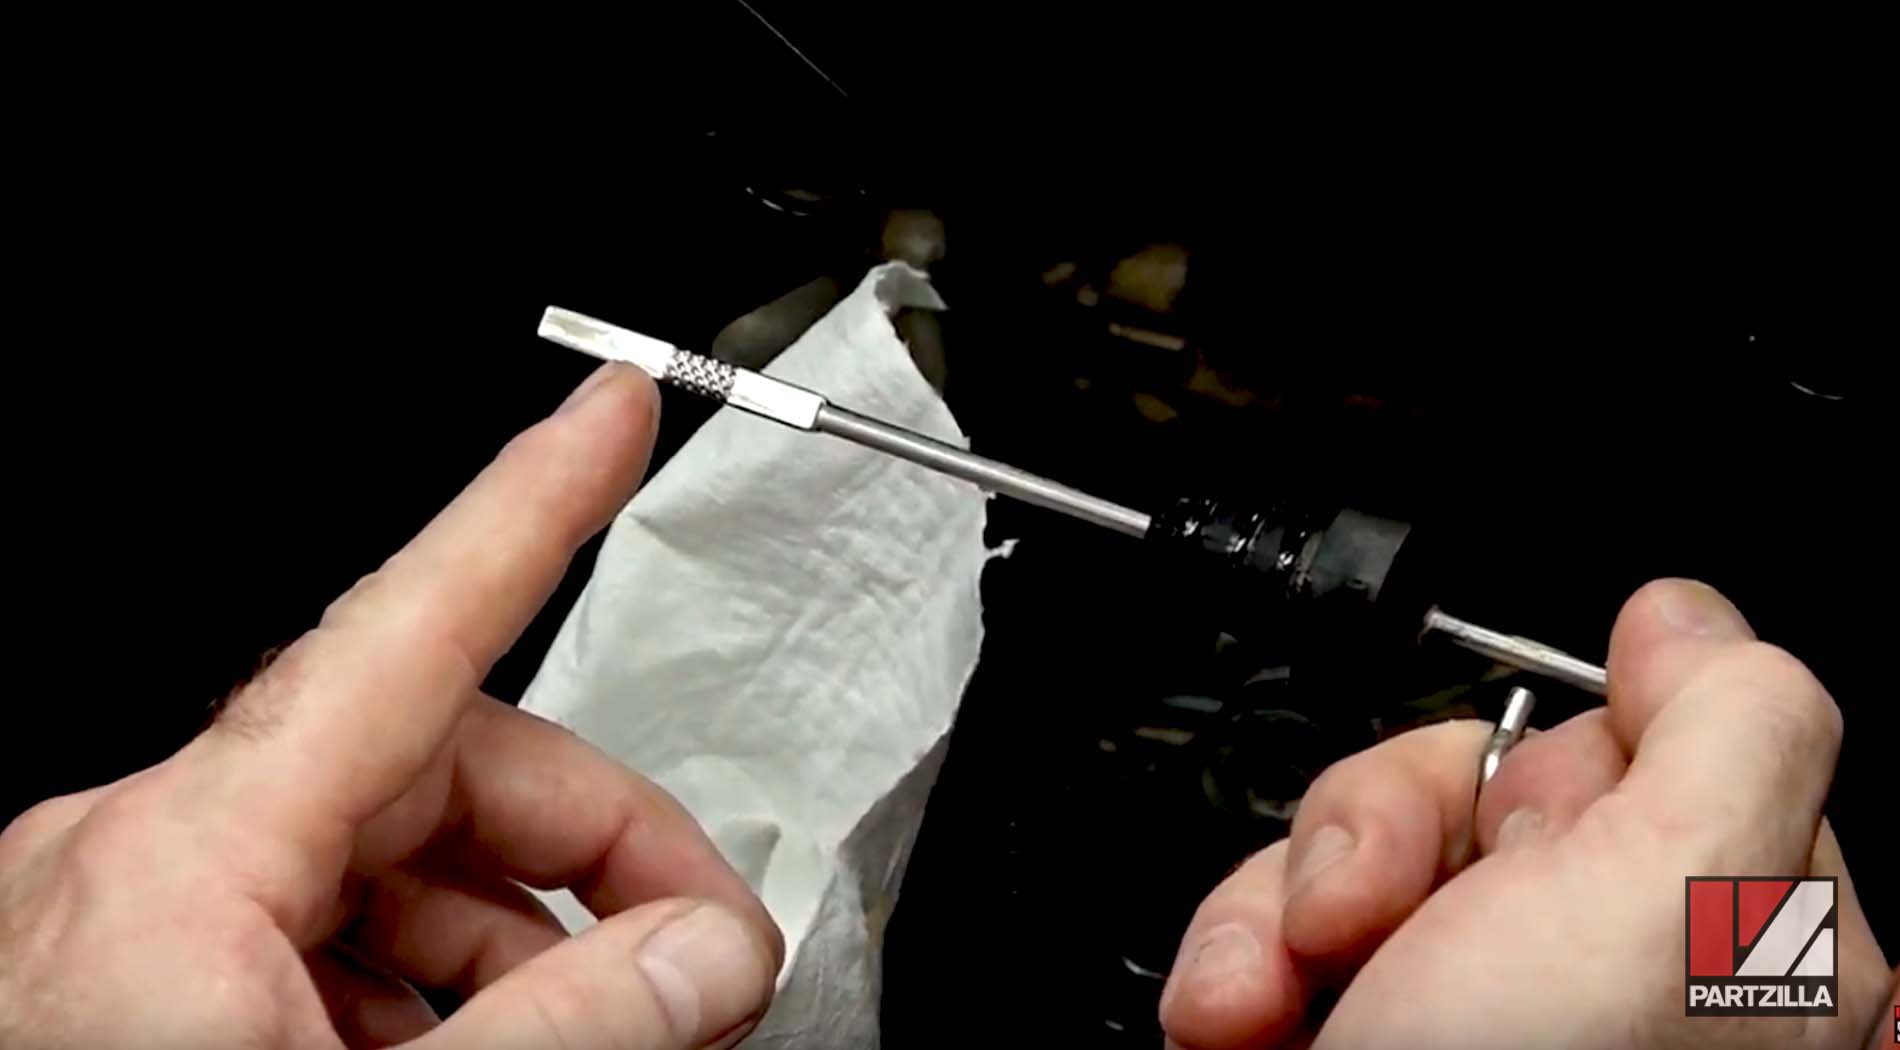
Step 8. Remove and check the dipstick to see how much (if any) additional oil is needed to set the final level. If the dipstick shows you have enough oil in the machine, replace the plastic cover and the oil change is done.
It’s recommended scheduling an oil change on a Yamaha Grizzly 700 every 3,200 miles or once a year. However, if you run your machine harder than normal, we recommend changing the oil and filter every 6 months or 2,500 miles.