How to Change Yamaha Grizzly 700 Coolant
Coolant turns acidic over time, and if you don't change it periodically, it starts to corrode the internal parts within the Yamaha ATV's engine, not to mention the radiator and coolant hoses.
Yamaha recommends replacing the coolant in a Grizzly 700 at least once every two years. Watch the video above and follow the steps below to do a coolant flush and replacement in a Yamaha Grizzly YFM700 ATV.
See the parts diagrams:
Tools and Supplies - Yamaha Grizzly Coolant Flush
- Ratchet and sockets
- Coolant flush
- Drain pan
- Engine coolant
Yamaha Grizzly YFM700 Cooling System Drain
Step 1. Remove the left footwell and the left side cover, the front carrier and the front cover beneath it to access and remove the radiator cap.
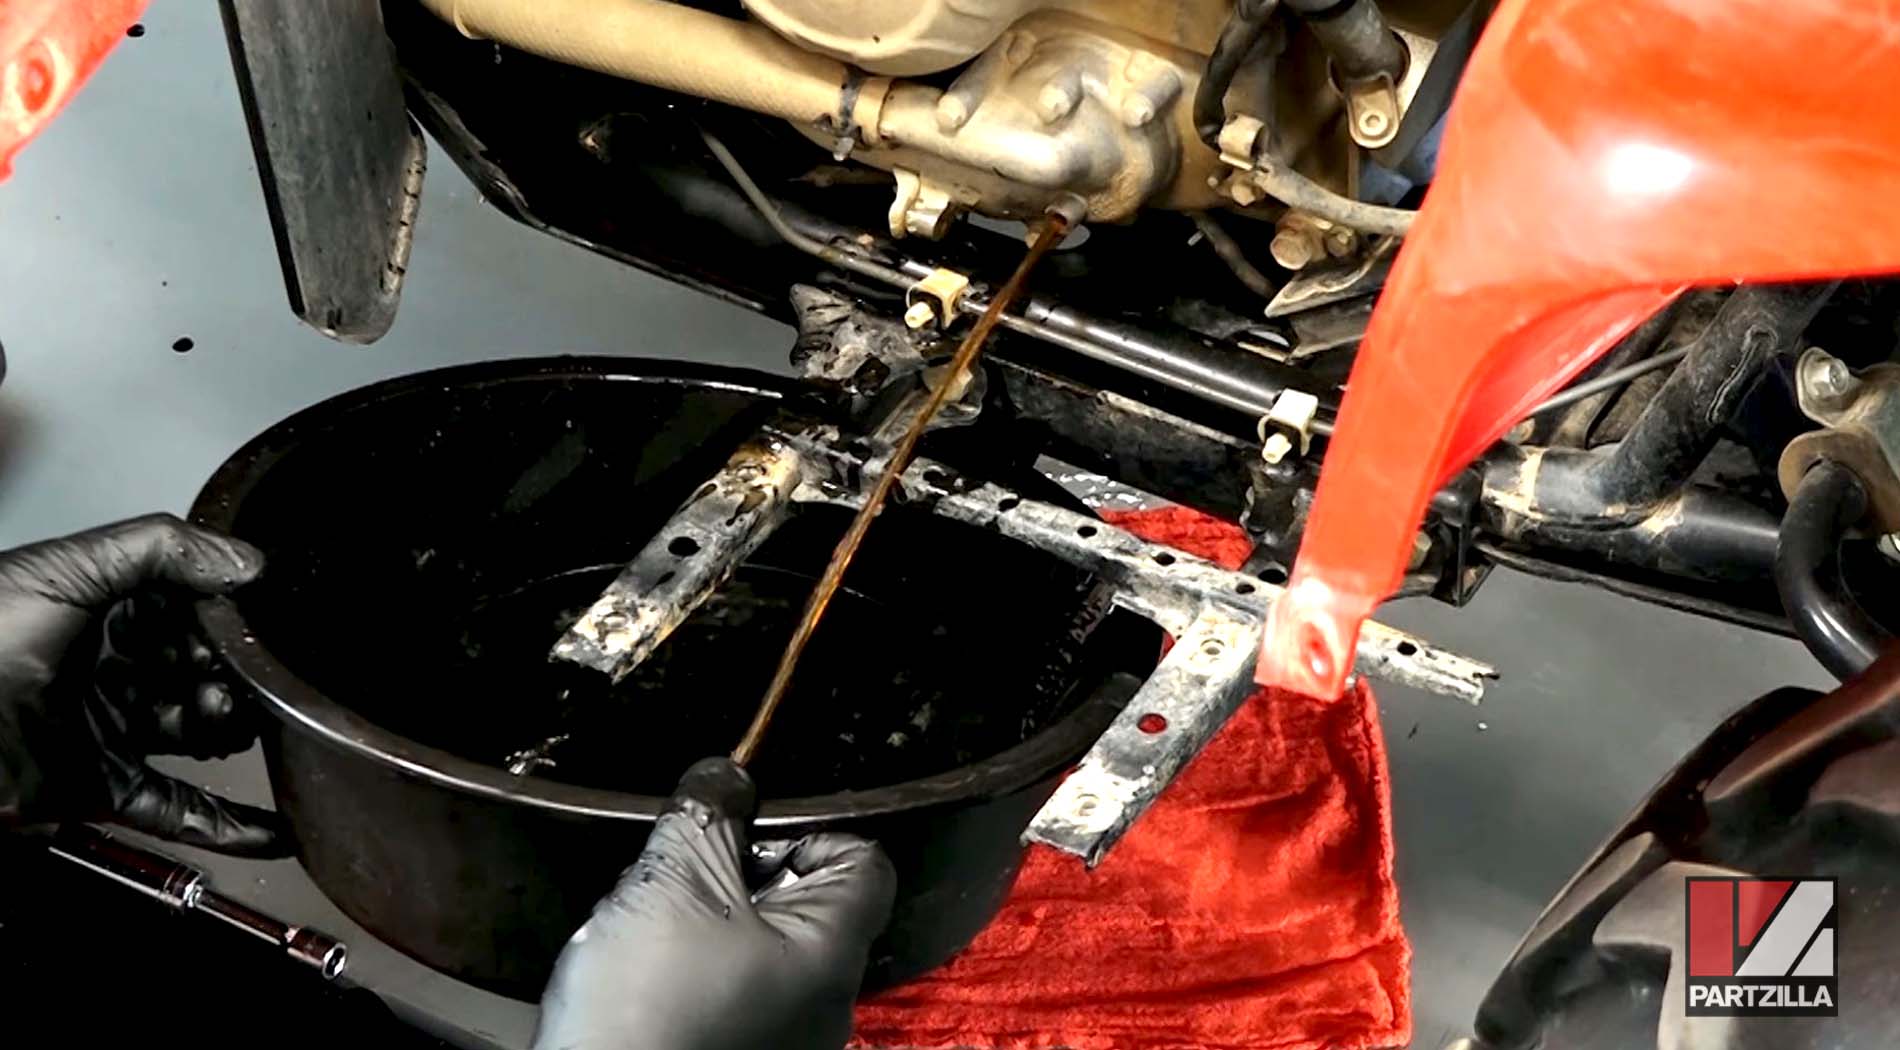
Step 2. Have a drain pan ready and remove the drain bolt at the base of the water pump housing, which is located just below the left crankcase cover. Drain the cooling system completely.

PRO TIP: The pressure of the coolant can make it squirt out at first, so make sure to position the drain pan accordingly.
Step 3. Inspect the old coolant for contaminants, as you'll need to flush the cooling system before adding in new coolant. If the old coolant is in relatively good condition, skip ahead to the last section (Replacing Yamaha Grizzly YFM700 Coolant) of this guide.
NOTE: Only use coolant flush that's compatible with aluminum radiators when servicing your Grizzly.
Yamaha Grizzly YFM700 Cooling System Flush
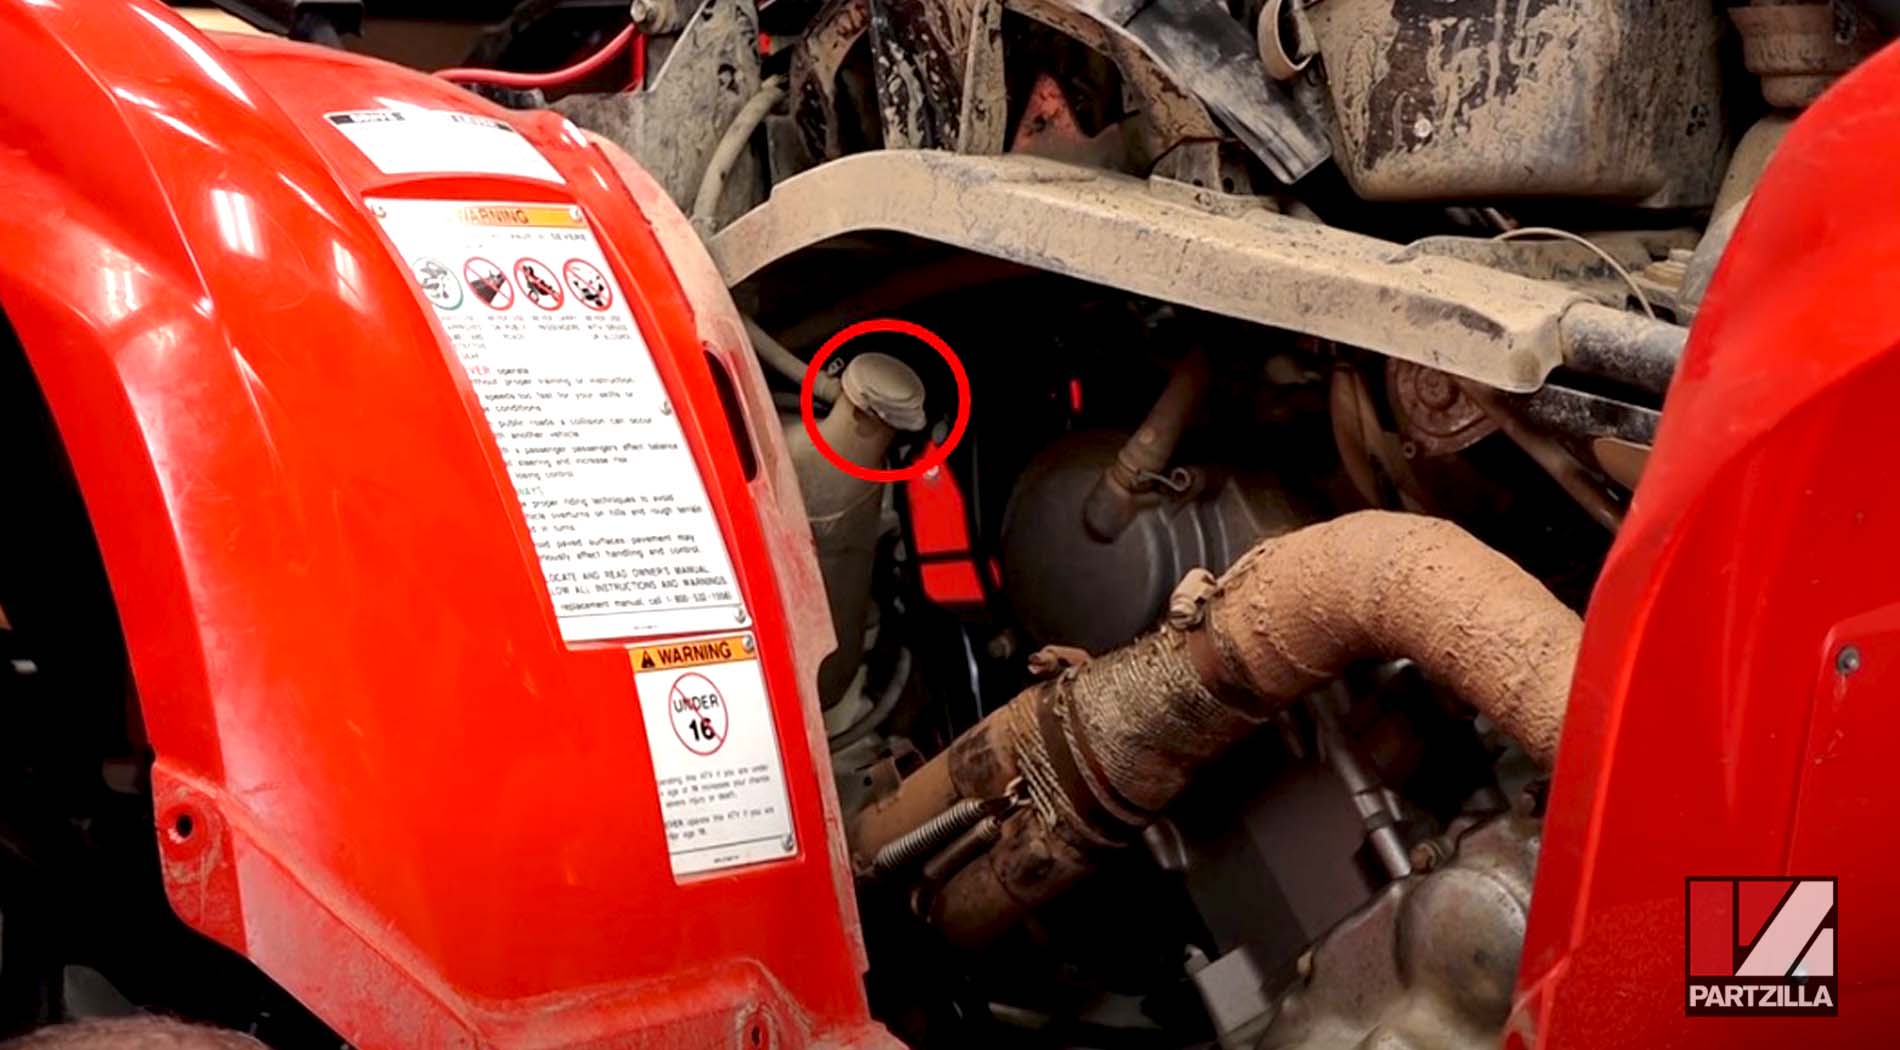
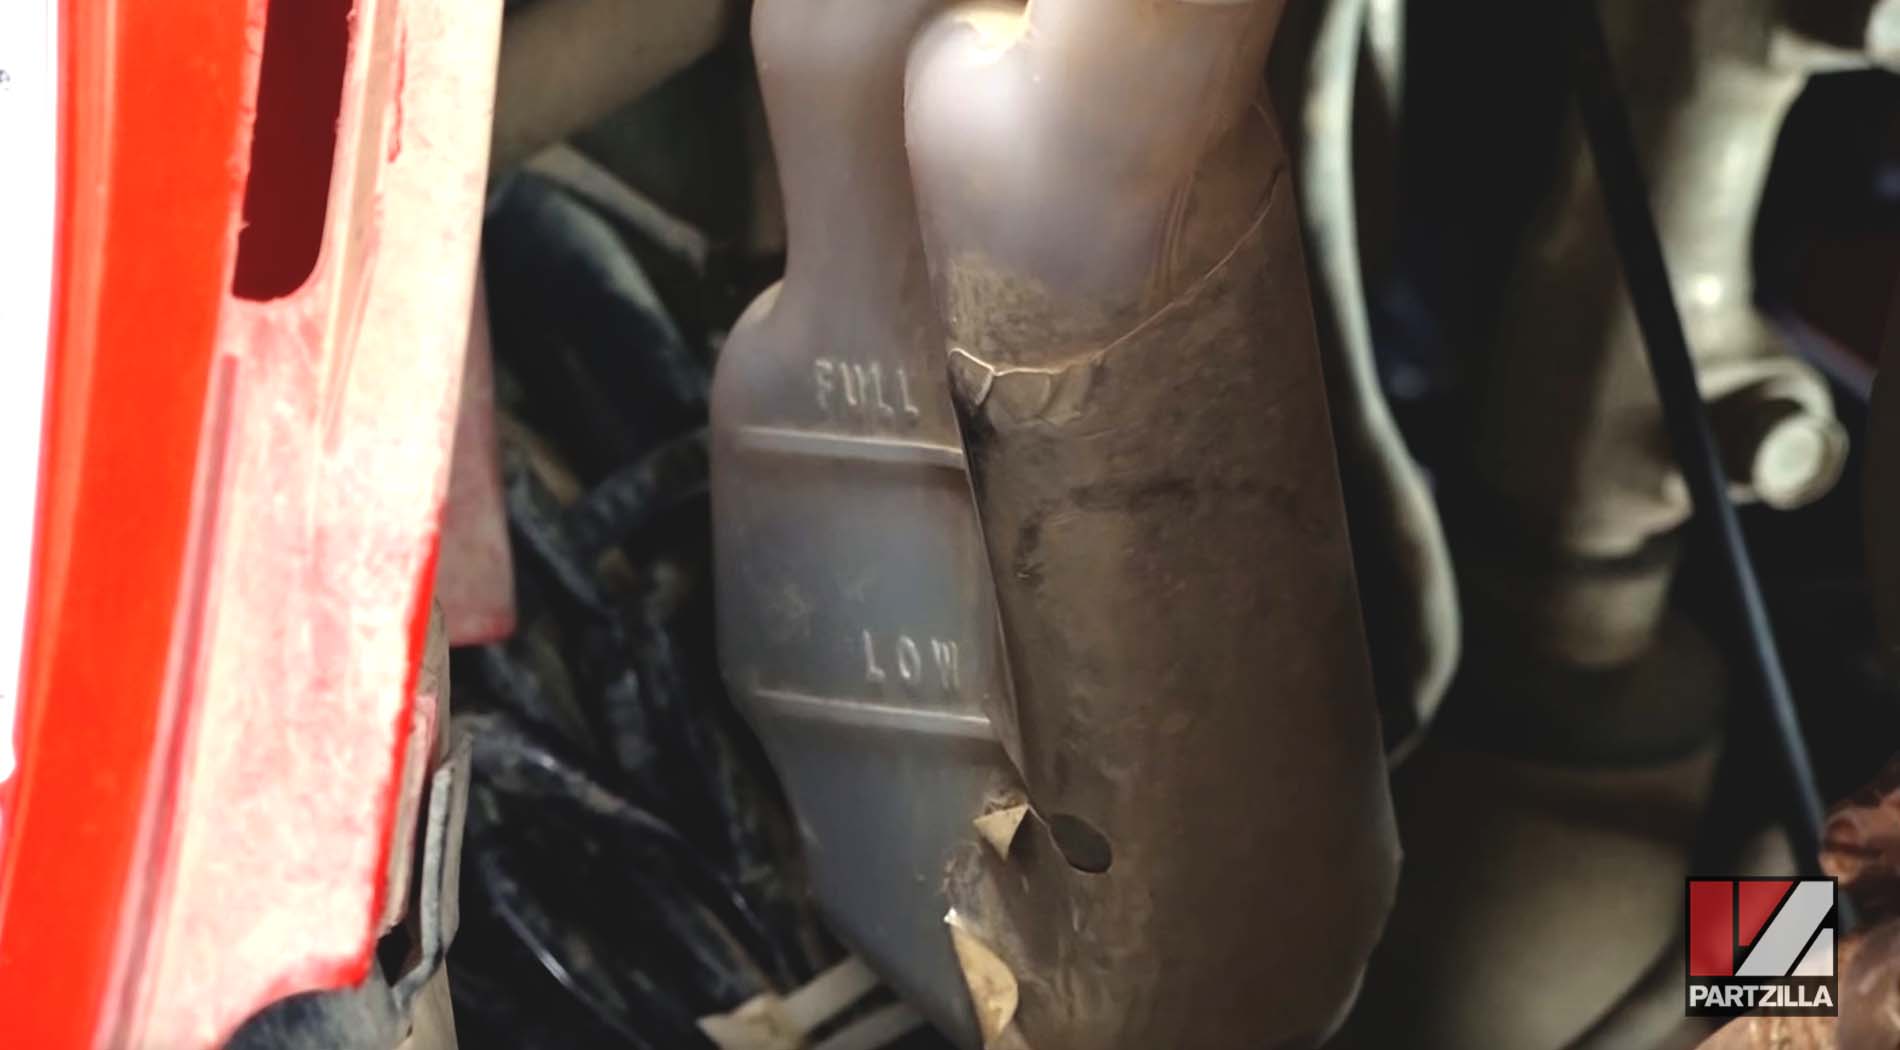
Step 1. Locate the coolant reservoir behind the left front fender, then disconnect the hose from the base of the coolant reservoir and drain out the reservoir. Reconnect the reservoir hose.
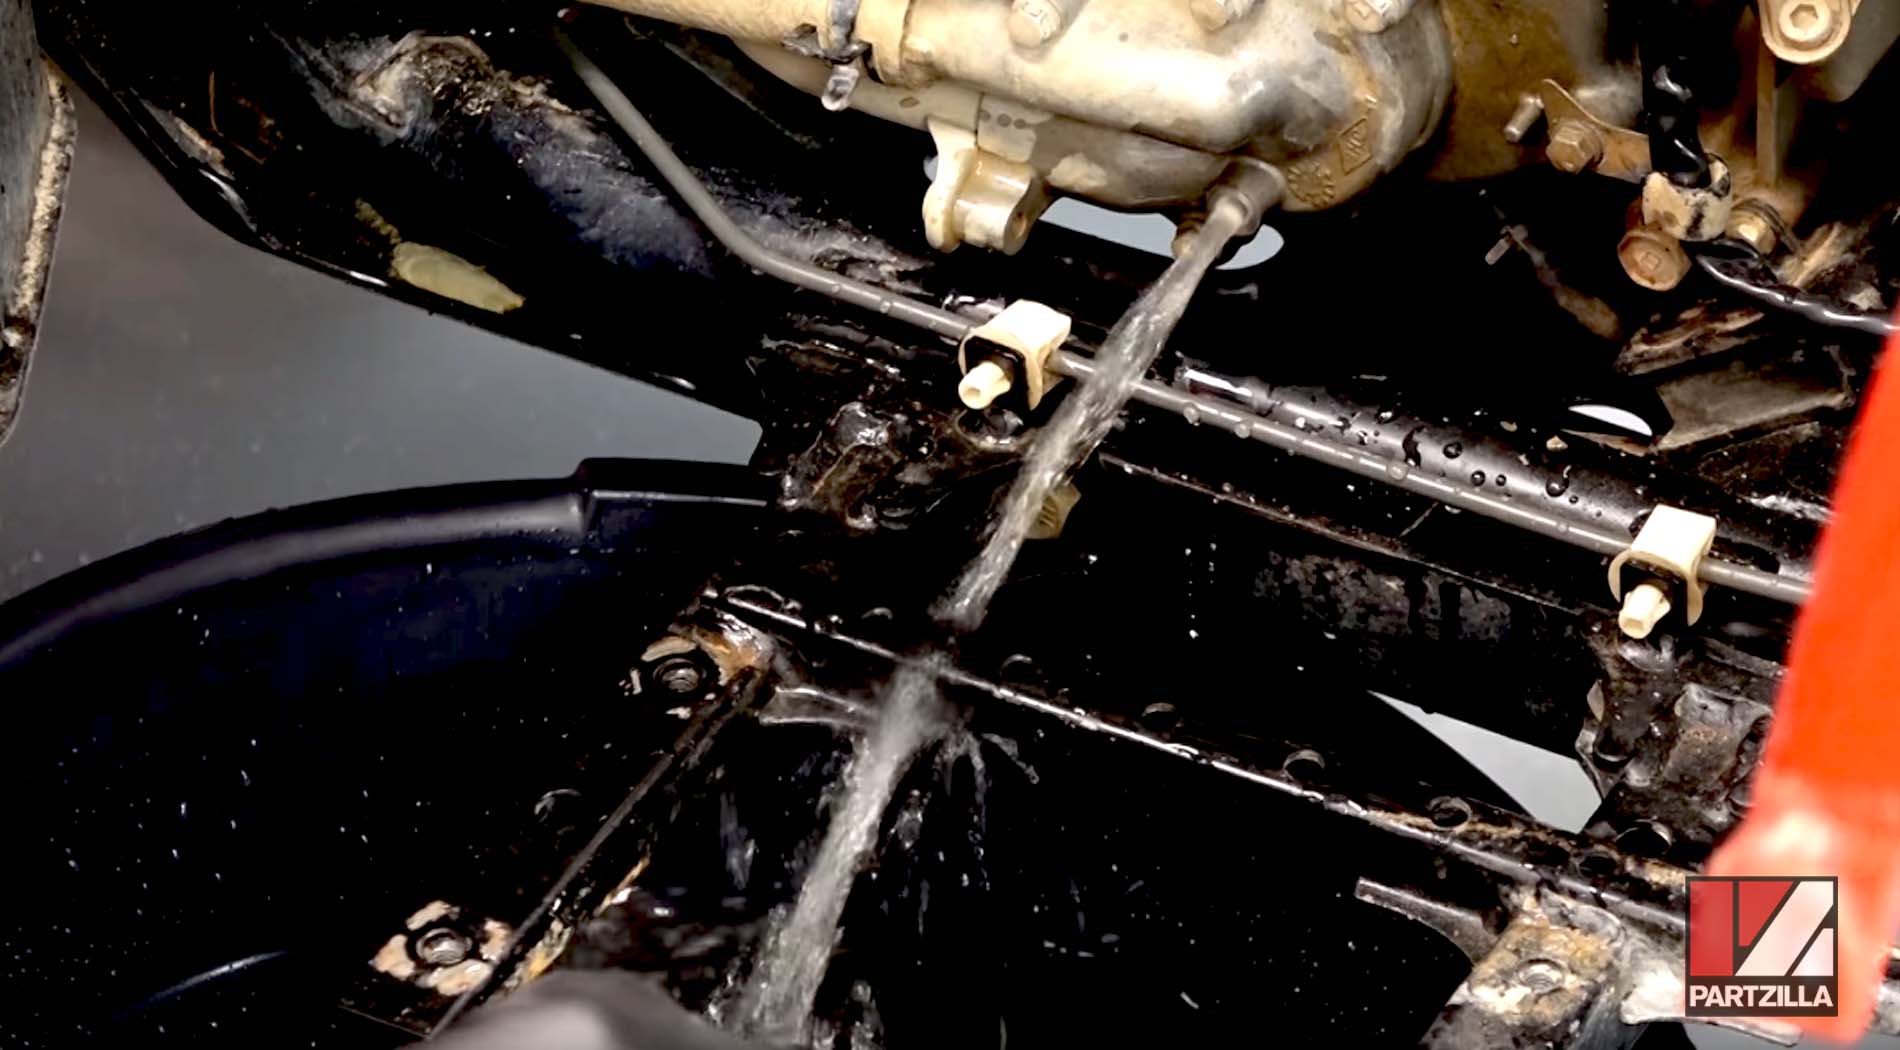
Step 2. Fill the cooling system with water, and then drain it out to remove as much debris and any remaining coolant as possible.
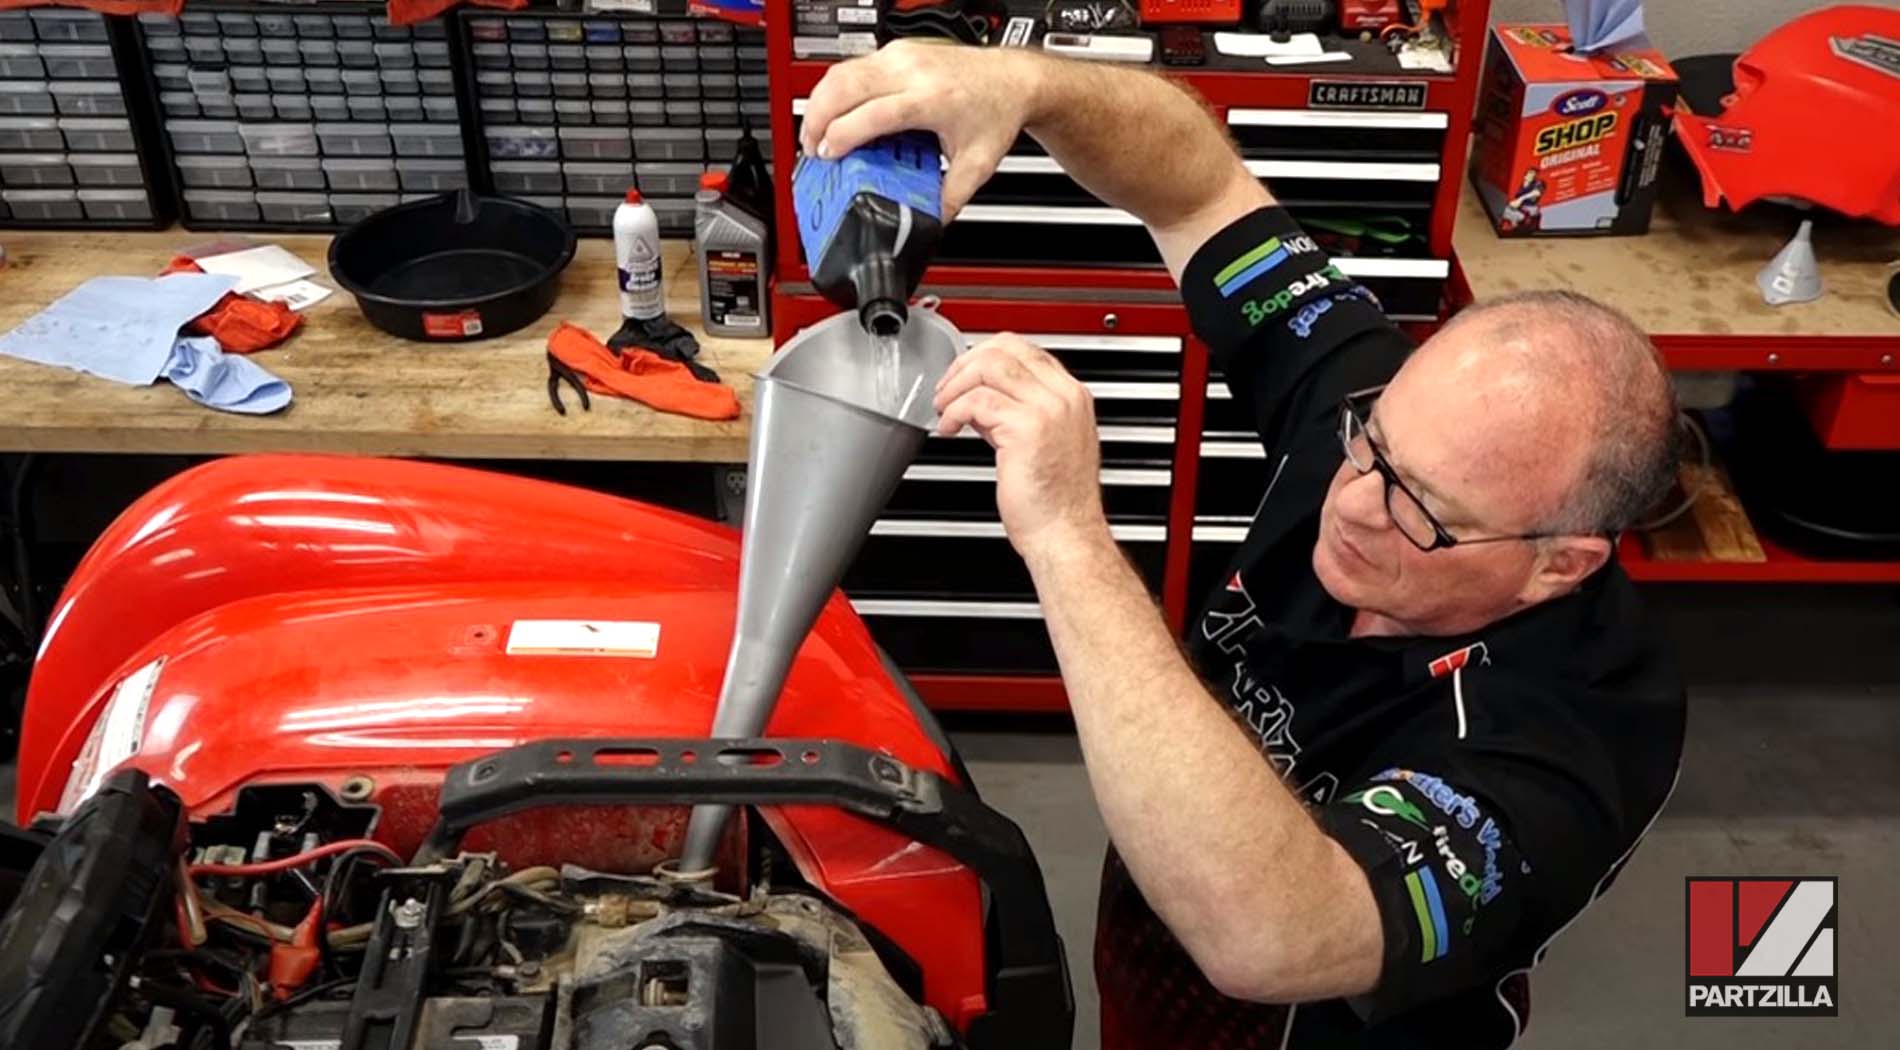
NOTE: Add fluid to the radiator and continue filling until the radiator is full. Don't fill the cooling system through the reservoir.
Step 3. Fill the cooling system with the instructed concentration of coolant flush and replace the radiator cap.
Step 4. Remove the right side cover and the ducting beneath it to access the thermostat.
Step 5. Loosen the thermostat bleed bolt to remove any air from the system, then tighten the bleed bolt.
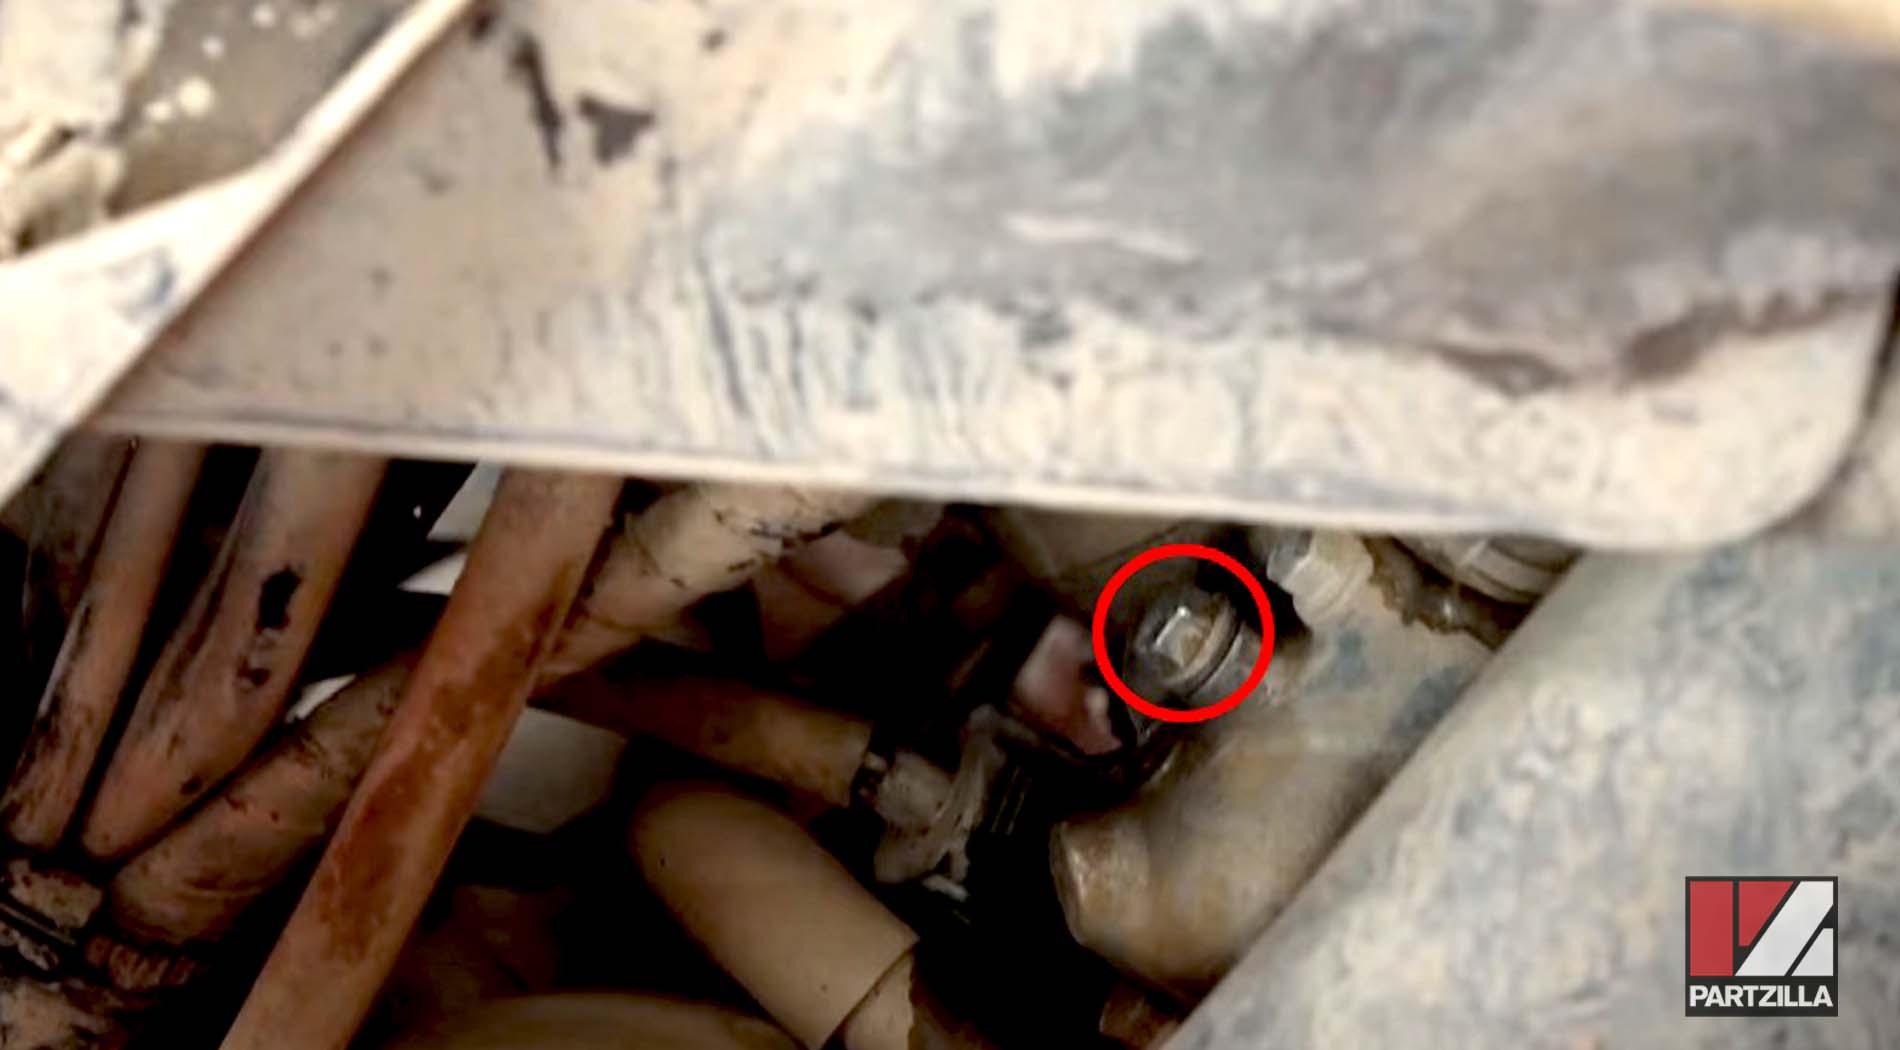
Step 6. Loosen the water pump bleed bolt to remove any air from the system, then tighten the bleed bolt. The bleed bolt is located above the drain bolt on the water pump housing.

Step 7. Run the engine until it reaches normal operating temperature, then shut it off and let it cool.
Step 8. Drain the cooling system to remove the coolant flush, then refill the cooling system with water, replace the radiator cap and run the motor up to operating temperature.
Step 9. Let the motor cool, and then drain the cooling system again to rinse away any last traces of coolant flush.
Step 10. Inspect the water that drains from the cooling system. The water should clear and free of contaminants. If the water is still heavily discolored or contains debris, flush the cooling system again.
How to Change Yamaha Grizzly YFM700 Coolant
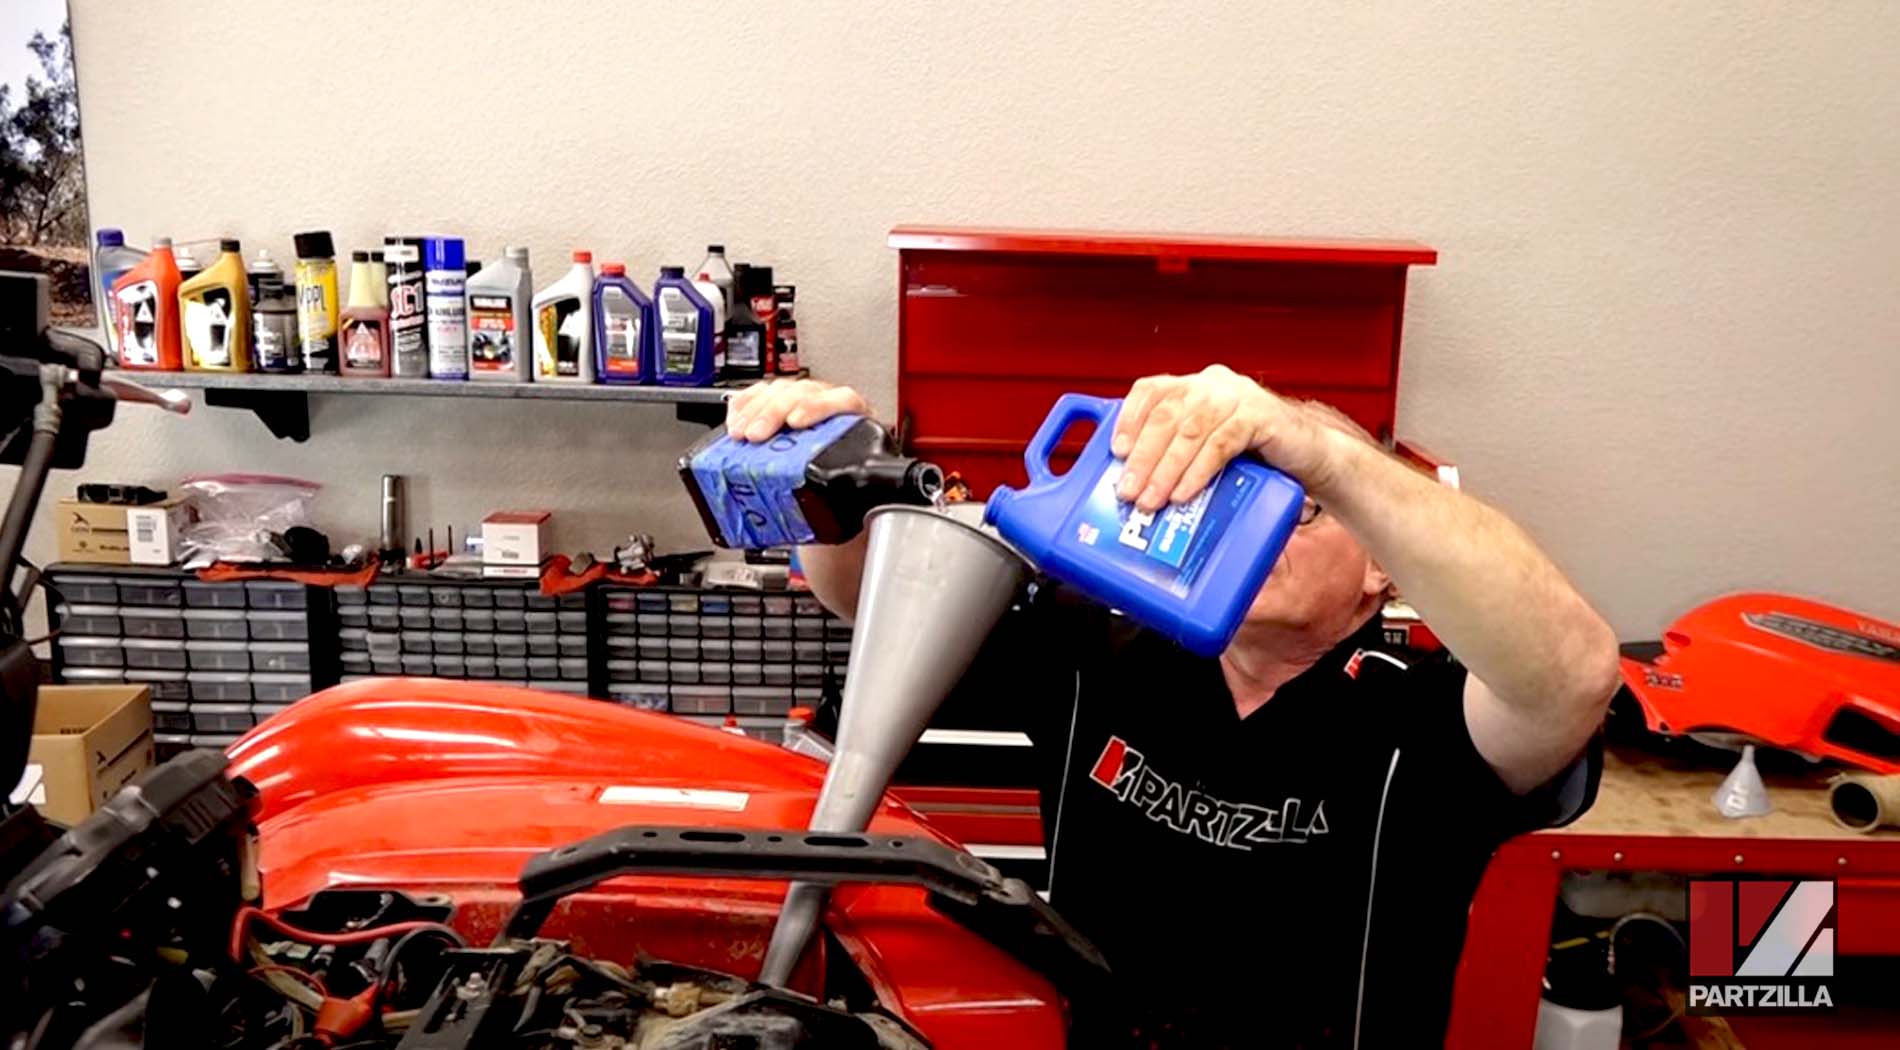
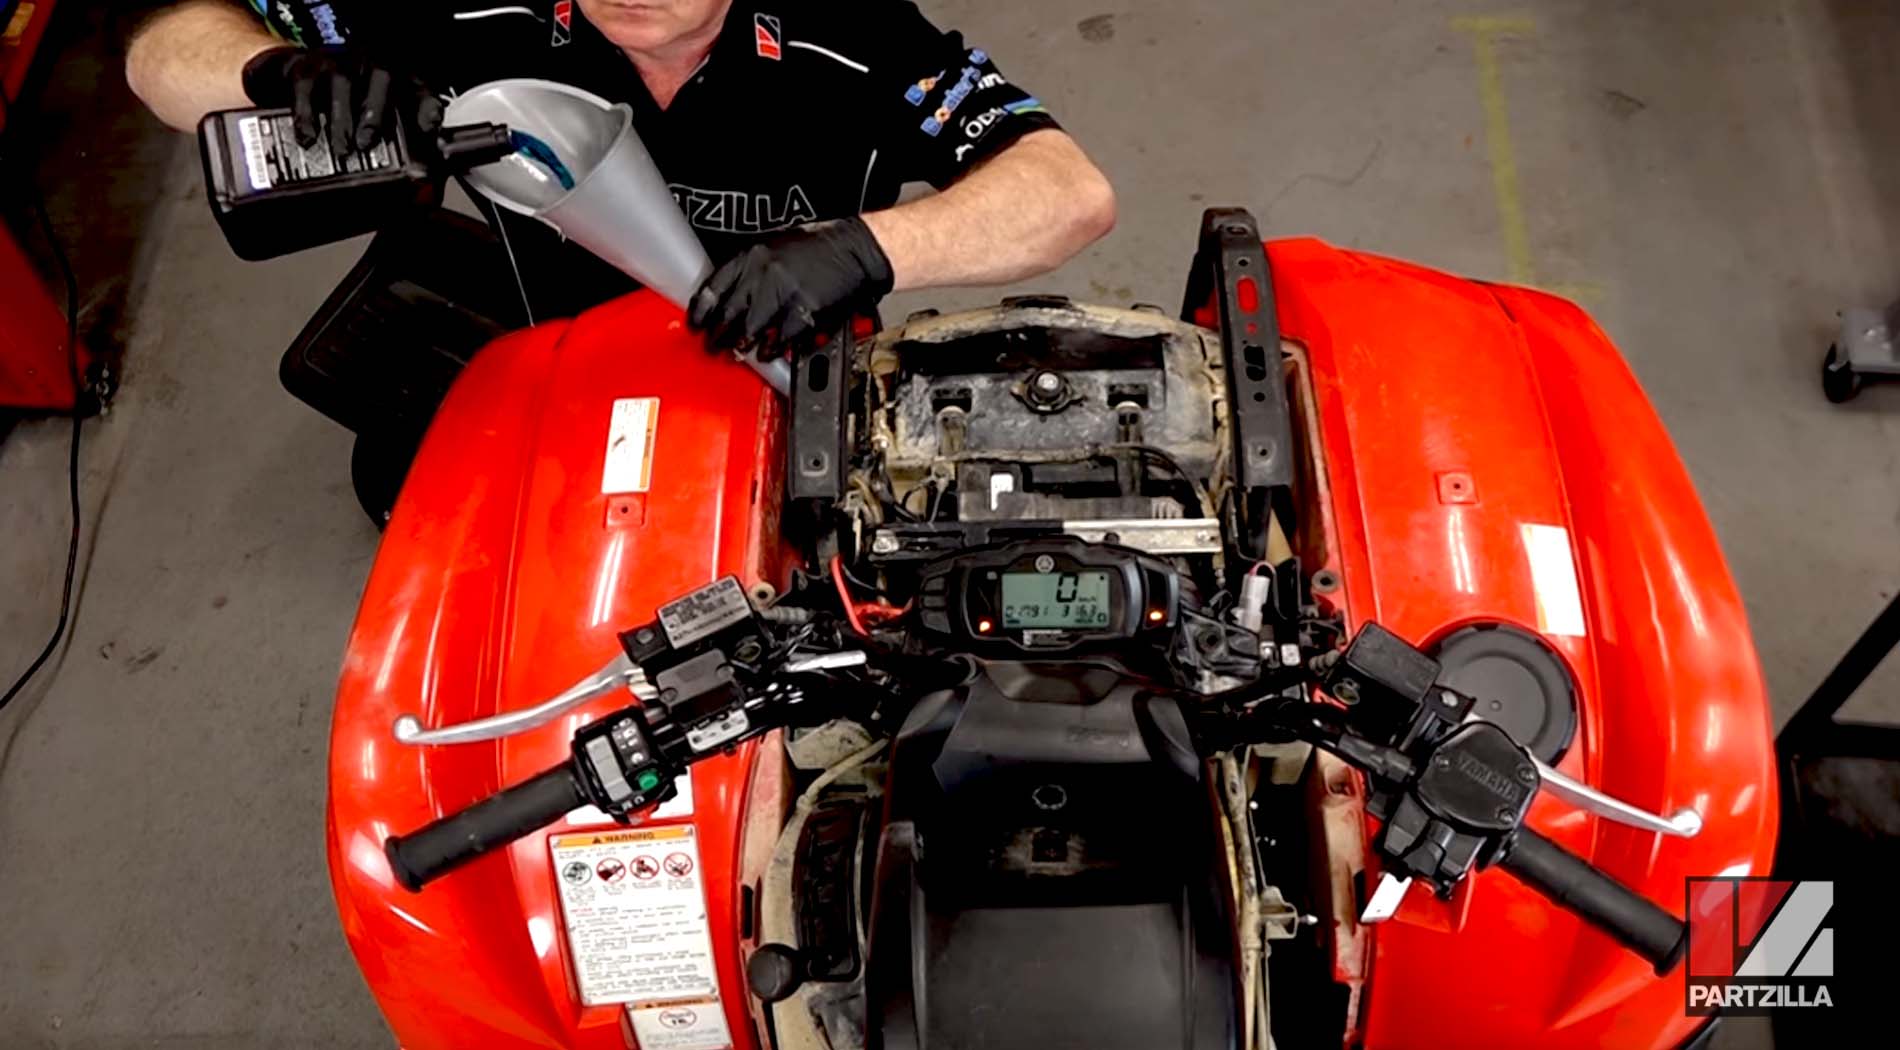
Step 1. Fill the cooling system with Yamacool engine coolant.
Step 2. Loosen the water pump bleed bolt to remove any air from the system.

Step 3. Loosen the thermostat bleed bolt to remove any air from the system.

Step 4. Run the motor for a few seconds, then top off the cooling system with engine coolant and replace the radiator cap.
Step 5. Run the motor until it reaches normal operating temperature, then shut it off and let it cool.
Step 6. Top off the cooling system with engine coolant and replace the radiator cap.
Step 7. Refill the reservoir with engine coolant to somewhere between the Low and Full markings.
Step 8. Reinstall the ducting, the covers and the footwell and you're done.
Ready to change out the oil in your Yamaha ATV next? Watch the video below to learn how to change Yamaha Grizzly 700 oil.