Yamaha ATV Sprocket Change & Linkless Chain Installation
Performing a Yamaha YFZ450 sprocket replacement and new linkless chain installation takes time and patience, but it's not the most difficult do-it-yourself ATV repair.
If the front and rear sprockets on your Yamaha ATV are wearing out, the chain should be replaced along with the sprockets. Watch the video above and follow the steps below to change a Yamaha YFZ450R front sprocket and rear sprocket, and perform an ATV linkless chain installation:
Tools and Parts - Yamaha YFZ450 Chain and Sprockets Replacement
- 10mm, 12mm, 14mm and 17mm deep-well sockets
- 10mm, 14mm, 15mm, 22mm and 30mm shallow-well sockets
- 12mm, 17mm wrenches
- 6mm and 8mm Allens
- 8mm Allen with only an arm
- 3/8th ratchet and extensions
- Flat-blade screwdriver
- Alignment tool
- Soft-blow hammer
- Torque wrench
- Race grease
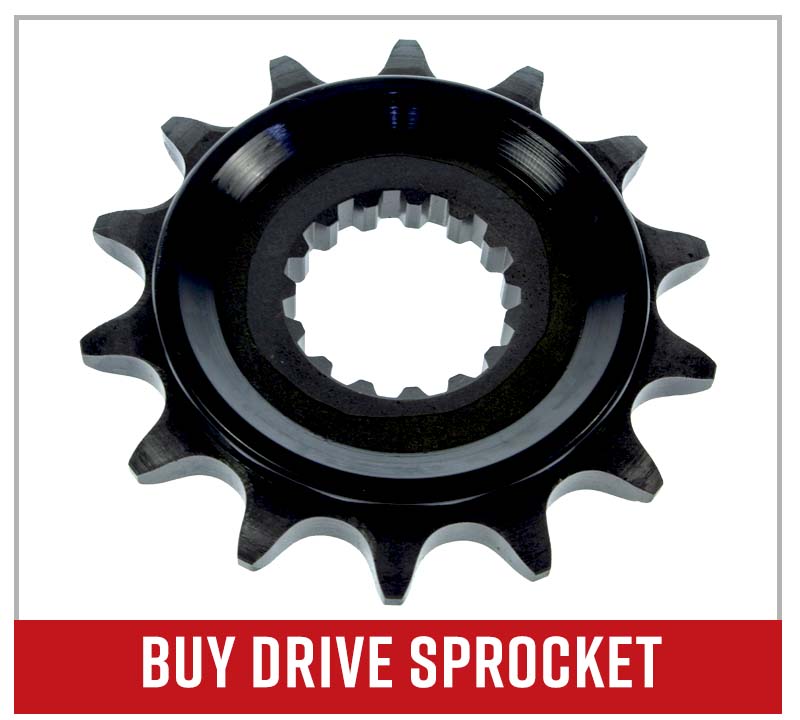
- Drive sprocket
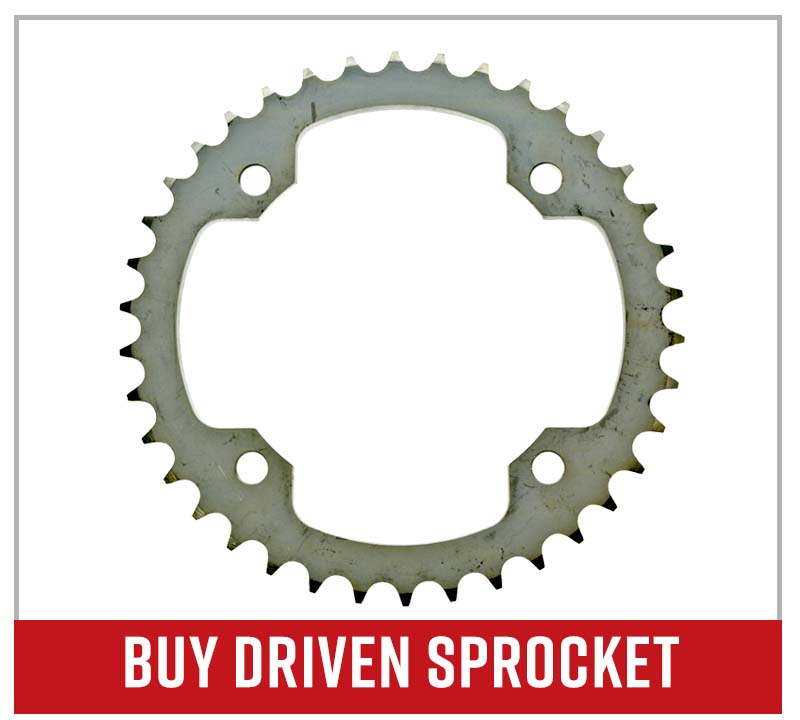
- Driven sprocket
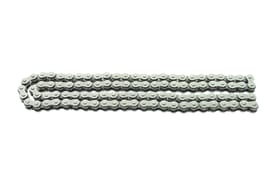
- Drive chain
While not the easiest task to perform on your Yamaha ATV, we wouldn't call this job "sprocket science" either. Buy the parts to complete this sprocket and chain replacement job and use the guide below to get it done.
How to Replace the Sprockets and Install a Chain on a YFZ450R
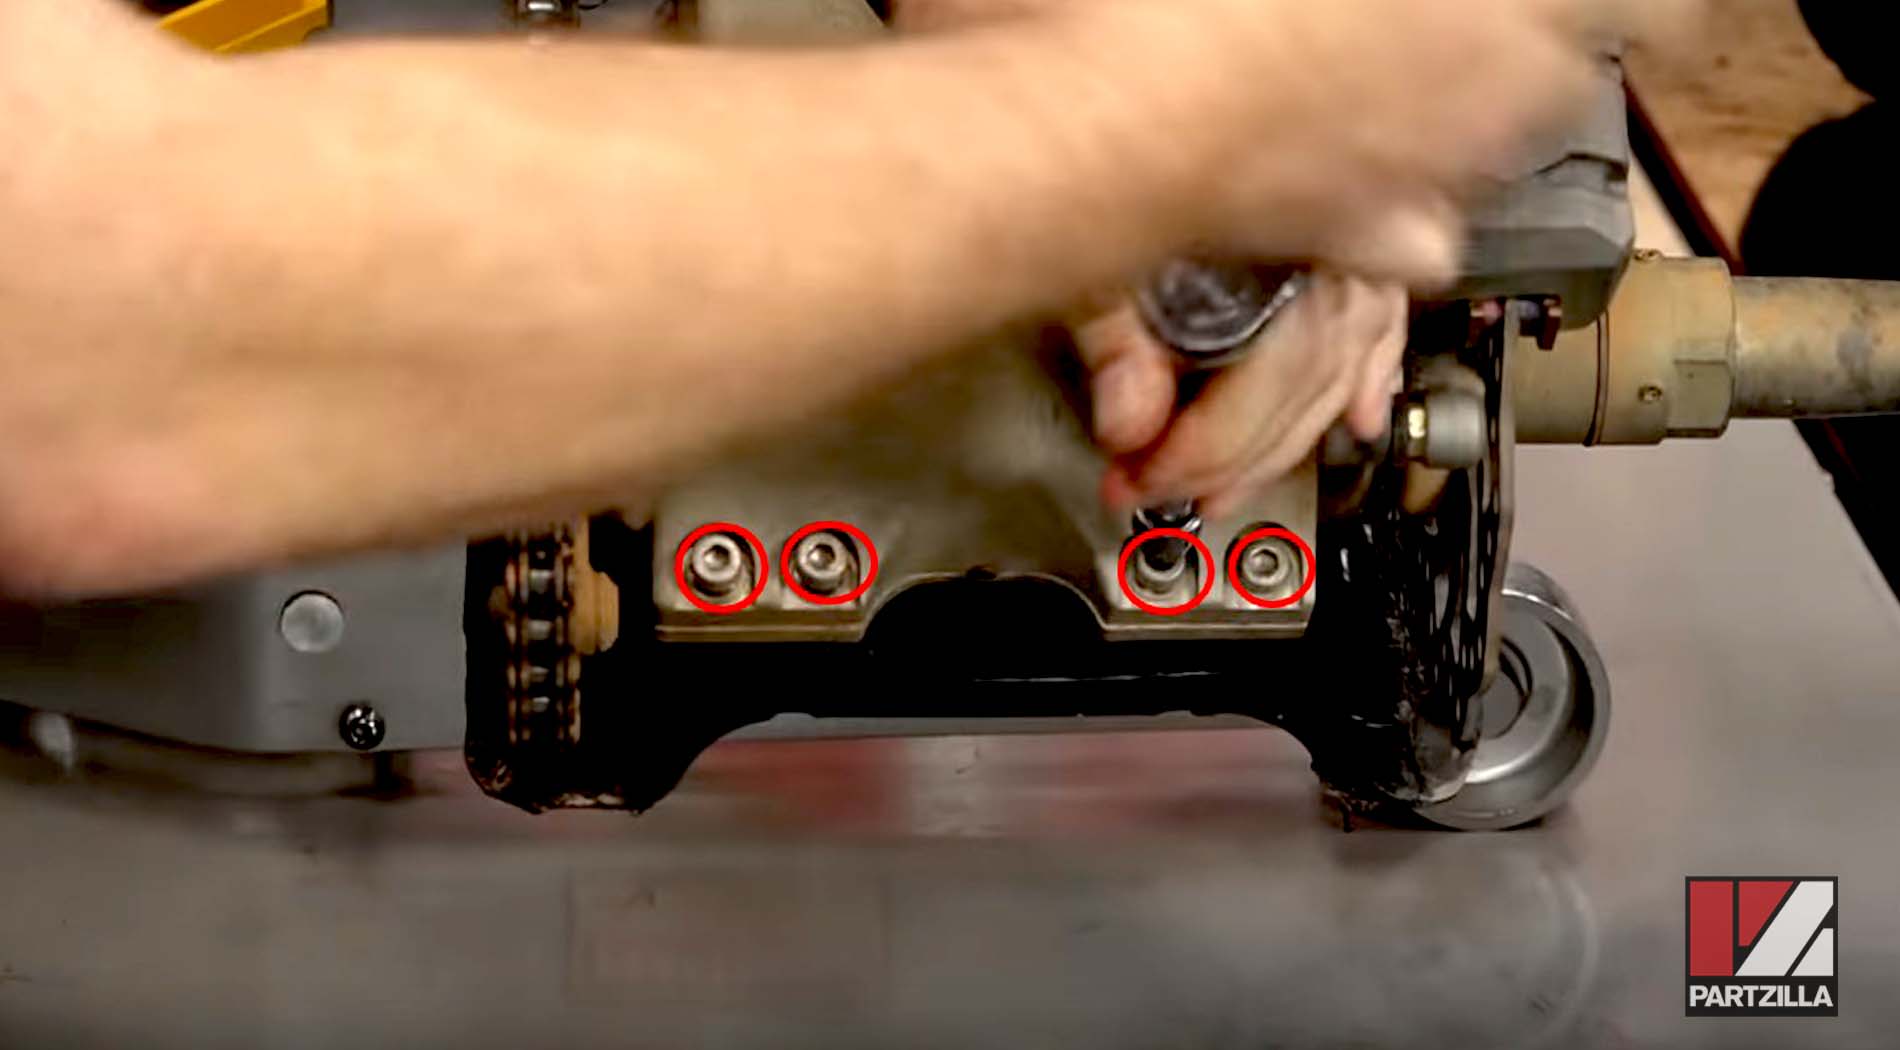
Step 1. Lift up the machine, and loosen up the four pinch bolts on the rear hub to be able to move it forward and to make room for the new chain.
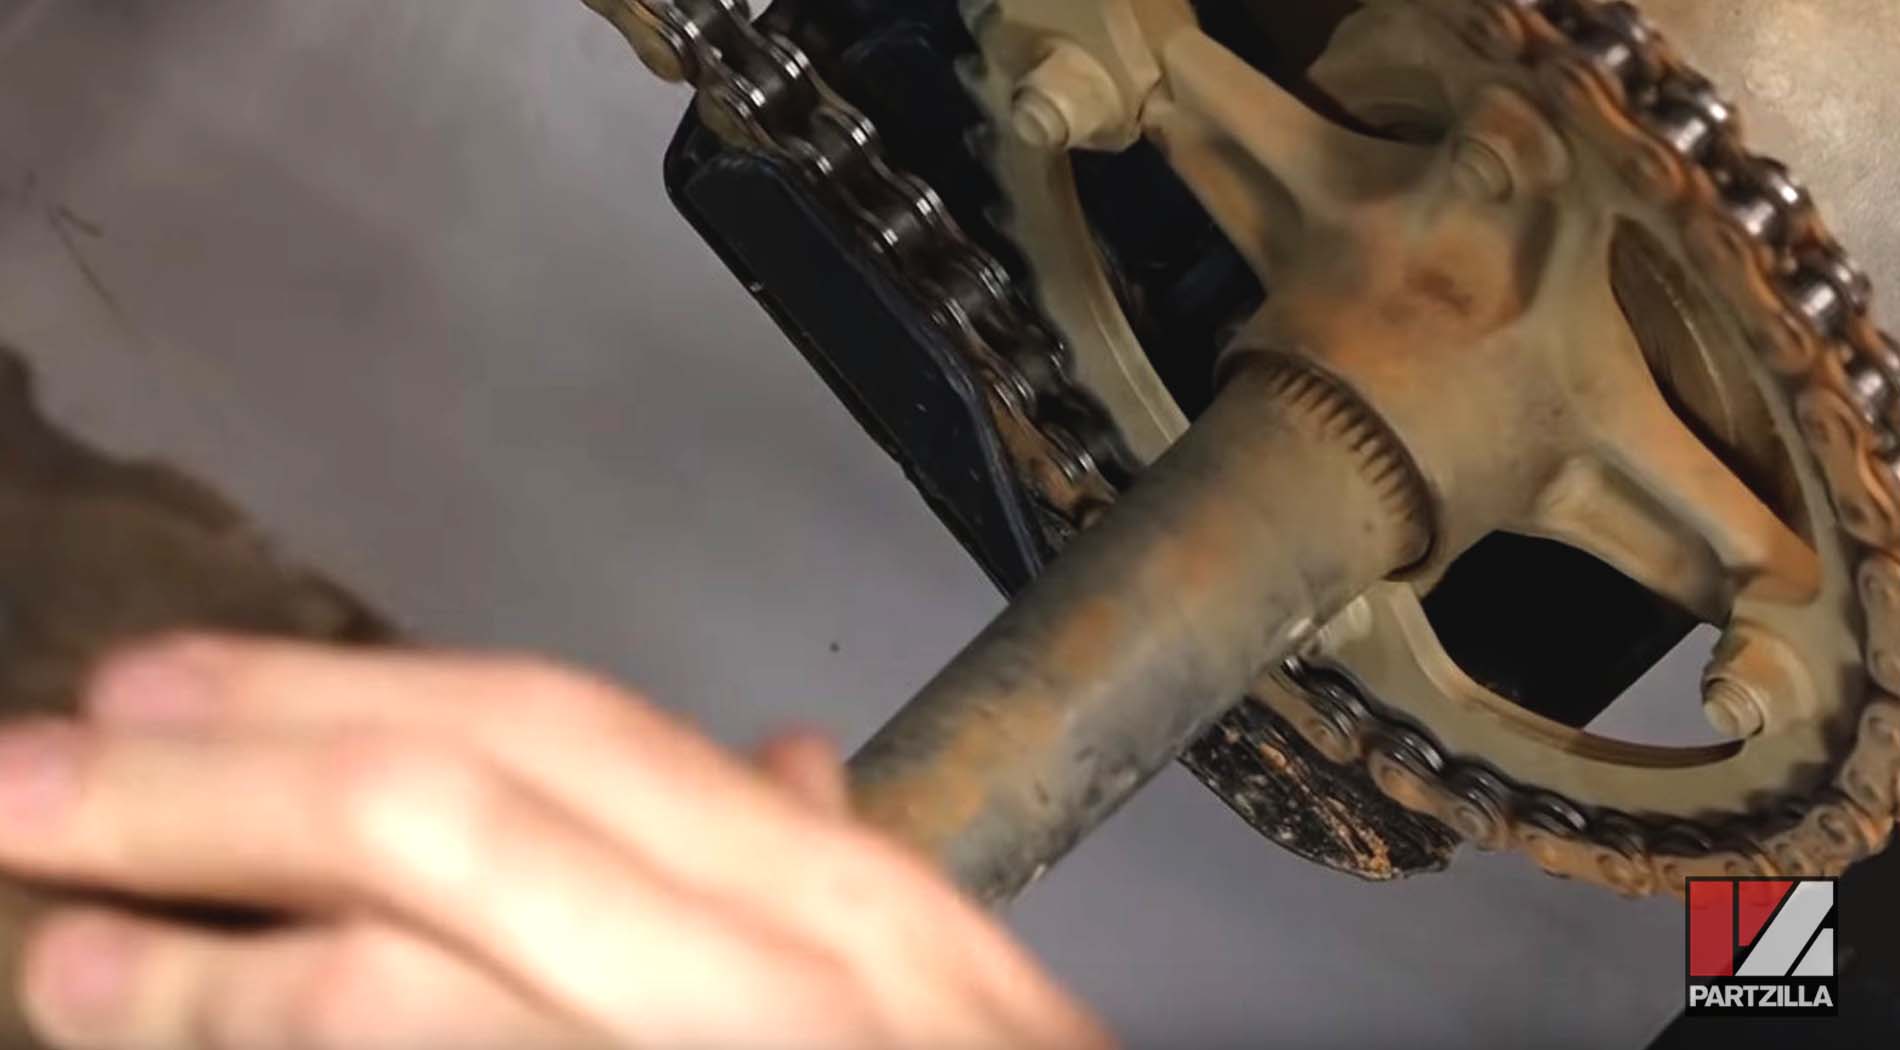
Step 2. Put a bolt inside the hub, and use the tires to turn the hub inside of the swing arm housing. Rotate the tires forward to force the hub to spin and loosen up the chain.
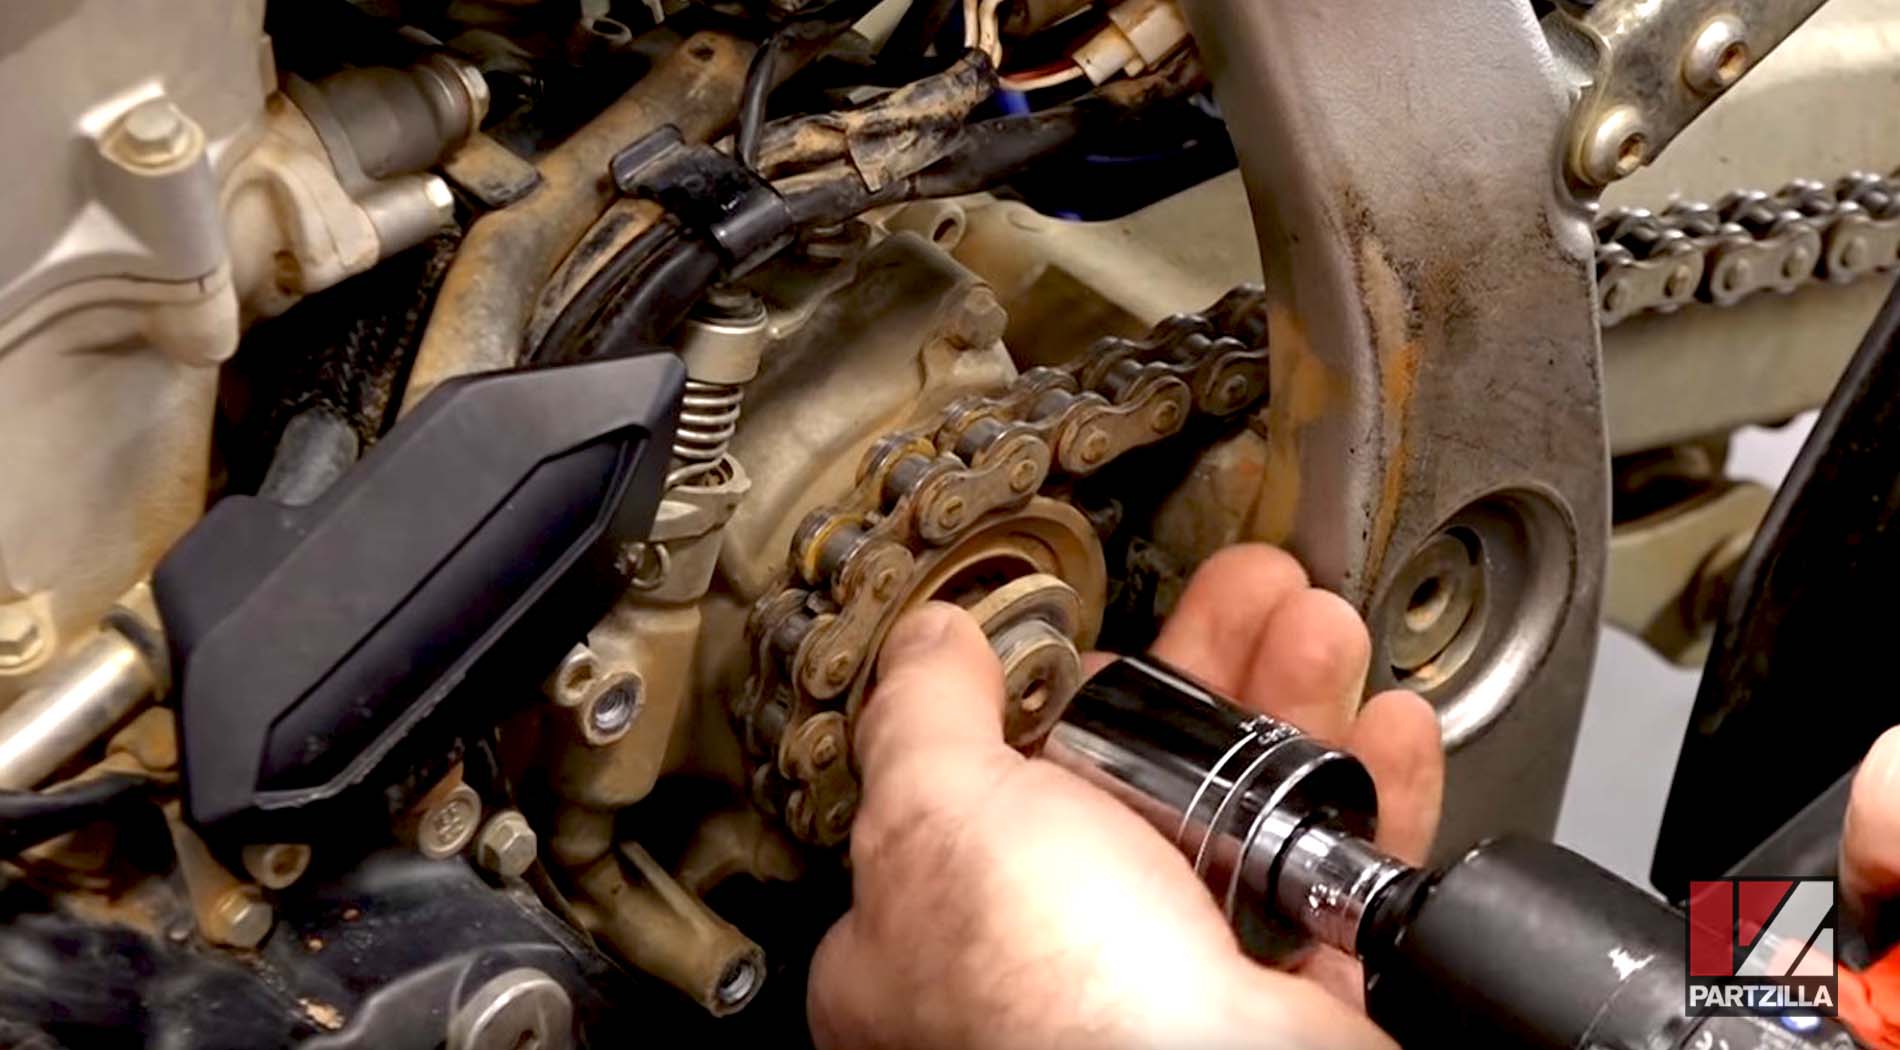
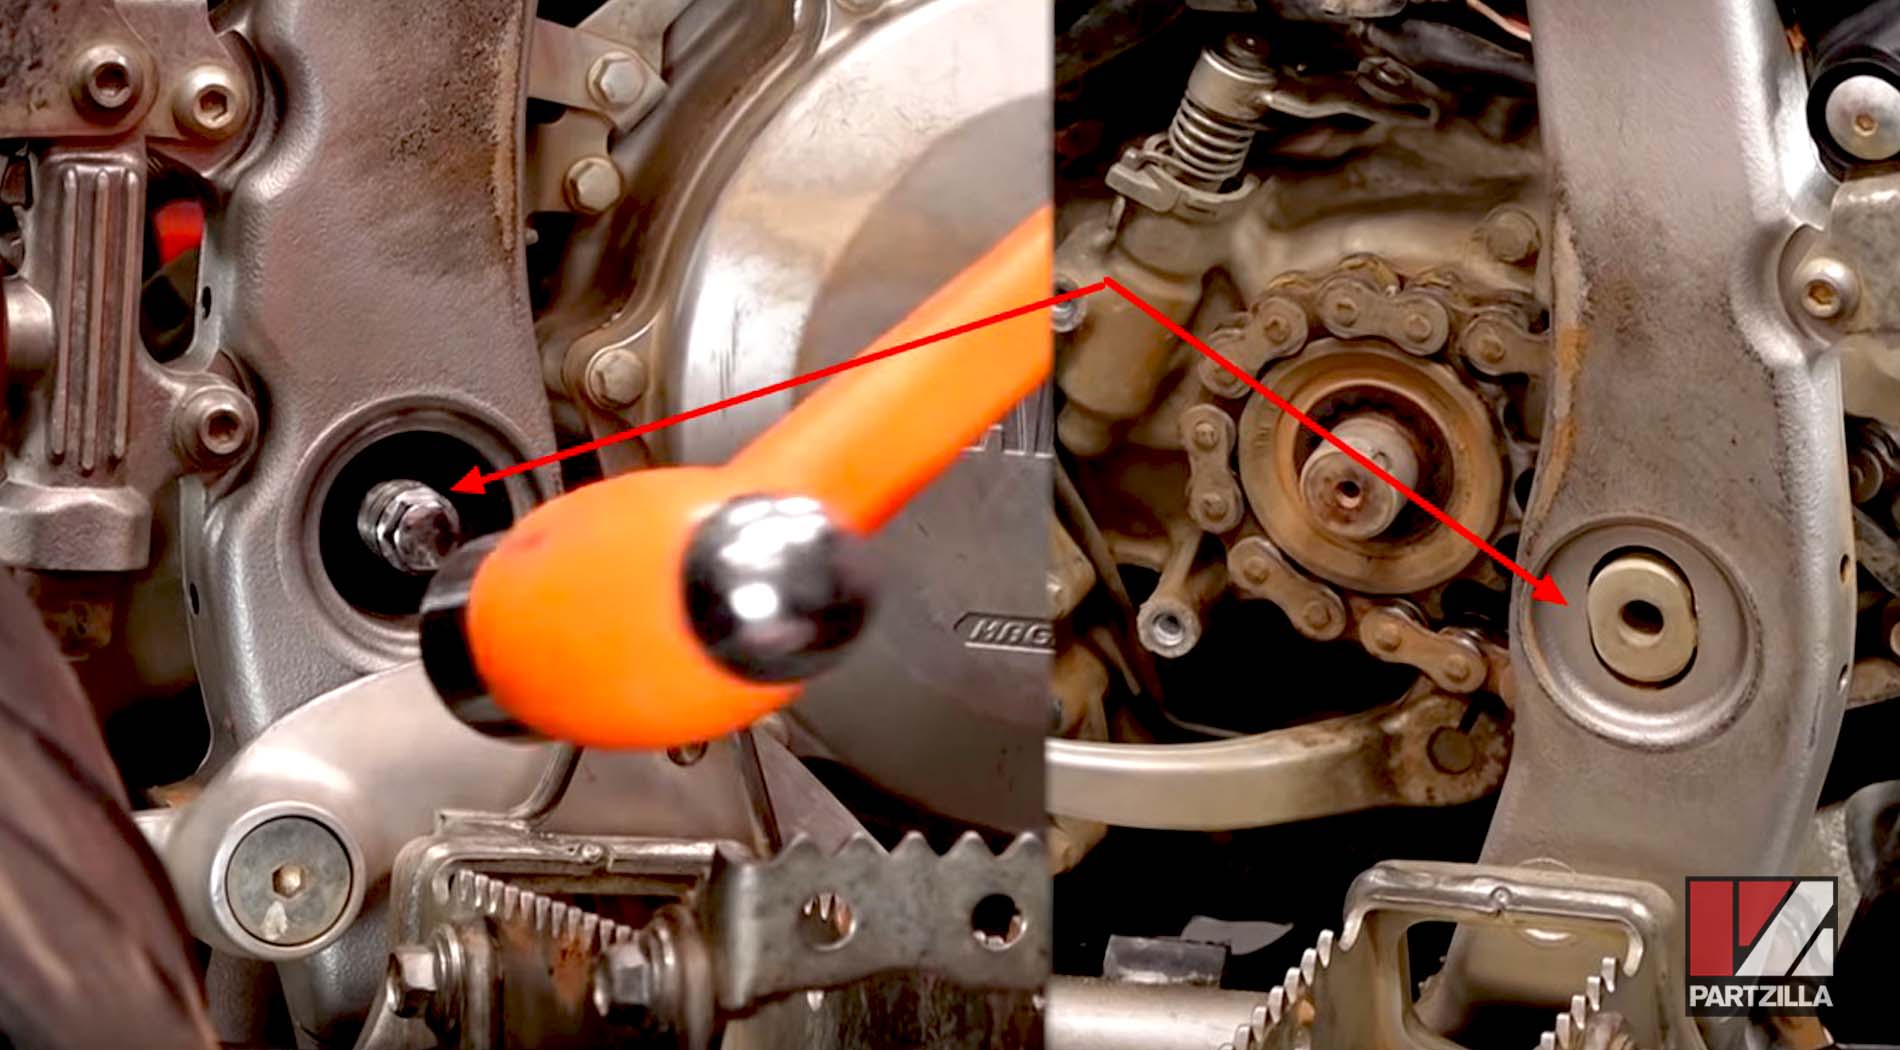
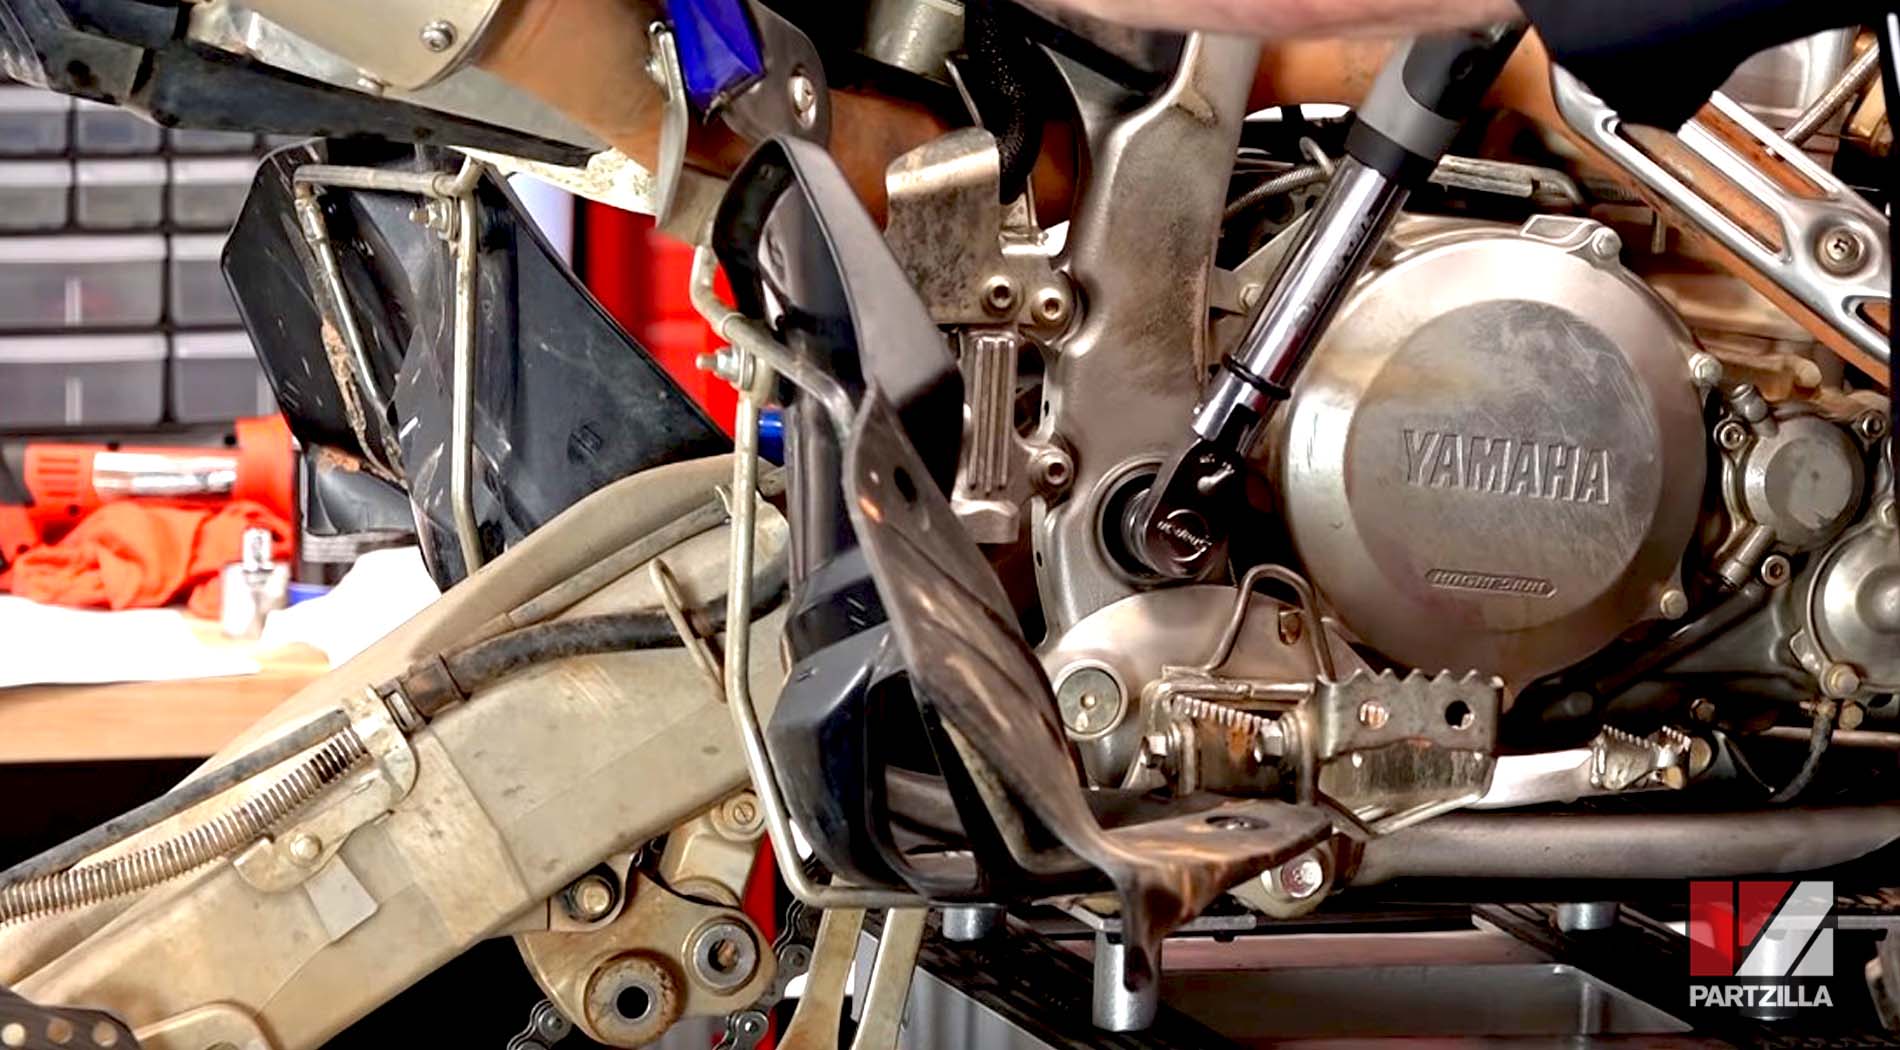
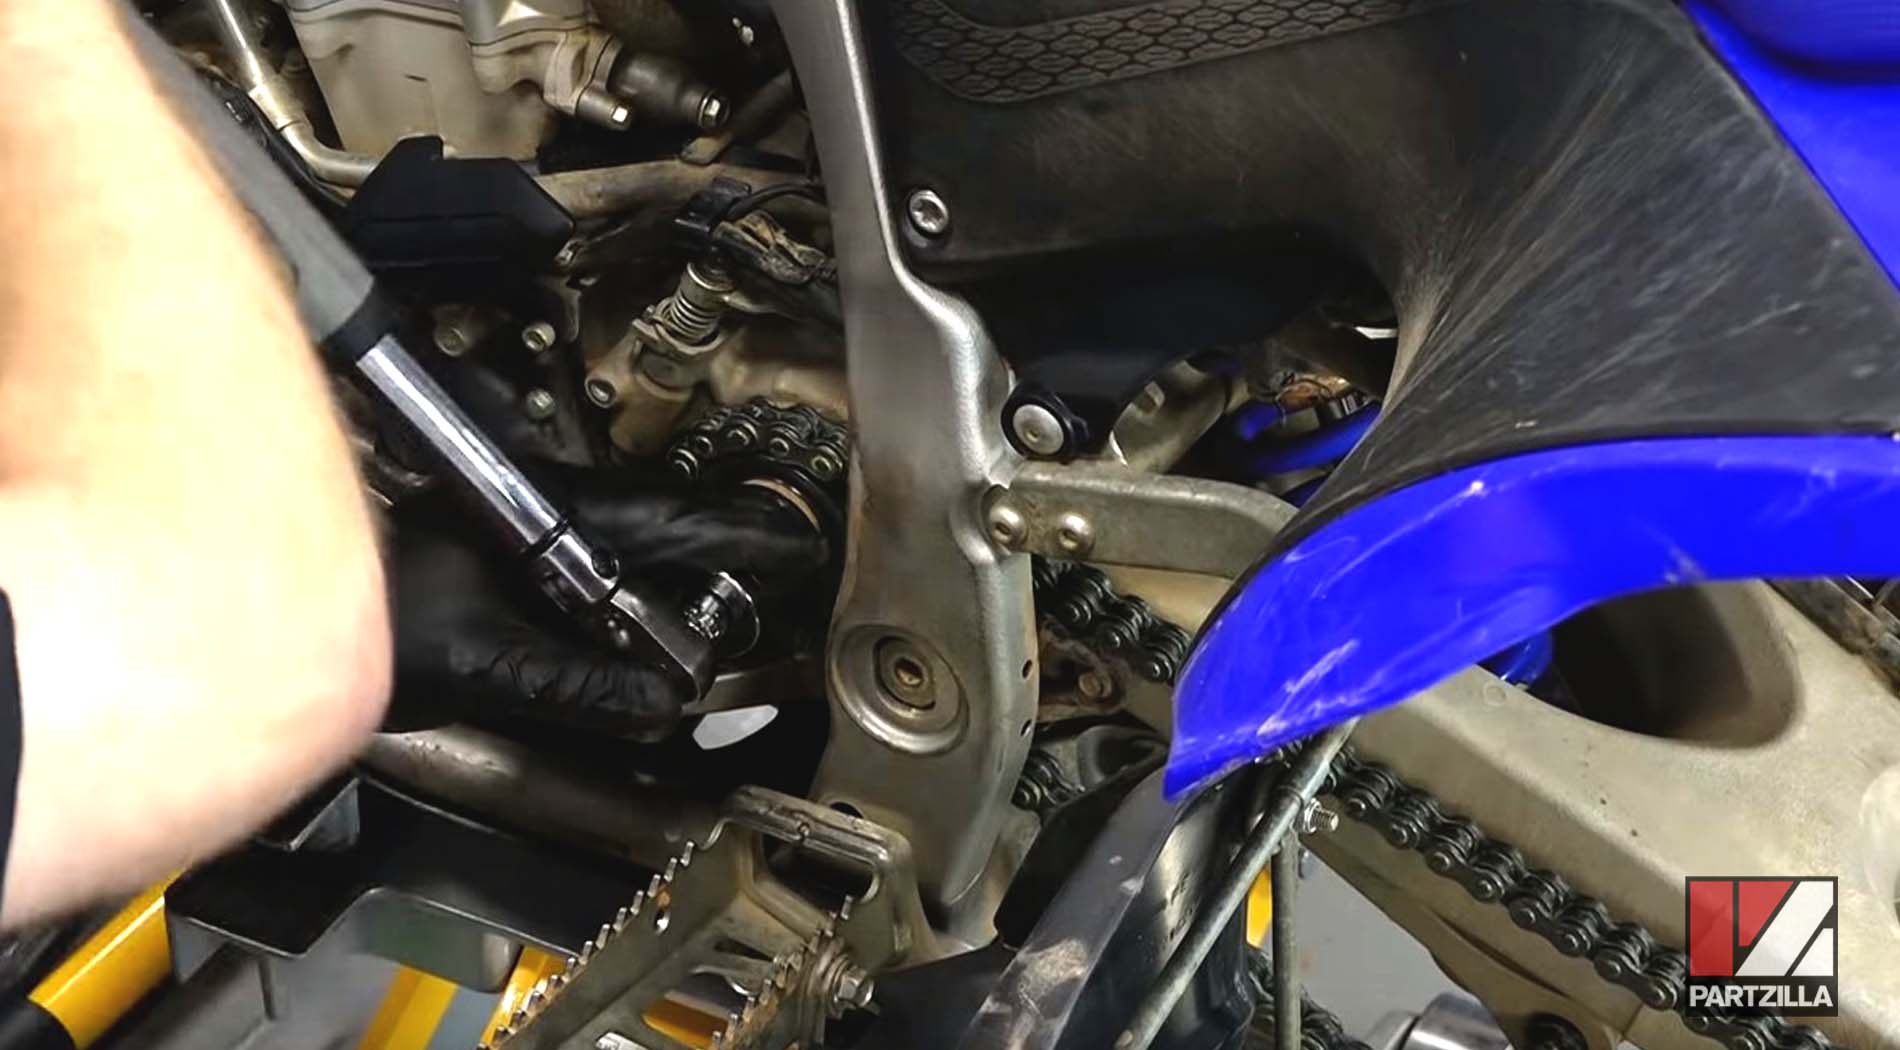
Step 3. Remove the cover over the front drive sprocket to create space for breaking the chain loose.
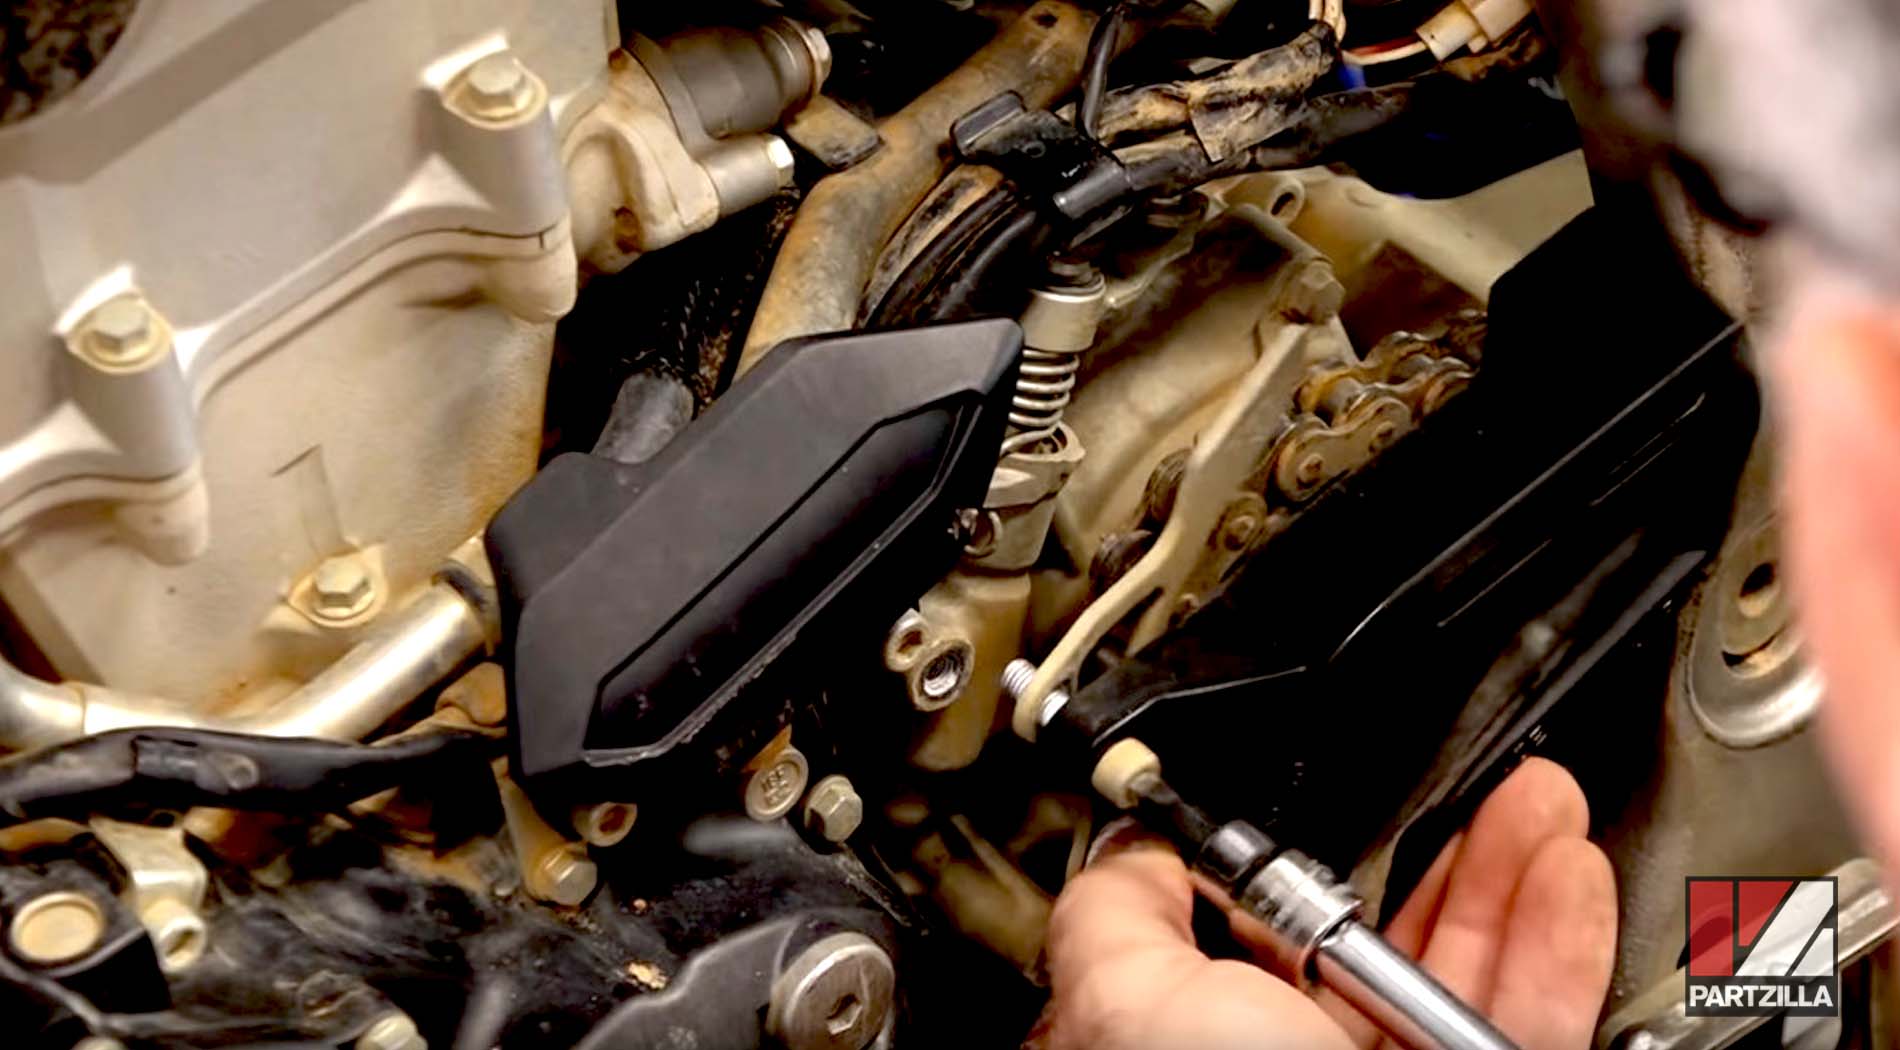
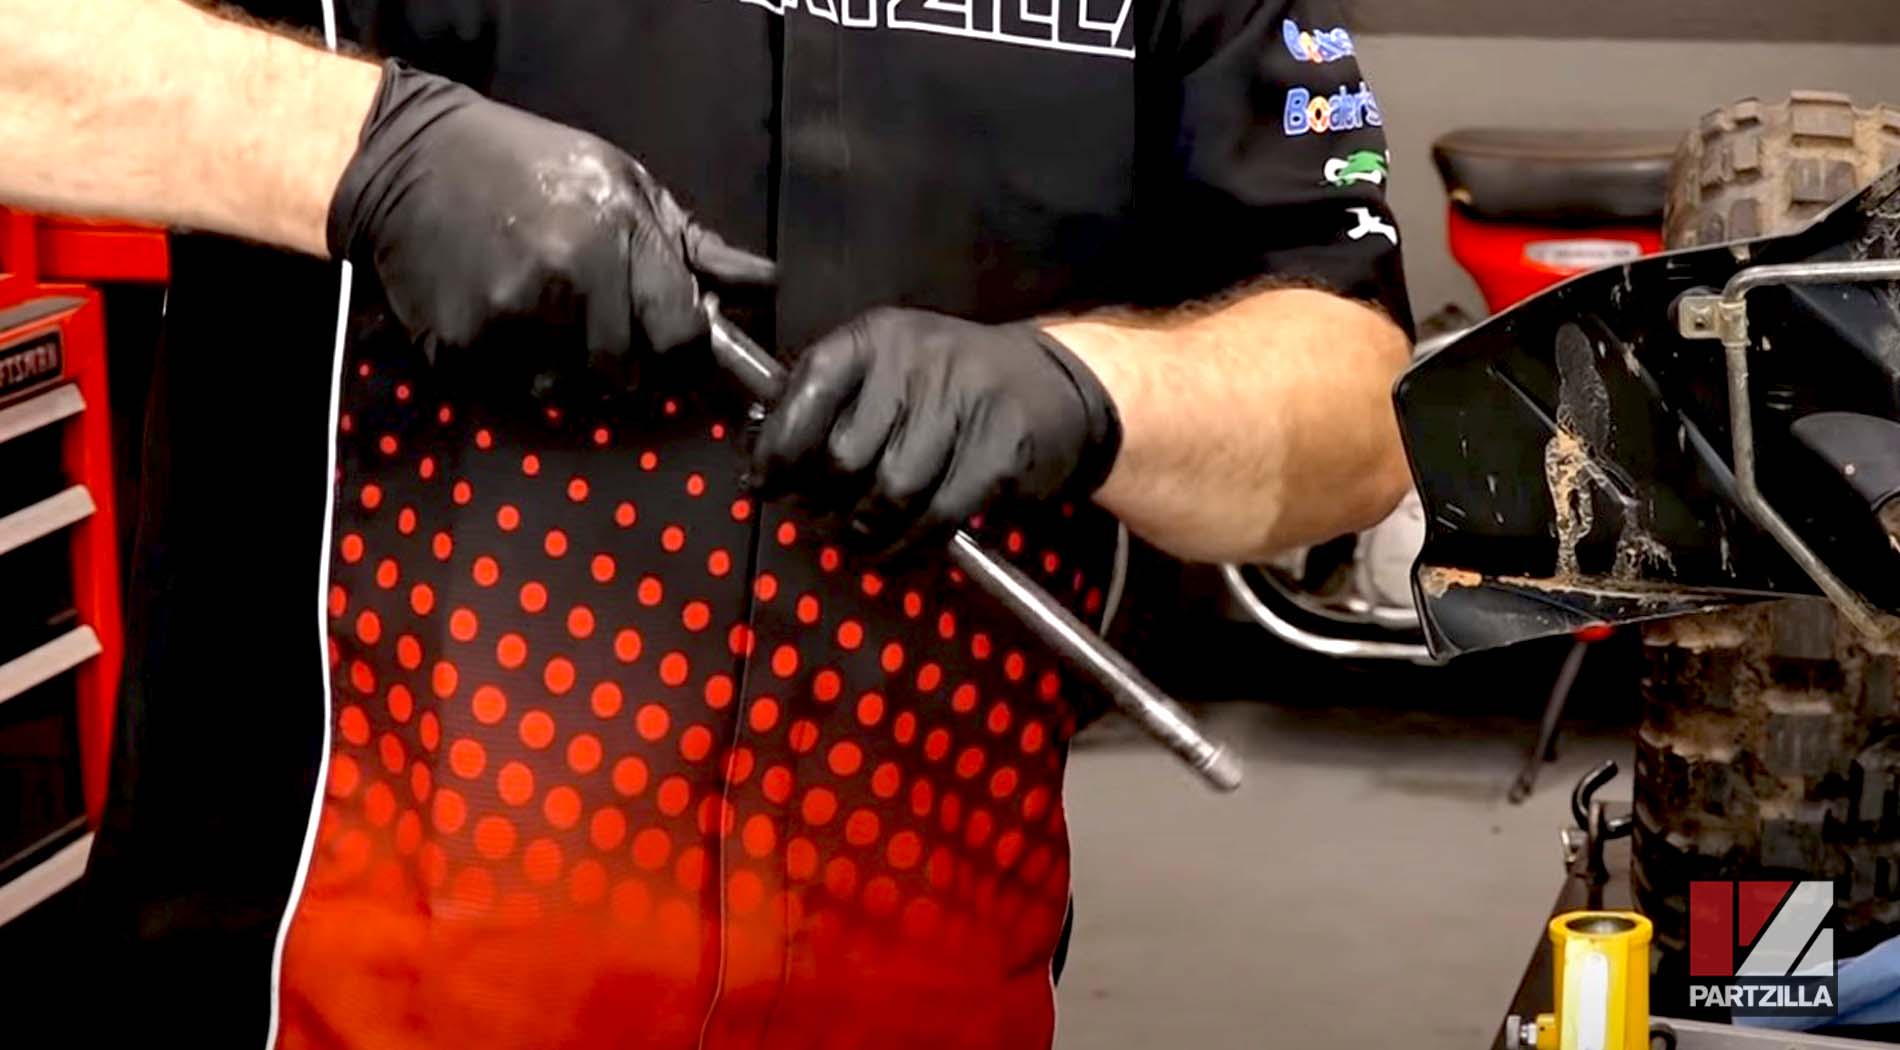
Step 4. Remove the tires and disconnect the linkage of the dog bone on the bottom of the shock absorber.
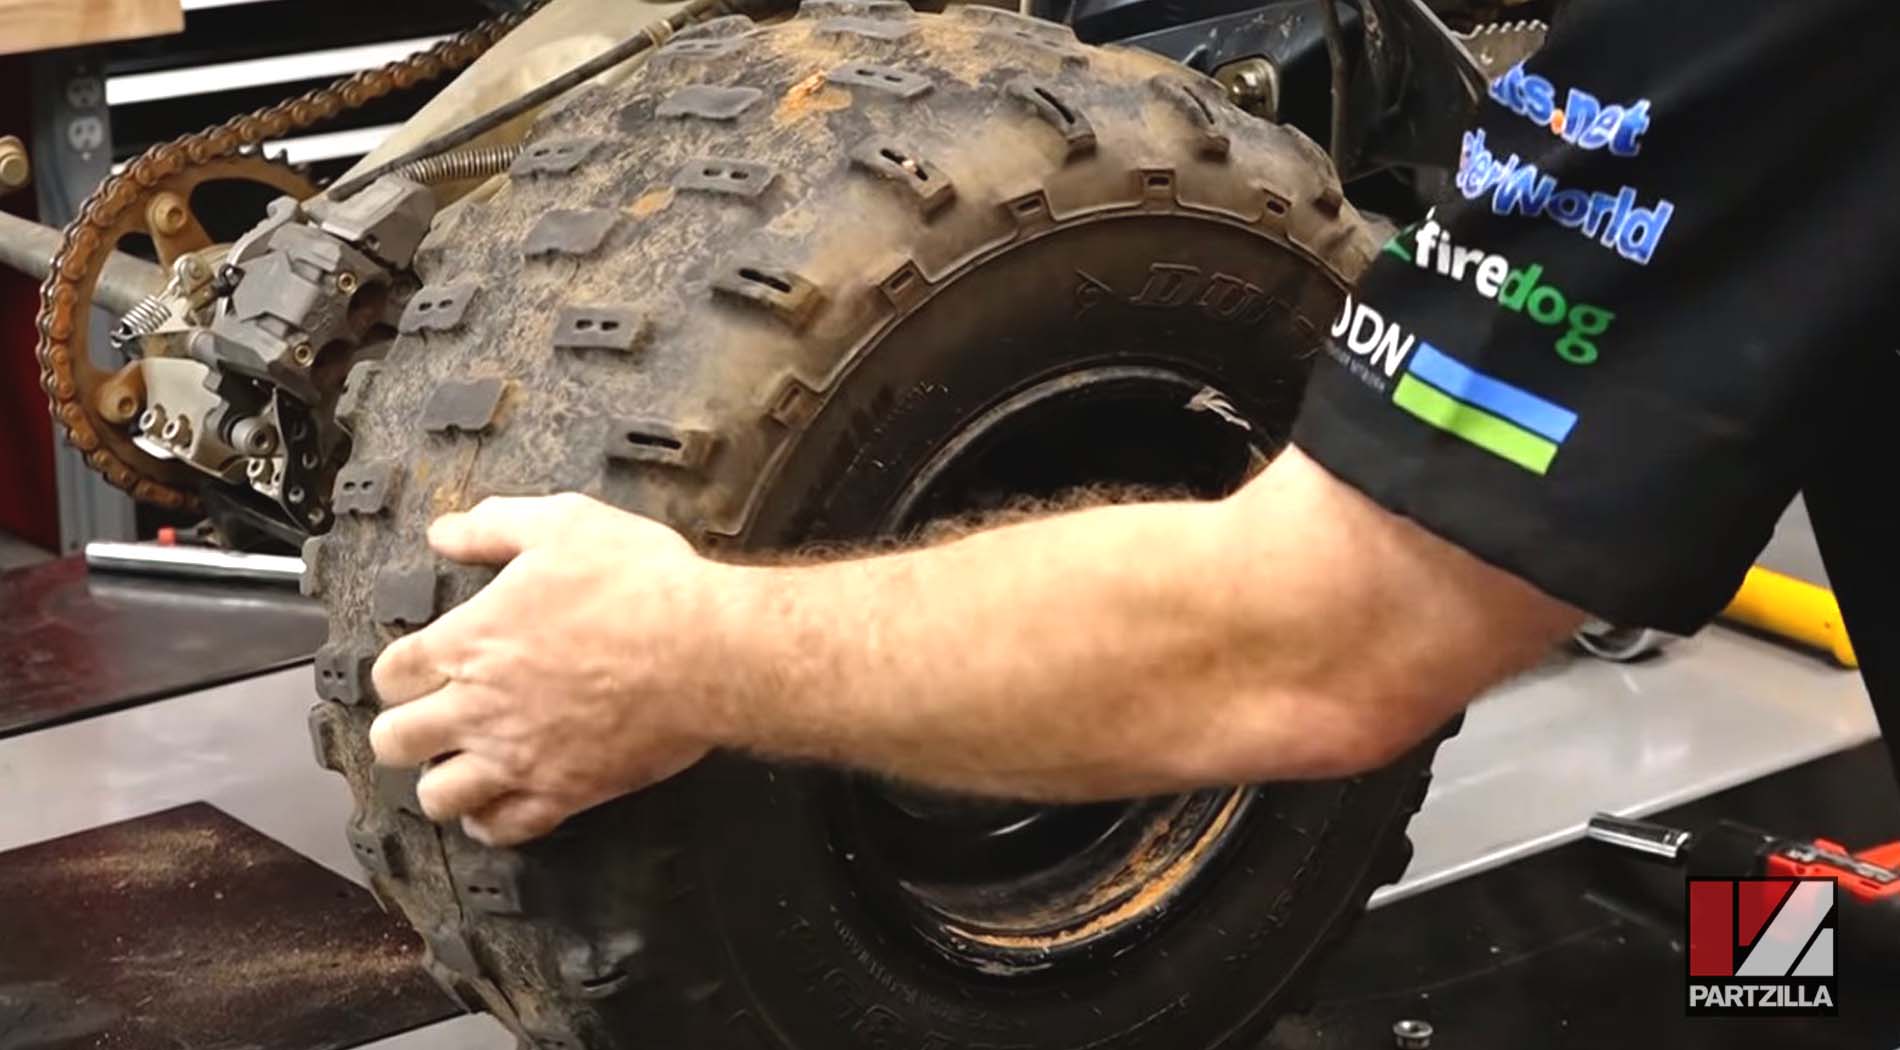
Step 5. Remove the cotter pin and the bolt on the left side of the joint that holds the bottom part of the shock to disconnect the bottom part of the shock absorber.
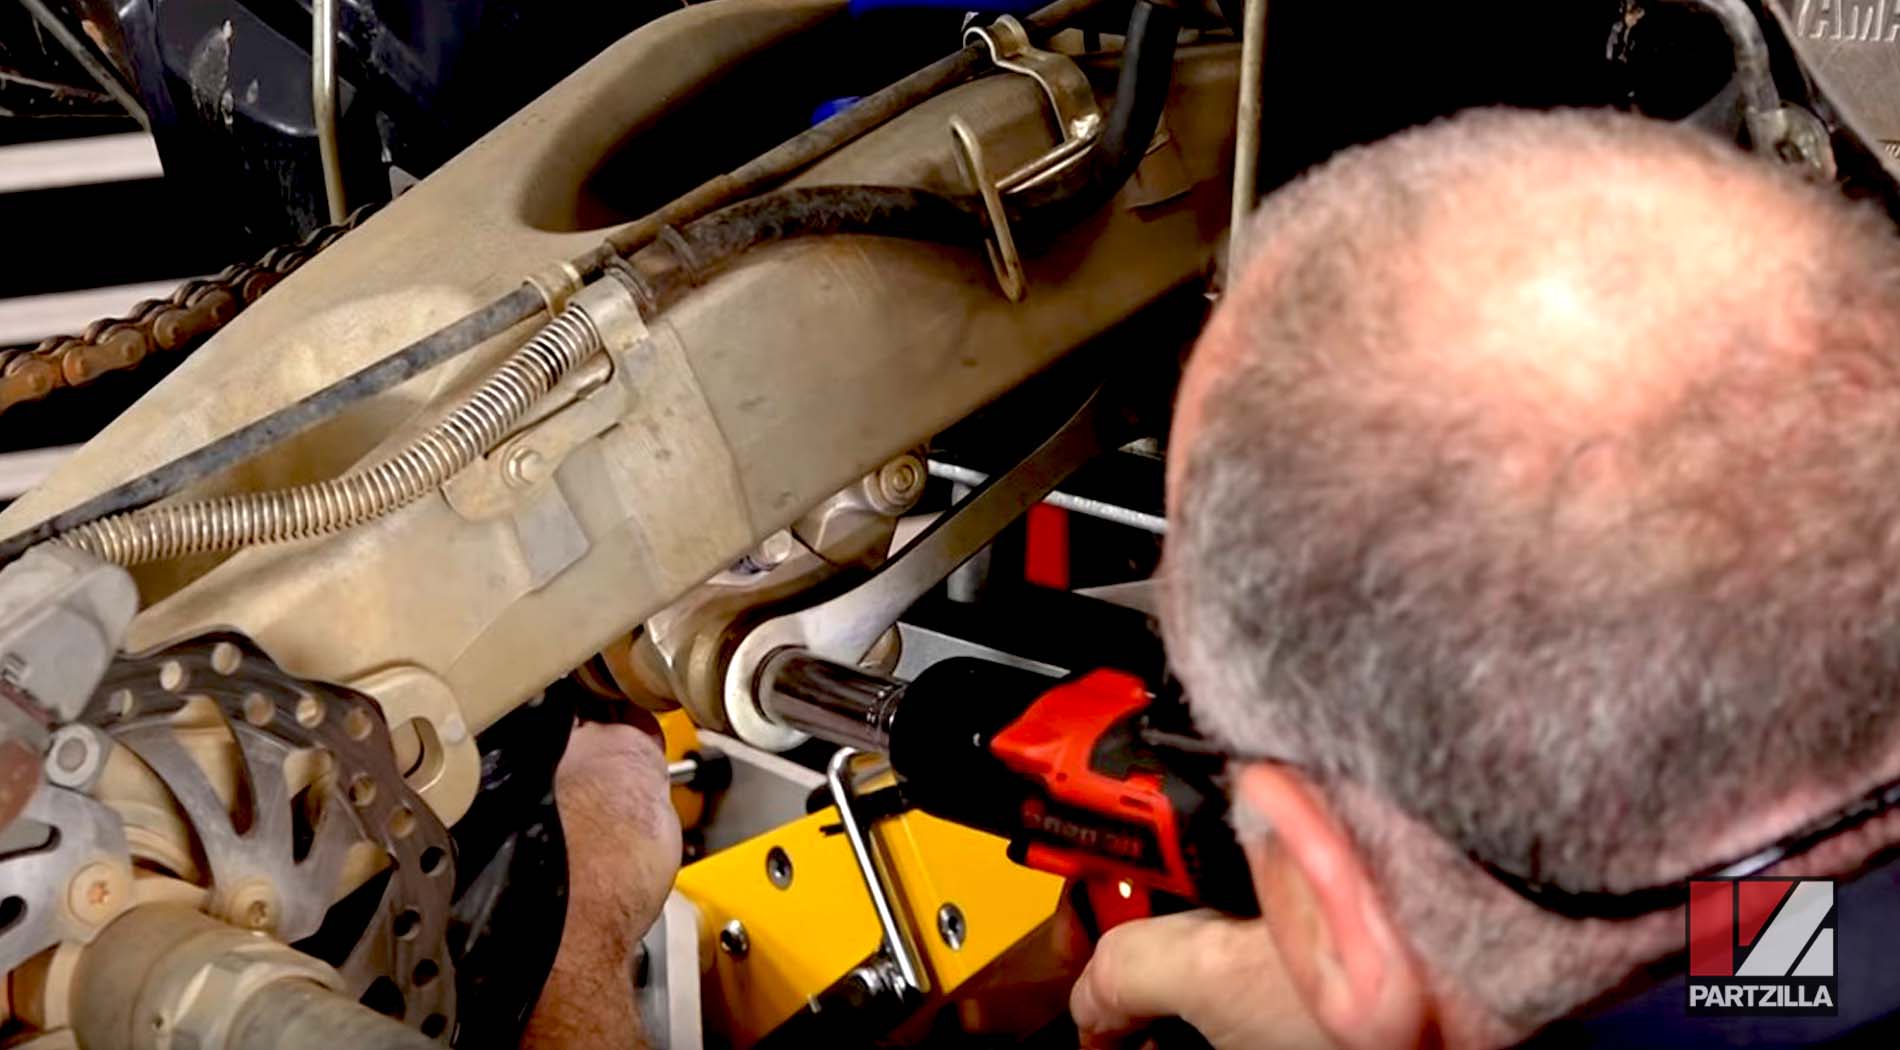
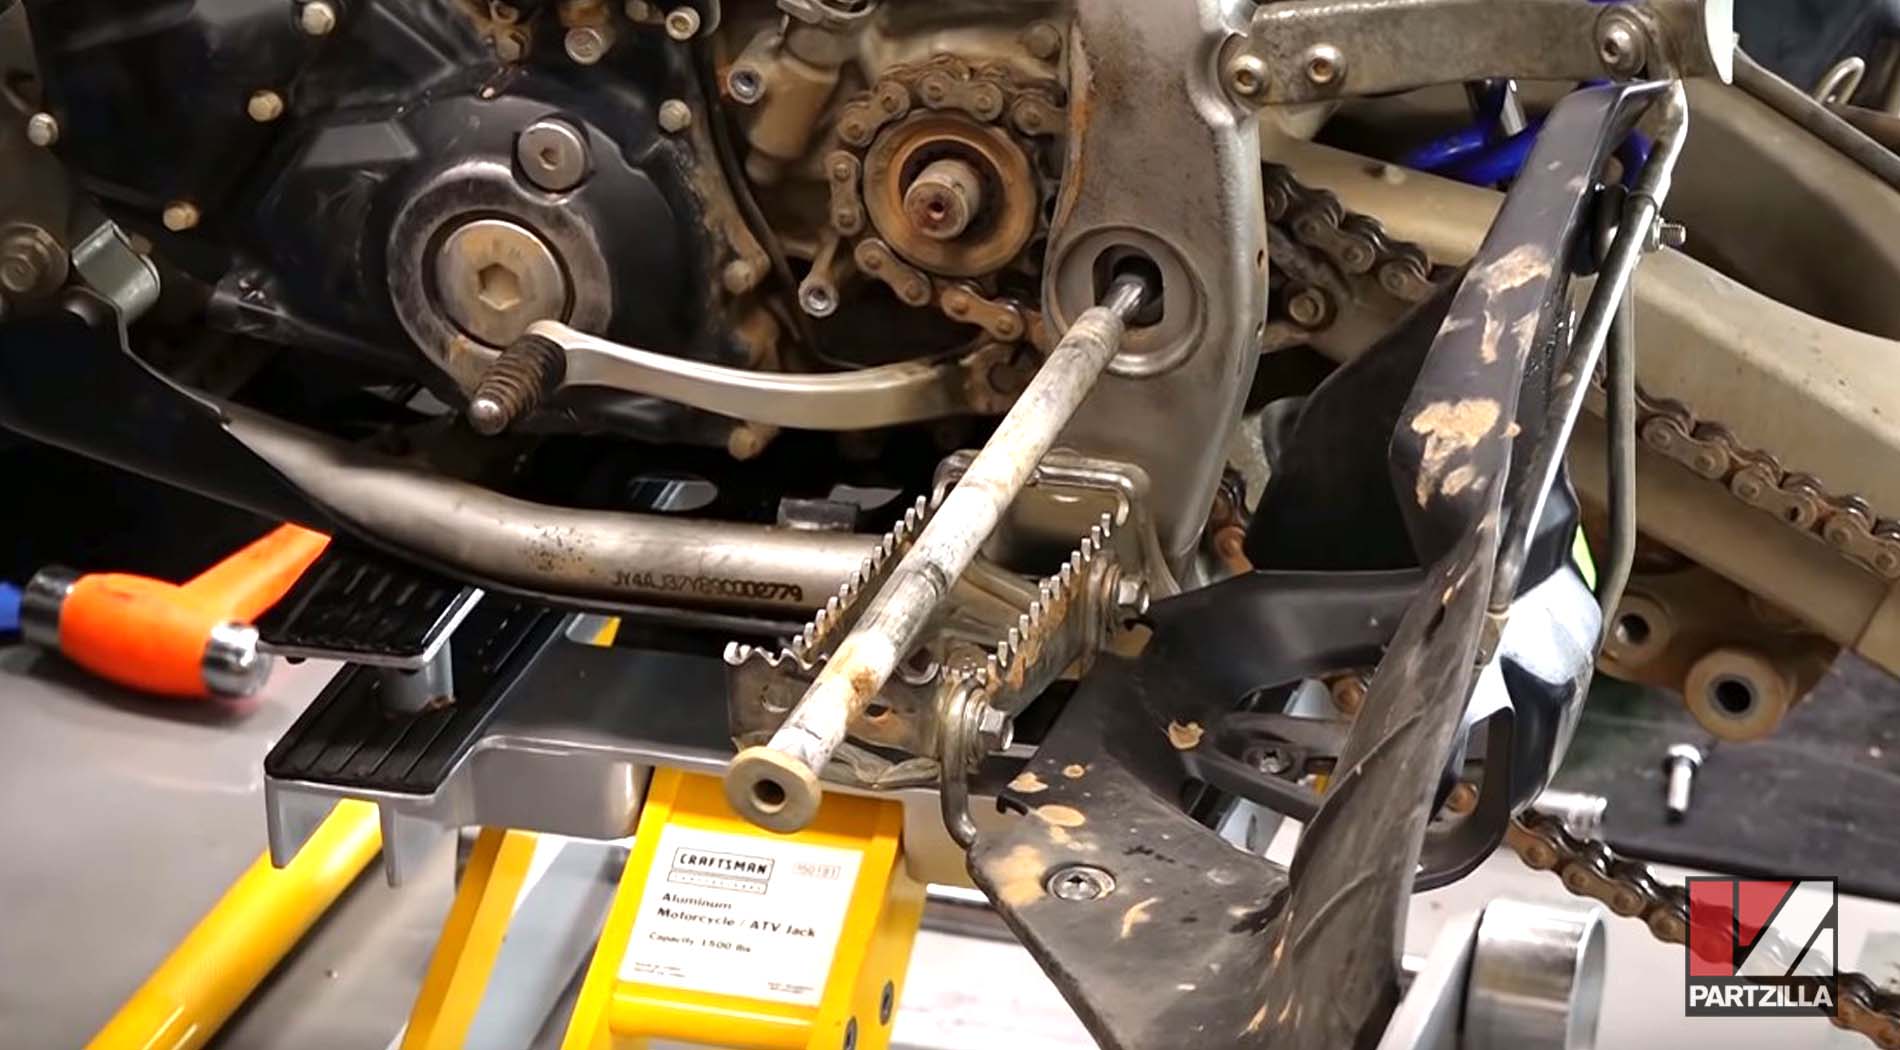
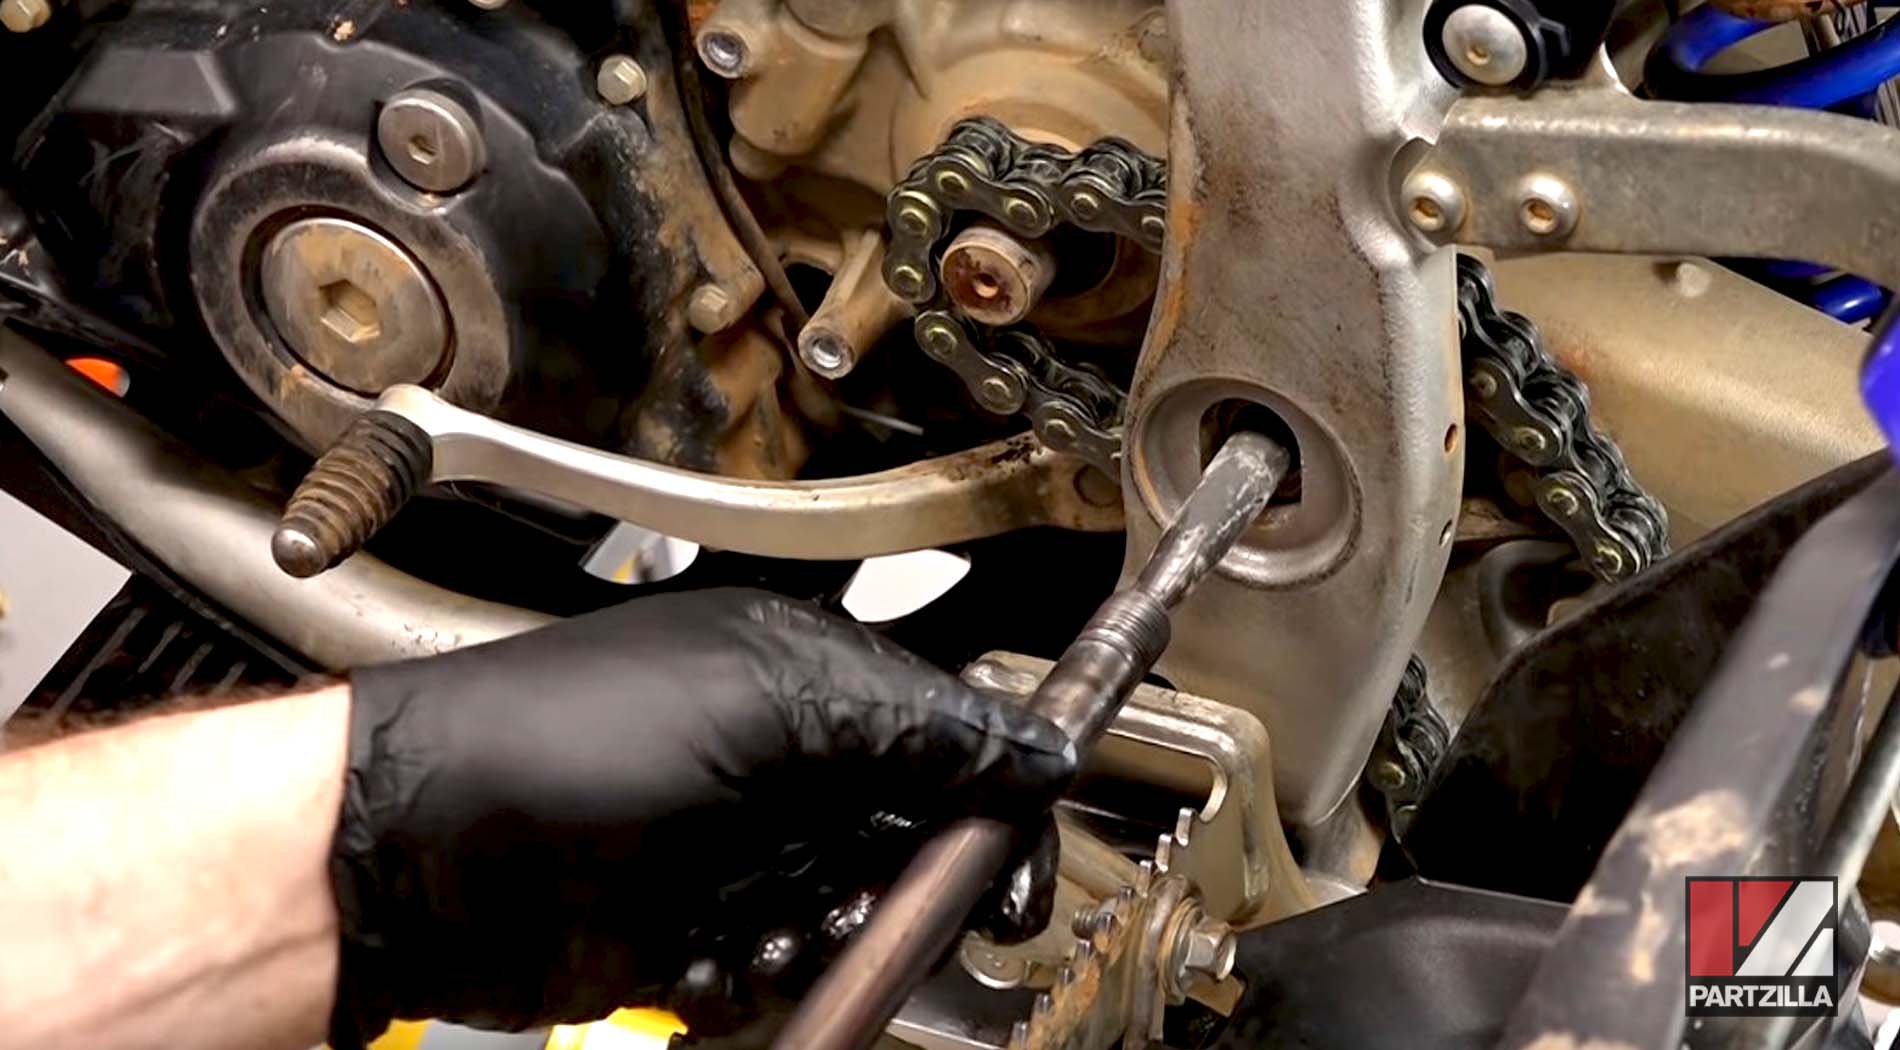
Step 6. Remove the swing arm bolt by using a soft blow hammer and a pick tool to safely knock the bolt out of place without damaging anything around it. Clean up the bolt to prepare it for re-insertion.
Step 7. Drop the rear hub down and turn it just far enough to loosen up the chain without damaging the caliper lines for the parking brake.
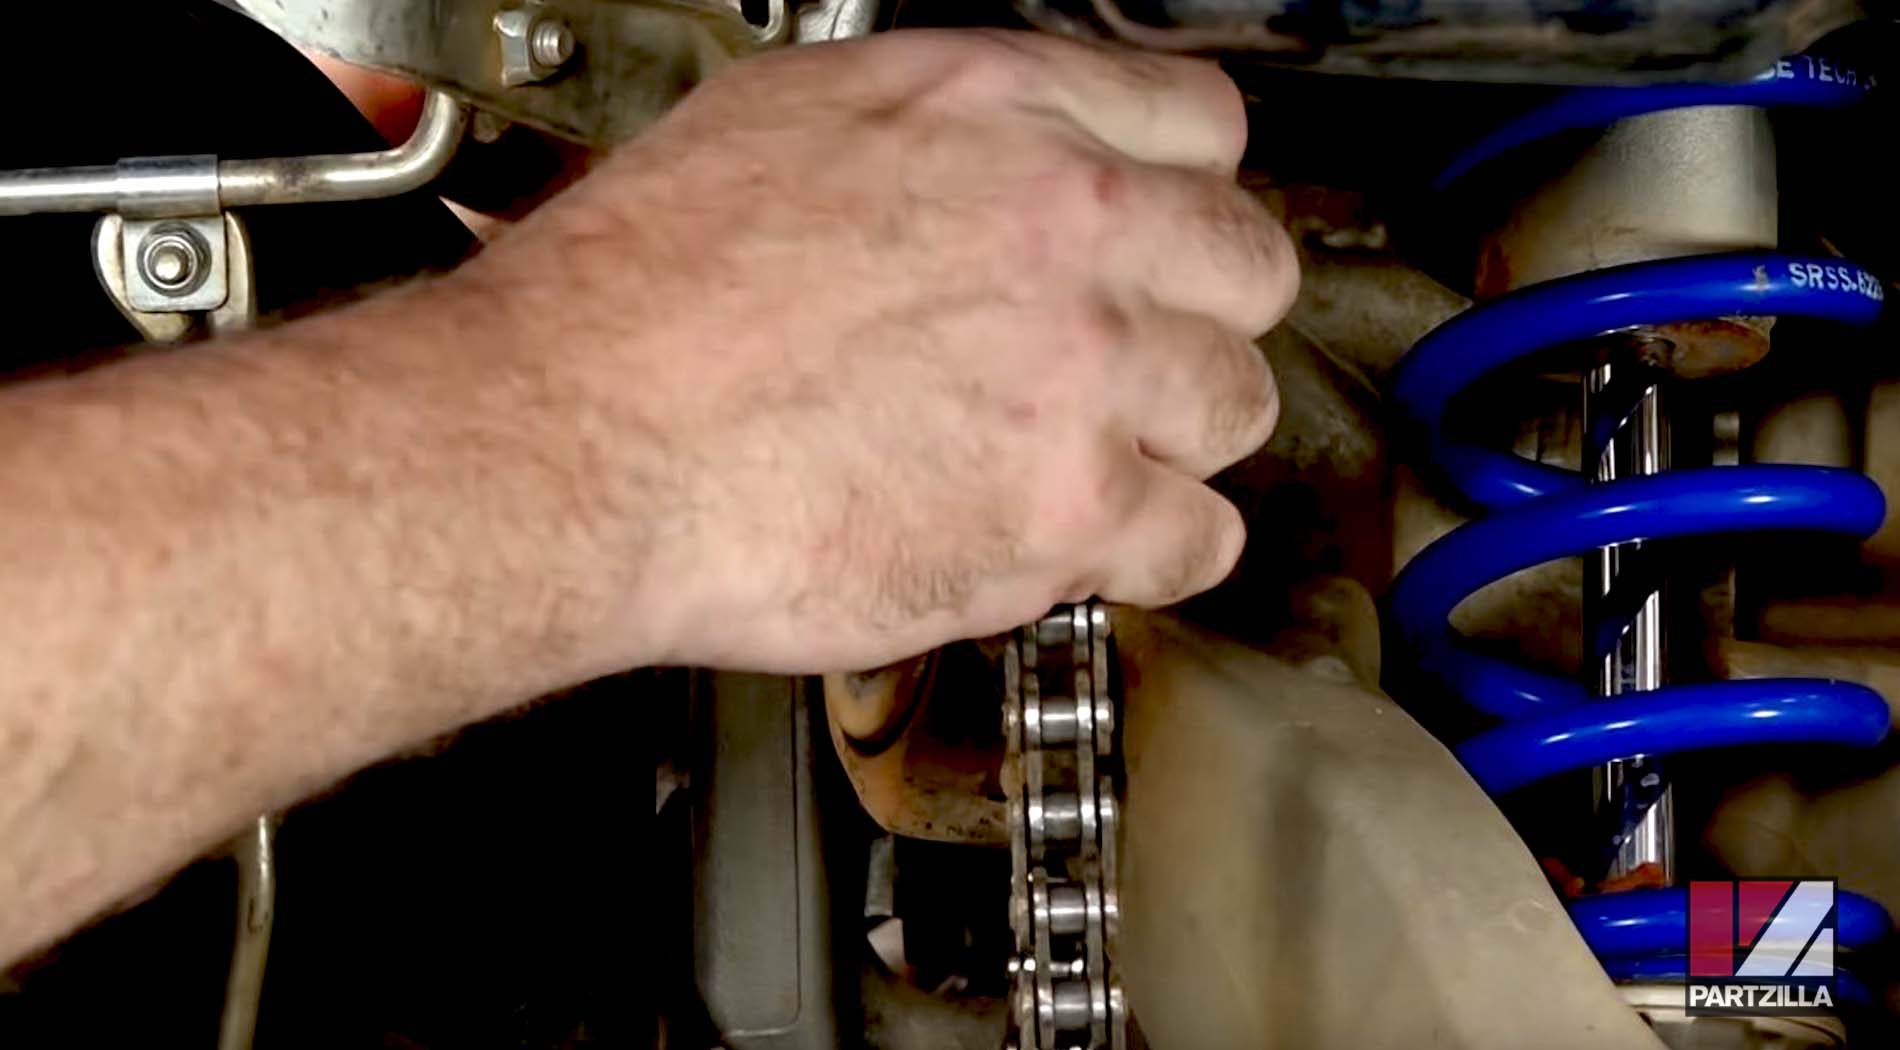
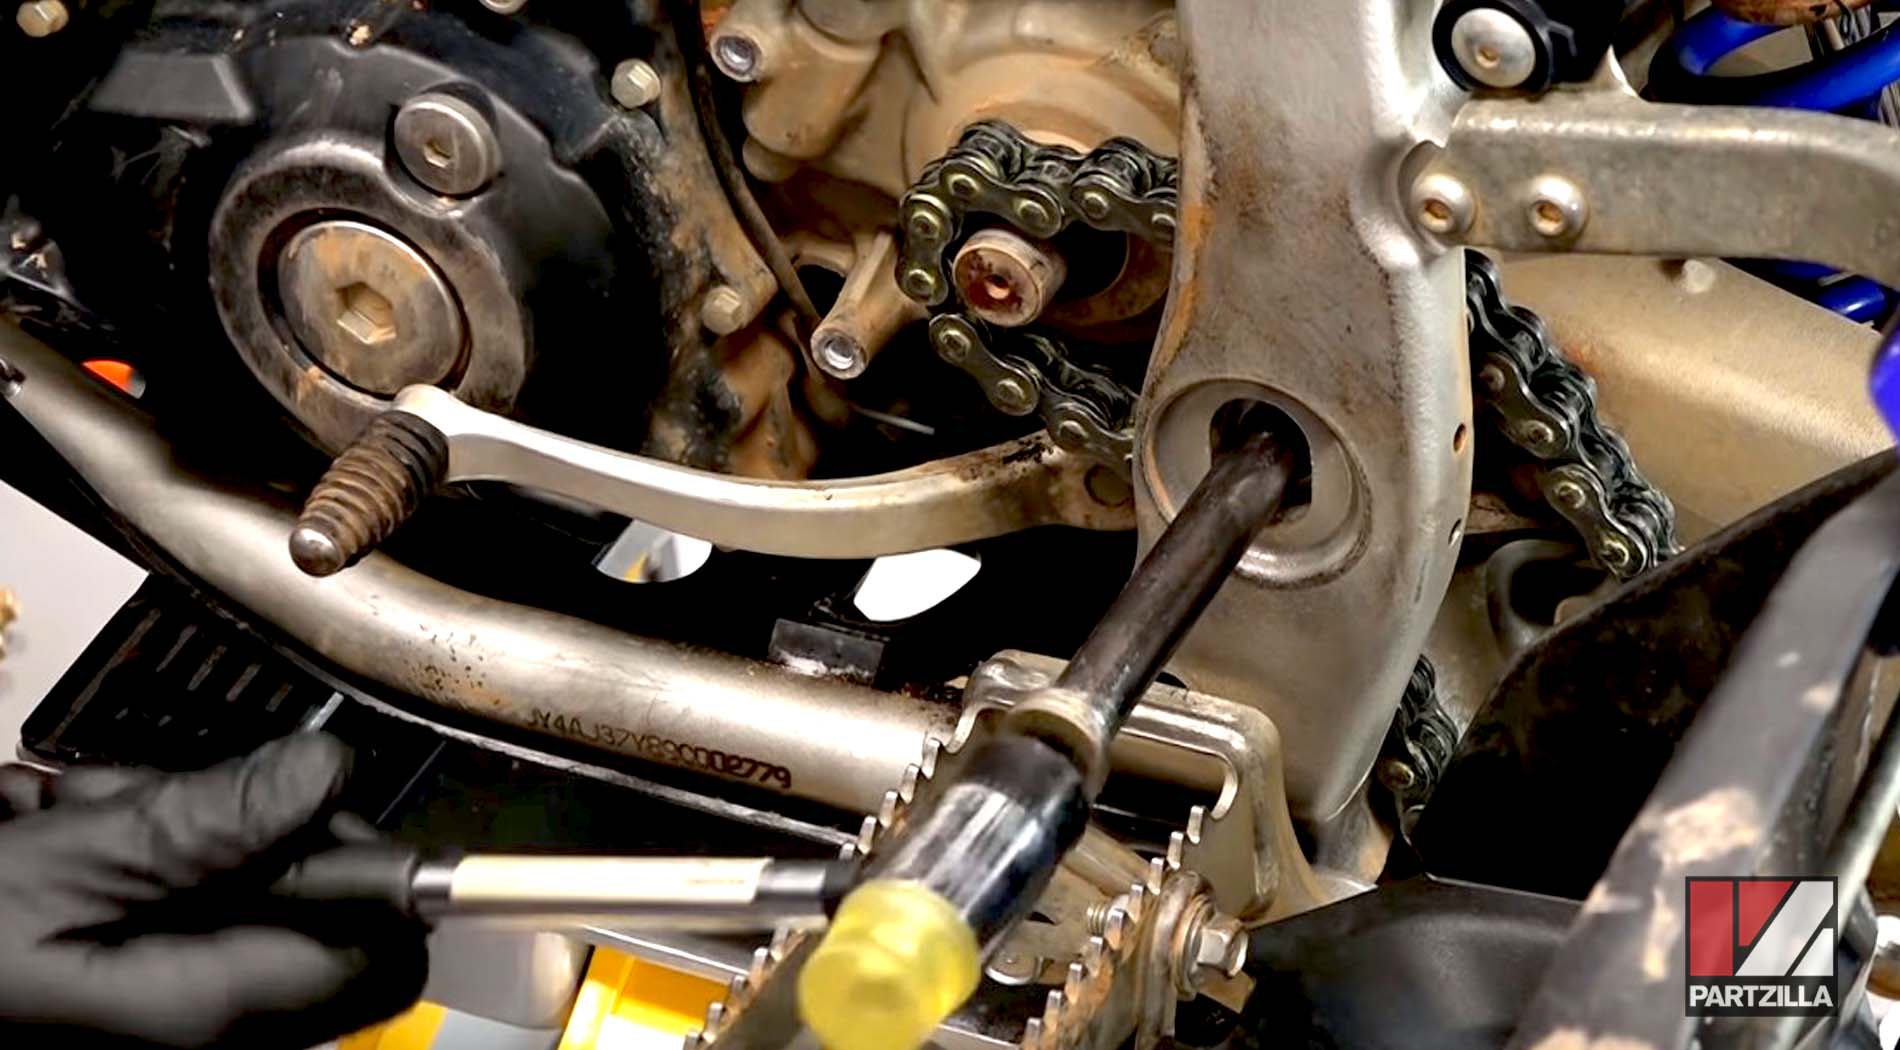
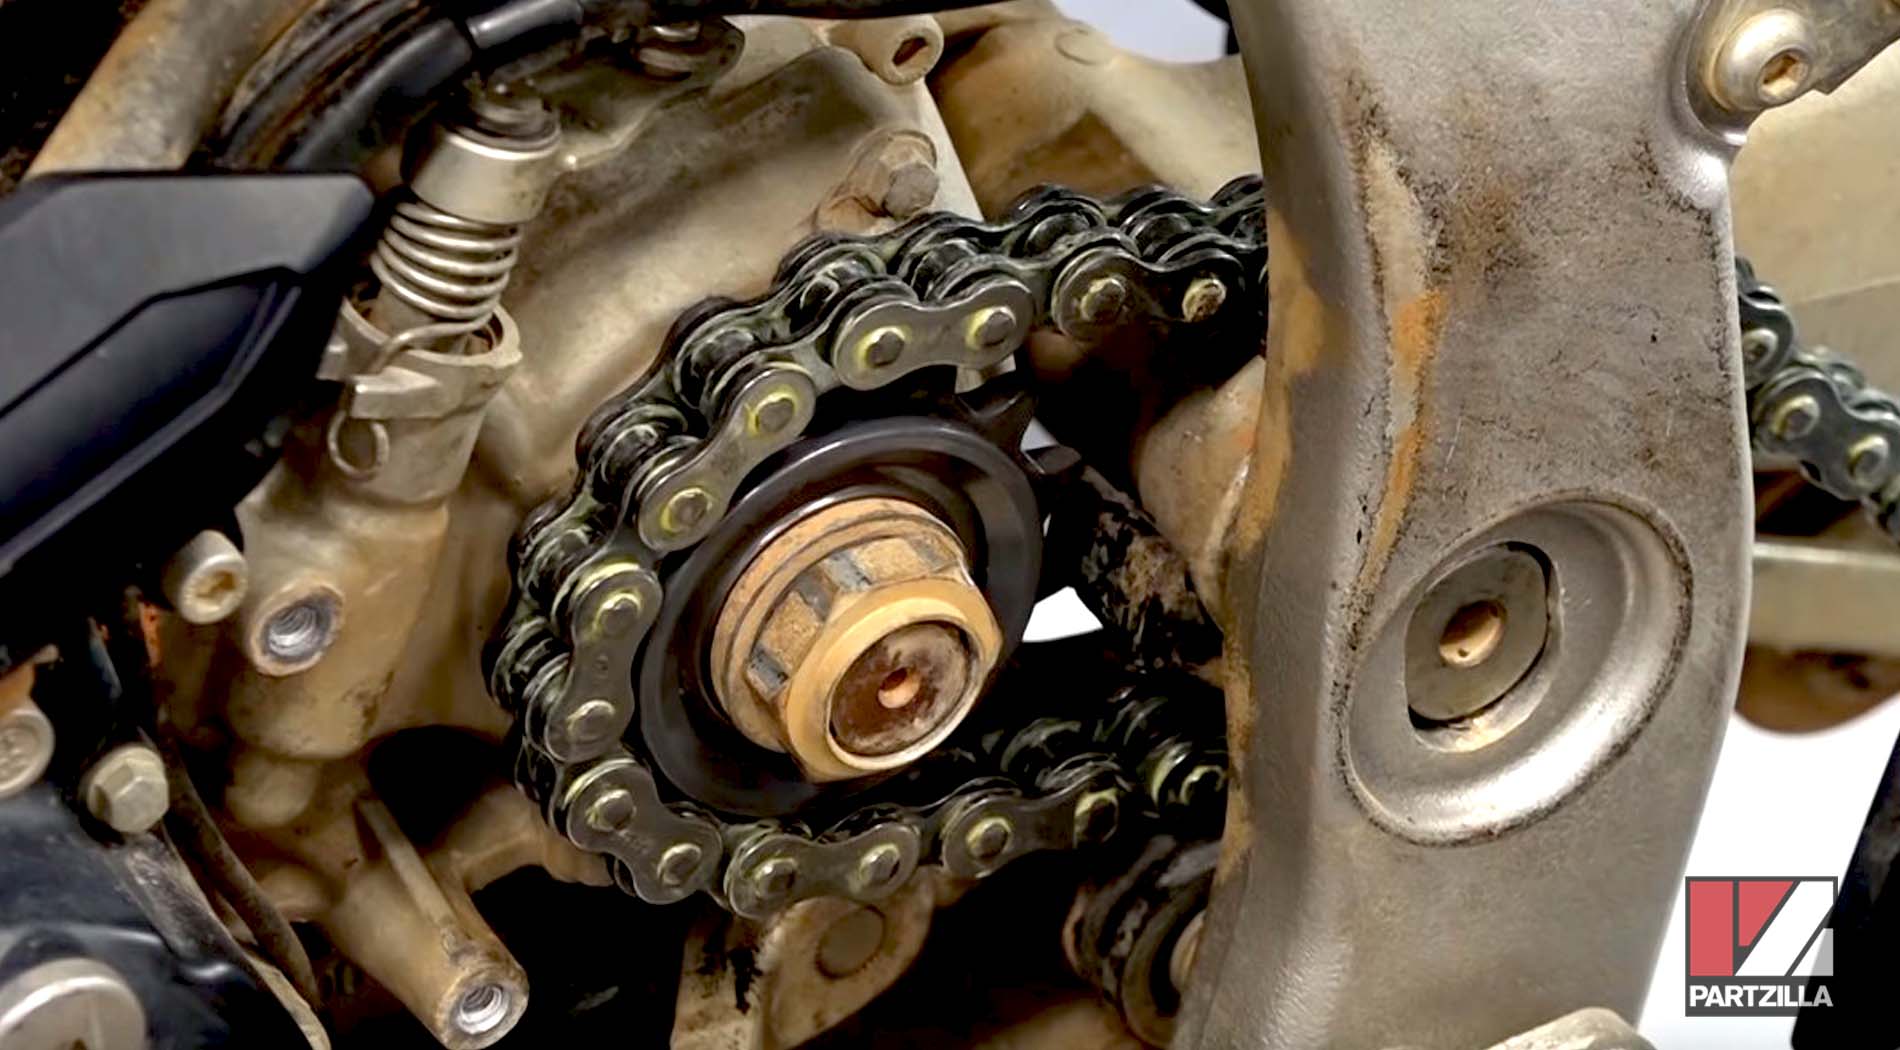
Step 8. Remove the front sprocket first and once the chain has been loosened up, use both hands to carefully remove it.
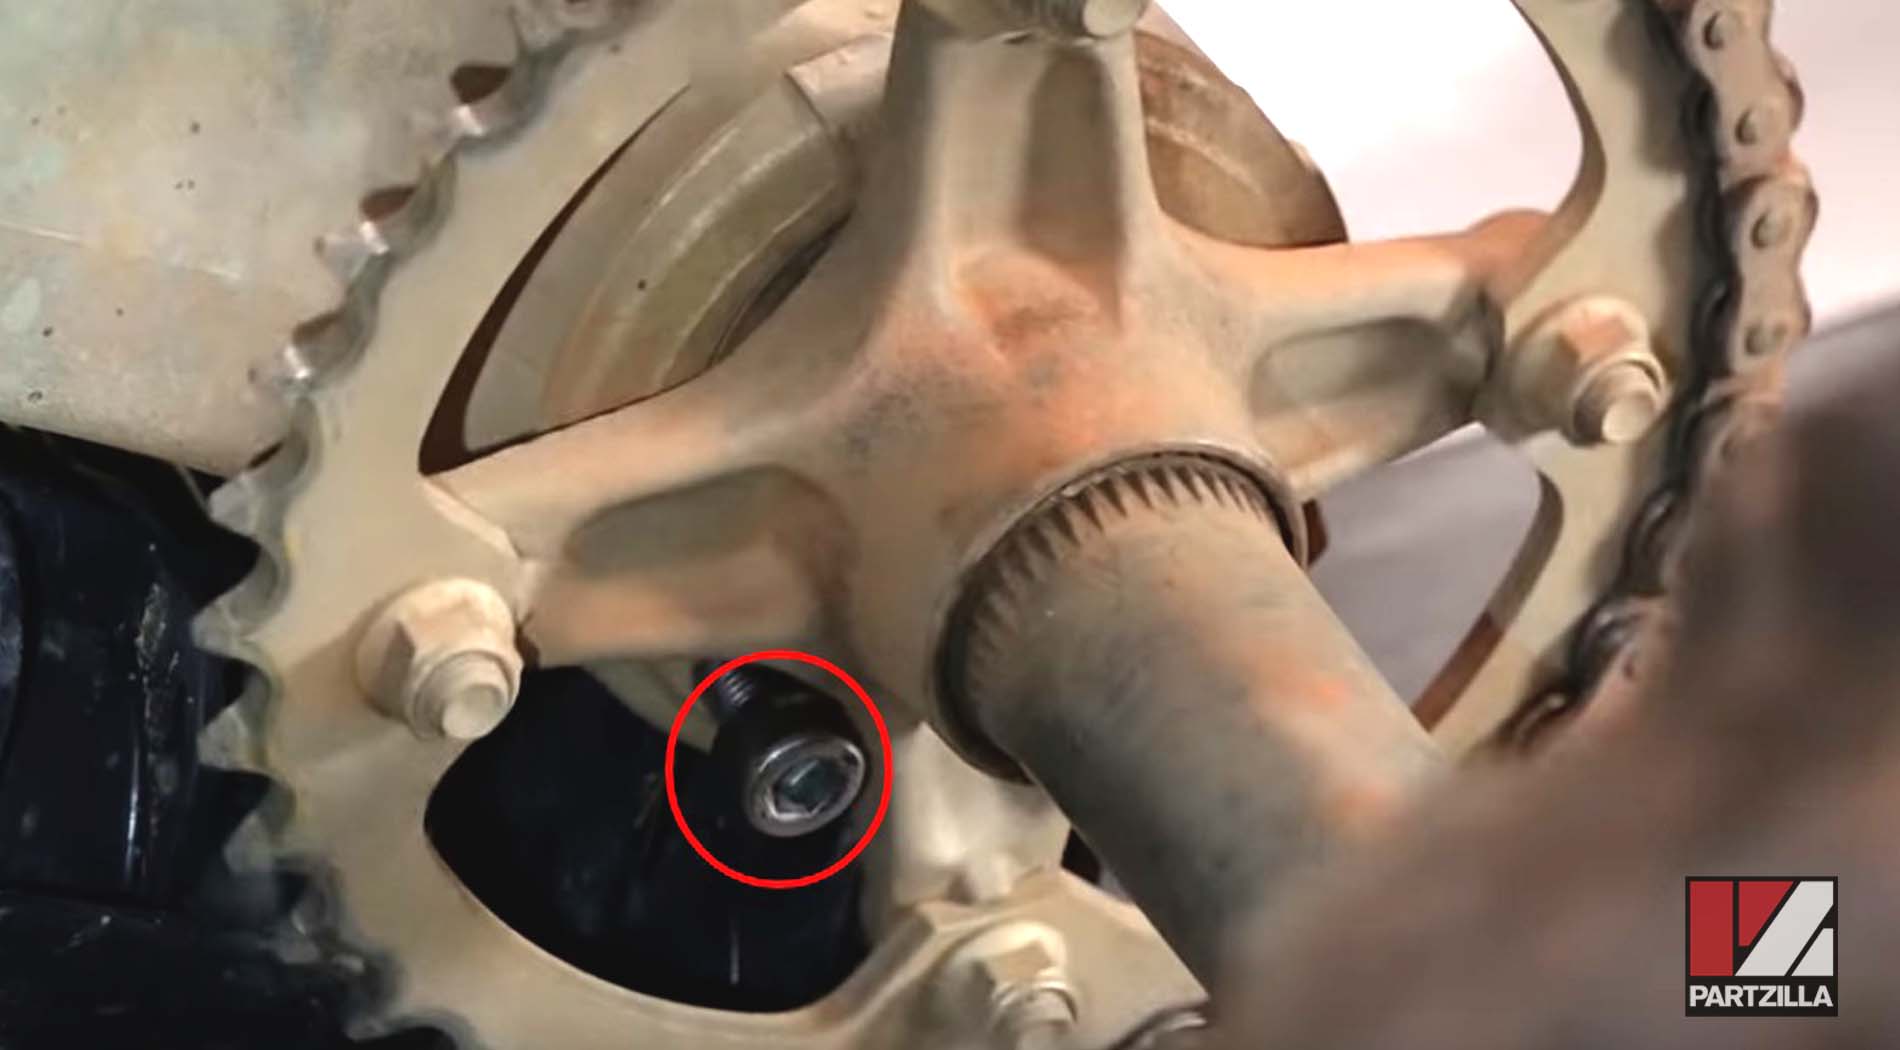
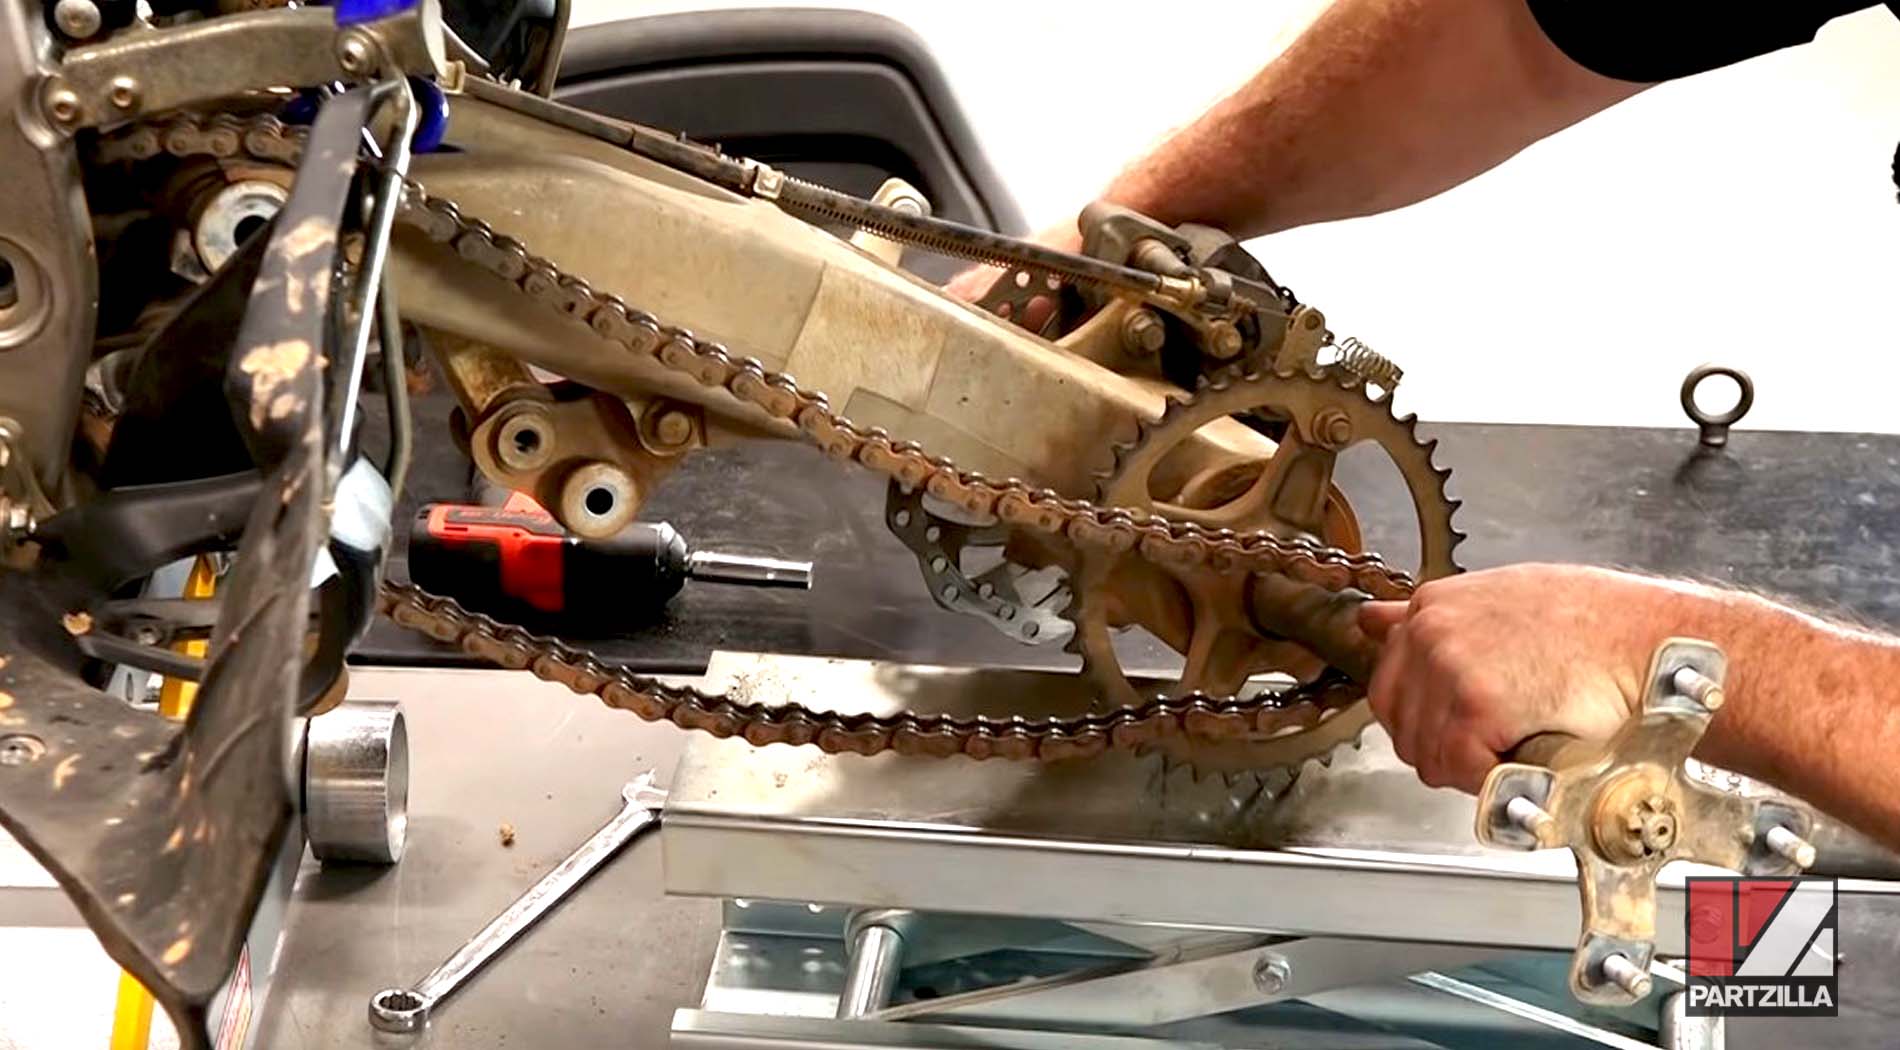
Step 9. Once the chain is out of the way, remove the rear sprocket with a 14mm socket on one side and an 8mm Allen on the other.
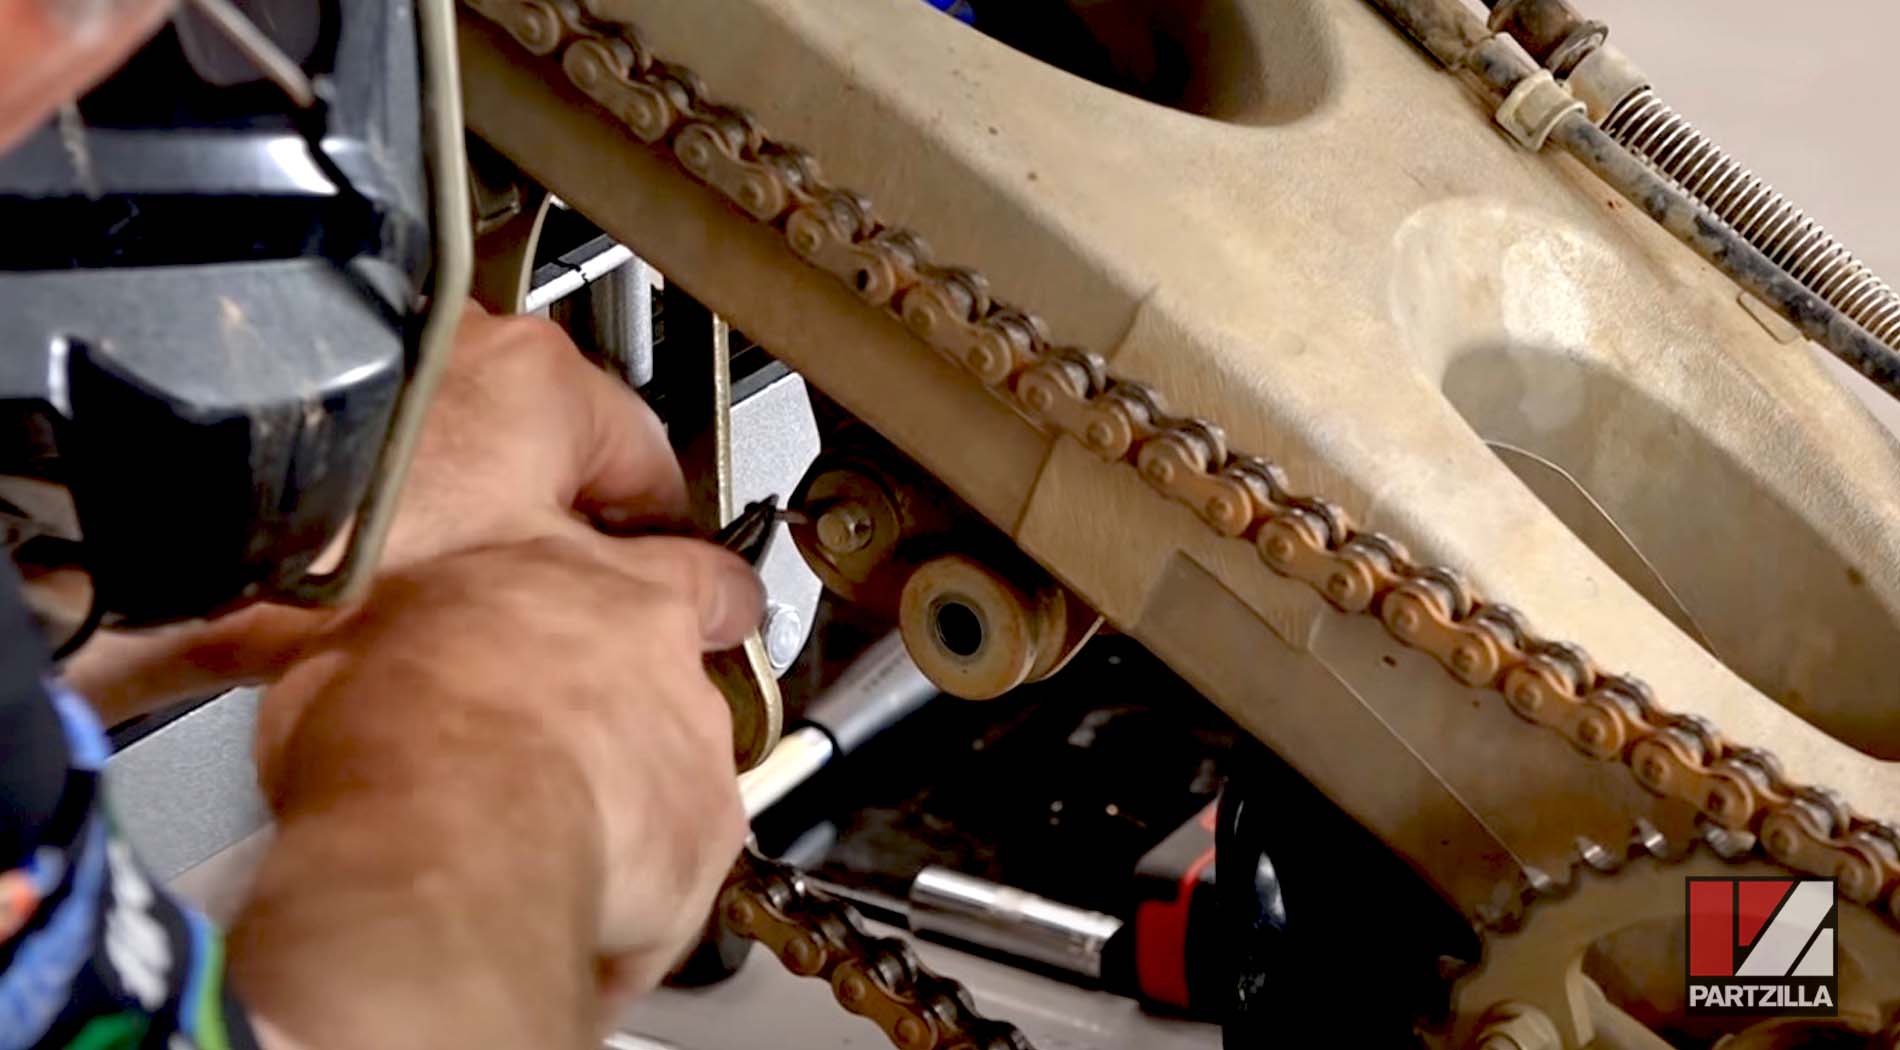
Step 10. Slide the rear hub over to make room for installing the new chain. Place the chain over the front of the swing arm and over the chain guide.
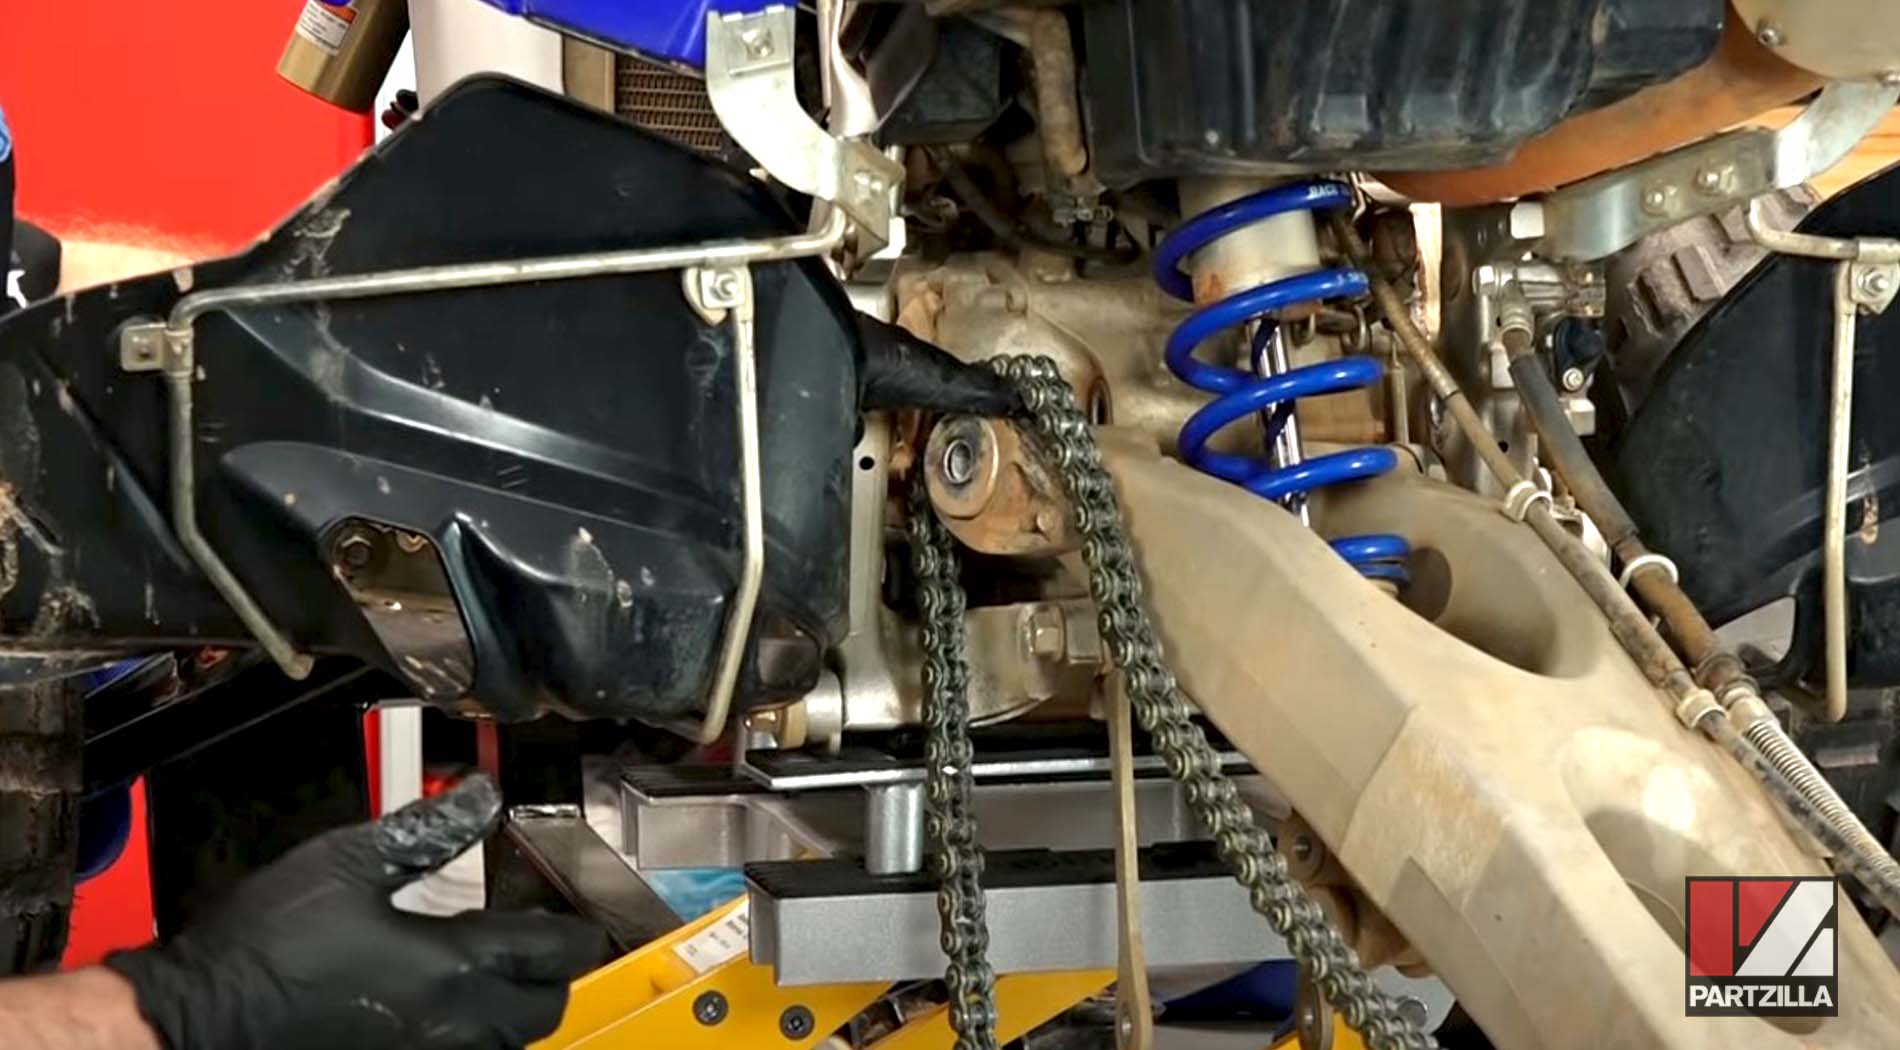
Step 11. Place a coat of race grease onto the clean swing arm pivot pin and put it back in the slot you removed it from, using the alignment tool as a guide and a soft-blow hammer to push it back in.
Step 12. Replace the washer and bolt back onto the pivot pin and torque it to 72 foot-pounds.
Step 13. Apply a little bit of grease to the bolt for the rear shock before re-inserting it and torque it to 40 foot-pounds. Put the cotter pin back in its place. Repeat the same process done for the rear shock bolt to reinsert the bolt that holds up the lower dog bones.

Step 14. Install the new front sprocket with the tooth size facing out.
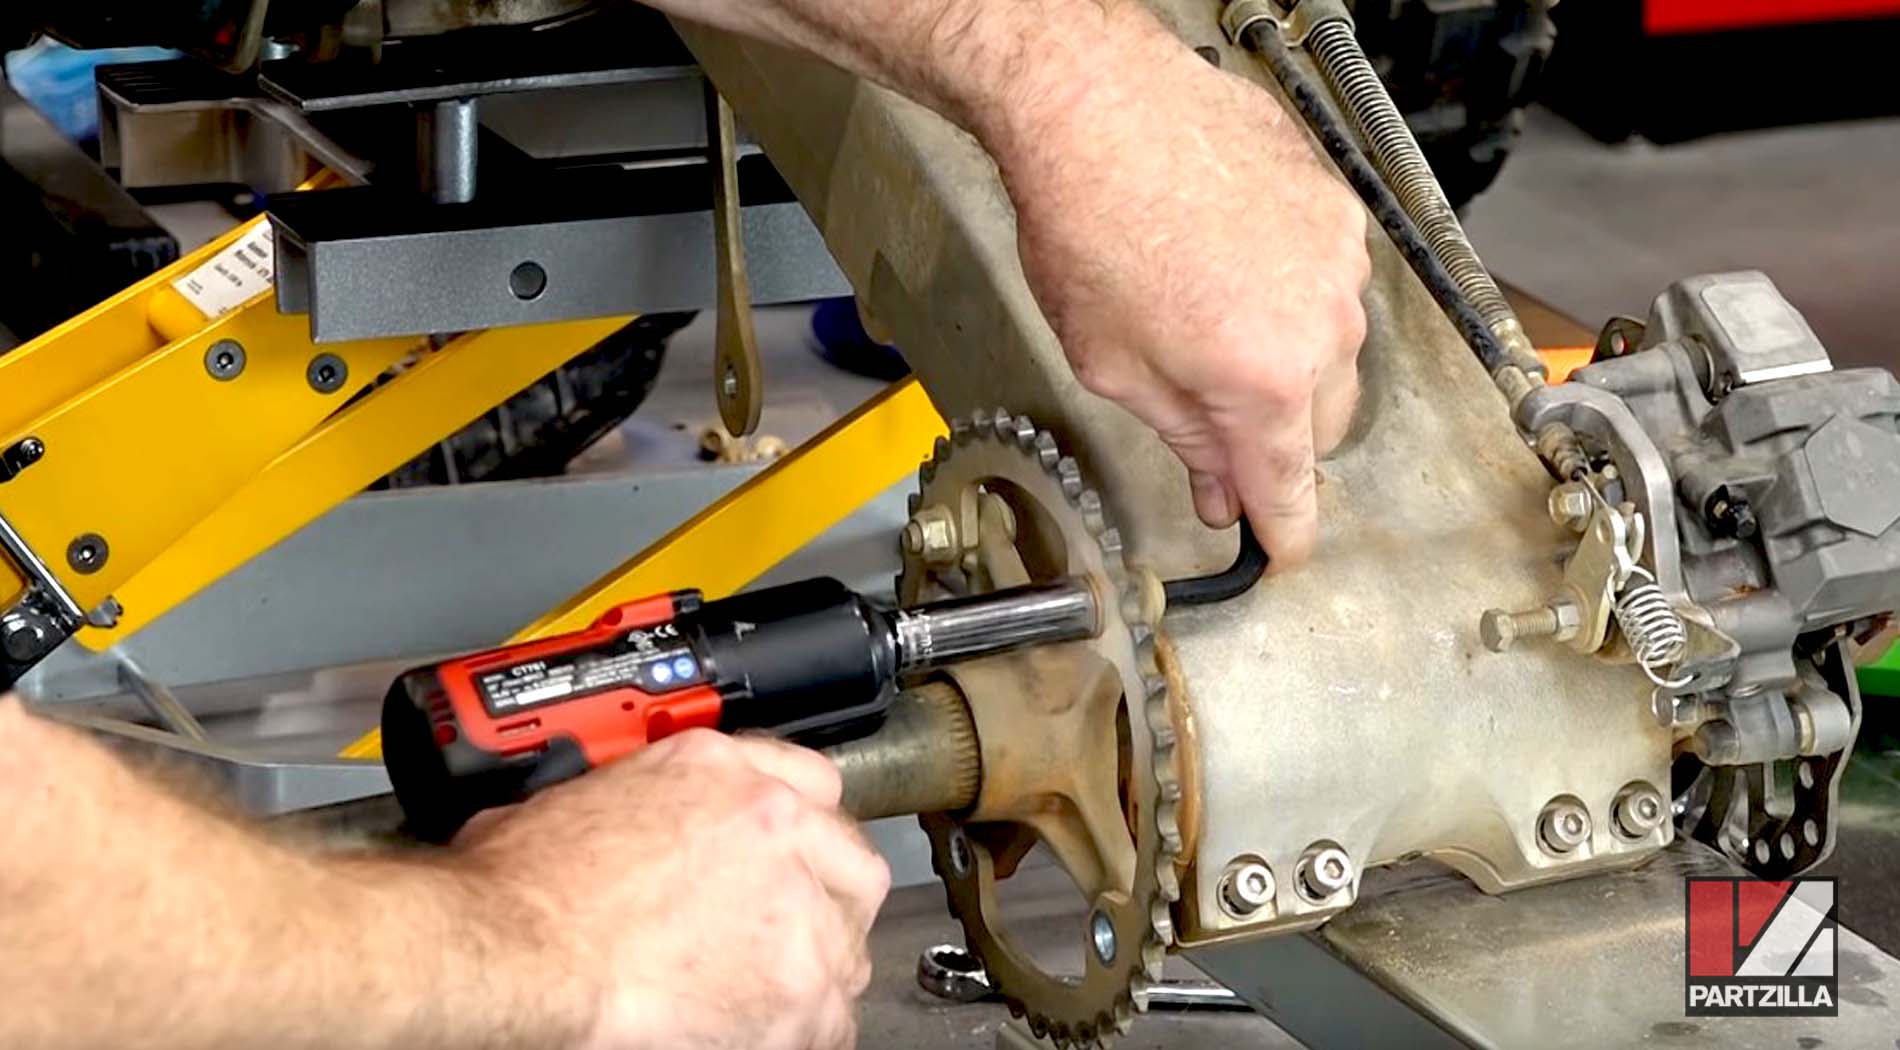
Step 15. Install the new rear sprocket and torque its bolts to 52 foot-pounds.
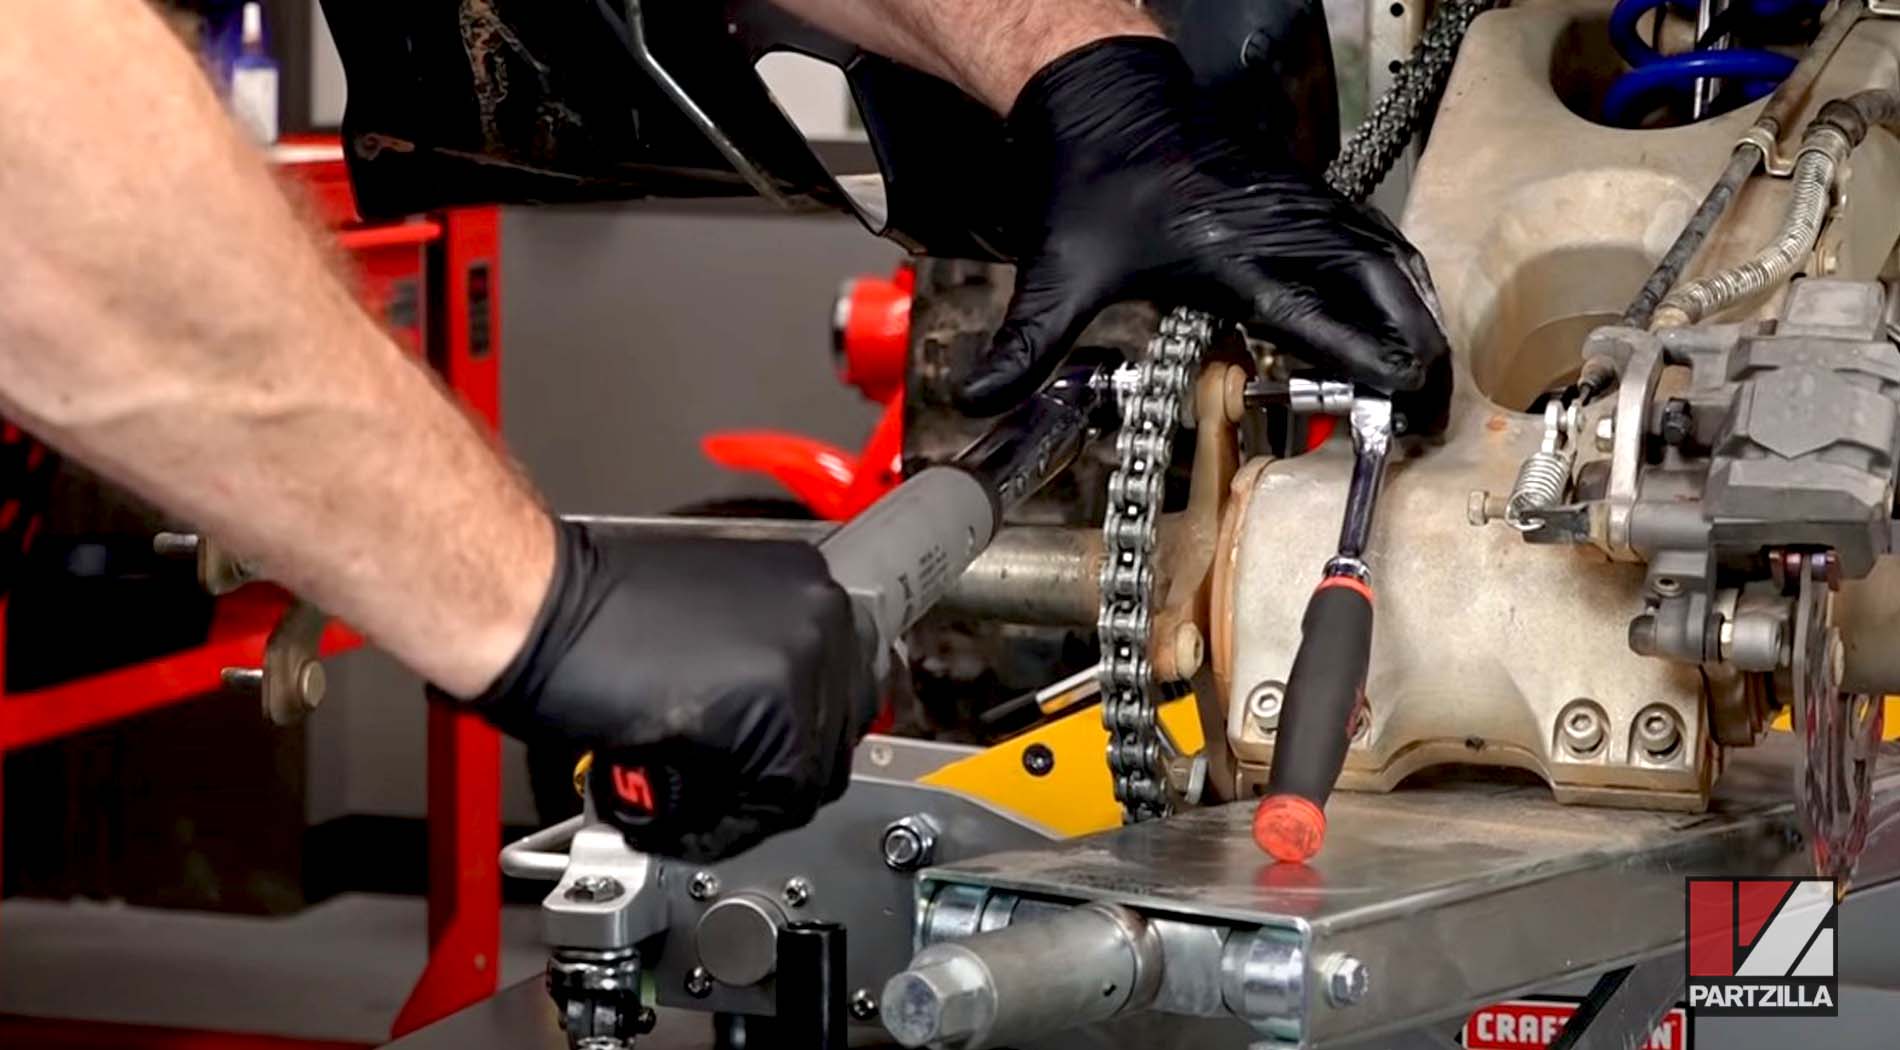
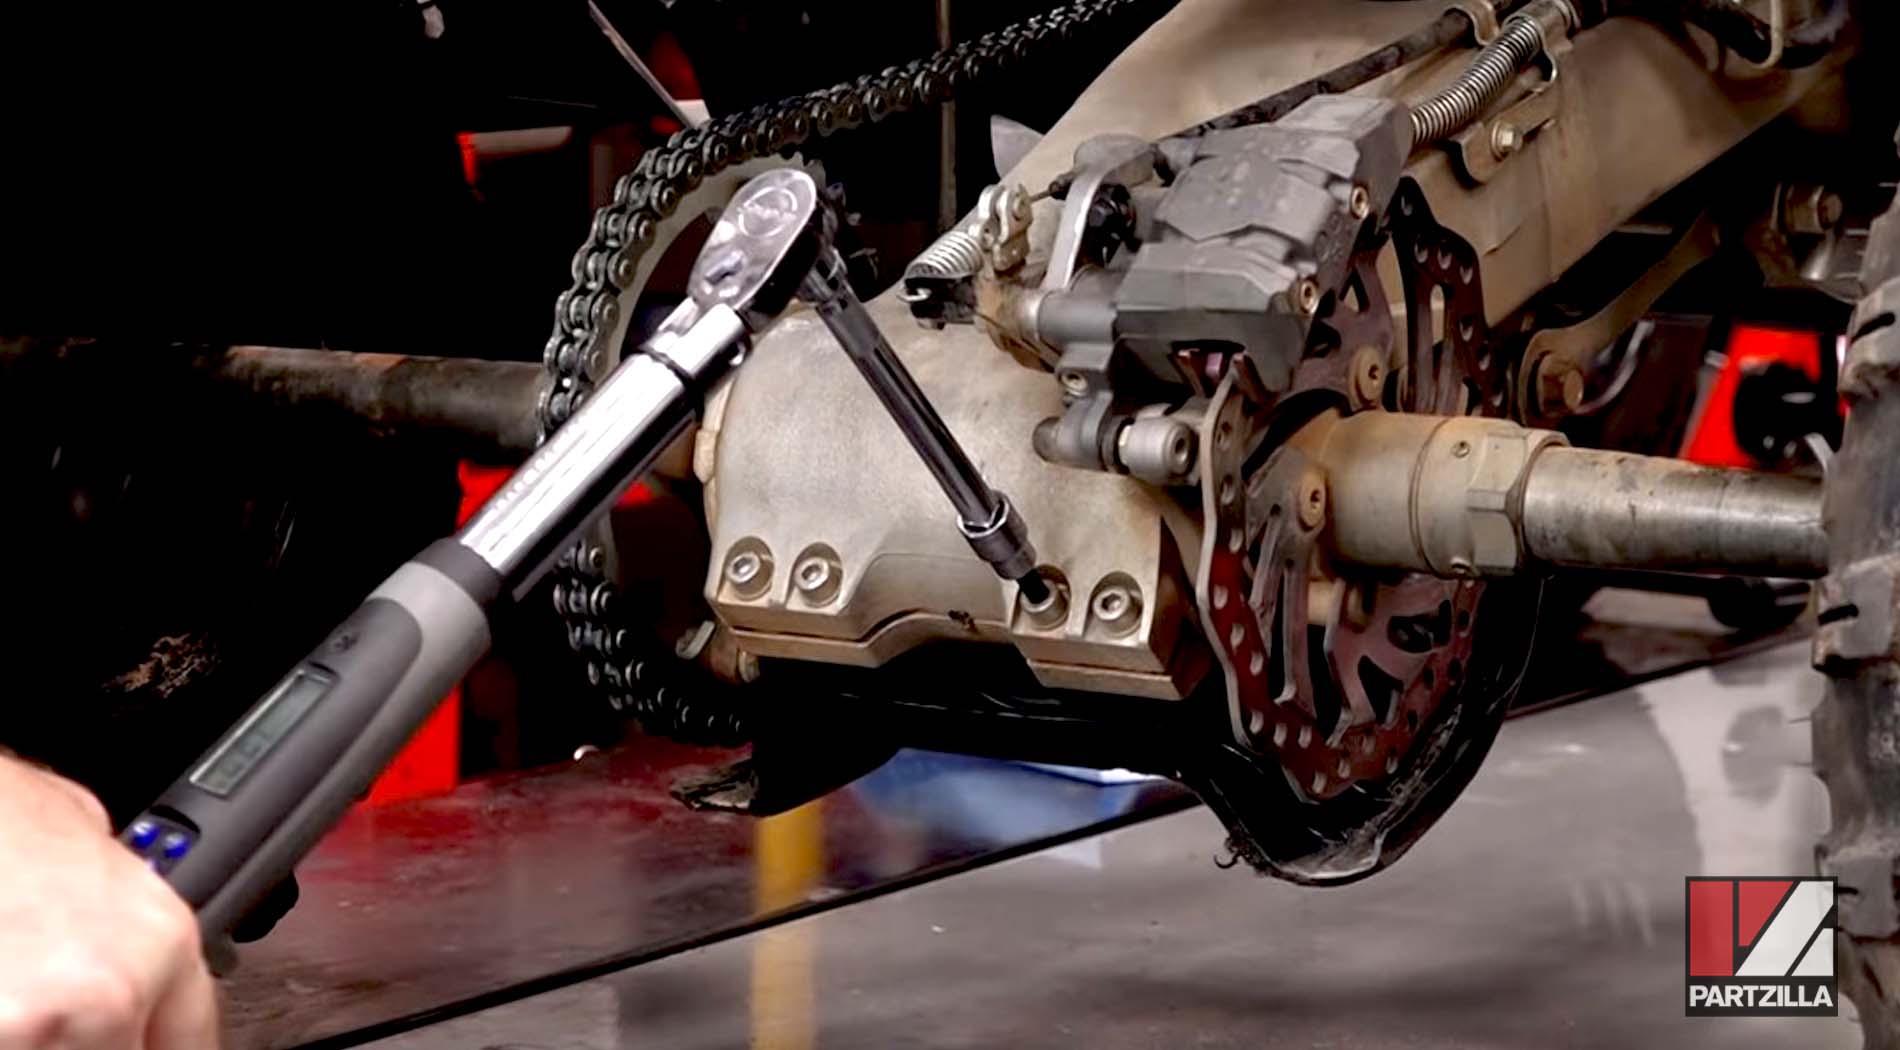
Step 16. Tighten up the chain and torque the front sprocket to 72 foot-pounds before replacing the cover and putting the tires back on. Torque the wheel nuts to 32 foot-pounds.
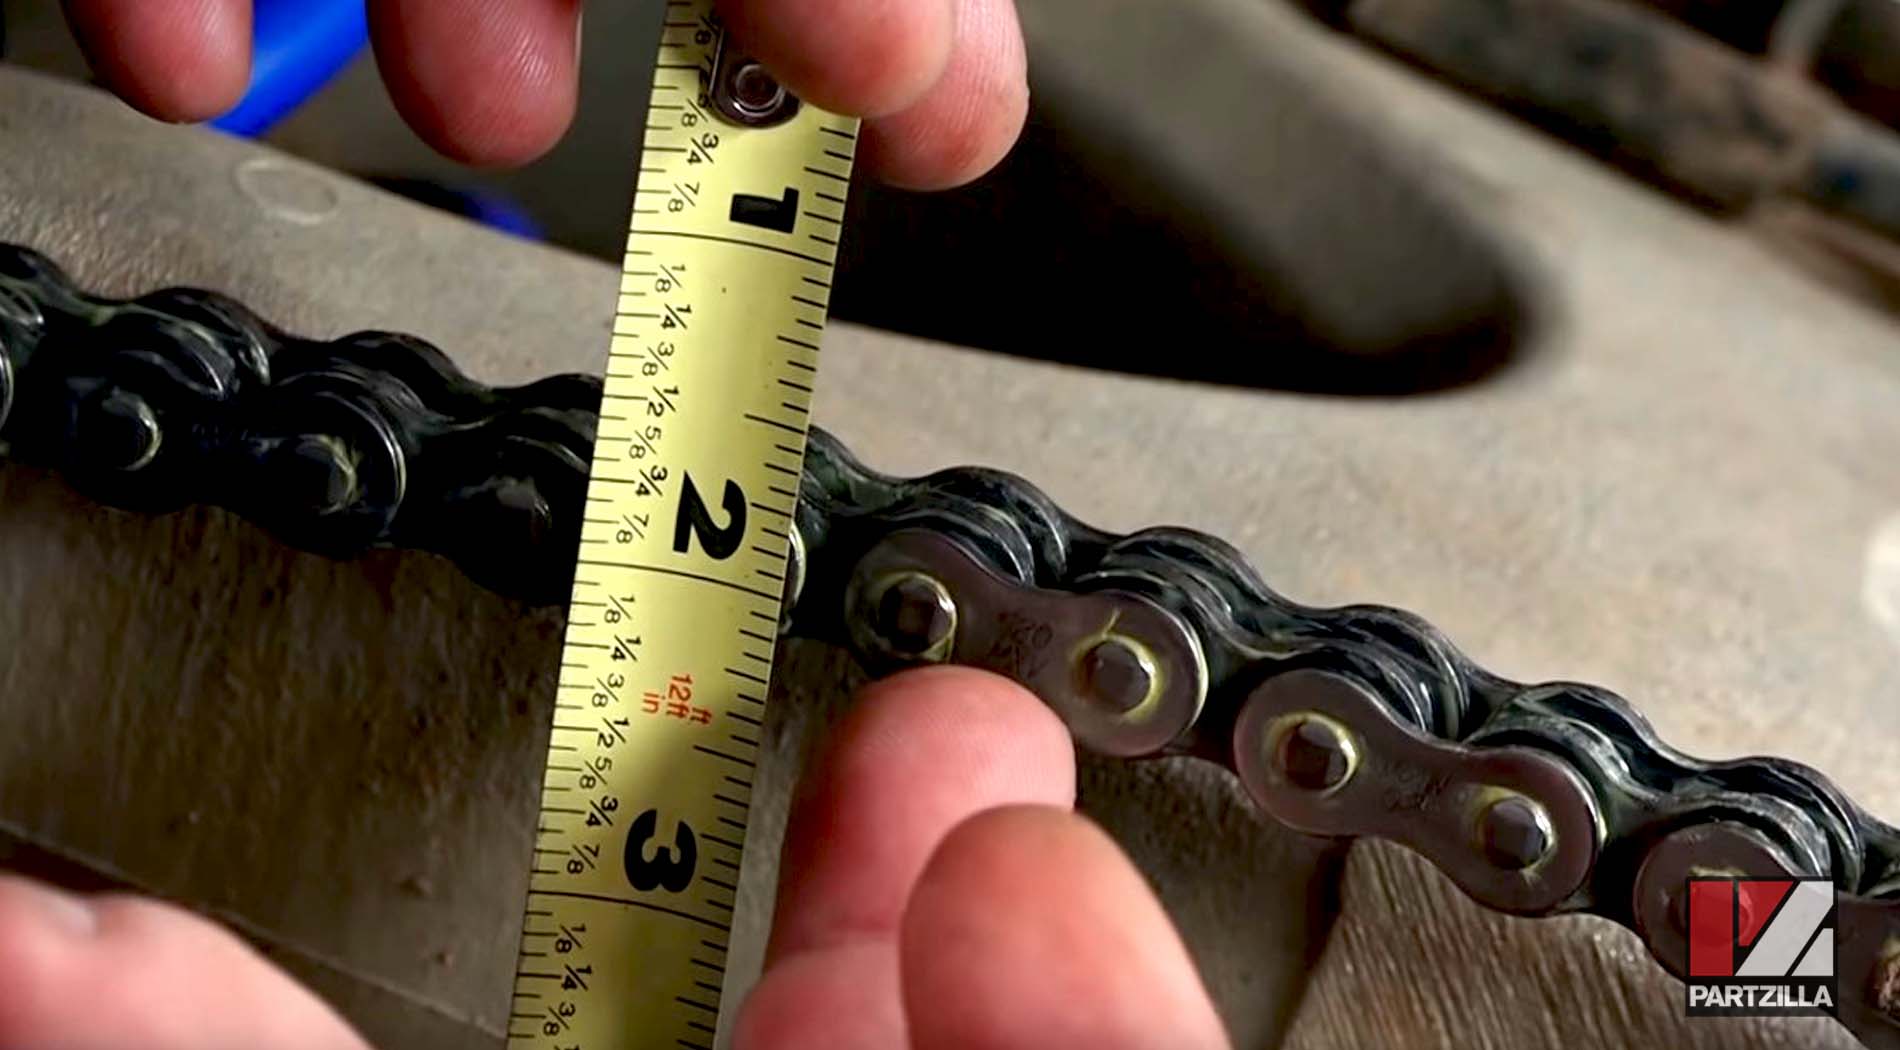
Step 17. Set the machine down to set the chain slack to somewhere between 1-1¼ inches of up-and-down movement. Make sure not to overtighten the new chain.
Step 18. Finally, don't forget to retighten the pinch bolts on the rear hub to 14 foot-pounds.