Troubleshooting Honda TRX400EX Charging System
When the battery in your Honda ATV keeps dying, the problem may not be the battery itself, but rather the machine's charging system.
Watch the video above or read on below to learn how to test the battery, the stator and the regulator/rectifier, which make up the charging system of a quad.
NOTE: We did our troubleshooting on a Honda TRX 400EX, but the steps are the same for most ATVs, although the layout of the components may vary.
Tools – Troubleshooting Honda TRX400 Charging System Problems
- Multimeter
- Battery tester
- Battery charger/tender
NOTE: You’ll need a multimeter with diode function to test the regulator/rectifier unit. We also highly recommend you invest in a battery charger/tender that is capable of not just charging the battery, but will service and protect it when the ATV is in storage.

Troubleshooting the Charging System
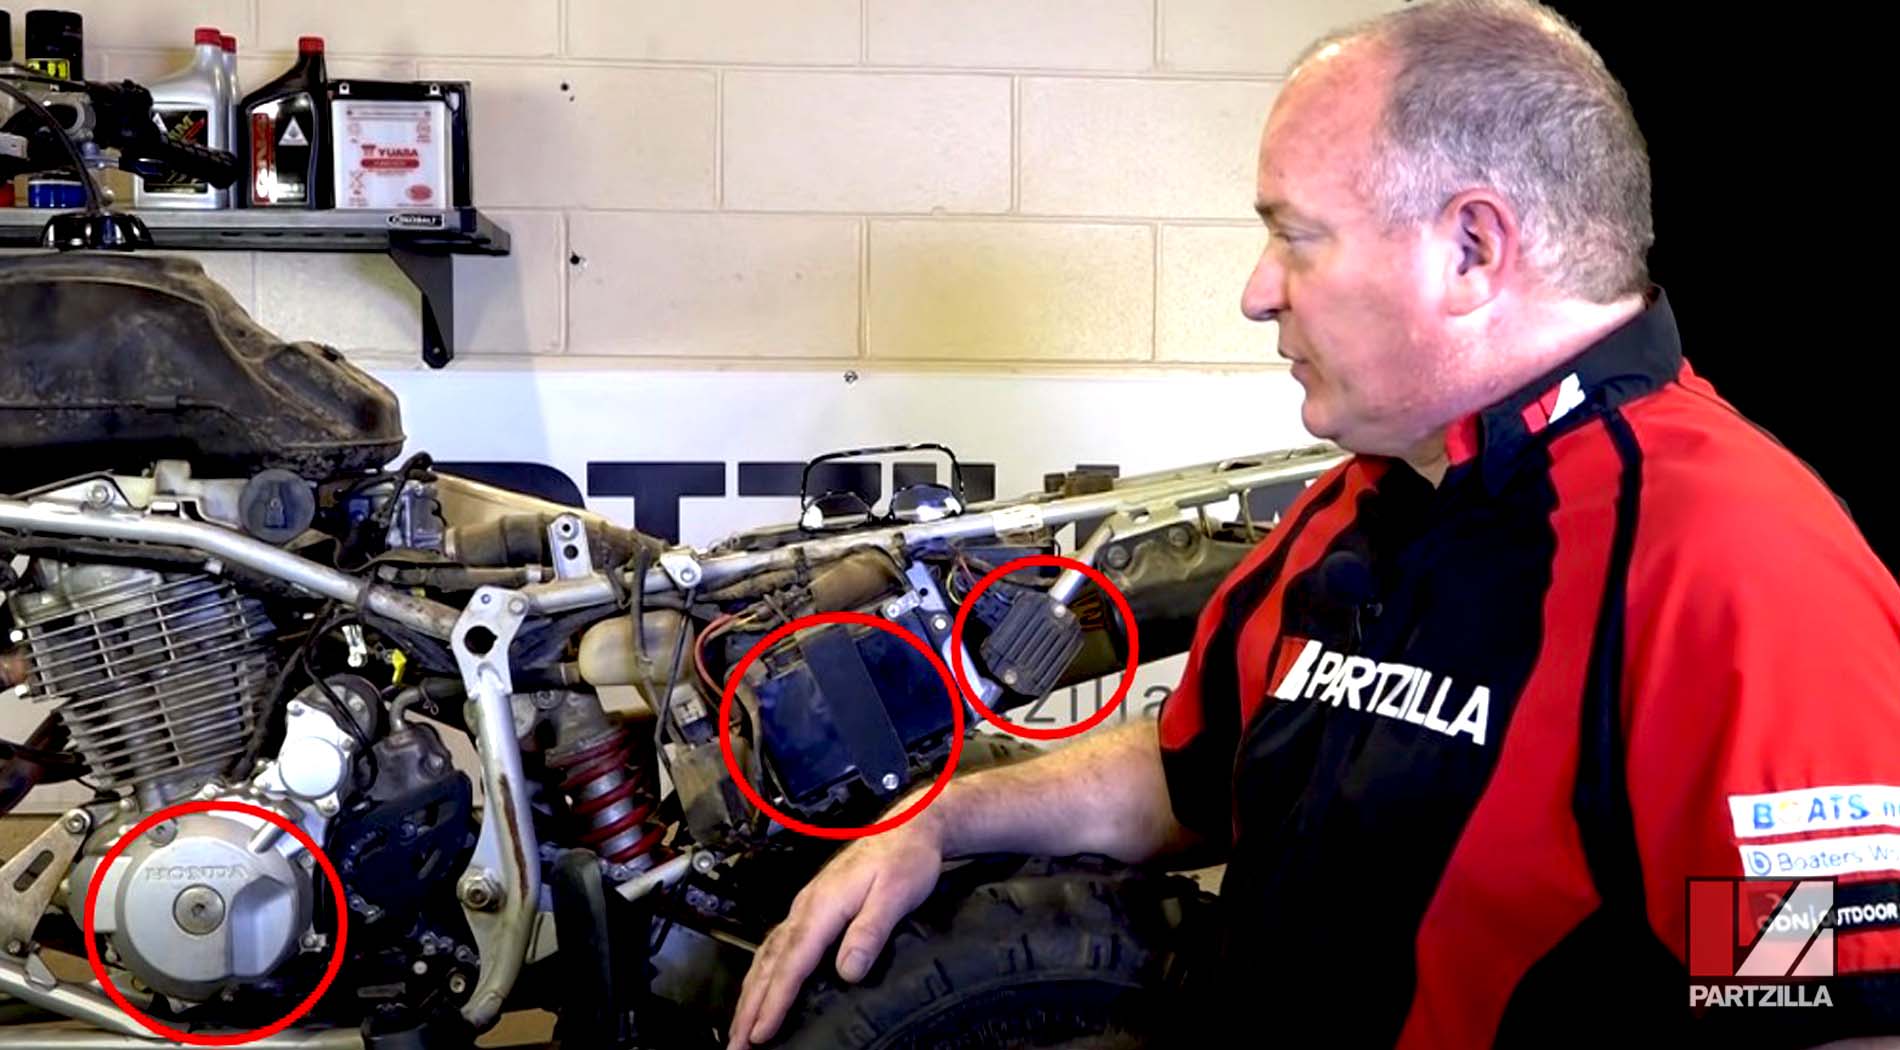
The charging system on a Honda TRX 400EX and most other ATVs is made up of a stator that provides AC power; a regulator/rectifier unit that converts the AC power to DC power and sends it to the battery; and a battery that stores the power and feeds it to the various electrical systems.
Troubleshooting Honda ATV Charging Problems: Battery Testing
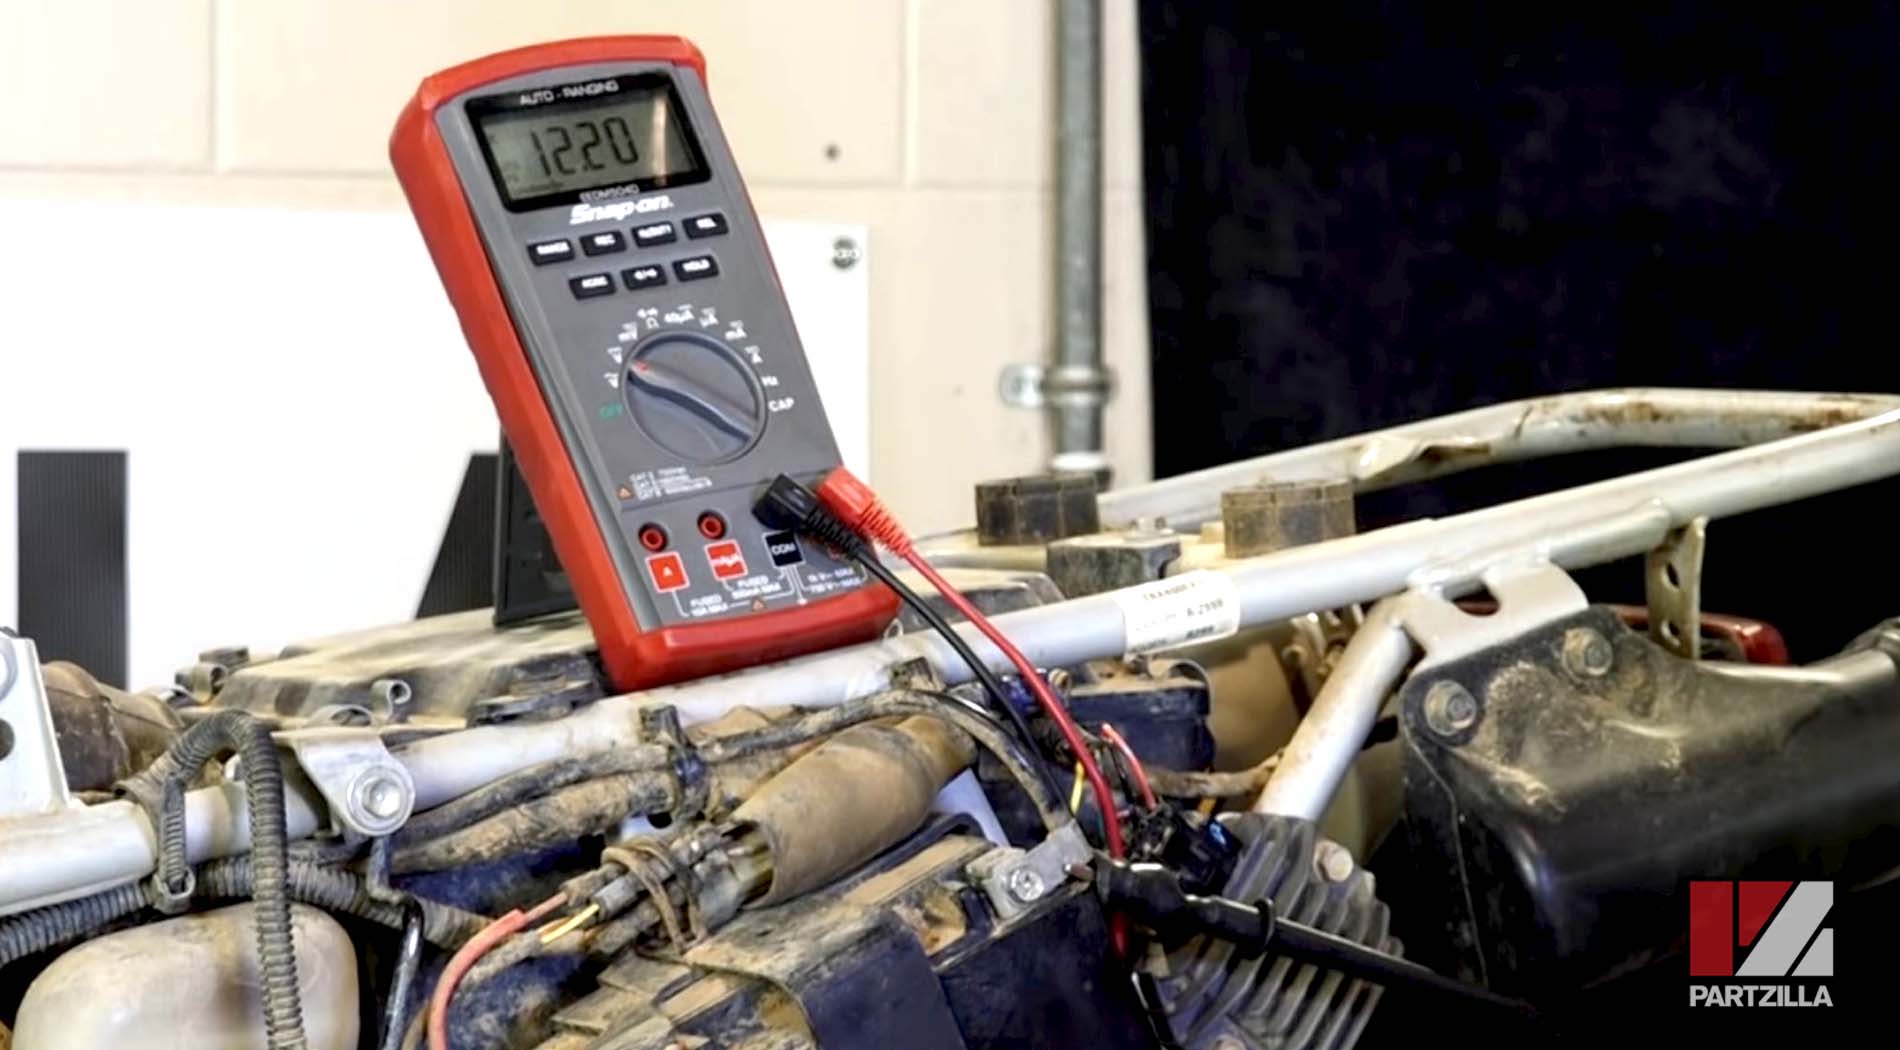
Static Voltage Test
Set a multimeter to DC volts and with the ignition off, connect the multimeter to the positive and negative battery terminals. The reading should be between 12.5 volts and 13 volts. If the reading is below that, the battery should be charged and the static voltage test repeated. If the reading is still below 12.5 volts, the battery needs to be replaced.
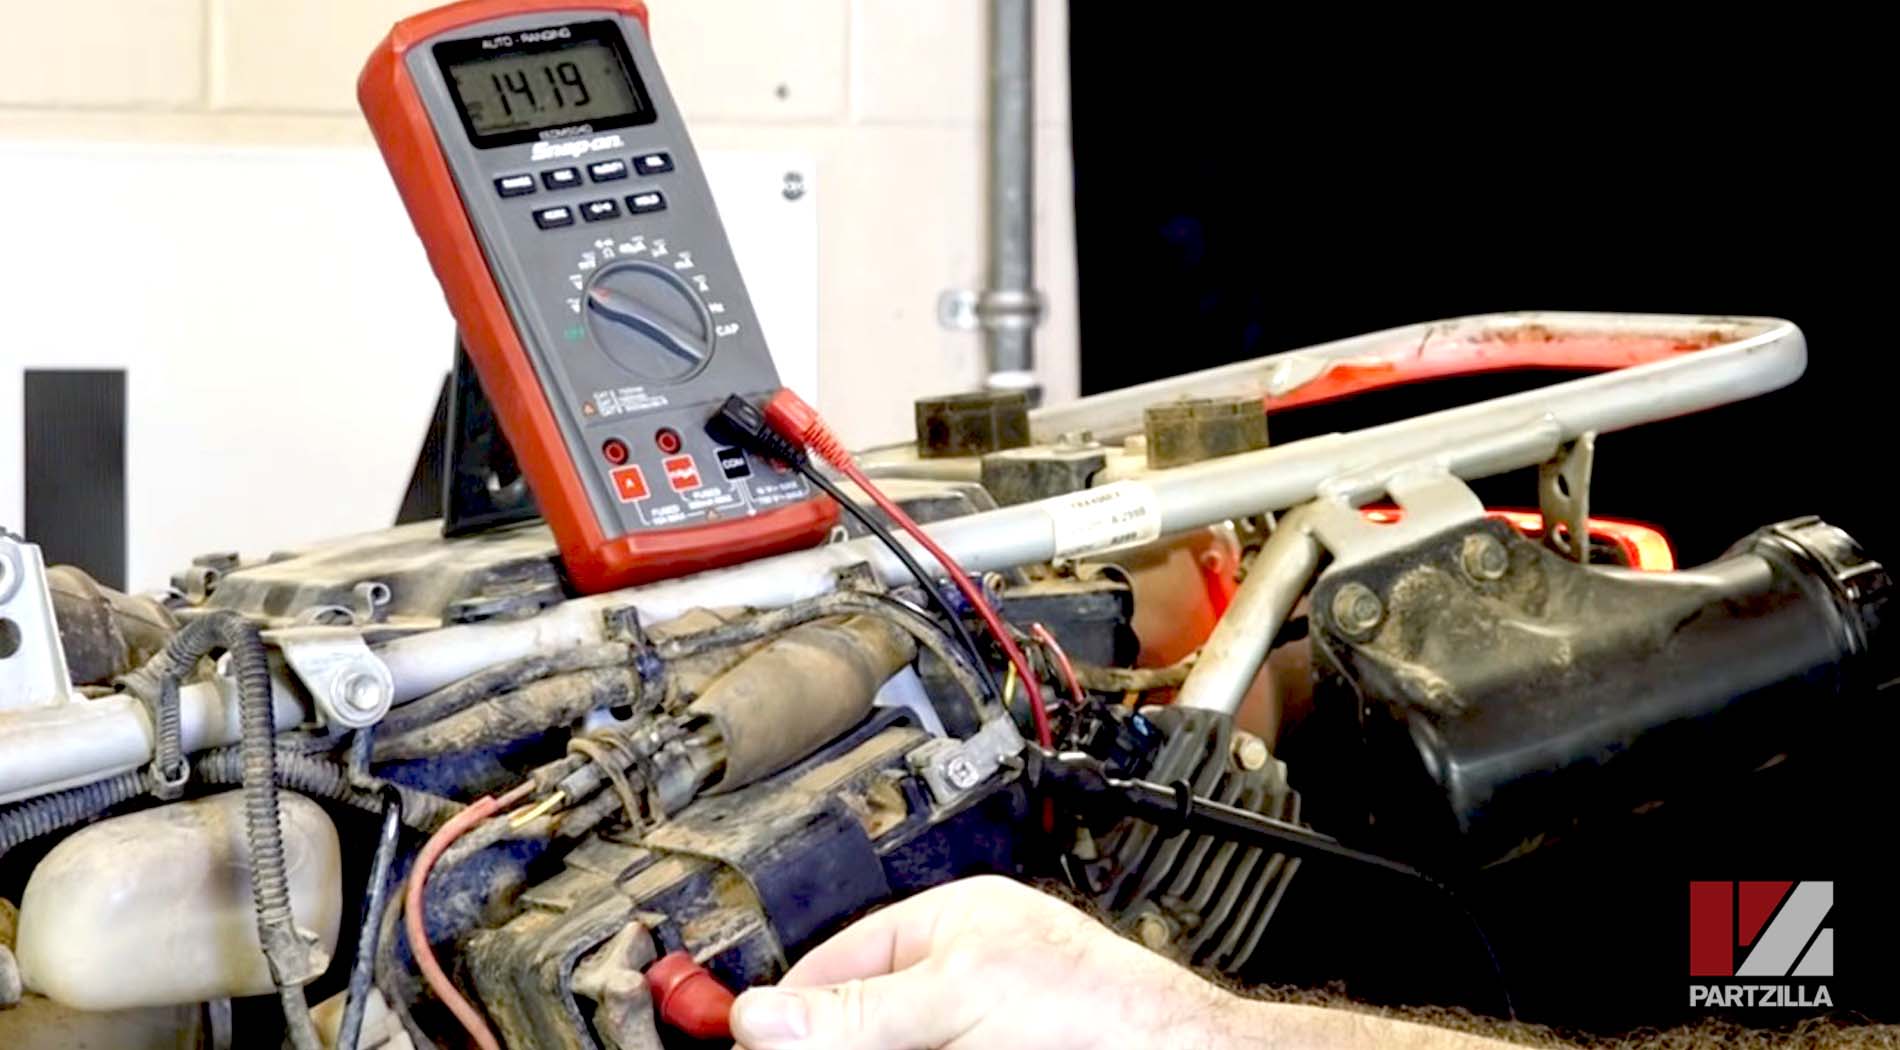
Dynamic Voltage Test
Set a multimeter to DC volts, start the engine, let it idle, and connect the multimeter to the positive and negative battery terminals. The reading should be at least 14 volts. If the reading is 14 volts or above but the battery is failing to hold a charge, diagnose the battery with a battery tester. If the reading is below 14 volts, the charging system isn’t providing enough current to the battery and needs to be tested.
Watch the clip below to see the battery testing segment of our Honda TRX 400EX charging system video.
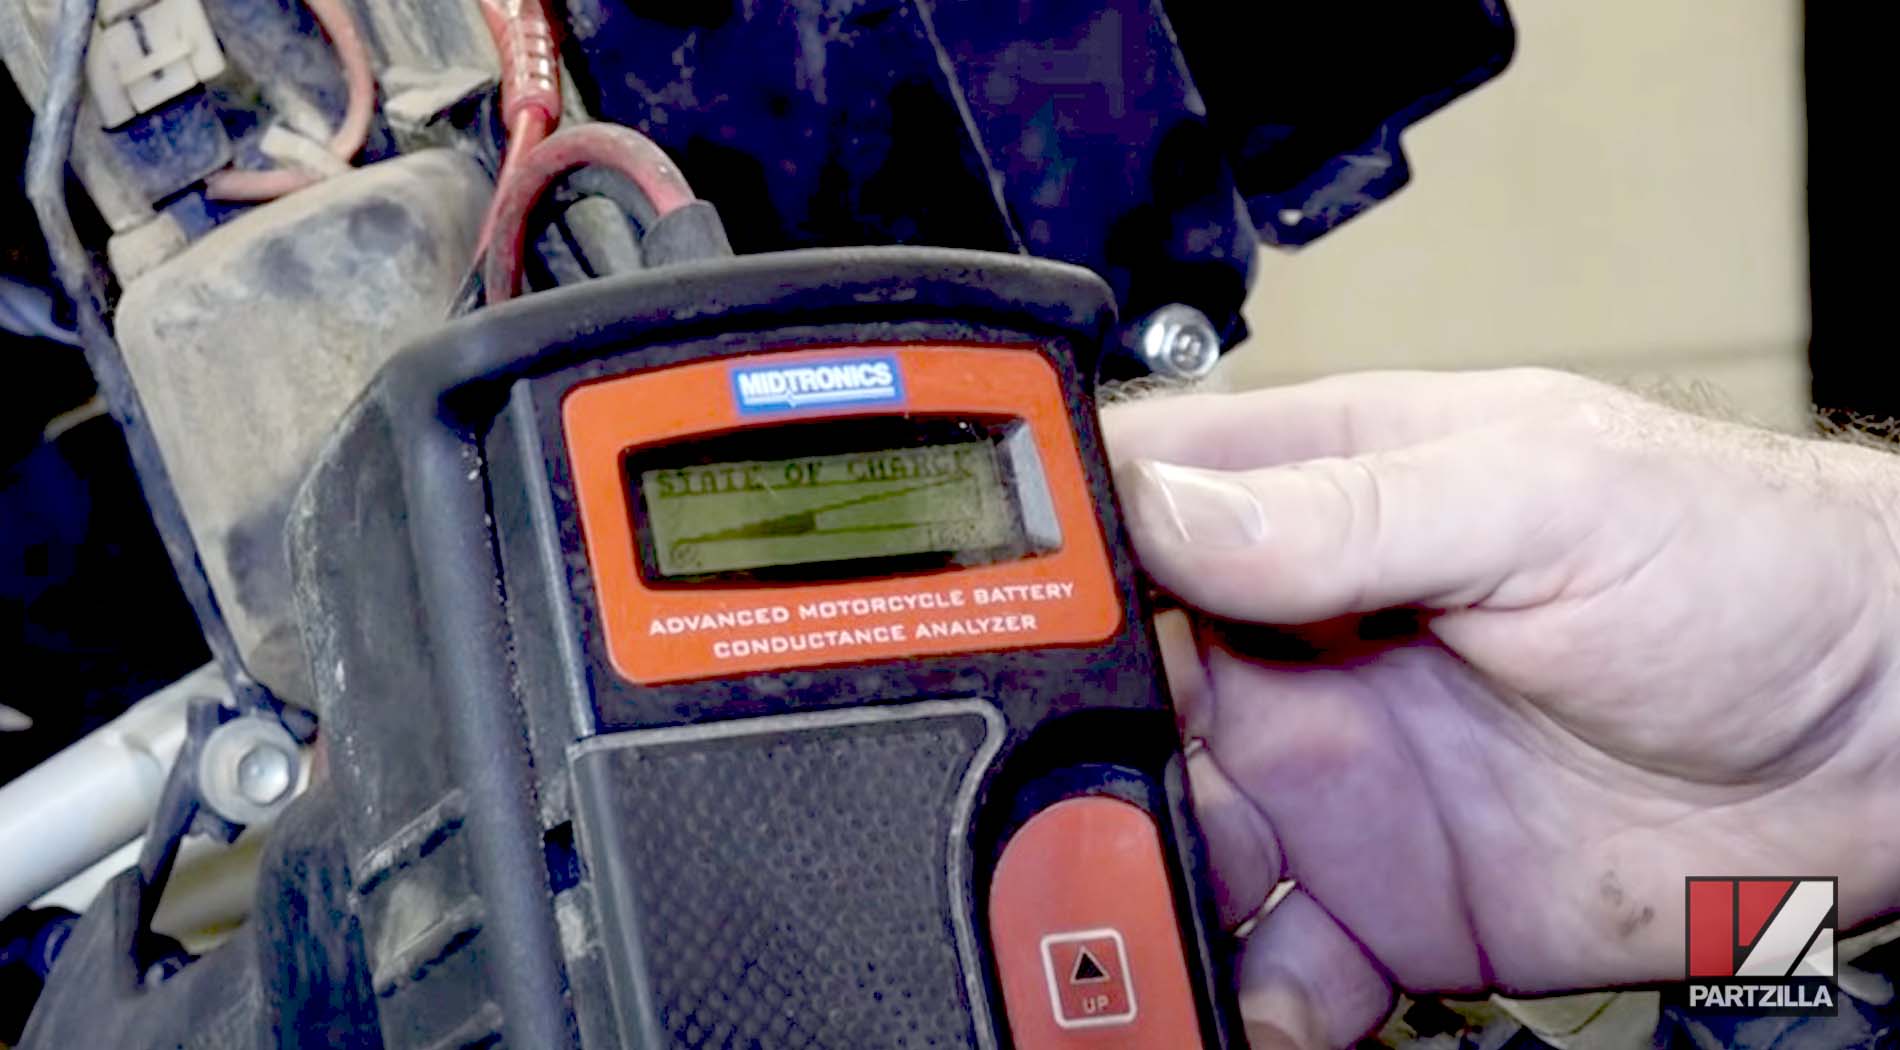
Battery Diagnosis
Disconnect the negative and positive battery leads, always starting with the negative lead first. Connect a battery tester to the battery, then select the battery model in the tester’s on-screen menu and set it to run a full test diagnosis. The tester will show you the battery’s health, how much charge it’s capable of holding, and whether it needs replacing or not.
Watch the clip below to see the battery diagnosis segment of our Honda TRX 400EX charging system video.
Replacing the Battery
The Honda TRX400EX uses a YUASA YTX9-BS battery. The YTX9-BS is a dry AGM (absorbent glass mat) battery, which means liquid electrolyte must be added before the battery can be charged and installed.
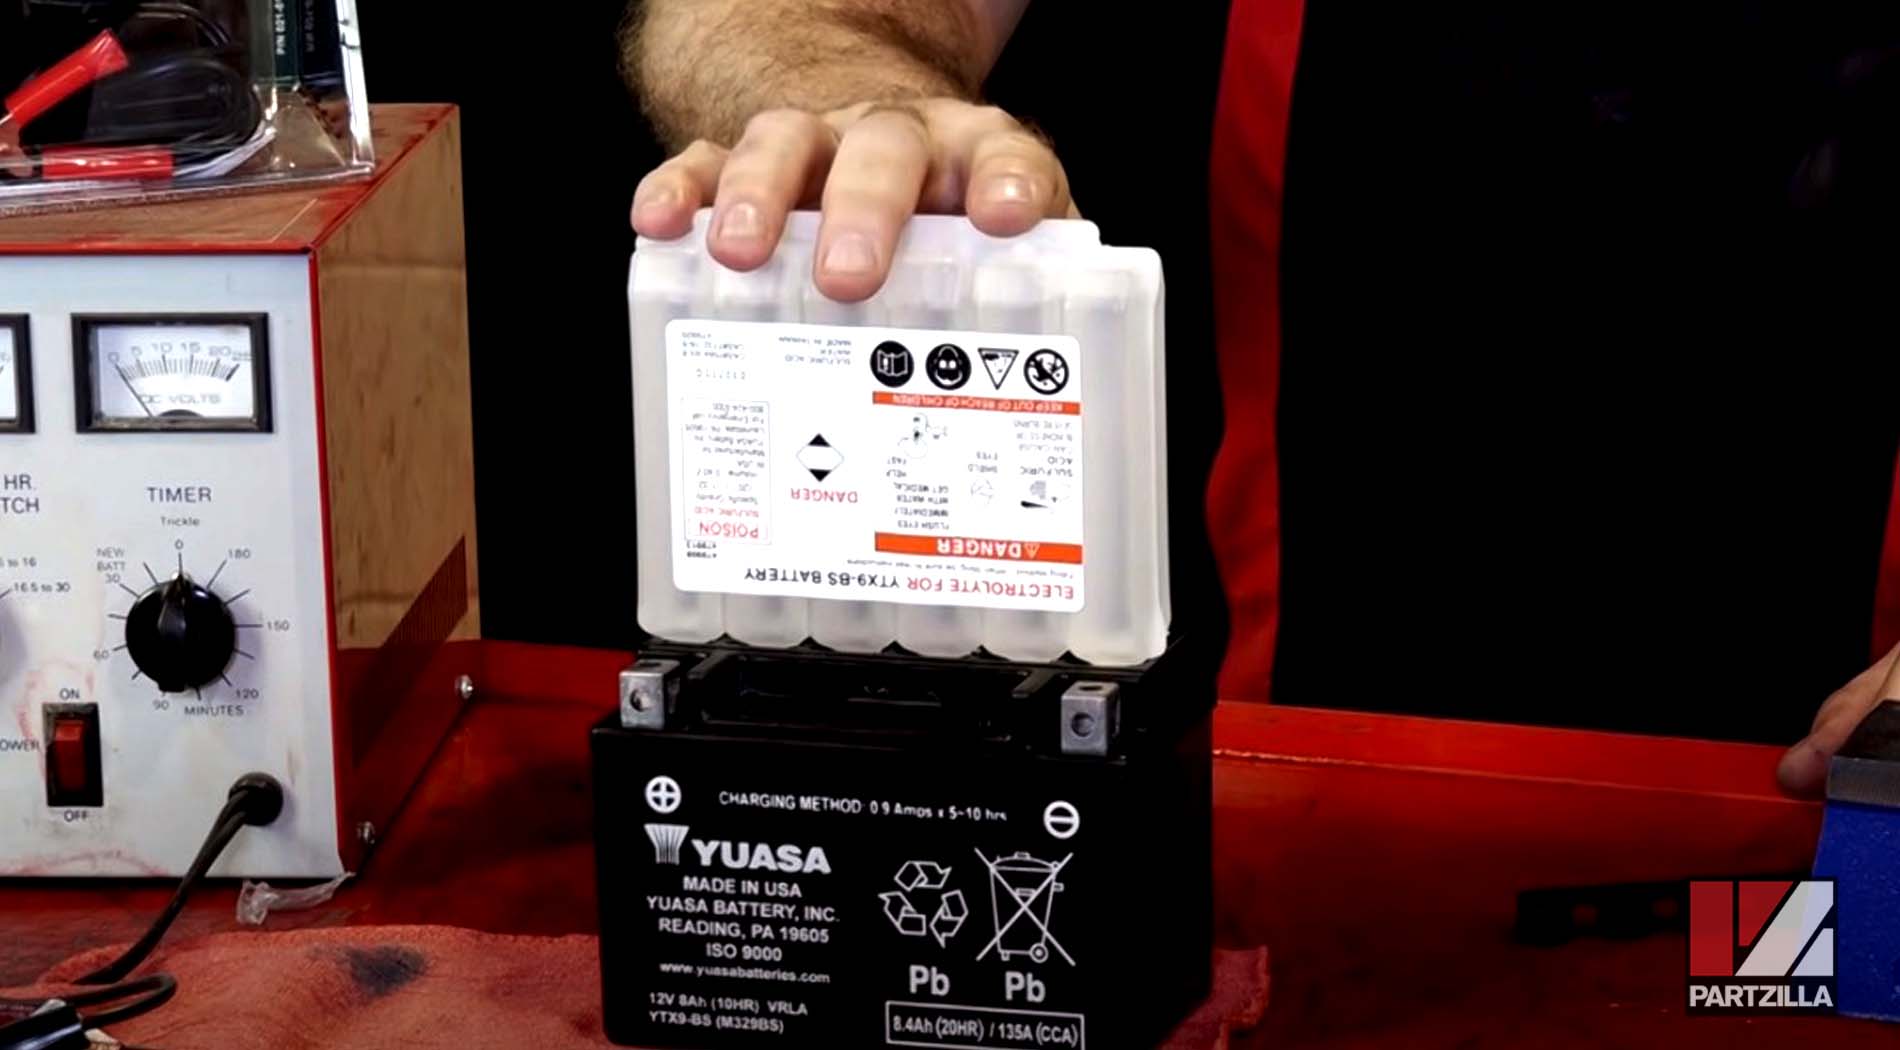
Adding electrolyte to battery:
- Remove the seal from the top of the battery and the cap from the electrolyte bottle.
- Press the electrolyte bottle down onto the battery and let it drain into the battery.
- Let the battery sit for about 30 minutes so the electrolyte can get fully absorbed by the glass mats within it.
- Connect the battery to a battery charger/tender and let it fully charge. Seal the battery with the plastic cap you removed from the electrolyte bottle.
Remove the old battery from the TRX400 and install the new battery, which is held in place by a bracket with a bolt at the top and bottom. Reconnect the battery leads, starting with the positive.
Watch the clip below to see the battery replacement segment of our Honda TRX 400EX charging system video.
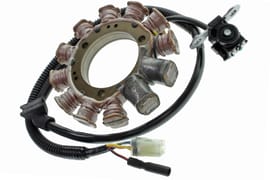
Troubleshooting Honda ATV Charging Problems: Stator Testing
Insert a pair of back probes against the red wire and the yellow wire at the wire connector on the regulator/rectifier unit. Connect the probes to a multimeter and set the meter to AC volts, then start the engine and let it idle.
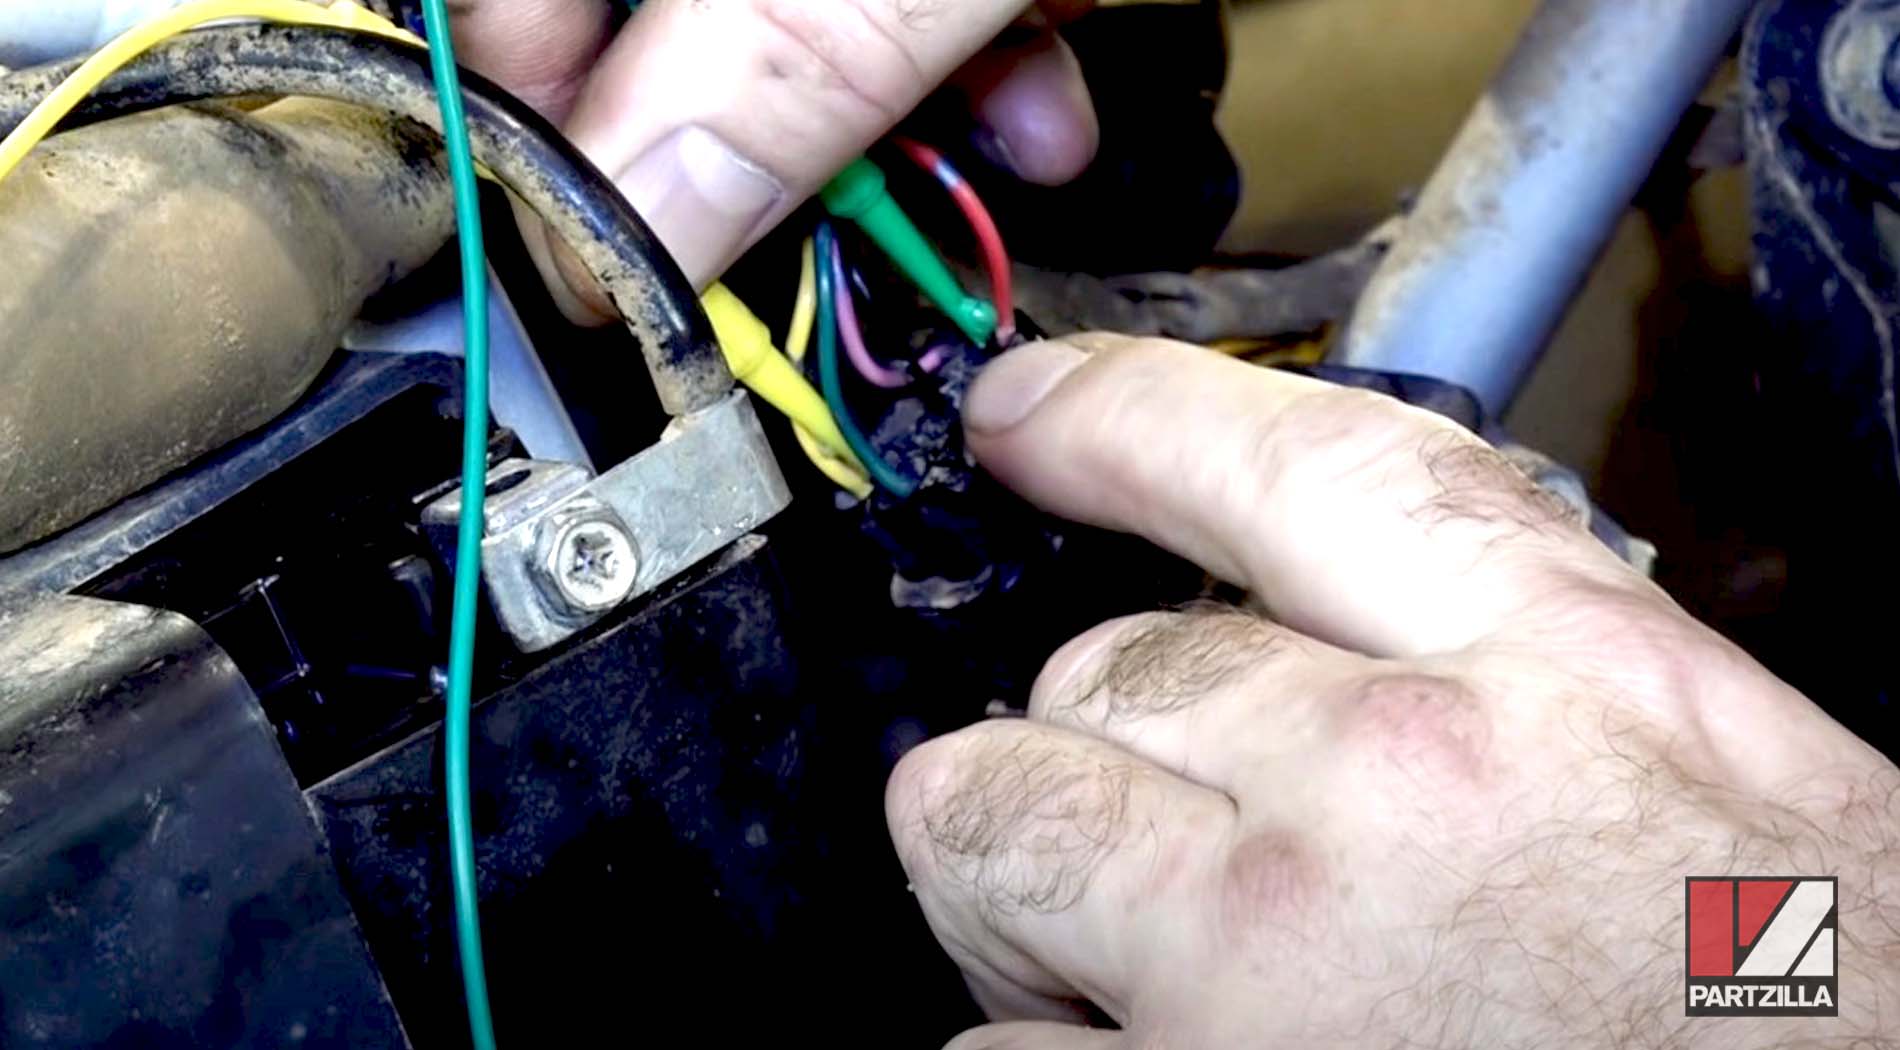
The multimeter reading should show the regulator/rectifier unit receiving AC voltage in excess of 15 volts, which means the stator is working correctly. If the regulator/rectifier isn’t receiving adequate voltage, the stator is failing or has failed and must be replaced. If the stator is working properly, the final component to test is the regulator/rectifier unit.
Watch the clip below to see the stator testing segment of our Honda TRX 400EX charging system video.
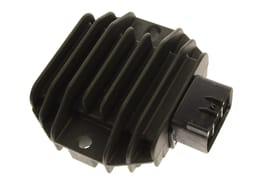
Troubleshooting Honda ATV Charging Problems: Regulator/Rectifier Testing
Set the multimeter to diode. Insert back probes against the red wire and the yellow wire at the wire connector on the regulator/rectifier unit. Repeat the process against the red wire and the pink wire. The multimeter reading should read about 0.5 volts for each. If the readings are any different, the regulator/rectifier unit is faulty and needs replacing.
NOTE: The color coding of the wires will vary between ATV makes and models. Check your service manual for the correct wire colors.
Watch the clip below to see for the regulator/rectifier testing segment of our Honda TRX 400EX charging system video.