How to Bleed the Clutch on a Suzuki GSX-R1000
Suzuki suggests you replace the clutch fluid on a GSX-R1000 at least once every two years. If you bought a pre-owned GSX-R, it’s wise to change the clutch fluid right away, since you may not know for sure when it was last changed.
Bleeding the clutch on a Suzuki GSX-R1000 is one of the simplest maintenance jobs there is, with only three basic tools needed. Watch the video above and follow the steps below to bleed the clutch on a Suzuki GSXR-1000 motorcycle.
Tools and Supplies – Suzuki GSX-R1000 Clutch Bleed
- Phillips screwdriver
- 5mm wrench
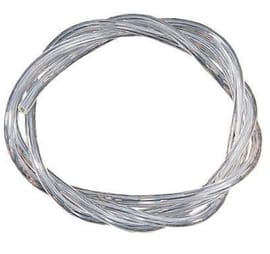
- Length of hose
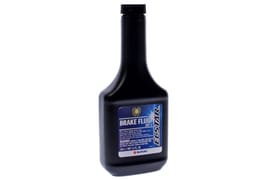
- DOT4 brake fluid
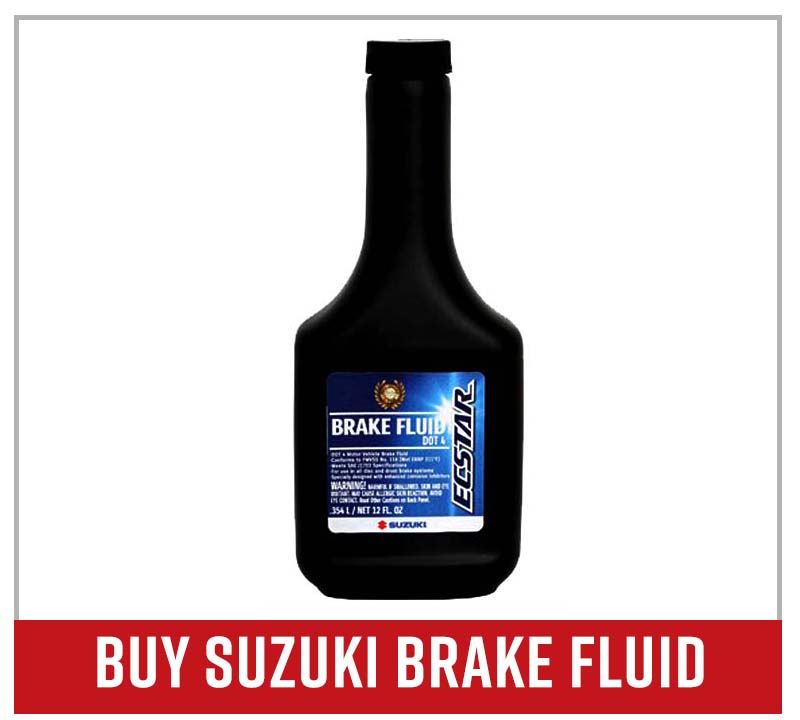

NOTE: Both the hydraulic clutch system and brake system on the GSXR use standard DOT4 brake fluid, which can damage bodywork plastics, paintwork and decals. Lay down some cloth or sheeting to protect the motorcycle from brake fluid drips or spills before bleeding the clutch.
Bleeding a Suzuki GSX-R1000 Clutch
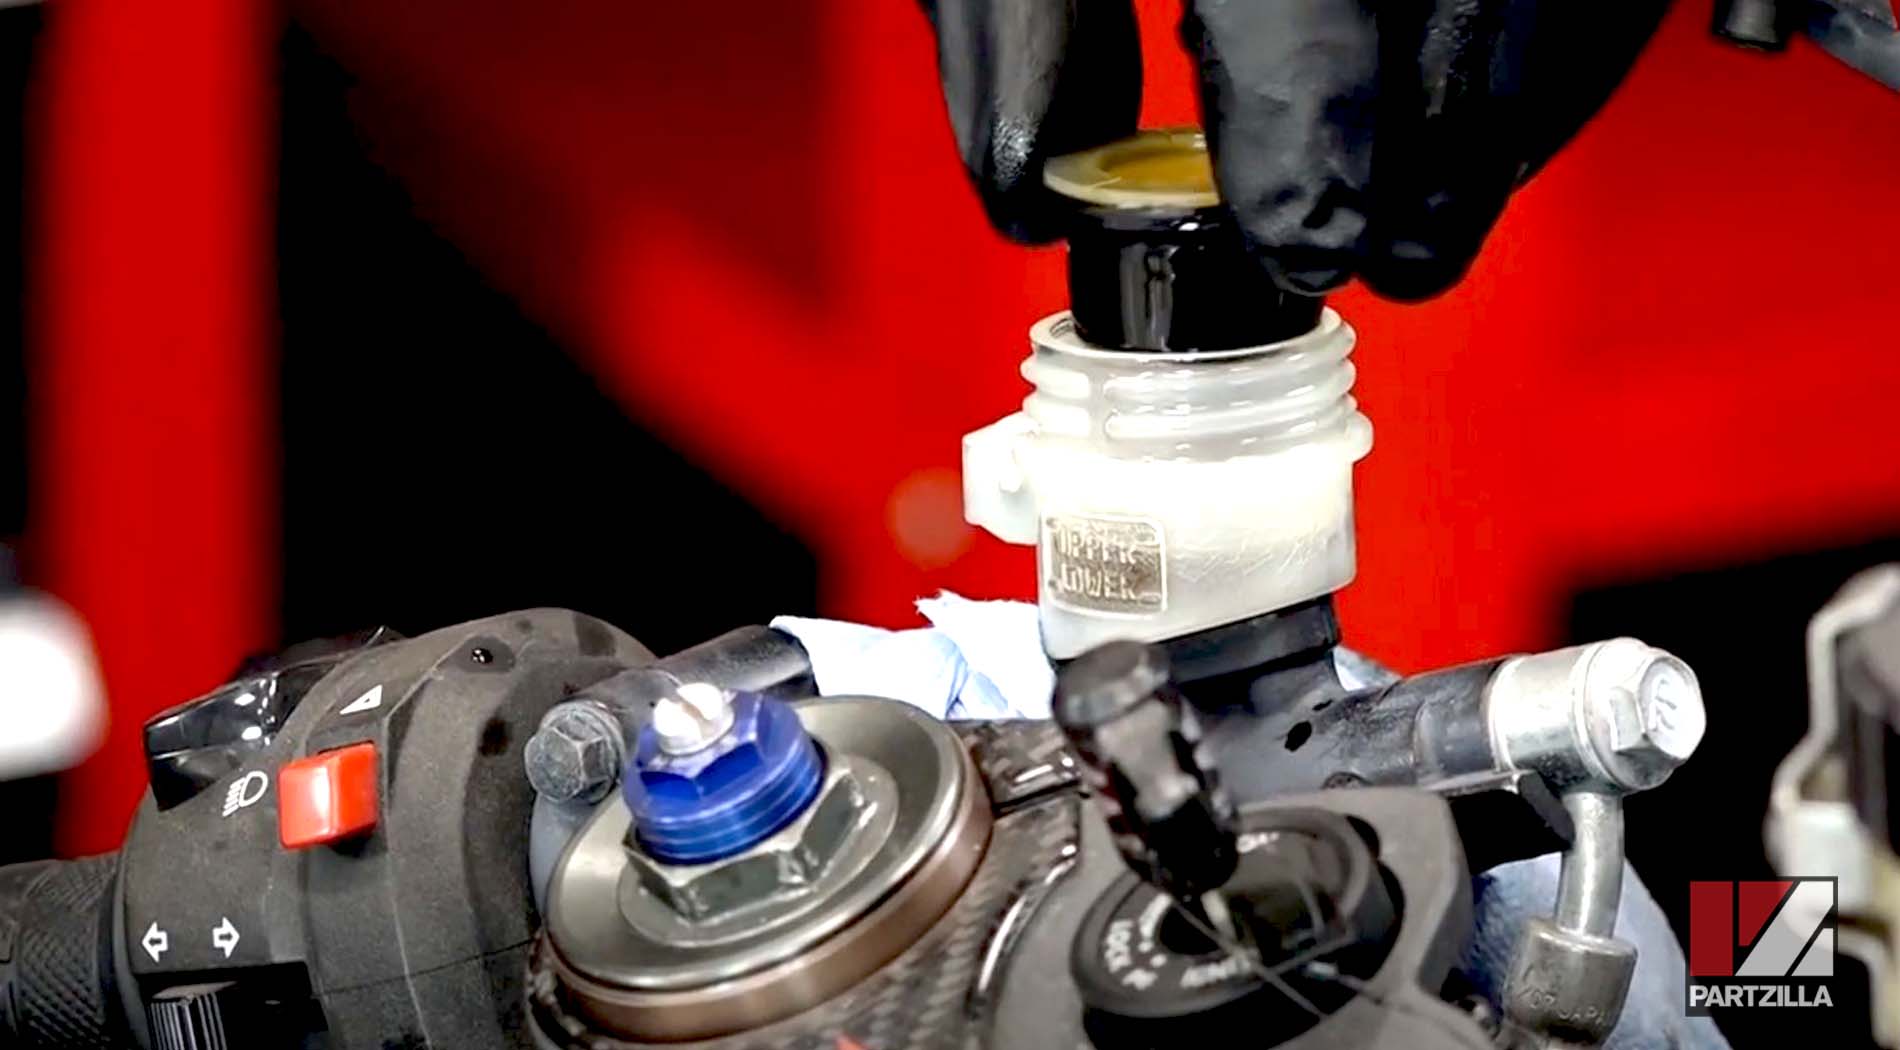
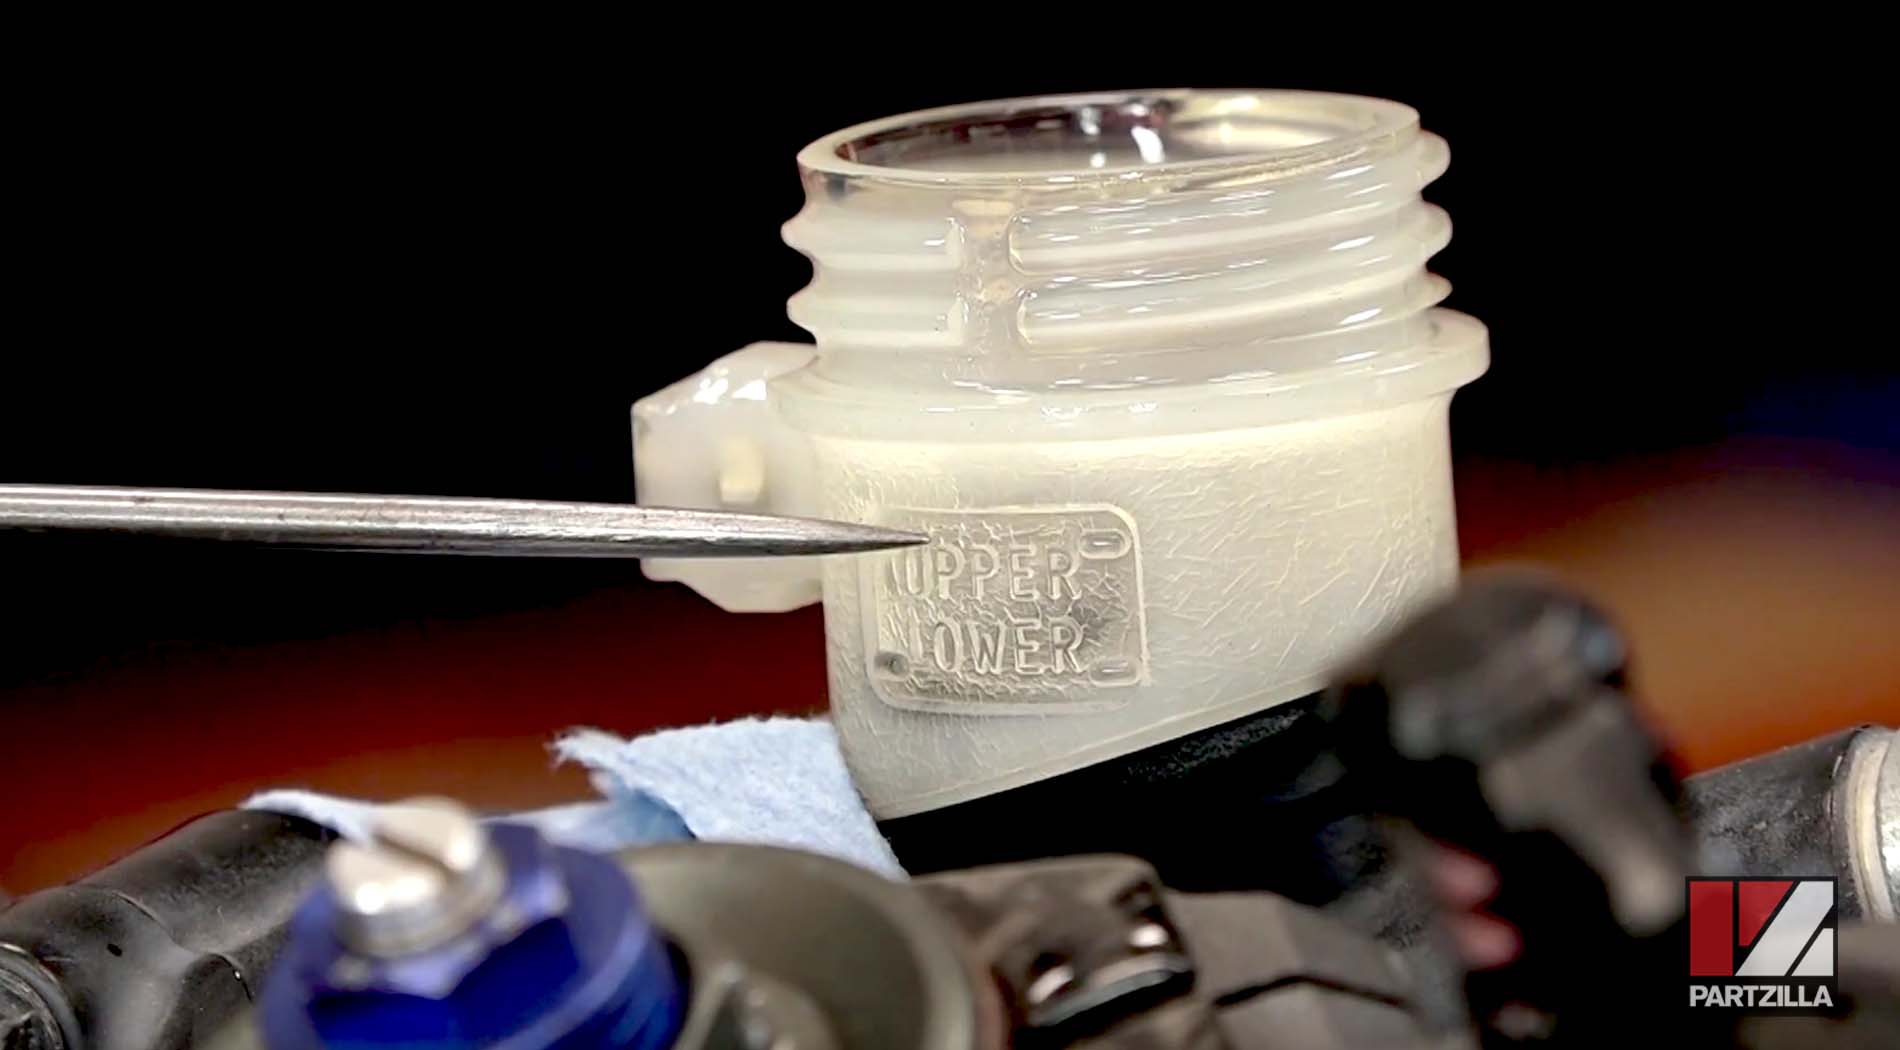
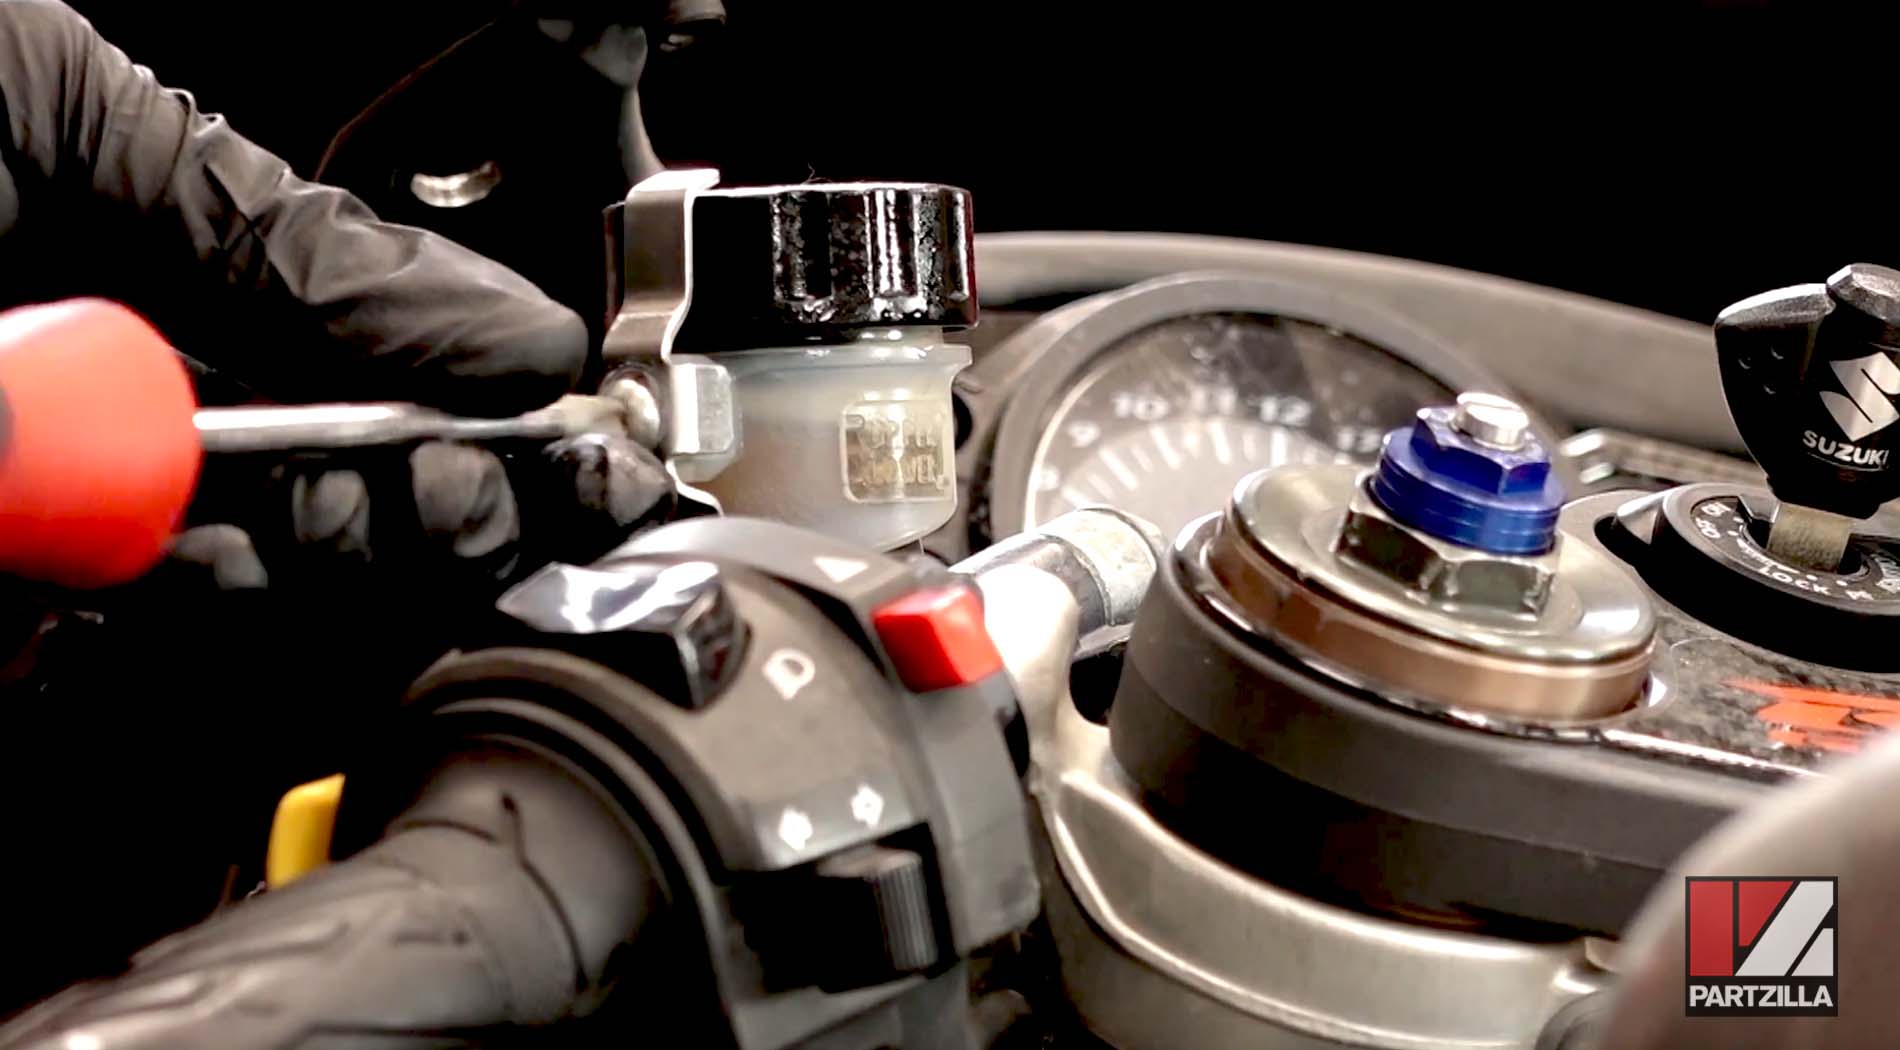
Step 1. Remove the clutch reservoir cap plate (which prevents the cap from working loose), followed by the reservoir cap itself.
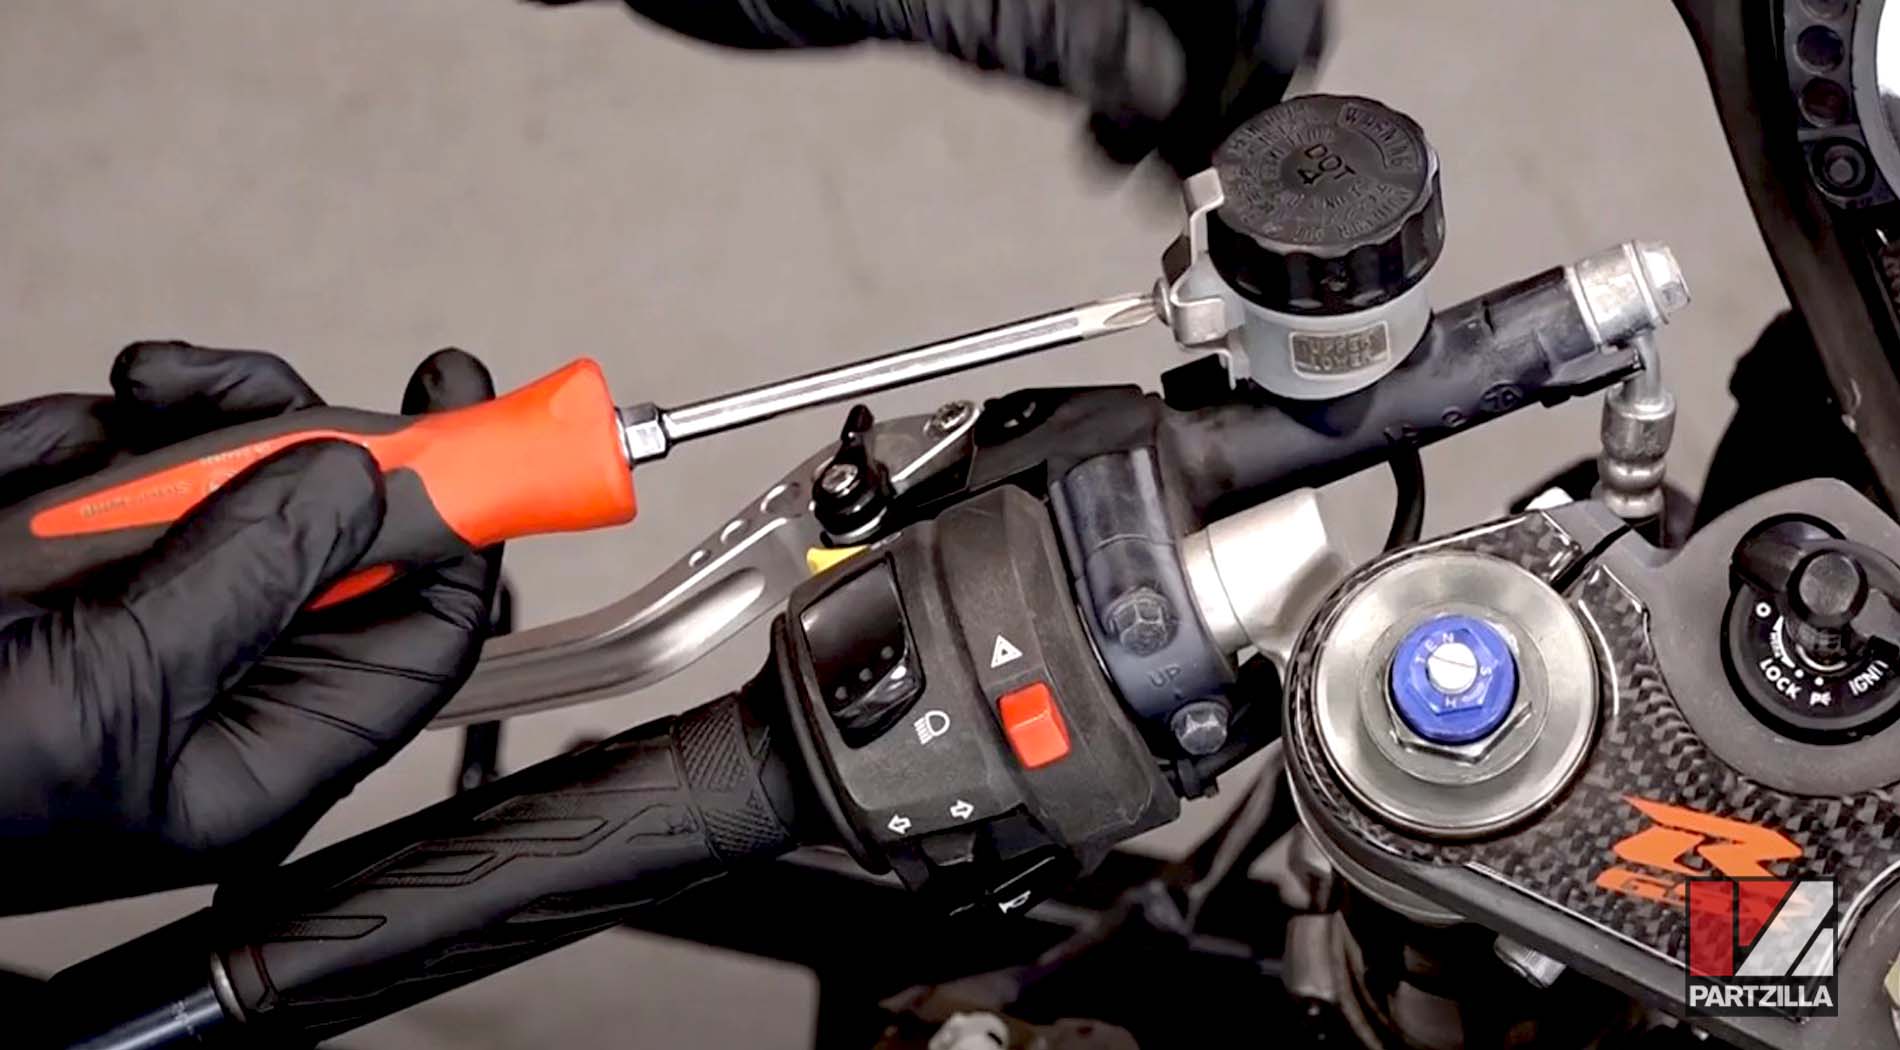
Step 2. Remove the diaphragm and diaphragm plate from within the reservoir, being careful not to drip any fluid on your GSXR’s paintwork. Top off the reservoir with brake fluid, and screw the reservoir cap back on to prevent fluid from squirting out as you bleed the system.
PRO TIP: If the fluid in the reservoir is dirty, don’t bleed it through the clutch lines. Instead, remove it and refill the reservoir with fresh brake fluid. A food baster makes an ideal tool for removing old fluid from the clutch or brake reservoirs.
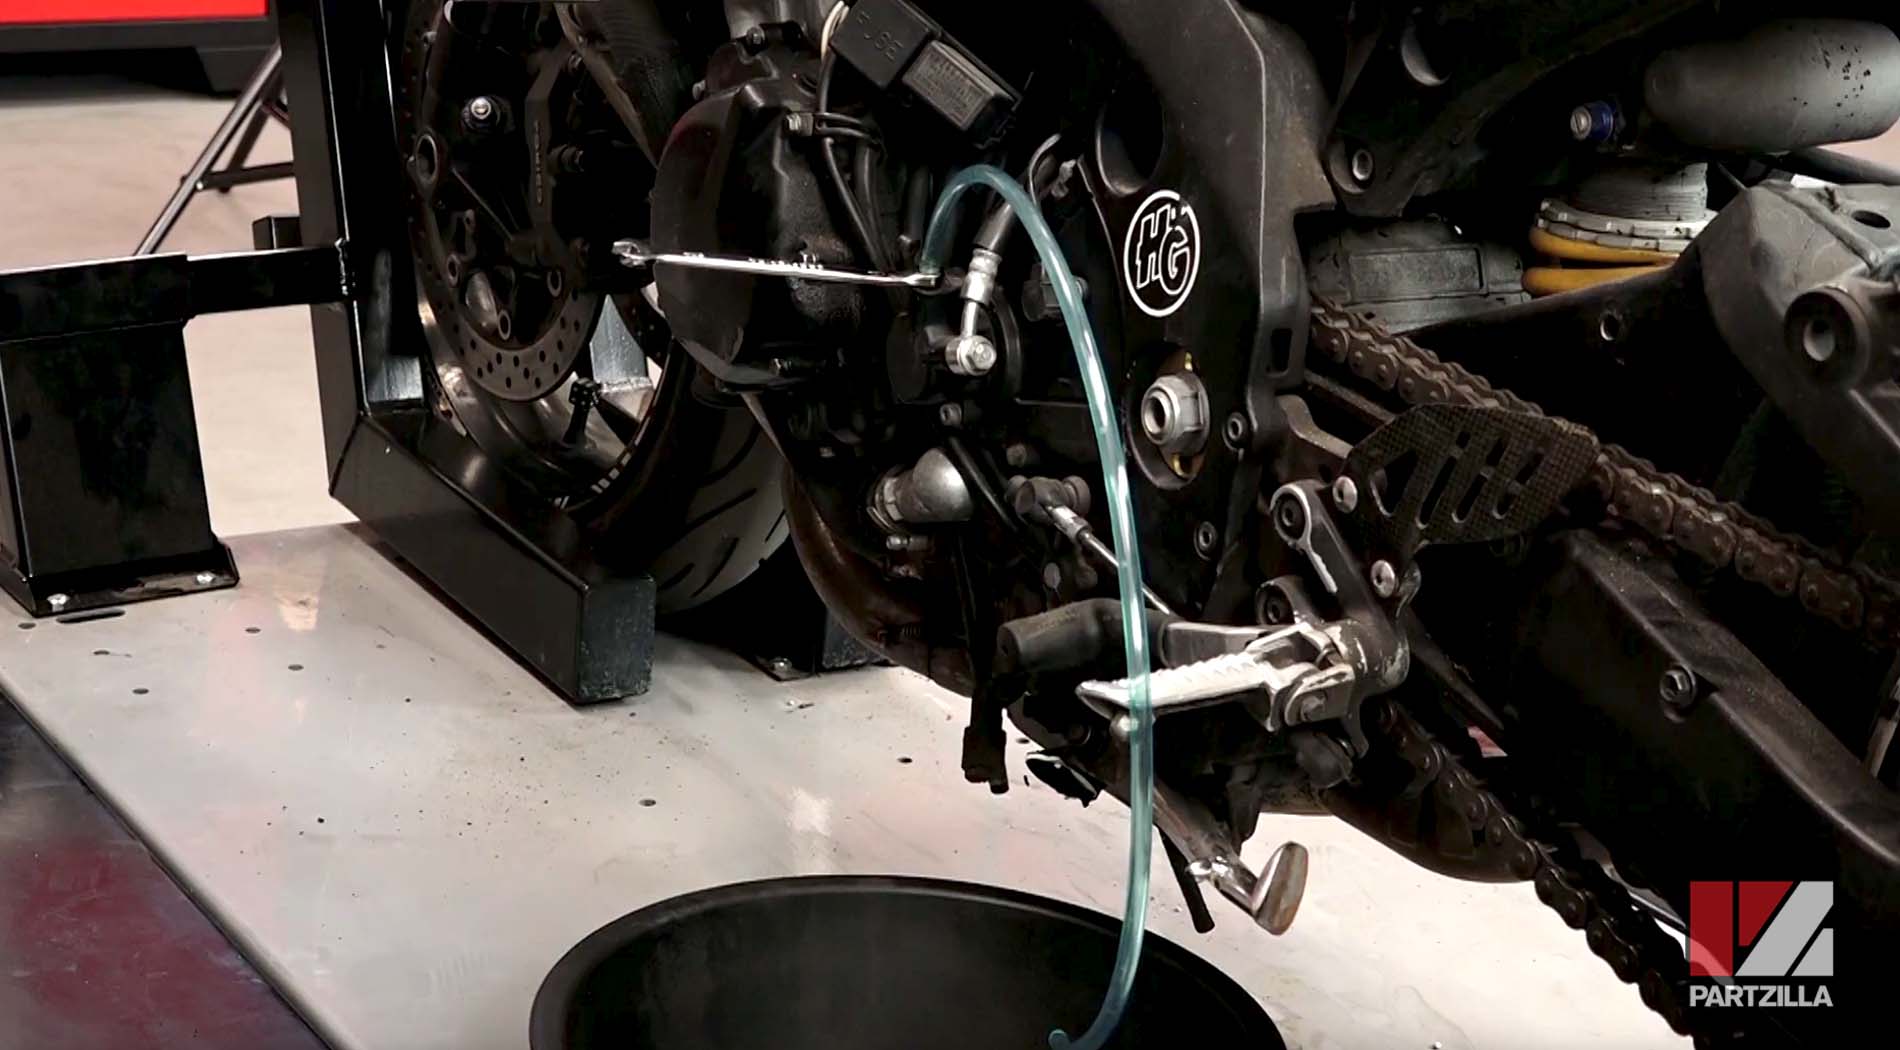
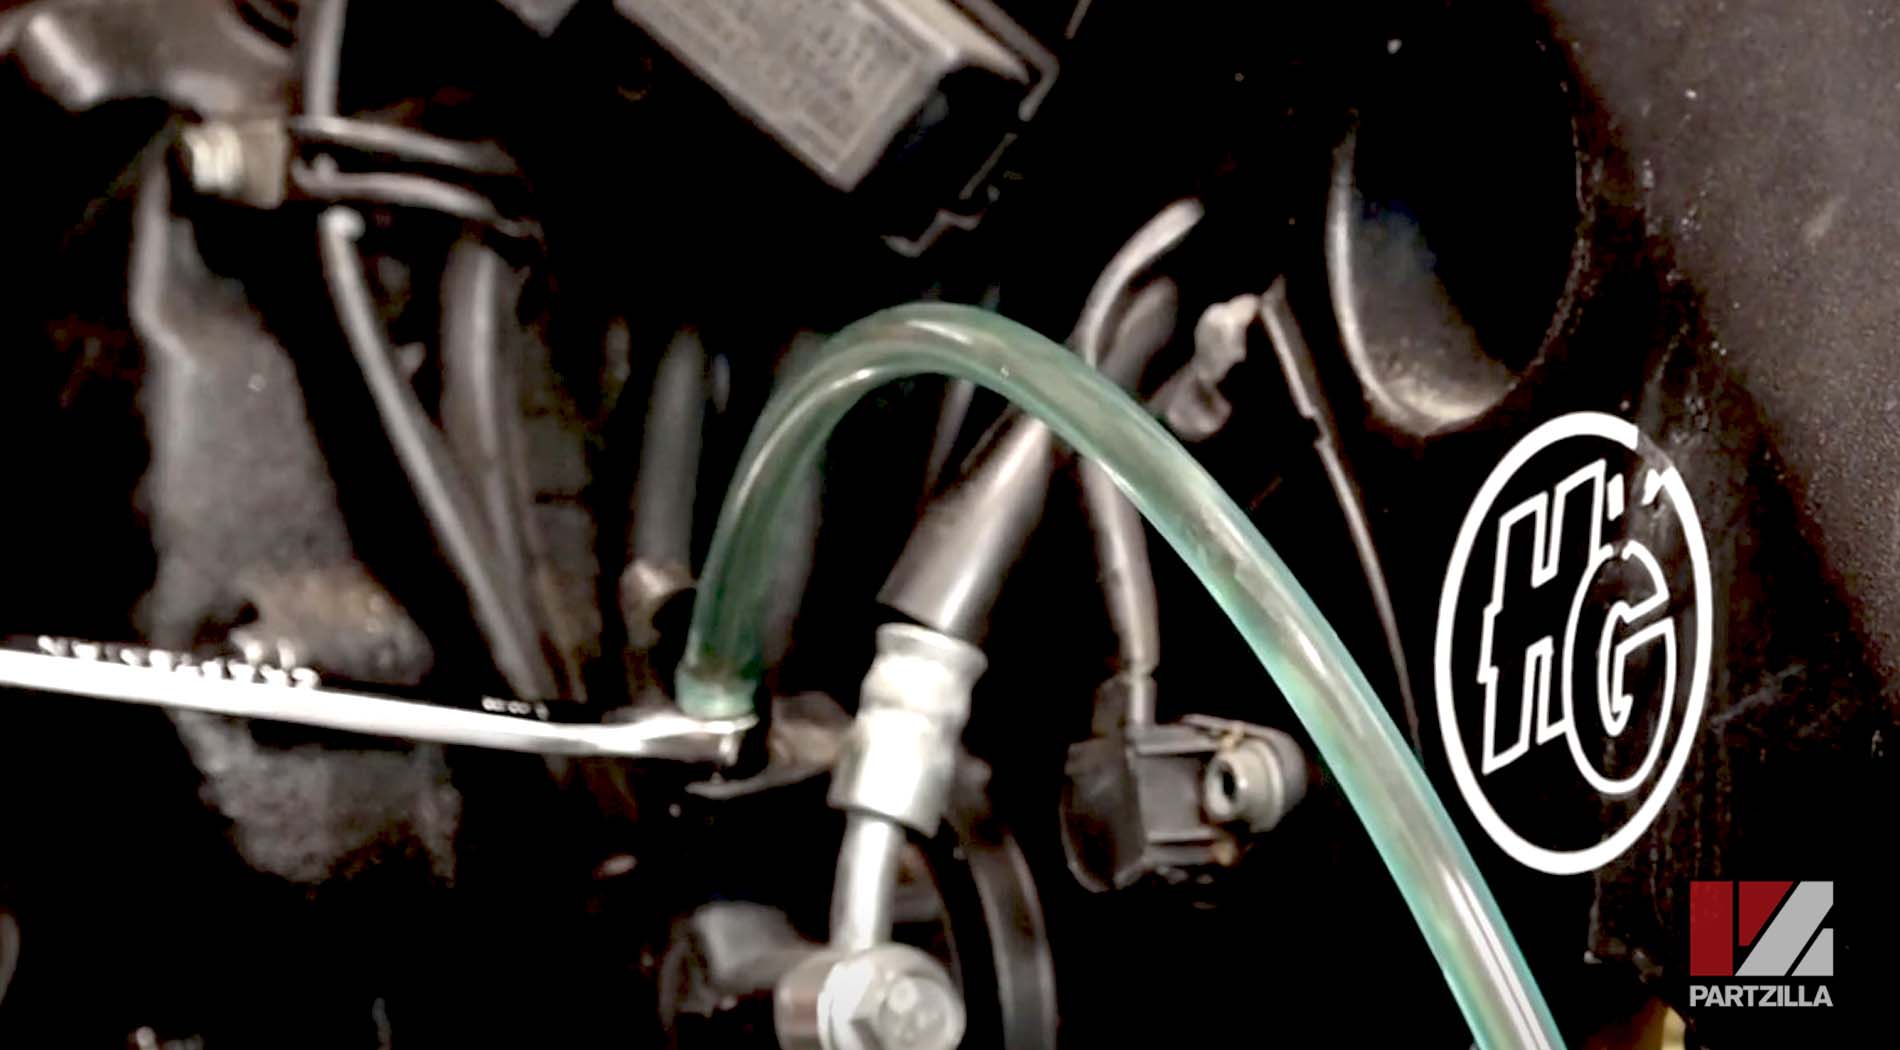
Step 3. Put an 8mm wrench and a length of clear plastic hose over the bleed screw, which is located on the clutch slave cylinder on the lower left side of the engine. Have a container ready to catch the old brake fluid from the other end of the plastic hose.
Step 4. Bleed the Suzuki GSX-R1000’s clutch by repeating the following actions in this order:
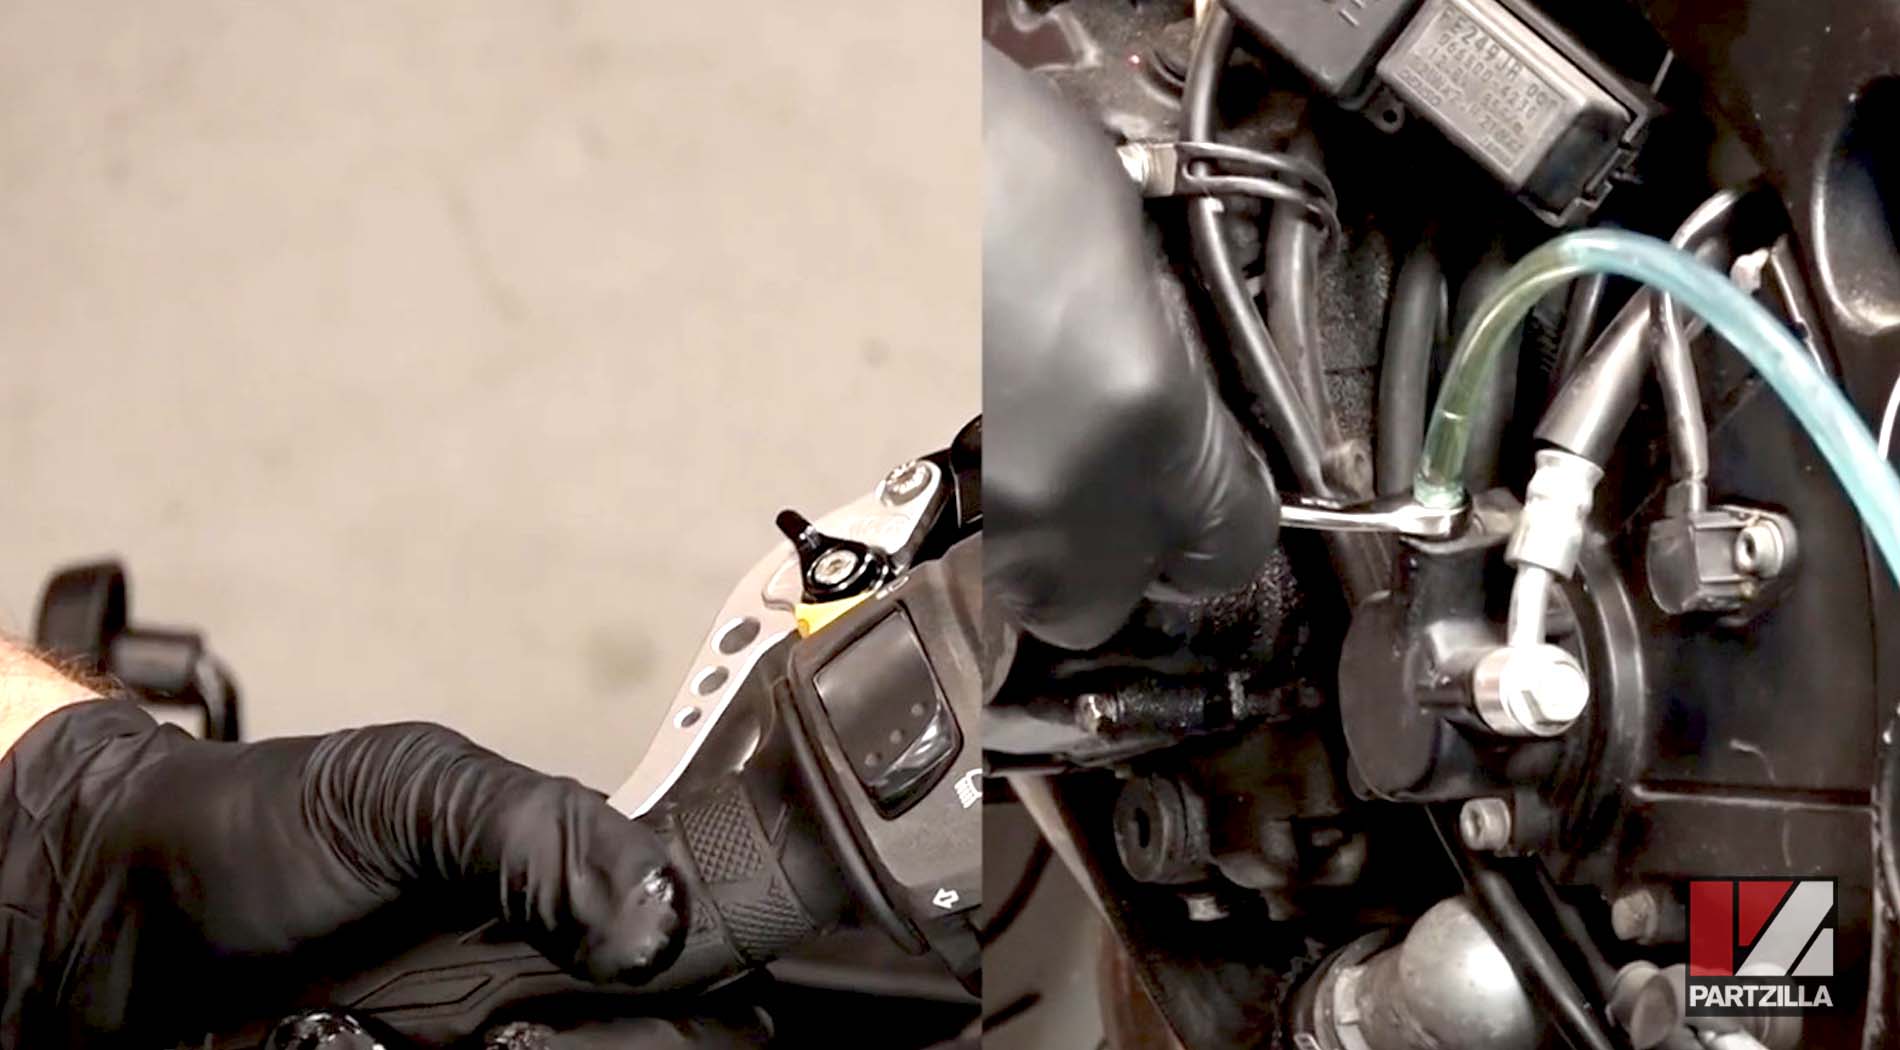
1. Pull the clutch lever in
2. Open the bleed screw
3. Close the bleed screw
4. Release the clutch lever
Step 5. After repeating the pull-open-close-release actions a few times, pause and refill the clutch reservoir with fresh brake fluid.
NOTE: As you bleed the clutch, the fluid level in the reservoir will drop and you must not let the reservoir run dry, or else you’ll introduce air into the clutch system and have to start the bleeding process again from scratch.
Step 6. Continue cycling through the pull-open-close-release actions and topping off the reservoir until you see fresh brake fluid coming from the bleed screw.
NOTE: The fresh fluid will be lighter in color, and will contain no traces of debris or air bubbles.
Step 7. Make sure the bleed screw is fully tightened, and remove the plastic hose and the 8mm wrench.
Step 8. Top off the clutch reservoir to the mark next to the word UPPER, and put the diaphragm and diaphragm plate back into the reservoir.
Step 9. Screw the reservoir cap back on, and reinstall the clutch reservoir cap plate.
Wipe away any last traces of brake fluid and you’re done bleeding the clutch.