How to Change Suzuki GSXR1000 Rear Brake Pads
Changing the rear brake pads on a Suzuki GSXR is a little easier than changing the front brake pads, since there’s only a caliper on one side.
Watch the video above and follow the steps below to learn how to change the rear brake pads on a Suzuki GSX-R1000.
Tools and Parts - Suzuki GSX-R1000 Rear Brake Pads Change
- Flat-blade screwdriver
- 5mm Allen
- 12mm socket


Suzuki GSXR-1000 Rear Brake Pads Change
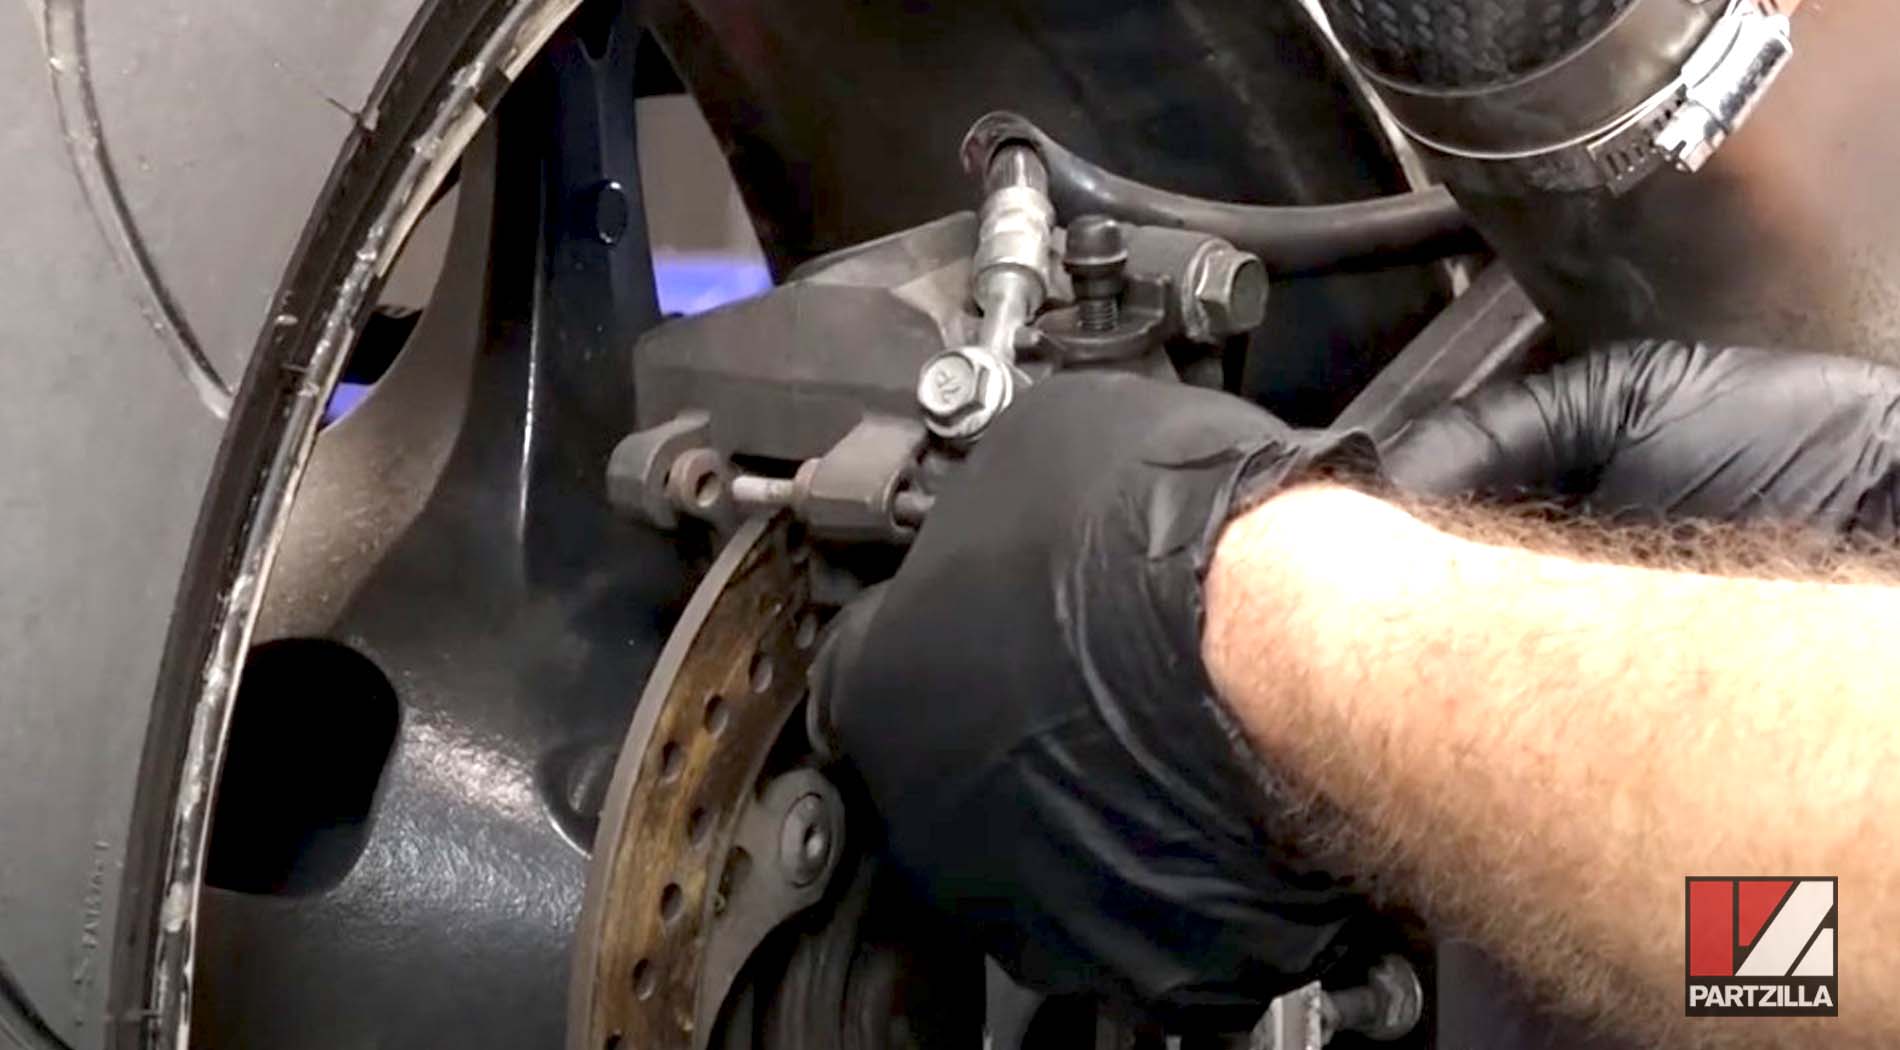
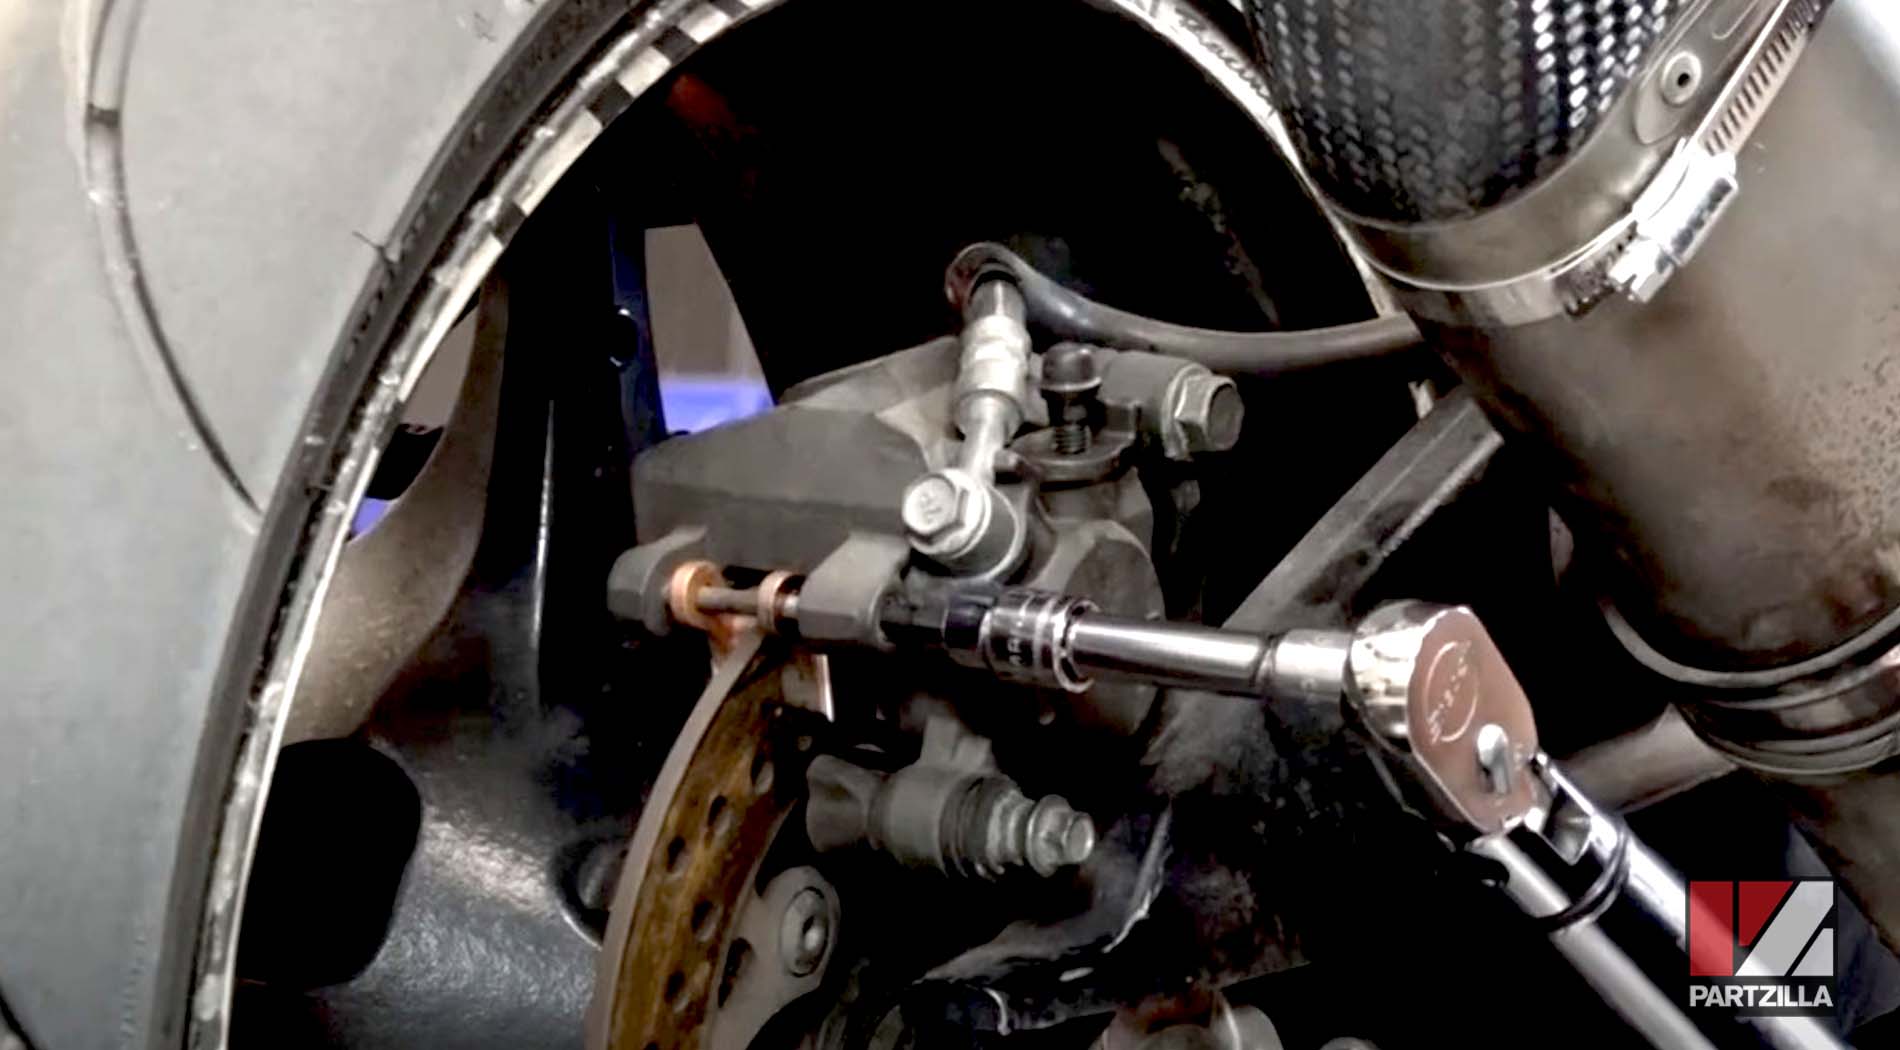
Step 1. Use a 5mm Allen to break loose the pin that runs through the caliper and holds the pads in place.
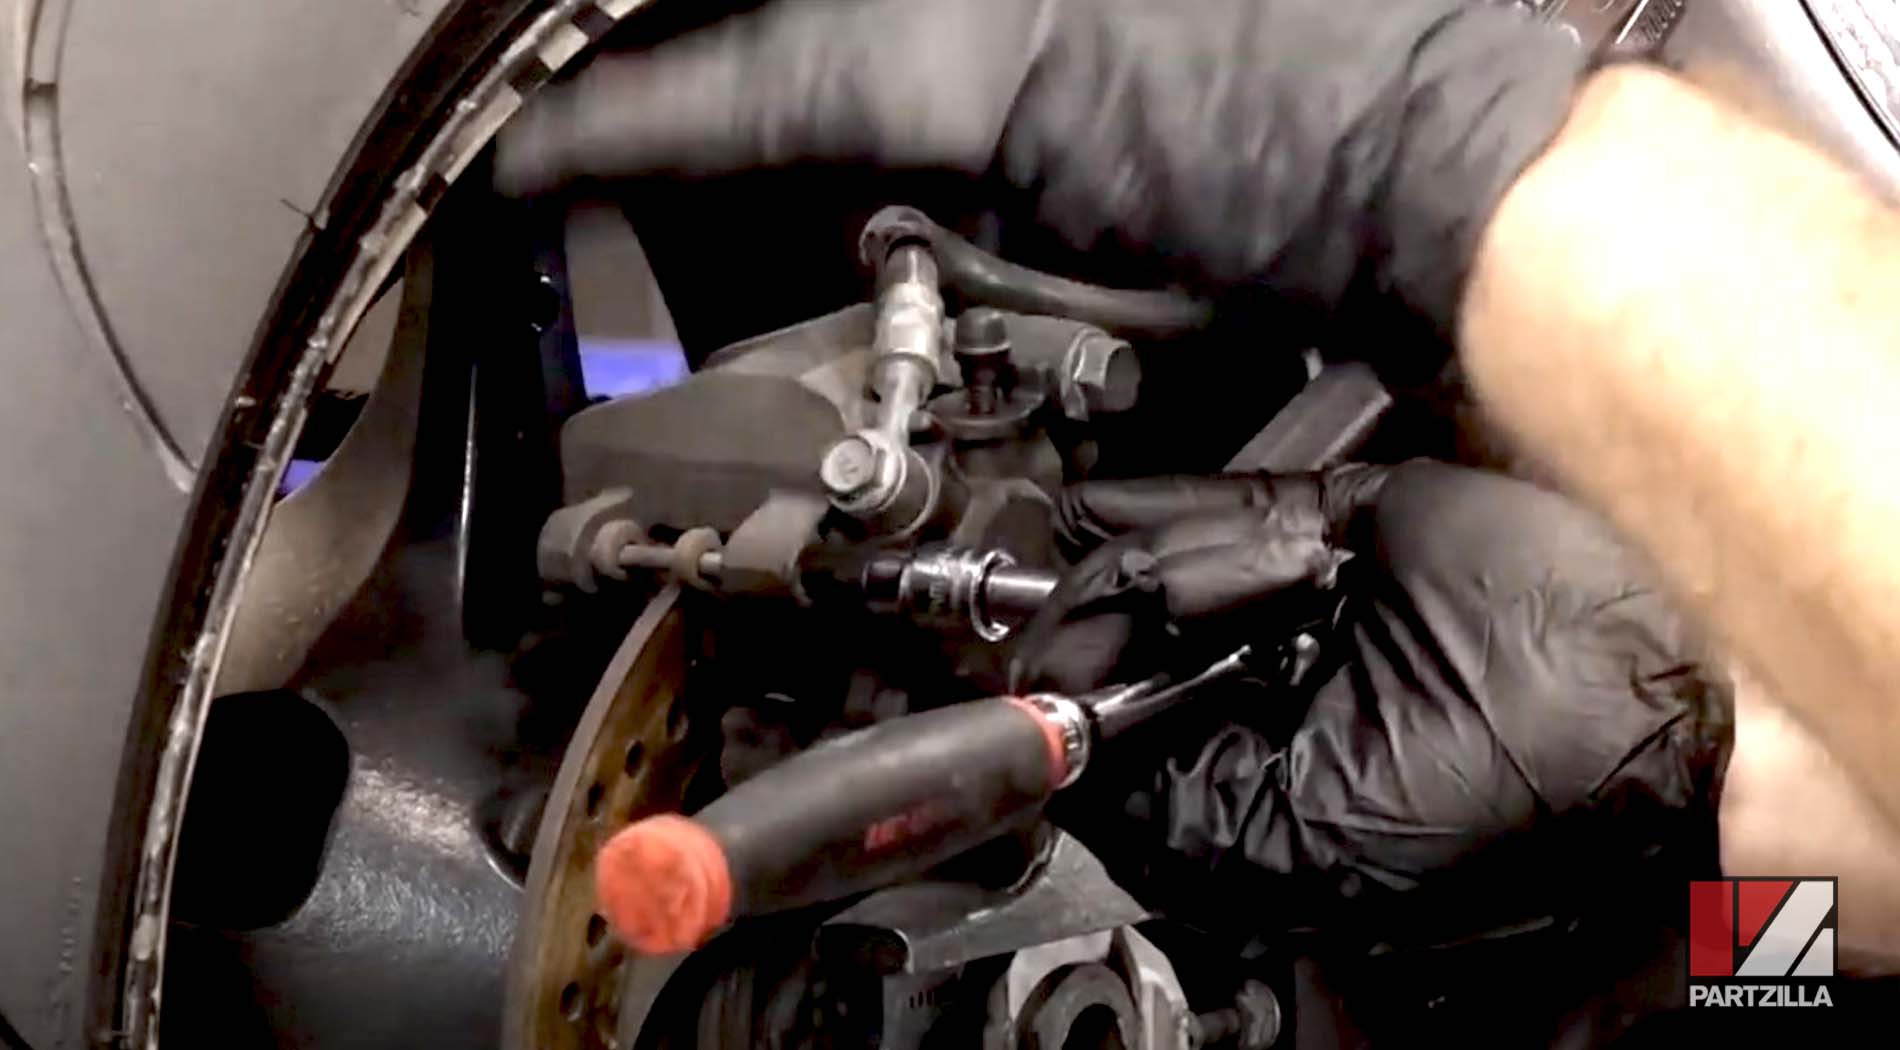
NOTE: Don’t remove the pin yet, just loosen it up.
Step 2. Use a flat-blade screwdriver to spread the pads out and compress the pistons behind the pads.

NOTE: This gives you enough room for the new pads, which will have more brake pad material.
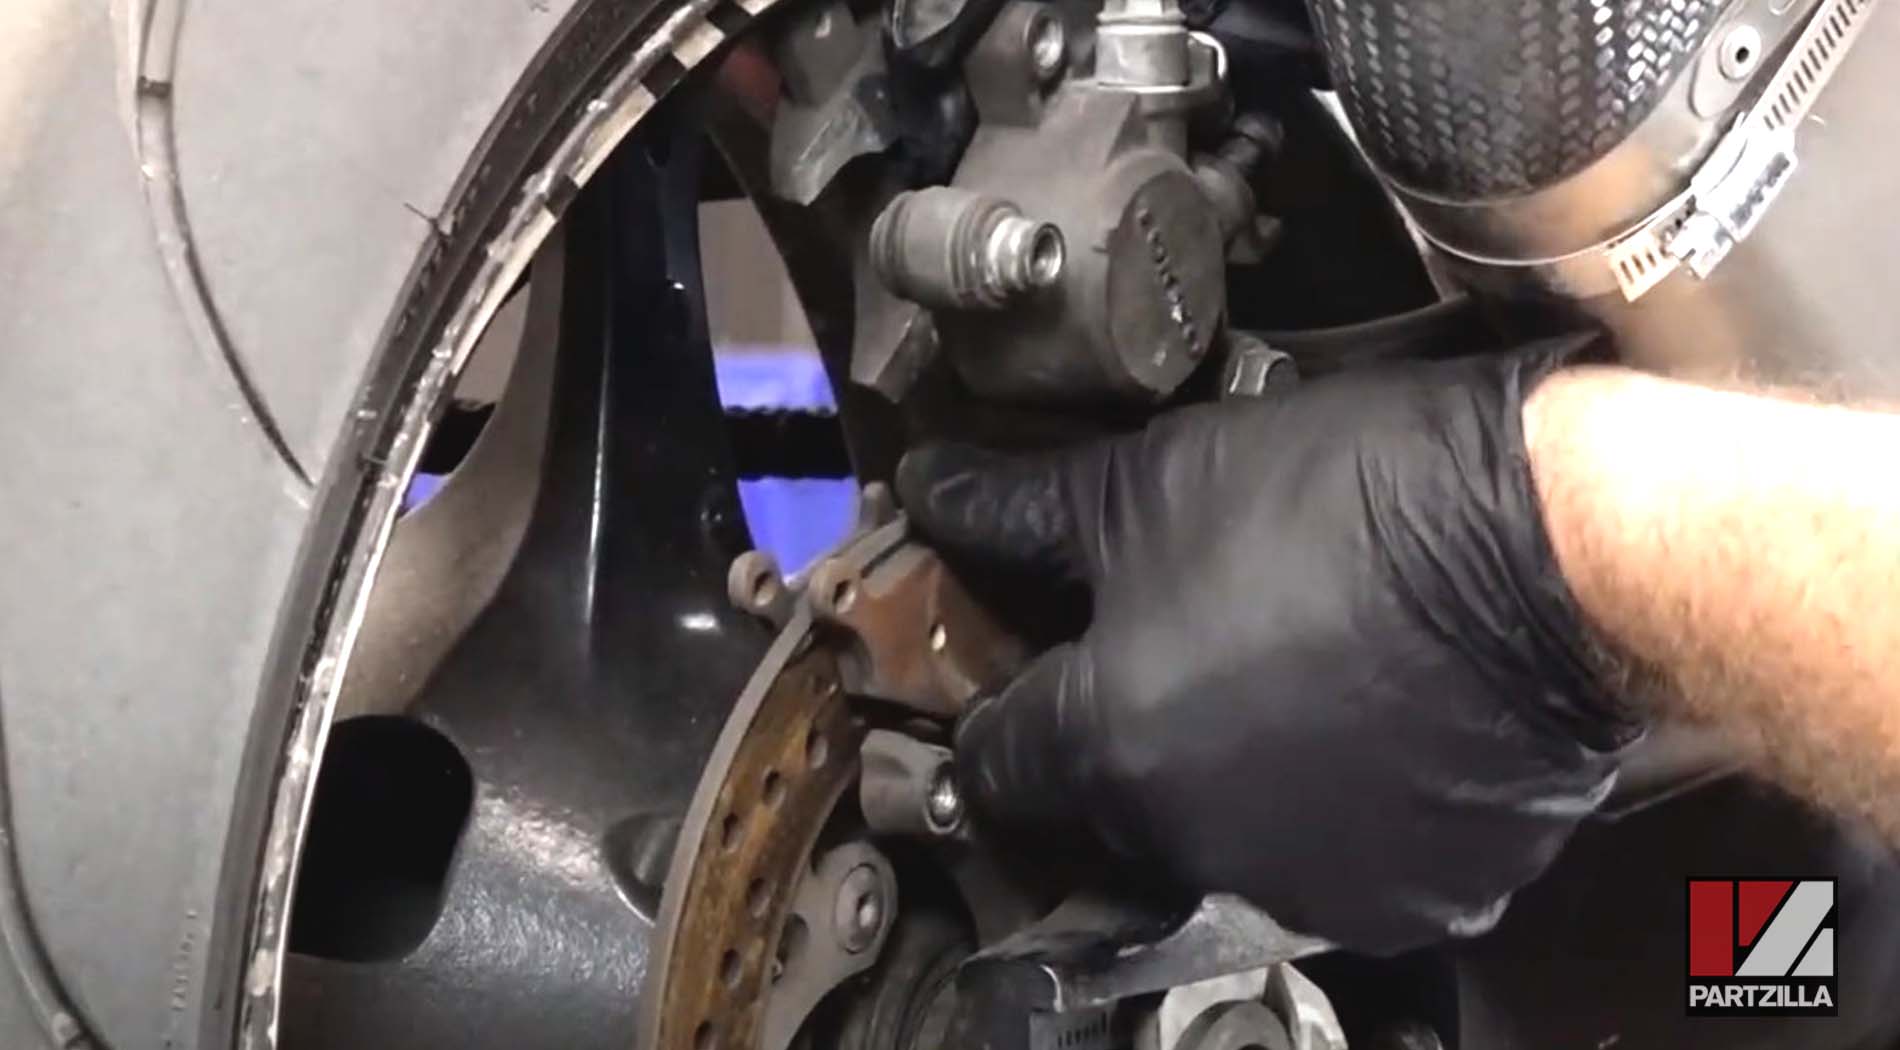
Step 3. Remove the 12mm bolt that holds the rear caliper in place.
Step 4. Remove the pivot pin loosened in Step 1.
Step 5. Rotate the entire caliper up from the rear toward the front, and pull the pads straight out.
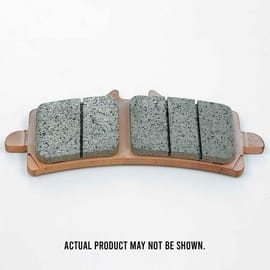
Step 6. Install the new rear brake pads.
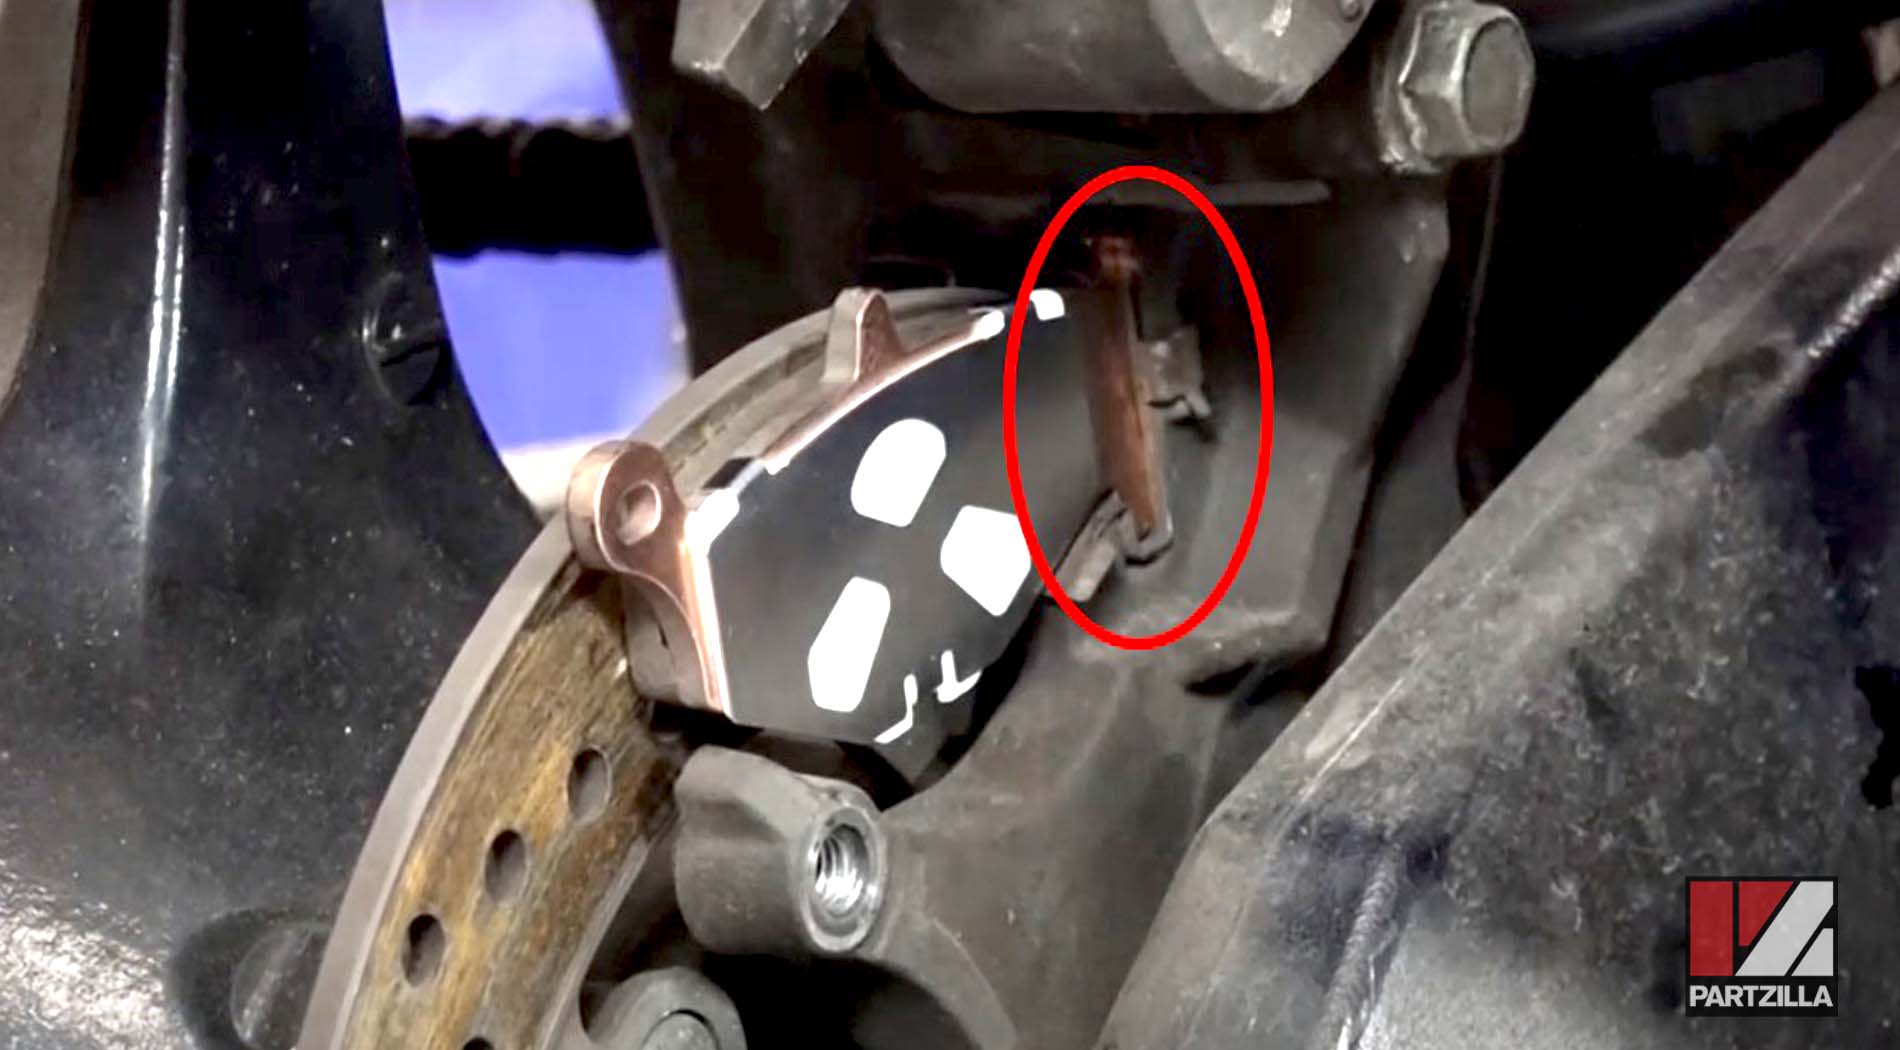
NOTE: There are squared off tabs on one side of the pads that will seat into the notches found on the caliper assembly.
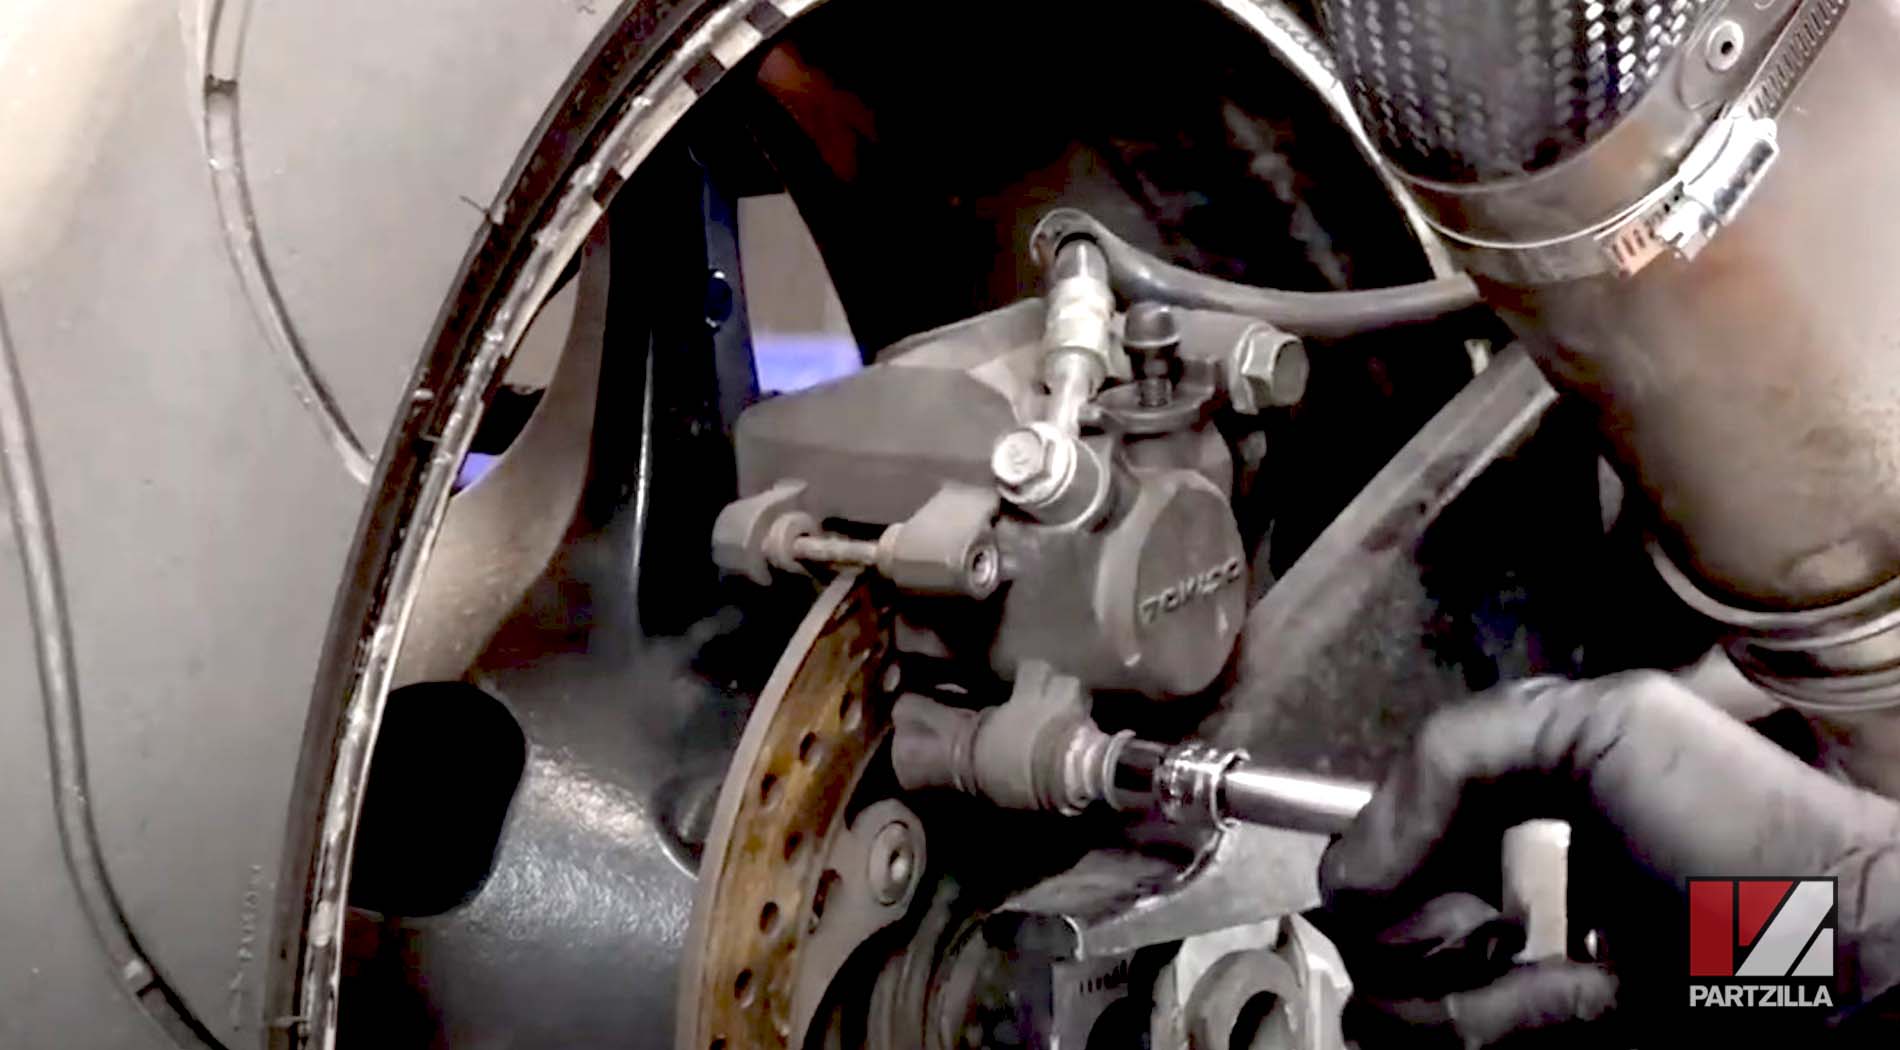
Step 7. Lower the caliper back over the pads, then replace the 12mm bolt and hand-tighten it.
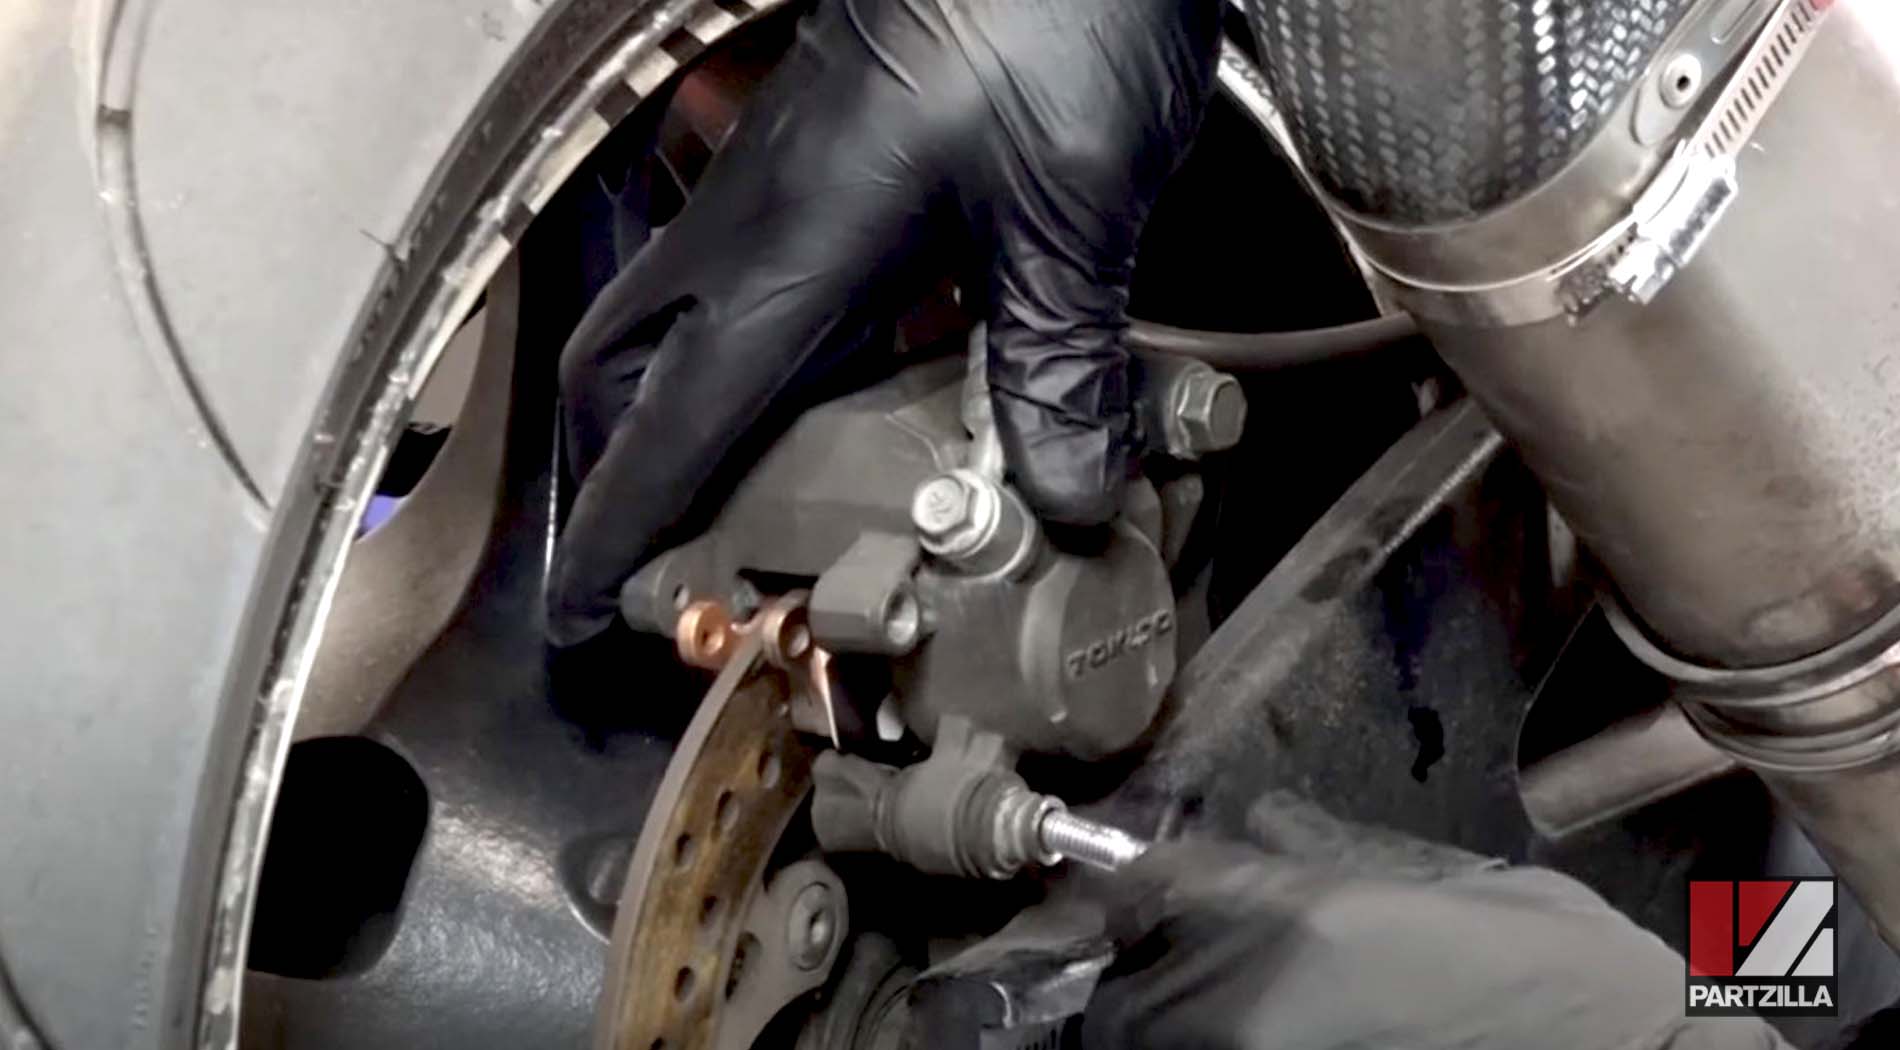
Step 8. Replace the 5mm Allen pin.

NOTE: You may need to maneuver the pads around a bit to guide the pin through the holes on both pads.
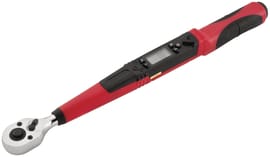
Step 9. Torque the main bolt securing the caliper to 13 foot-pounds, and the pin to 12 foot-pounds.
Step 10. Pump the foot brake a few times to build up pressure in the caliper so that the brakes will work properly when you try them the first time.
Ready to do the front brake pads next? Watch the video above to see how to change the front brake pads on a Suzuki GSX-R1000.