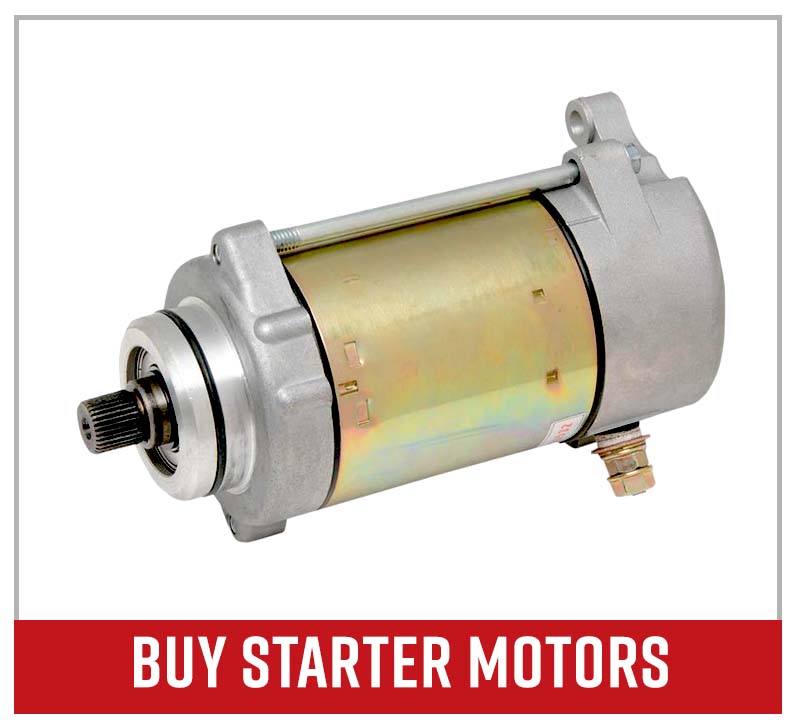
How to Test Motorcycle, ATV and UTV Starters
There are three types of starters fitted to motorcycles, ATVs and side-by-sides, and the steps below detail how to test each one of them.
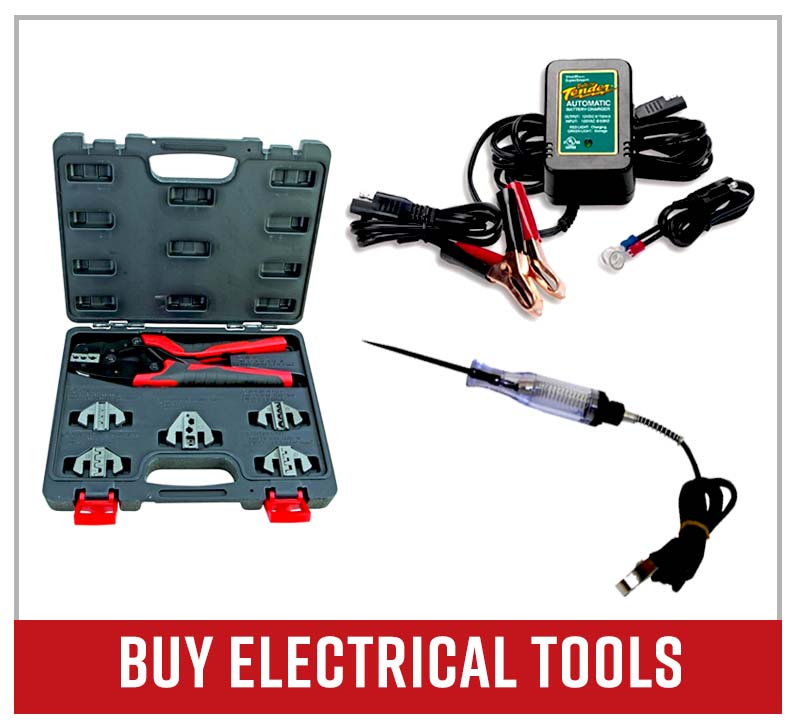
Tools – How to Test Powersports Starter Motors and Solenoids
- Jumper cables
- Test leads
- Multimeter
Before bench testing a starter, make sure to:
- Remove all flammable liquids, as starter tests generate sparks.
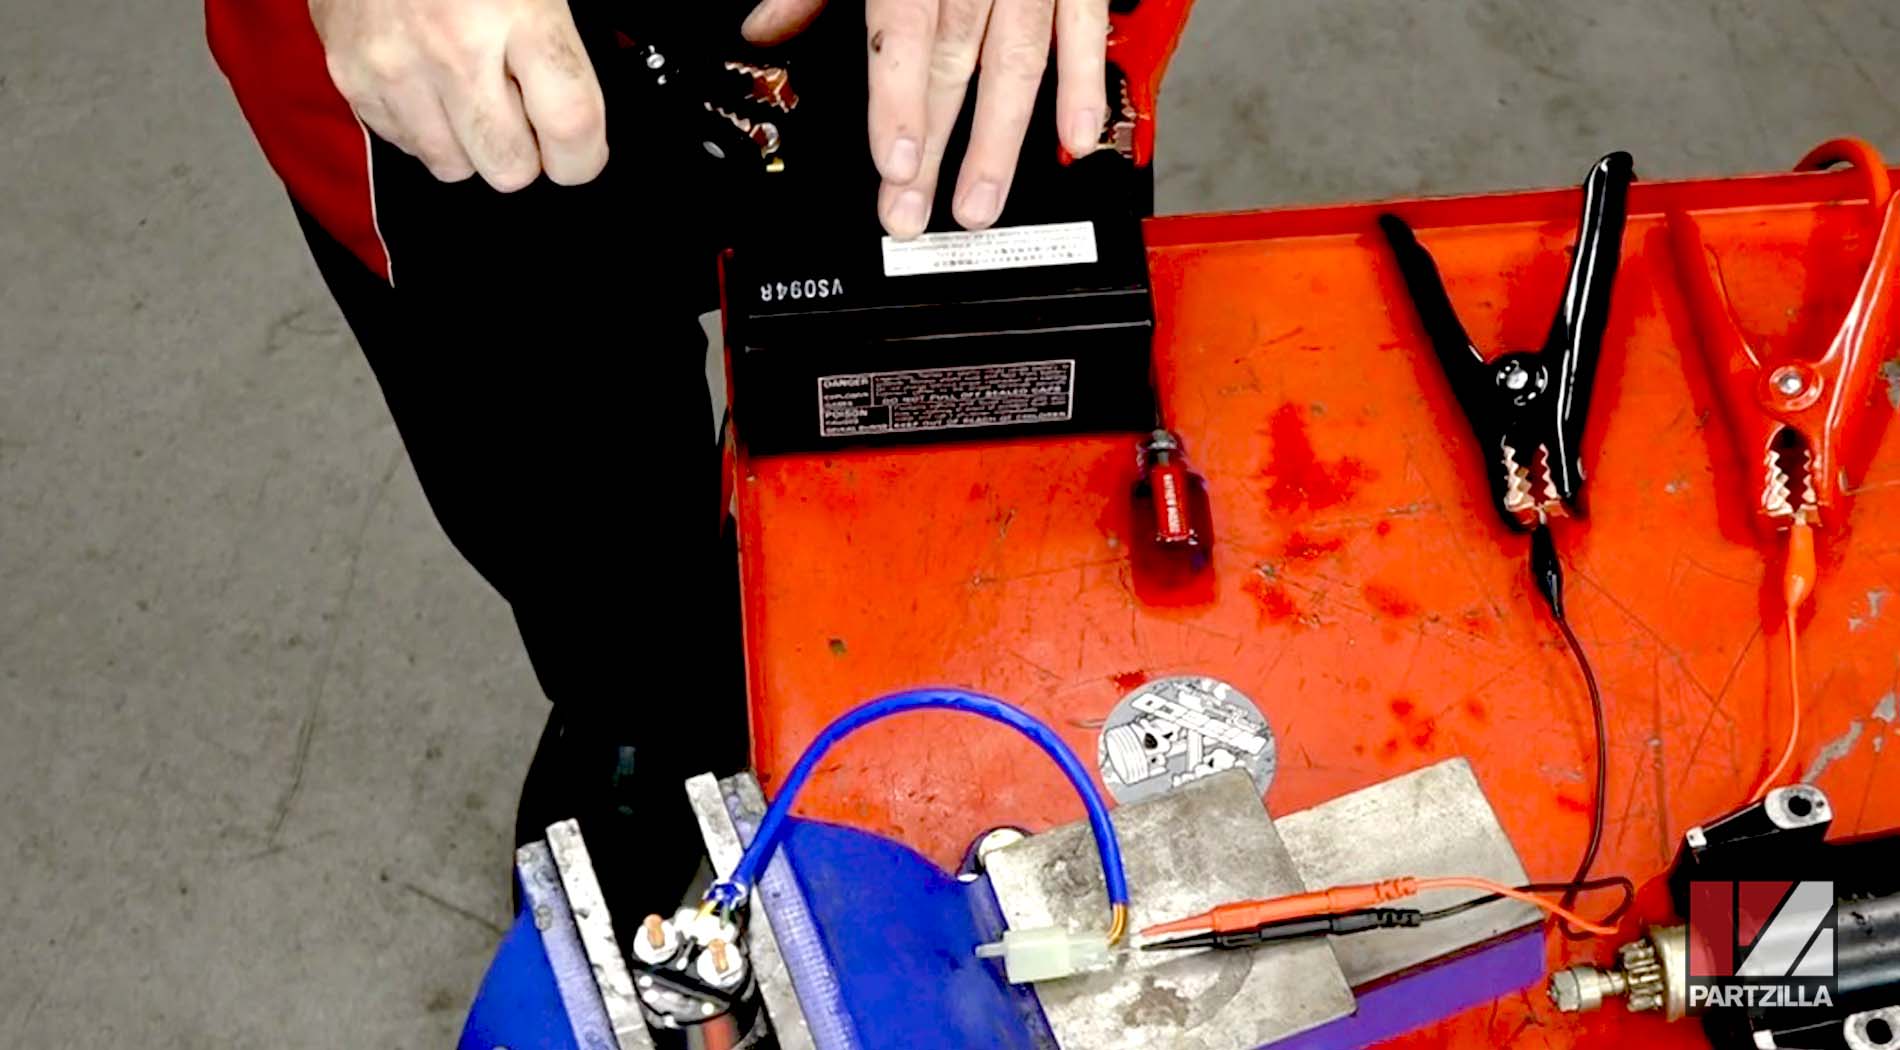
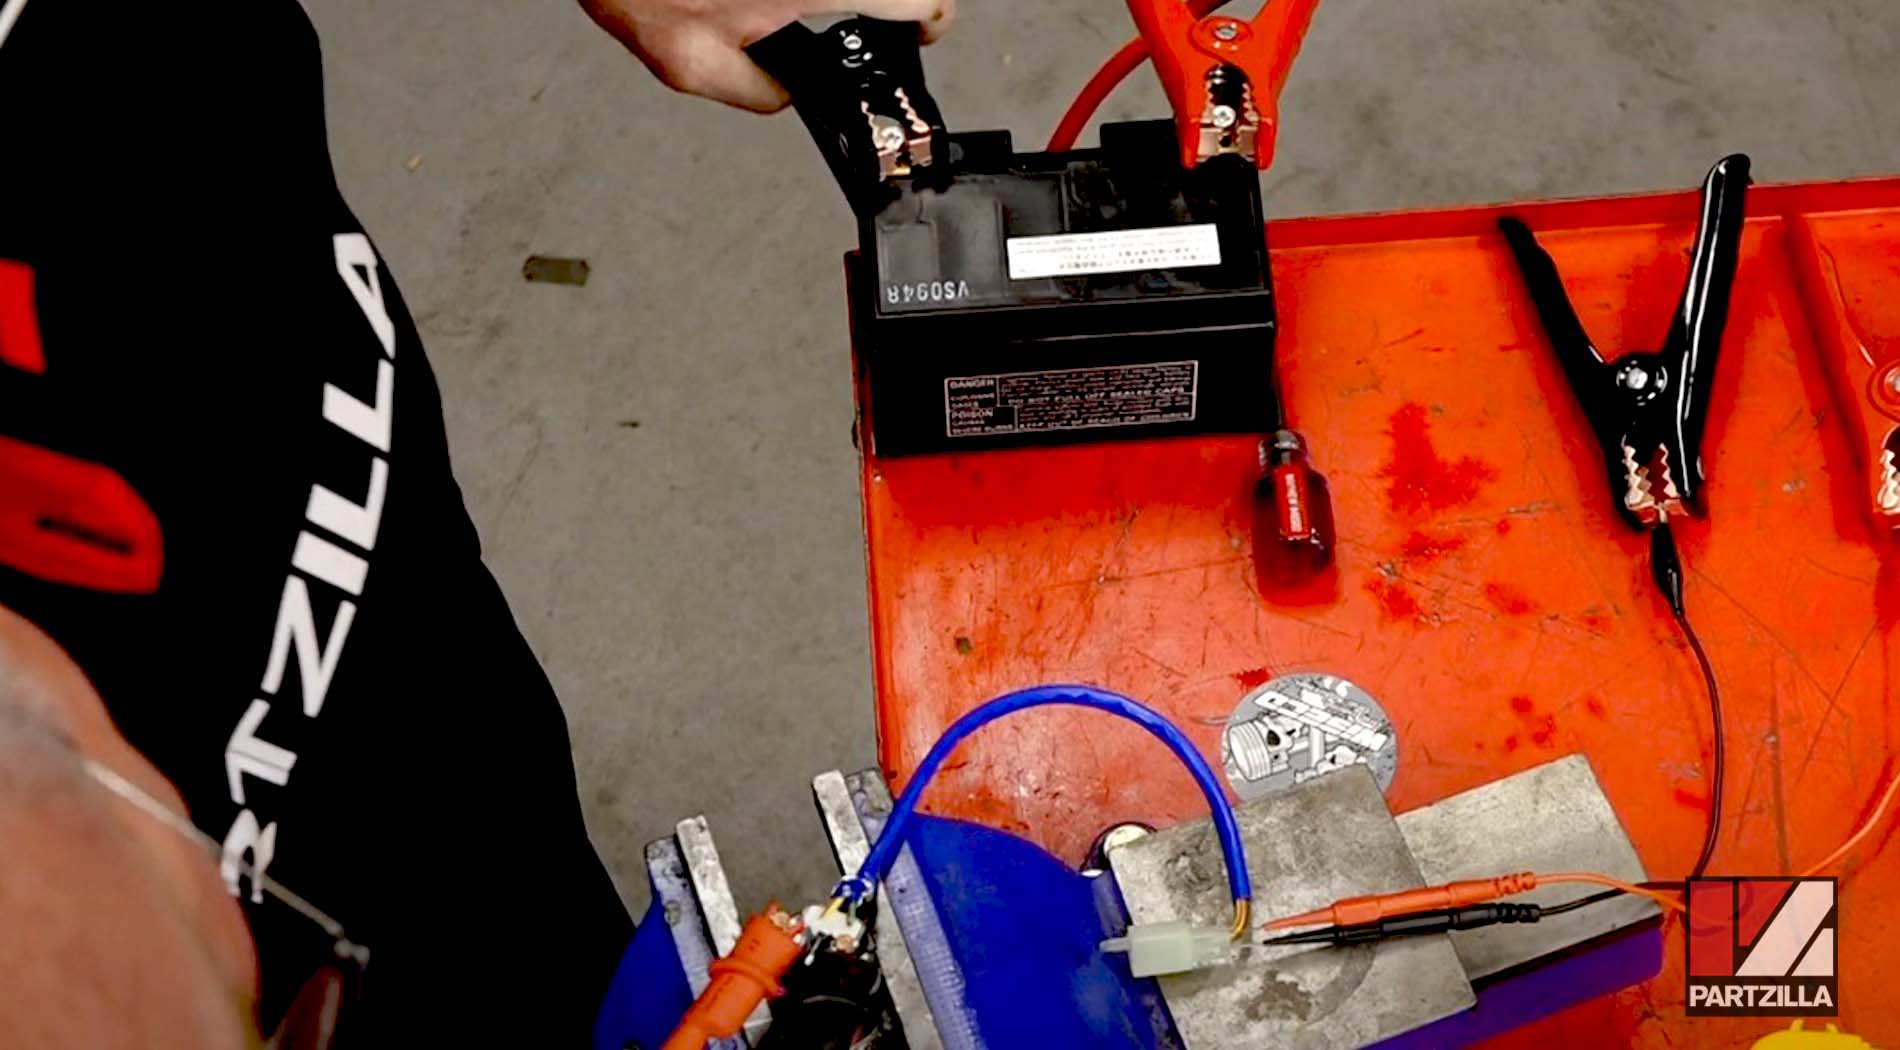
- Check that the battery is fully charged by setting a multimeter to DC volts and connecting it to the battery. The reading should be 12.5 volts or above. If the reading is below 12.5 volts, charge the battery.
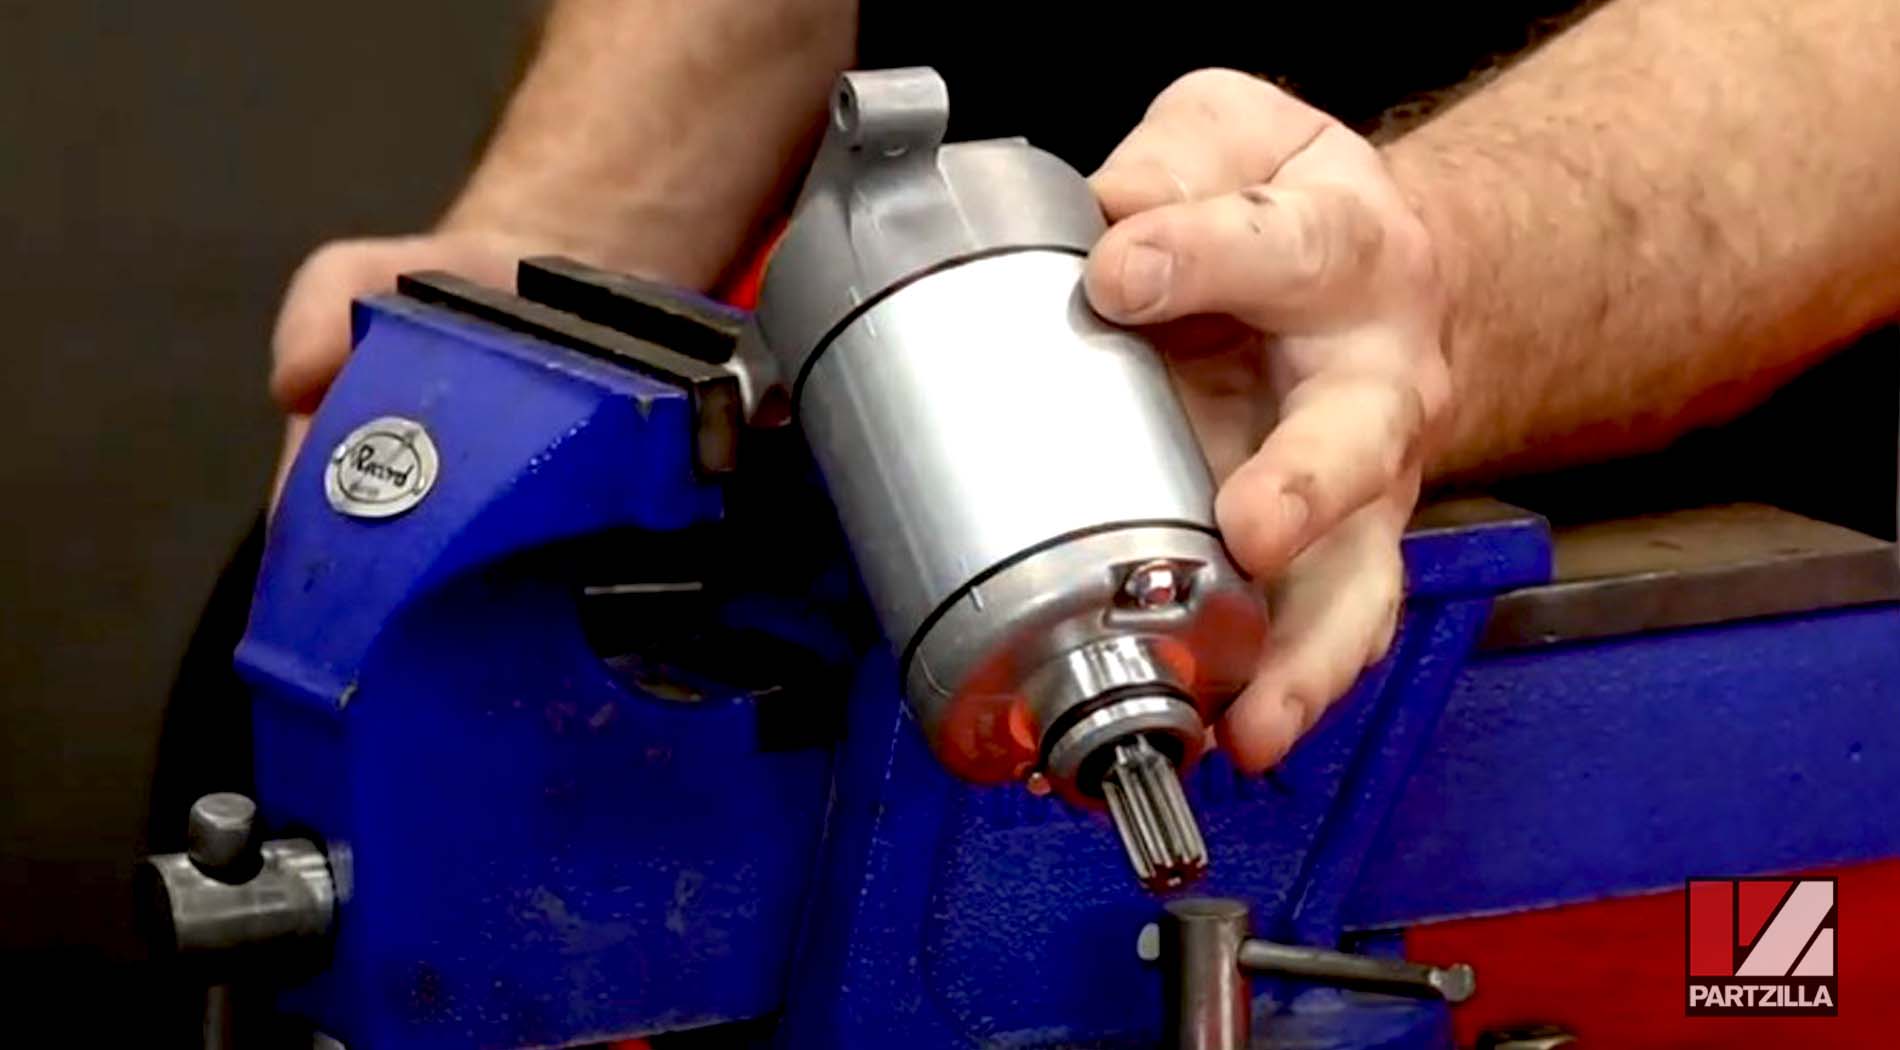
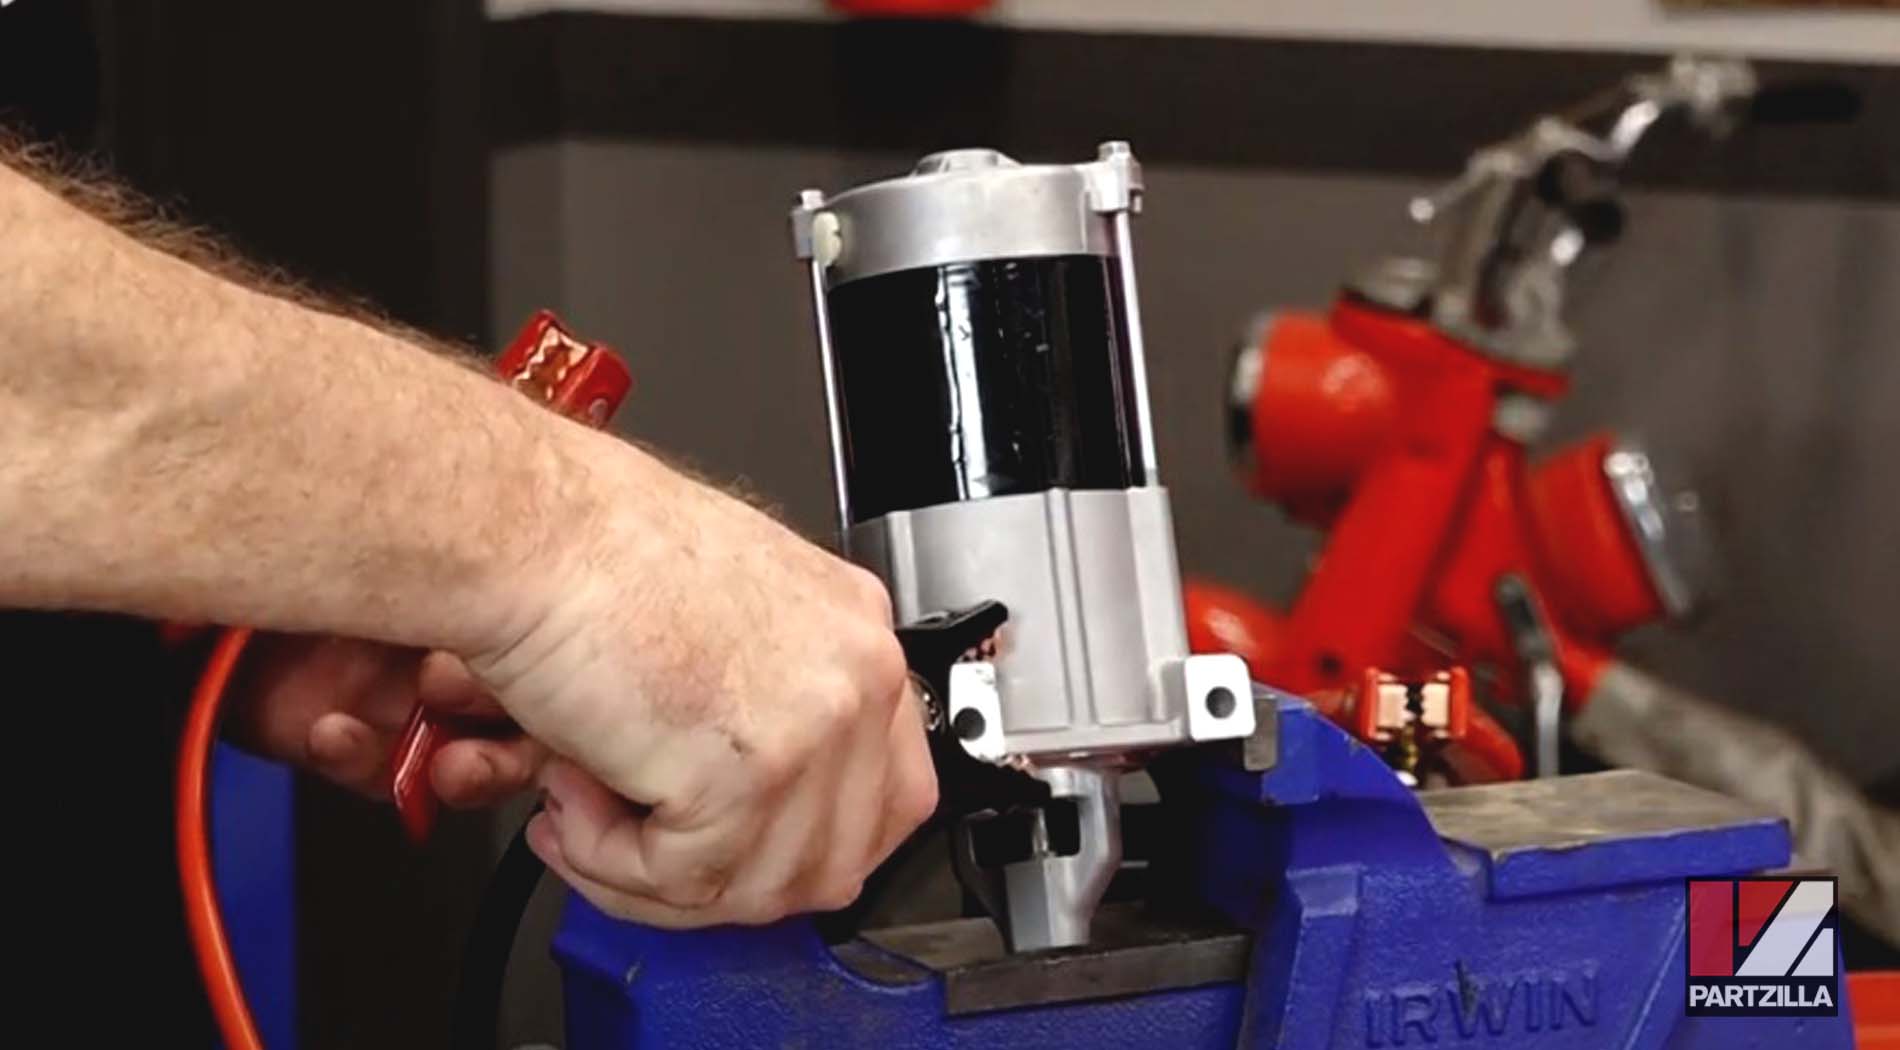
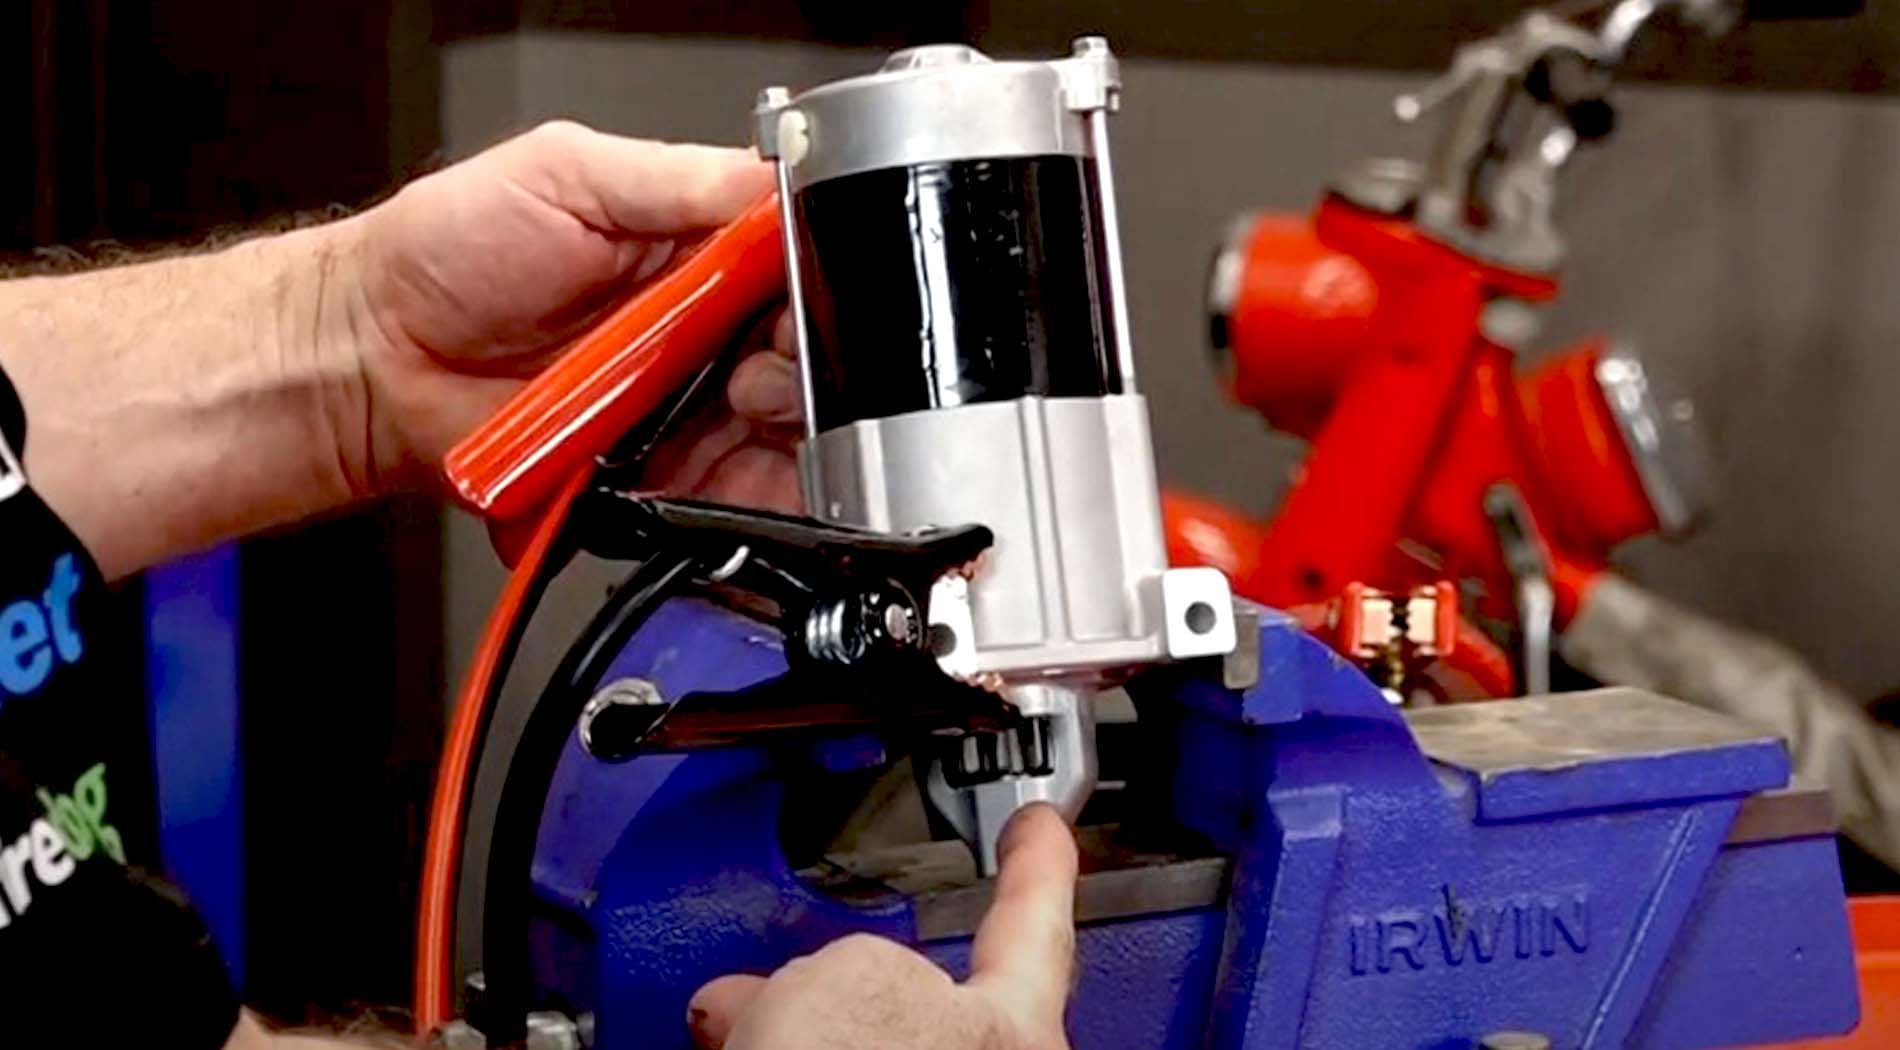
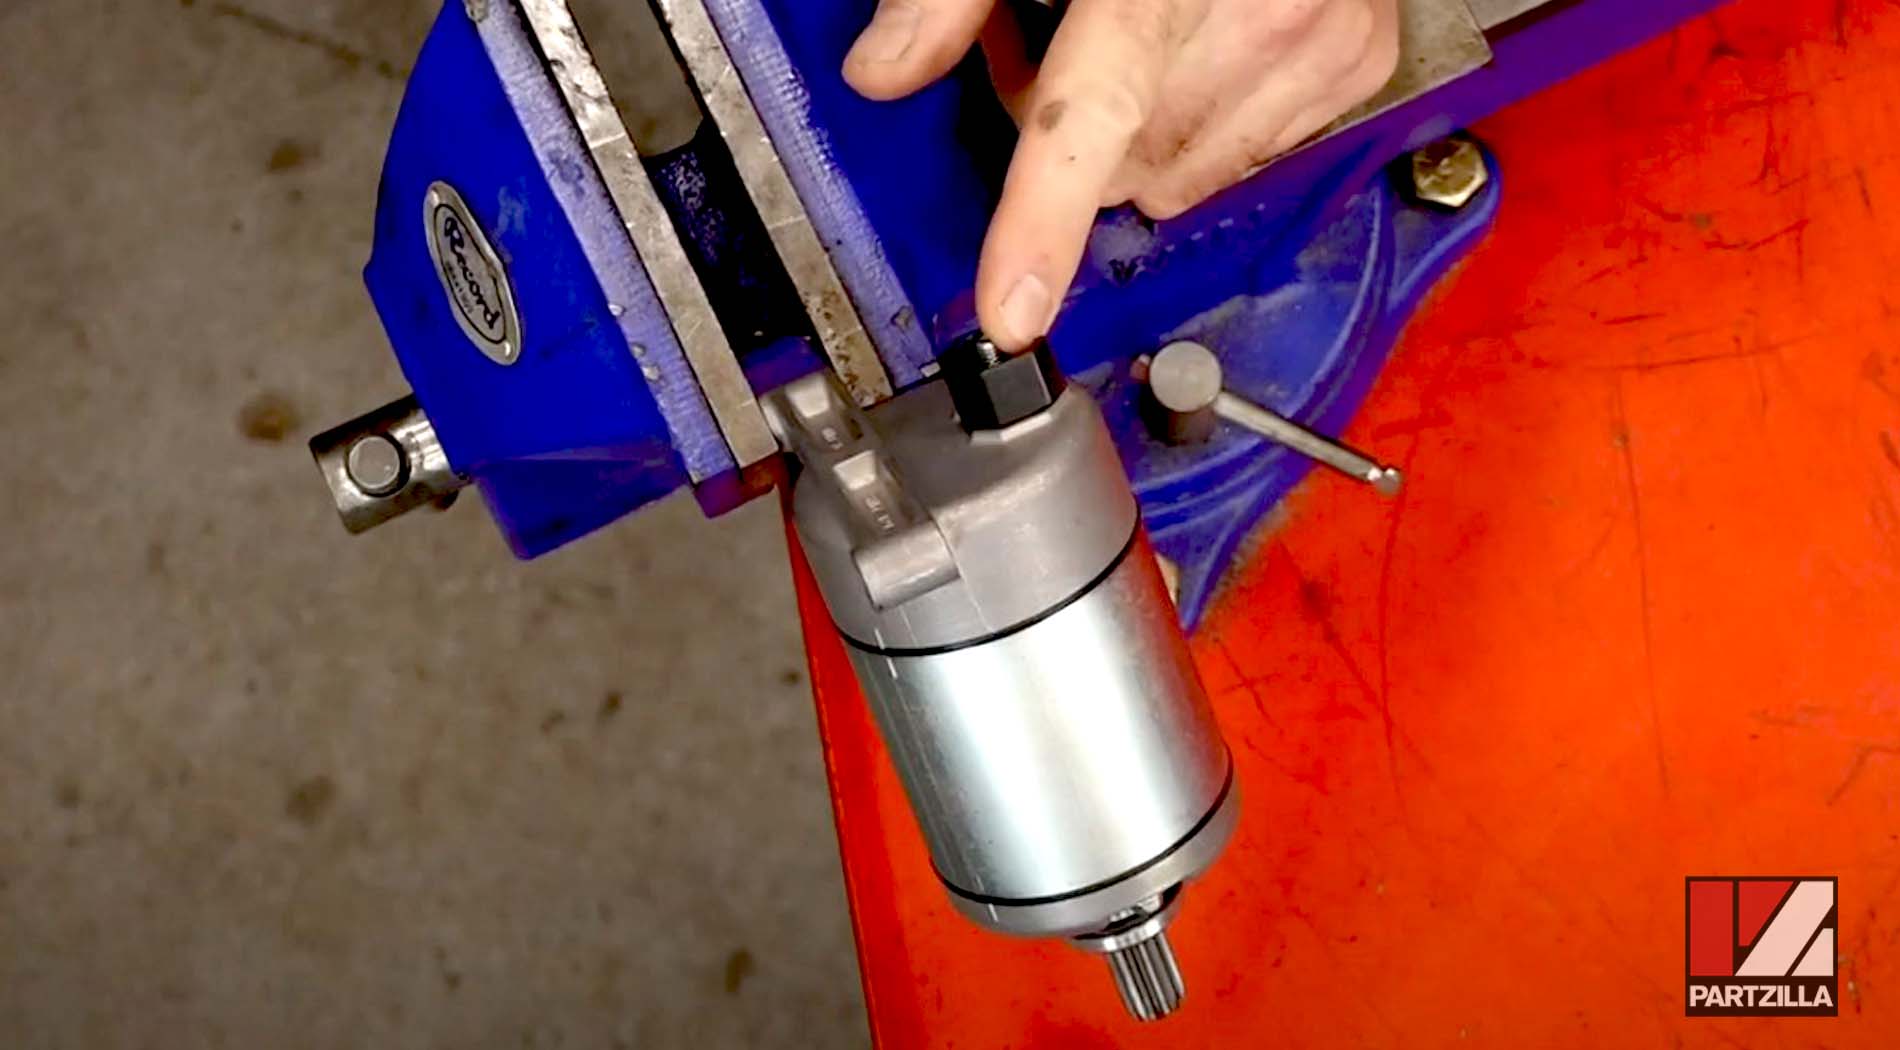
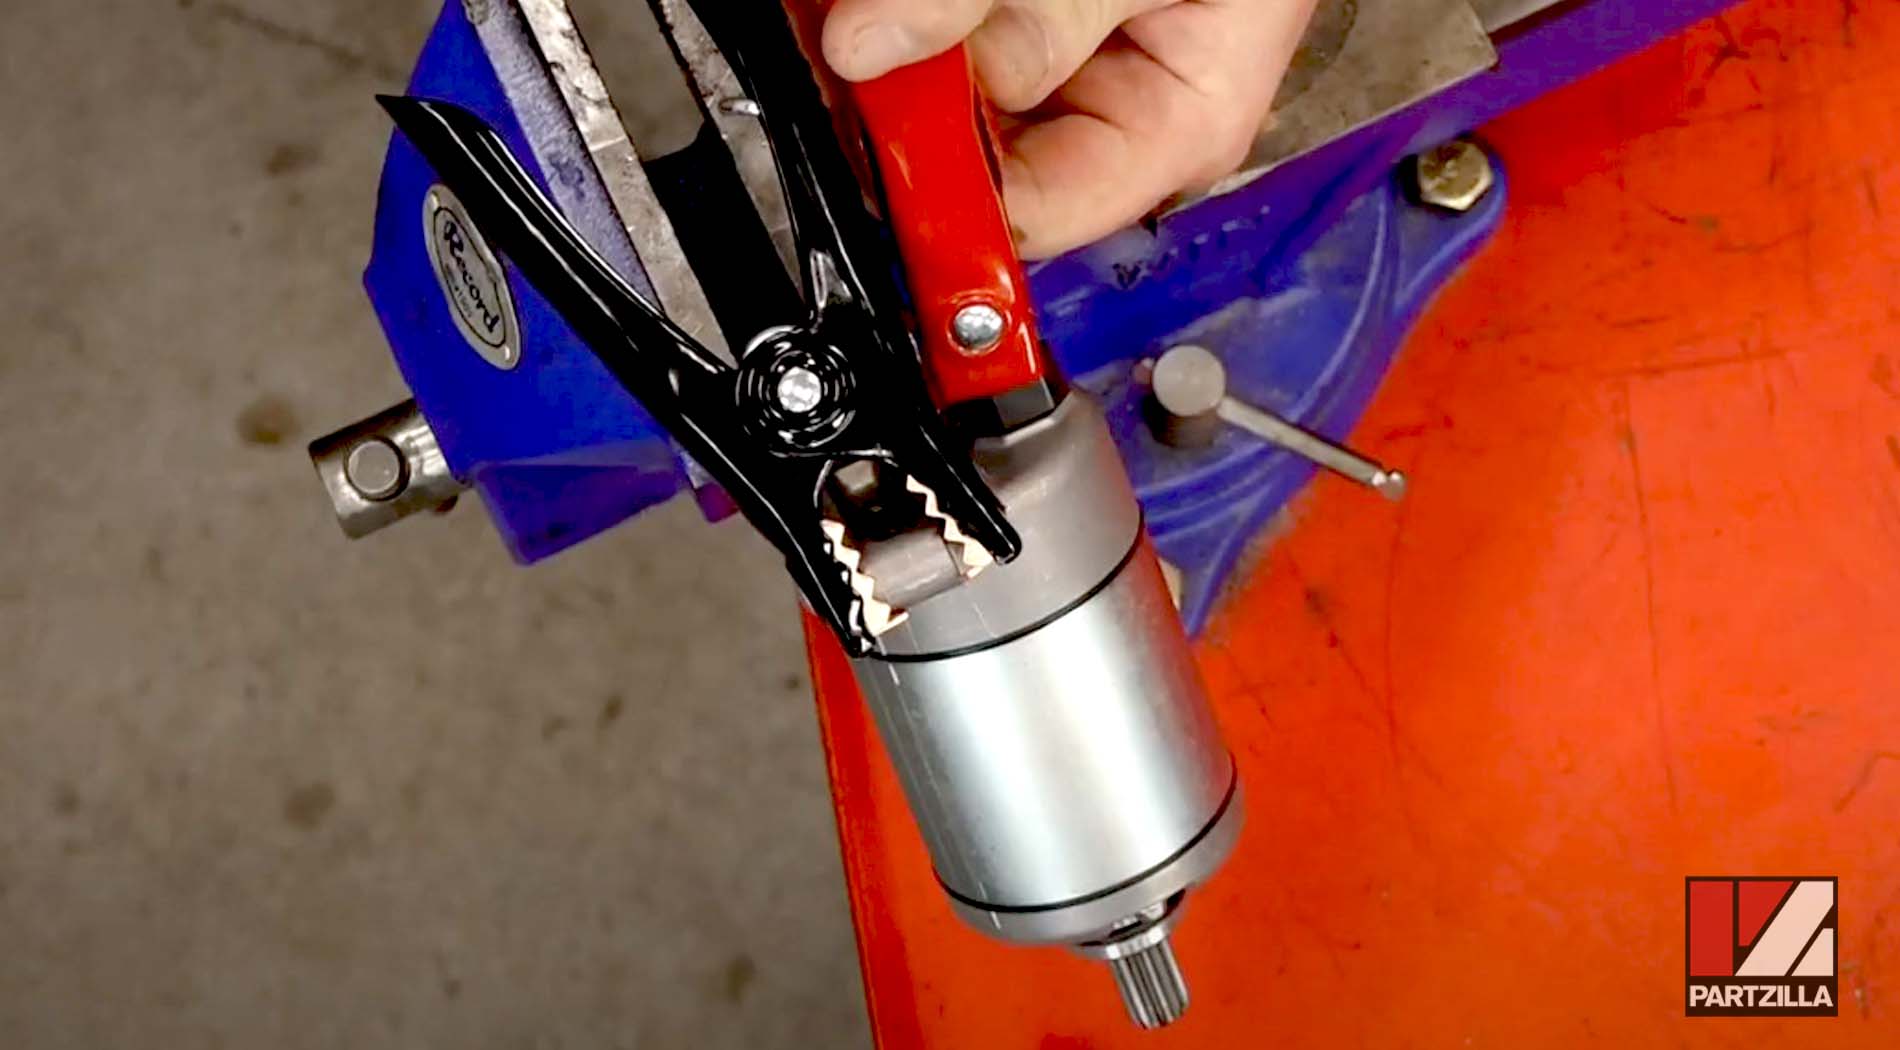
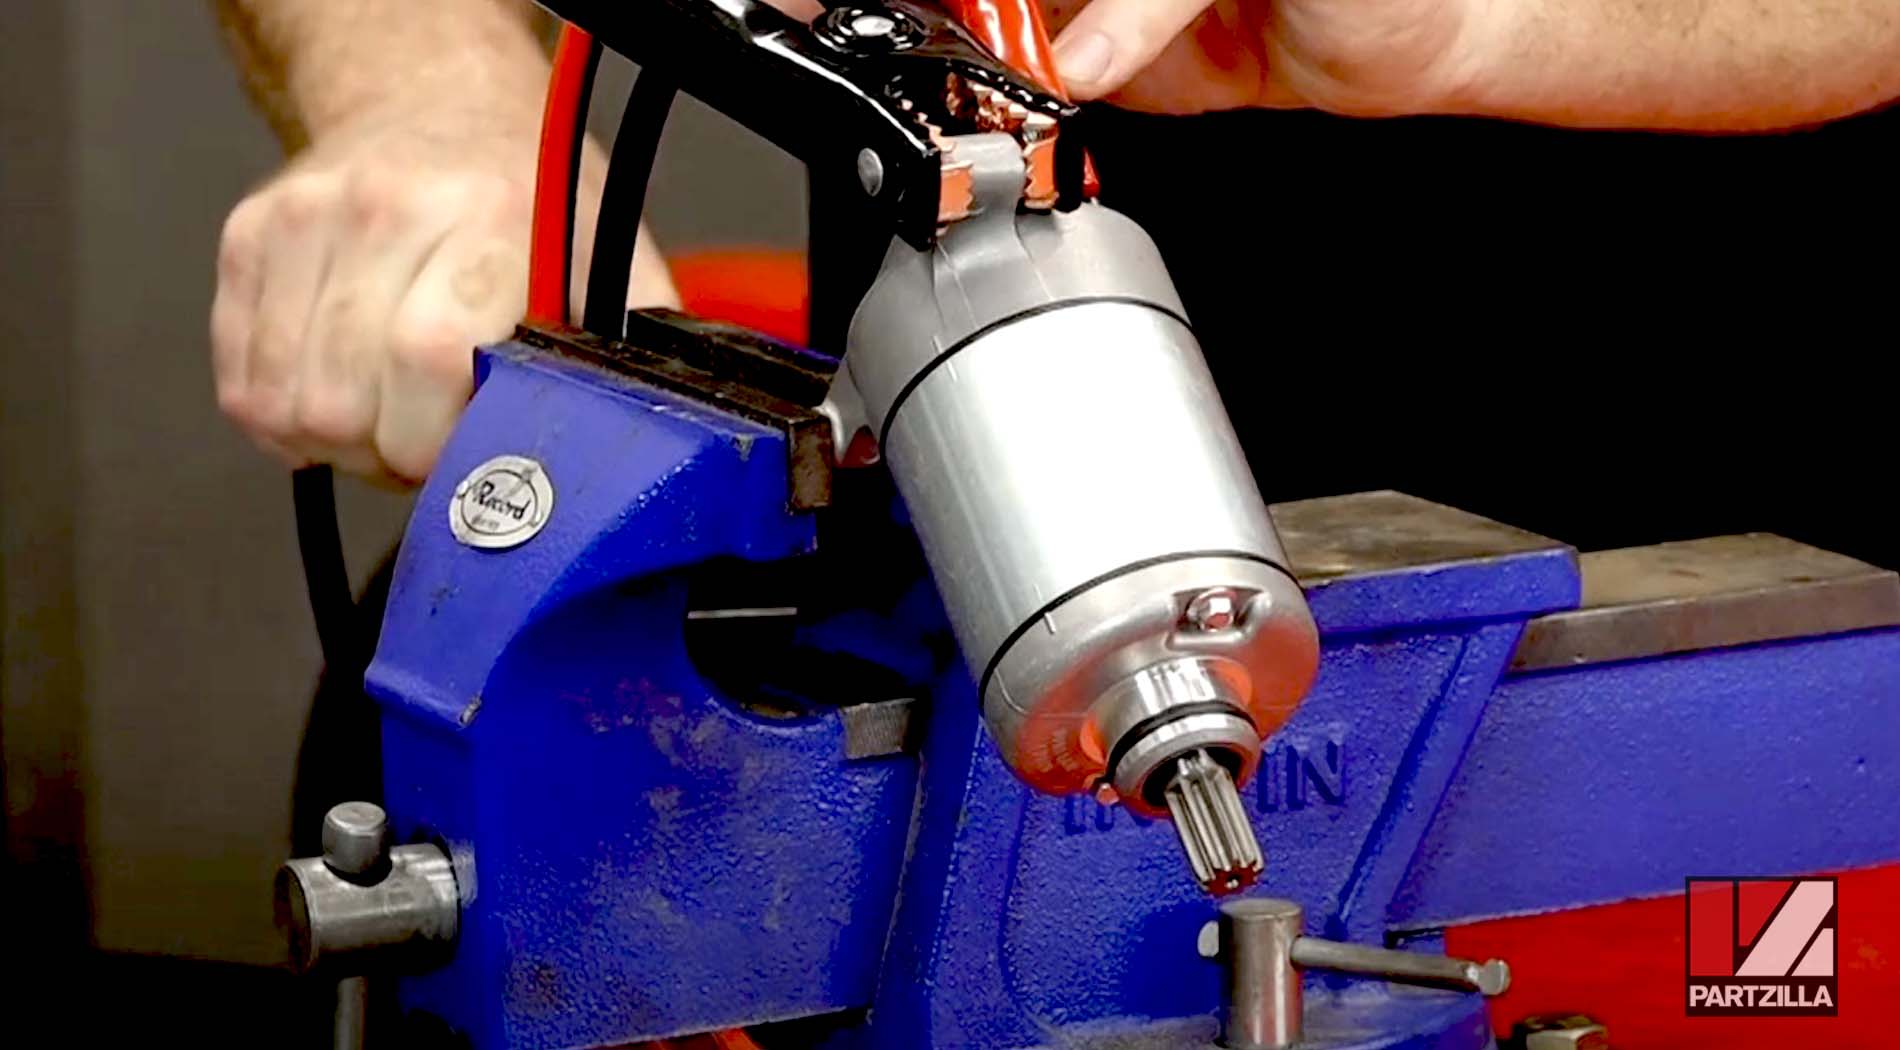
- Secure the starter using a vice or clamp because when engaged, a starter generates centrifugal forces that will cause it to fly off the workbench unless it’s secured.
Types of Motorcycle, ATV and UTV Starter
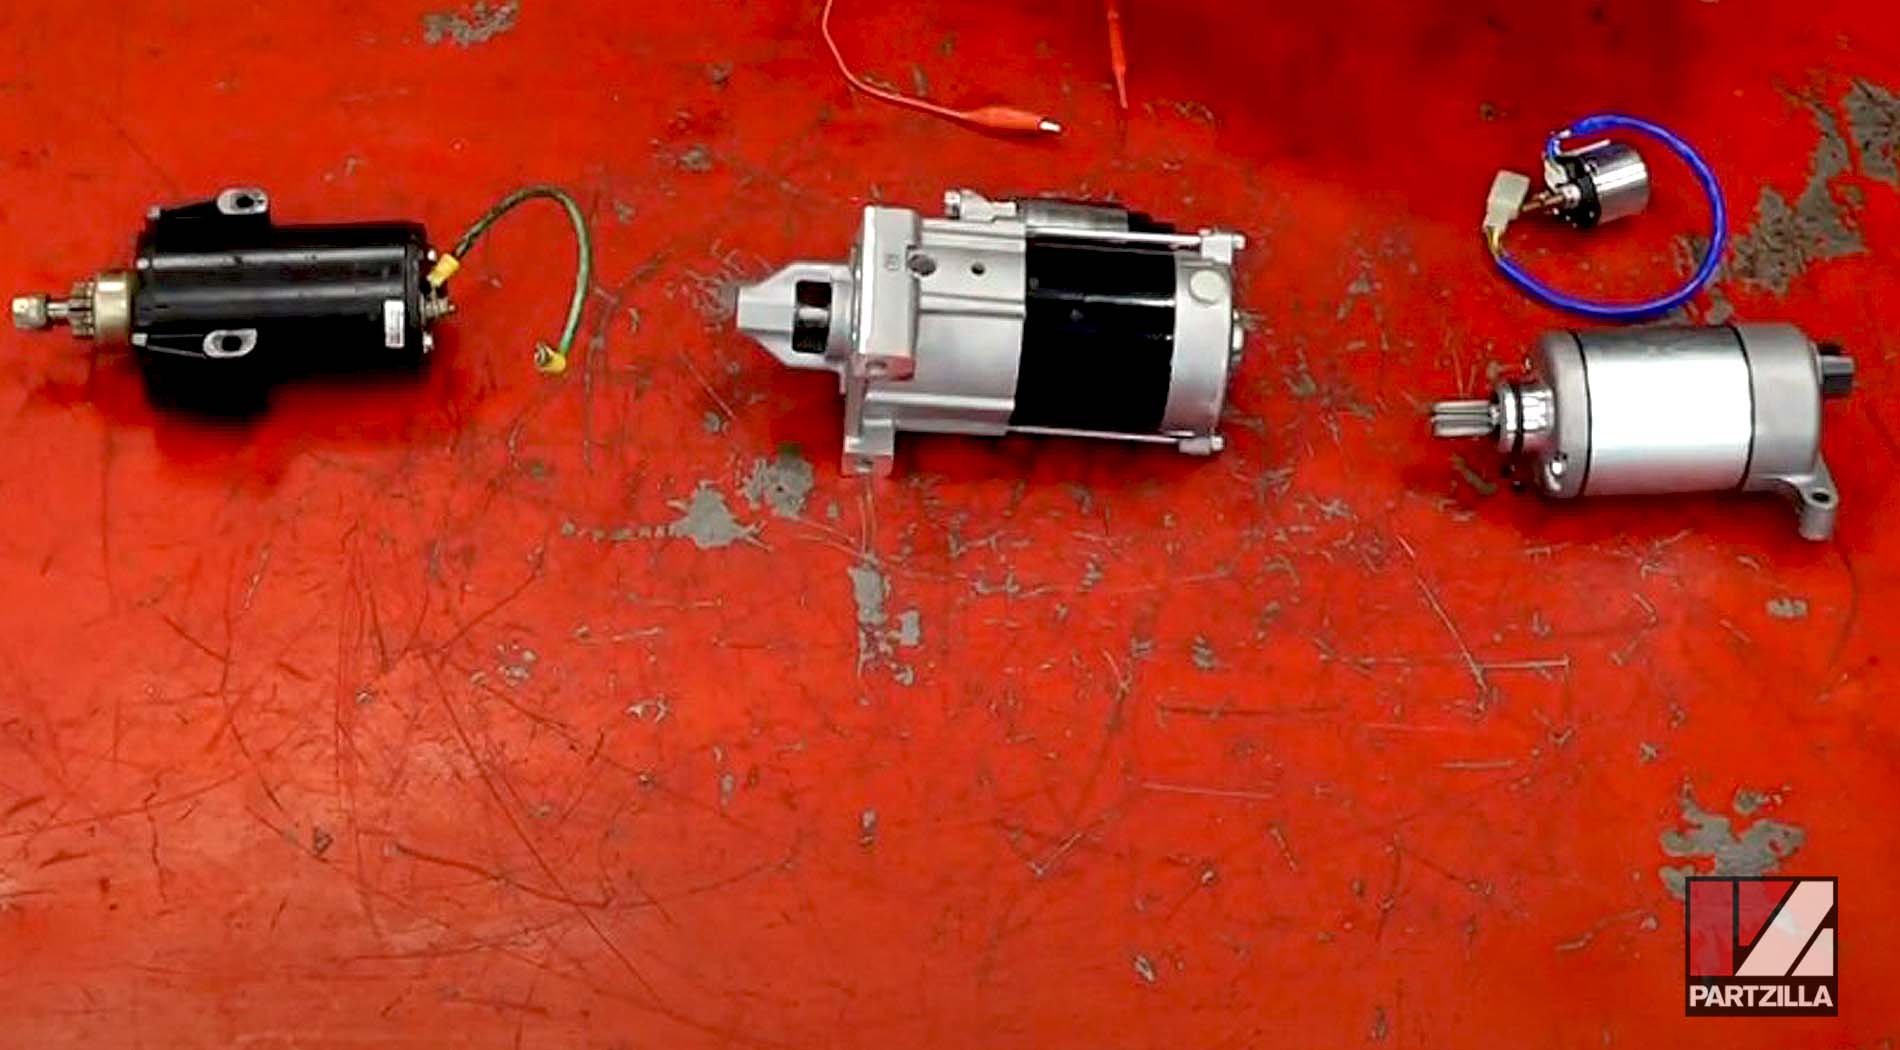
The first type of starter has a starter motor and a solenoid incorporated into a single unit. This starter features a Bendix gear that engages with the flywheel in order to start the engine. It's the type of starter commonly found in side-by-sides, utility vehicles and automobiles.
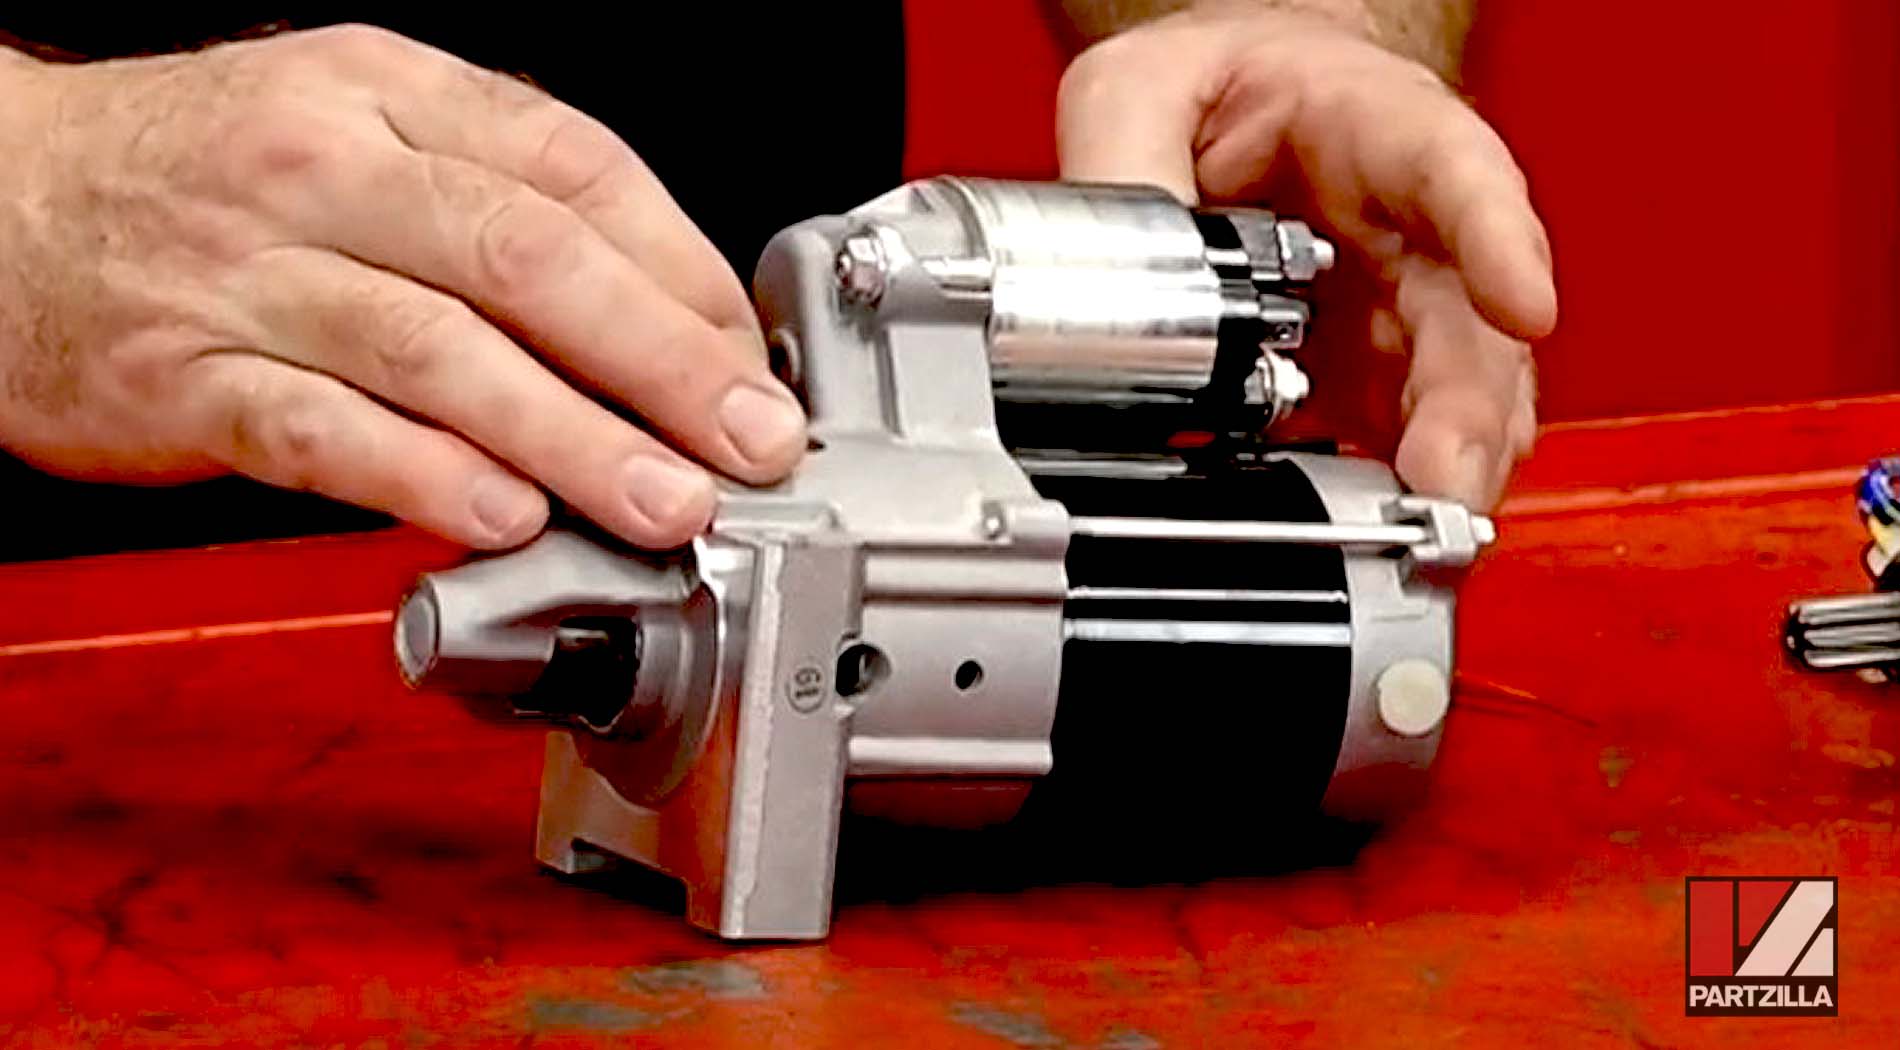
The second type of starter has a separate starter motor and solenoid, but still features the Bendix gear that engages with the flywheel to start the engine. This type of starter is generally found on larger motorcycles and ATVs.

The third type of starter also has a separate starter motor and starter solenoid, but this starter engages with a reduction gear and one-way clutch to start the engine. It doesn’t use a Bendix gear. This type of starter is generally found on sports motorcycles and ATVs.
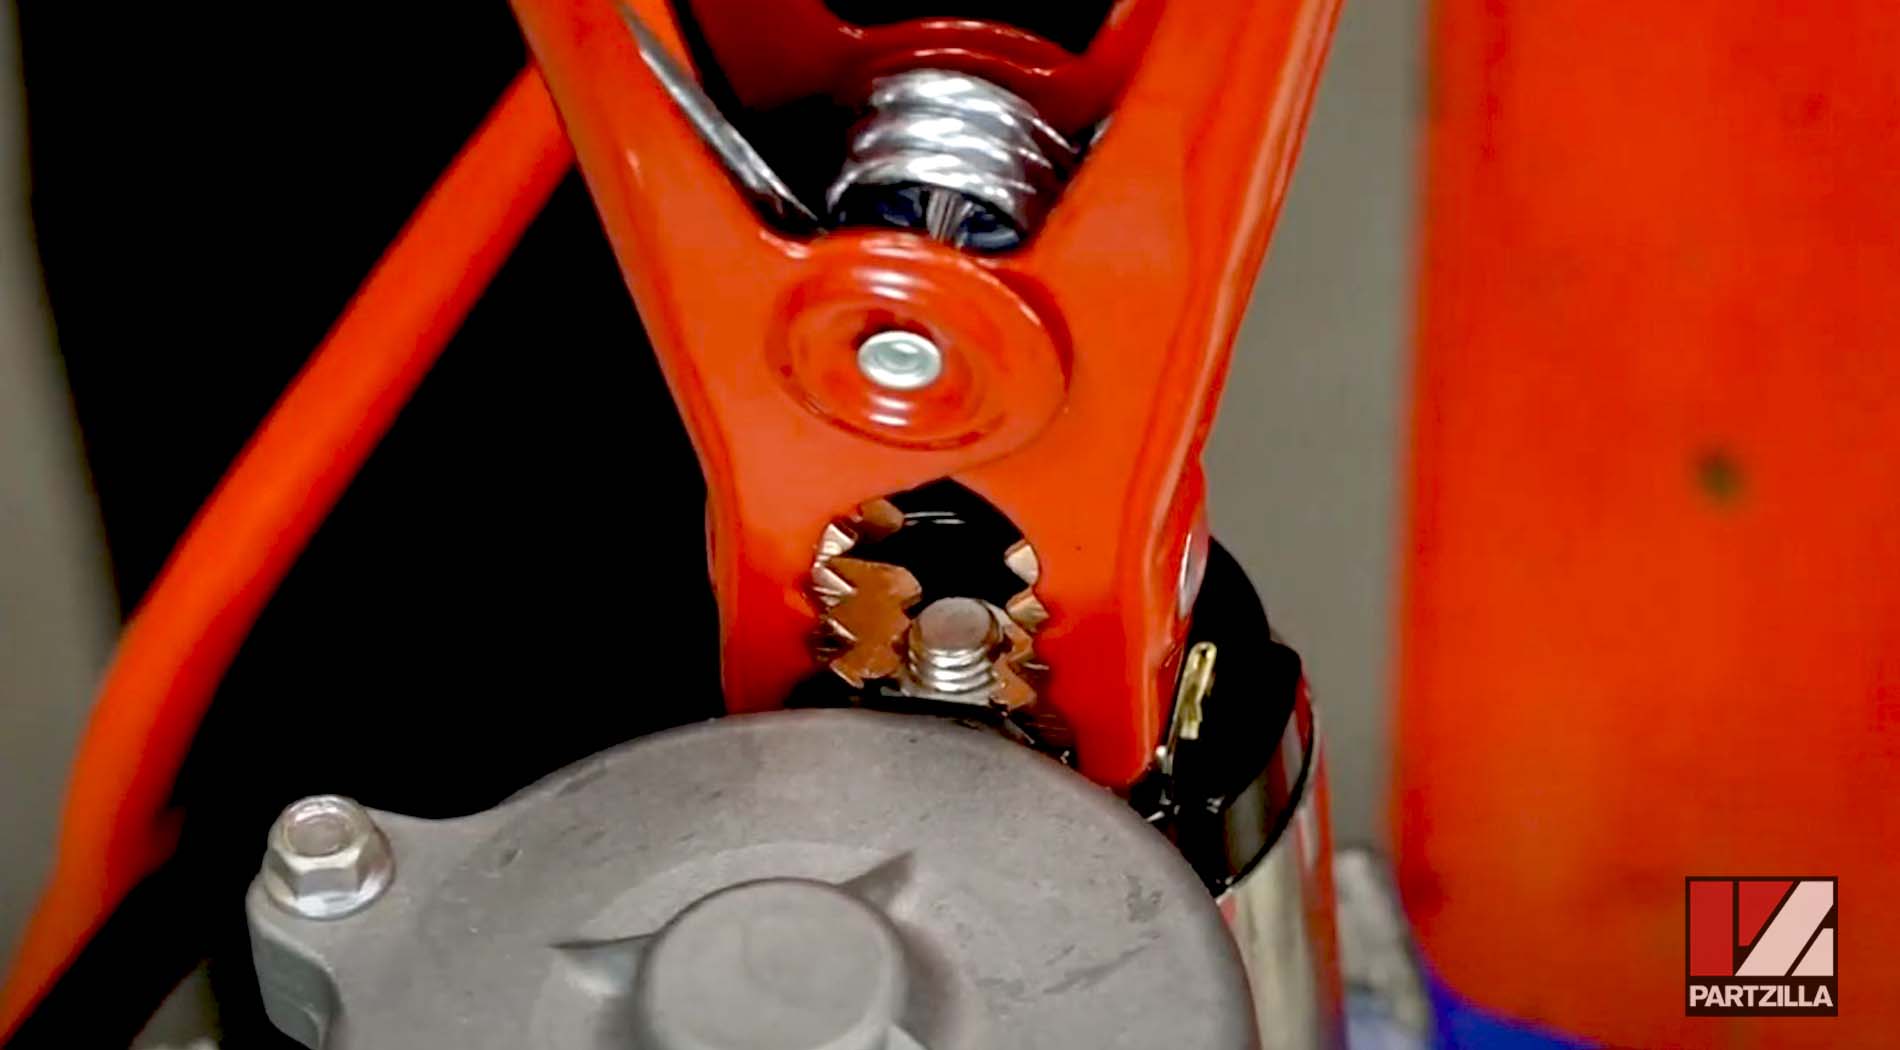
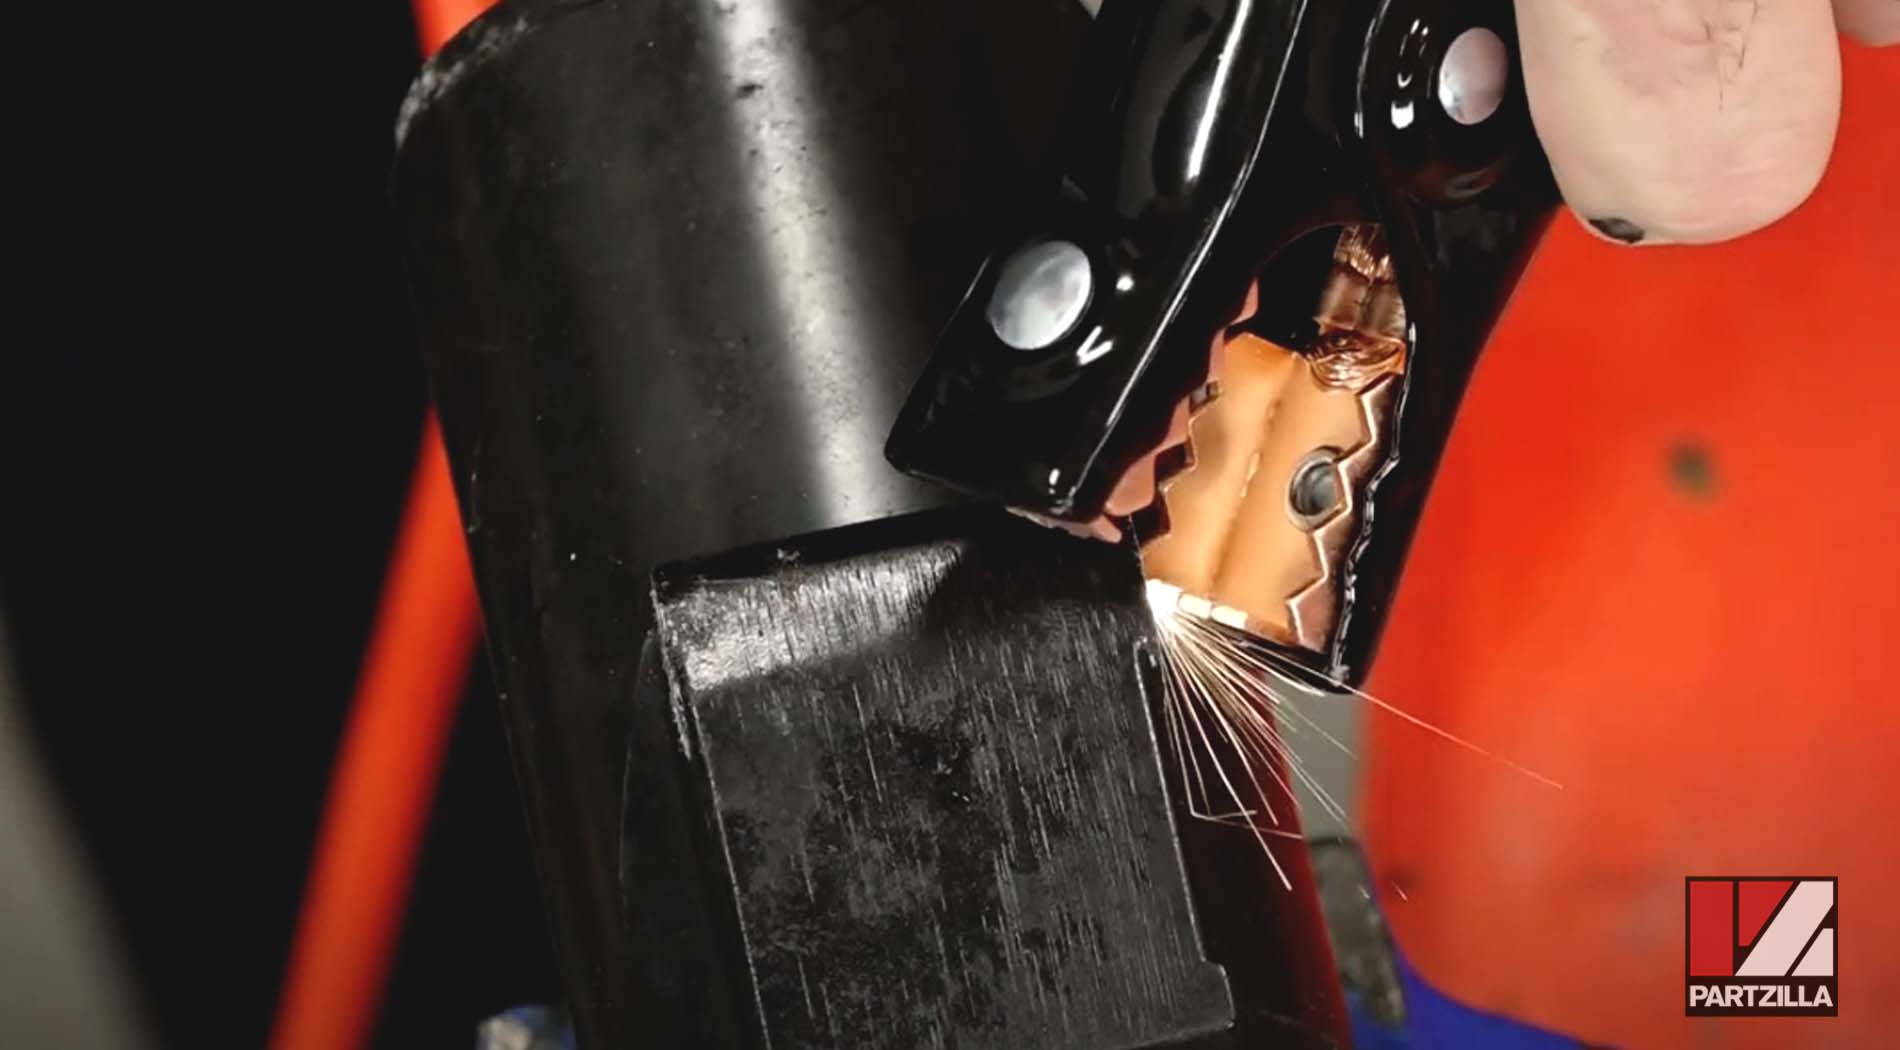
Testing a Bendix Gear Starter/Solenoid Unit
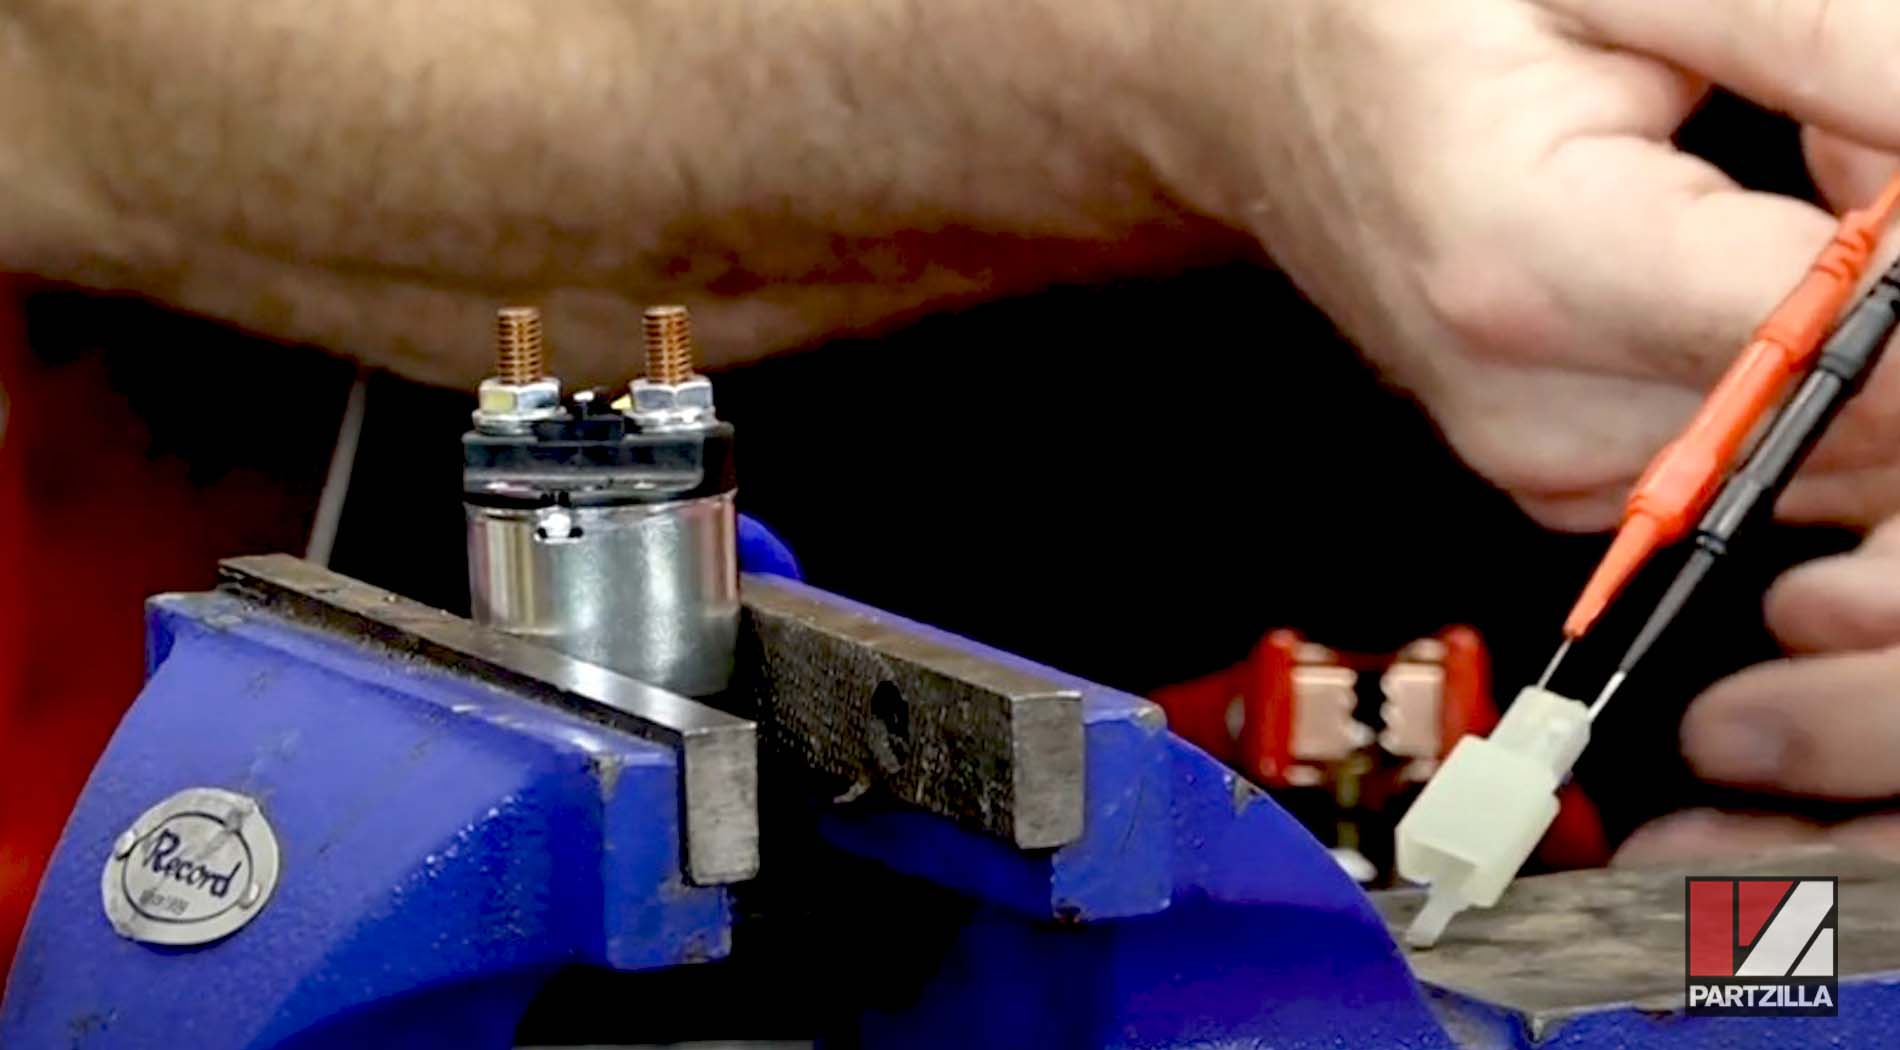
There are two nuts on the solenoid. The one furthest from the starter motor secures the wire coming from the battery, and the one closest to the starter motor secures the wire going from the solenoid to the starter motor. There’s also a spade terminal on the solenoid that connects to the wire from the ignition switch or push button, which triggers the solenoid to engage the Bendix gear.
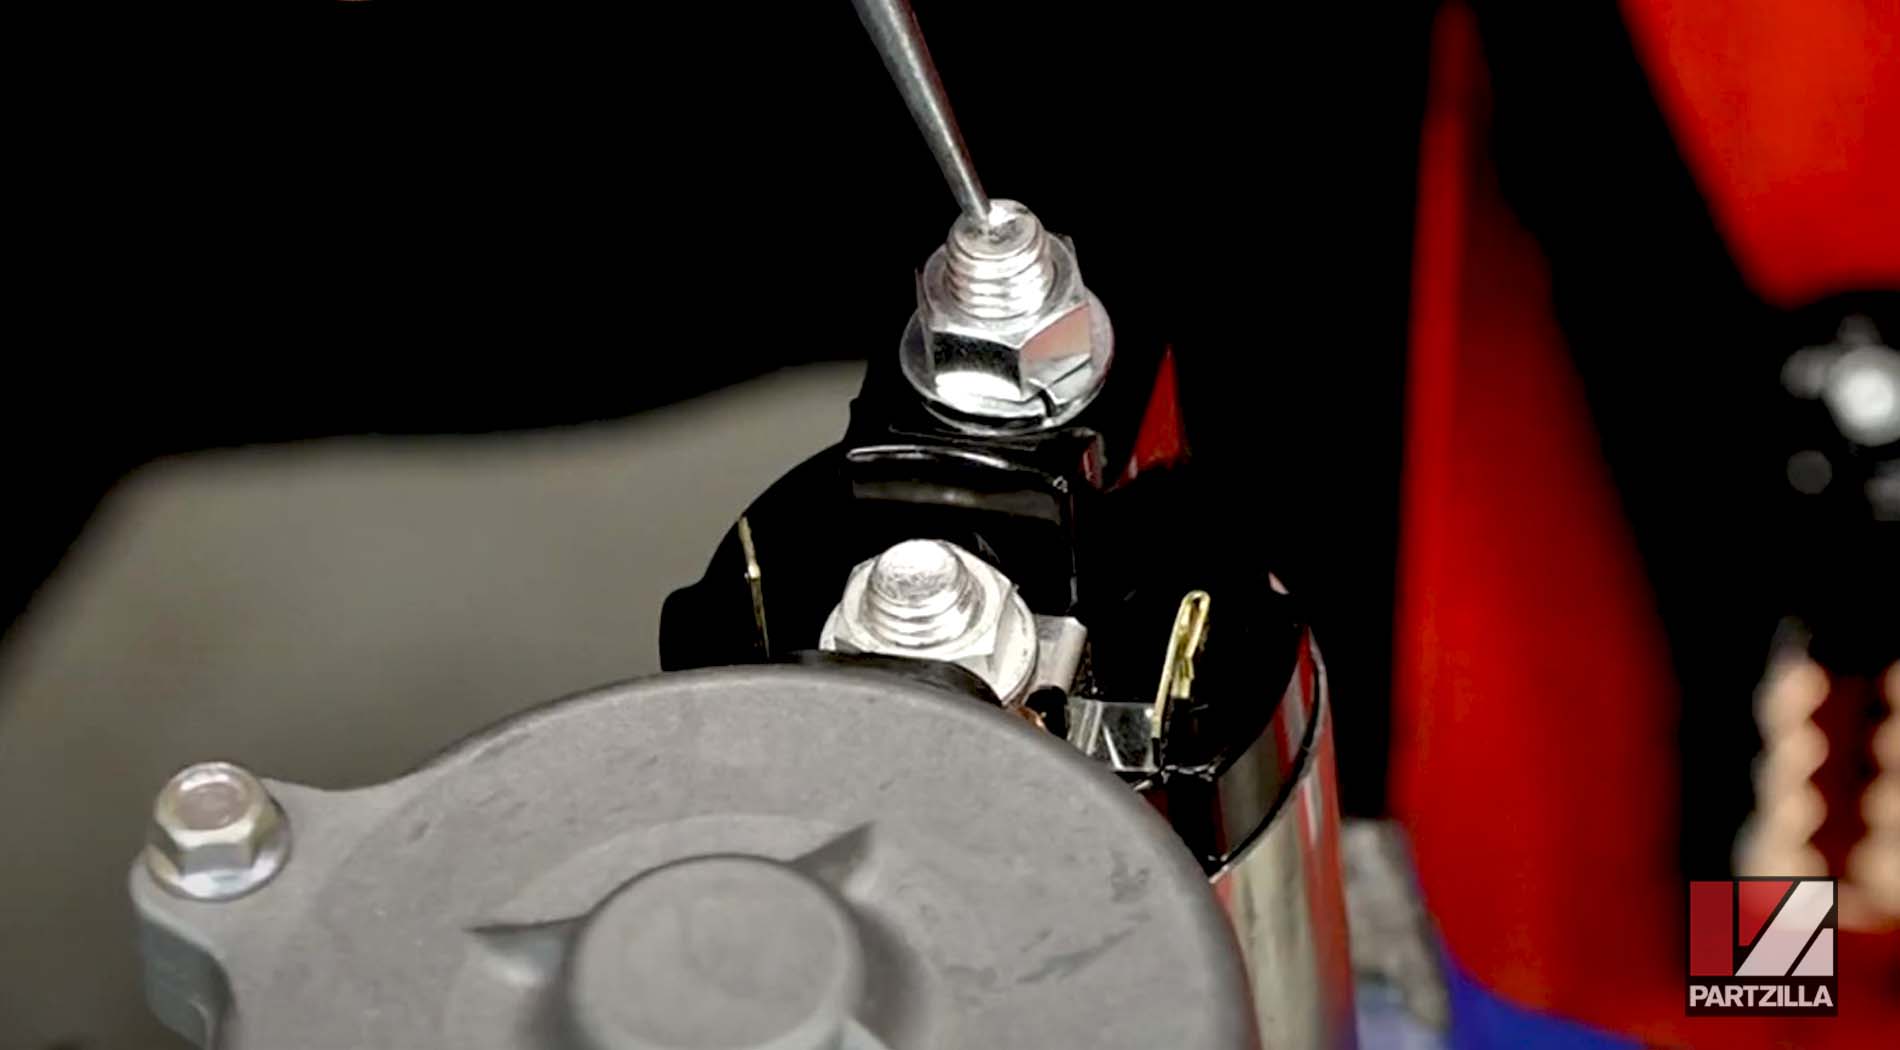
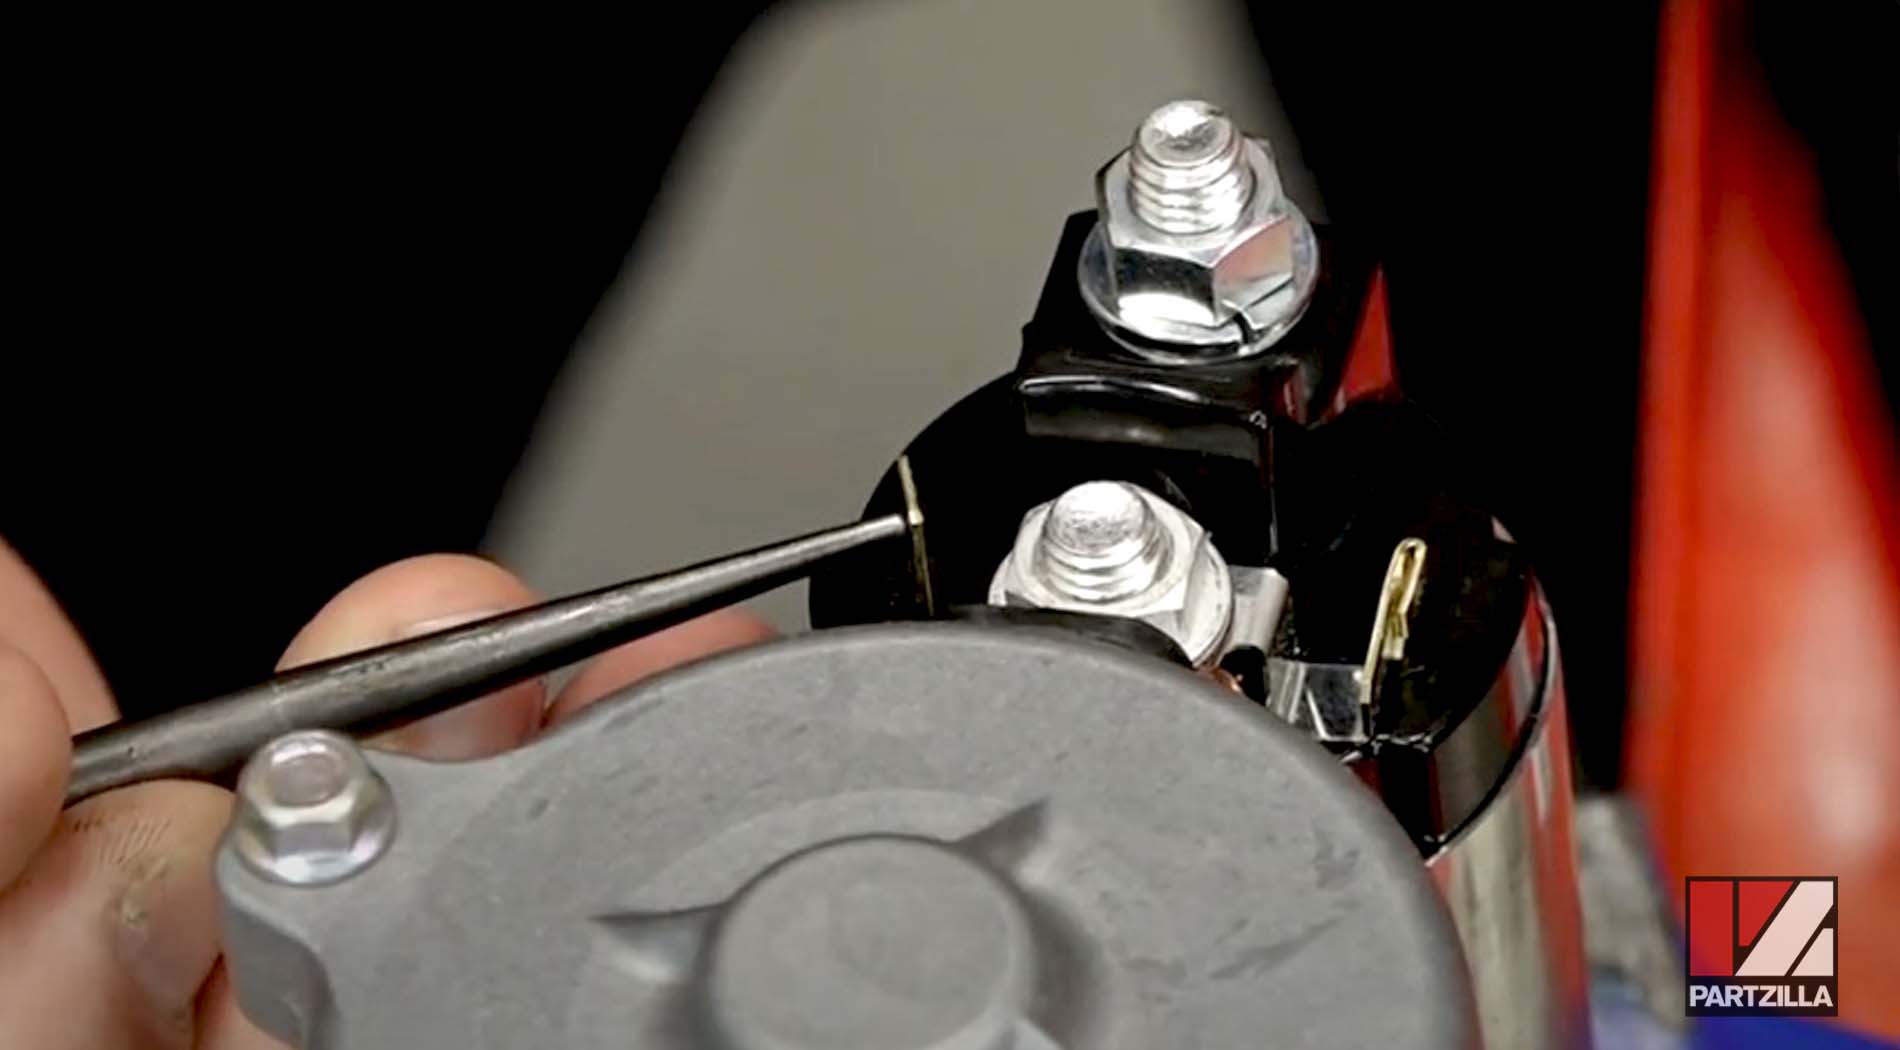
Testing Only the Solenoid
1. Connect a negative jumper cable to the negative terminal of the battery and the body of the starter motor.
2. Connect a positive jumper cable to the positive terminal of the battery.
NOTE: The positive jumper cable is now live, so be careful not to touch the other end against a ground surface.
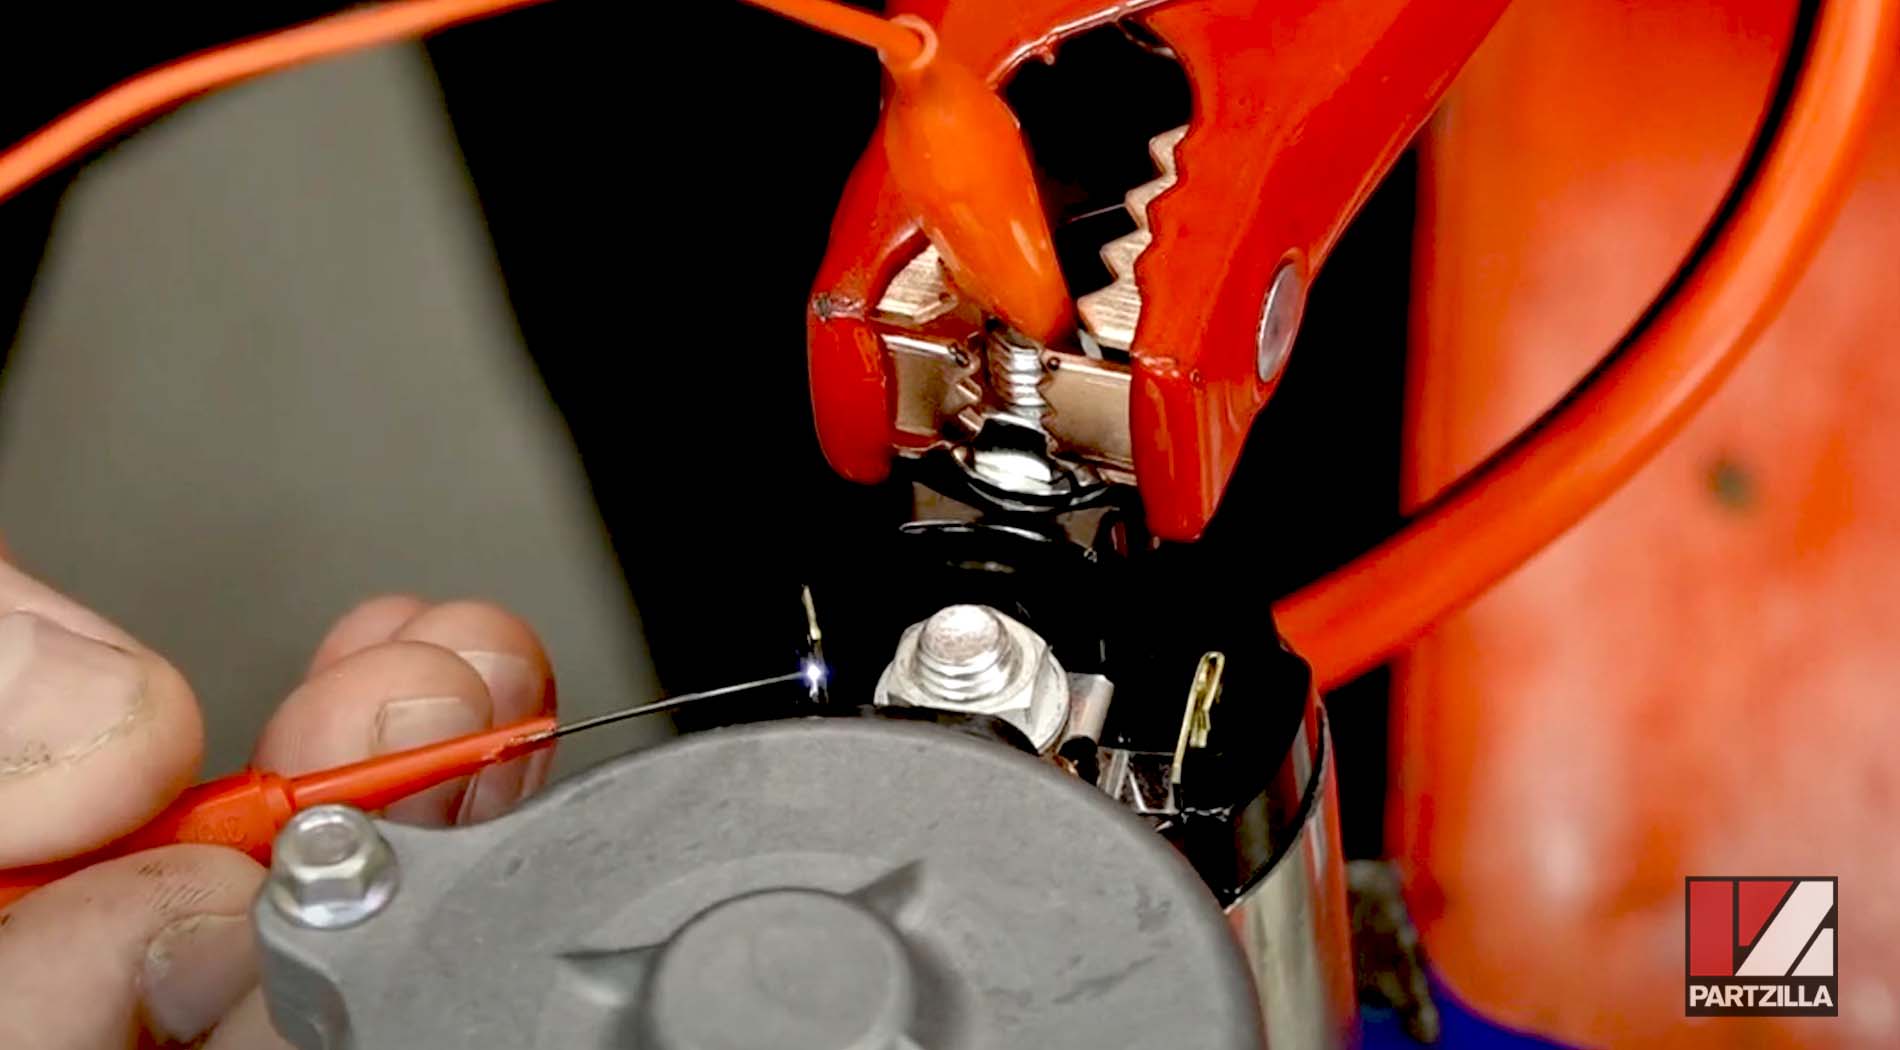
3. Touch the free end of the positive jumper to the spade terminal on the solenoid. You should hear a clicking sound from the solenoid, and the solenoid should force the Bendix gear out of the starter motor. If the solenoid makes no sound and doesn’t force out the Bendix gear, the starter/solenoid unit must be replaced.

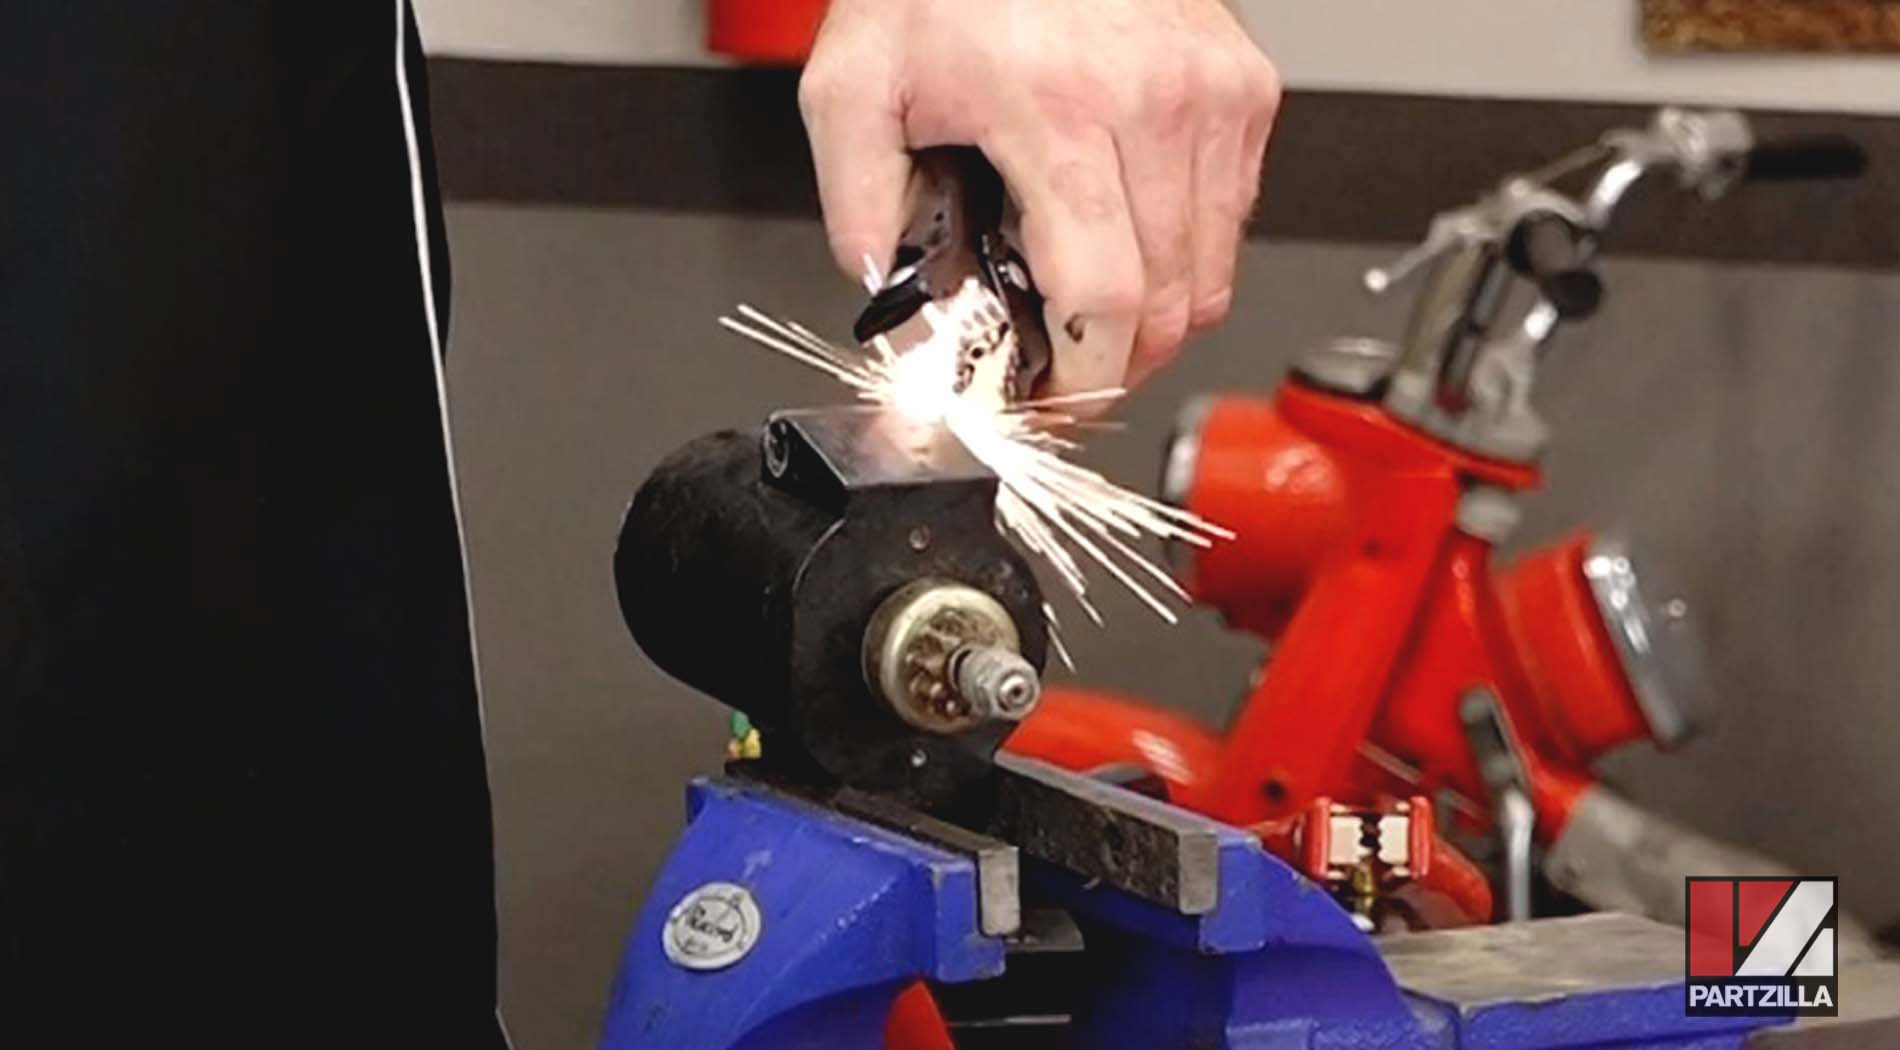
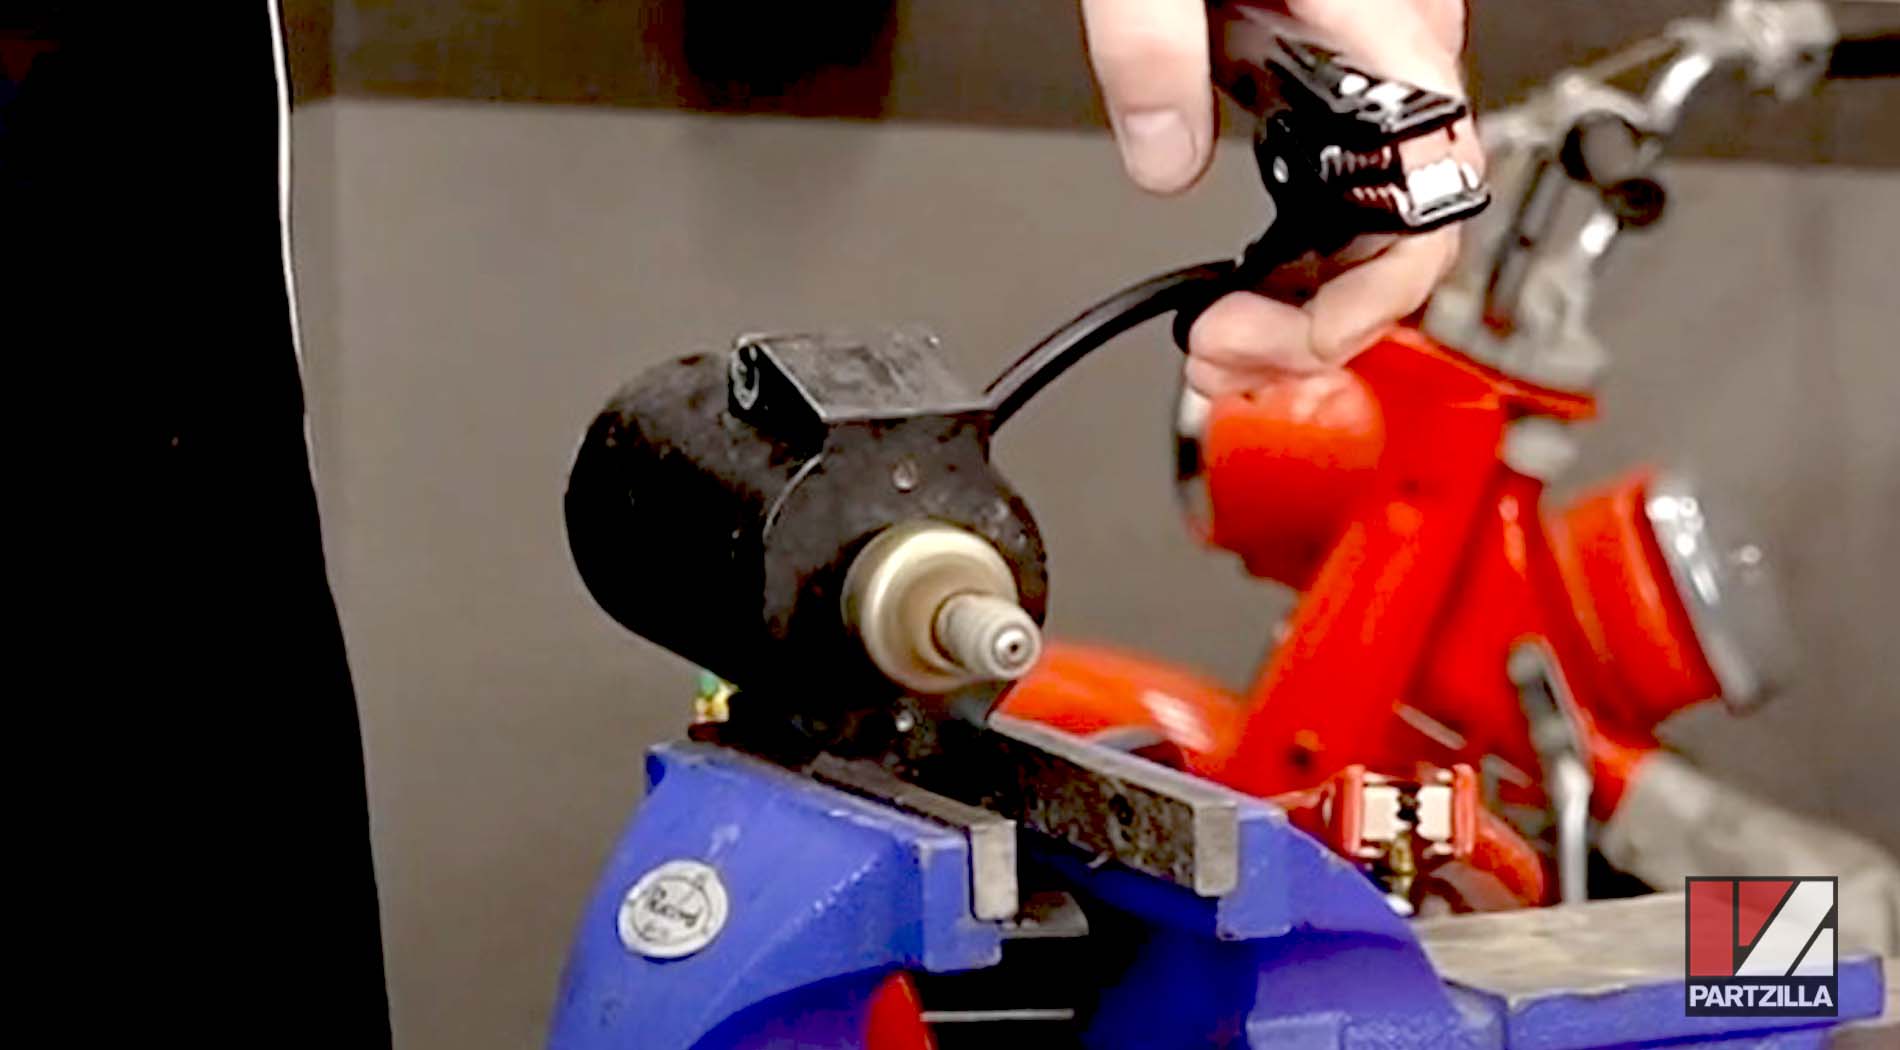
Testing Only the Starter Motor
1. Connect a negative jumper cable to the body of the starter motor.
2. Connect a positive jumper cable to the positive terminal of the battery, and the other end to the nut on the solenoid furthest from the starter motor that secures the wire from the battery to the starter motor.

3. Touch the free end of the negative jumper cable against the negative terminal of the battery. You should hear the starter motor spin but the Bendix gear will not engage. If the starter motor fails to spin, it must be replaced.
Testing the Solenoid and Starter Motor Together
1. Connect a negative jumper cable to the negative terminal of the battery and the body of the starter motor.
2. Connect a positive jumper cable to the positive terminal of the battery.
3. Connect the free end of the positive jumper cable to the nut on the solenoid from the starter motor that secures the wire from the battery to the starter motor.
4. Connect one end of a test lead to the positive jumper cable attached to the solenoid.
5. Touch the free end of the test lead to the spade terminal on the solenoid. The starter motor should spin and the solenoid should force the Bendix gear out of the starter motor.

Testing a Bendix Gear Starter with Separate Solenoid
The starter has a single wire connecting to it from the solenoid, and the solenoid has two terminals at one end, plus a pair of wires leading out from the other end. This starter motor features a Bendix gear.
Testing Only the Starter Motor
1. Connect a negative jumper cable to the negative terminal of the battery, and the other end to the body of the starter motor.
2. Connect a positive jumper cable to the positive terminal of the battery.
3. Touch the free end of the positive jumper cable to the positive wire coming from the starter. The starter motor should spin and the Bendix gear should be forced out of the starter. If it doesn’t, the starter motor is faulty and must be replaced.
Testing Only the Solenoid
1. Connect a negative test lead to the negative wire coming from the solenoid, and a positive test lead to the positive wire coming from the solenoid.
2. Connect a positive jumper cable to the positive test lead, and the other end to the positive terminal of the battery.
3. Connect a negative jumper cable to the negative test lead.
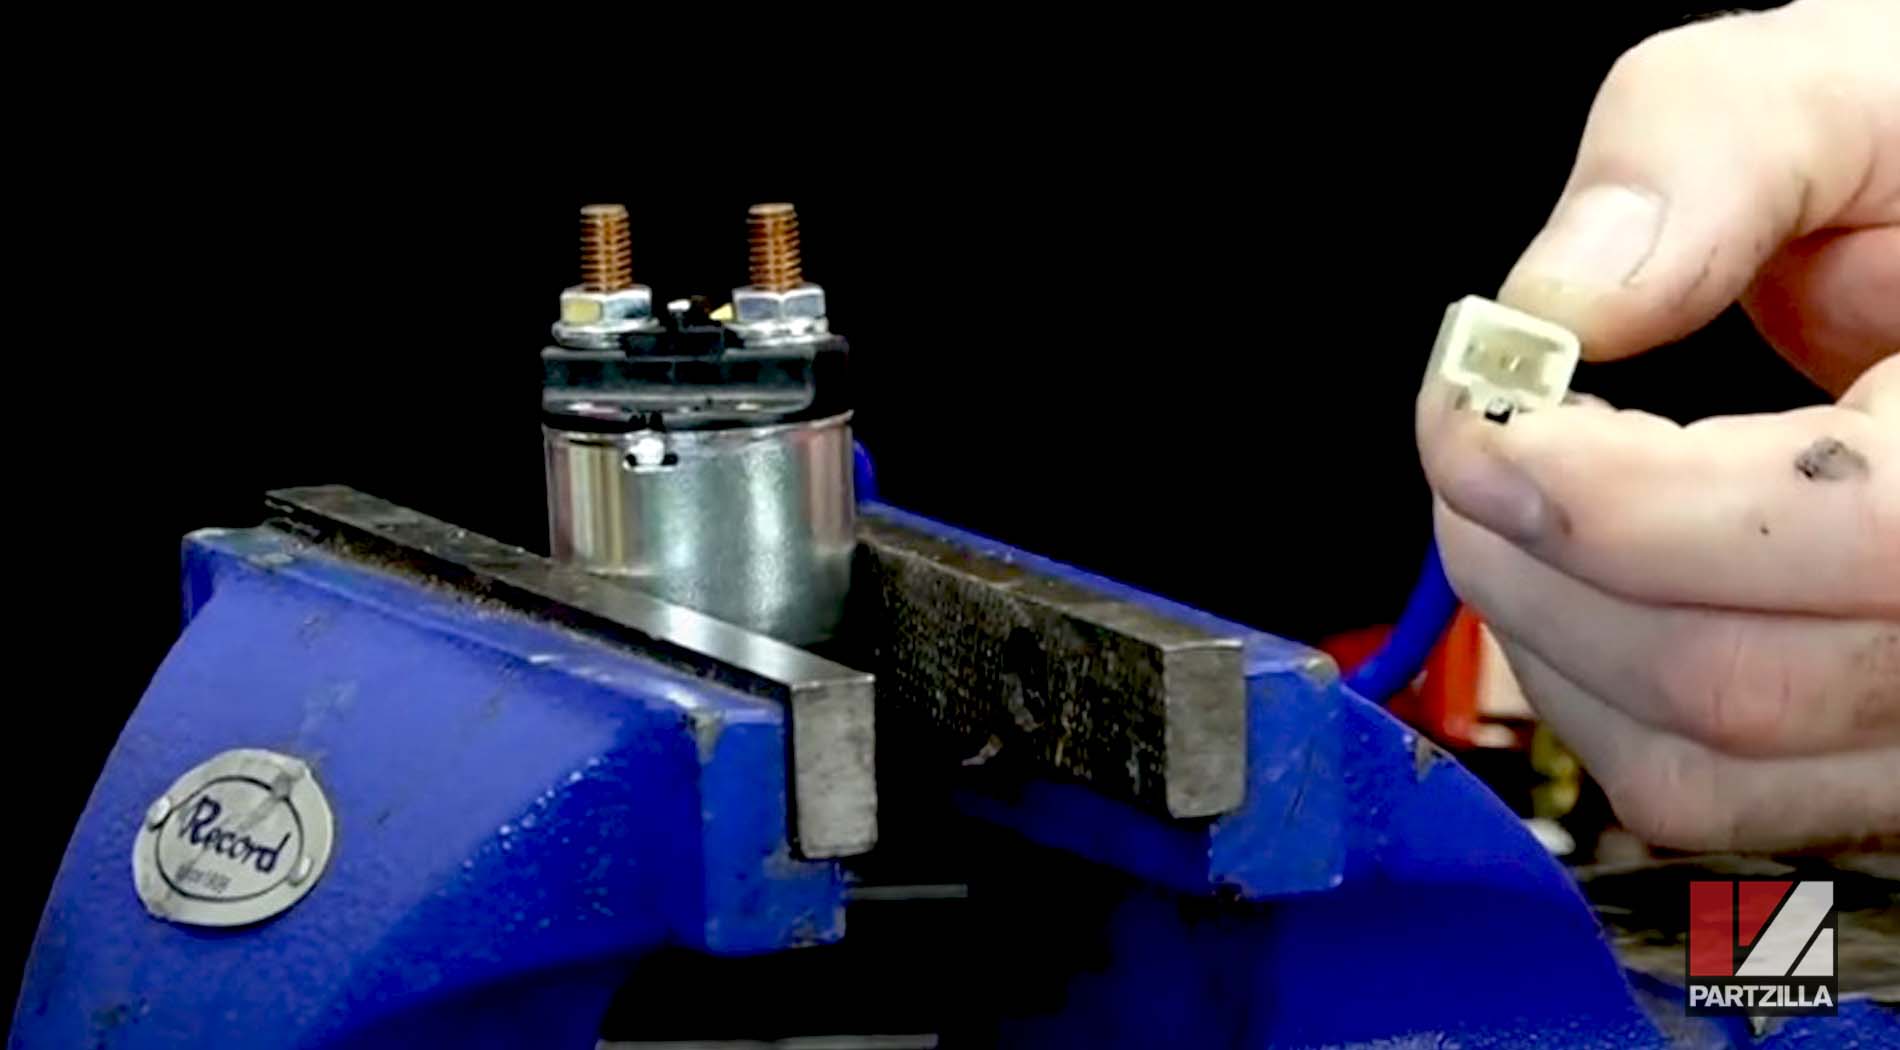
4. Touch the free end of the negative jumper cable to the negative battery terminal. The solenoid should make a clicking sound, indicating that it's working.
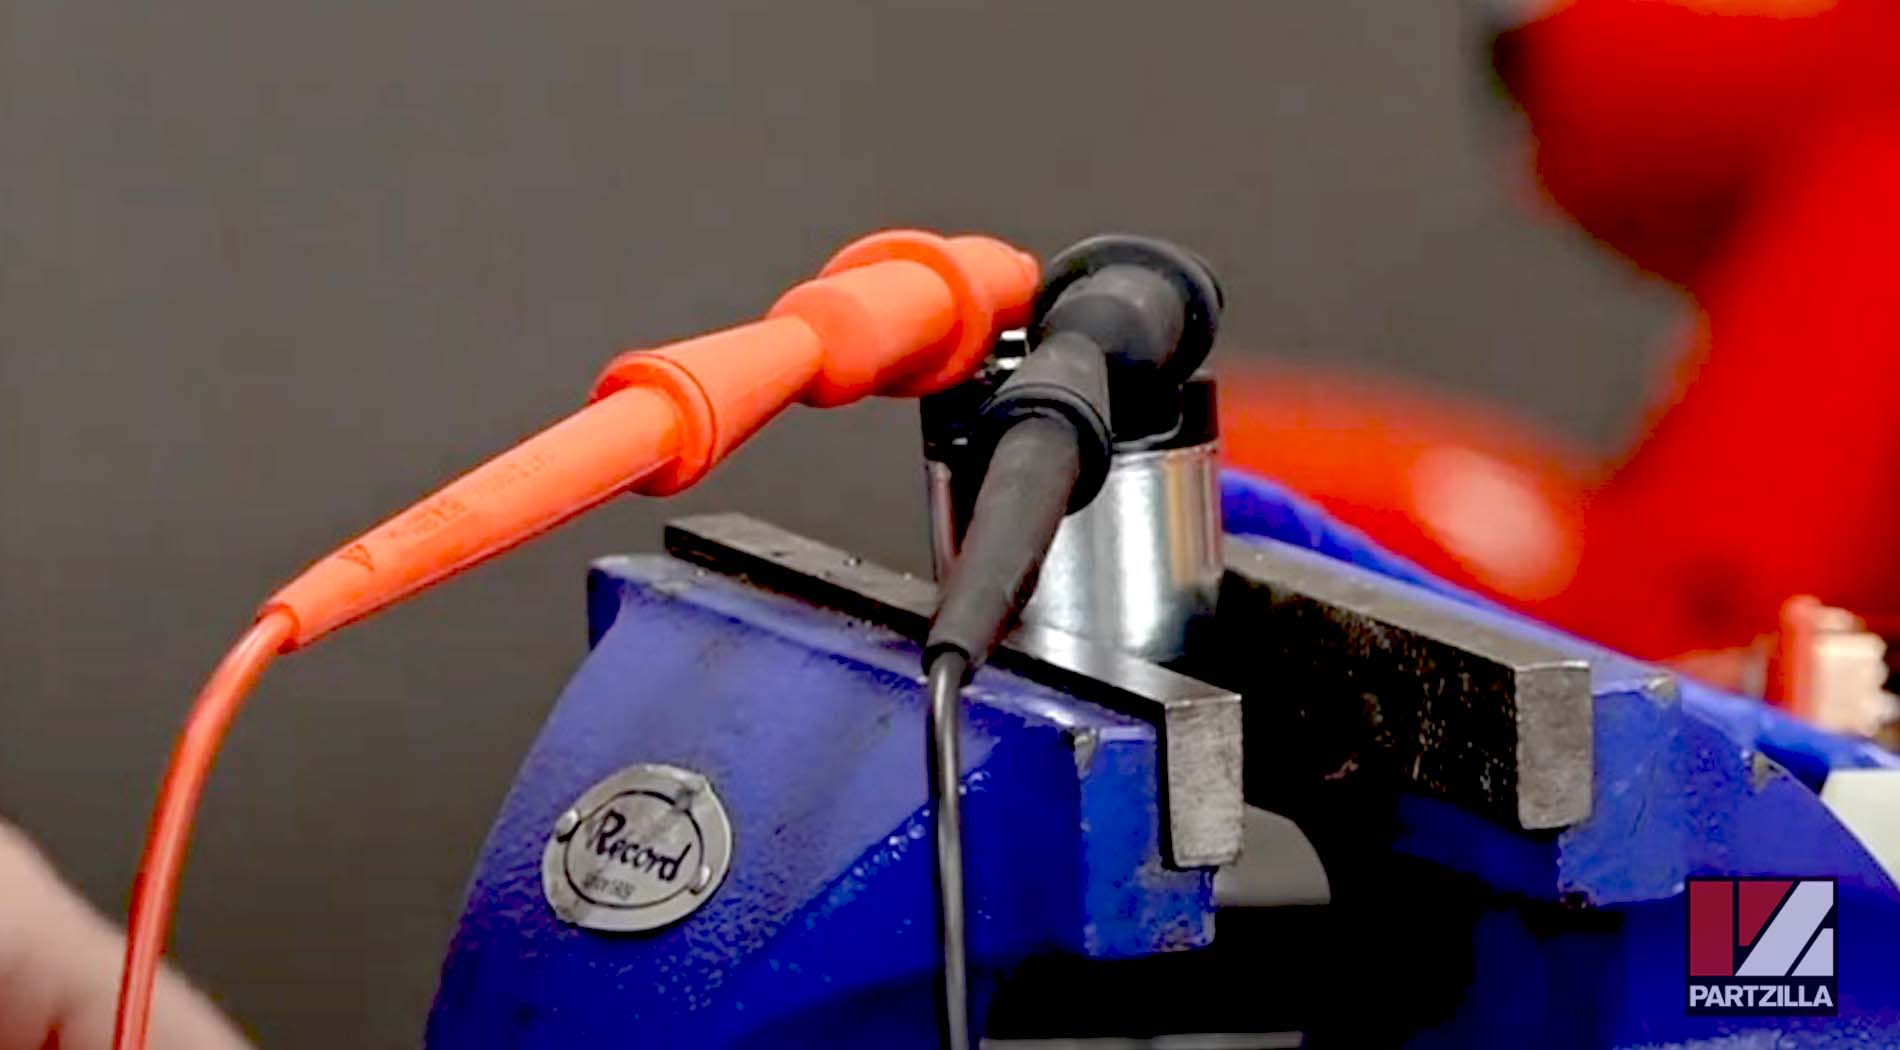
5. Connect a multimeter to the two terminals on the solenoid.
6. Set the multimeter to resistance. The multimeter should show an open circuit.
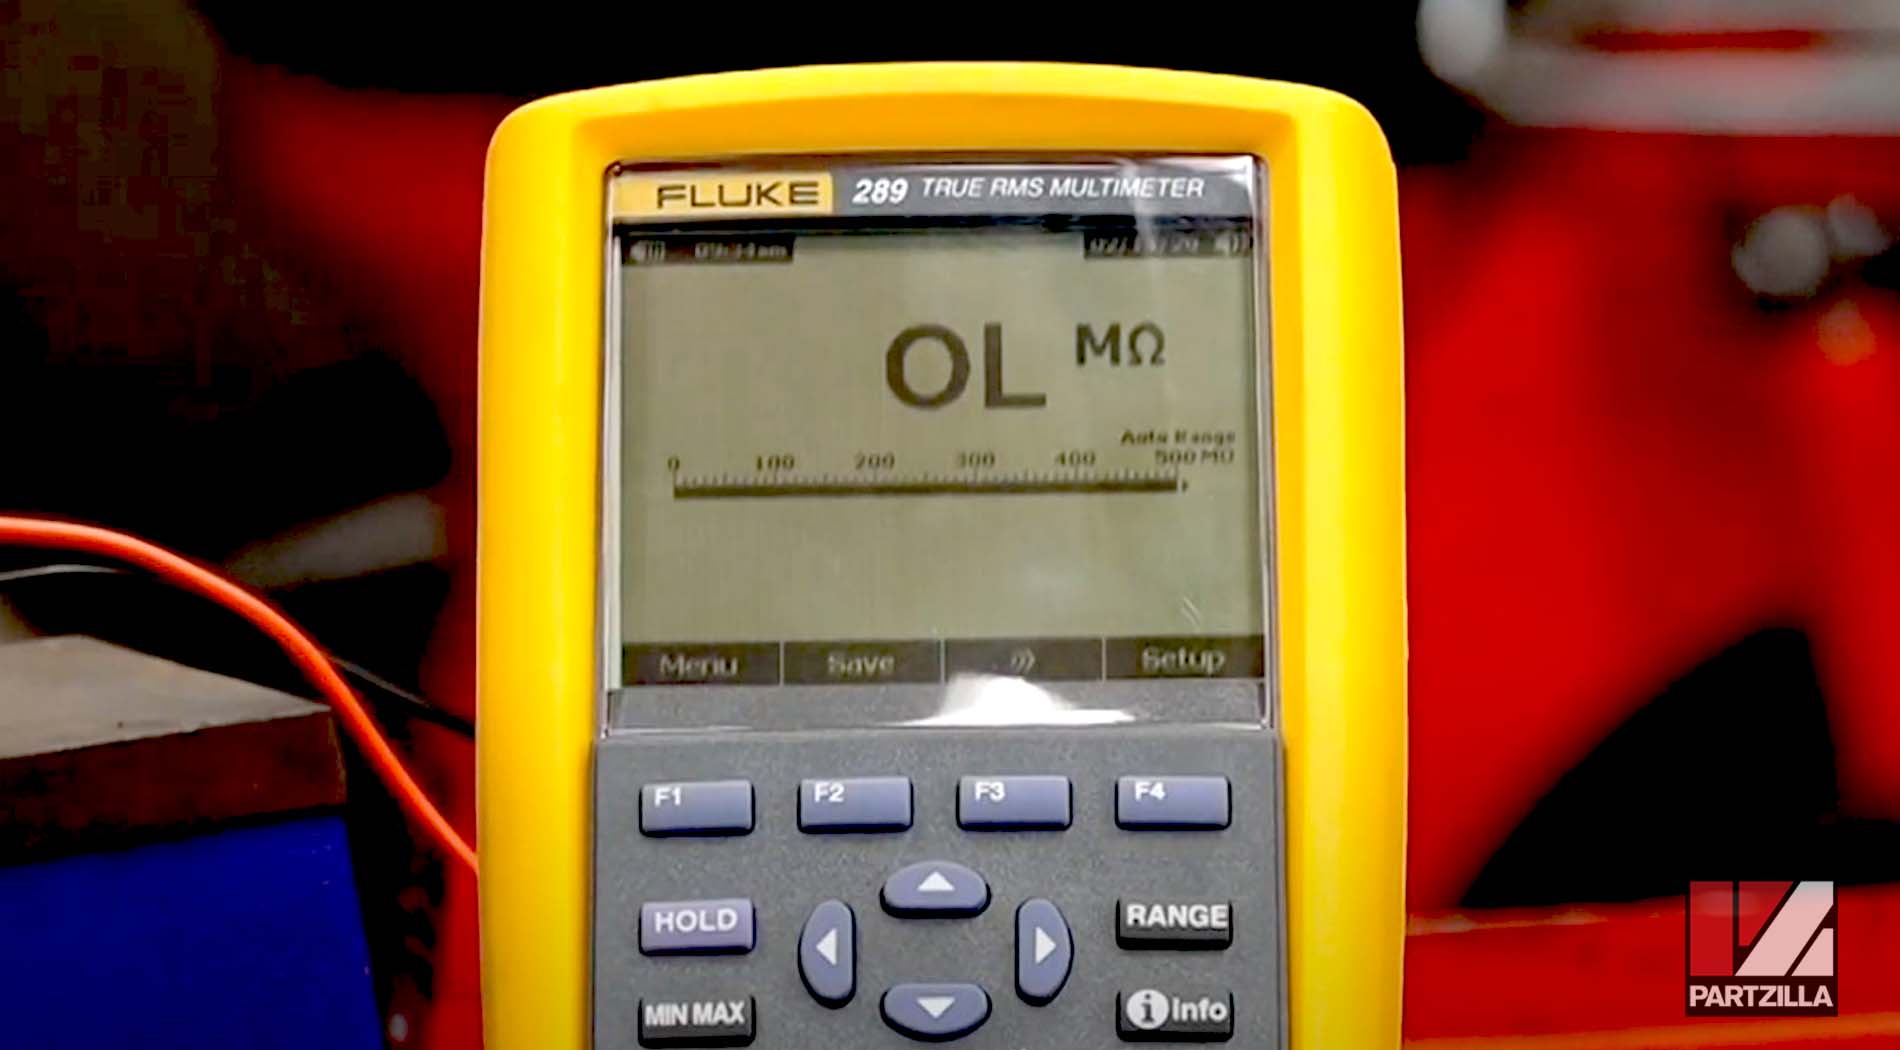
7. Touch the free end of the negative jumper cable to the negative battery terminal. The multimeter should show an open circuit, proving the solenoid is working. If the solenoid makes no sound and doesn’t make a closed circuit, it’s faulty and must be replaced.

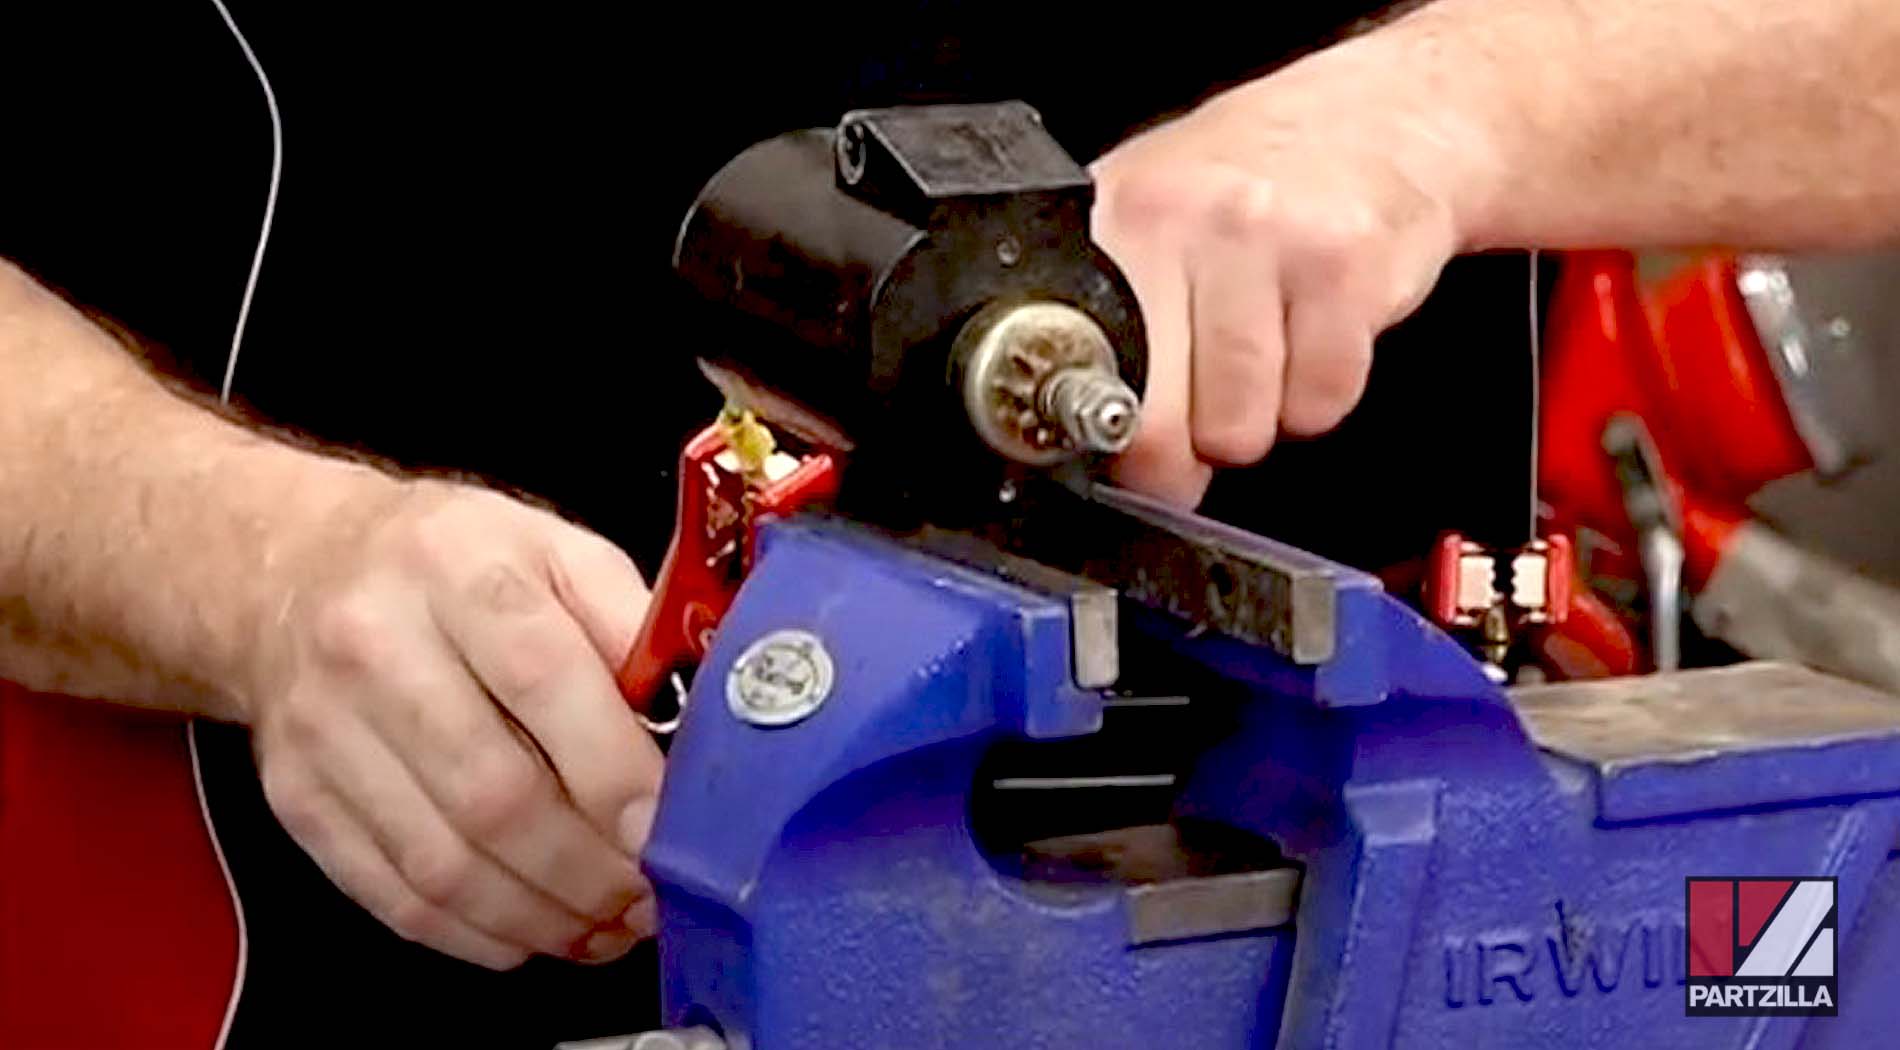
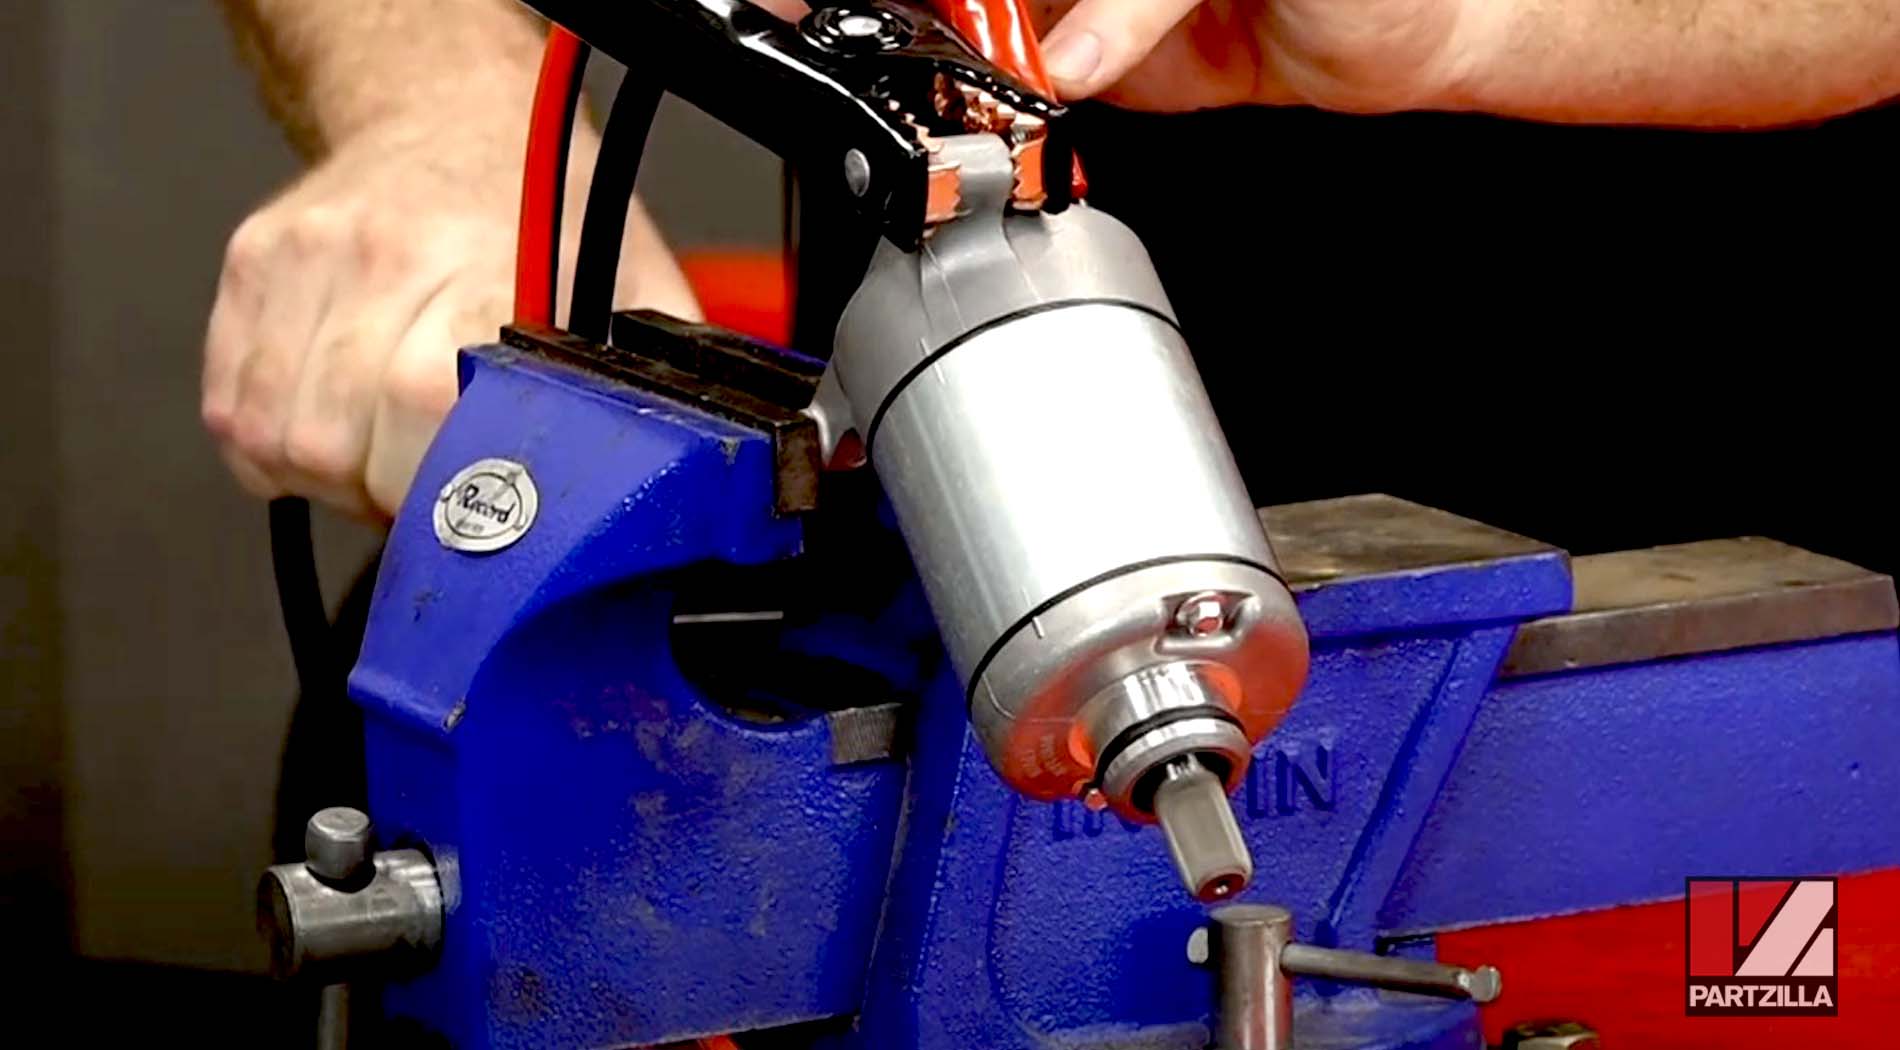
Testing a Starter with Separate Solenoid
The starter has a single wire connecting to it from the solenoid, and the solenoid has two terminals at one end and a pair of wires leading out from the other end. There is no Bendix gear, but there’s a splined shaft coming from the starter motor.
Testing Only the Starter Motor
1. Connect a positive jumper cable to the positive terminal of the battery, and the other end to the nut on the starter motor that secures the positive wire from the solenoid.
2. Connect a negative jumper cable to the negative terminal of the battery.
3. Touch the free end of the negative jumper cable to the negative battery terminal. The starter motor should spin. If the starter motor fails to spin, it’s faulty and must be replaced.
Testing Only the Solenoid
1 -7. Repeat the steps for testing only the solenoid, as outlined in the previous section.