Polaris RZR 900 Side-By-Side Quick Clutch Installation Guide
Whether you just finished rebuilding the engine on your Polaris UTV or just rebuilt the clutches on your machine, you’re going to need to get those clutches reinstalled.
Watch the video above and follow the steps below to learn how to do a quick clutch installation on a Polaris UTV.
Tools – Polaris Side-By-Side Clutch Installation
- ½ inch, 3/8th inch ratchets
- 10mm, 15mm, 21mm sockets
- Extensions
- Torque wrench
NOTE: We installed the clutches on a Polaris RZR 900 XP, but the steps are the same or similar for all Polaris side-by-sides.
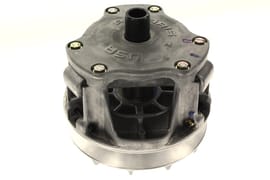
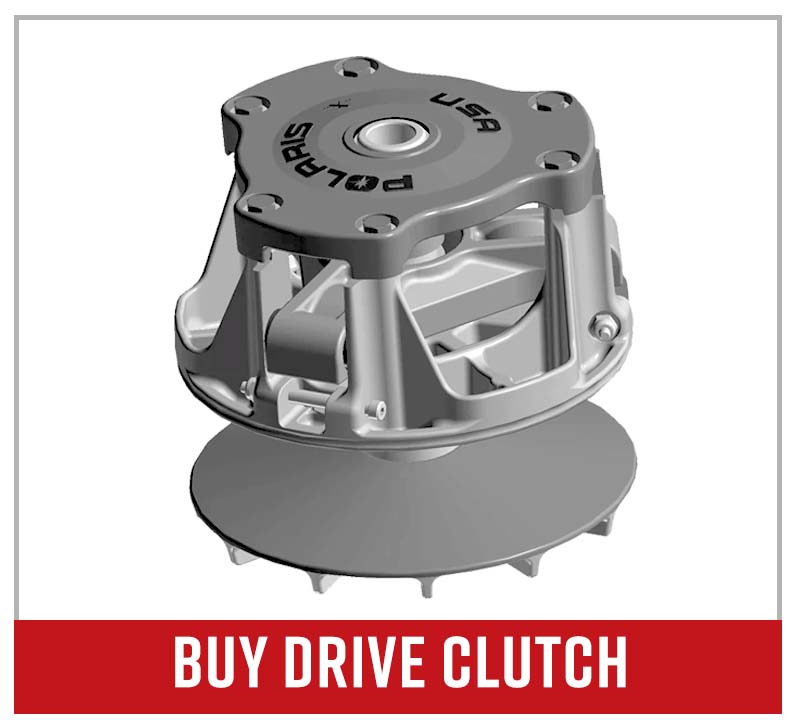
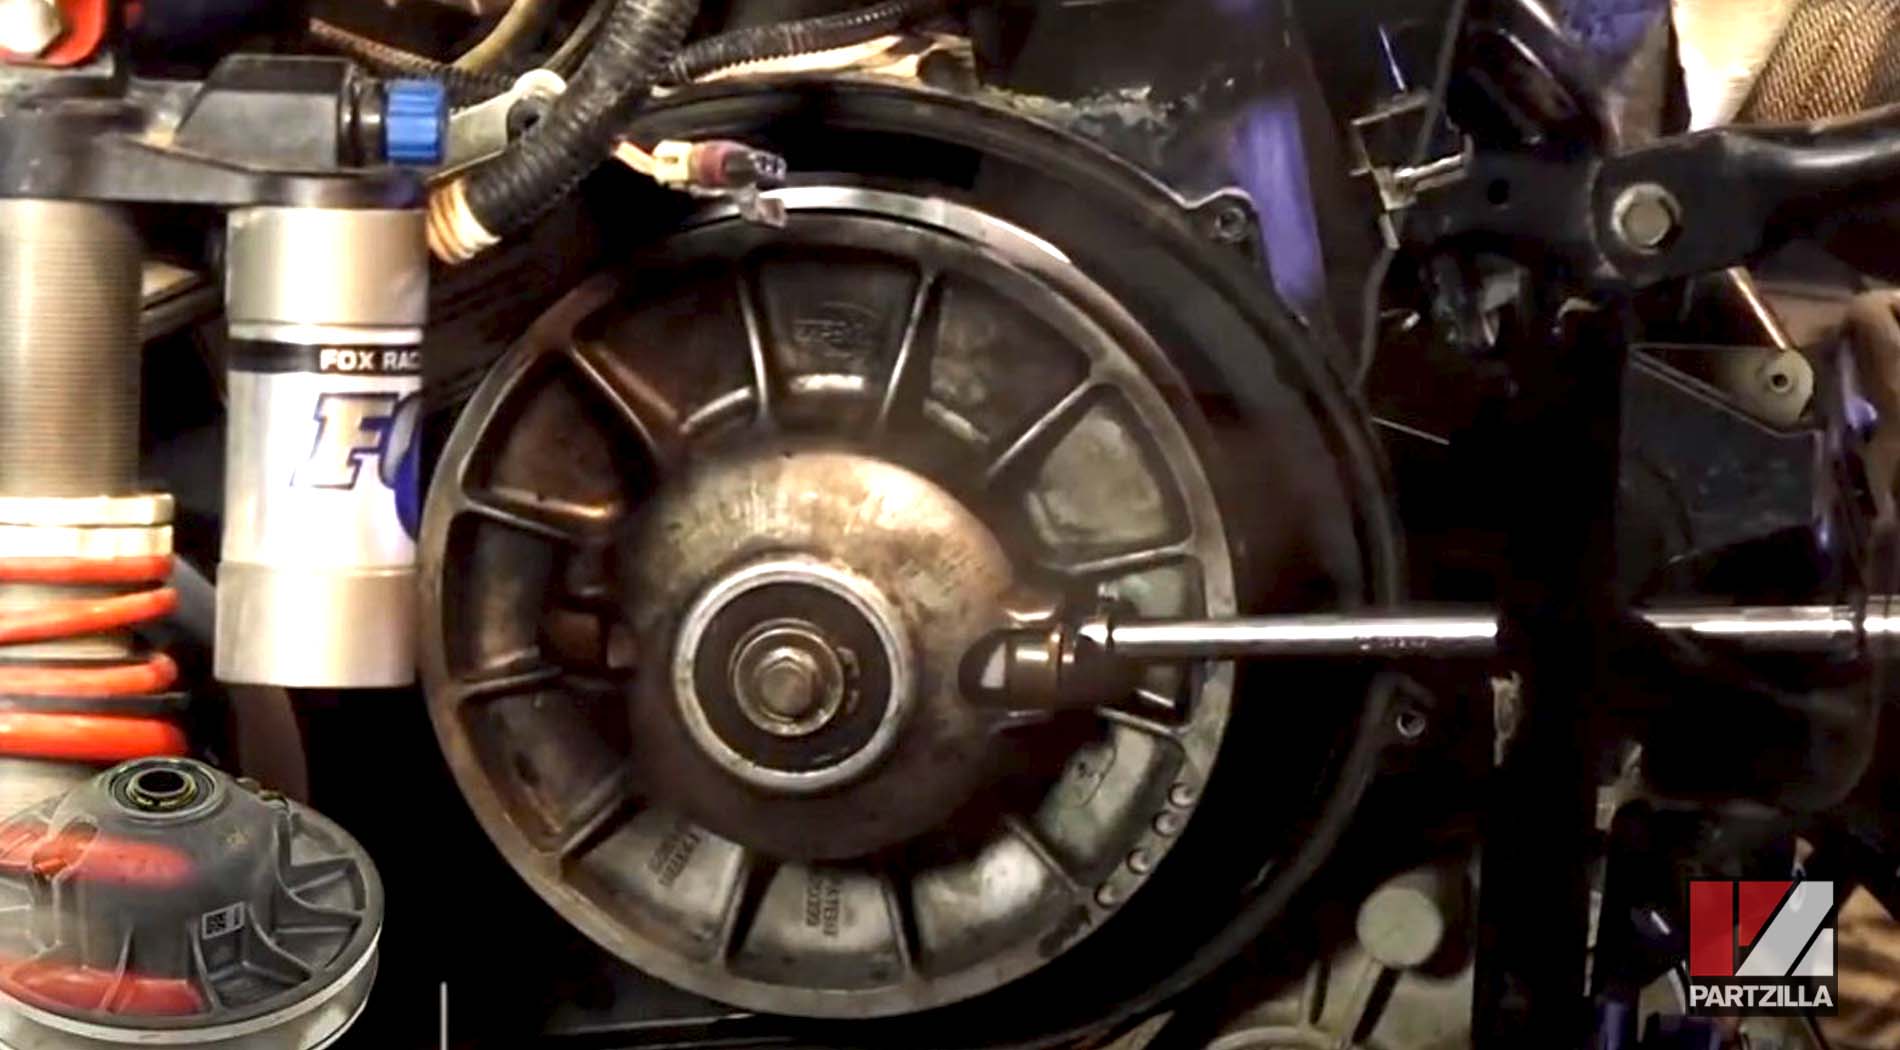
Installing the Drive Clutch on a Polaris RZR 900 XP
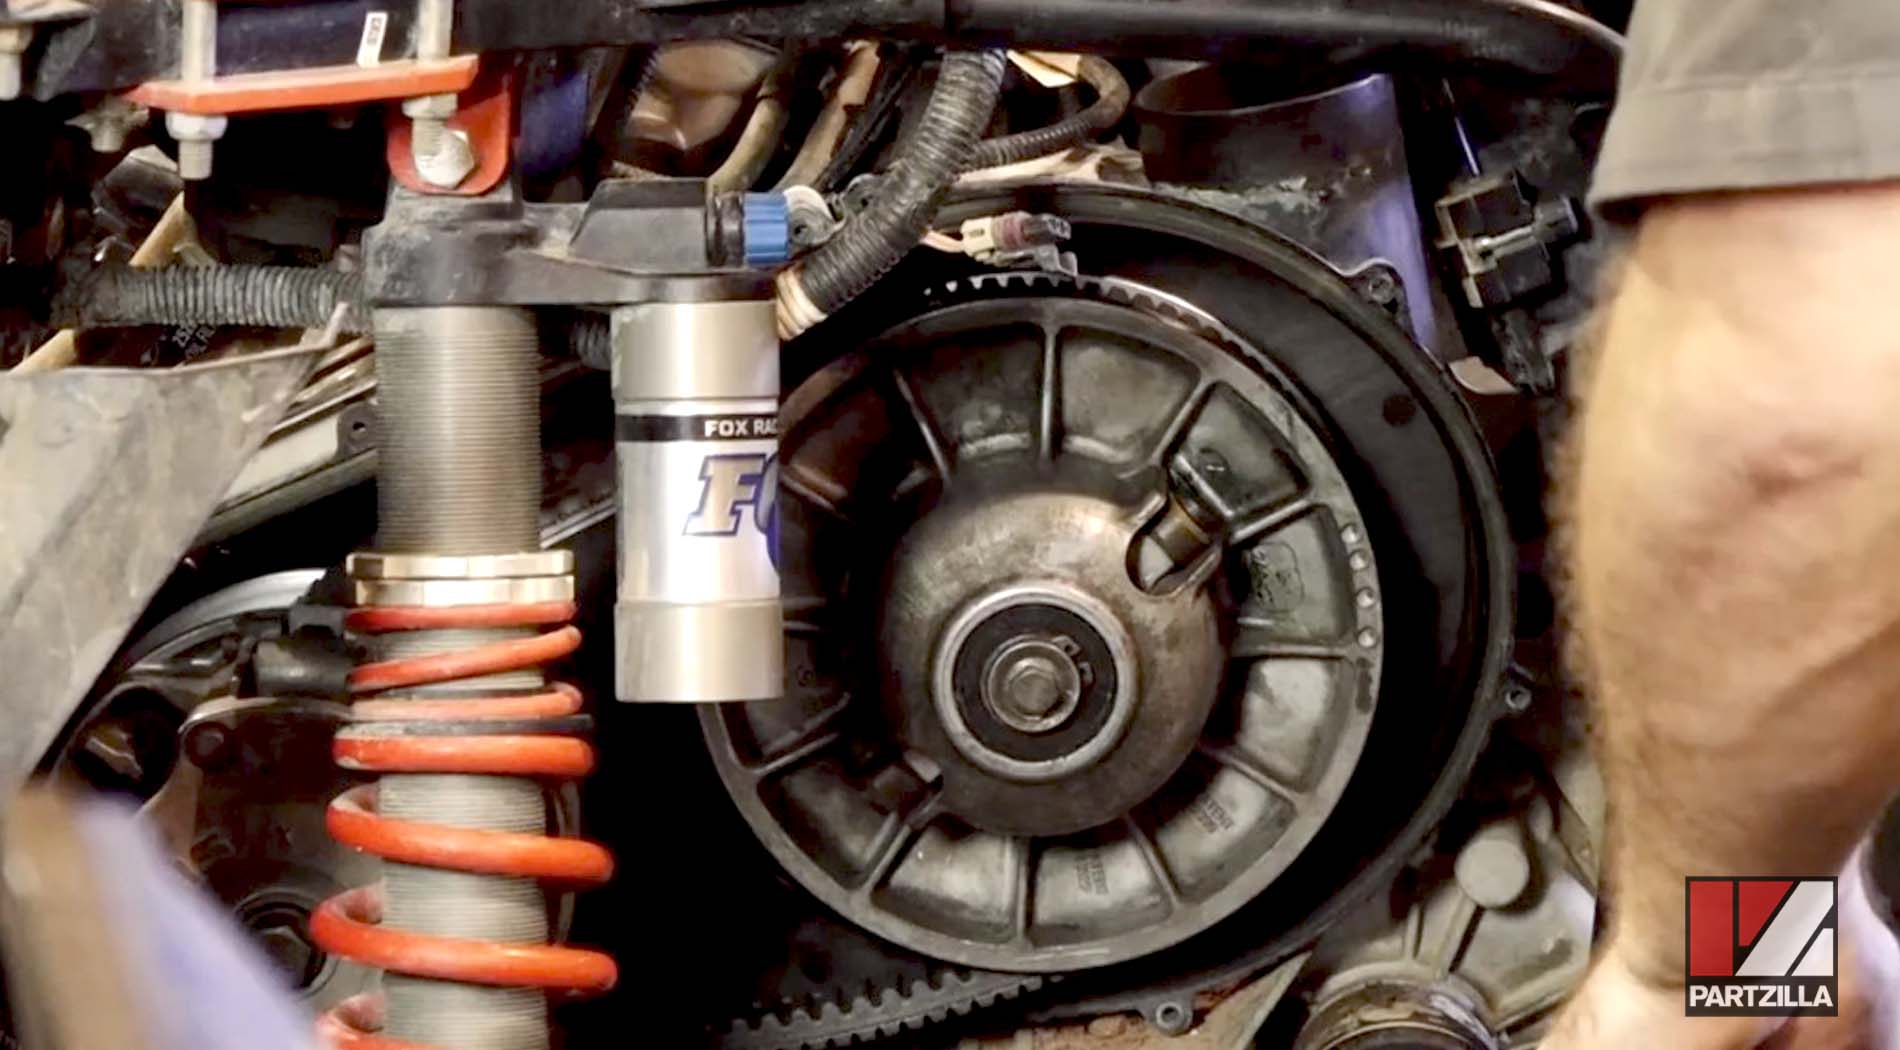
The clutch on the Polaris RZR has two sides: the drive or primary clutch and the driven or secondary clutch. Start with the drive clutch, the larger of the two. Simply hold it in place, insert the center bolt, and tighten it to 96 foot-pounds of torque. It’s a standard right-hand thread.
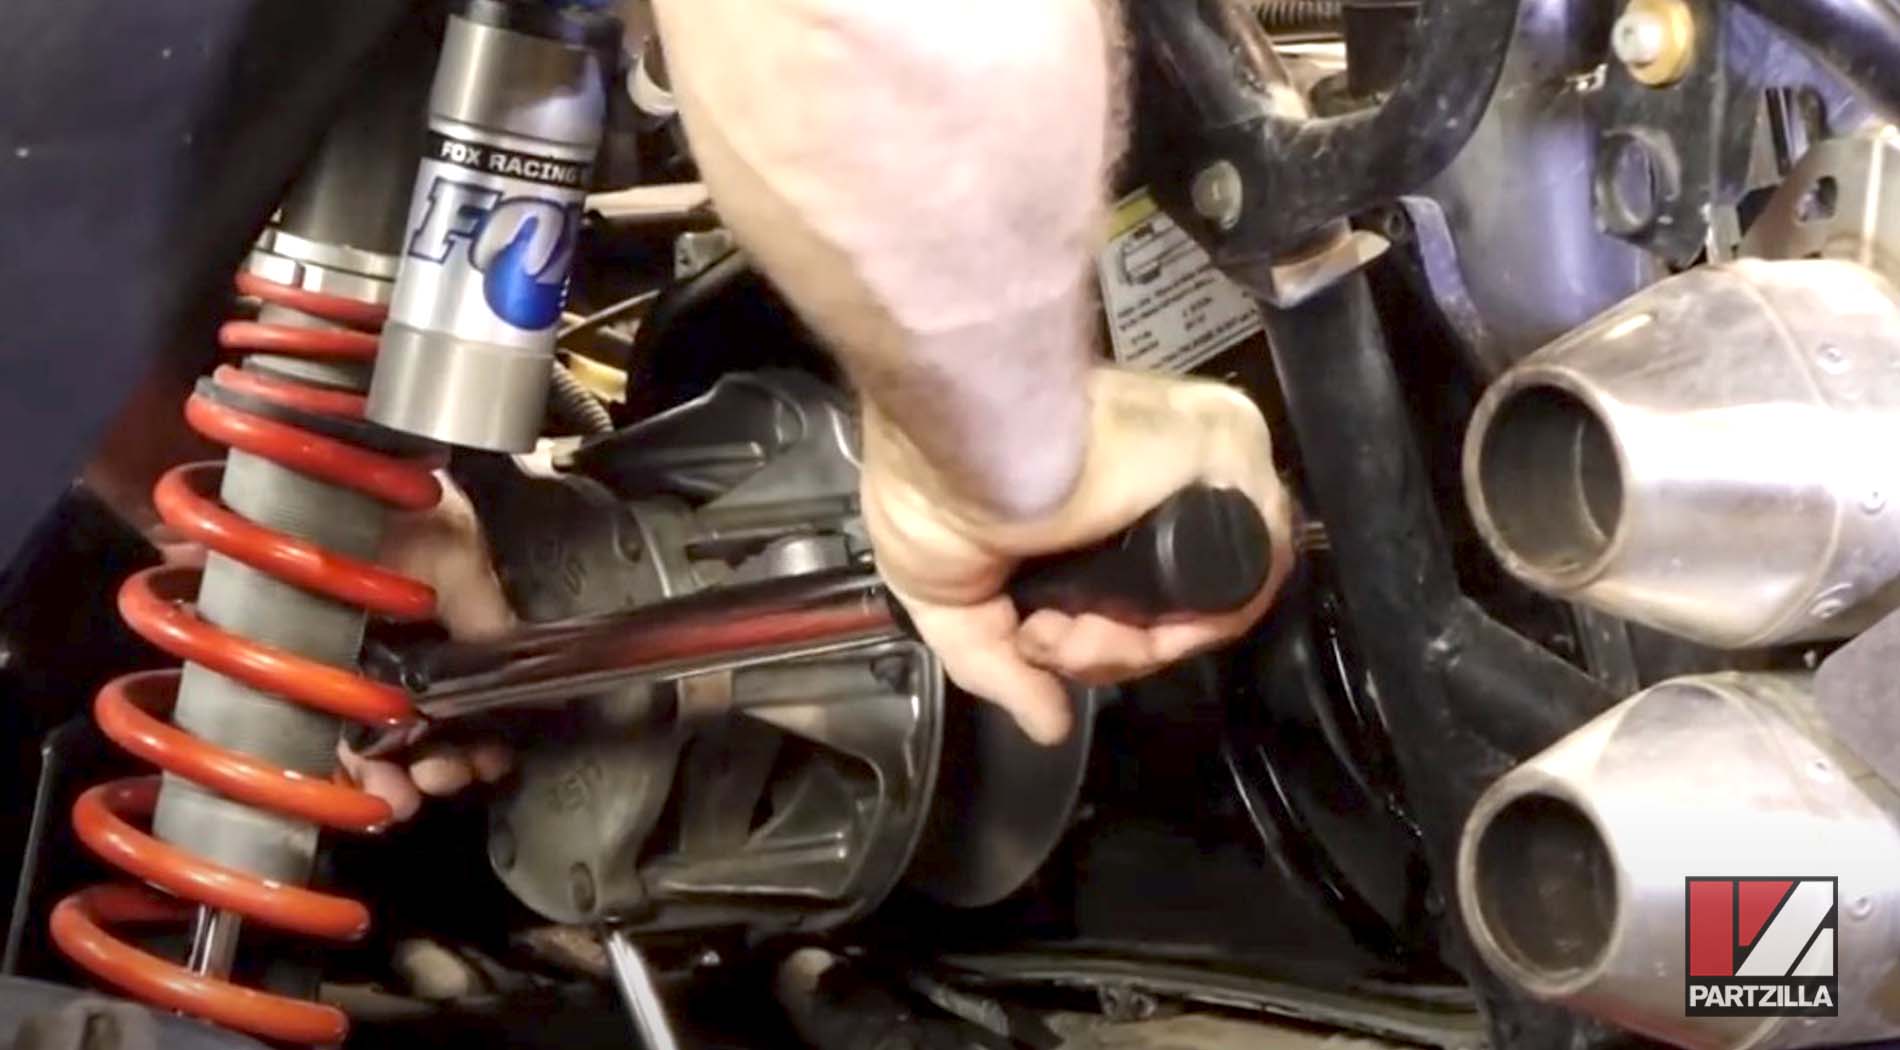
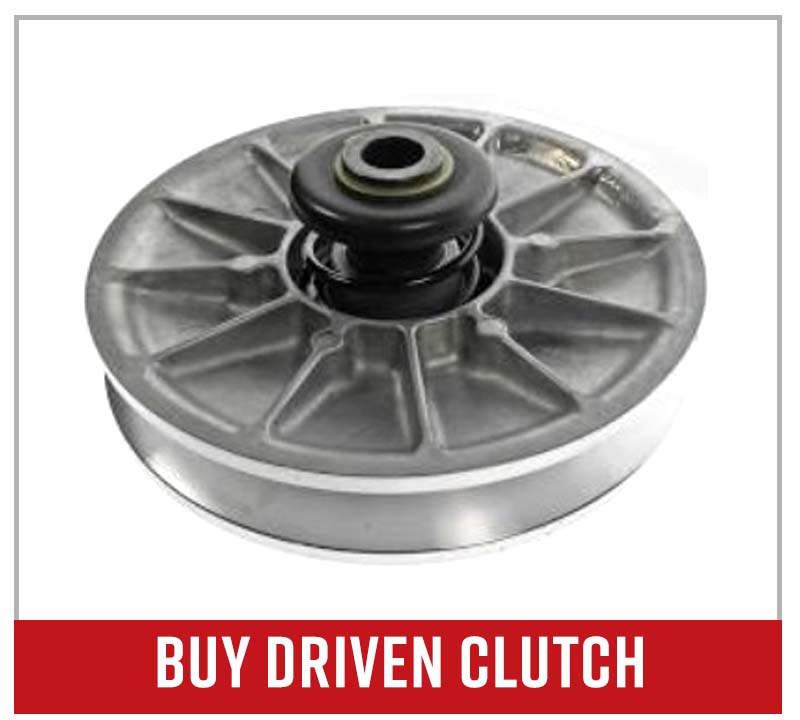
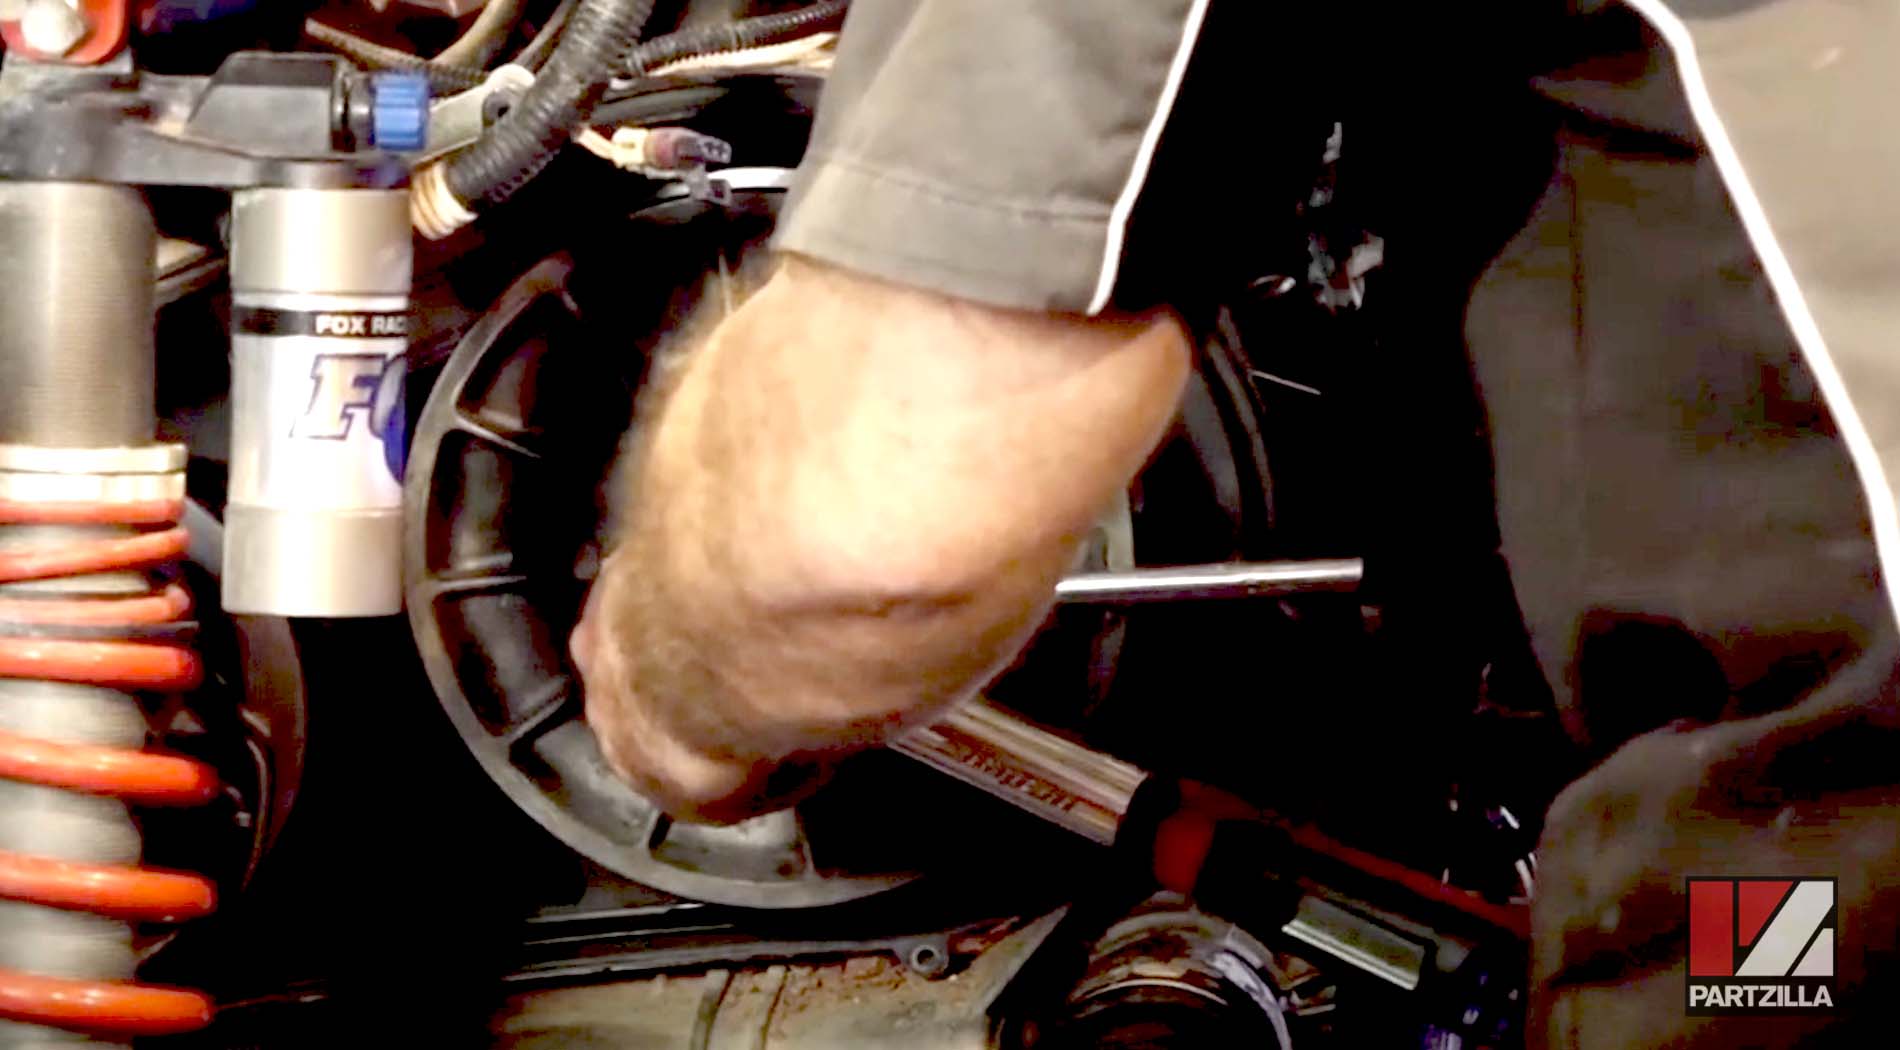
Installing the Secondary Clutch on a Polaris RZR 900 XP
Next, install the driven or secondary clutch. It’s virtually the same procedure as the drive clutch, but this time tighten its center bolt to 40 foot-pounds of torque. Insert an extension into the opening in the side of the clutch and wedge it in the frame to keep the clutch from rotating while you’re trying to tighten it.
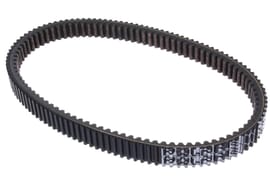
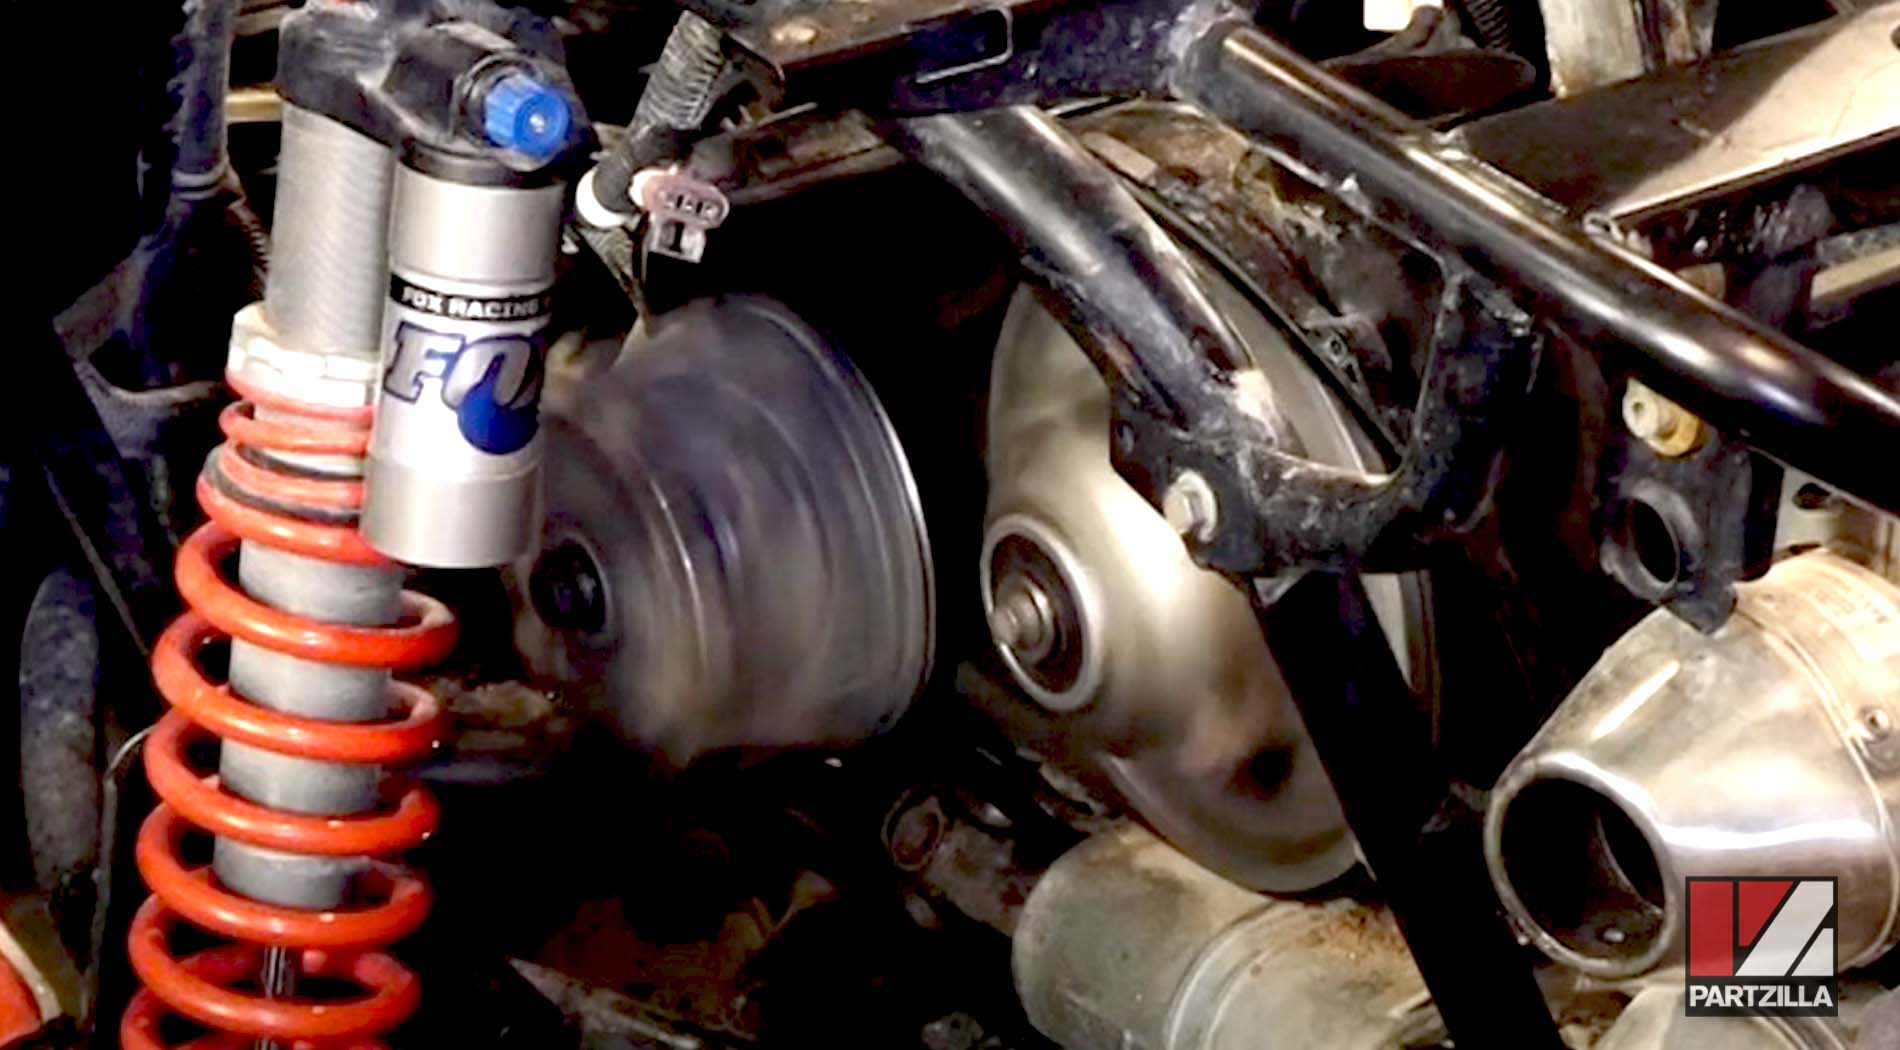
Installing the Drive Belt on a Polaris RZR
Next, walk the drive belt onto the drive and driven clutches. When you install it, make sure that any writing on the belt is facing you, reading from left to right.
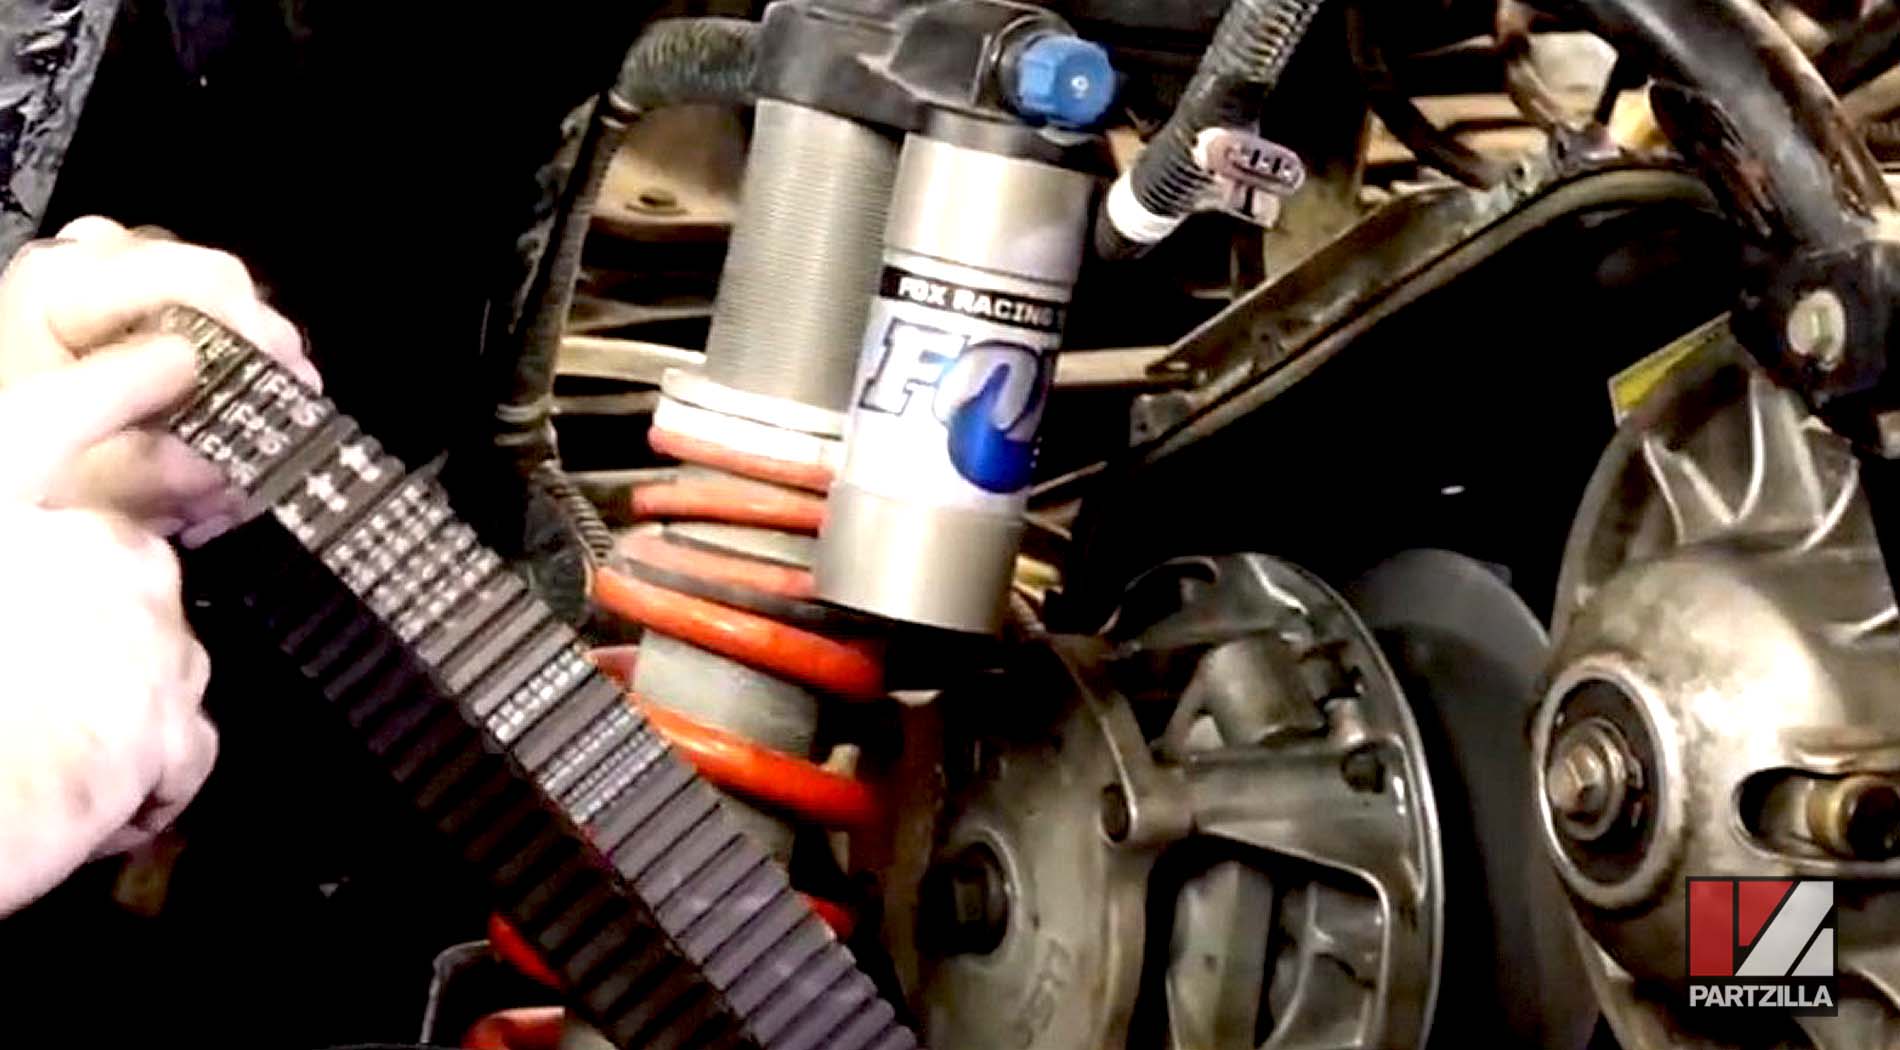
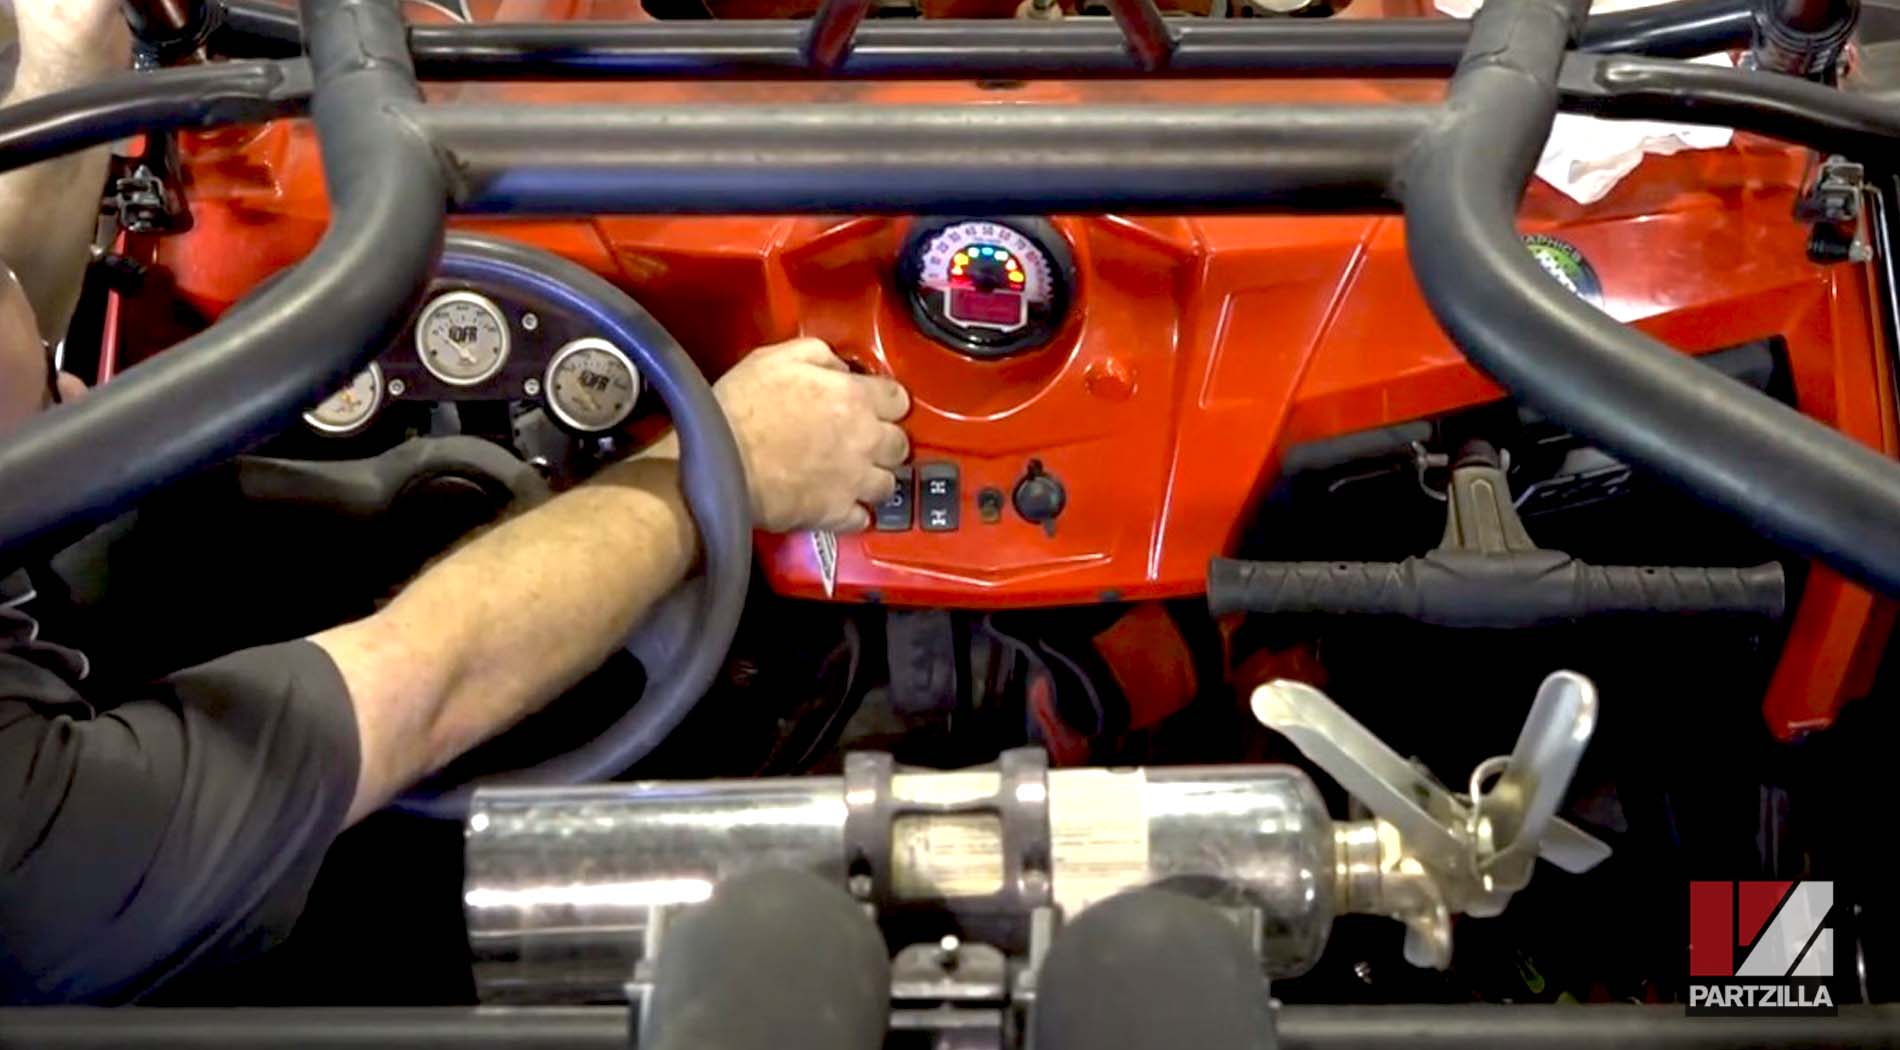
Once the belt is installed, fire up the engine and make sure it catches properly, and that the clutches are doing what they're supposed to be doing.
Need a little help getting the drive belt installed onto your Polaris UTV? Watch the video below to see the full drive belt replacement for a Polaris RZR 900XP.