How to Change a Polaris Sportsman 850 Drive Belt
If the drive belt on your Polaris ATV is slipping, you may hear squealing, or notice a loss in speed or jerky acceleration. These are telltale signs that it's time to change out the drive belt.
Watch the video above and follow the steps below to learn how to change the drive belt on a Polaris 850 Sportsman ATV.
Tools and Parts - Polaris Sportsman 850 Drive Belt Change
- Metric sockets, extensions and drive
- Torque wrench
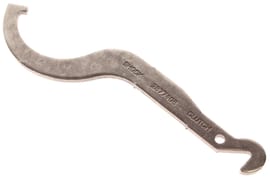
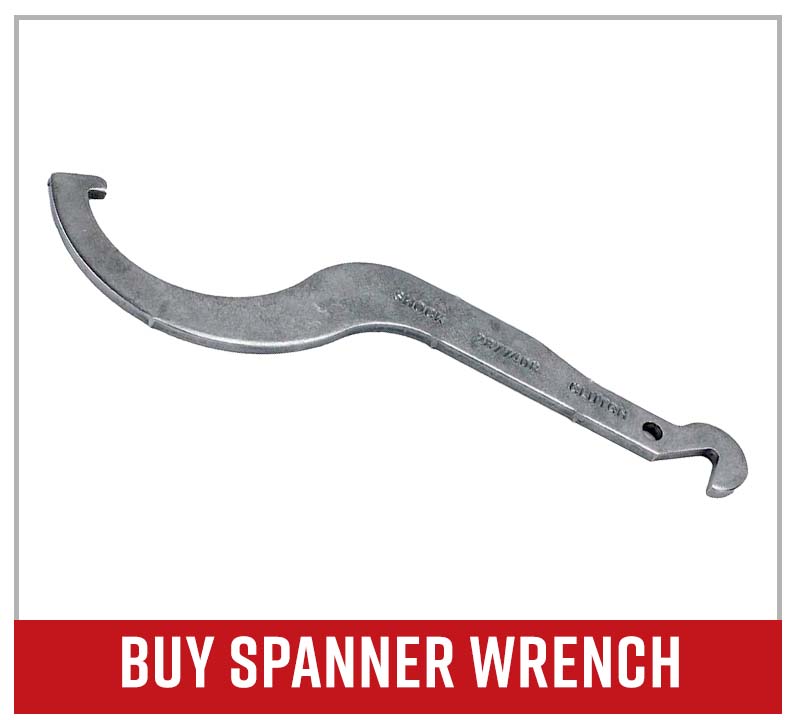
- Span/spreader wrench
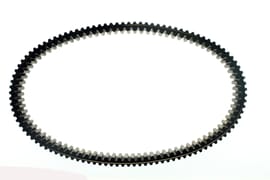
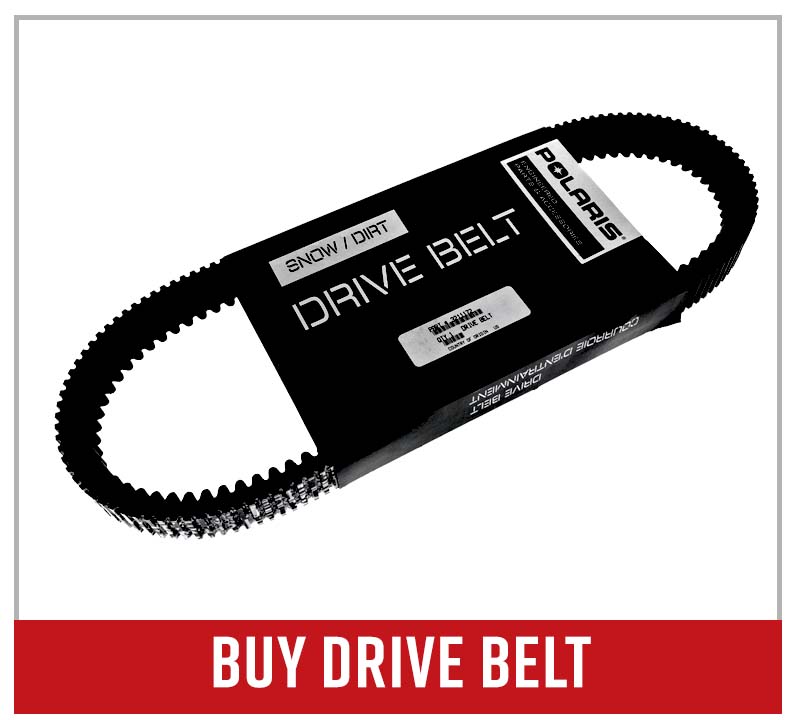
- Polaris replacement drive belt
How to Remove Polaris Sportsman Clutch Drive Belt
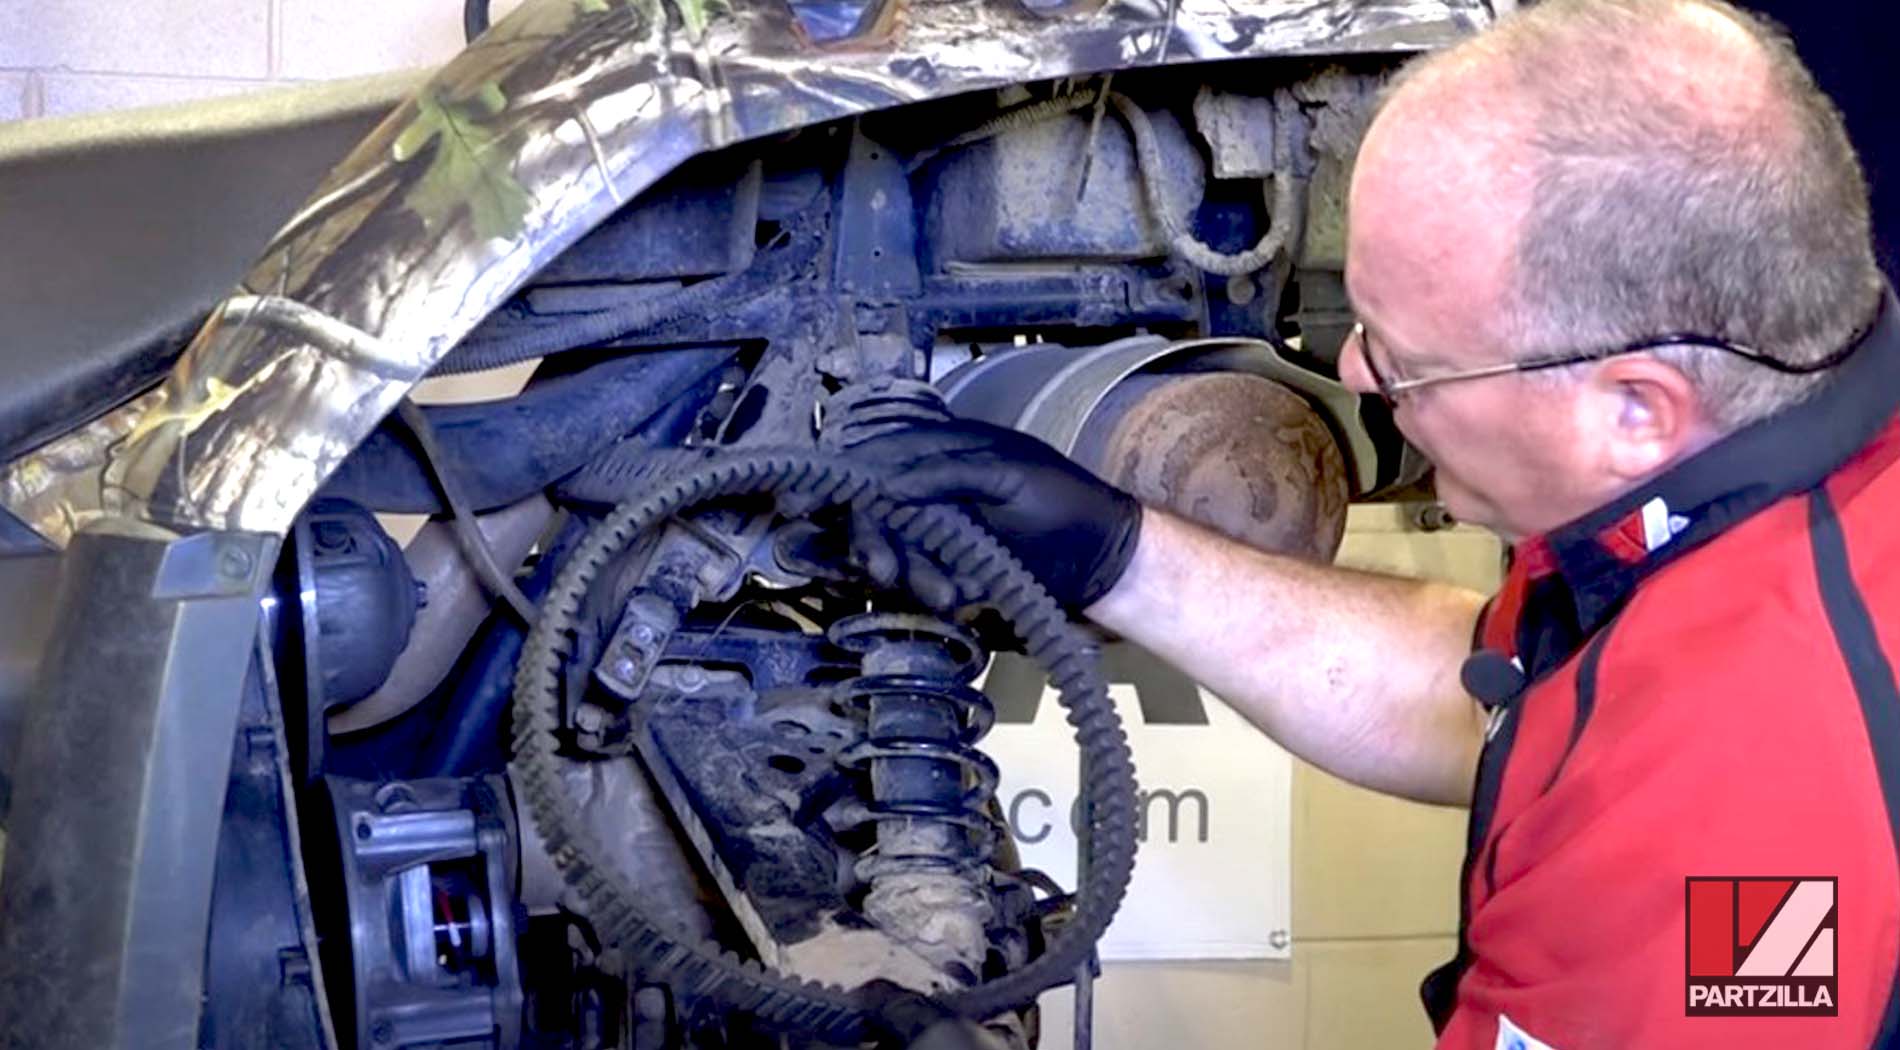
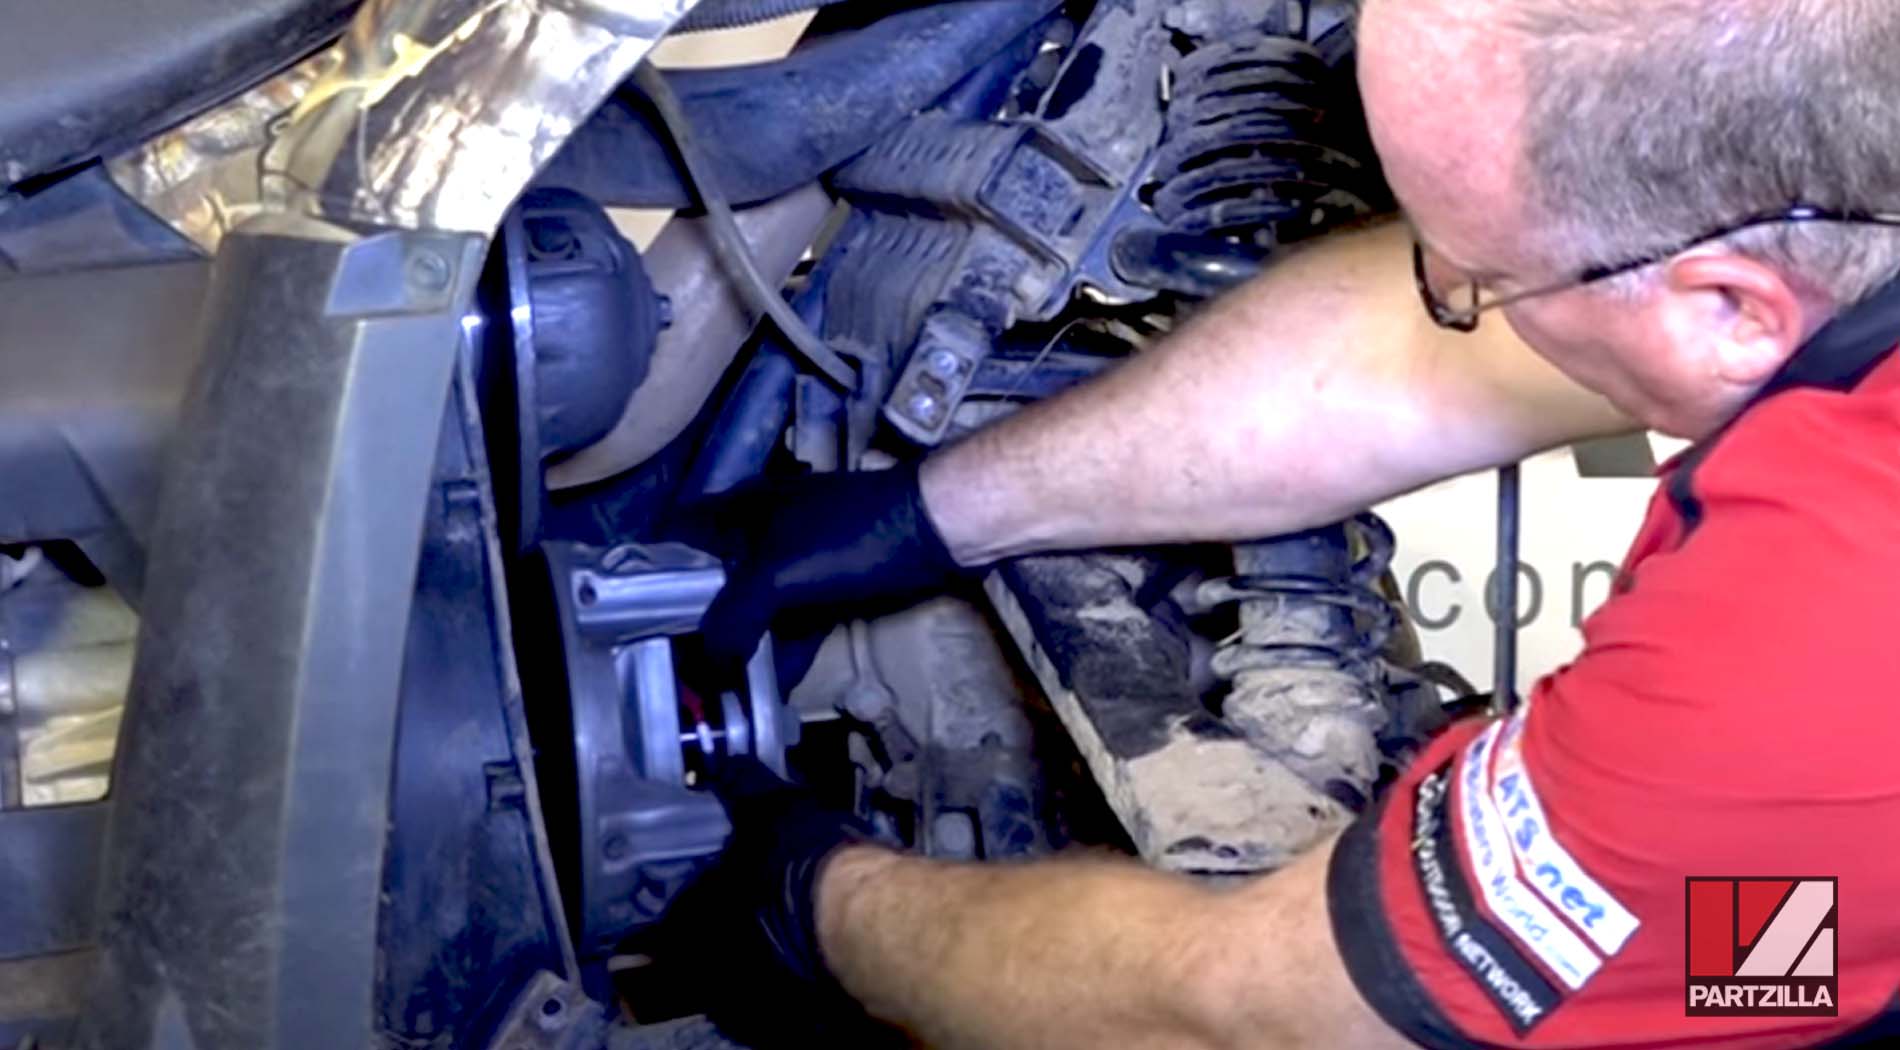
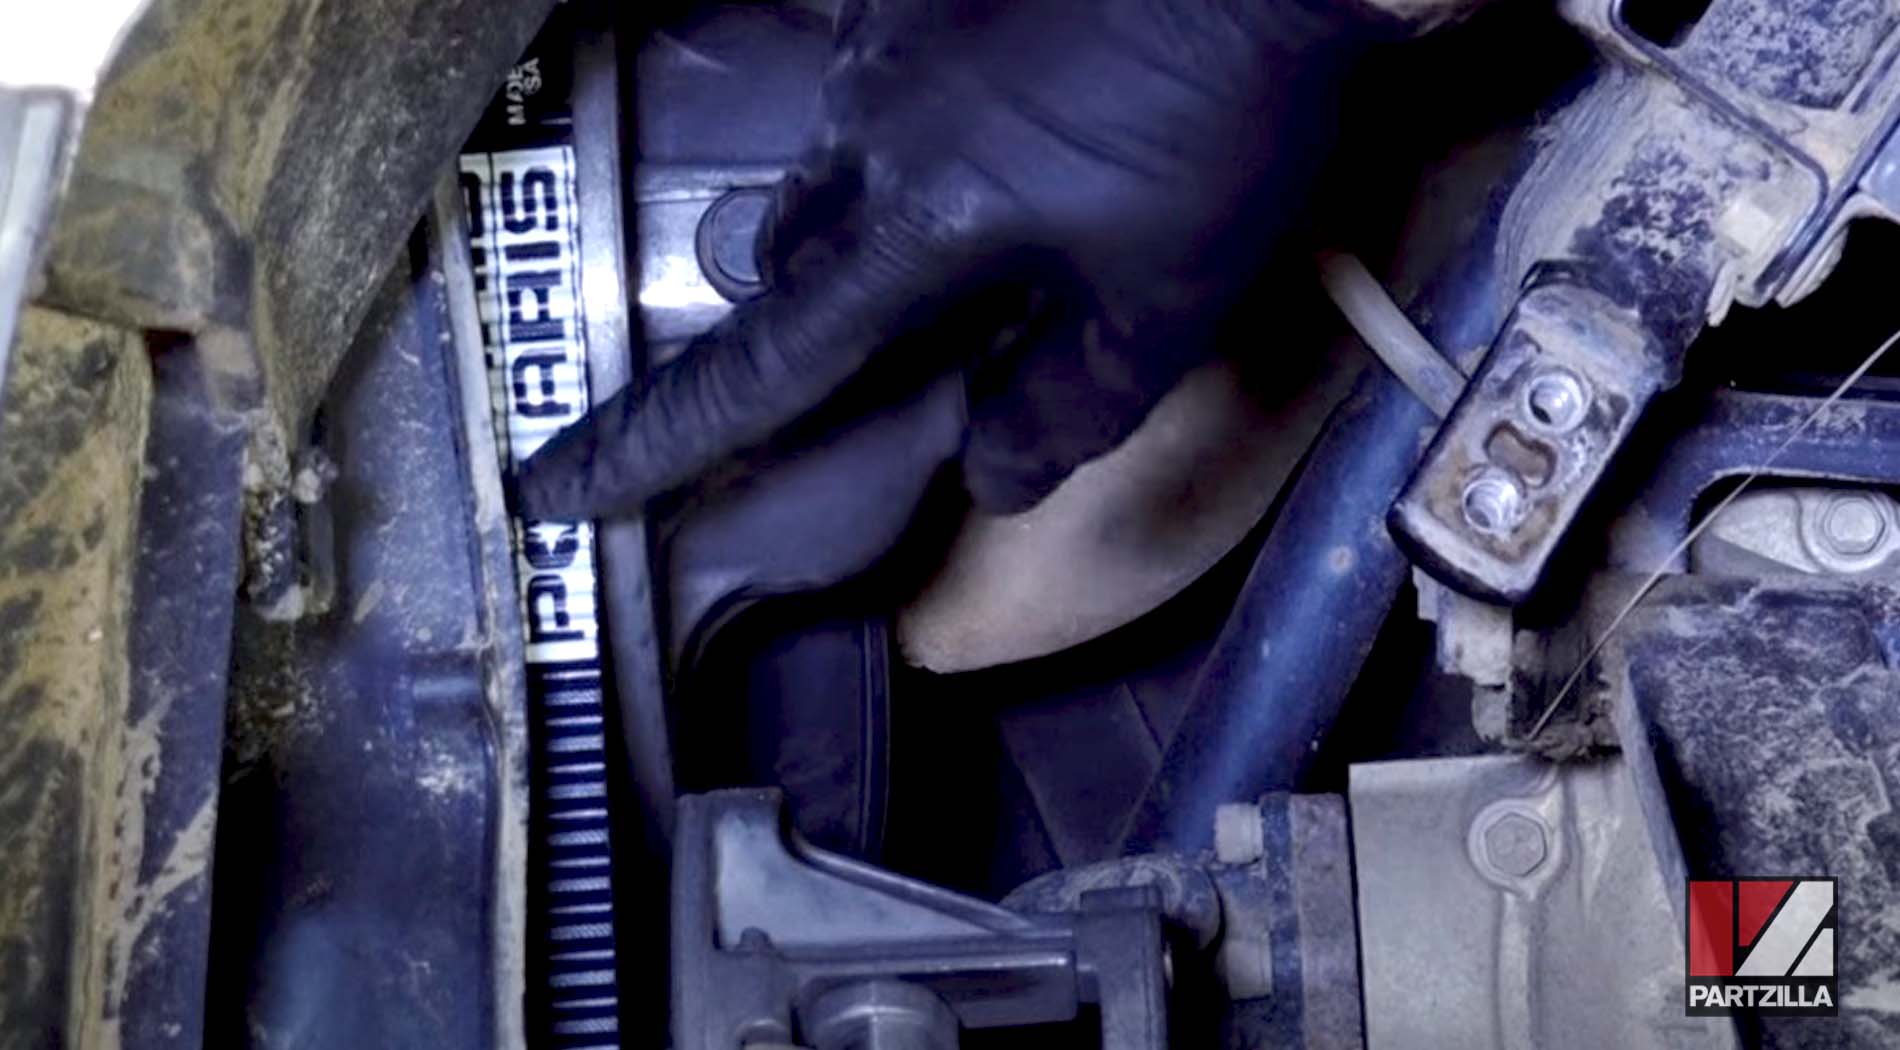
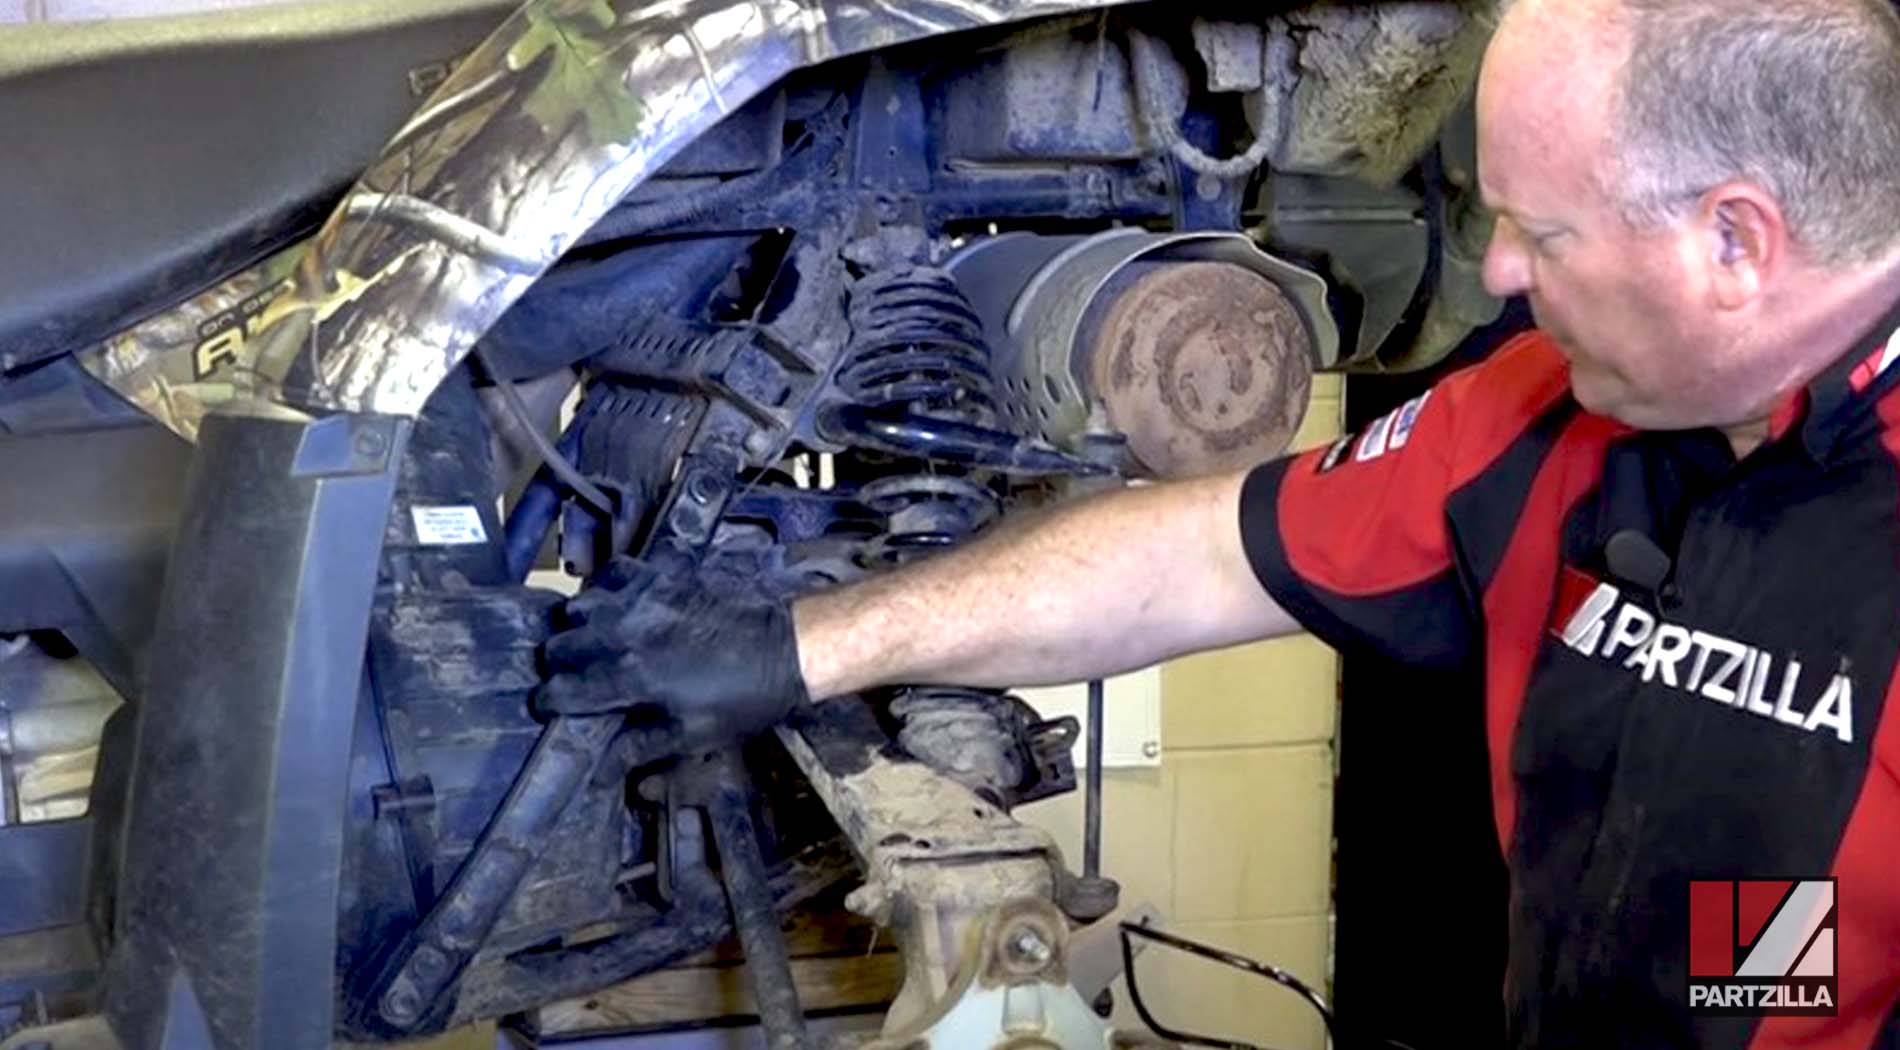
Step 1. Remove the left rear tire and the four 15mm bolts that hold the frame brace in place, followed by the brace itself.
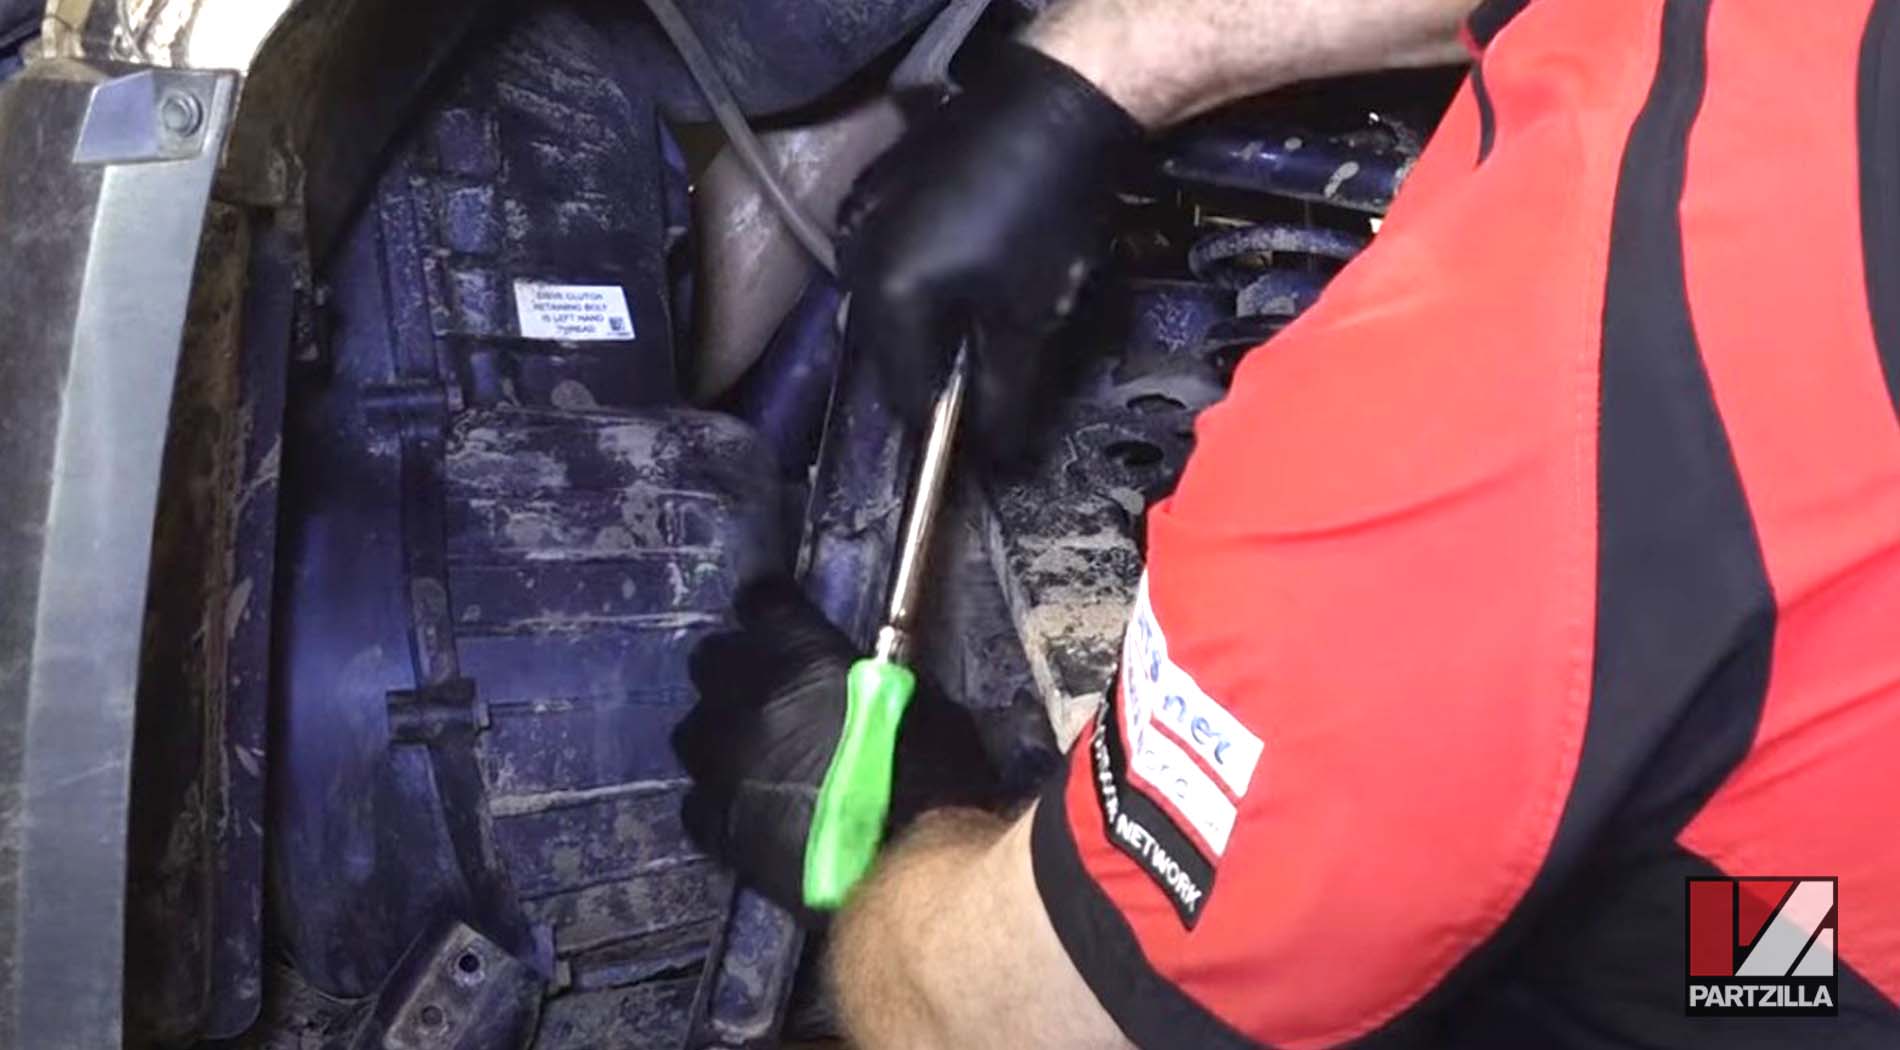
Step 2. Remove the 10mm bolts that hold the rear cover in place, followed by the cover itself.

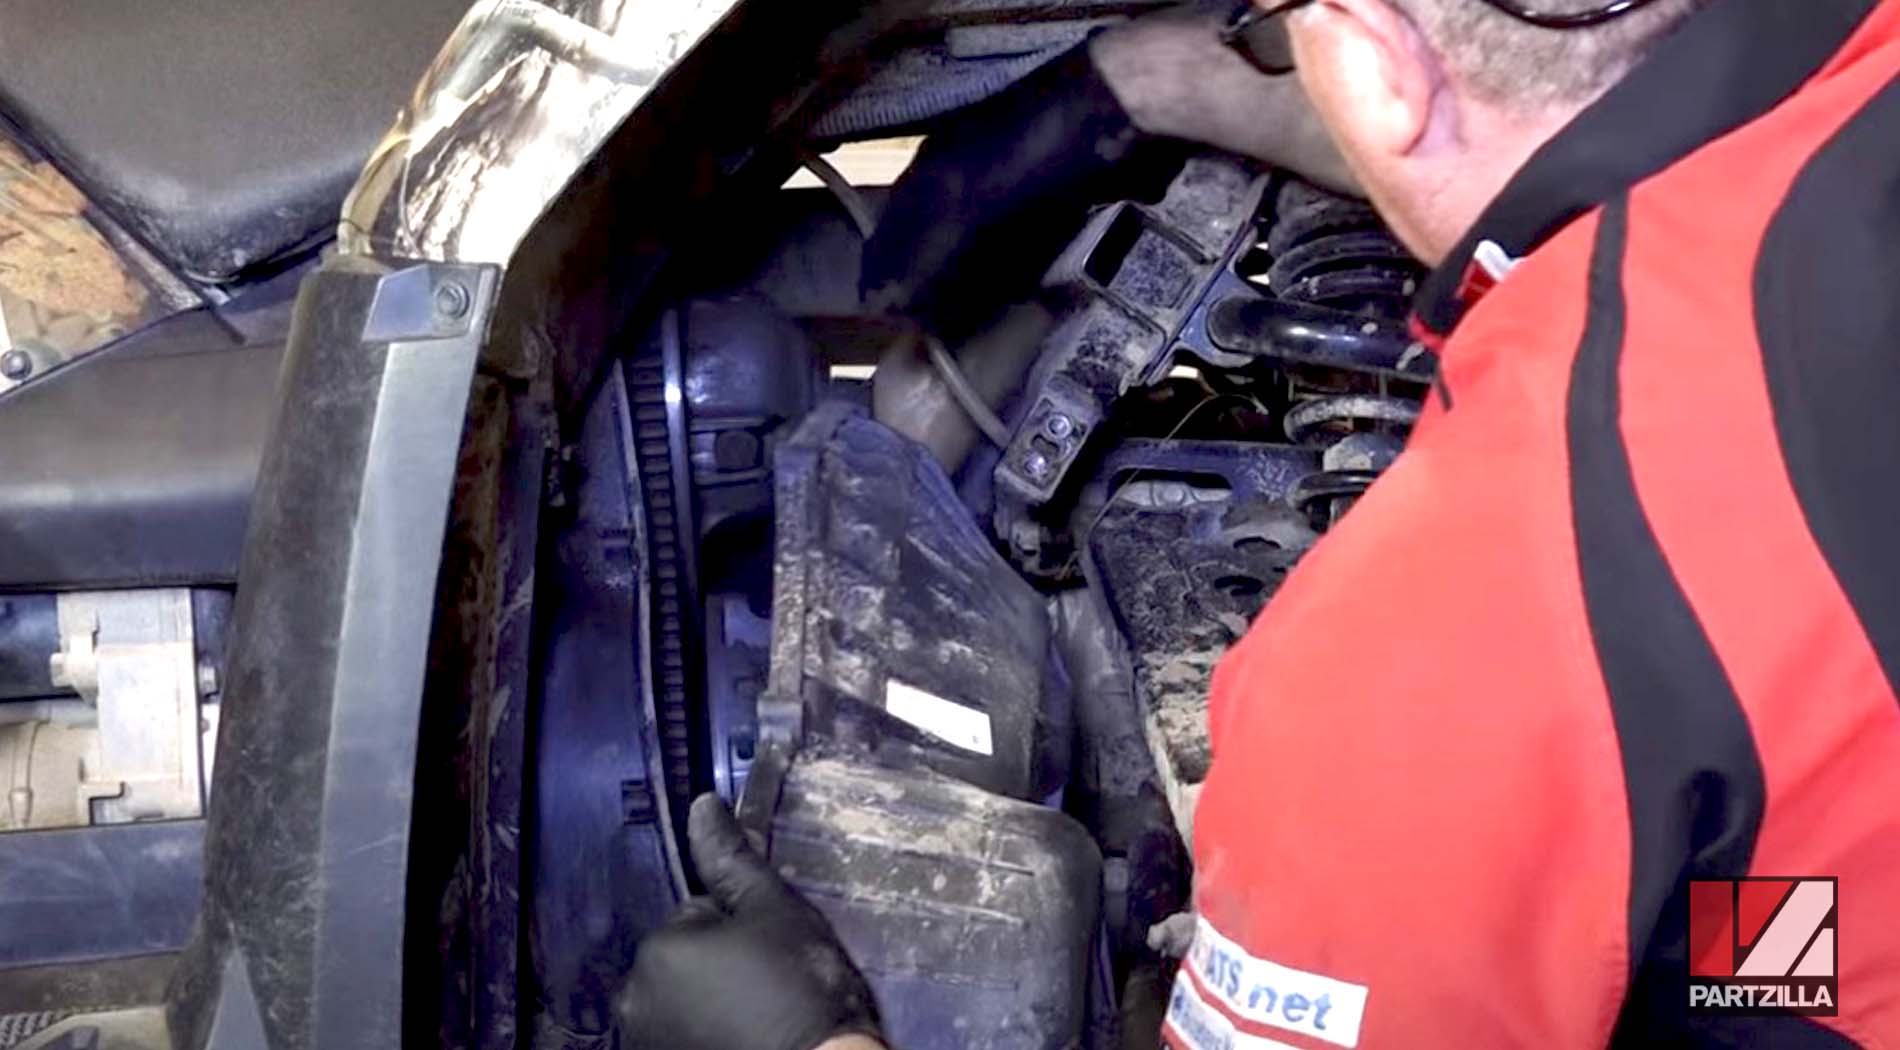
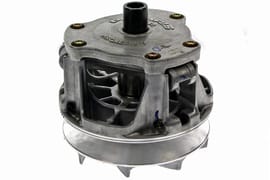
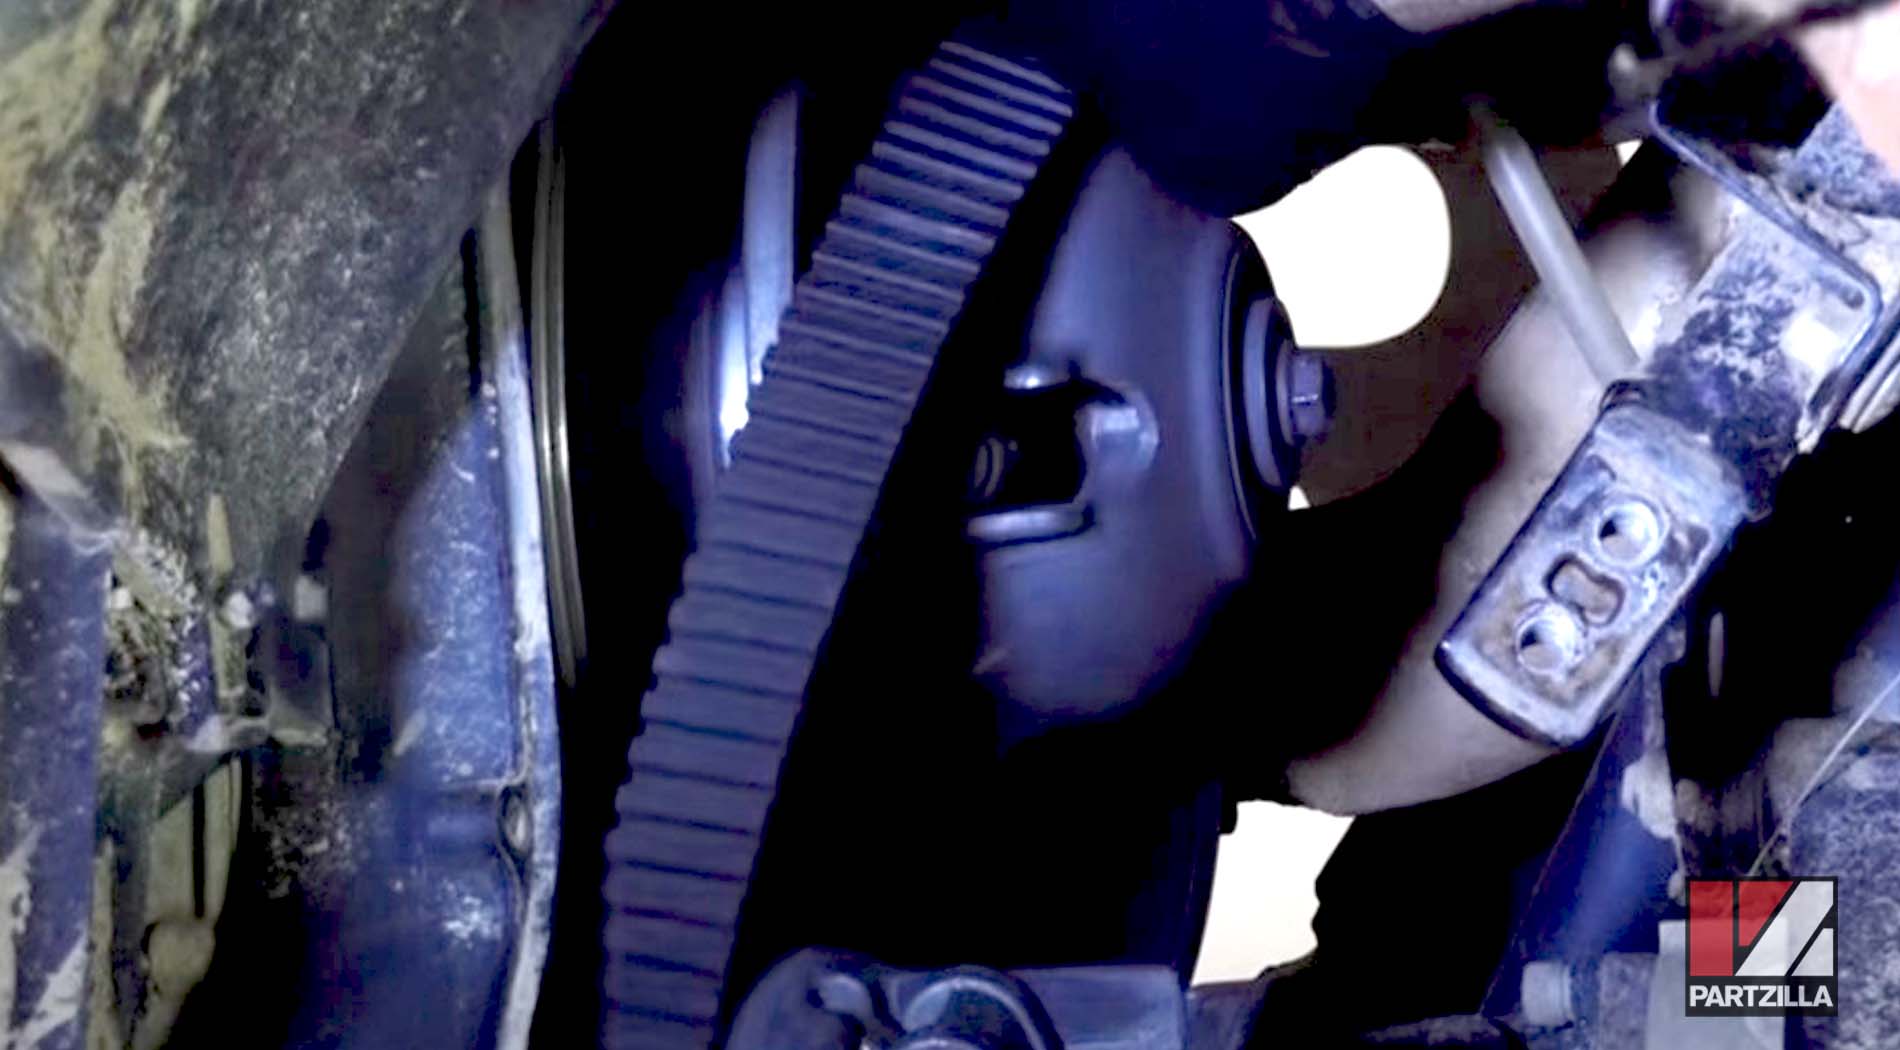
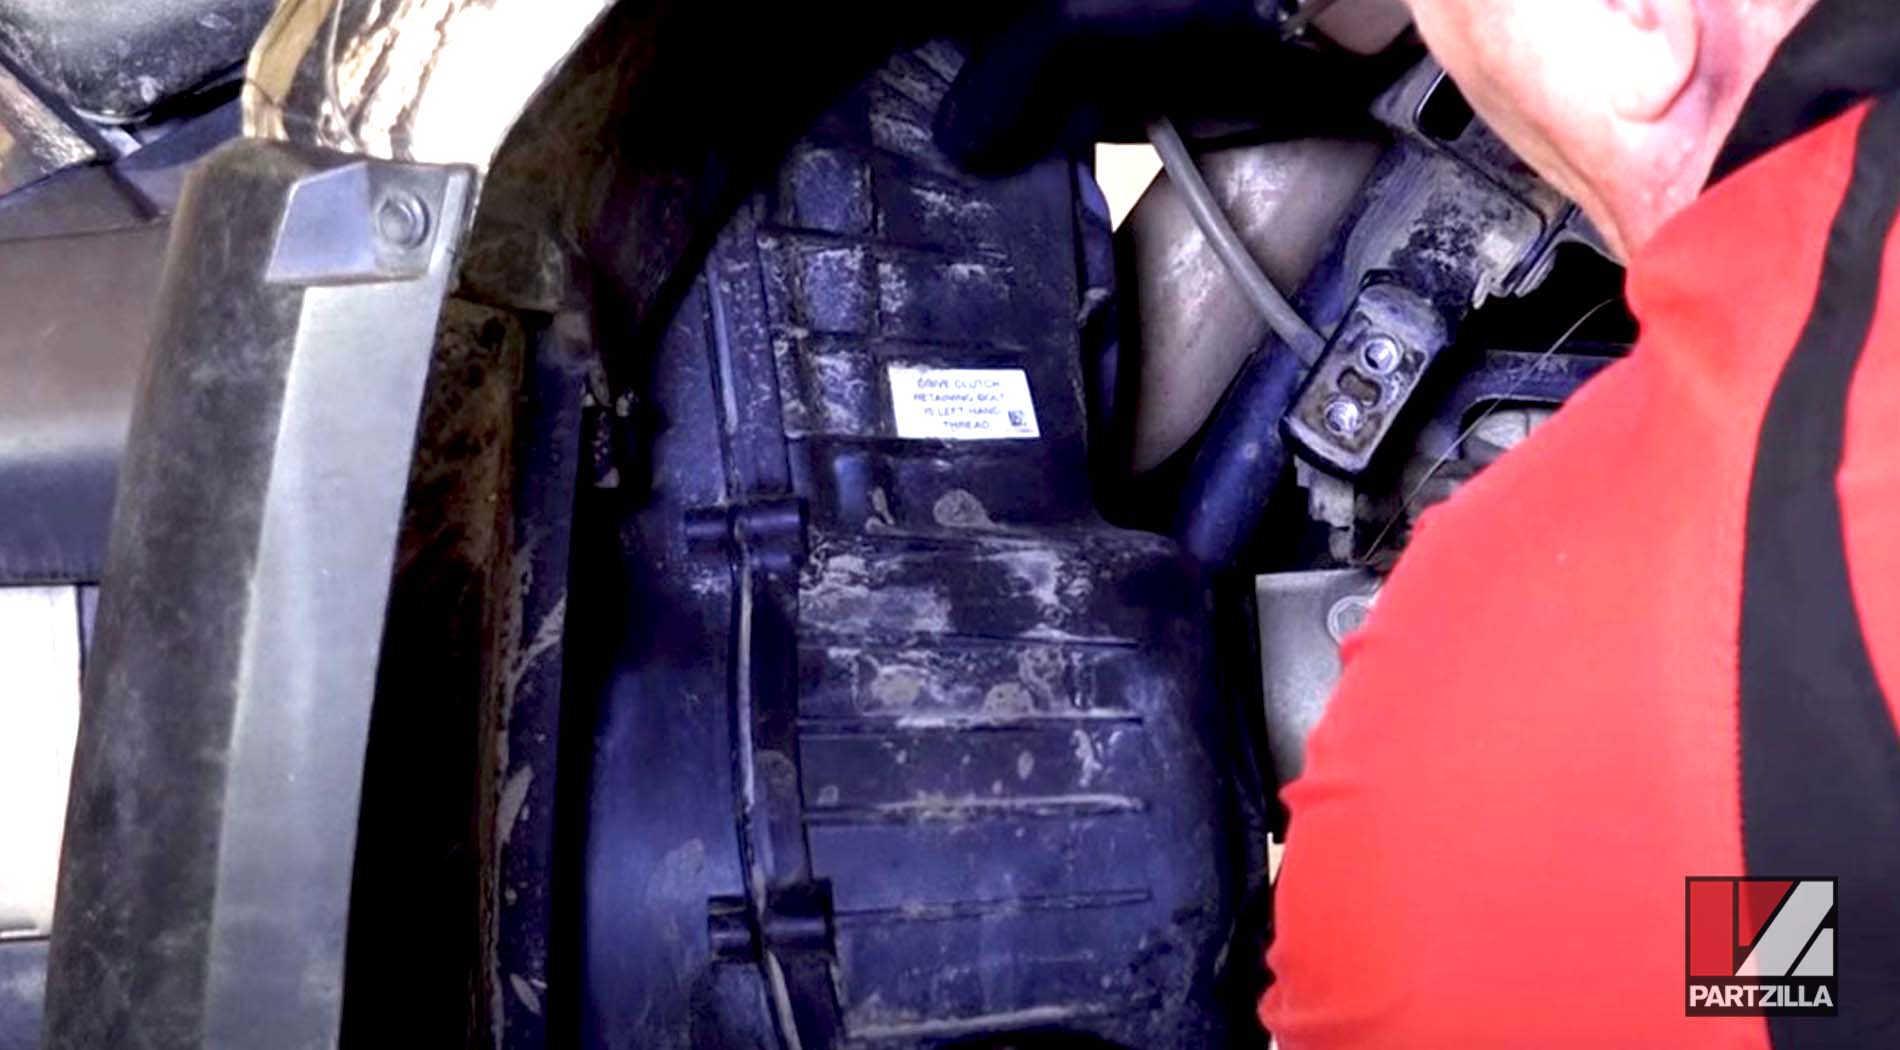
Once you’ve removed the rear cover, you’ll see the clutch assembly. At this point, you’re set to remove the old belt. There are a couple of ways to remove the old drive belt from the clutch on your ATV. Both involve releasing the tension on the driven sheave in order to remove the belt.
Method One:
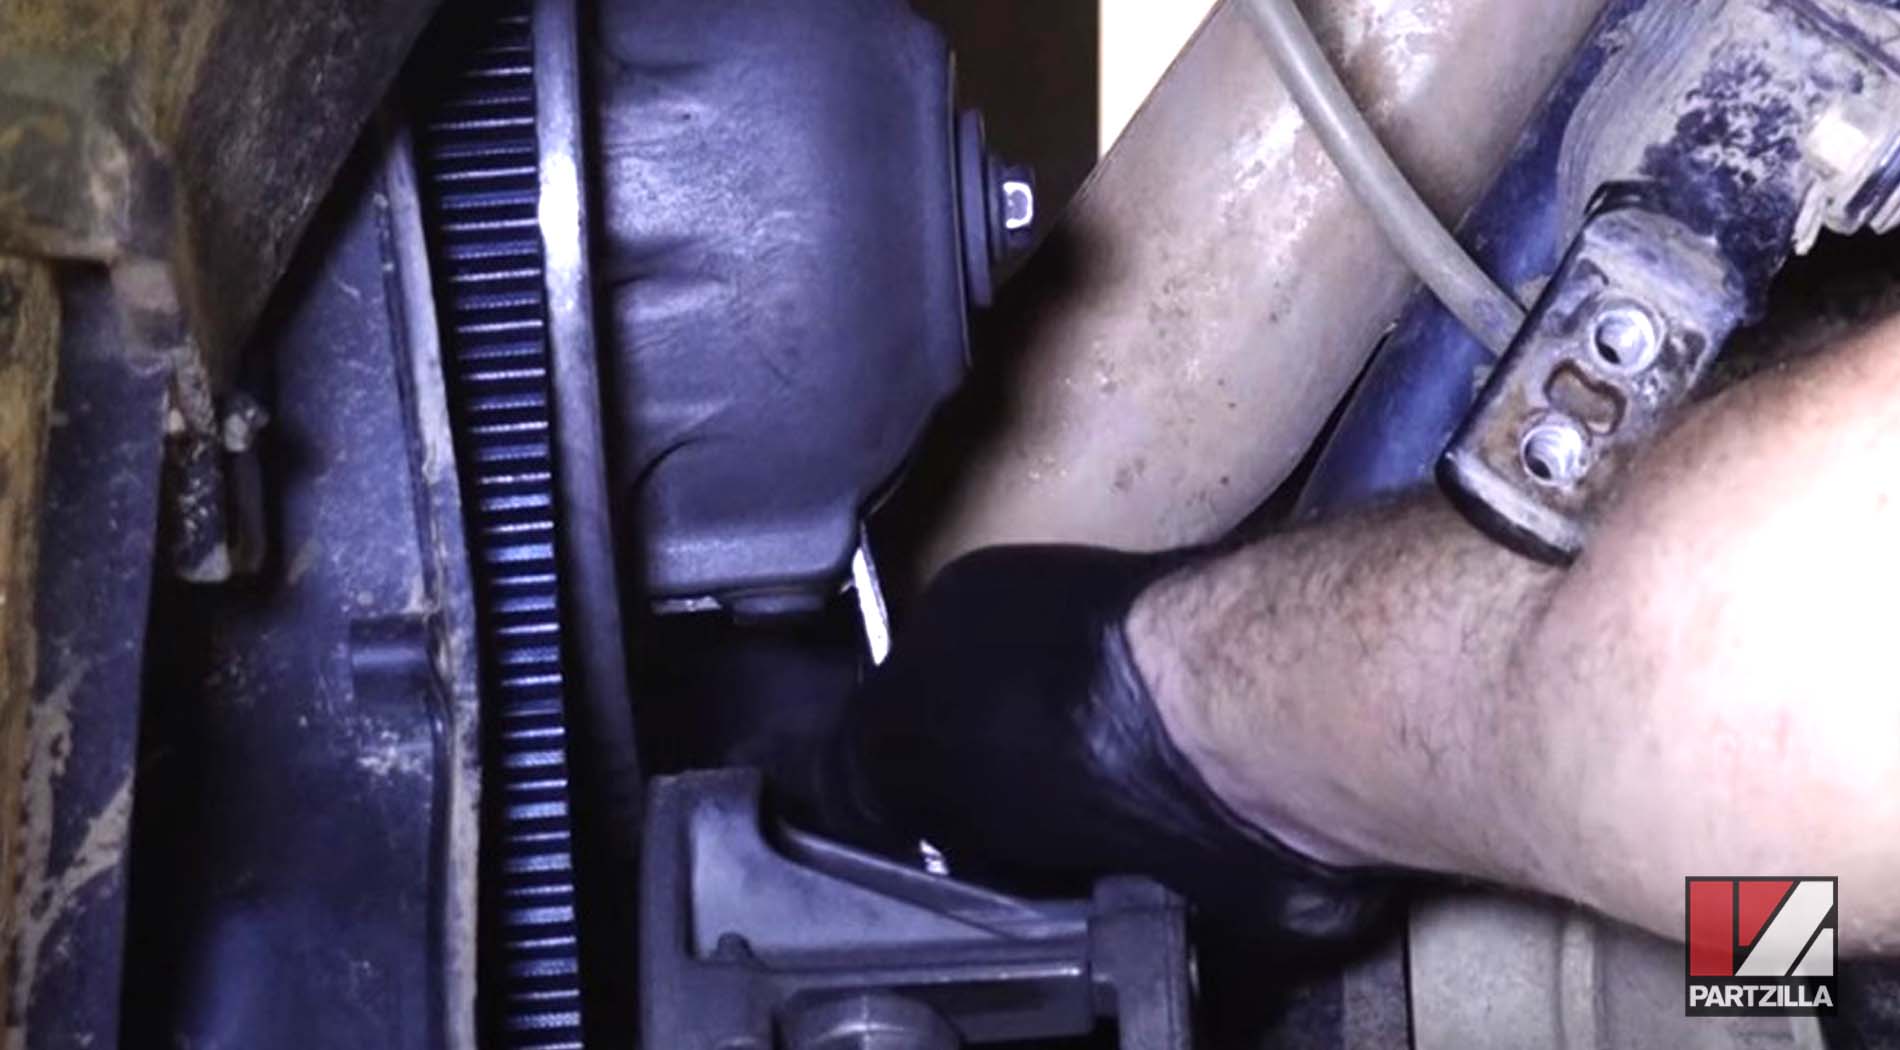
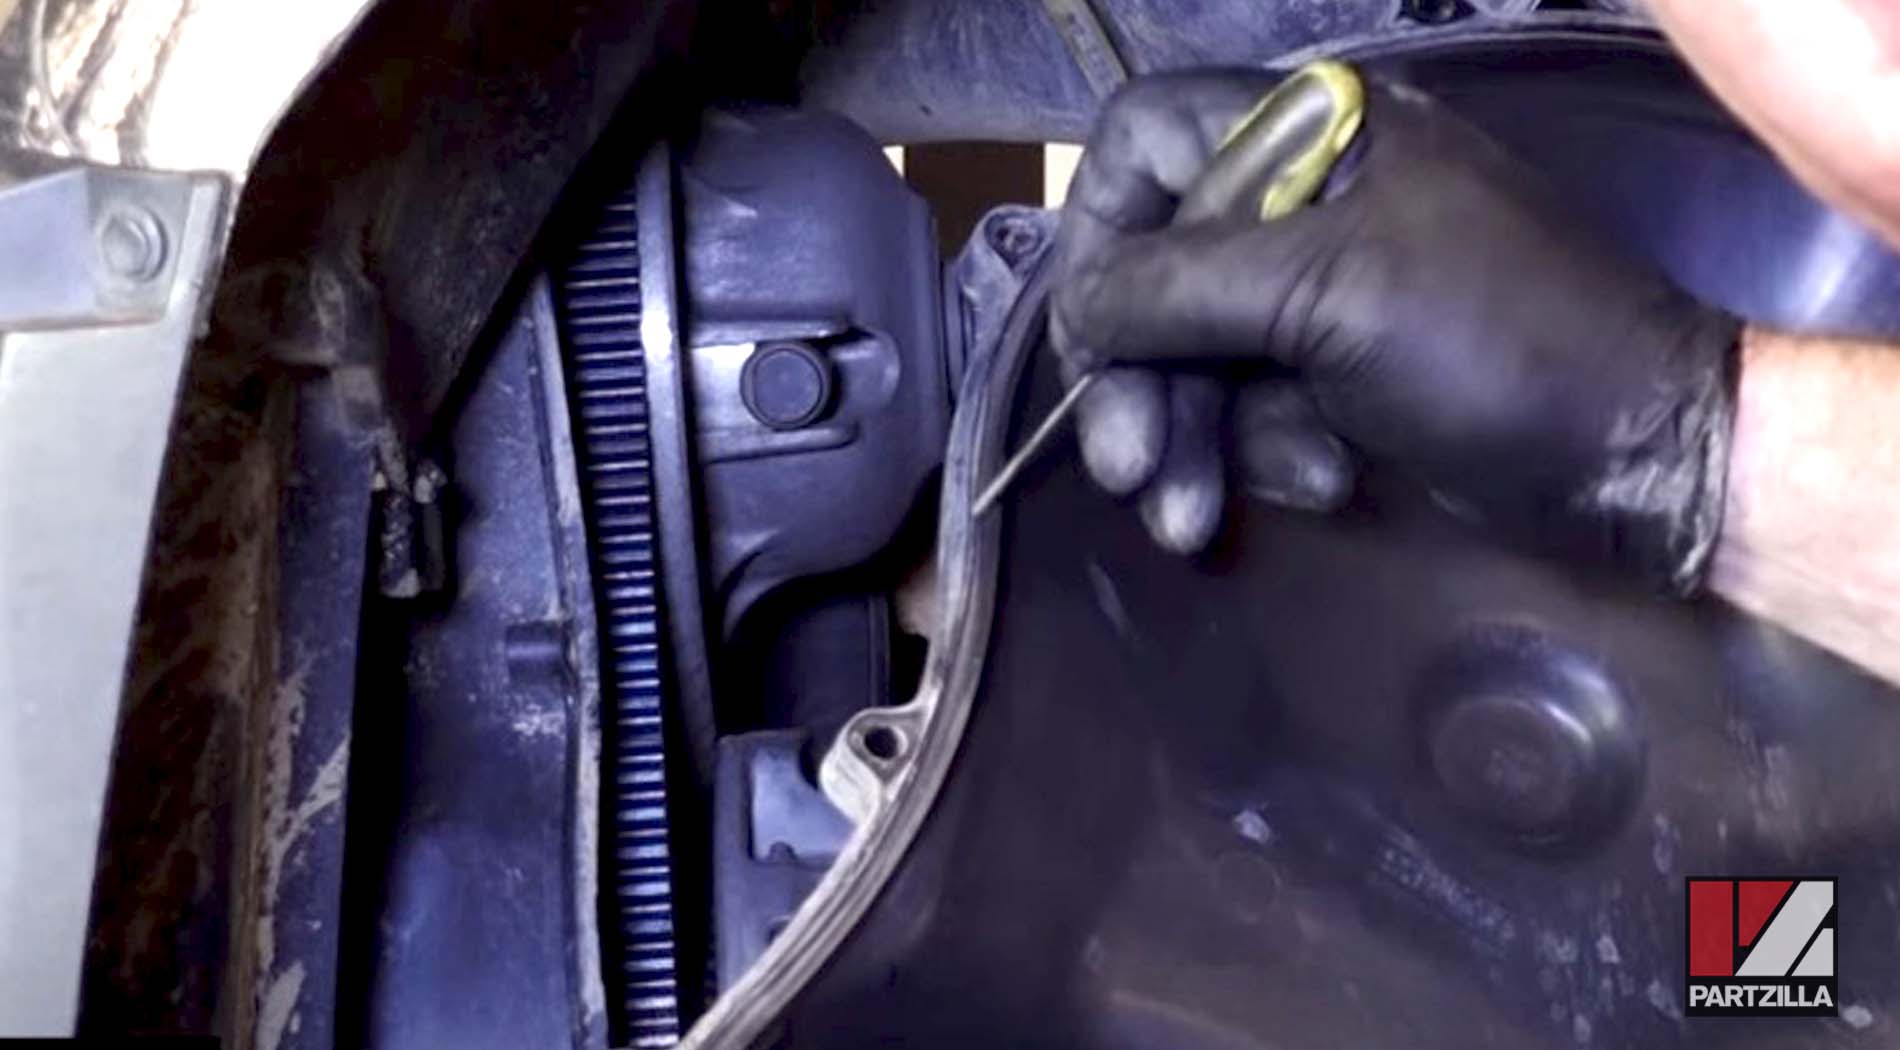
Step 3. Locate the opening on the driven clutch sheave by rotating the sheave around, then nsert the small end of a span/spreader wrench into the opening, with the hook facing toward the rear of the ATV.
Step 4. Push the wrench forward toward the front of the ATV to release the tension on the sheave, then remove the belt while keeping tension on the wrench.

Watch the clip below to see how to do the first method of the Polaris Sportsman drive belt removal.
Method Two:
Step 3. Locate the opening on the driven clutch sheave by rotating the sheave around, then insert the small end of the span/spreader wrench into the opening with the hook facing up, leveraging the large end against the lower drive clutch.
Step 4. Loosen the 15mm bolt at the center of the driven sheave to release tension on the belt, then remove the belt itself.
Watch the clip below to see how to do the second method of the Polaris Sportsman drive belt removal.
NOTE: If you choose the second drive belt removal method, reinstall the belt up high in the sheave by rotating the sheave counterclockwise a couple of times. This prevents you from getting a false reading when you torque the 15mm bolt back into place.
Inspecting the Drive Belt and Clutch
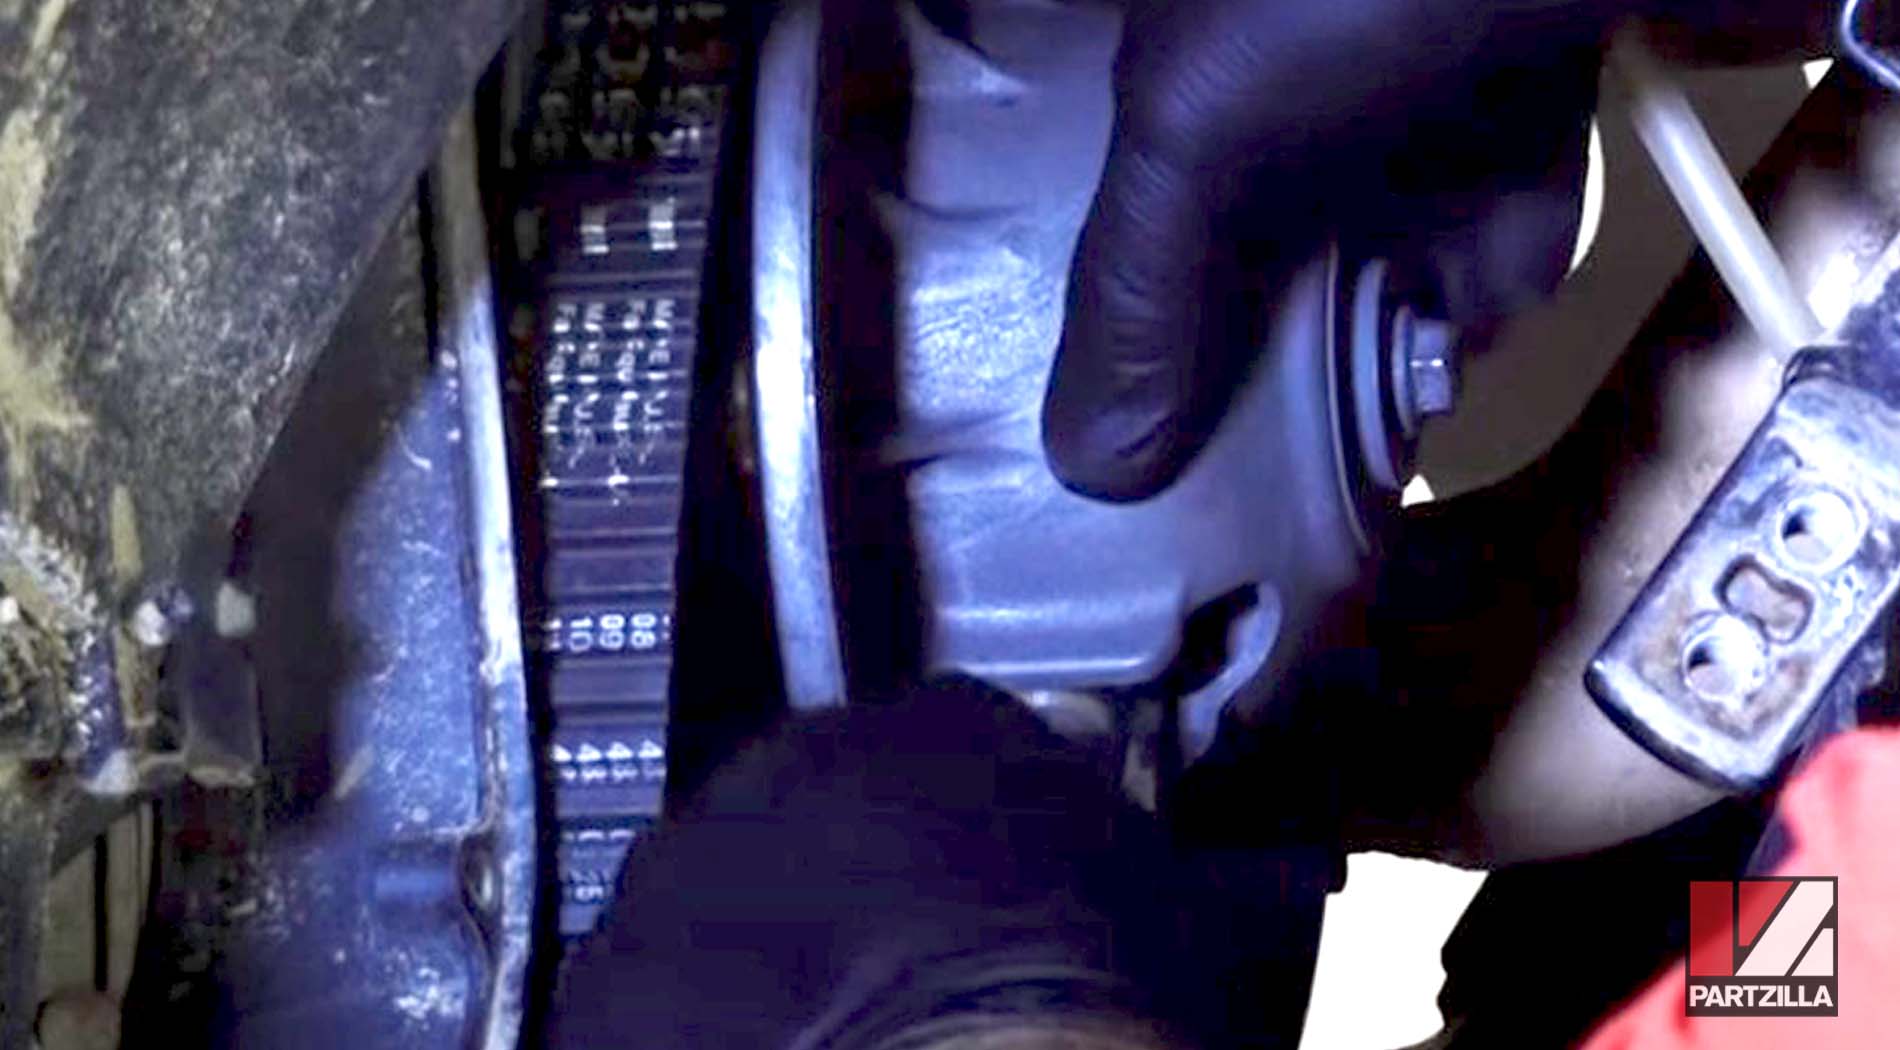
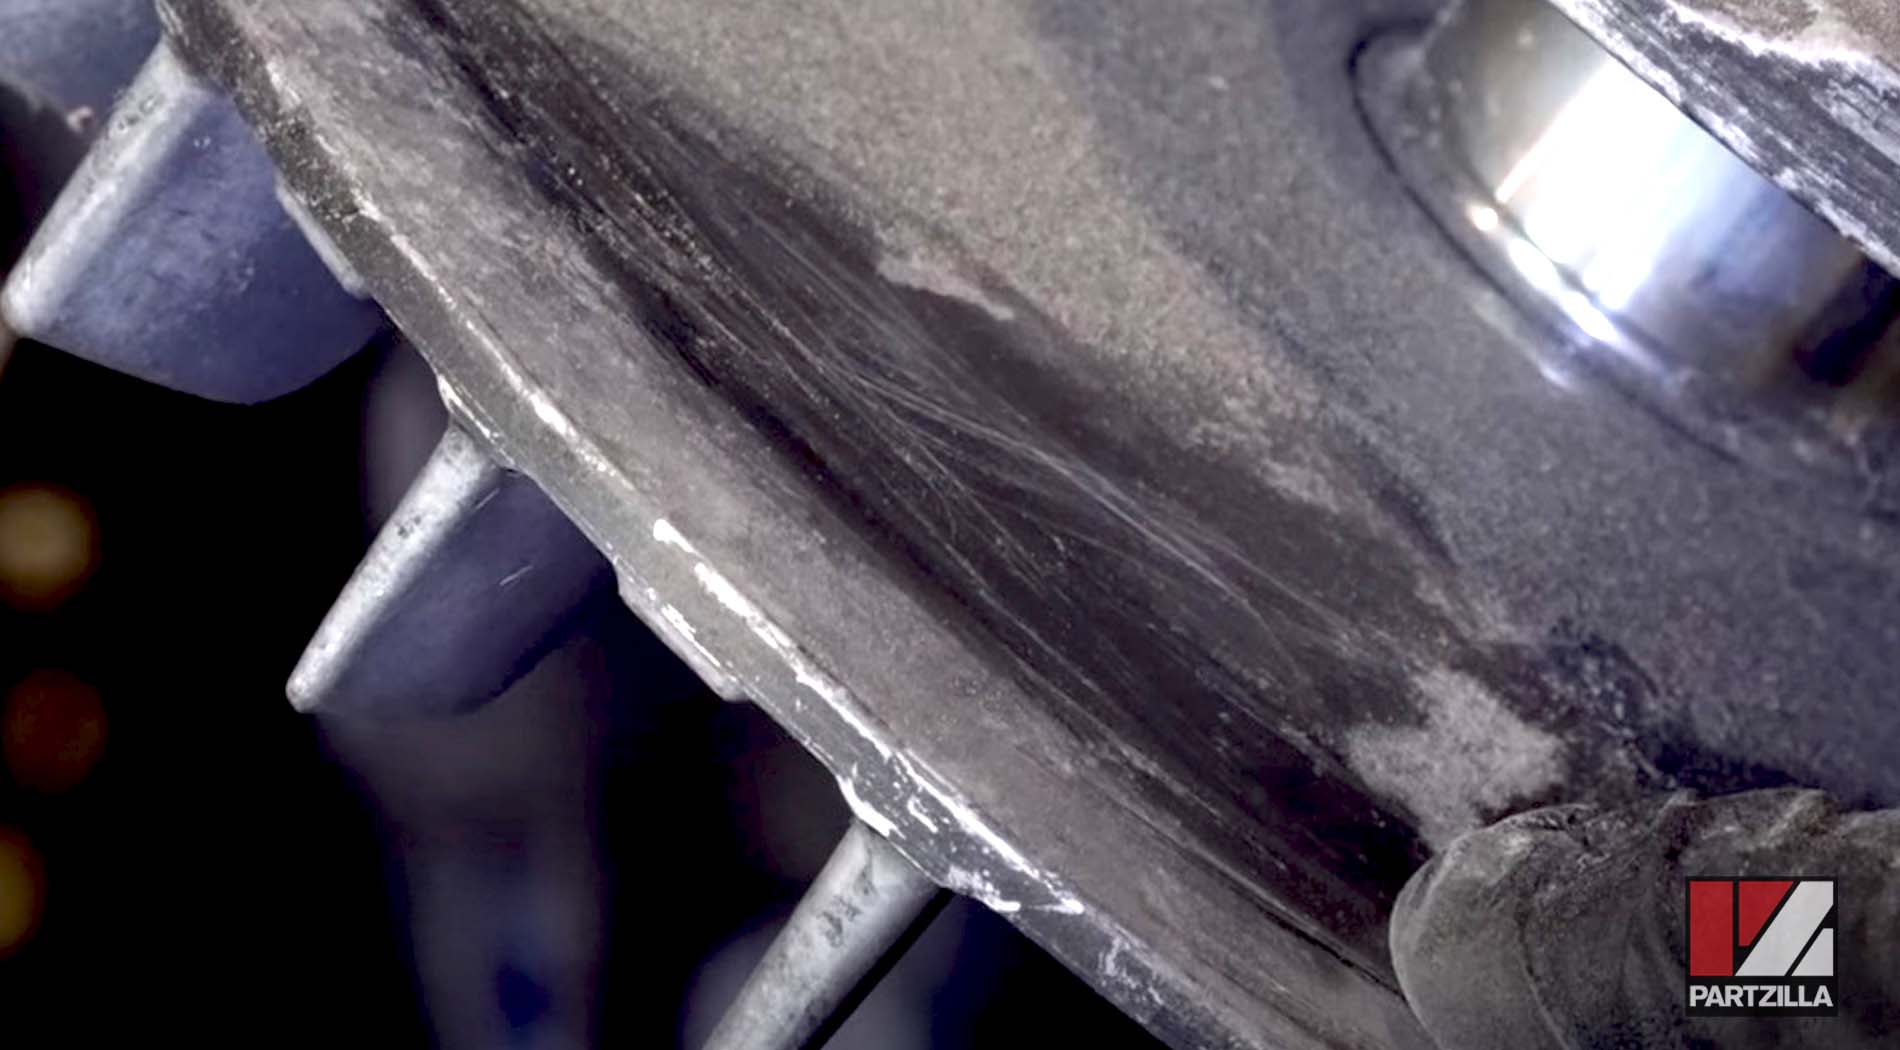
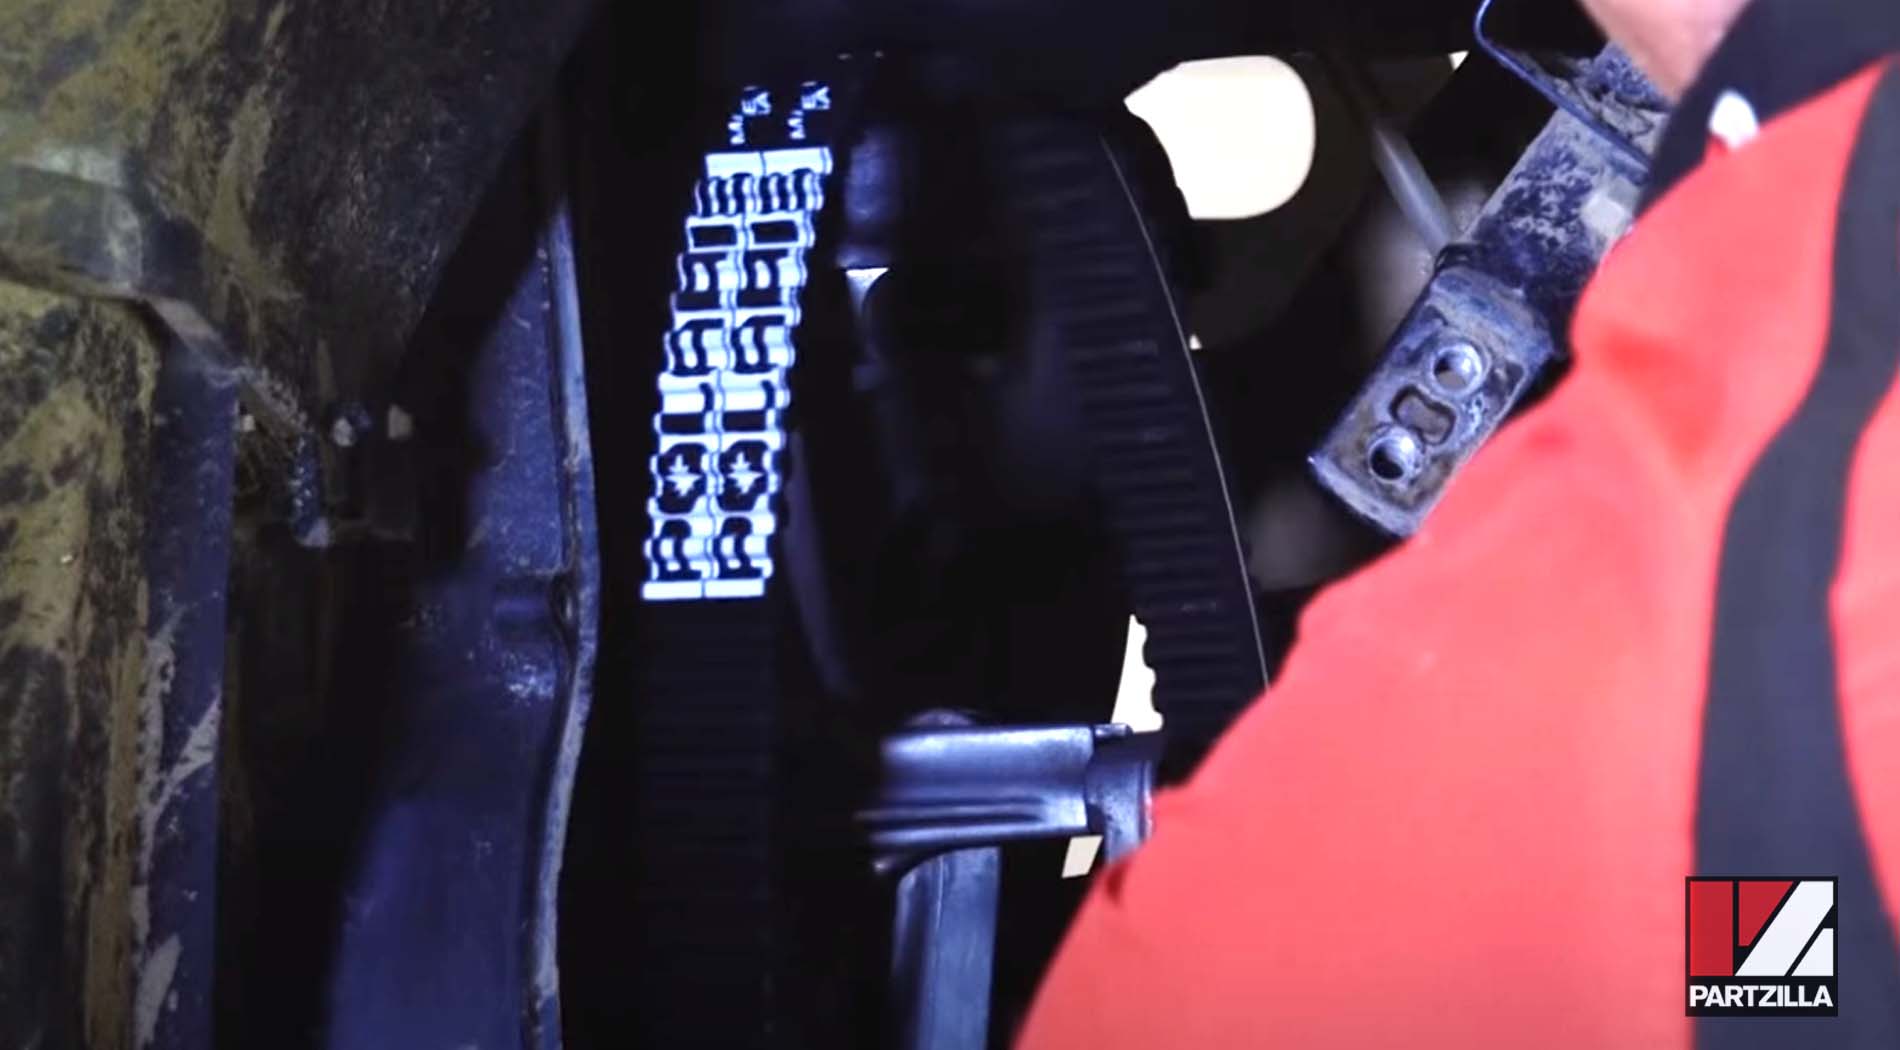
Depending on the manufacturer of the belt you just removed, you may see arrows indicating the direction the belt is meant to rotate in the clutch. It should rotate clockwise around the pulleys. Check the belt for signs of wear. A burnt section indicates the belt may have been getting caught in the clutch. Any wear like this can severely impact the performance of your Polaris ATV.
Use your hands to feel inside the clutch sheaves, making sure the surface is smooth and without any deep grooves. Deep cuts in the sheaves will damage a new belt, and are an indicator that the sheaves may need to be replaced.
How to Replace Polaris Sportsman Drive Belt
Step 1. Confirm that you’re not installing the belt backwards. The belt should rotate clockwise around the clutch pulleys.
NOTE: Some aftermarket clutch belts may have arrows that indicate the direction the belt is meant to rotate within the clutch. A factory Polaris clutch drive belt doesn’t have arrows on it, so make sure the writing on it is right-side-up during installation.
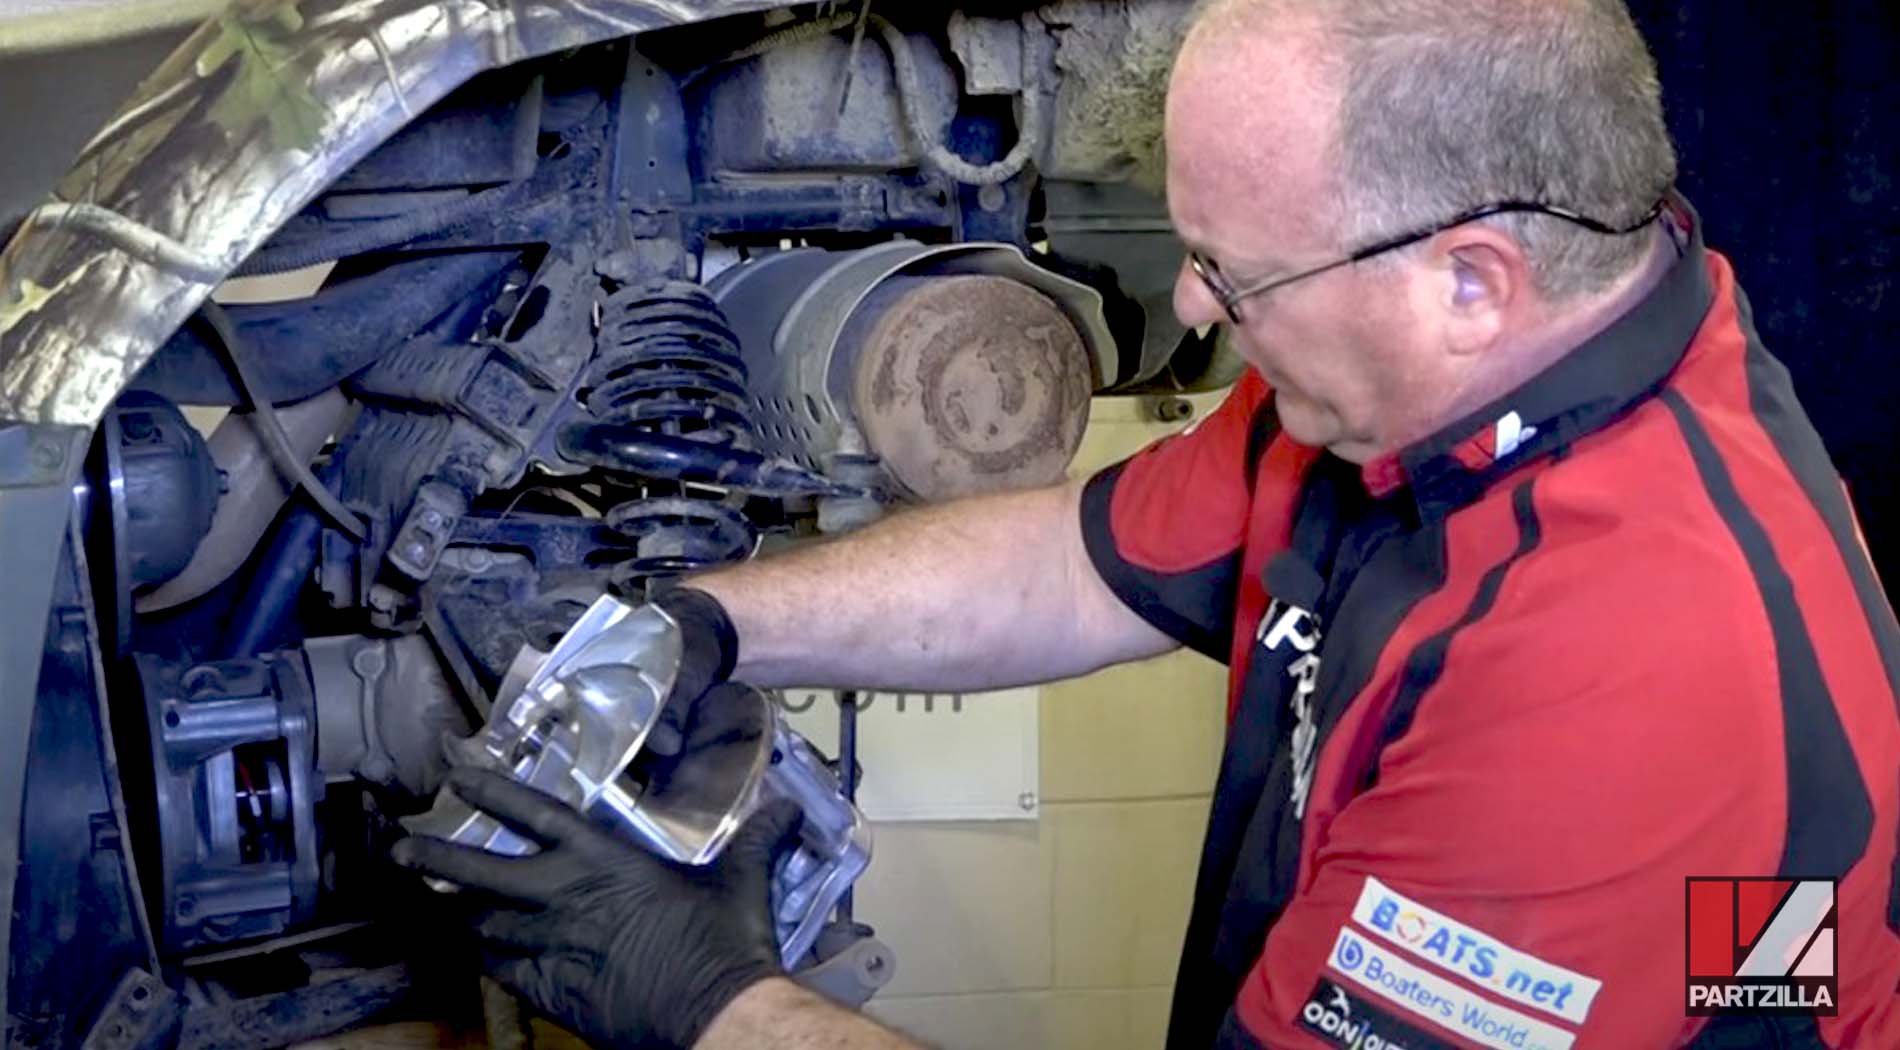
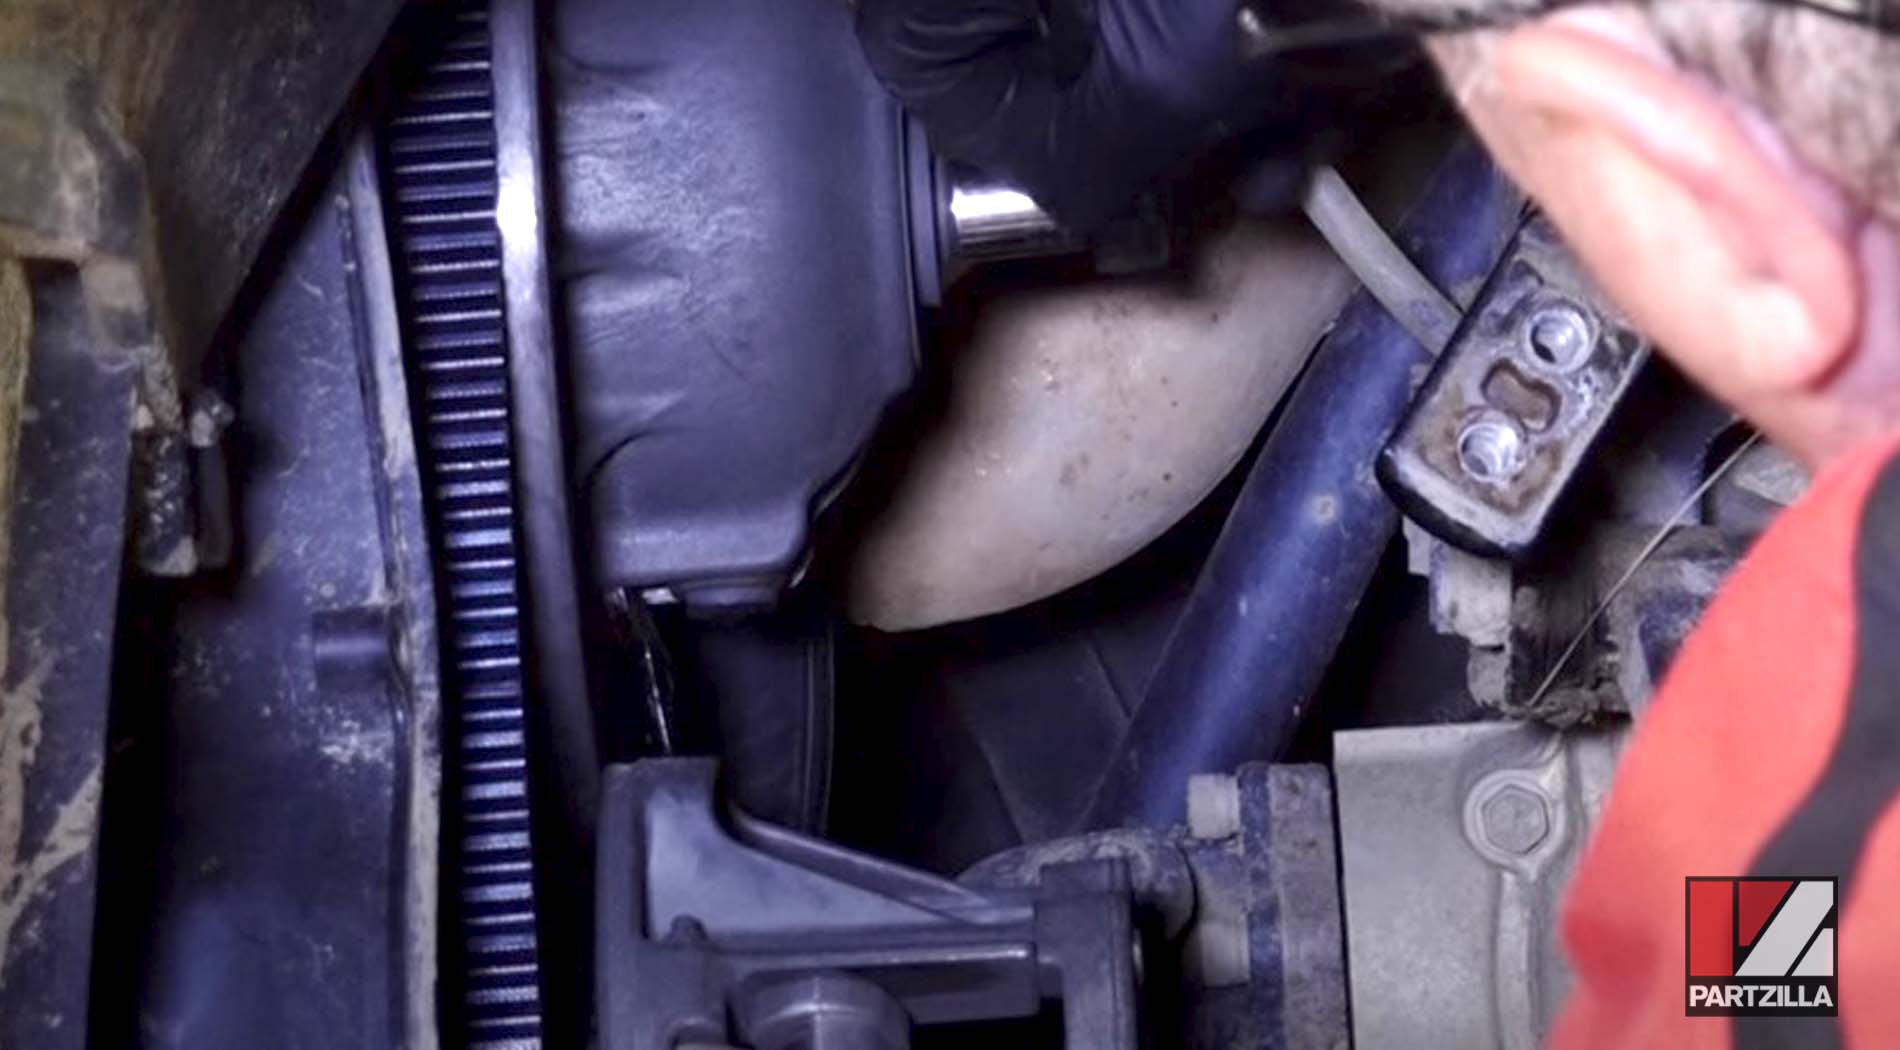
Step 2. Slide the drive belt over the lower drive clutch and upper driven clutch, making sure the belt is high in the upper clutch and not binding between the sheaves.
Step 3. Use the span/spreader wrench that was used to leverage the driven clutch so it would not move as you loosened the 15mm bolt to do the same thing on the other side to tighten the 15mm bolt.
Step 4. Tighten the 15mm bolt, making sure the belt remains high in the driven clutch to allow for an accurate torque reading. Use a torque wrench to finish tightening the 15mm bolt to 37 foot-pounds of torque.
Step 5. Rotate the clutch a couple of times to make sure the belt isn’t binding anywhere.
Step 6. Inspect the clutch cover seal, making sure it’s in good condition and properly seated.
NOTE: Leaks can allow water to intrude, which can seriously damage the clutch, so don’t skip this step.
Step 7. Reposition the clutch cover, then tighten the ten 10mm bolts that hold the cover in place.
Step 8. Reposition the frame brace, then tighten the four 15mm bolts that hold the brace in place.
Step 9. Reattach the tire and you’re done.
NOTE: Once you put your Polaris ATV back together, start breaking in the new belt. At first, take it easy on the throttle, avoiding the temptation to hammer the throttle right away.