Polaris Sportsman 850 Engine Rebuild: Bottom End Teardown & Piston and Ring Replacement
Welcome to the third part of our Sportsman 850XP Polaris ATV engine rebuild project, in which we tear down and rebuild the bottom end and replace pistons and rings after disassembling the top end.
Watch the video above and follow the steps below to rebuild the bottom end and replace the pistons and rings on a Polaris Sportsman 850. Use our Sportsman 850XP parts diagrams for additional reference.
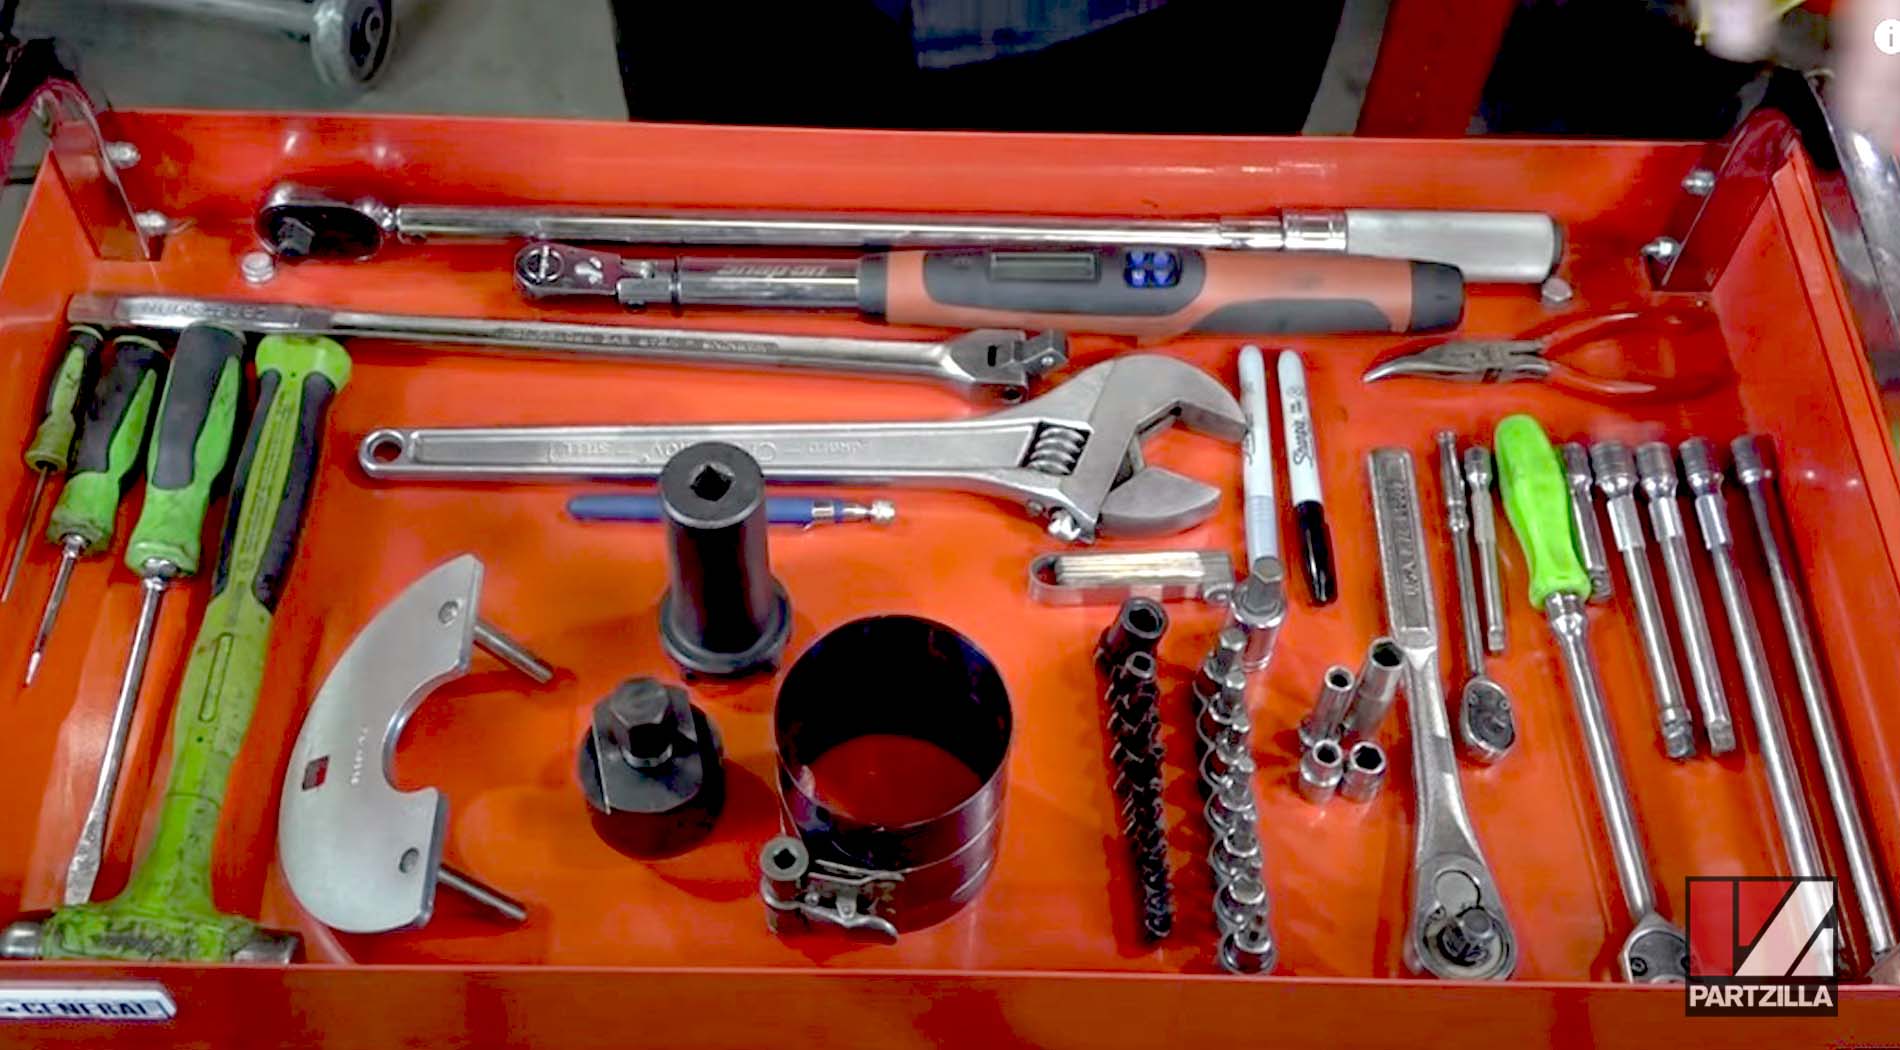
Tools and Parts - Polaris Sportsman Engine Rebuild Bottom End Teardown and Rebuild
- Ratchets and extensions
- Socket set
- Allen set
- Torx set
- Feeler gauges
- Pliers
- Screwdrivers
- Crescent wrench
- Pick tool
- Hammer
- Torque wrench
- Flywheel holder
- Flywheel puller
- Piston ring holder
- Crankshaft seals
- Balance shaft seals
- Connecting rod bolts
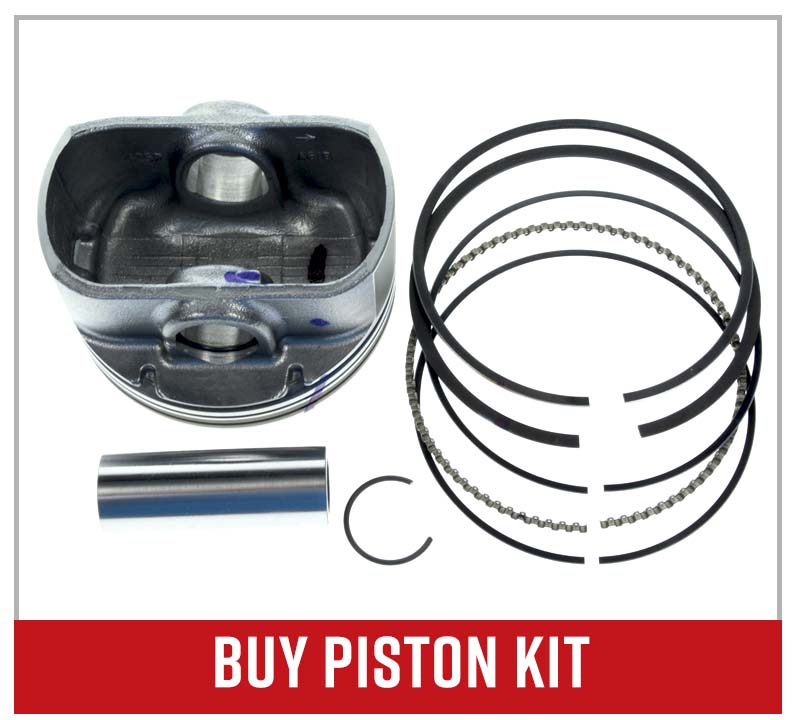
- Piston kit
OR
NOTE: The precise list of parts you’ll need varies depending on how badly worn your Polaris ATV’s engine is and how thoroughly you want to rebuild it. However, the parts listed above must be replaced no matter what.
PRO TIP: Collect the nuts, bolts, screws, washers, etc. from each component as you remove them, organize them in zip lock bags and label them to make it easier to reassemble the motor.
Polaris Sportsman 850XP Bottom End Teardown
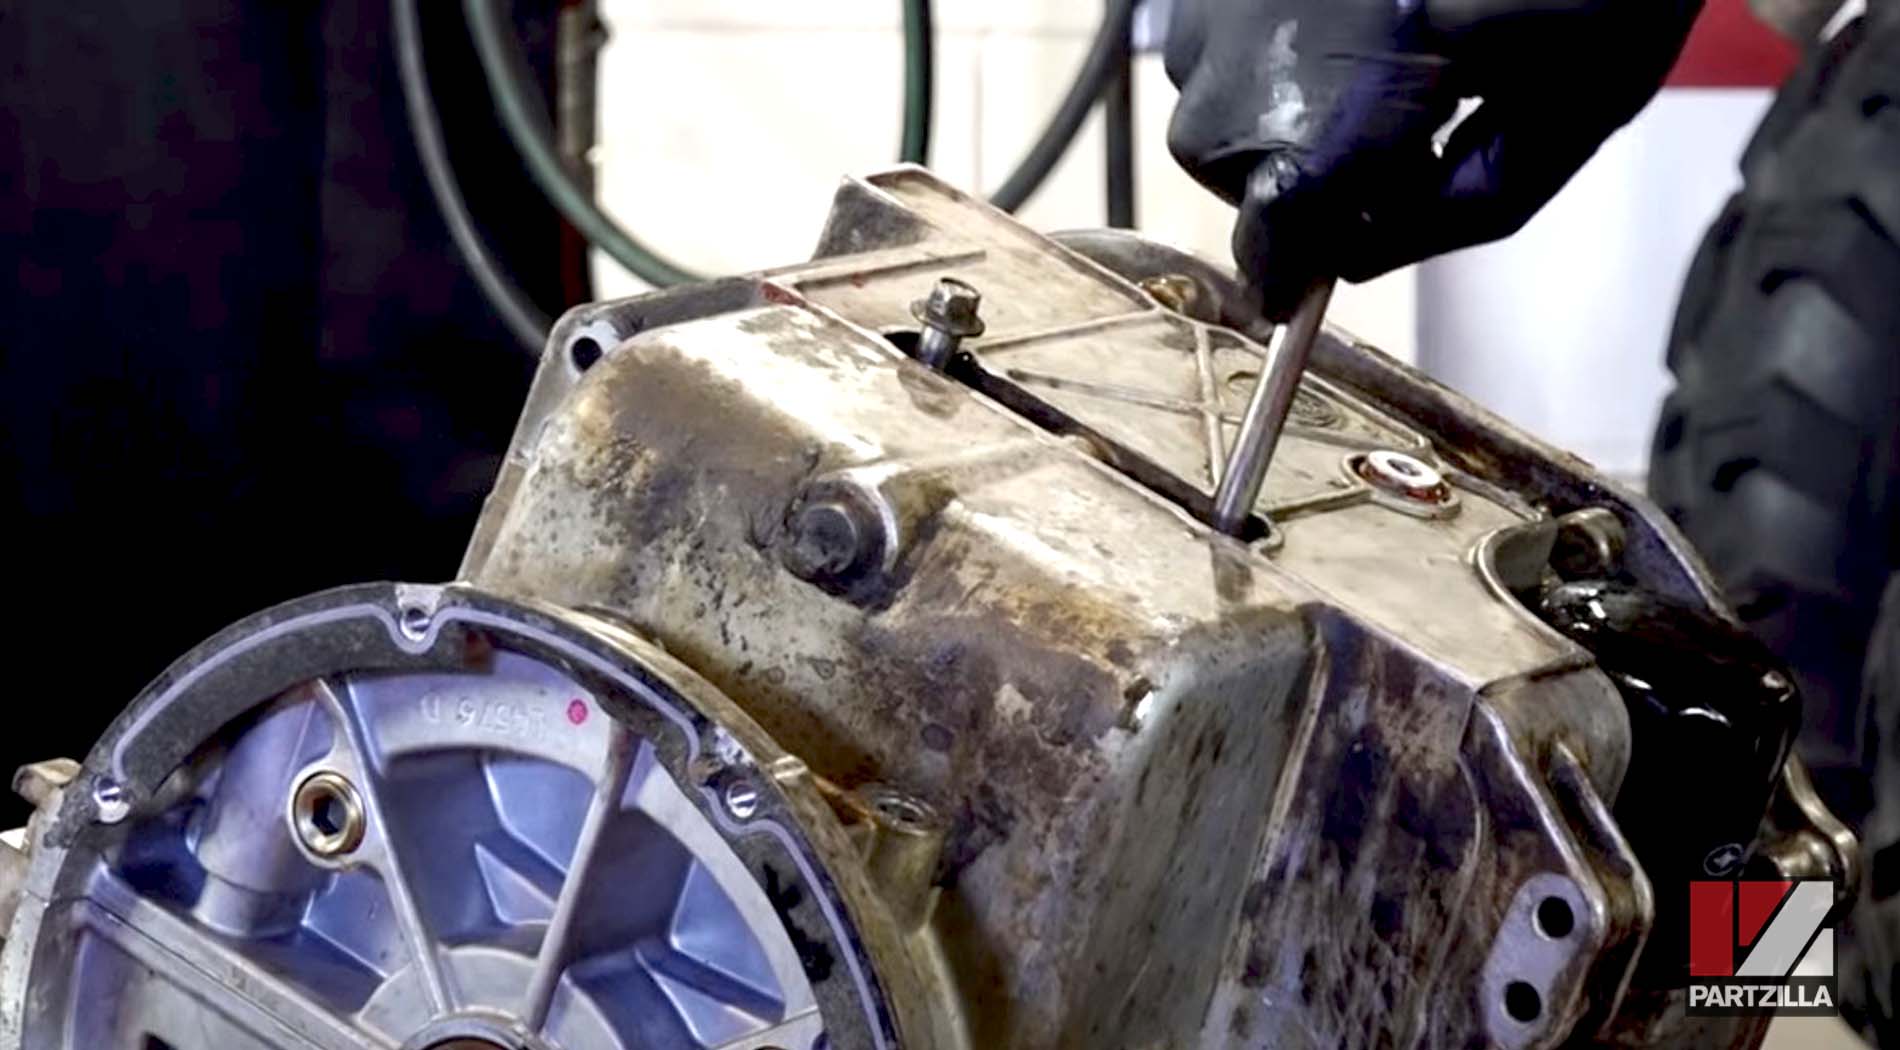
Step 1. Remove the starter.
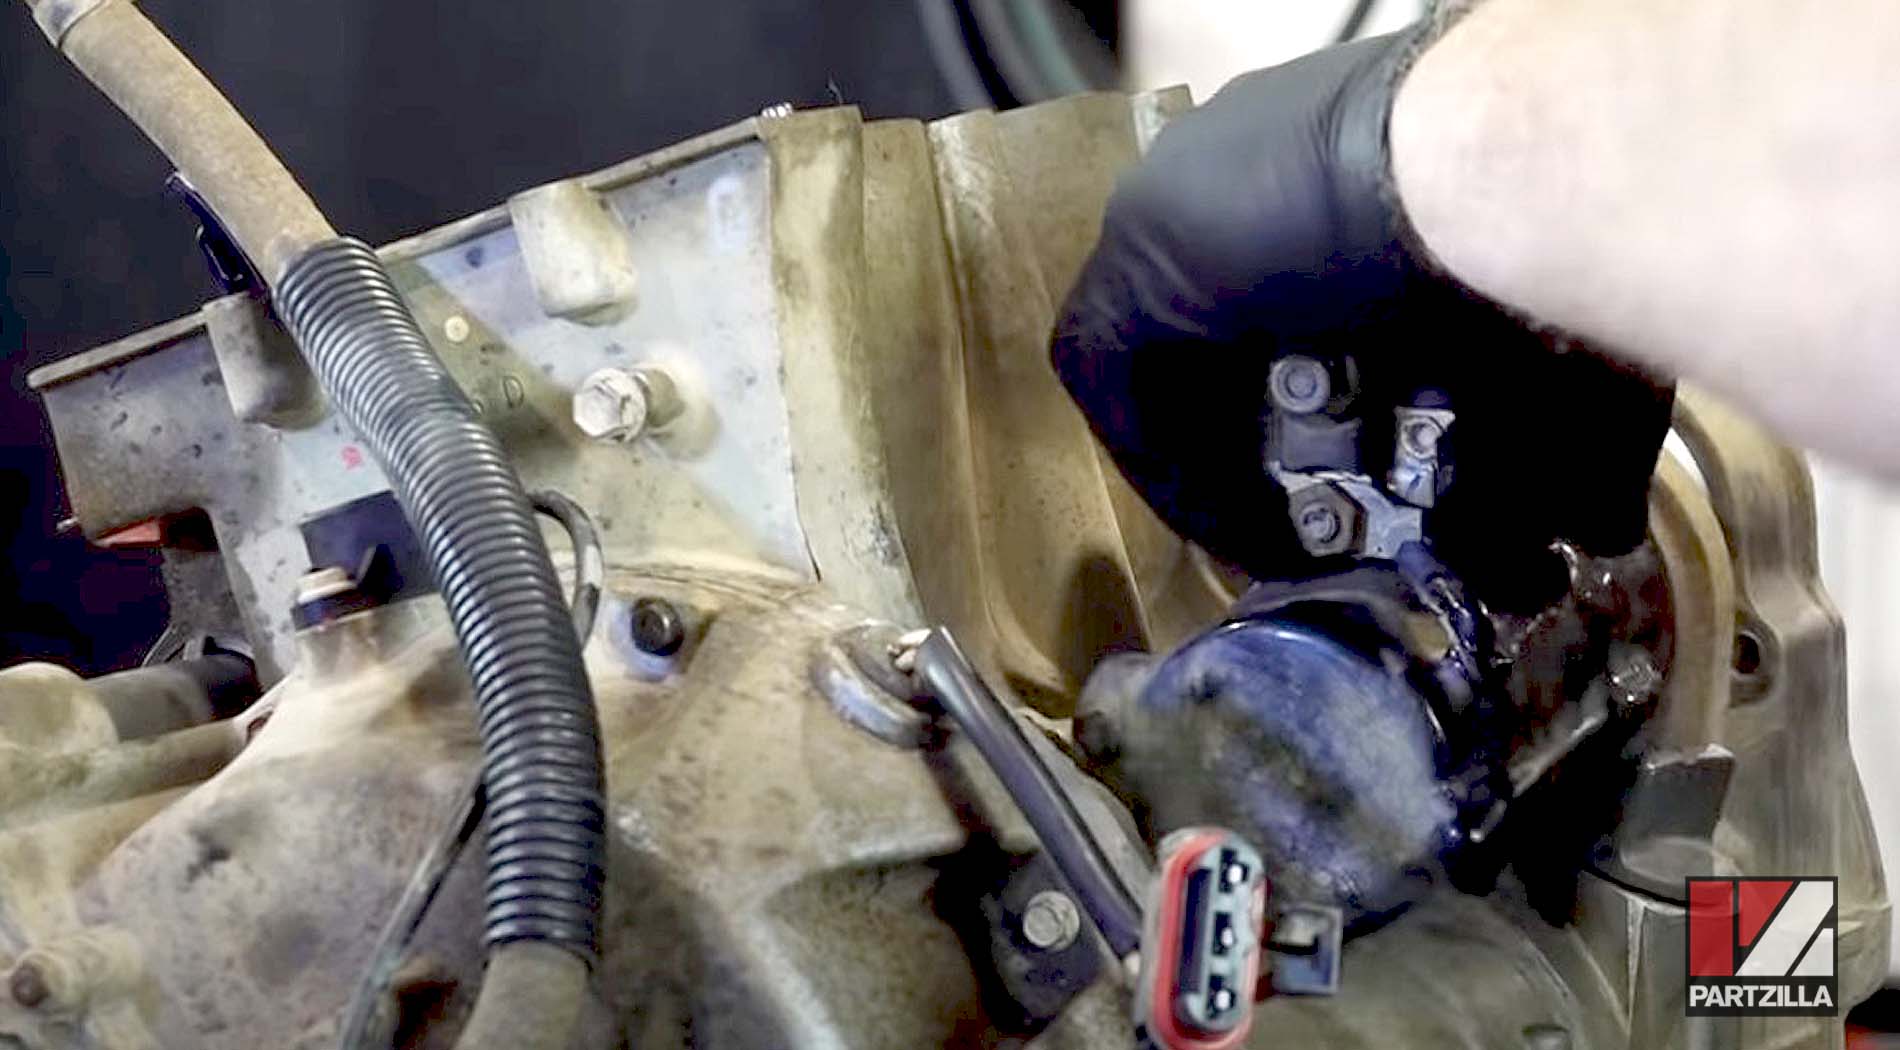
Step 2. Remove the stator cover and stator assembly.
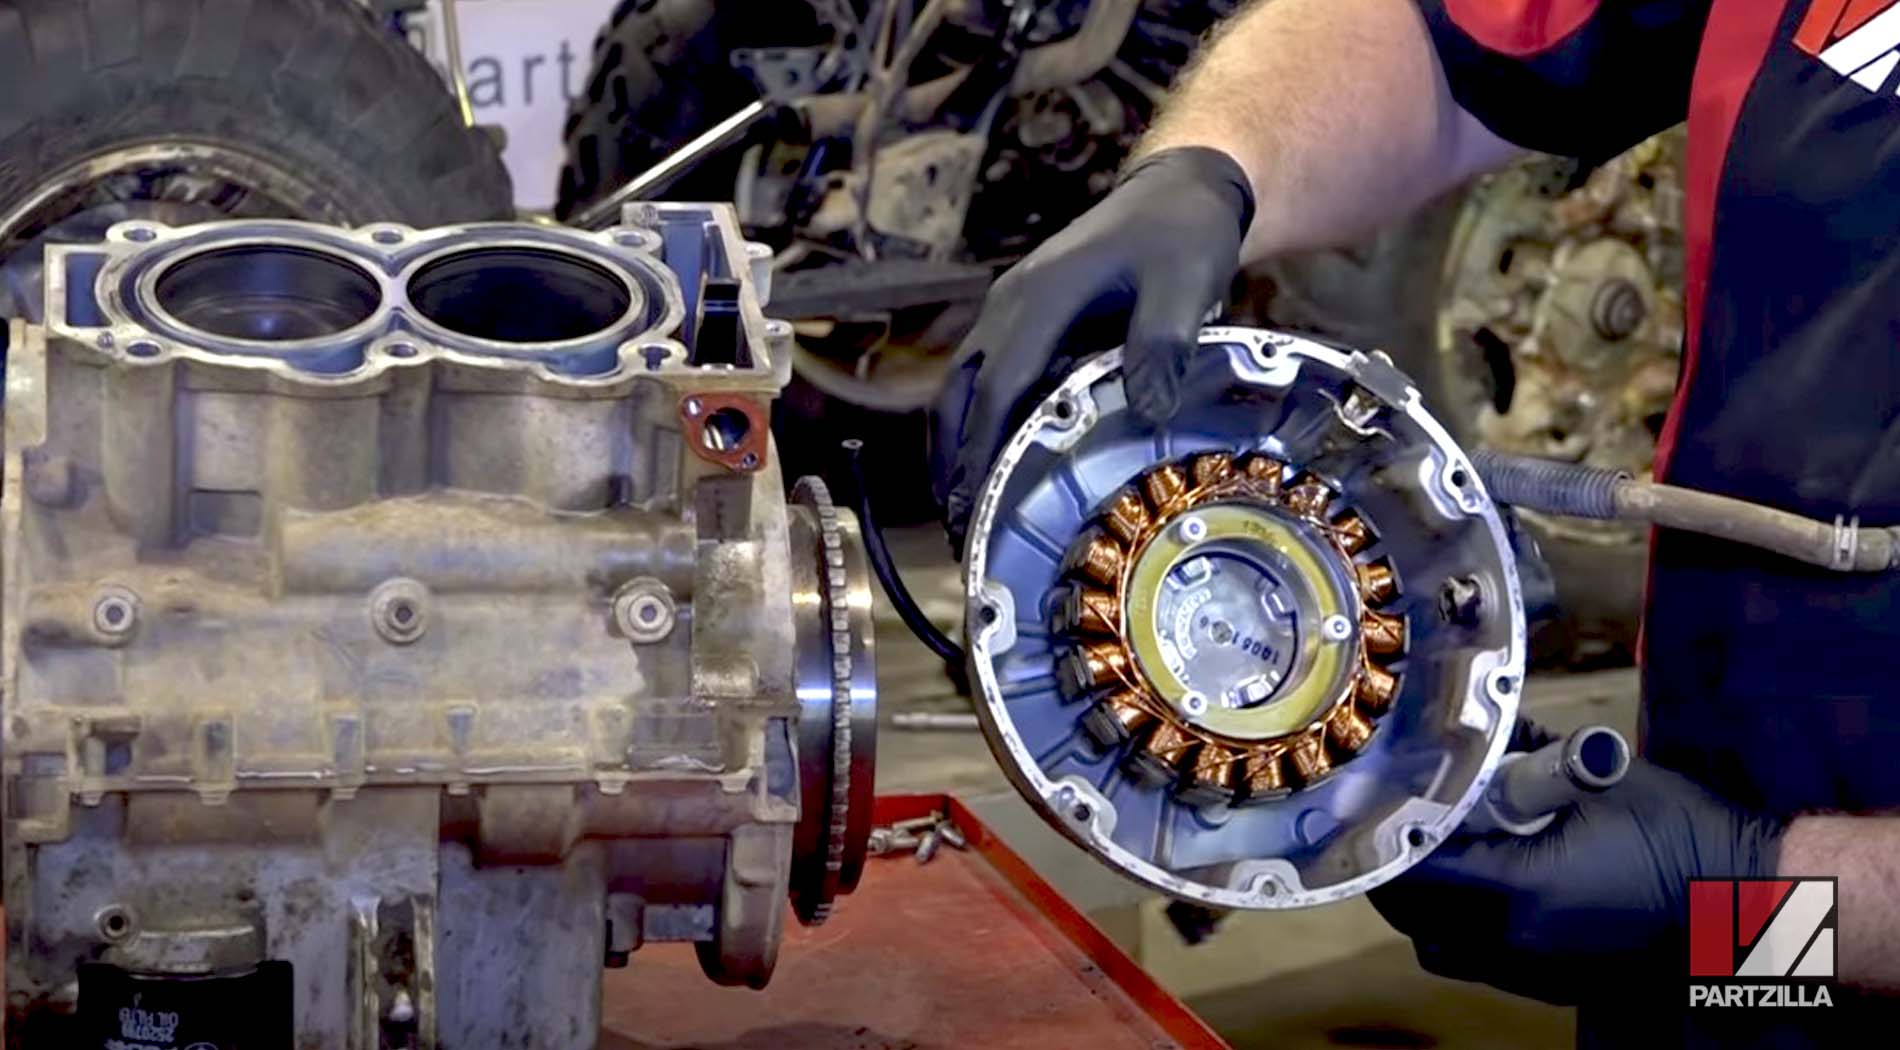
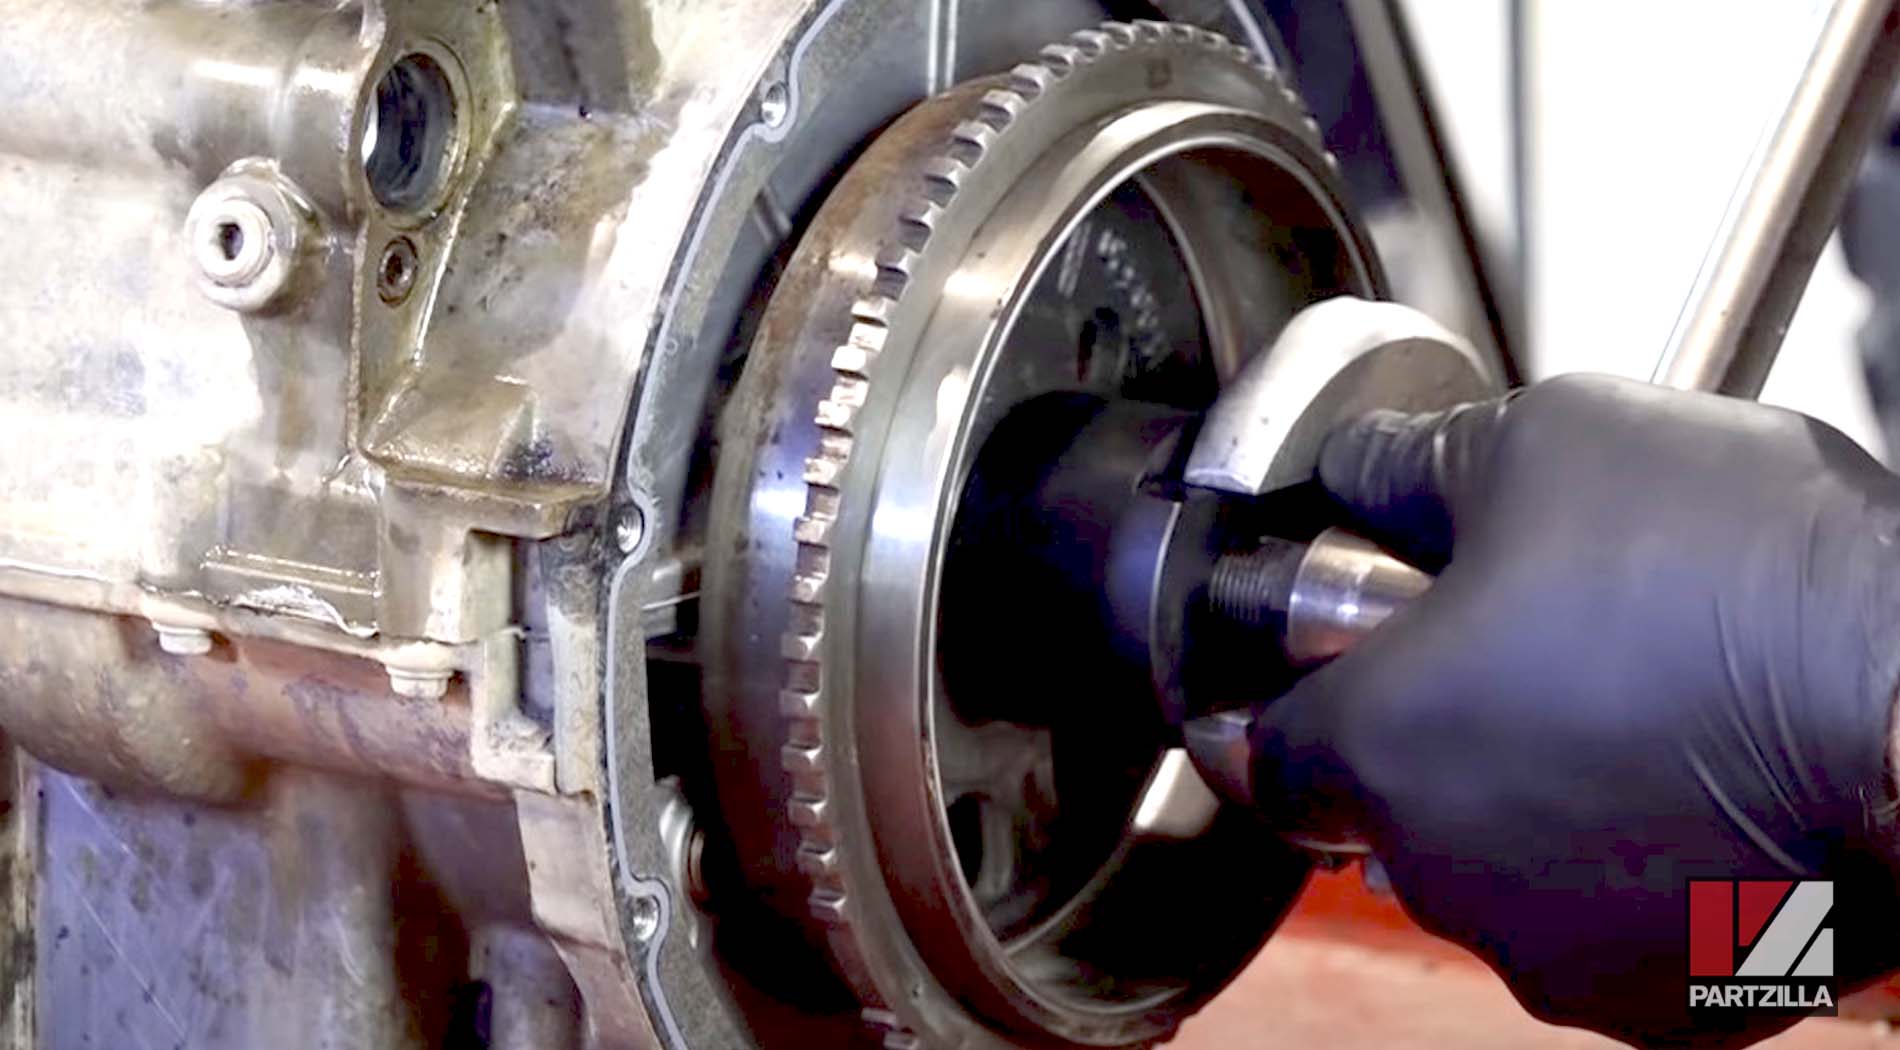
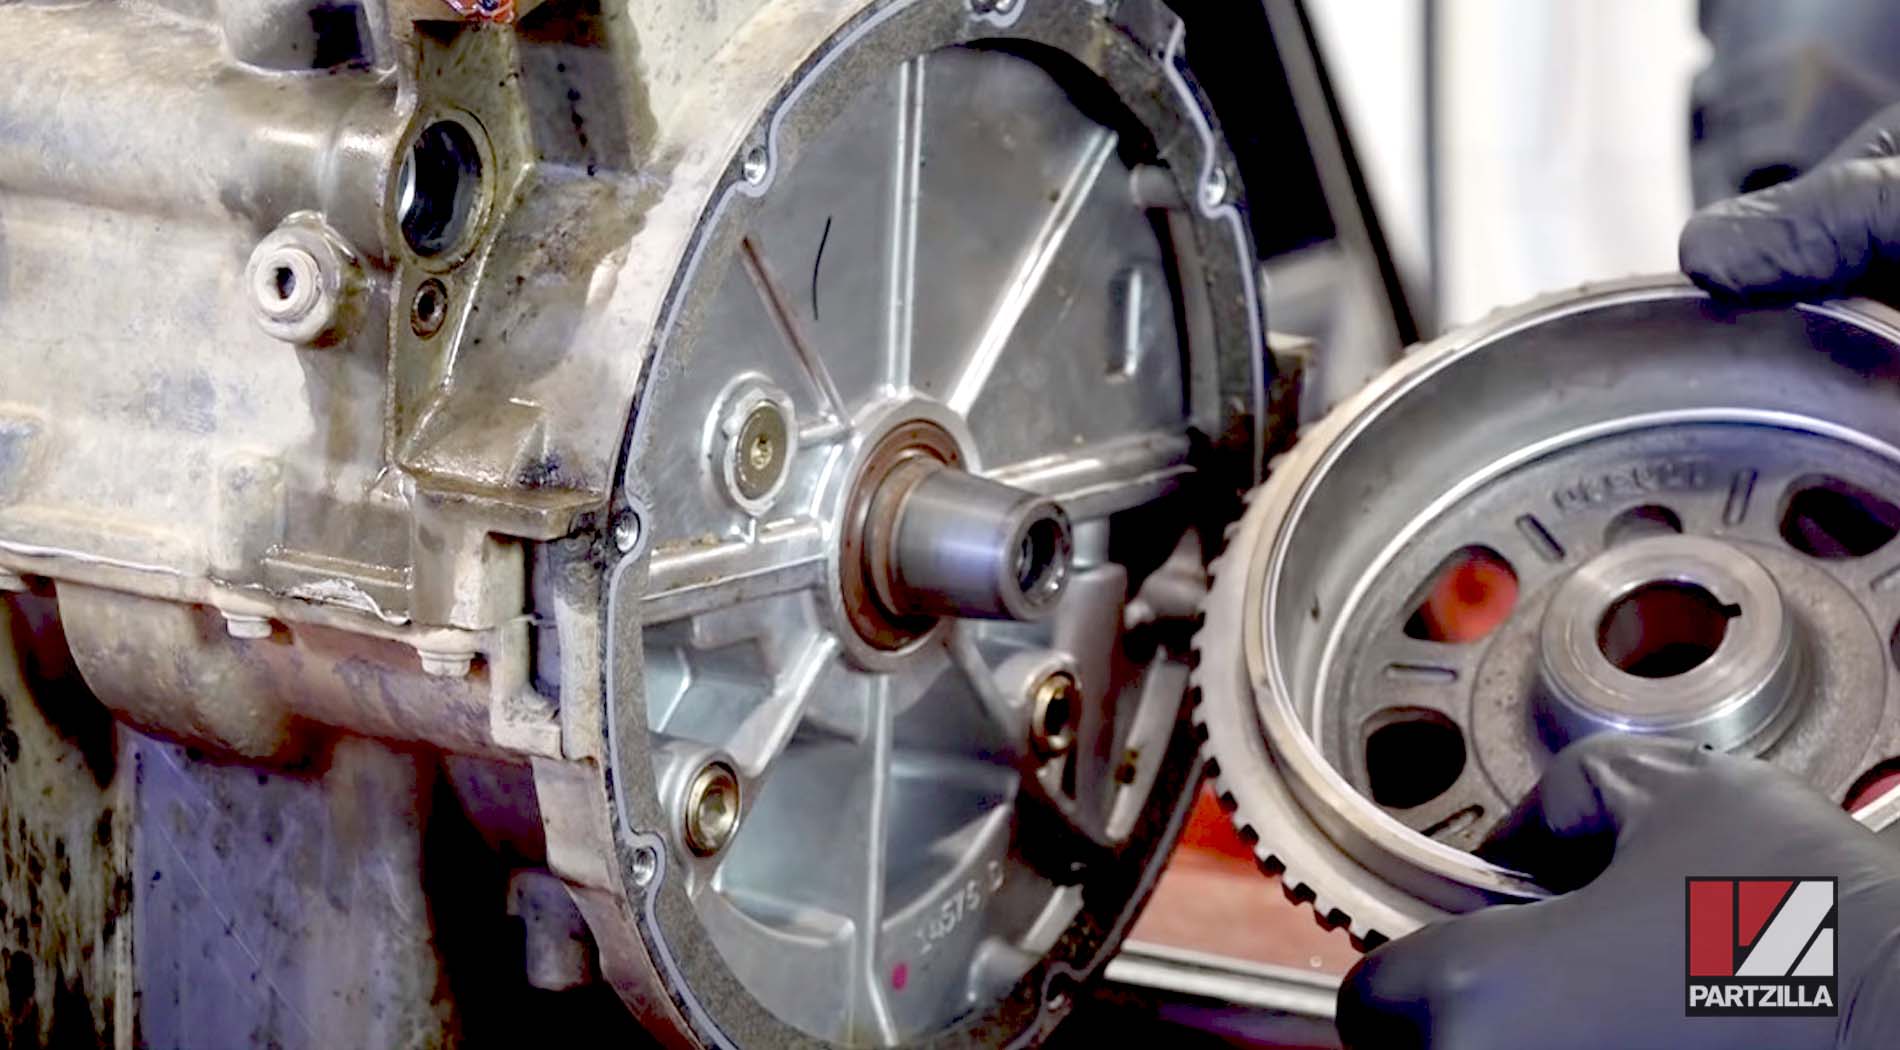
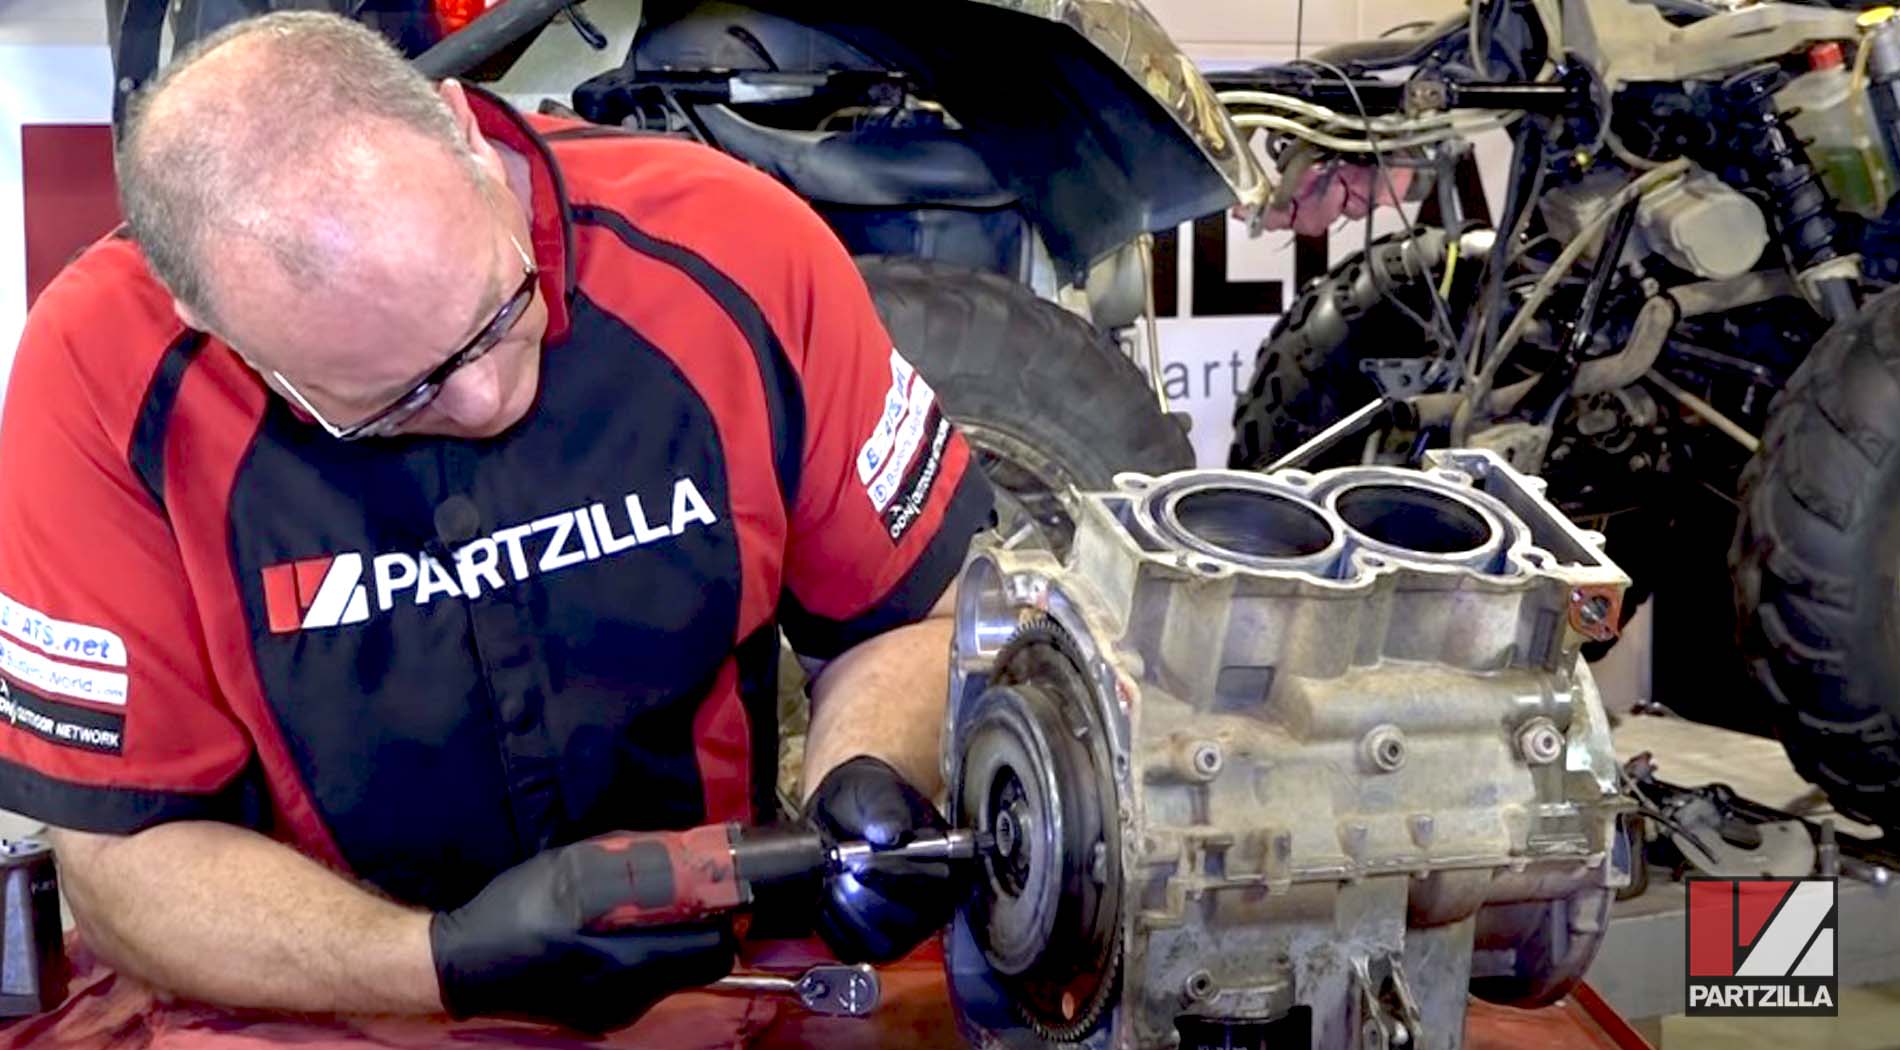
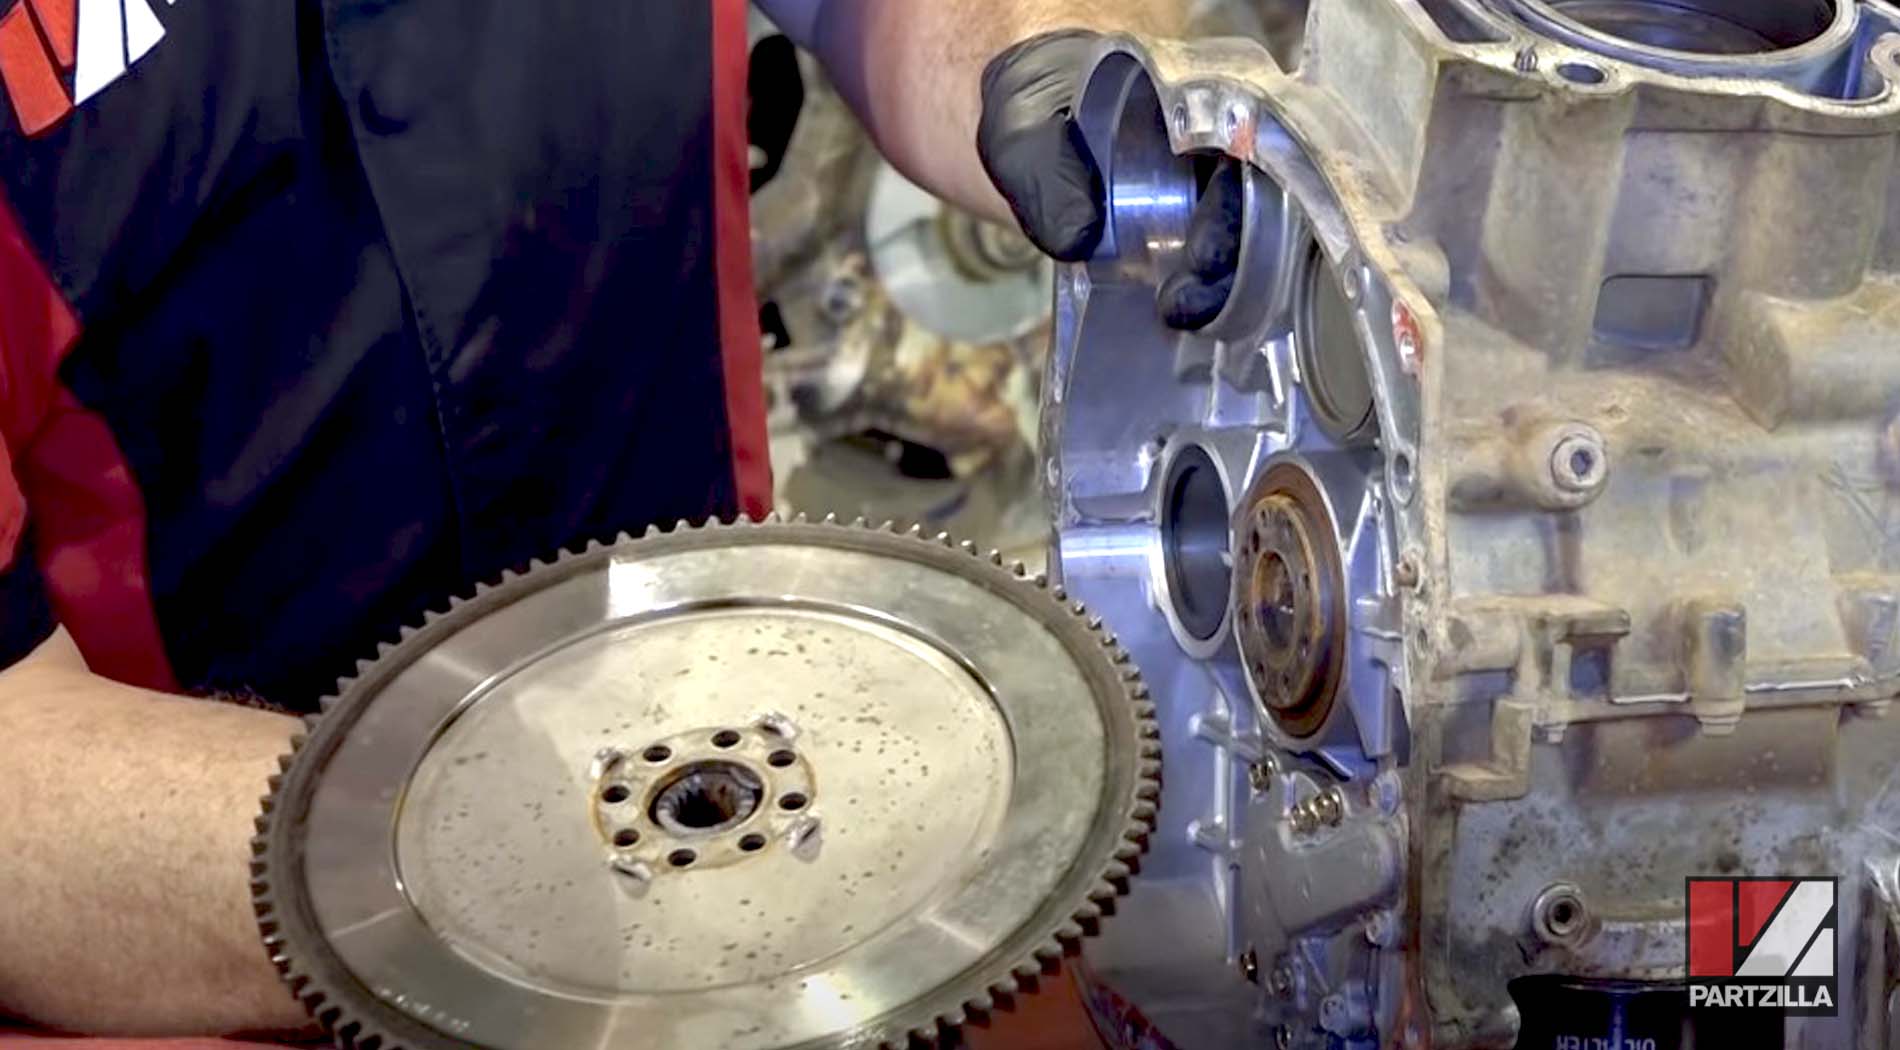
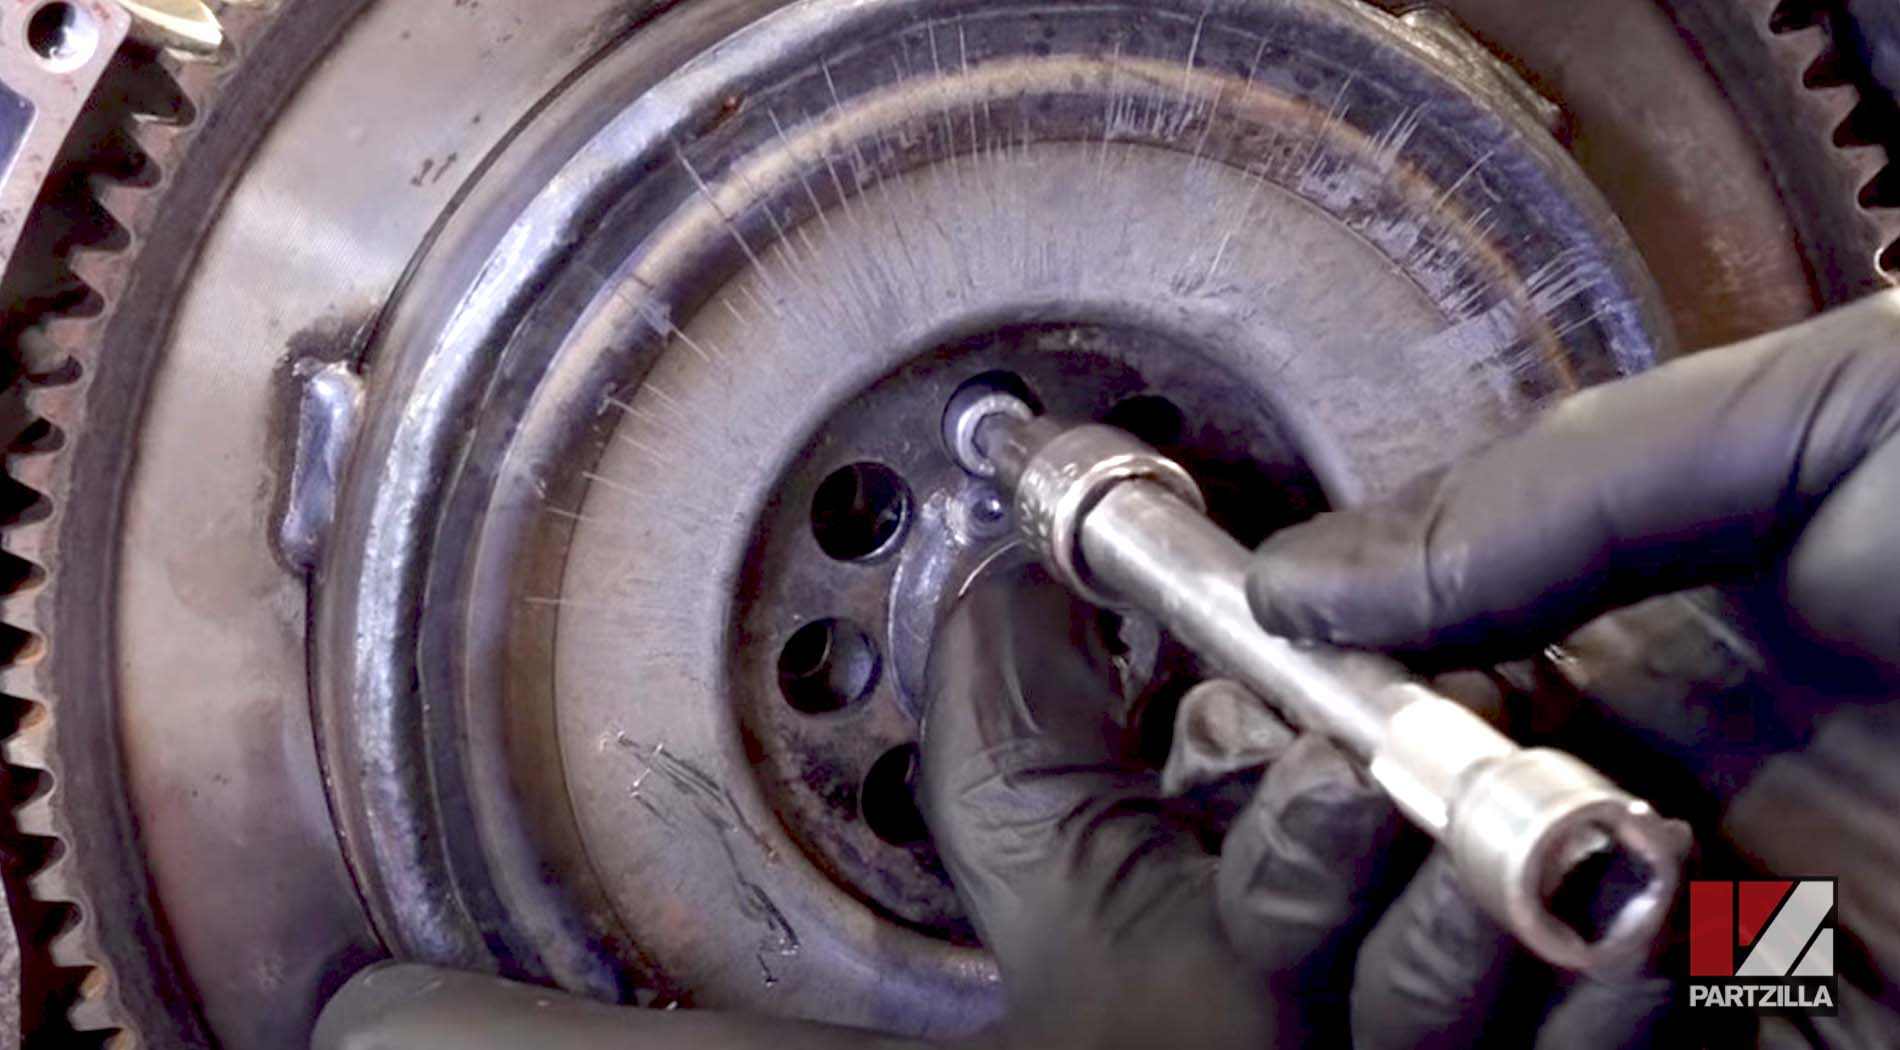
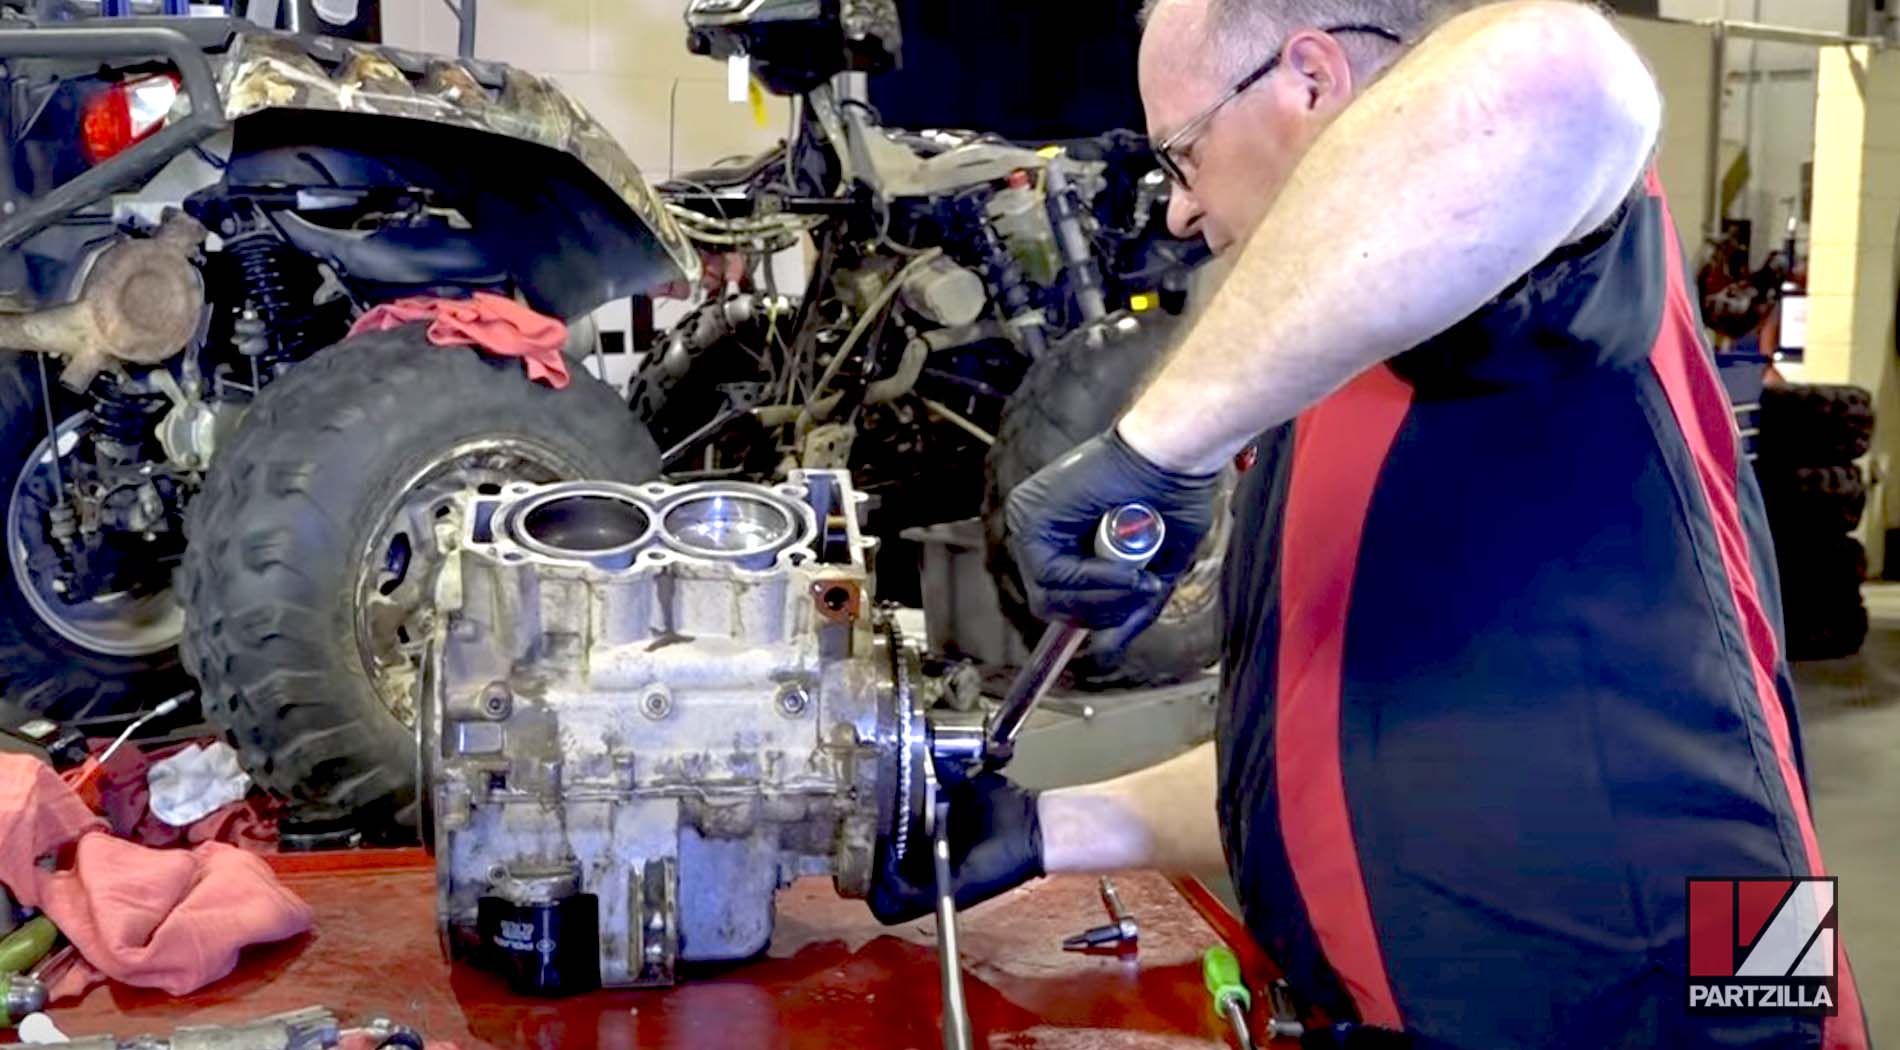
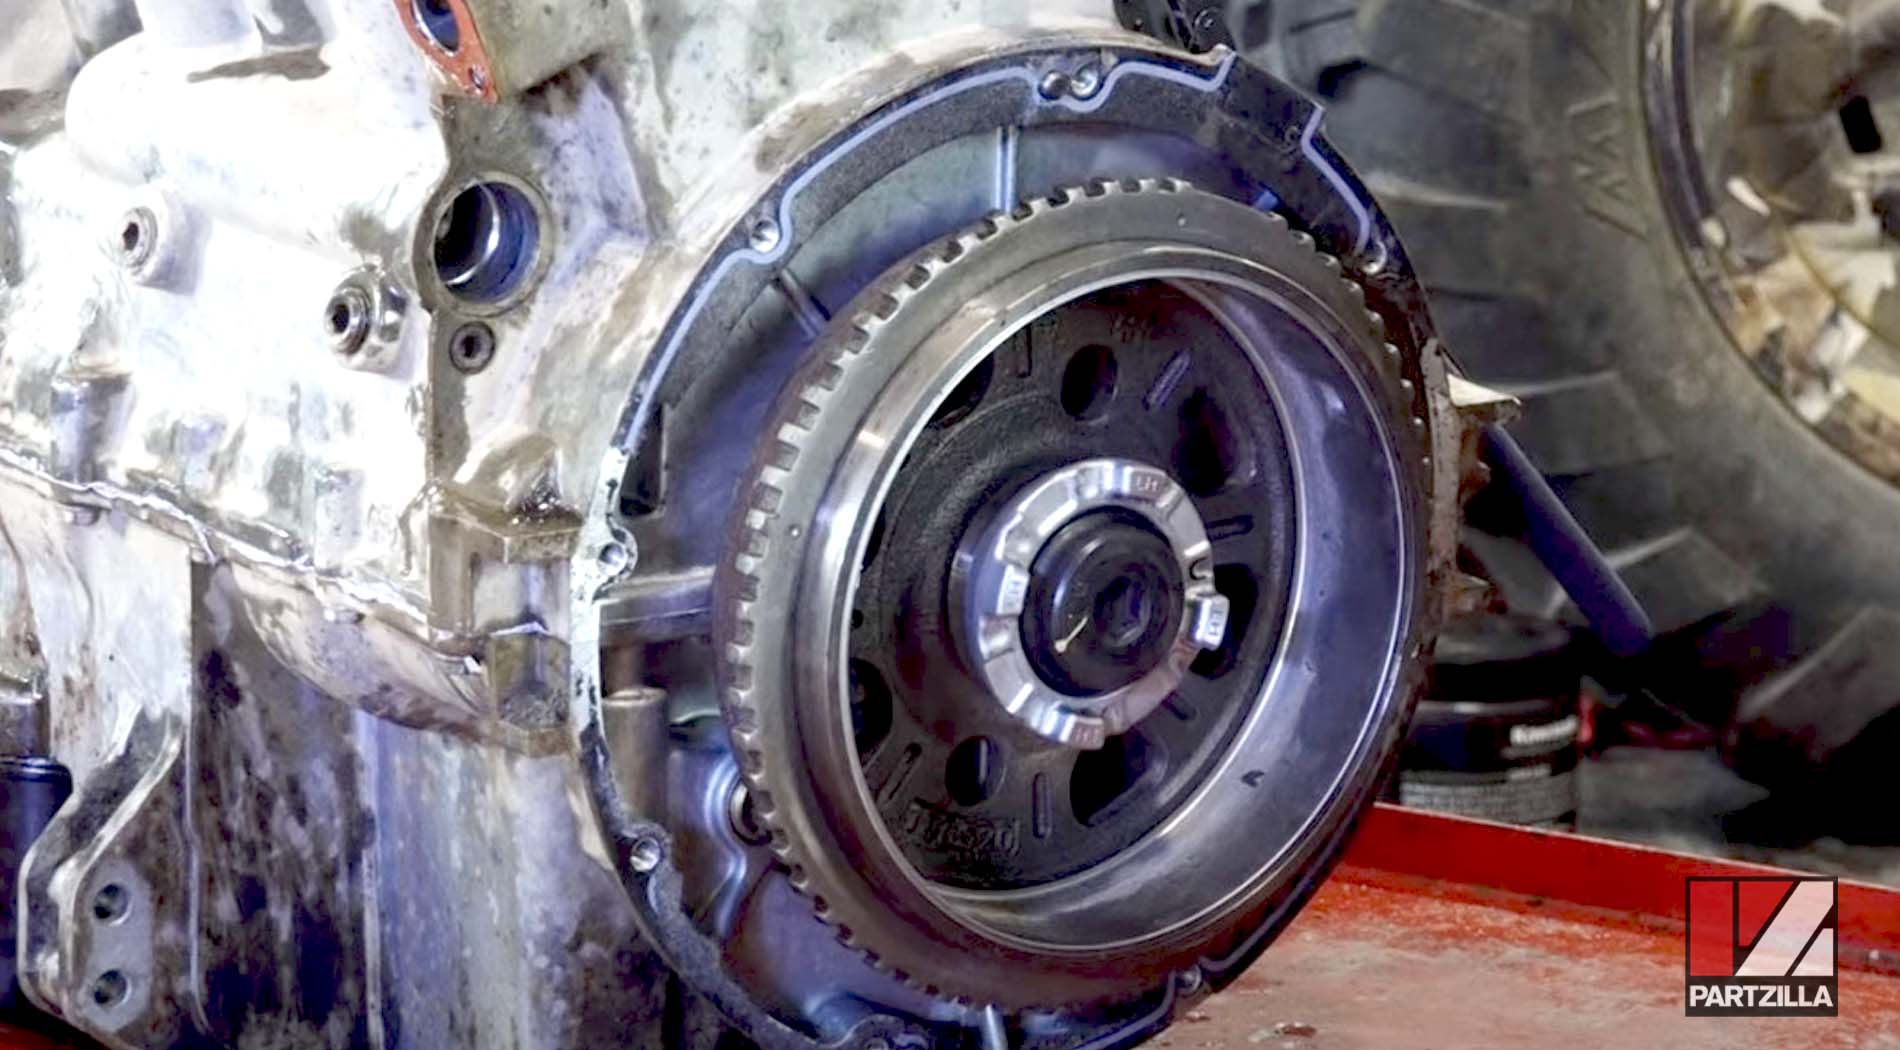
Step 3. Remove the flywheel bolt, the water pump coupler beneath it and the flywheel itself. Use a flywheel holder tool to keep the flywheel stationary while you loosen the flywheel bolt, and a flywheel puller to break the flywheel free.
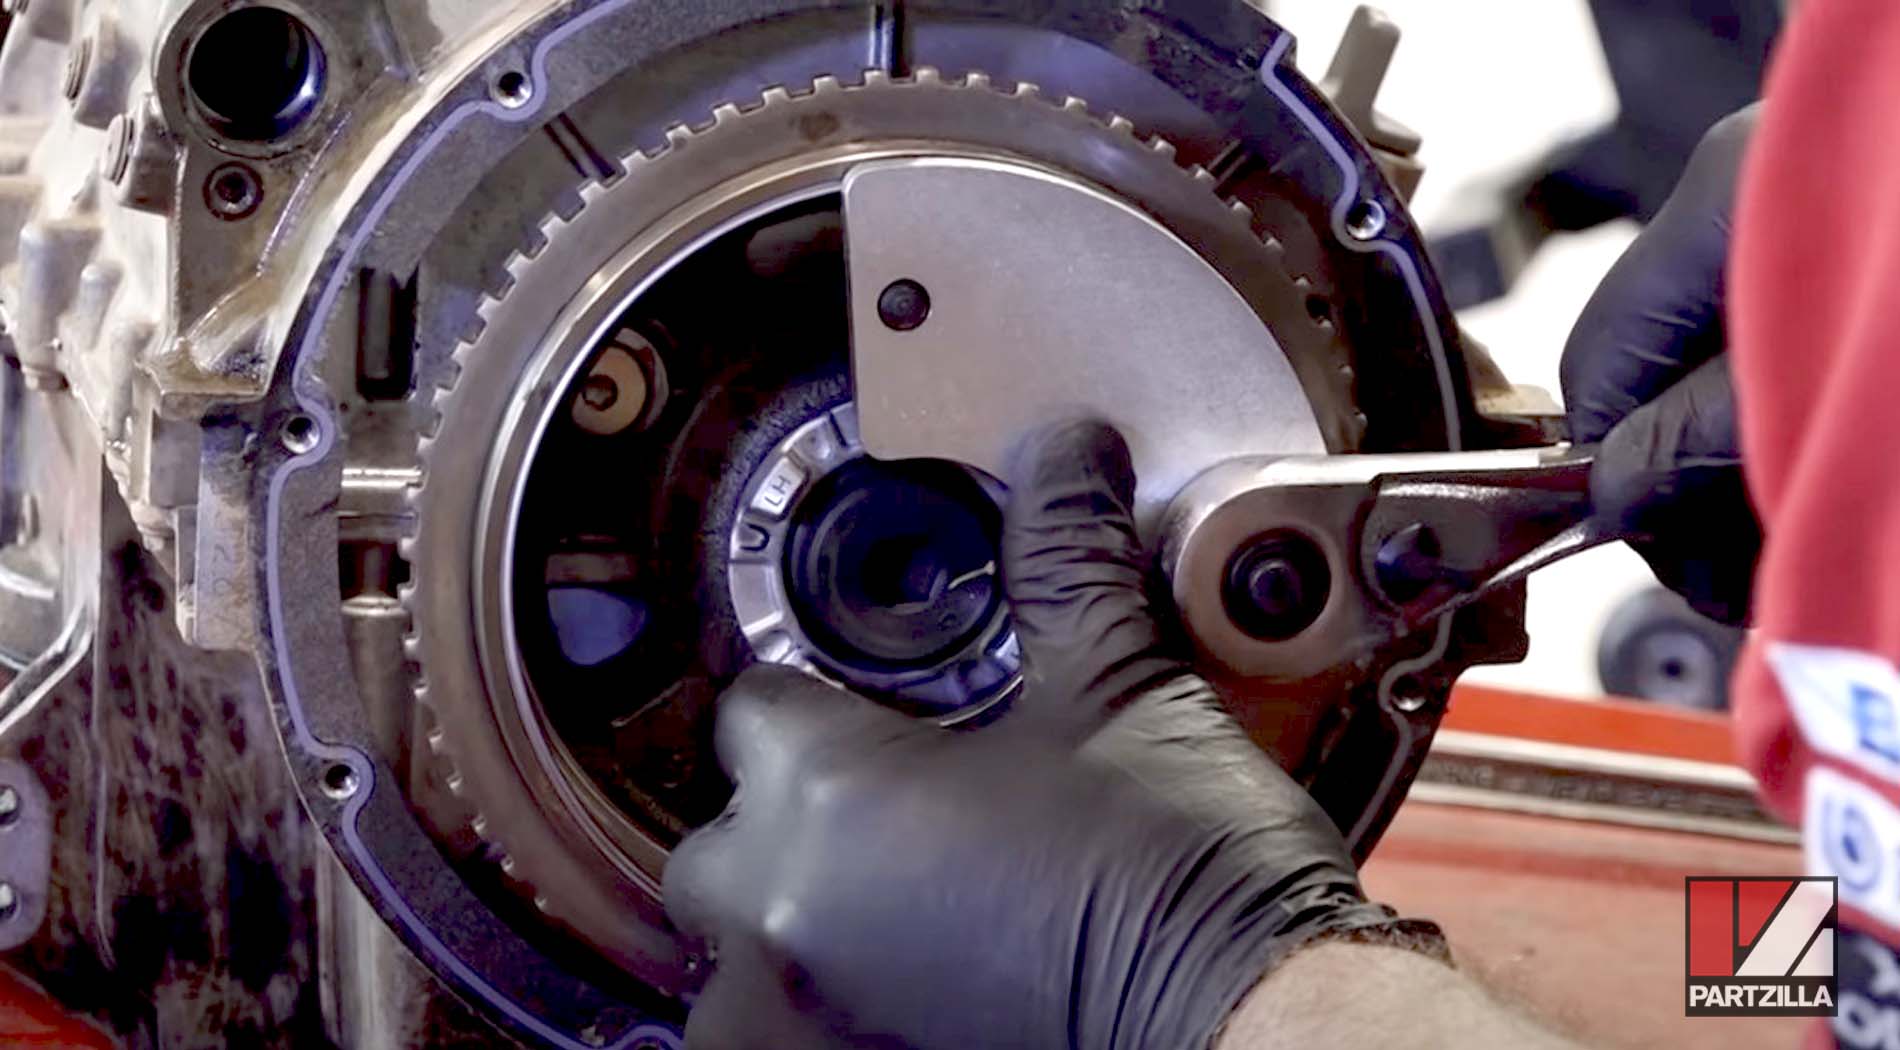
NOTE: The flywheel bolt and water pump coupler both have reversed threads, so you must rotate them clockwise to remove them.
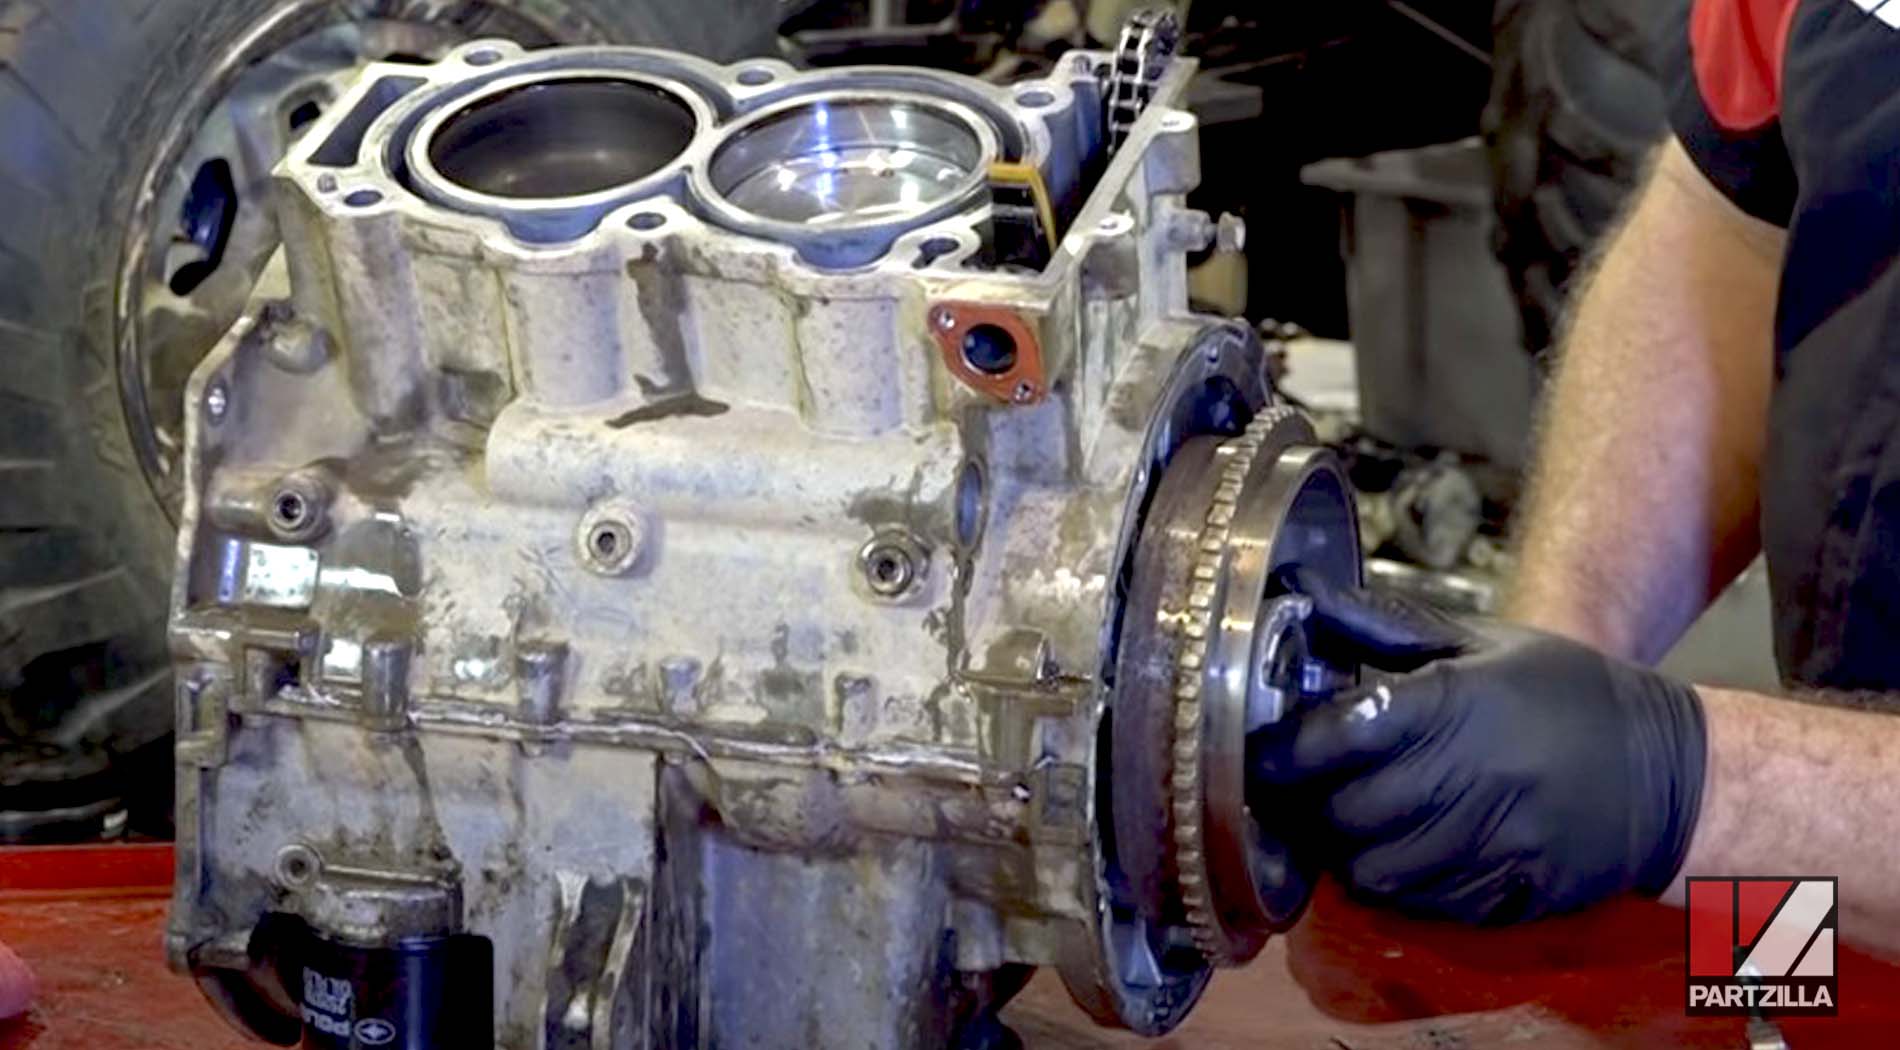
Step 4. Remove the starting gear.
Watch the clip below to see the starter through stator removal segment of our Polaris Sportsman 850 engine rebuild video.
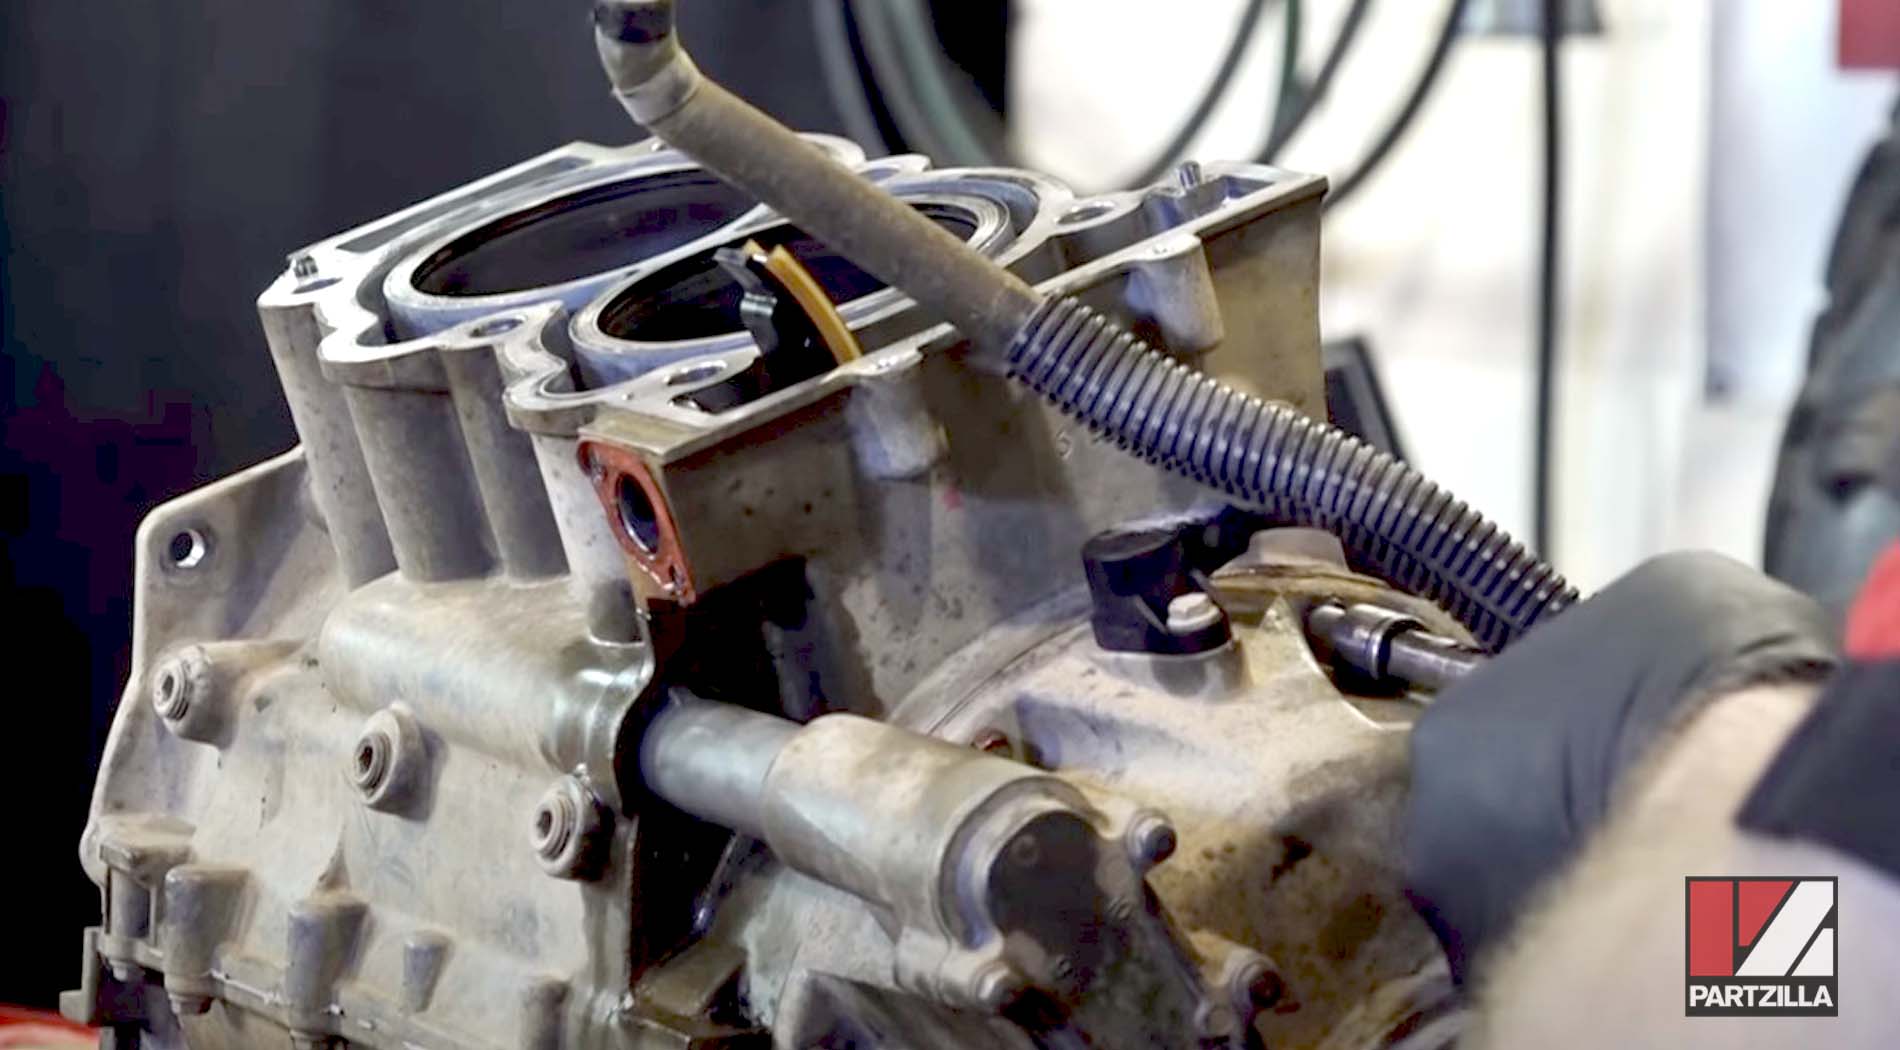
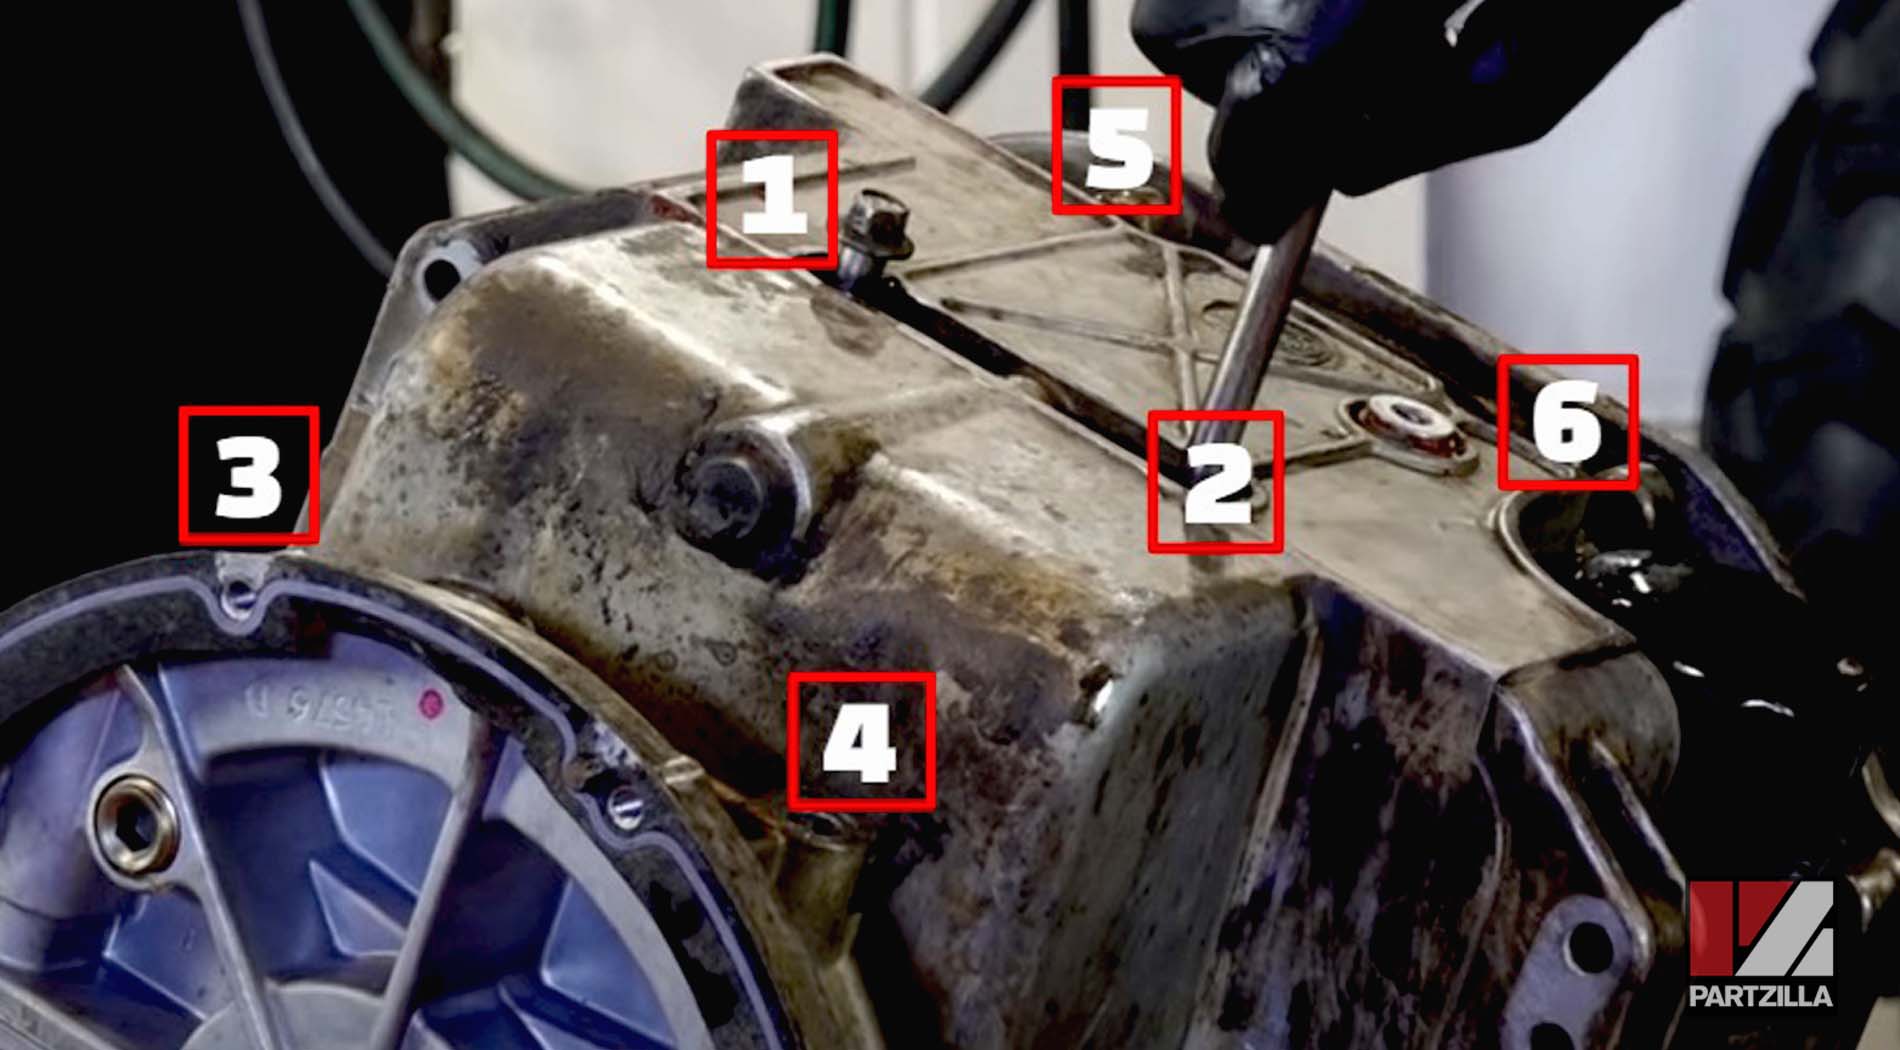
Step 5. Loosen each of the fourteen 8mm crankcase bolts by a half turn to relieve the pressure on them, then remove them. Next, loosen each of the six 10mm main crankcase bolts by a half turn and remove them.

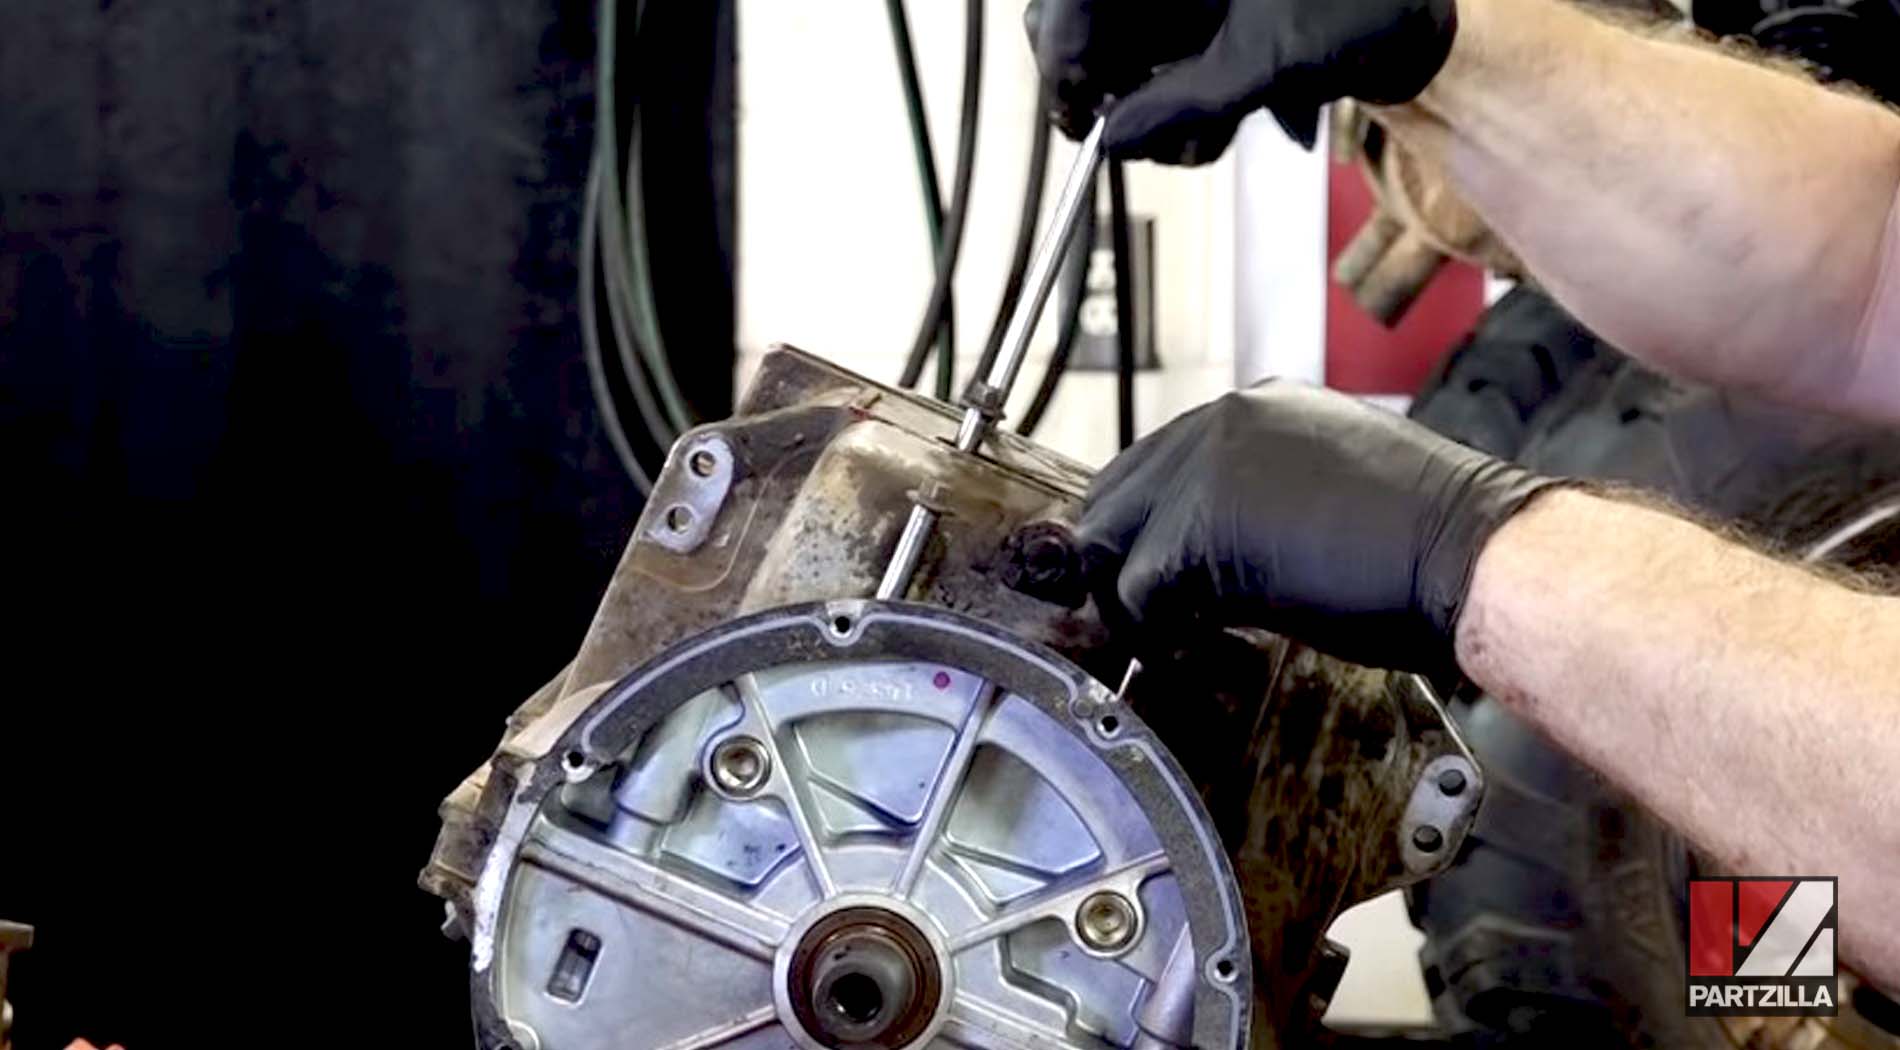
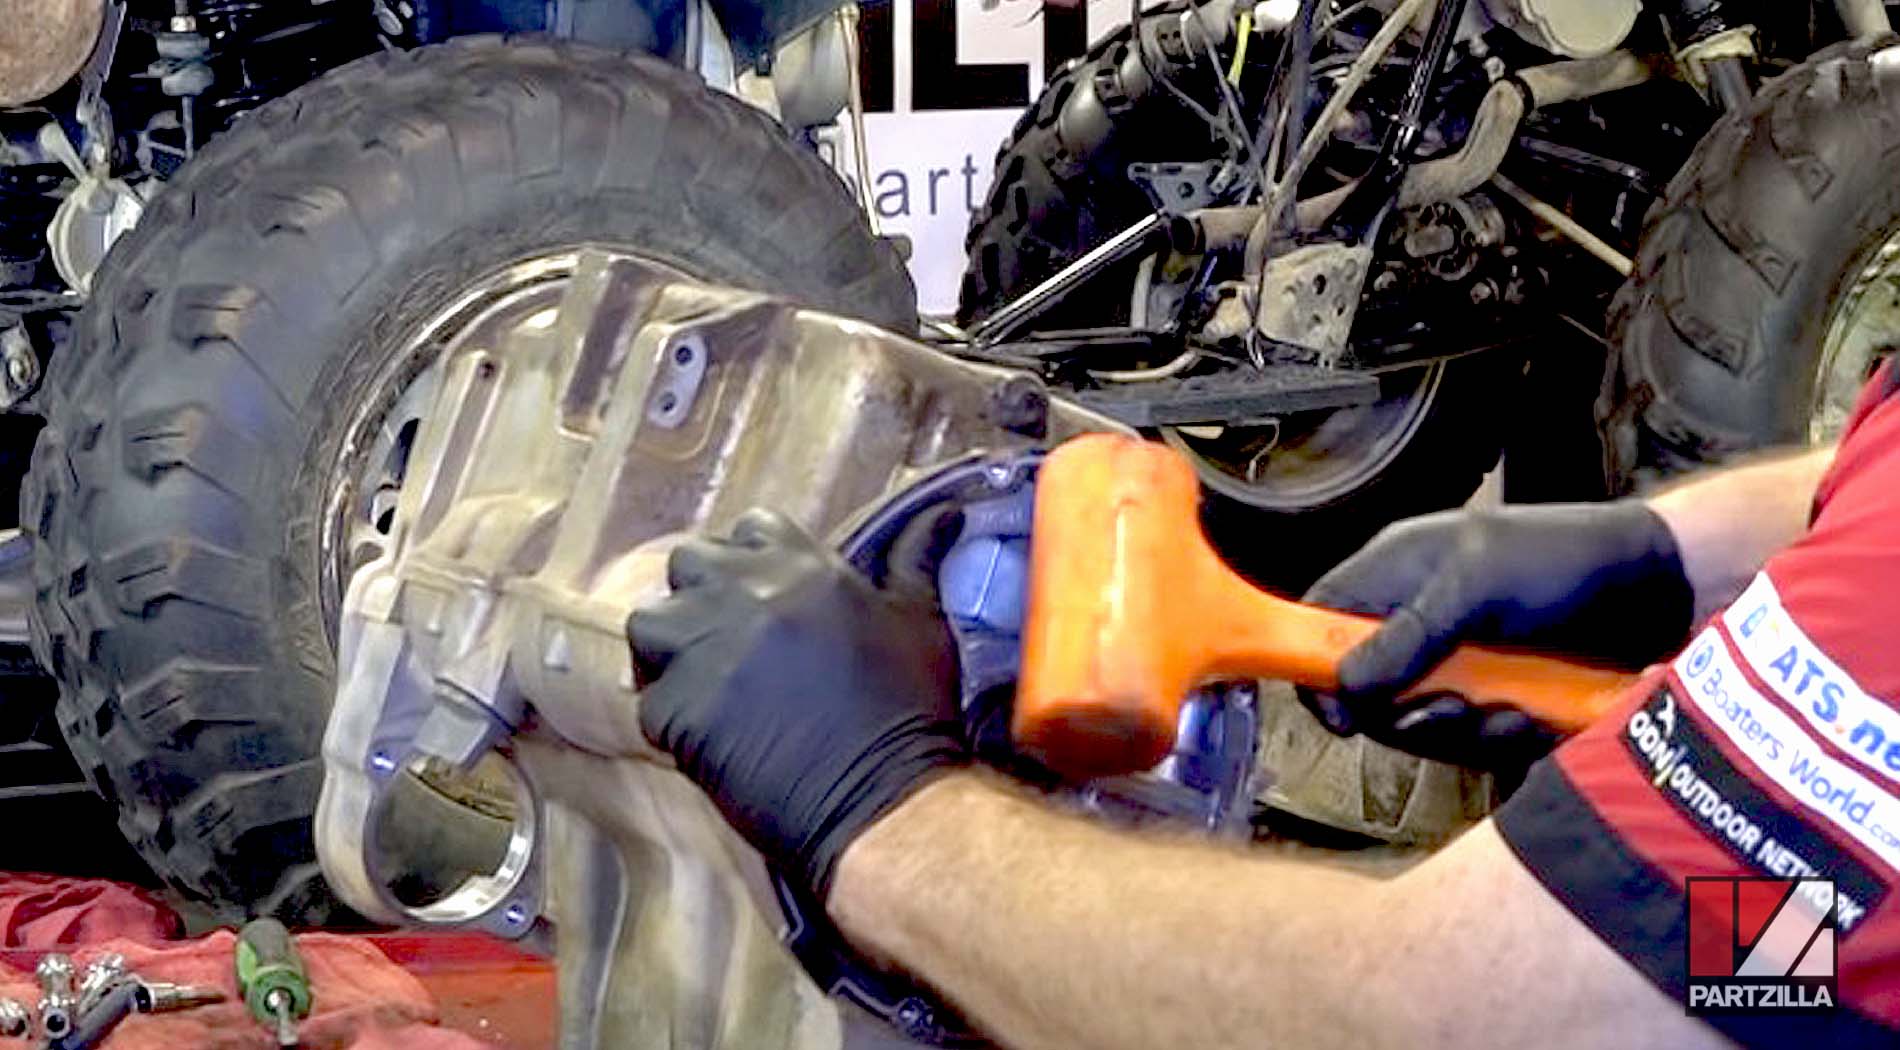
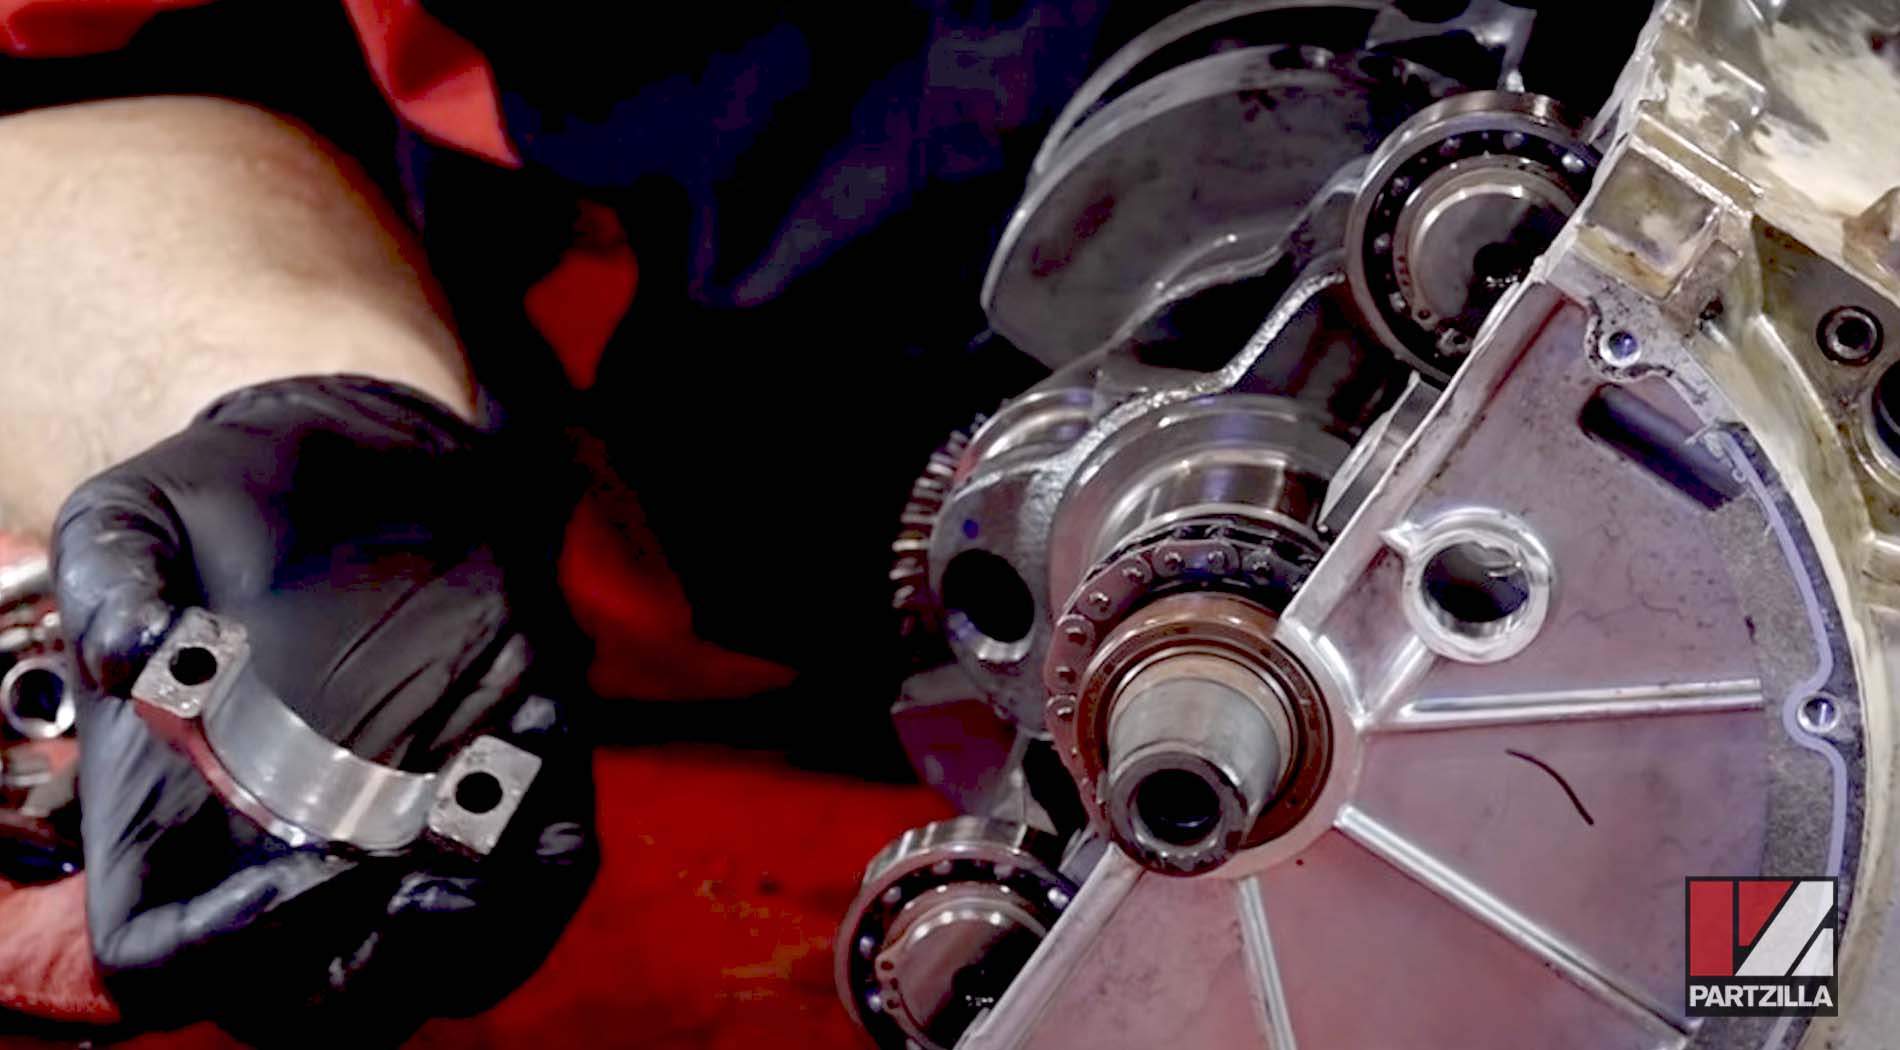
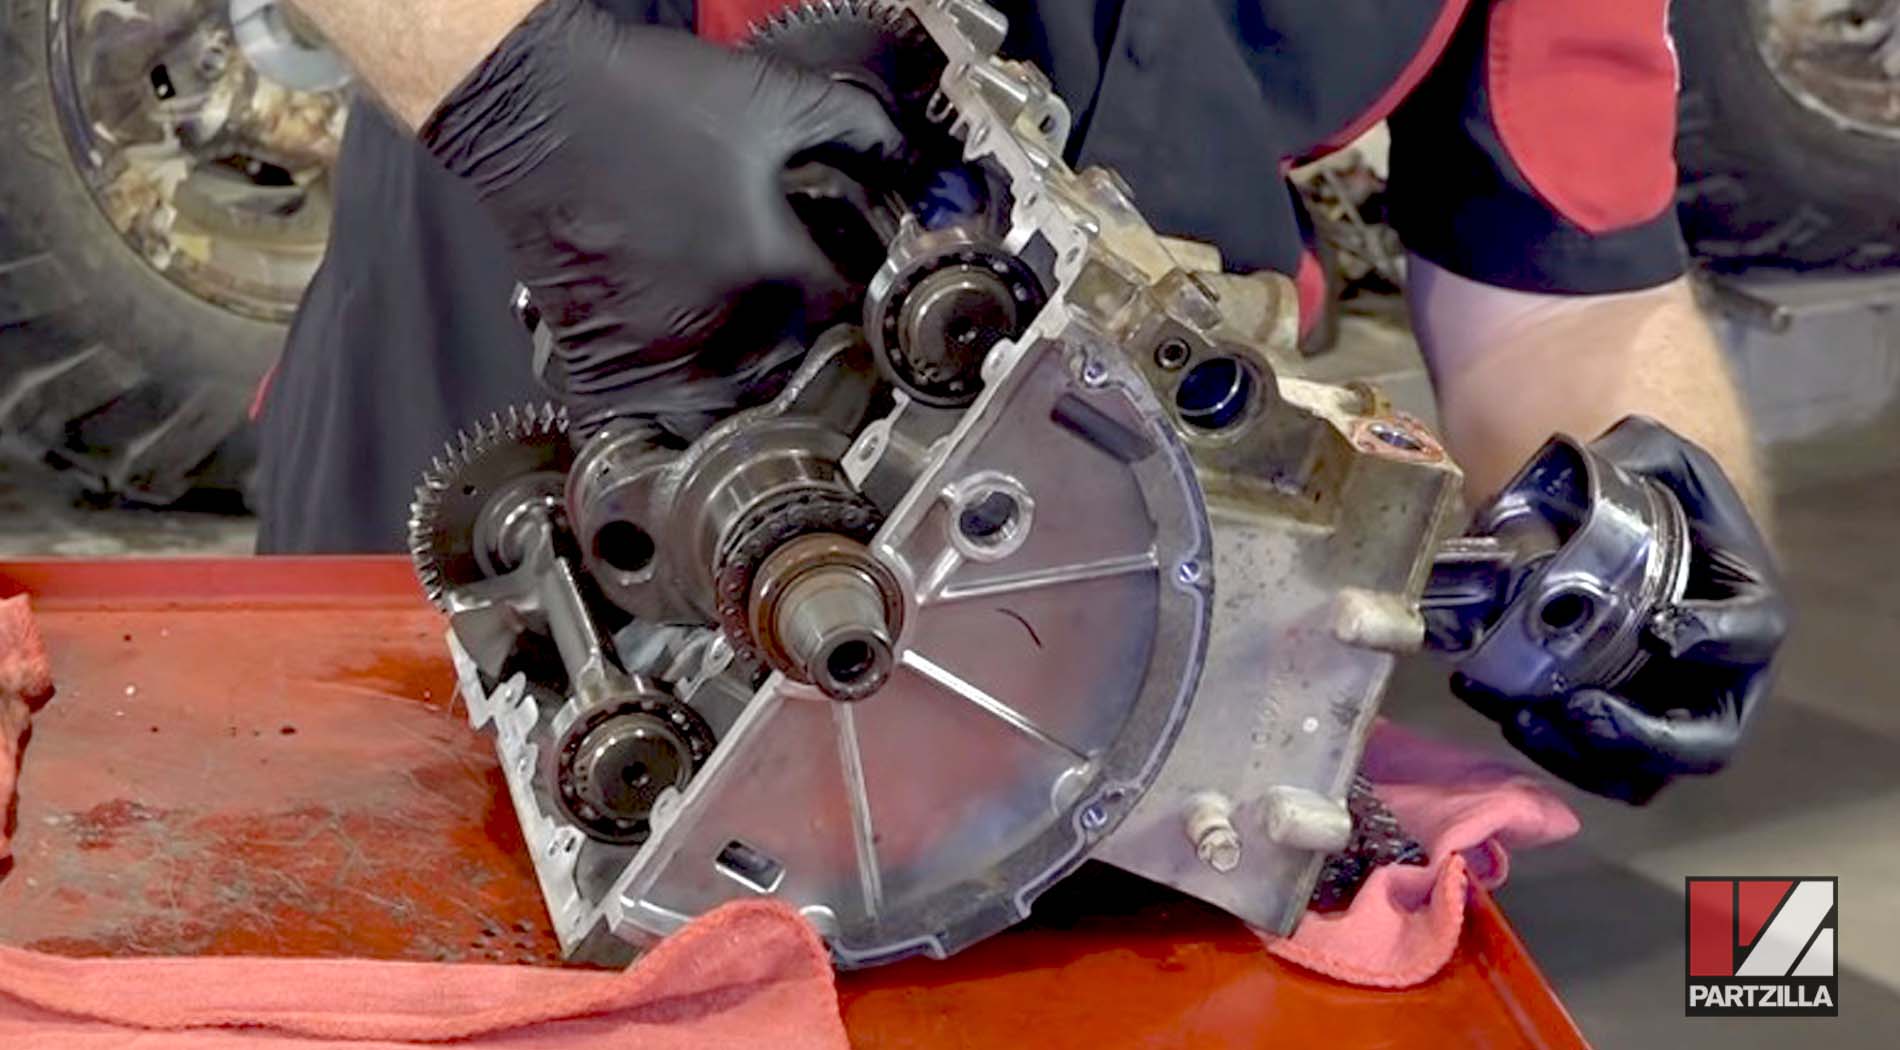
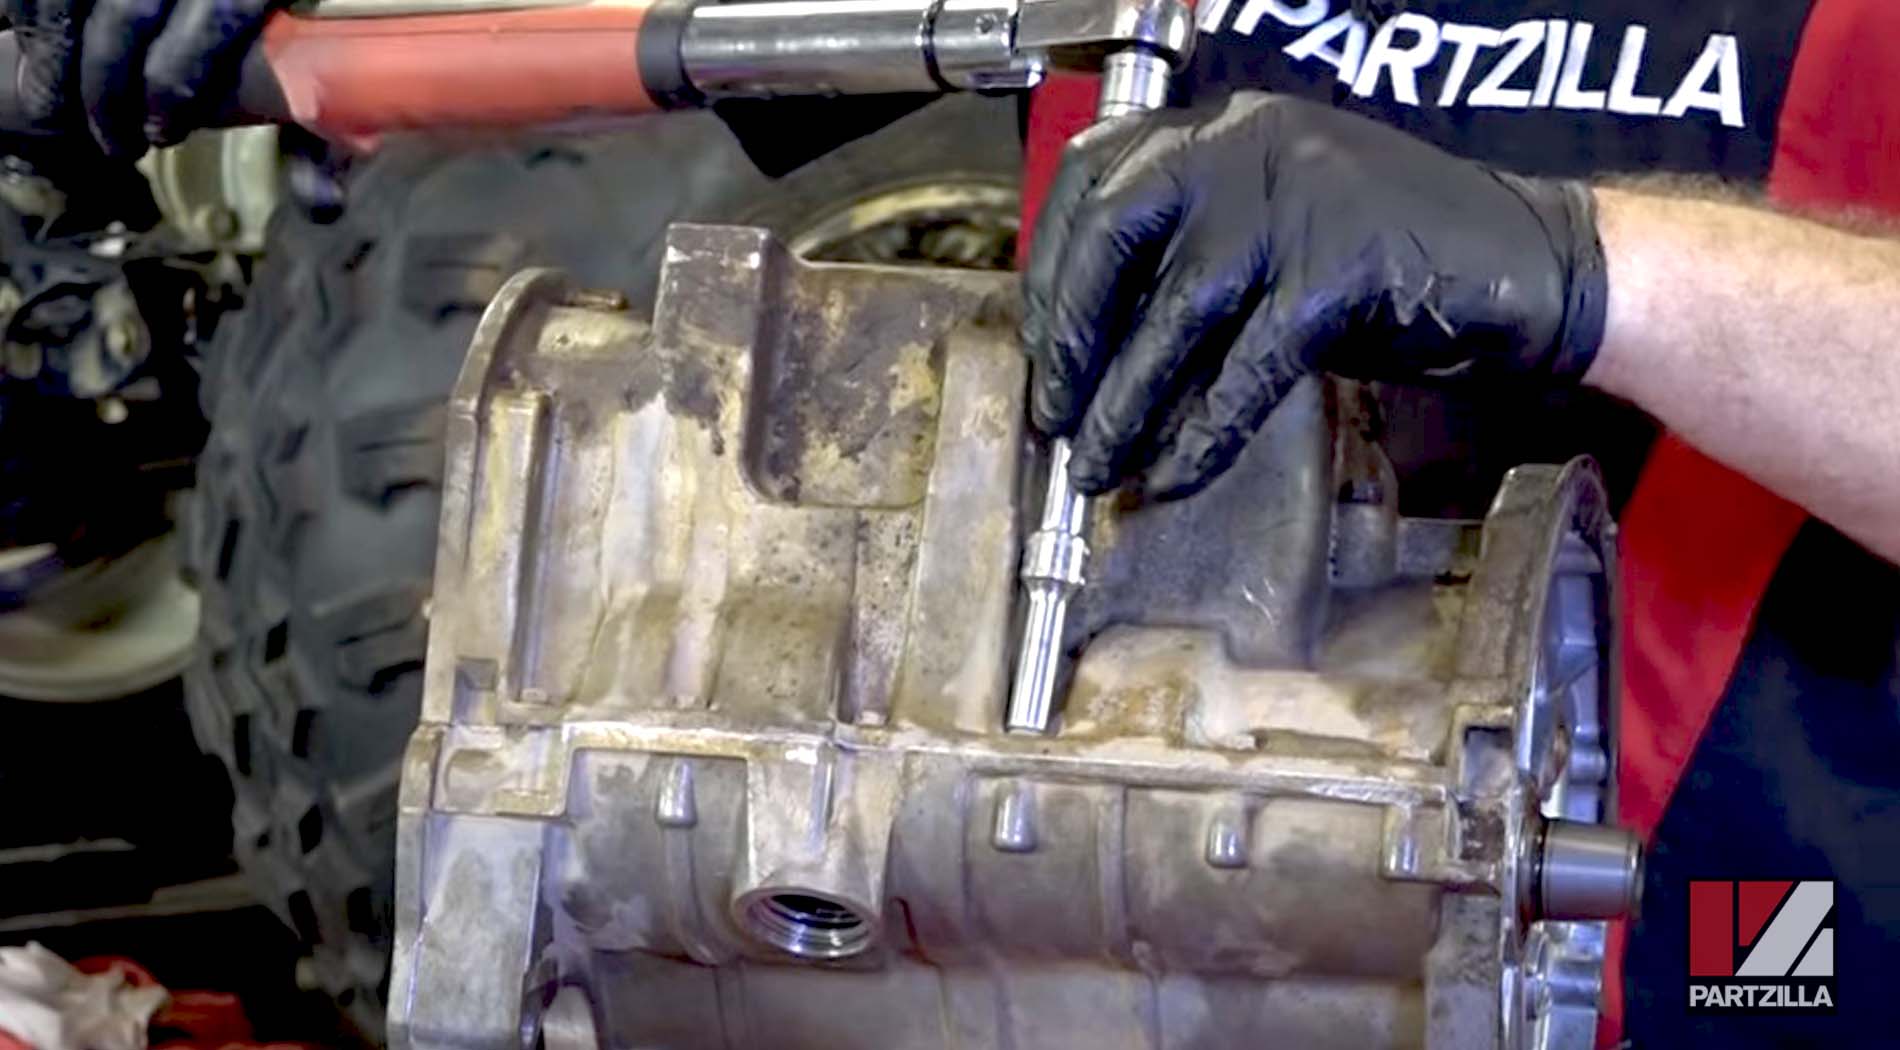
Step 6. Gently tap the halves of the crankcase to break them loose, then remove the lower half of the crankcase.
Watch the clip below to see the crankcase separation segment of our Polaris Sportsman 850 engine rebuild video.
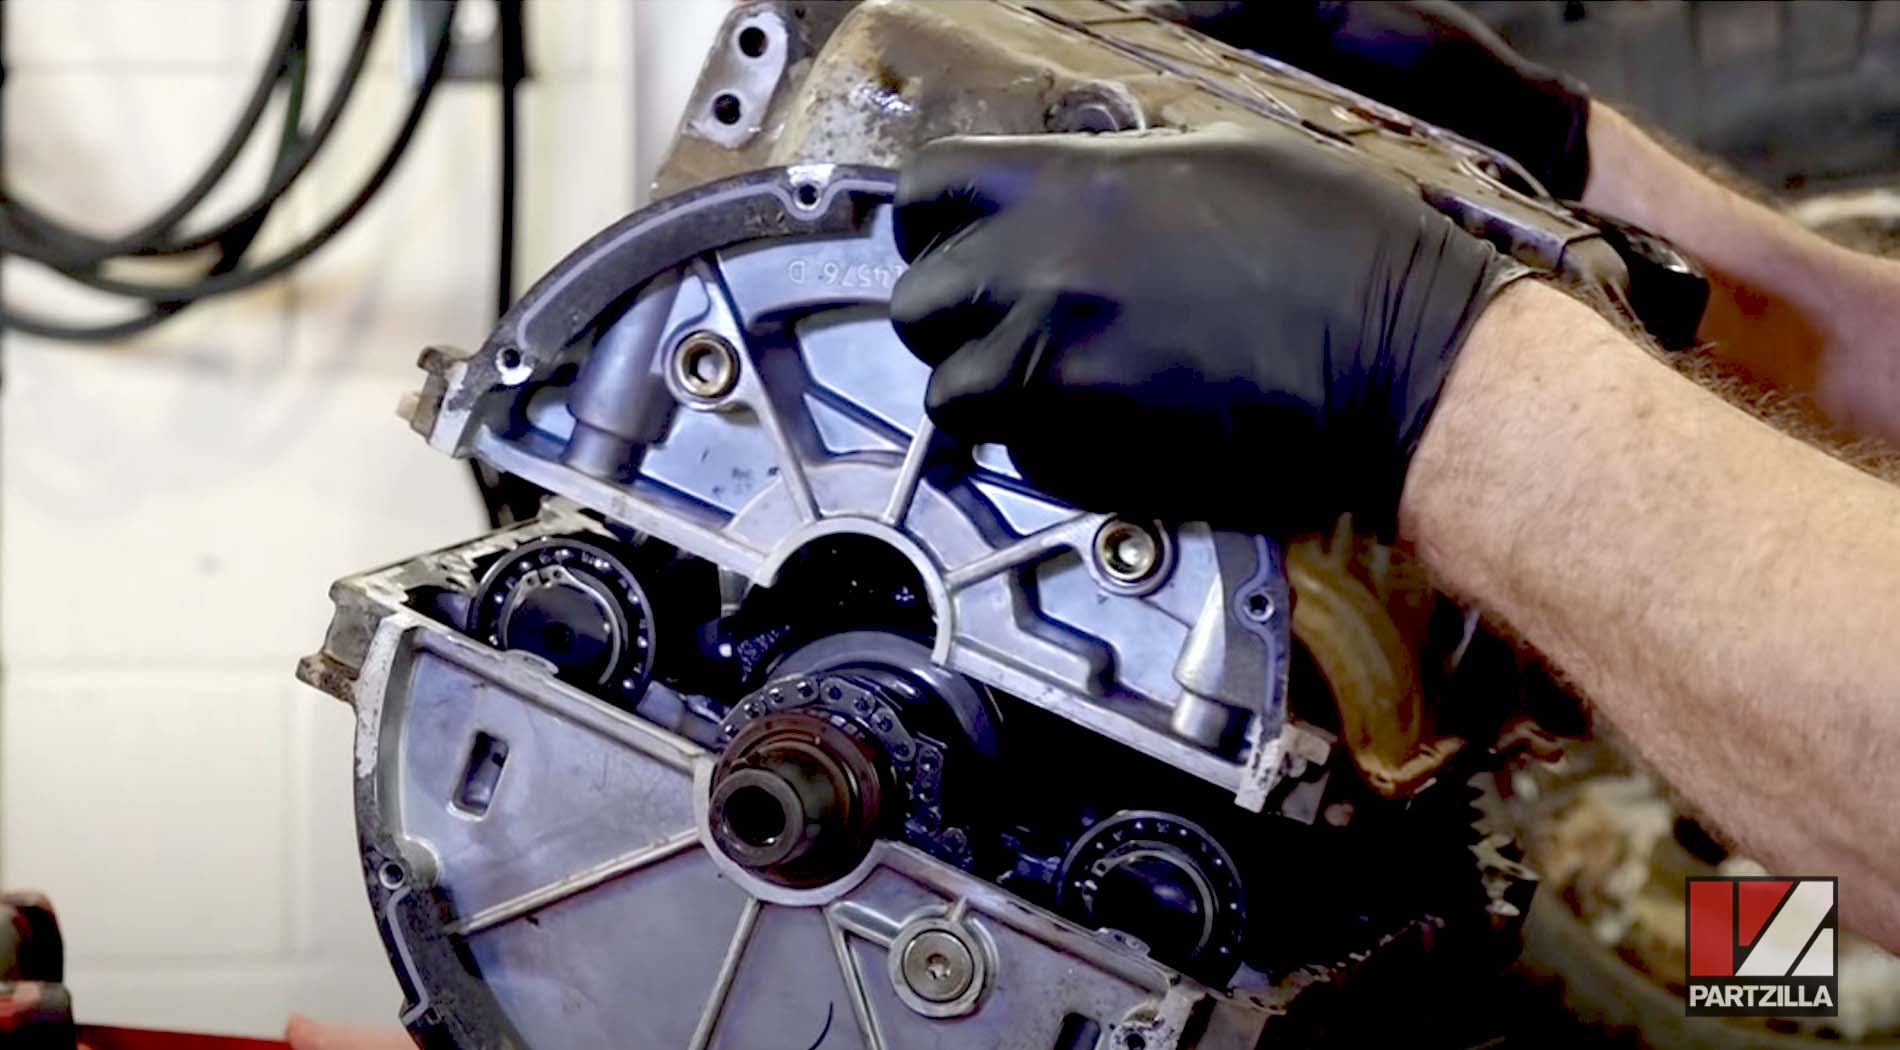
Step 7. Remove the cam chain guide and the oil tube.
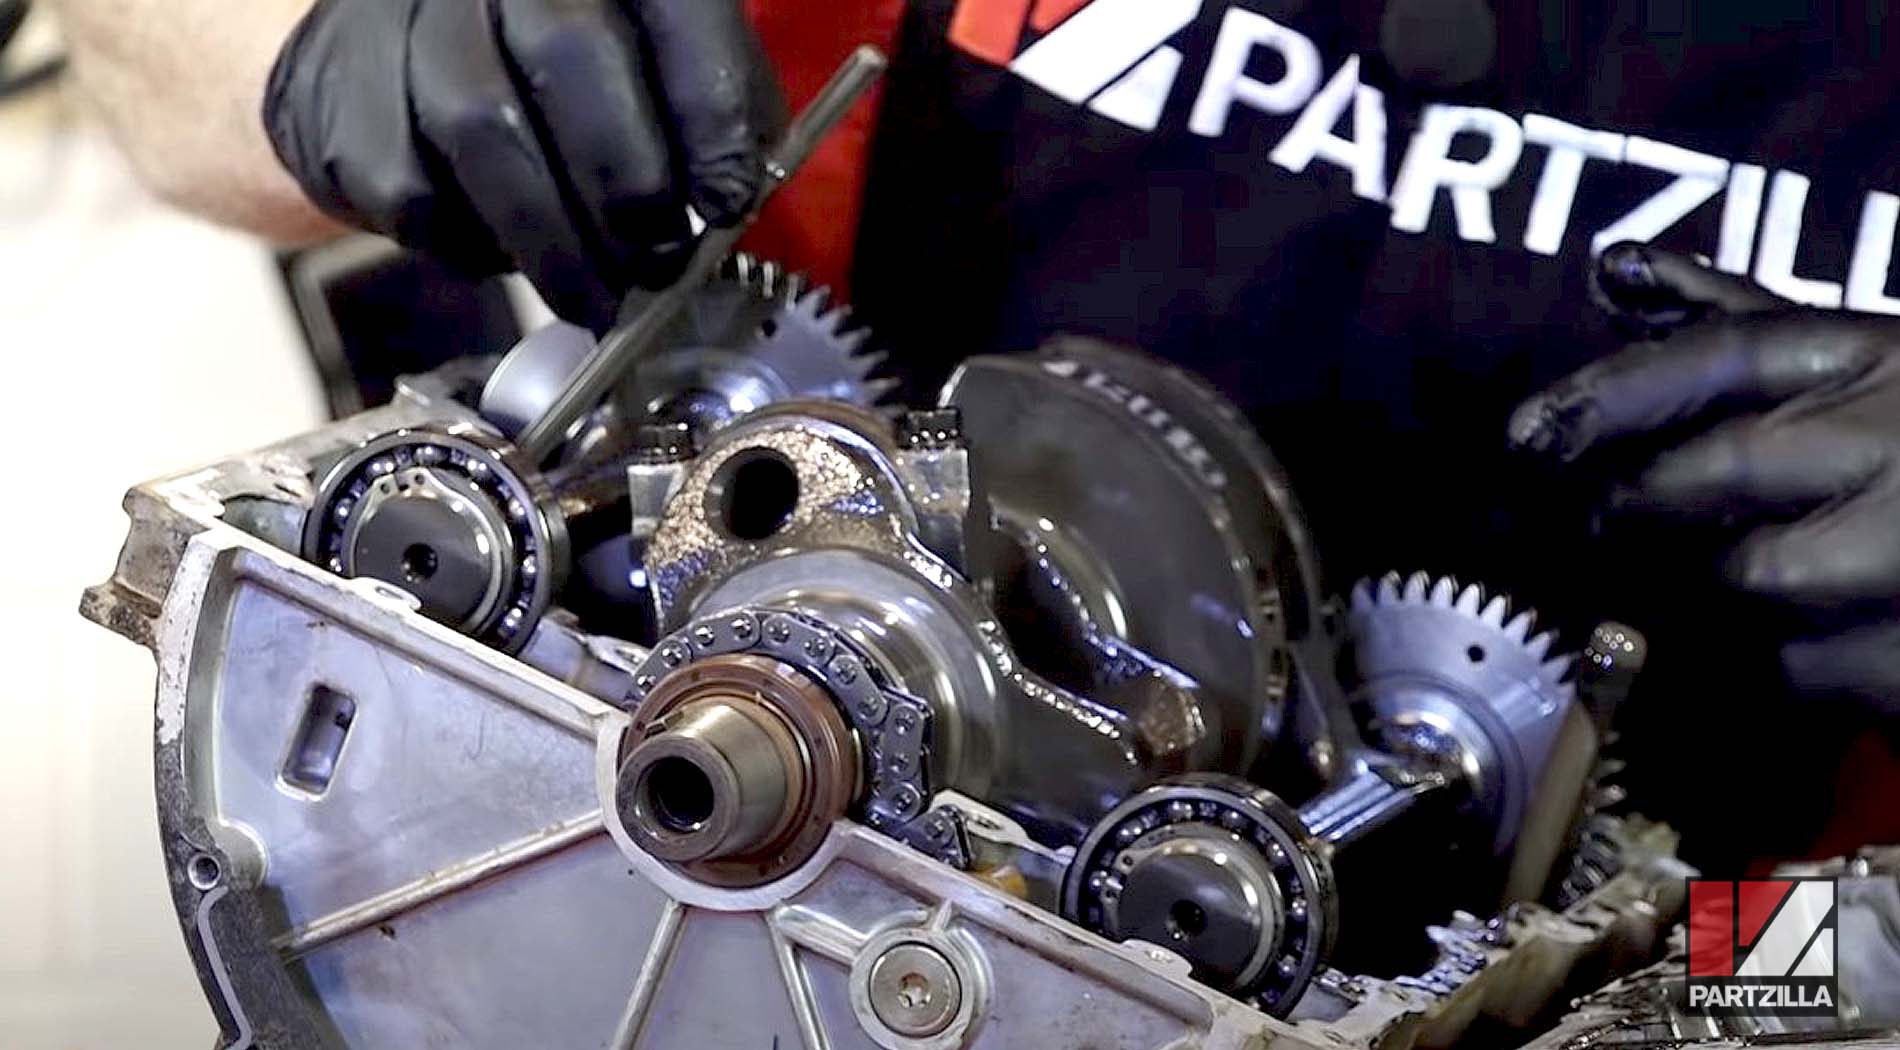
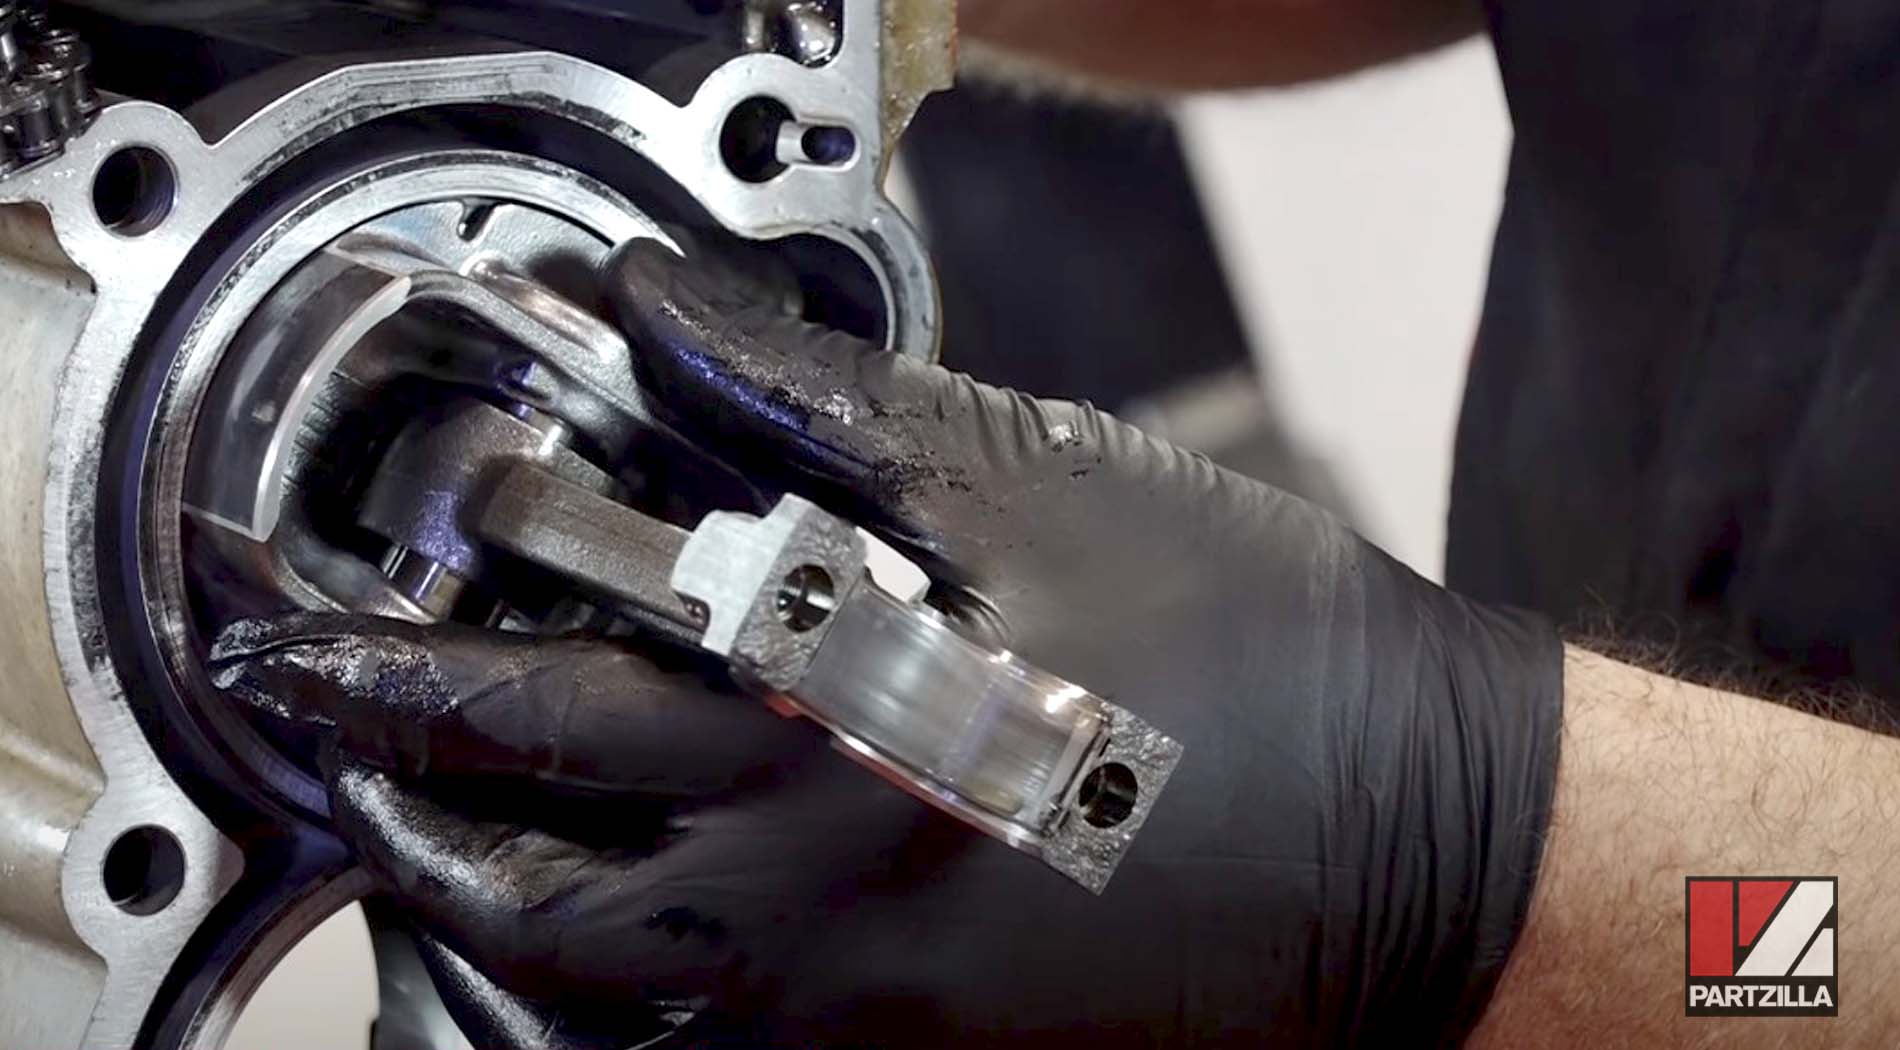
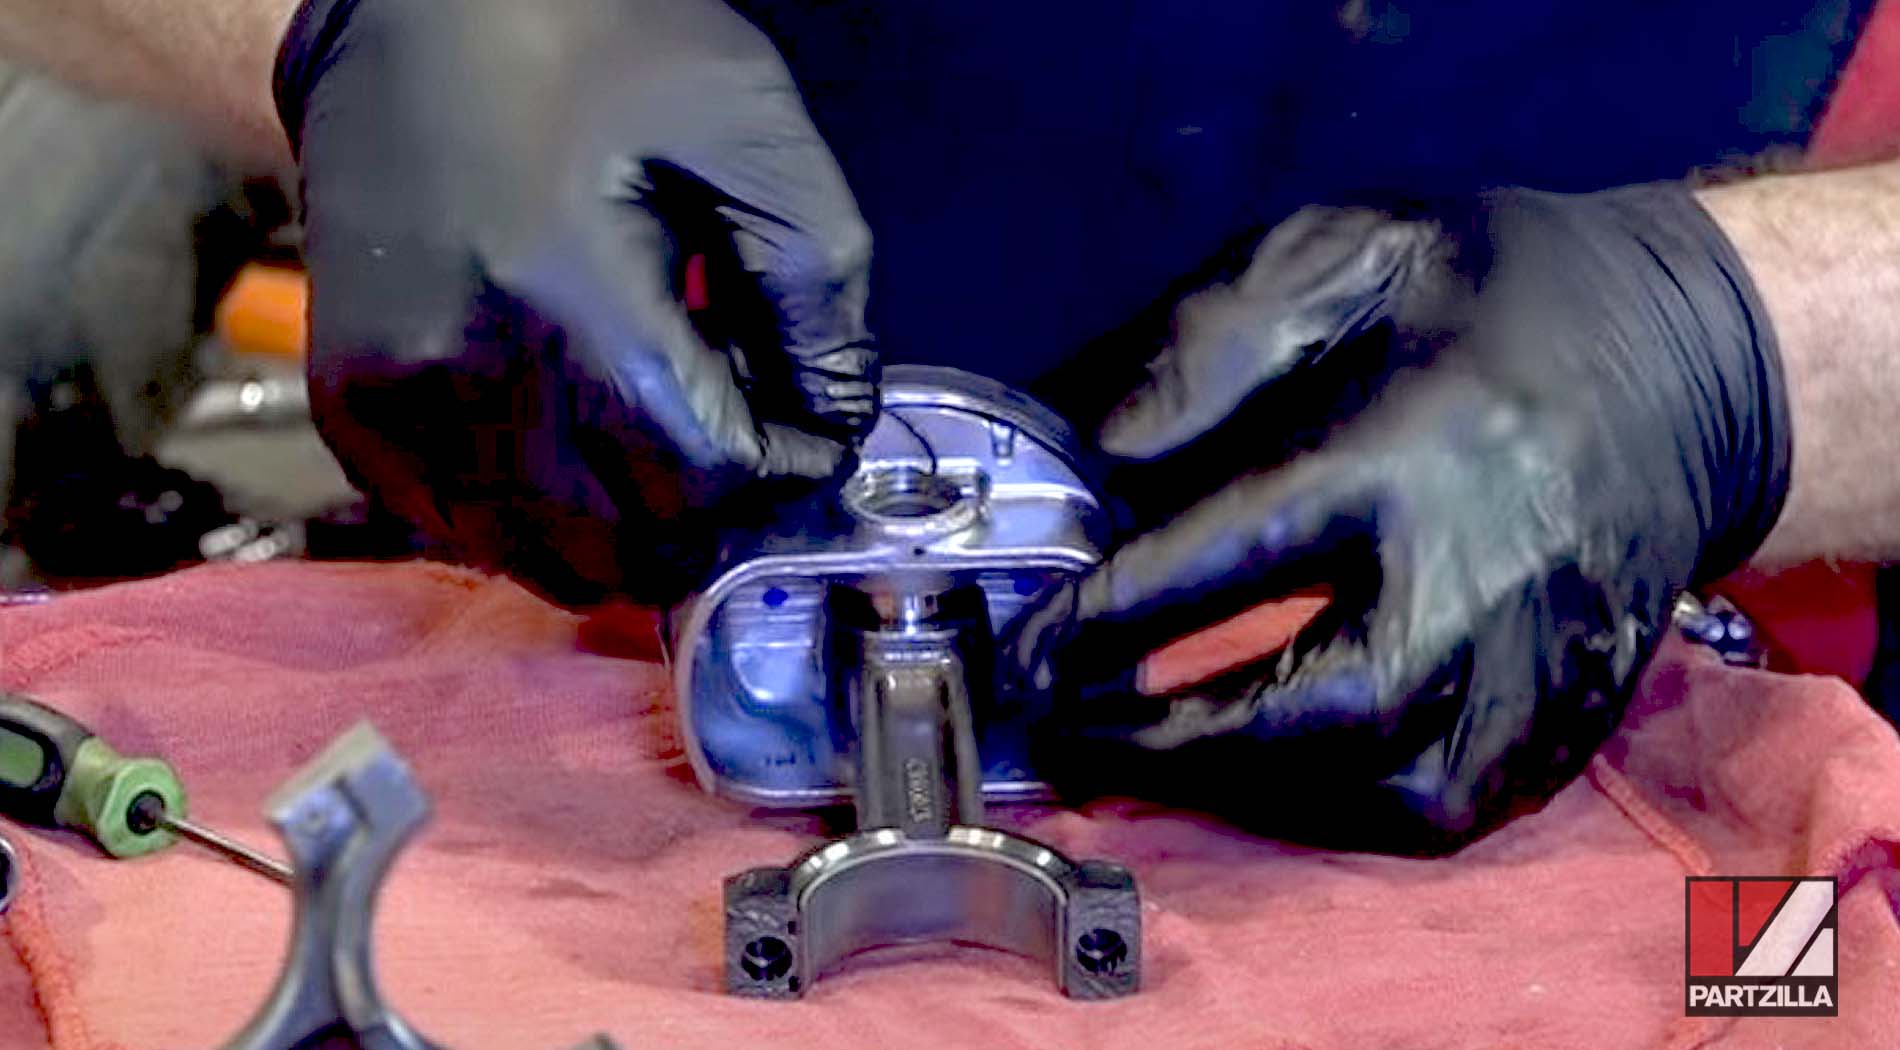
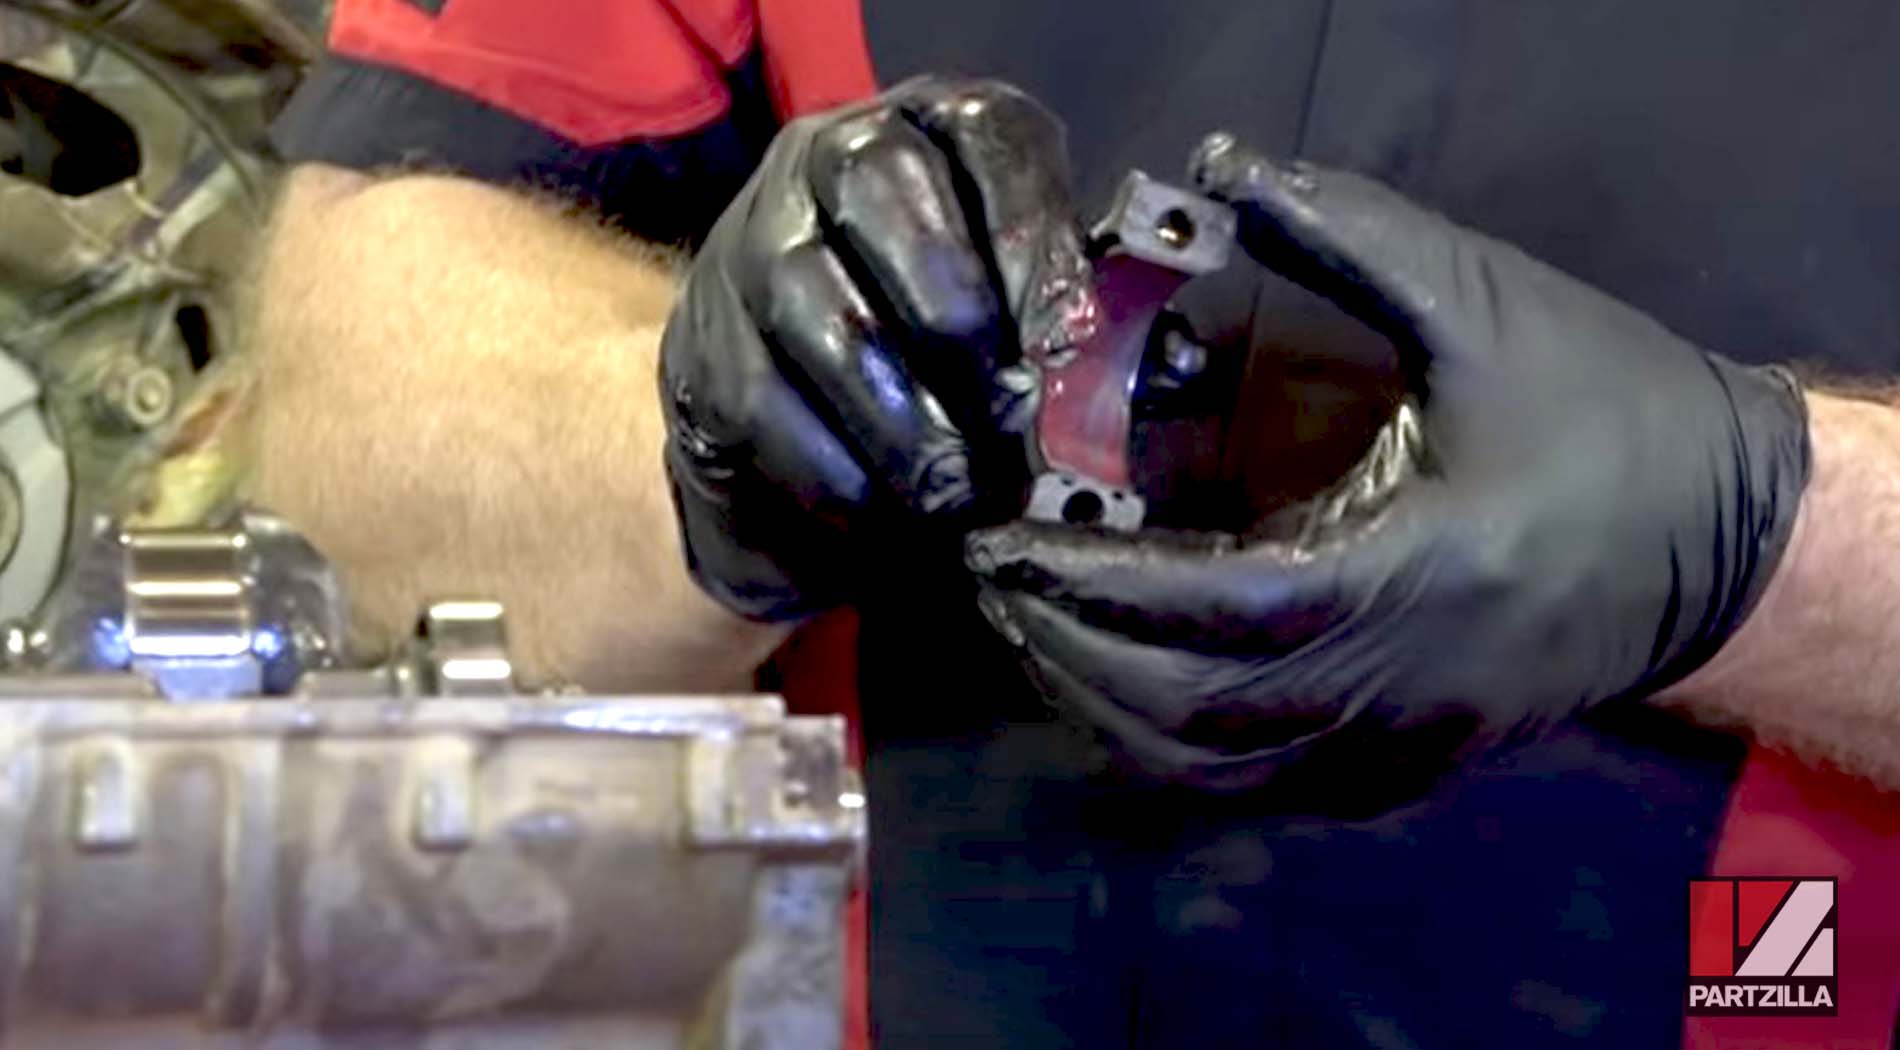
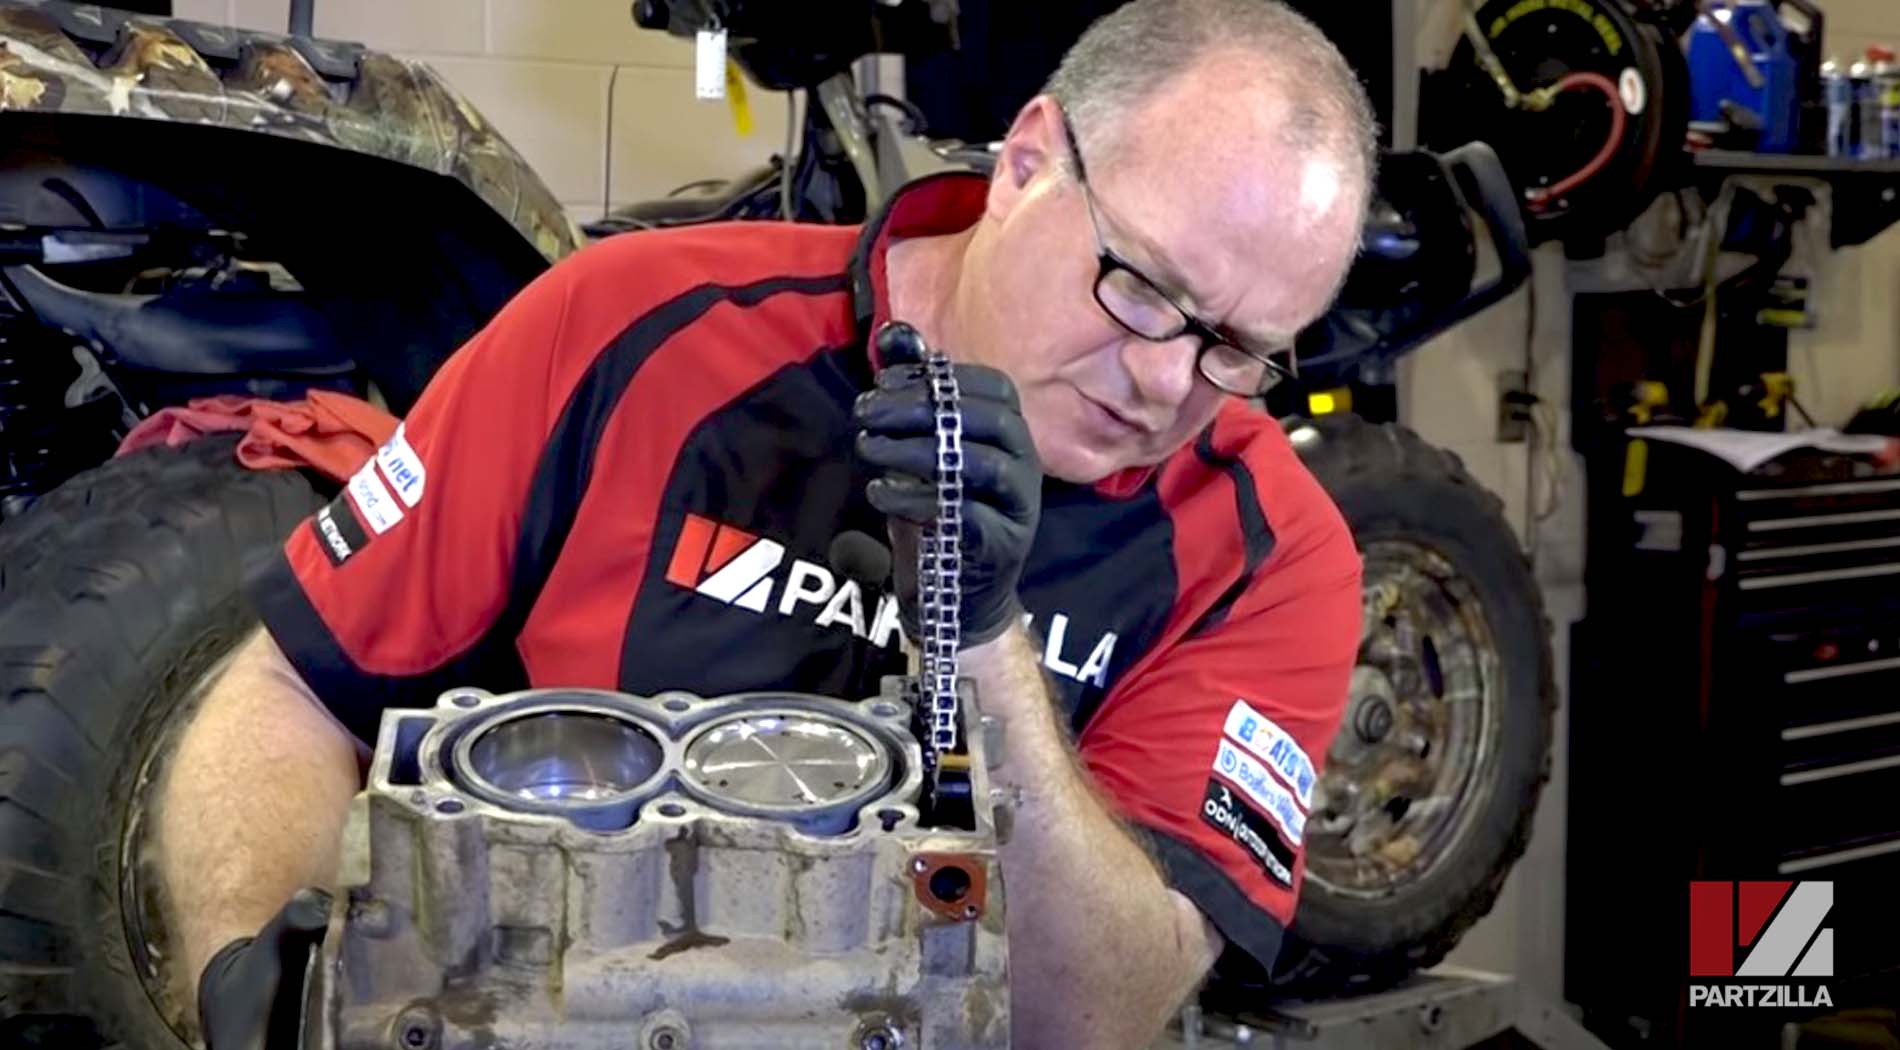
Step 8. Clean and number the connecting rod end caps so you can reinstall them in the same orientation later on. Inspect the end caps’ bearings for signs of wear and replace them if necessary.

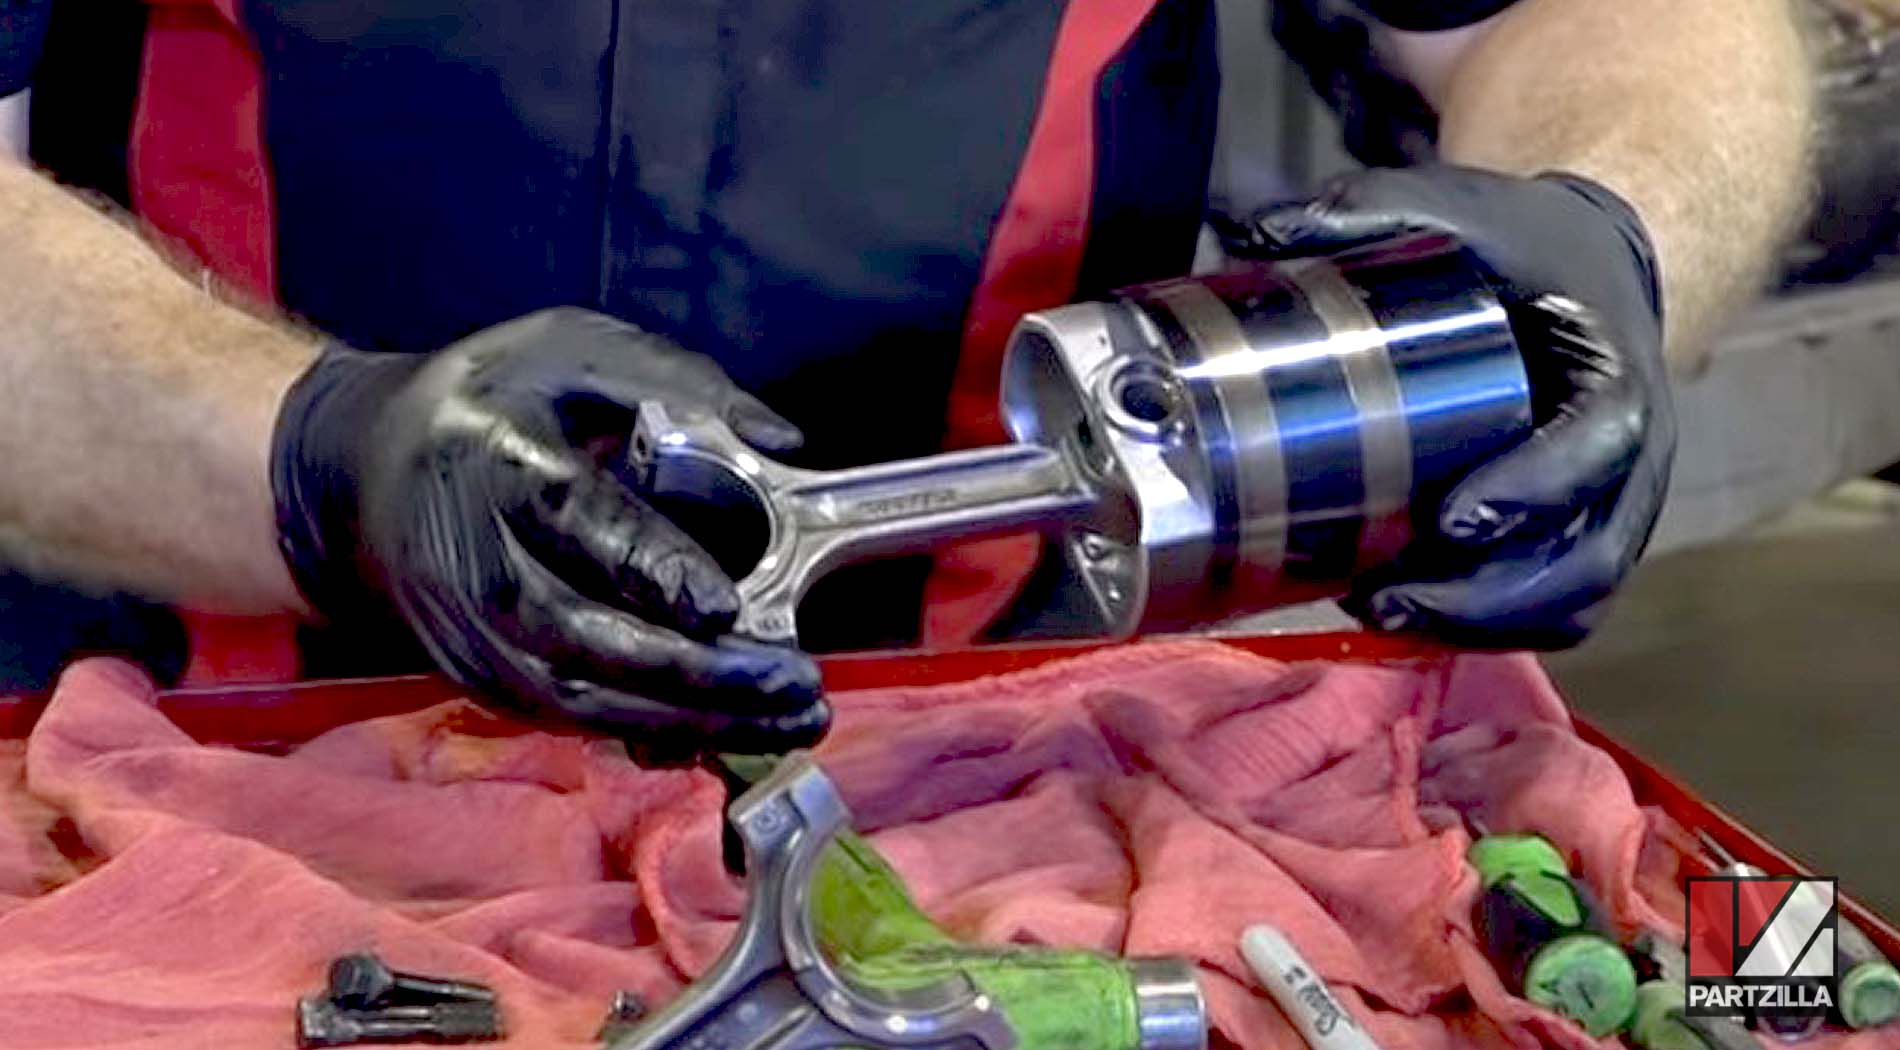
Step 9. Push on the connecting rods to press the rods and pistons out of the cylinder bores. Inspect the connecting rod bearings for signs of wear and replace them if necessary.
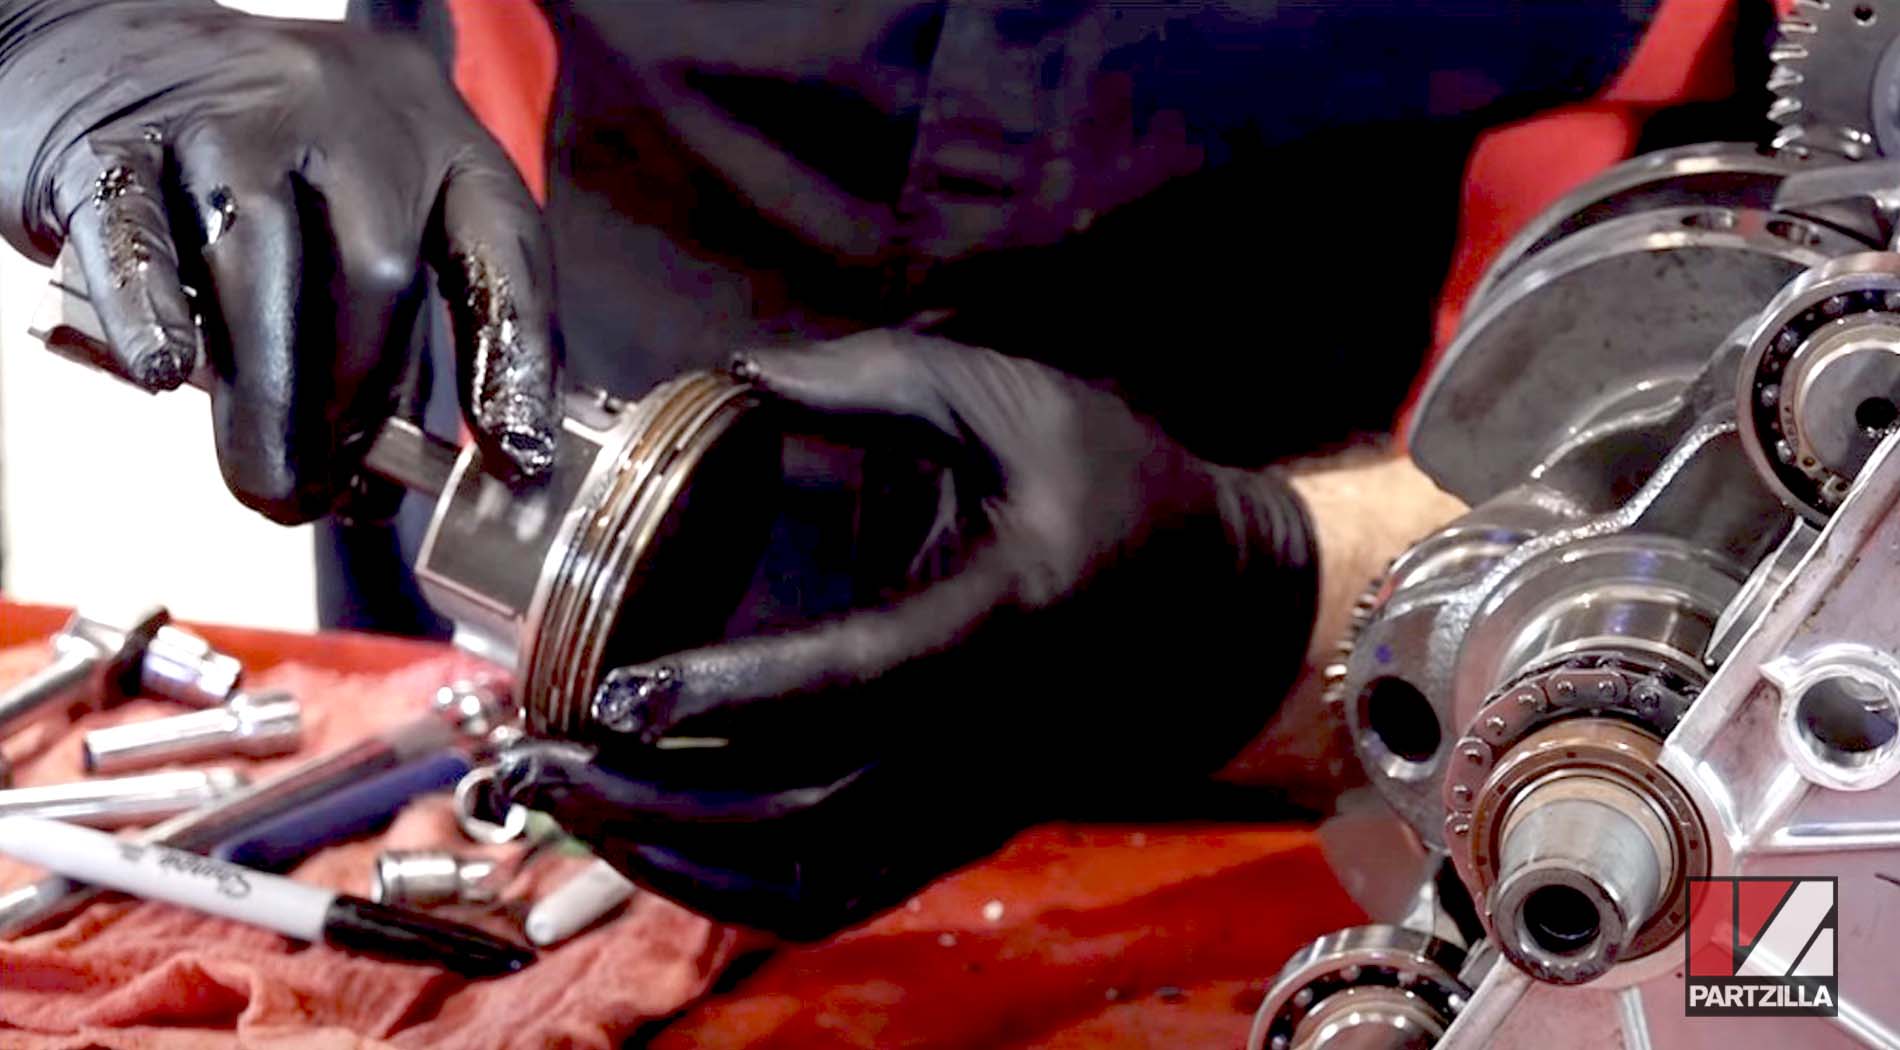
Watch the clip below to see the connecting rod and piston removal segment of our Polaris Sportsman 850 engine rebuild video.
Polaris Sportsman 850XP Piston Rings & Piston Installation
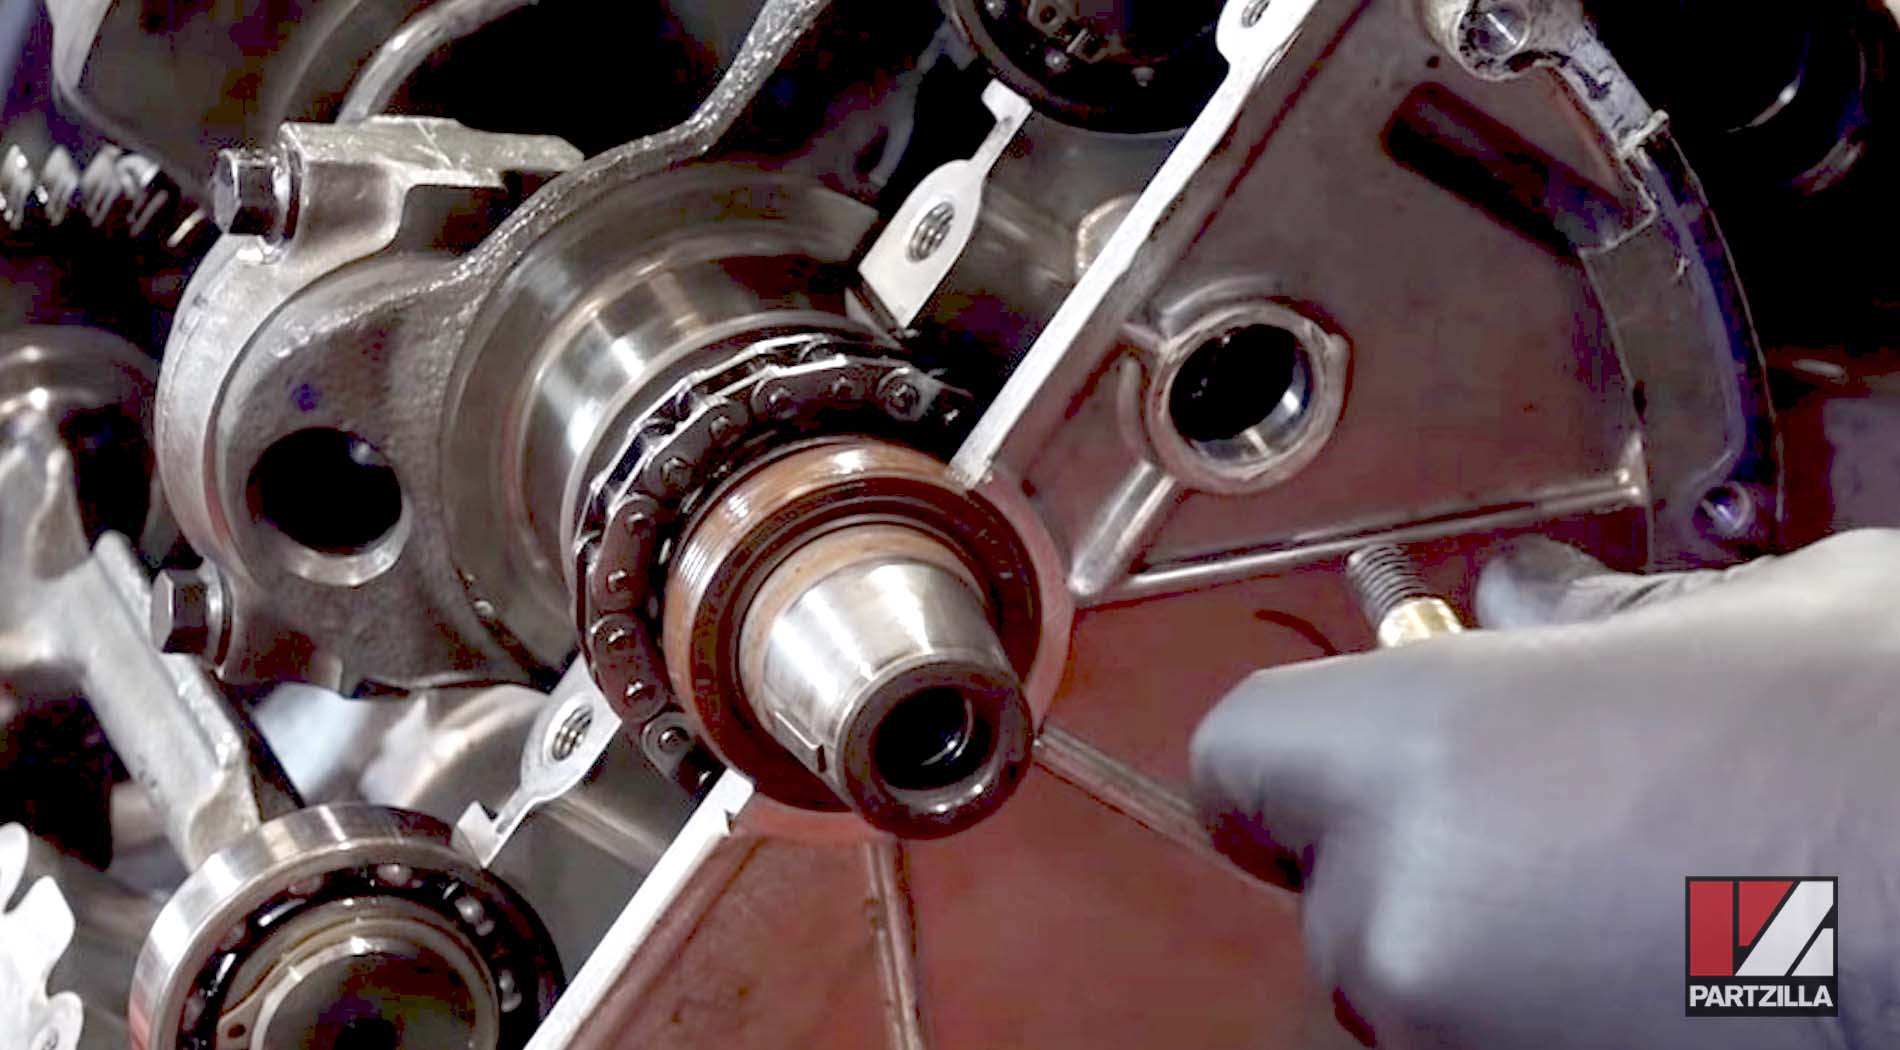
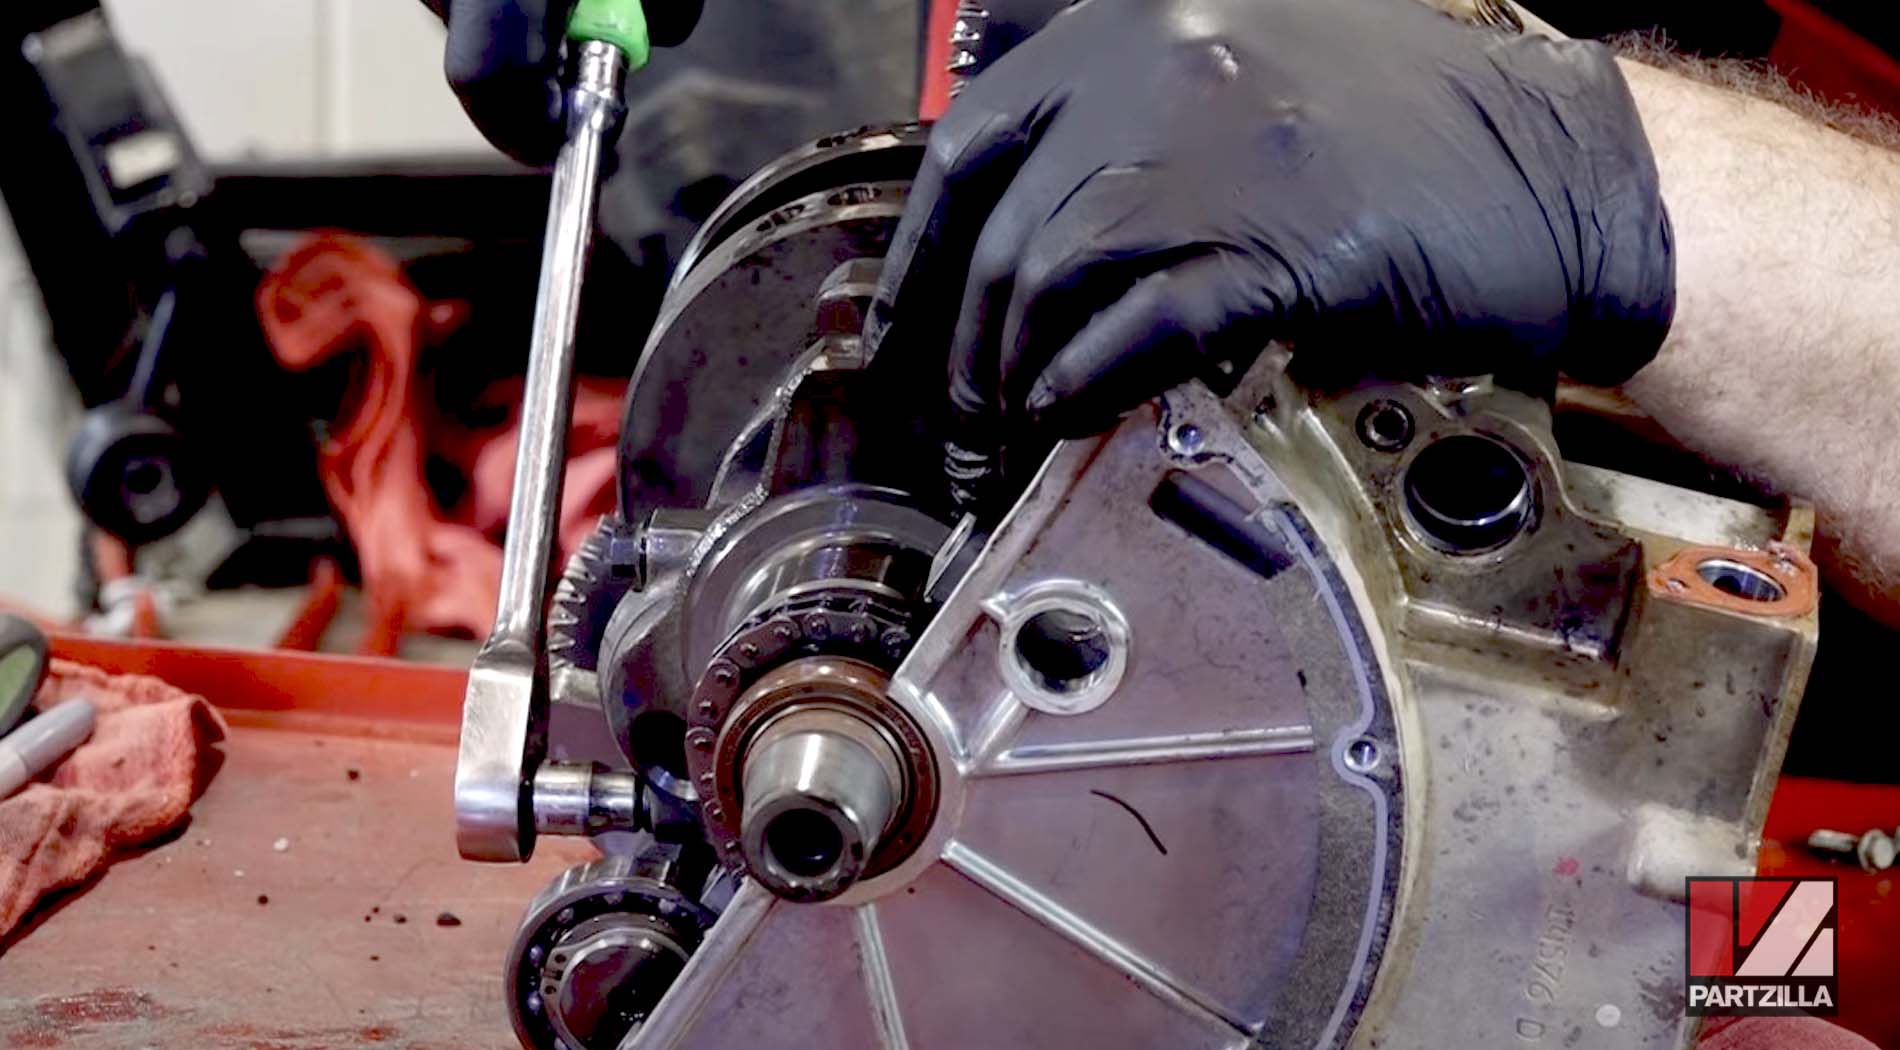
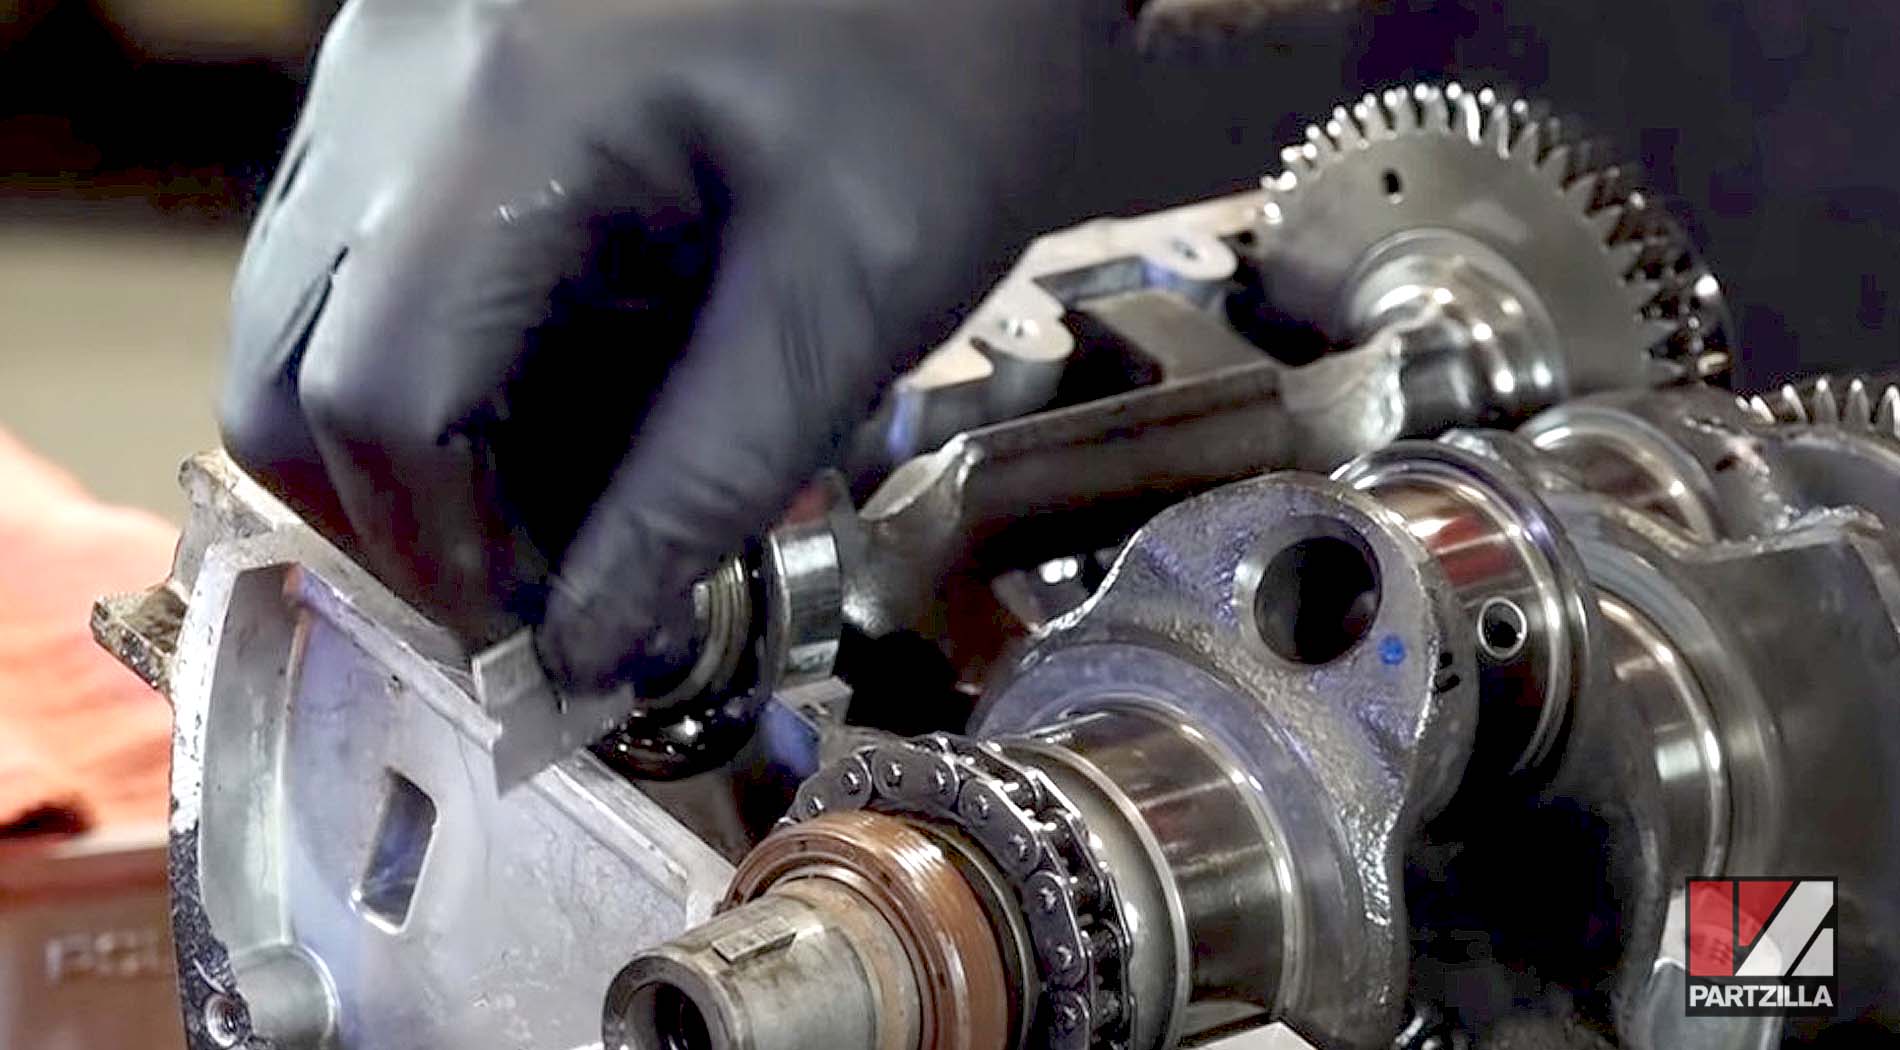
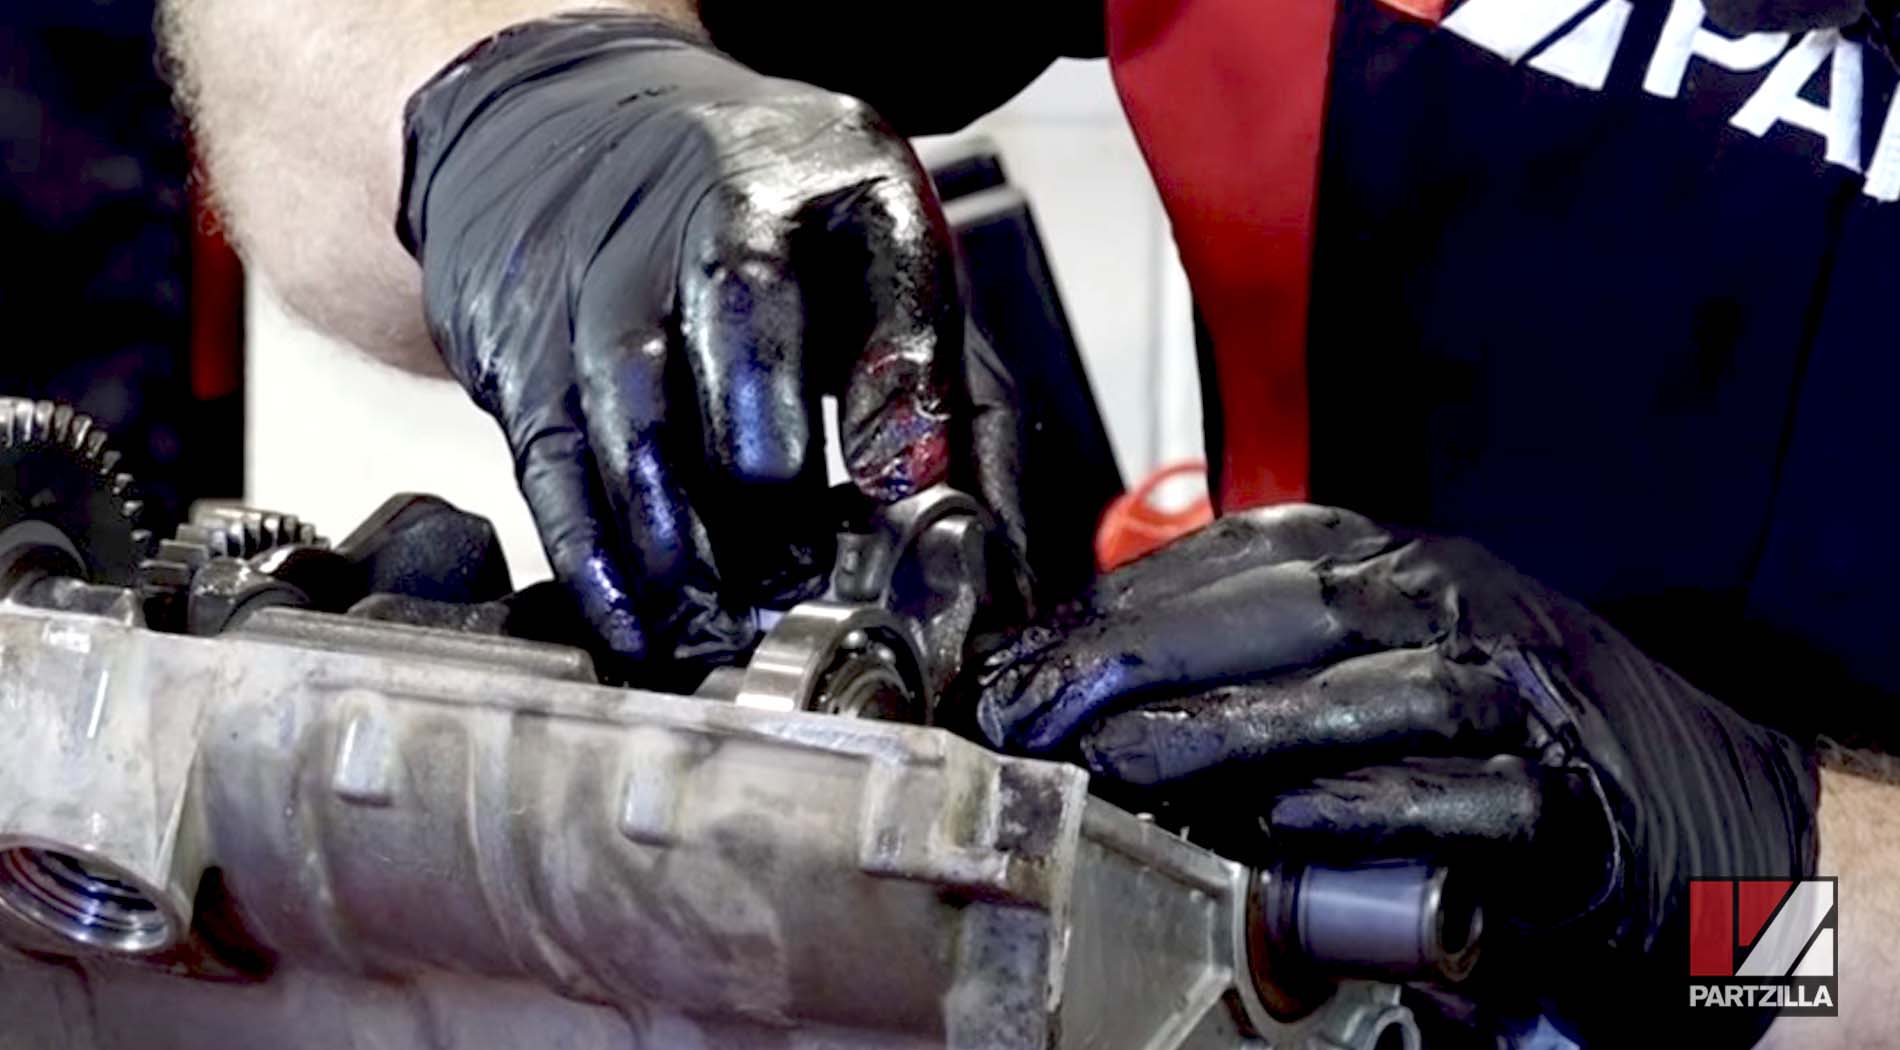
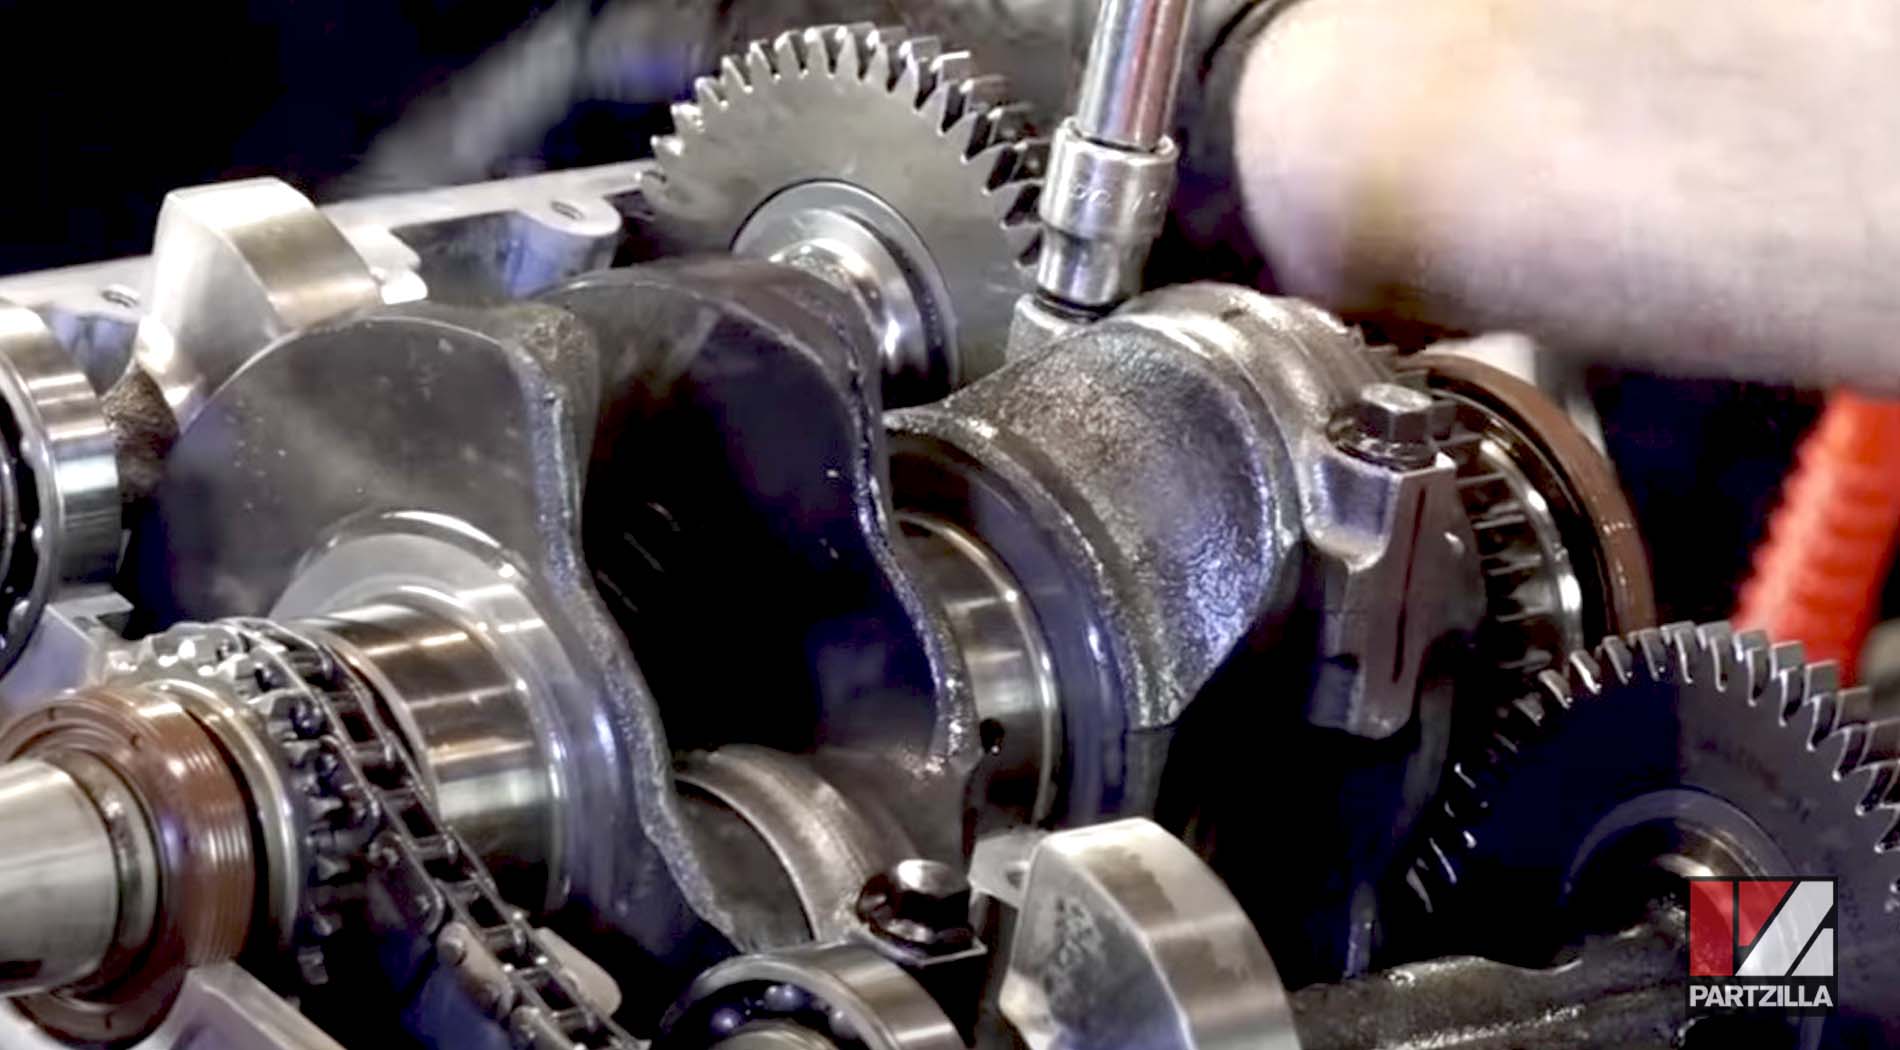
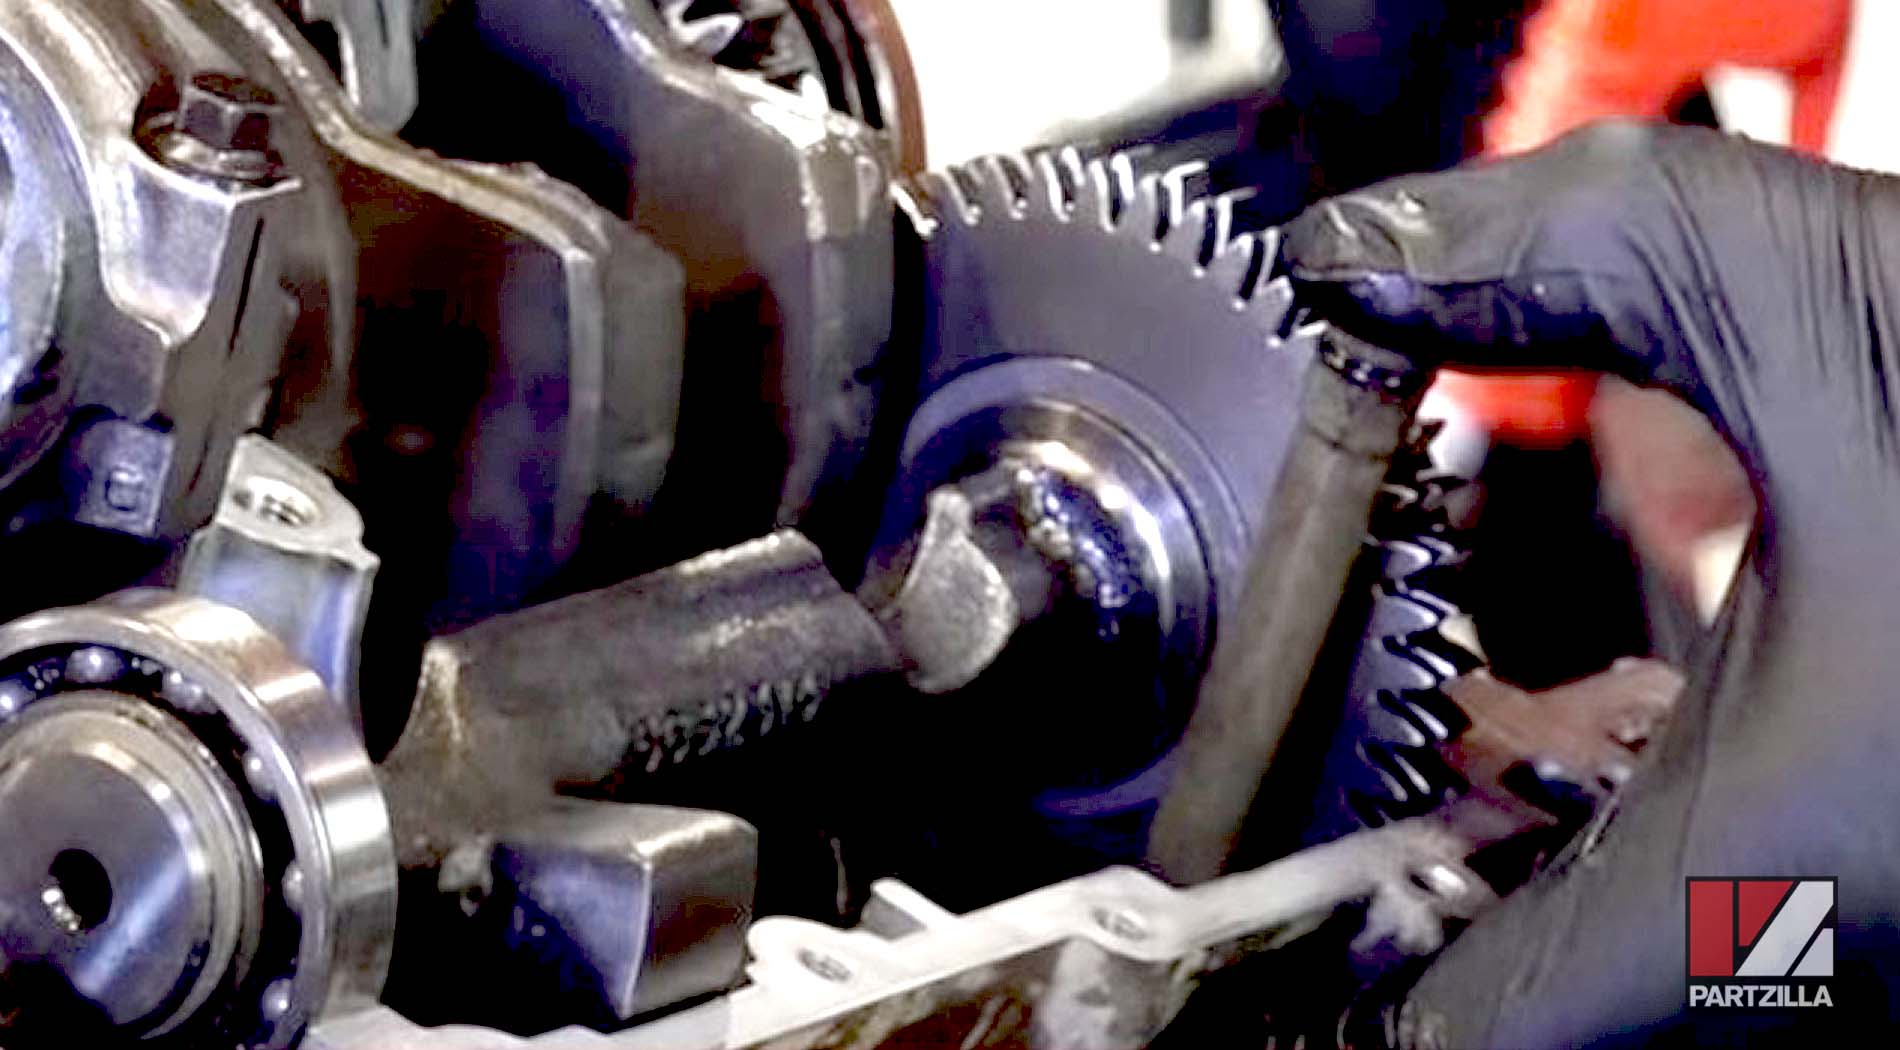
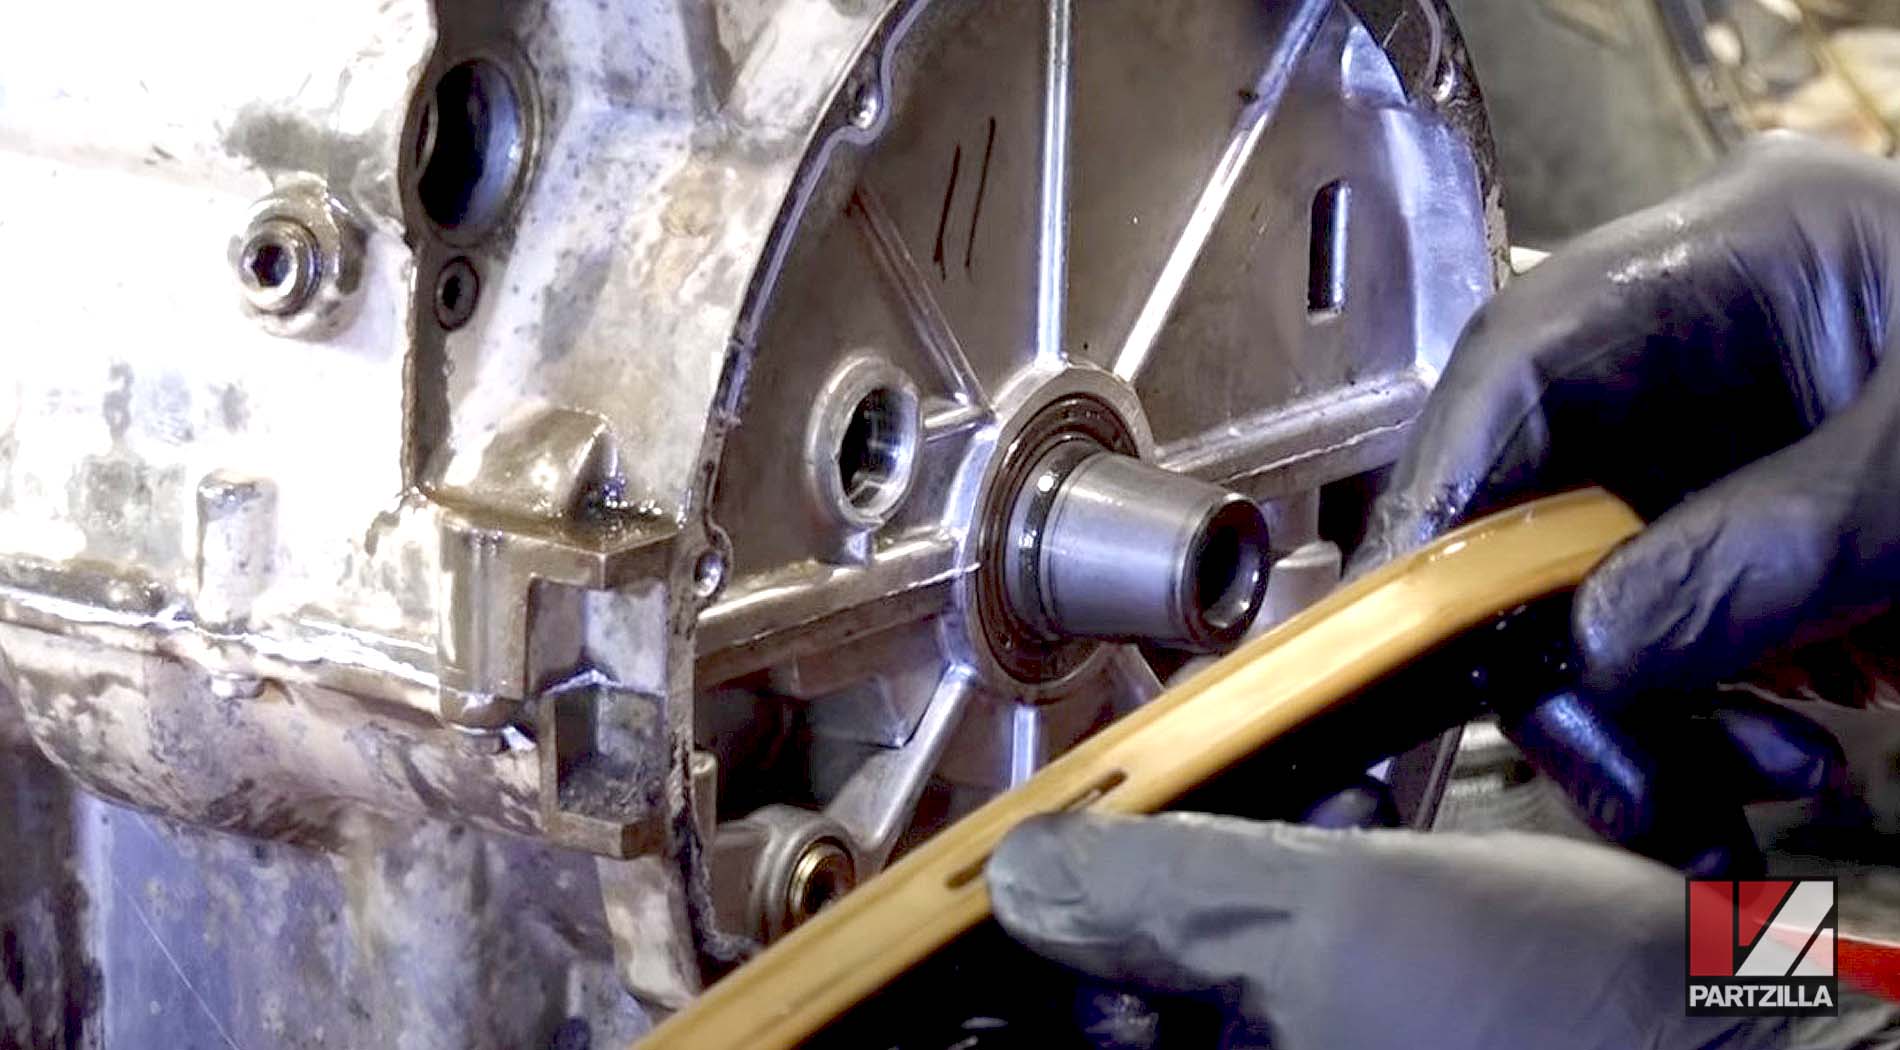
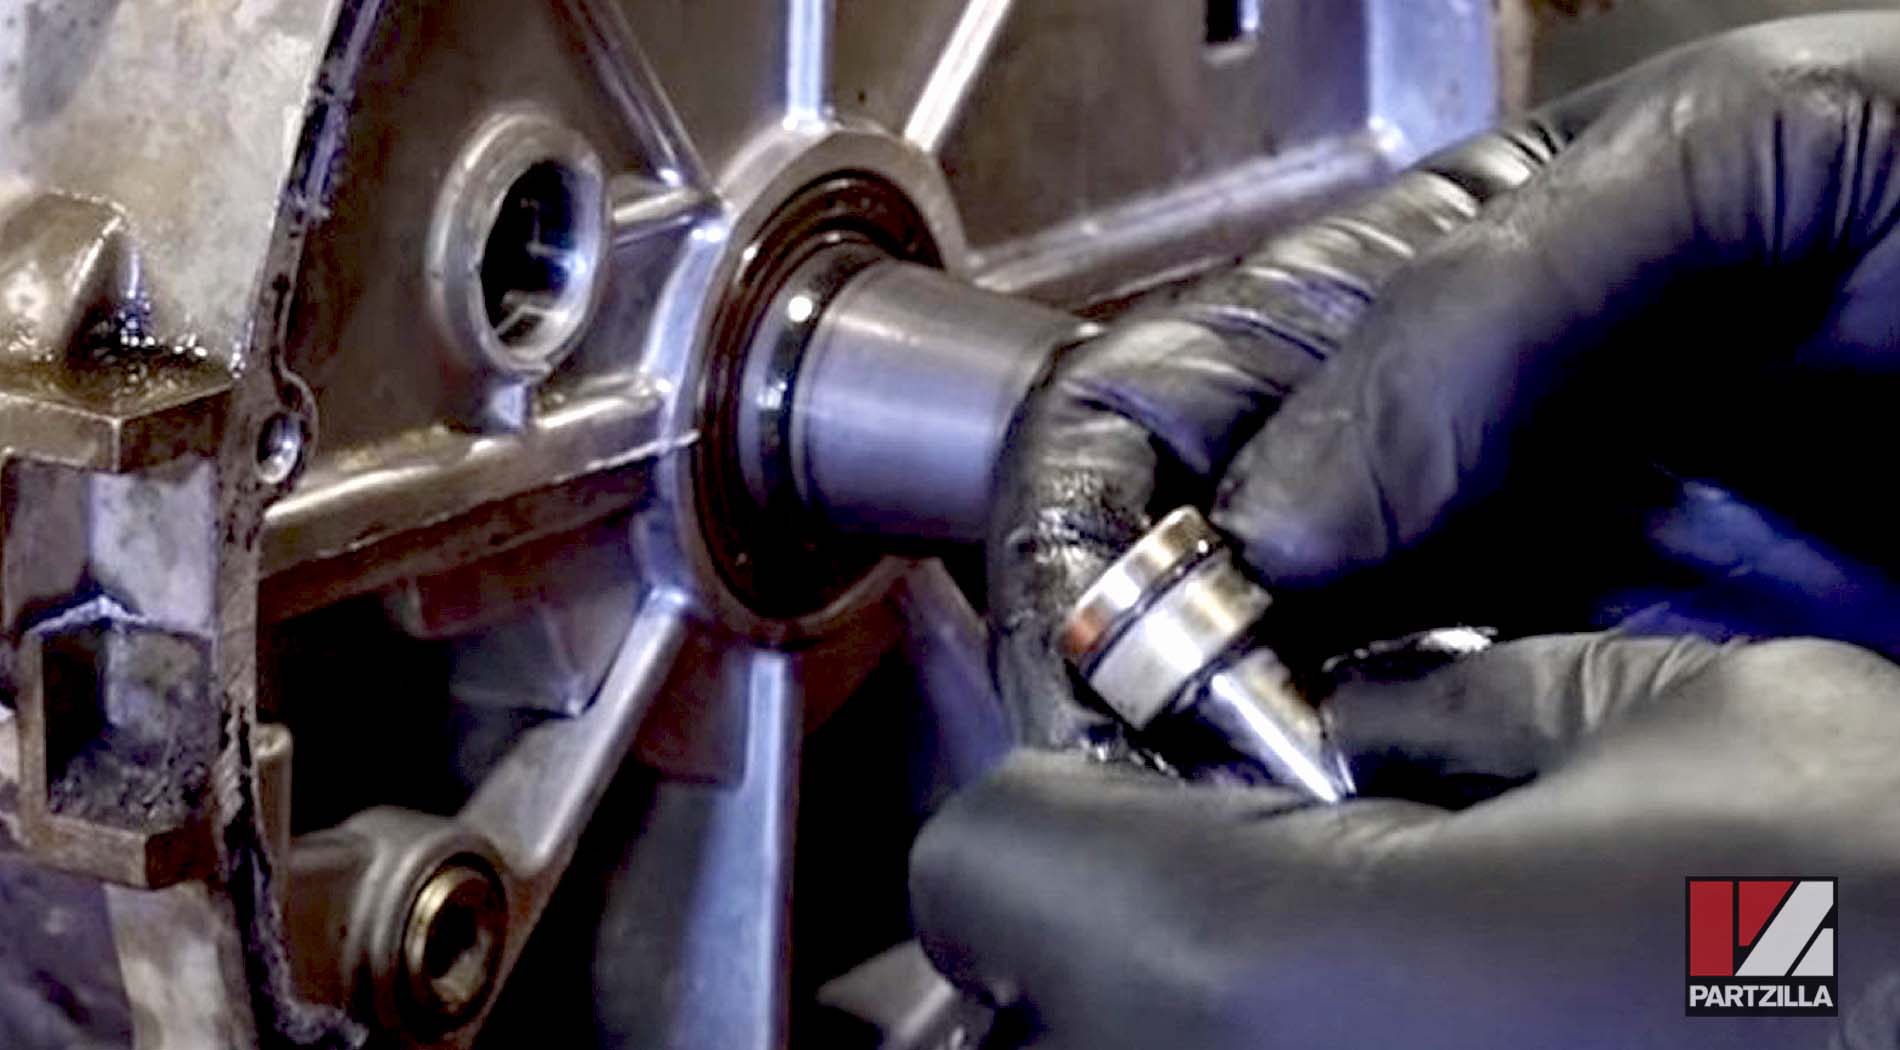
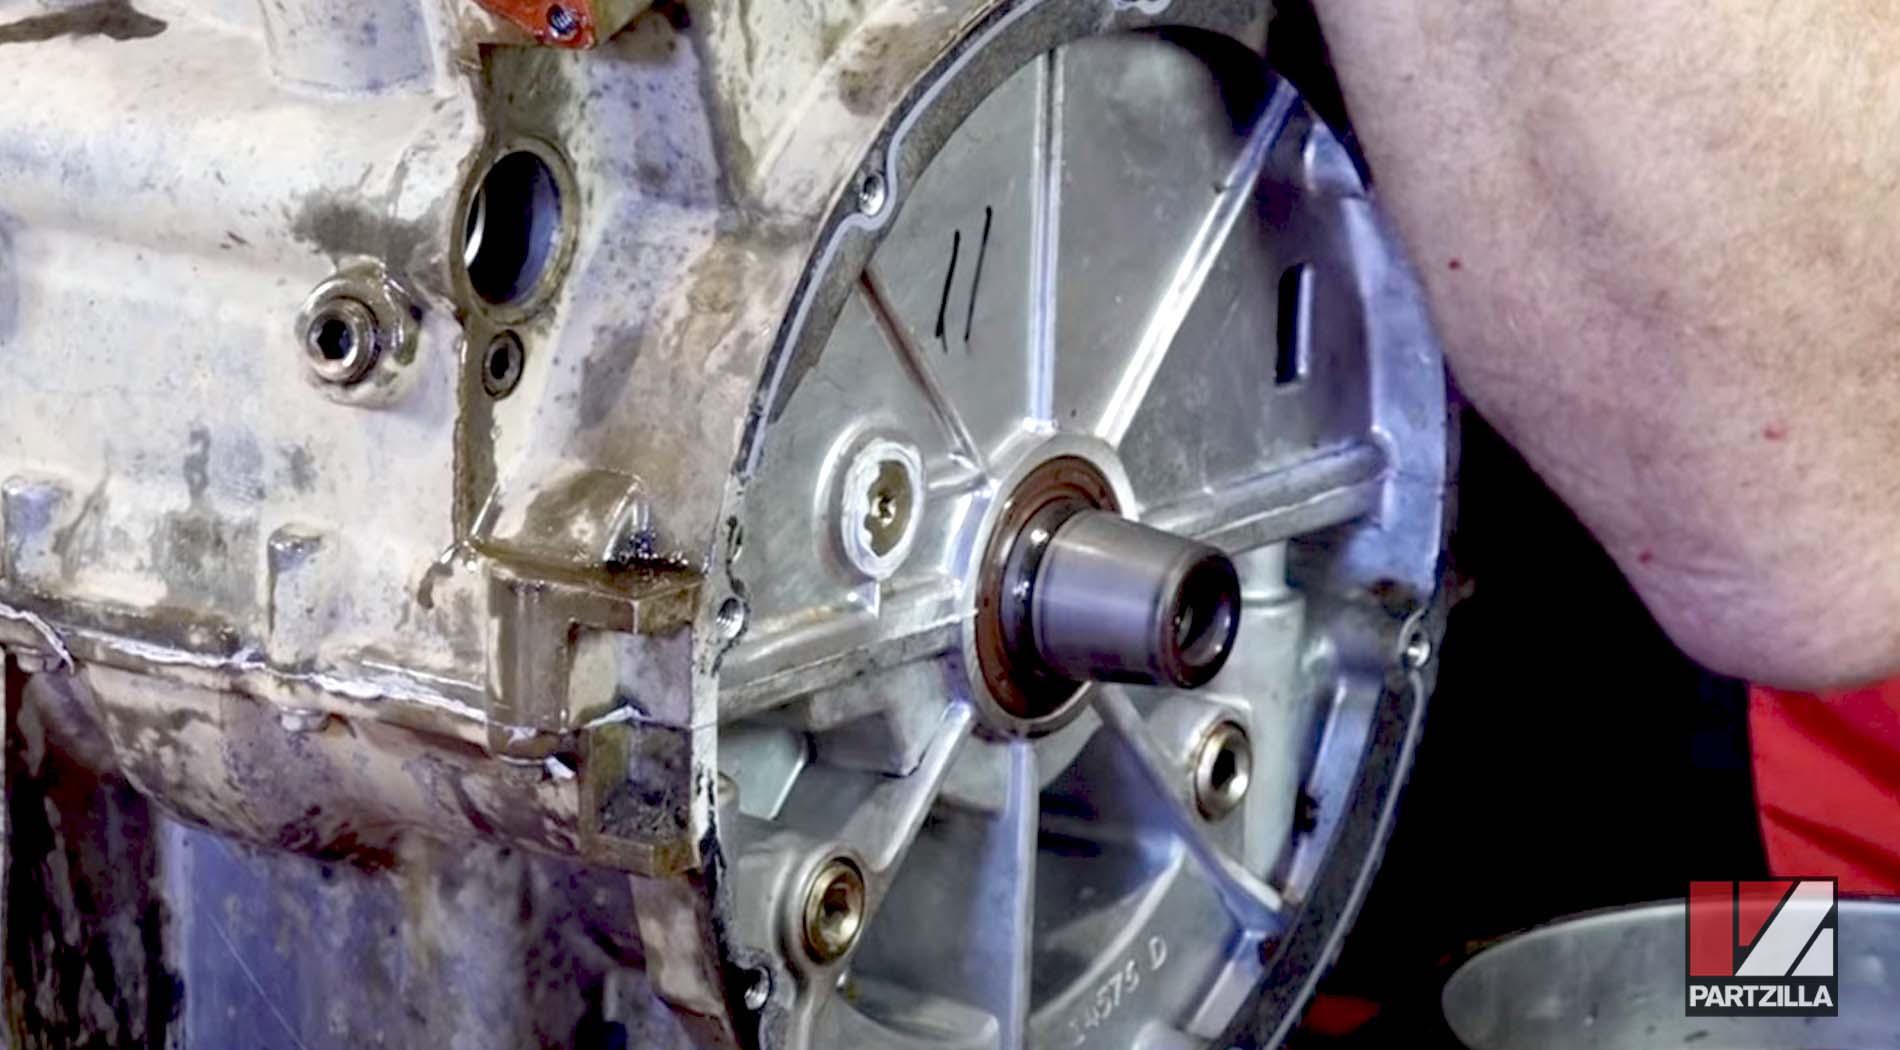
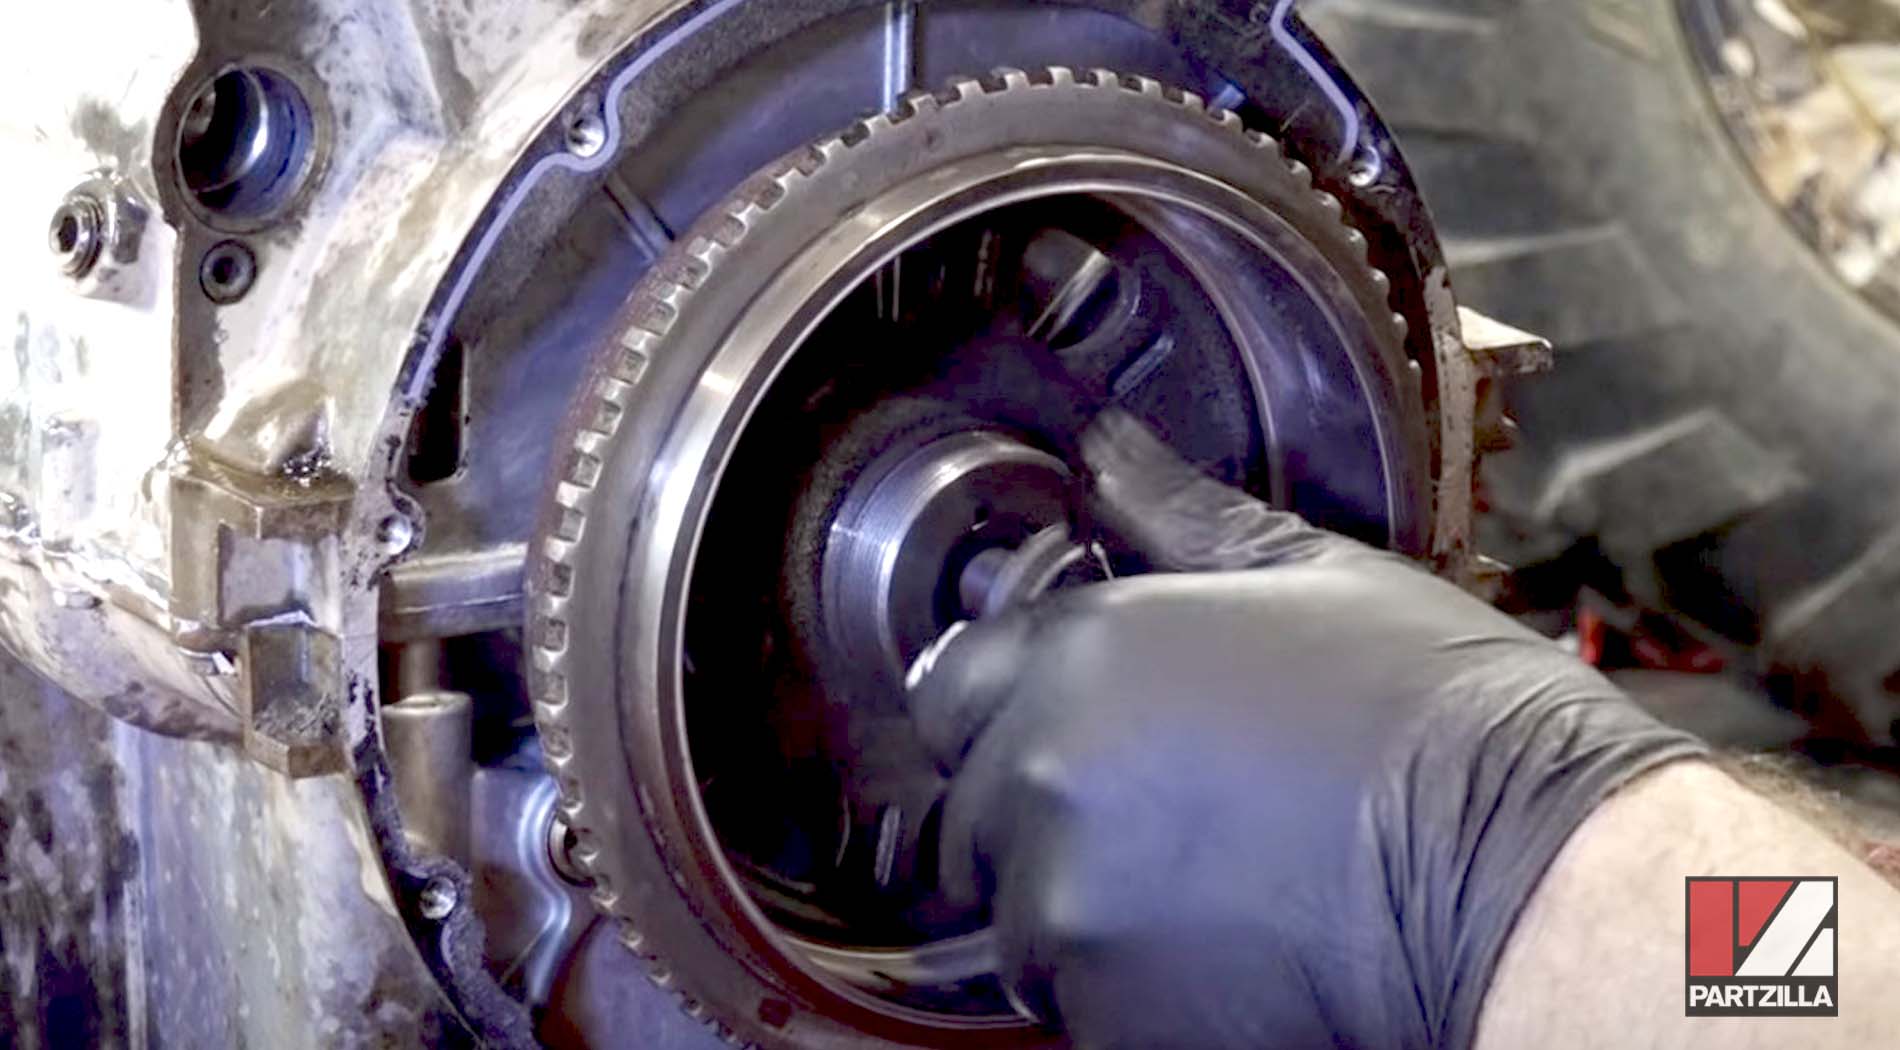
Step 1. Carefully lift the crankshaft enough so you can remove the old crankshaft seal without disturbing the timing gears. Oil a new seal and install it over the crankshaft.
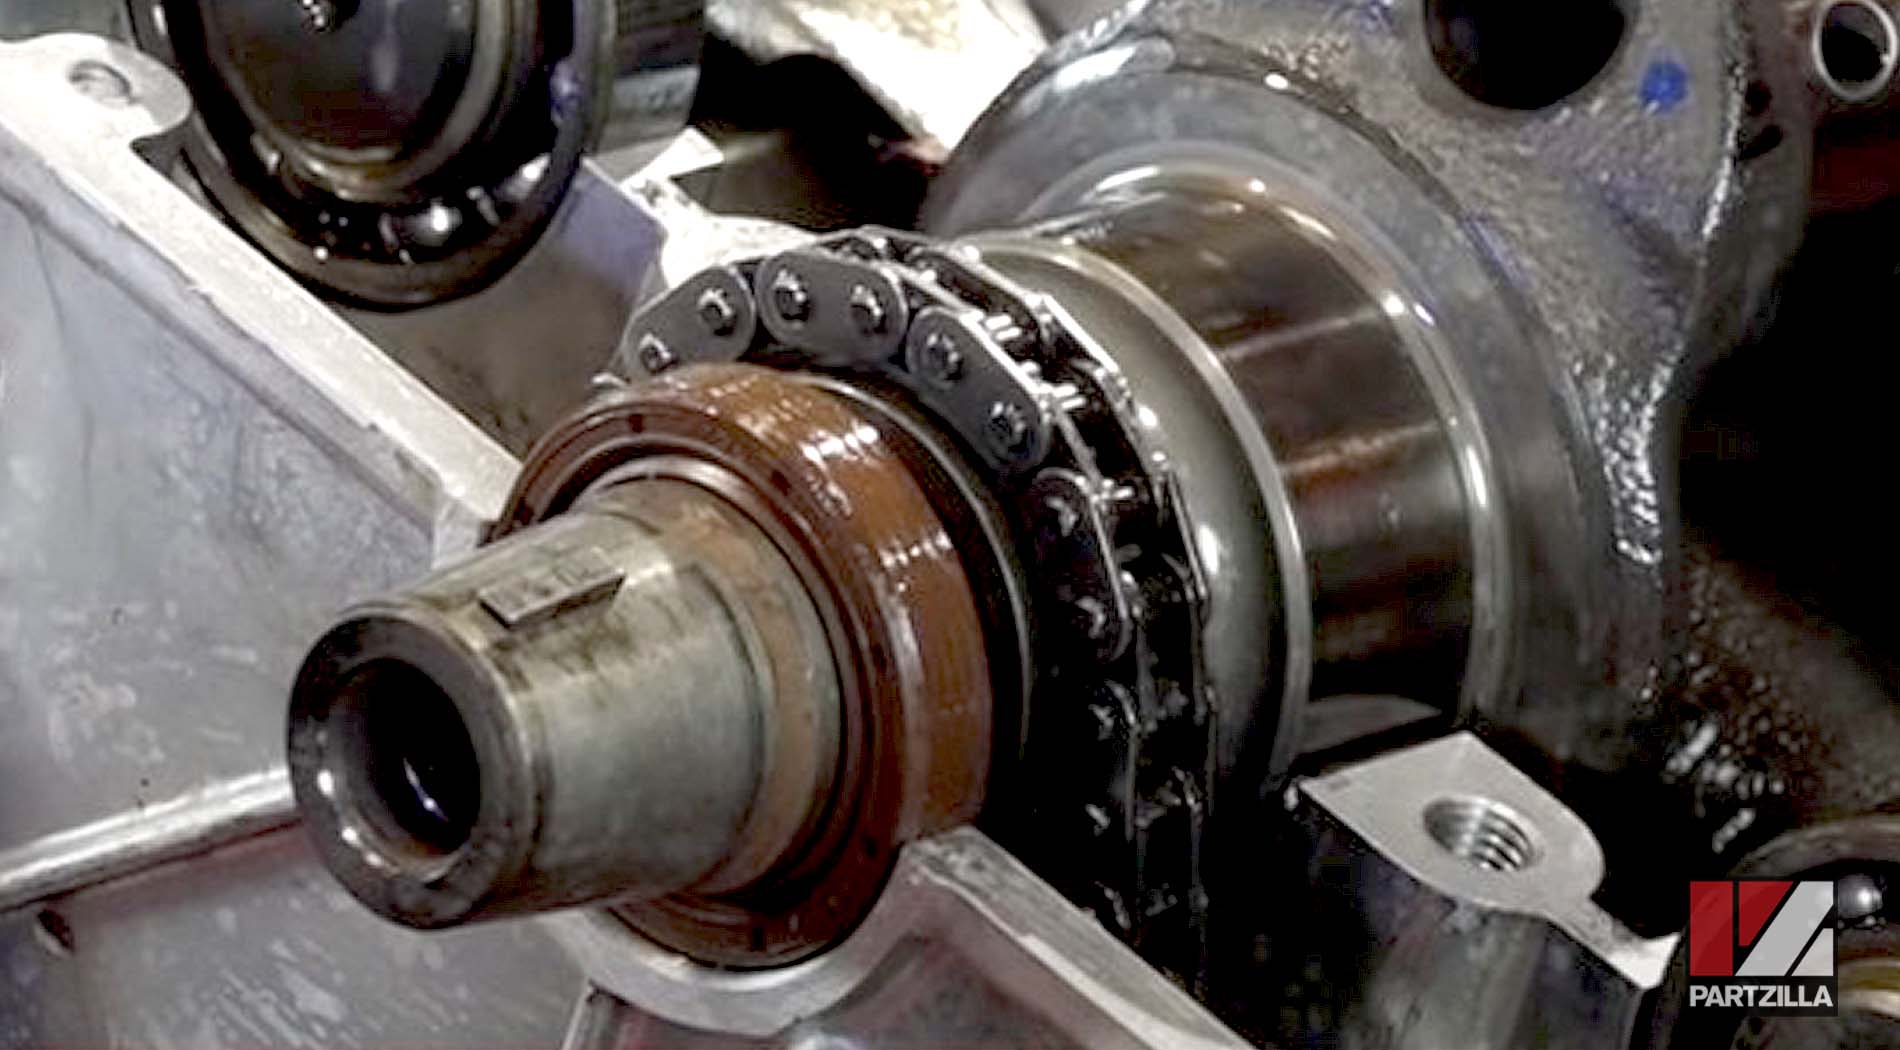
Step 2. Carefully lift the balance shaft enough so you can remove the old balance shaft seal without disturbing the timing gears. Oil a new seal and install it over the balance shaft.
Watch the clip below to see the crankshaft seal replacement segment of our Polaris Sportsman 850 engine rebuild video.
Step 3. Clean away all traces of old gasket material from the mating surfaces of the crankcase halves.
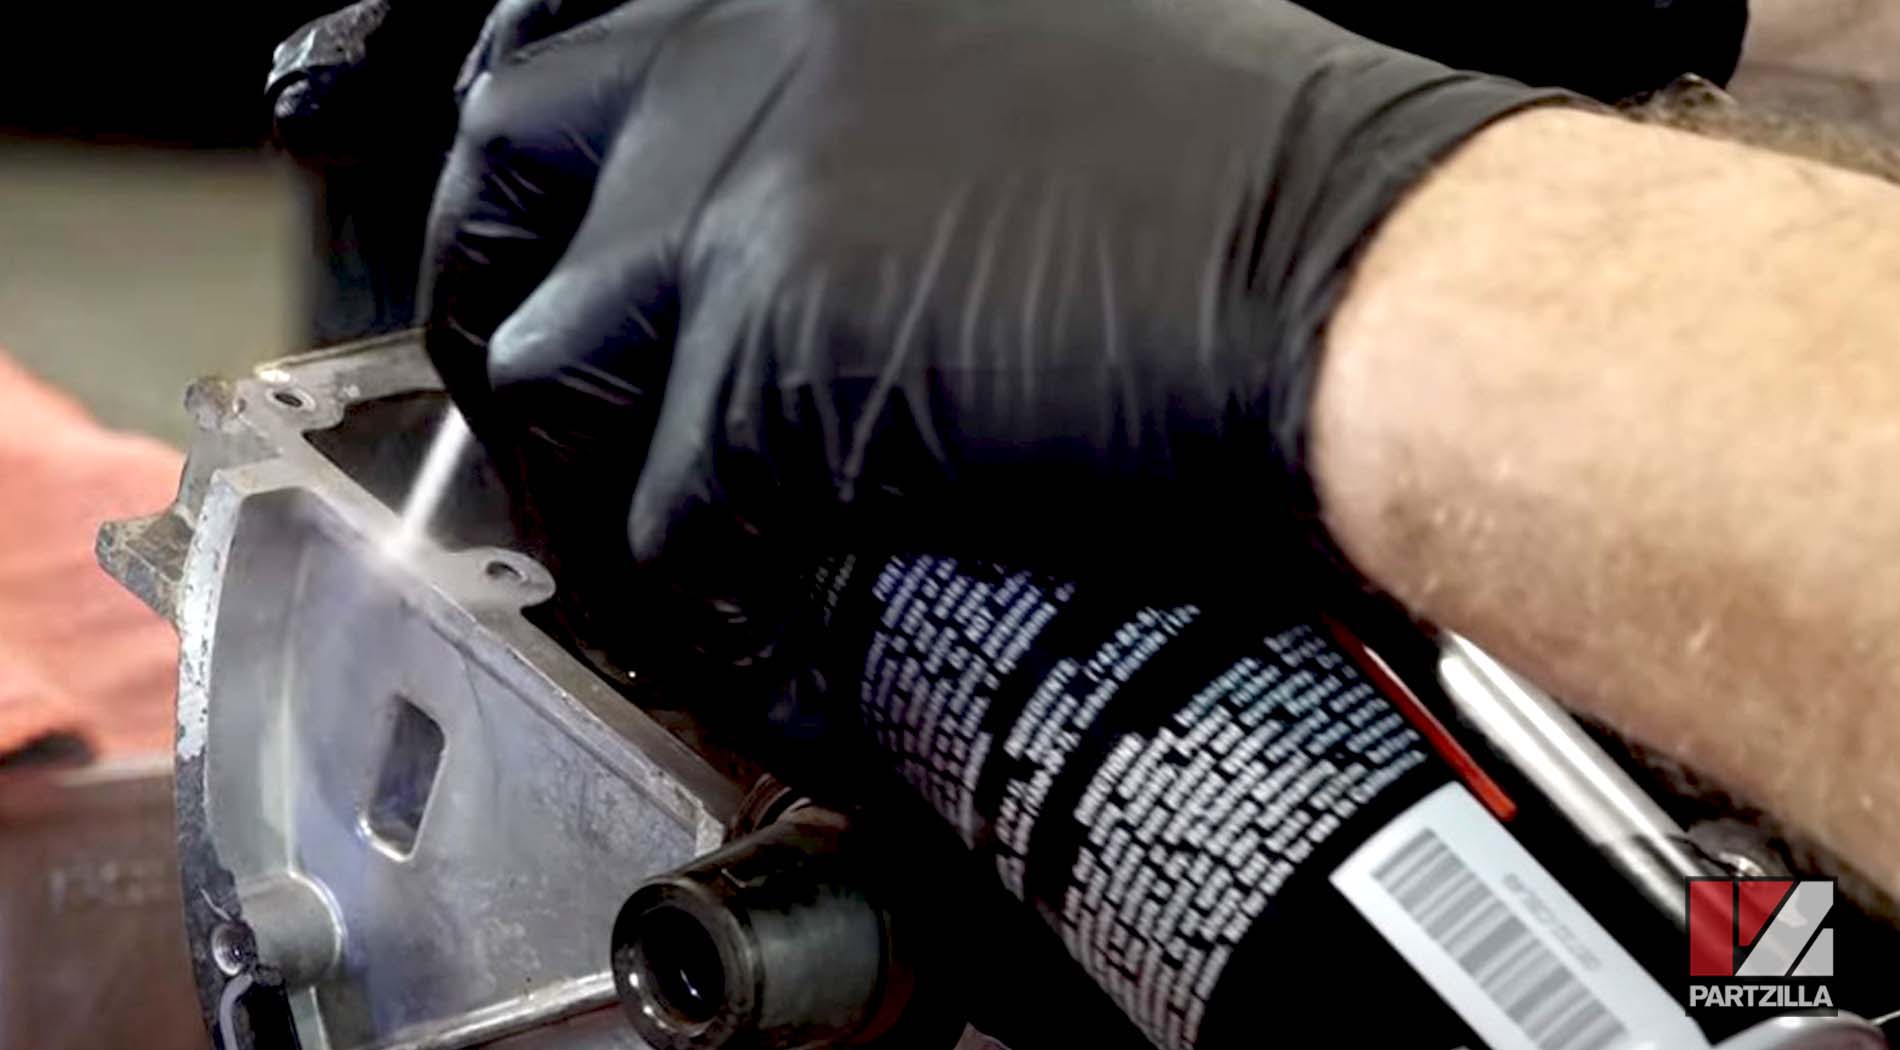
PRO TIP: Use contact/brake cleaner and a gasket scraper or razor blade to remove the old gasket material.
Step 4. Orient the new piston rings #1. The bottom piston ring is made up of three parts, and their gaps should be oriented at 2 o’clock, 10 o’clock and 6 o’clock respectively from top to bottom, as shown in the image below.
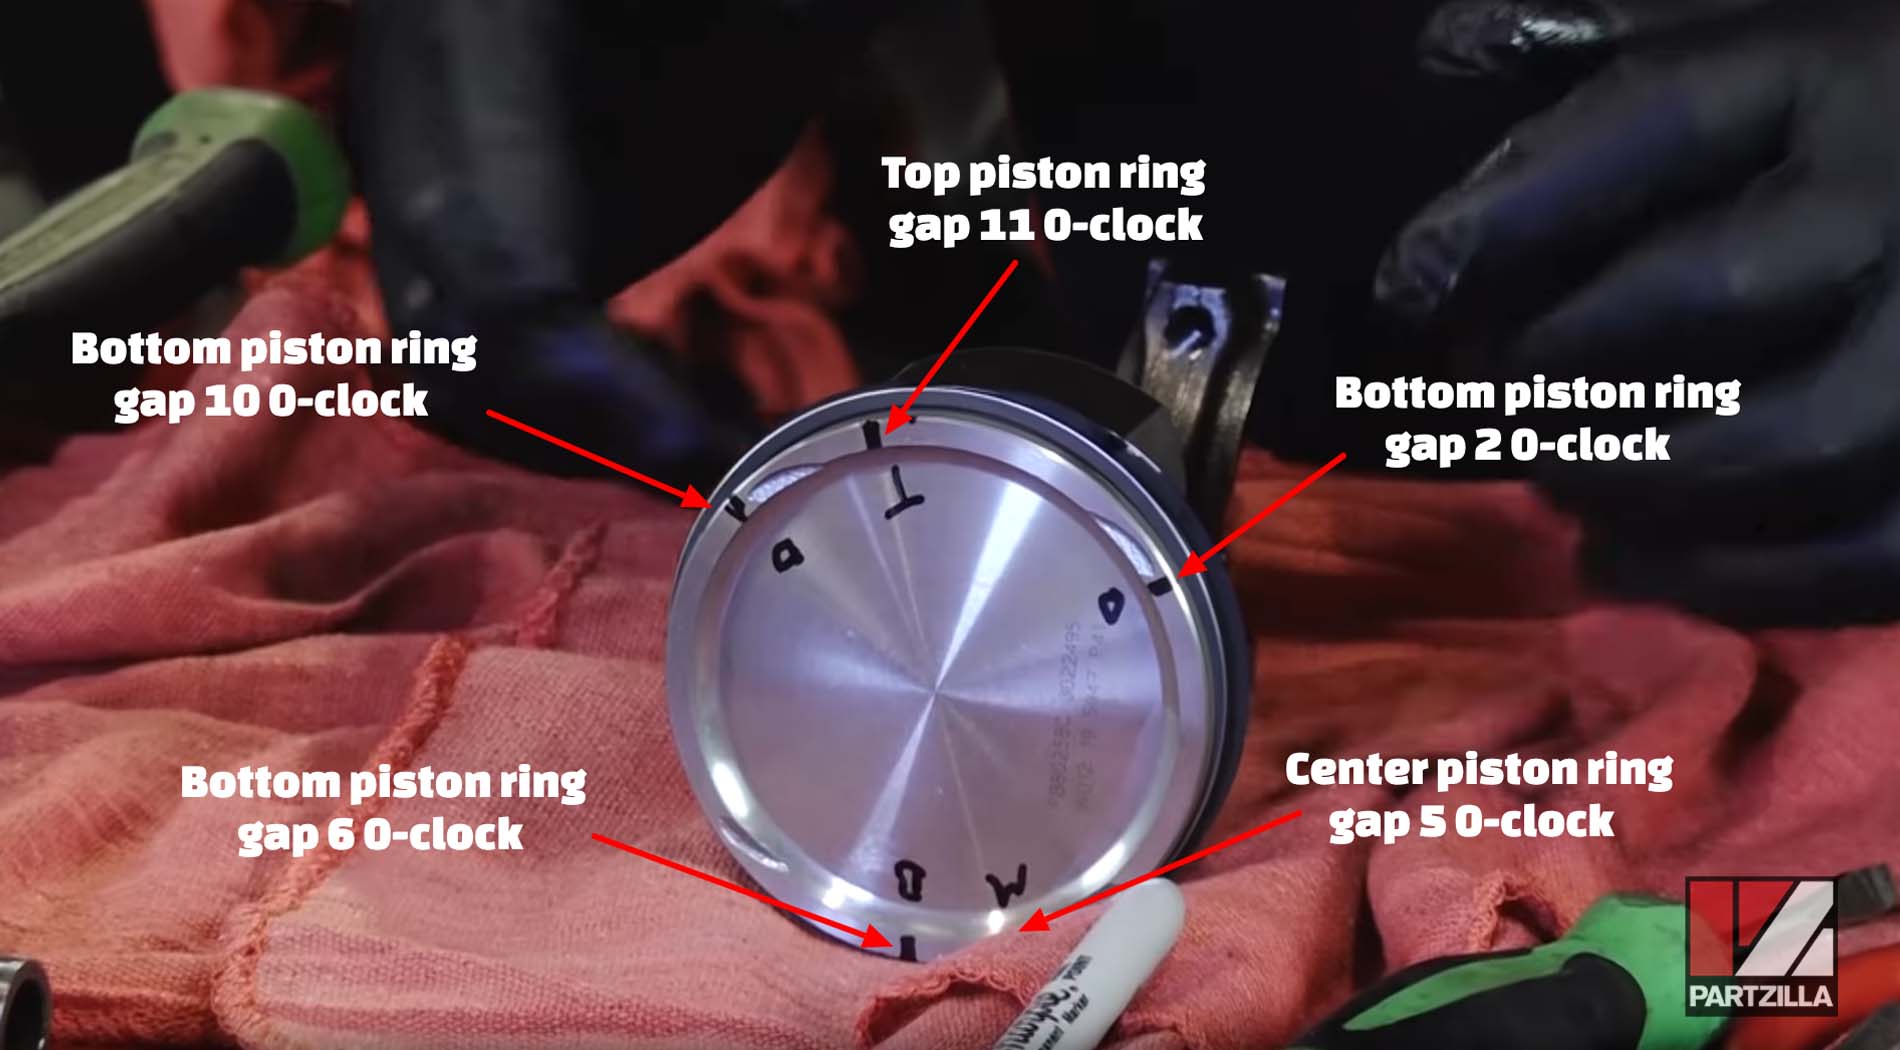
Step 5. Orient the new piston rings #2. The center piston ring should be oriented at 5 o’clock and the top piston ring should be oriented at 11 o’clock, as shown in the image above.
PRO TIP: Get the complete Polaris piston kit, which comes preassembled and includes a new piston, piston rings, piston pin and circlips. It saves you the trouble of having to install the piston rings.
Watch the clip below to see the piston ring replacement segment of our Polaris Sportsman 850 engine rebuild video.
Step 6. Replace the piston circlips with new ones. Make sure the circlip end-gaps are either facing straight upward or downward in line with the connecting rod.
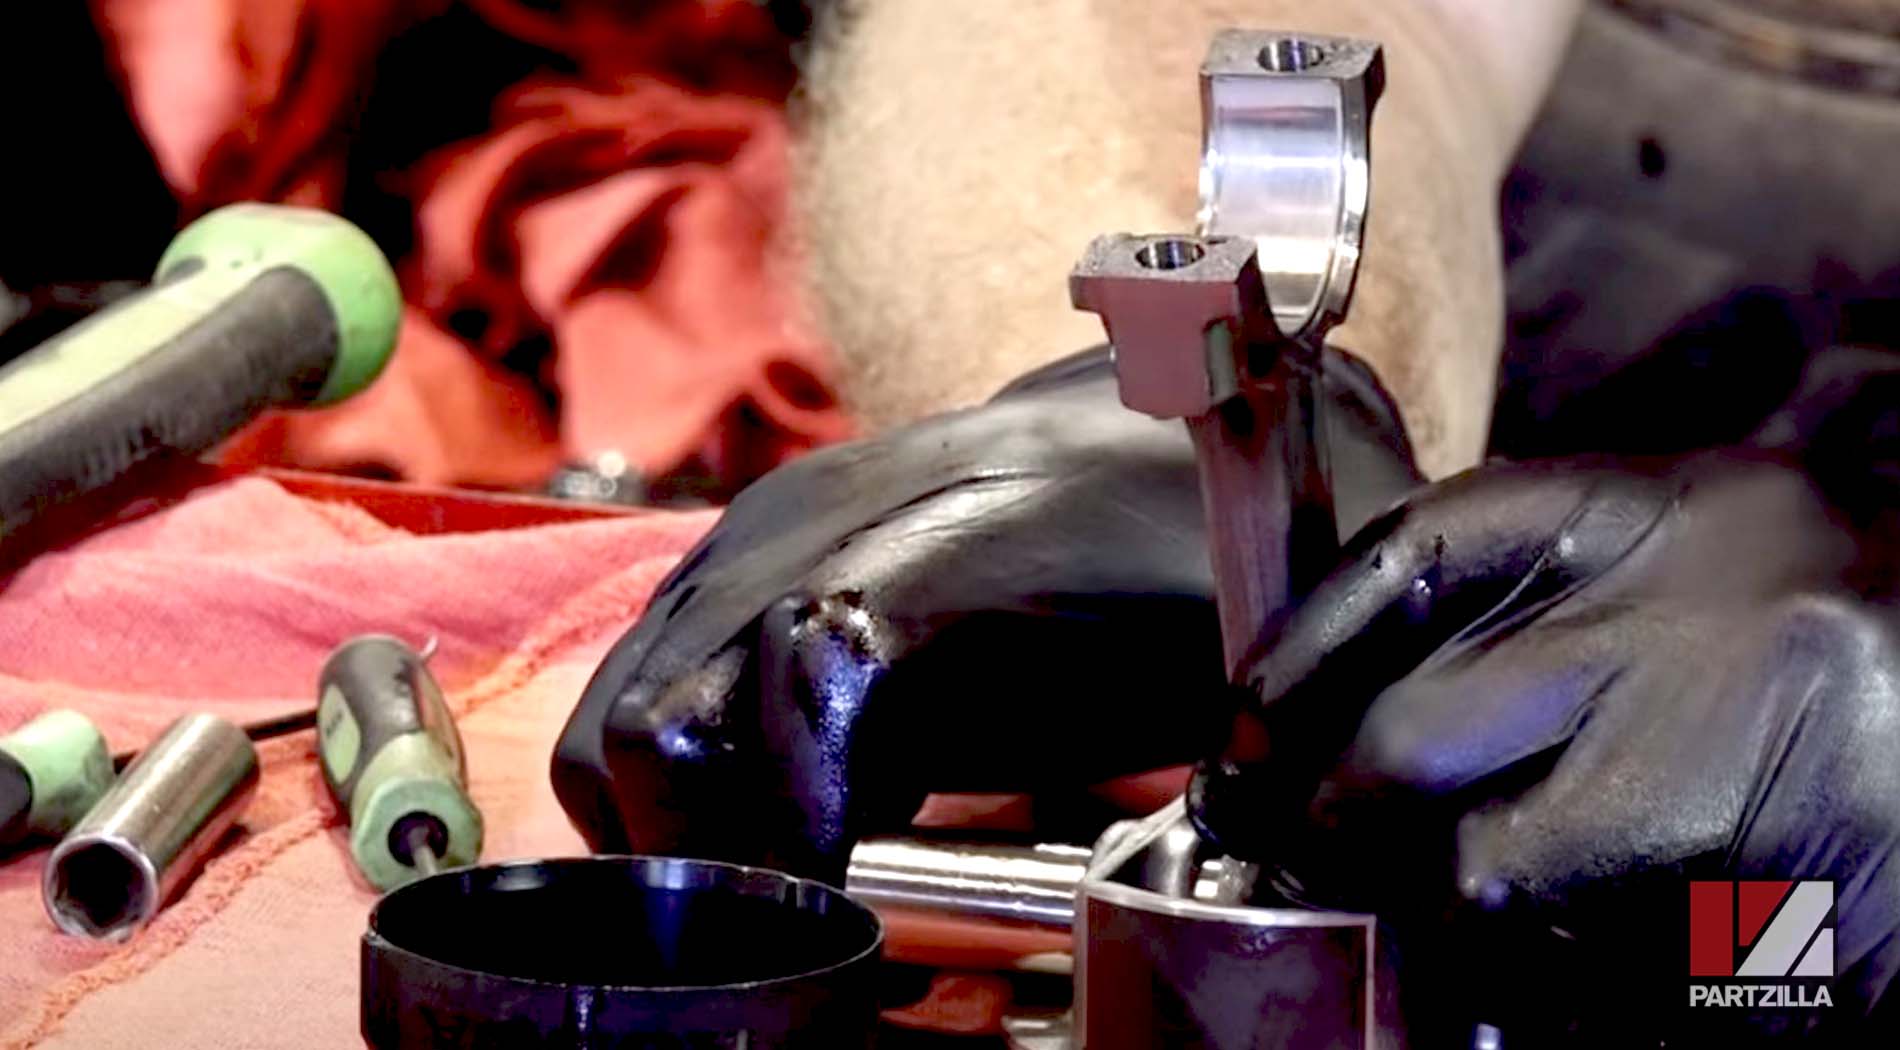
NOTE: The circlips are for one-time use only, so they must be replaced even if you aren’t replacing the pistons.
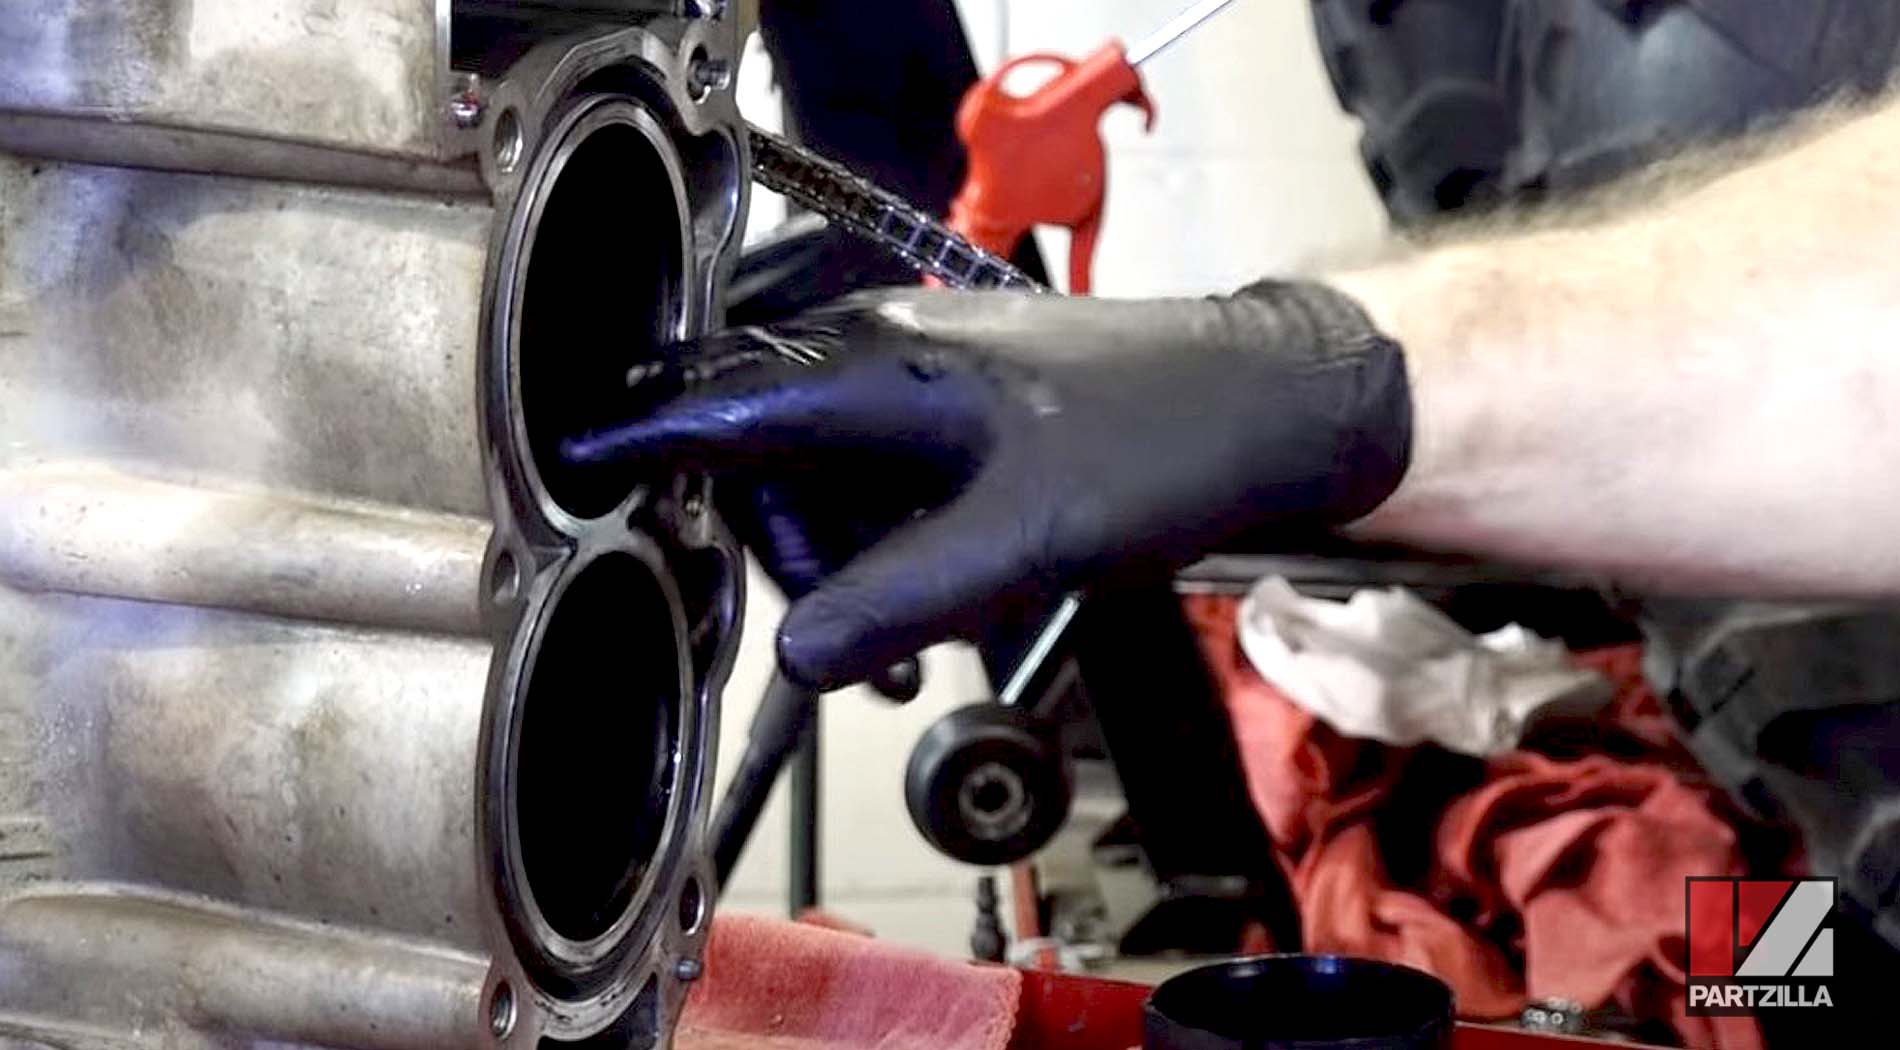
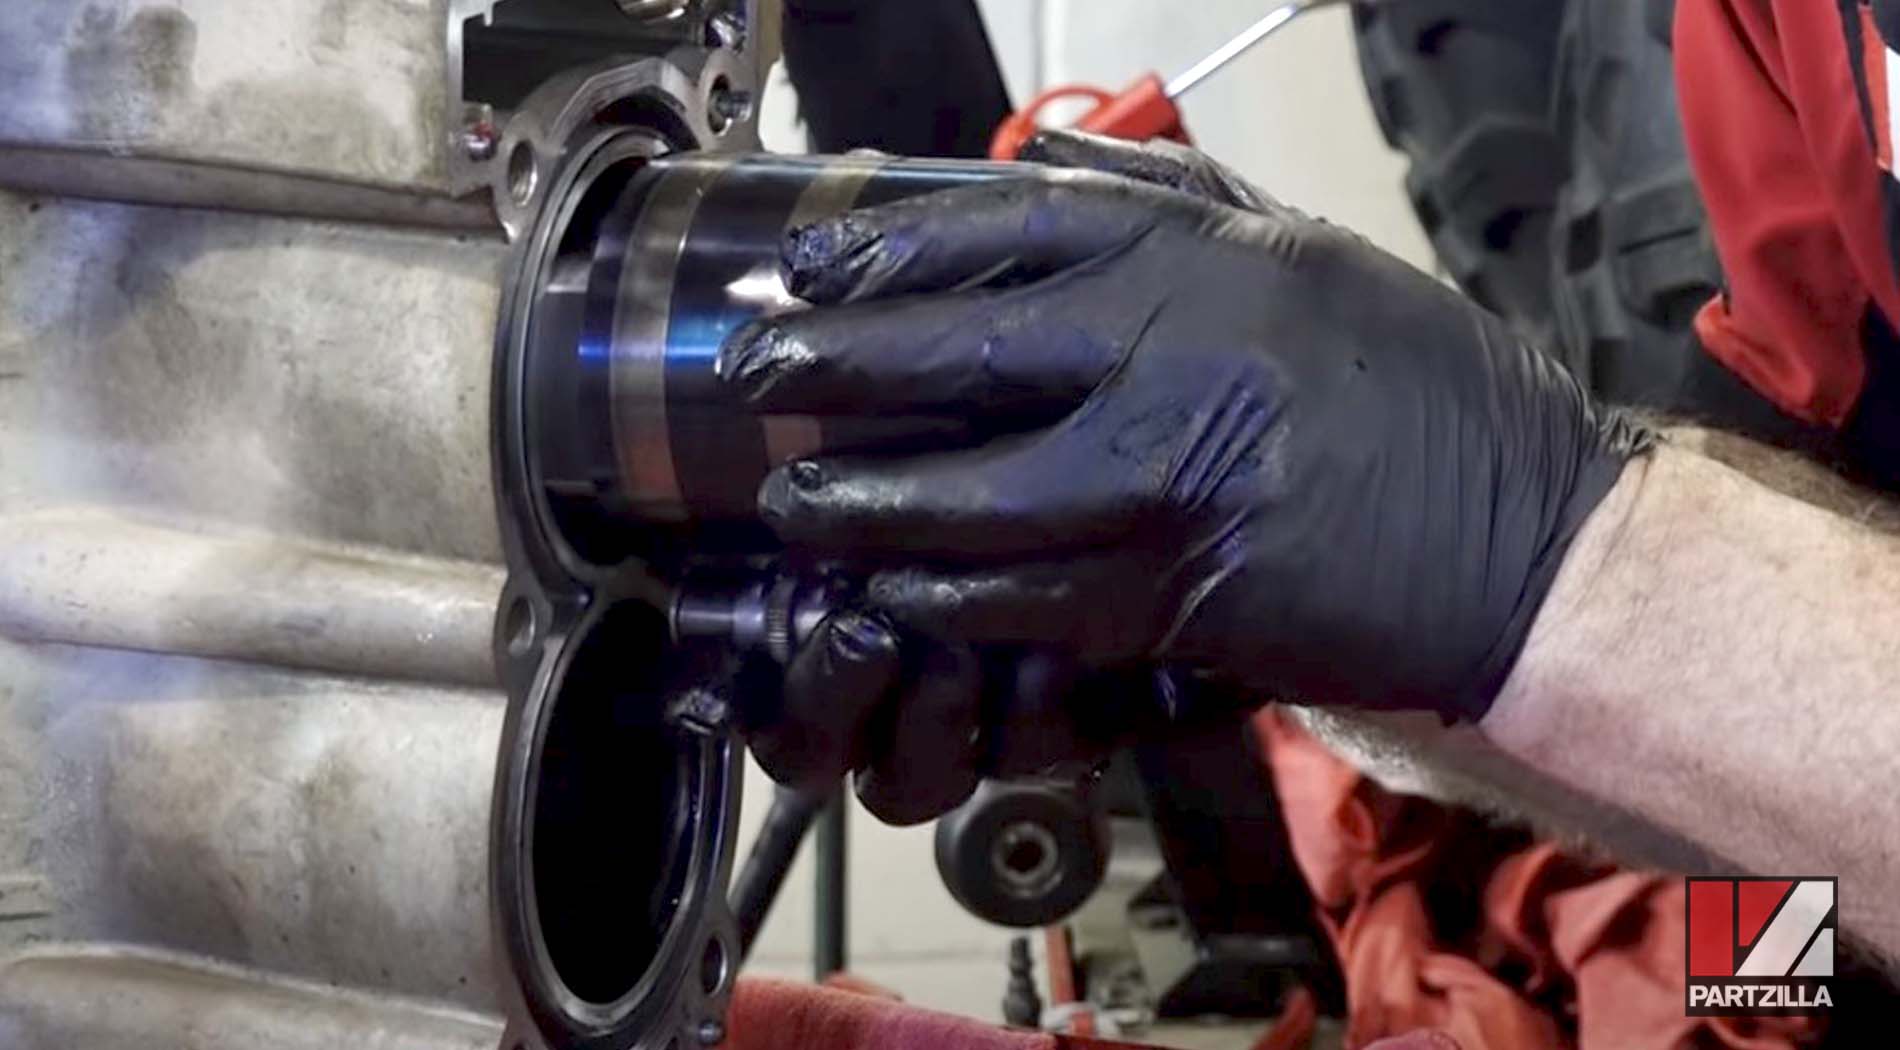
Step 7. Lightly oil the new piston rings and hold them in place with a piston ring holder. Smear assembly lube on the connecting rod bearings, lightly oil the piston bores, and install the pistons with the piston heads and the connecting rods oriented in the same way into the piston bores they were removed from.
Step 8. Smear assembly lube on the connecting rod end cap bearings, and reinstall them on the connecting rods they were removed from. Torque the connecting rod bolts to 24 foot-pounds, then tighten them by rotating them an additional 60 degrees.
NOTE: You must install new connecting rod bolts because the bolts are for one-time use only. 60 degrees is equivalent to one side of a connecting rod bolt’s hexagonal head, so tighten the bolts so their hex-heads advance by one.
Watch the clip below to see the piston and connecting rod reinstallation segment of our Polaris Sportsman 850 engine rebuild video.
Polaris Sportsman 850XP Bottom End Reassembly
Step 1. Apply a thin film of crankcase sealant to the mating surfaces of the lower crankcase, then reinstall the oil tube into the upper crankcase and reattach the lower crankcase to the upper crankcase.
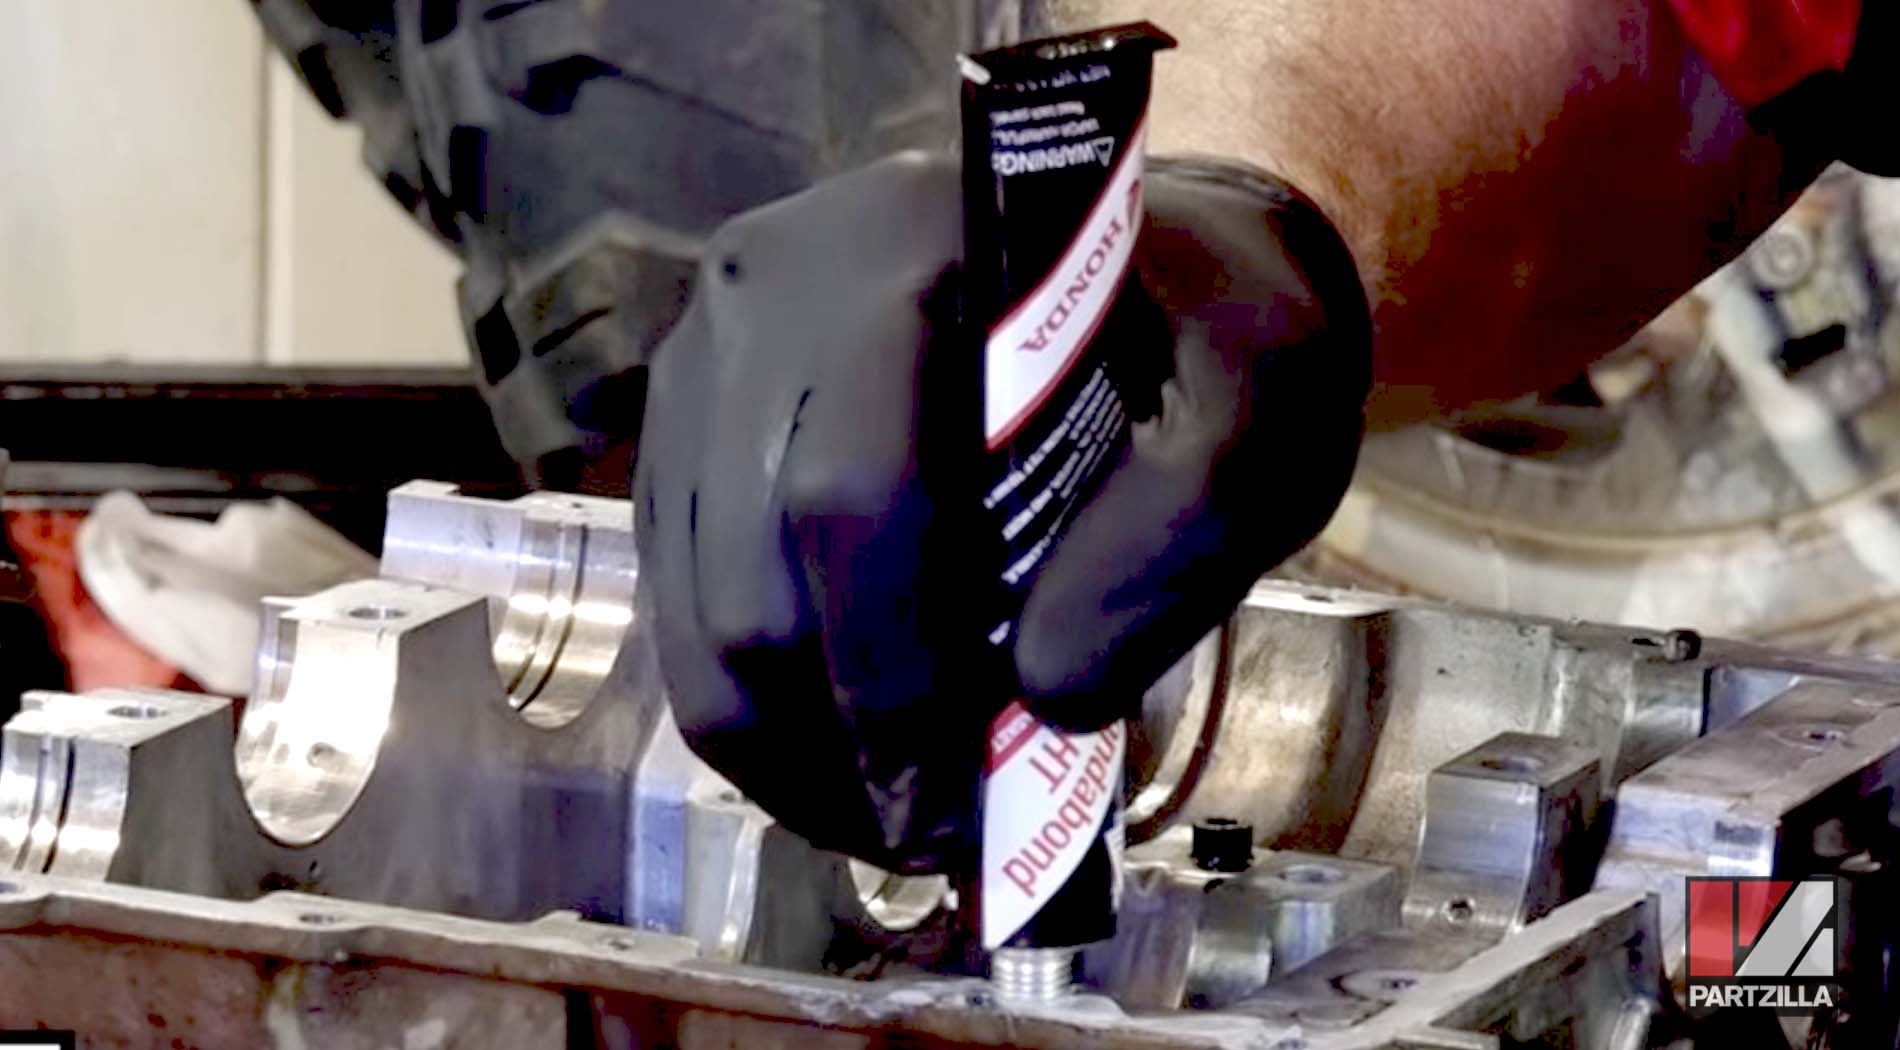
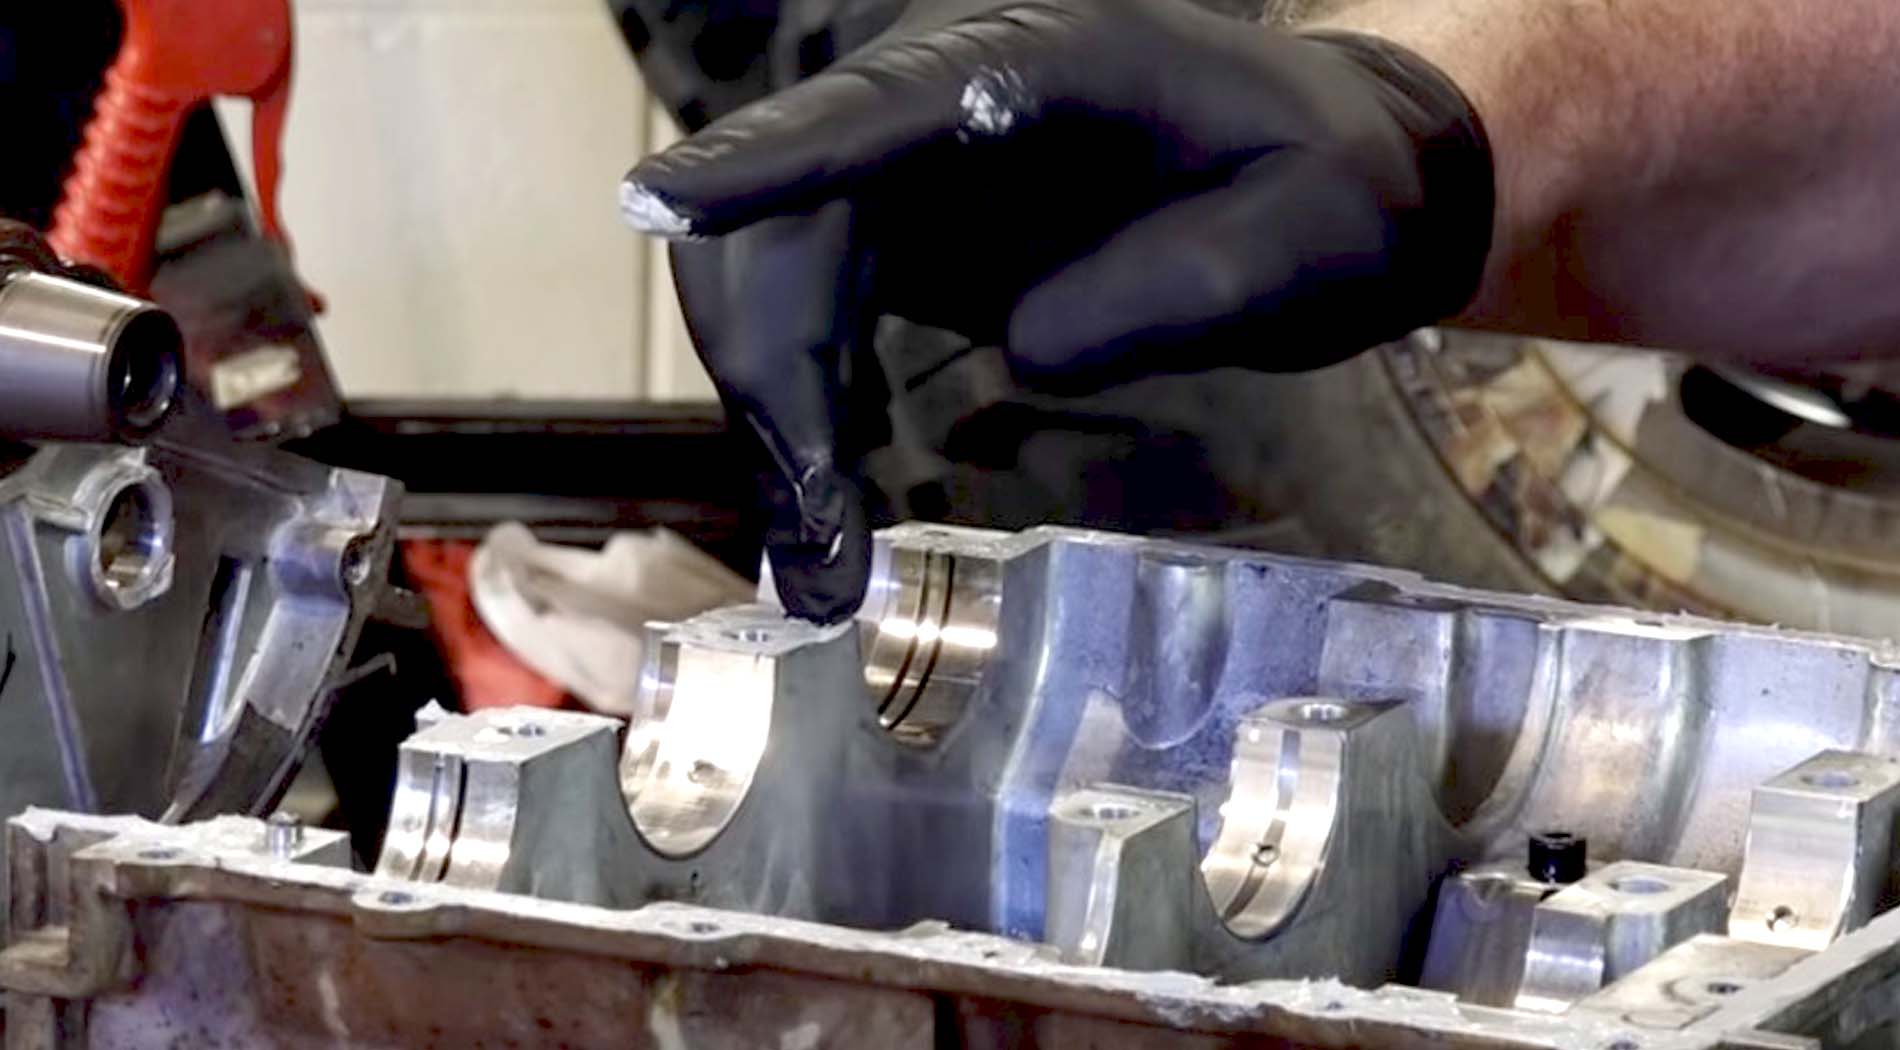
PRO TIP: Apply a dab of grease to the back of the crankshaft main bearings to stop them from falling out of the lower crankcase as you lift and reattach it.
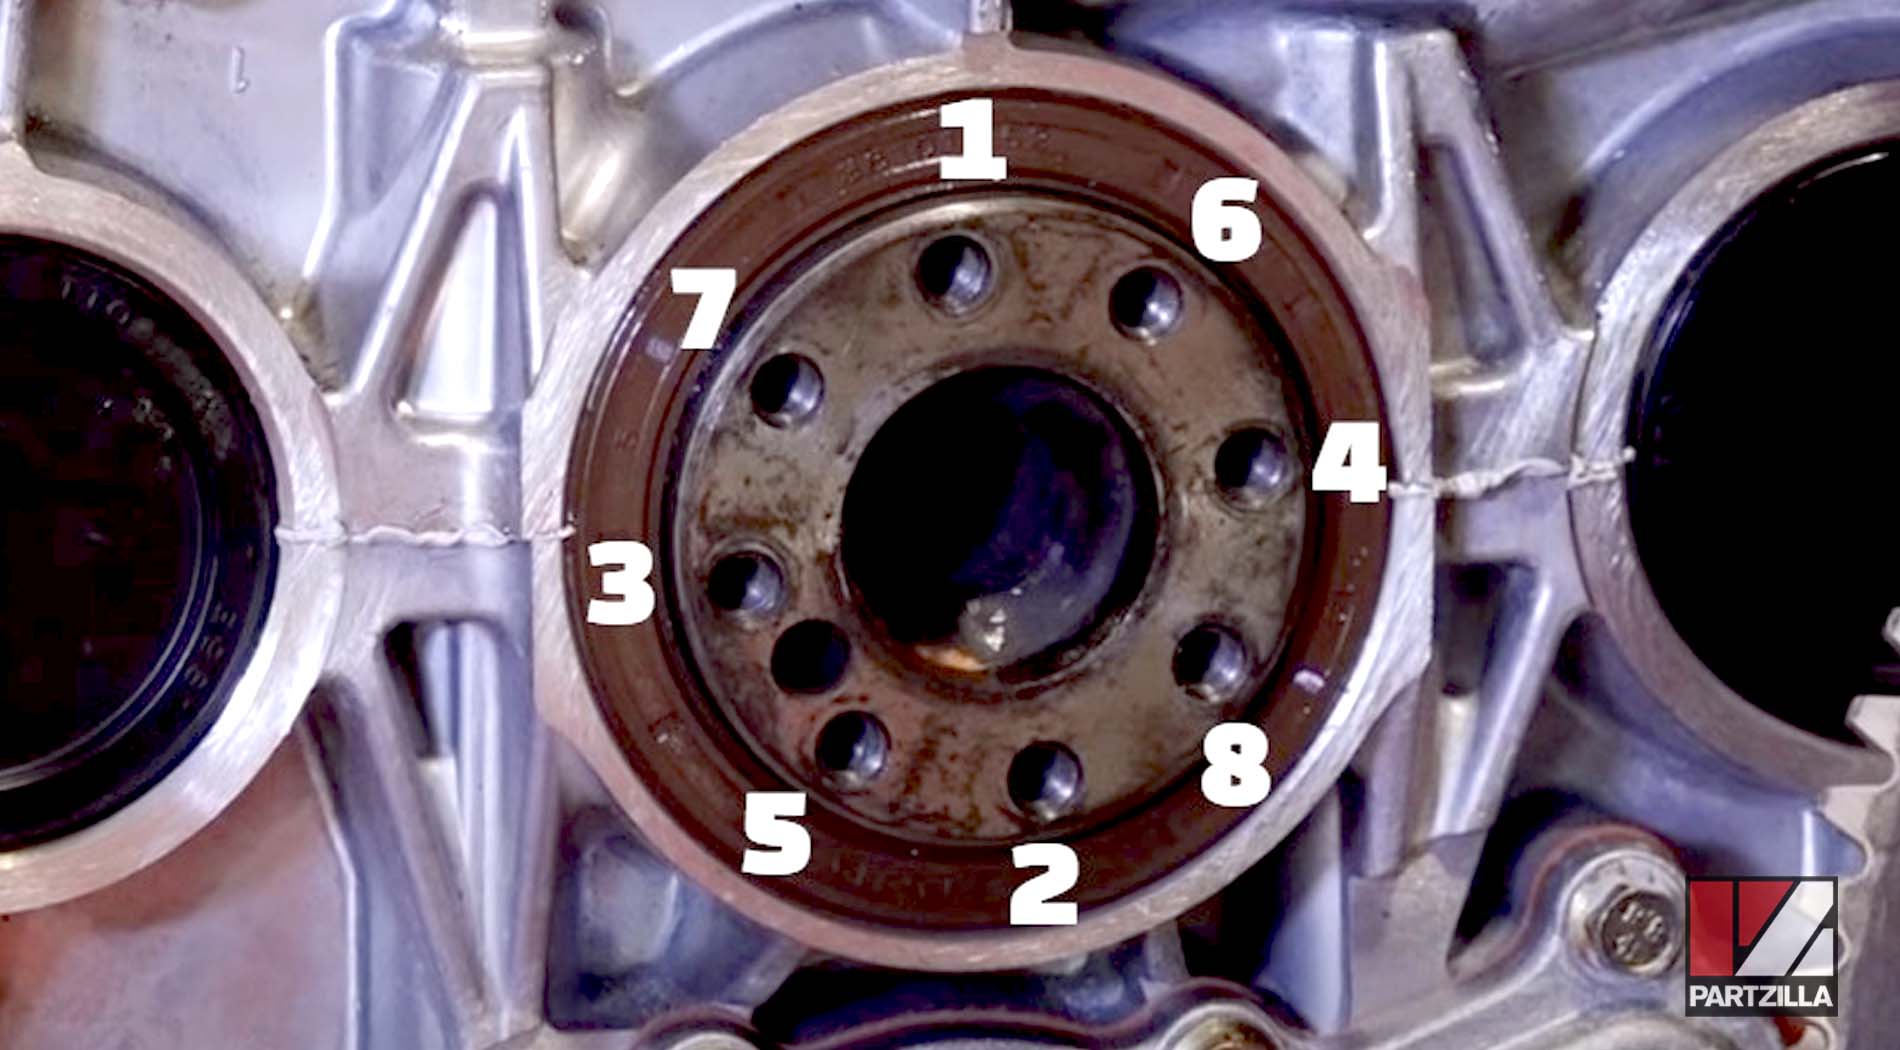
Step 2. Oil the six 10mm main crankcase bolts, then install them and torque them to 26 foot-pounds in the sequence shown in the image below.
Step 3. Reinstall the fourteen 8mm crankcase bolts, and torque them to 89 inch-pounds by starting in the middle and working back-and-forth and side-to-side until you reach the outer bolts.
Watch the clip below to see the crankcase reassembly segment of our Polaris Sportsman 850 engine rebuild video.
Step 4. Reinstall the eight 5mm starting gear Allen bolts and torque them to 14 foot-pounds in the sequence shown in the image below.
Step 5. Reinstall the cam chain guide and the timing chain tensioner
Step 6. Reinstall the flywheel, the water pump coupler and the flywheel nut. Torque the flywheel bolt to 70 foot-pounds and the water pump coupler to 35 inch-pounds.
NOTE: The flywheel bolt and water pump coupler both have reversed threads, so you must rotate them counterclockwise to tighten them.
Watch the clip below to see the starting gear through flywheel reinstallation segment of our Polaris Sportsman 850 engine rebuild video.
Now that the bottom end of our Polaris Sportsman 850XP is rebuilt, the top end is next. Watch the fourth part of our Polaris Sportsman 850XP engine rebuild video below.
![Kit, Piston [Incl. Piston, Pin, Clips, All Rings][Iron Lined]](https://cdn.partzilla.com/cdn-cgi/image/width=270,quality=80/MTE/pi/d/MTA3MDM1MDU-dc31da65.jpg)