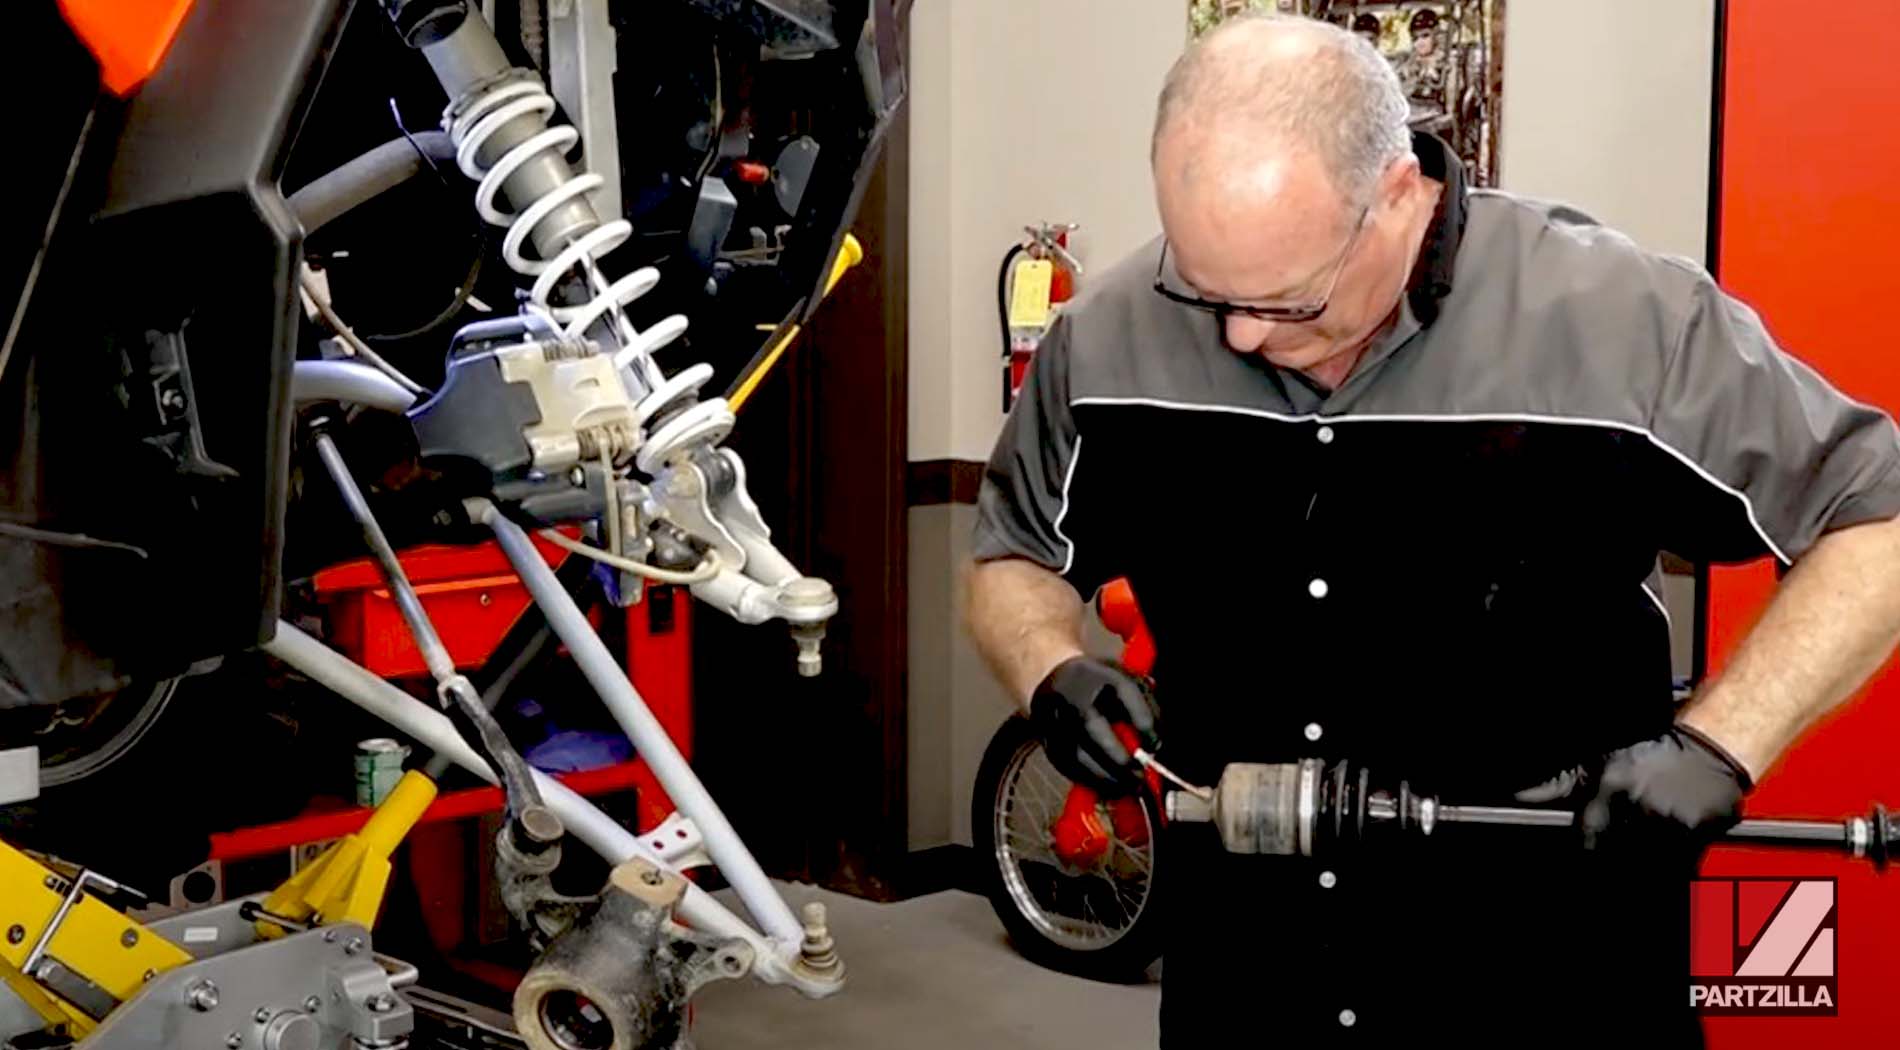
How to Replace Polaris RZR 900 CV Boots
Noticed a hole in one of the CV boots on your Polaris UTV? Better get that boot changed soon or you’ll have to replace the more expensive CV joints as well.
Side-by-side CV boots are inexpensive, yet provide invaluable protection to CV joints, which cost a lot more to replace. Watch the video above and follow the steps below to replace the CV boots on a Polaris RZR 900.
PRO TIP: If you’re going through the trouble of removing a driveshaft to replace one CV boot, go ahead and replace both at the same time.
Tools and Parts – Polaris RZR 900 CV Boot Replacement
- Ratchet and extensions
- 15mm, 19mm, 27mm sockets
- 15mm wrench
- CV boot pliers
- Side cutters
- Hammer
- Torque wrench
- Brake/contact cleaner
- Grease
- Anti-seize lubricant
- Red threadlocker
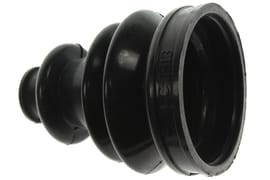
- CV boots
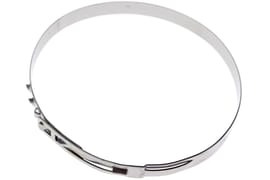
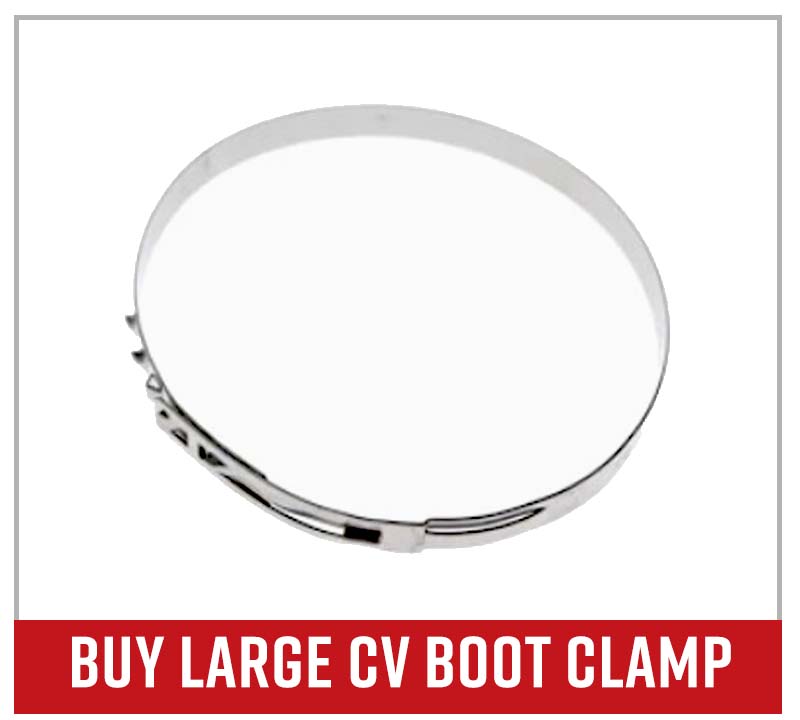
- Large CV boot clamps
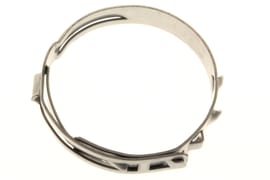
- Small CV boot clamps

NOTE: CV boot pliers are required for this job. If you don’t own a pair of CV boot pliers, get one before starting this job.
Removing Polaris RZR 900S Front CV Boots
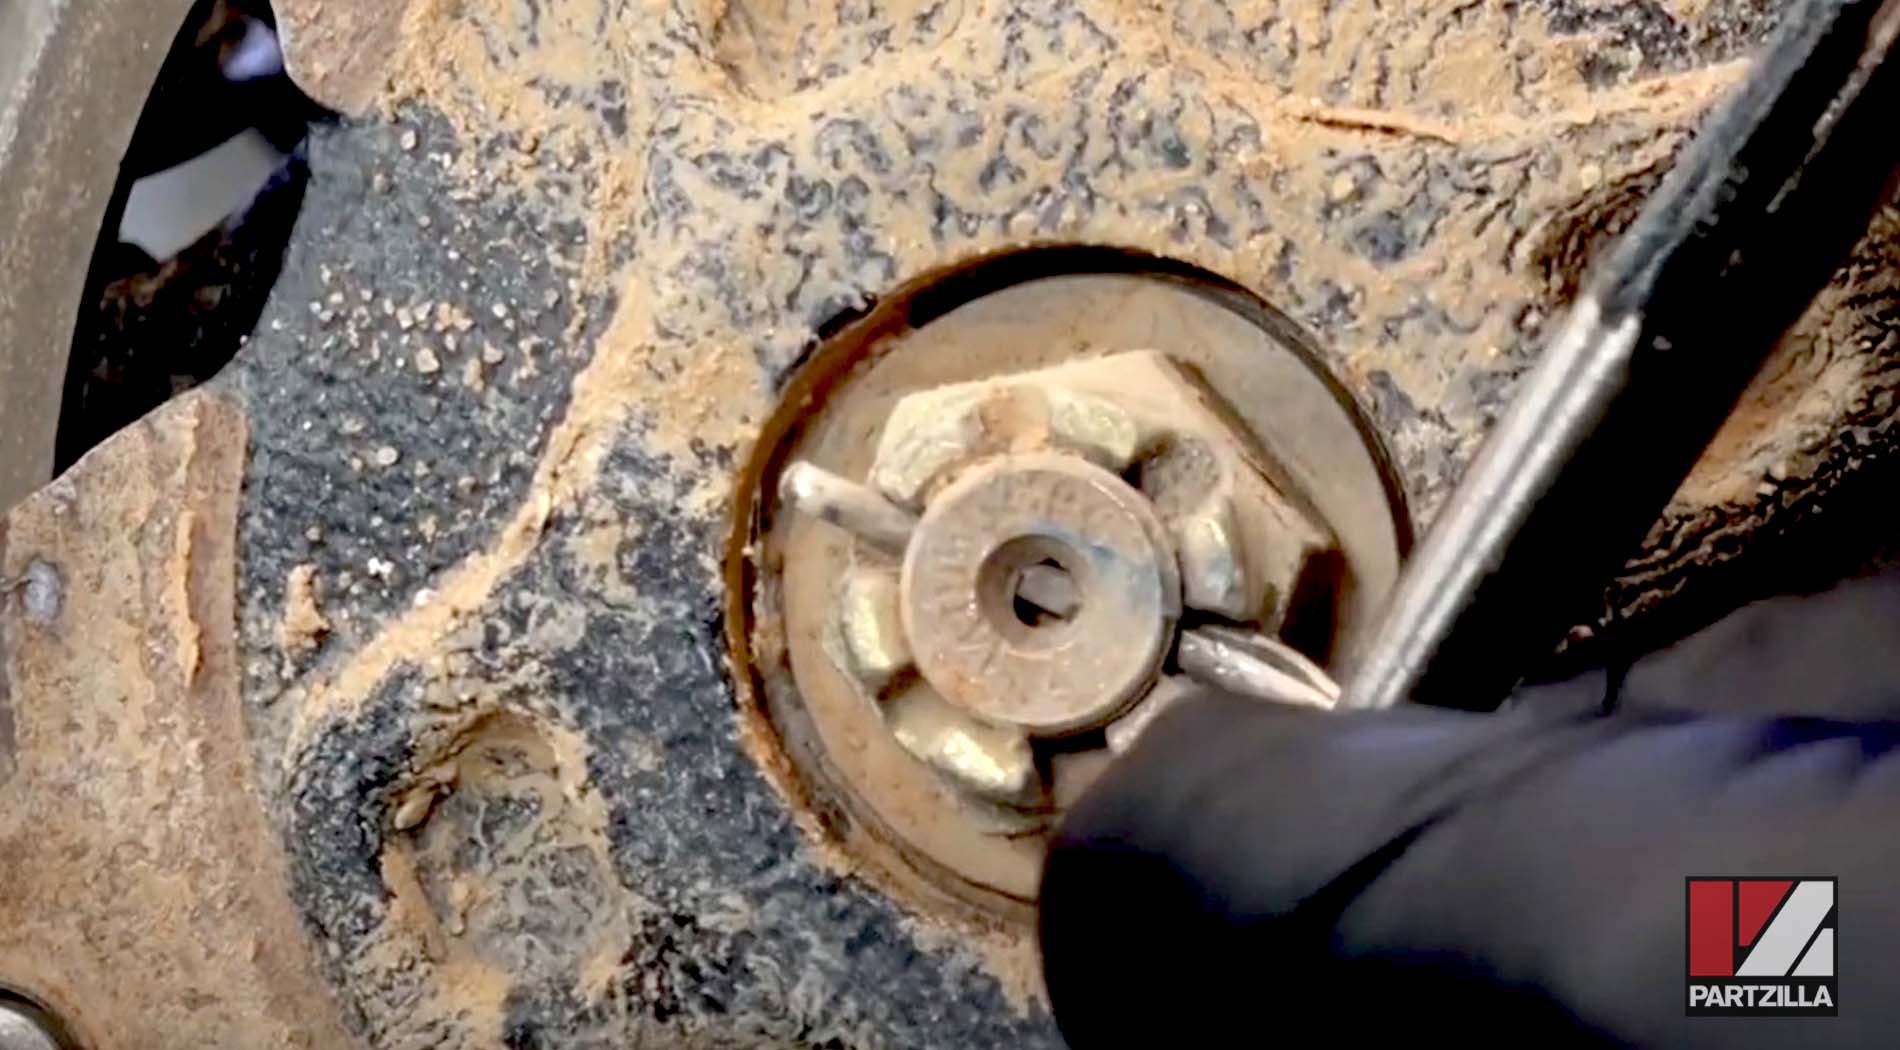
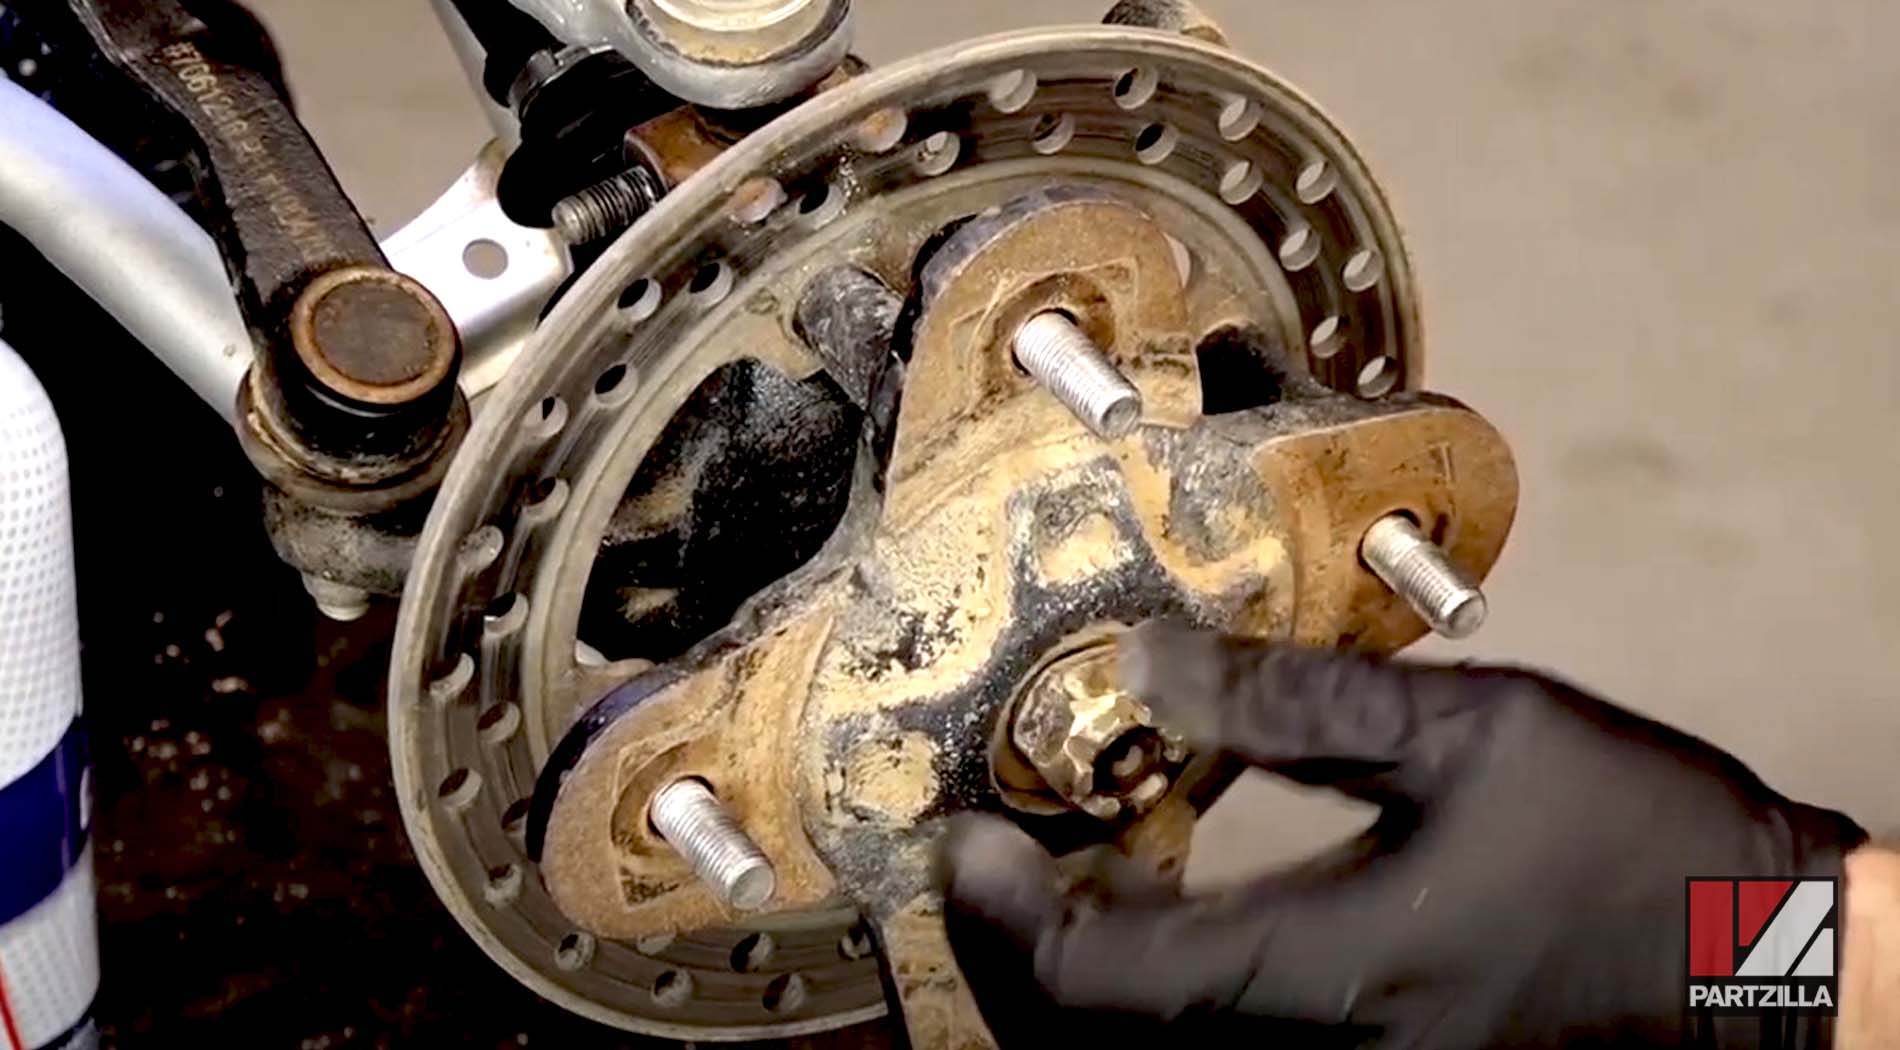
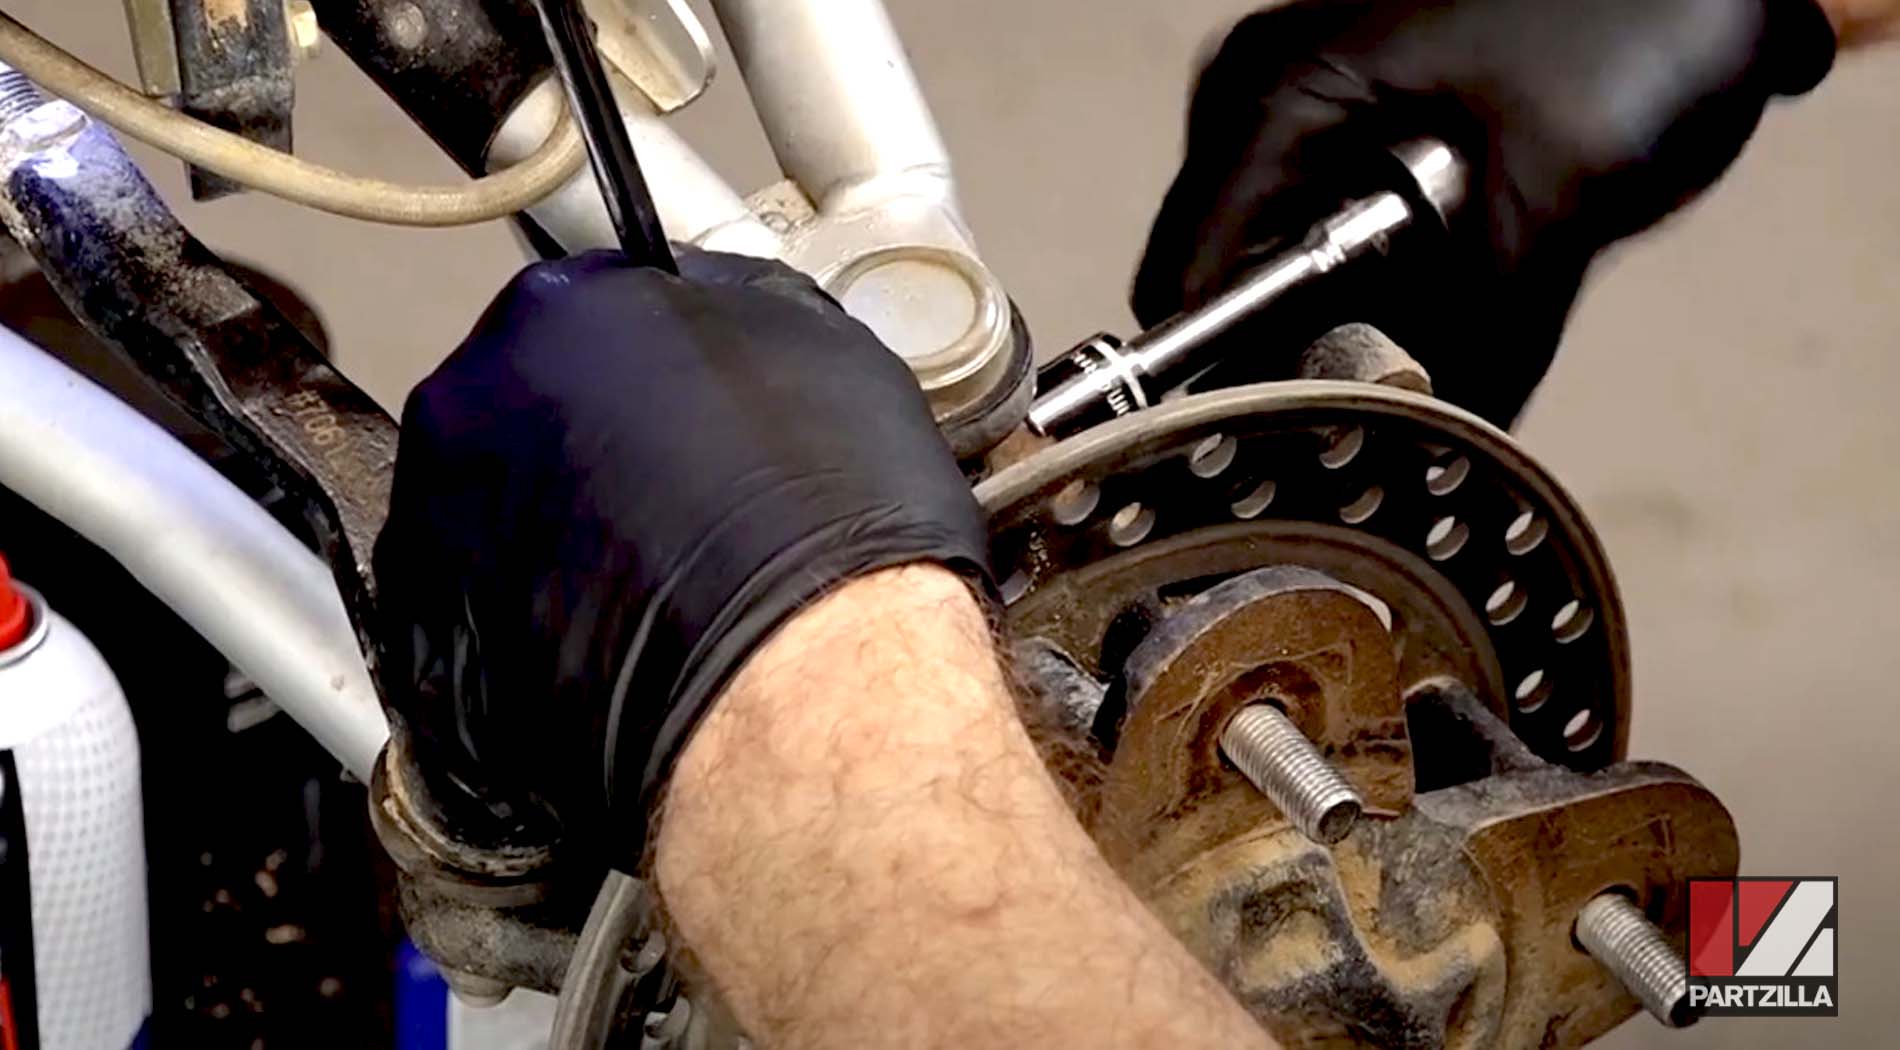
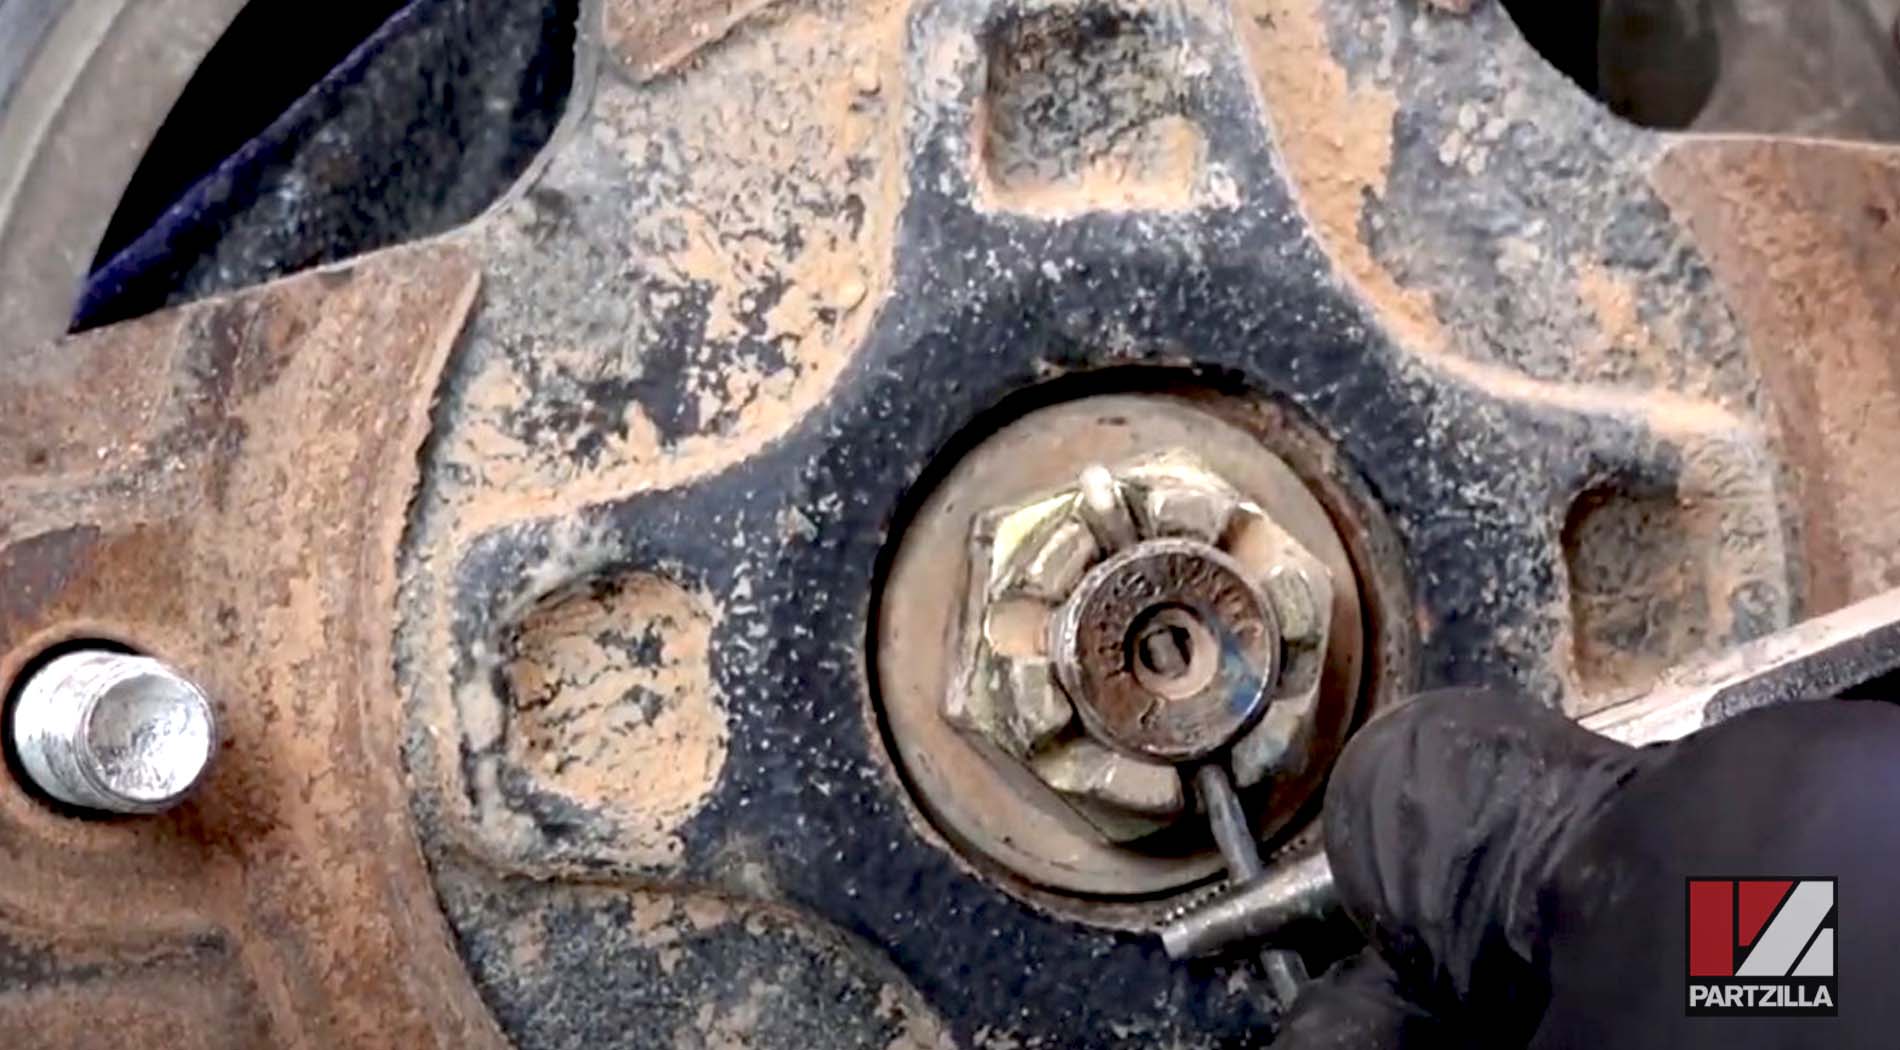
Step 1. Remove the front wheel, cotter pin, castle nut and two castle nut washers.
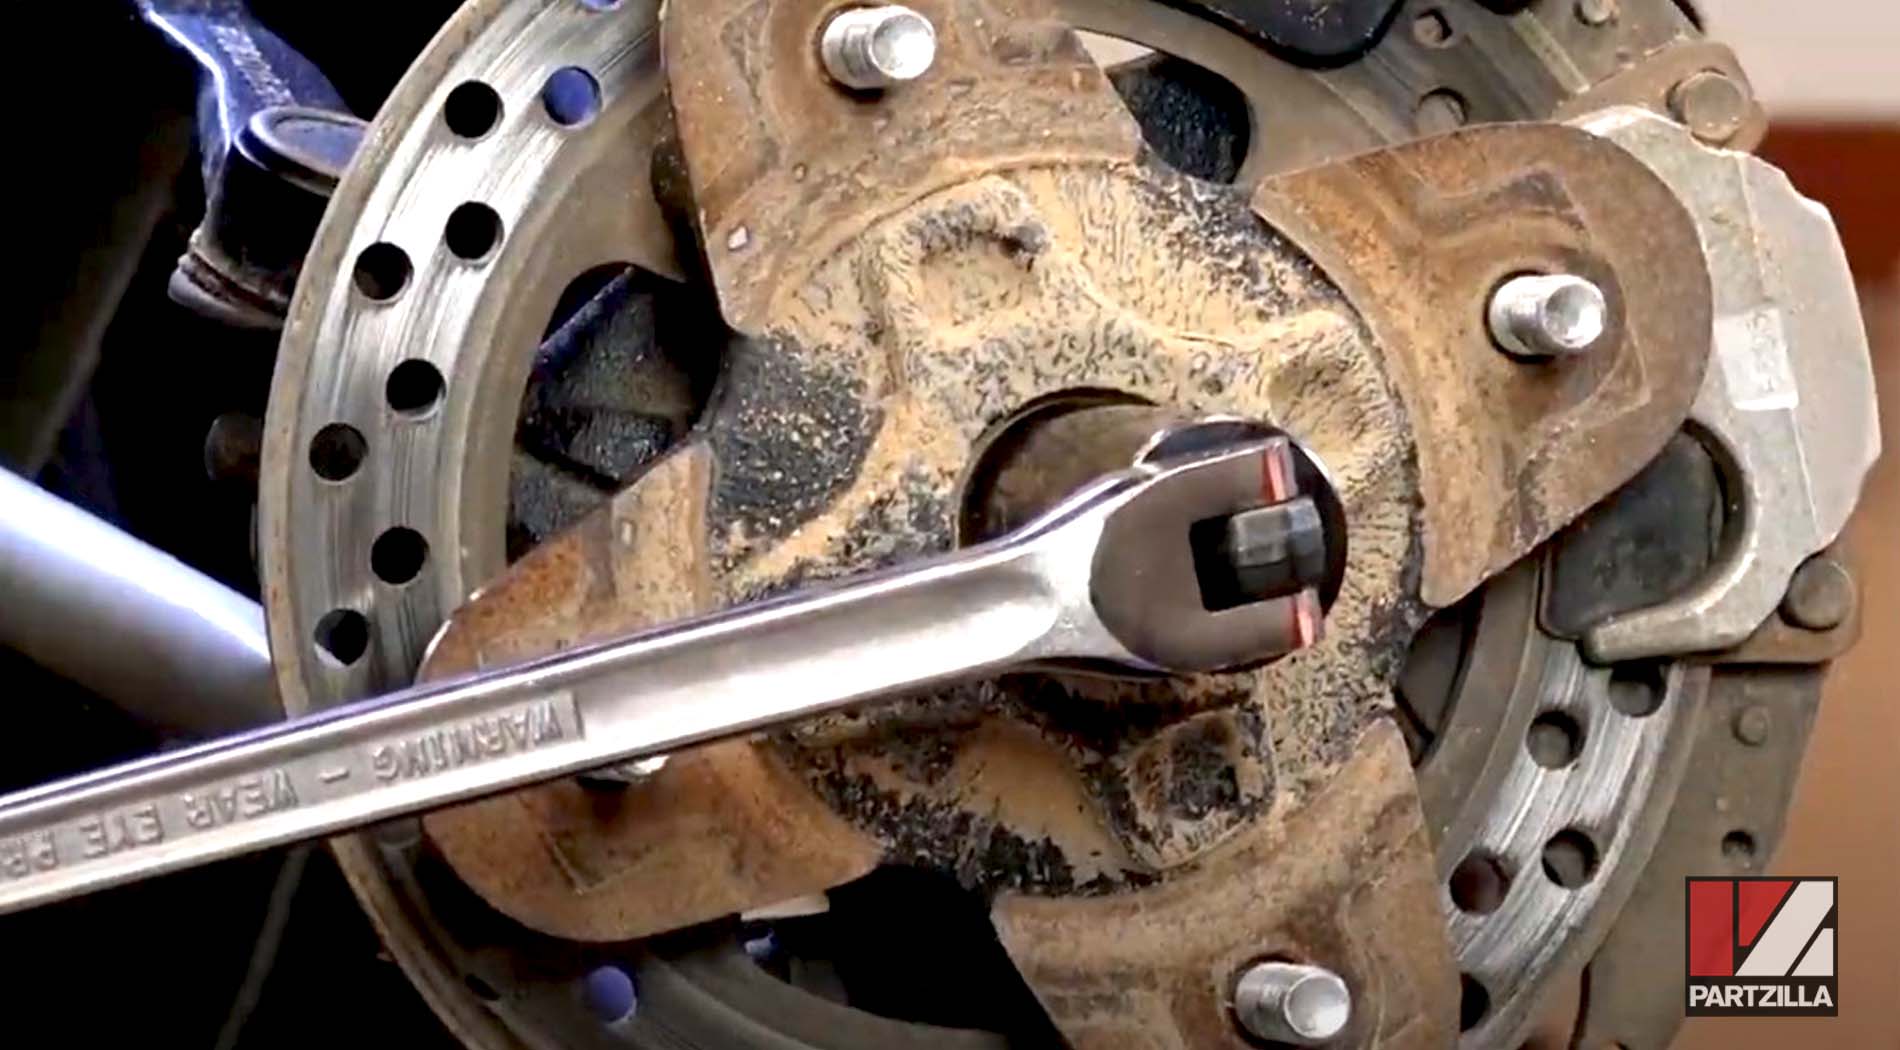
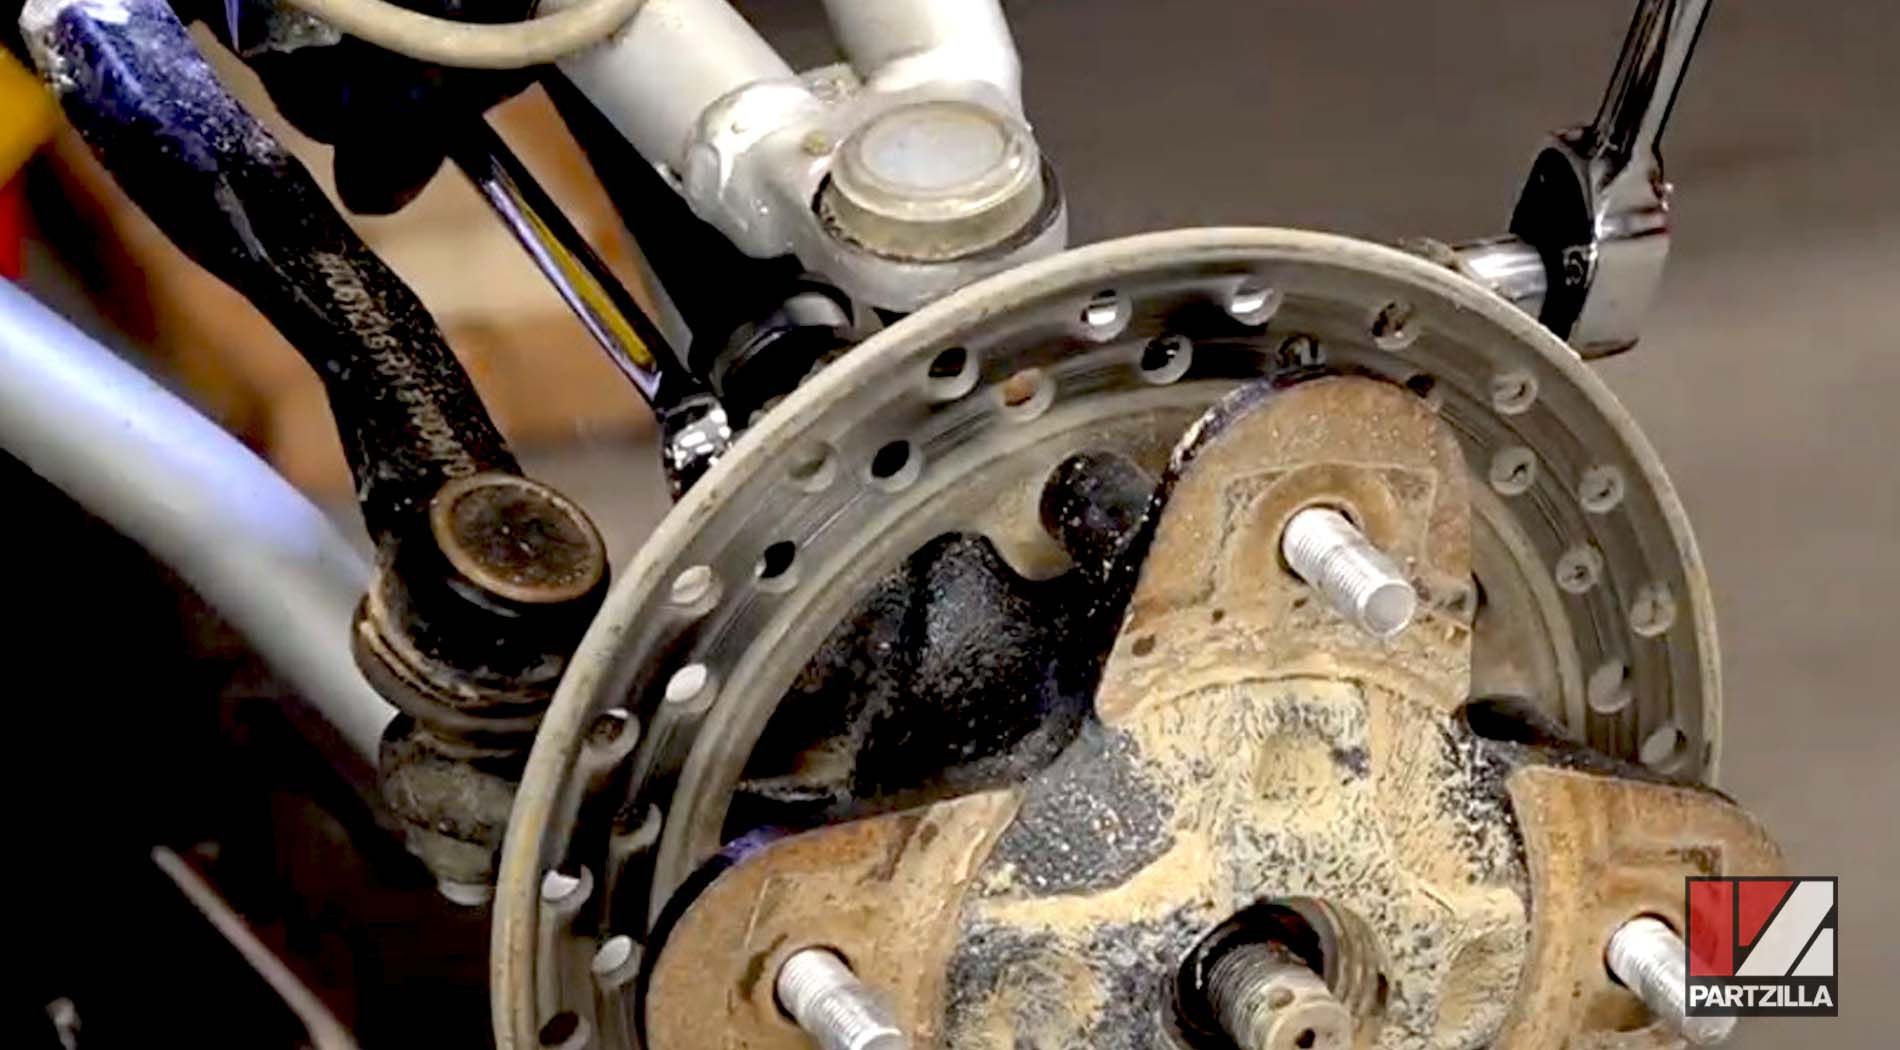
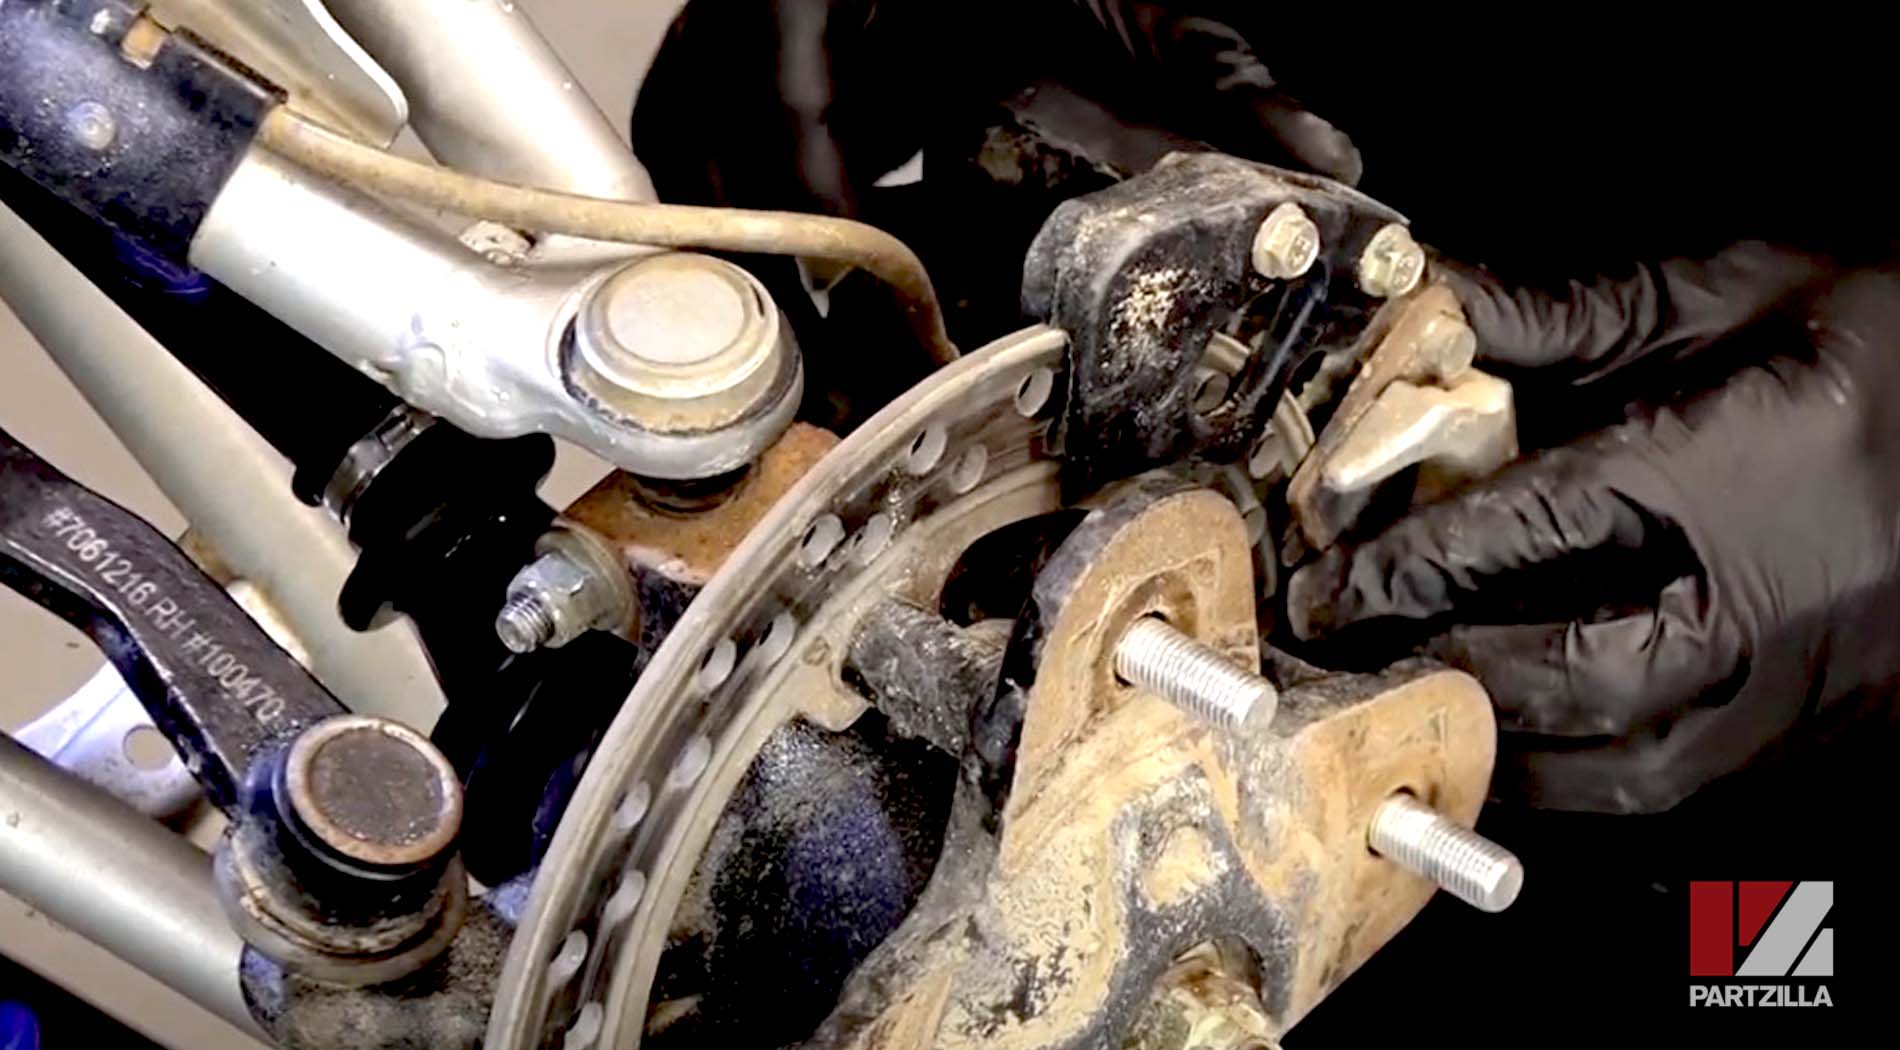
Step 2. Remove the brake caliper assembly by taking off the two 15mm caliper bracket mounting bolts. Use a zip tie to hold the caliper assembly out of the way so it isn’t suspended by its brake hose.
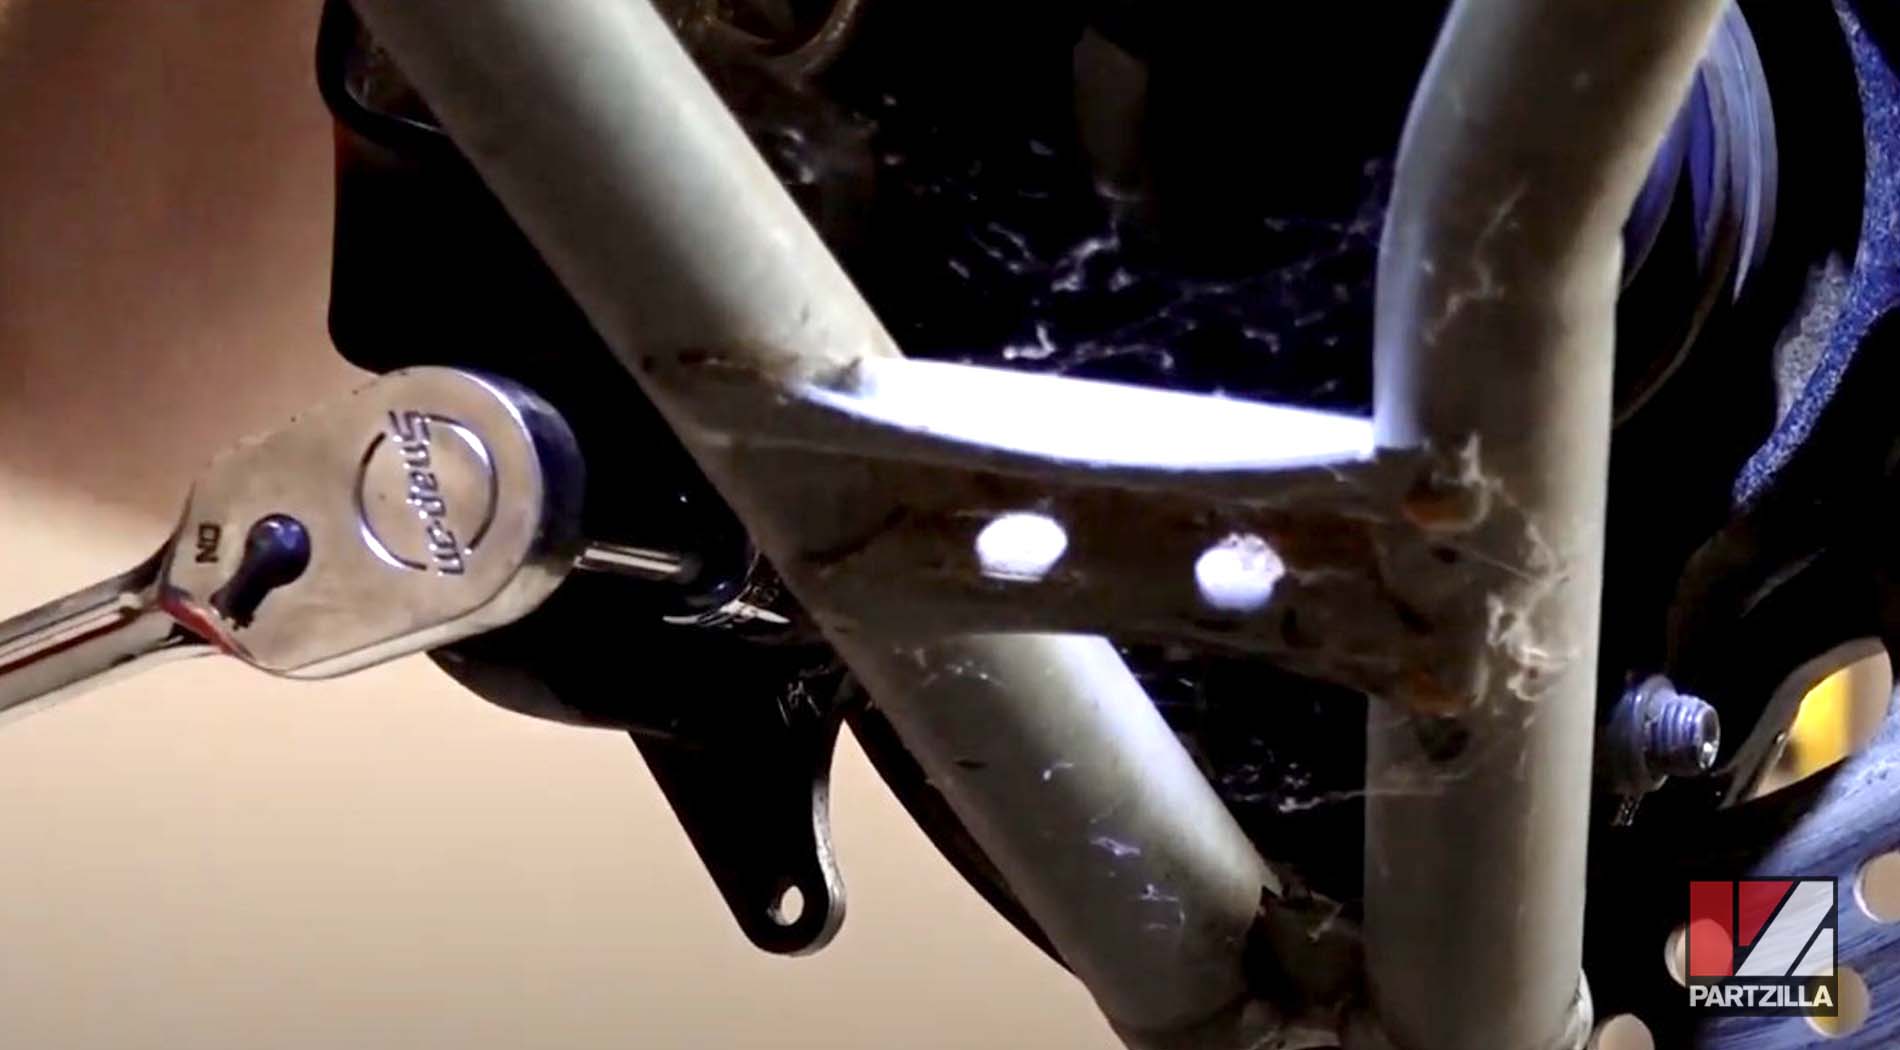
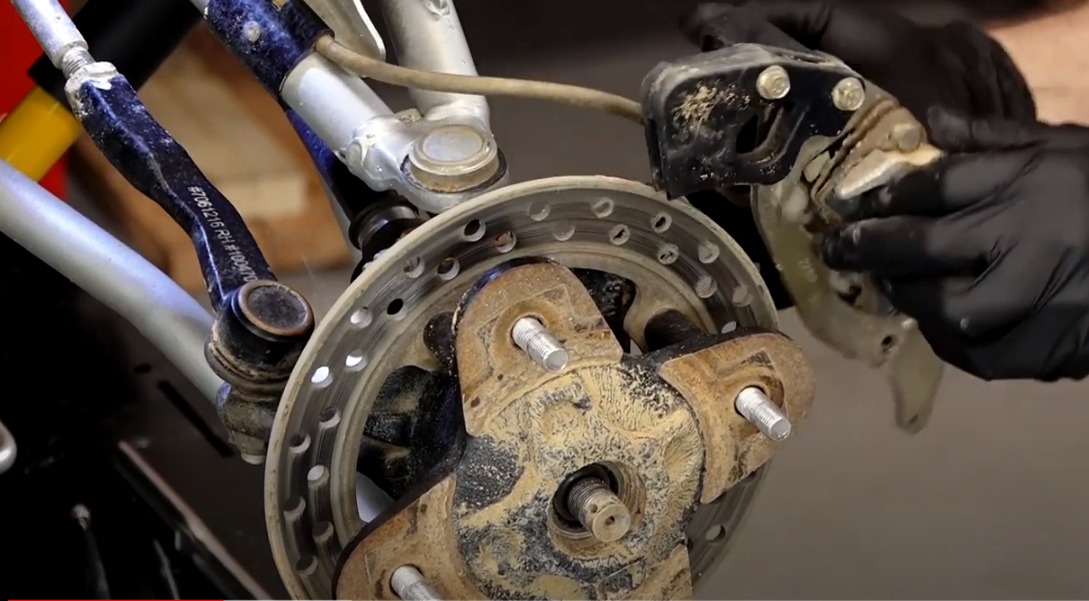
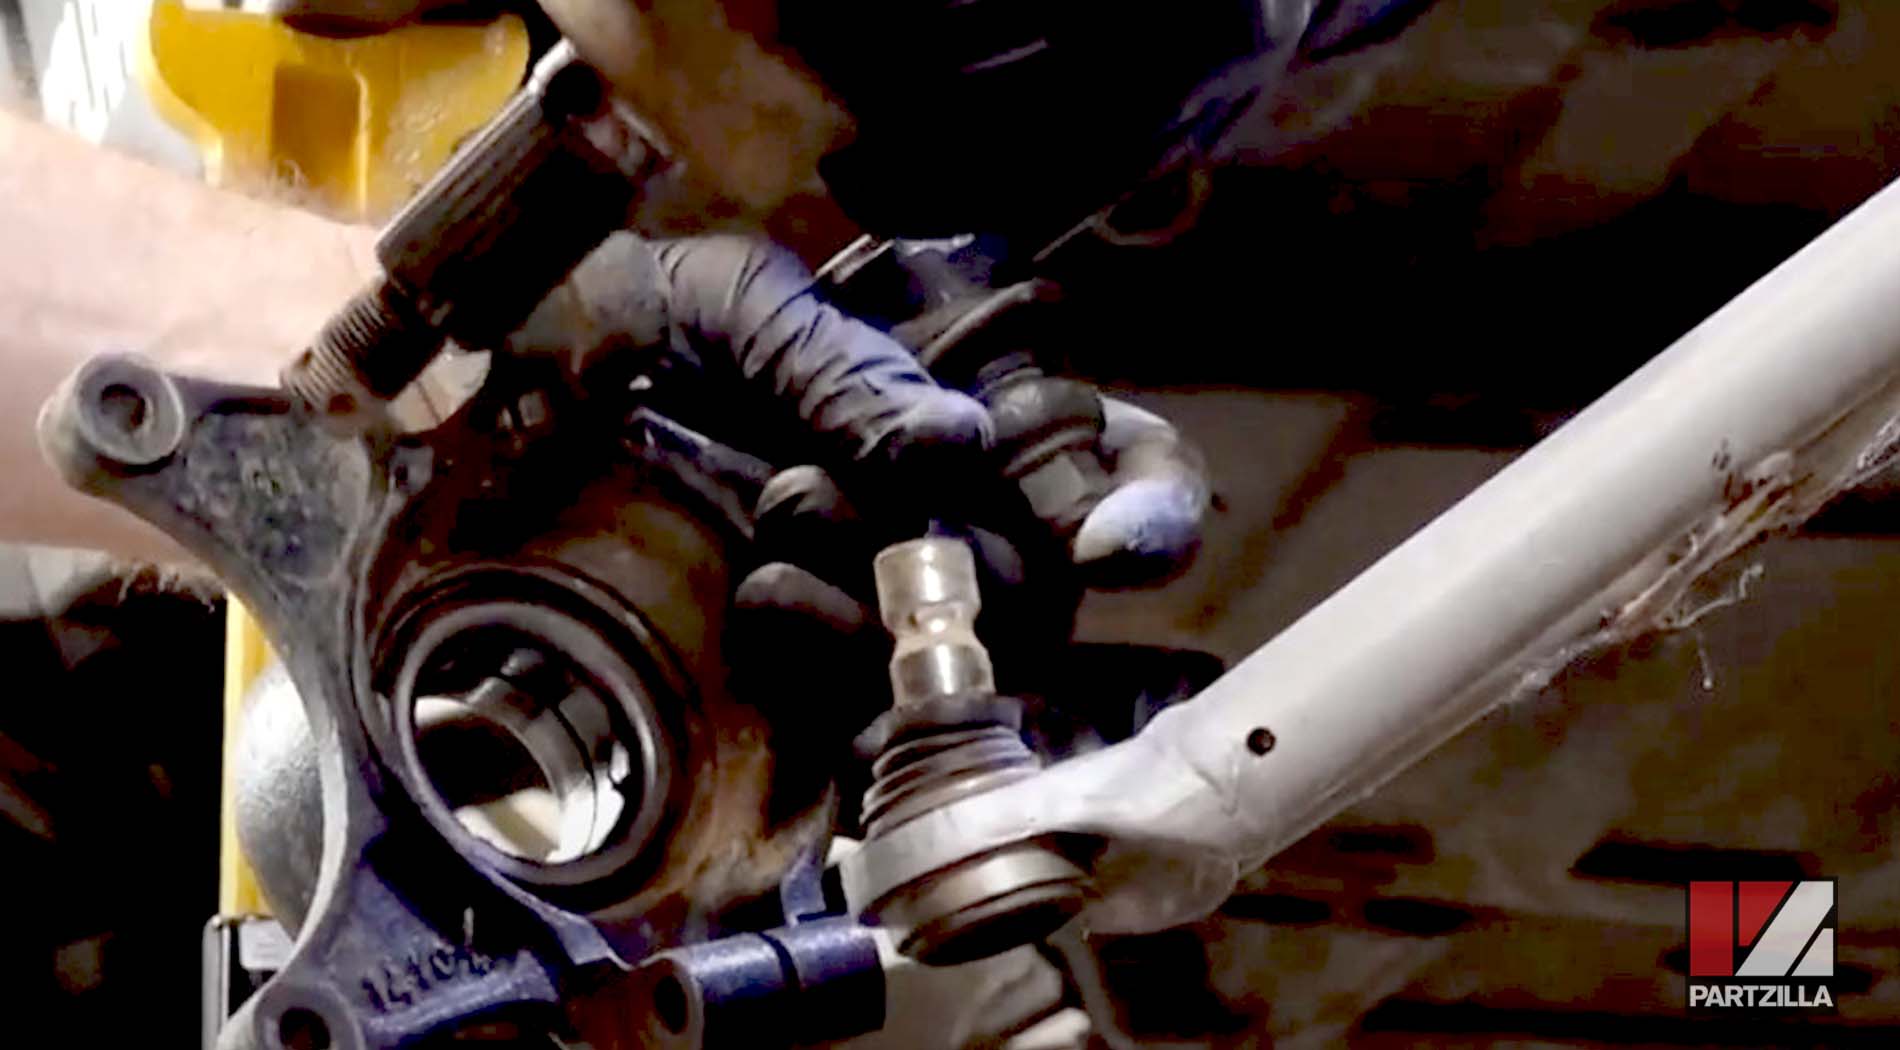
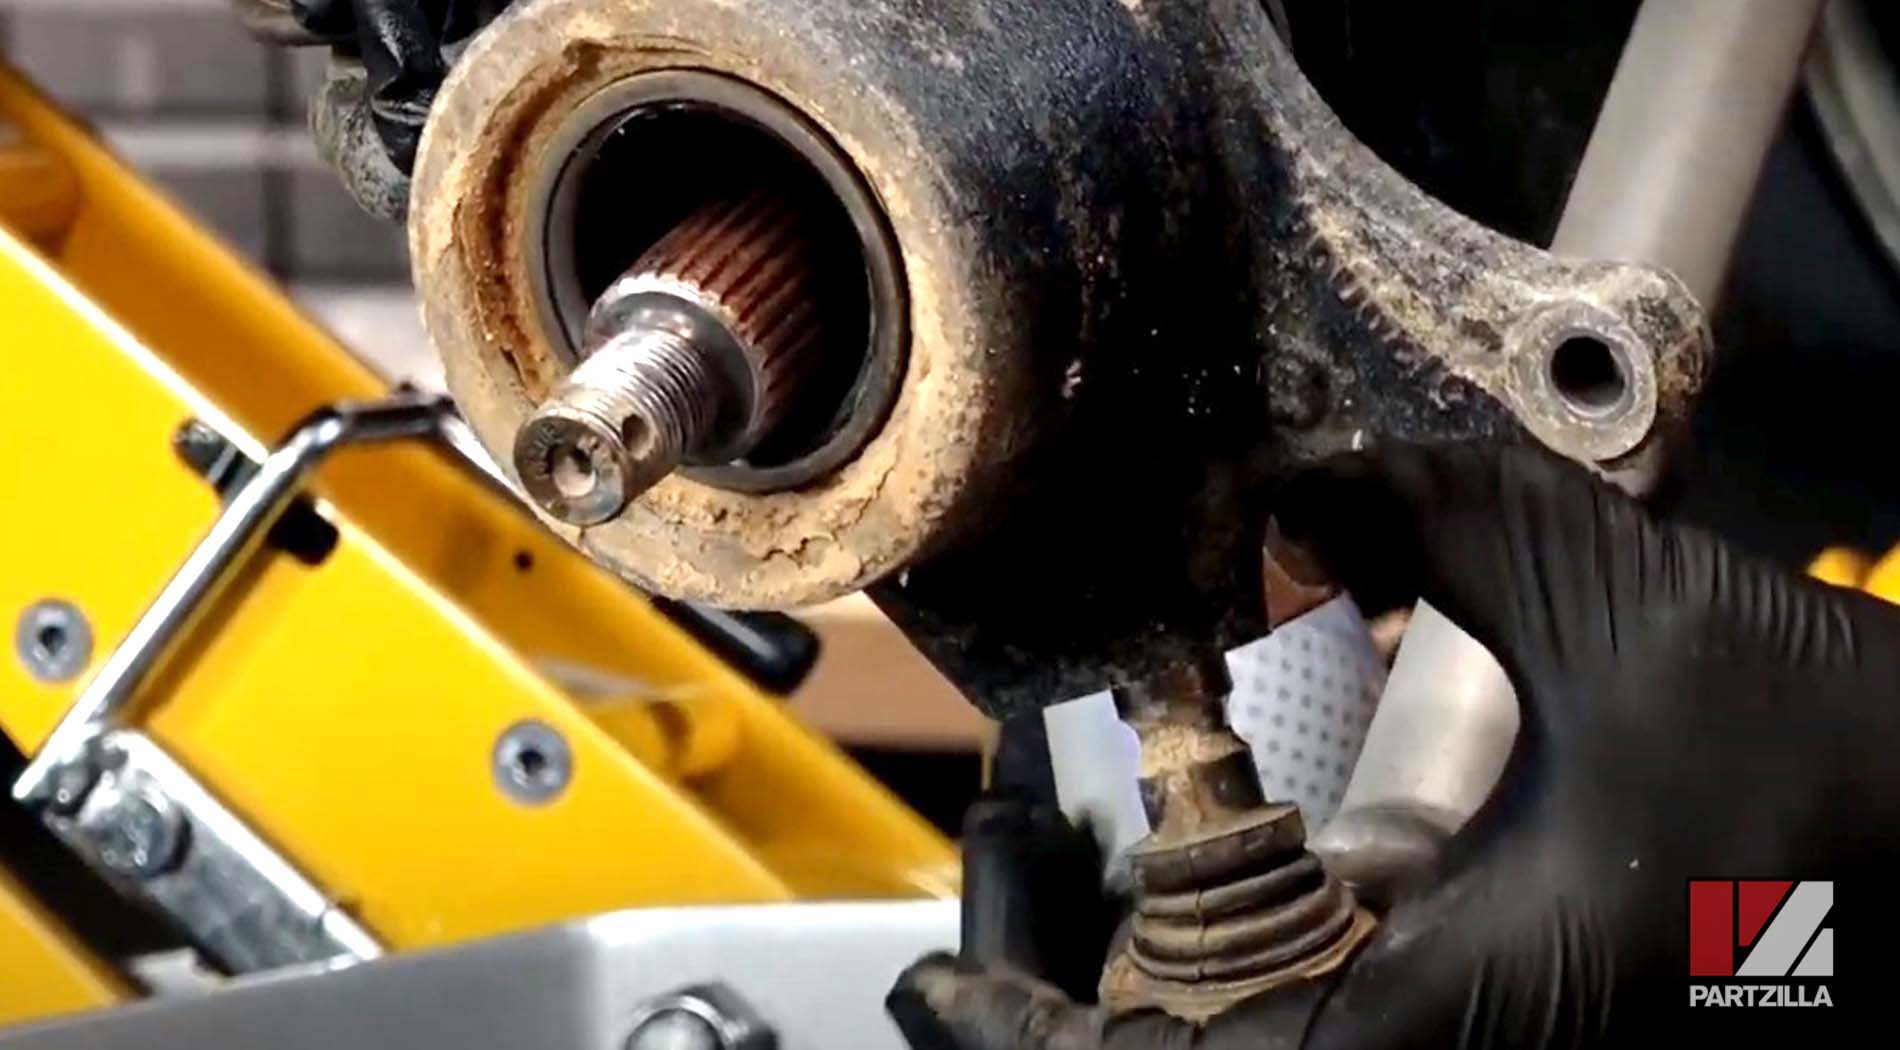
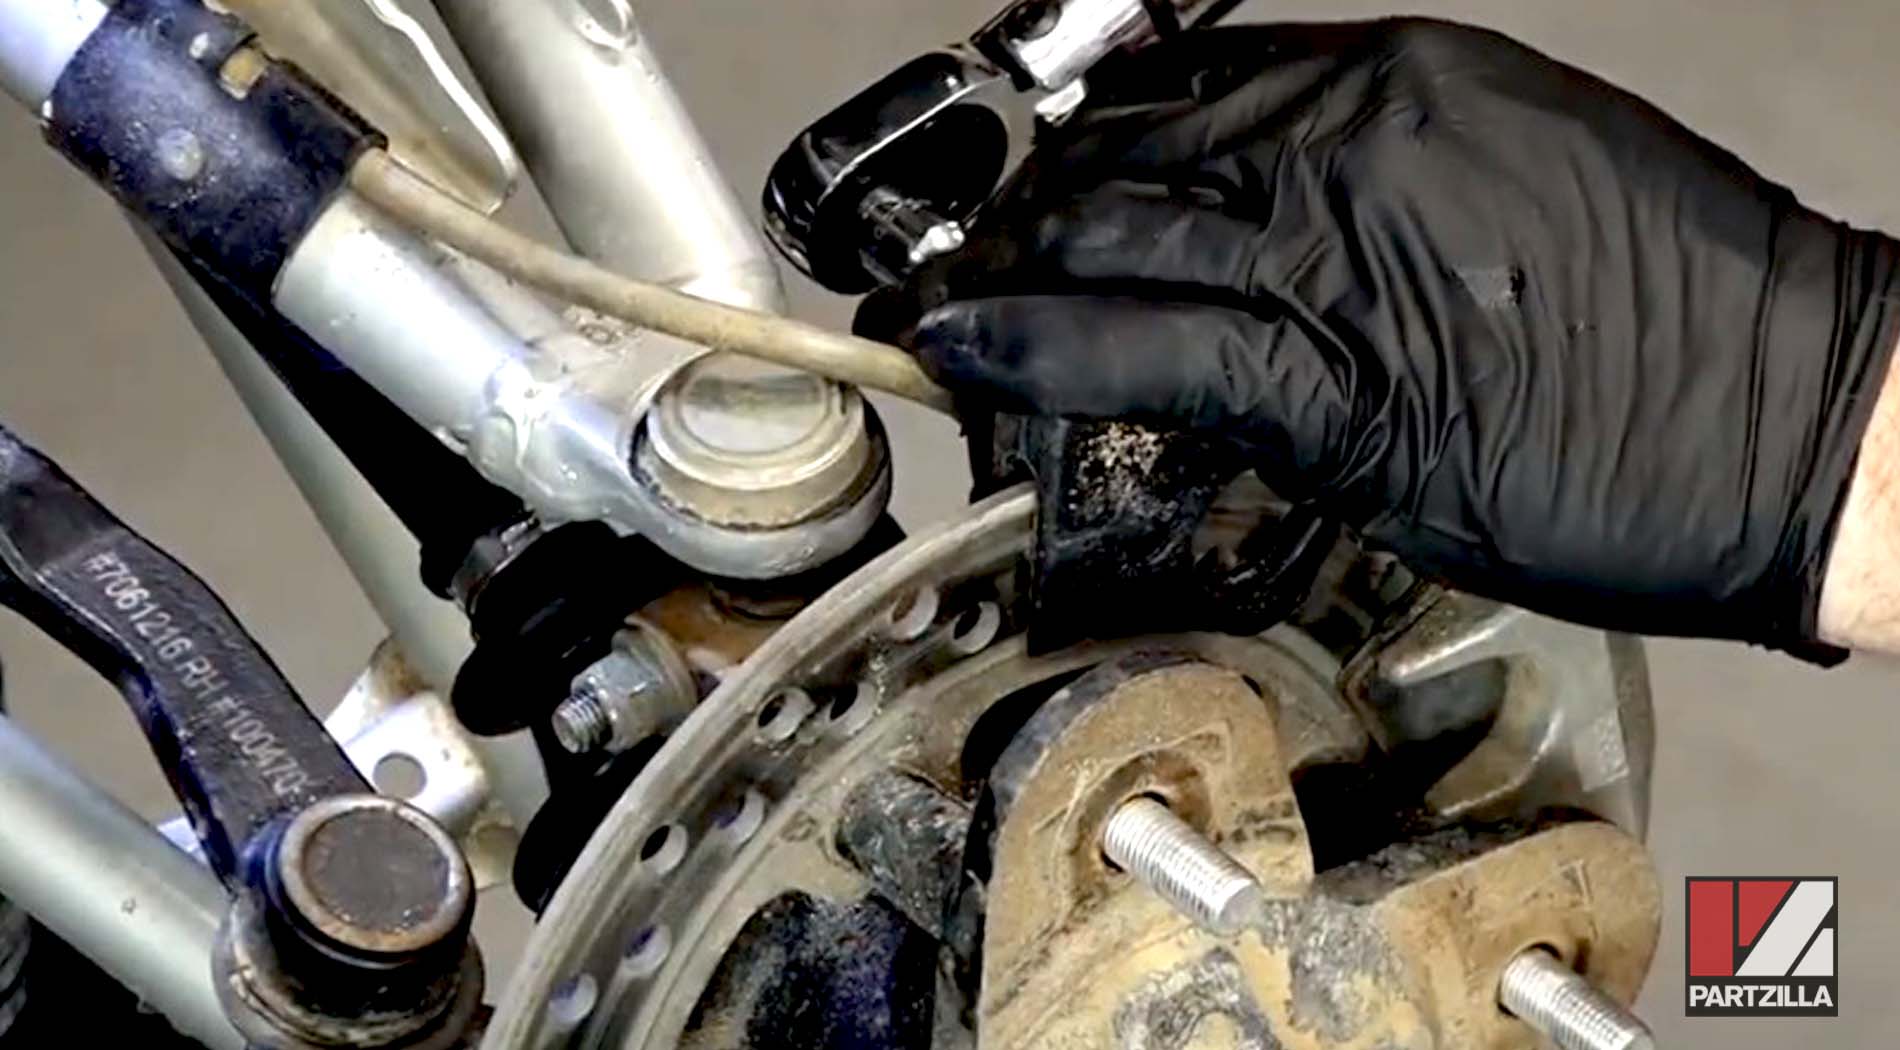
Step 3. Remove the upper and lower A-arms by taking off the pinch bolt from each and pulling the ball joint out from the steering knuckle/wheel hub assembly.
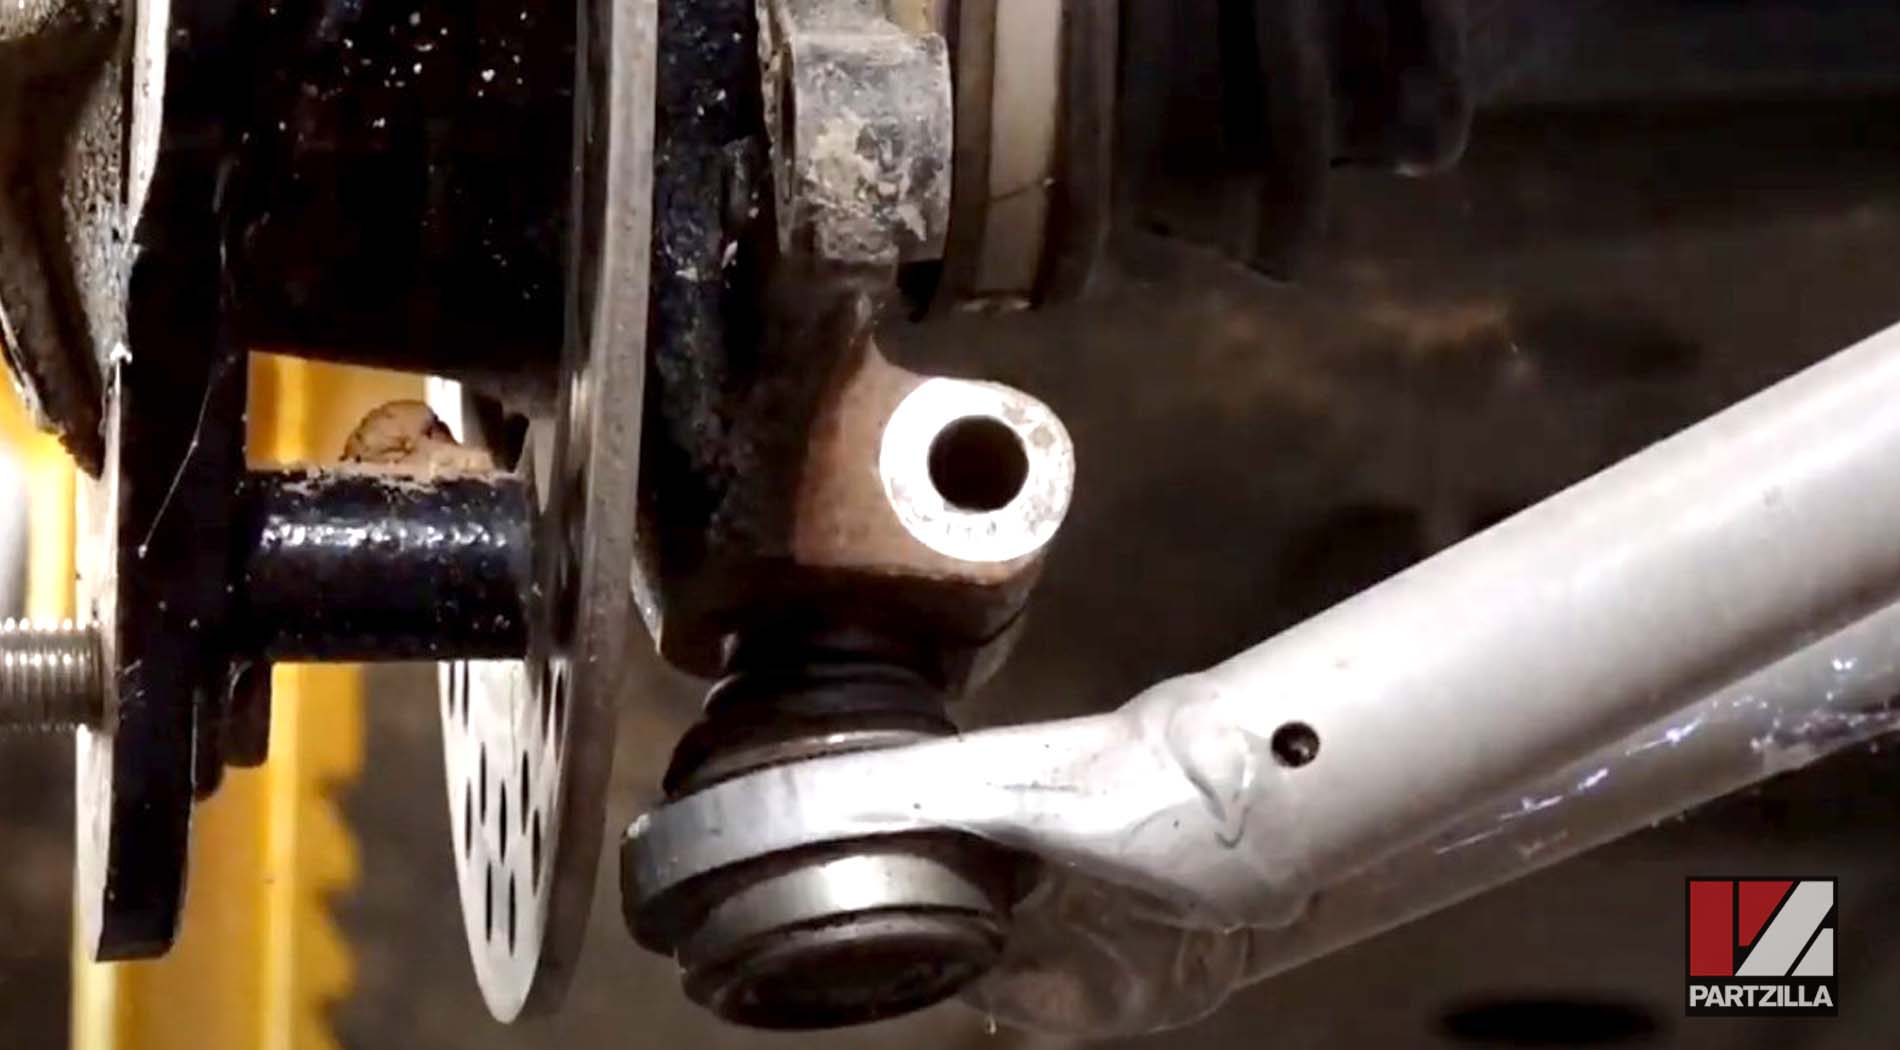
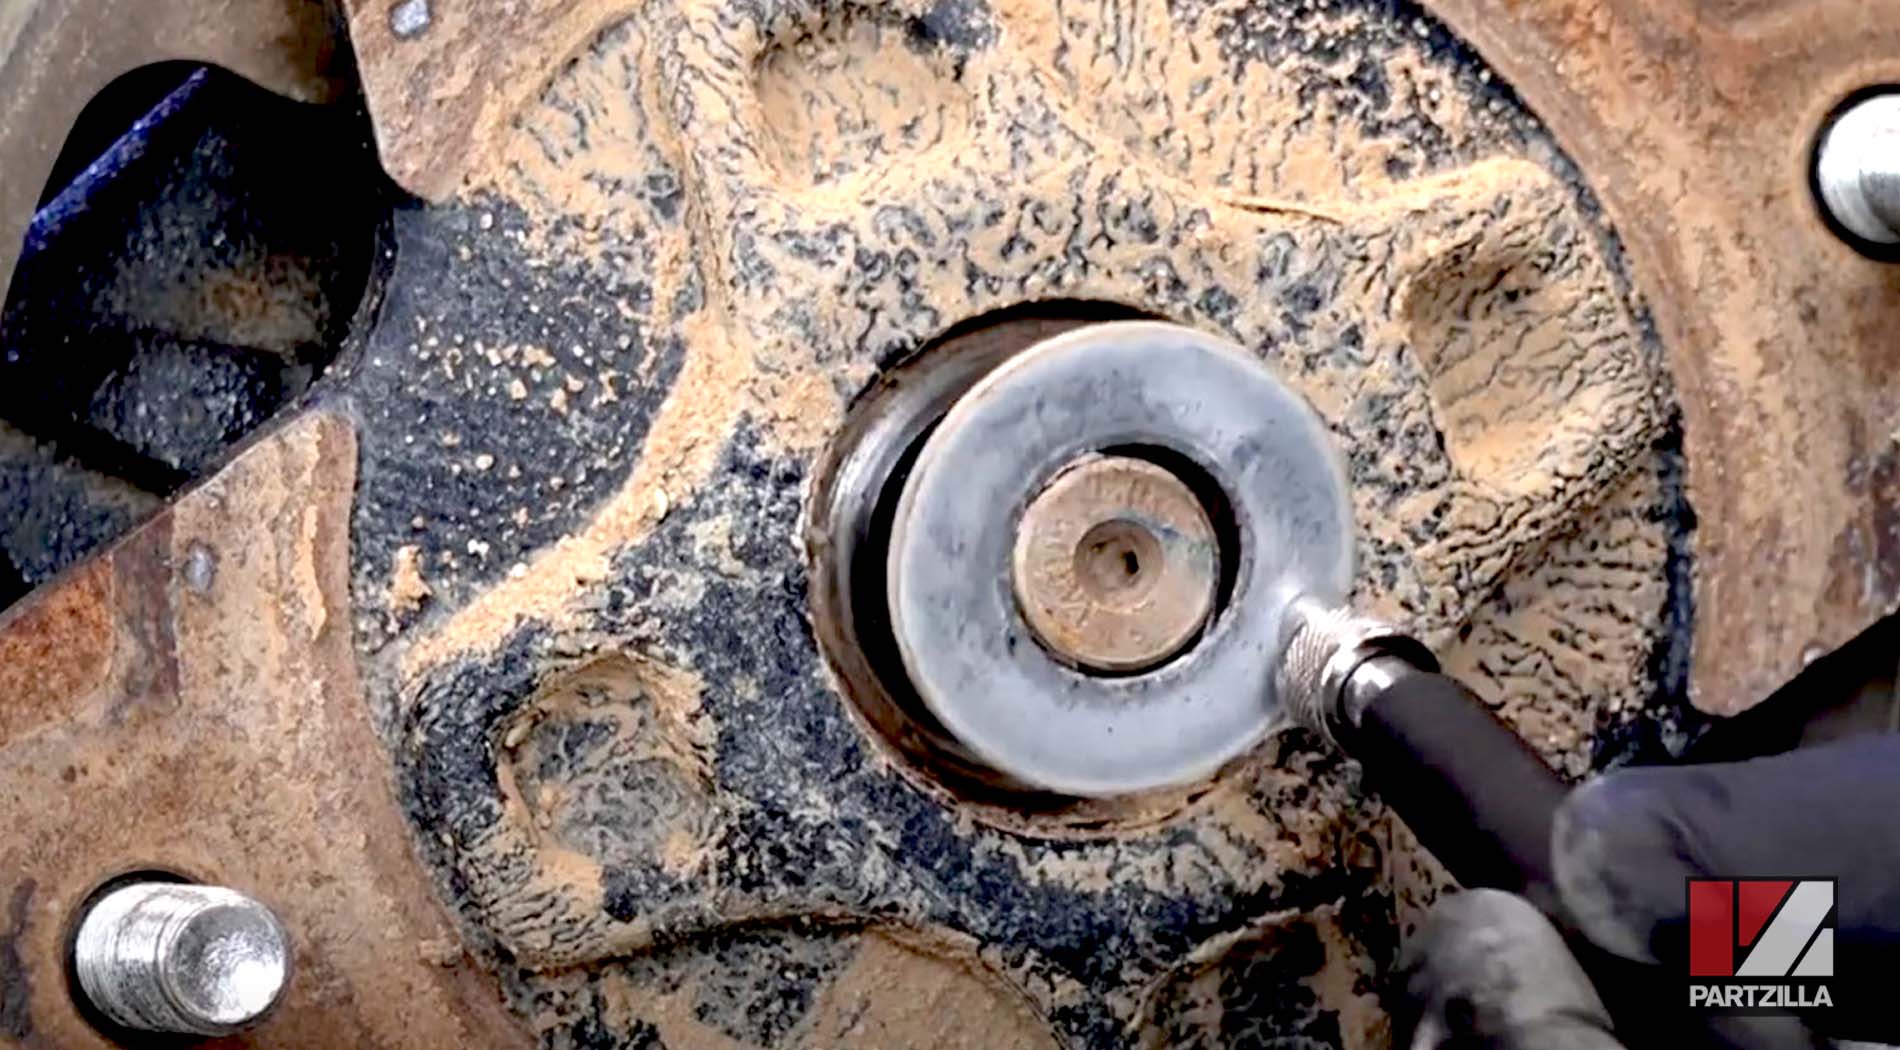
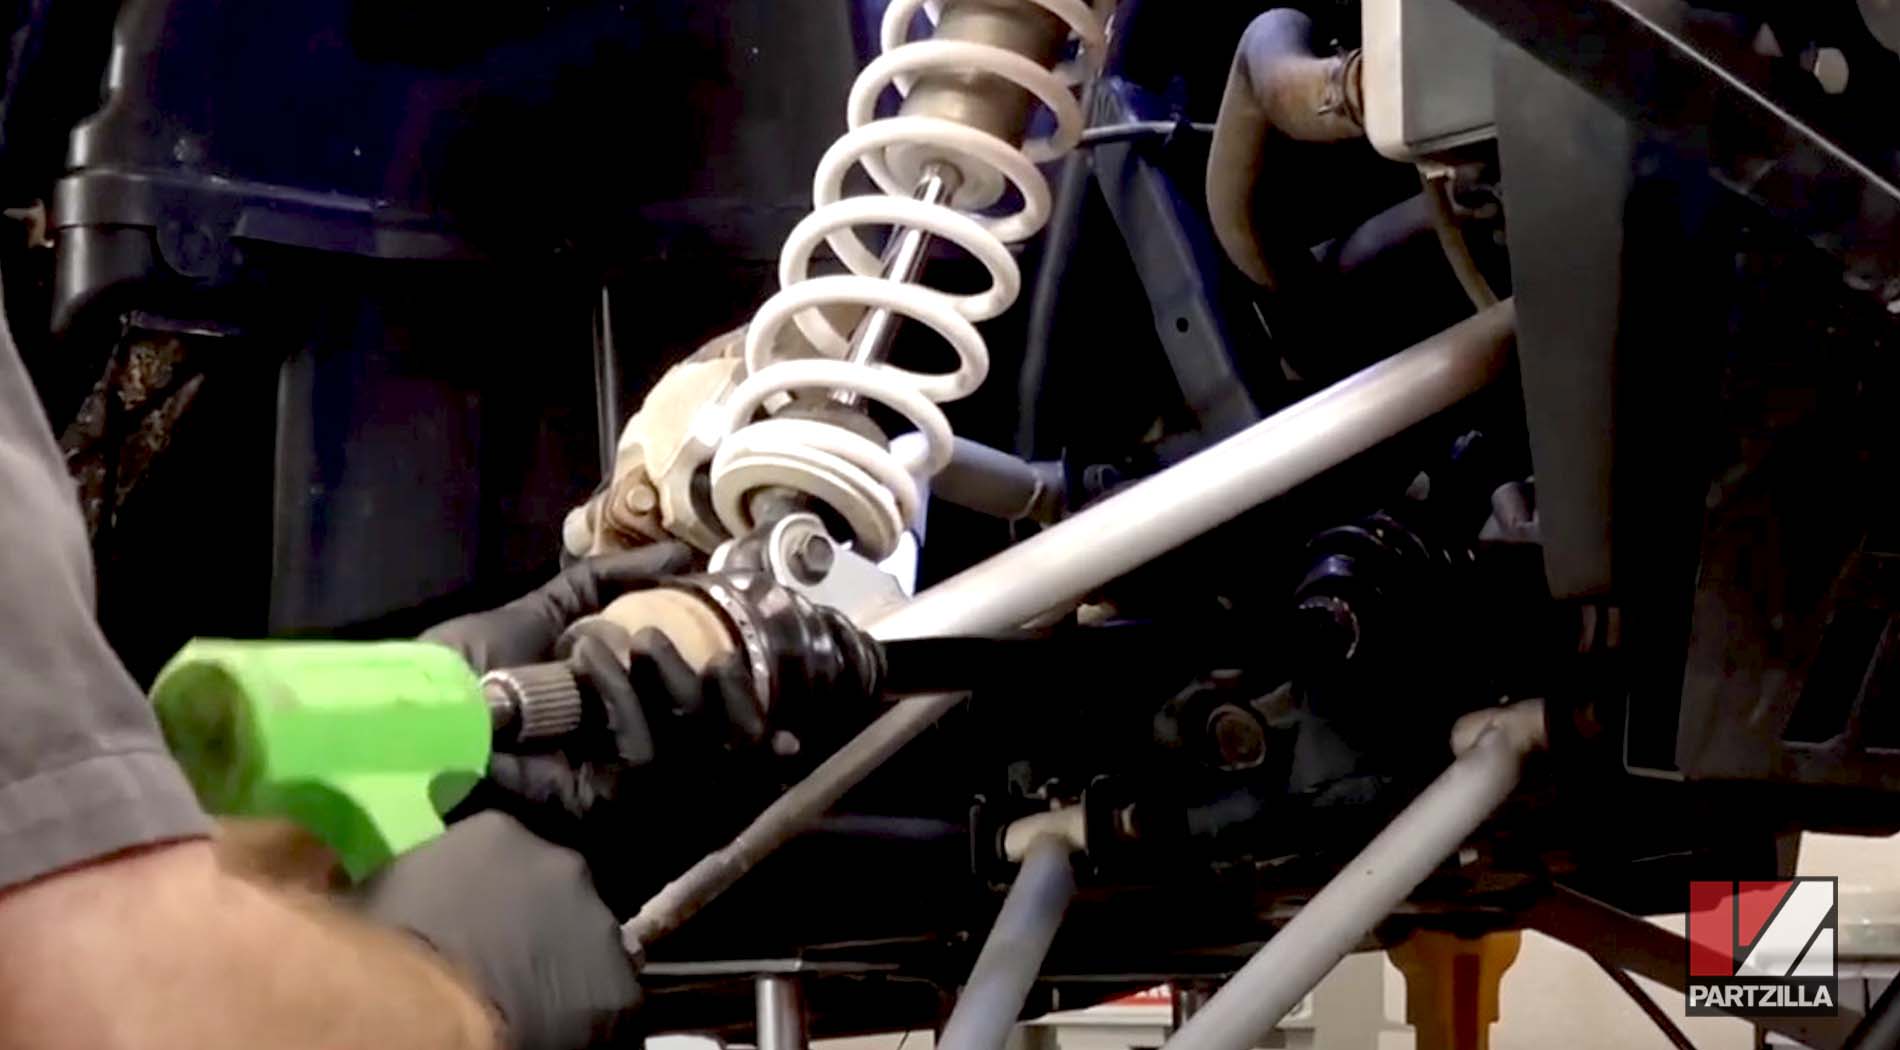
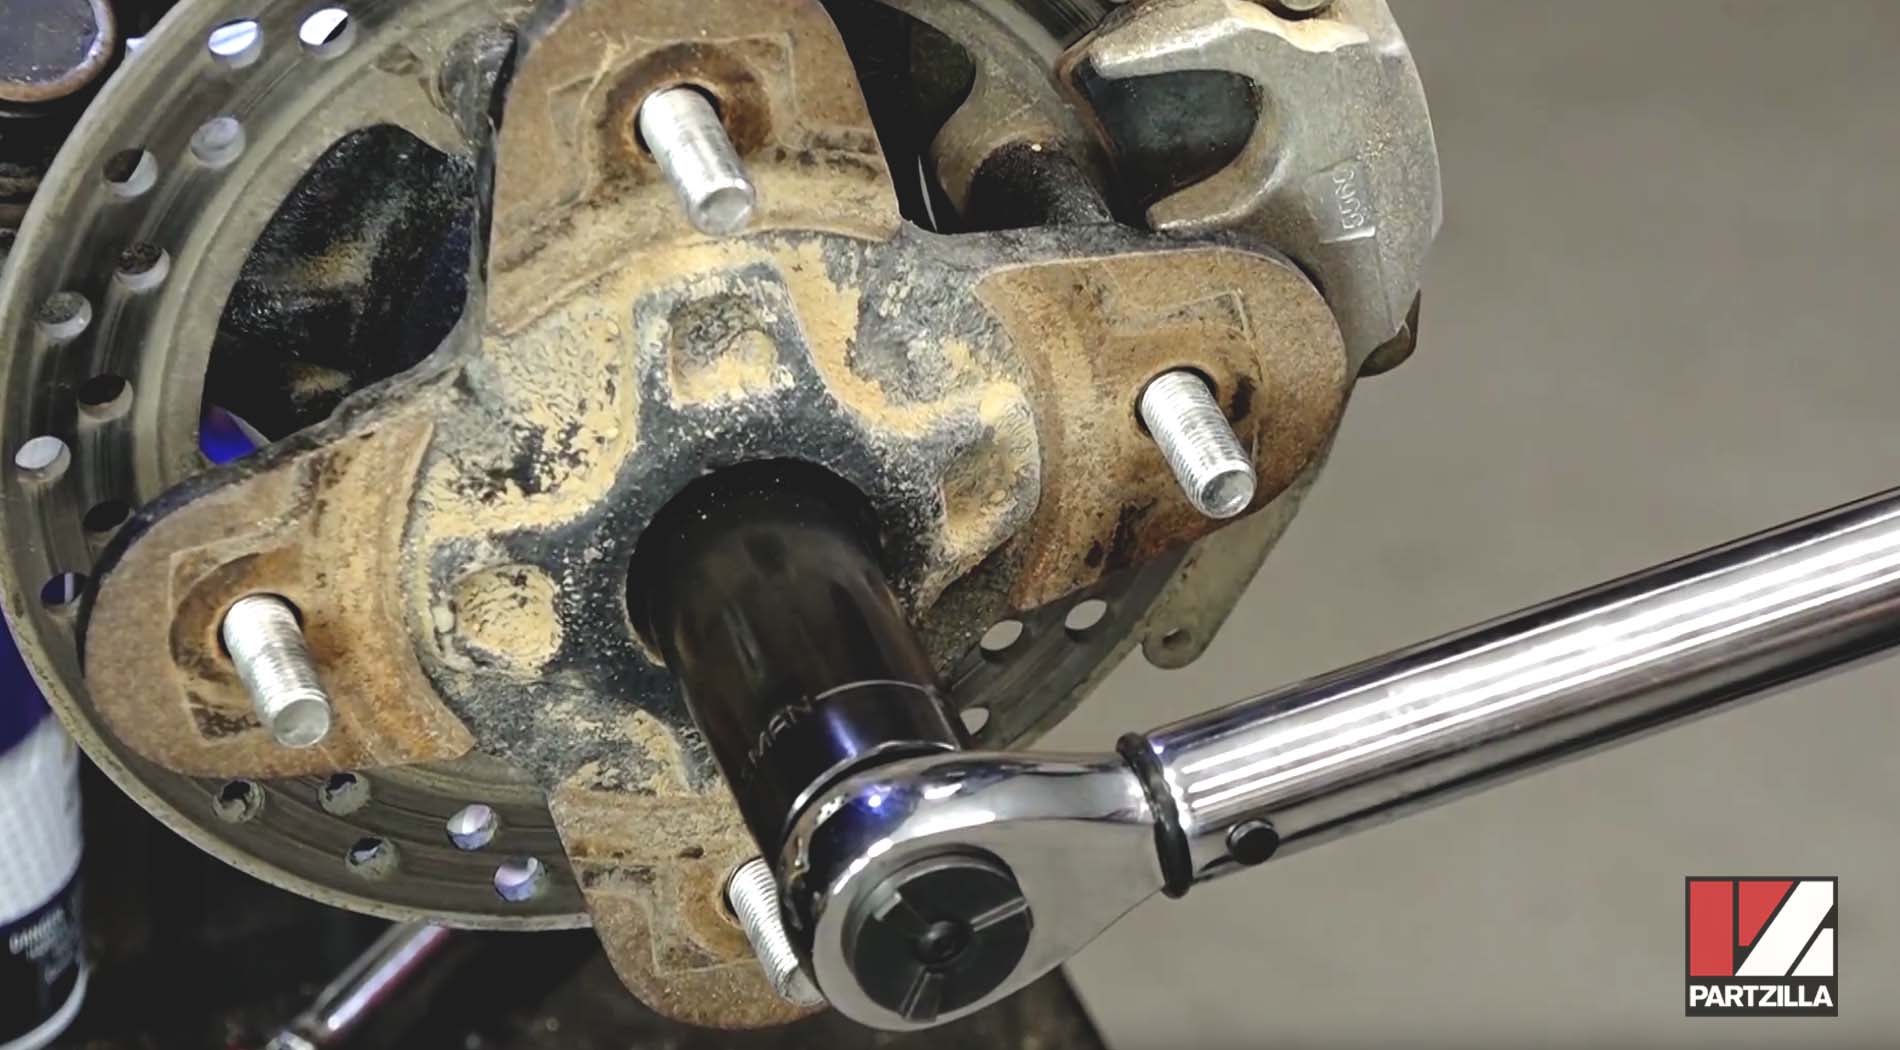
Step 4. Pull the steering knuckle/wheel hub assembly off the outer end of the driveshaft, then remove the driveshaft by making a few short, firm pulls on the driveshaft to free it from the transmission housing.
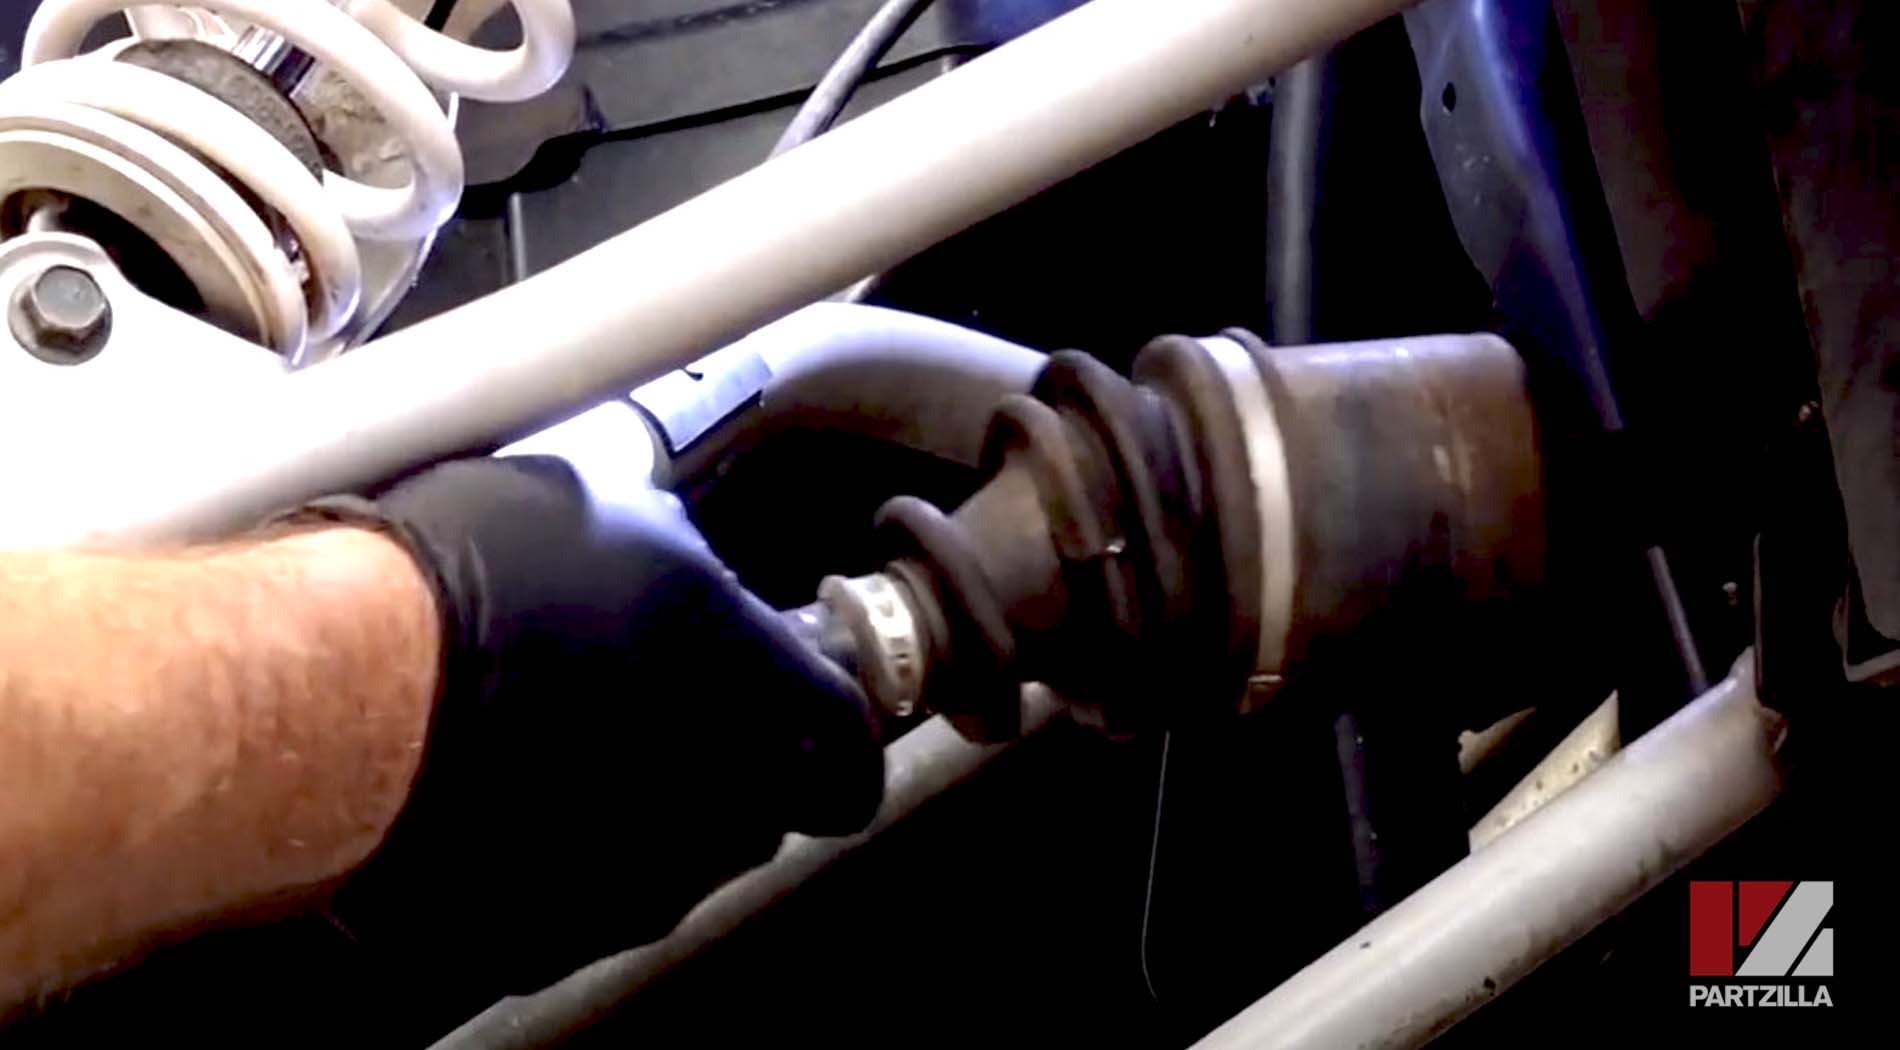
PRO TIP: Secure the driveshaft in a vice or clamp on a workbench to make this step easier.
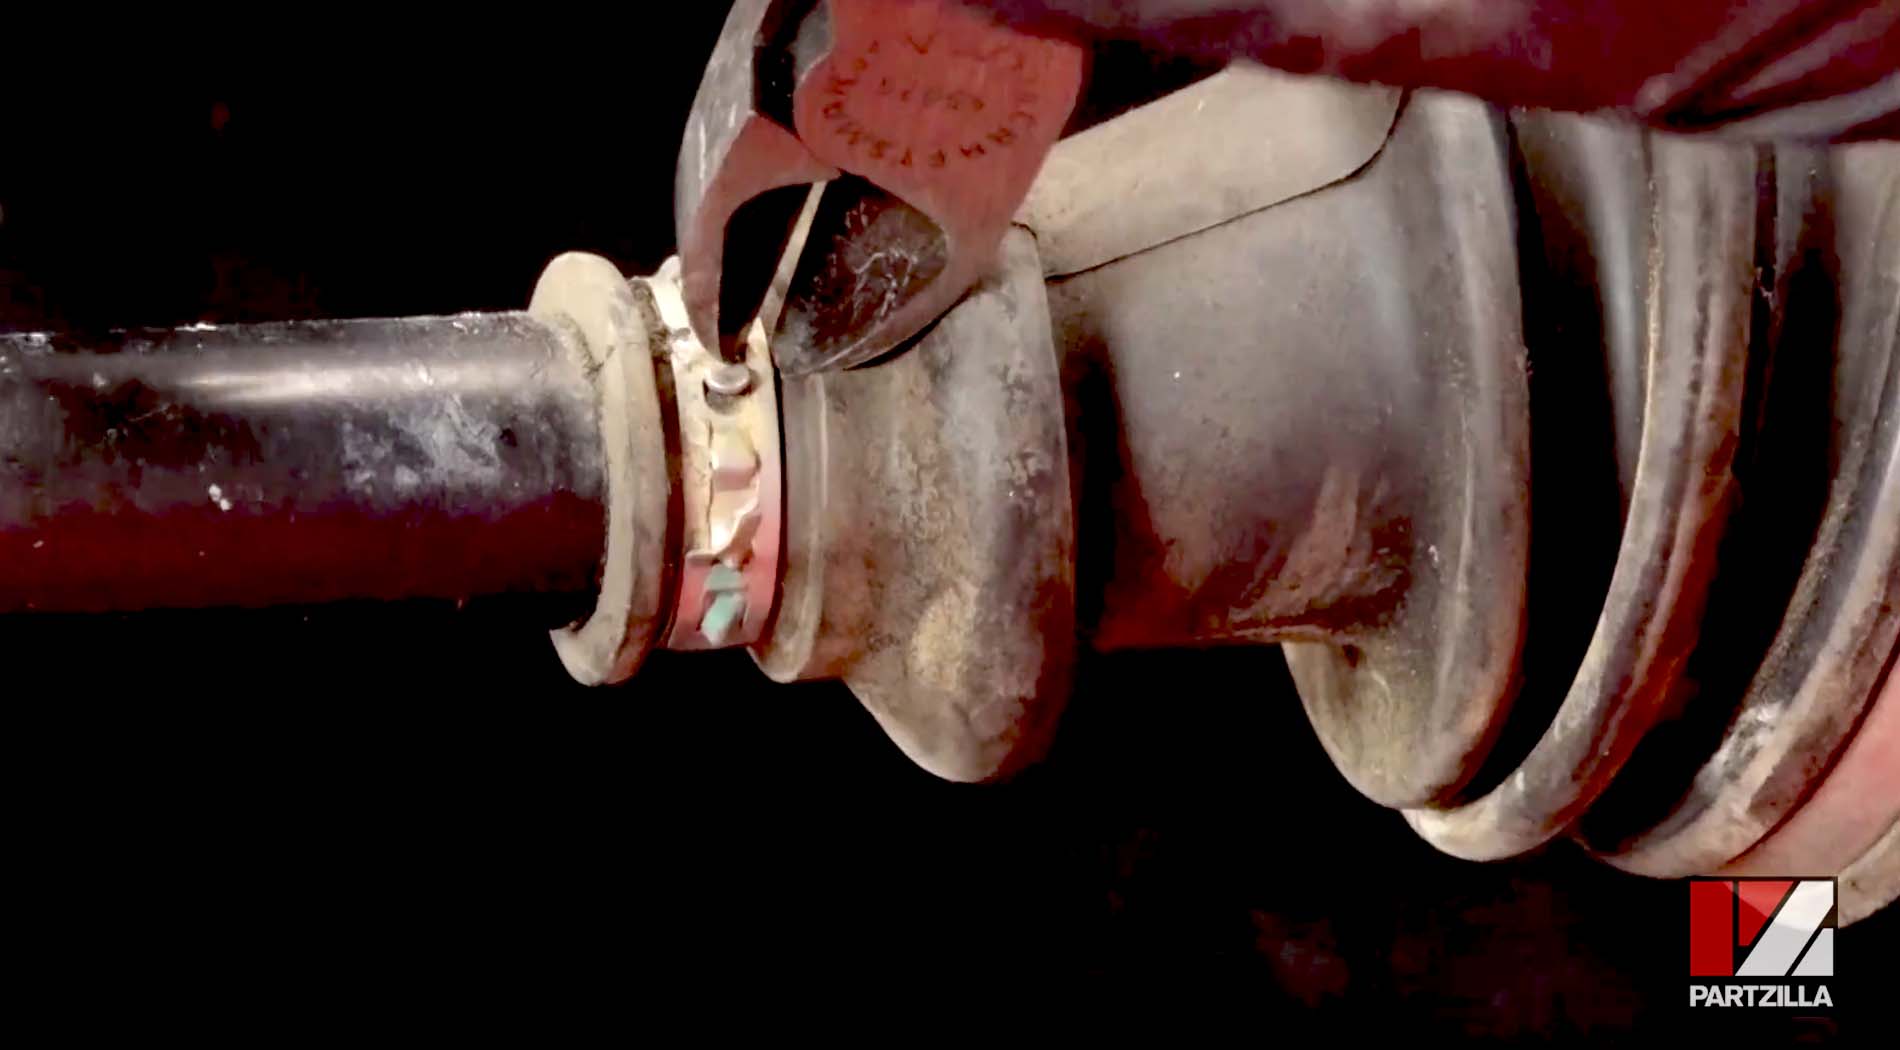
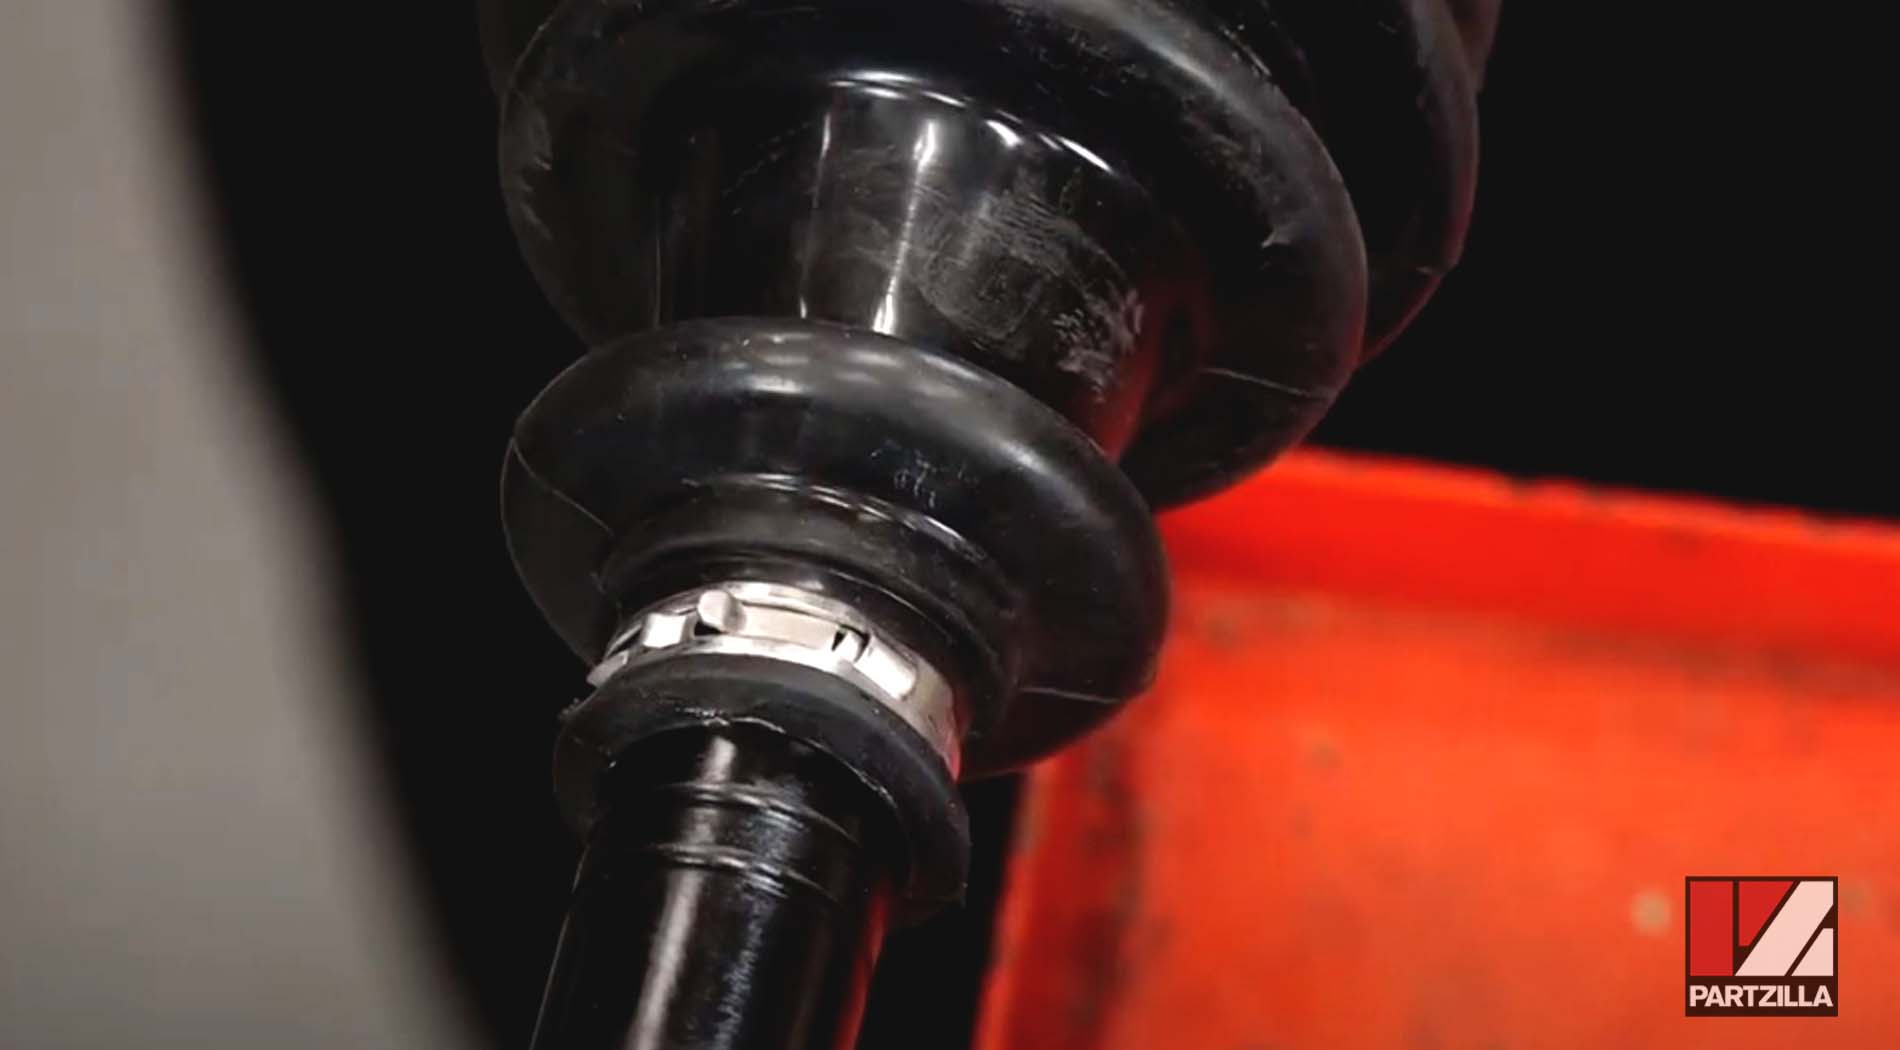
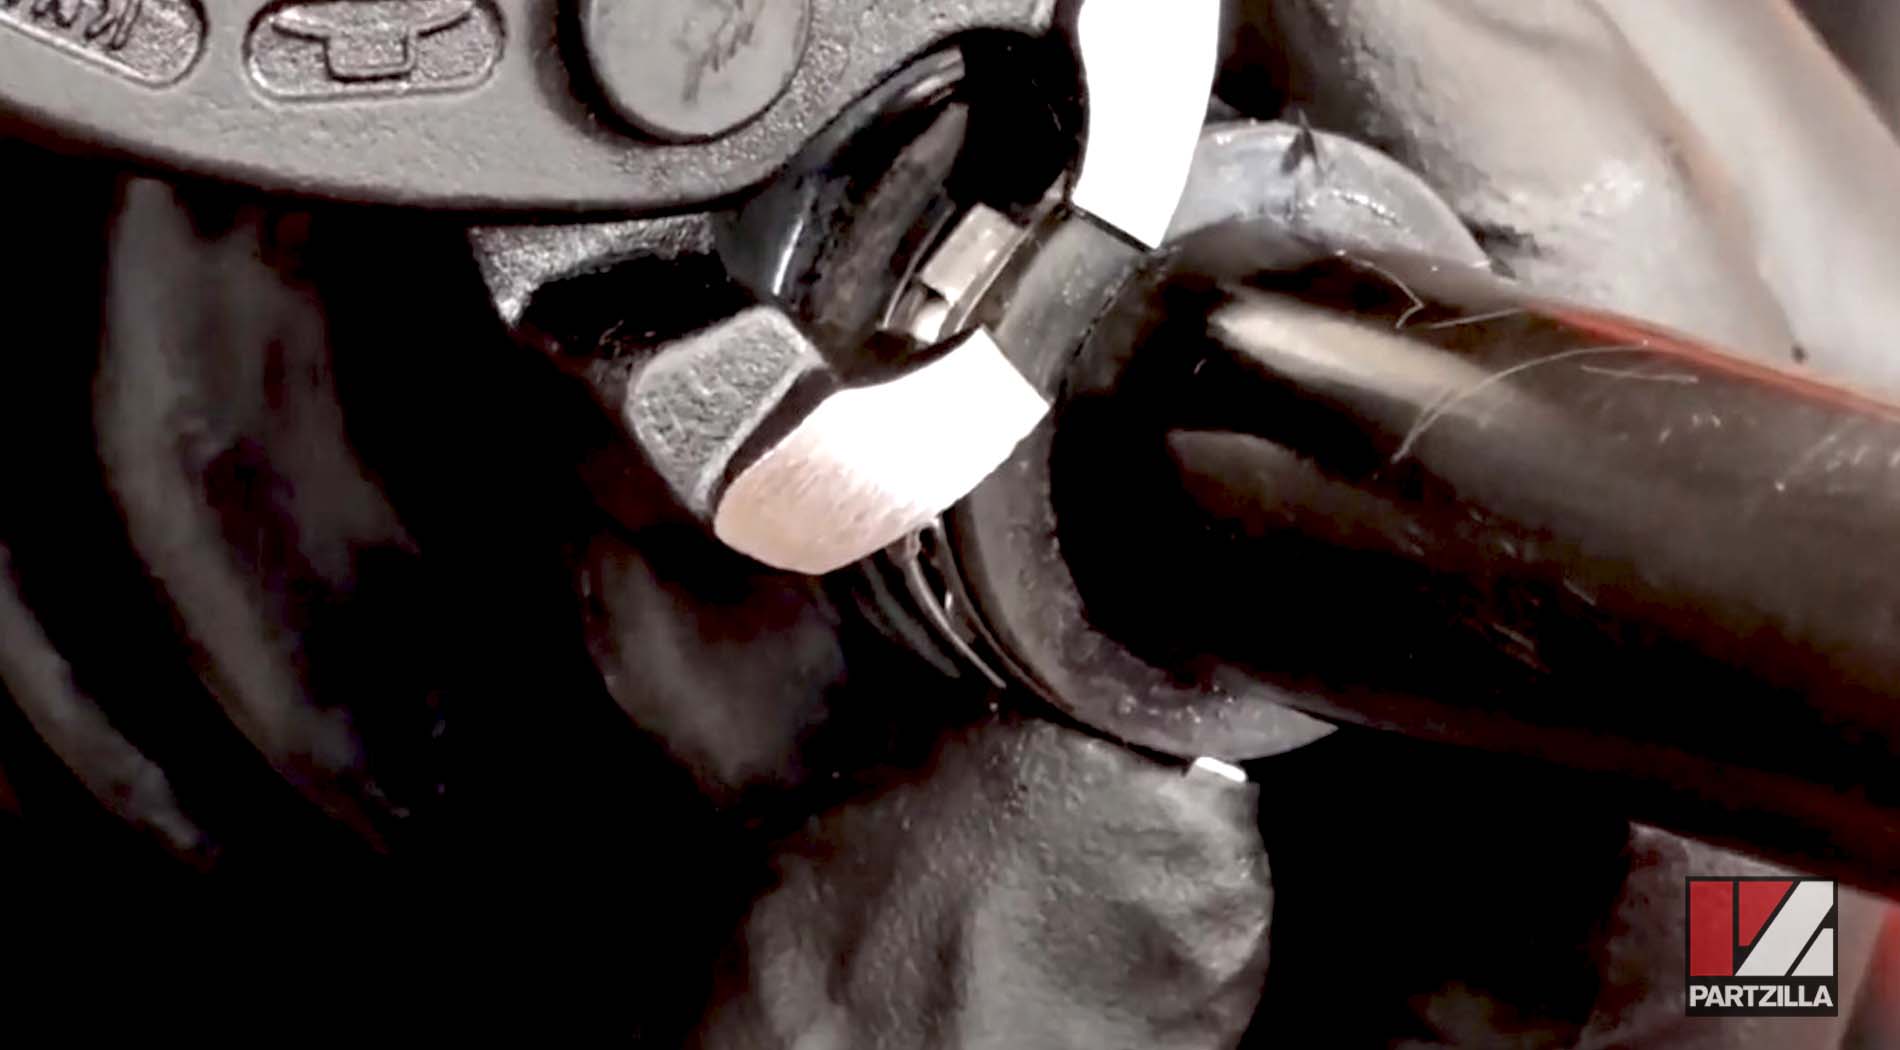
Step 5. Remove the CV boot retaining clamps by cutting them off with a pair of side cutters.
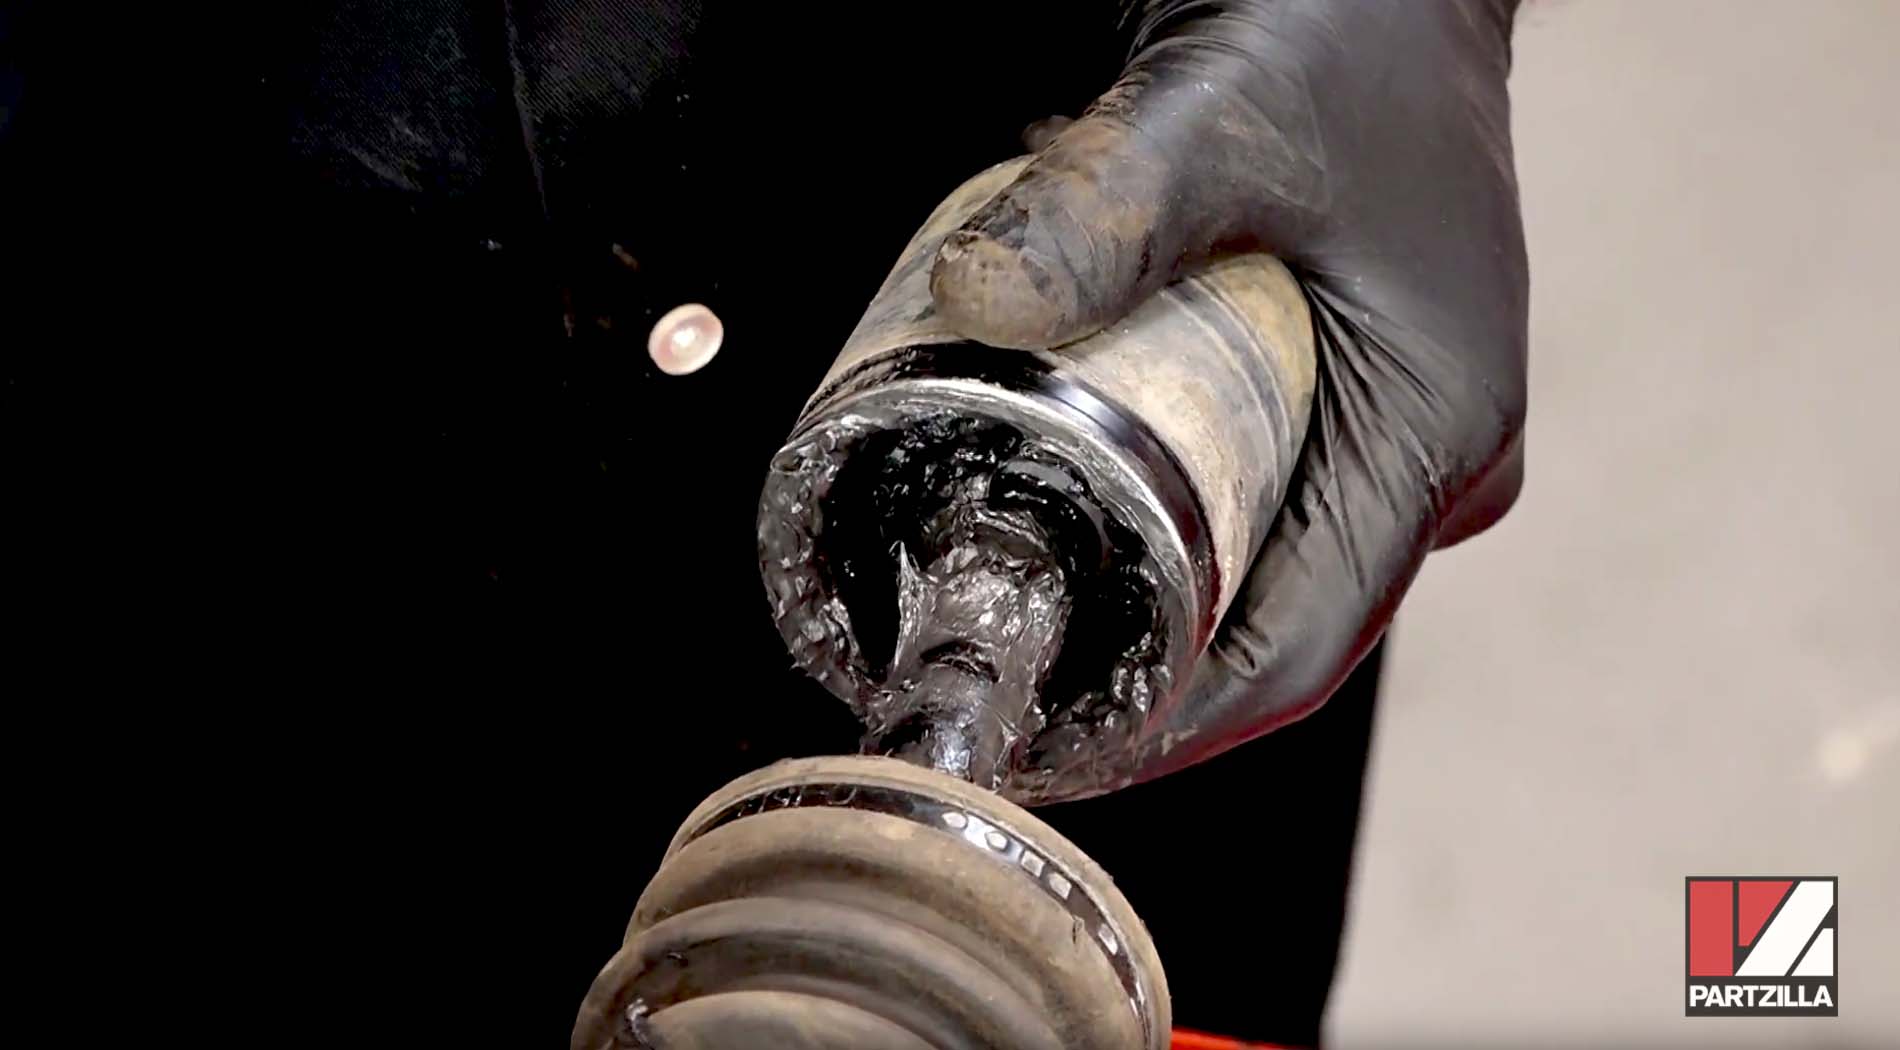
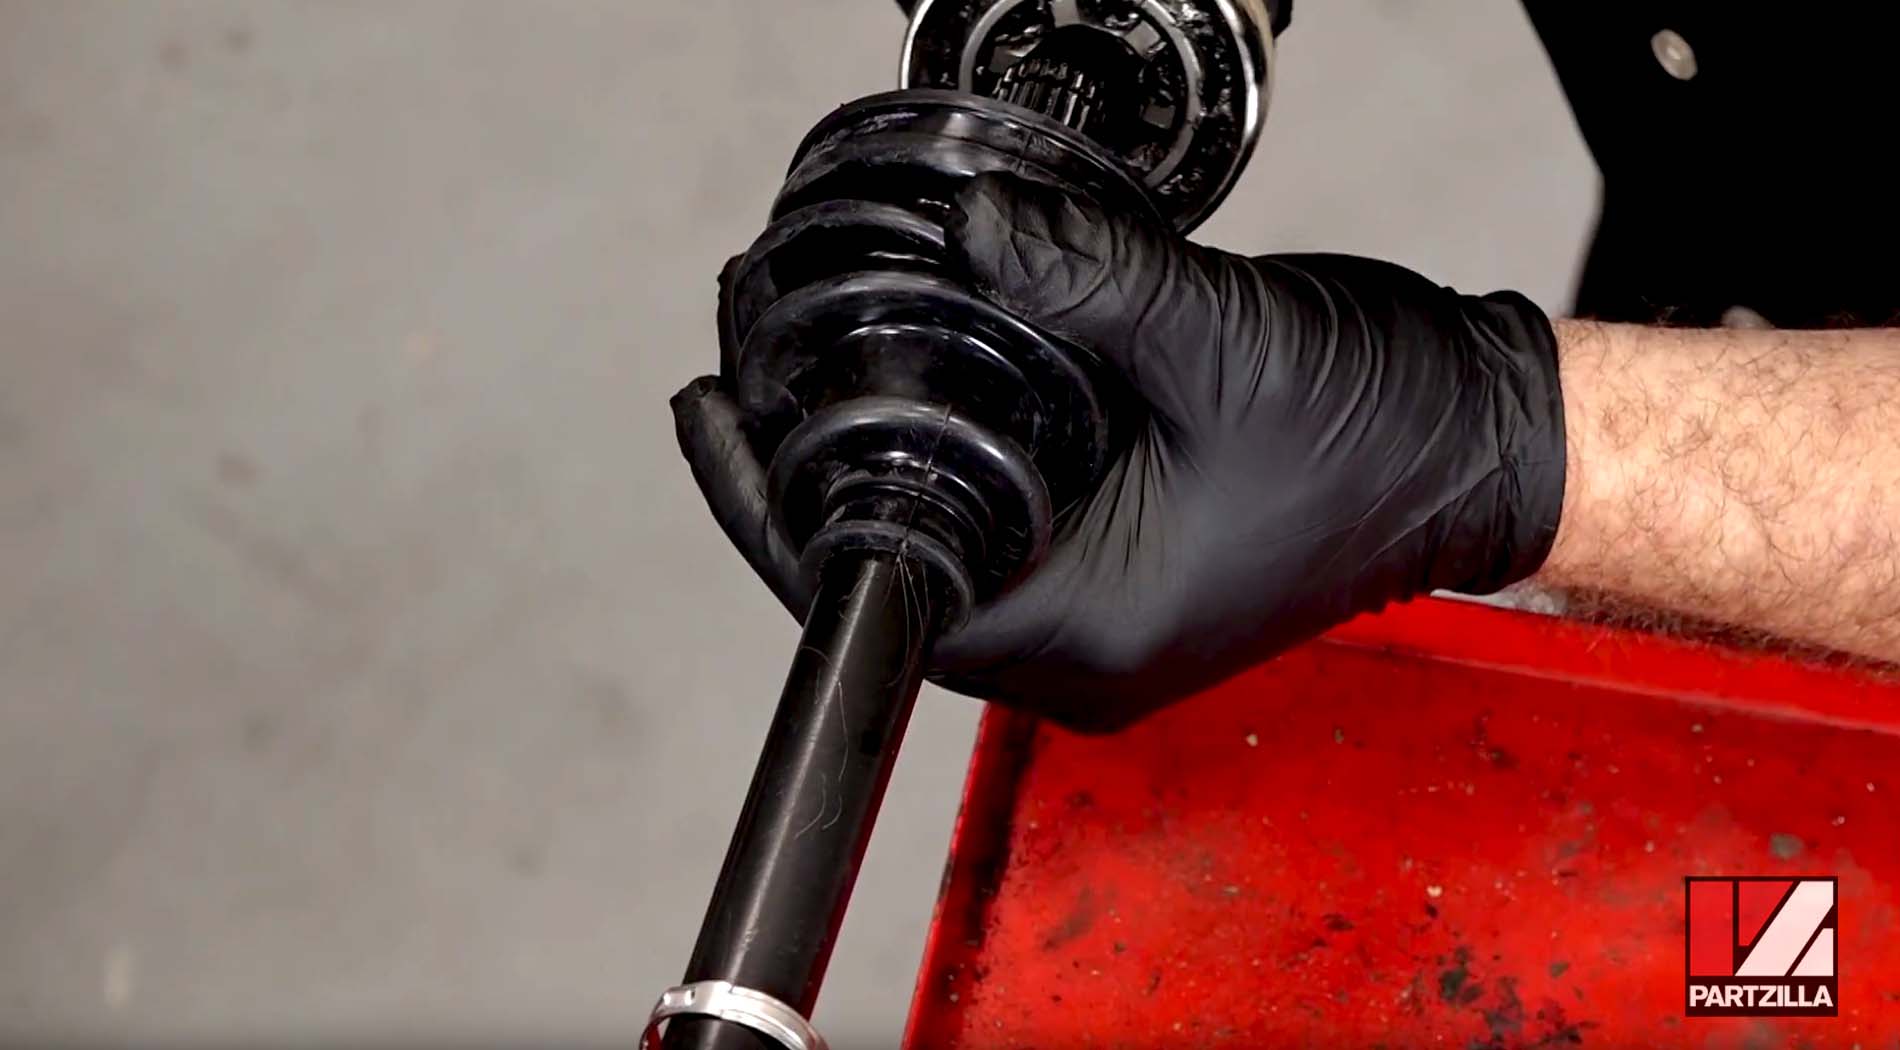
Step 6. Pull the CV boot off the outer CV joint and inward toward the center of the driveshaft, then wipe away the old grease. You can choose to cut the CV boot off here.
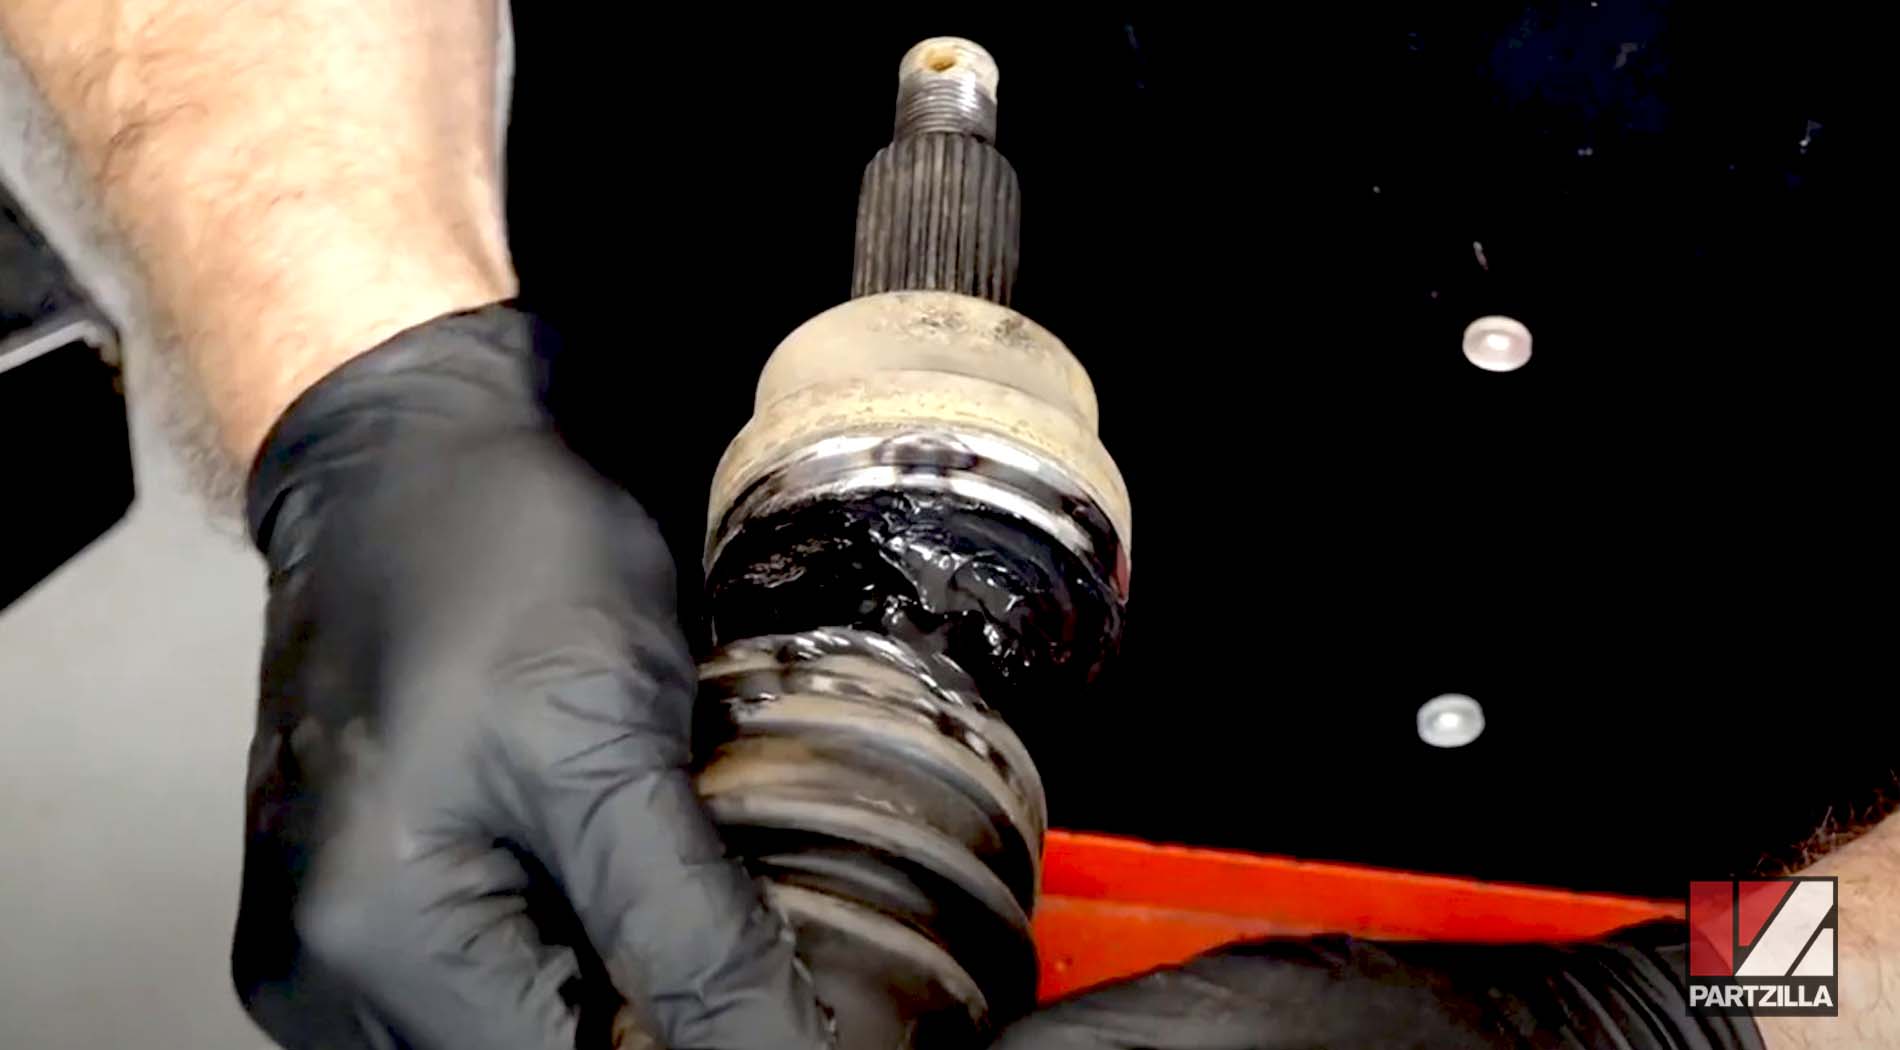
Step 7. Remove the outer CV joint from the driveshaft by carefully tapping evenly around the inner race of the CV joint. Slide the old CV boot off the driveshaft if you haven’t already cut it off.
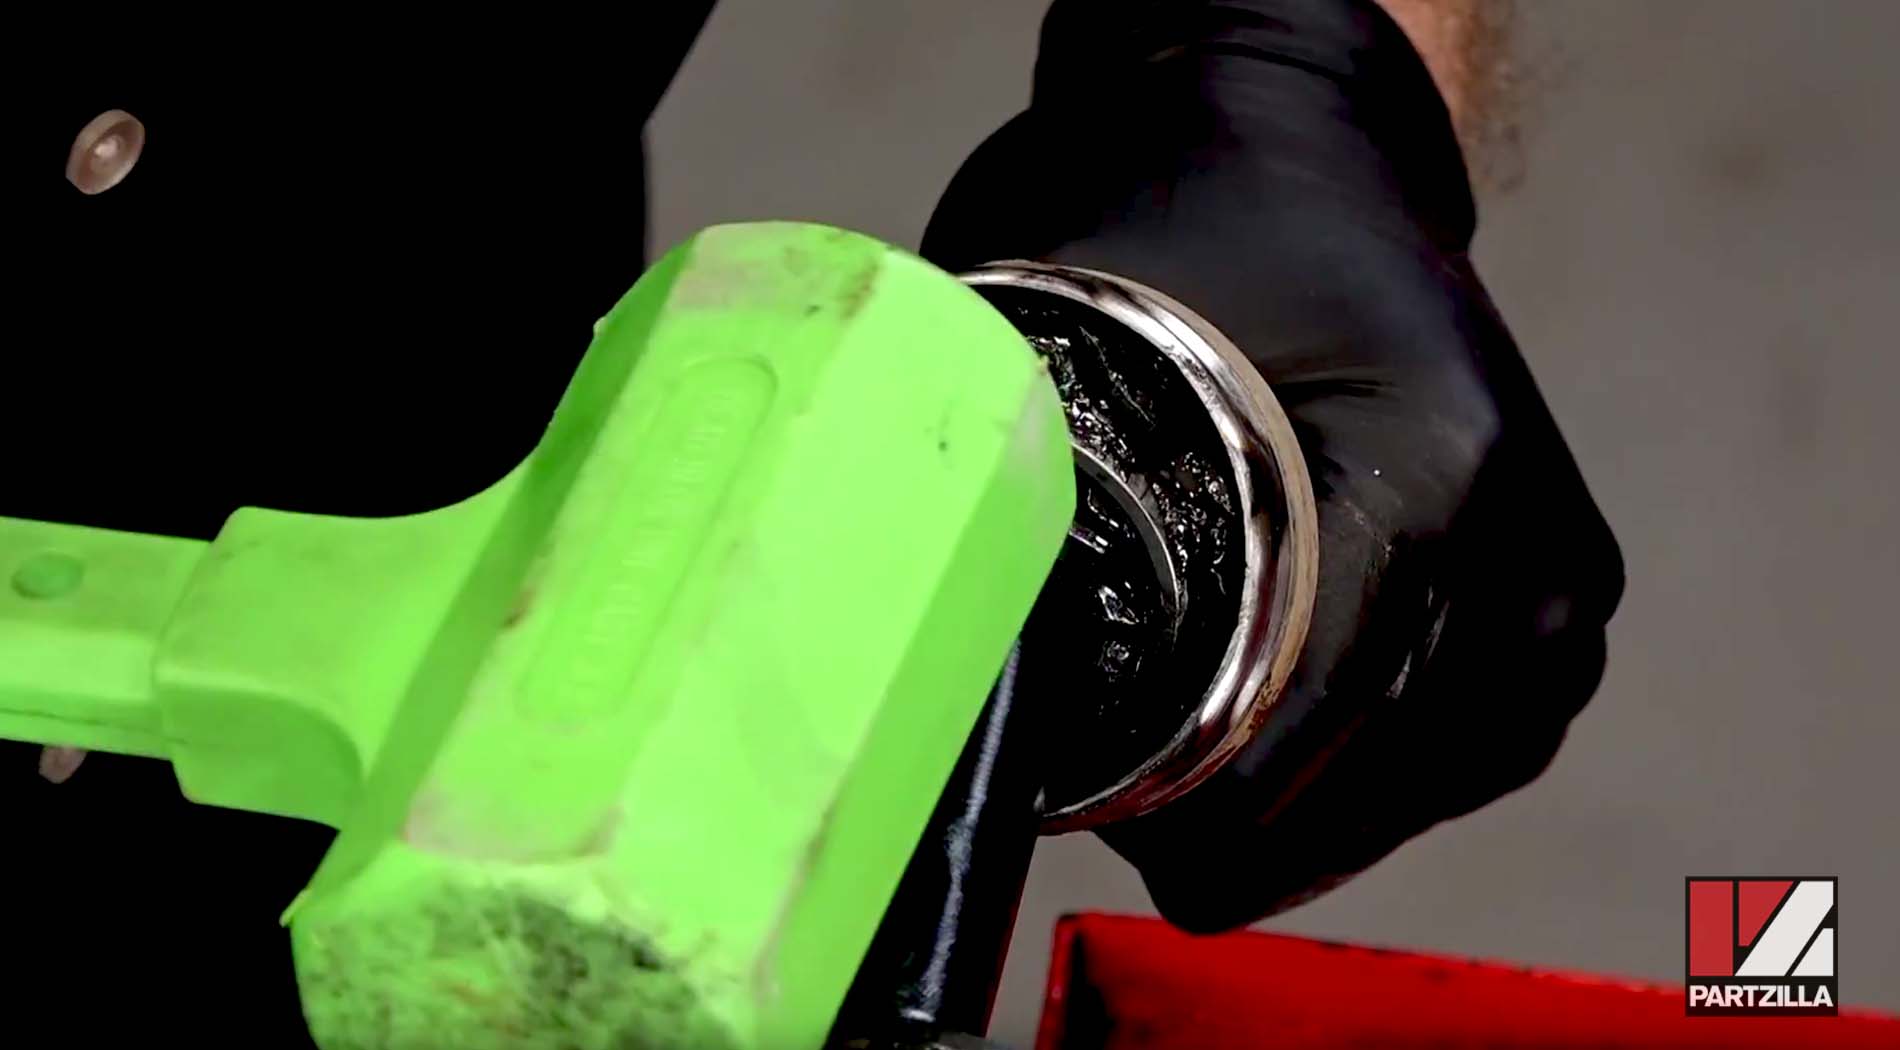
NOTE: Only the outer CV joint is removable. Don’t try to remove the inner CV joint
Step 8. Pull the CV boot off the inner CV joint and off the driveshaft, then wipe away the old grease, or cut the old CV boot off.
Replacing Polaris RZR 900S Front CV Boots
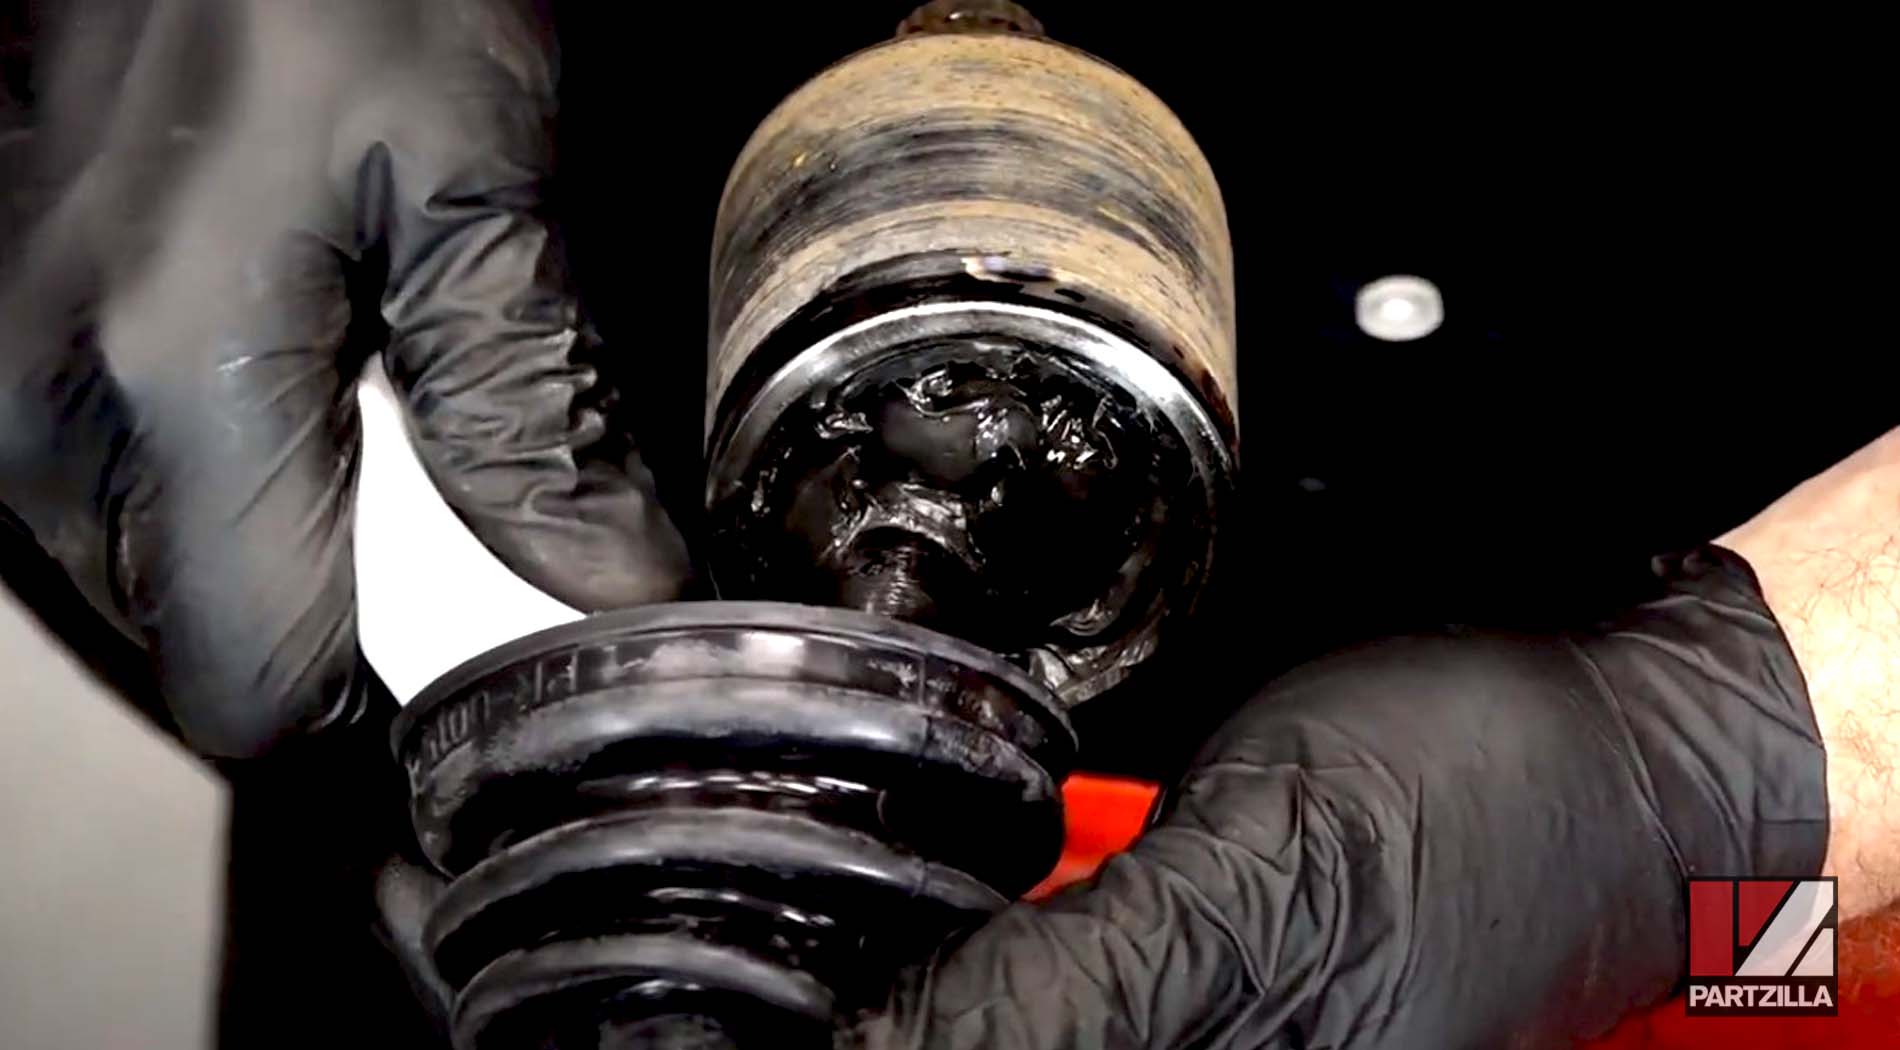
Step 9. Slide a new CV boot over the driveshaft and up to the inner CV joint. Pack the joint and the inside of the boot with grease, then slide the new CV boot over the CV joint into the groove provided. Pull the narrower end of the boot into the groove on the driveshaft.
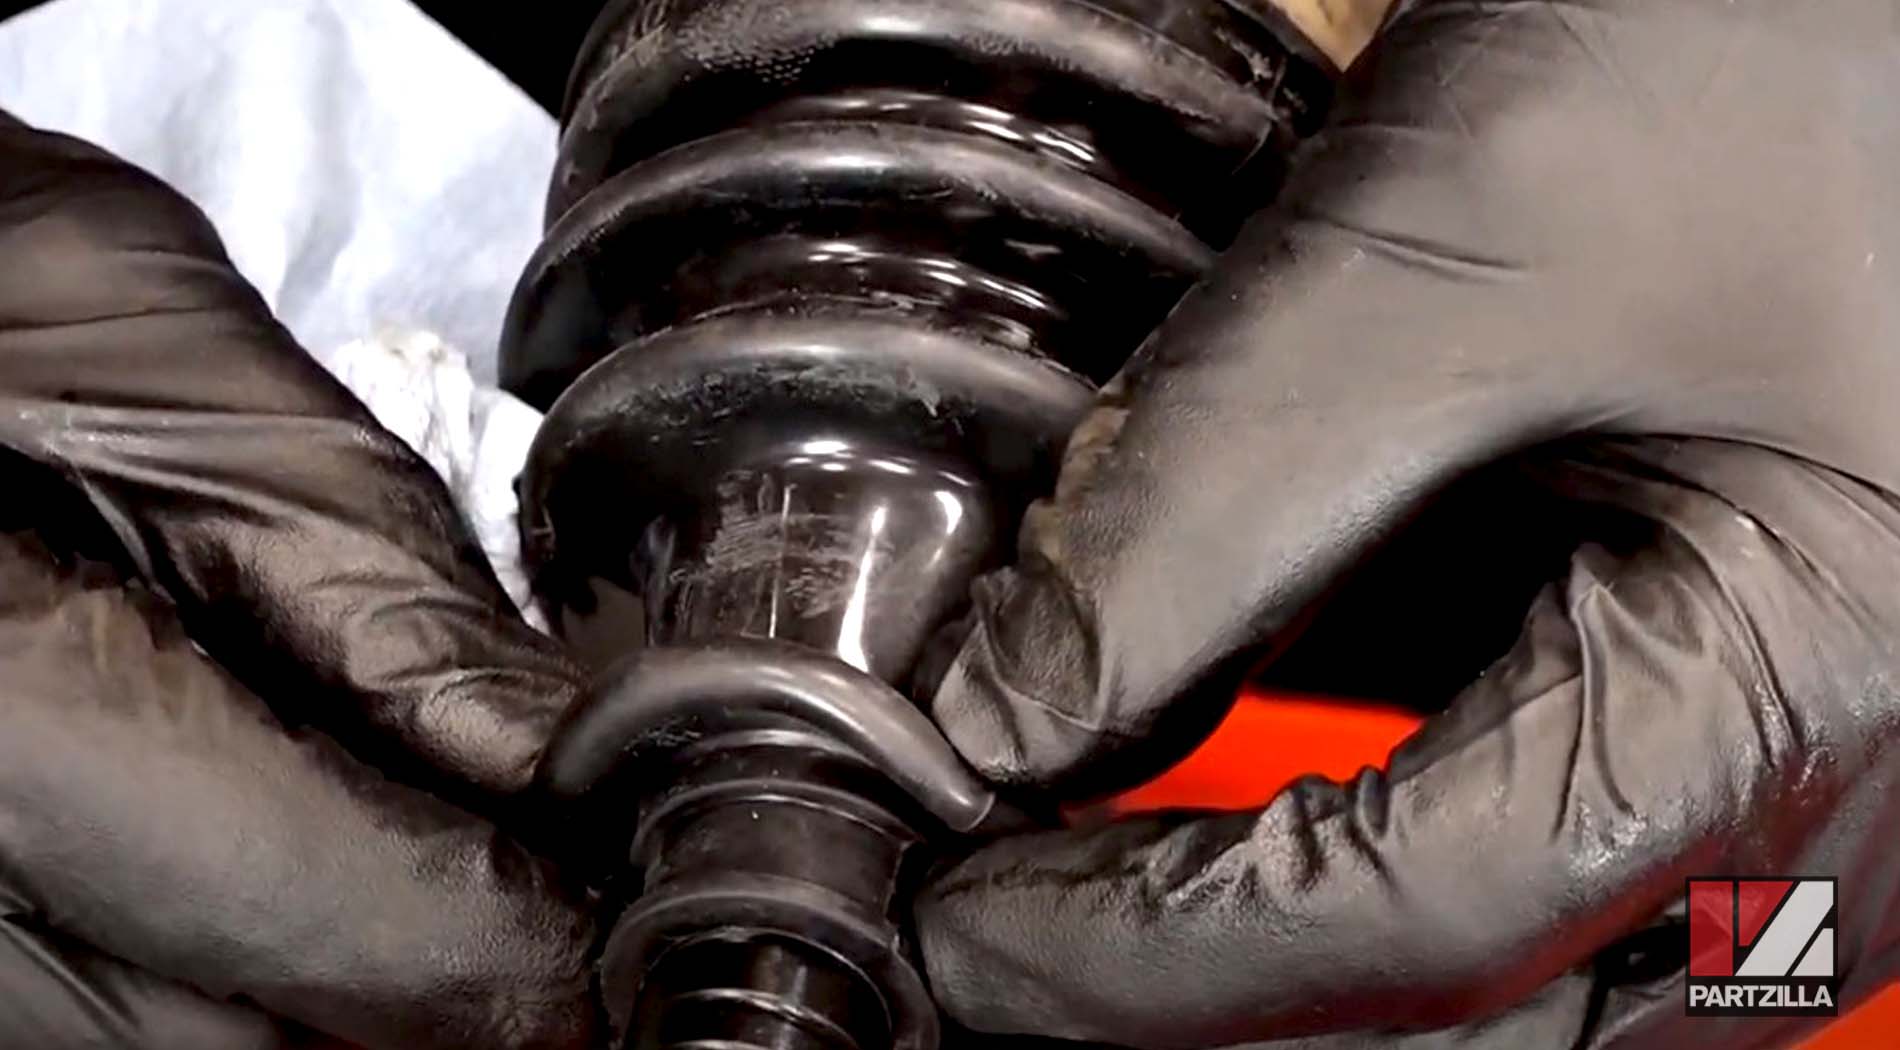
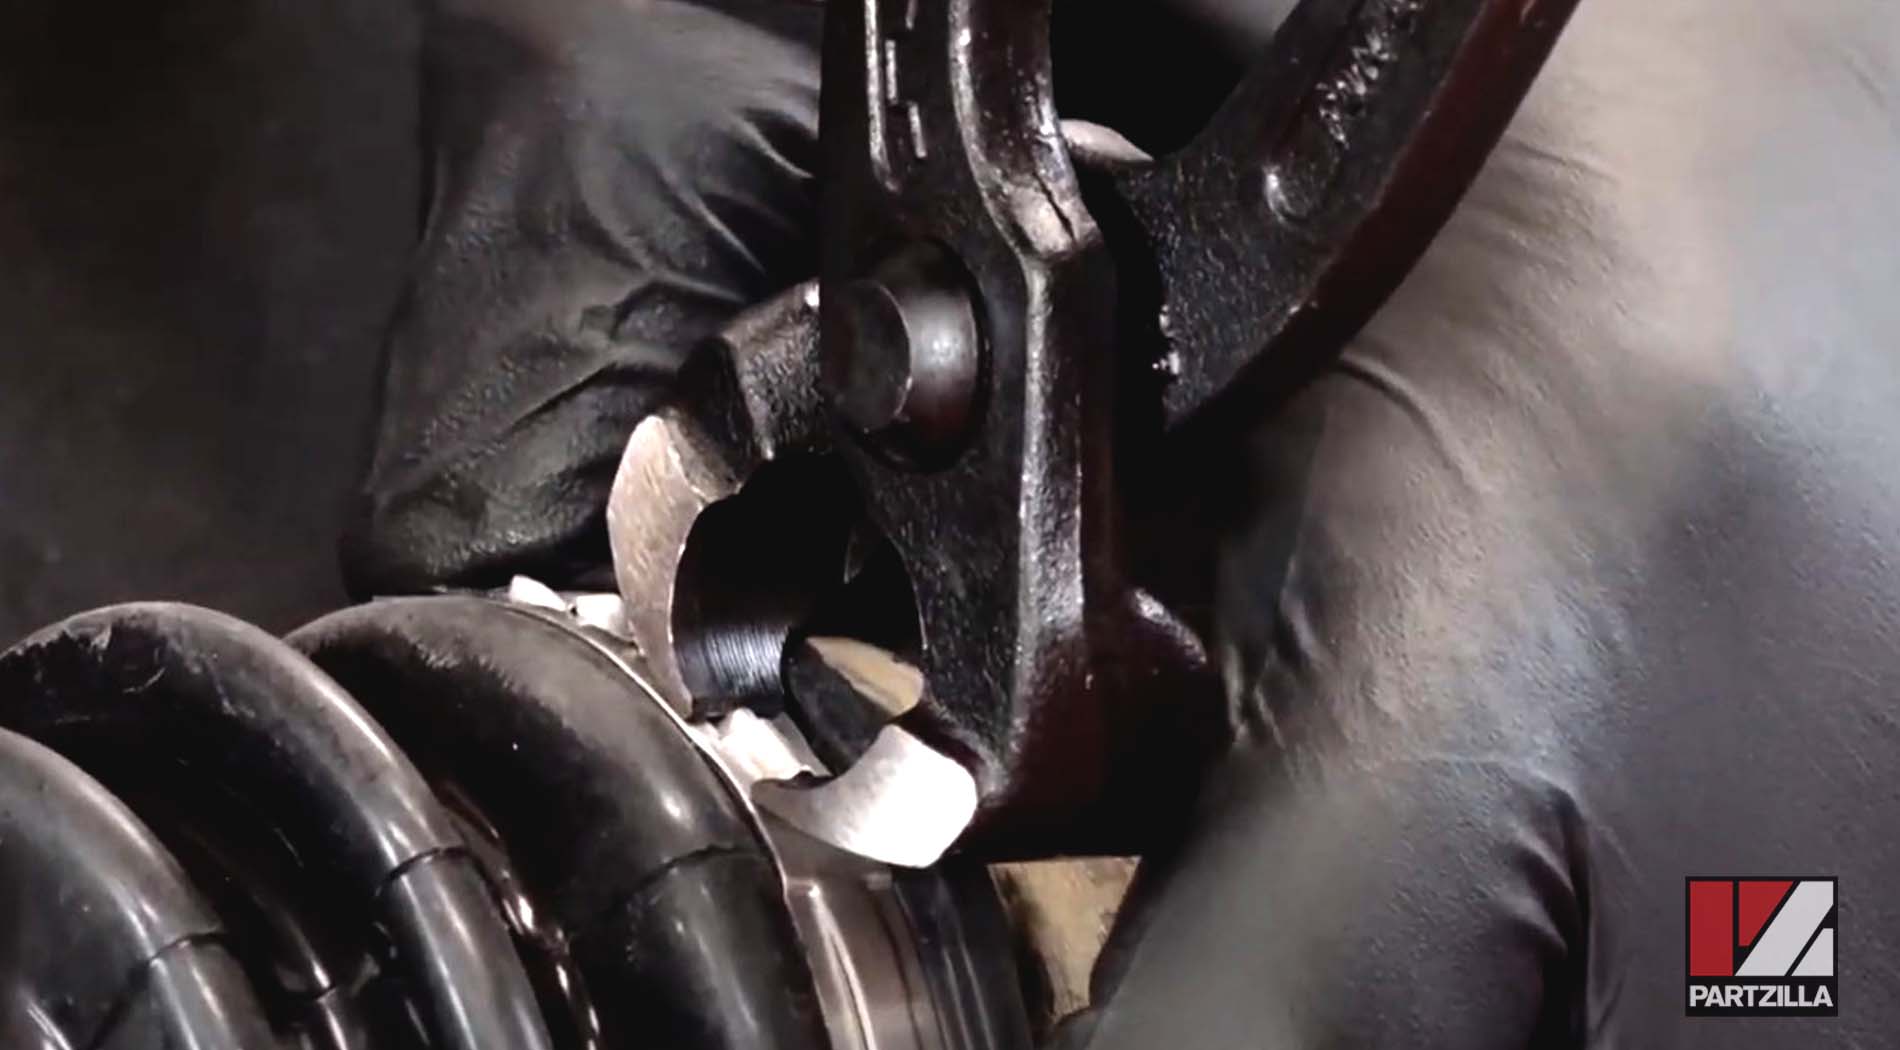
Step 10. Wipe away any grease from the outside of the CV boot, then install the large CV boot clamp and small CV boot clamp using CV boot pliers.
NOTE: Make sure the lips of the CV boot and the grooves in the CV joint and the driveshaft are both clean and free of grease because the seals need to be tight. Any grease will prevent a tight seal and may cause the CV boot to slip off the CV joint.
Step 11. Slide a small CV boot clamp and a new CV boot for the outer CV joint onto the driveshaft.
NOTE: Make sure you put the small CV boot clamp onto the driveshaft before the CV boot.
Step 12. Reinstall the outer CV joint by tapping it back over the driveshaft splines until it’s fully seated.

Step 13. Pack the CV joint and the inside of the new CV boot with grease, then slide the boot over the CV joint into the groove provided. Pull the narrower end of the boot into the groove on the driveshaft.

Step 14. Wipe away any grease from the outside of the CV boot, then install the larger and smaller CV boot clamps using CV boot pliers.

NOTE: Once again, make sure the lips of the CV boot and the grooves in the CV joint and the driveshaft are both clean and free of grease.
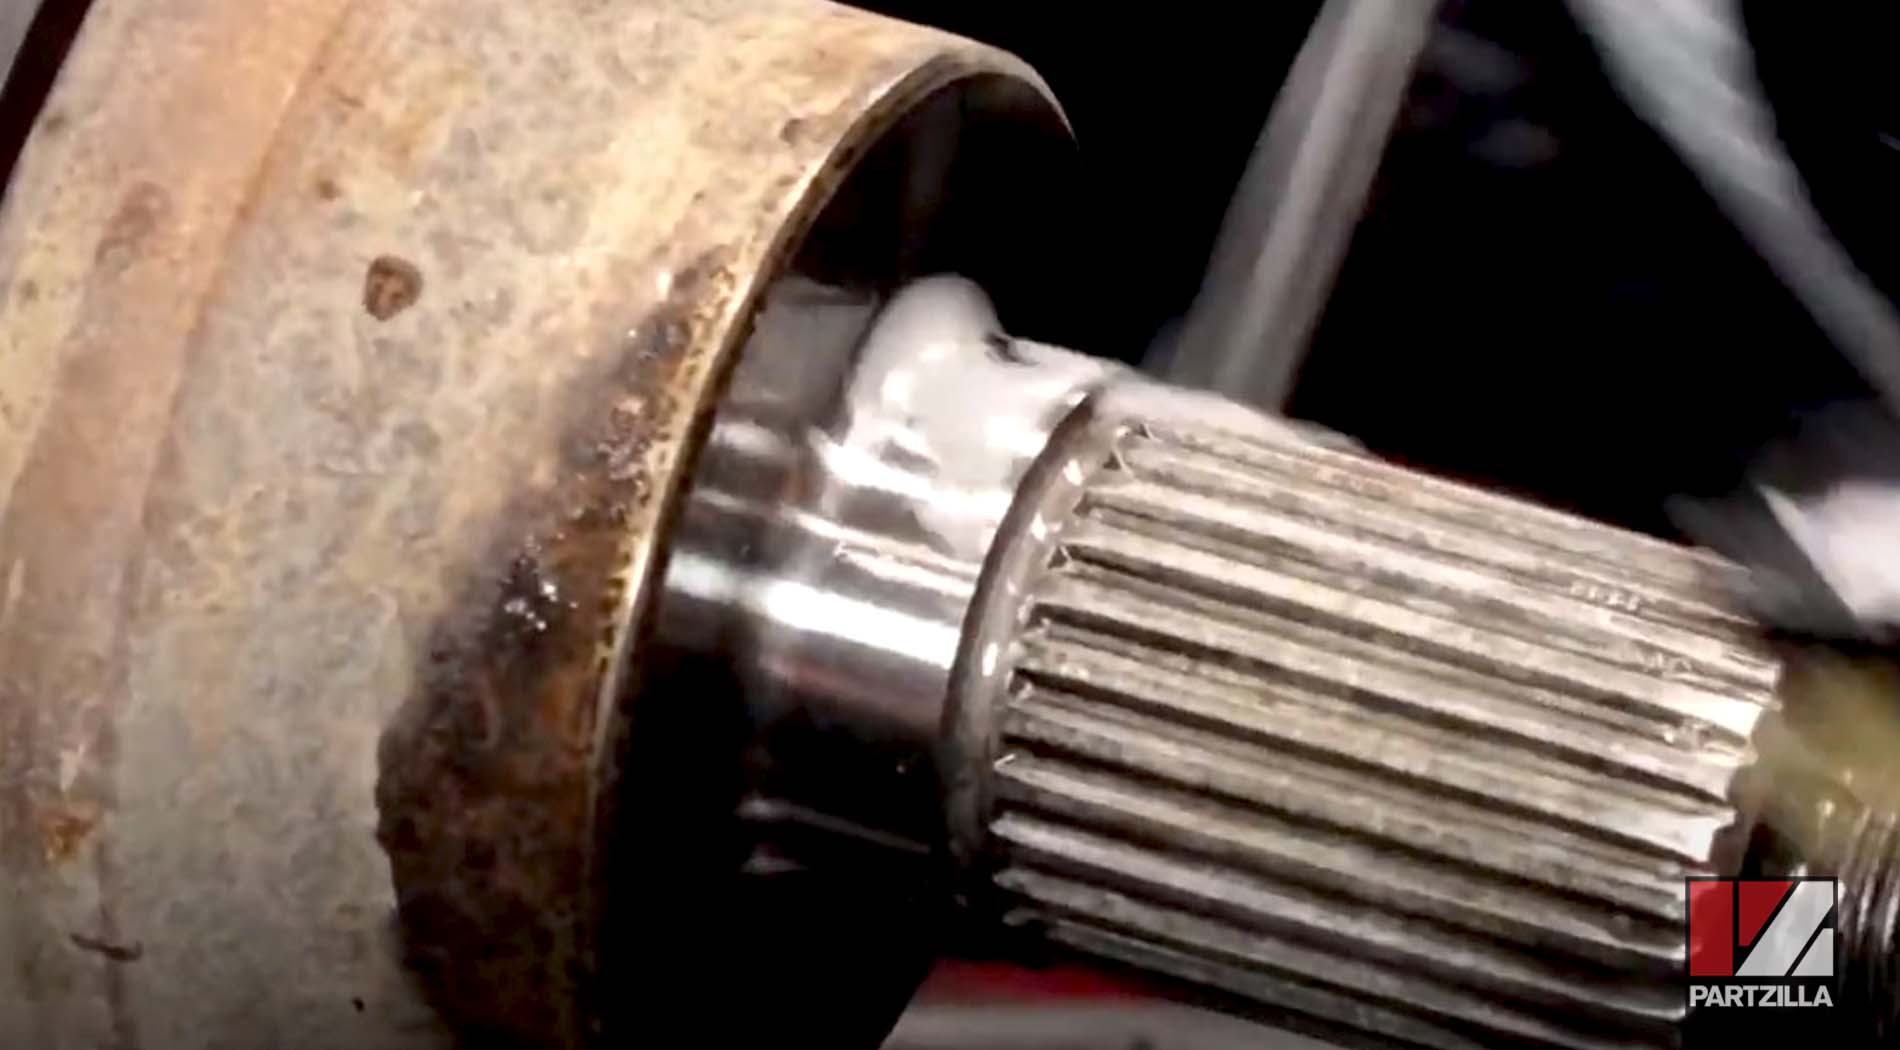
Step 15. Thoroughly clean the splines on the inner and outer CV joint axles with brake/contact cleaner, and coat the splines with anti-seize lubricant.
Step 16. Reinstall the inner CV joint back into the transmission. Twist it slightly to align and engage the splines, then tap it with a soft blow hammer until it seats back into place.
Step 17. Position the steering knuckle back over the outer end of the driveshaft, then press the upper and lower A-arm ball joints into the steering knuckle and reinstall the pinch bolts.
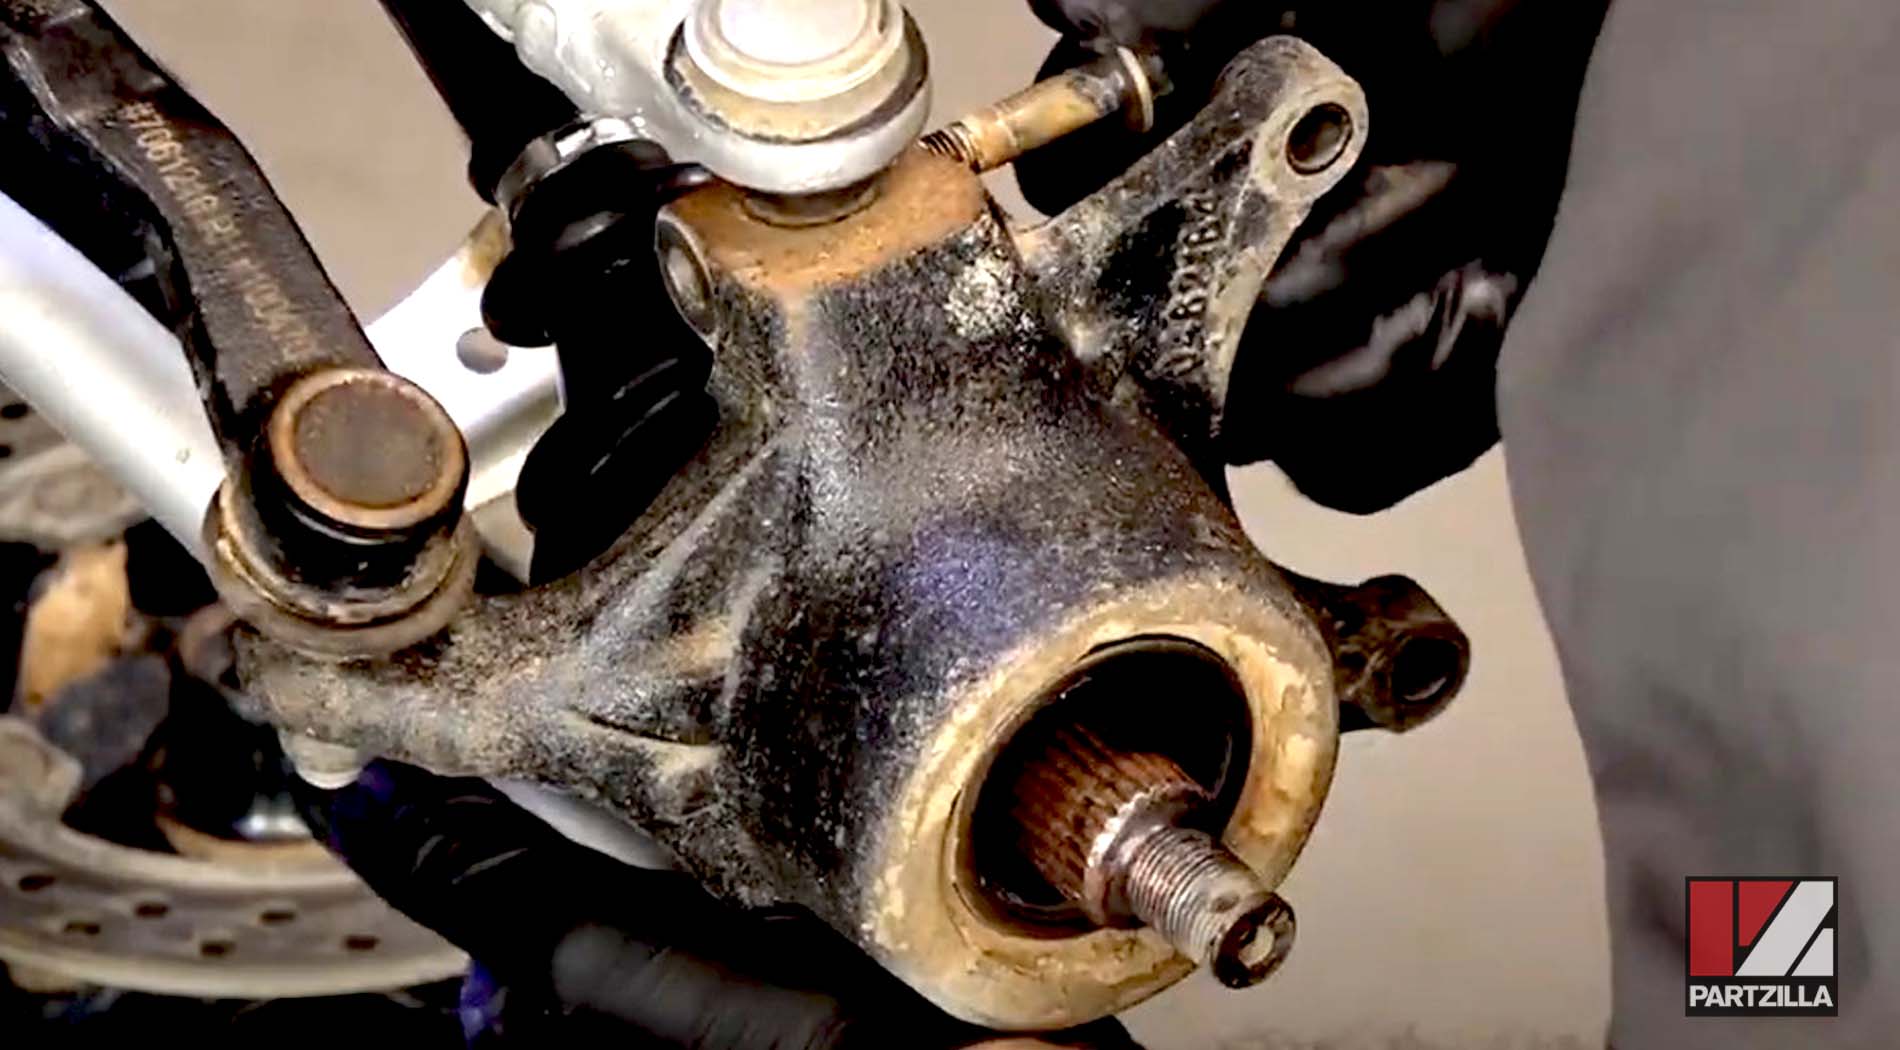
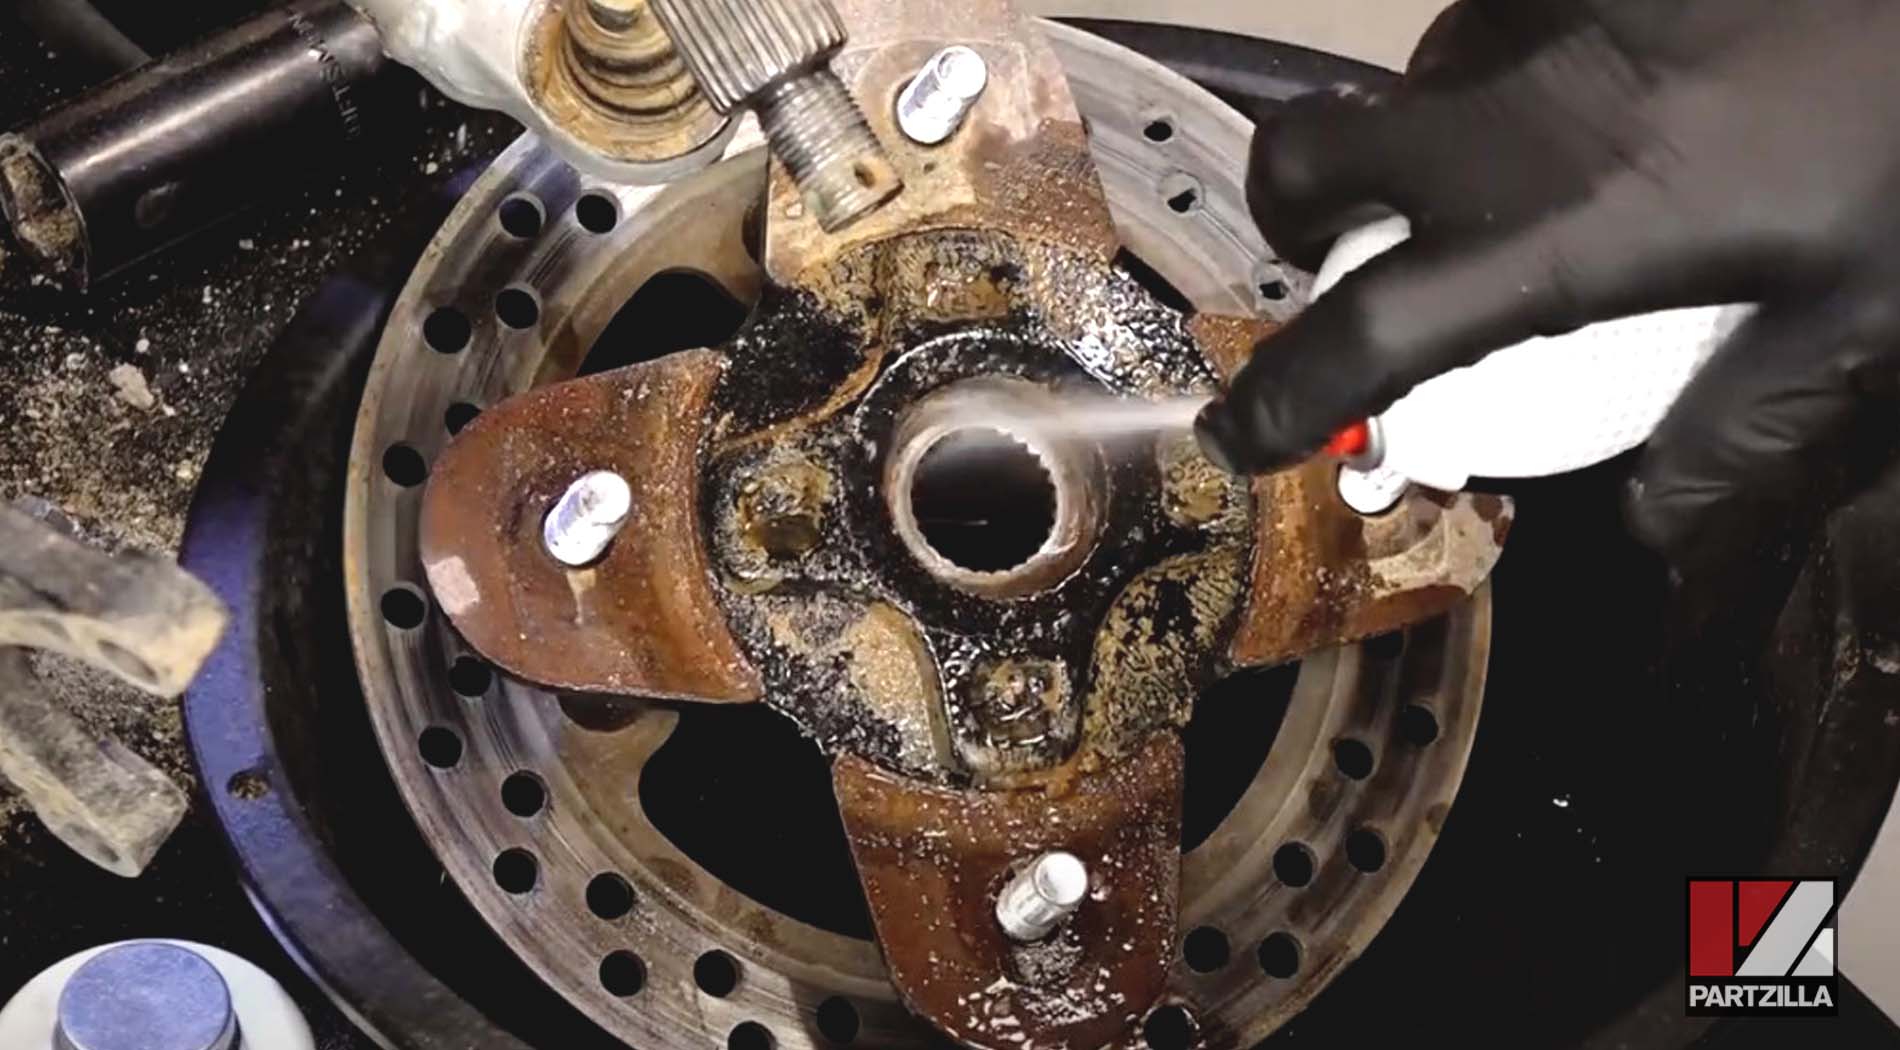
Step 18. Thoroughly clean the wheel hub with brake/contact cleaner, then reinstall it over the CV joint axle and onto the steering knuckle. Reinstall the two axle washers and the castle nut.
Step 19. Apply red threadlocker to the upper and lower A-arm pinch bolts and torque them to 42 foot-pounds.
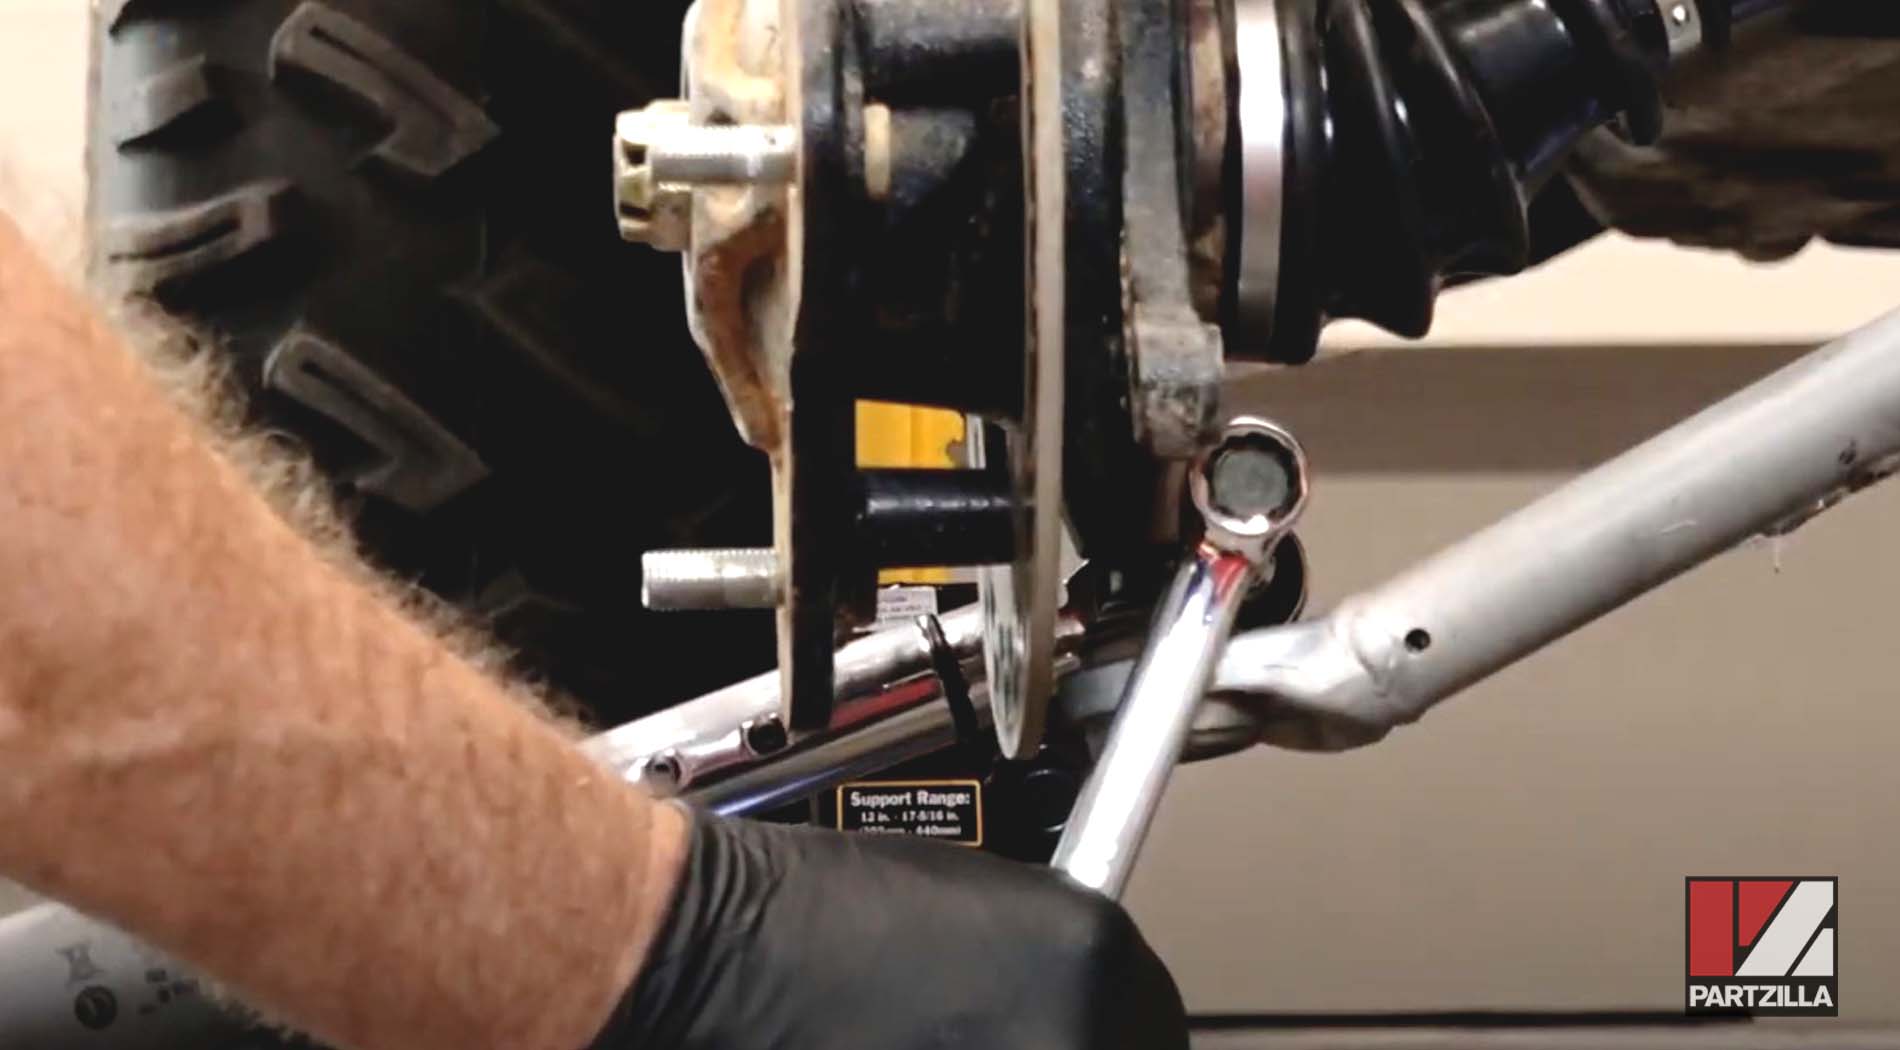
Step 20. Reinstall the brake caliper assembly, then apply red threadlocker to the mounting bolts and torque them to 30 foot-pounds.
Step 21. Torque the axle castle nut to 180 foot-pounds and reinstall the cotter pin.
Step 22. Reattach the front wheel, then torque the lug nuts to 120 foot-pounds for aluminum wheels or 60 foot-pounds for steel wheels and you’re done.