How to Change Polaris Ranger 900 XP Lower Ball Joint
Replacing the lower ball joint on a Polaris UTV is almost the same as replacing the upper ball joint, with the biggest difference being only one chassis mounting bolt on the upper A-arm instead of two.
Watch the video above and follow the steps below to replace the lower ball joint on a Polaris Ranger 900 side-by-side.
Tools and Parts – Polaris Ranger 900 Lower Ball Joint Replacement
- 3/8th ratchet
- 15mm shallow socket
- 15mm deep-well socket
- 19mm socket
- 15mm wrench
- Torque wrenches
- Metal cup
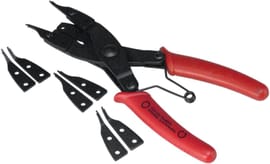
- Circlip pliers
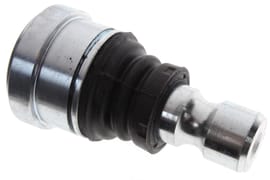
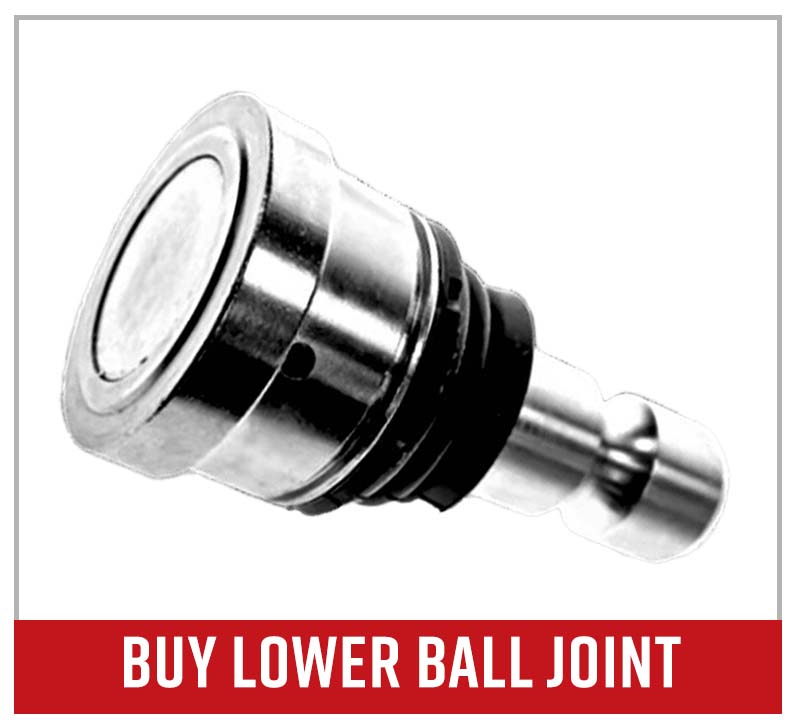
- Lower ball joint

NOTE: You’ll need a cup with a slightly wider diameter in which you can press the ball joint from the suspension A-arm, as well as a press to remove the ball joint from the A-arm.
Replacing Polaris Ranger 900 Lower Ball Joint
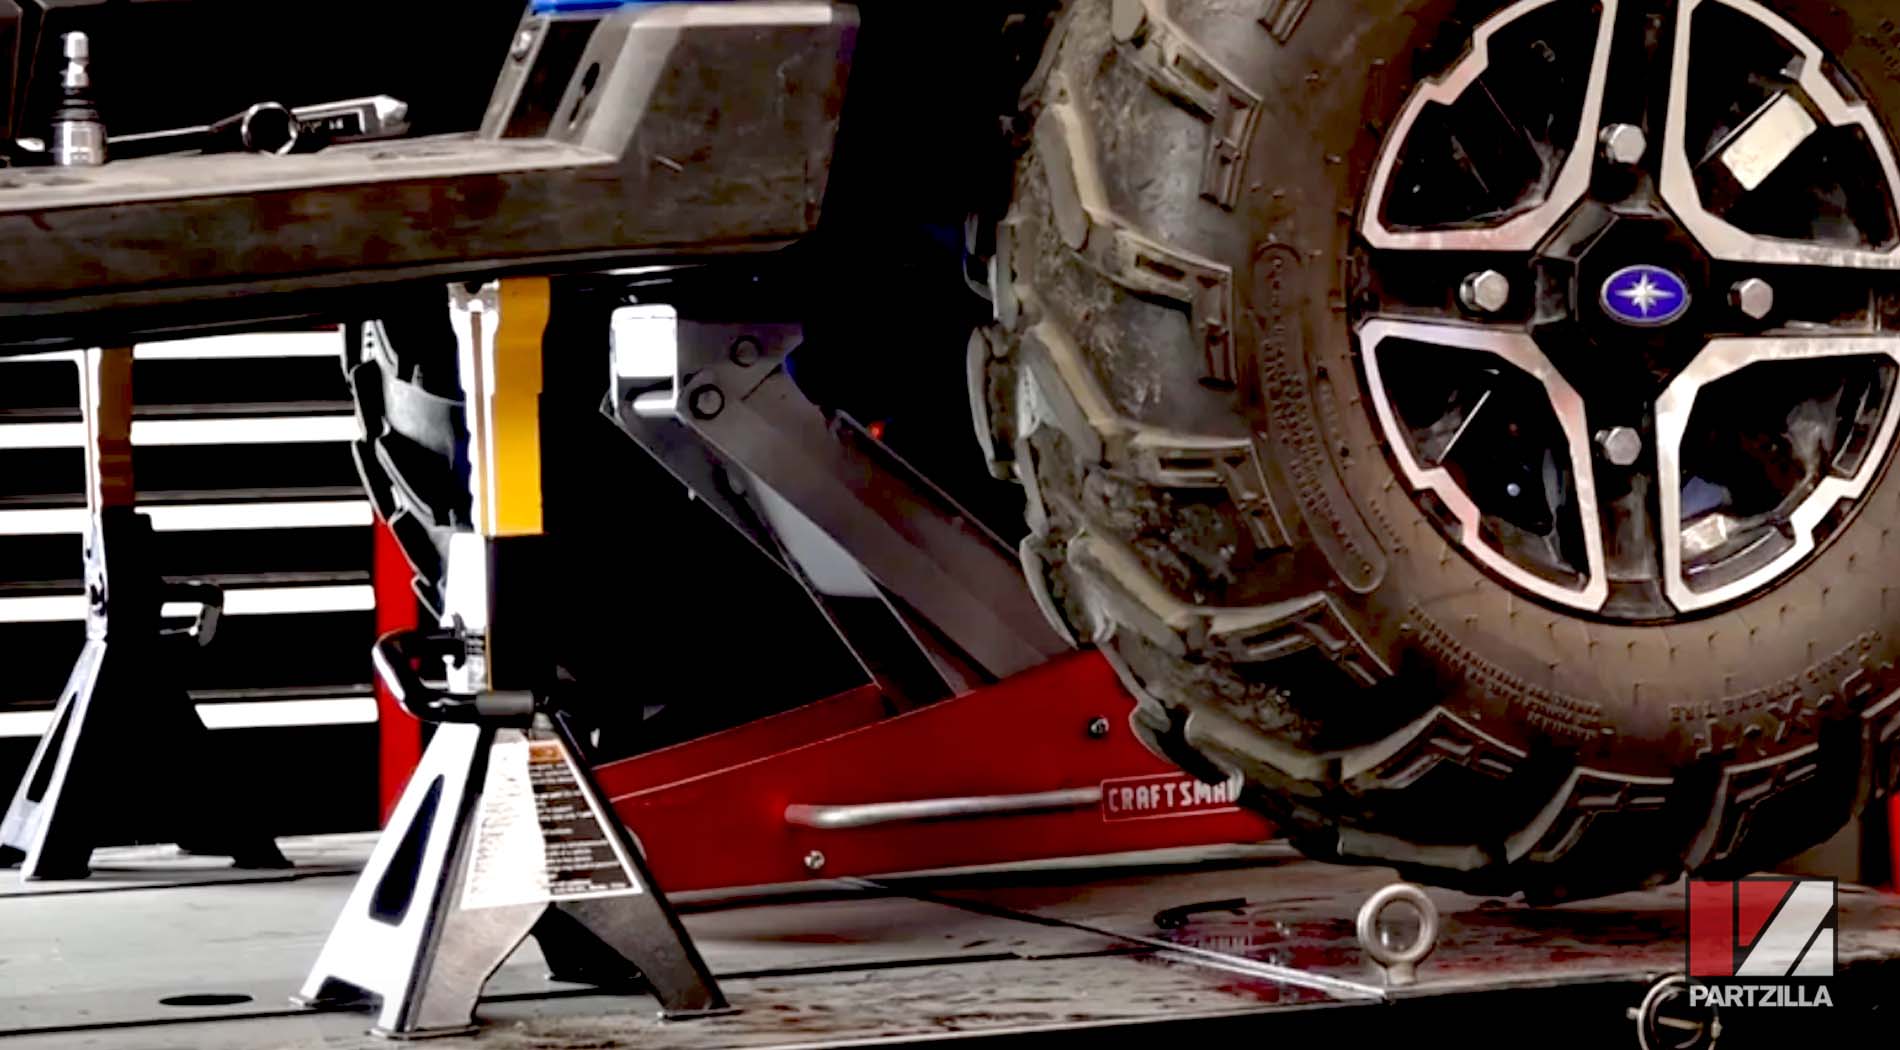
Step 1. Break loose the lug nuts, then raise the Ranger’s front end off the ground and remove the lug nuts and wheel.
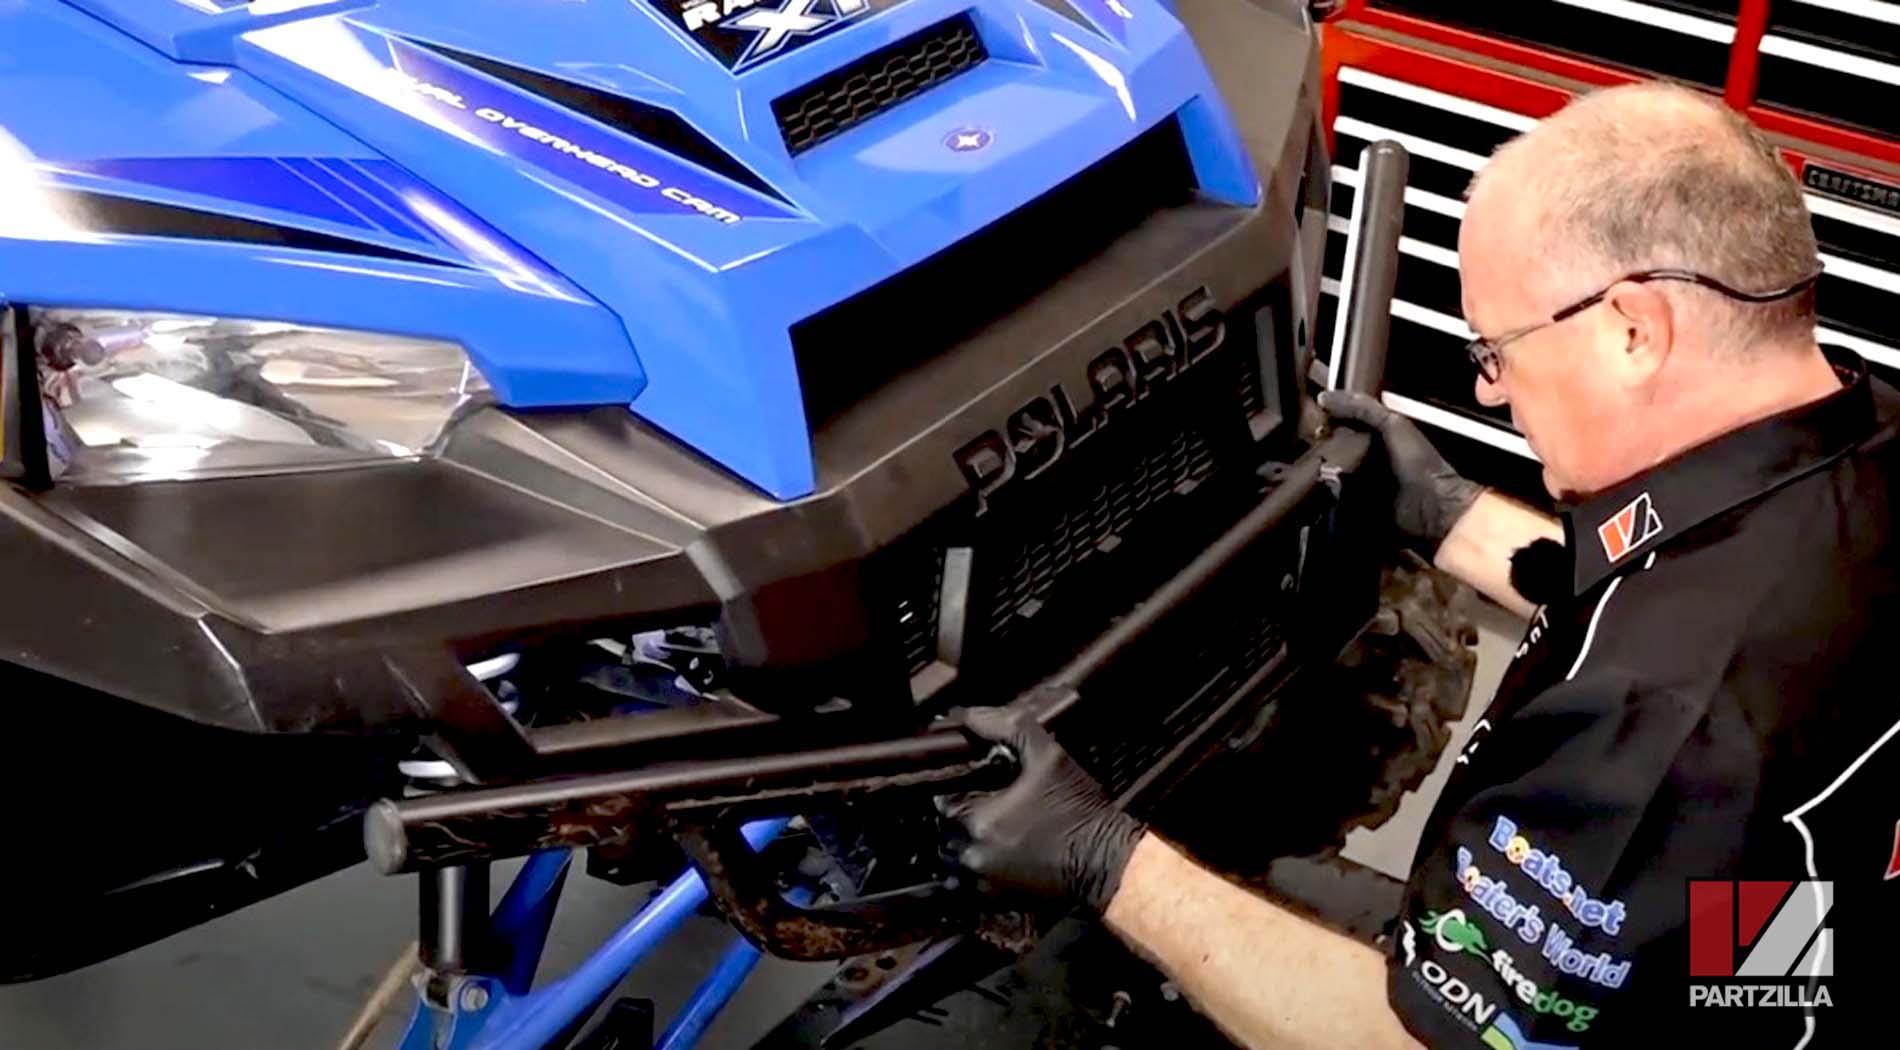
Step 2. Remove the brush guard to access the suspension A-arm bolts.
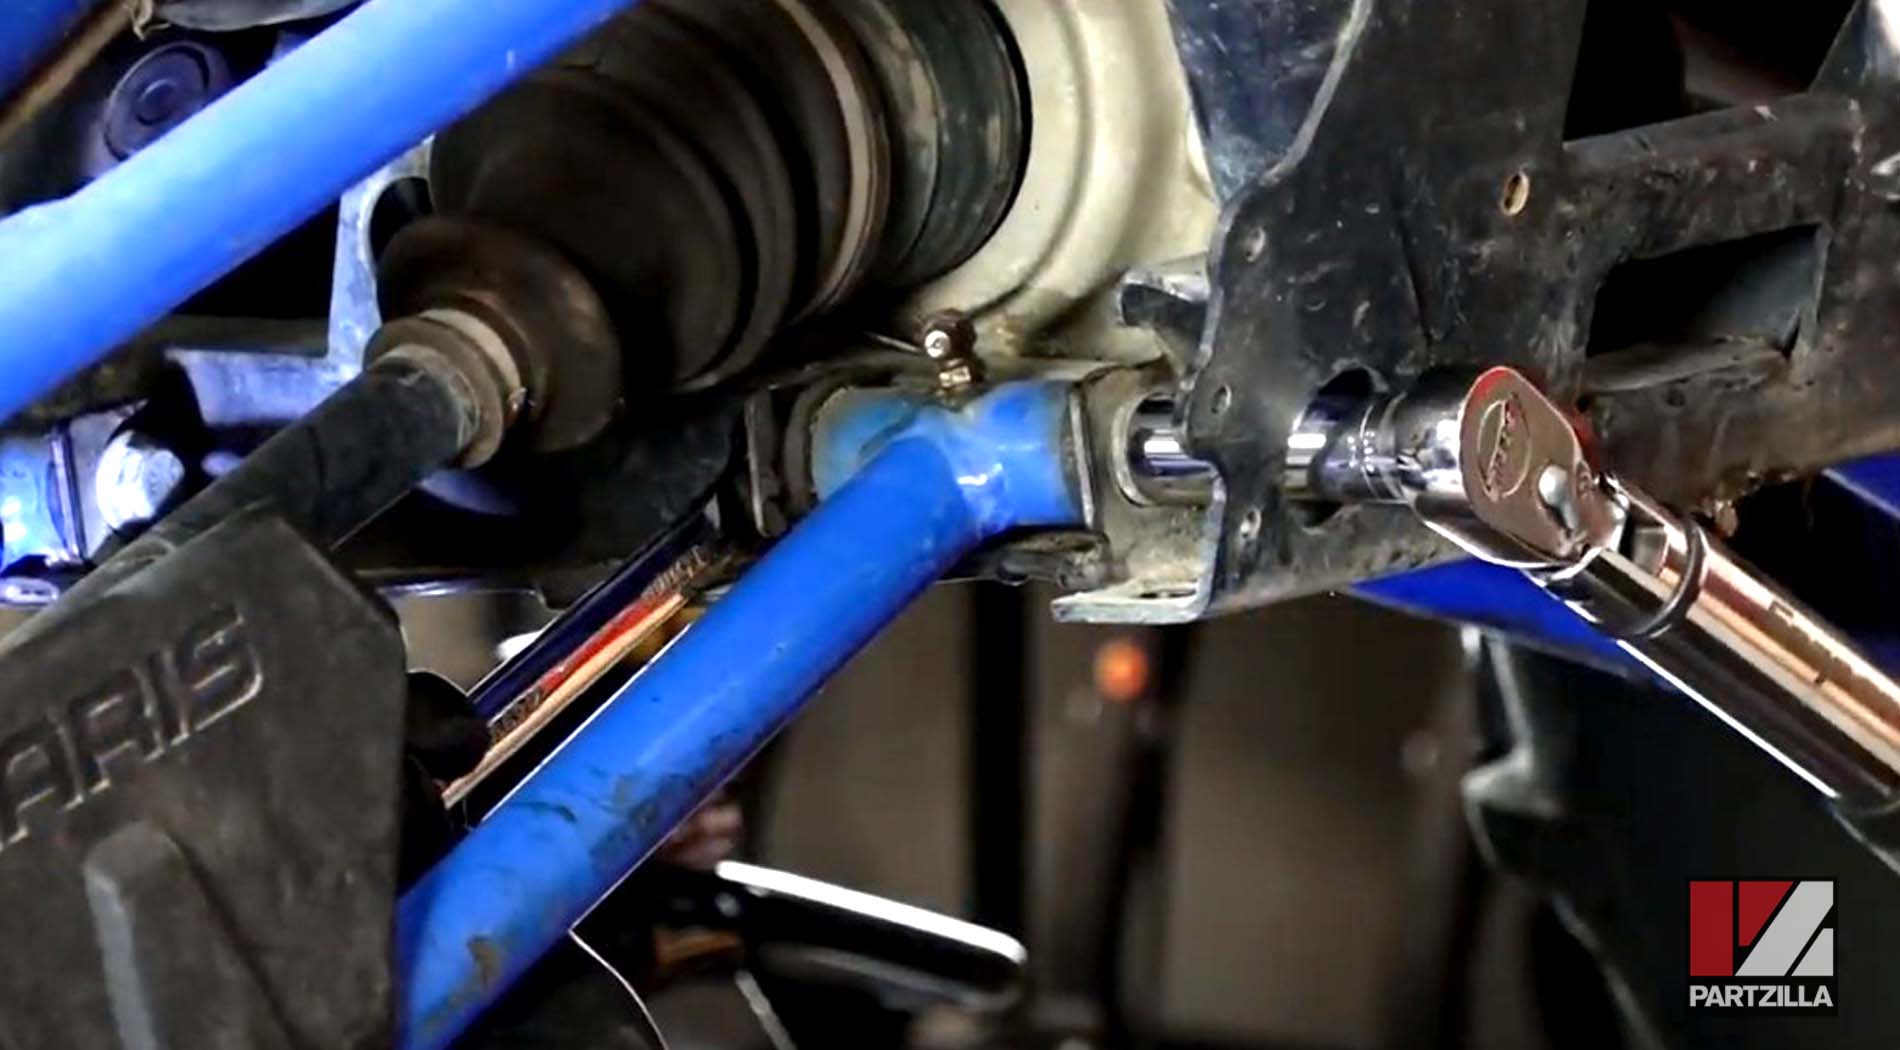
Step 3. Remove the two lower suspension A-arm mounting bolts where the A-arm meets the chassis.
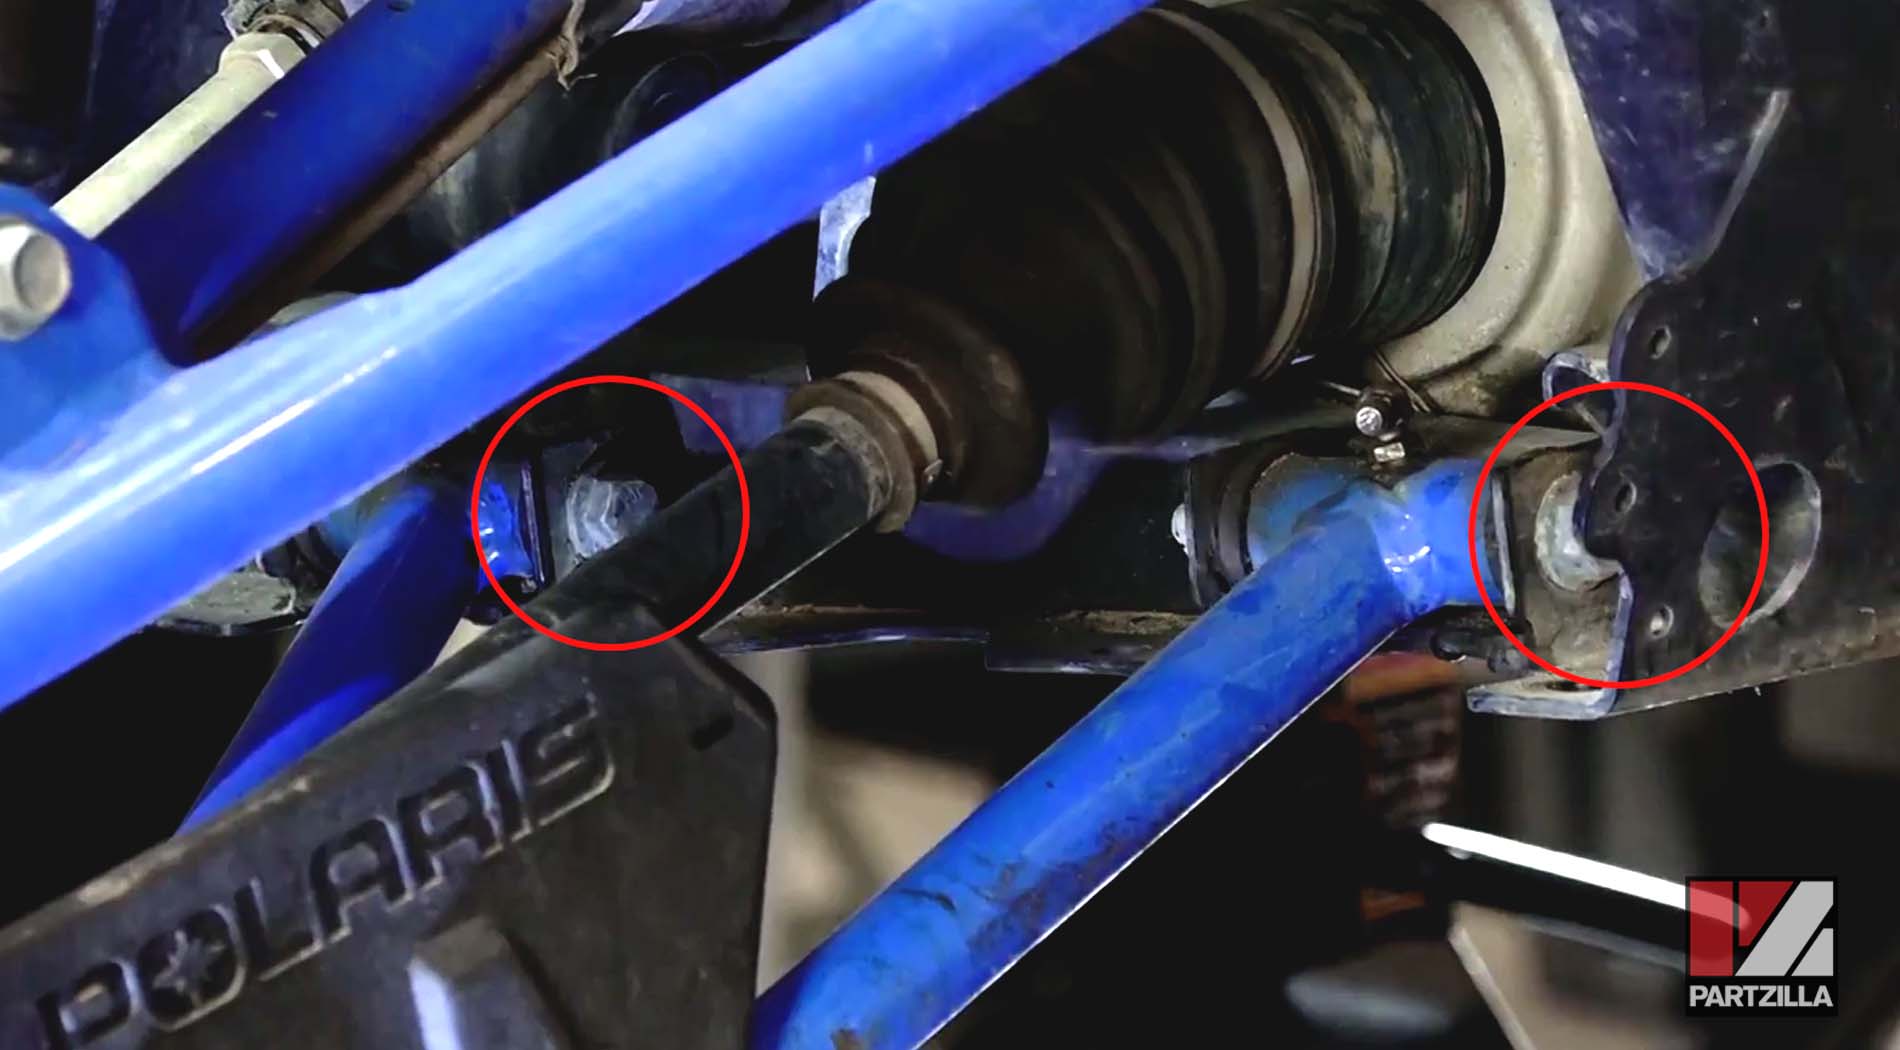
NOTE: Don’t lose the nuts or washers.
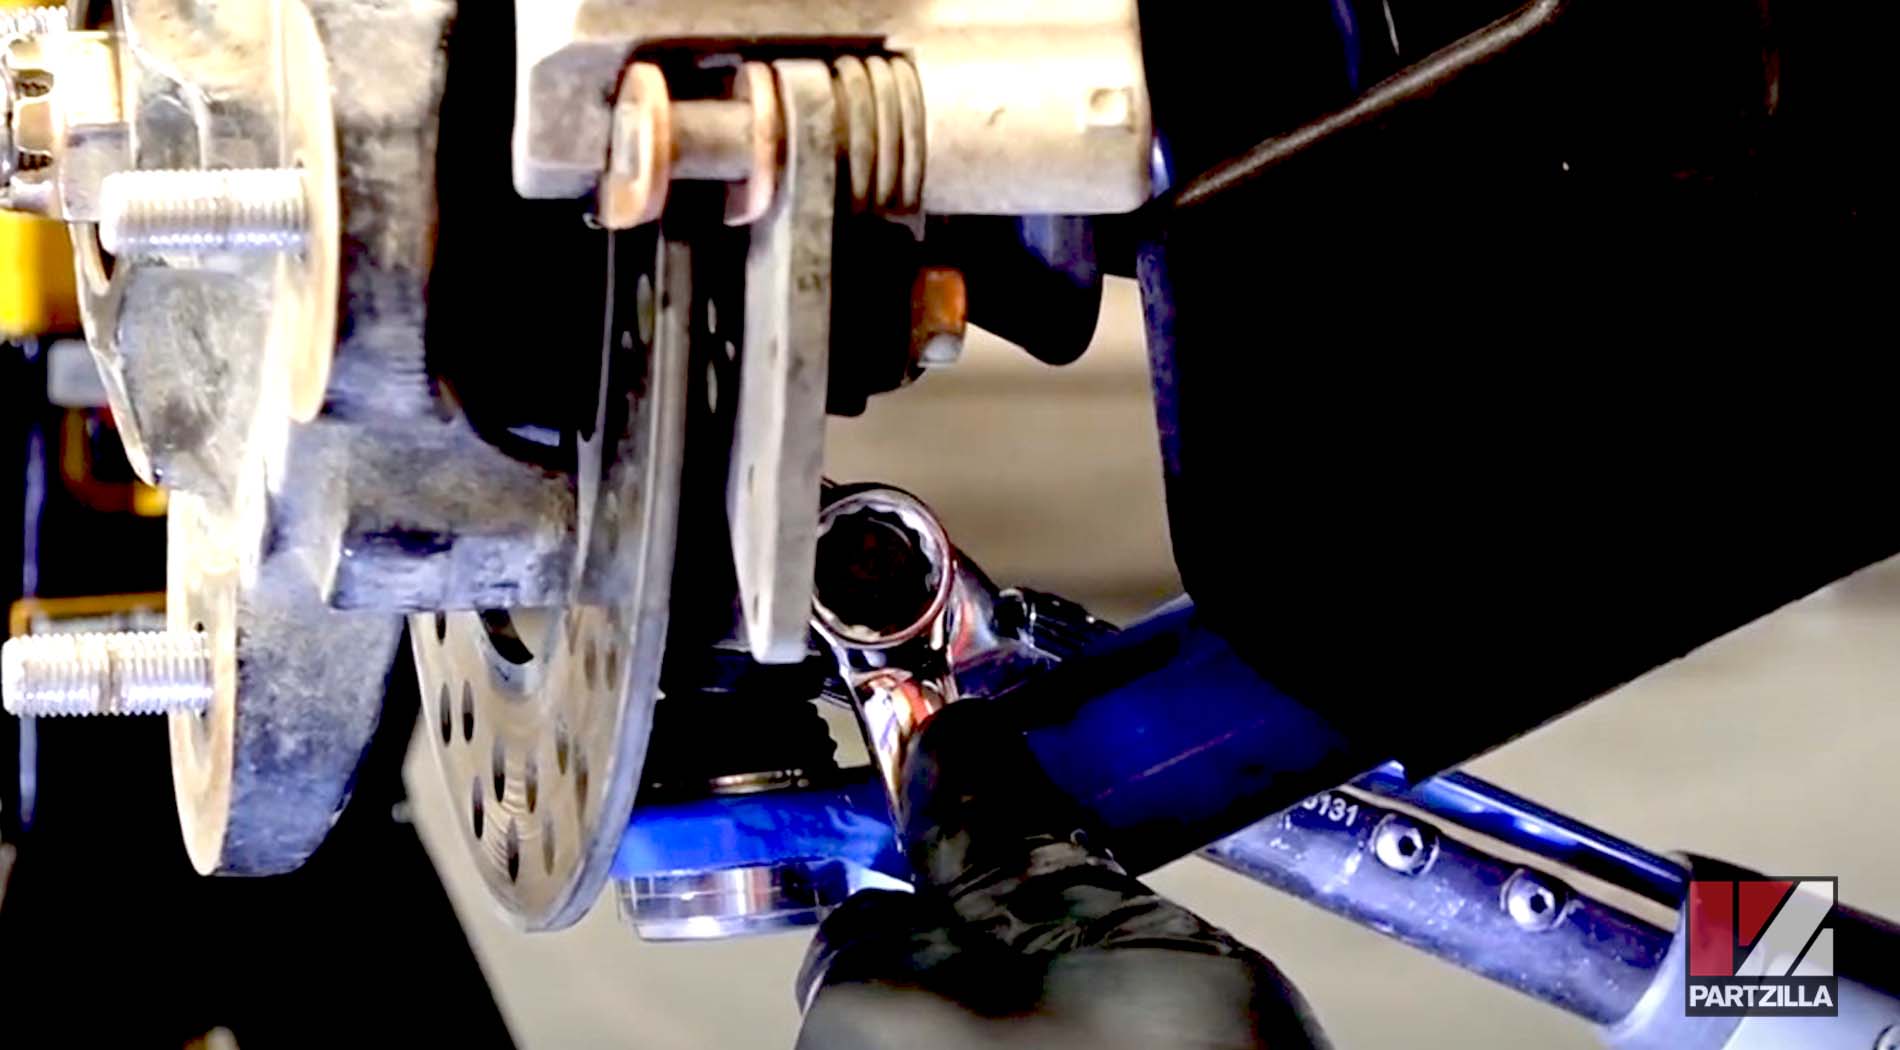
Step 4. Remove the outer A-arm mounting bolt, then pull the lower ball joint down and out of the brake/hub assembly knuckle.
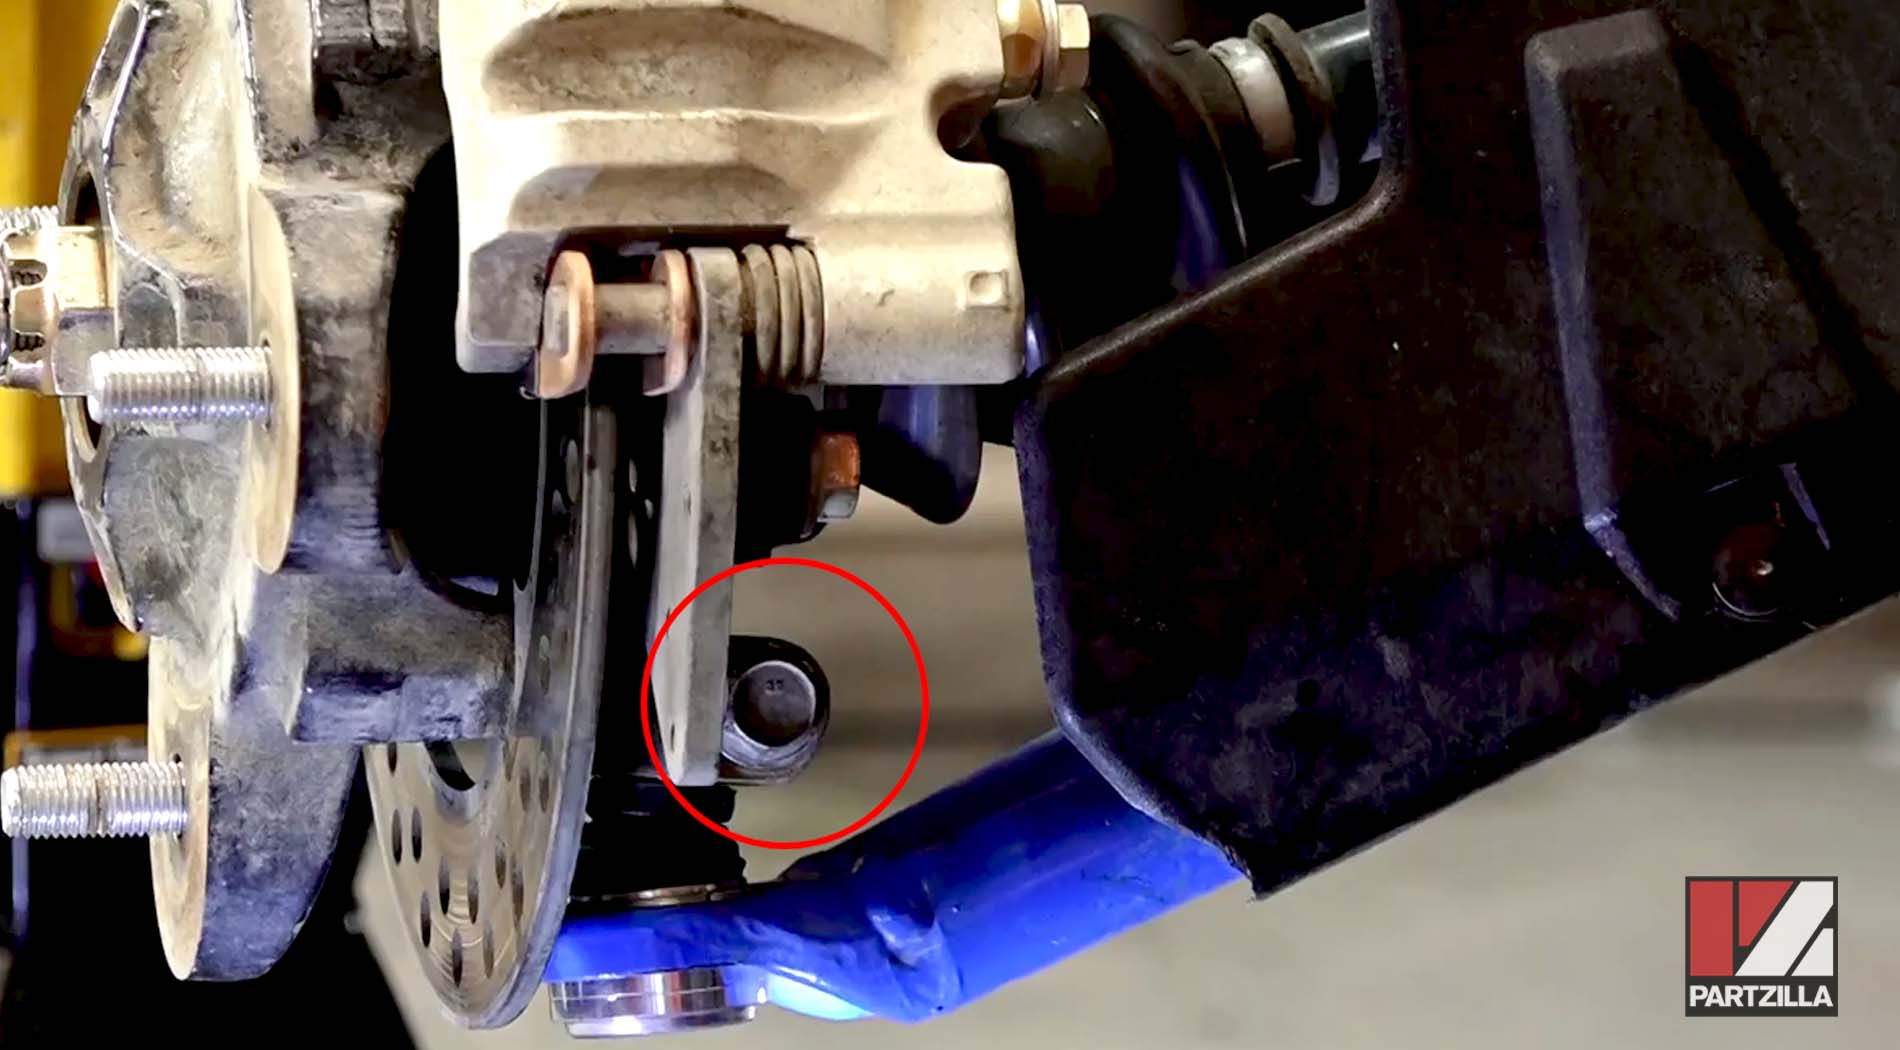
NOTE: The outer mounting bolt doesn’t have a washer.
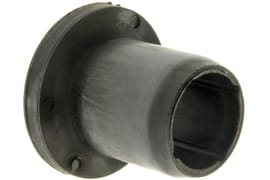
Step 5. Pull the lower A-arm free from the chassis mounts. Inspect the rubber bushings and if any are cracked or worn, now is the perfect time to replace them.
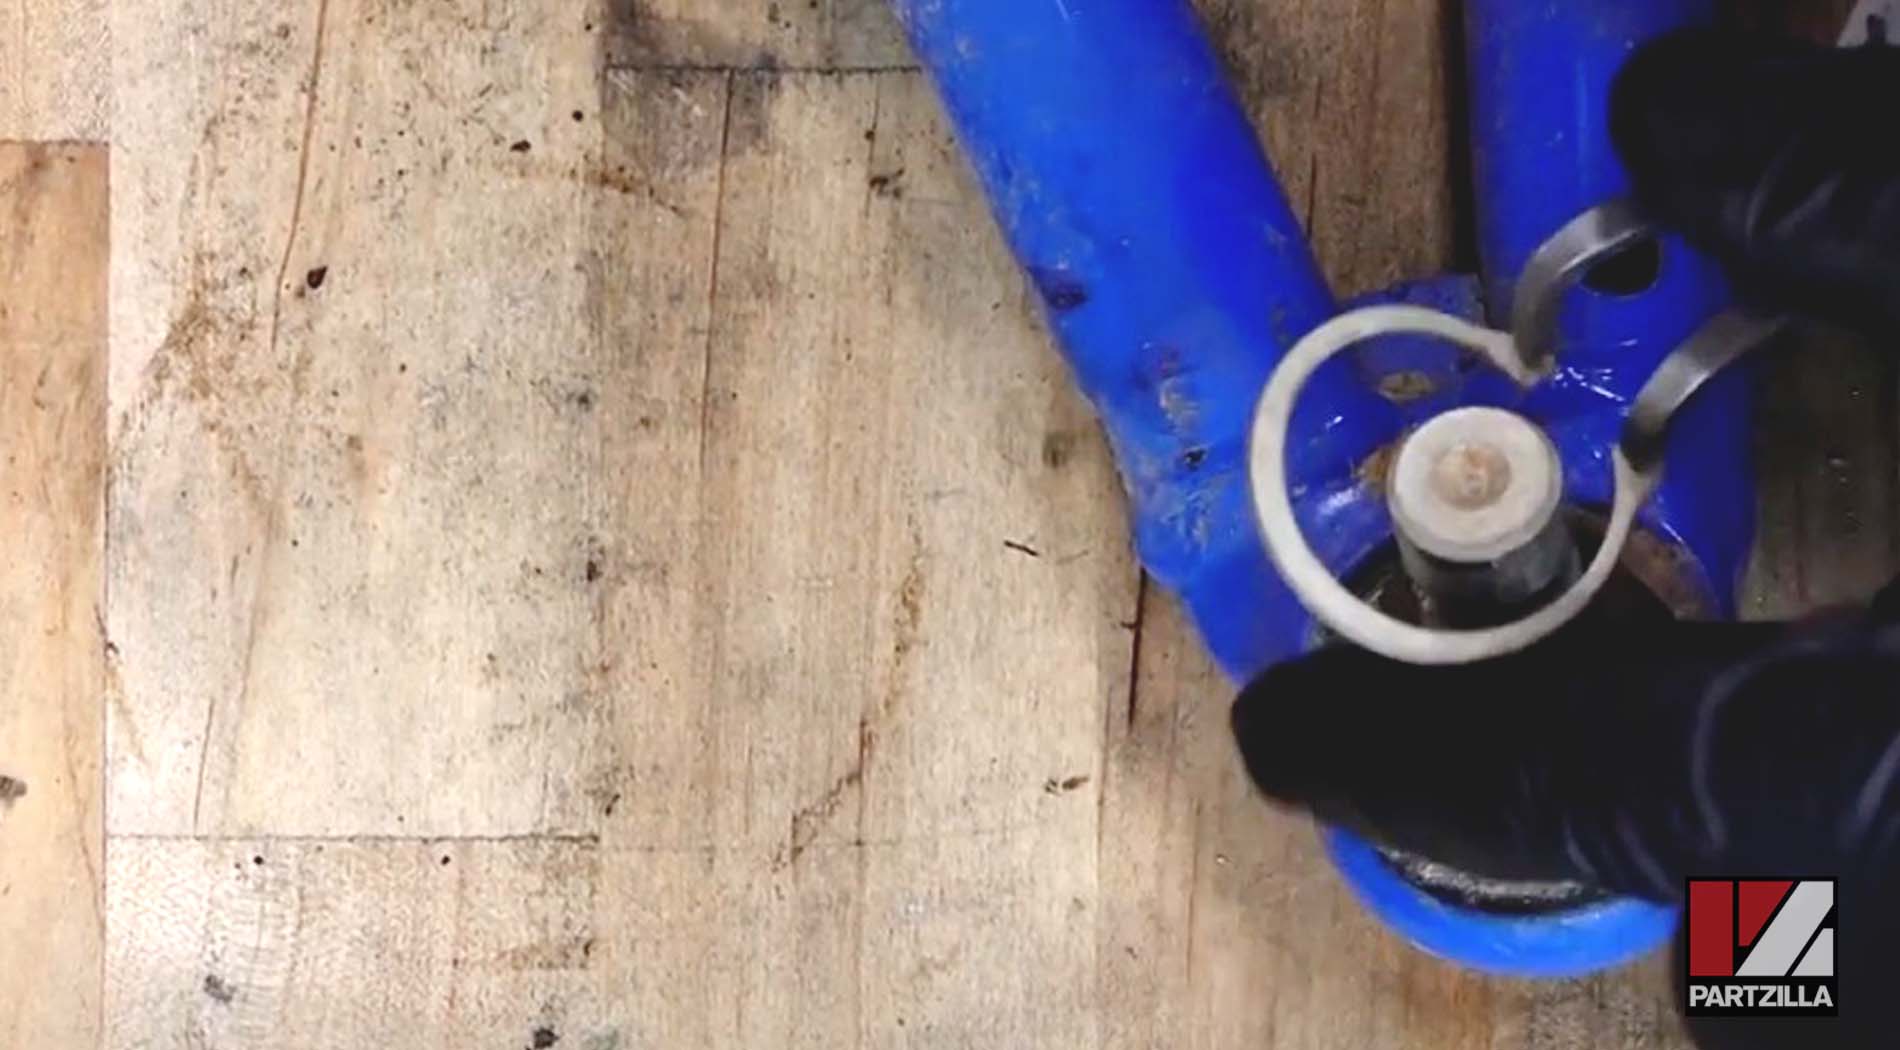
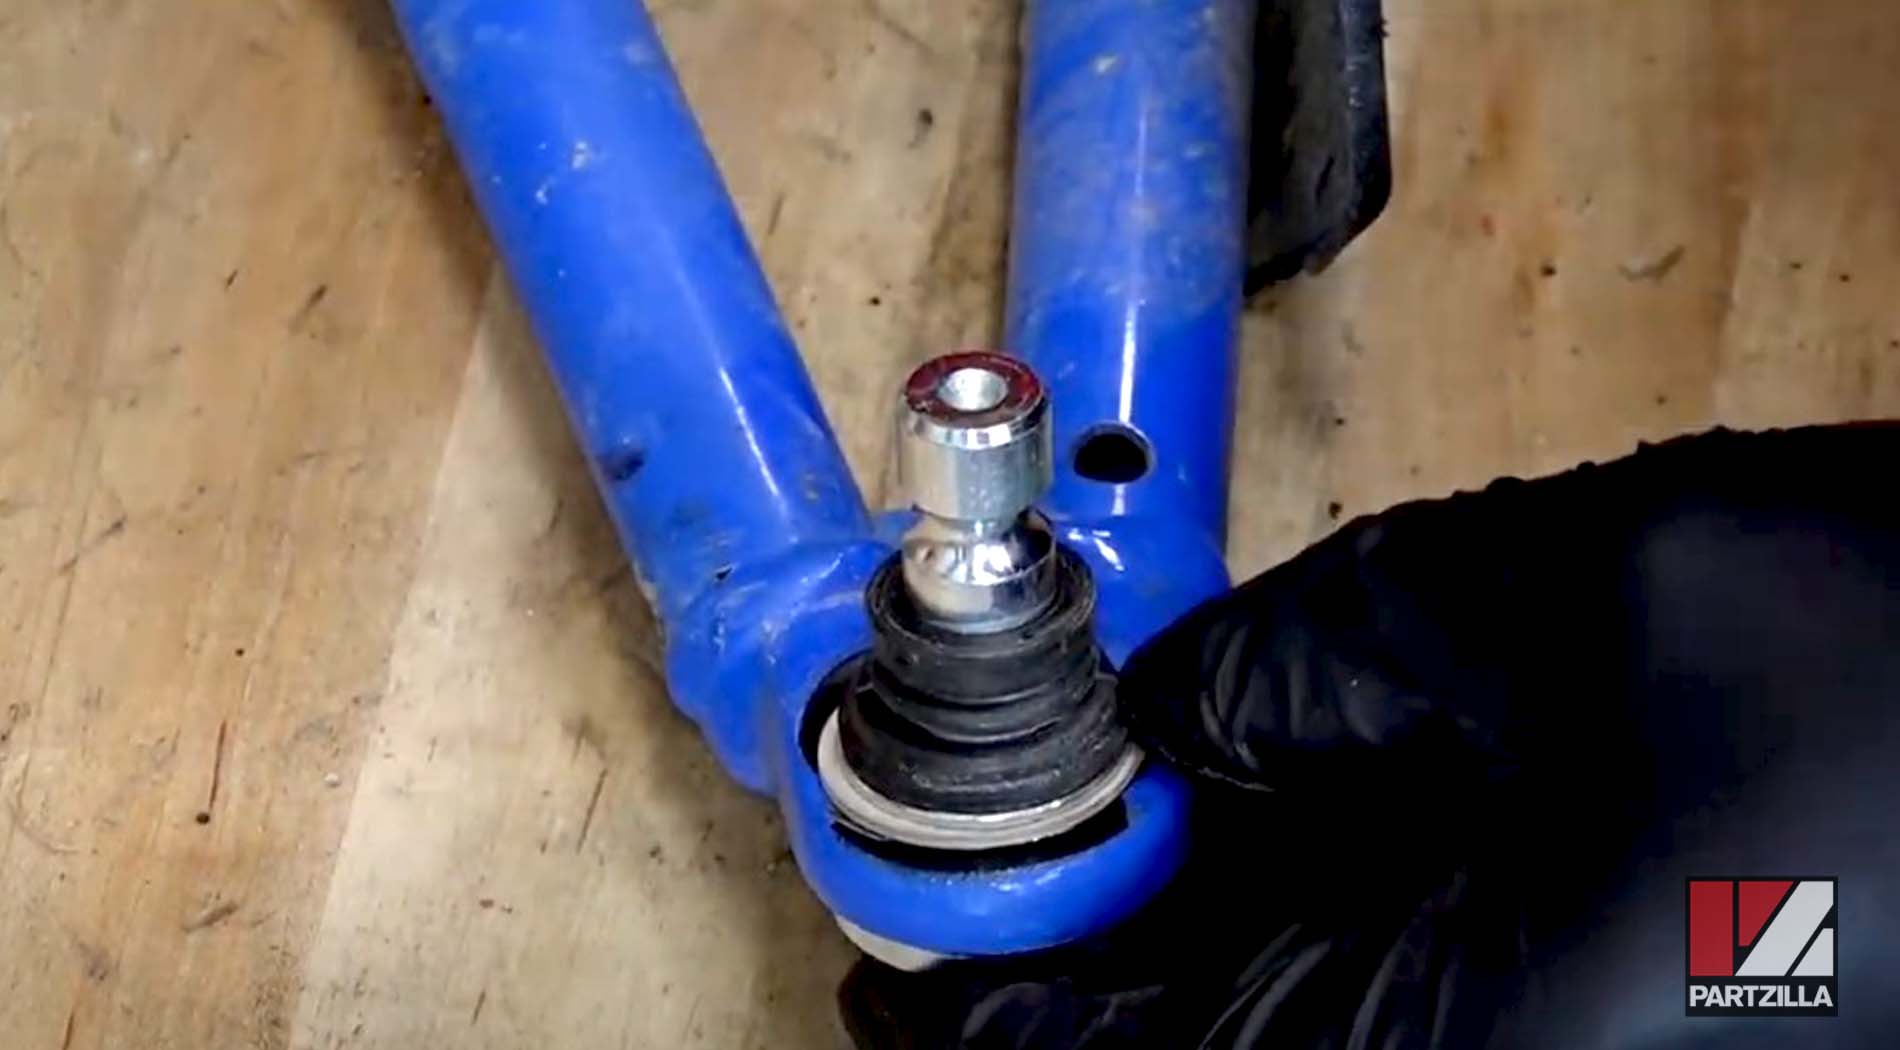
Step 6. Remove the retaining circlip from the ball joint.
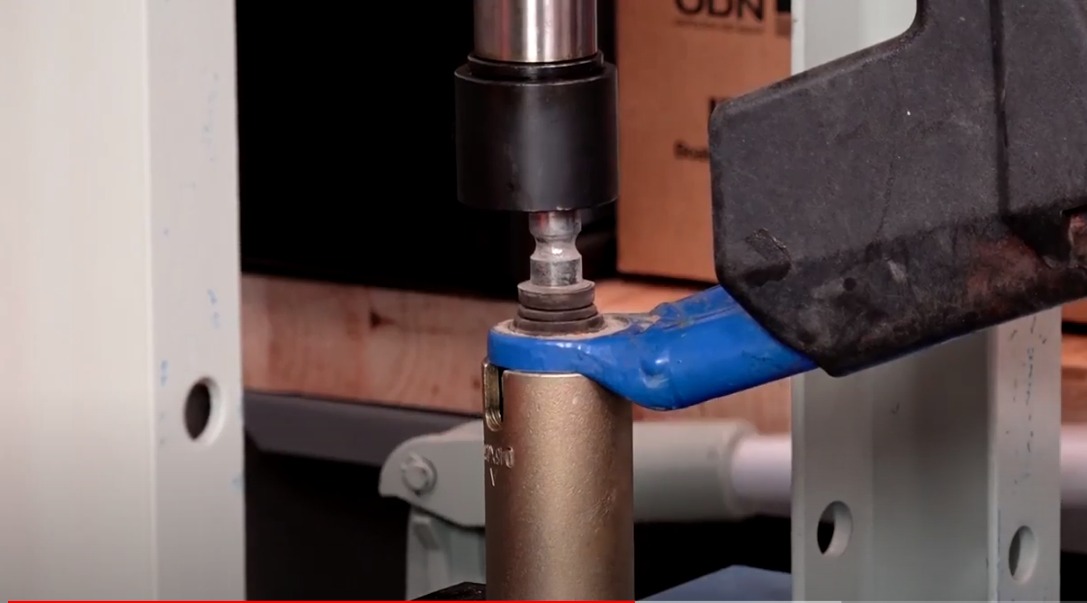
Step 7. Place the A-arm over a cup that is slightly wider than the ball joint, then push the ball joint down through the A-arm and into the cup with a press.
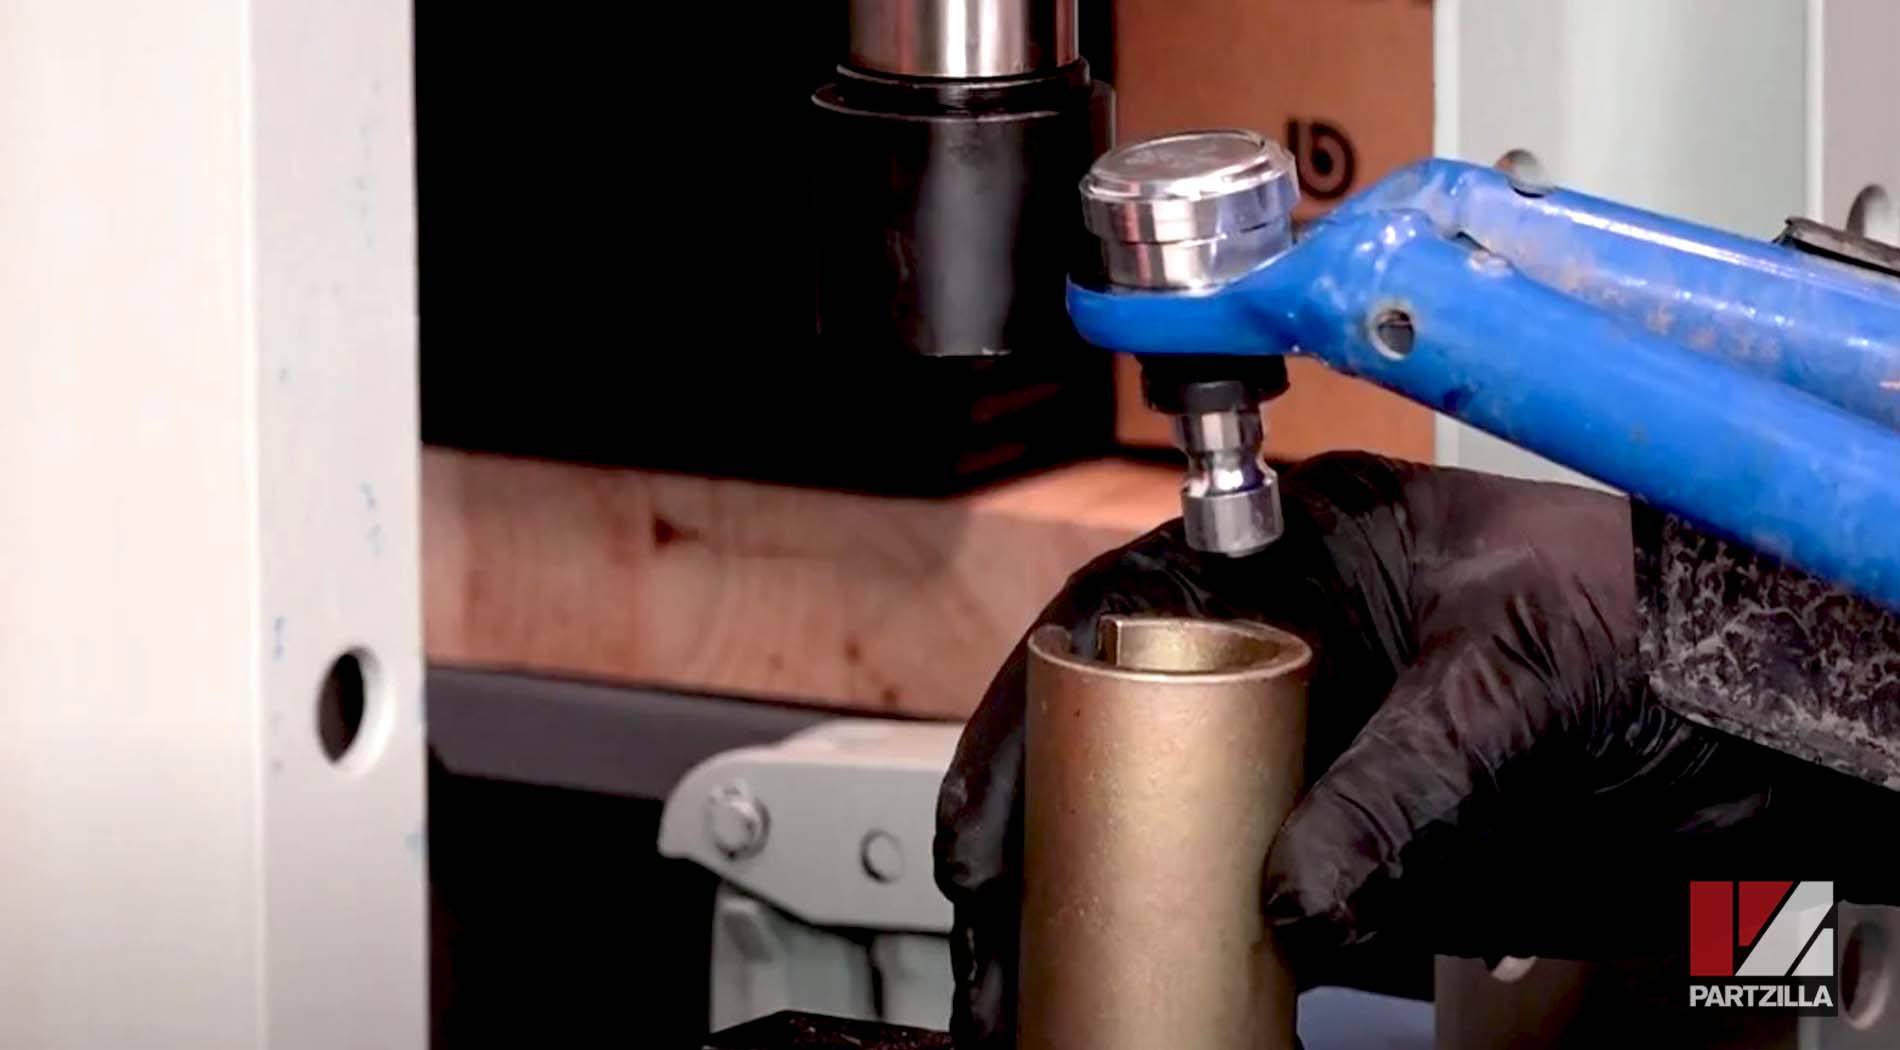
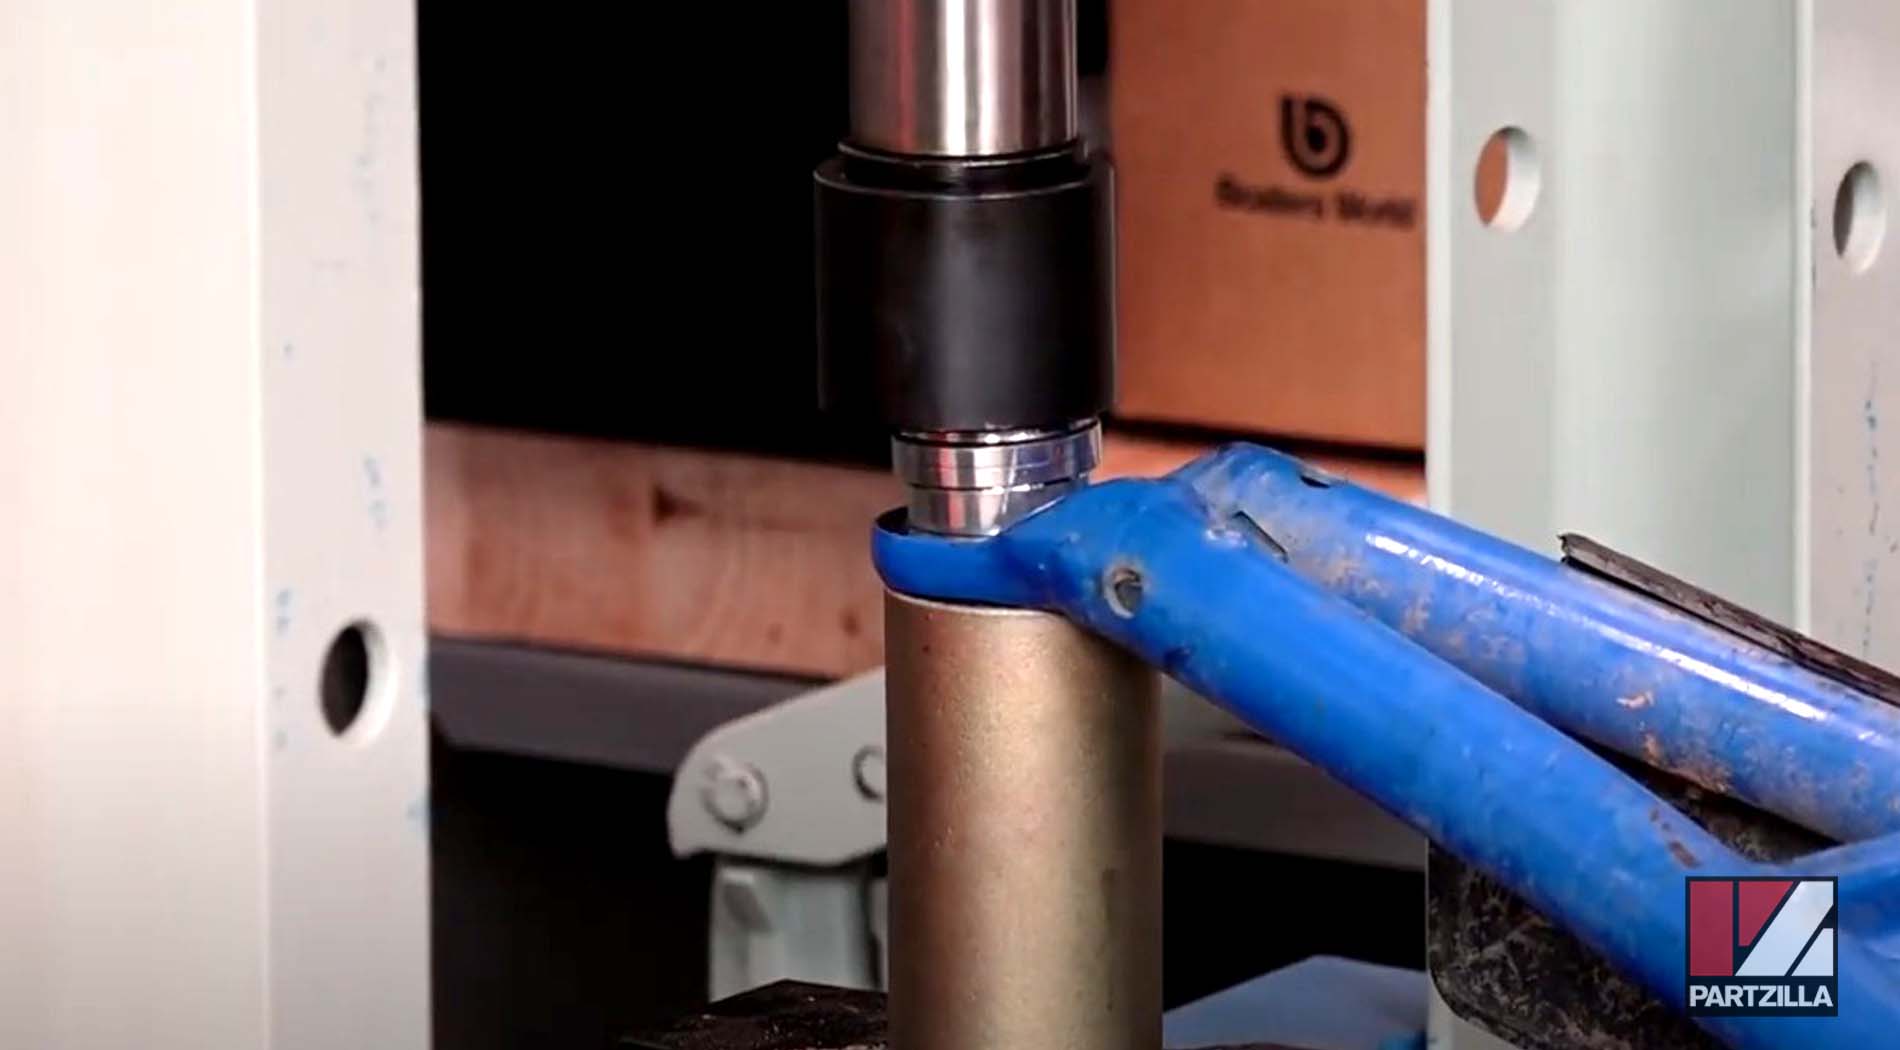
Step 8. Install the new ball joint by placing the A-arm over the cup and pushing the ball joint up through the A-arm with a press until it’s fully seated.
Step 9. Reinstall the retaining circlip into the groove at the base of the ball joint.
Step 10. Reinstall the A-arm into the chassis mounts, followed by the two mounting bolts, but don’t tighten the bolts yet.

Step 11. Push the ball joint up into the brake/hub assembly knuckle and reinstall the mounting bolt.
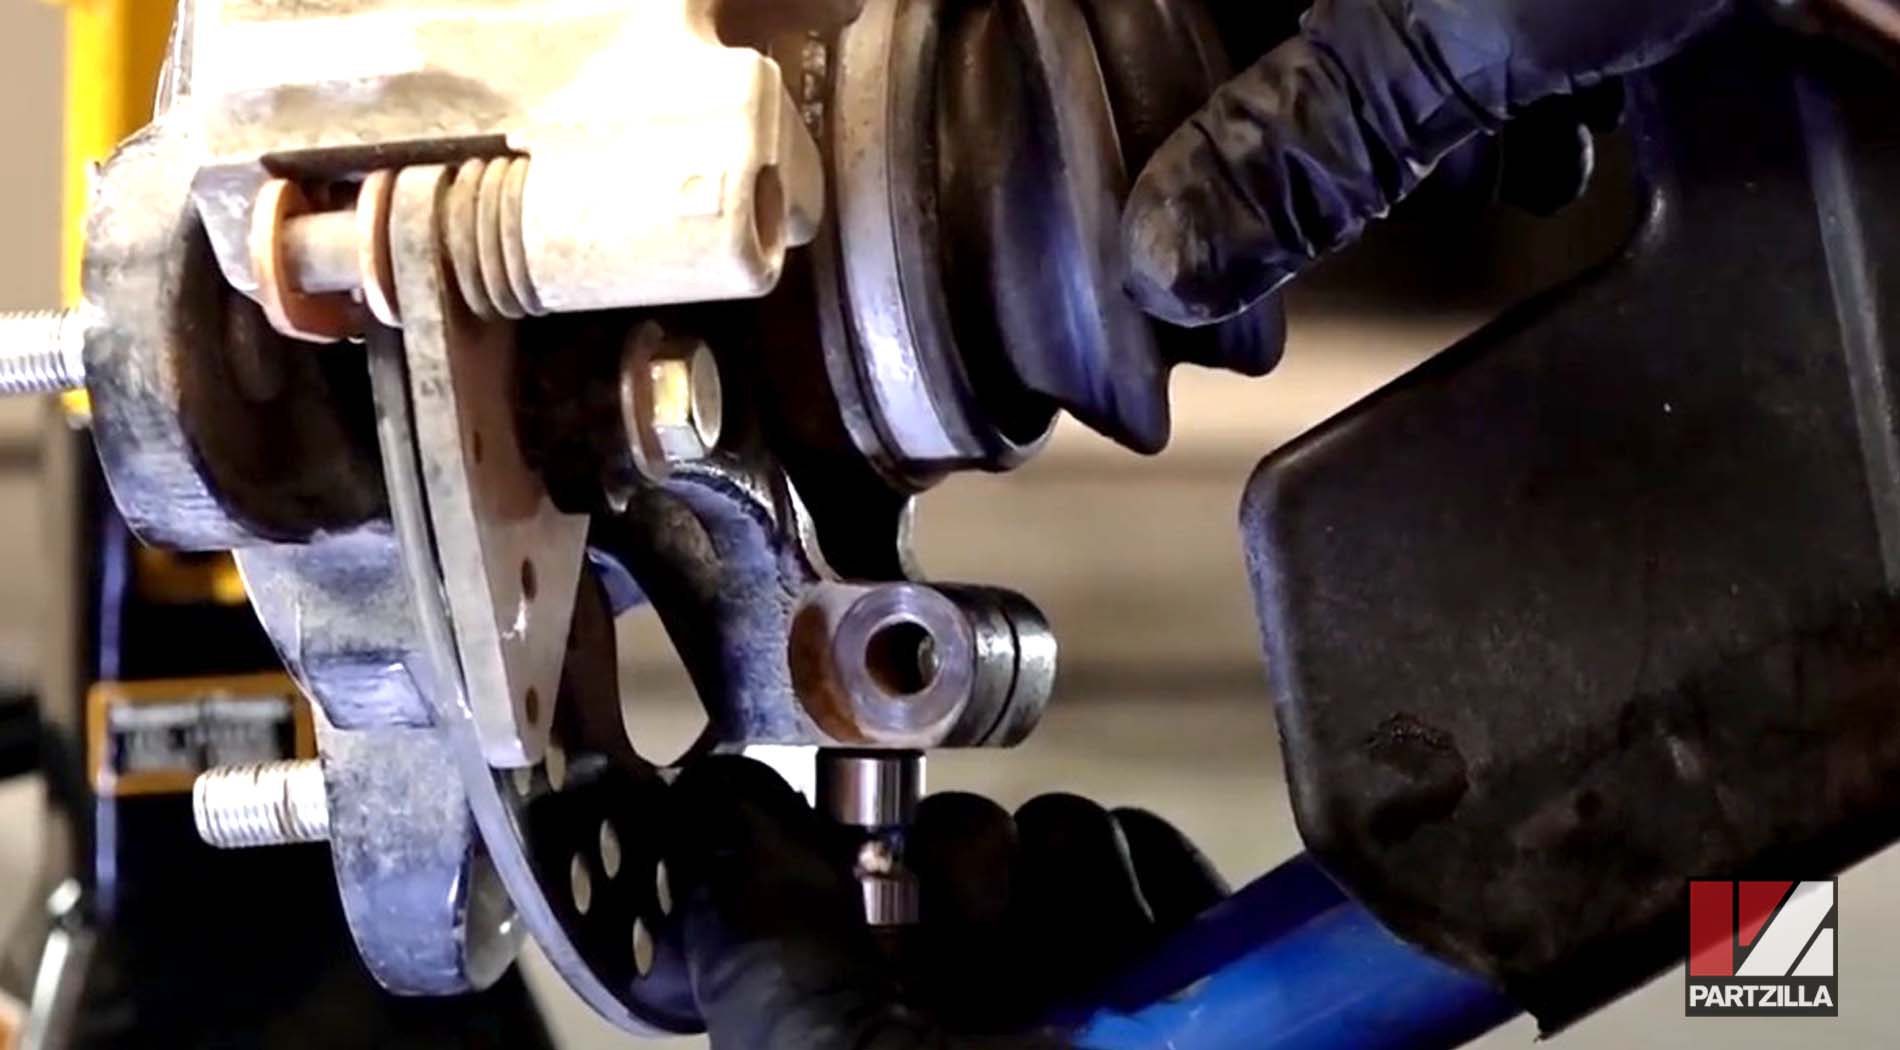
PRO TIP: Polaris specifies the nut should be torqued to 42 foot-pounds, but because you’ll have to tighten from the bolt-end, you can compensate by tightening to 44 foot-pounds.
Step 12. Replace the A-arm chassis mounting bolt washers and nuts, and torque them to 42 foot-pounds.
Step 13. Reinstall the brush guard, the wheel and lug nuts, then lower the Ranger back to the ground and torque the lug nuts to 120 foot-pounds.
Want a more extensive look at replacing the ball joints on a Polaris side-by-side? Watch the video above to see how to replace the front ball joints on a Polaris Ranger 800 Crew.