How to Replace a Polaris ATV Master Cylinder
If you’ve bled the brakes on your Polaris ATV and the brake lever still doesn’t feel right, you may have a leak in the master cylinder seals.
Watch the video above and follow the steps below to learn how to replace the master cylinder on a Polaris ATV.
Tools and Parts - Polaris ATV Master Cylinder Replacement
- Allen wrench set
- Circlip pliers
- 12mm wrench
- Pick or nail punch
- Polaris master cylinder replacement kit
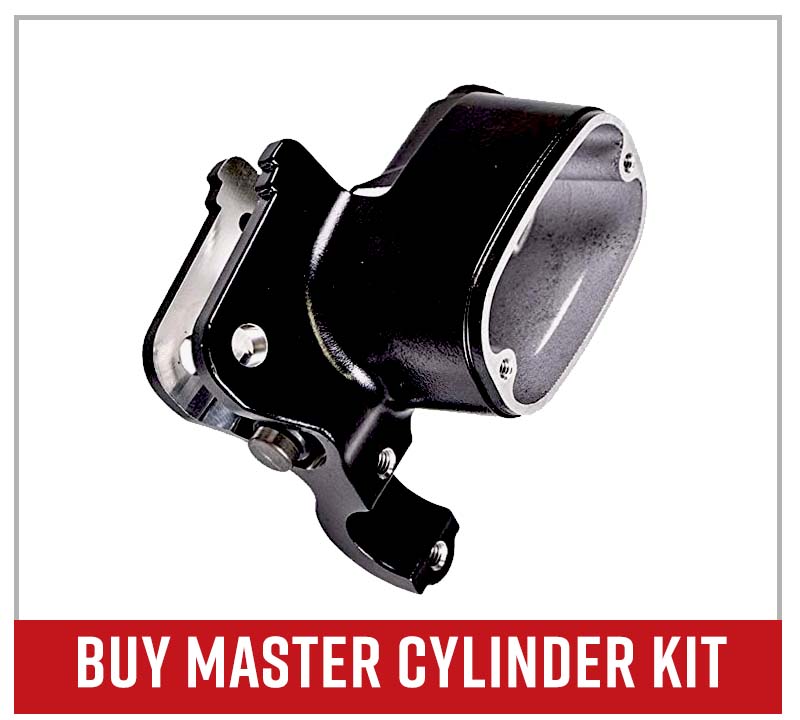
NOTE: We replaced the master cylinder on a 2011 Polaris Sportsman 850XP, but the steps are the same or similar for all Polaris ATVs.
How to Remove Polaris ATV Master Cylinder
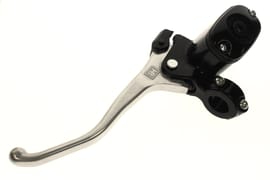
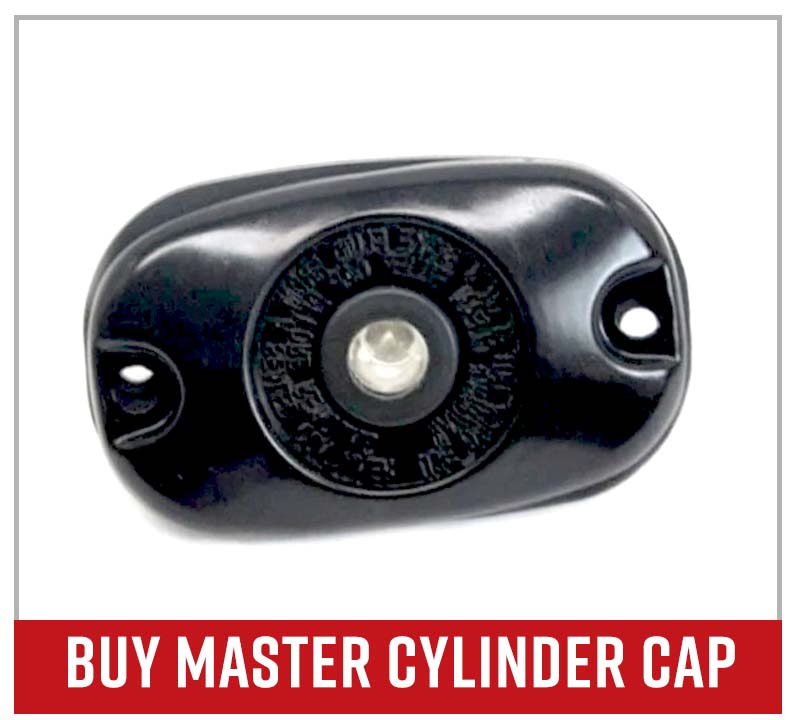
Step 1. Remove the master cylinder cover by loosening the two screws that hold it in place.
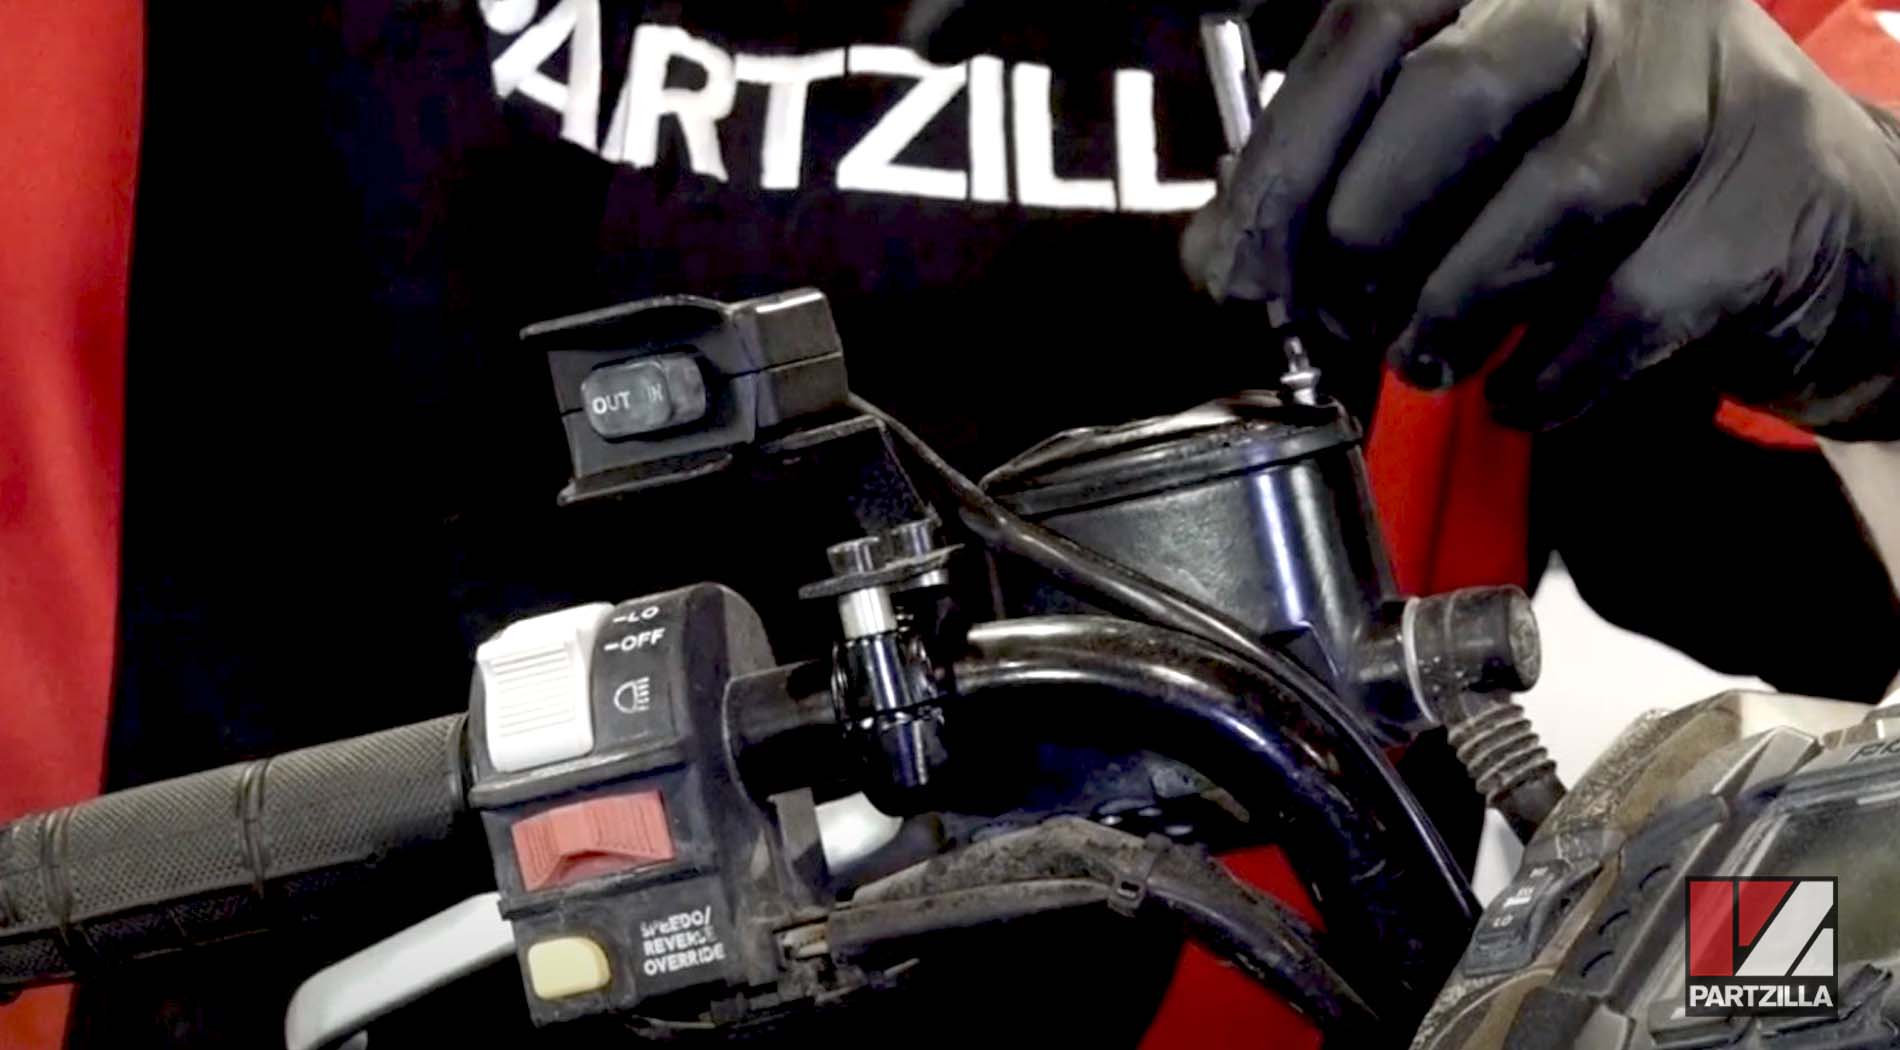
NOTE: On the Polaris Sportsman 850, the master cylinder is located next to the brake lever on the left hand side.
Step 2. Extract any remaining fluid in the master cylinder.
NOTE: The fluid can seriously damage paint and some plastic components, so keep some rags handy when performing this step.
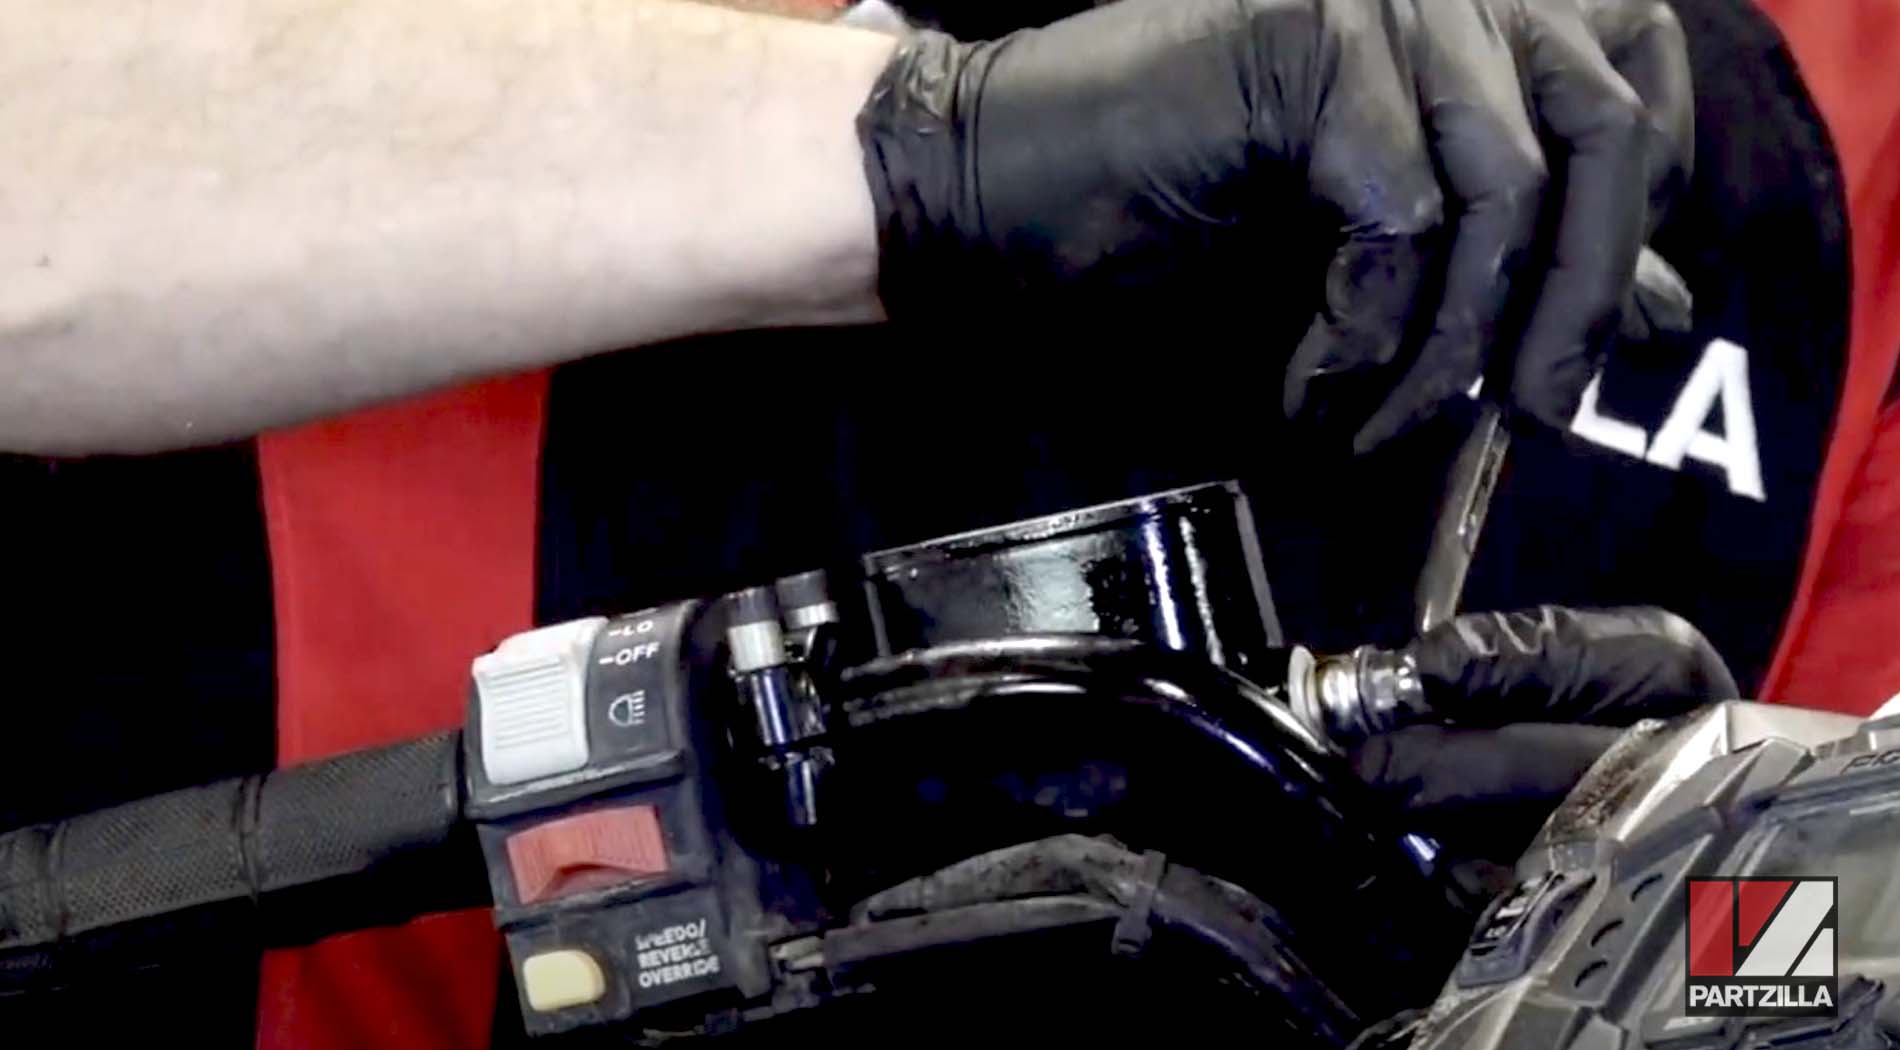
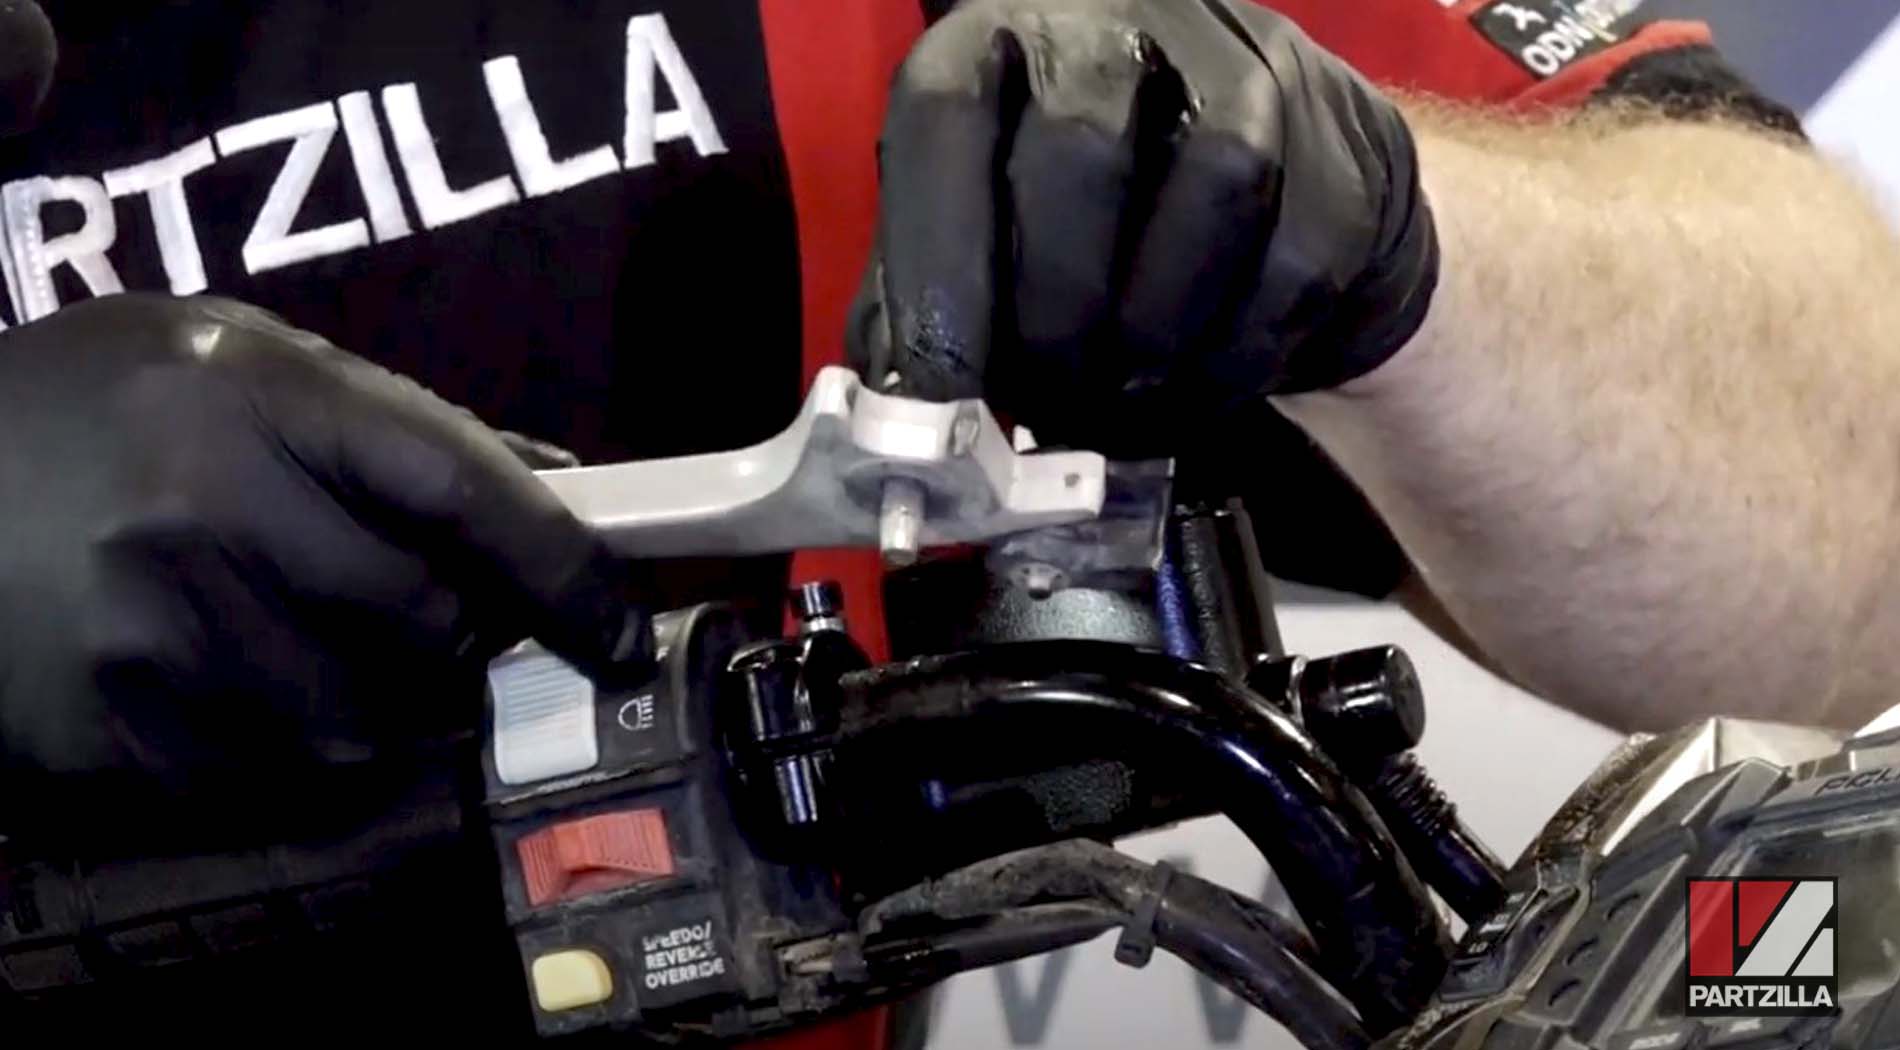
Step 3. Unscrew the two Allen bolts on either side of the clamp that holds the master cylinder and brake handle in place on the handlebar.
NOTE: You might have to disconnect the winch controller if your unit has one.
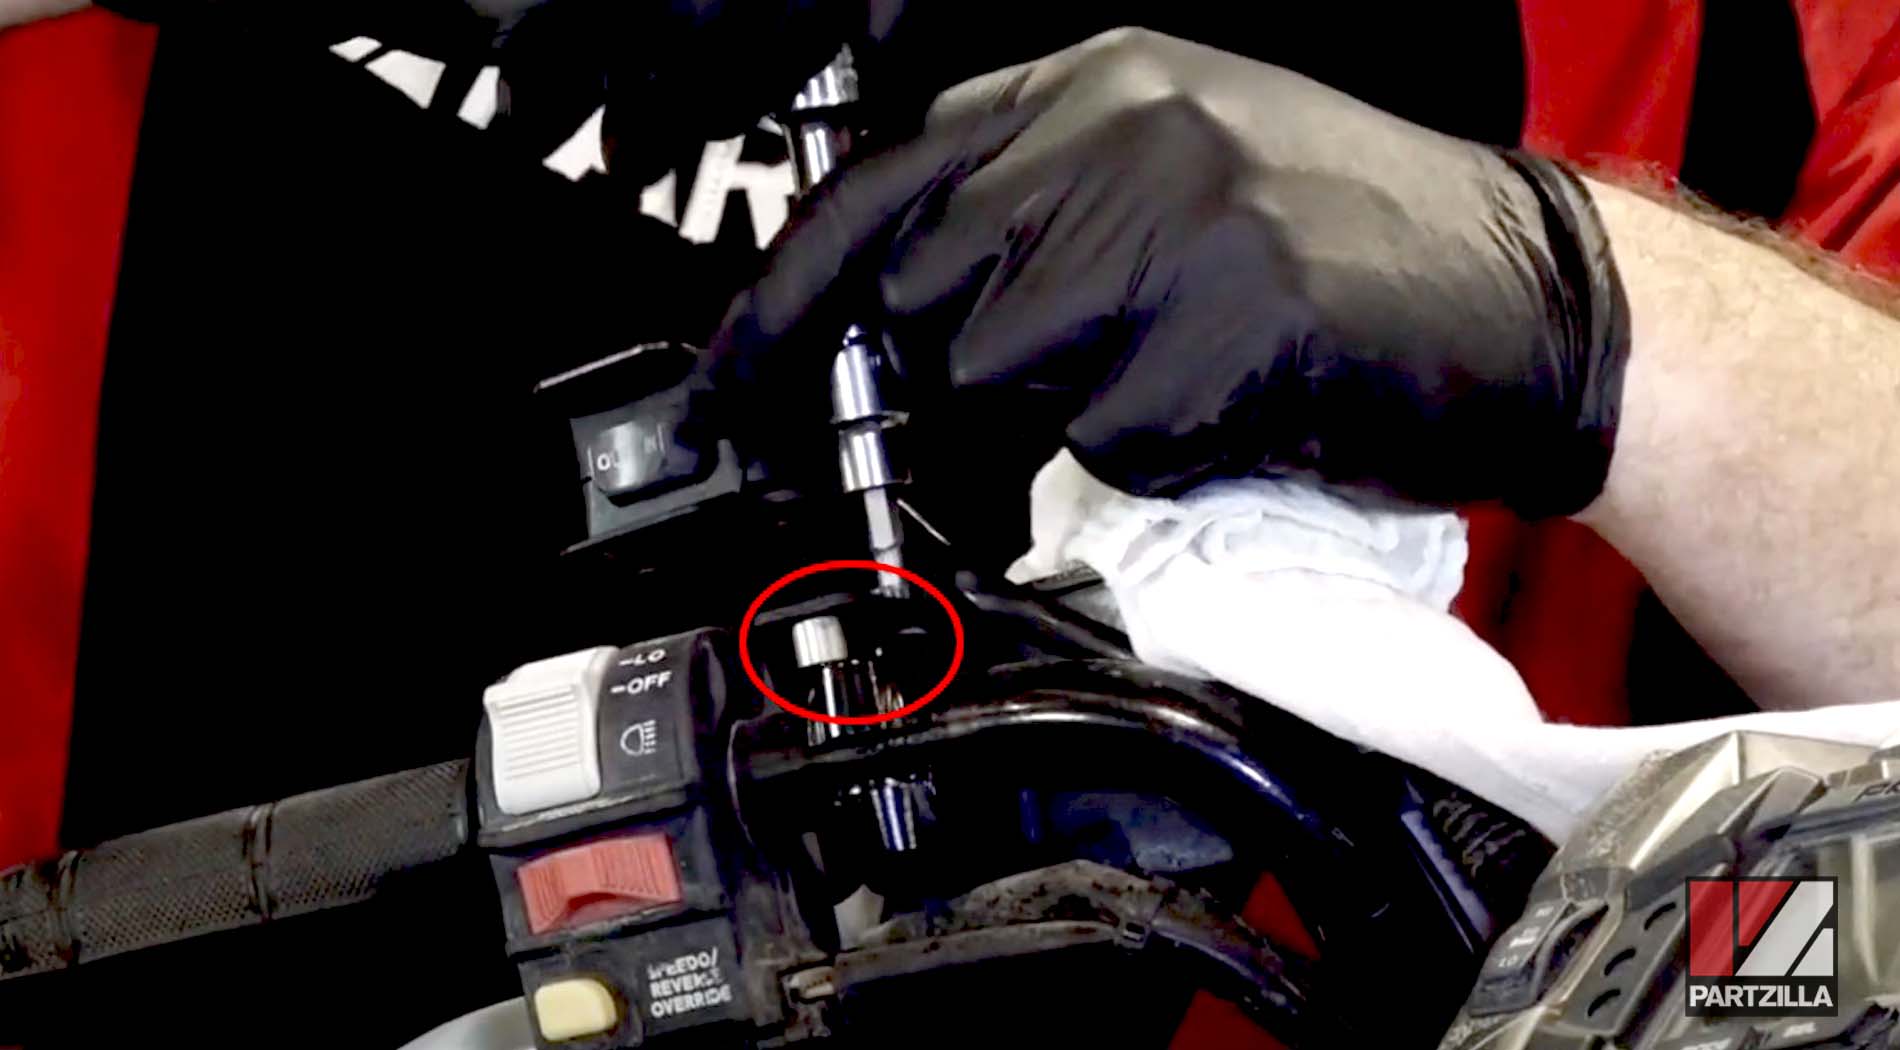
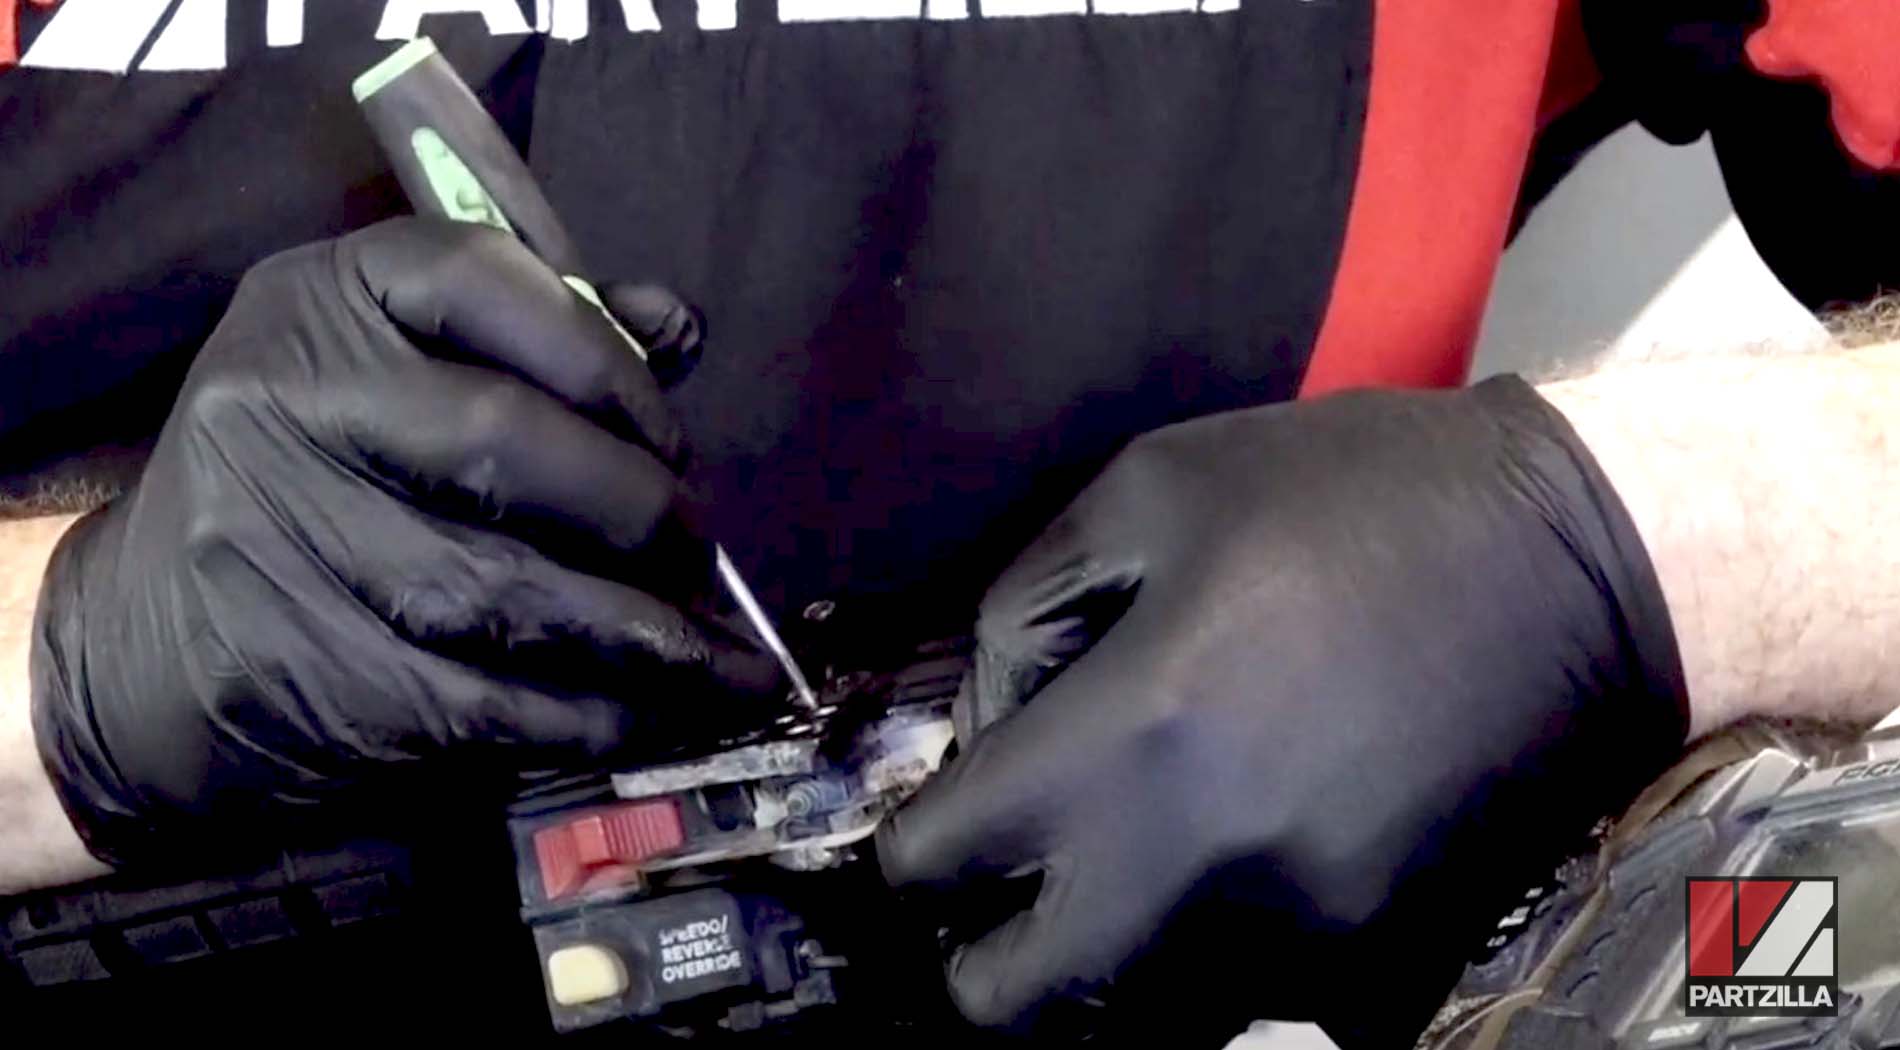
Step 4. Use circlip pliers to remove the pivot pin on the underside of the brake handle that holds the brake handle in place.
Step 5. Remove the brake handle.
Step 6. Temporarily re-mount the master cylinder by hand-tightening the Allen bolts so that the front brake line can be removed.

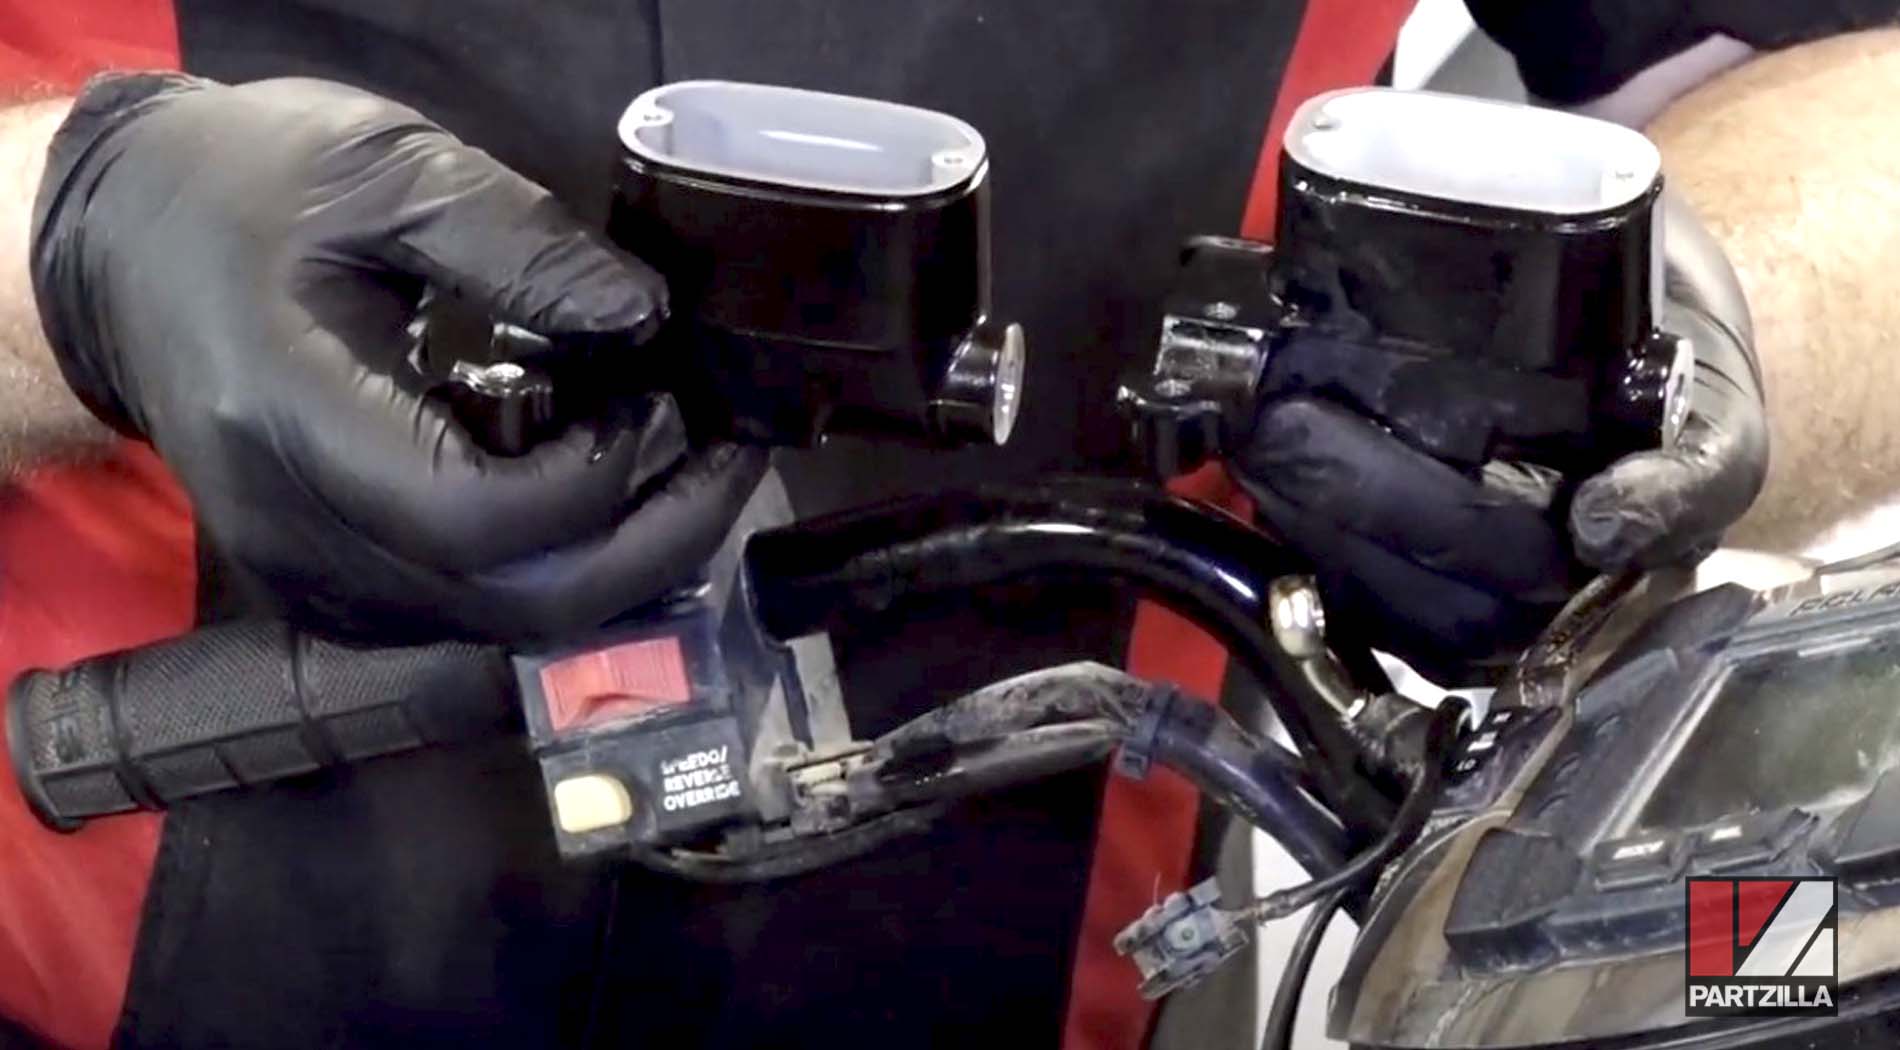
Step 7. Remove the 12mm banjo bolt with one washer on each side of the hose fitting and disconnect the brake line.
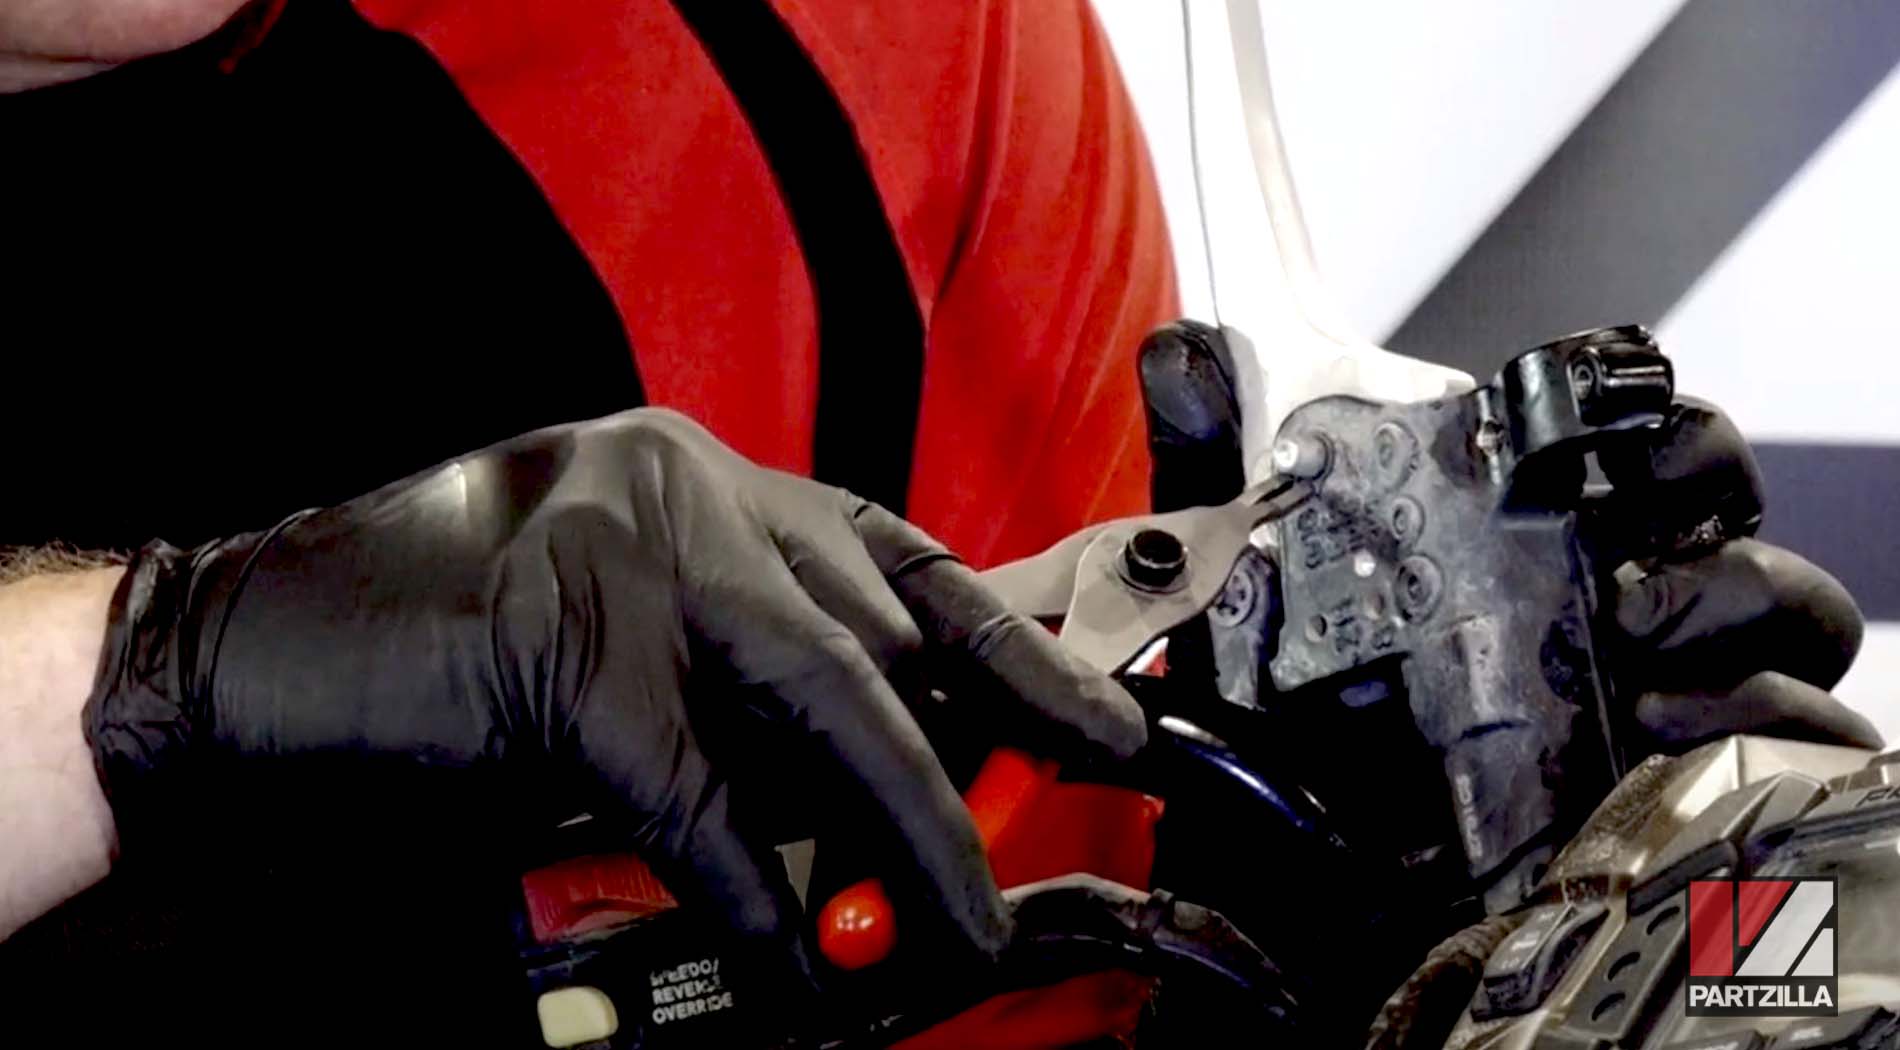
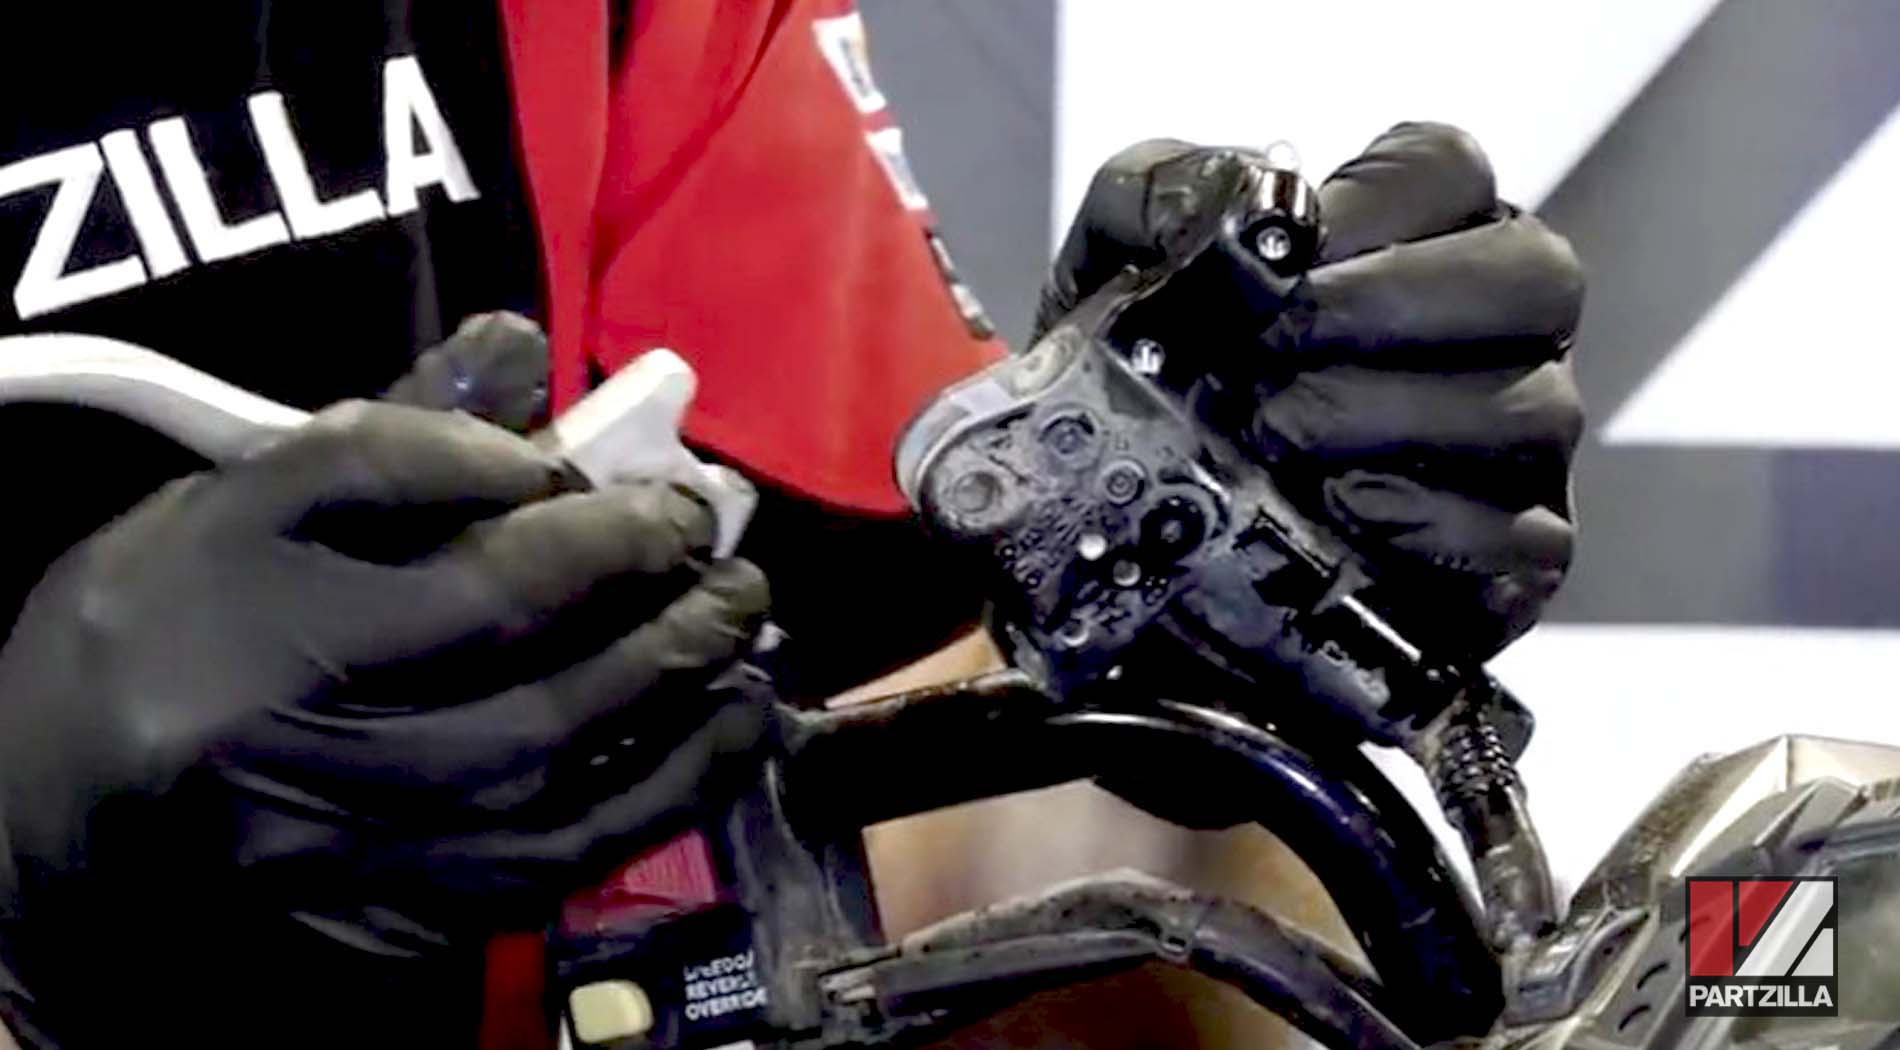
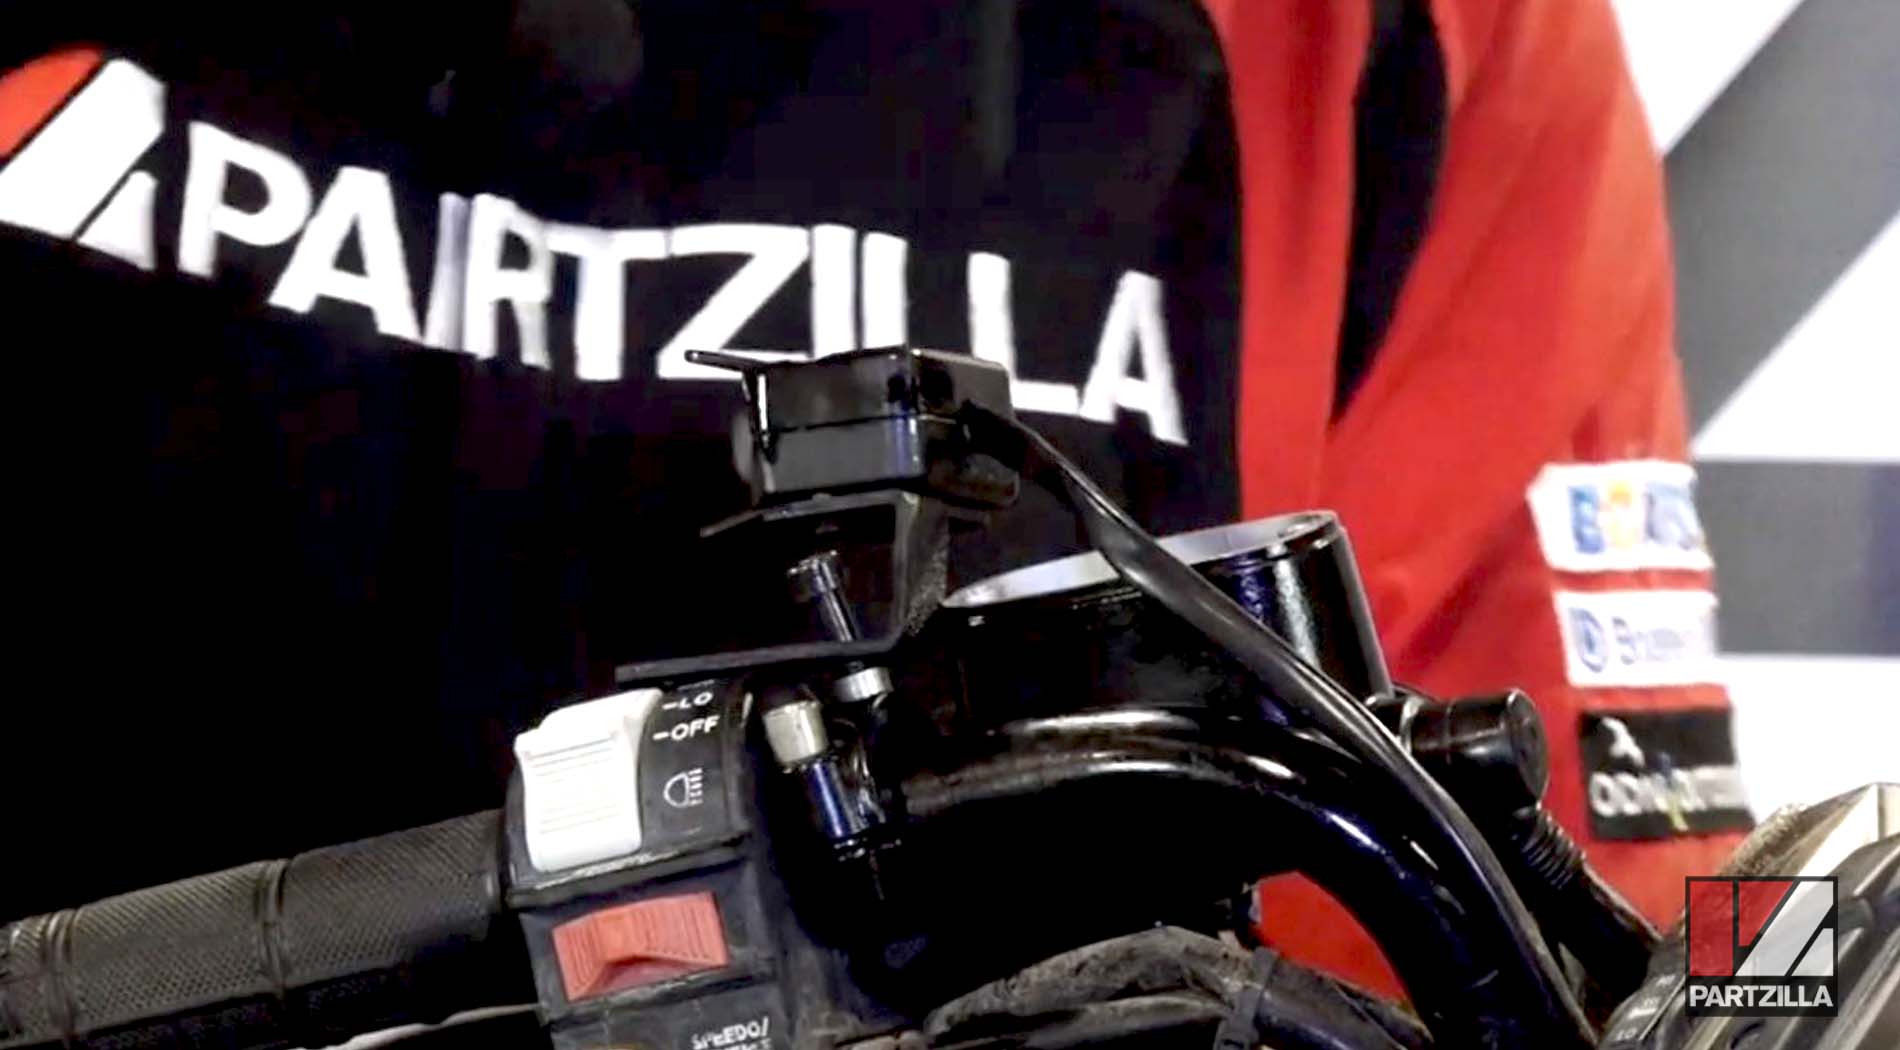
Step 8. Rotate the master cylinder around the handlebar and turn it upside down. Locate the two small tabs sticking up from the bottom of the brake switch.
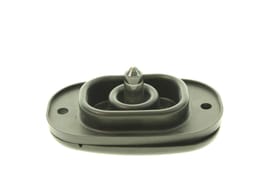
Step 9. Use a pick or nail punch to push down each tab one at a time to wiggle the brake switch out.
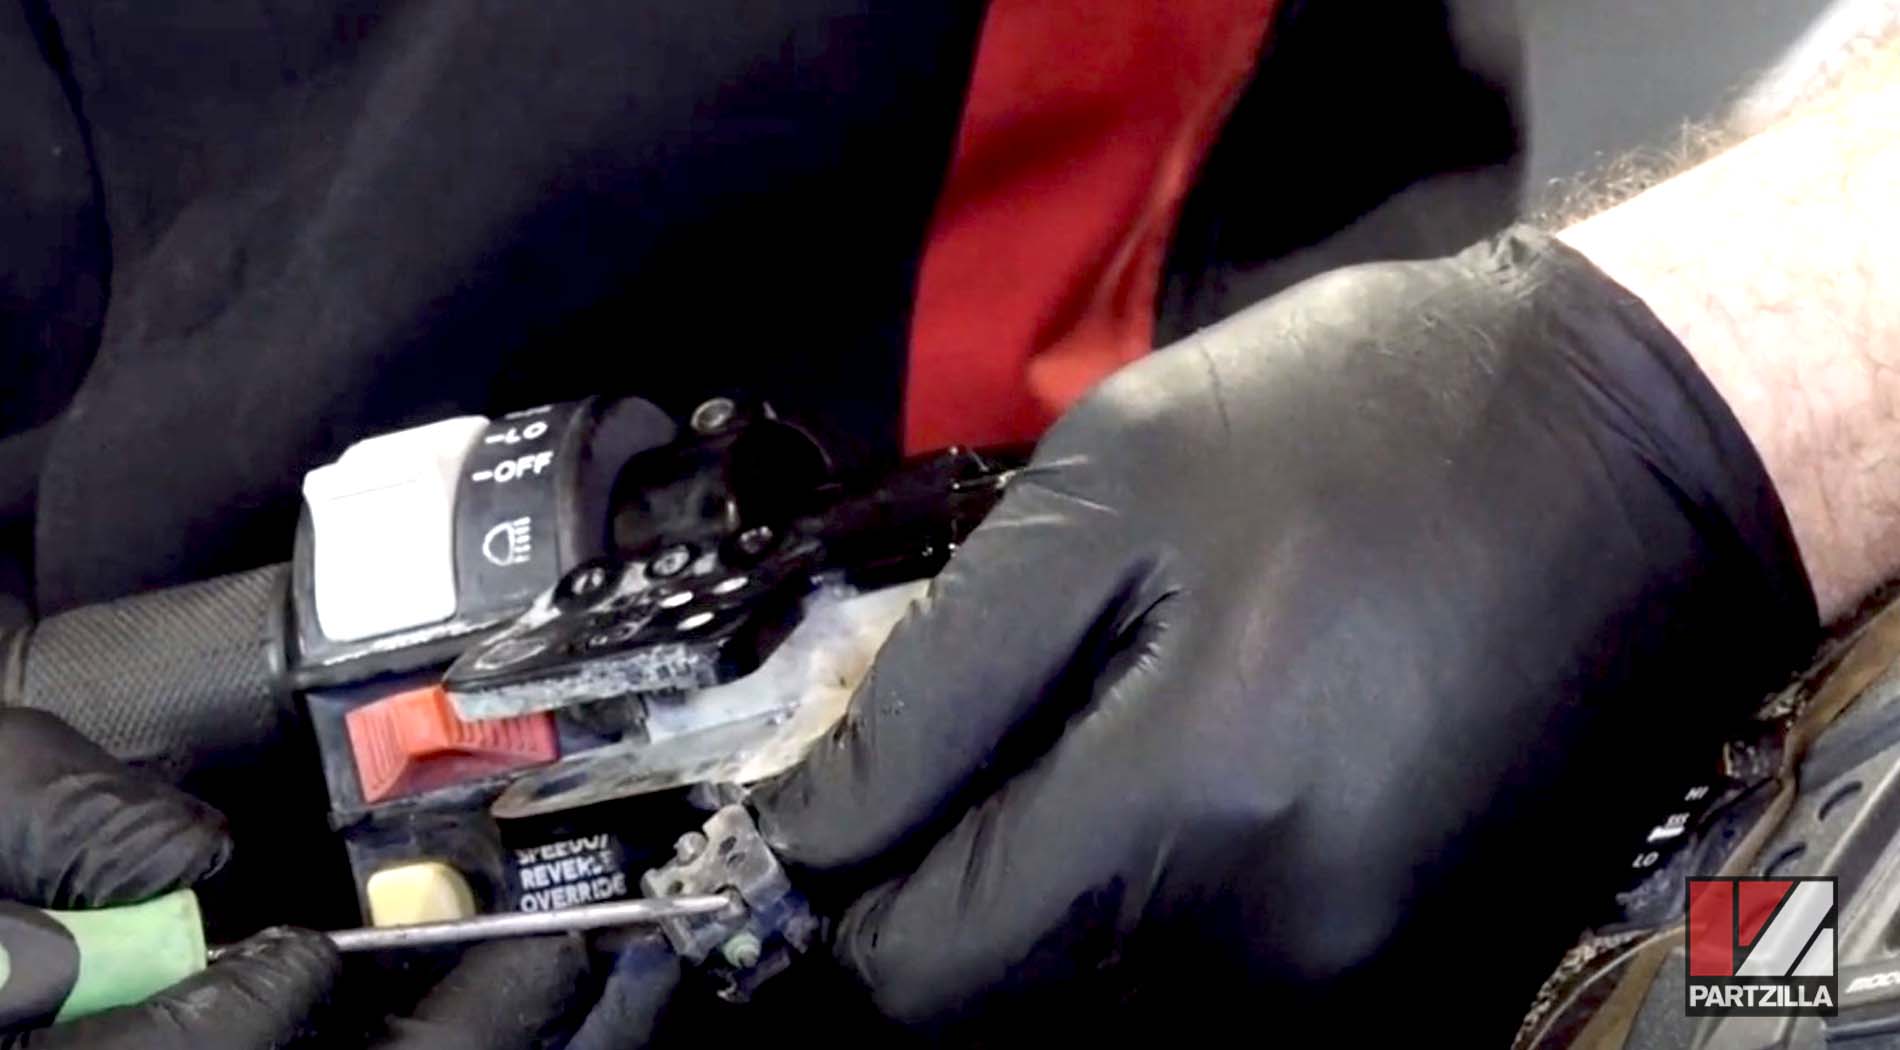
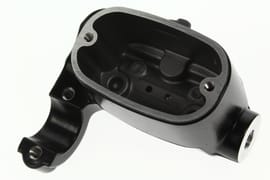
Step 10. Loosen the two Allen bolts holding the master cylinder in place and remove it from the ATV.
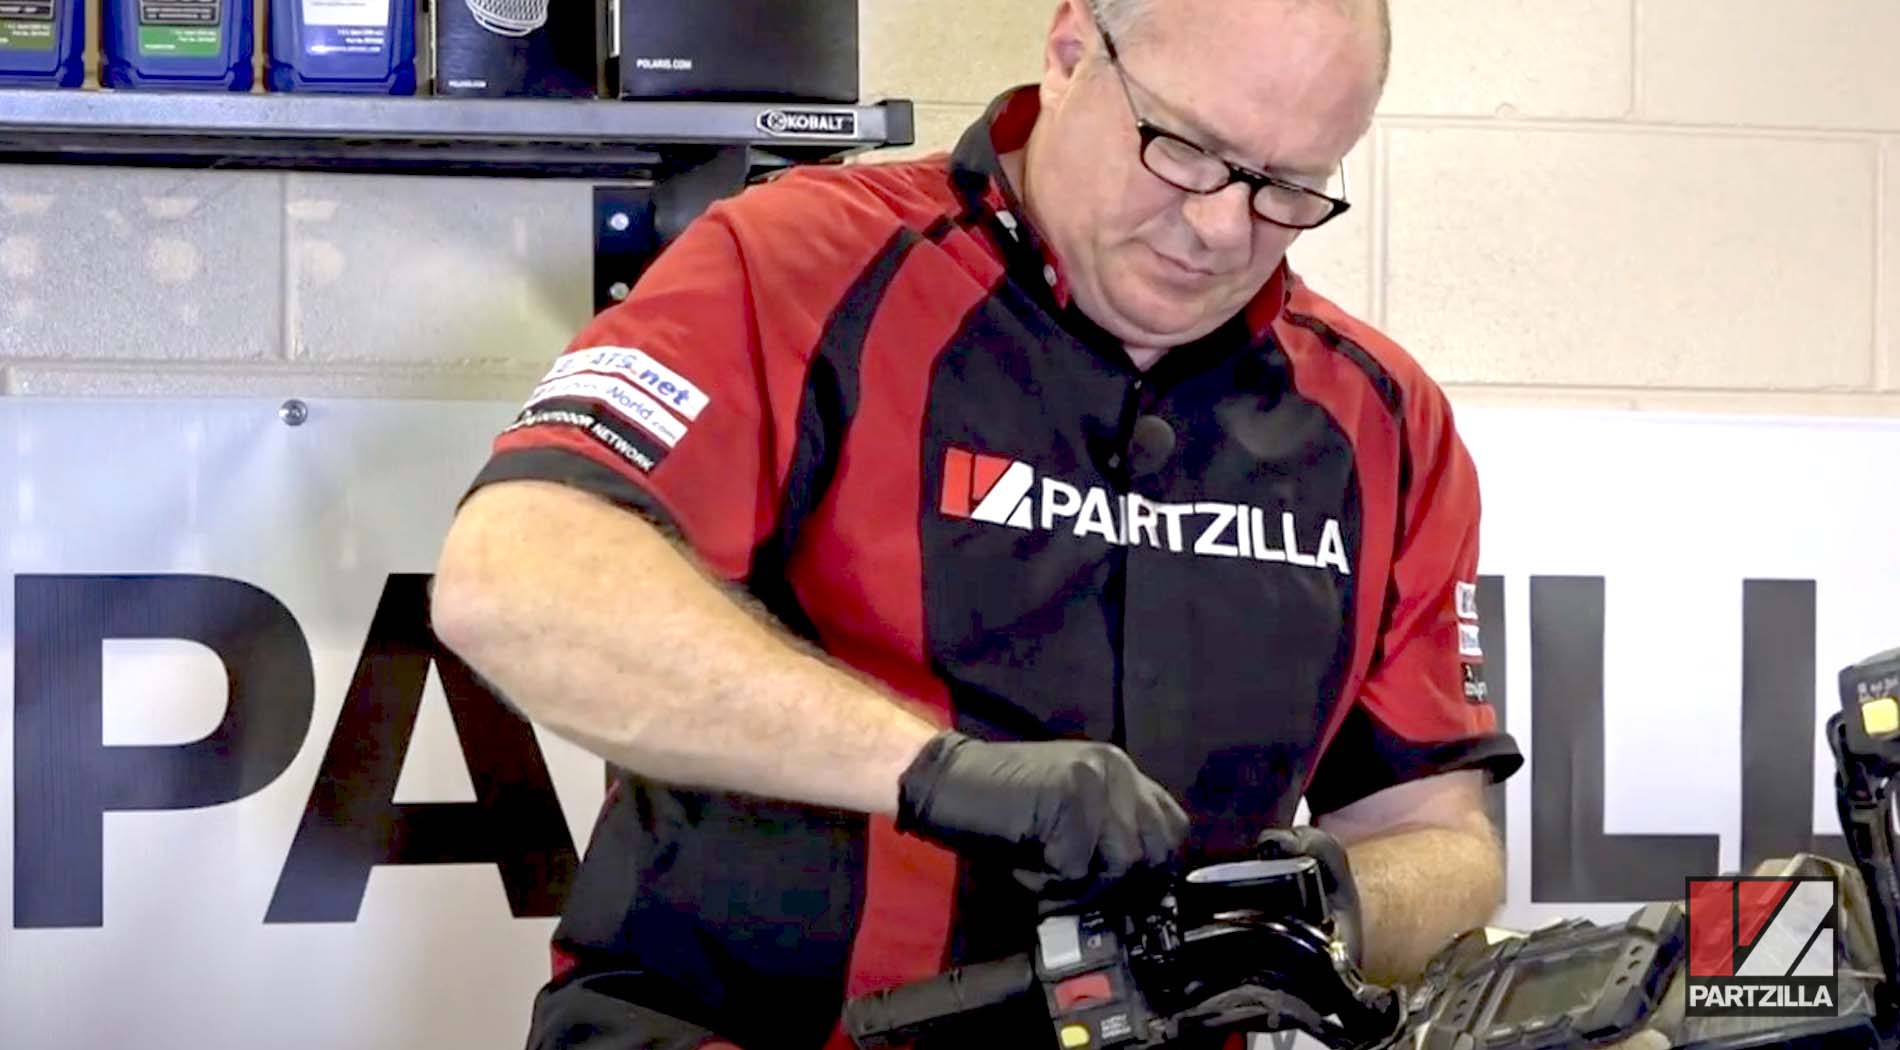
Replacing the Master Cylinder on a Polaris ATV
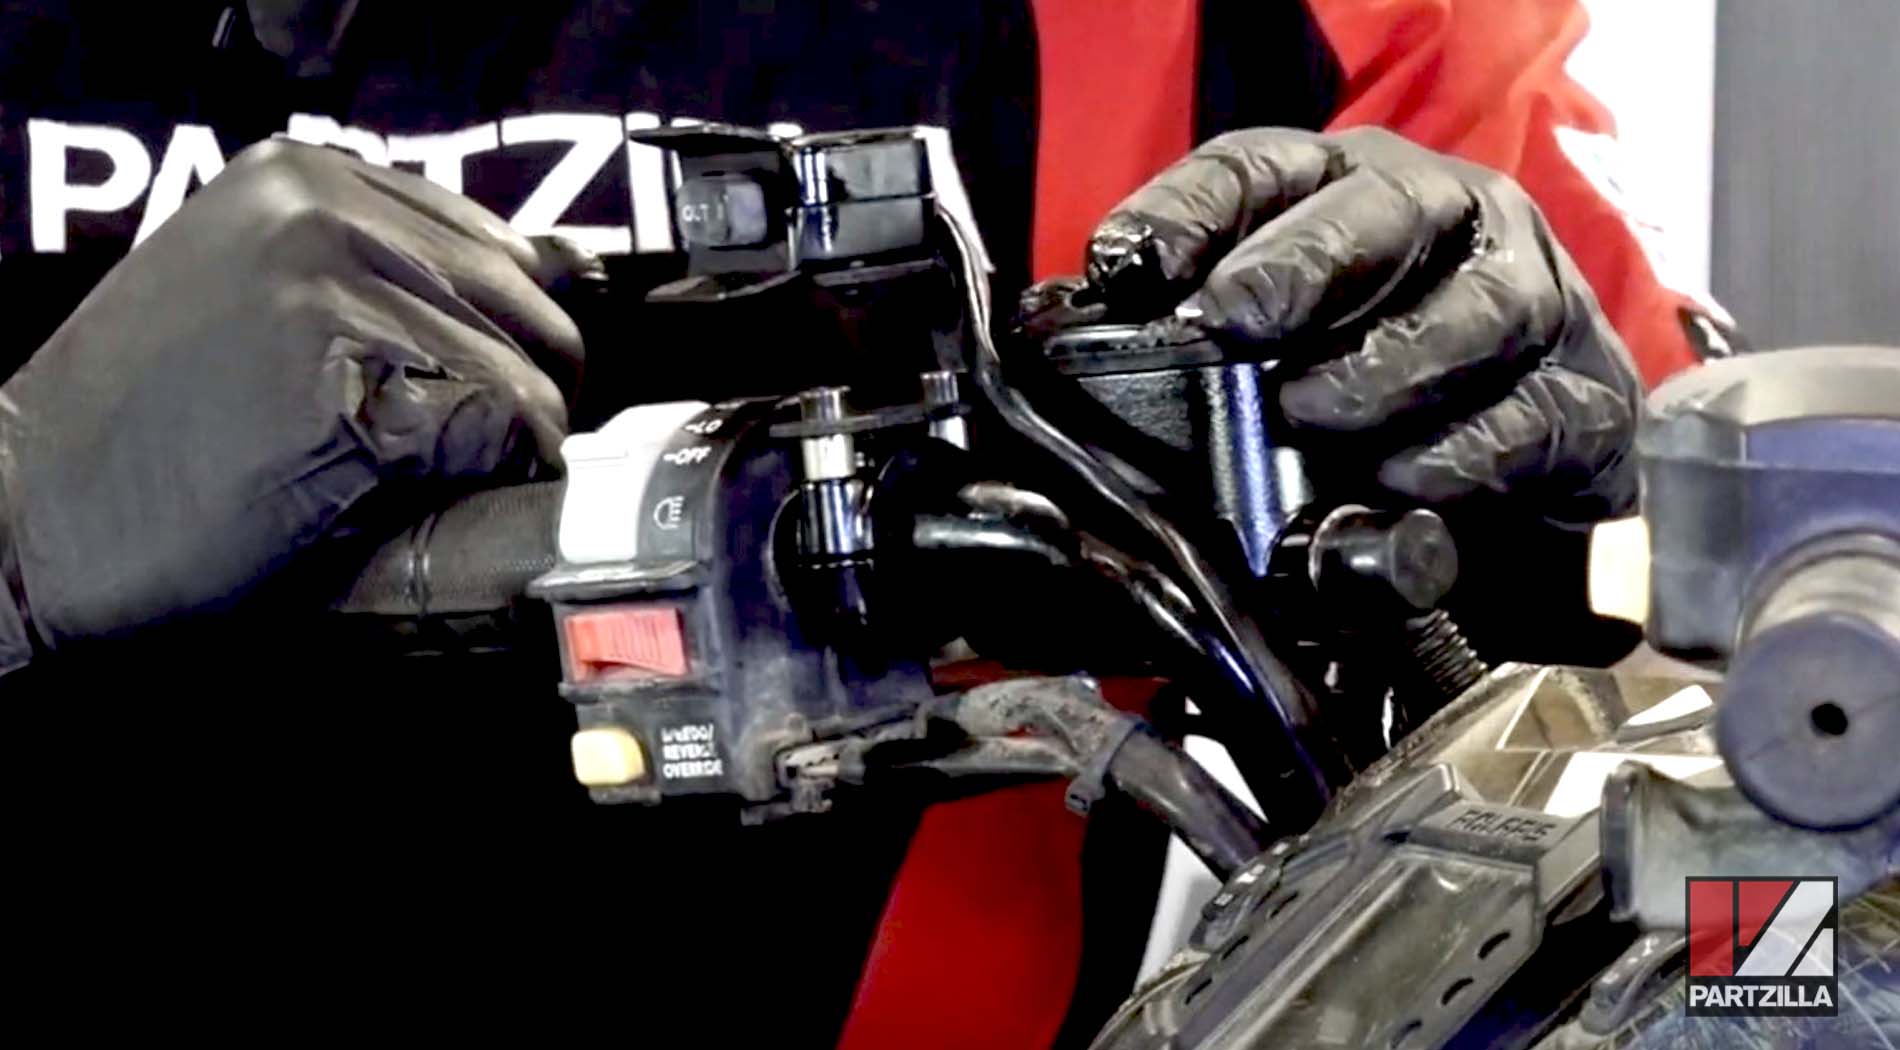
Step 11. Temporarily mount the new master cylinder by lightly hand-tightening the Allen bolts.
Step 12. Rotate the master cylinder over the handlebar so it’s upside down.
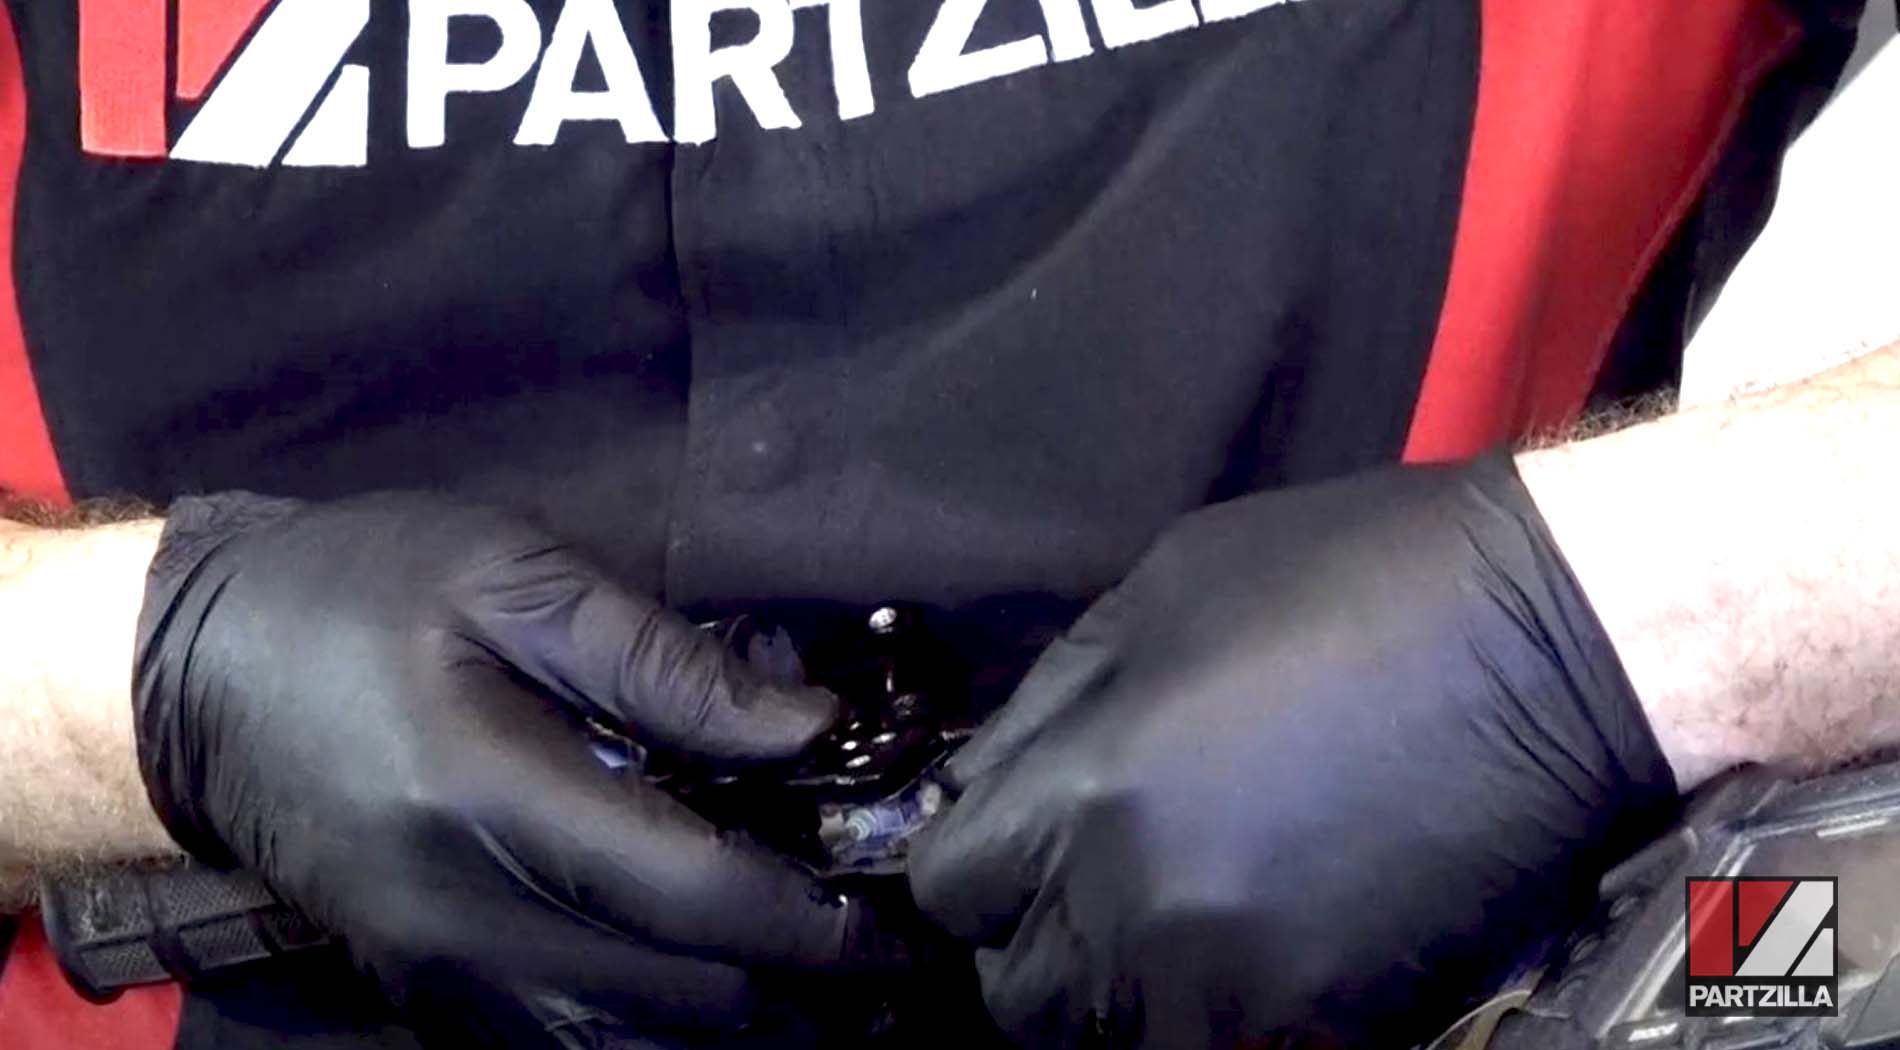
NOTE: This step enables you to slide in the brake switch and visually confirm that the tabs have clicked into place.
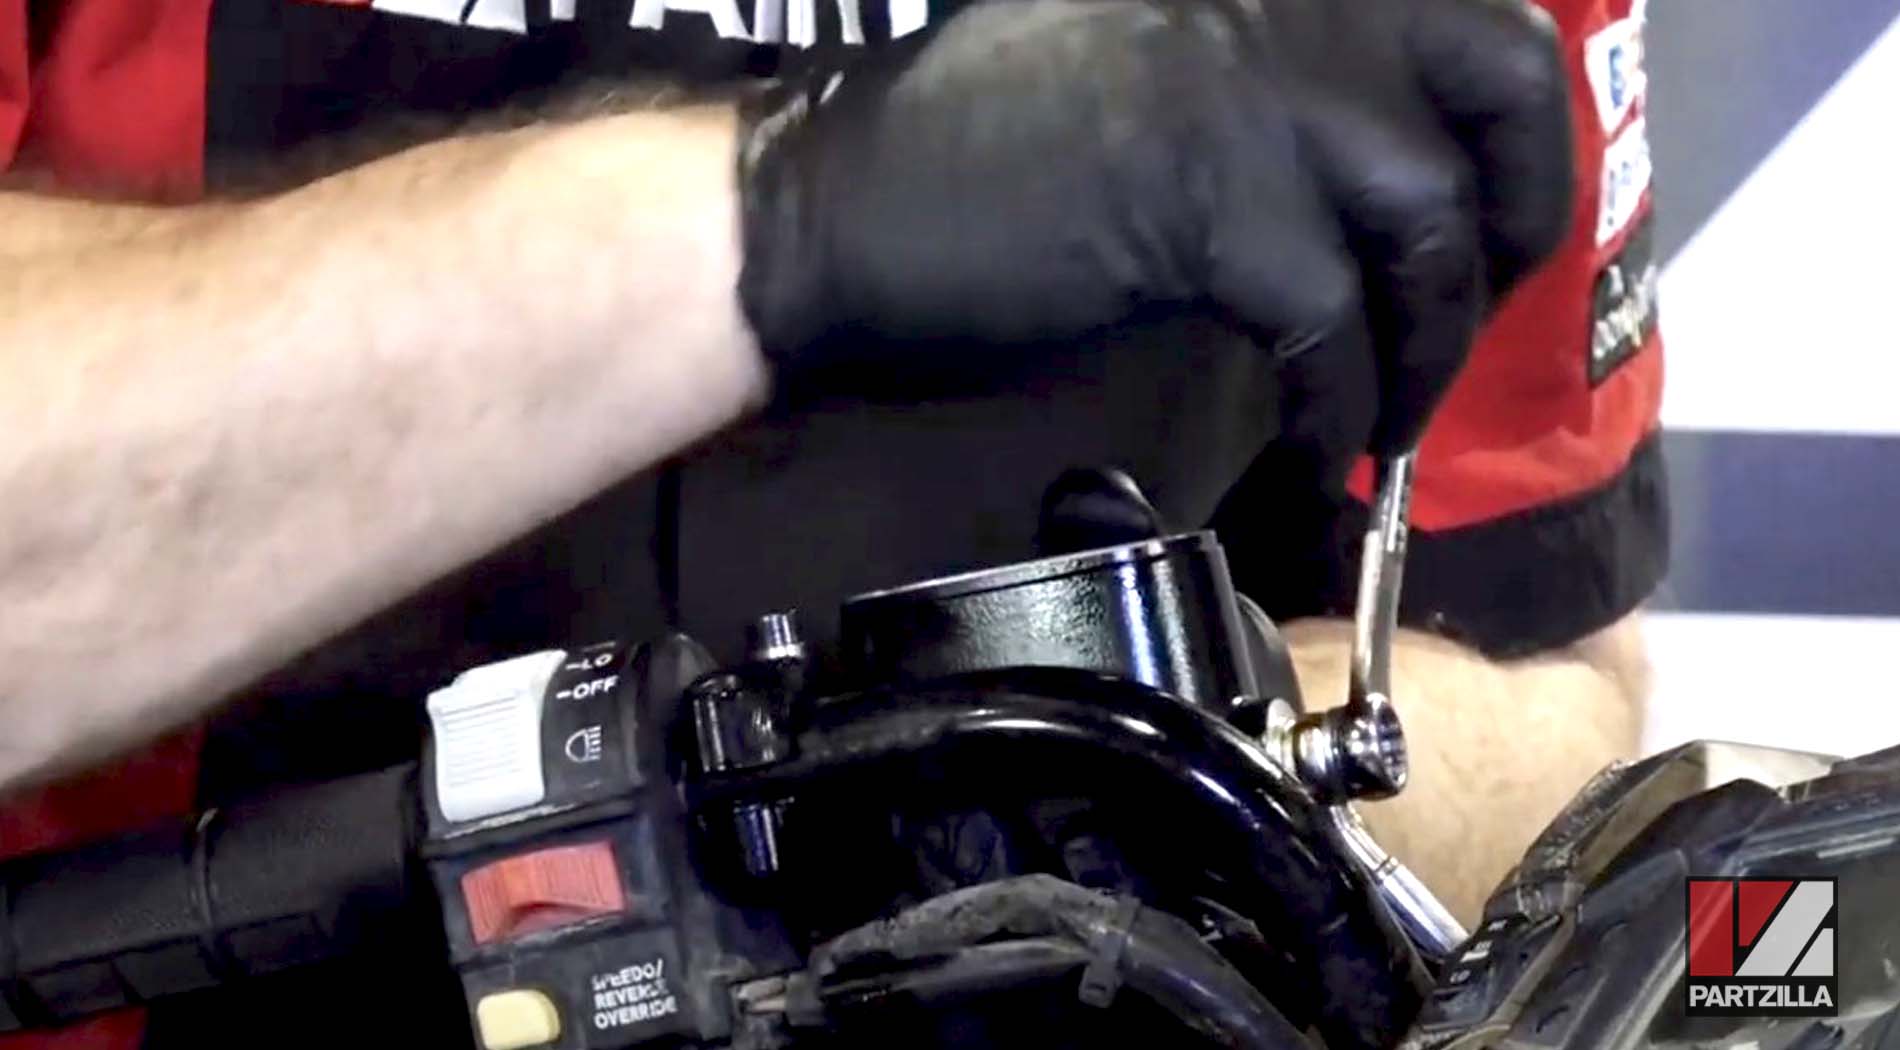
Step 13. Rotate the entire assembly back around the handlebar to its proper position, then reattach the brake line. Line up the brake line so that it runs down the handlebar, and remember to include the washers both in front of and behind the hose fitting before tightening the bolt.
Step 14. Replace the brake handle by inserting it into the cavity for it, which is found on the side of the of the master cylinder assembly nearest the handlebar grip. Insert the pin through the hole in the master cylinder body and then secure it using the circlip.
PRO TIP: A little grease on the pivot pin will help the handle move smoothly.
Step 15. Remount the winch controller if your ATV has one by loosening the Allen bolts and positioning the winch controller, then retightening the bolts by hand.
Step 16. Position the master cylinder and tighten down the Allen.

PRO TIP: A good rule of thumb is to adjust the position of the brake so that when the brake handle is pulled, it lines up with the end of the handlebar grip. Position the master cylinder so that the cylinder is flat when the front wheels are straight.
Step 17. Replace the master cylinder cap and you’re done.
When the installation process in complete, you’ll want to bleed the brake system. Watch the video below to learn how to bleed the brakes on a Polaris Sportsman ATV.