Easy Troubleshooting: Motorcycle Stator Tests
The stator on a motorcycle is responsible for generating the electrical power the bike needs for the ignition system and the charging system.
If the stator doesn’t work, neither will the bike. Typical symptoms of a failed stator include no-starts, batteries that won’t charge, and no spark from spark plugs. The only tool needed to test a stator is a multimeter with settings for ohms and AC volts. You can buy a cheap multimeter, but a quality multimeter with more settings will serve you better for stator testing.
How a Stator Works
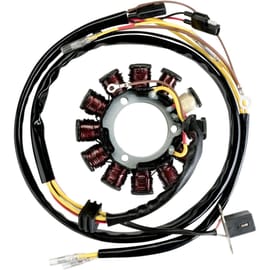
A stator is made up of wire coils or windings and sits under a rotor or flywheel that contains magnets. As the rotor or flywheel rotates, the stator coils pick up the magnetic field and generates AC electrical current that powers the bike’s electrical system. The complete stator/rotor assembly is sometimes called an alternator.
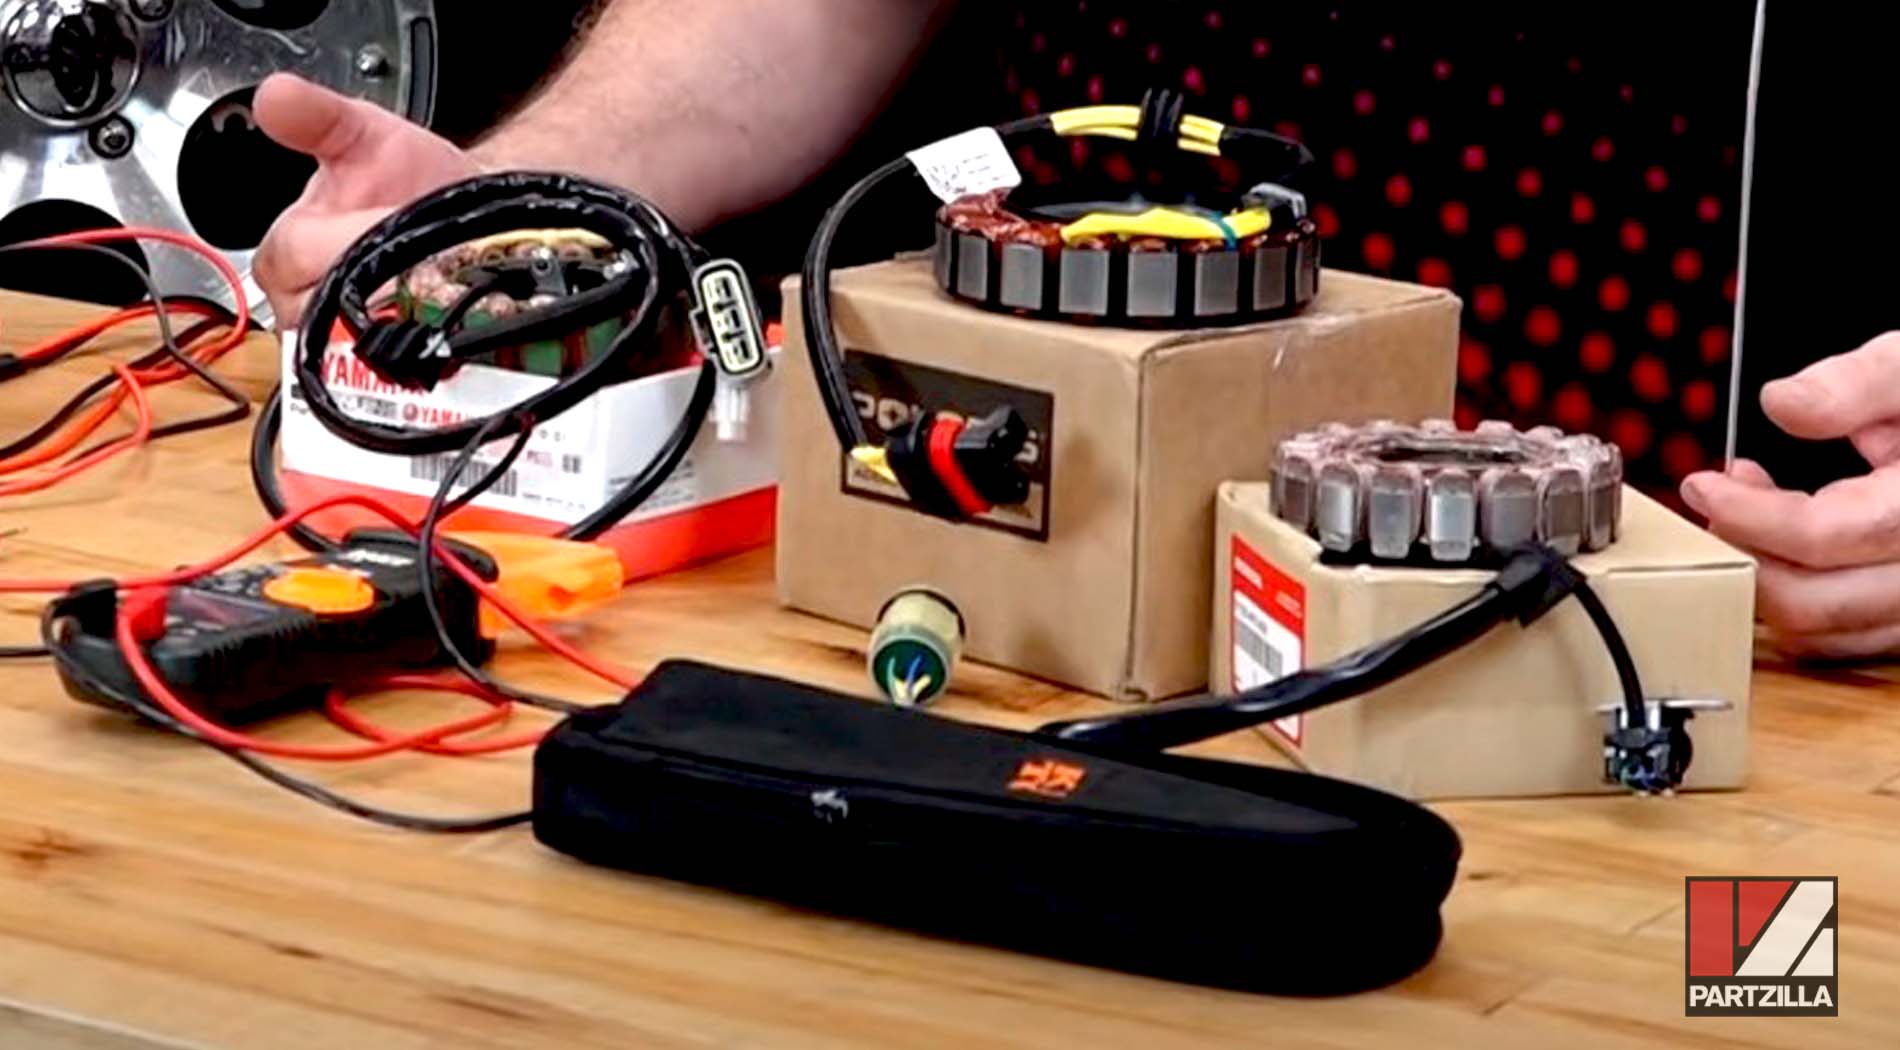
Stators are either single-phase (single coil, generates less electrical power) or three-phase (three separate coils, generate more electrical power). Single-phase stators are found on smaller bikes that only need power for the ignition system. Three-phase stators are found on larger bikes that need more power to run electronic starters, fuel pumps and so on. The stator assembly may include a crankshaft position sensor, also known as a pick-up coil, trigger coil or pulser coil.
Testing a Stator
There are two main tests to see if your stator works or not: the dynamic test and the static test. The dynamic test is done while the engine is running, and the static test is done without the engine running.
Static Testing a Stator
Static tests measure for breaks in the coils within the stator. The exact range of the readings you should get varies between motorcycle makes and models. Refer to your motorcycle’s service manual.
Stator Ground Test (ohms Test)
This test checks for a fault in one of the stator’s wire coils.
- Set your multimeter to ohms.
- Make sure the ignition switch is OFF.
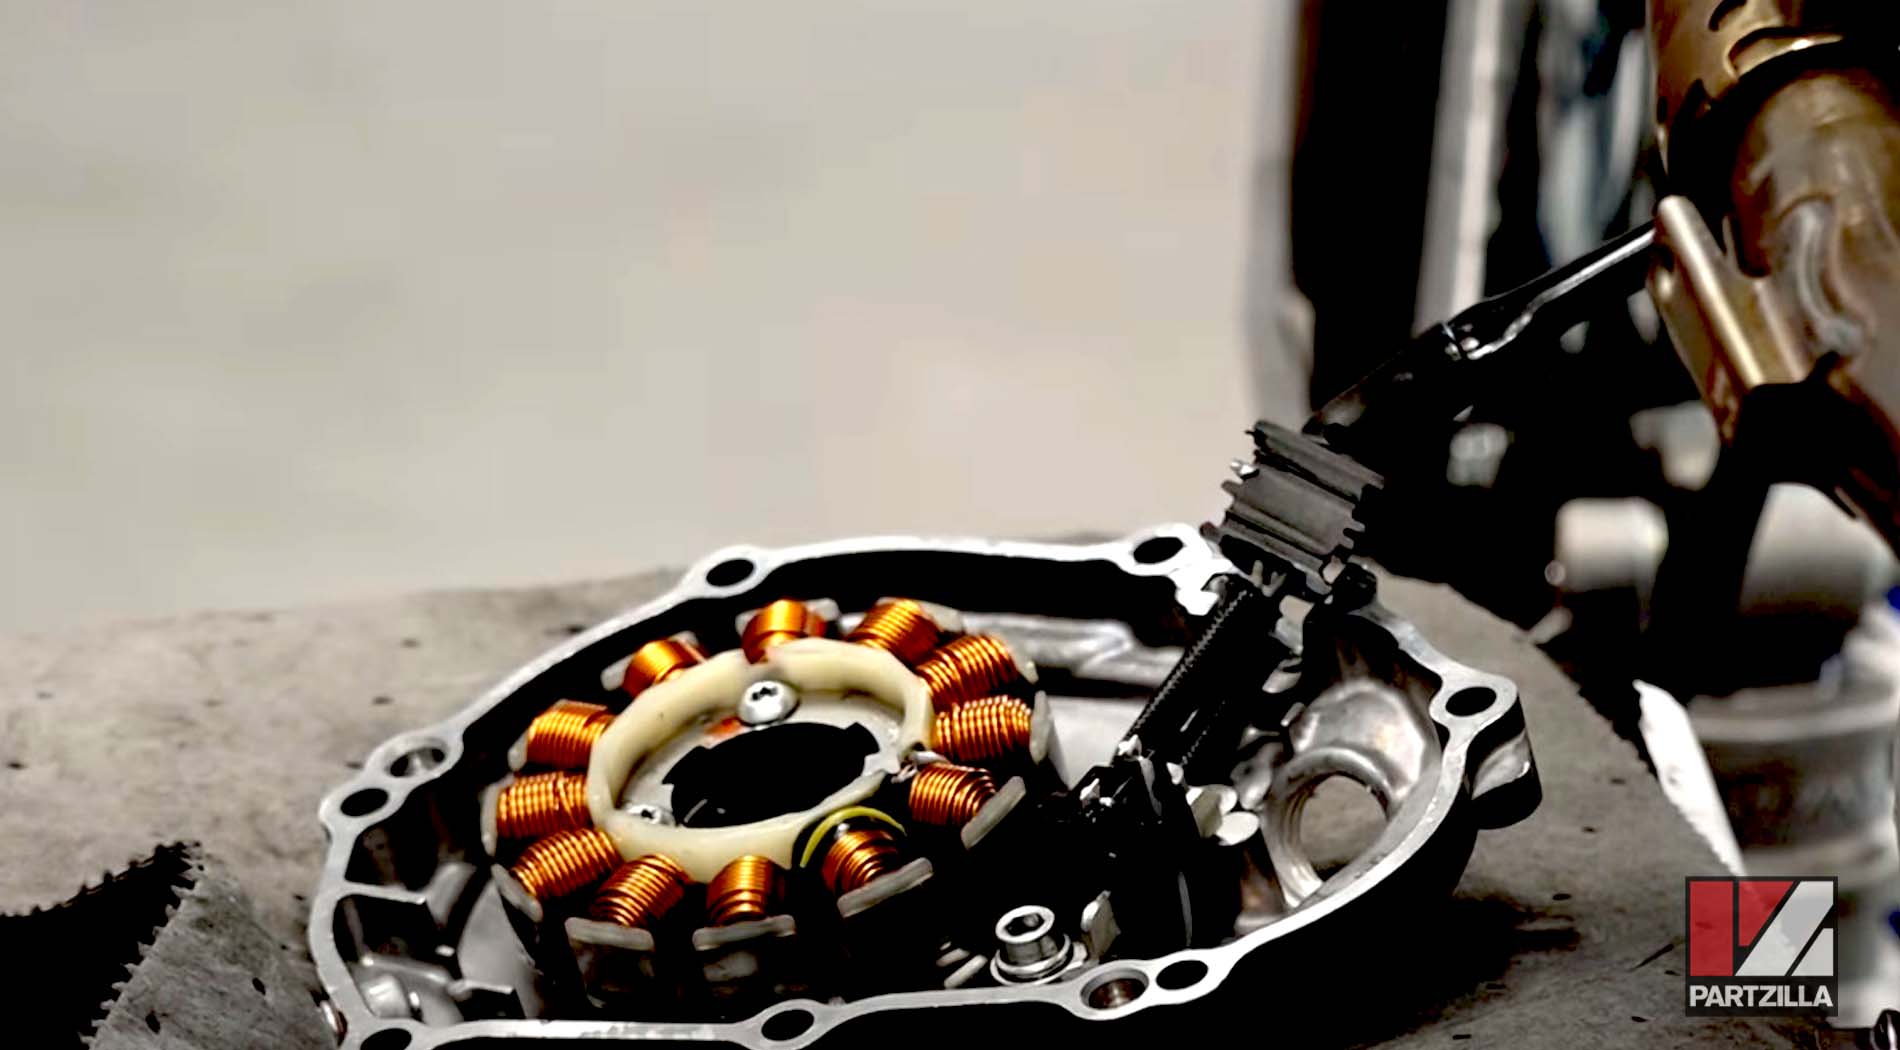
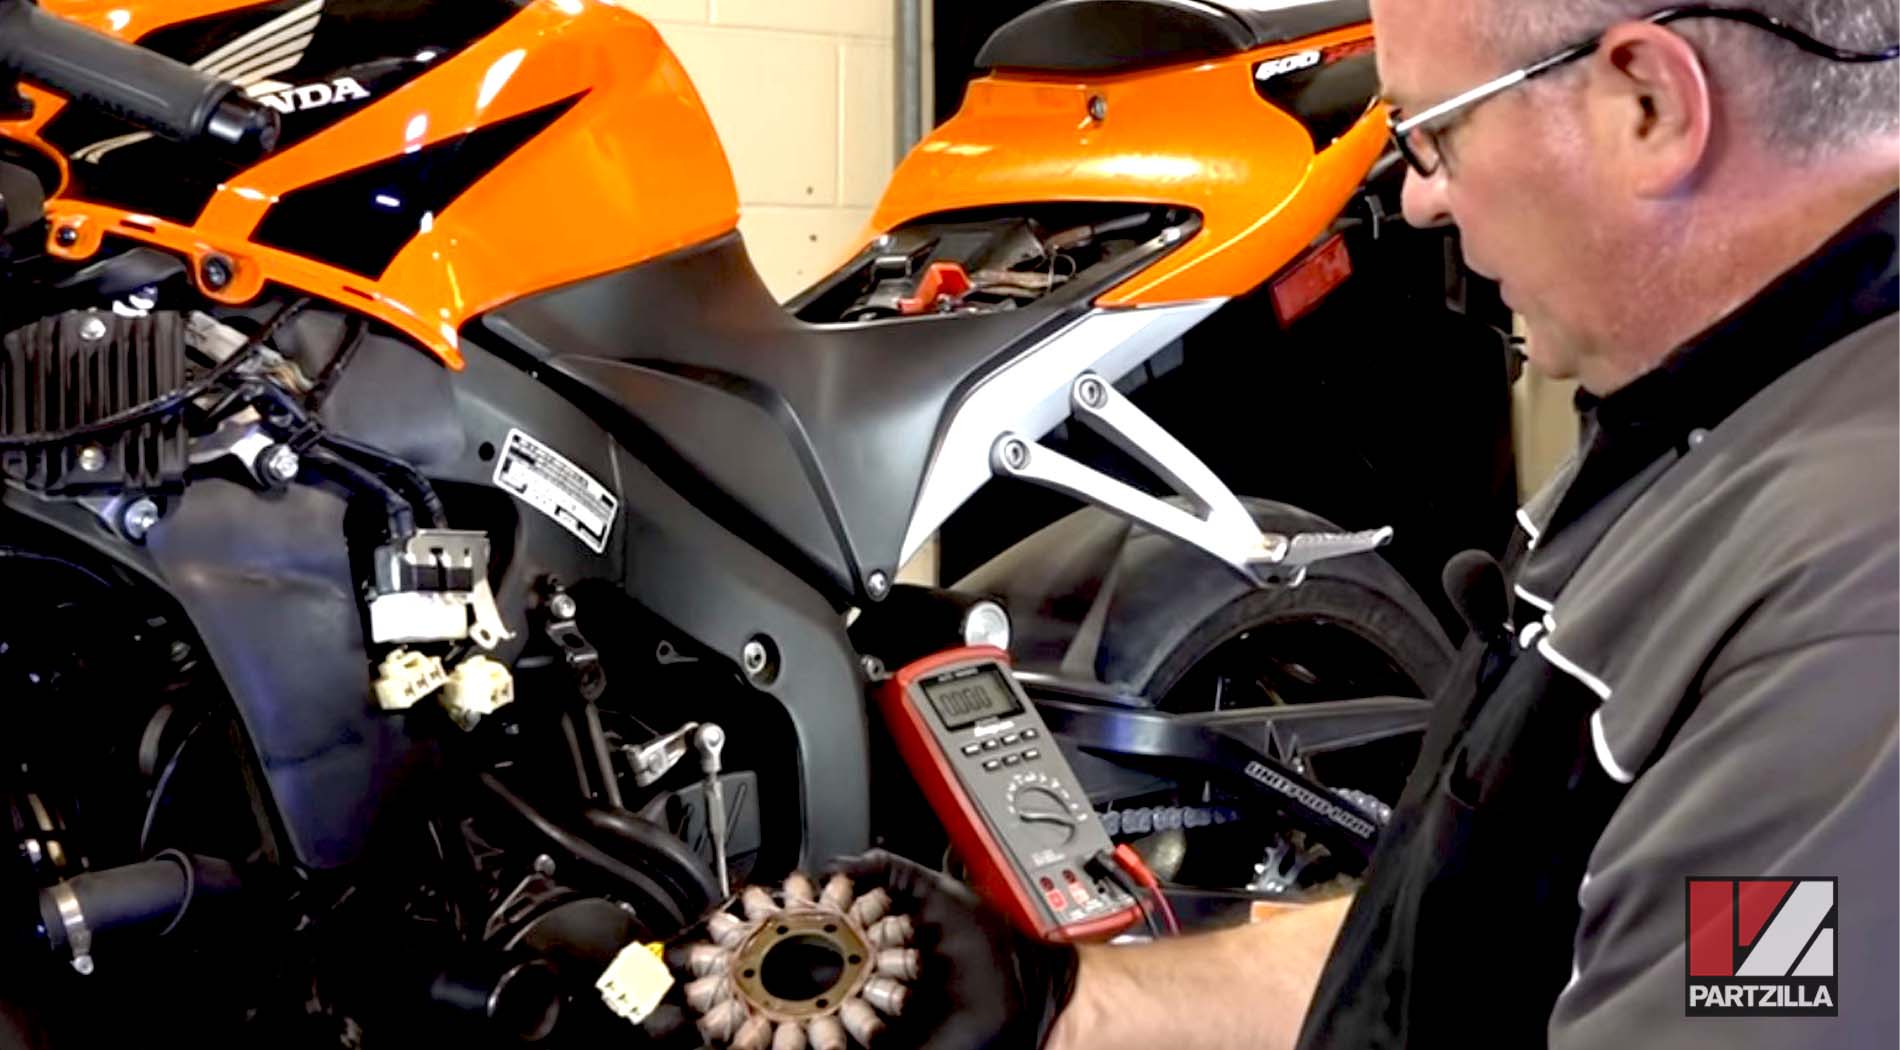
- Locate the stator, which is usually behind a stator cover on the lower left side of the engine. Trace the wire coming from the stator to the wiring harness and disconnect it.
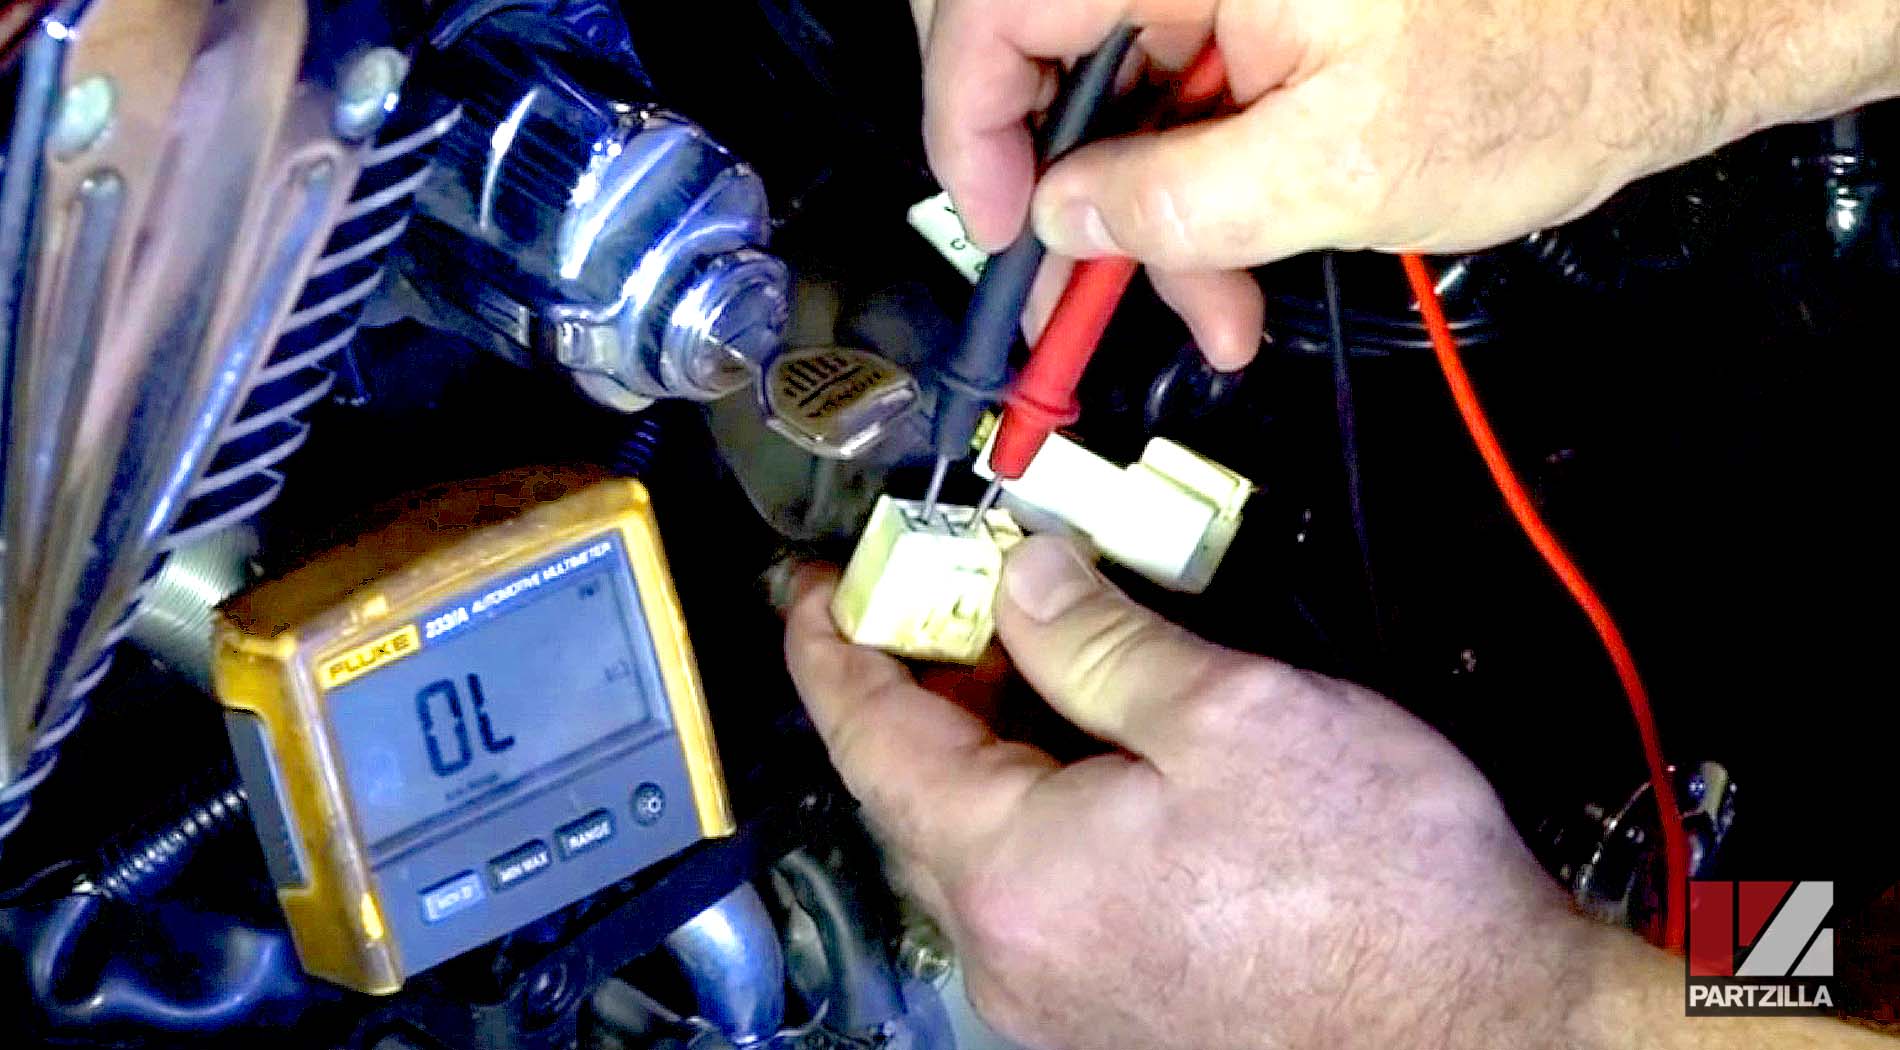
- Test for resistance between the three coils by connecting the multimeter’s leads to the three terminals in the stator’s electrical connector. Test coils 1 and 2; 1 and 3; then 2 and 3. The test should show resistance within a certain range (check the service manual). If the test shows OL (open loop), there’s a break somewhere in the circuit and the stator must be replaced.
Stator Resistance Test (Insulation Test)
This test checks that the stator isn’t shorting to ground.
- Put the ground probe of your multimeter to any ground source.
- Attach the positive probe to each of the terminals in the stator’s electrical connector individually. The reading should show OL for each terminal. If any of the readings shows any resistance, the stator has failed and must be replaced.
Crankshaft Position Sensor Resistance Test
If the stator has a crankshaft position sensor, you’ll need to do a resistance test on it to see if there’s a fault in its coil.
- Set your multimeter to ohms.
- Make sure the ignition switch is set to OFF.
- Locate the crankshaft position sensor. Trace the wire coming from the stator to the sensor and disconnect it.
- Test for resistance in the sensor’s coil by connecting the multimeter’s leads to the terminals in the stator’s electrical connector. The test should show resistance within a certain range (check the service manual). If the test shows OL, there’s a break somewhere in the circuit and the stator assembly must be replaced.
Dynamic Testing a Stator
The dynamic test measures AC voltage from coil to coil within the stator.
- Set your multimeter to AC volts.
- Start the engine and let it run on idle.
- Put the ground probe of your multimeter to any ground source.
- Put the positive probe of your multimeter to each of the terminals in the stator’s electrical connector individually.
- There should be a reading for each terminal that’s within the range set out in the service manual. If any of the readings is below the range, the stator has failed and must be replaced.