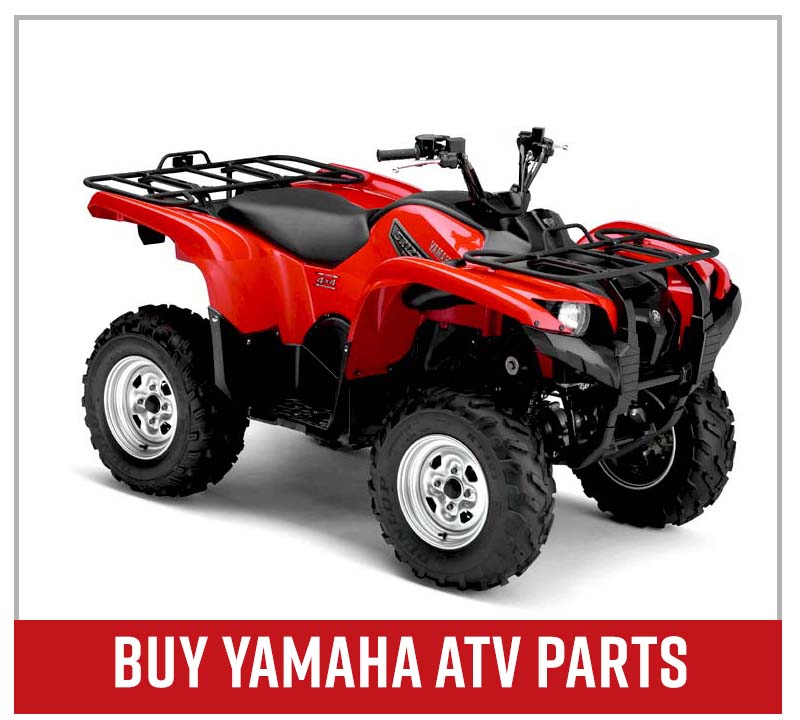
How to Replace a Yamaha Grizzly Drive Belt
Drive belts, or V-belts, transmit mechanical power between parts. Sluggish or jerky acceleration are indicators that it's time to replace your ATV's drive belt. A Grizzly YFM700 drive belt change can be done with just a V-belt replacement part and a handful of basic tools.
Watch the video above and follow the steps below to learn how to change the belt on a YFM700 Yamaha ATV.
See the parts diagram: Yamaha YFM700 clutch diagram
Tools and Parts - Yamaha Grizzly 700 Drive Belt Replacement
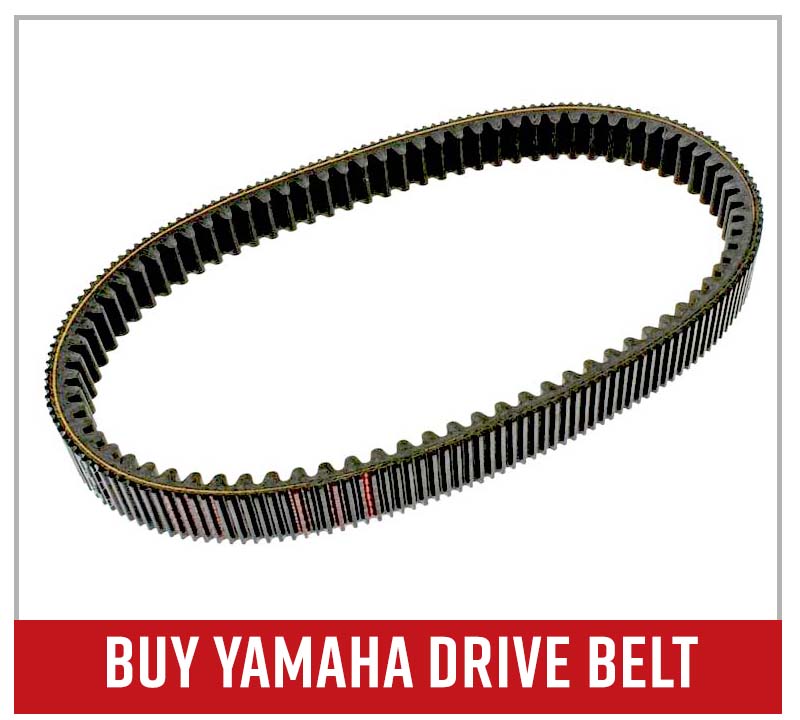
Yamaha Grizzly 700 Drive Belt Change
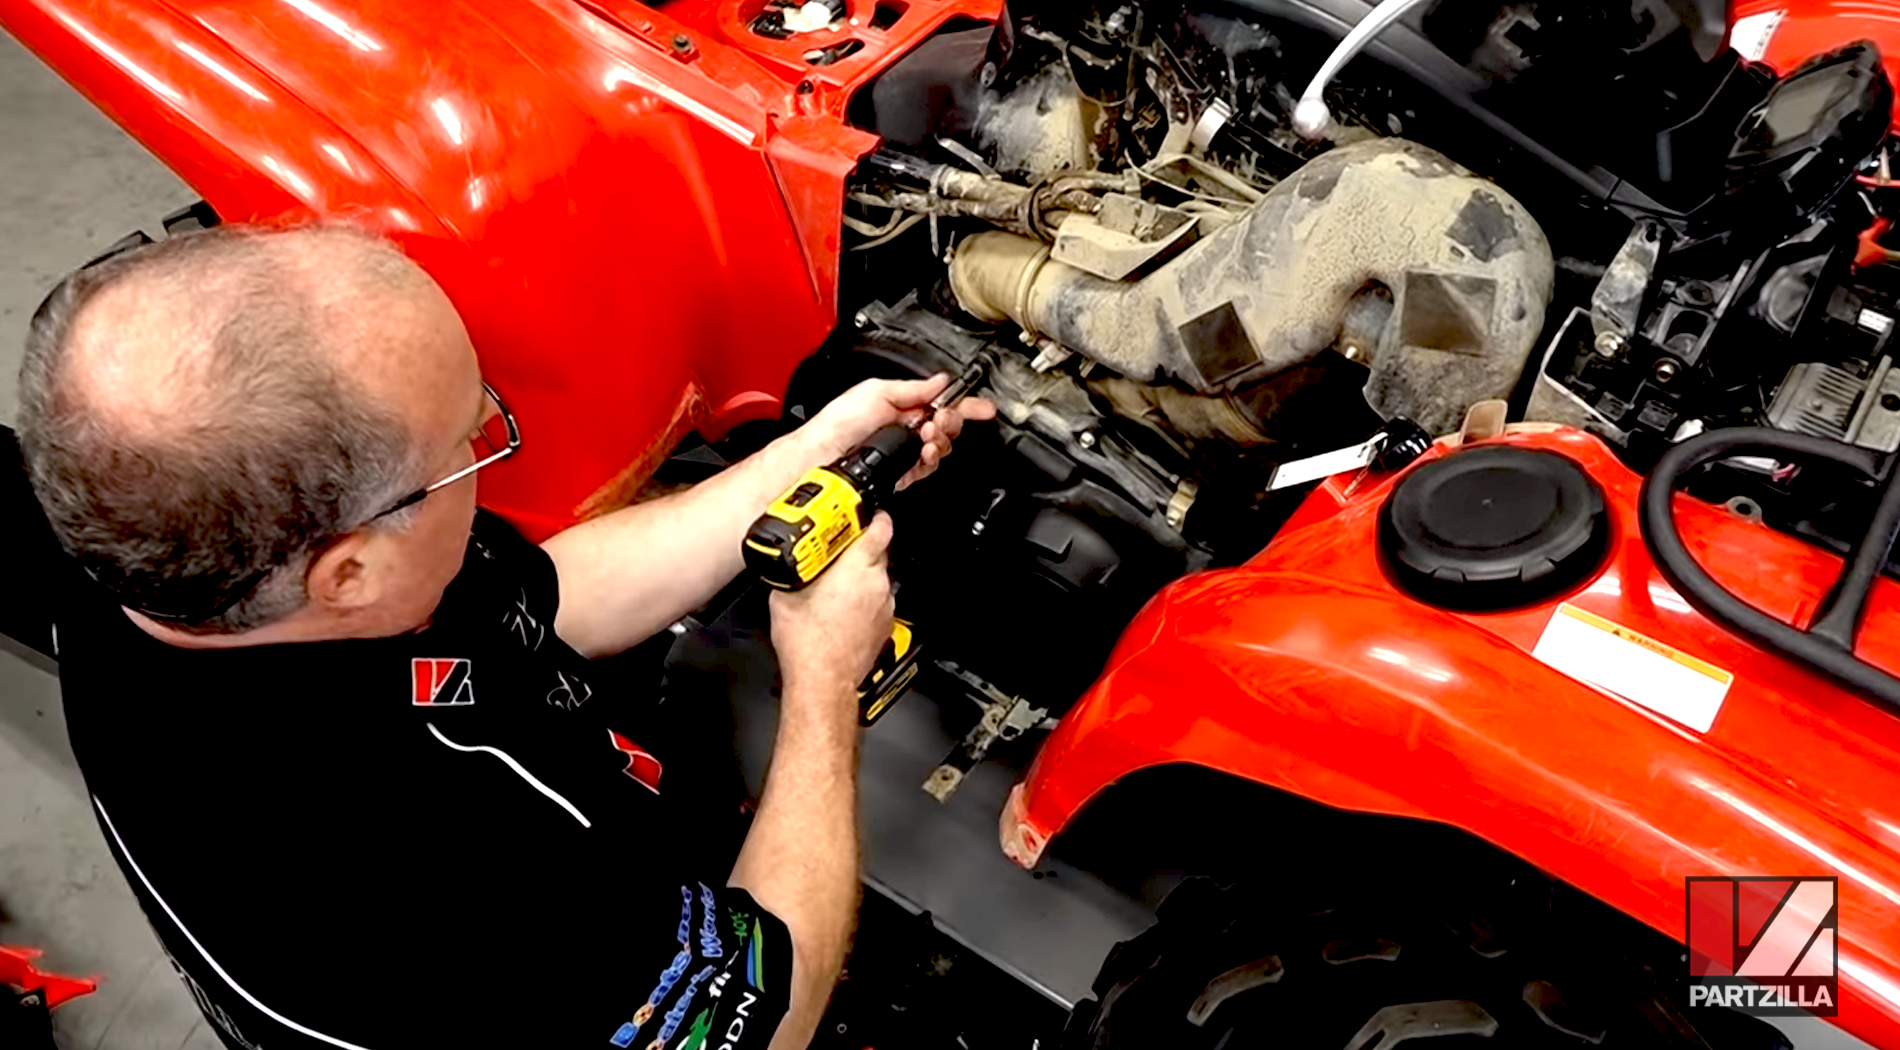
Step 1. Remove the footrest cover, the upper seat panel, and the center panel from the machine. Next, remove the 10mm bolts to the outer cover of the drive belt.
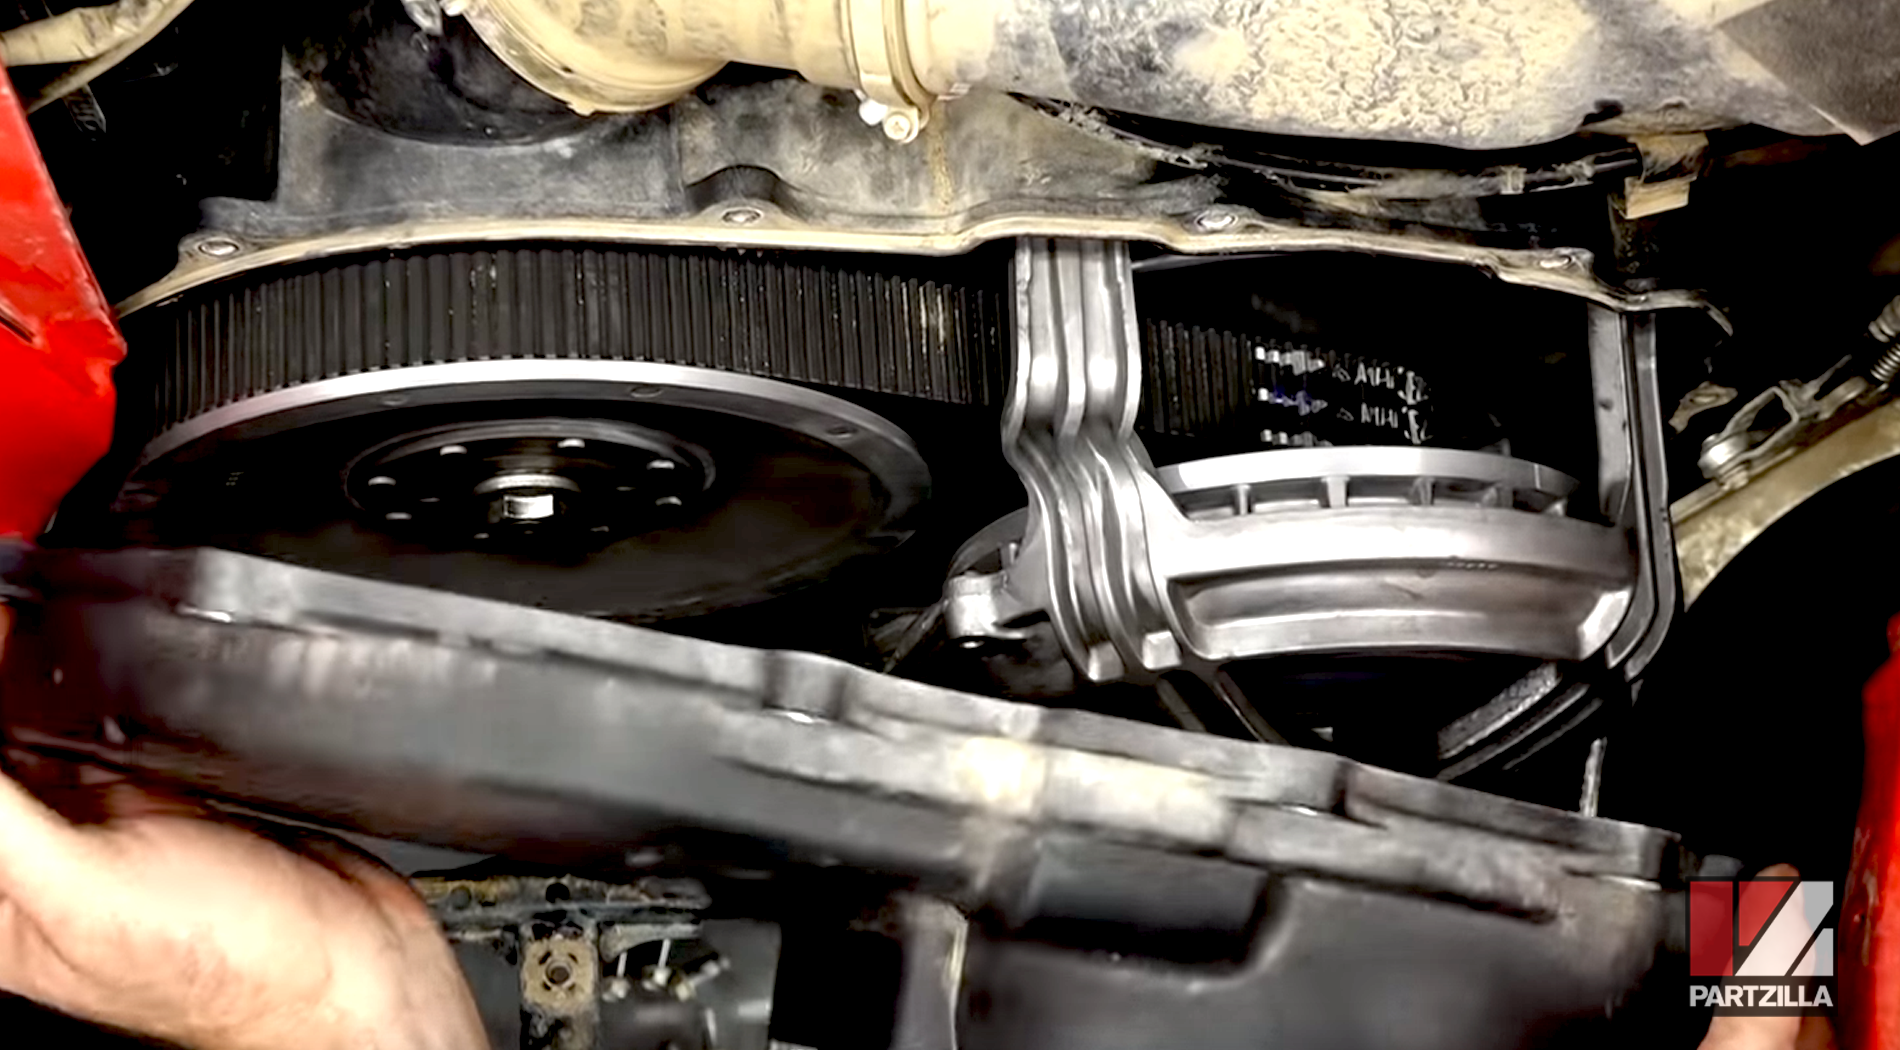
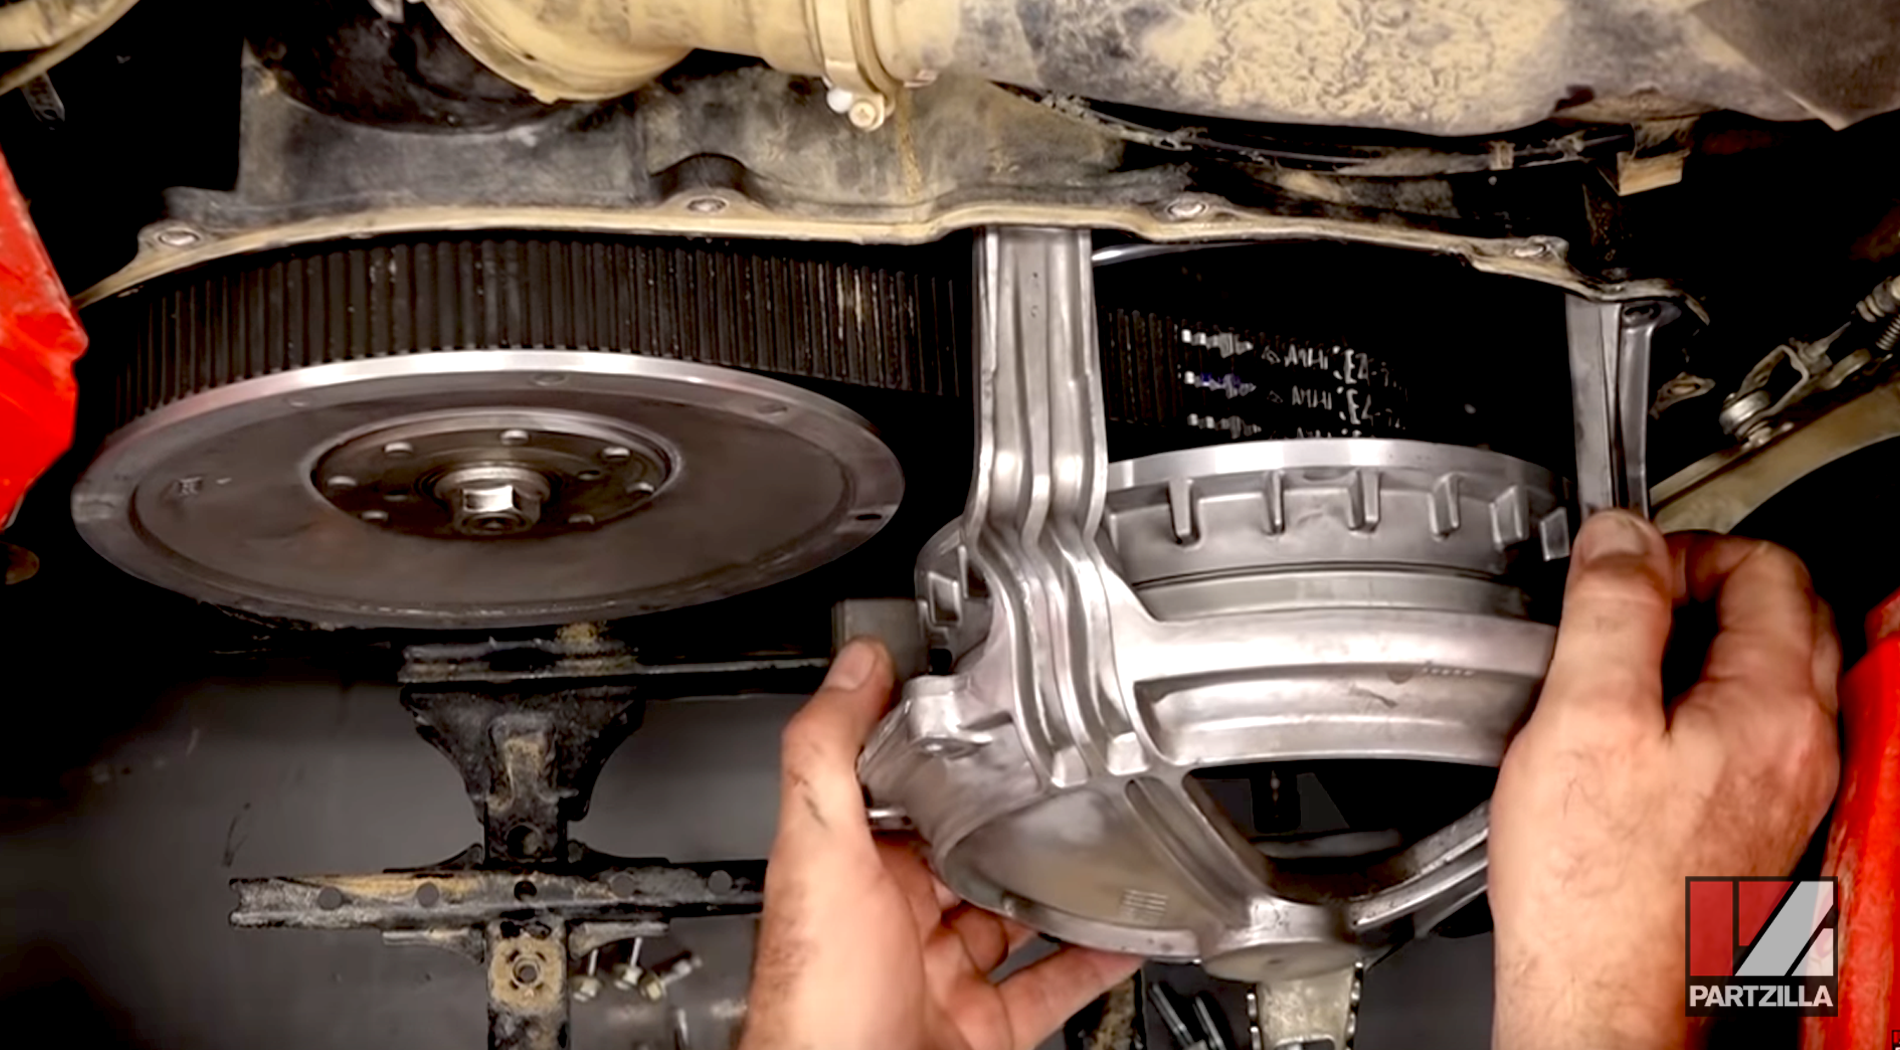
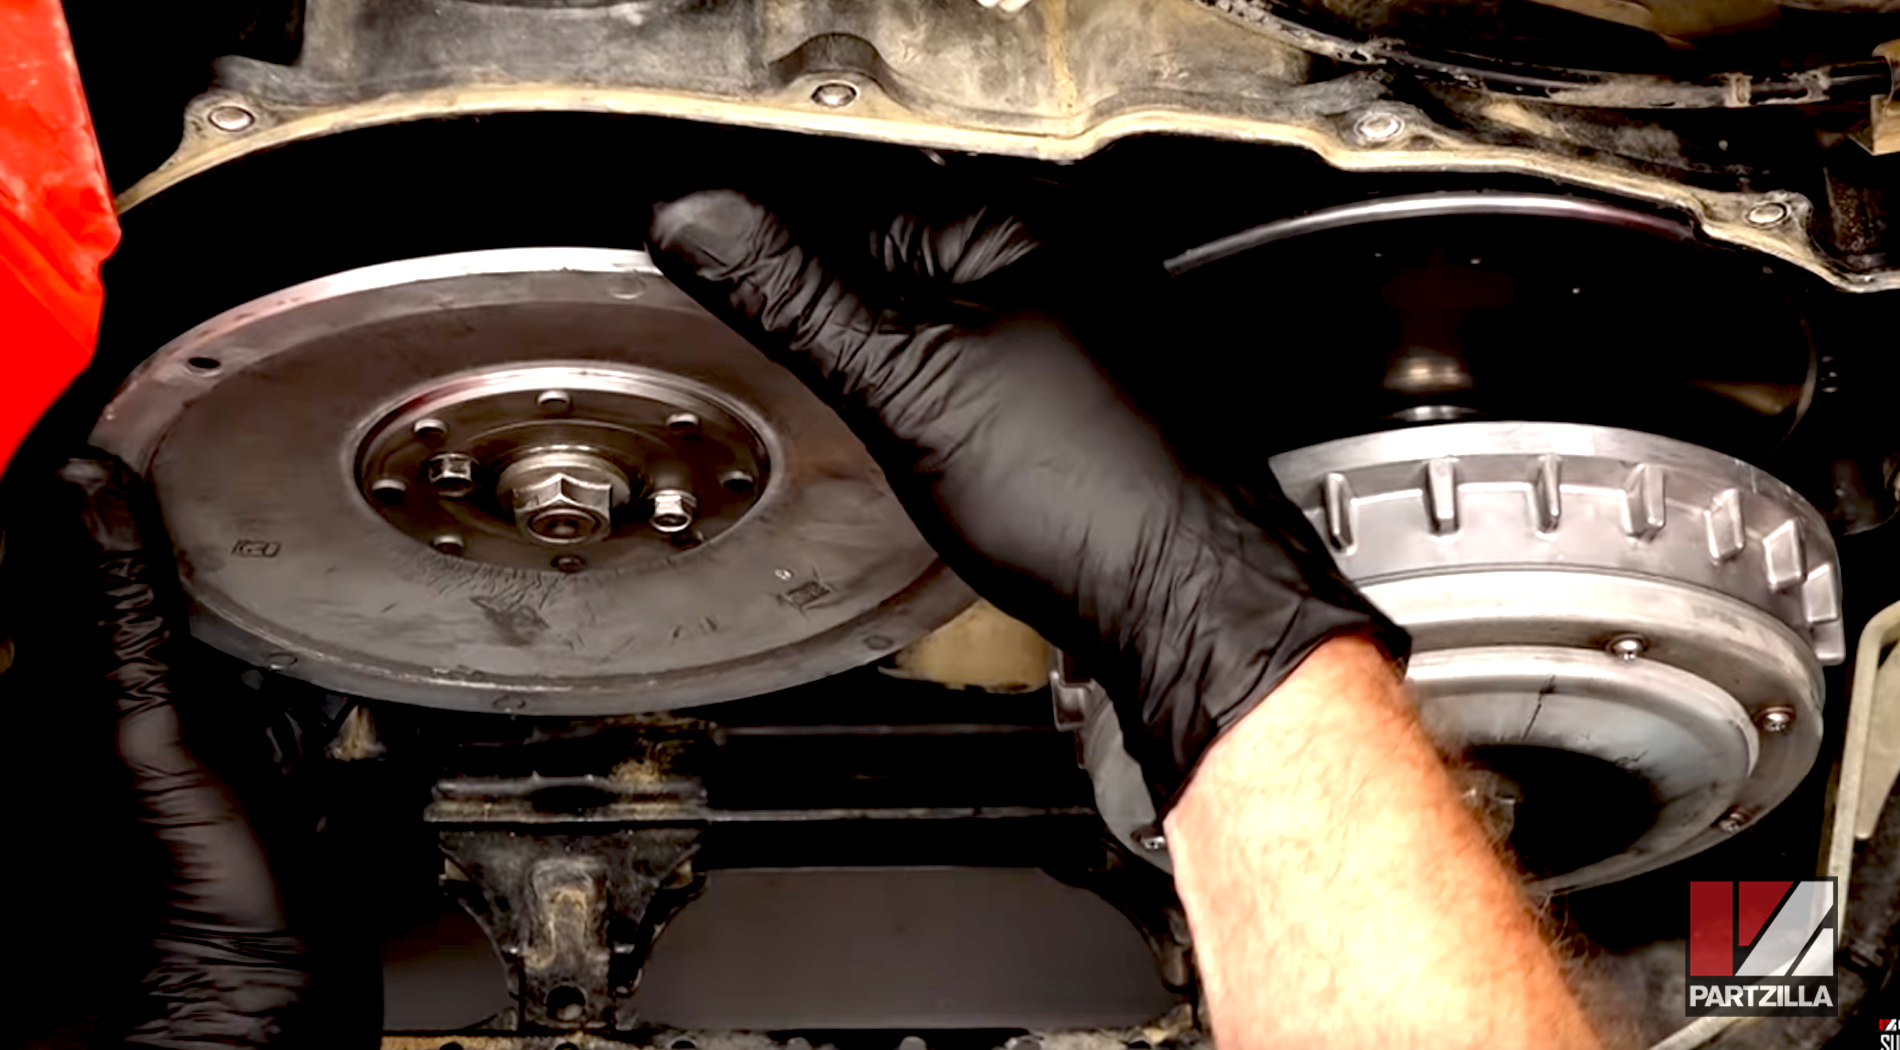
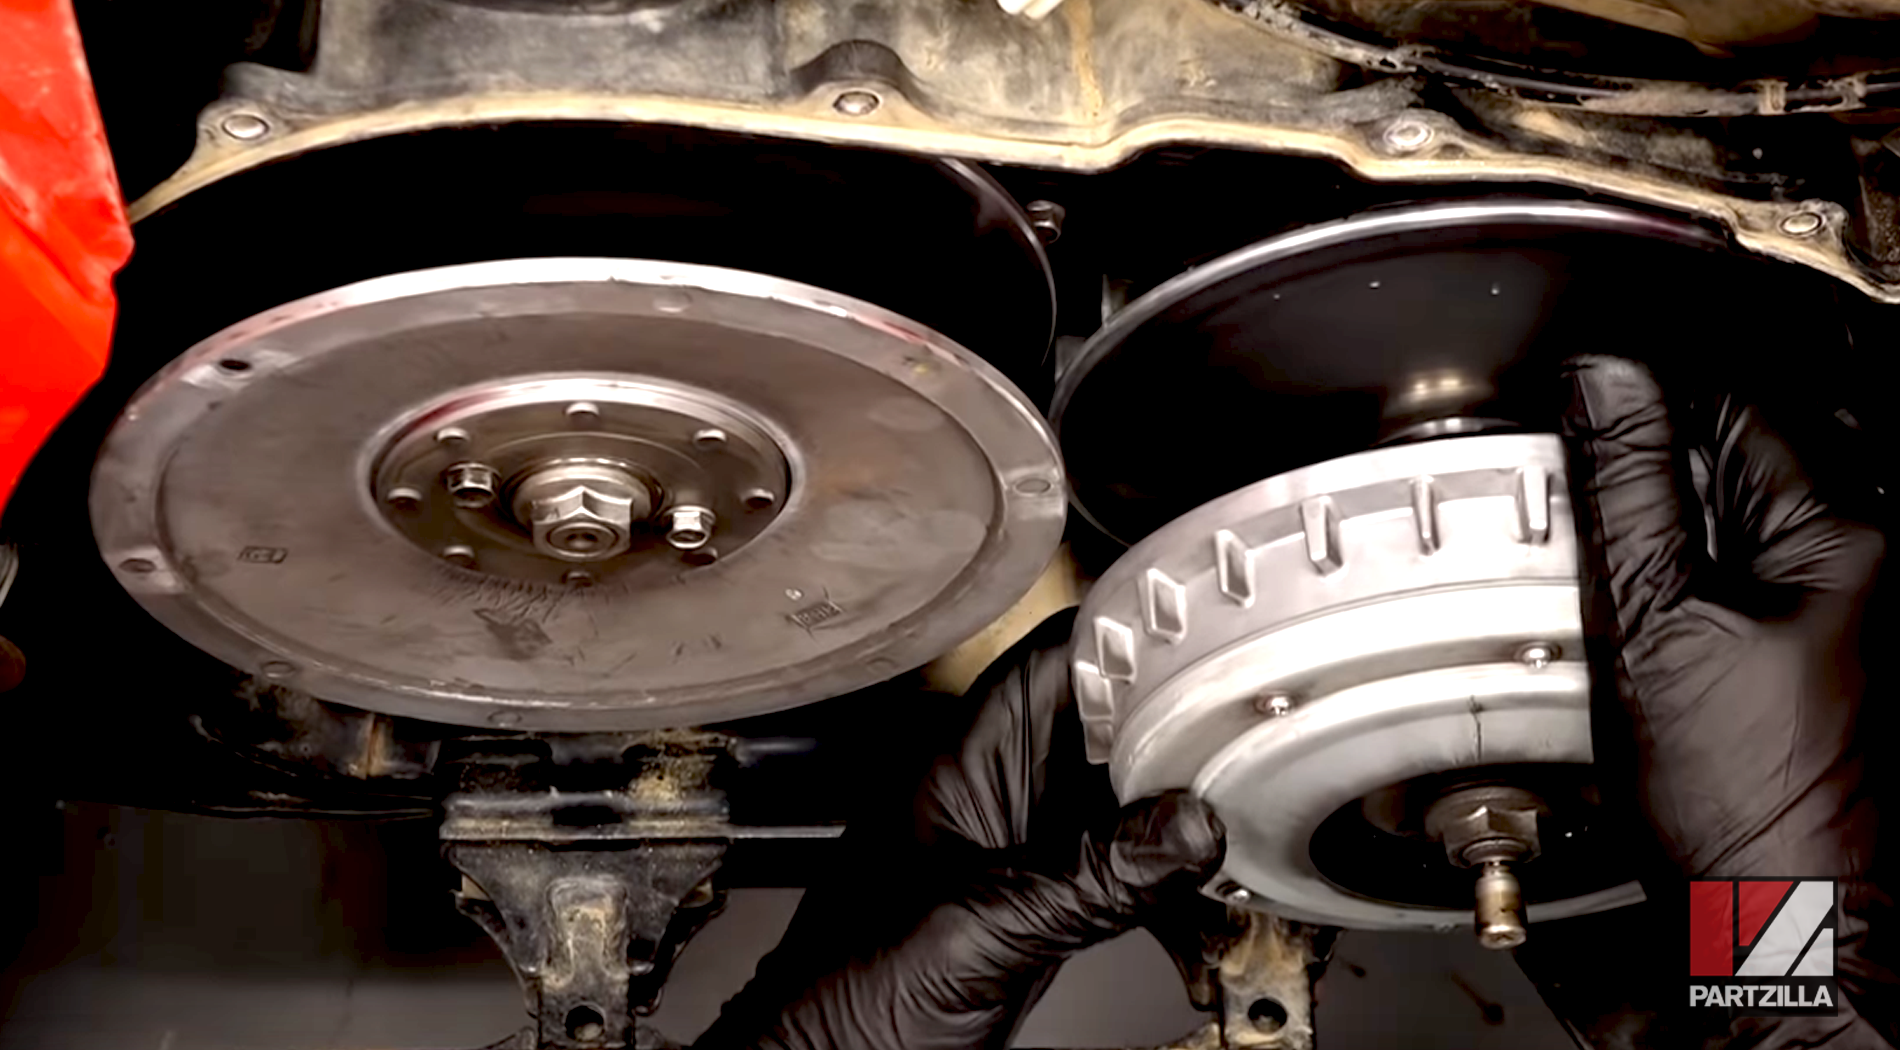
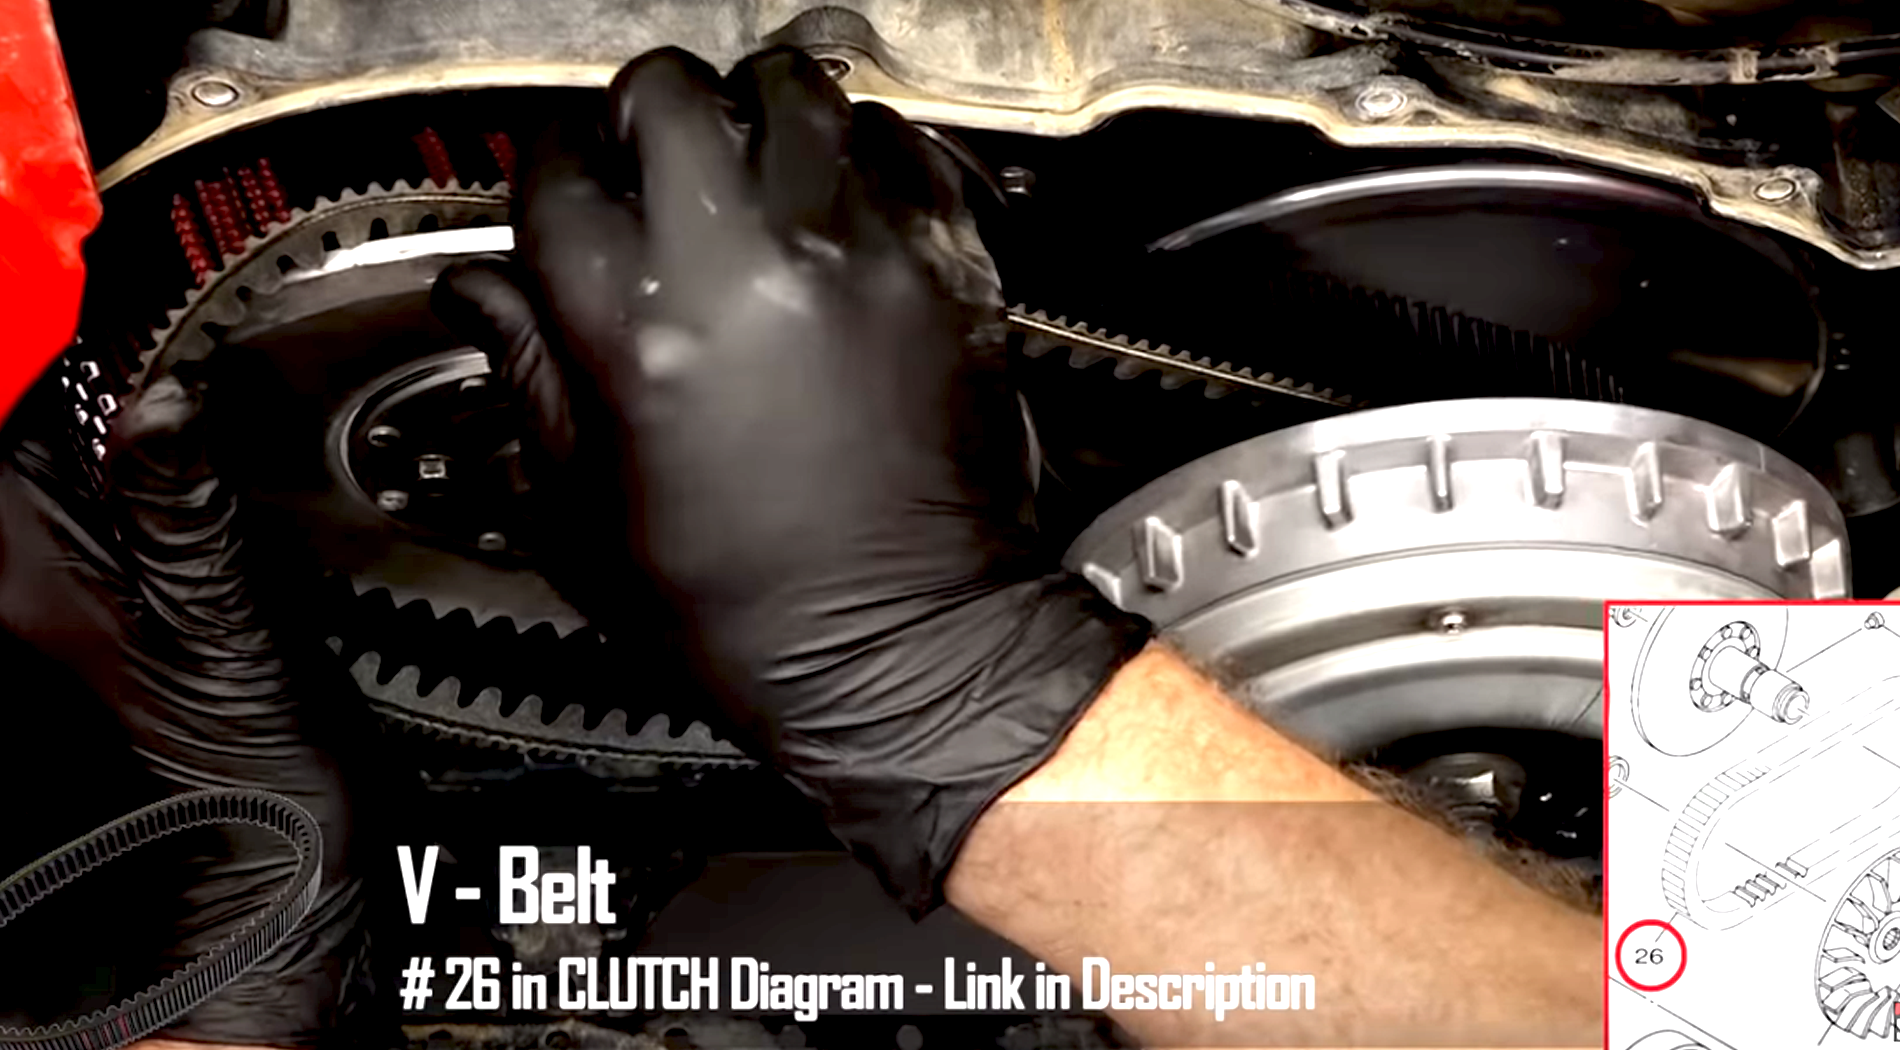
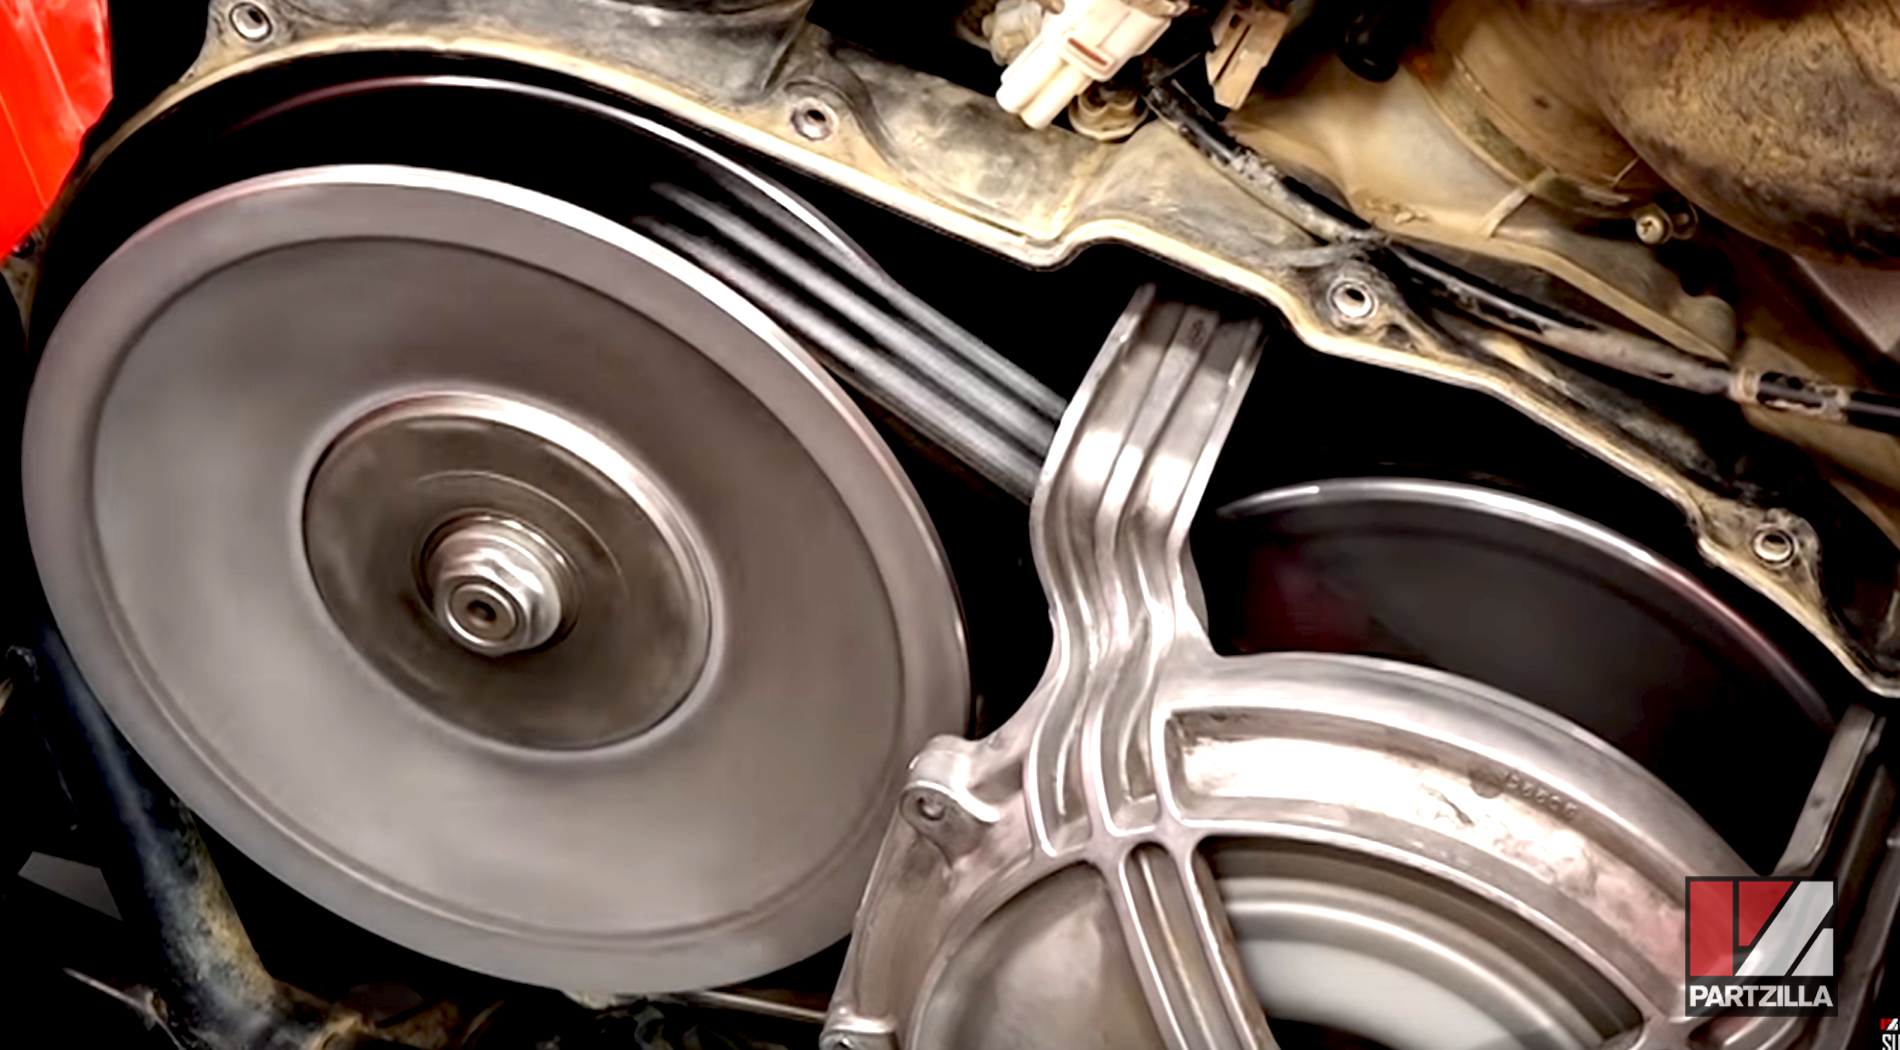
Step 2. Remove the bearing carrier from the primary sheave for easier access to the drive belt.
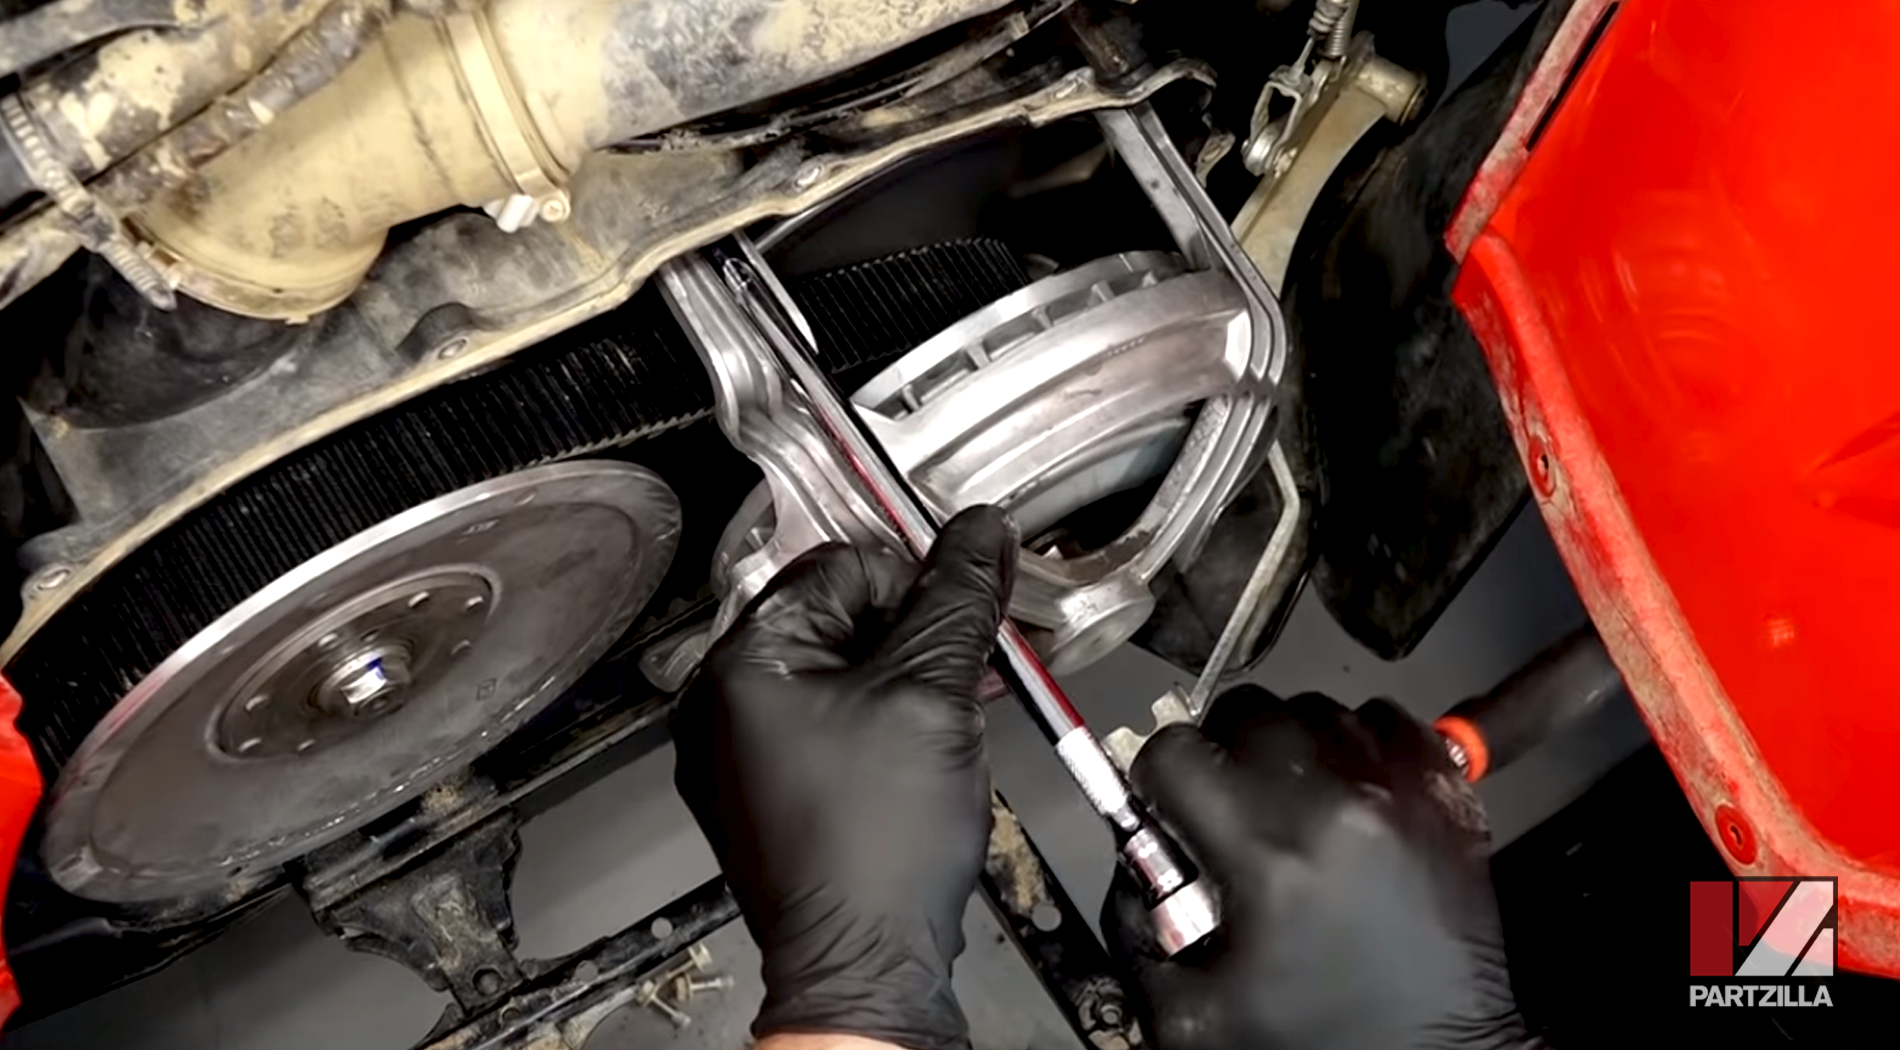
Step 3. Tighten two 10mm bolts with a 6mm thread to open up and release the secondary sheave. This allows the drive belt to come off.
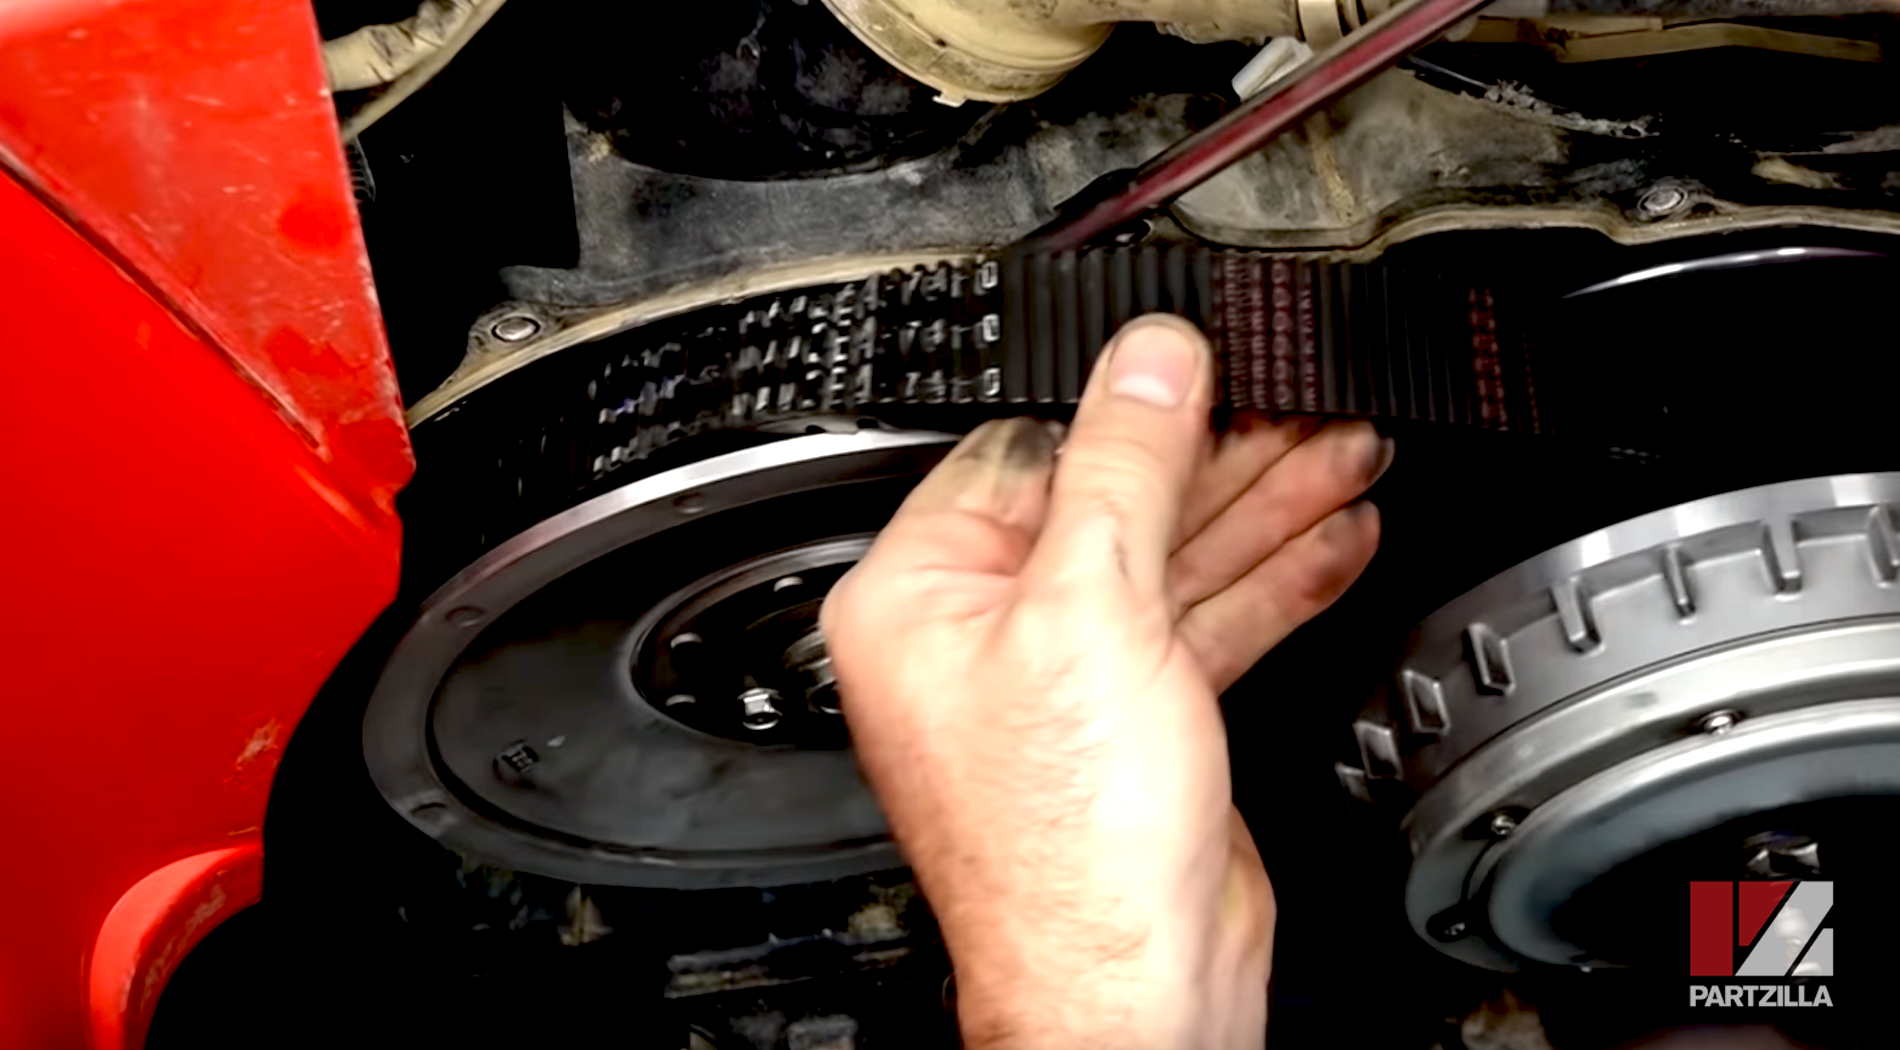
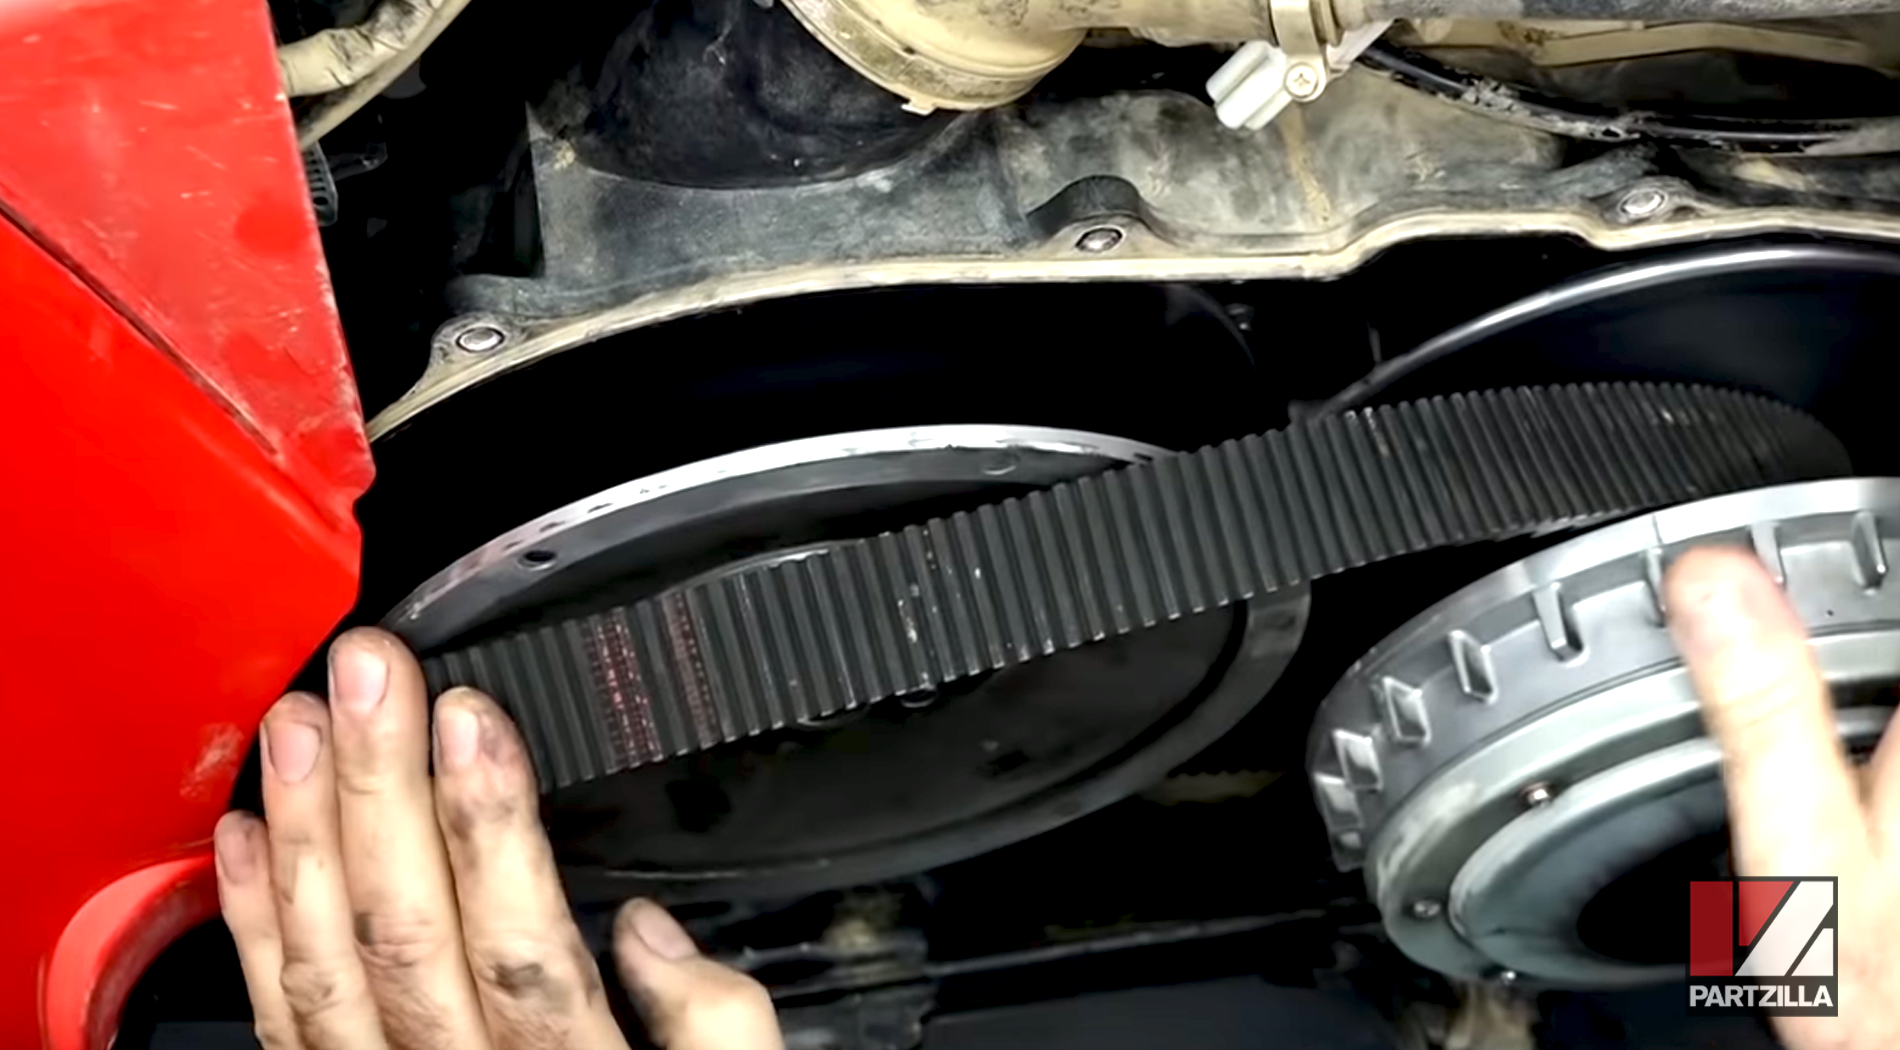
Step 4. Pull the V-belt off the secondary sheave first before removing it from the primary sheave.
Step 5. Run your fingers behind the inner and outer plates of the primary and secondary sheaves to check for ripples, which are an indication that the old belt stayed on too long and wore out the sheaves. If you feel any ripples or grooves, replace the primary and secondary sheaves.
Step 6. Slide the primary sheave back and forth to make sure it's properly greased for smooth travel of its weights and sliders before installing the new drive belt.
Step 7. Make sure the arrows point toward the front of the machine before putting on the new V-belt.
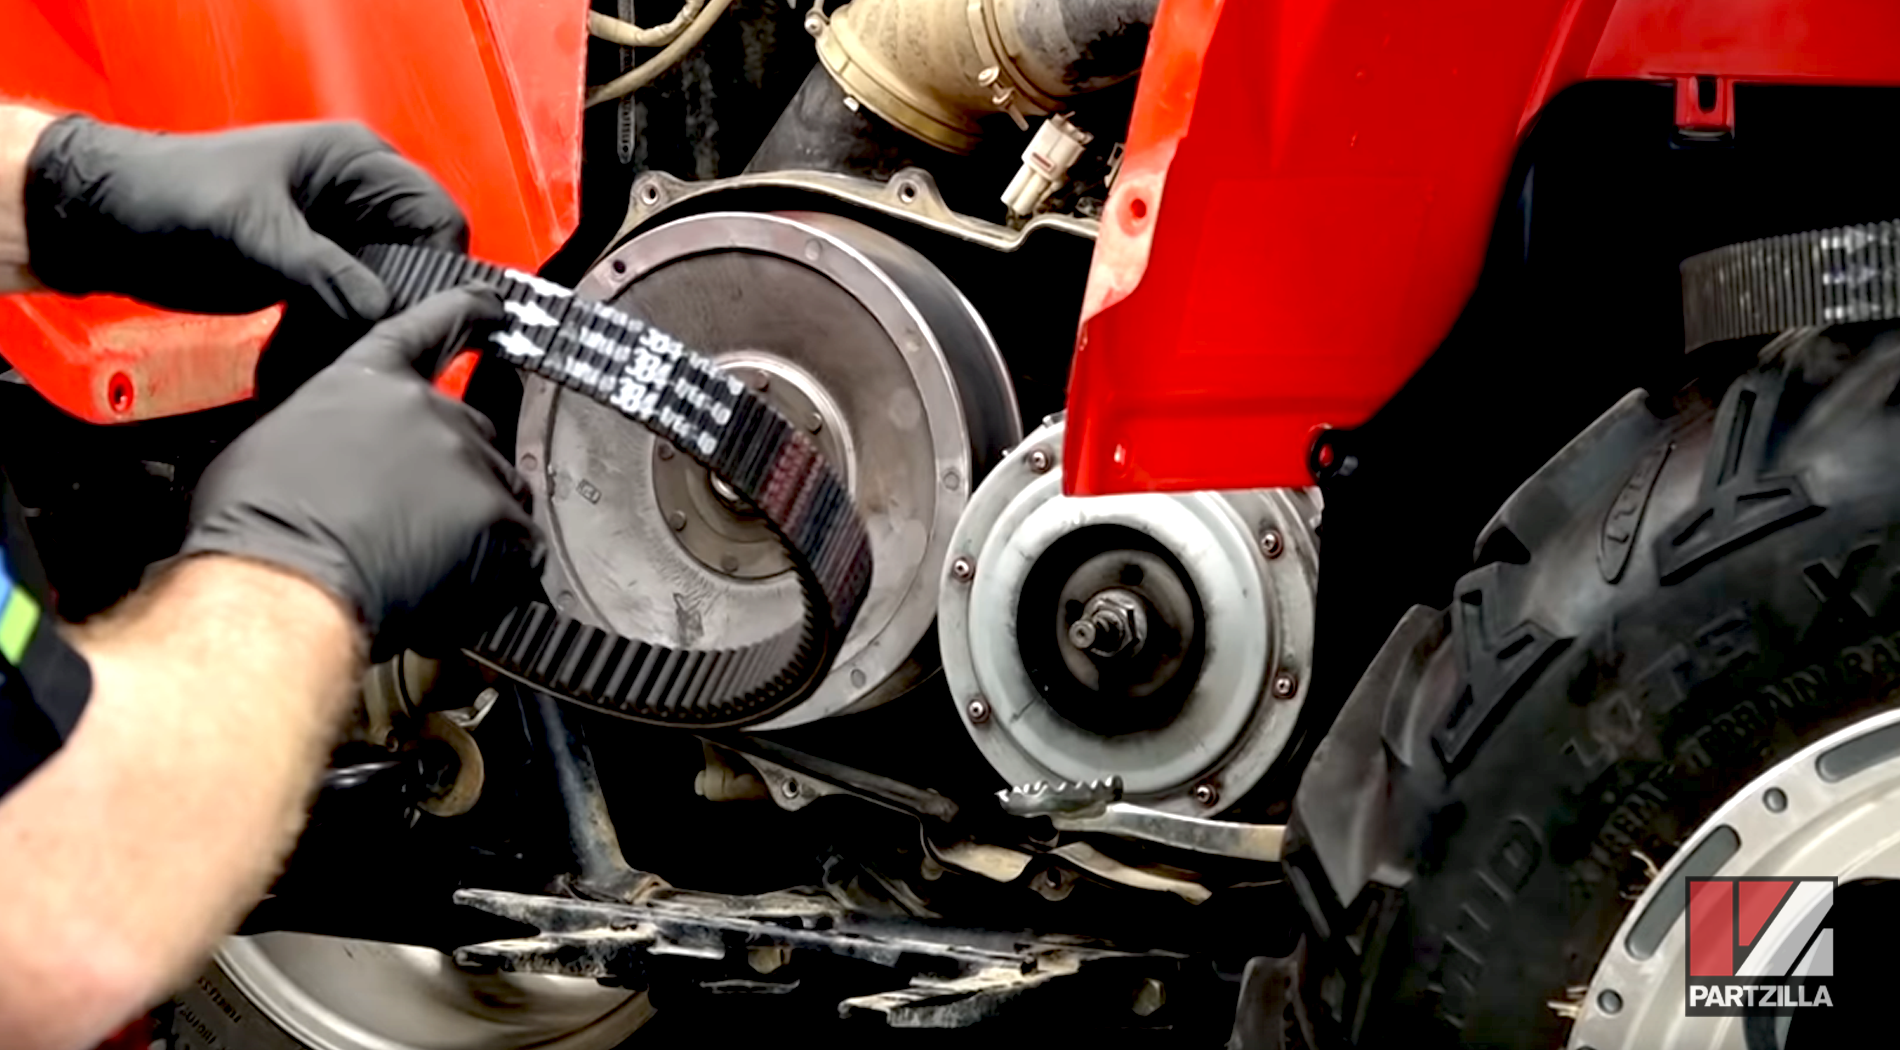
Step 8. Put the new V-belt around the primary sheave first before adjusting it over the secondary sheave.
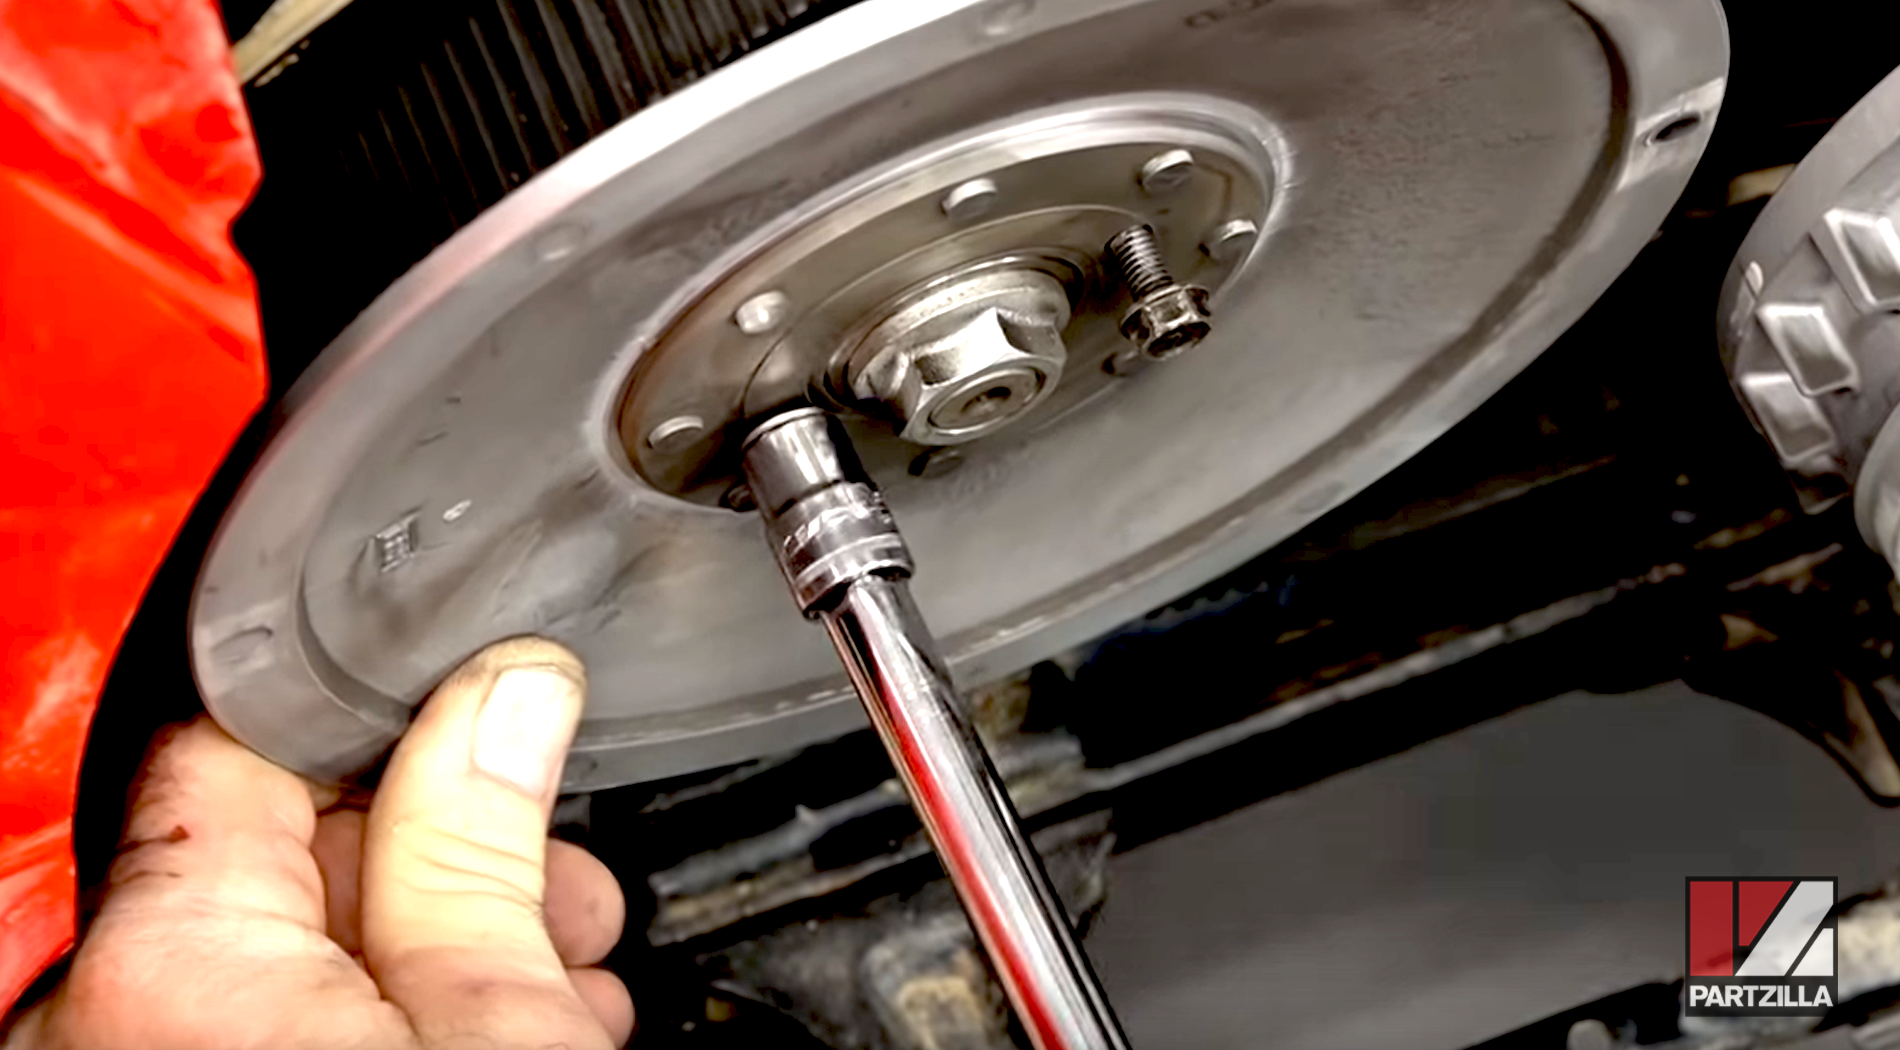
Step 9. Remove the two 10mm bolts that were used to open up the secondary sheave once the drive belt is in place over the sheaves.
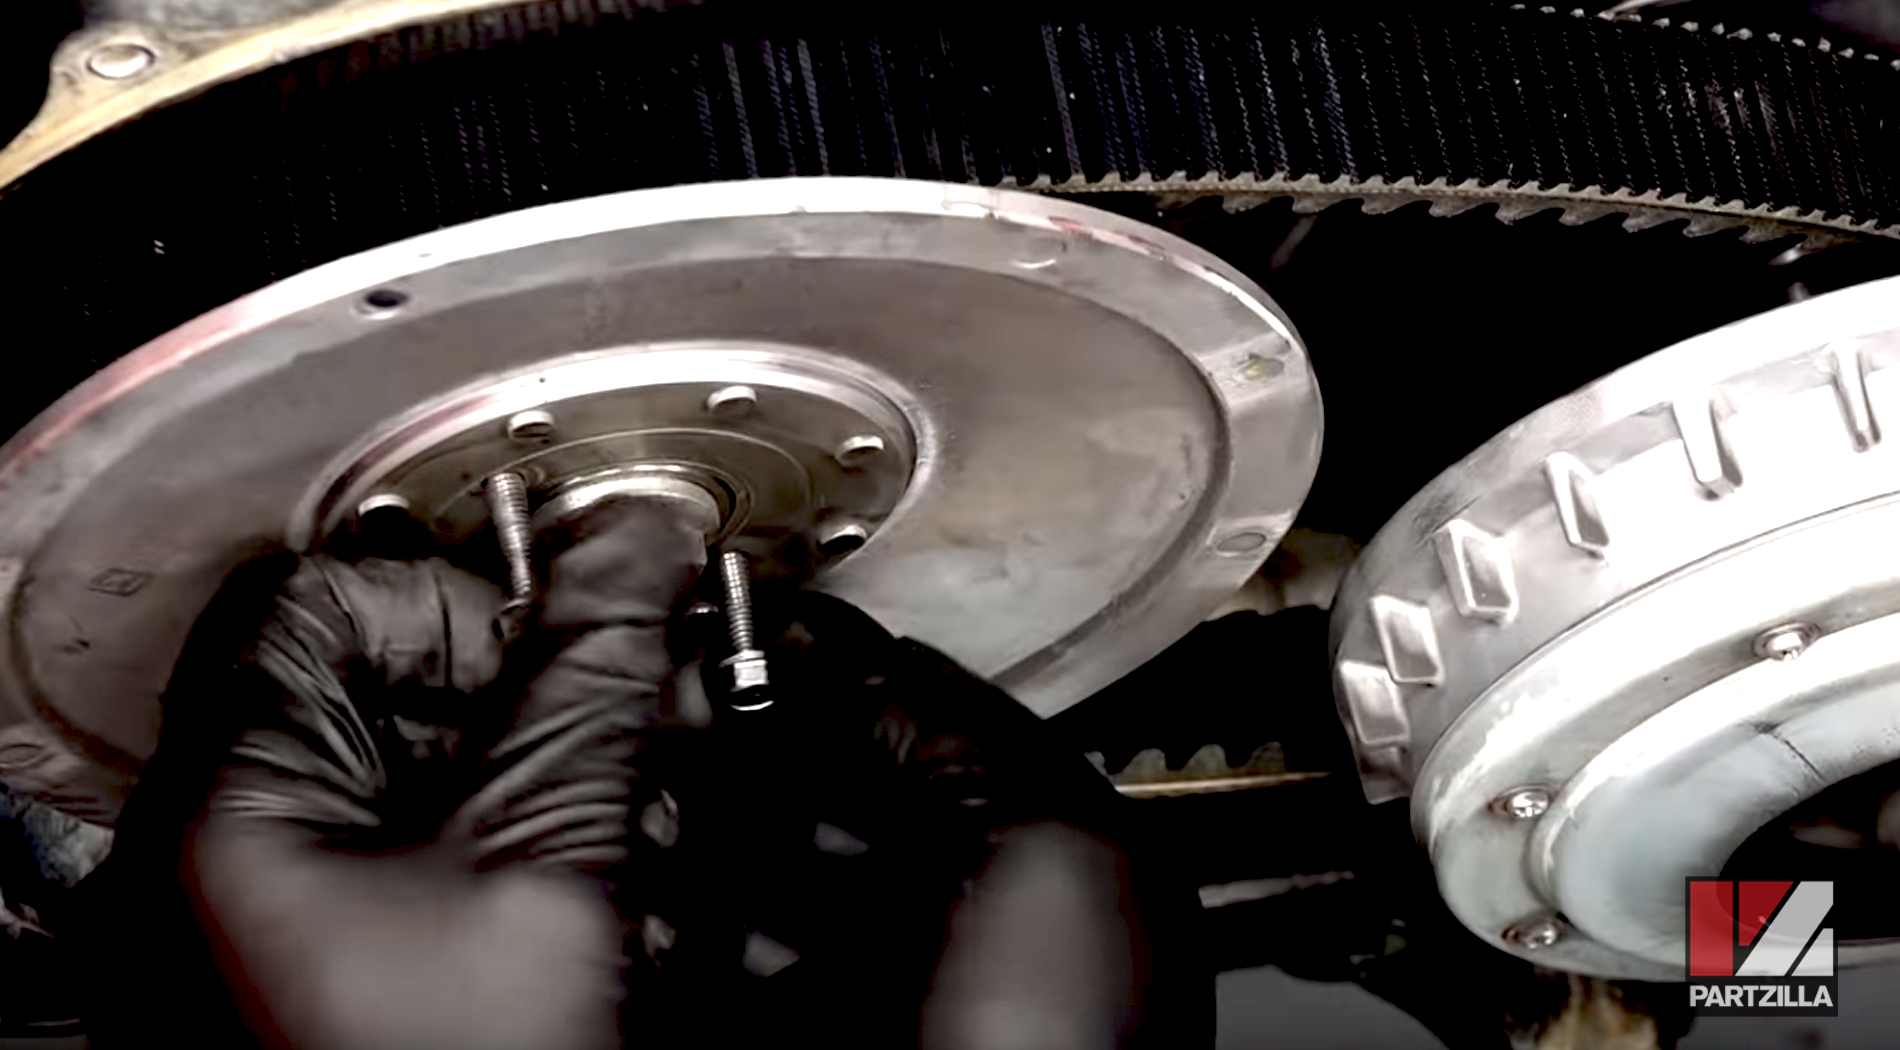
Step 10. Put the bearing carrier back in its place, then start the machine up and run it through its paces. Look for the primary sheave to push in as it runs. Replace the foot rest cover and all of the plastics and you're done.
Want to learn how to rebuild the clutch on a Yamaha Grizzly 700? Watch the Yamaha YFM700 drive clutch rebuild video featured below to see how it's done.