How to Set Honda TRX400EX Cam Timing
If the timing chain on a Honda ATV slips a tooth or is incorrectly laid over the timing sprocket during an engine rebuild, you have to reset the cam timing.
Watch the video above and follow the steps below to learn how to set the cam timing on a Honda TRX400EX.


NOTE: To access the timing cam, you’re going to have to do a bit of disassembling first.
Honda TRX400EX Set Cam Timing Disassembly
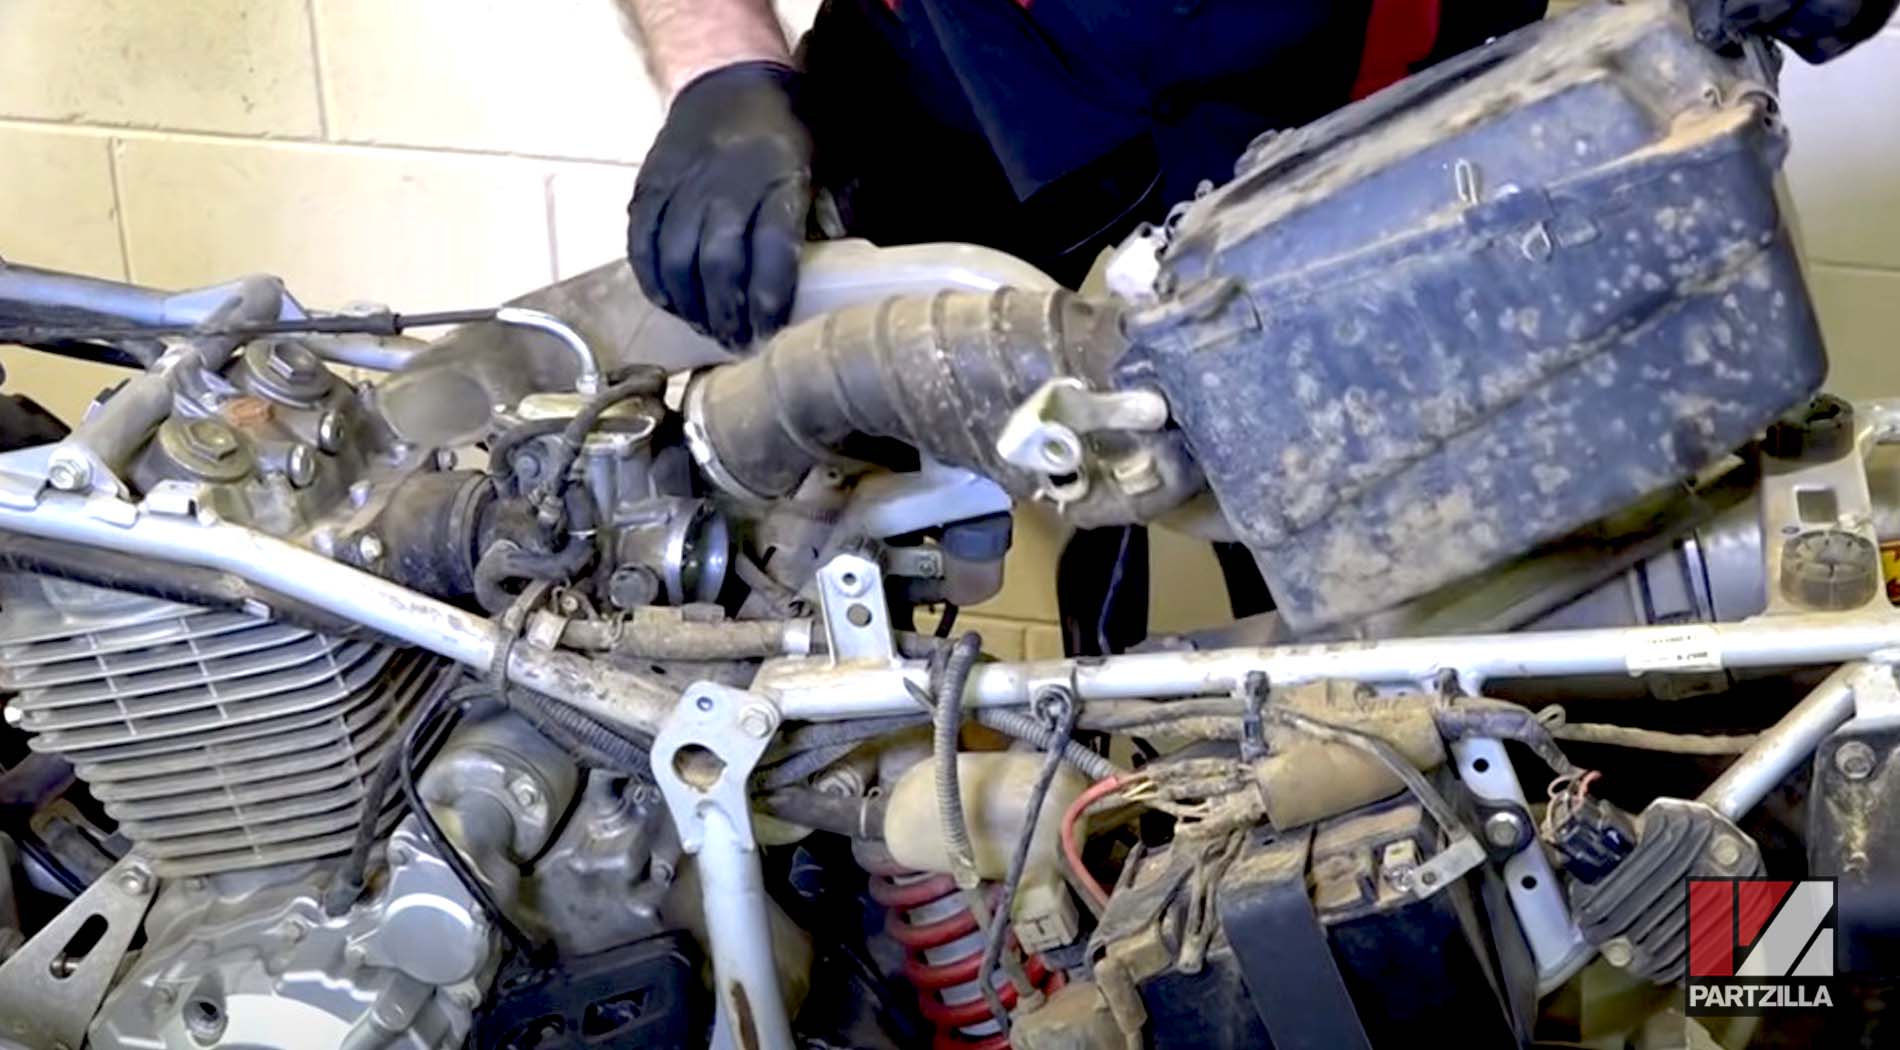
Step 1. Remove the seat, plastics, fuel tank, and the engine cover beneath the fuel tank.

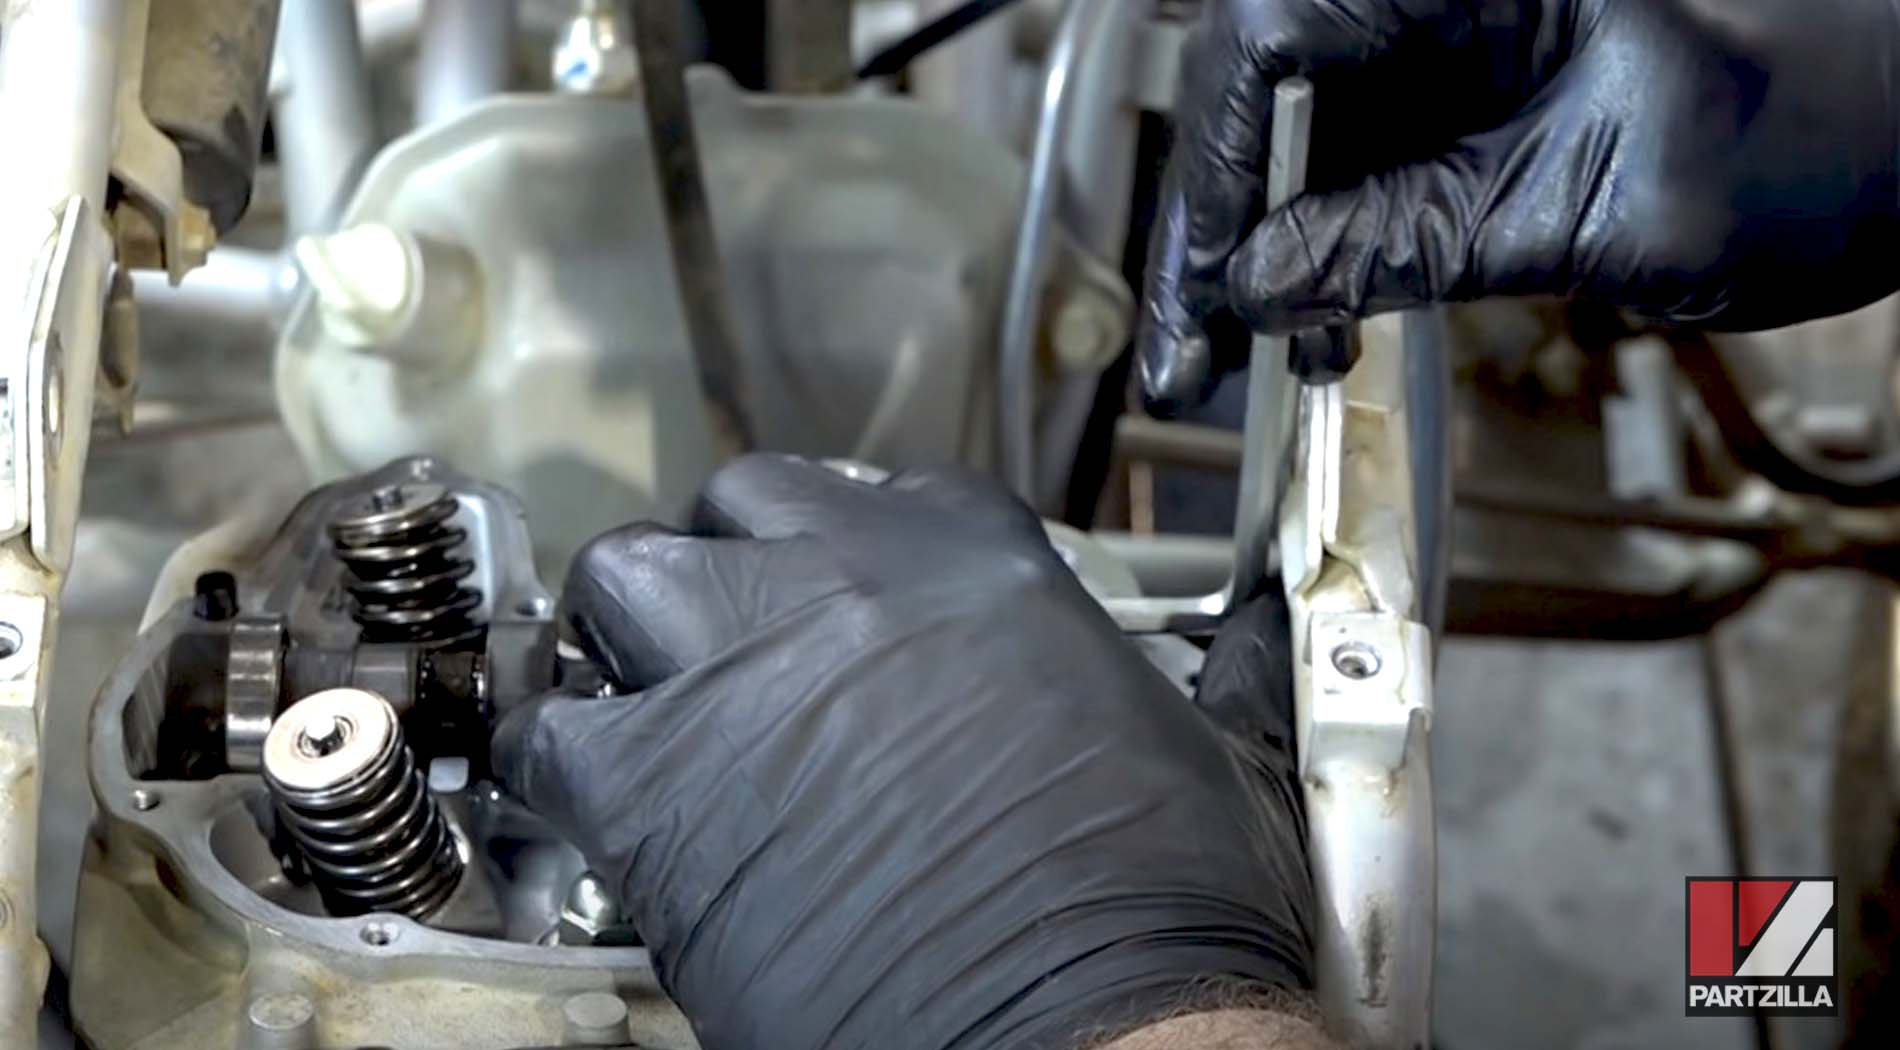
Step 2. Remove the air intake, and the top motor mount bolt and the pair of spacers that secure the cylinder head cover.
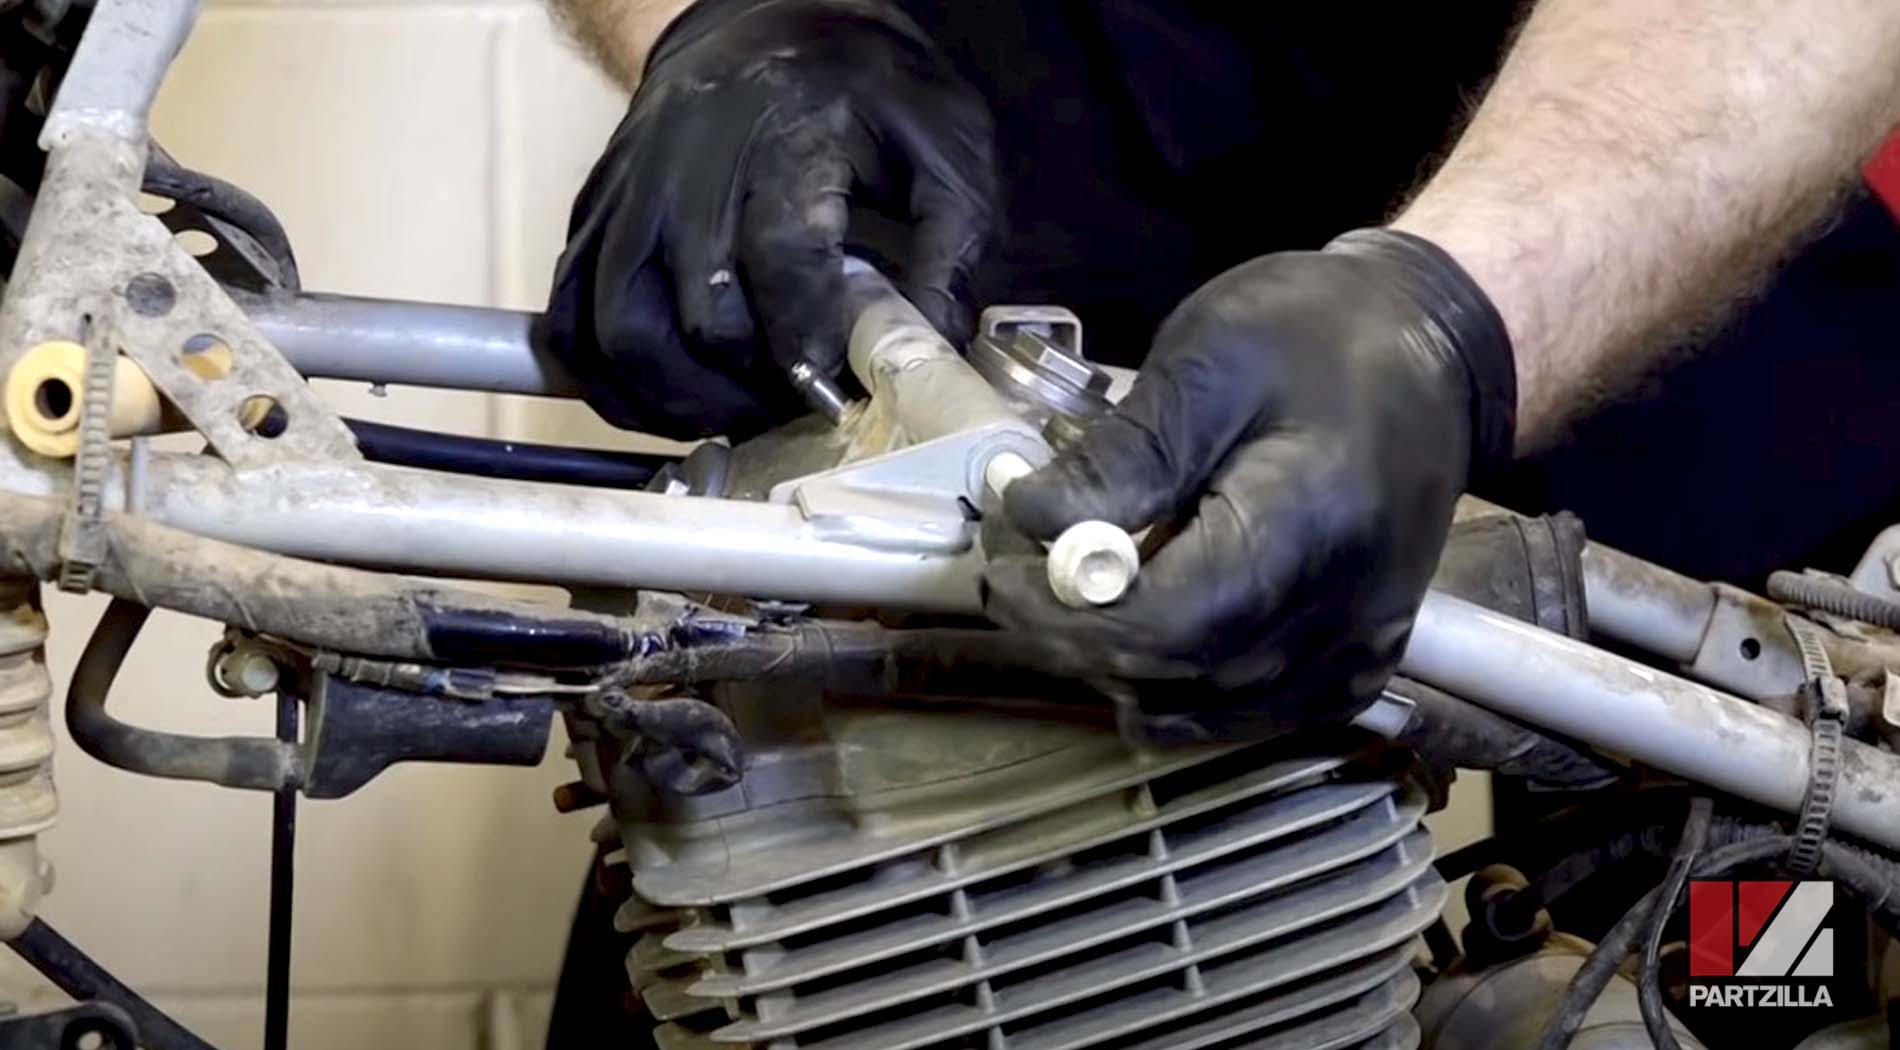
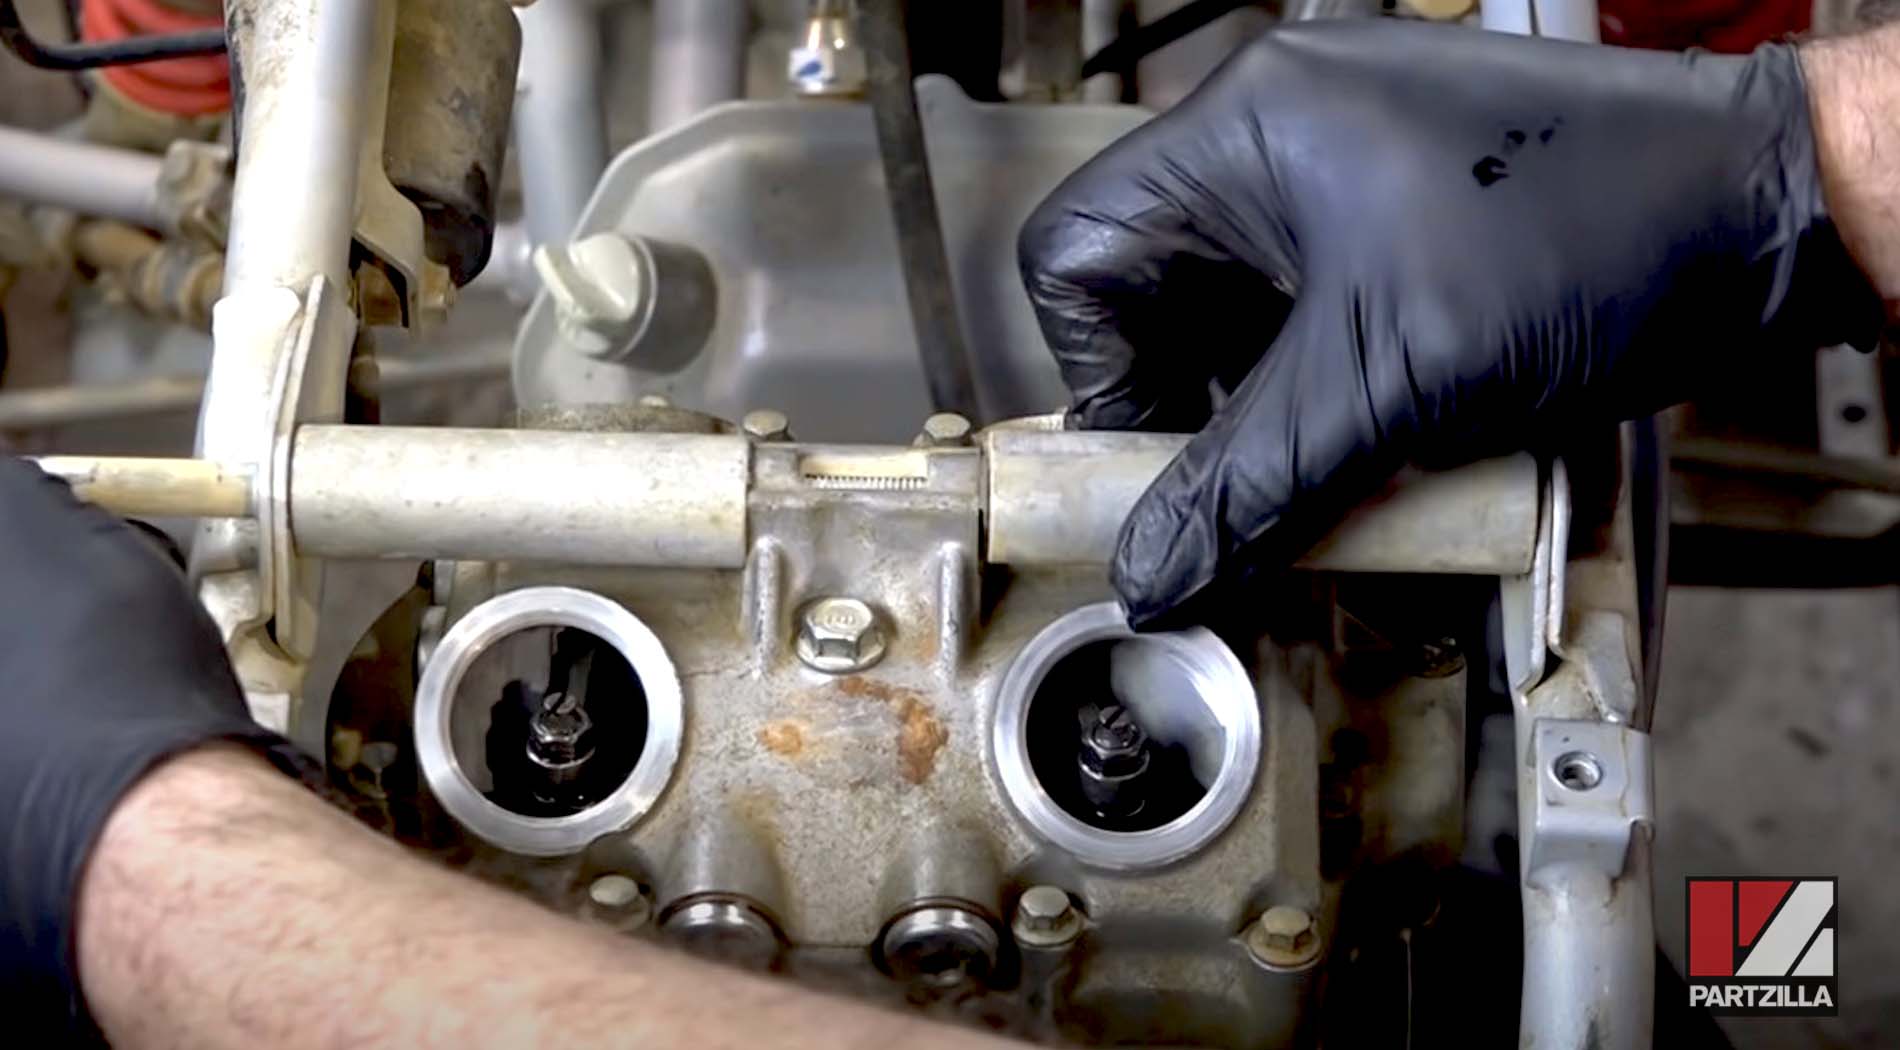
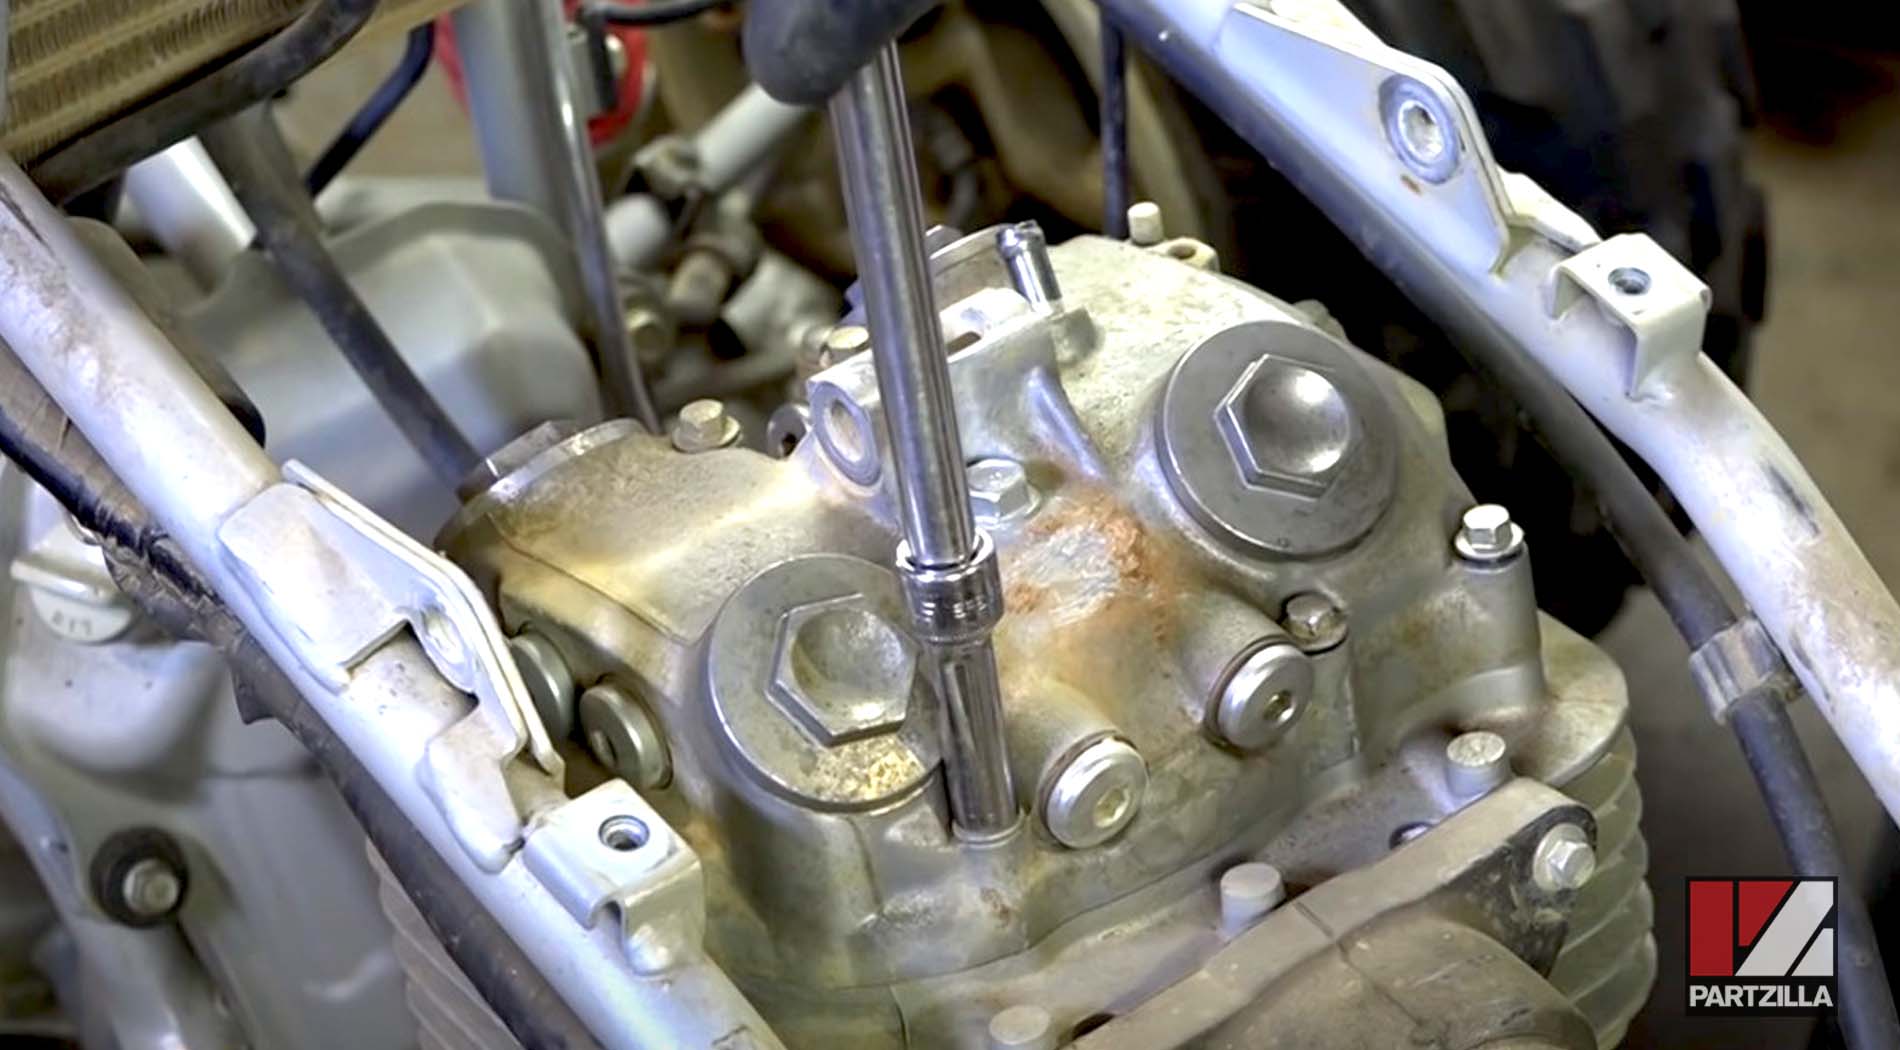
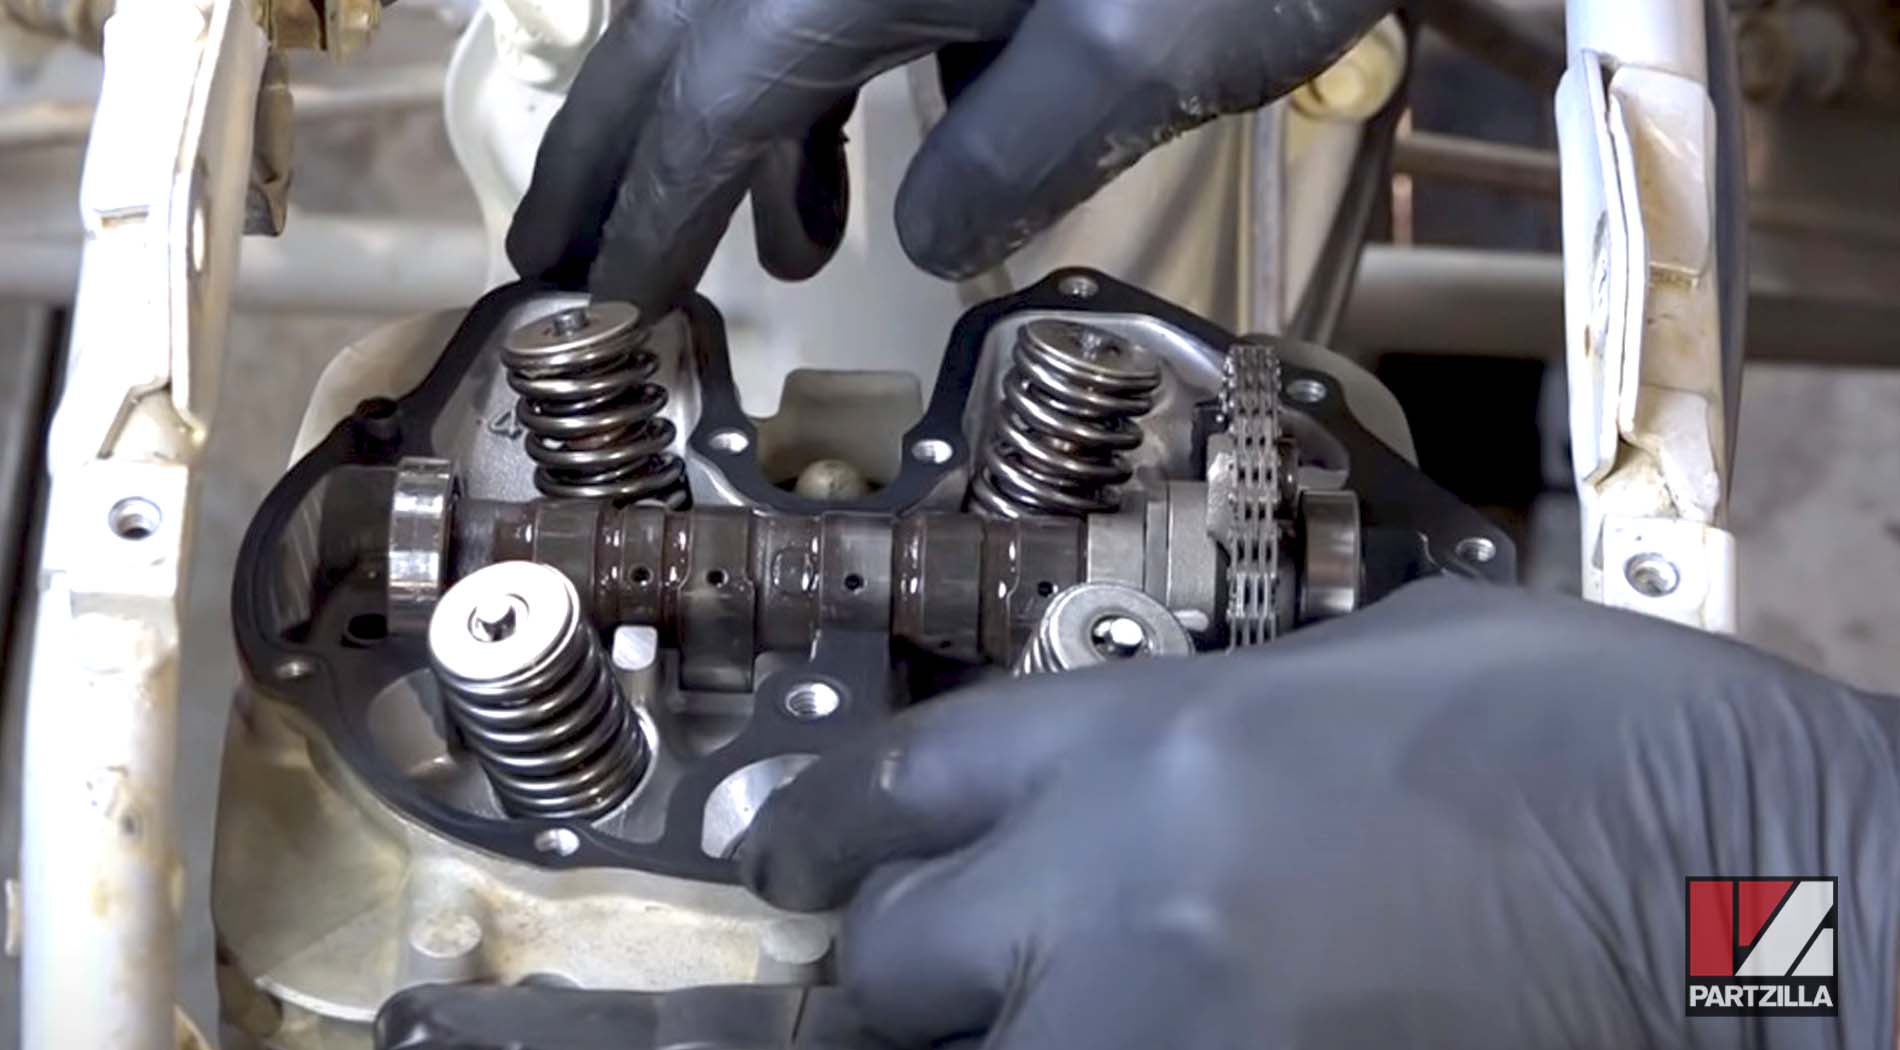
Step 3. Remove the cylinder head cover from the top of the motor to expose the timing cam and timing belt.

Watch the video below to see how to disassemble a Honda TRX 400.
Honda TRX400EX Setting the Cam Timing
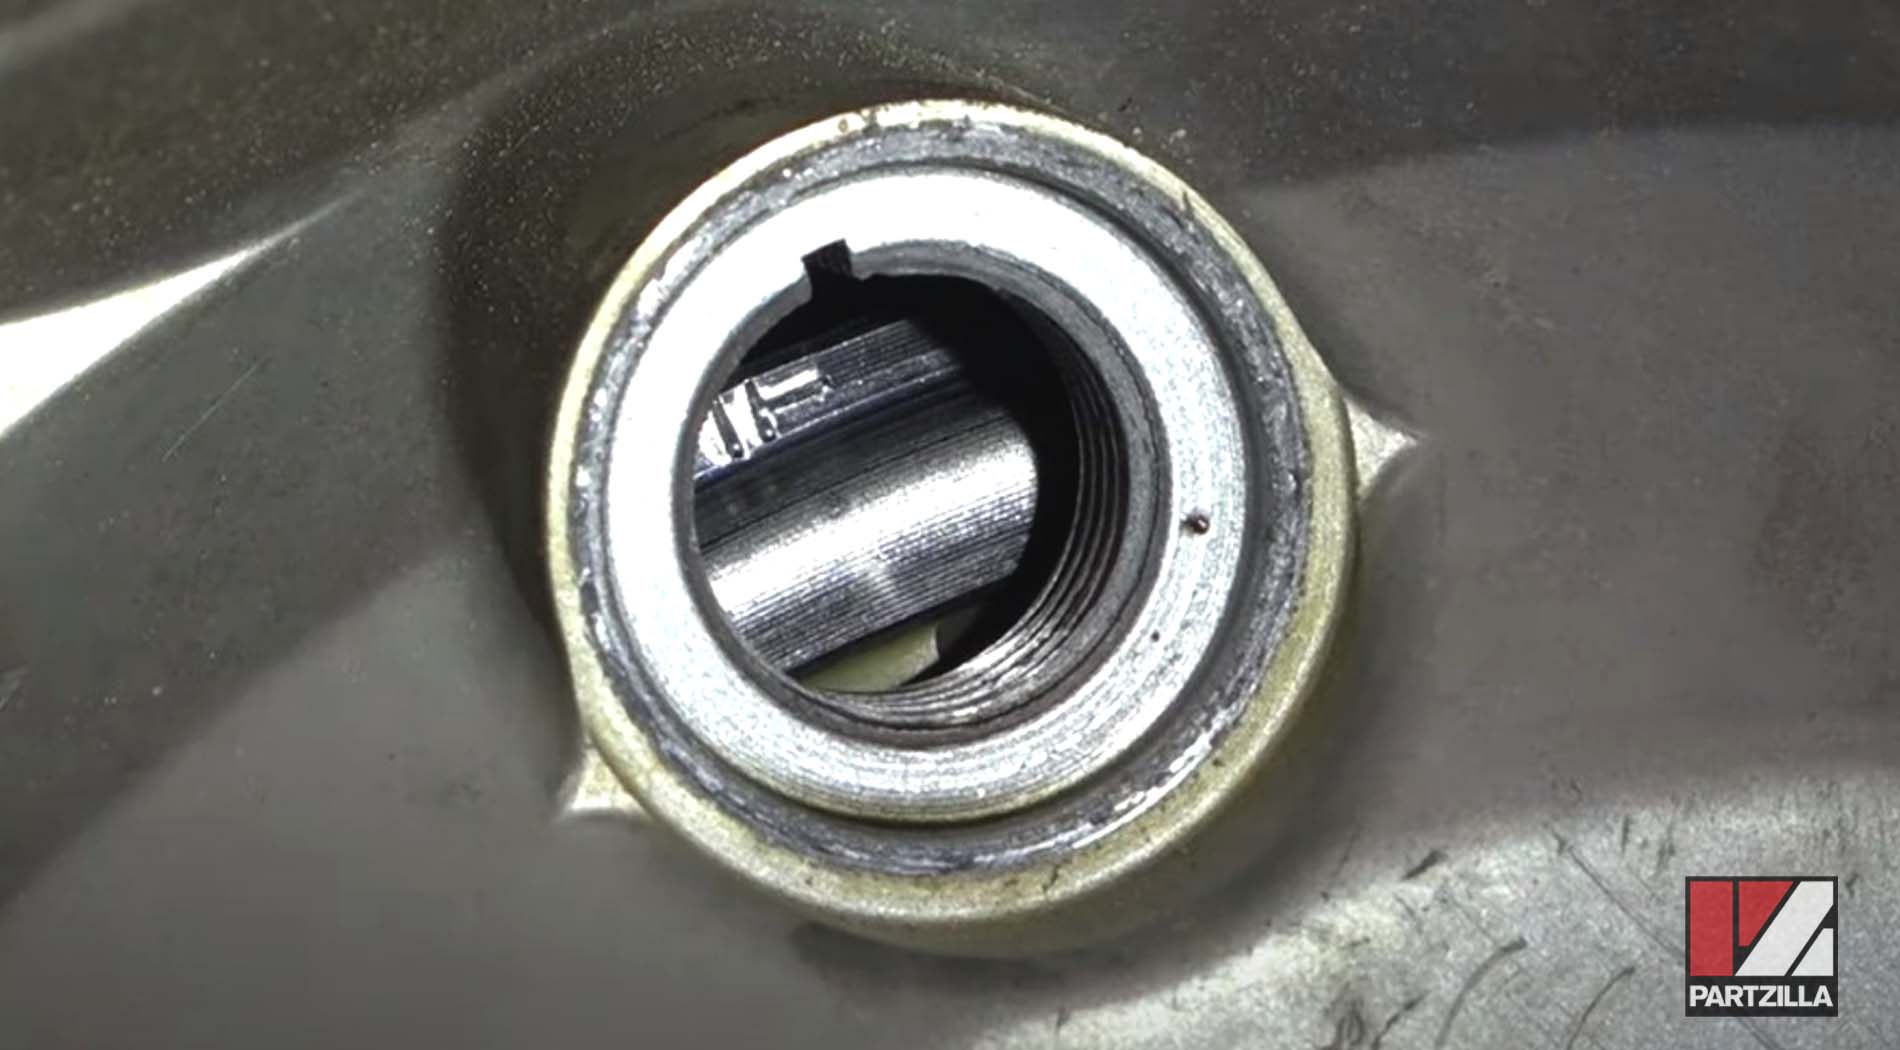
Step 4. Remove the crankshaft cover and the camshaft inspection cover, located on the left side of the crankcase in the flywheel cover.
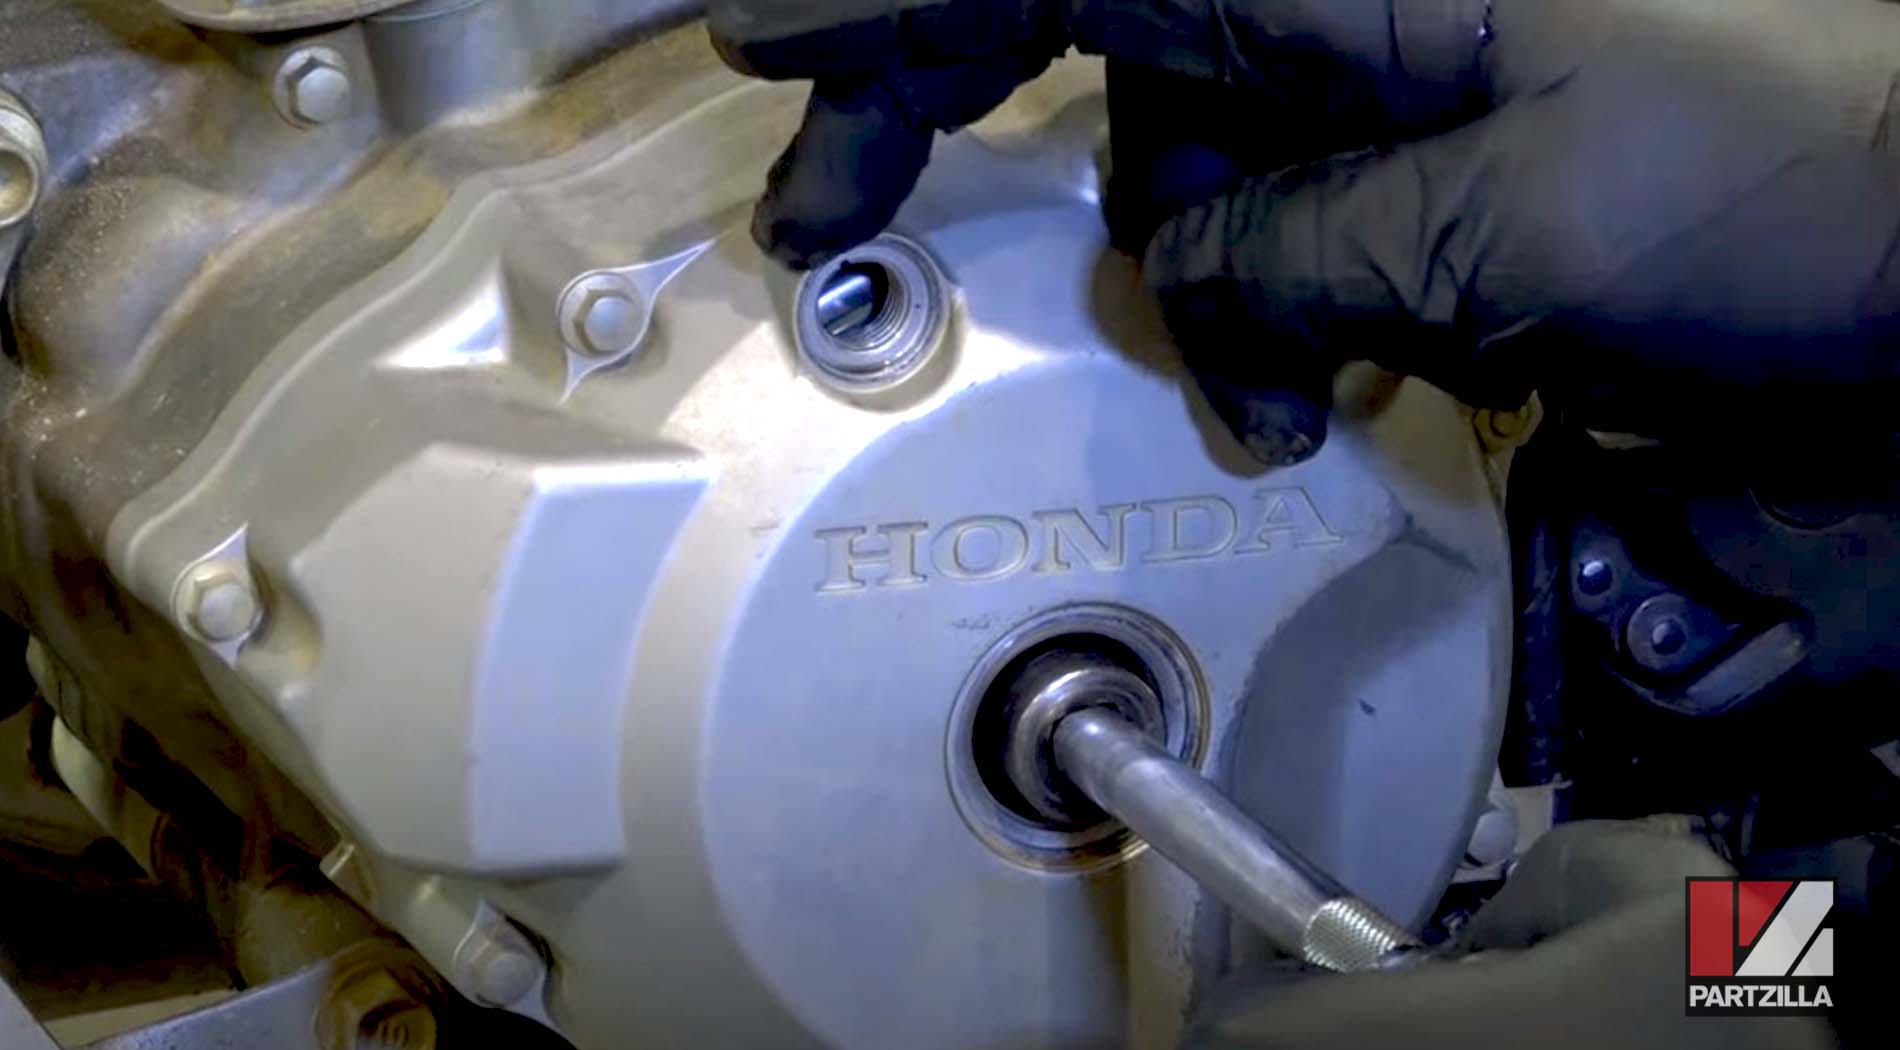
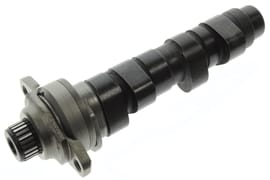
Step 5. Rotate the crankshaft counterclockwise until the T mark on the flywheel lines up with the mark on the inspection hole. The motor is now at top dead center or bottom dead center (TDC or BDC). It needs to be at TDC, so look at the camshaft lobes and if they’re facing down, the motor is at TDC, or at BDC if they’re facing up. Continue rotating the crankshaft until the T mark lines up in the inspection window again
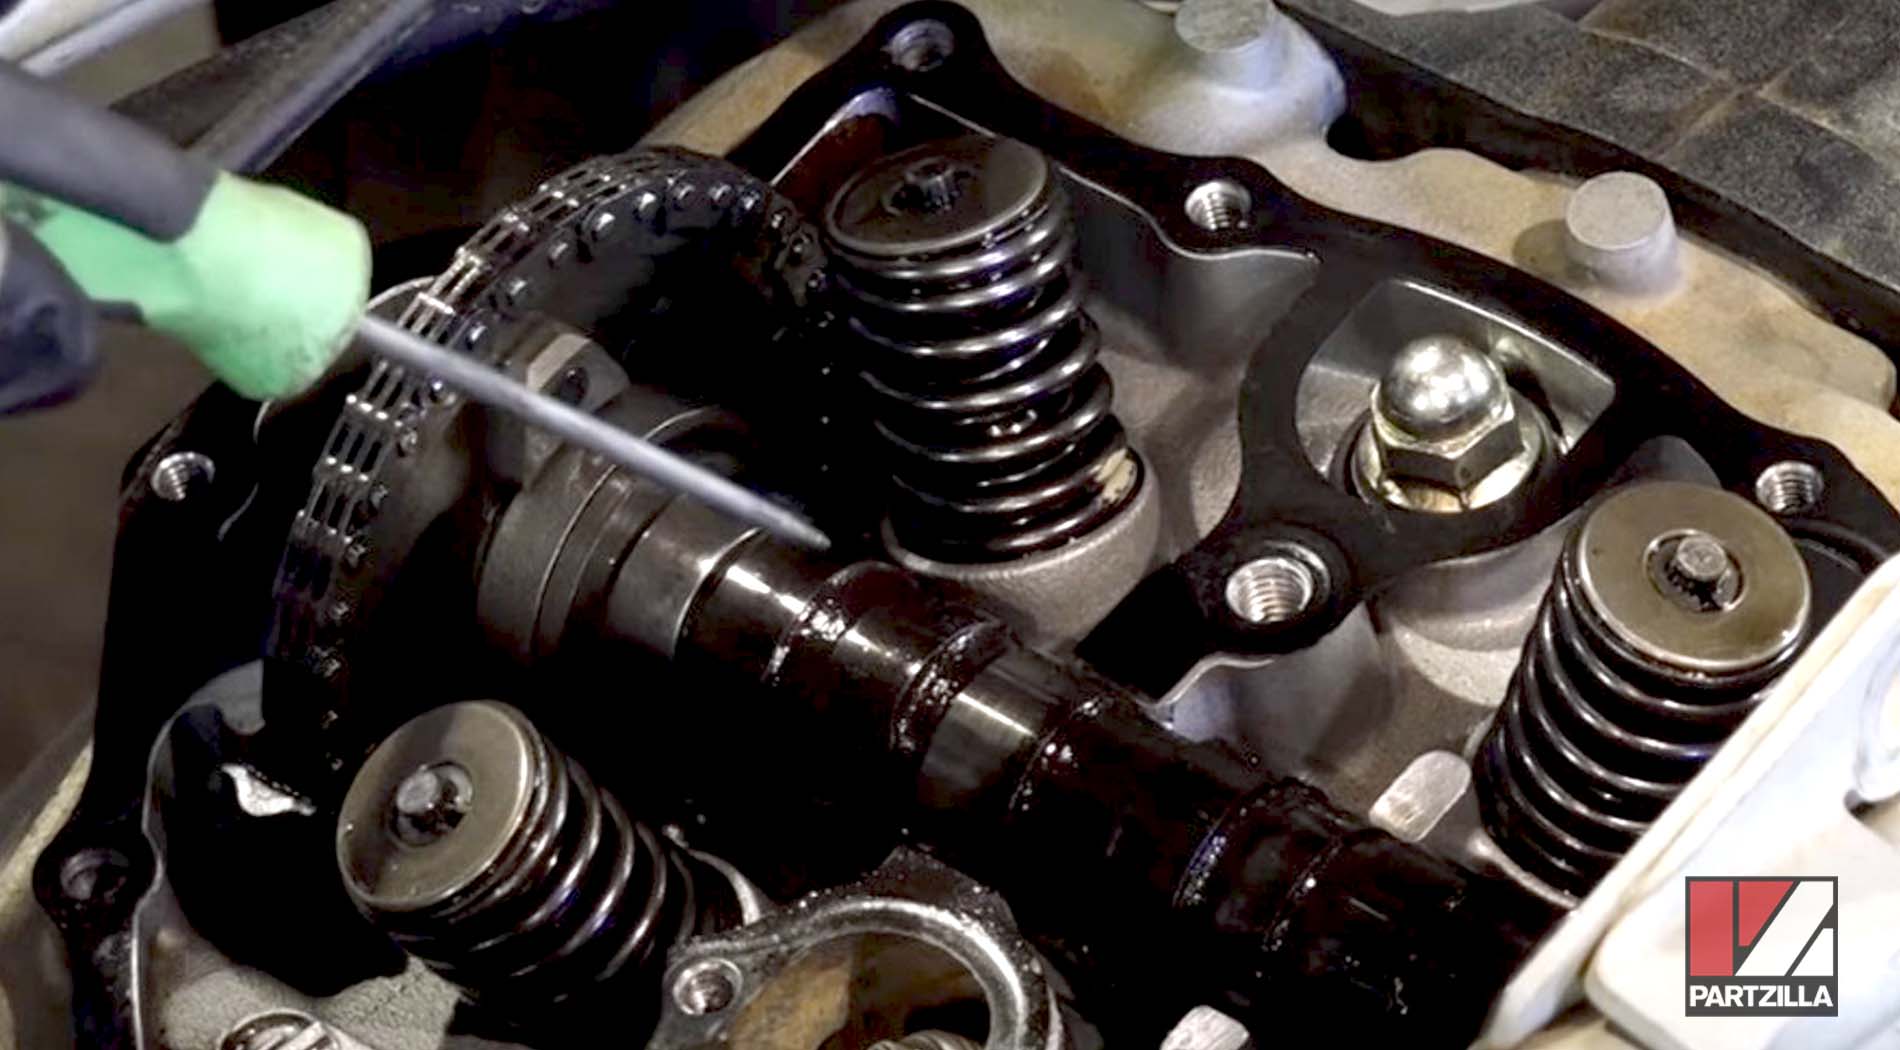
Step 6. Once the motor is at TDC, look for the two marks on the cam timing sprocket. The two marks should be aligned with the face of the cylinder head for the timing to be correctly set.

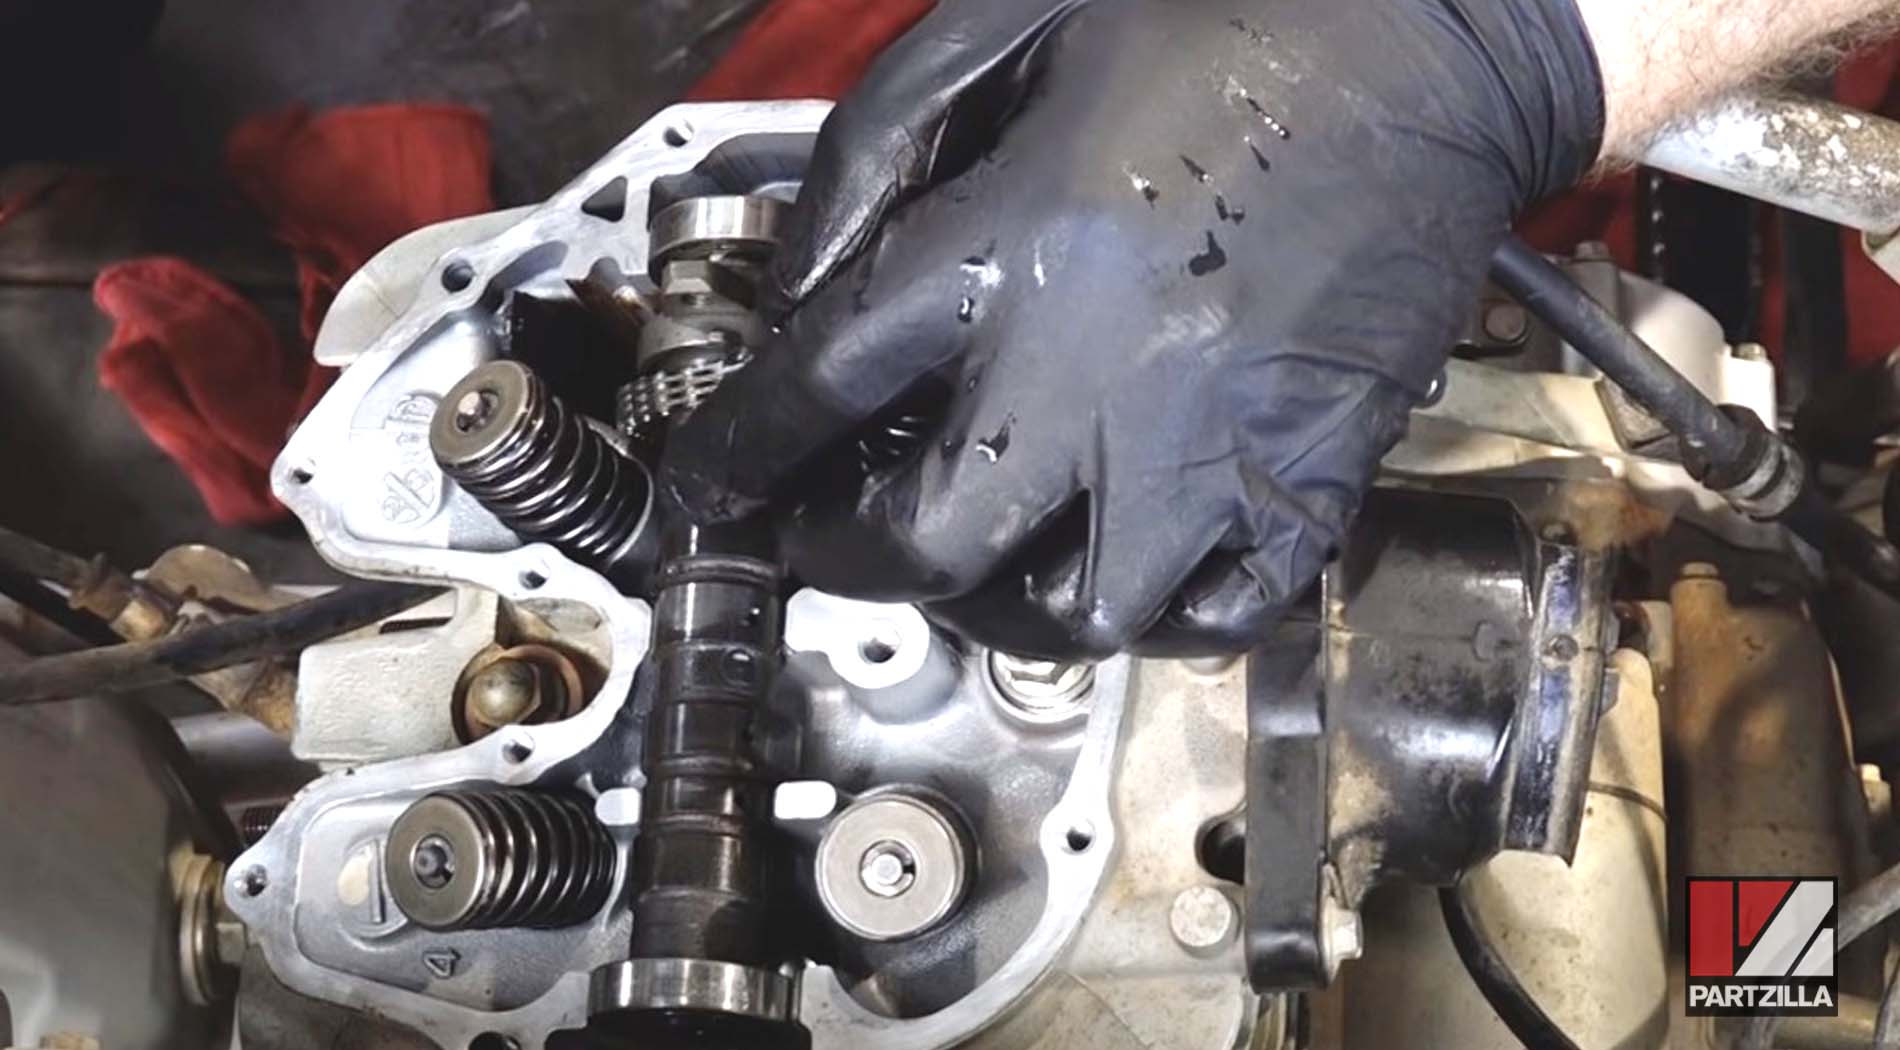
Step 7. If the marks are not level with the cylinder head, you'll need to reset the TRX400EX’s cam timing. To do this, remove the two bolts holding the camshaft. Lift the timing chain off the timing sprocket, then the timing sprocket off the cam and rotate it so the two marks align with the cylinder head. Replace the timing sprocket back on the cam and the timing chain back over the sprocket.
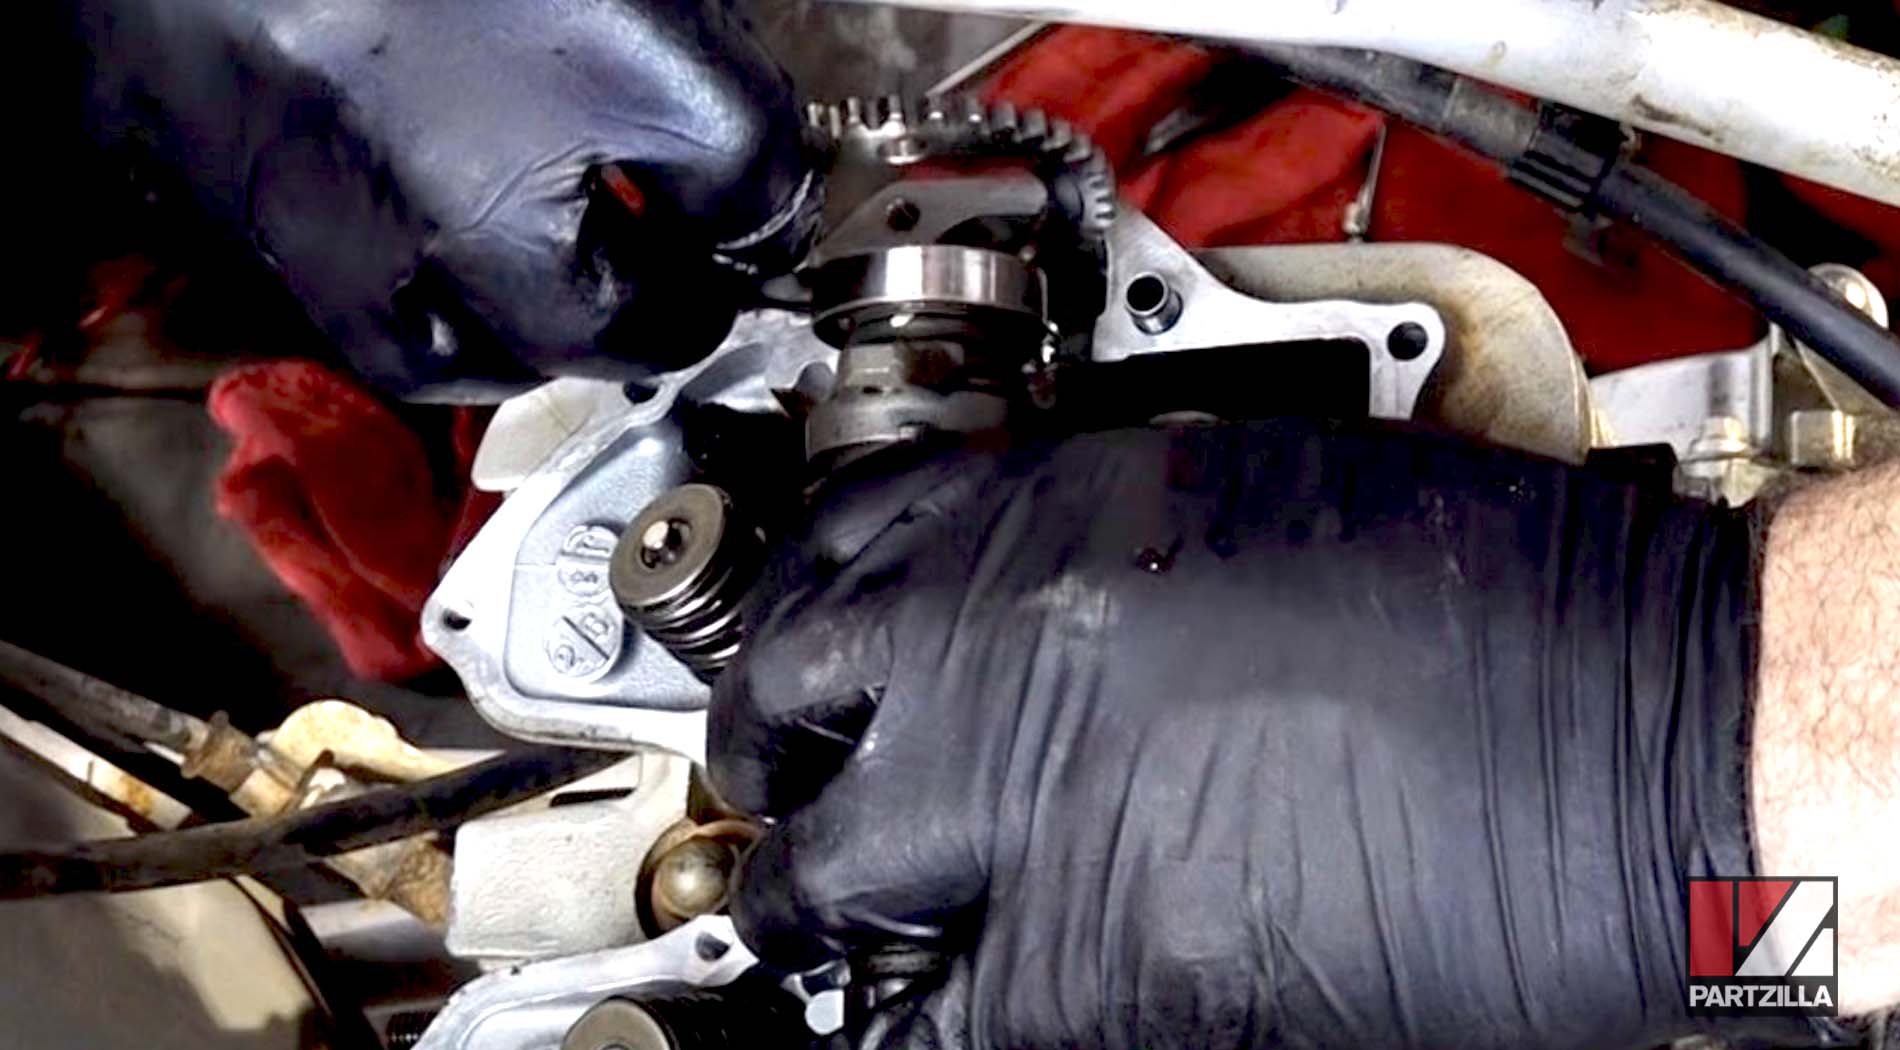
Step 8. Reinstall the two camshaft bolts and rotate the crankshaft counterclockwise until the engine reaches TDC again and the T mark on the flywheel is centered in the inspection hole. Check that the two marks on the cam timing sprocket are correctly aligned and if they aren’t, repeat Step 7.
Honda TRX400EX Set Cam Chain Timing Reassembly
Step 9. Reinstall the cylinder head cover onto the motor.
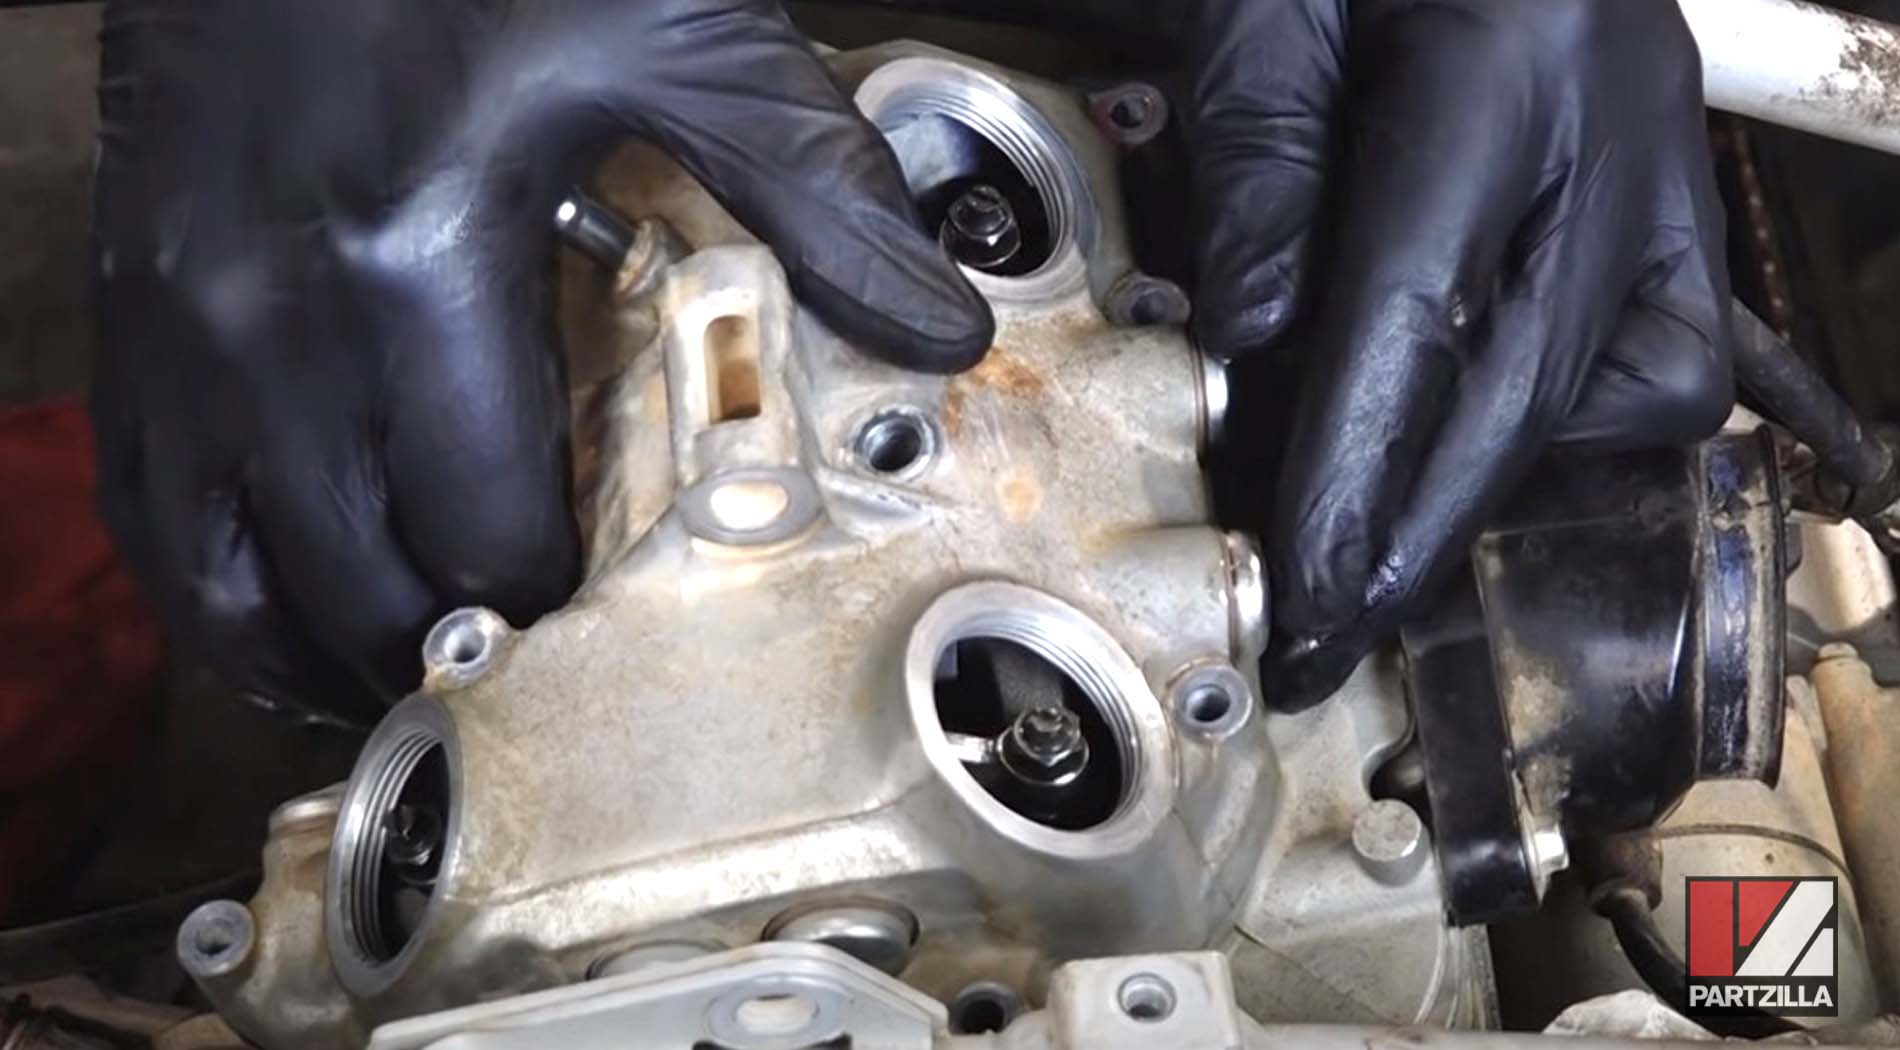
NOTE: Use a new cylinder head cover gasket when reinstalling the cover.
Step 10. Reinstall the top motor mount bolt and spacers, air intake, engine cover beneath the fuel tank, the fuel tank, plastics and the seat and you’re done.