How to Clean a Honda TRX 400EX Carburetor
If your Honda TRX 400 ATV has trouble starting, runs roughly at lower RPM or stalls on idle, the carburetor probably needs cleaning and possibly rebuilding.
Below we highlight the crucial steps for servicing a Honda TRX 400 carburetor. Watch our Honda TRX 400EX carburetor cleaning and rebuilding video above and follow the steps provided below to get this job done.
Tools and Parts – Honda TRX400 Carburetor Clean and Rebuild
- Ratchet and sockets
- Screwdrivers
- Pliers
- Impact driver
- Carb cleaner
- Pick tool
- Hammer
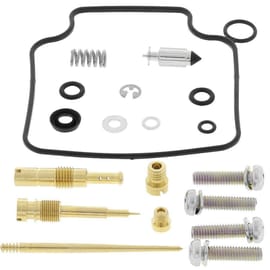
- Carburetor rebuild kit


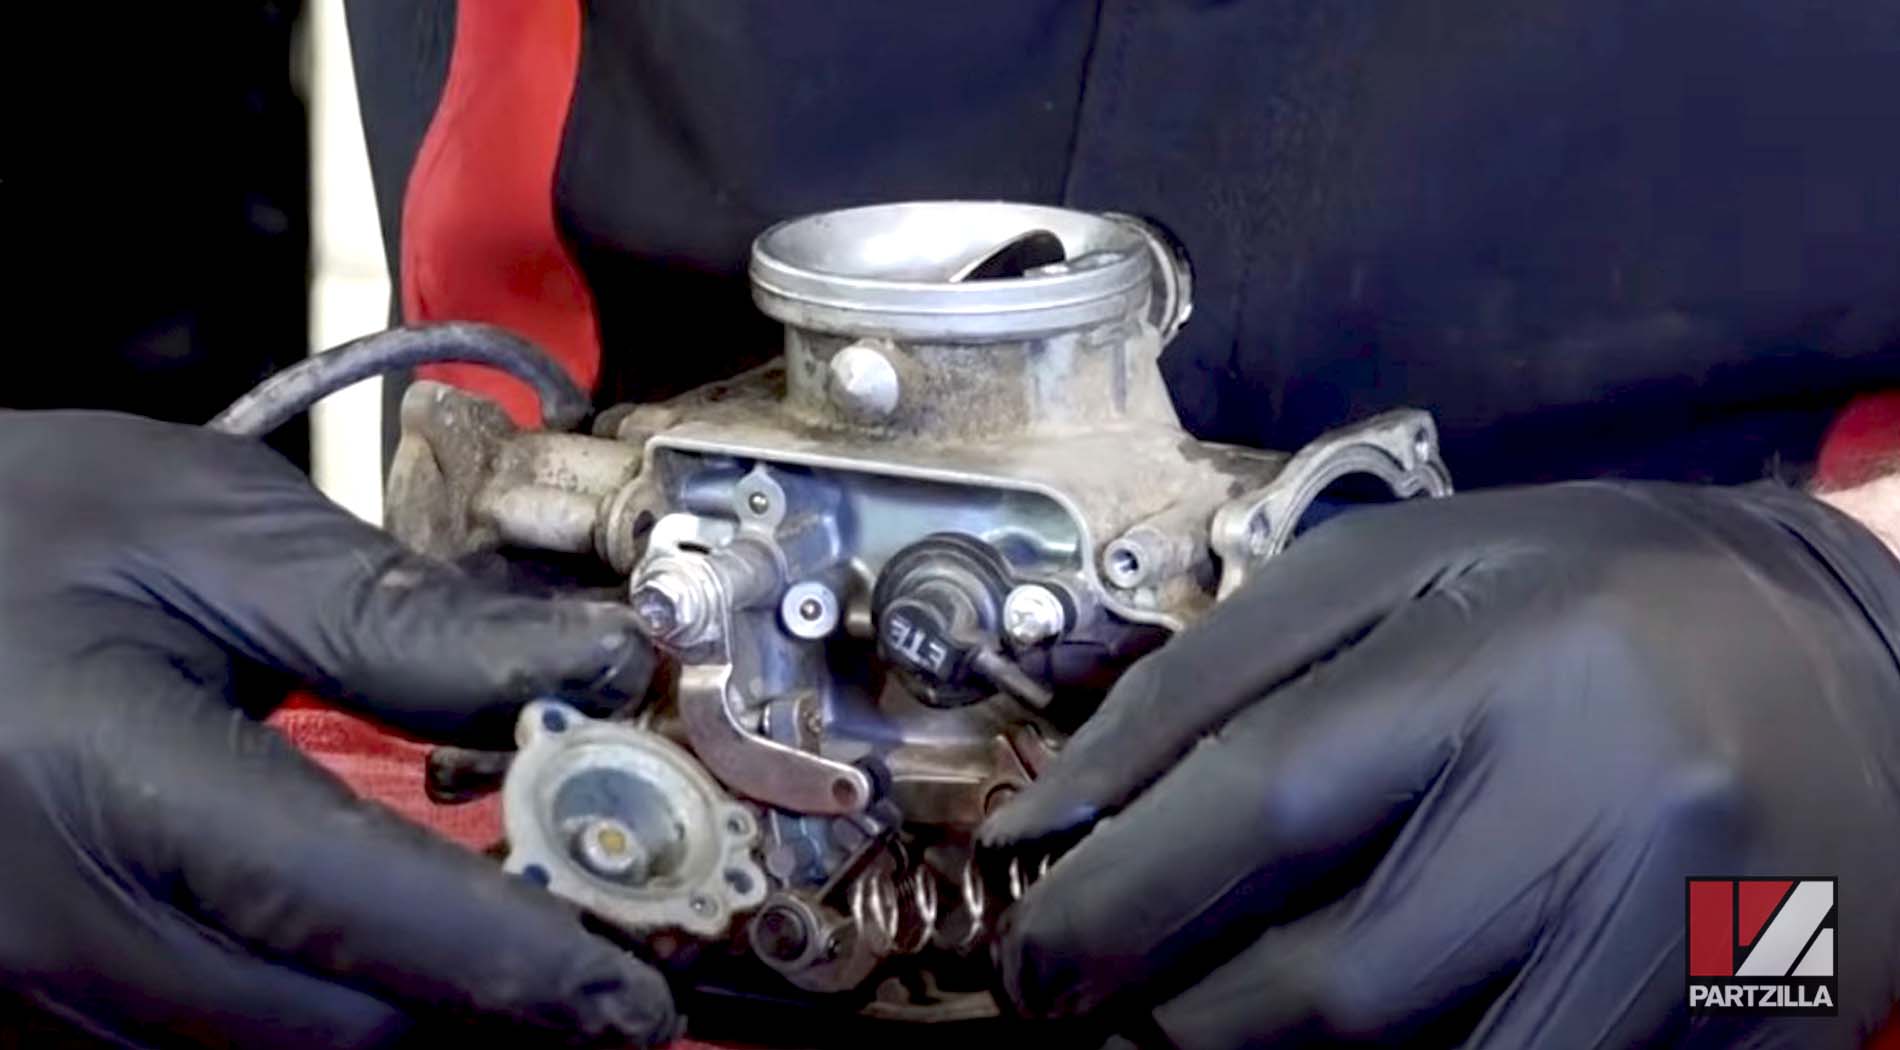
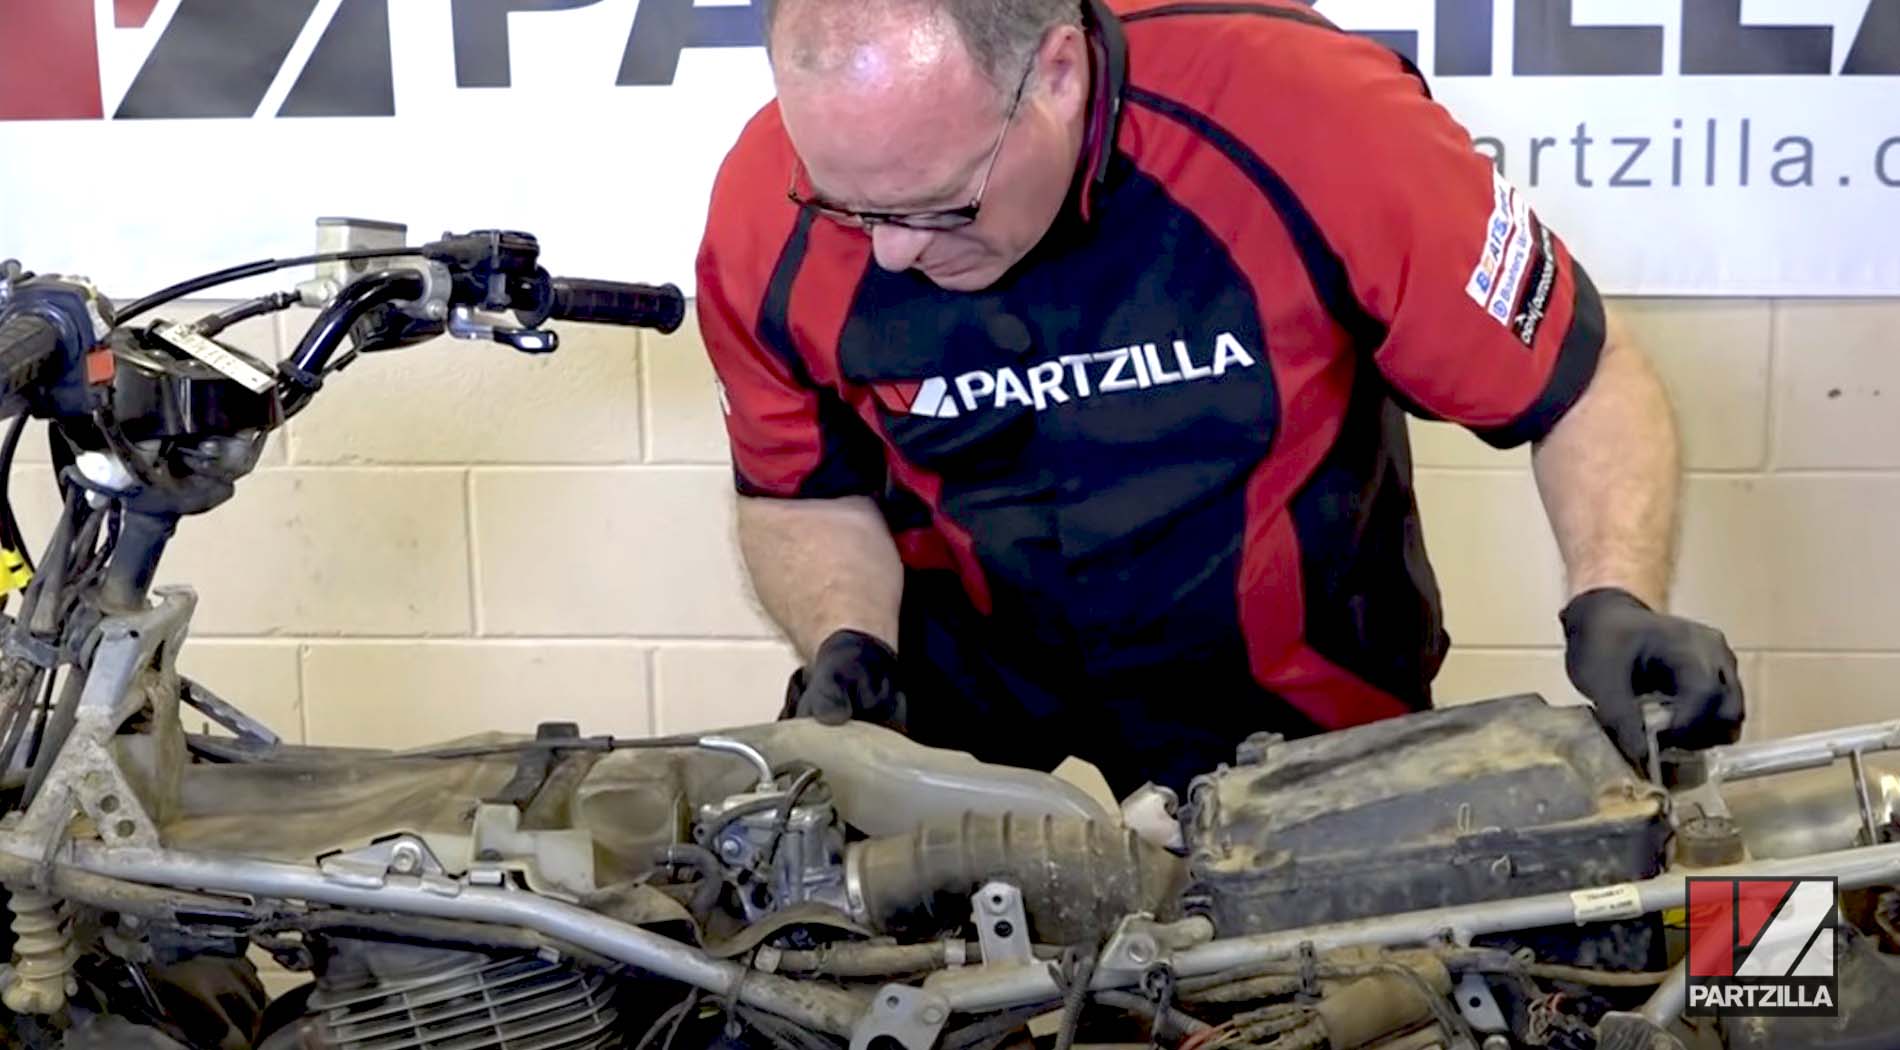
Removing Honda TRX 400EX Carburetor
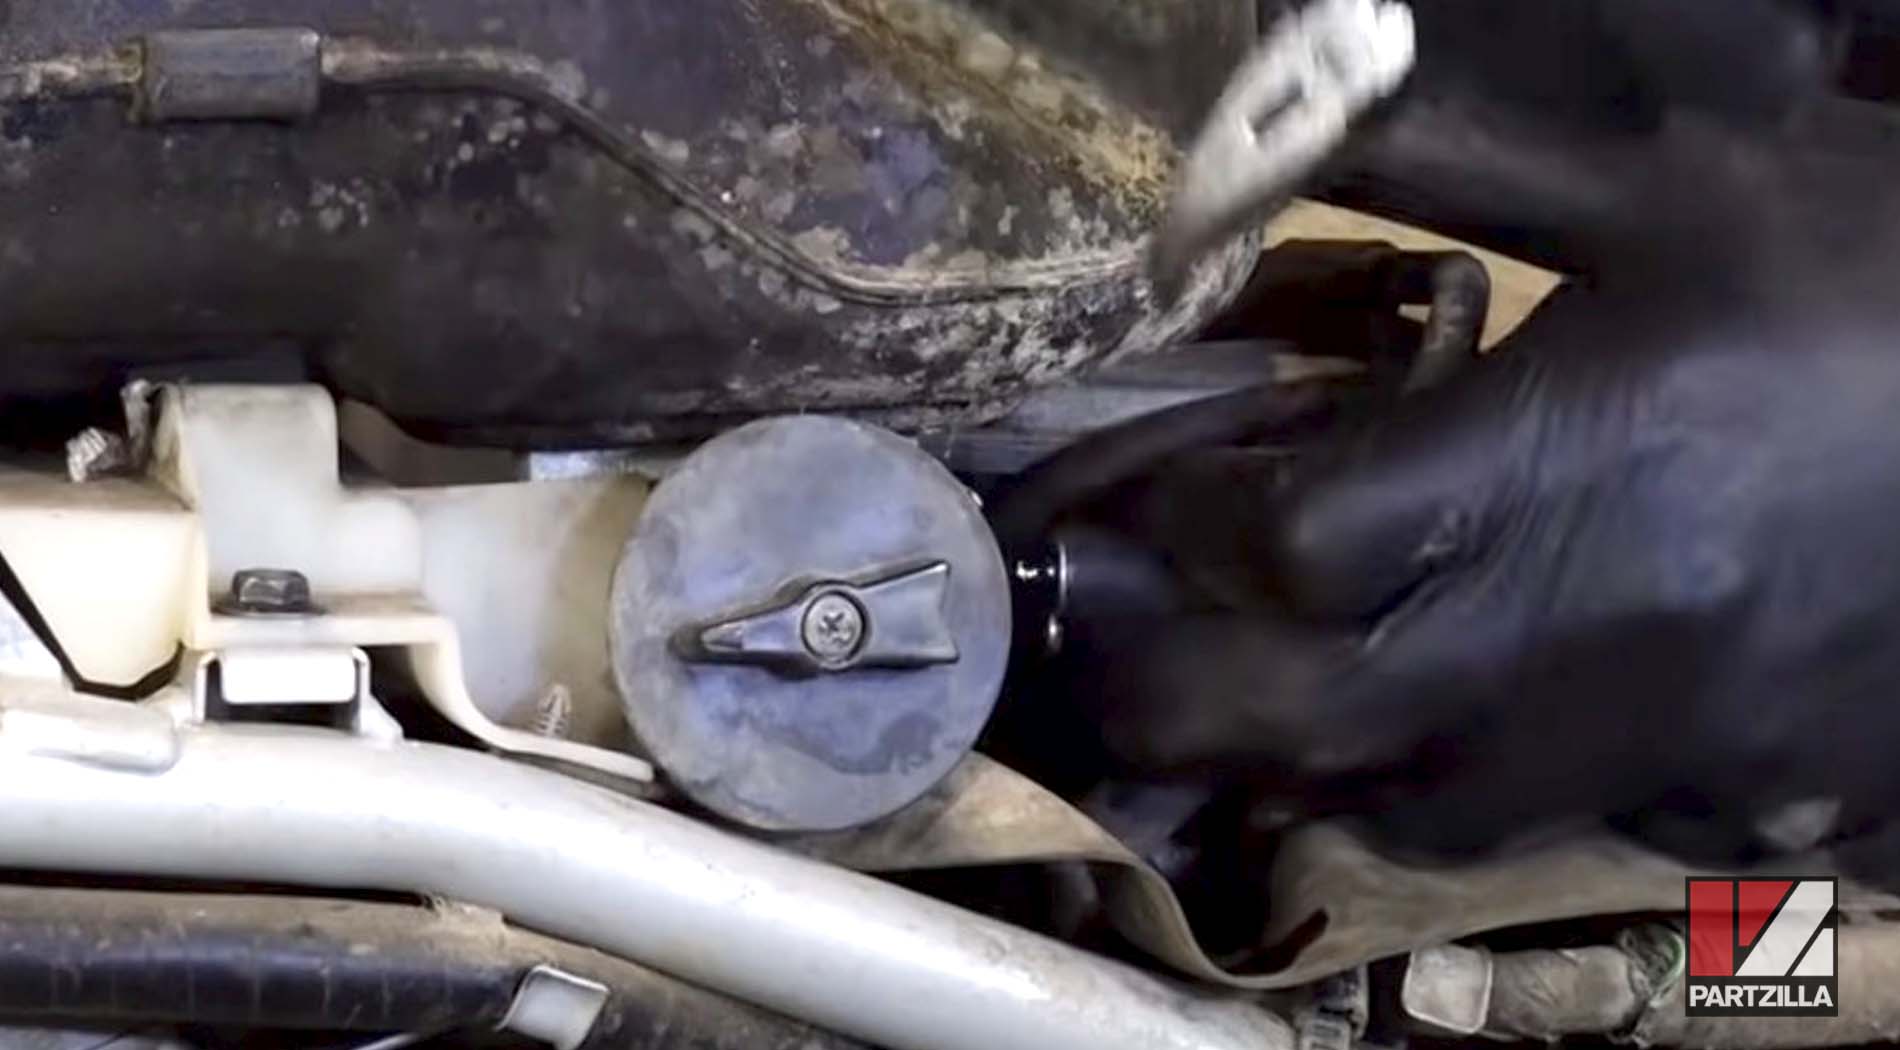
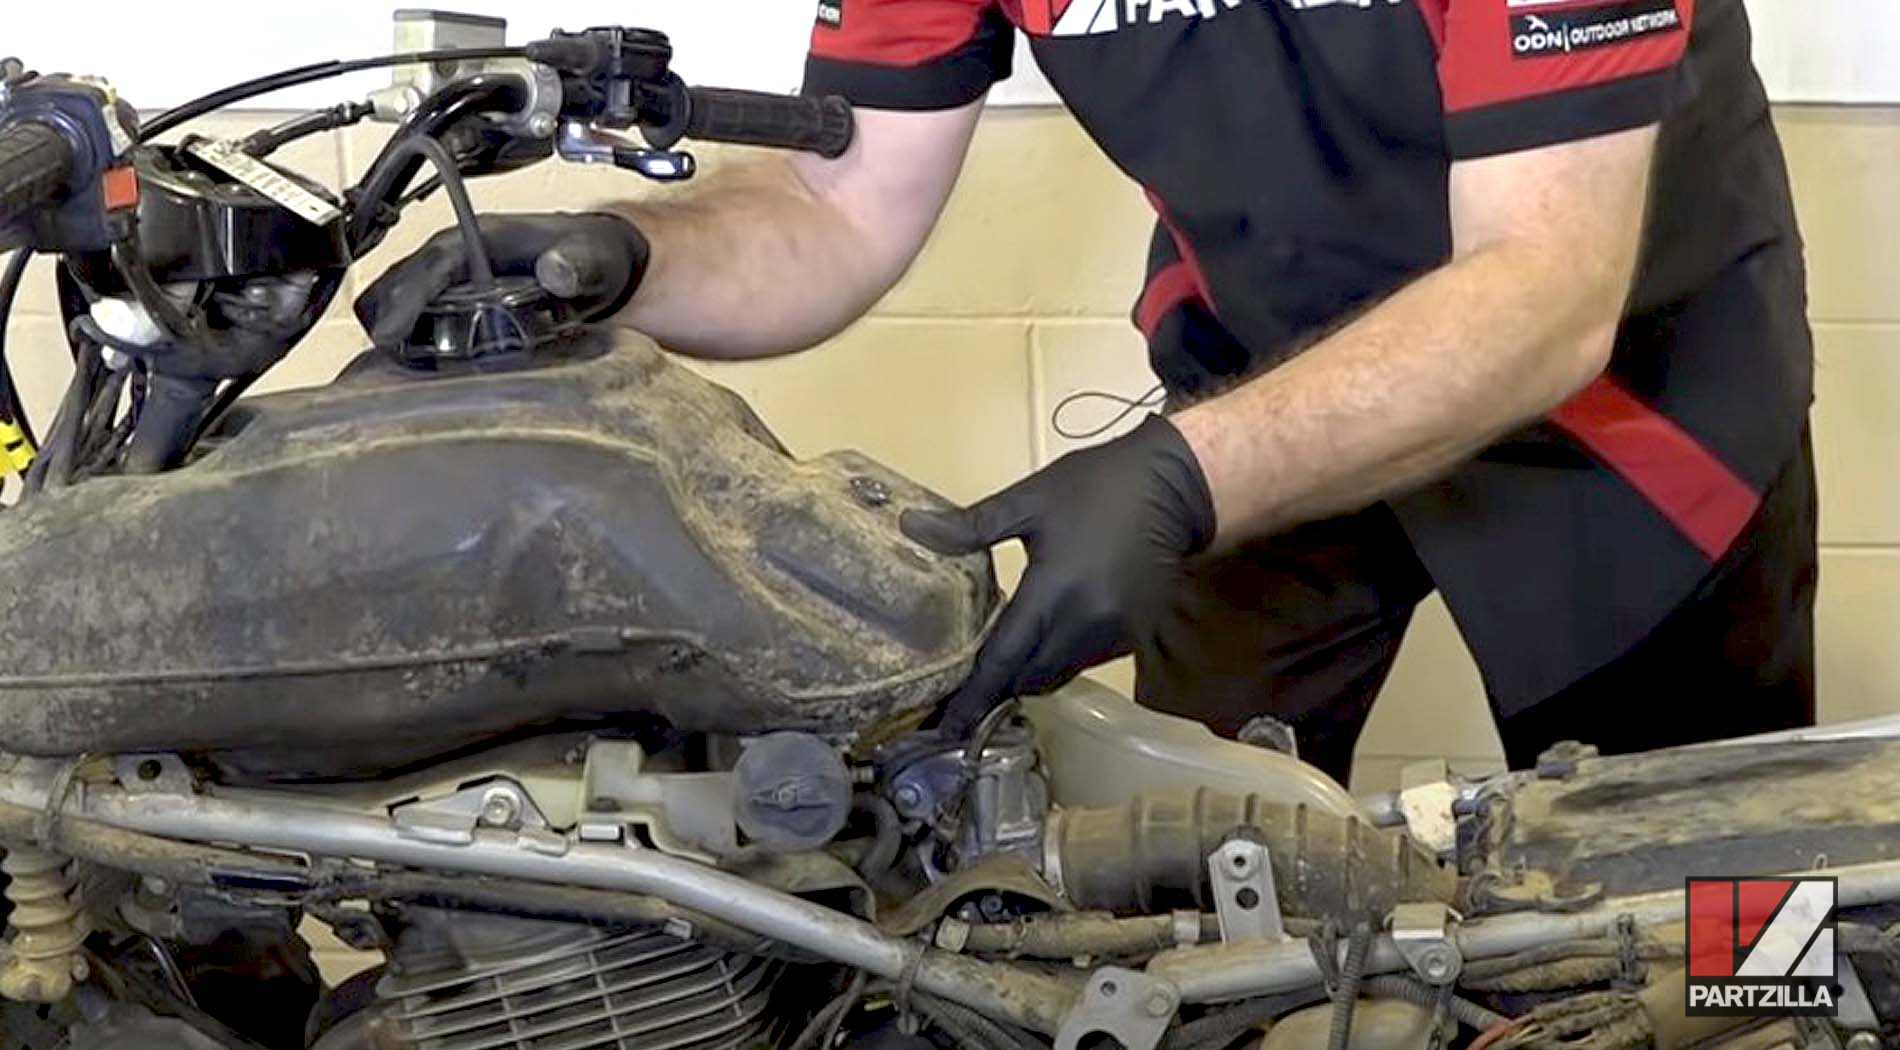
Step 1. Turn off the fuel lever, disconnect the fuel line, and remove the fuel tank.
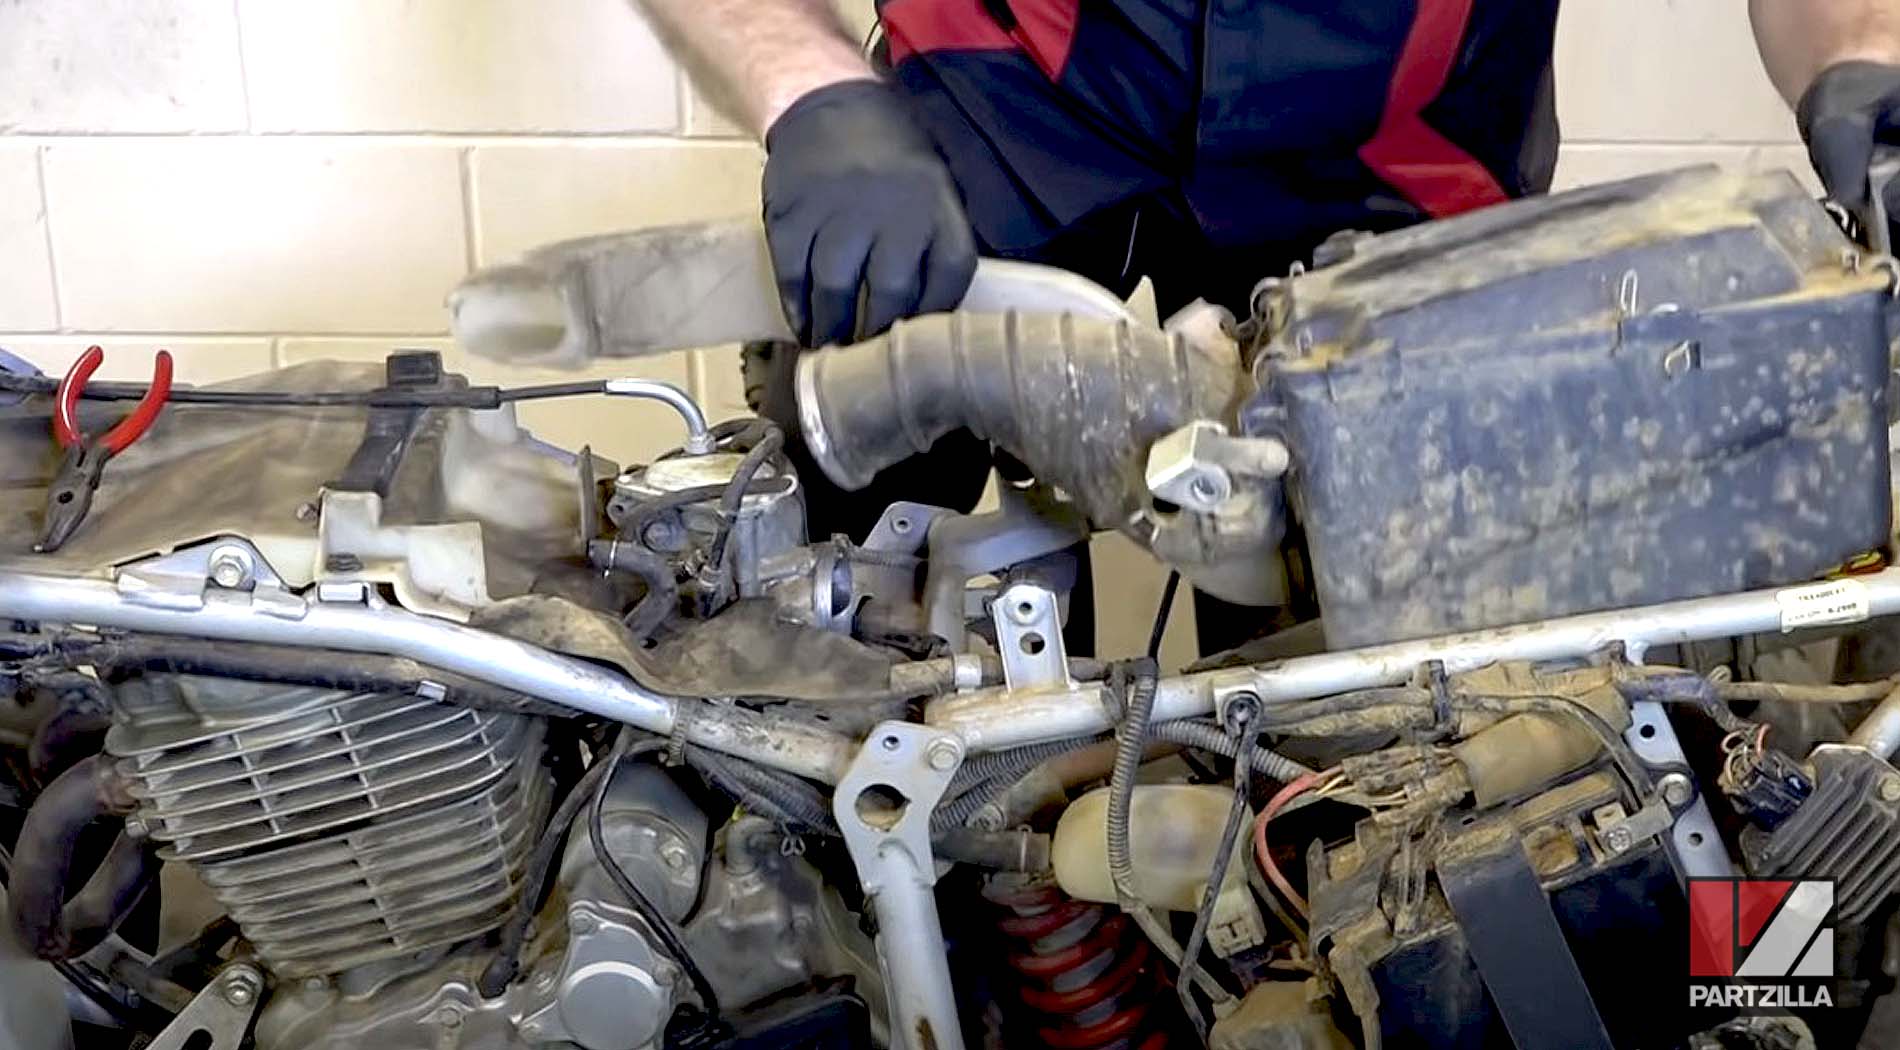
Step 2. Remove the three airbox mounting bolts, loosen the airbox boot clamp, and remove the intake duct, airbox and boot assembly as one piece.
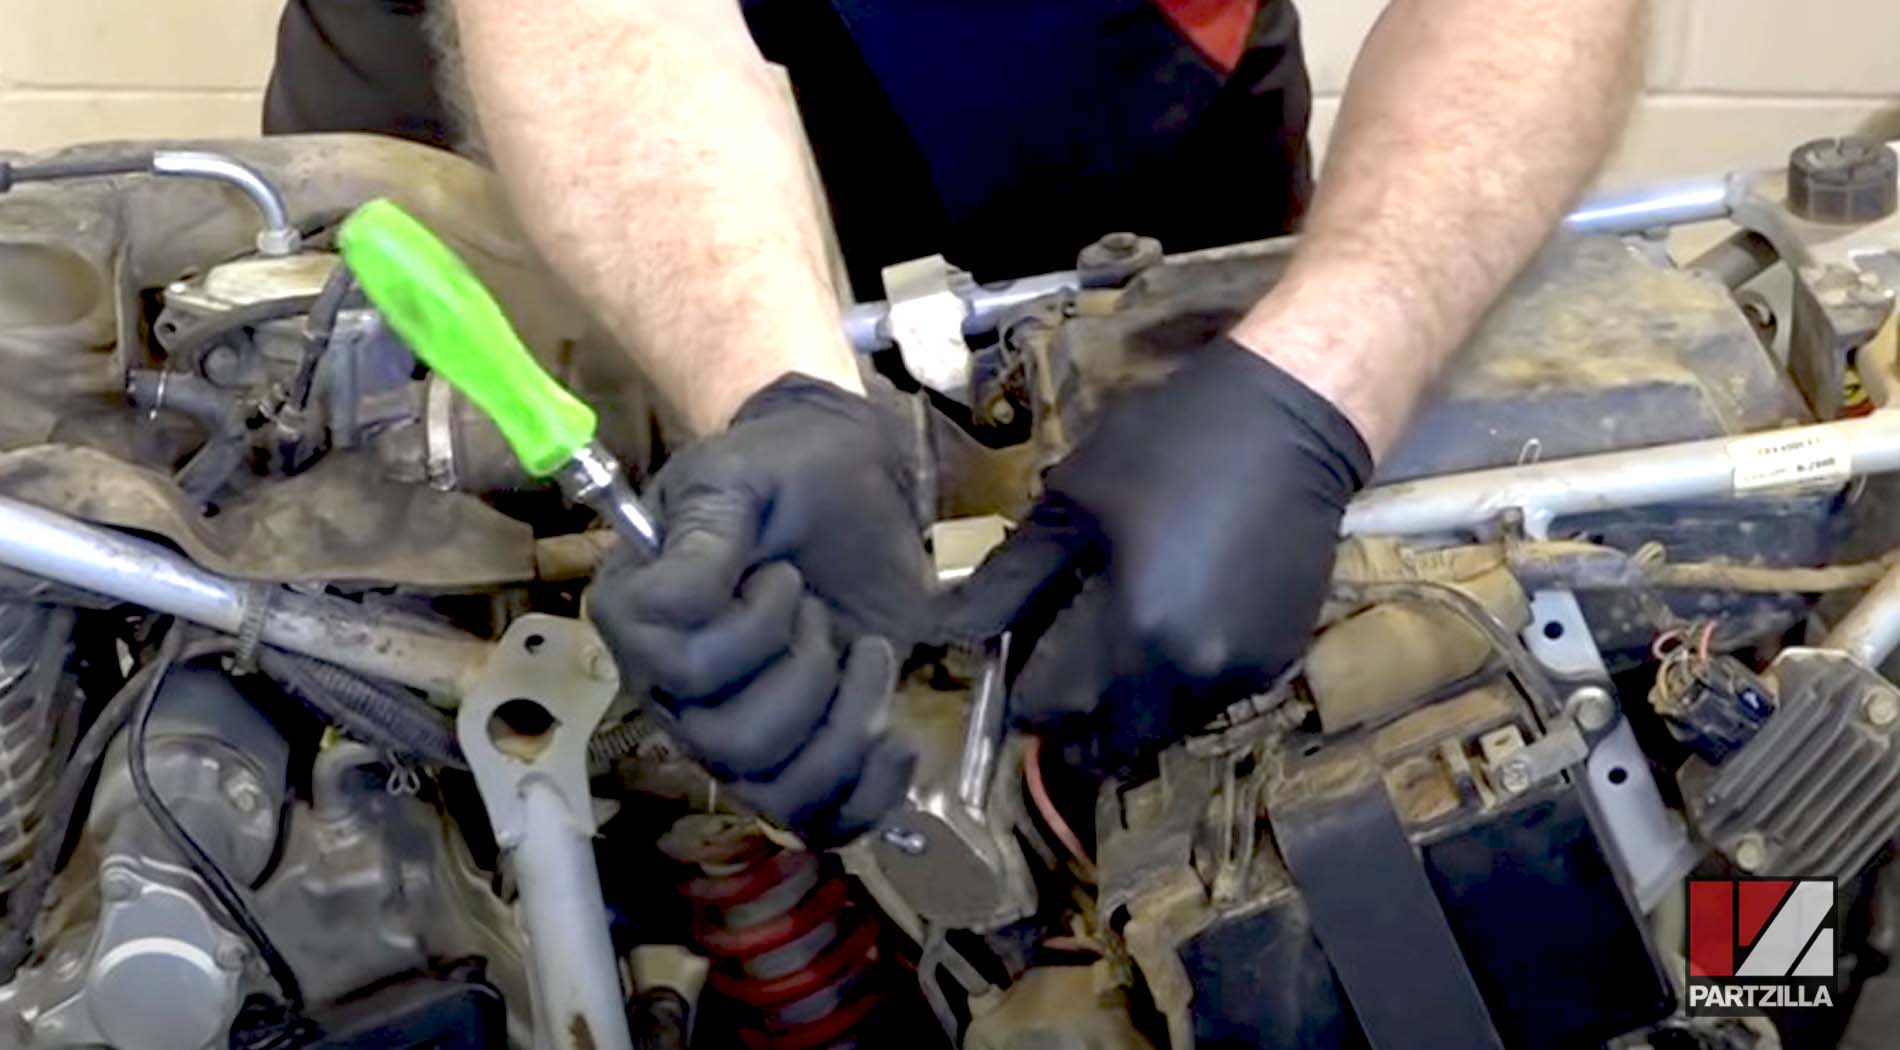
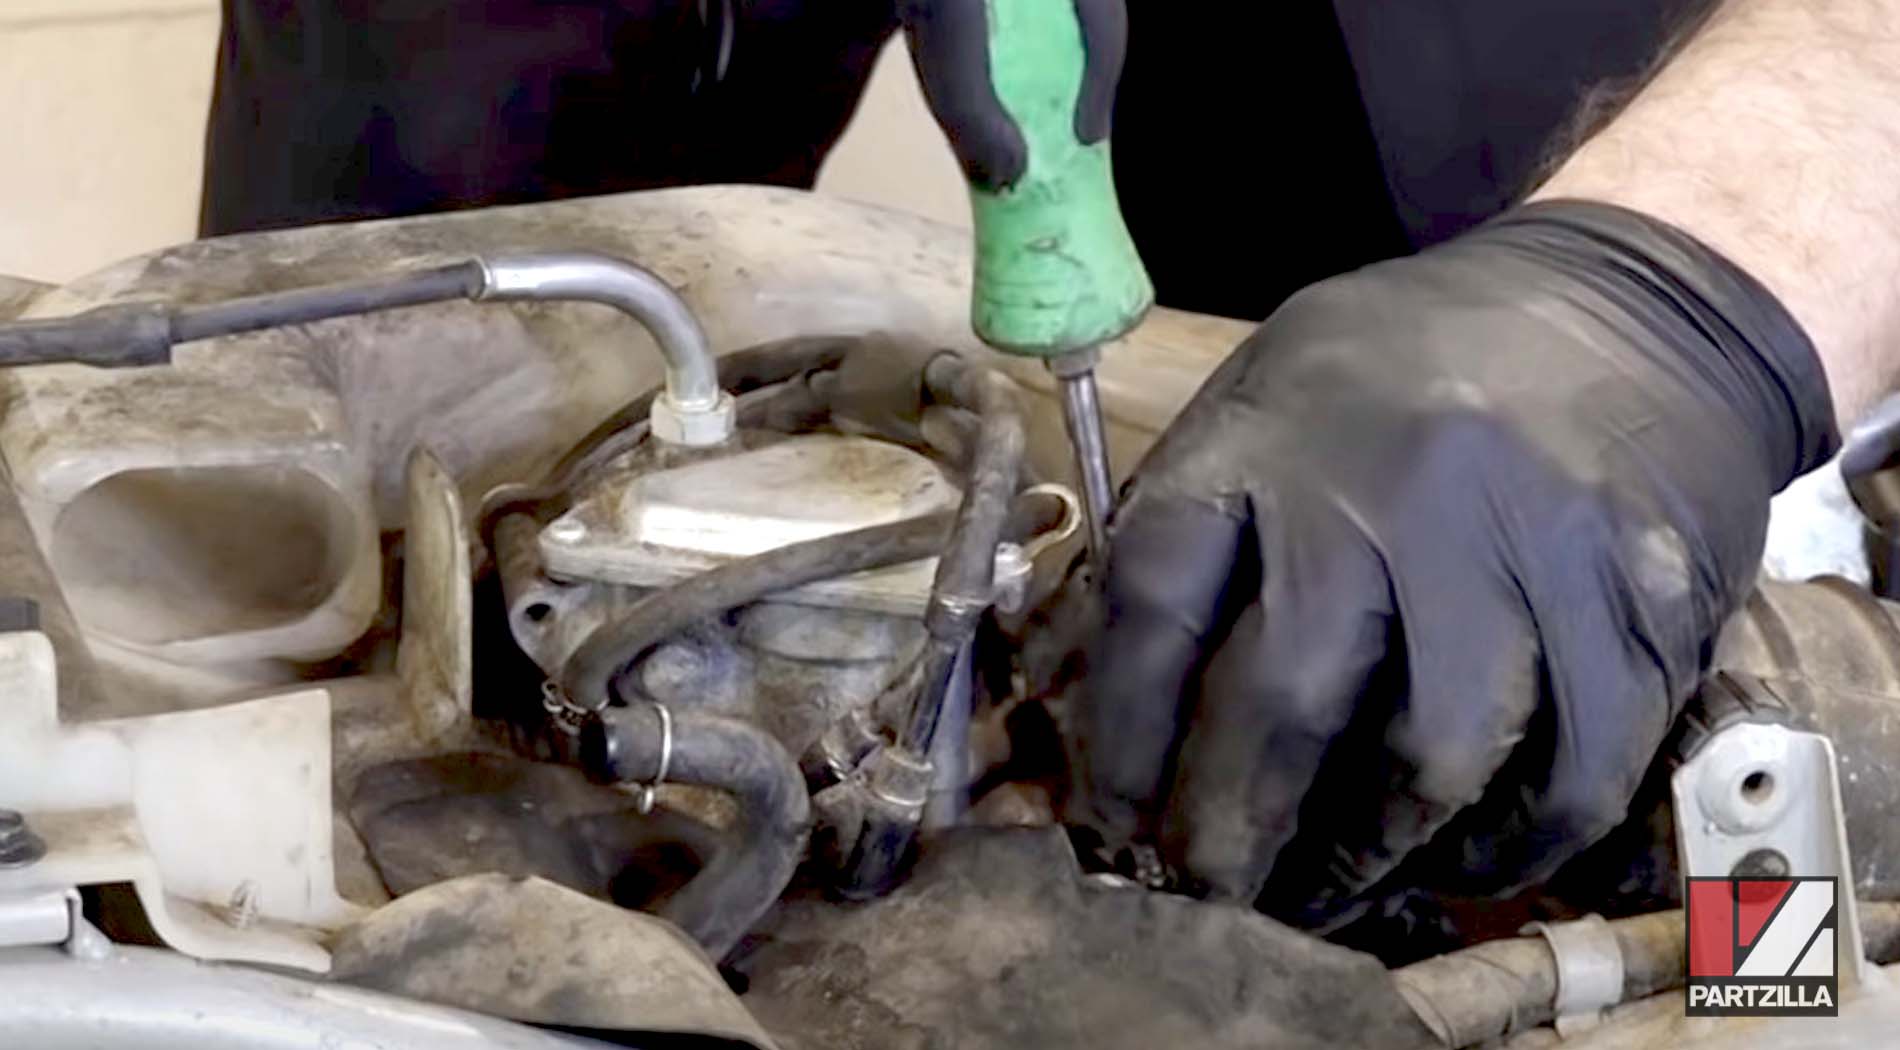
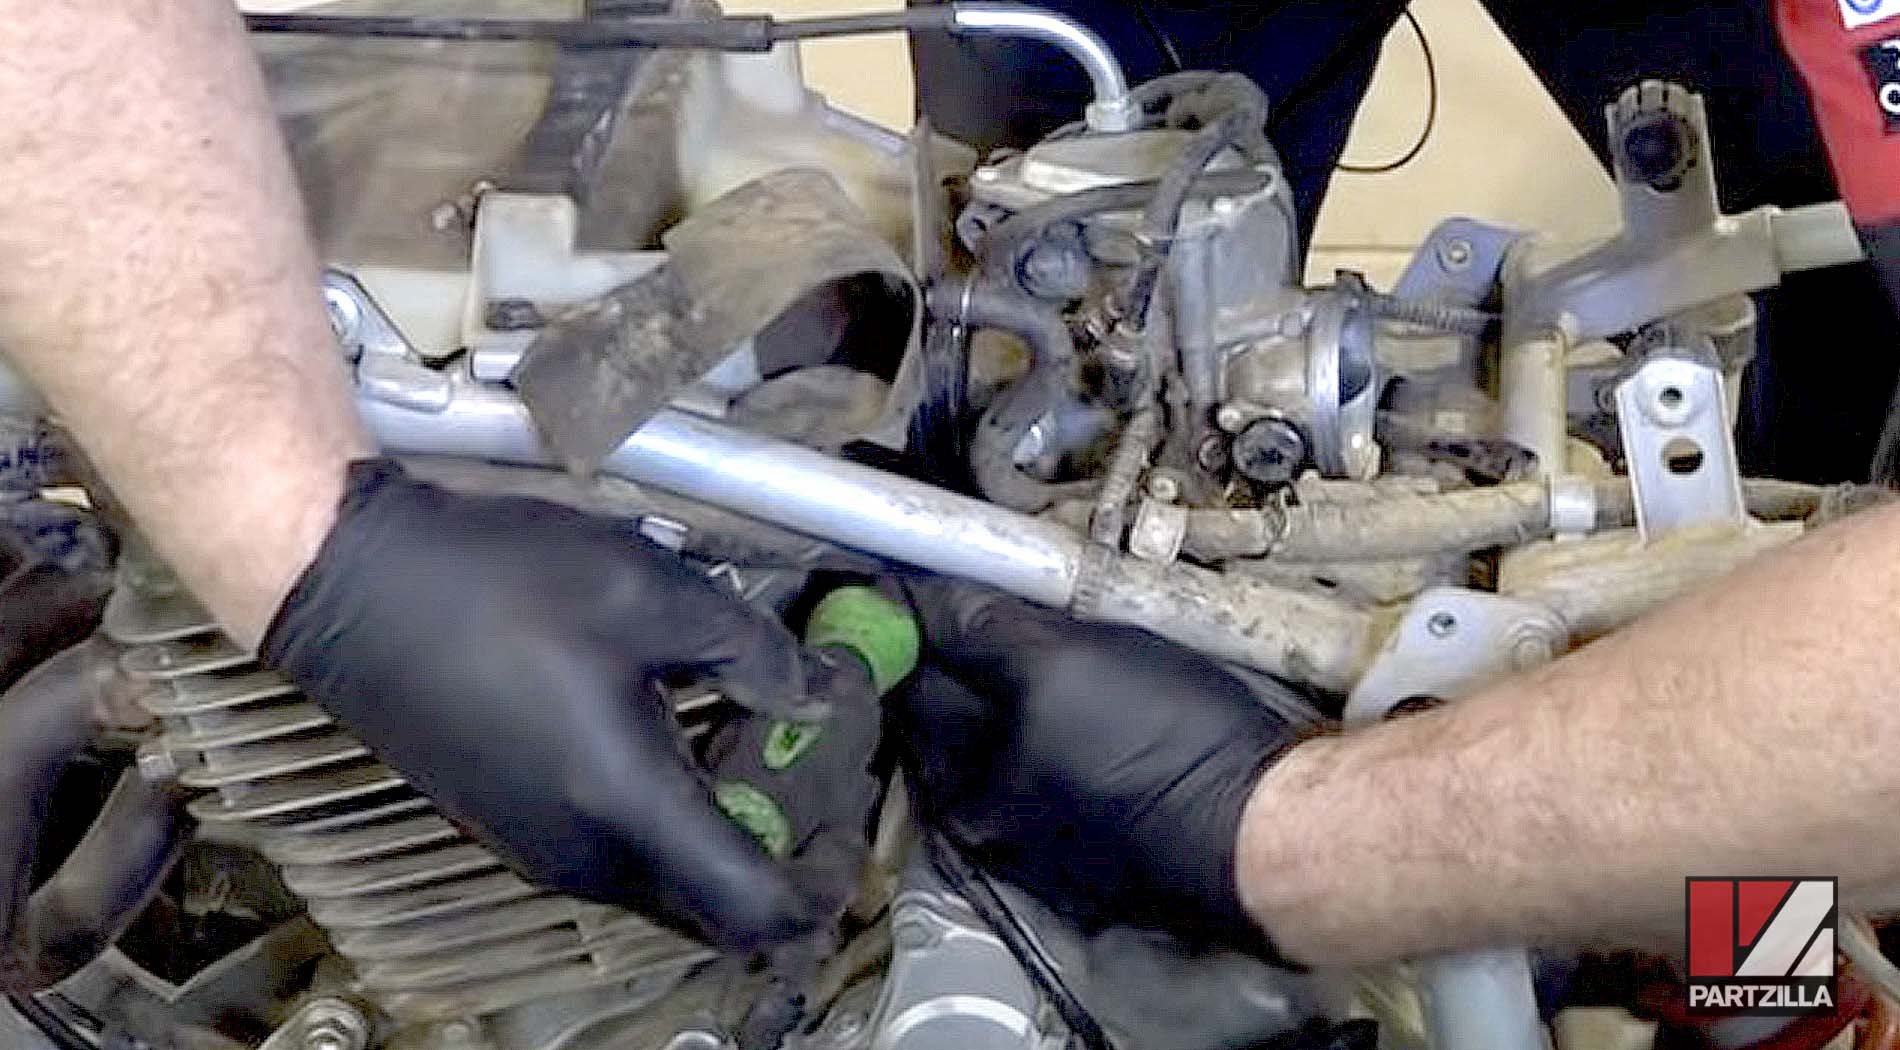
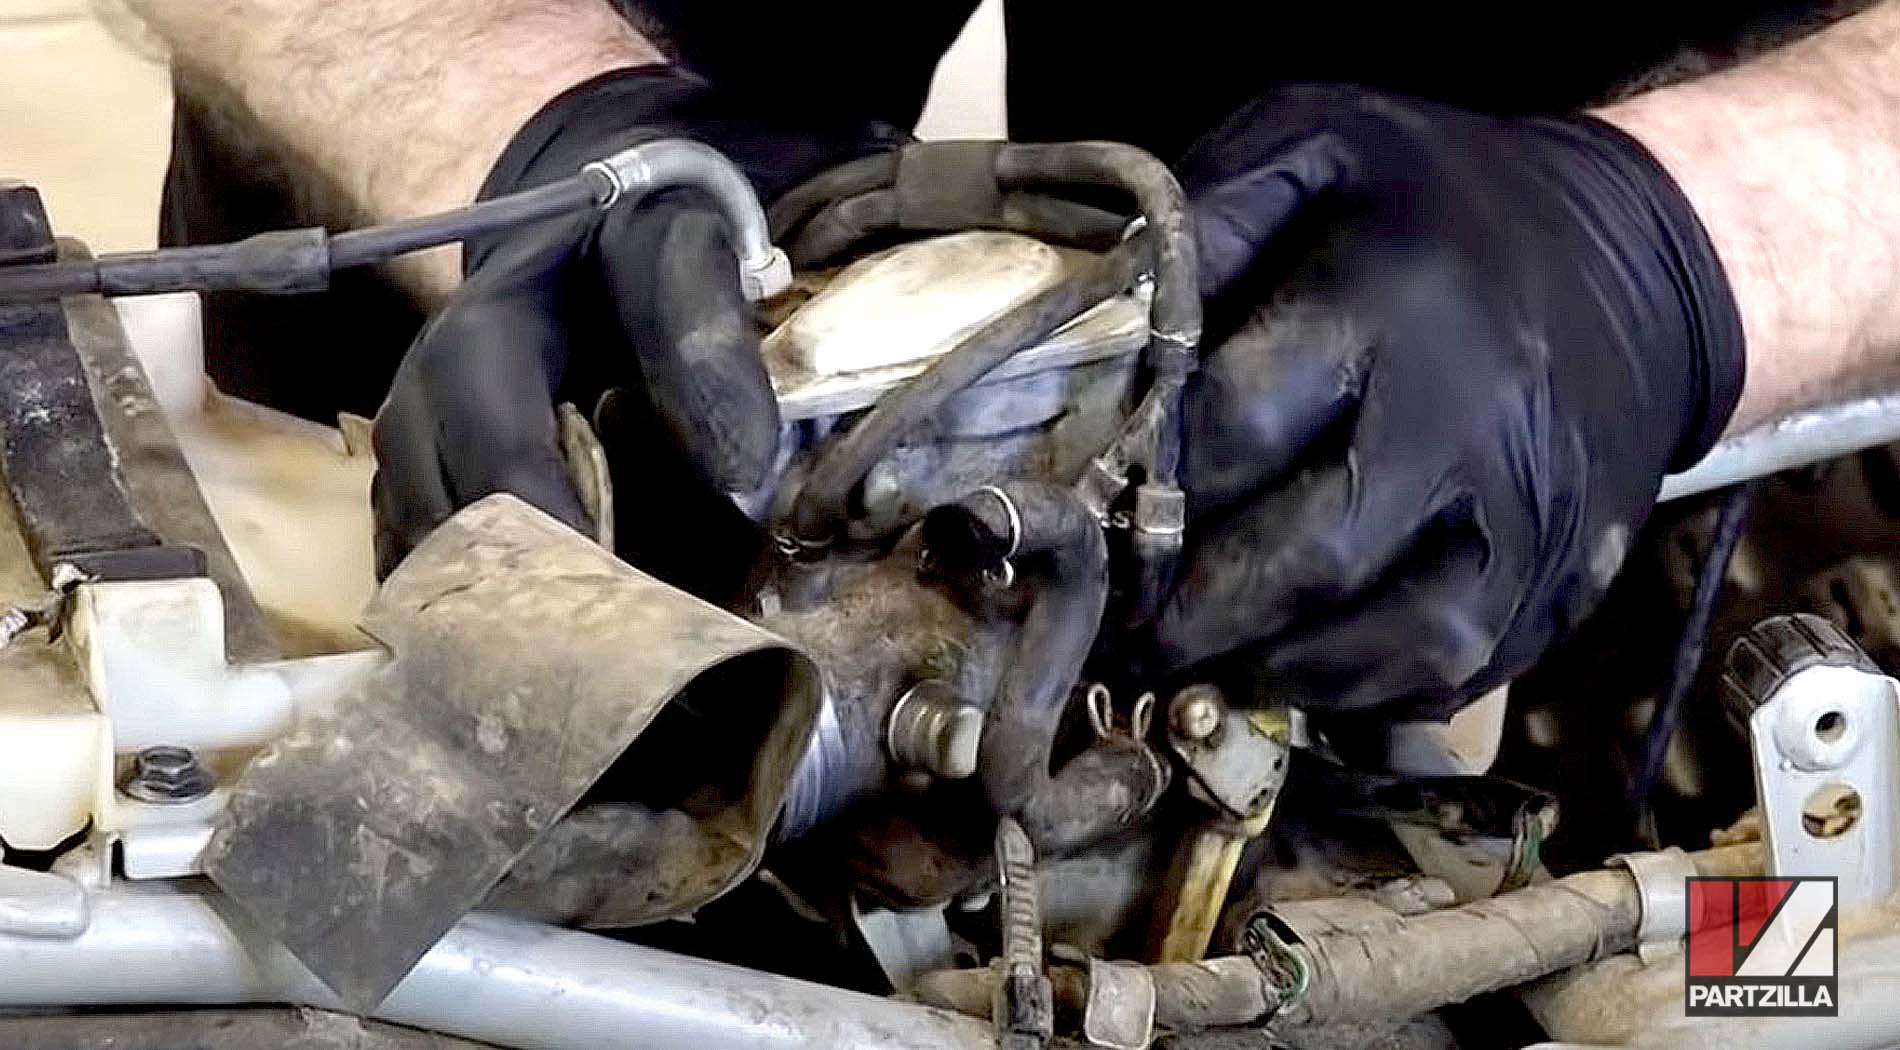
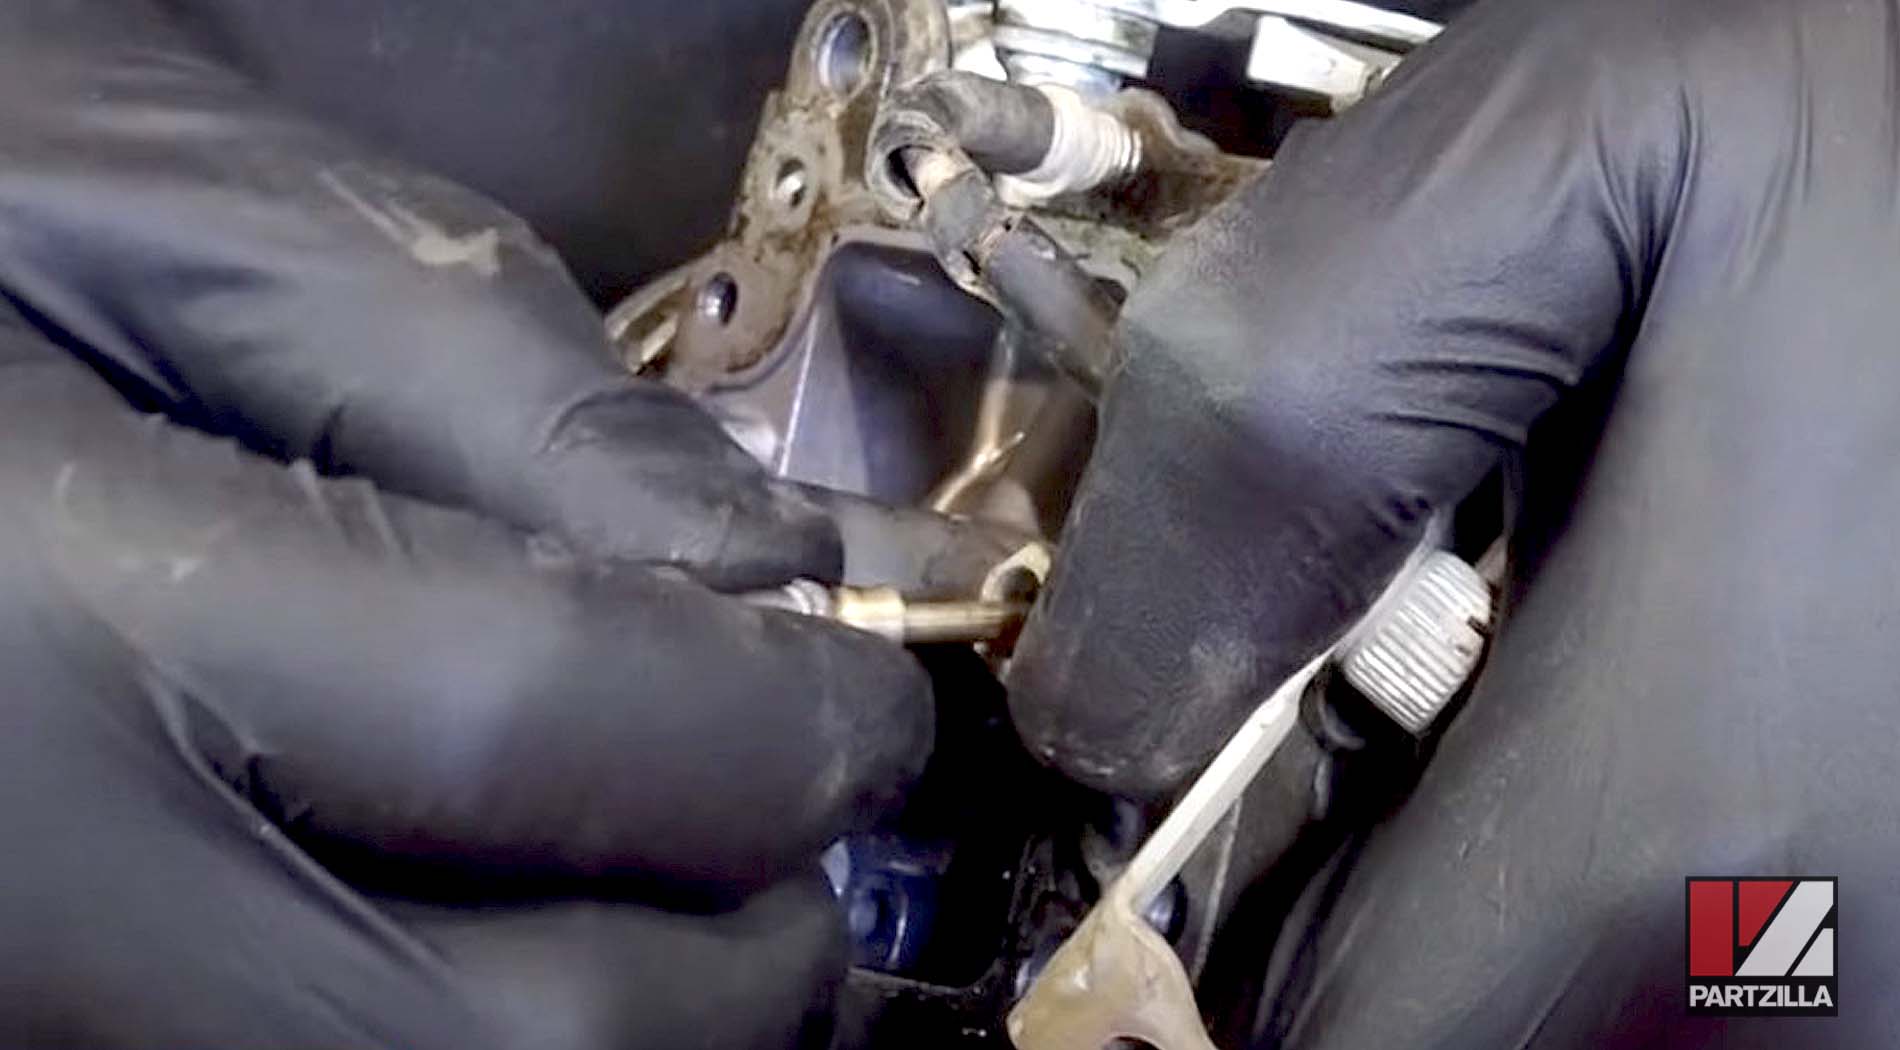
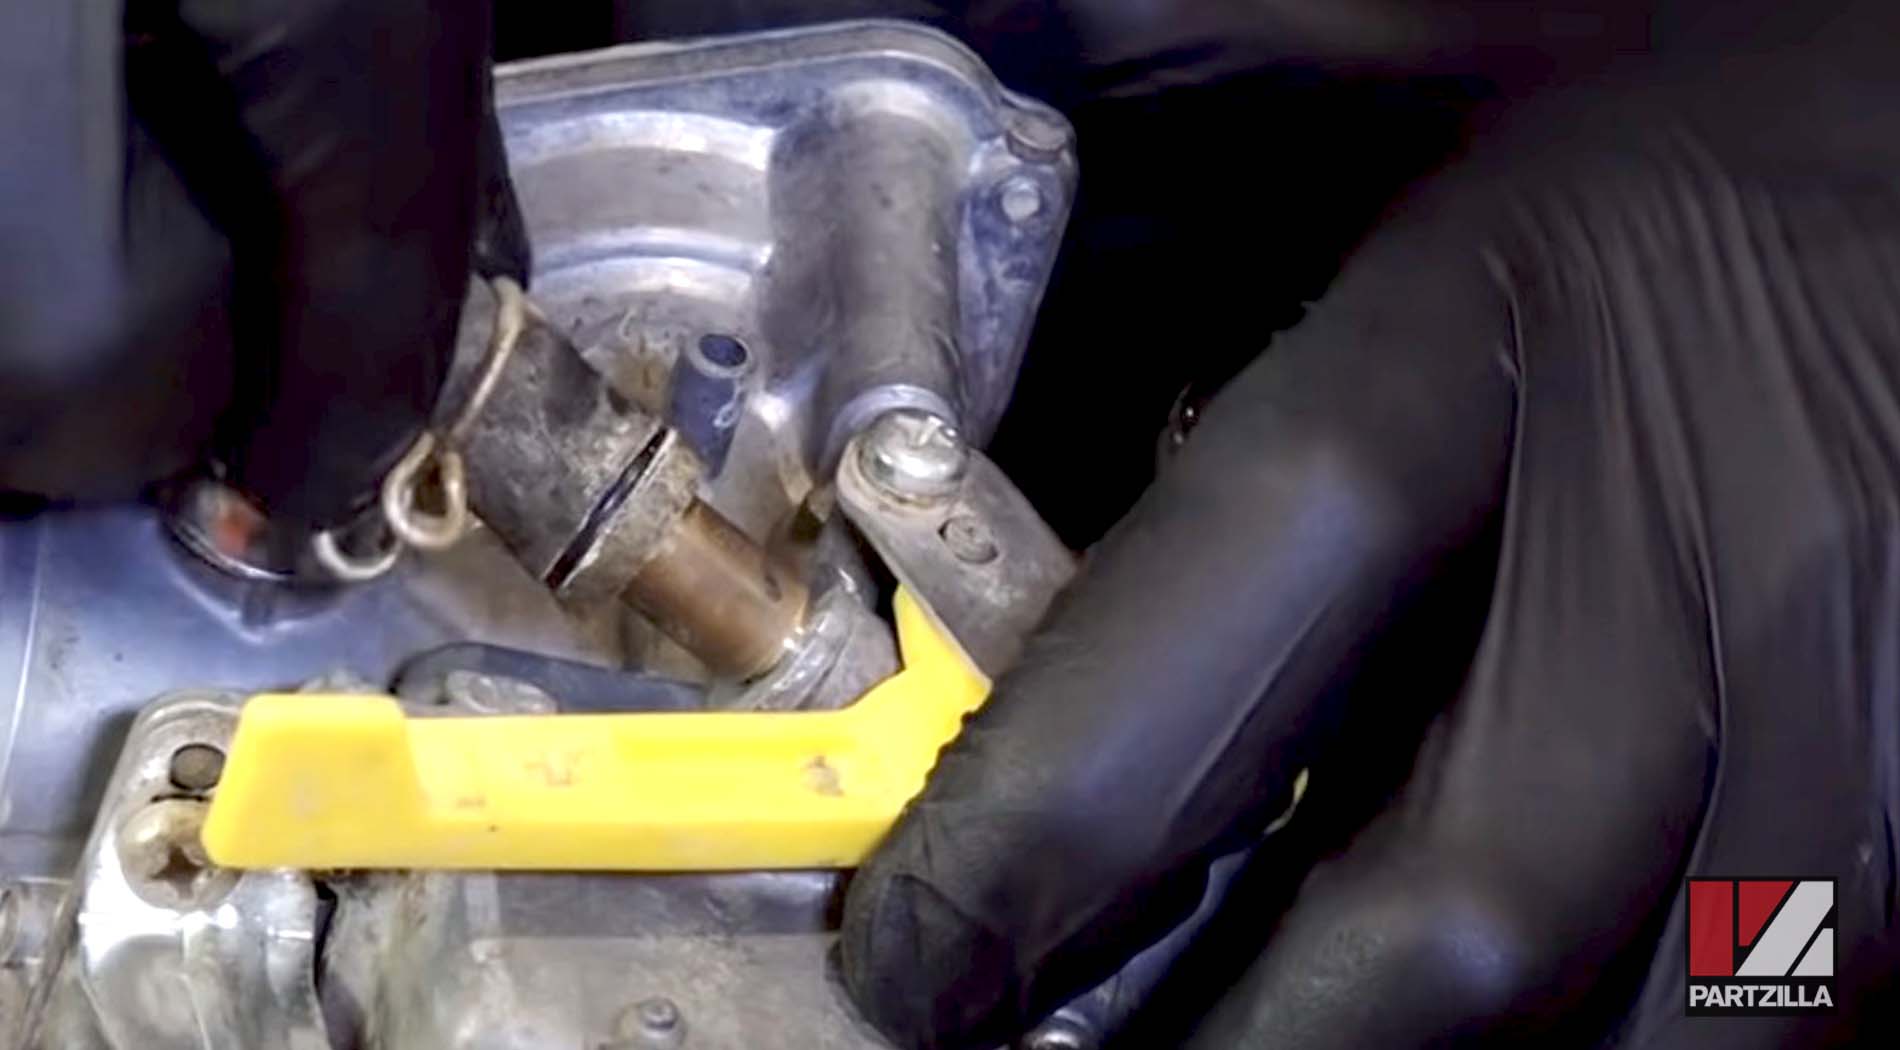
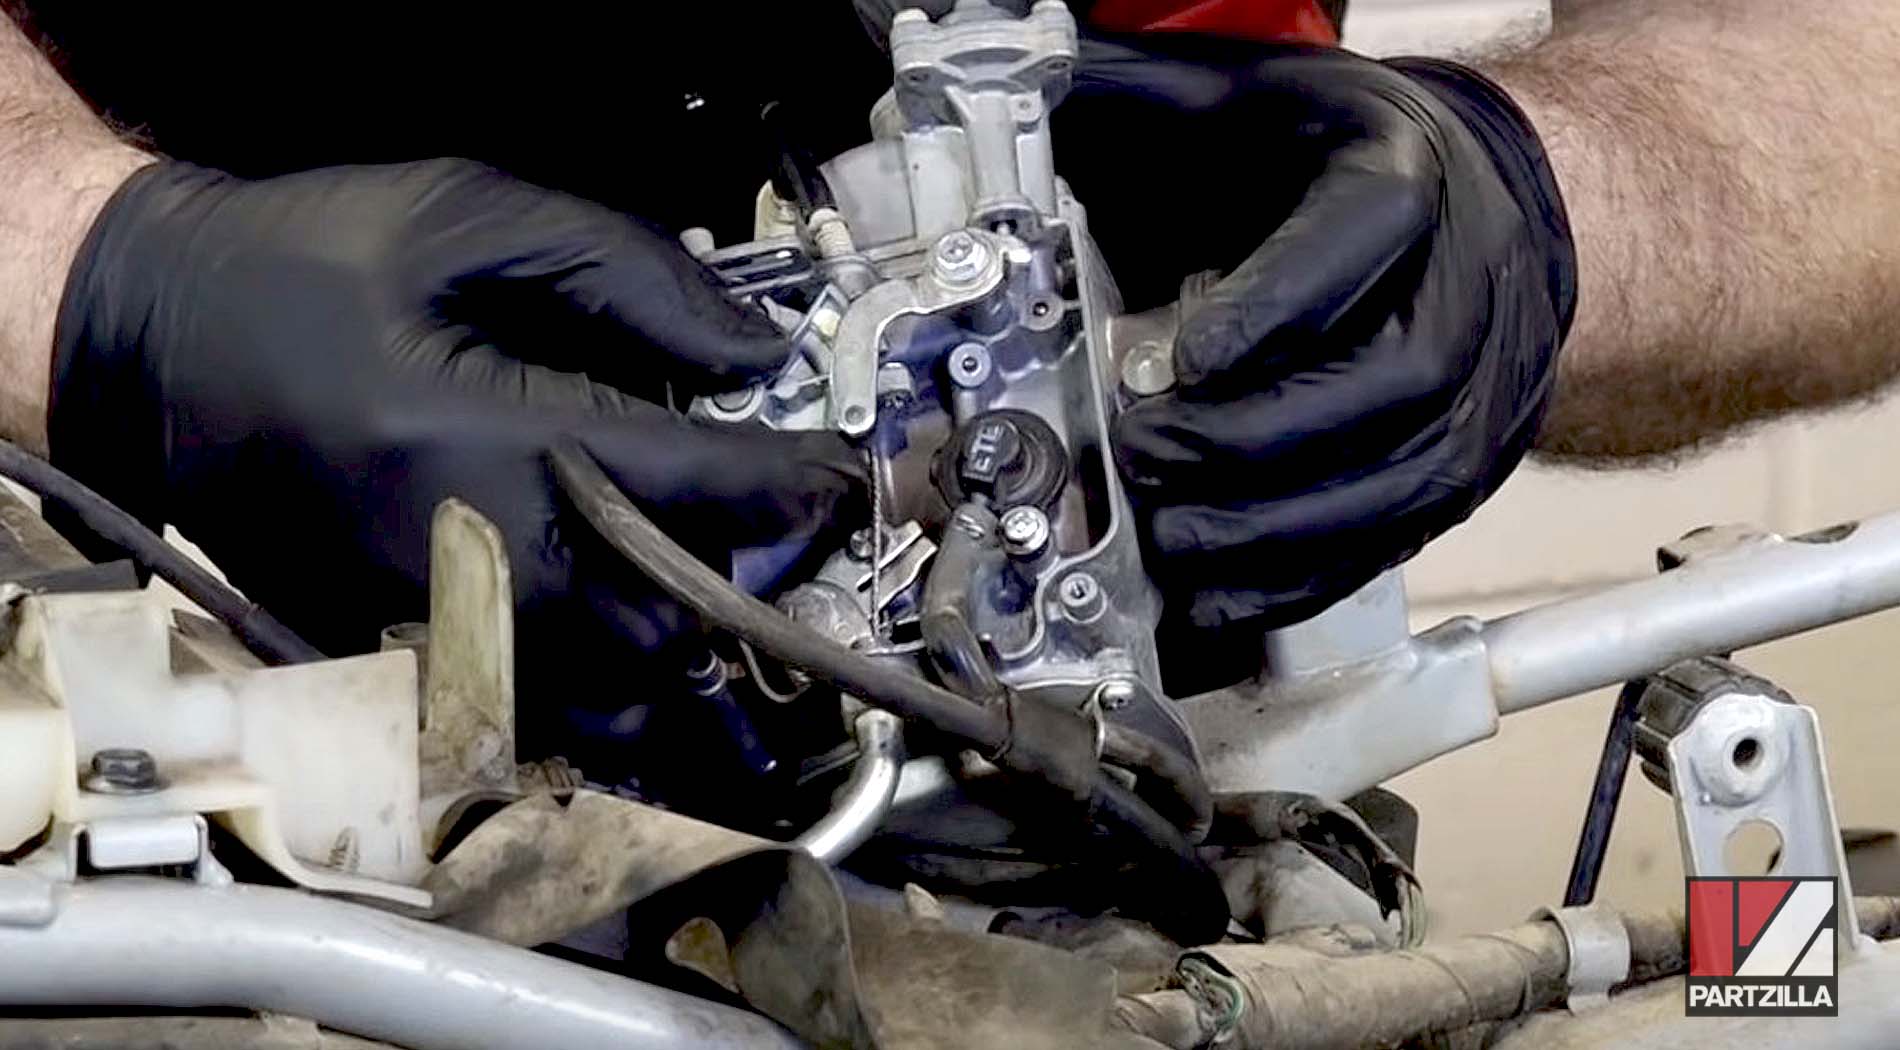
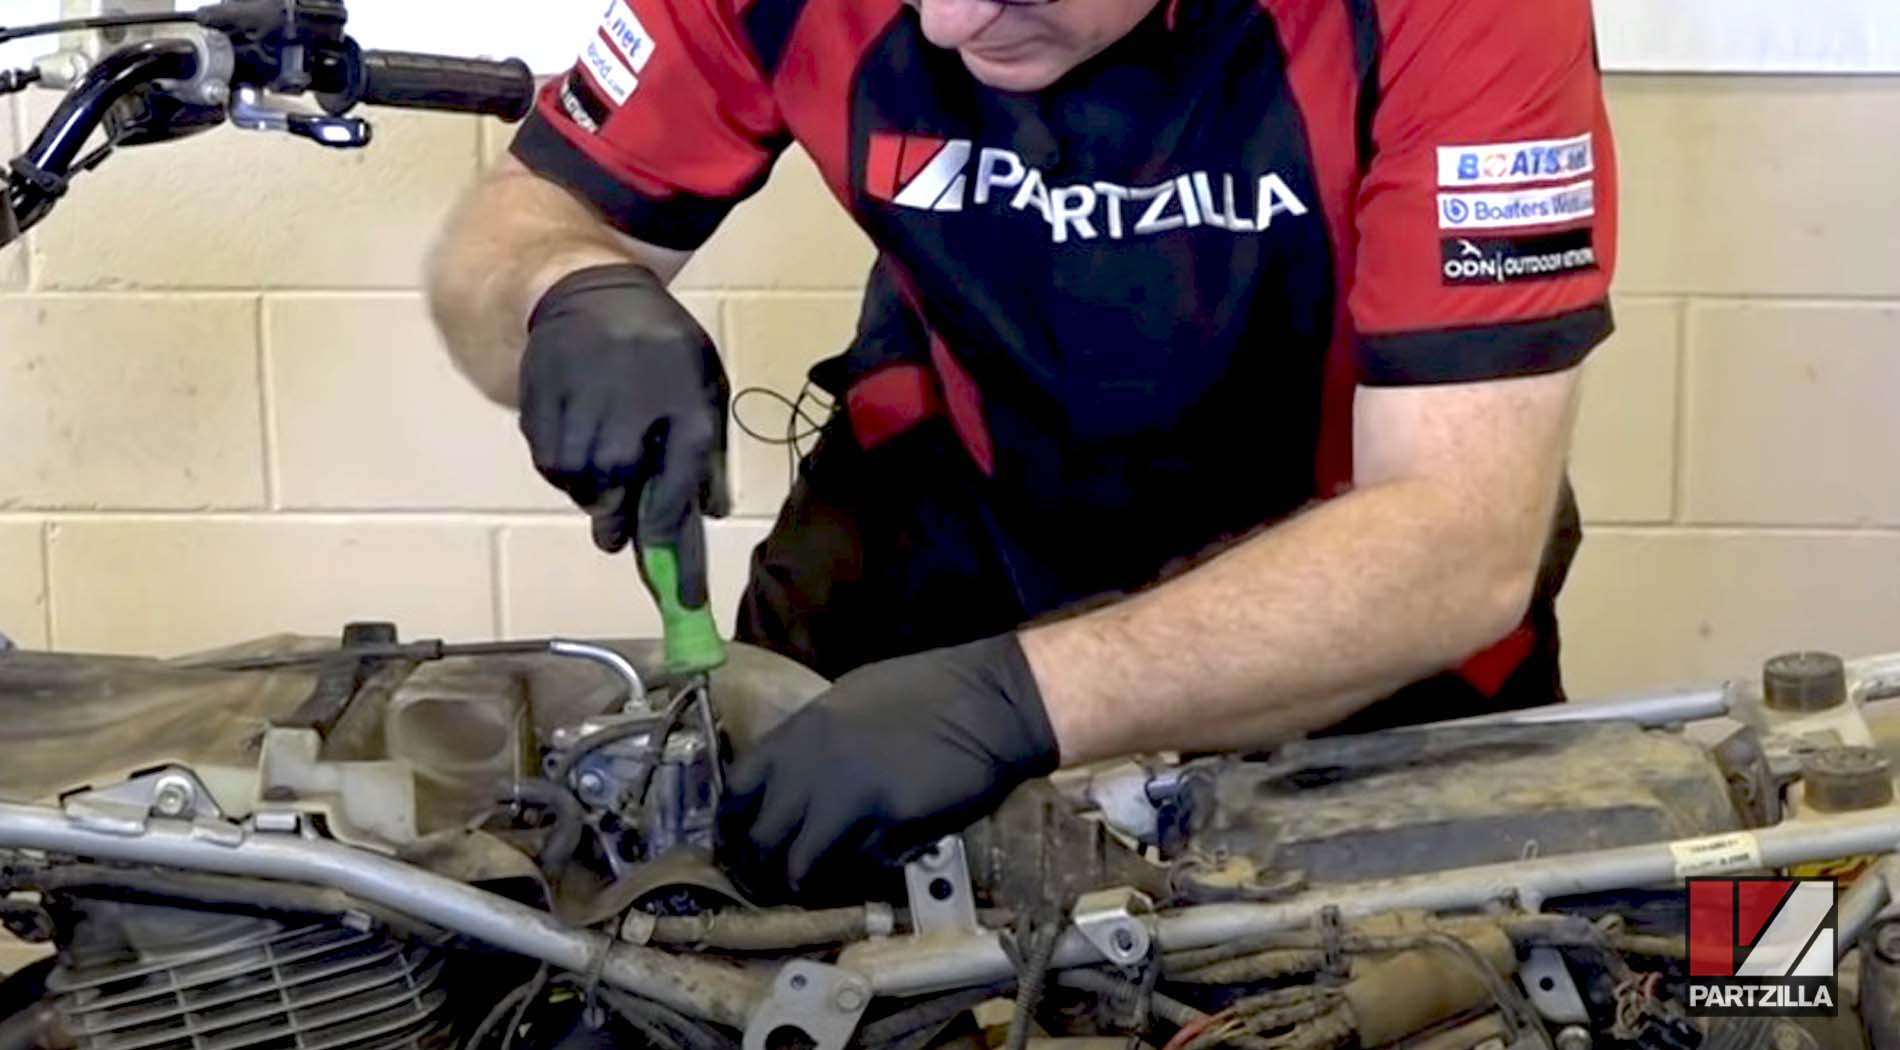
Step 3. Loosen the clamp holding the carburetor to the engine intake boot and pull the carb free.
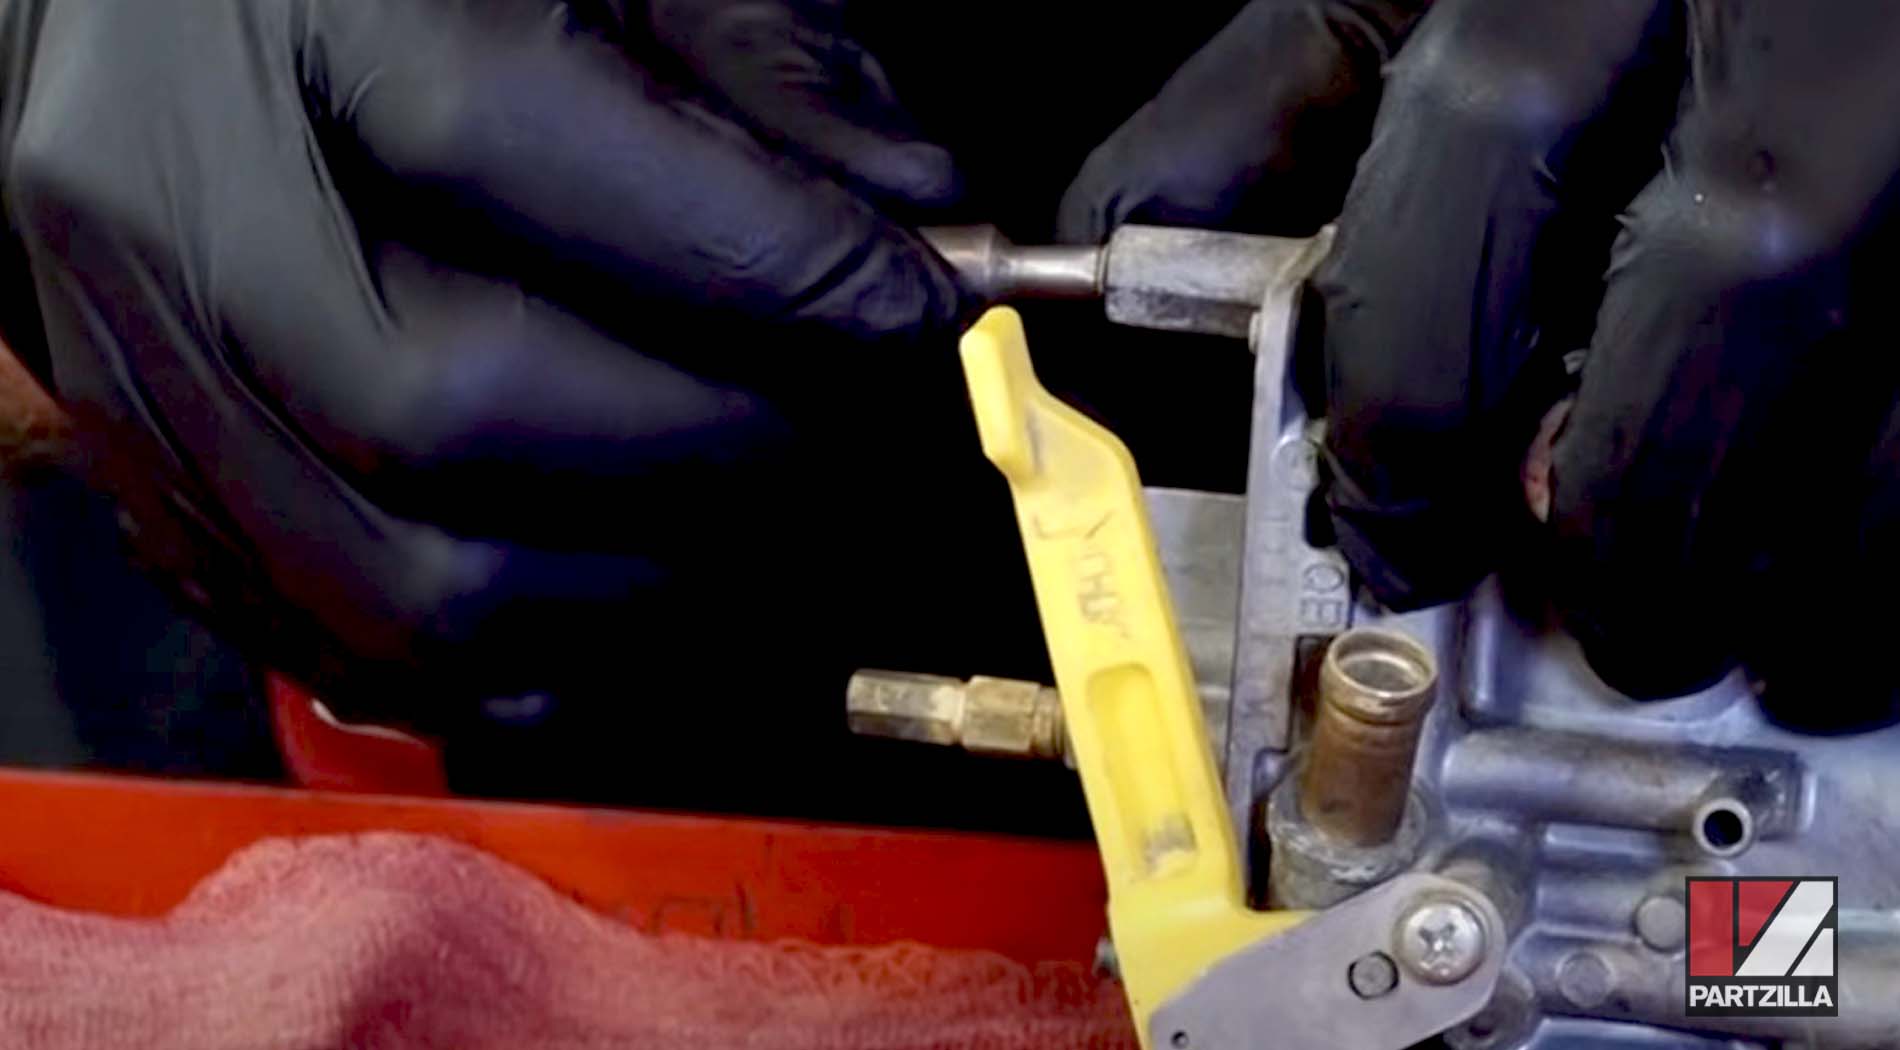
Step 4. Remove the plastic throttle cover to access the throttle linkage. Pull the end of the throttle cable from the carburetor, loosen the throttle cable pinch nut, and unscrew the throttle cable elbow from the carb.
PRO TIP: The screws in a carburetor often get stuck in place from years of exposure to the elements. If this happens, use an impact driver to break them free without stripping the screw heads.
Watch the carb removal segment of our Honda TRX 400EX carburetor clean video below.
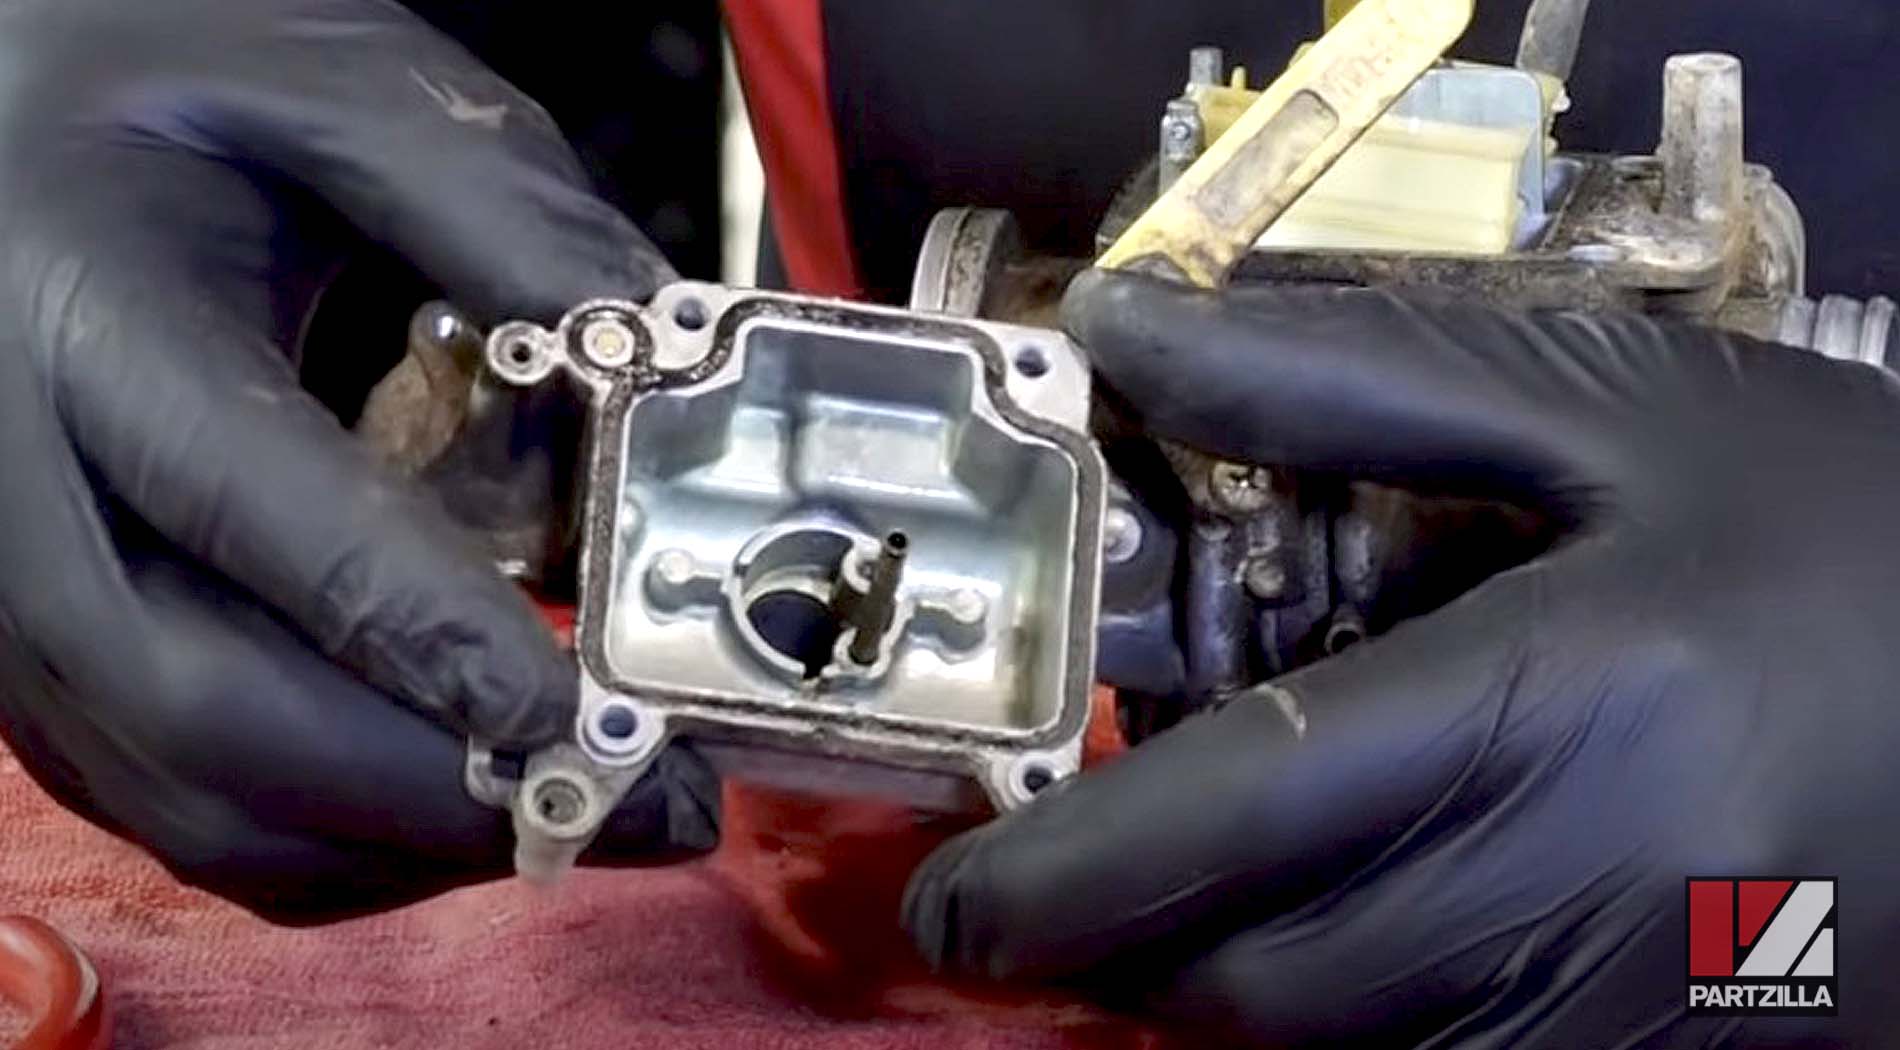
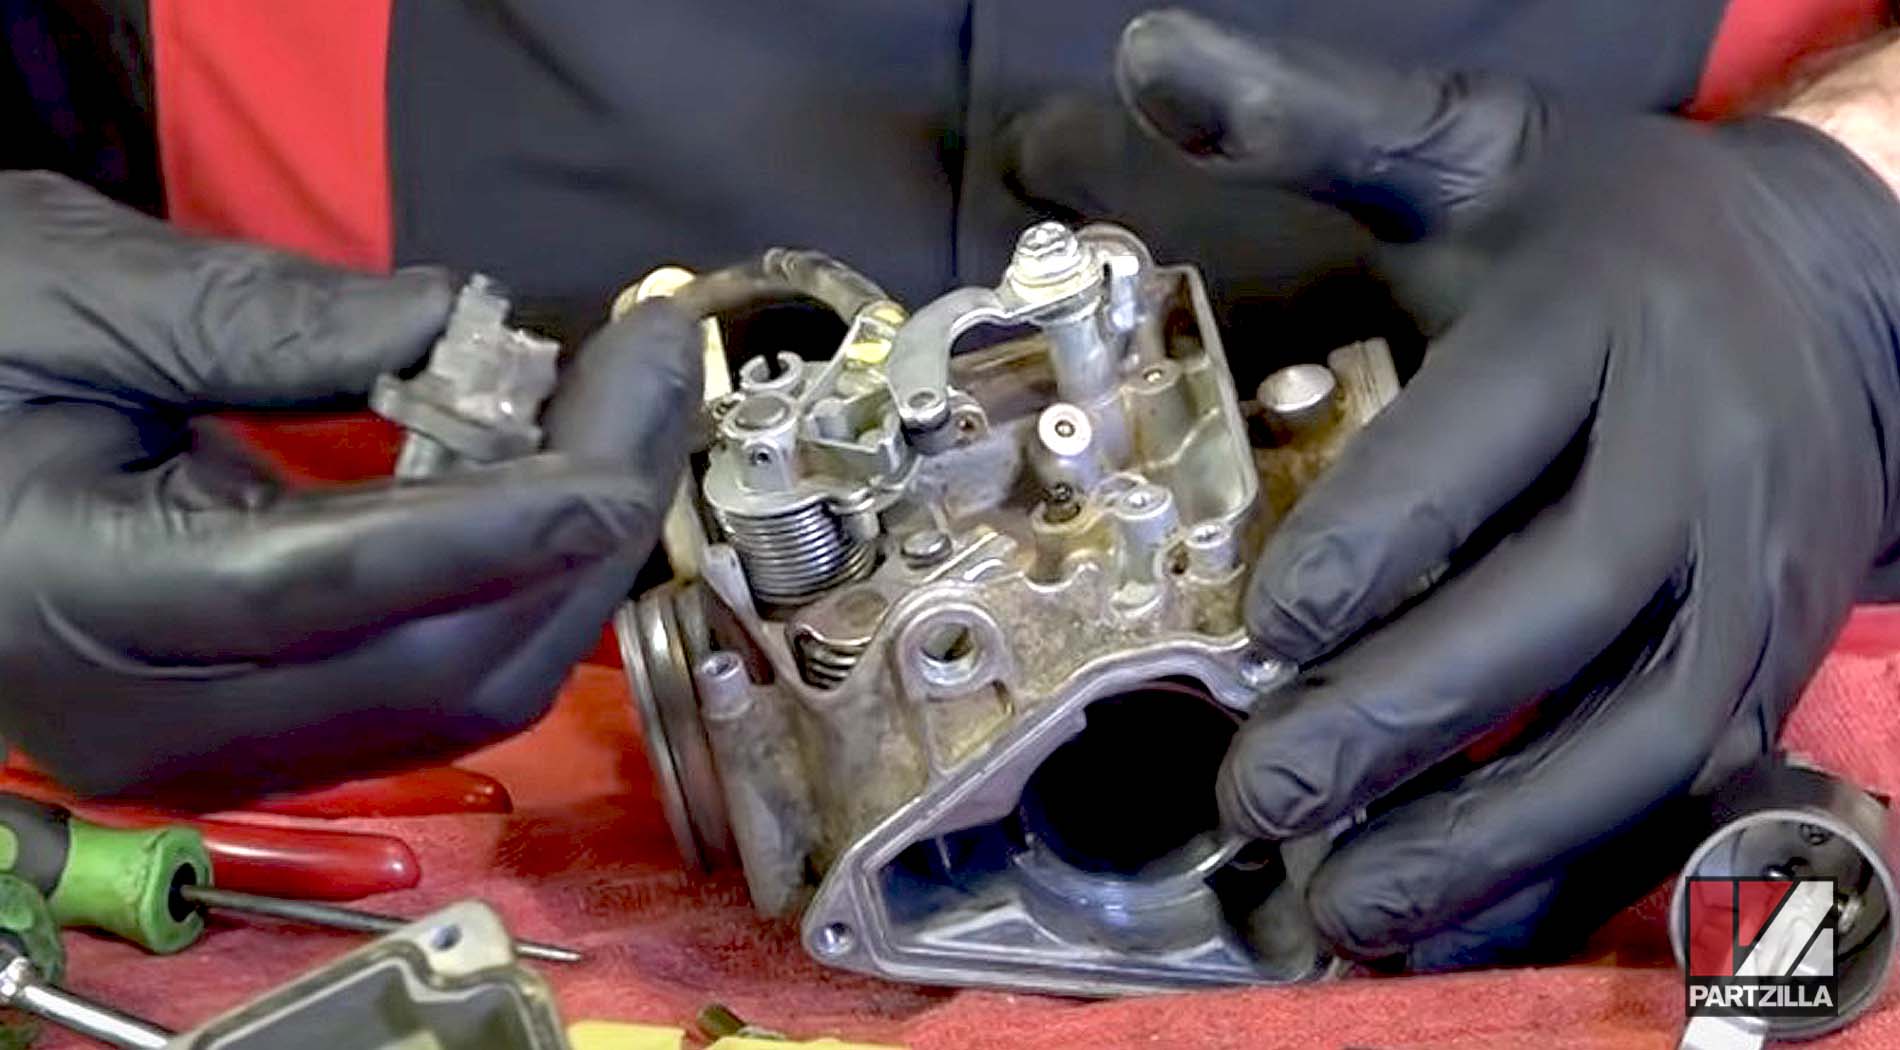
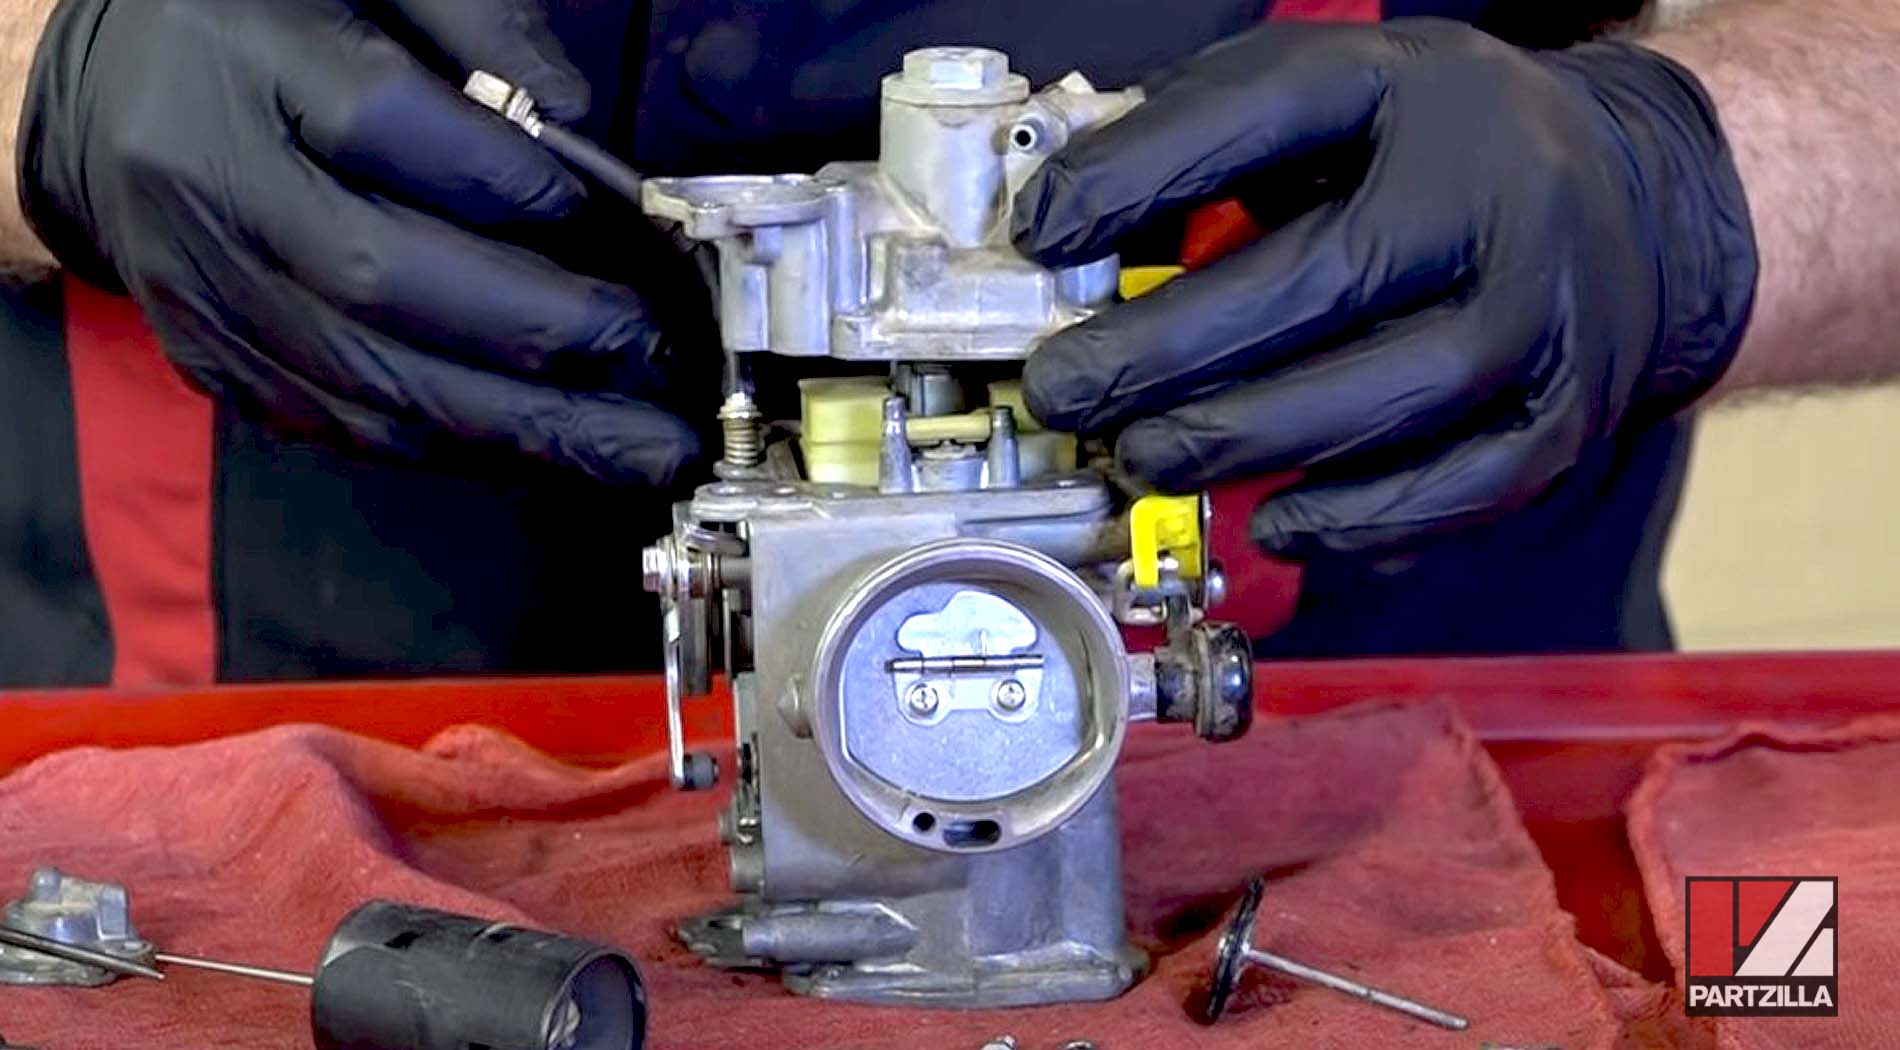
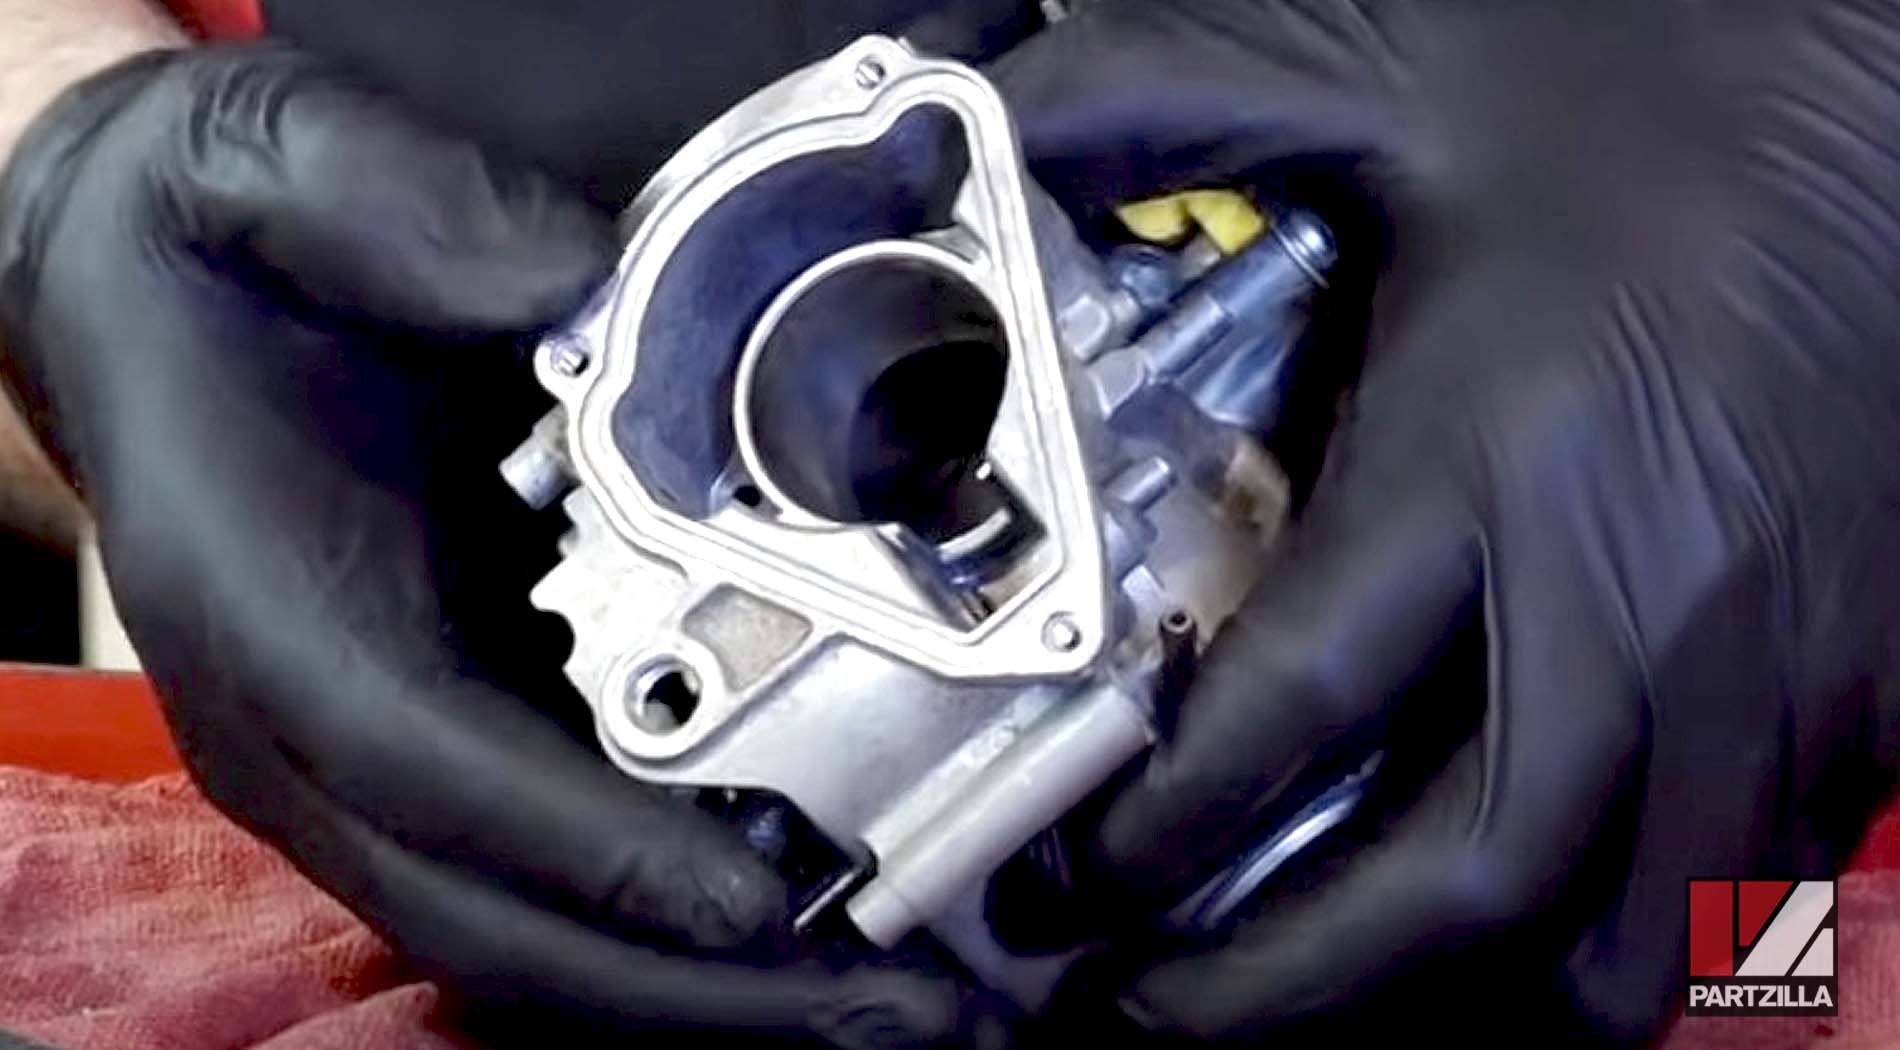
Dismantling Honda TRX 400EX Carburetor
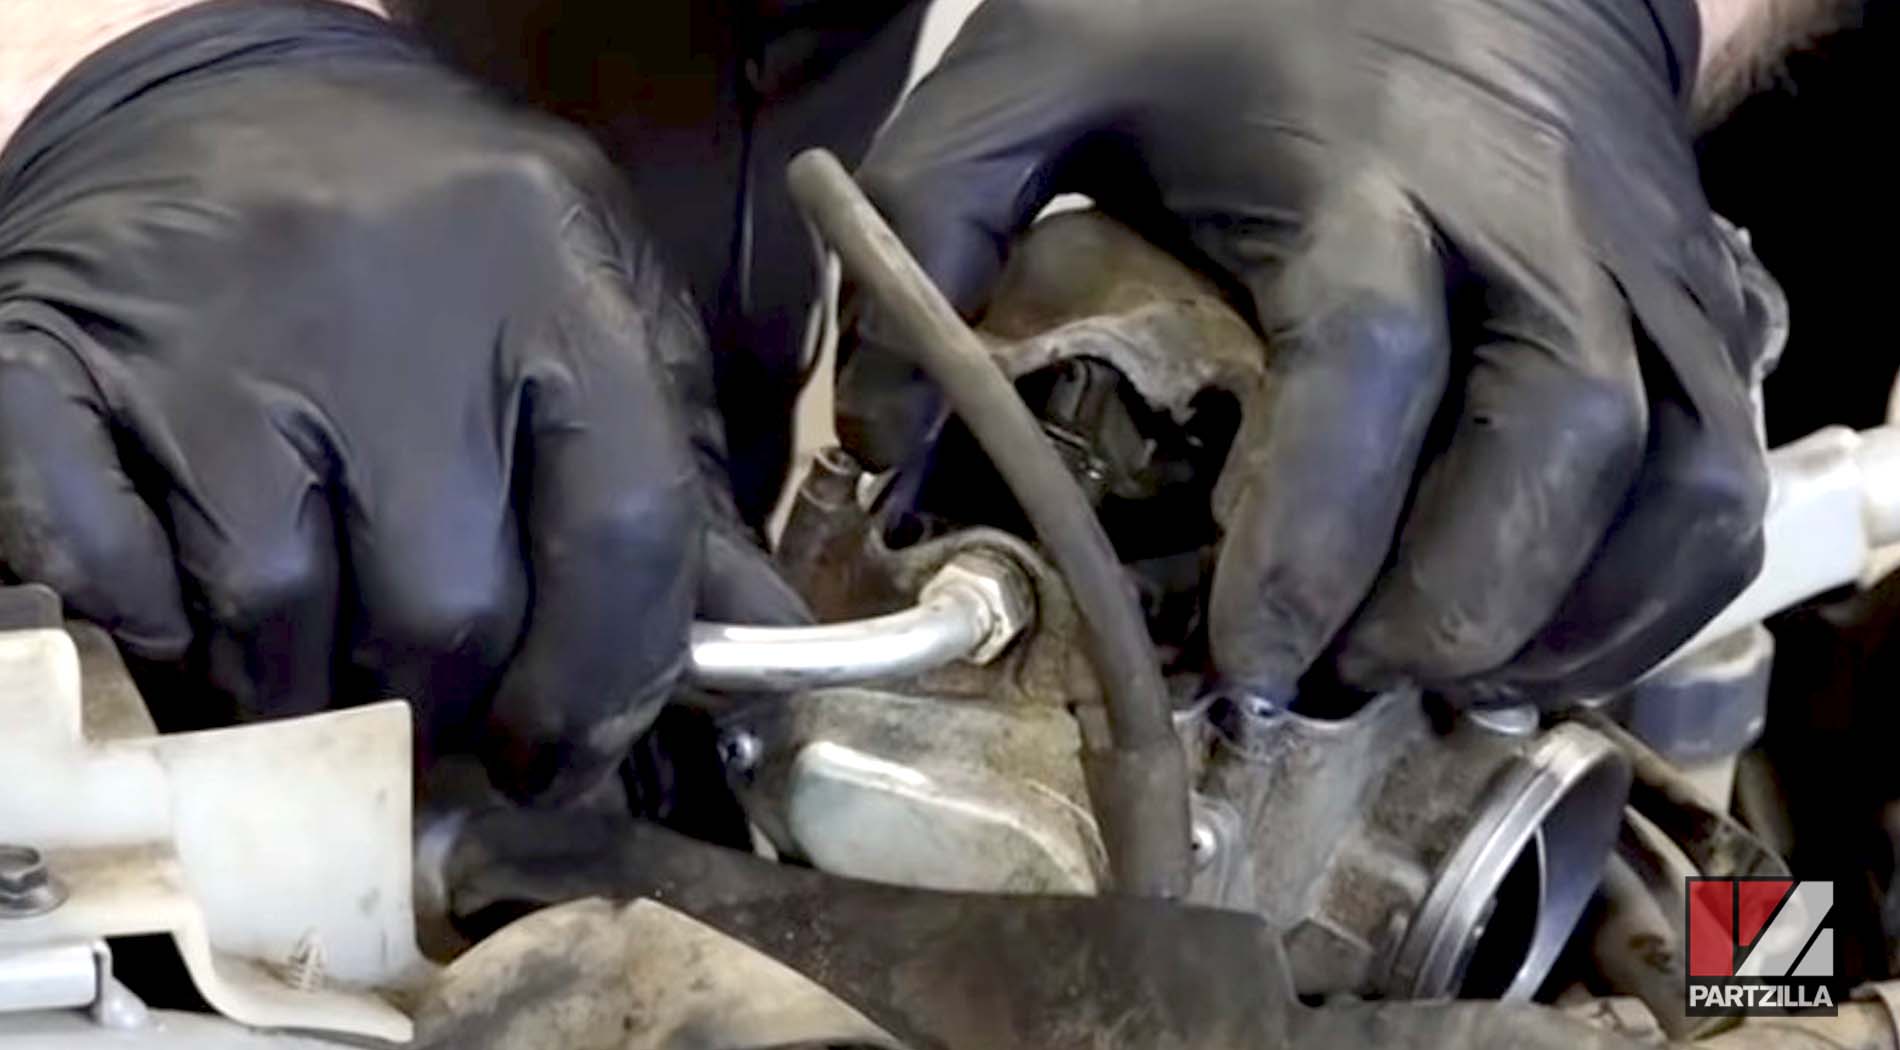
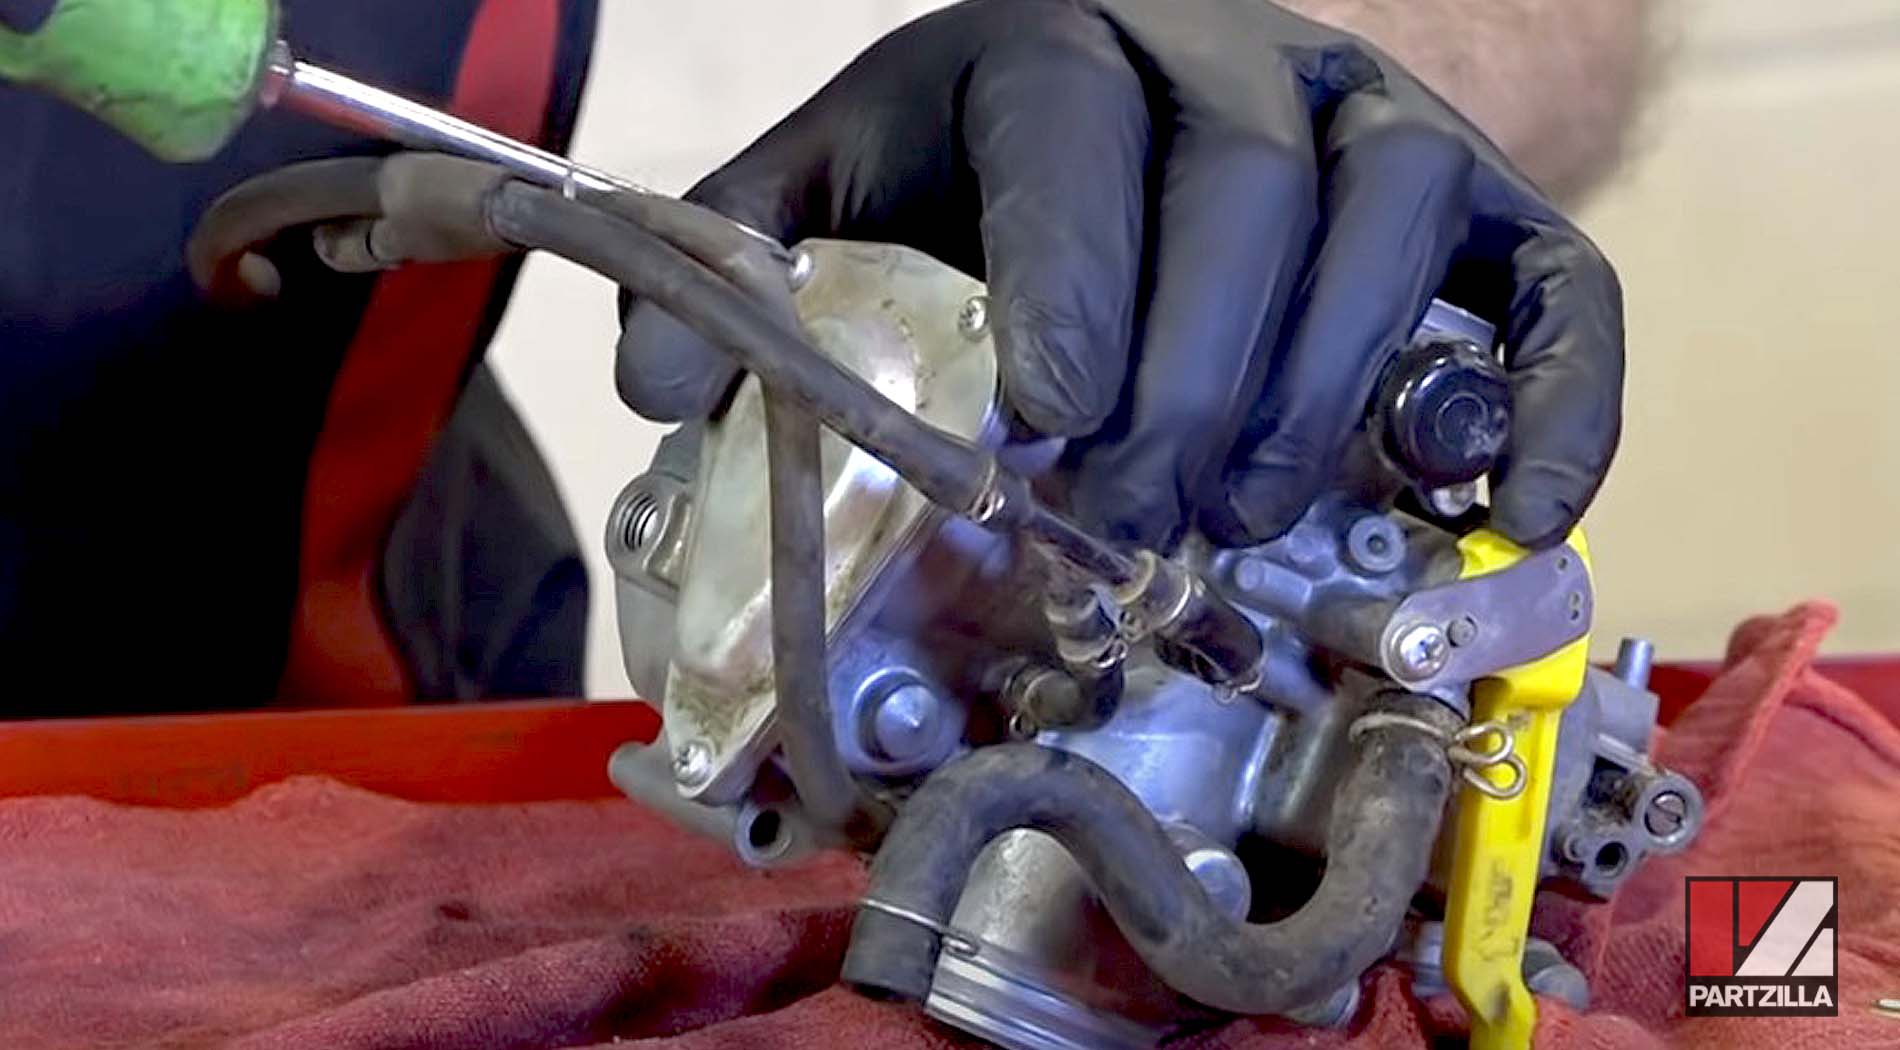
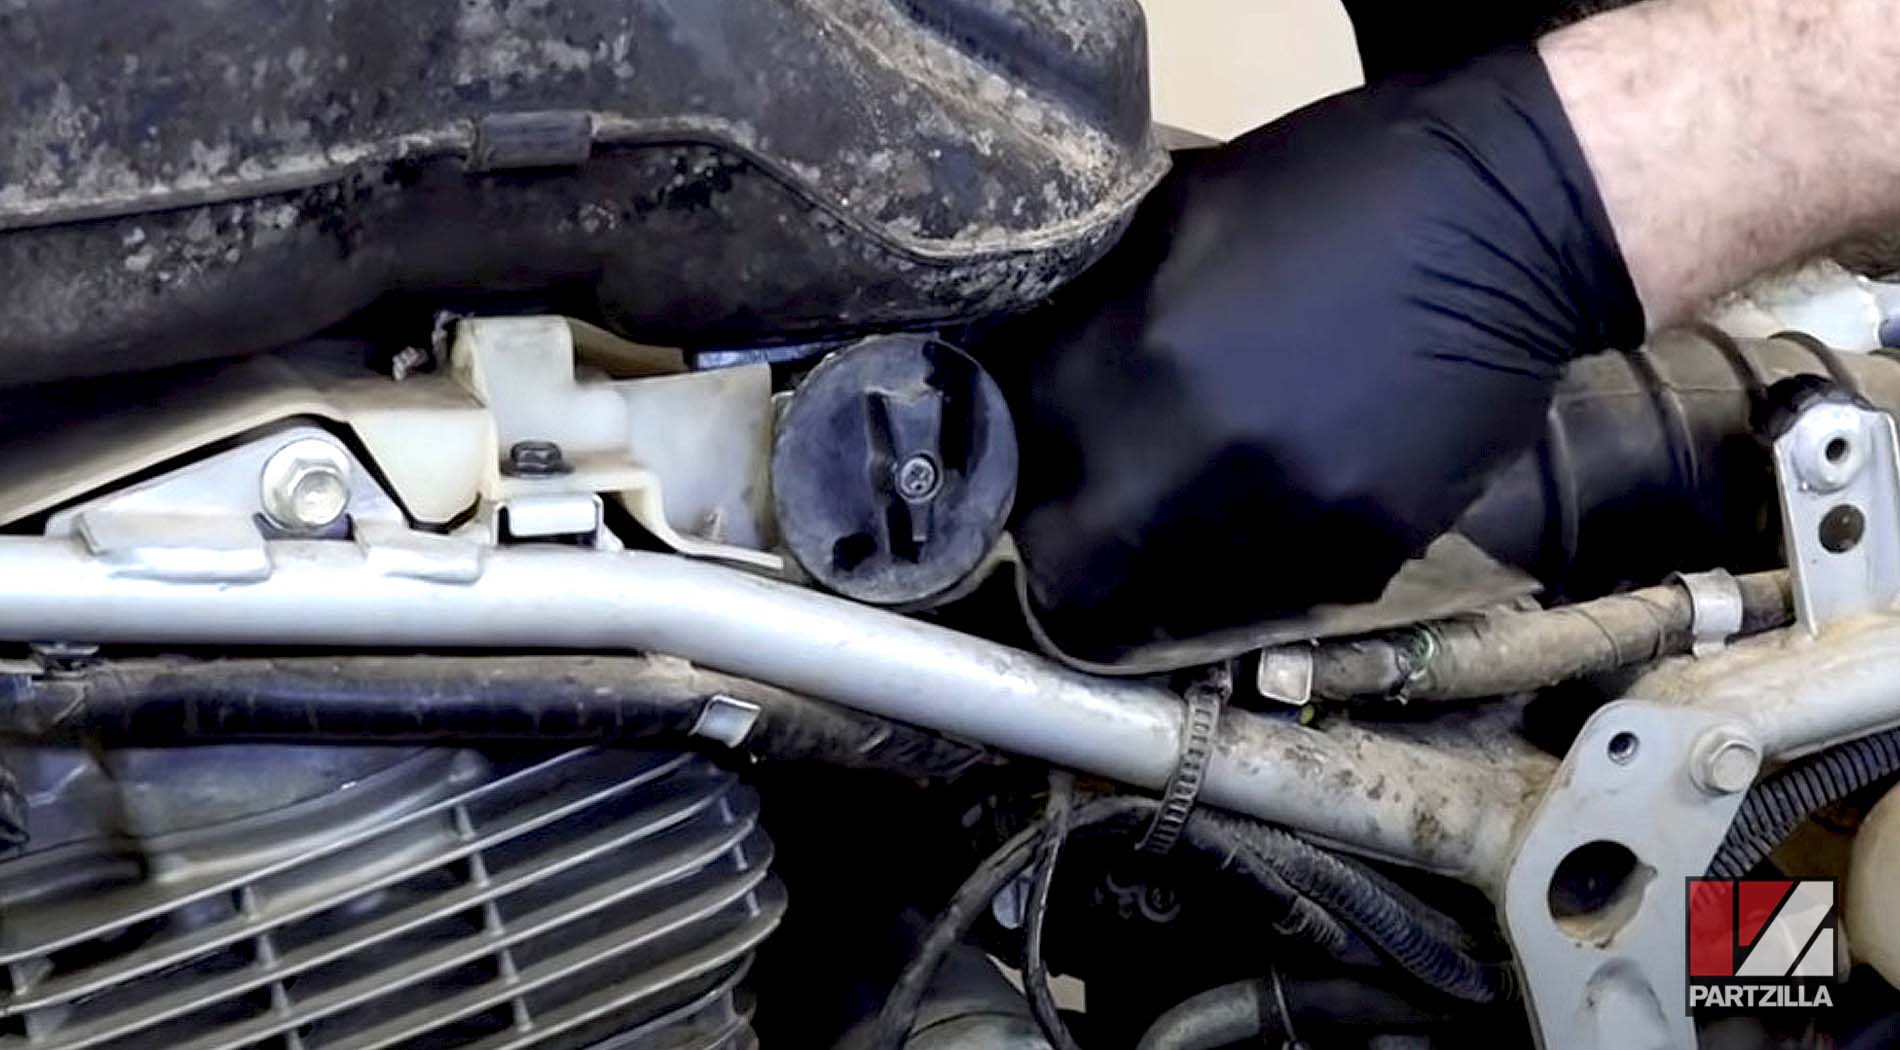
Step 1. Remove all the hoses, inspect them for cracks or splits, and replace them if necessary.
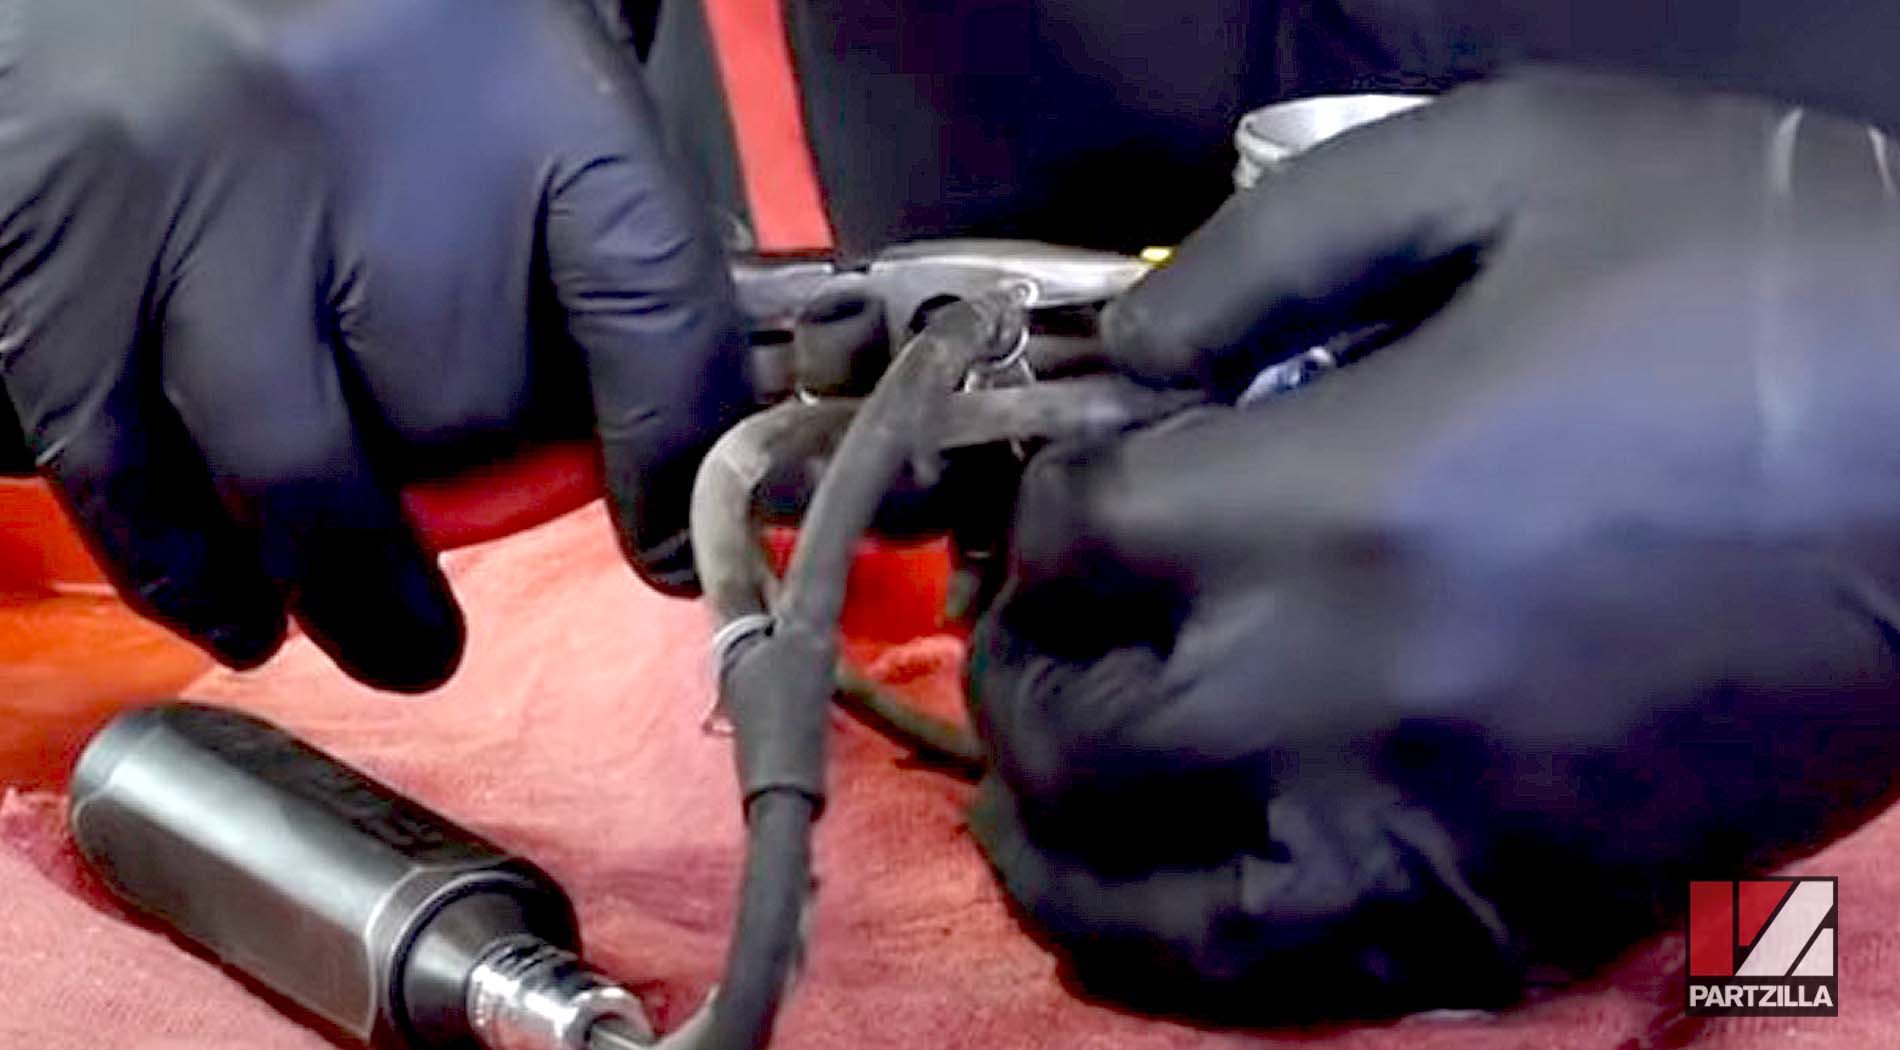
PRO TIP: Label the hoses as you remove them so you know exactly which hose goes where when you reassemble the carb.
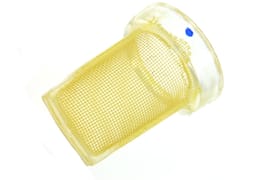
Step 2. Remove the fuel strainer screen from the fuel intake tube. Clean the screen thoroughly, then set it aside until it’s ready for reinstallation when you rebuild the carb.
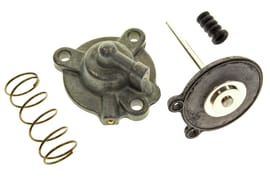
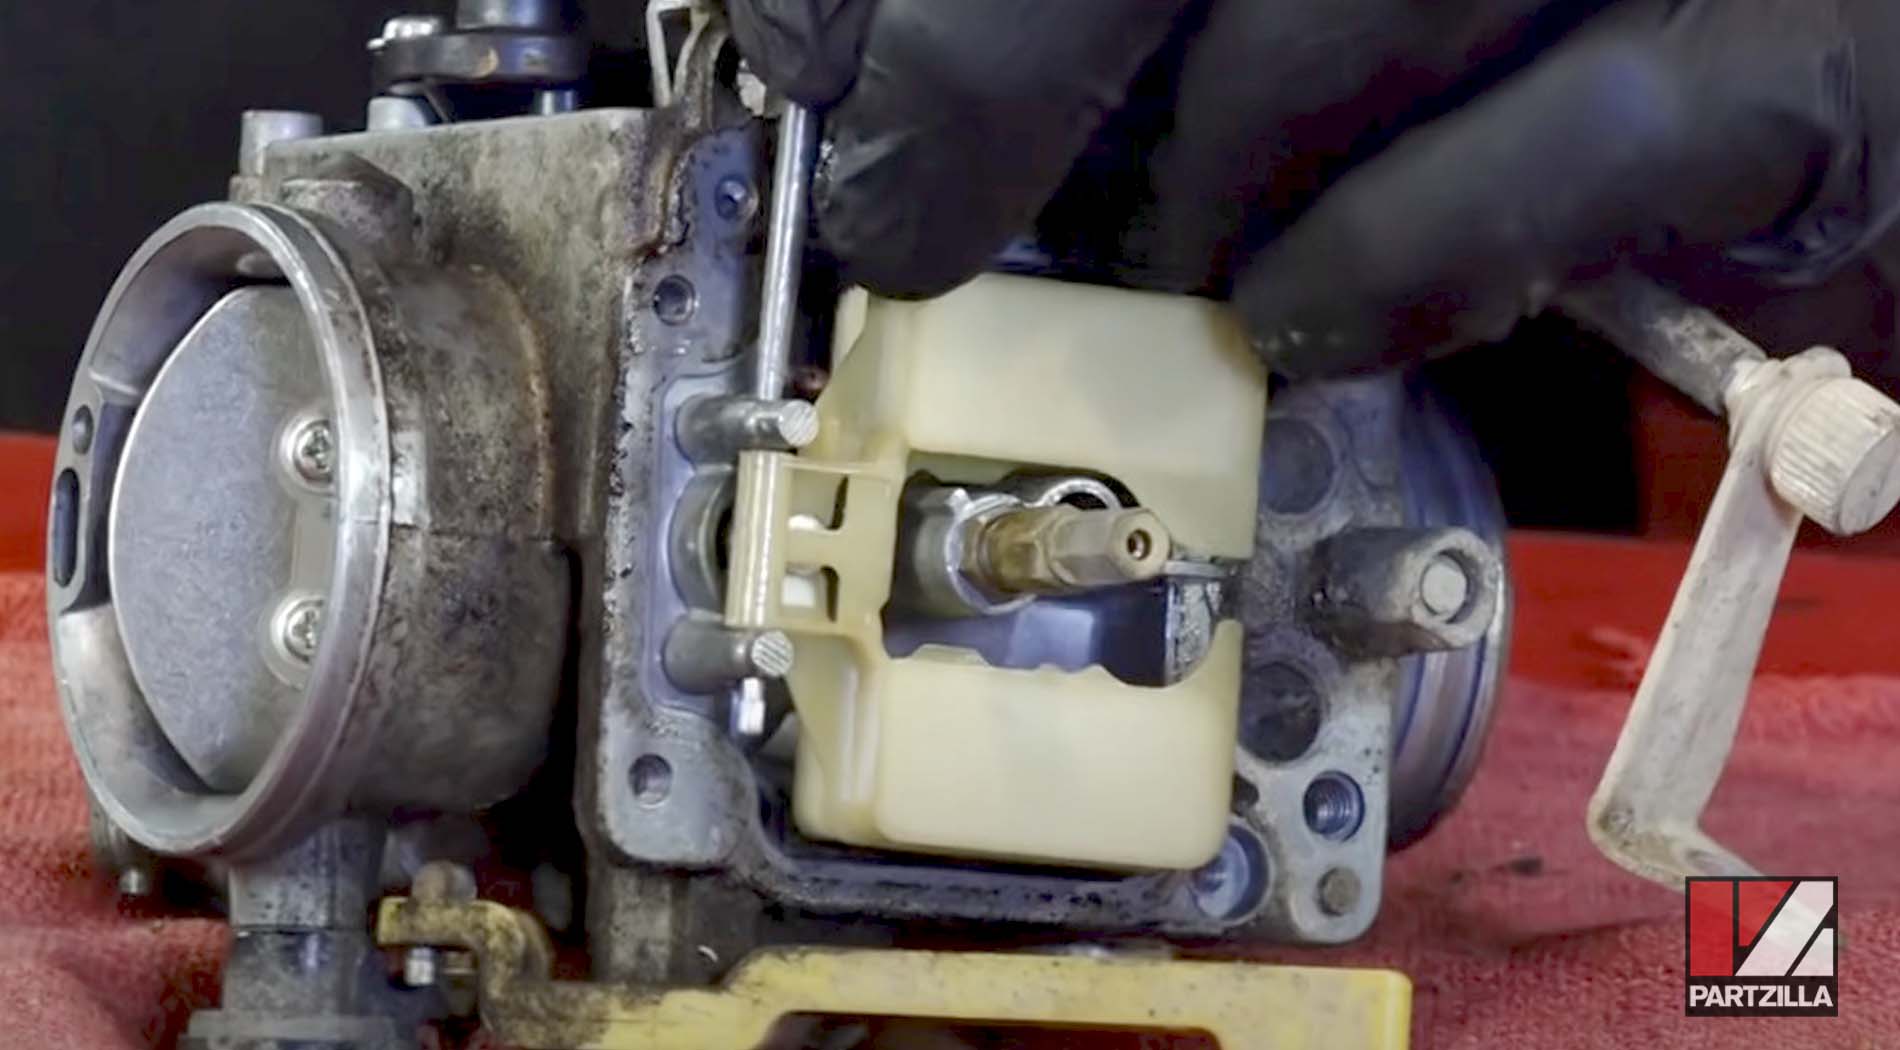
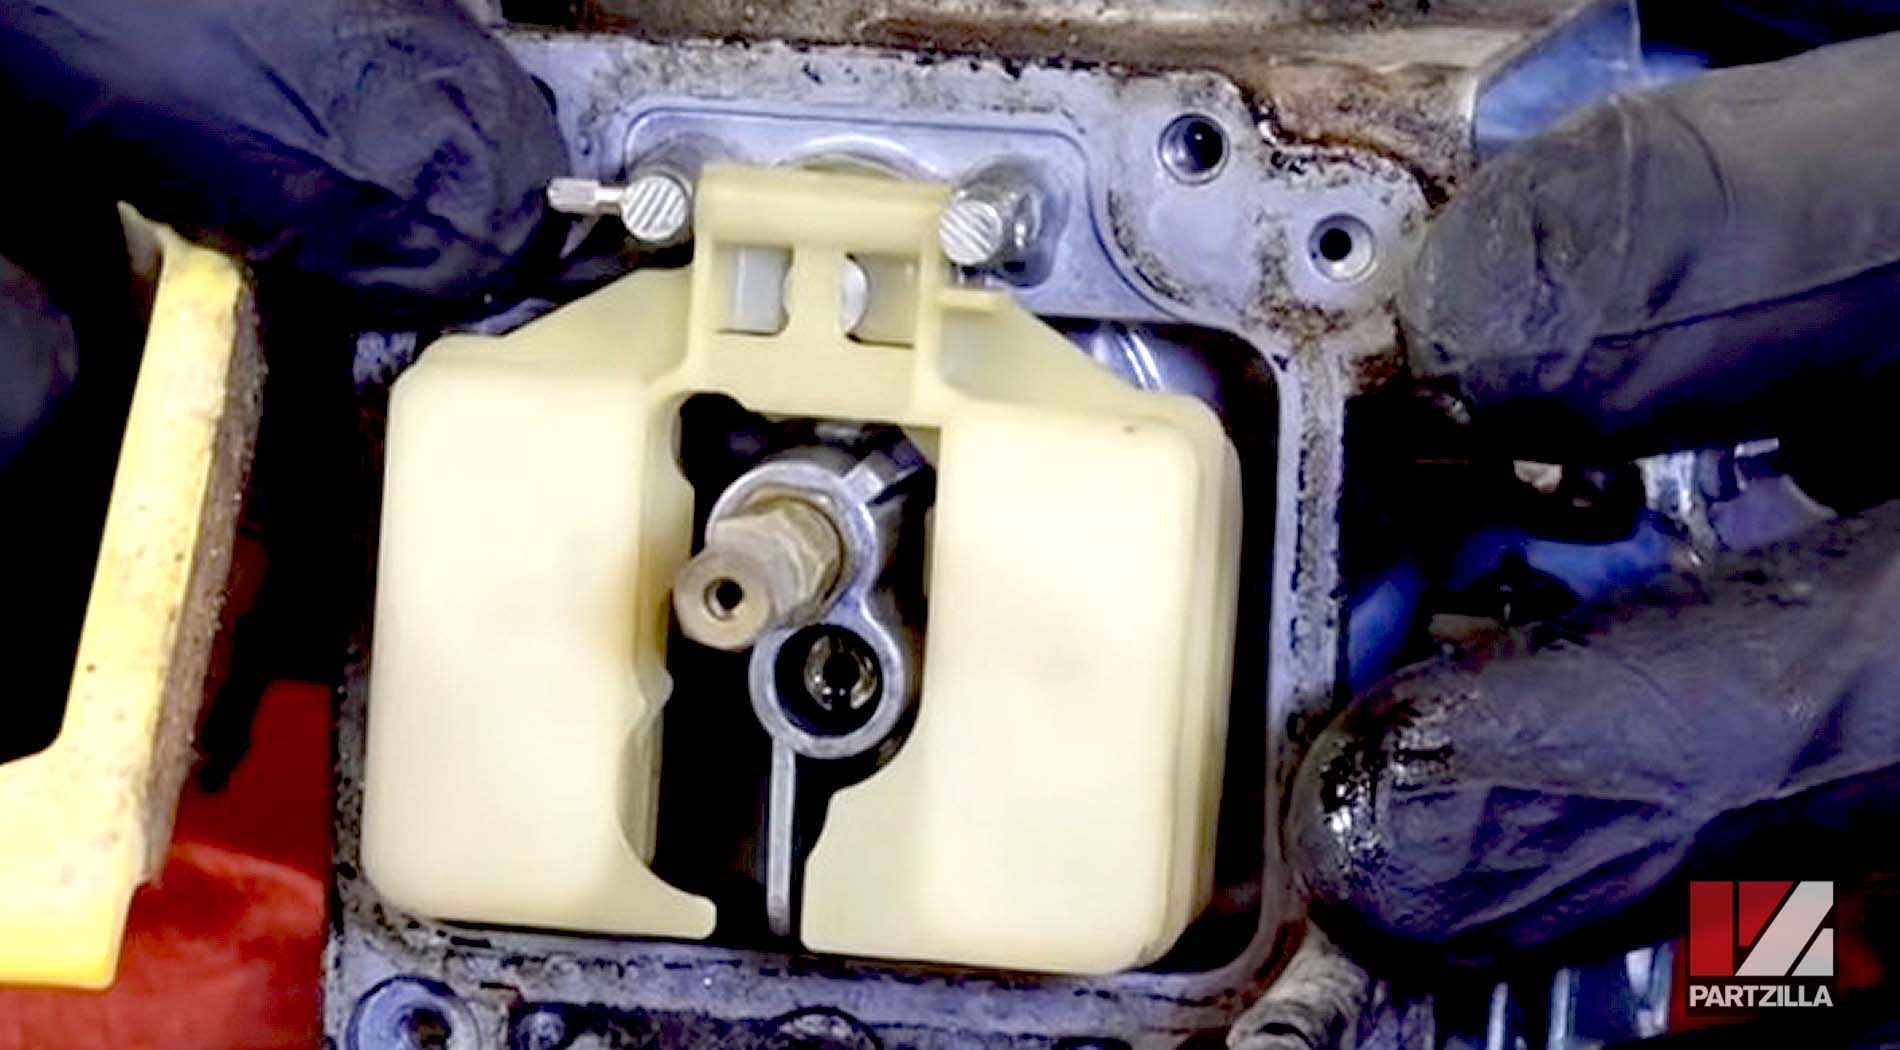
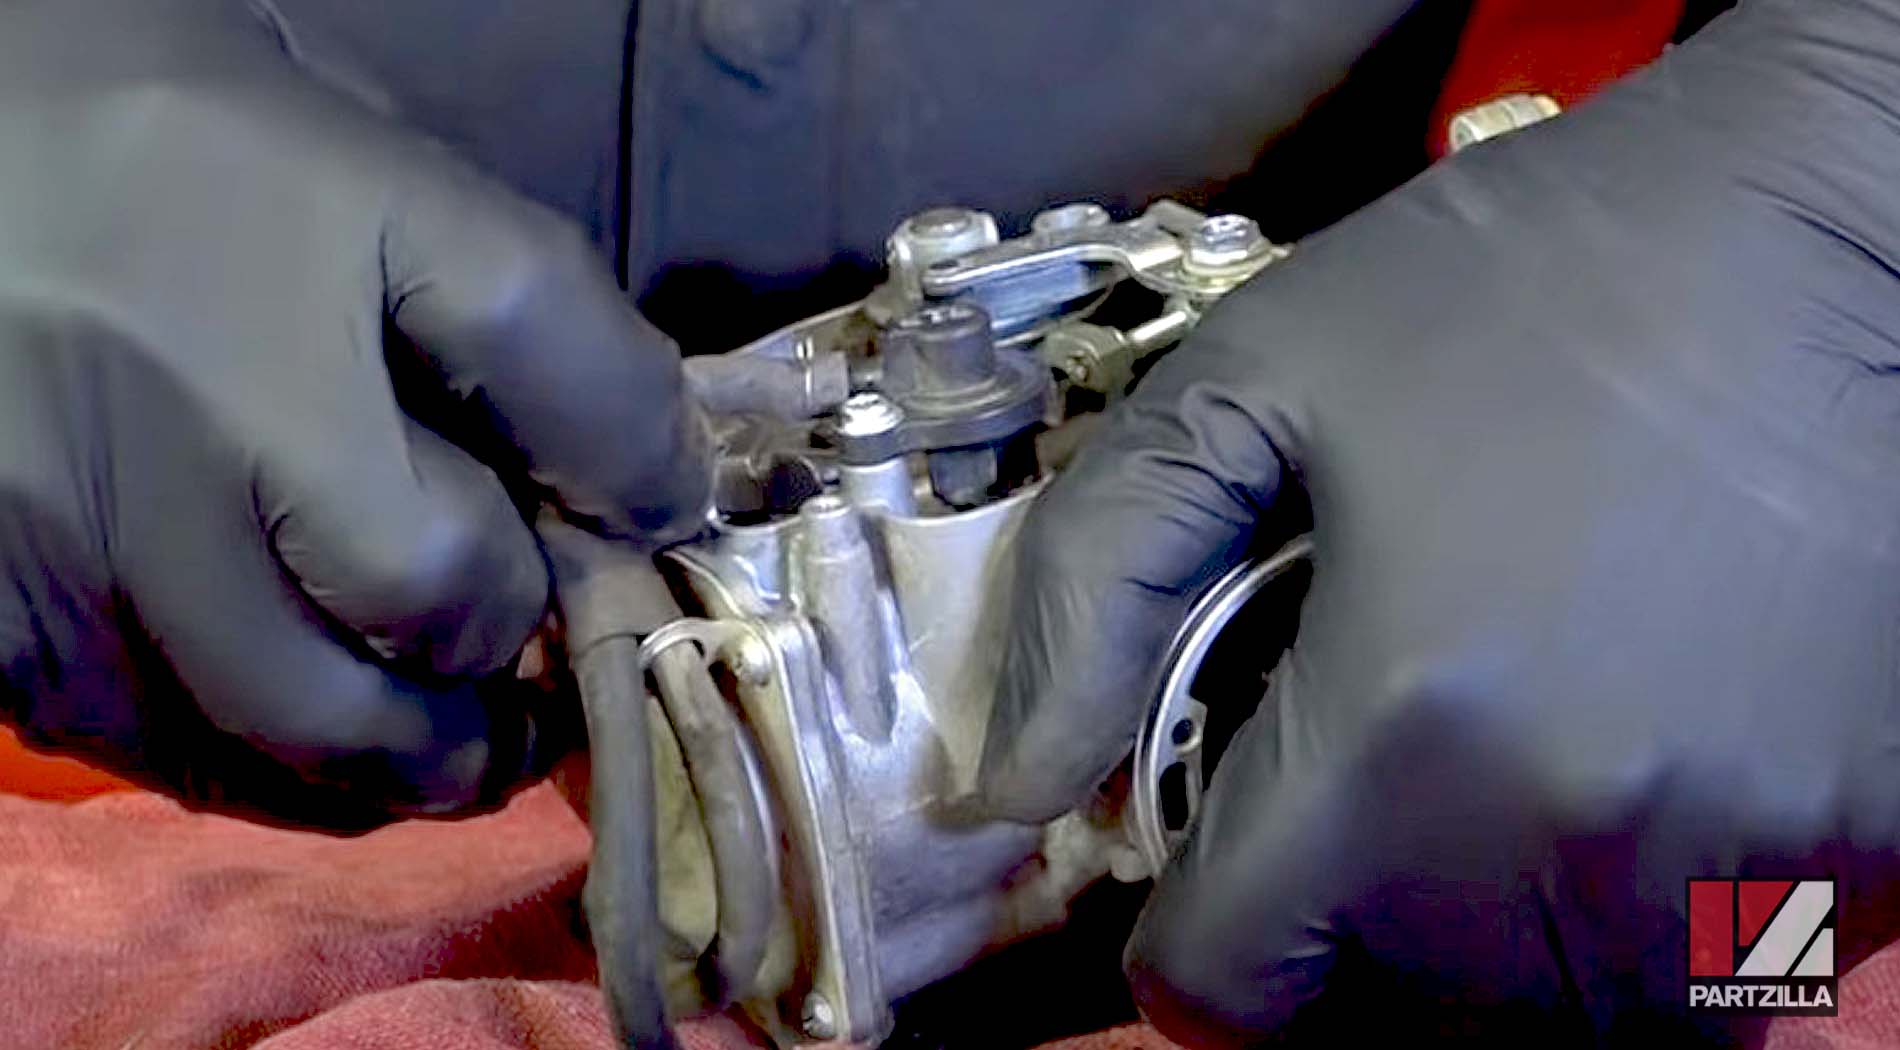
Step 3. Remove the accelerator pump diaphragm set, inspect it for wear or tears, and replace it if necessary.
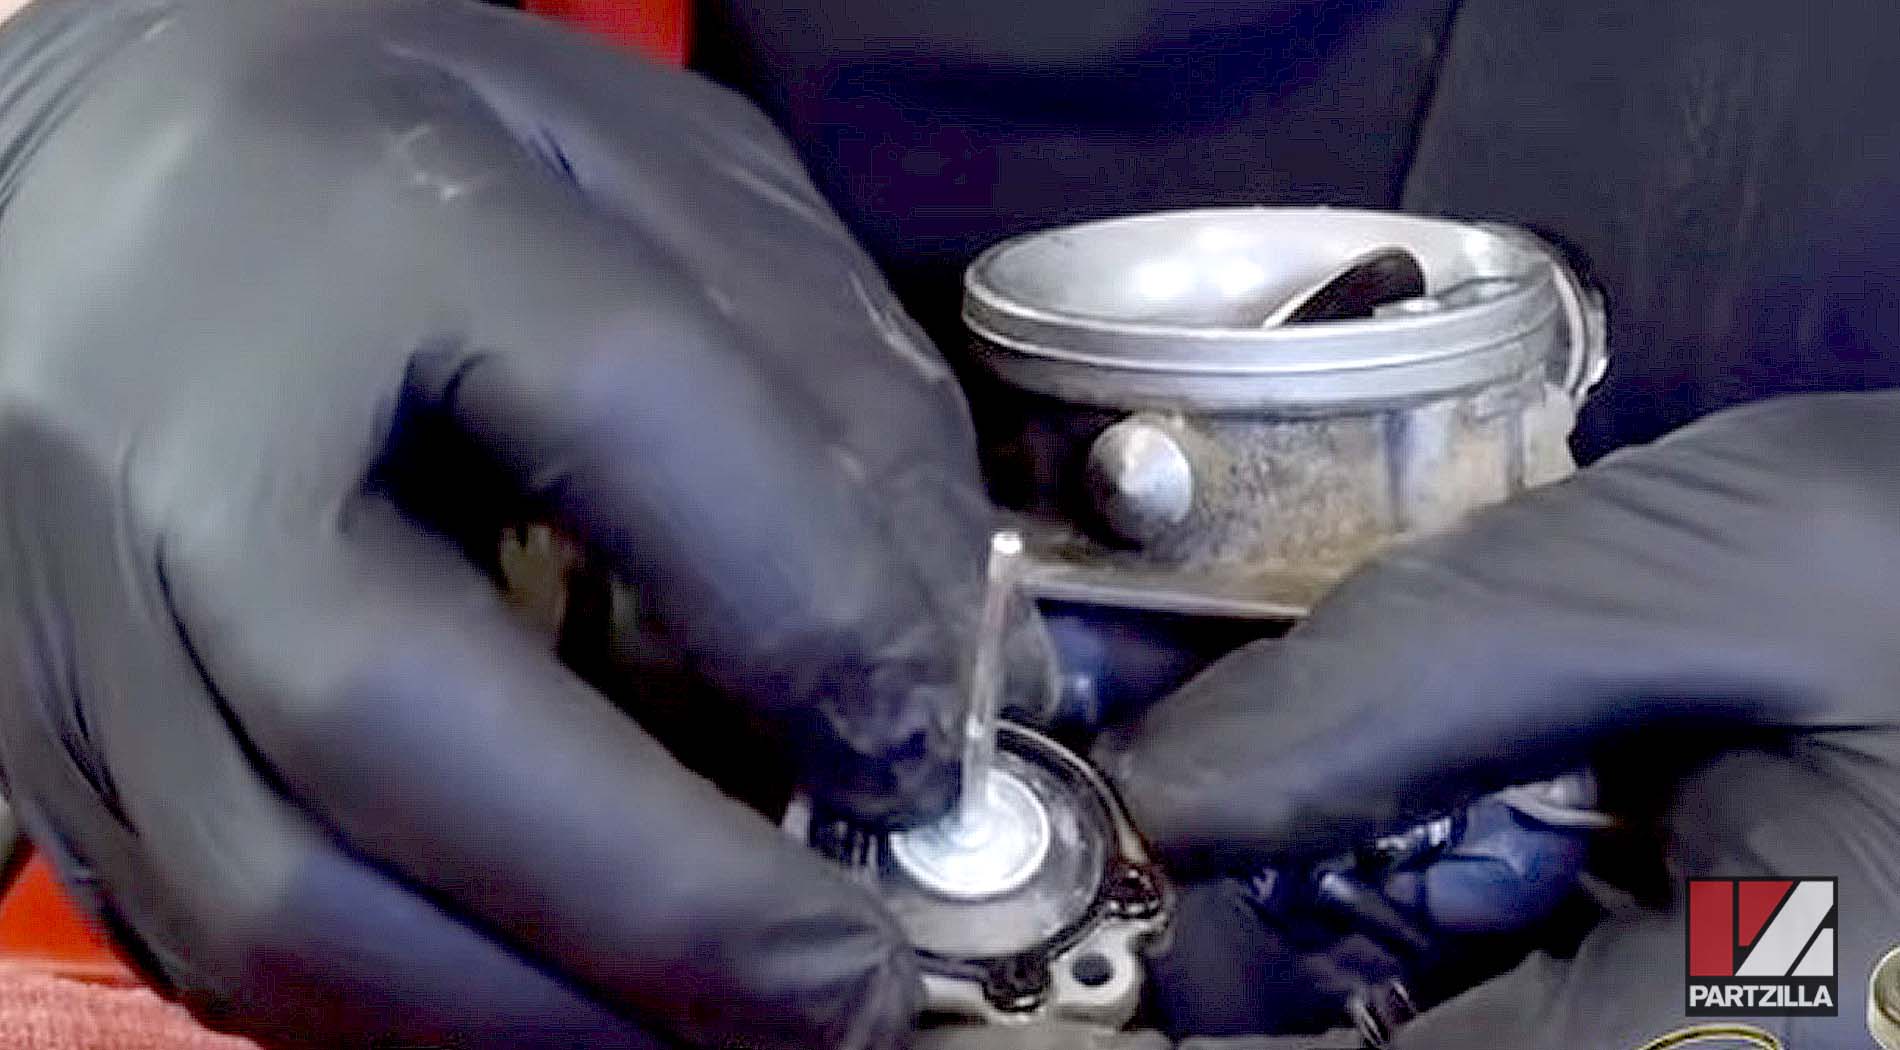
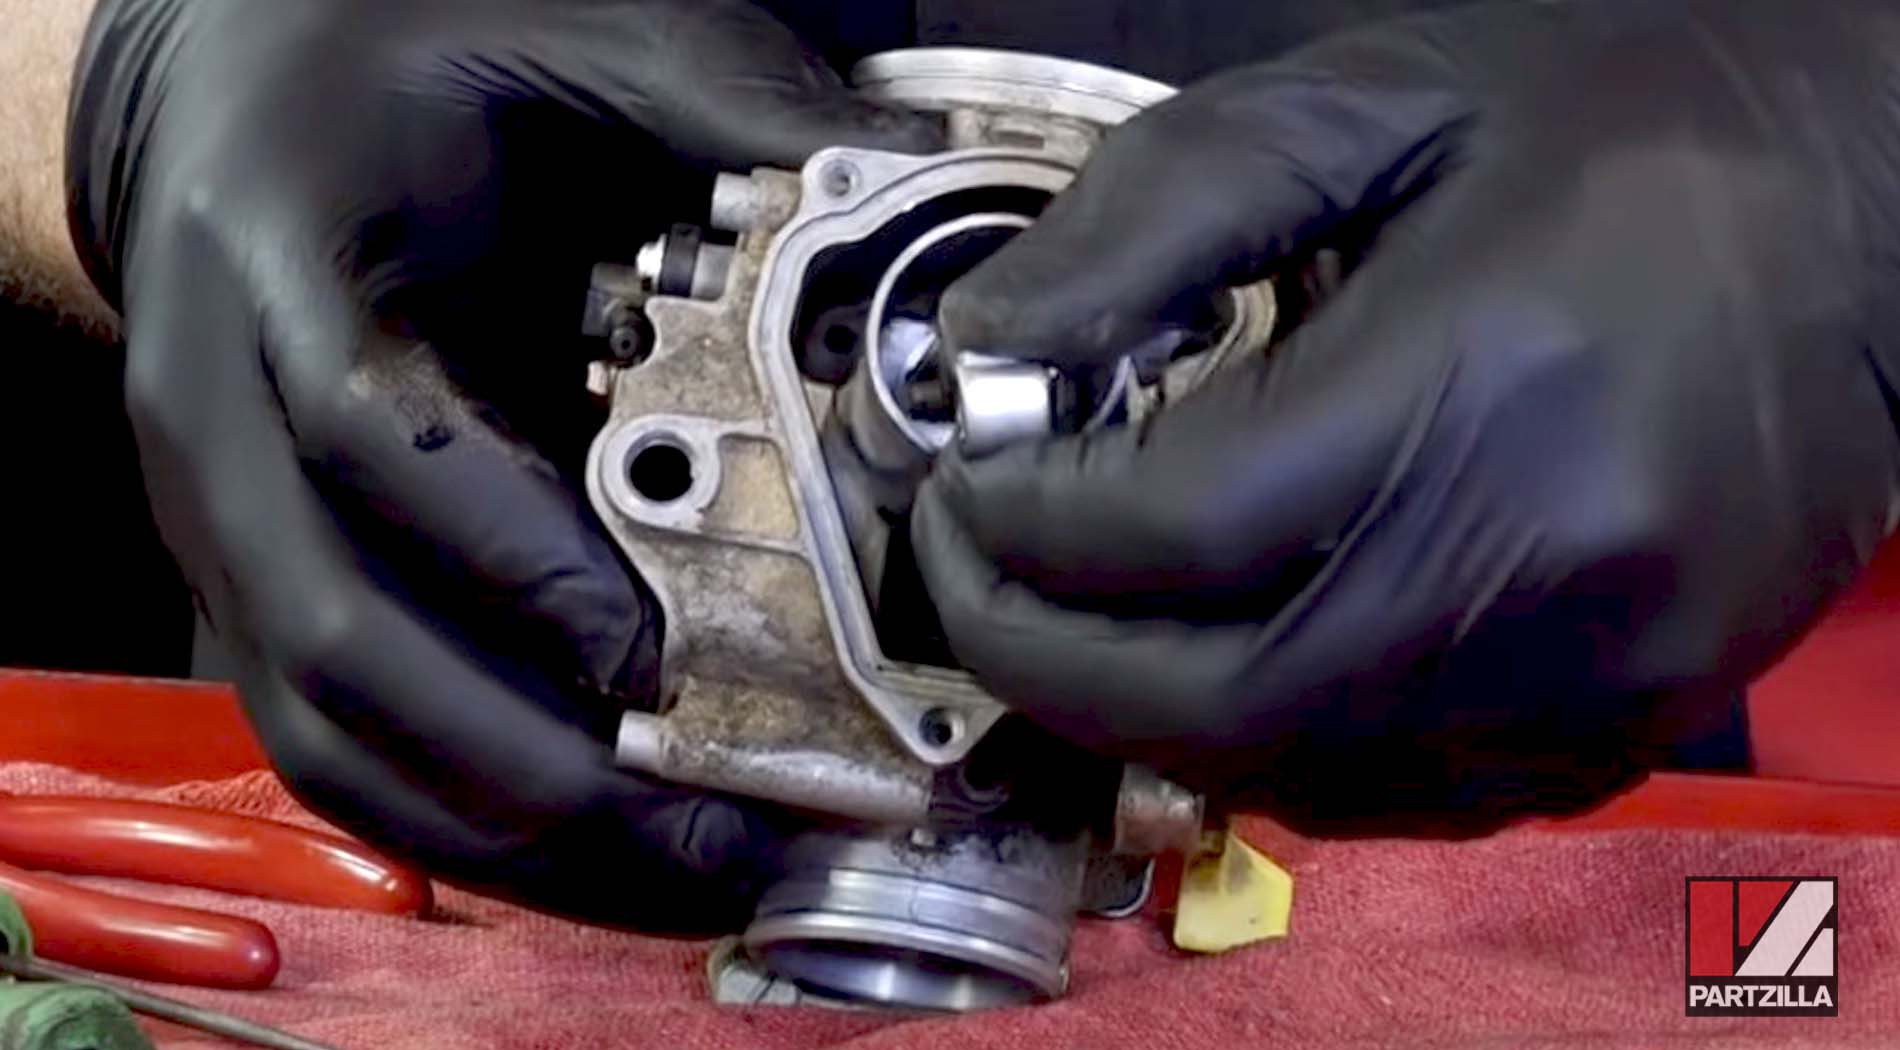
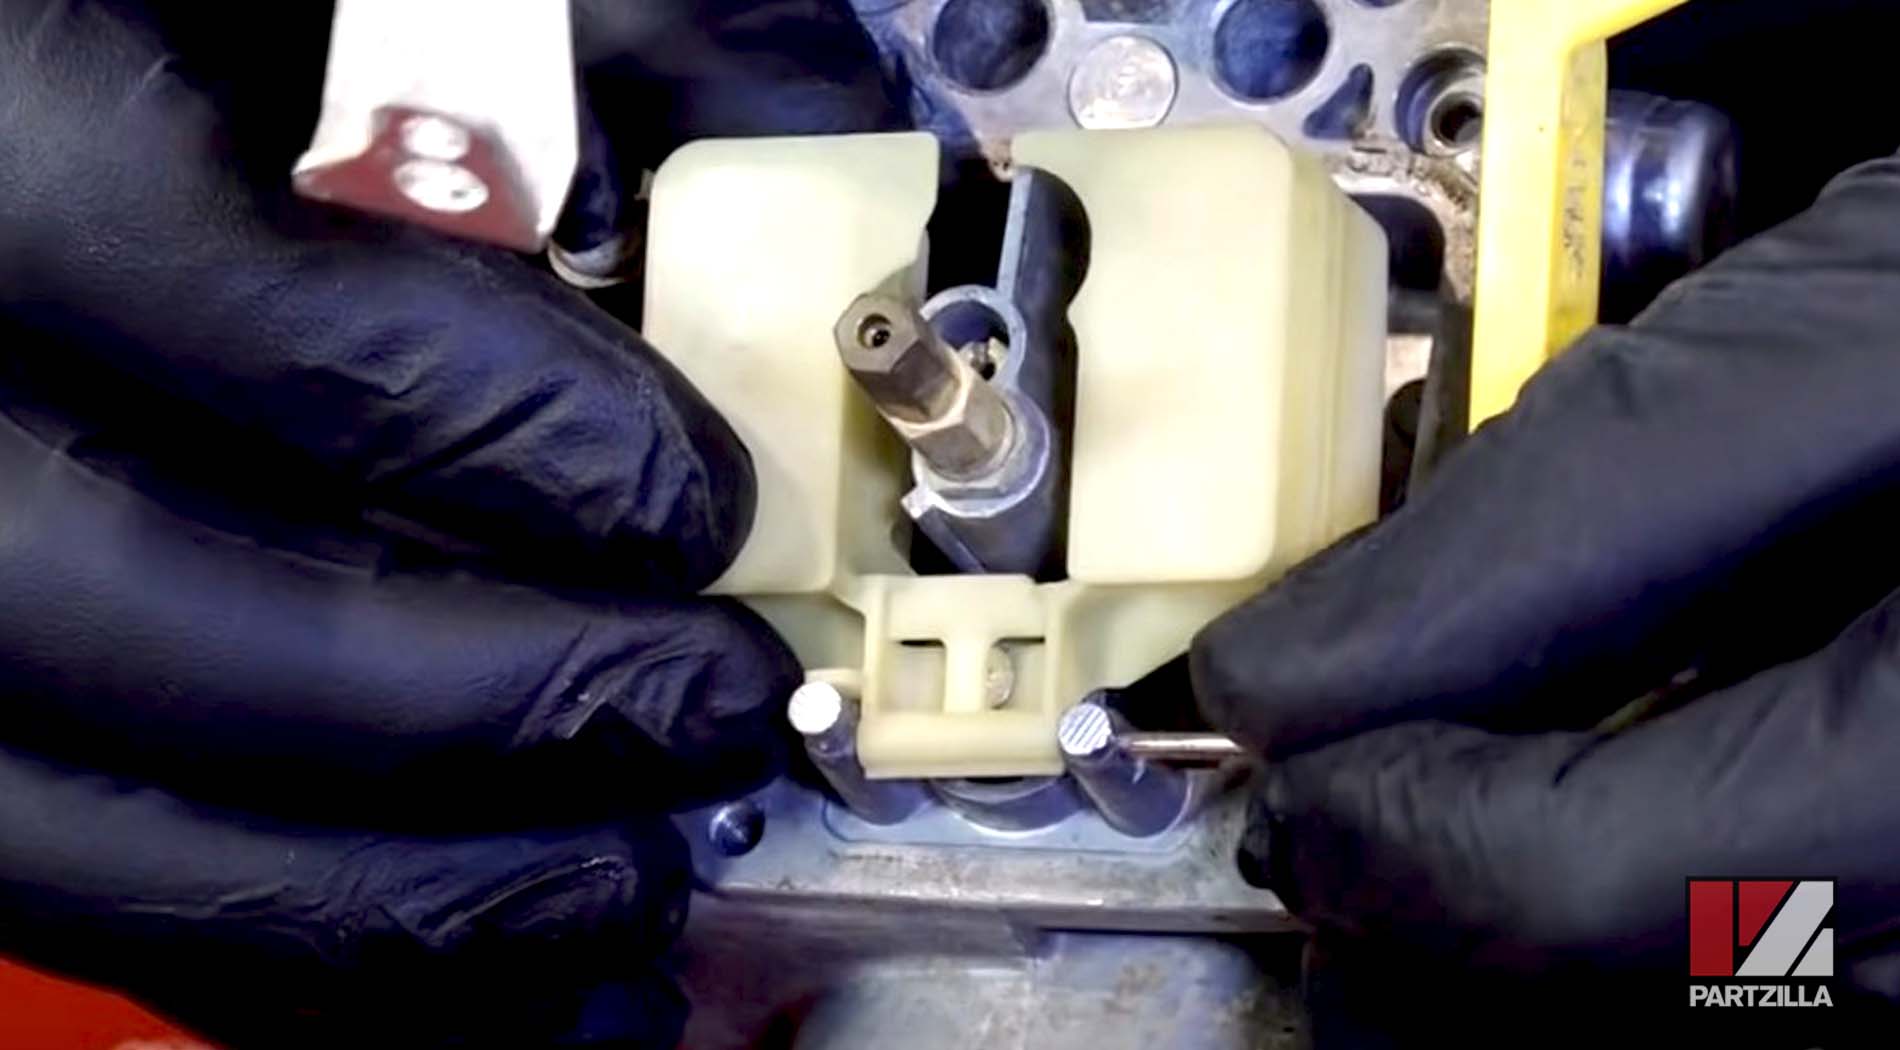
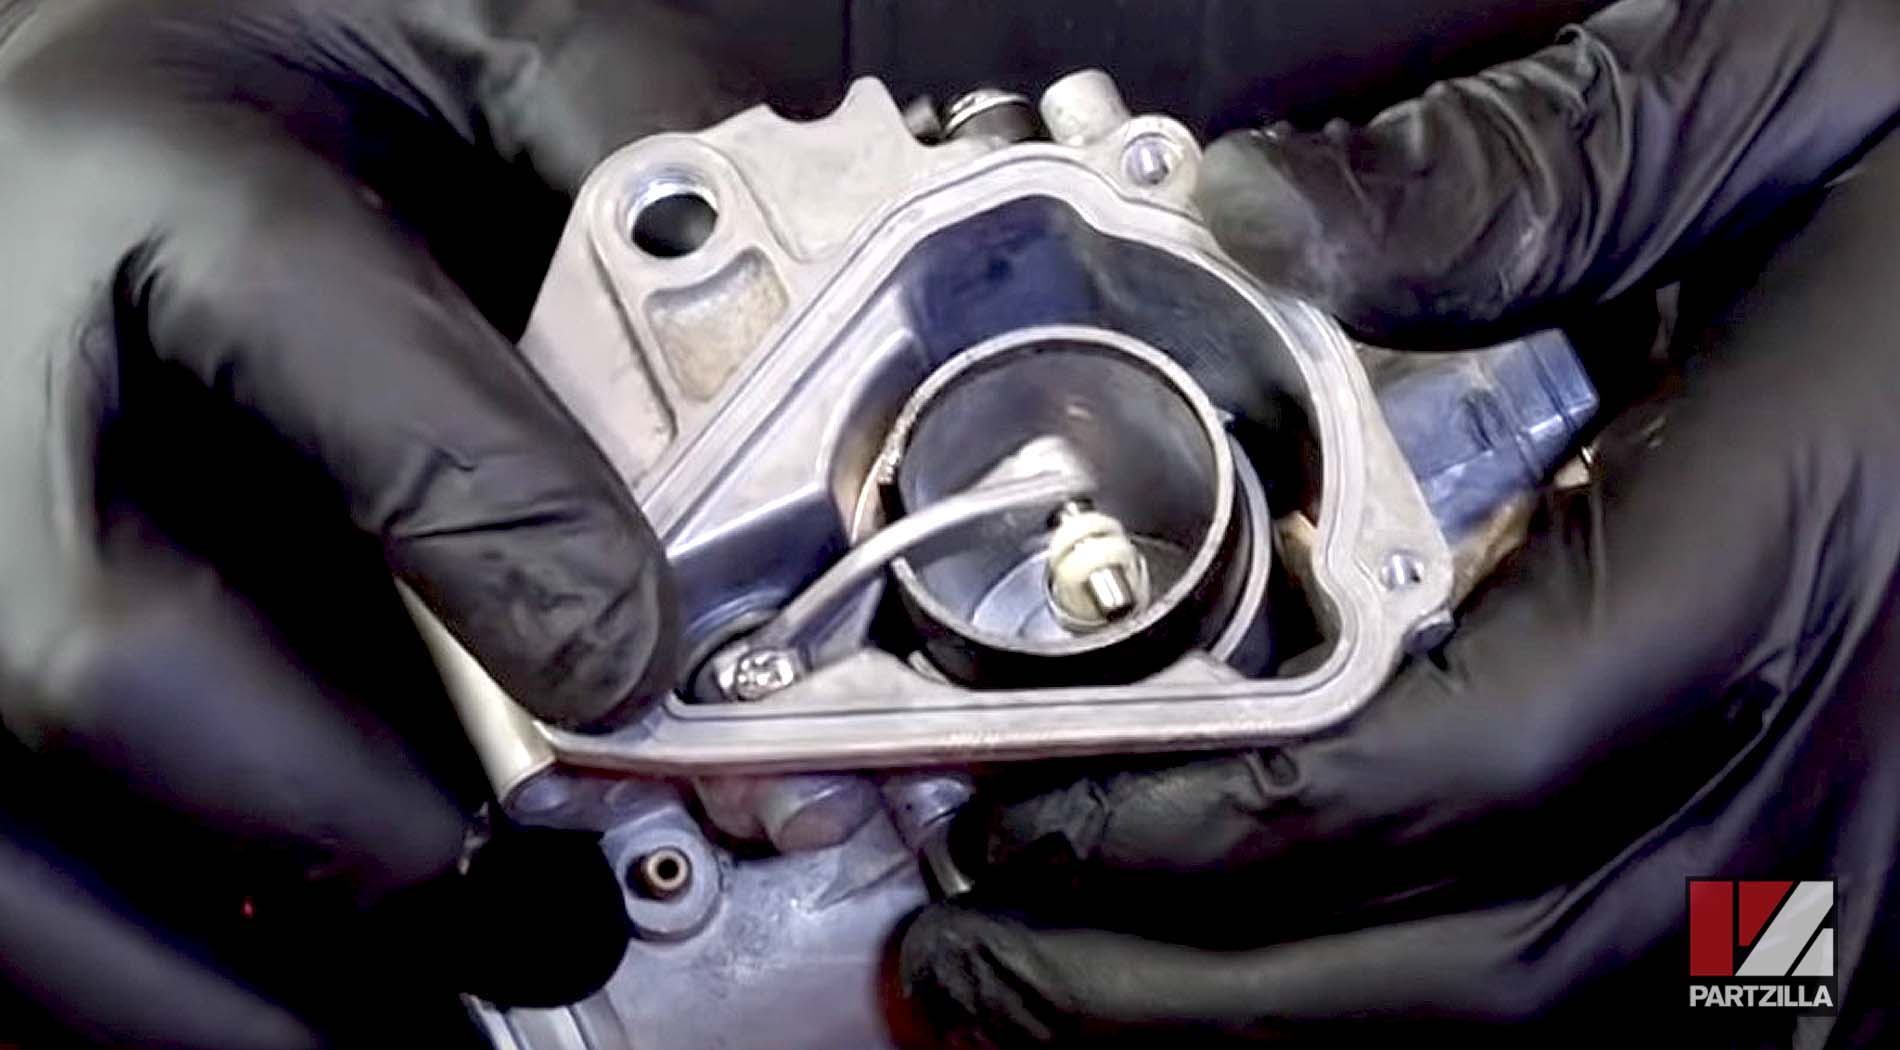
Step 4. Remove the float bowl, followed by the float pin that secures it. Next, carefully remove the float and the float needle valve that sits beneath it.
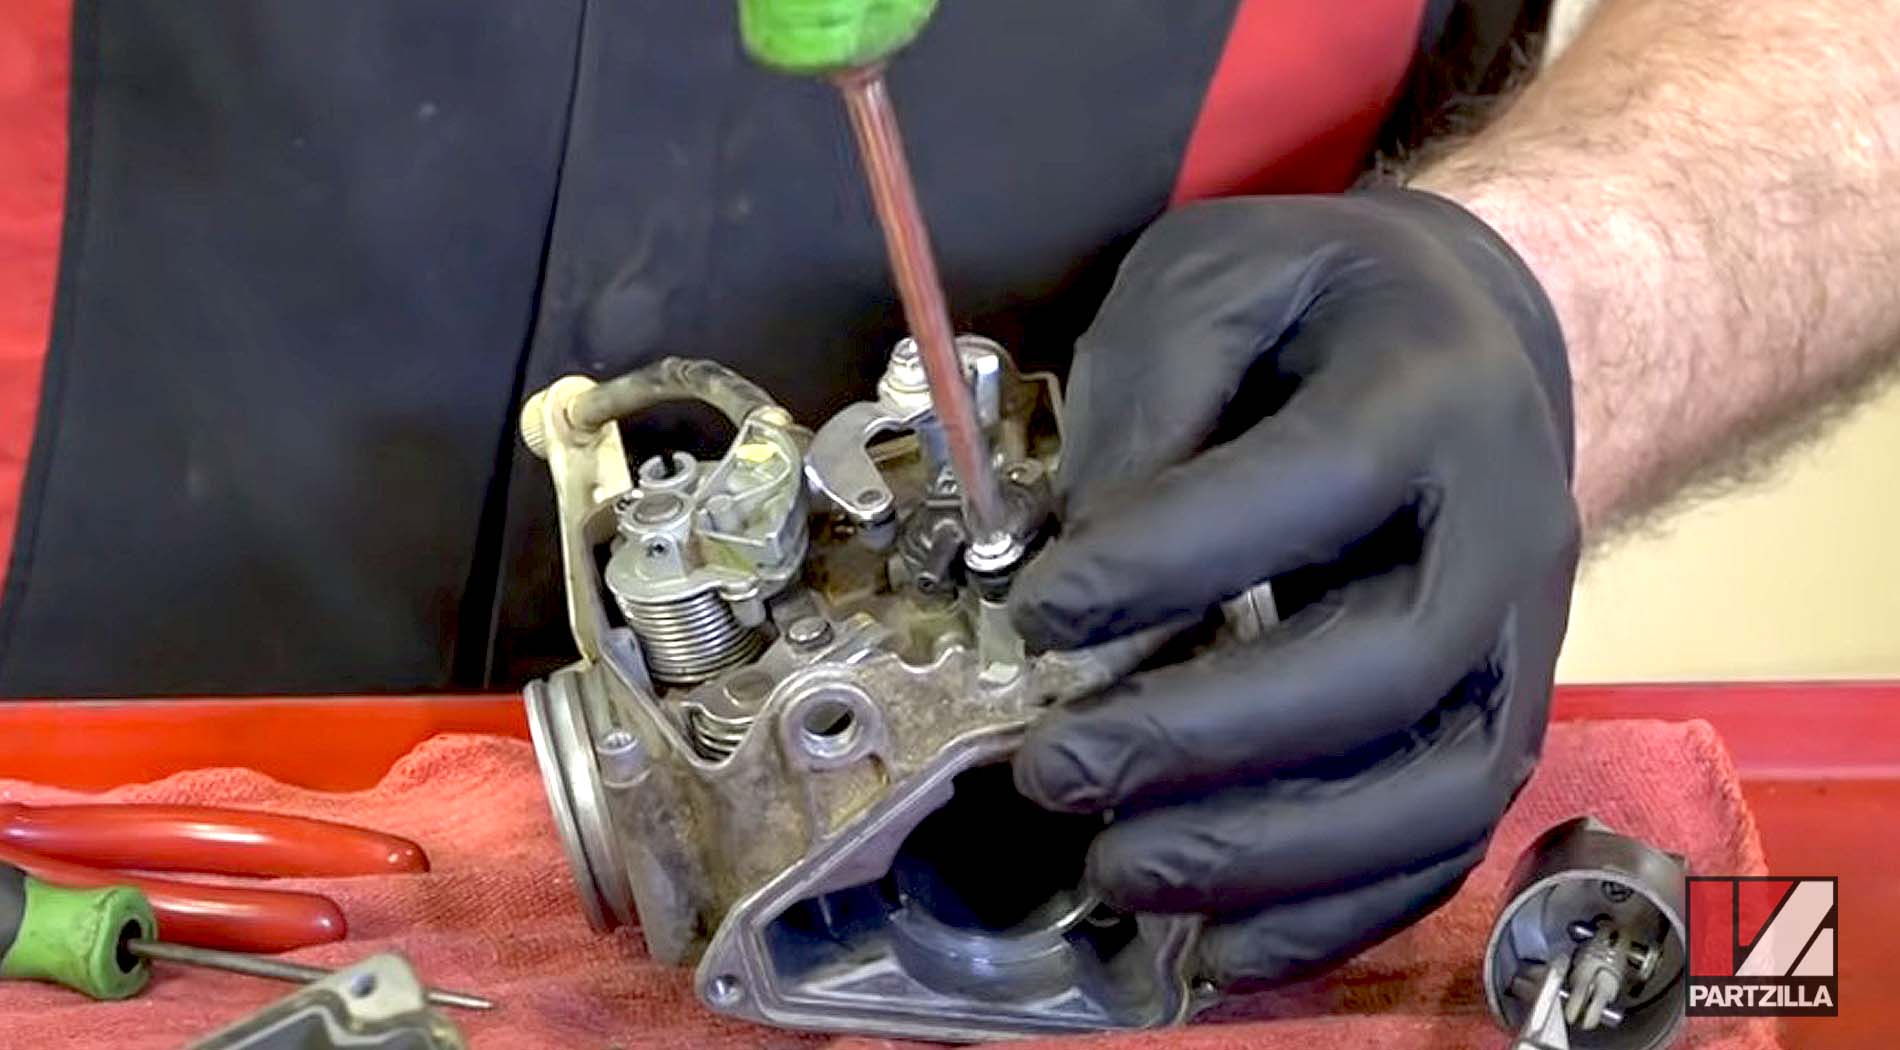
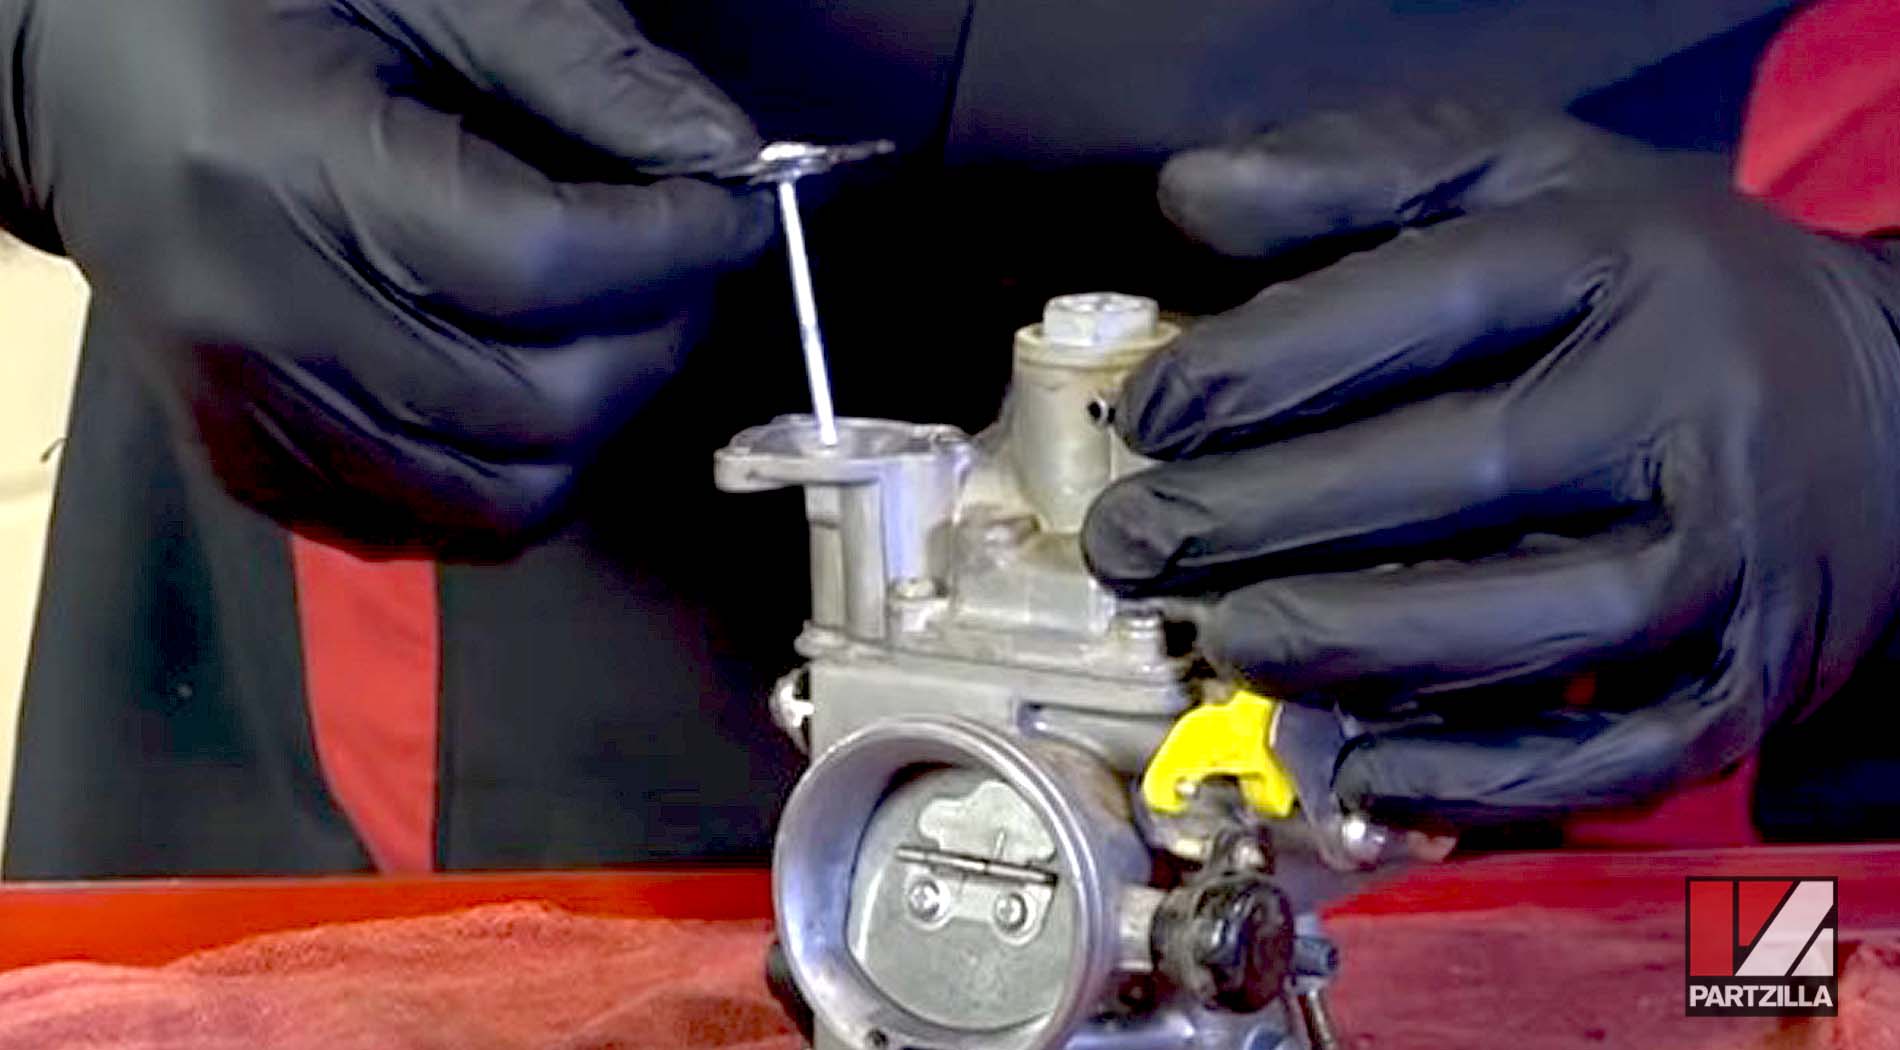
Step 5. Remove the air-fuel adjustment needle, the main jet holder, and the idle jet.
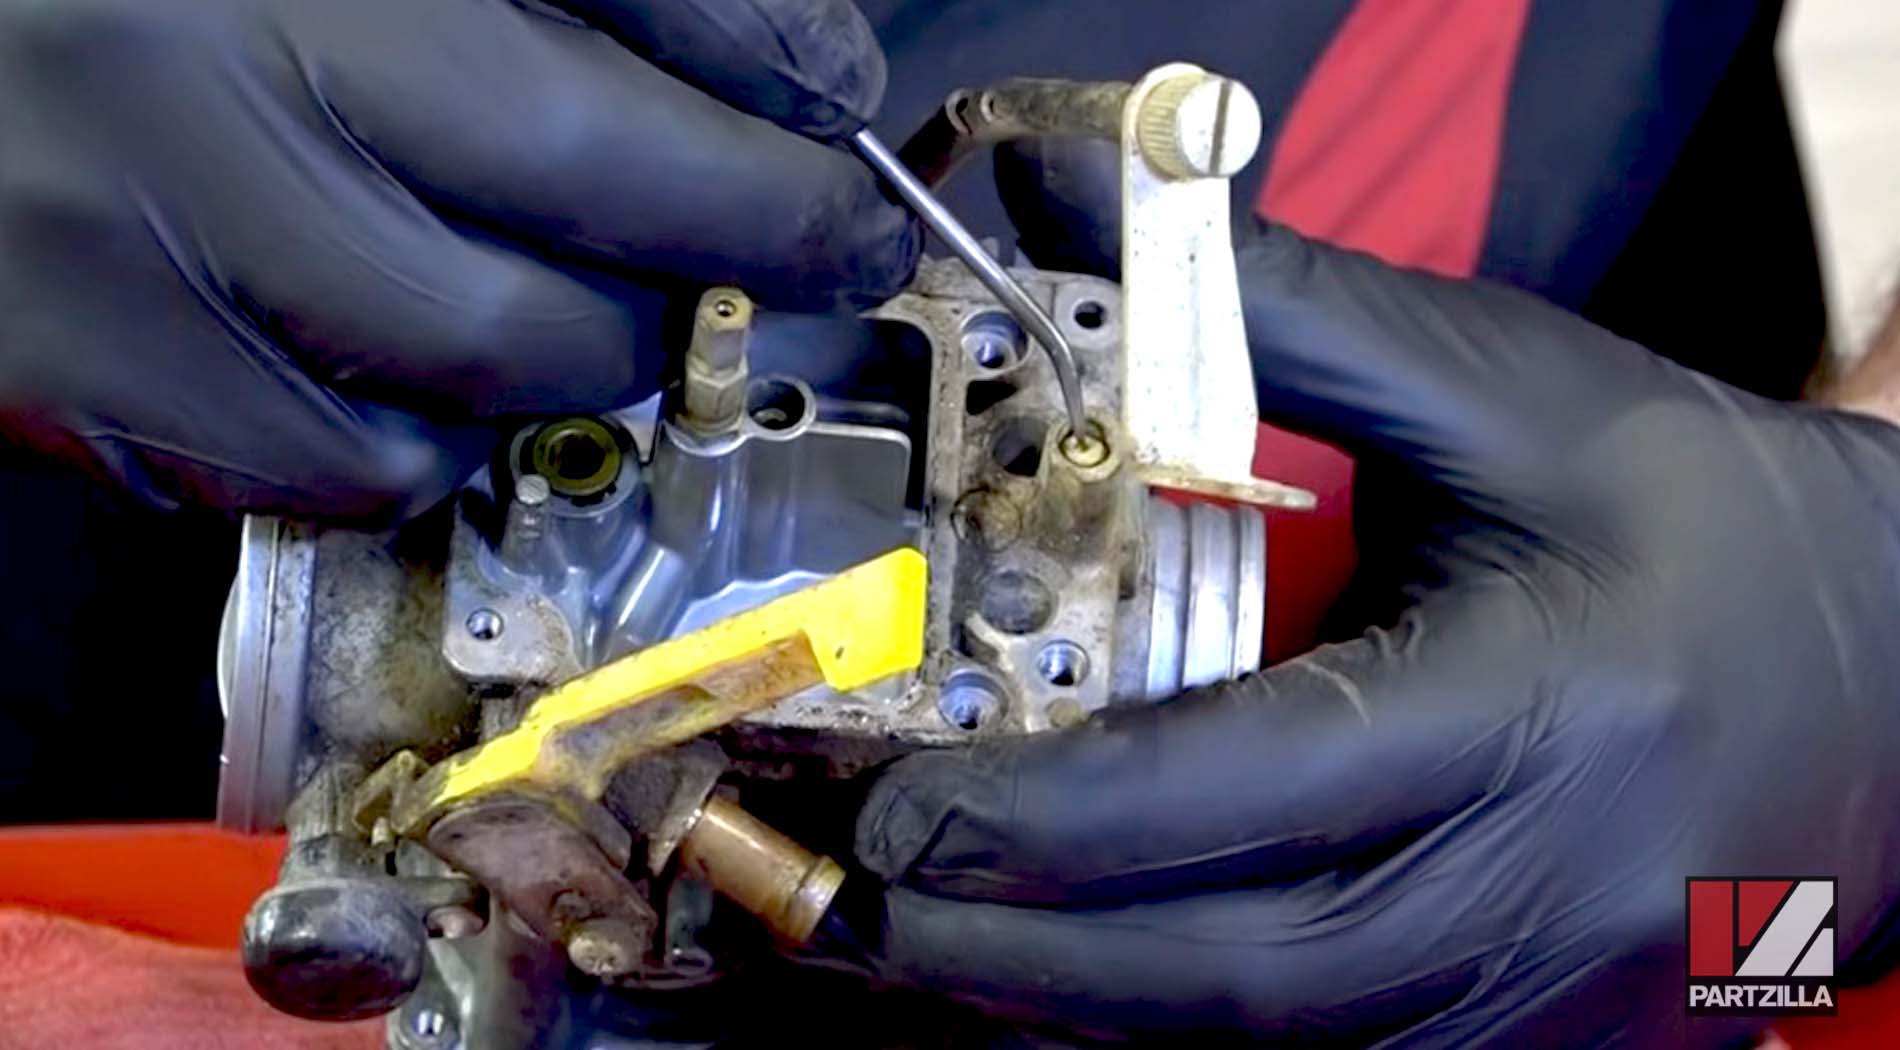
NOTE: You’ll need to use a D-shaped bit to remove the air-fuel adjustment needle.
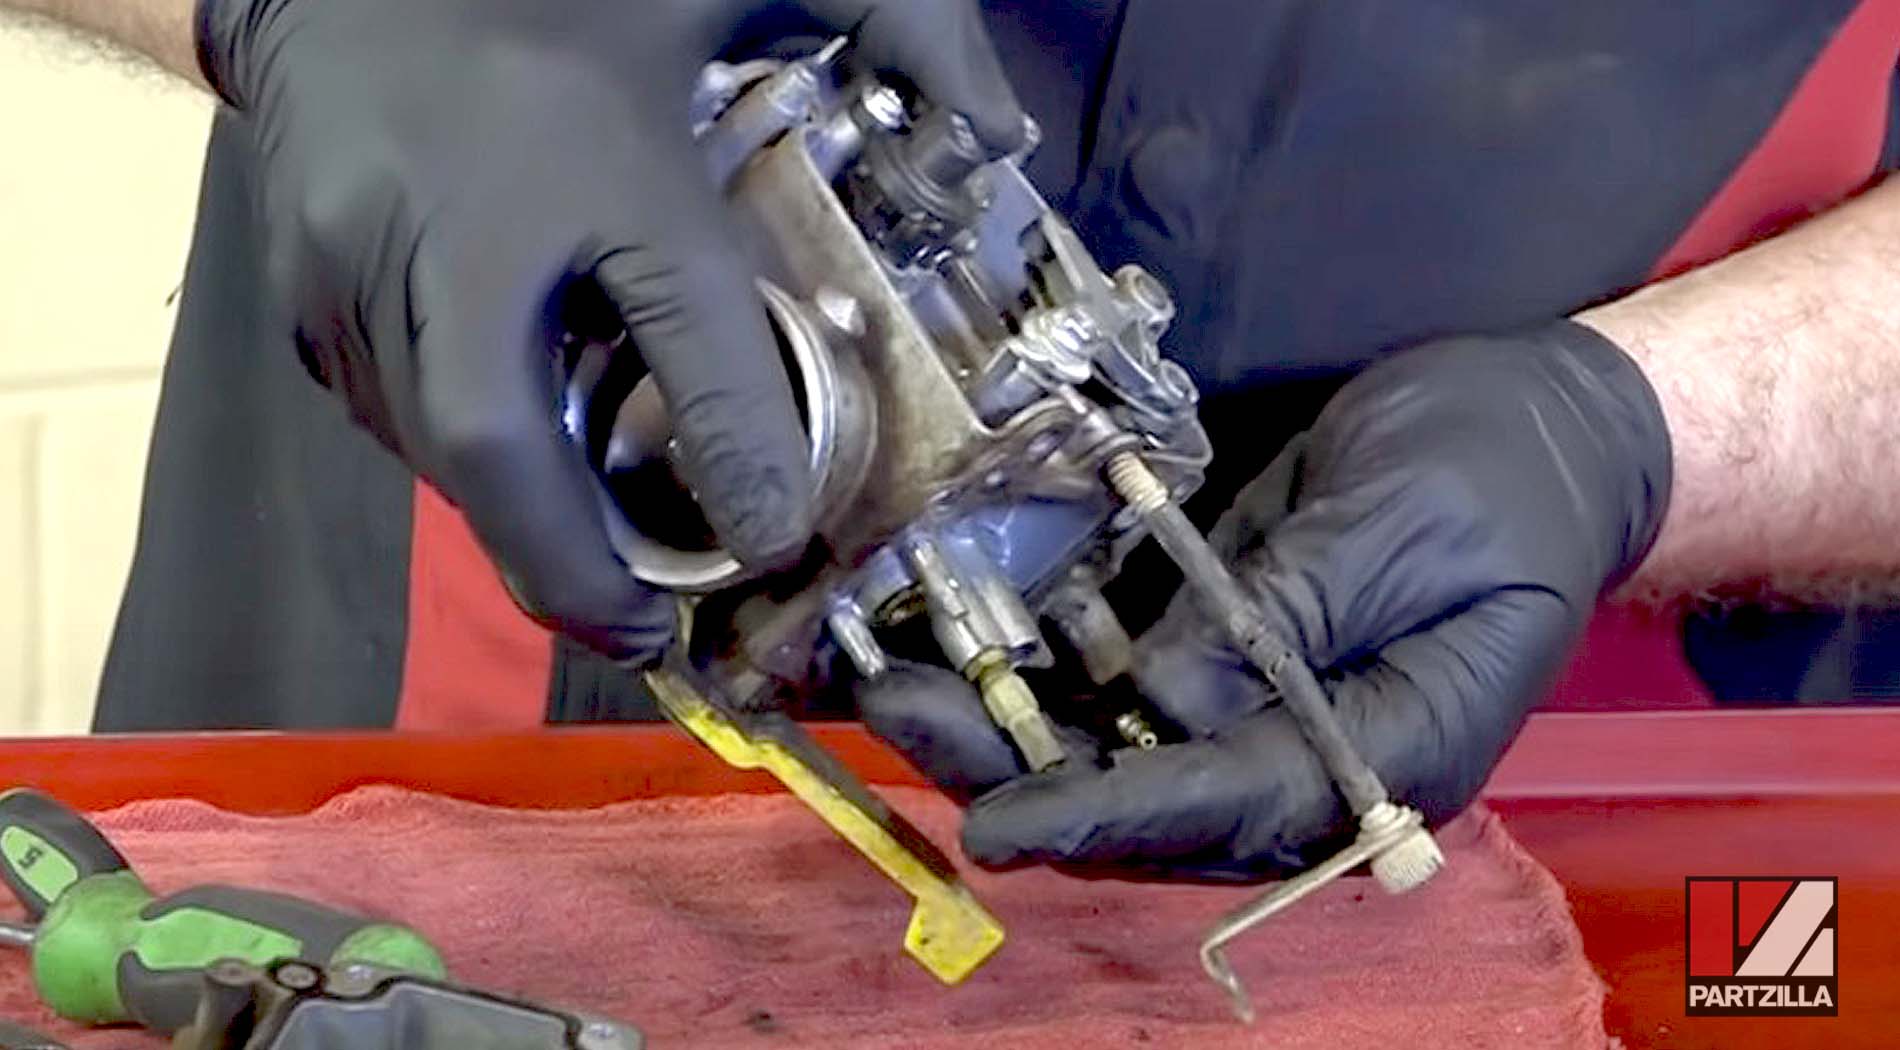
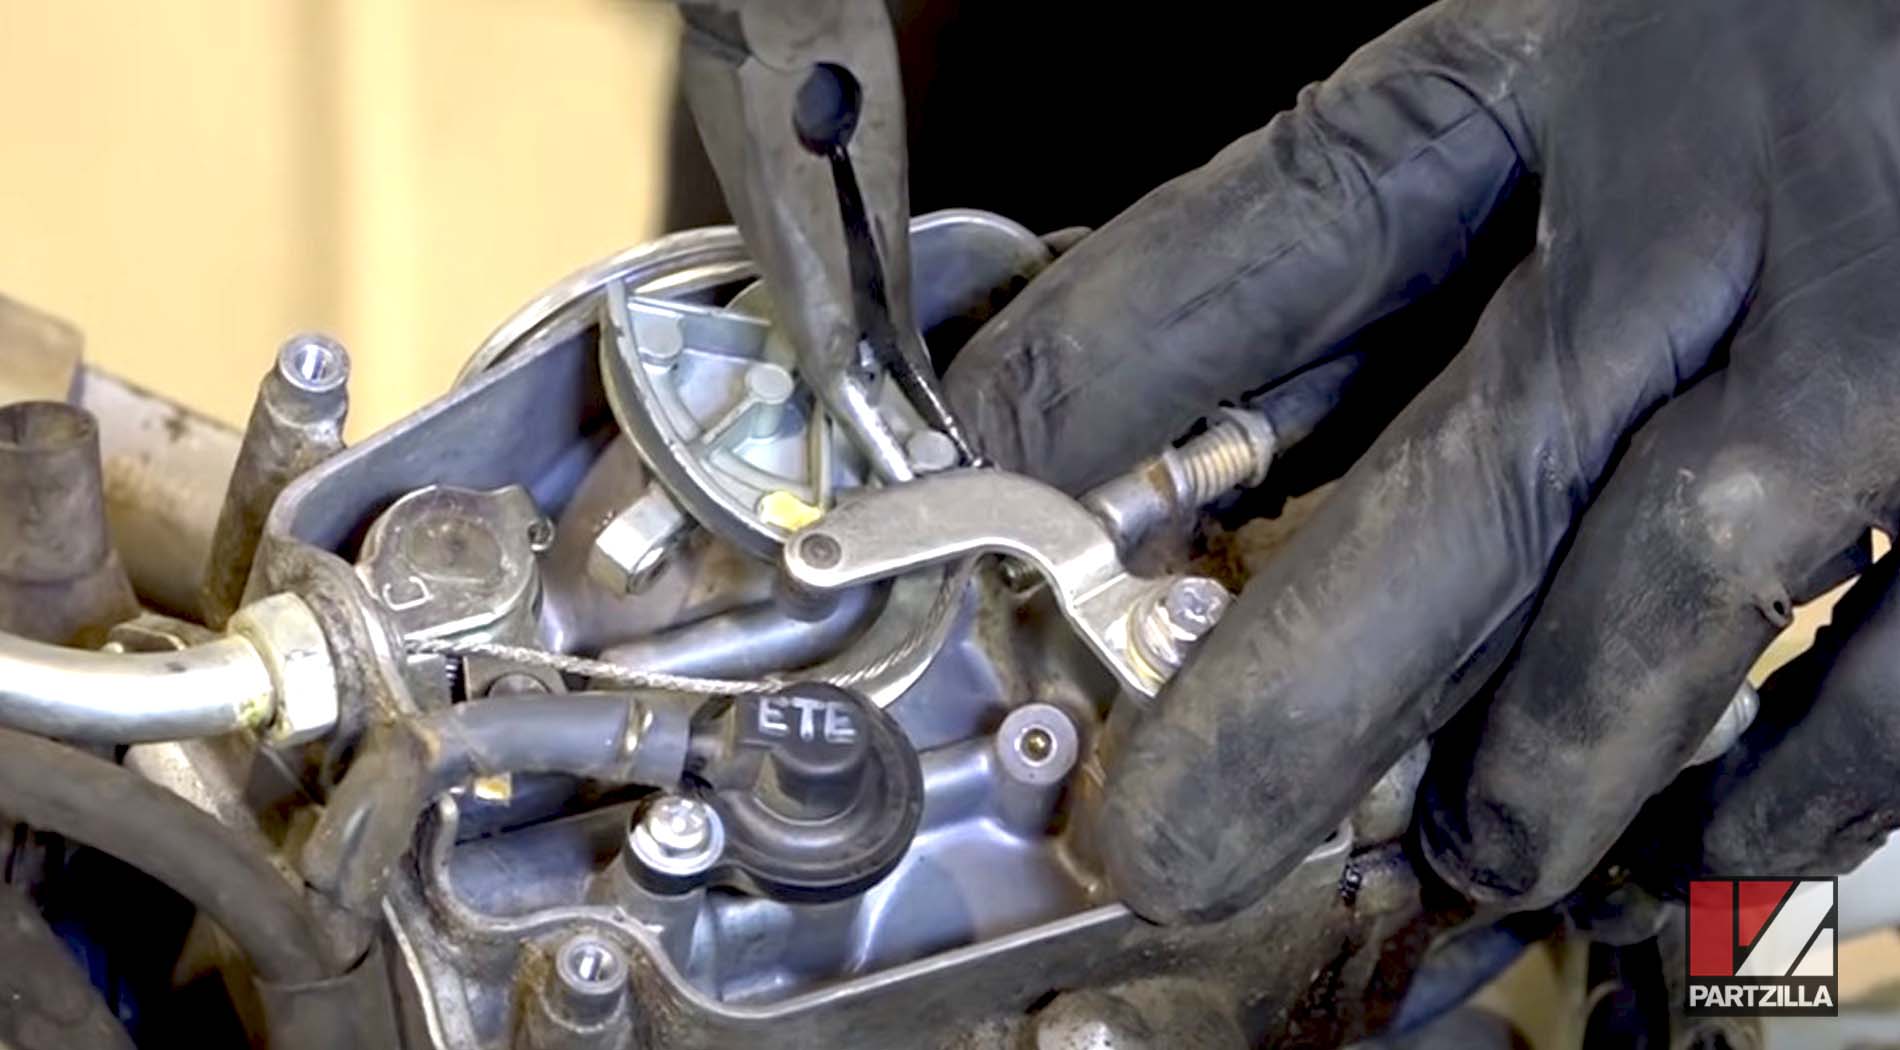
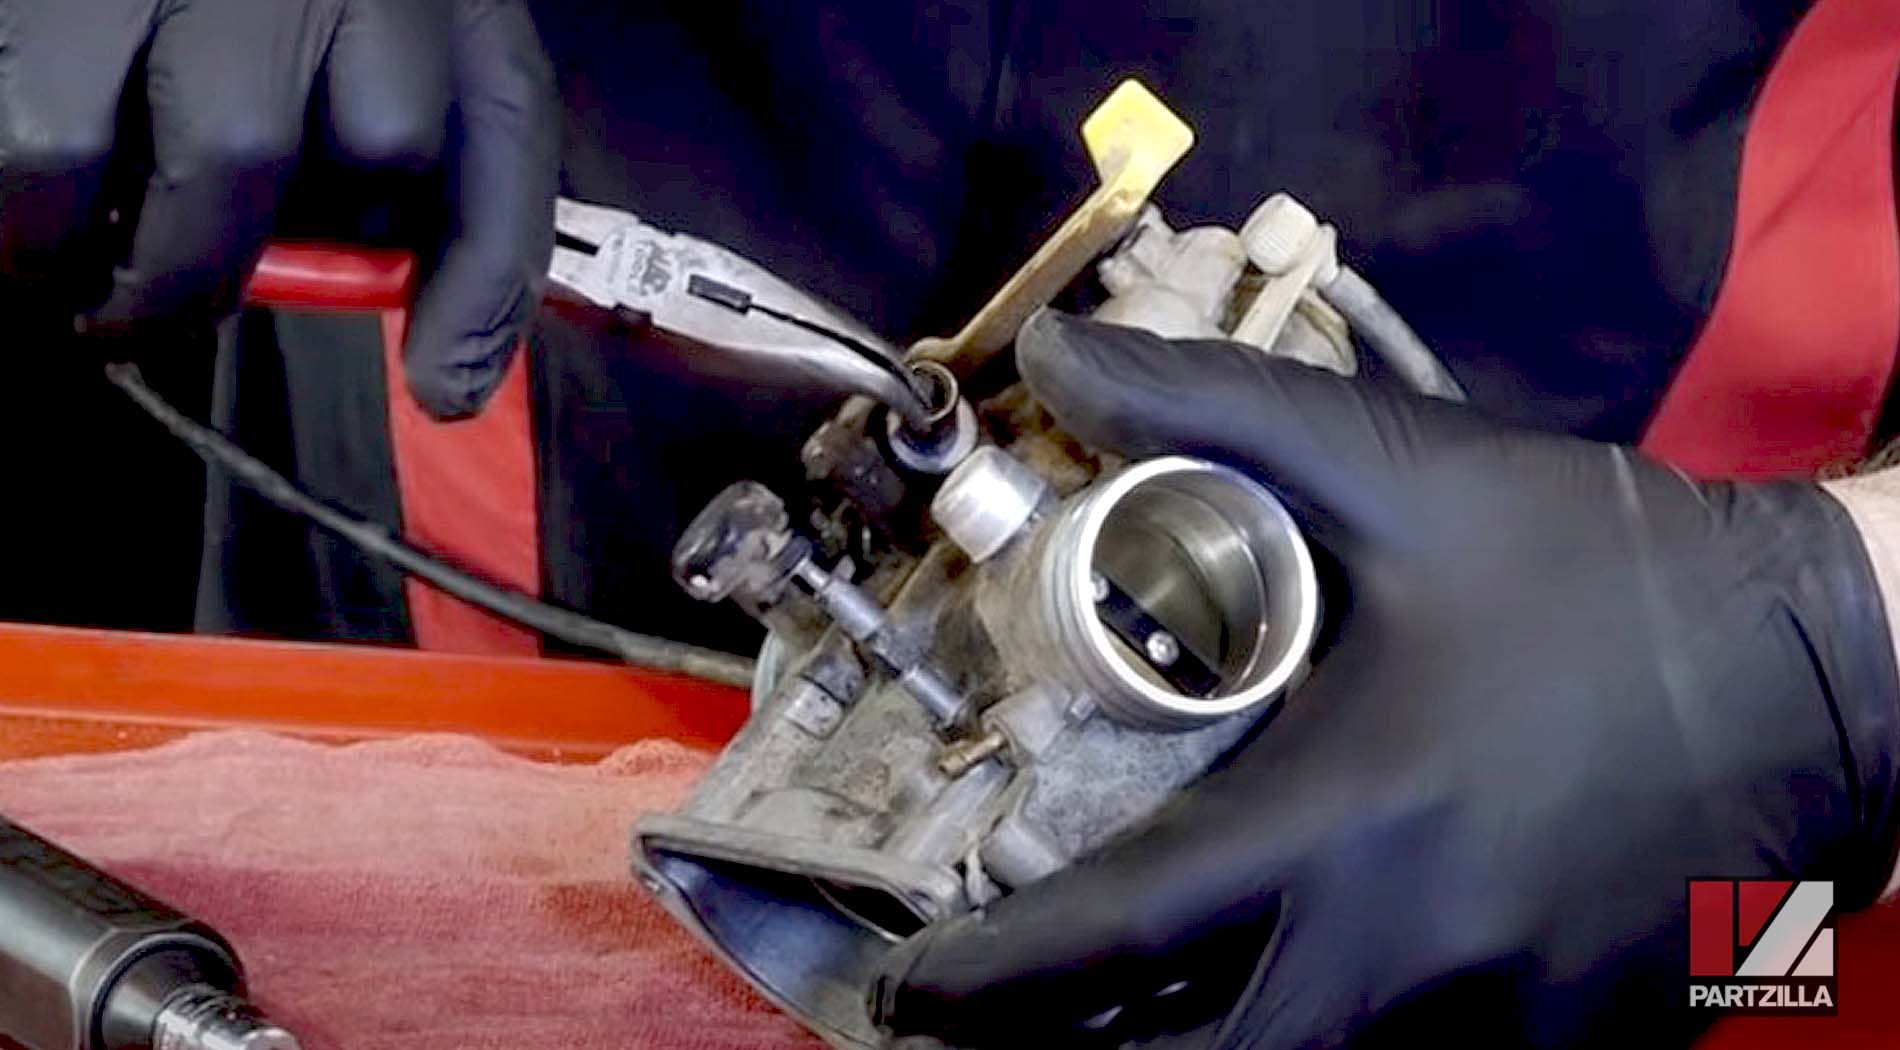
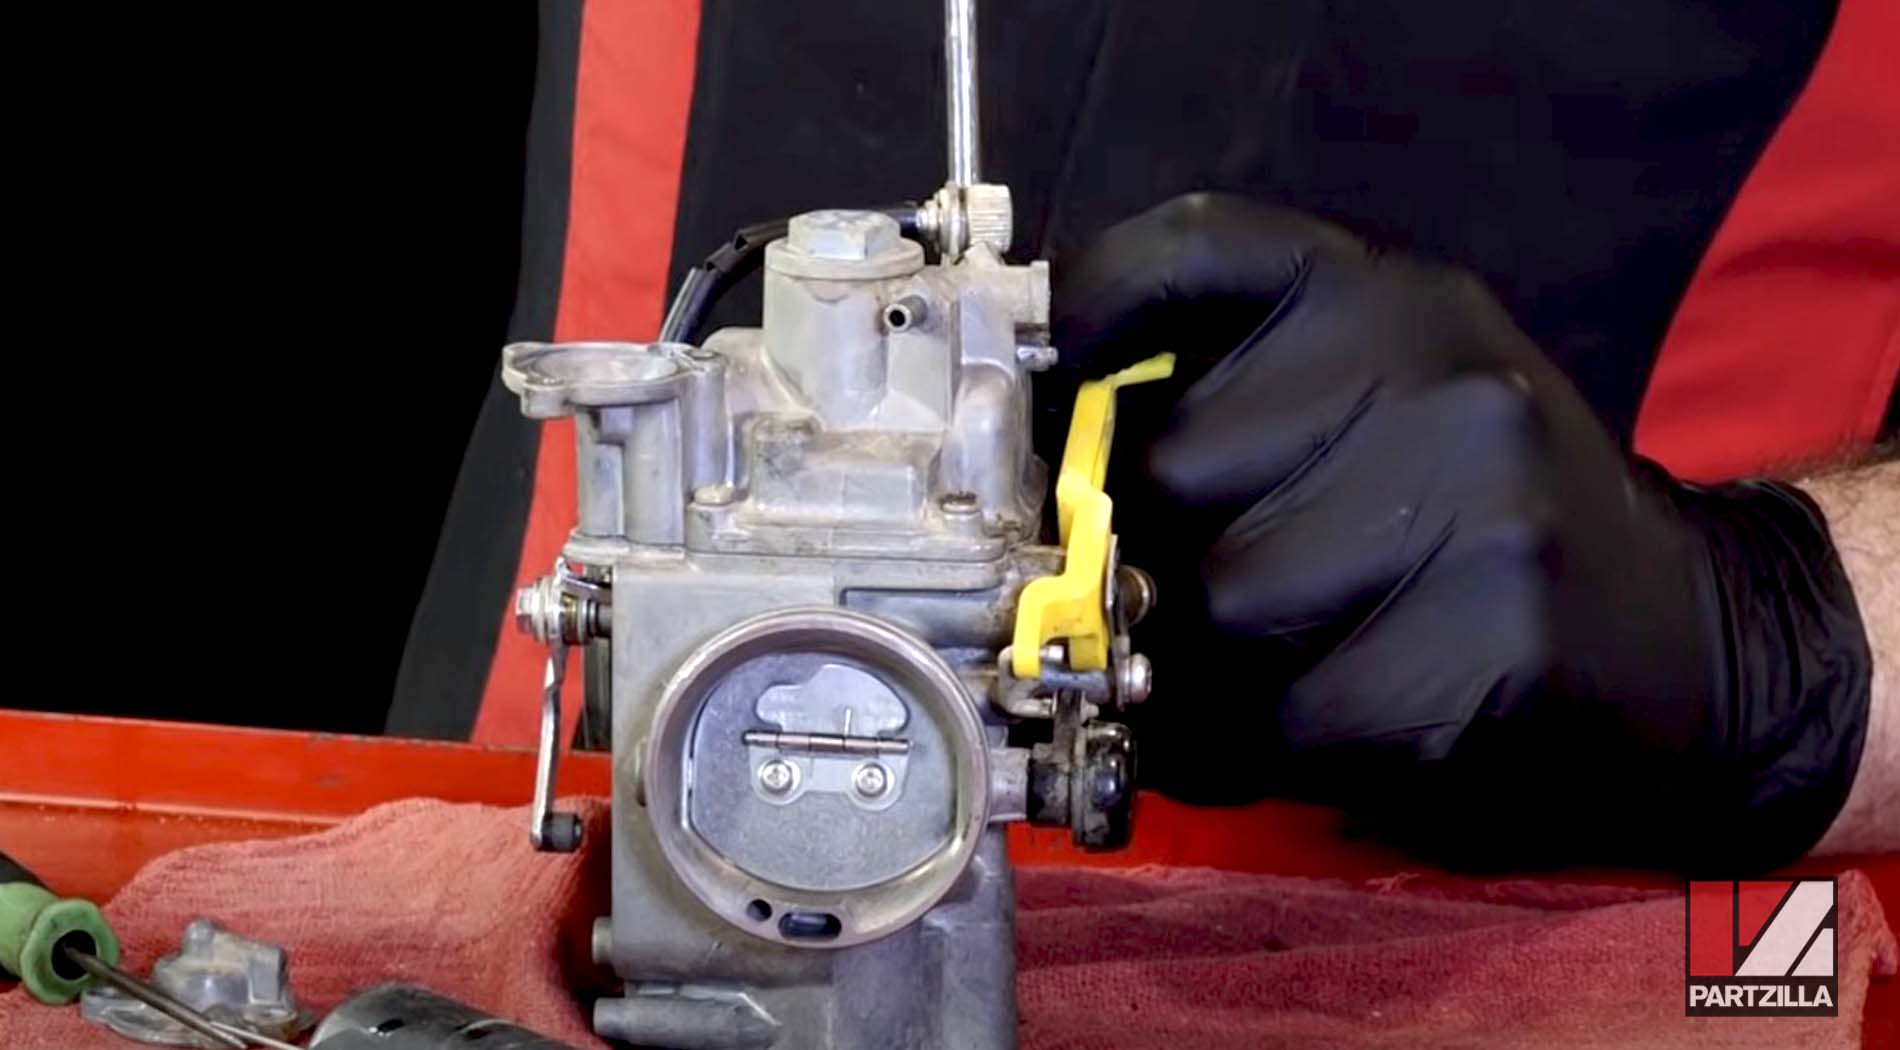
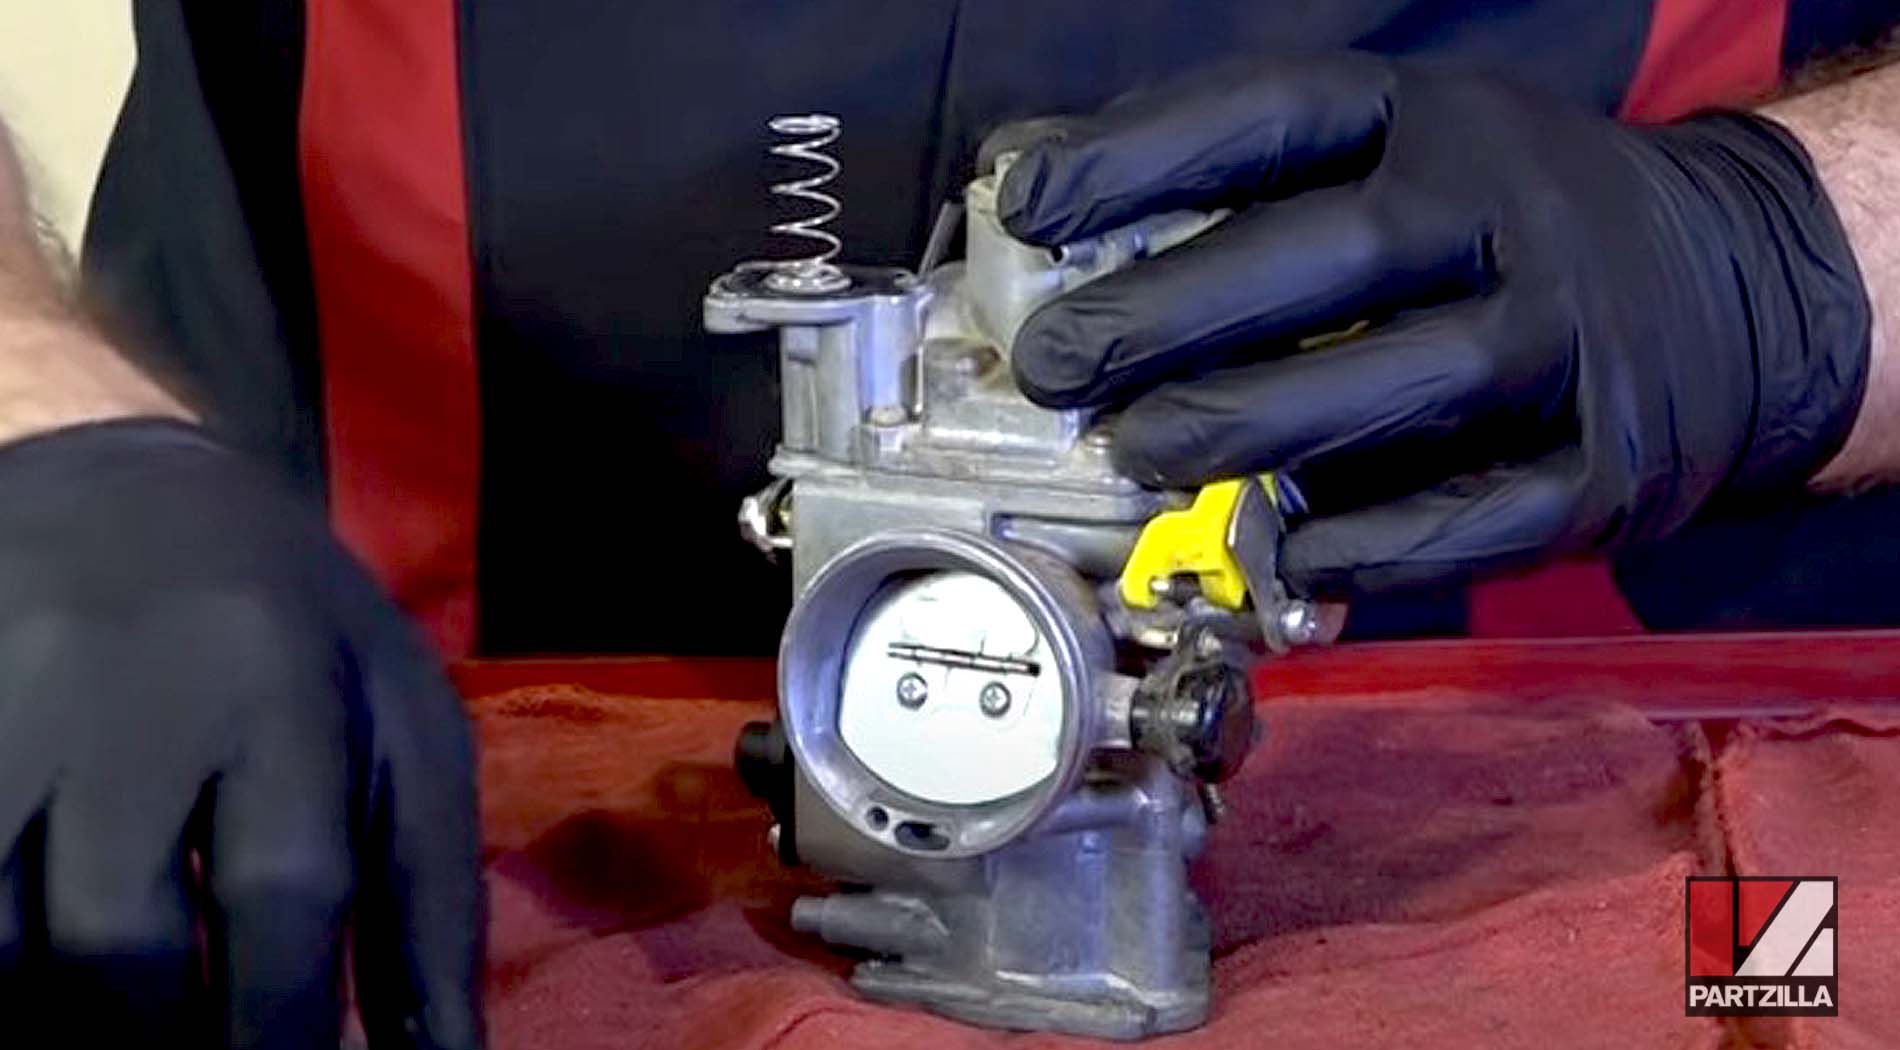
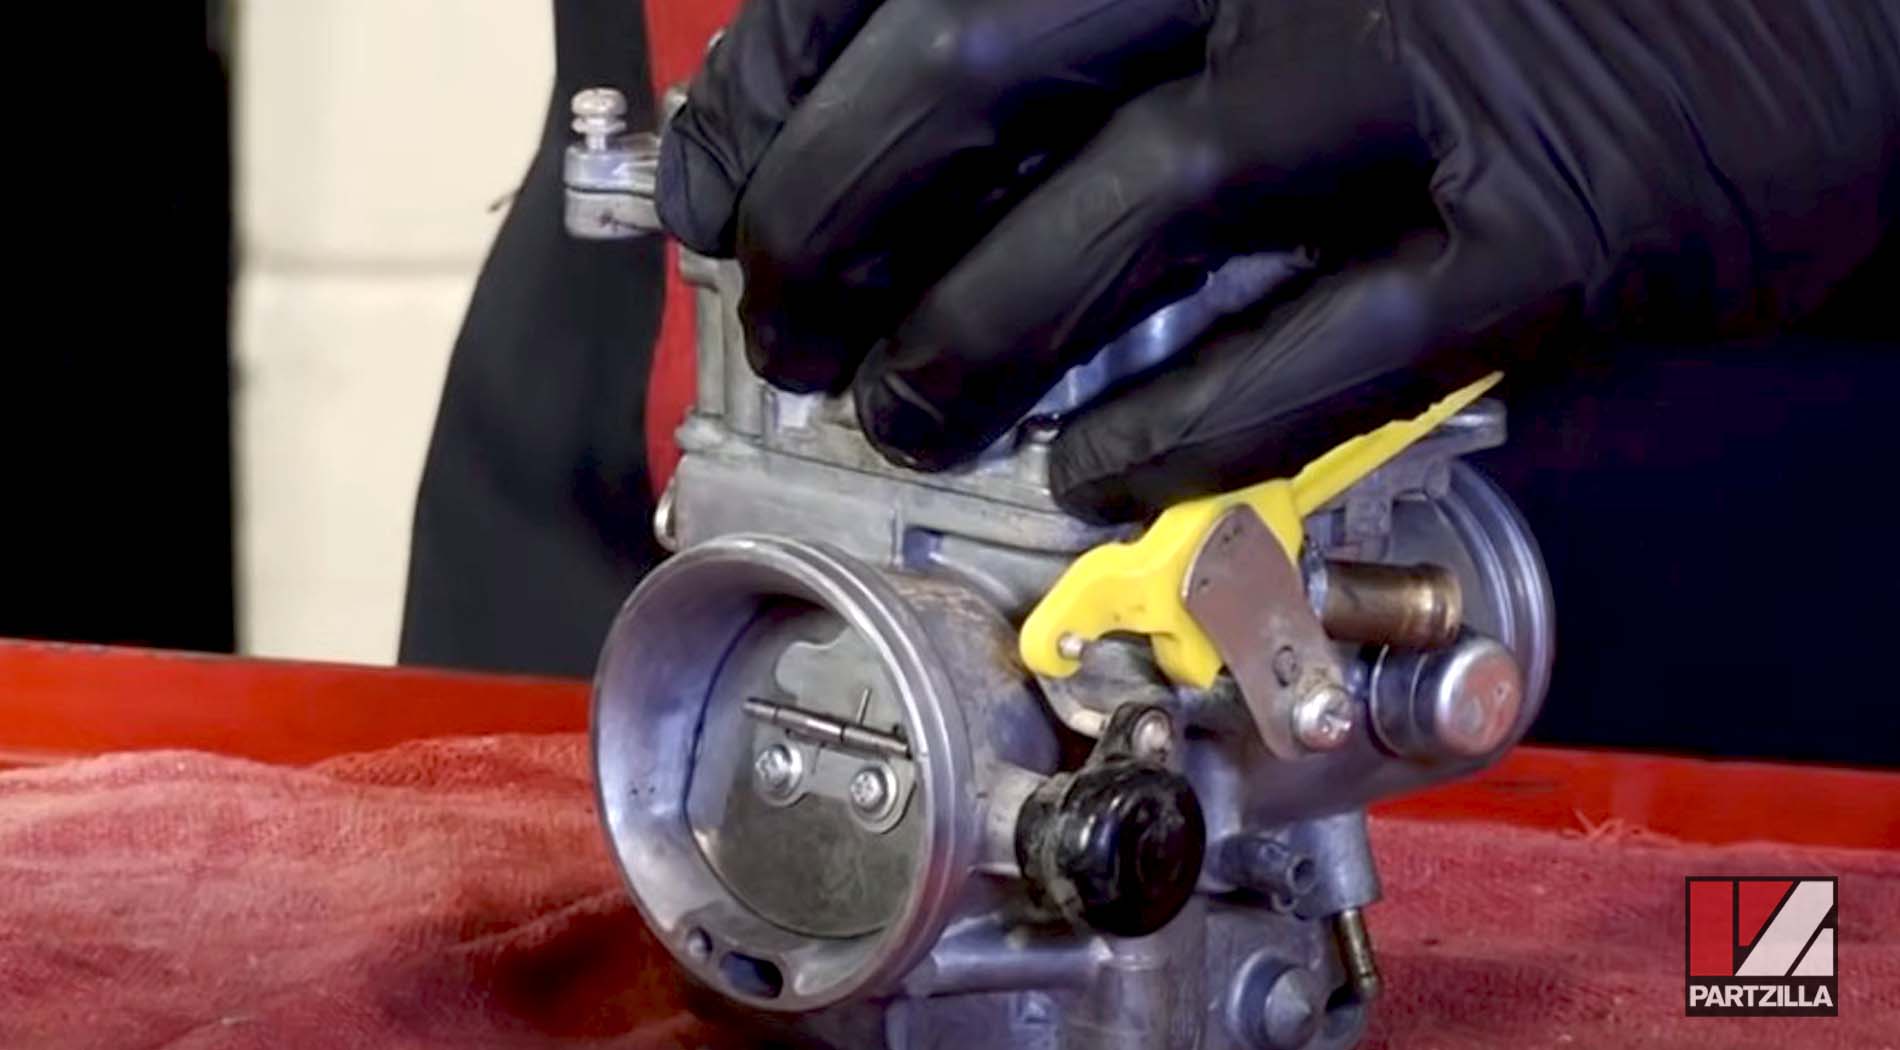
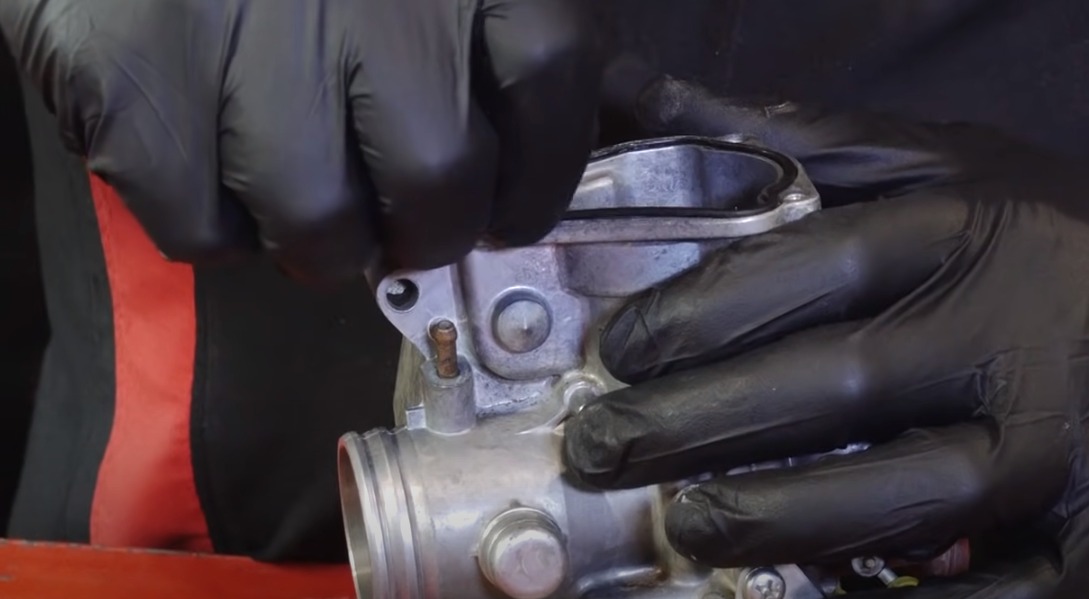
Step 6. Remove the main needle jet and sliding throttle valve by taking off the Phillips screw from the pivot arm.

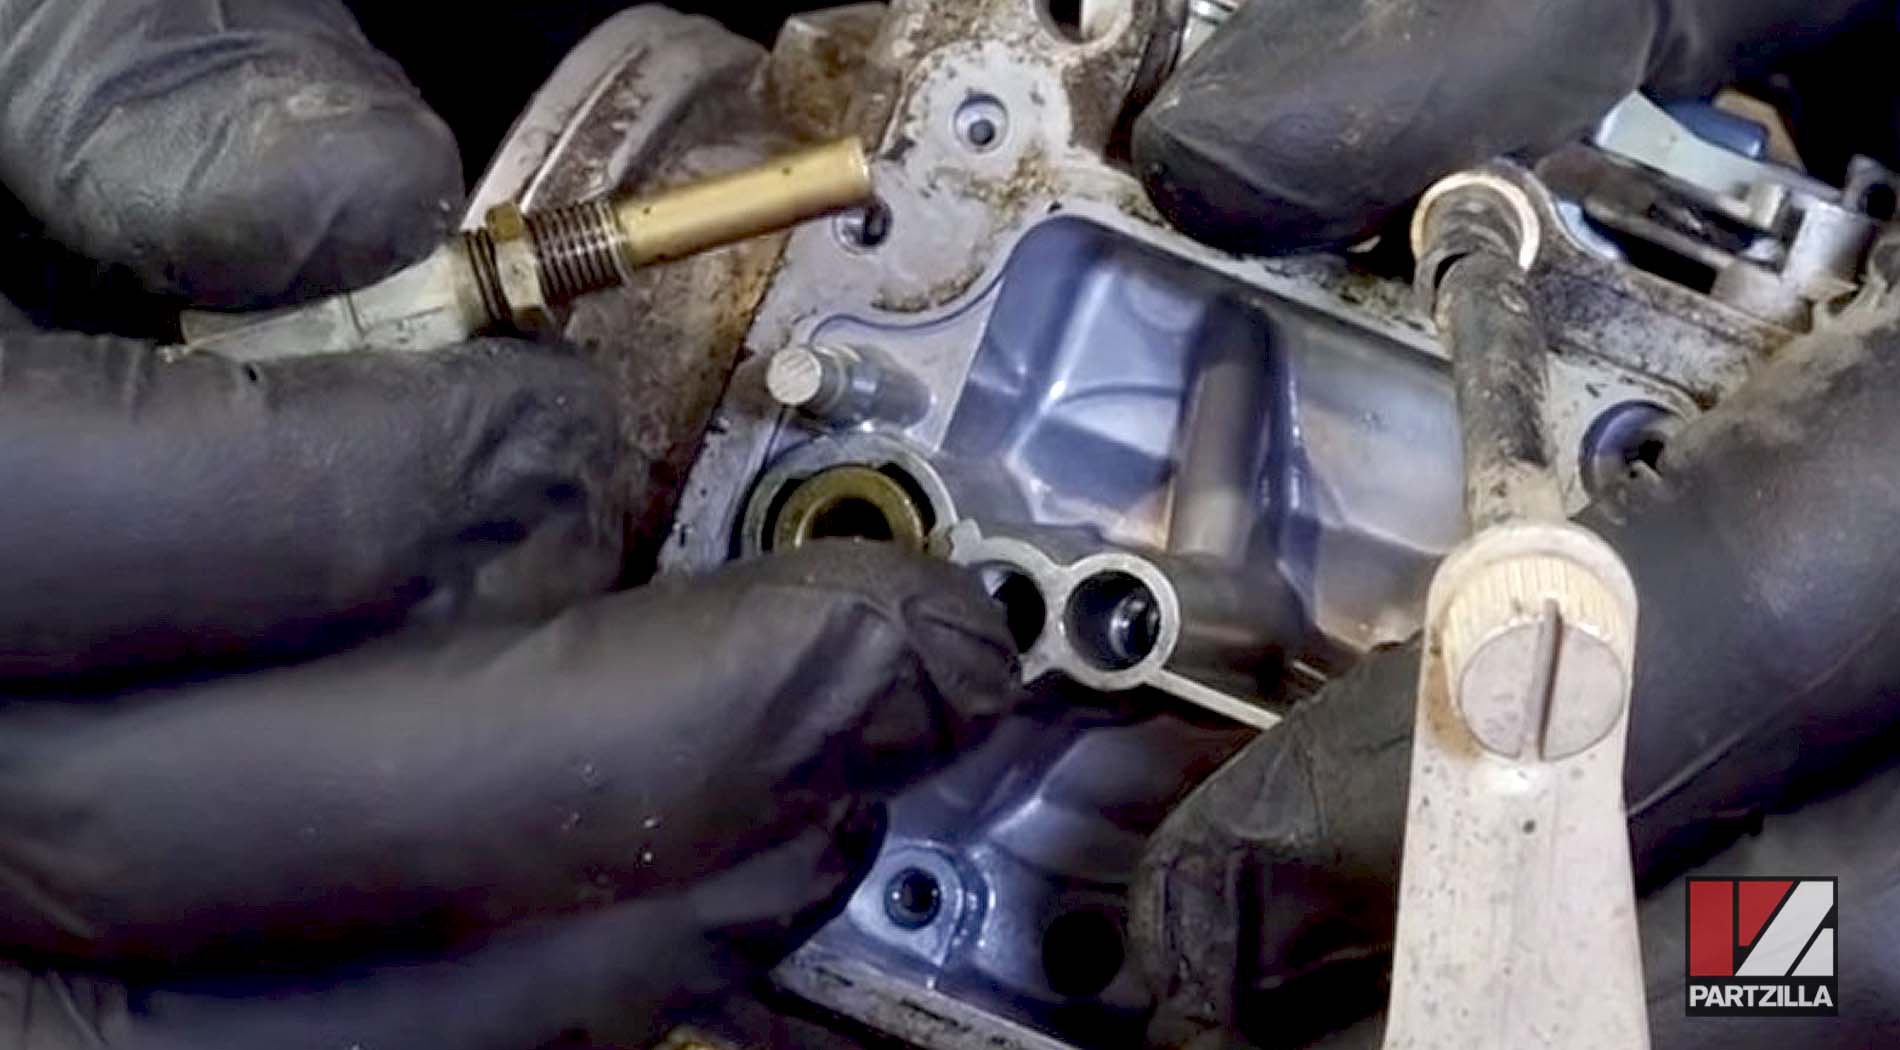
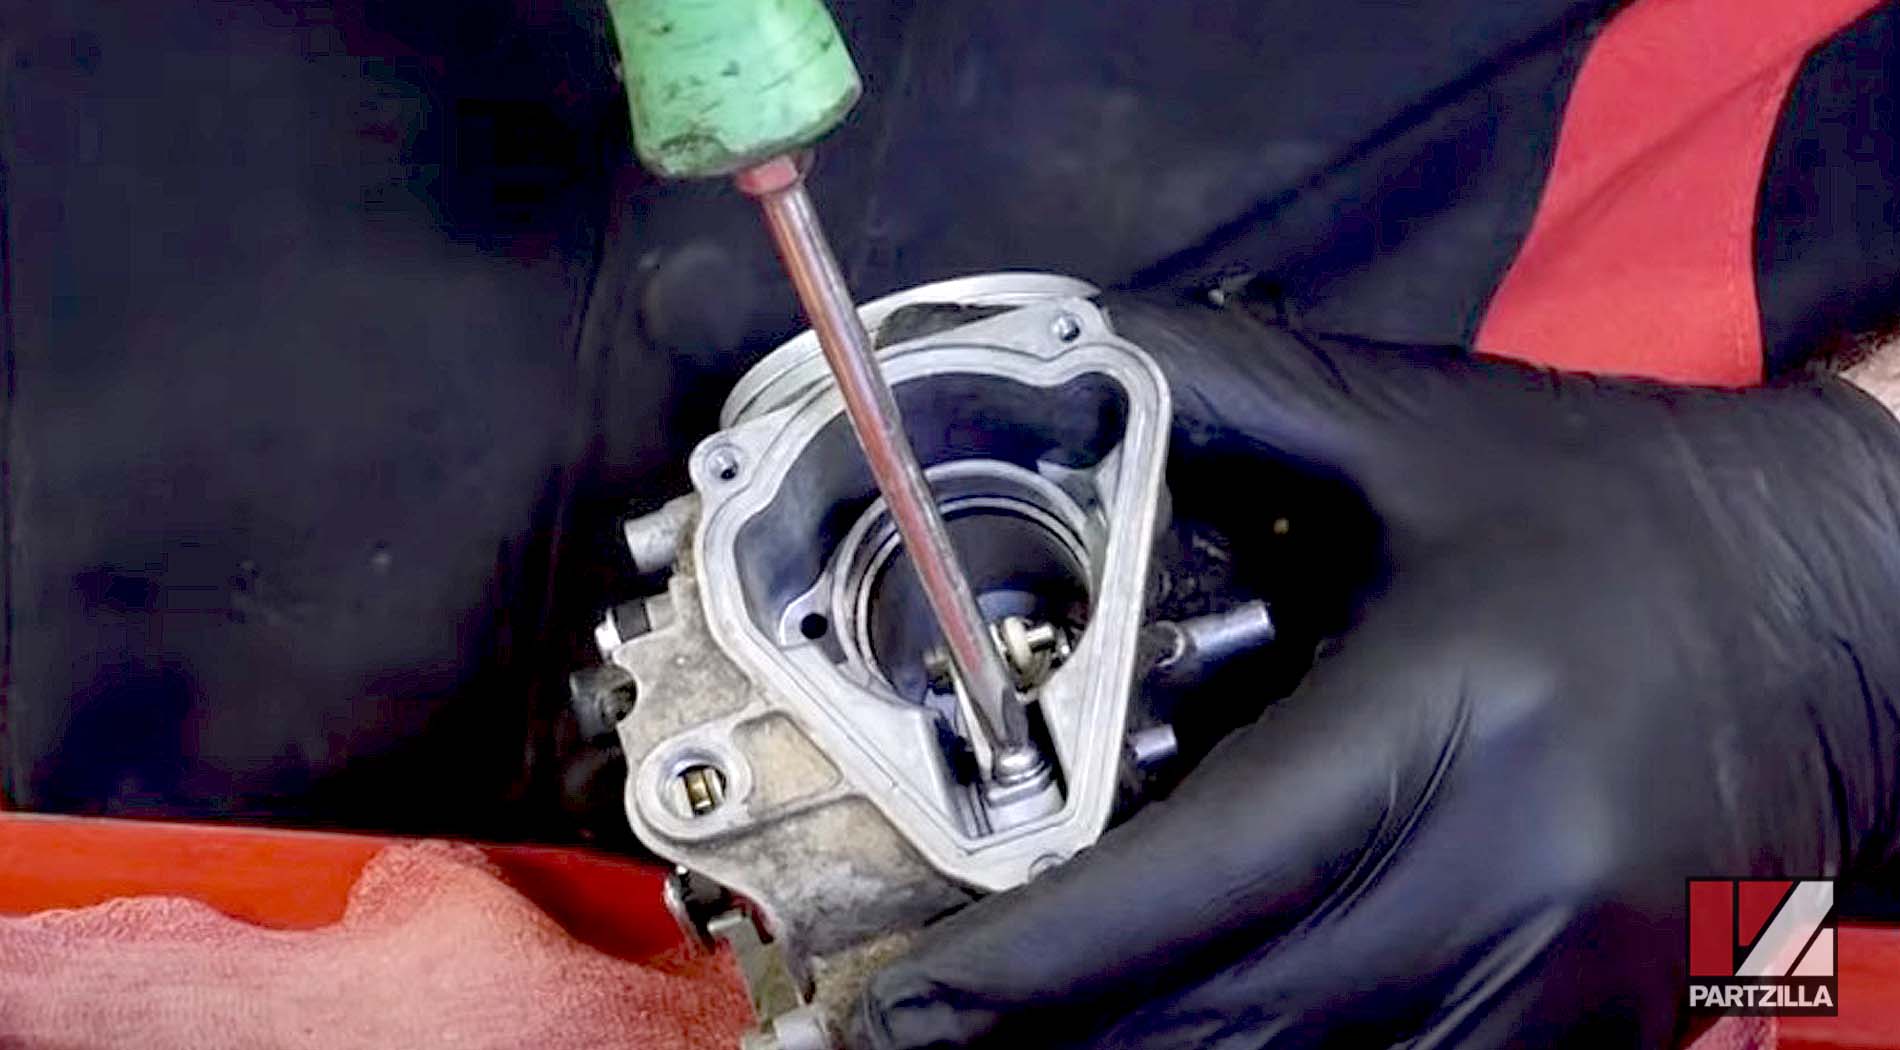
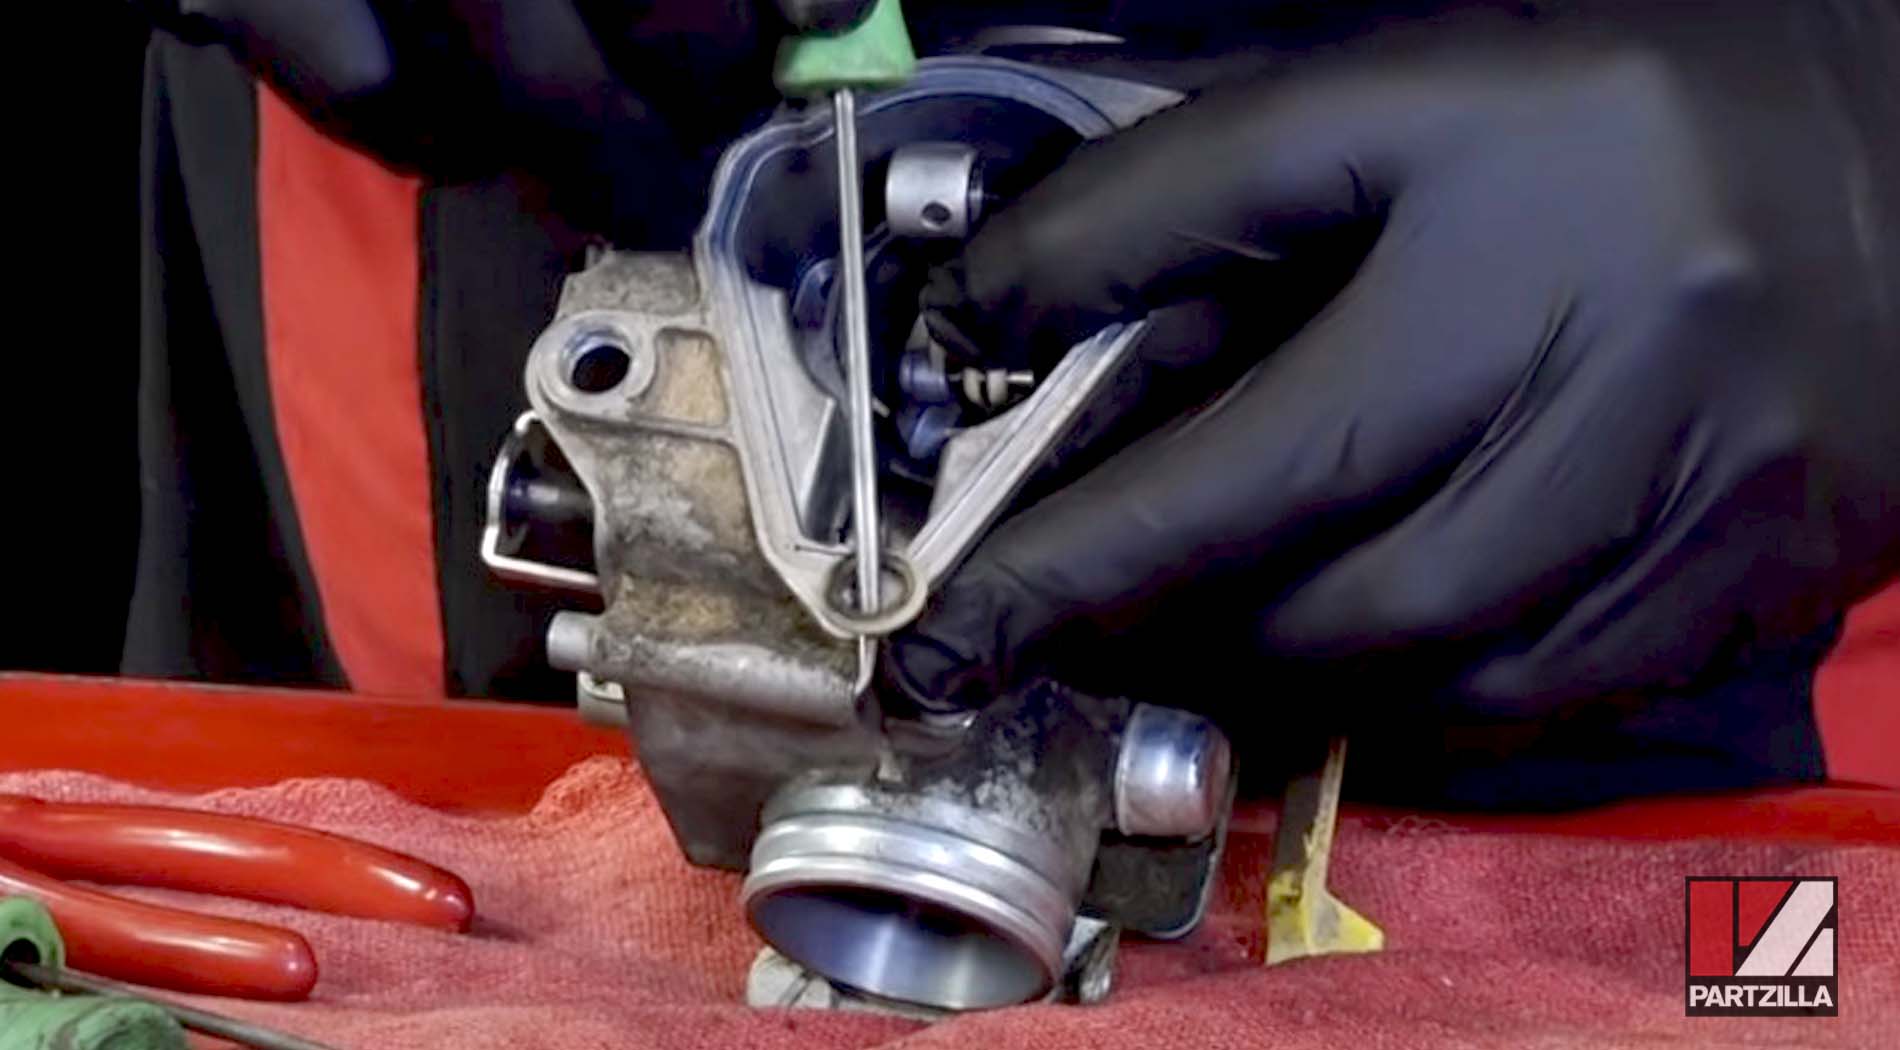
Step 7. Remove the air cut valve assembly.
Watch the carb dismantling segment of our Honda TRX 400EX carburetor cleaning and rebuild video below.
Honda TRX 400EX Carburetor Cleaning
NOTE: The carburetor rebuild kit includes all the jets and needles needed to overhaul a TRX 400 carb, as well as all the O-rings, gaskets and washers.
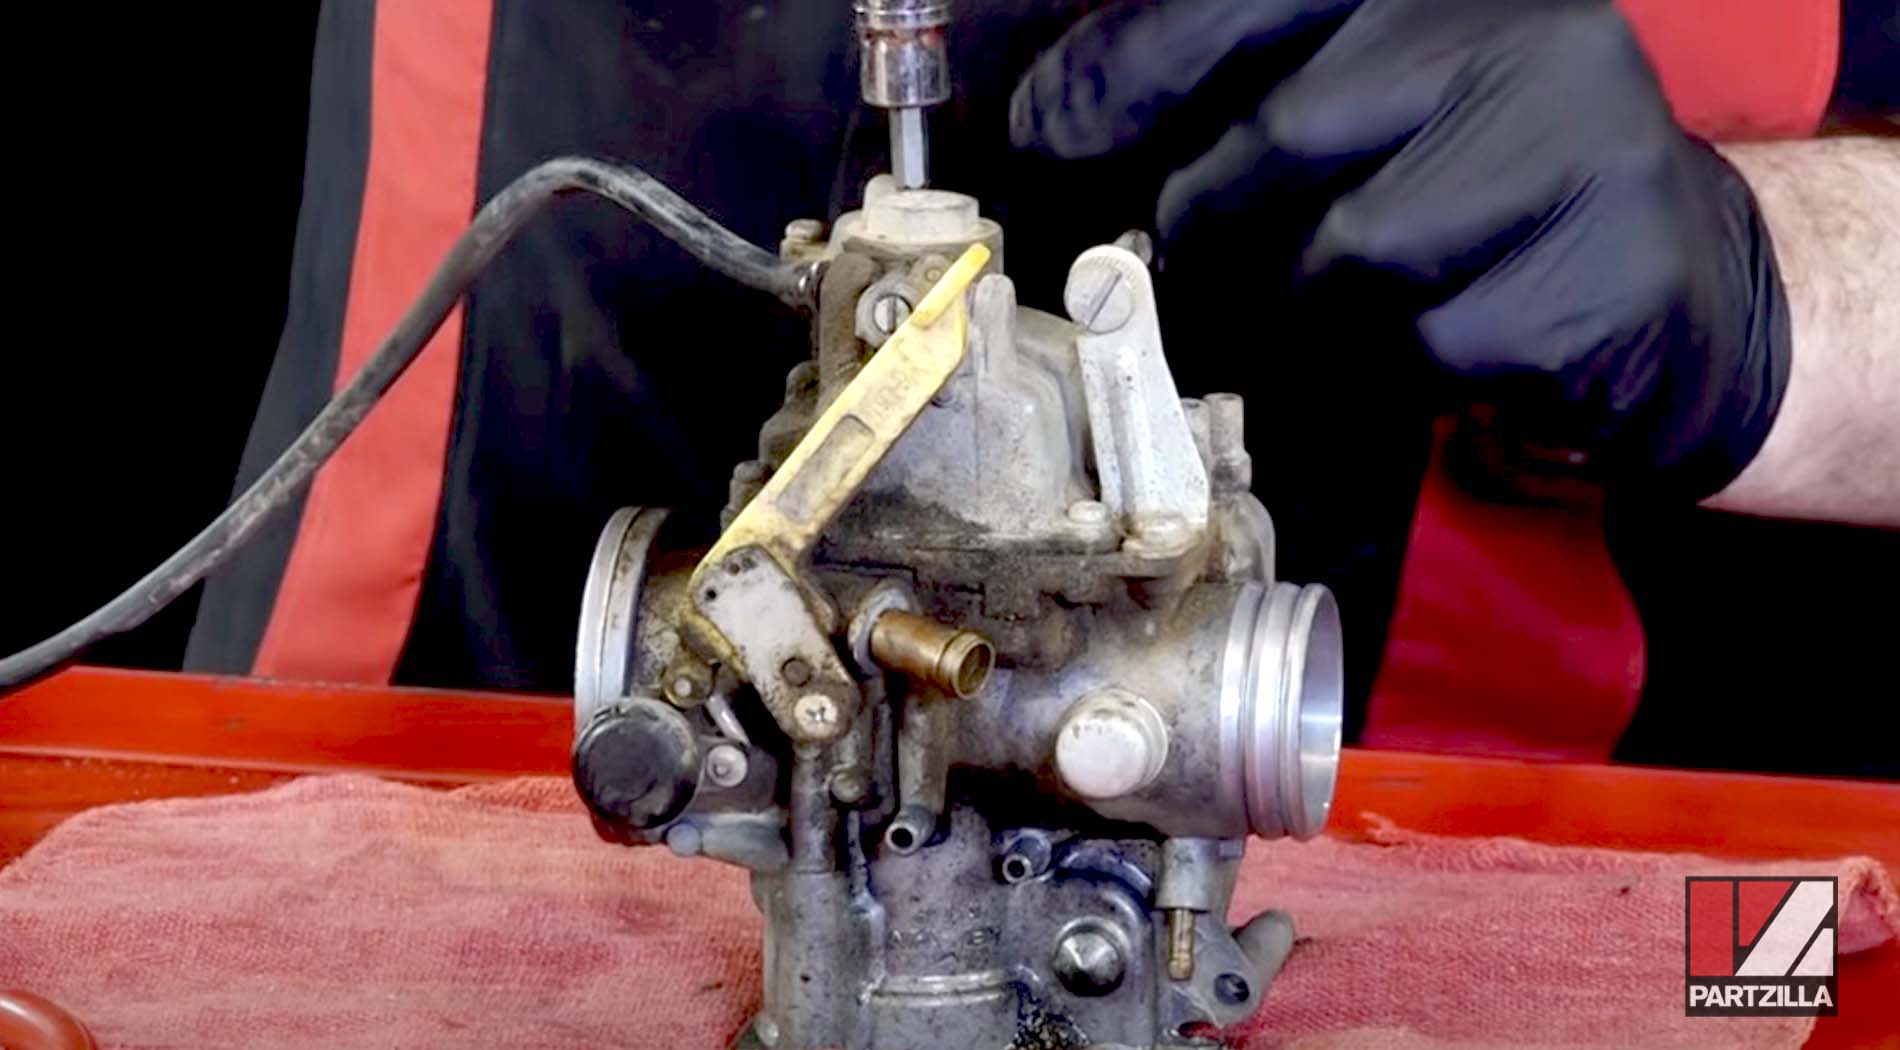
Step 1. Thoroughly clean the carburetor body and the float chamber with carb cleaner. Soak the parts in carb cleaner, and remove as much buildup from within the carburetor body and the float chamber as possible. Squirt carb cleaner through all the channels in the carburetor body to rinse them out.
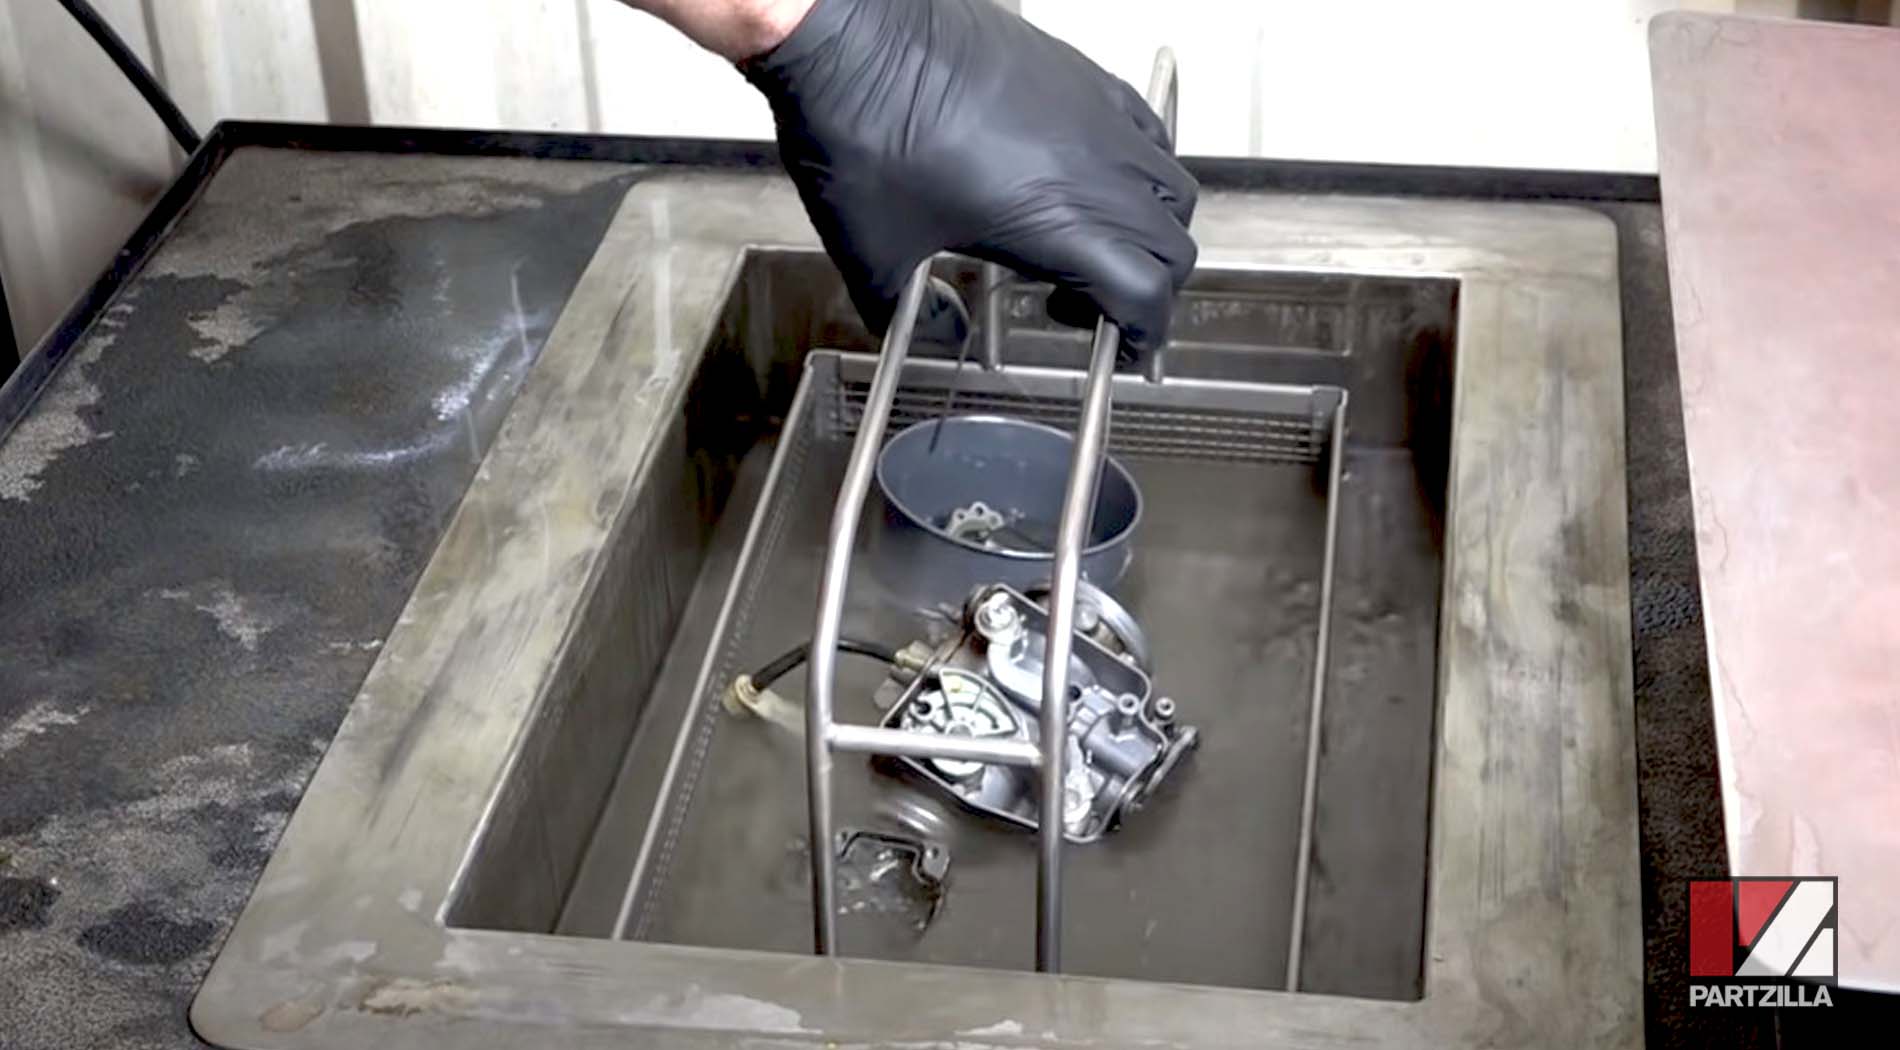
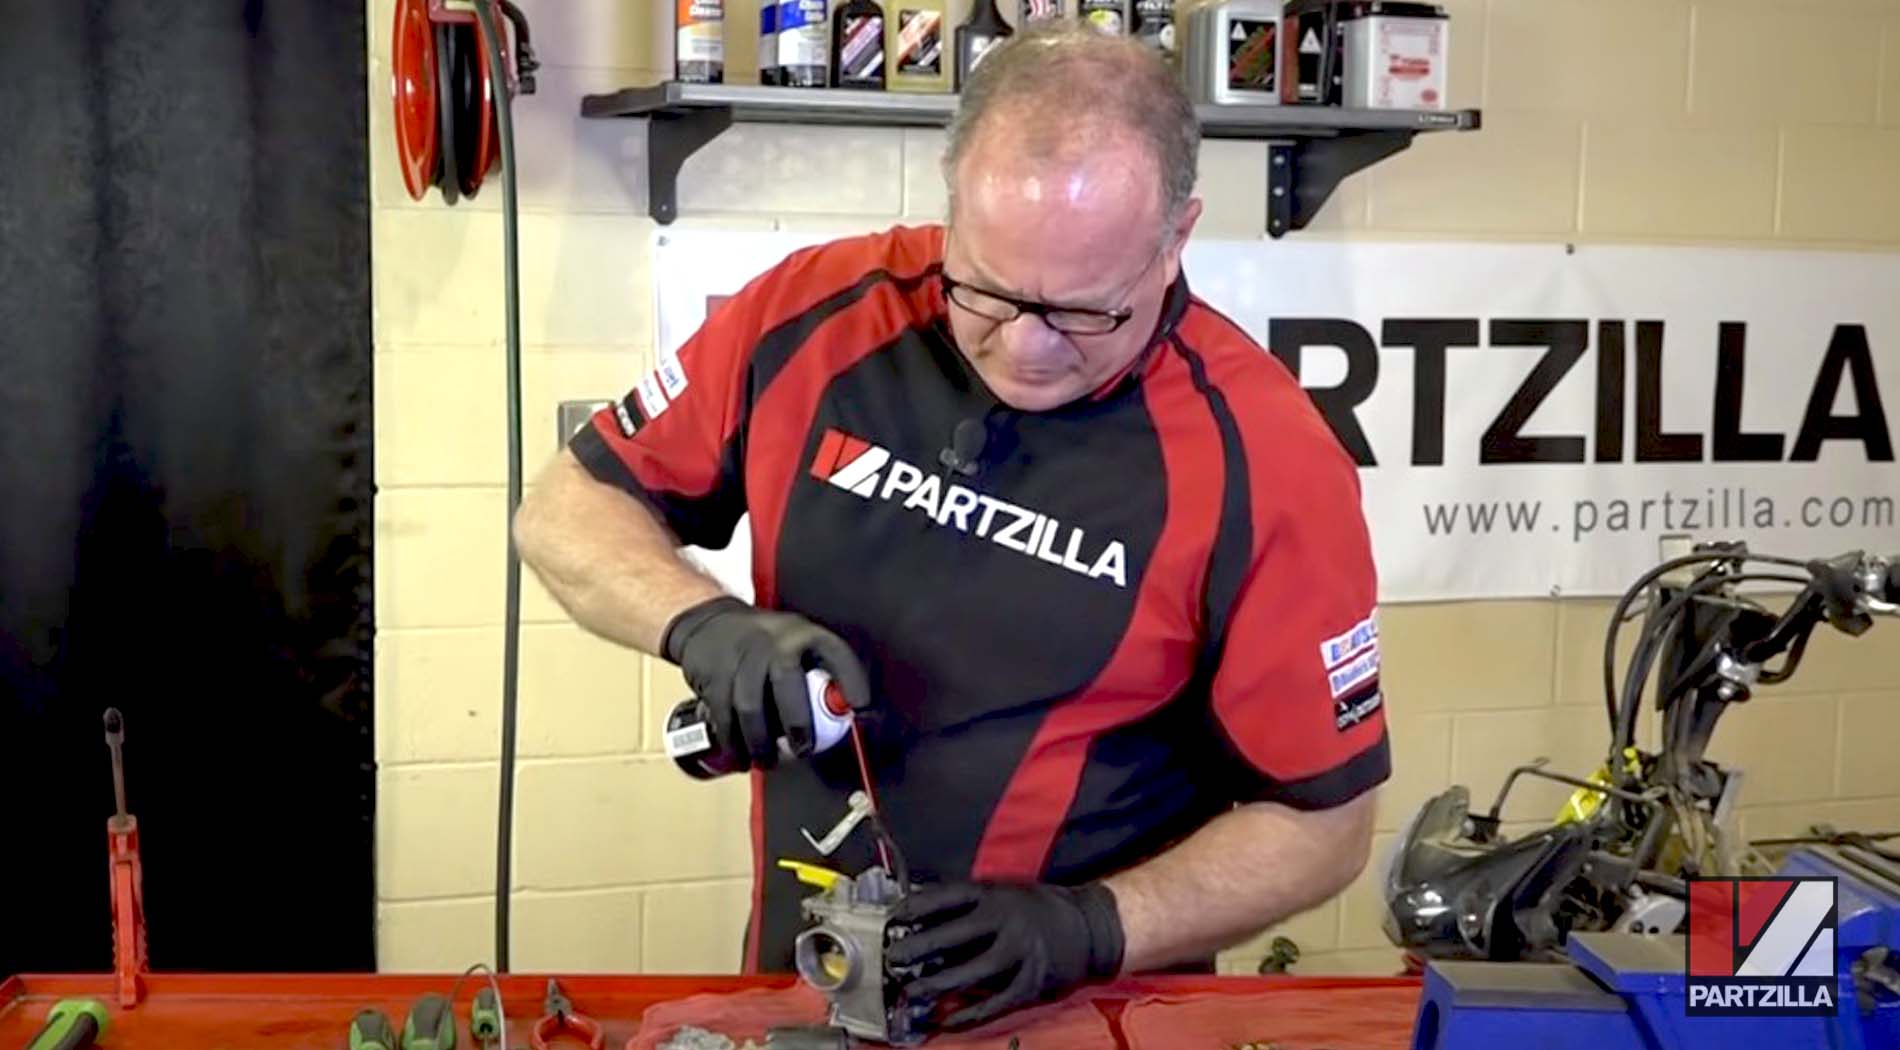
Step 2. Blow air through all the channels in the carburetor body and spray carb cleaner through the jets to remove any dirt and debris.

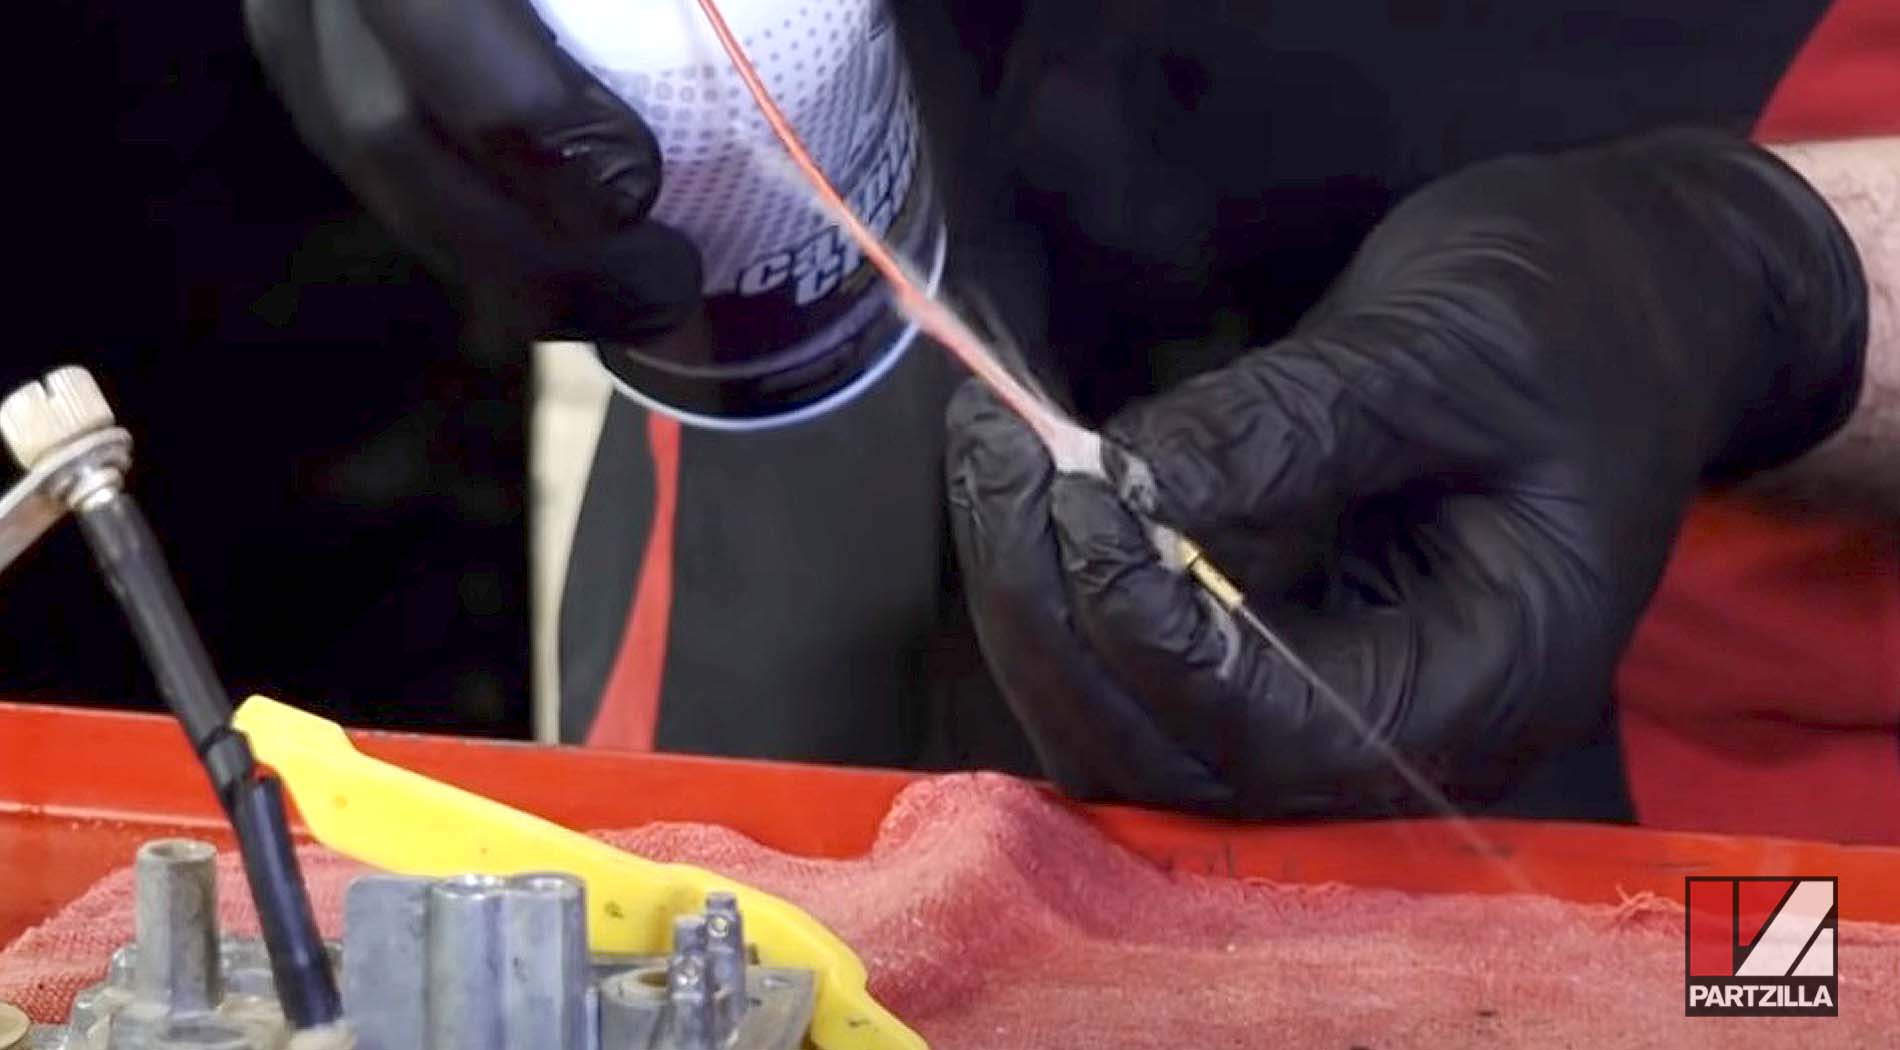
Watch the carb cleaning segment of our Honda TRX 400EX carburetor clean and rebuild video below.
Rebuilding Honda TRX 400EX Carburetor
Step 1. Install the new idle jet, the main jet holder and the air-mixture adjustment needle, including the adjustment needle’s washer and O-ring (all included in the carburetor kit).

NOTE: When installing parts made of brass (the jets and needles), be very careful not to overtighten them because brass is a soft metal and brass screw threads can easily be stripped. Once the air-mixture adjustment needle has seated, it should be backed off by two and a half turns.
Step 2. Install the new float needle valve (included in the carburetor kit) to the float, and reinstall the float to the carb, making sure the float needle is secure in its channel. Then, reinstall the float bowl.
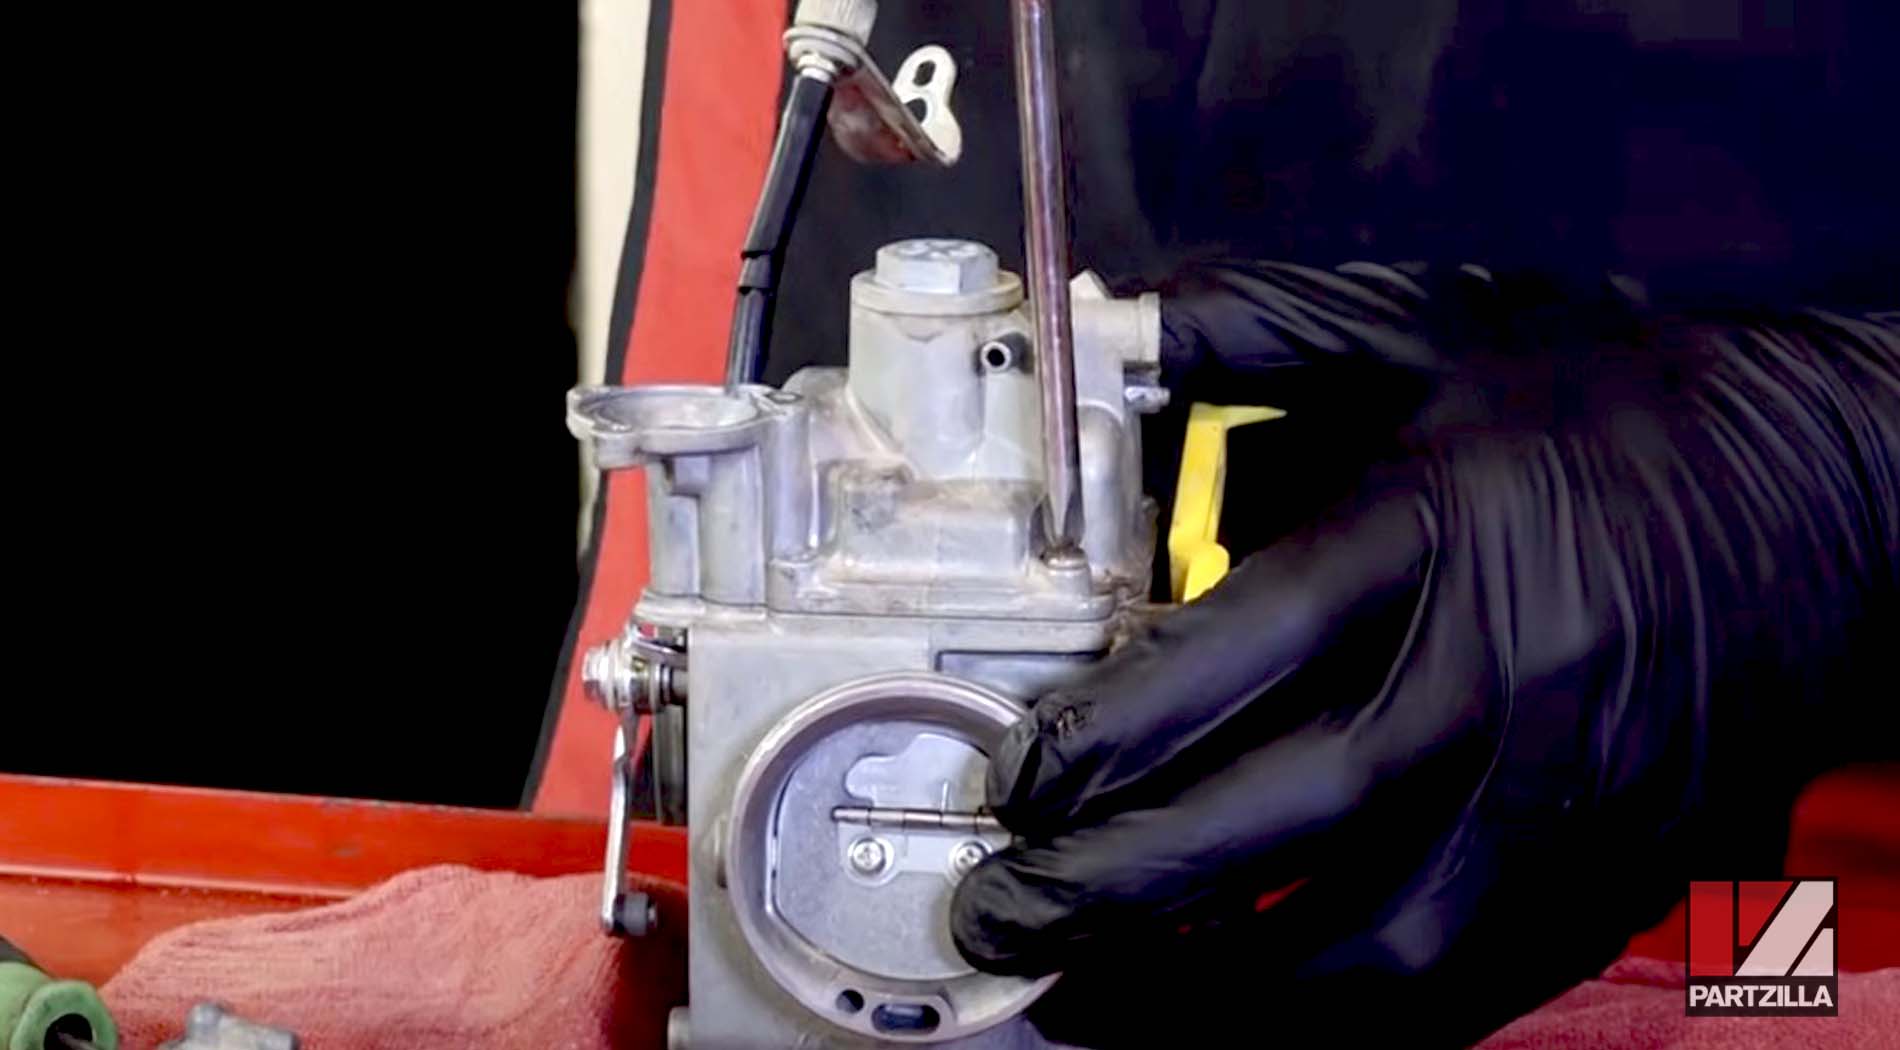
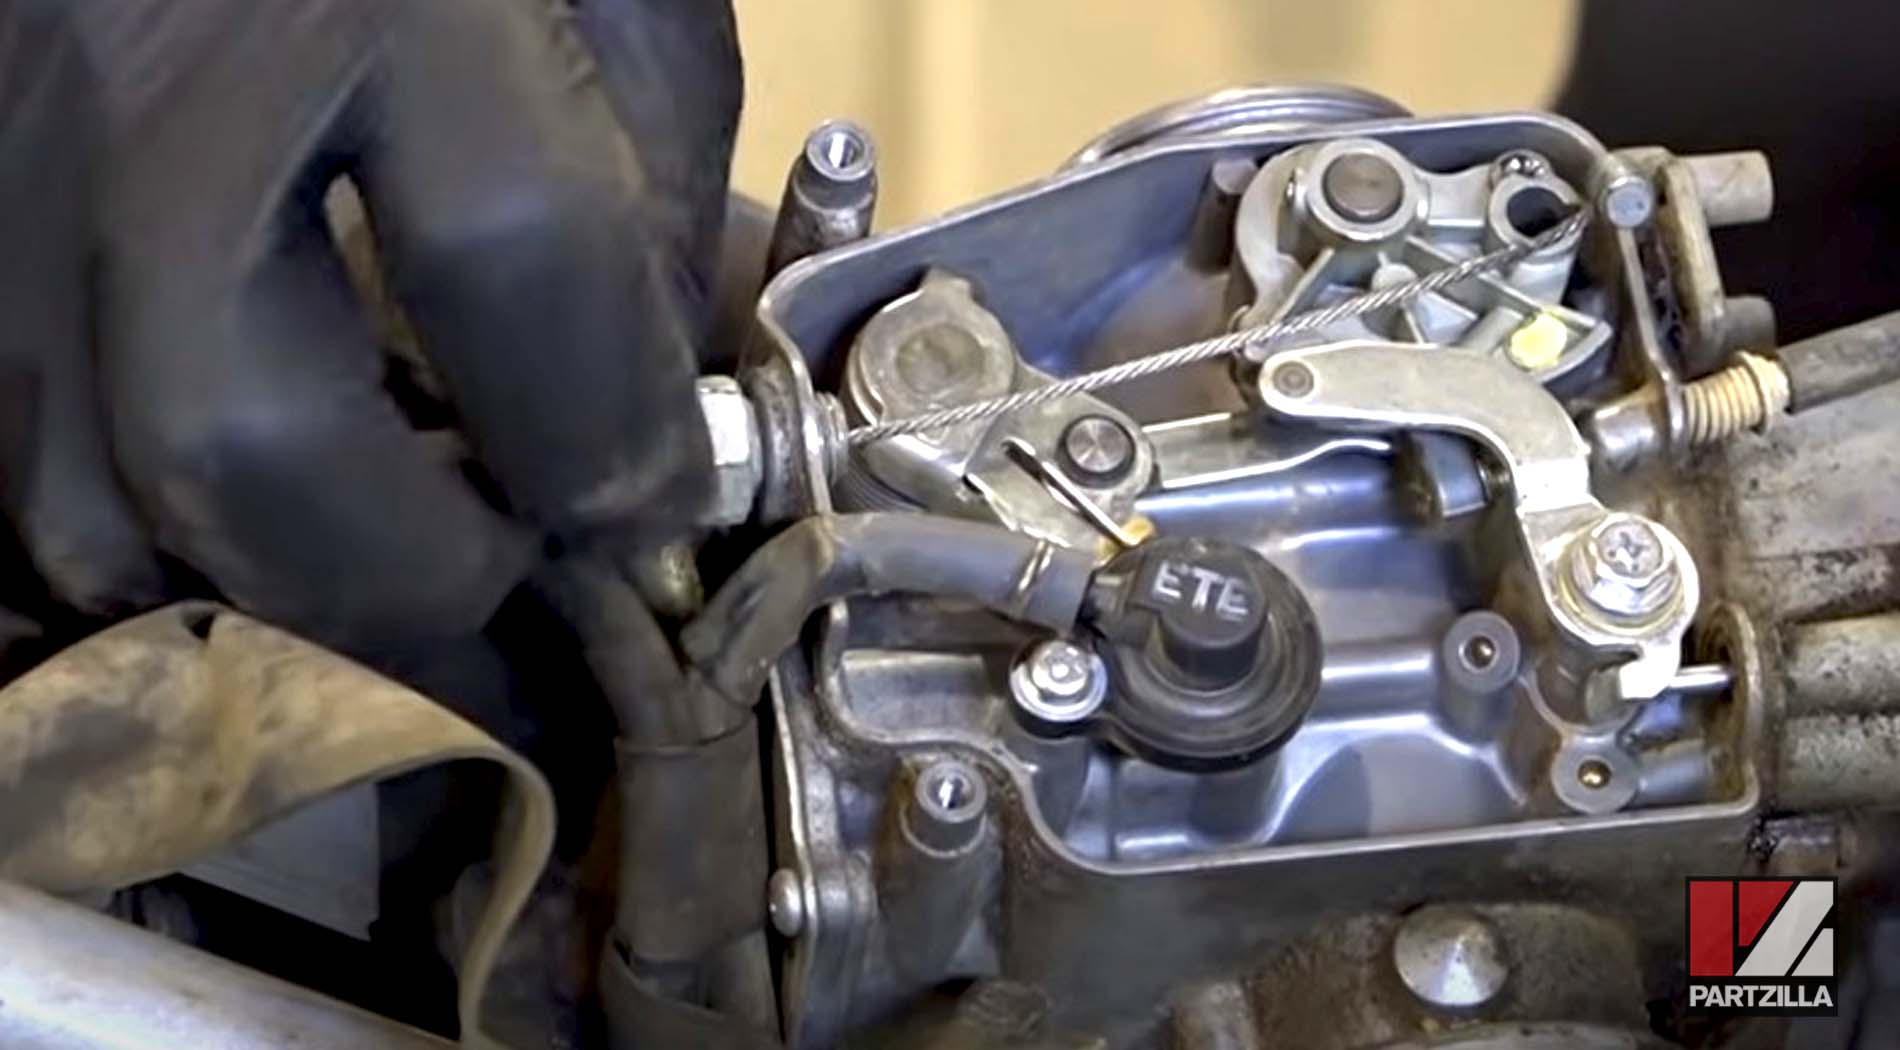
Step 3. Reinstall the air cut valve assembly and the accelerator pump diaphragm set.
Step 4. Reinstall the main needle jet and sliding throttle valve, making sure the needle is properly seated in the needle holder.
Step 5. Reinstall the fuel strainer screen back into the fuel intake tube, reconnect the fuel hose over it, and reinstall all the other hoses.

Watch the carb rebuilding segment of our Honda TRX 400EX carburetor clean and rebuild video below.
Honda TRX 400EX Carburetor Reinstallation
Step 1. Reinstall the throttle cable elbow, then reattach the throttle cable and reinstall the plastic throttle cover.
Step 2. Press the carburetor into the engine intake boot and tighten the clamp.
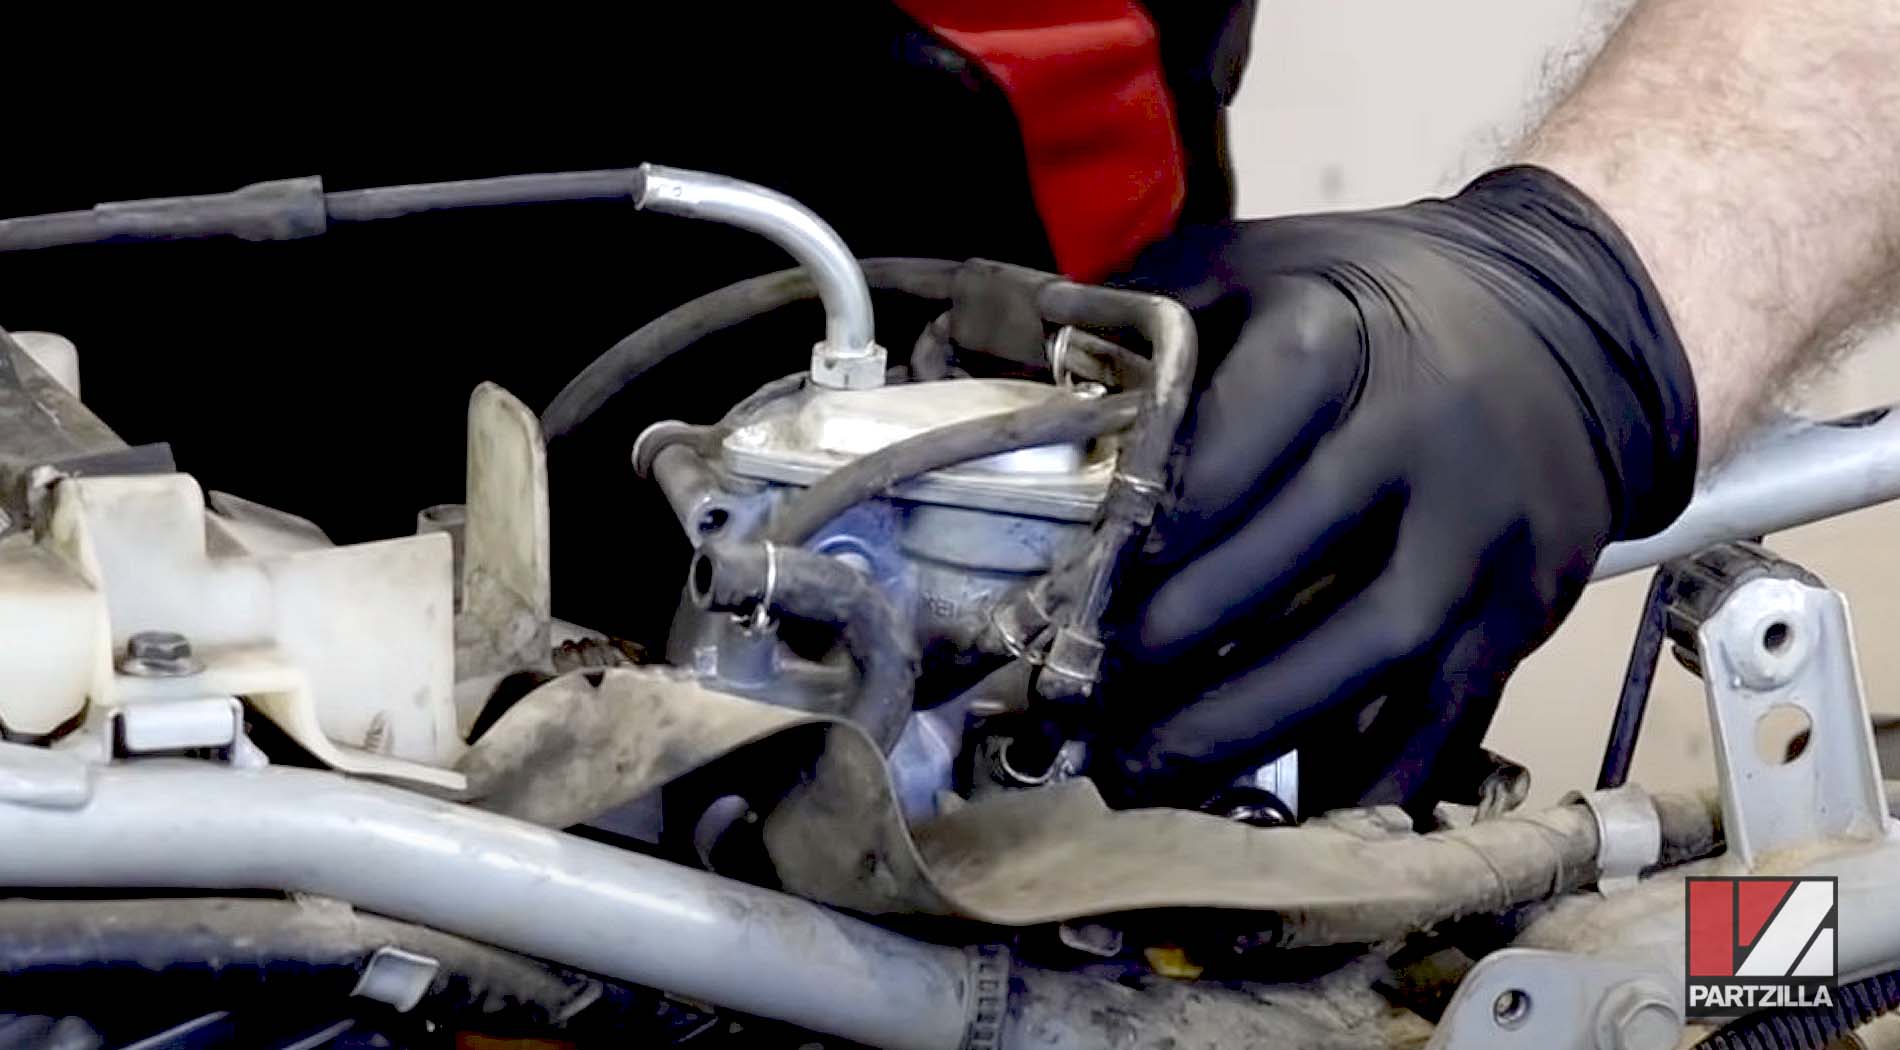
Step 3. Reinstall the airbox, intake duct, and boot assembly.
Step 4. Reinstall the fuel tank, reconnect the fuel line and you're done.
Watch the carb reinstallation segment of our Honda TRX 400EX carburetor clean and rebuild video below.