Honda TRX350 Carb Clean & Rebuild
Poor acceleration, top-end speed and overall engine performance are all symptoms of a Honda TRX 350 carburetor in need of cleaning and rebuilding.
Working on carburetors doesn't require any sophisticated tools, and the only parts you're likely to need are all included in a carburetor kit. Watch the video above and follow the steps below to learn how to do a Honda Rancher TRX 350 carburetor clean and rebuild.
See the parts diagram: Honda TRX350 carburetor parts diagram
Tools and Parts - Honda Rancher 350 Carb Clean & Rebuild
- Ratchet and extensions
- 10mm socket
- Screwdrivers
- Impact driver
- 7mm, 10mm, 14mm wrenches
- Pliers
- Pick tool
- Side cutters
- Carburetor kit
- Carb cleaner
- Contact/brake cleaner

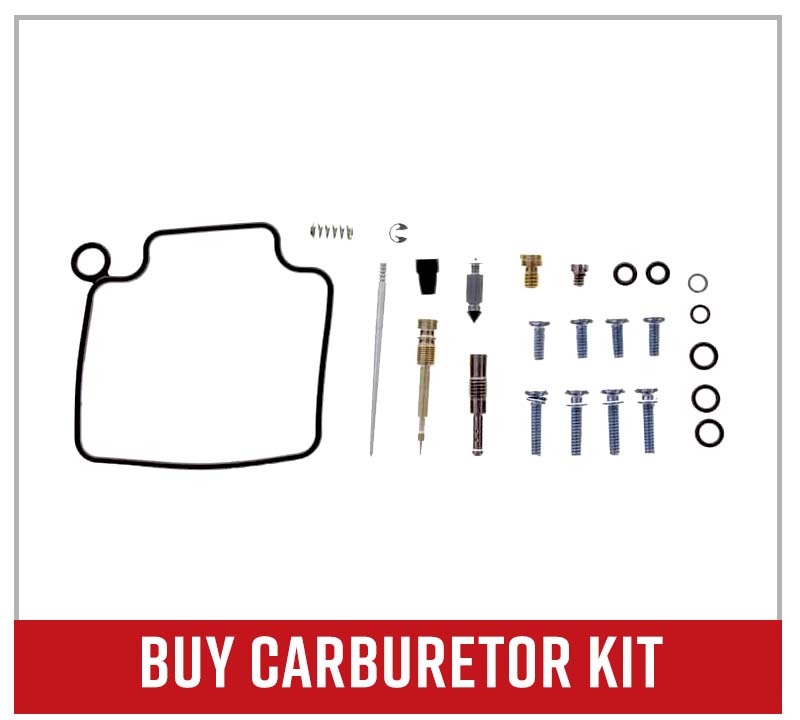
PRO TIP: You can purchase carburetor parts individually. However, a complete carburetor kit is a better option because it's inexpensive and includes everything you need to rebuild a carb.
Clean the Carburetor on a Honda TRX 350 Rancher
Step 1. Remove the seat, set the petcock to OFF and disconnect one of the battery cables to eliminate the possibility of a spark.
Step 2. Remove the airbox by loosening the two clamps on its sides, then removing the crankcase breather hose and the 10mm bolt beneath the airbox.
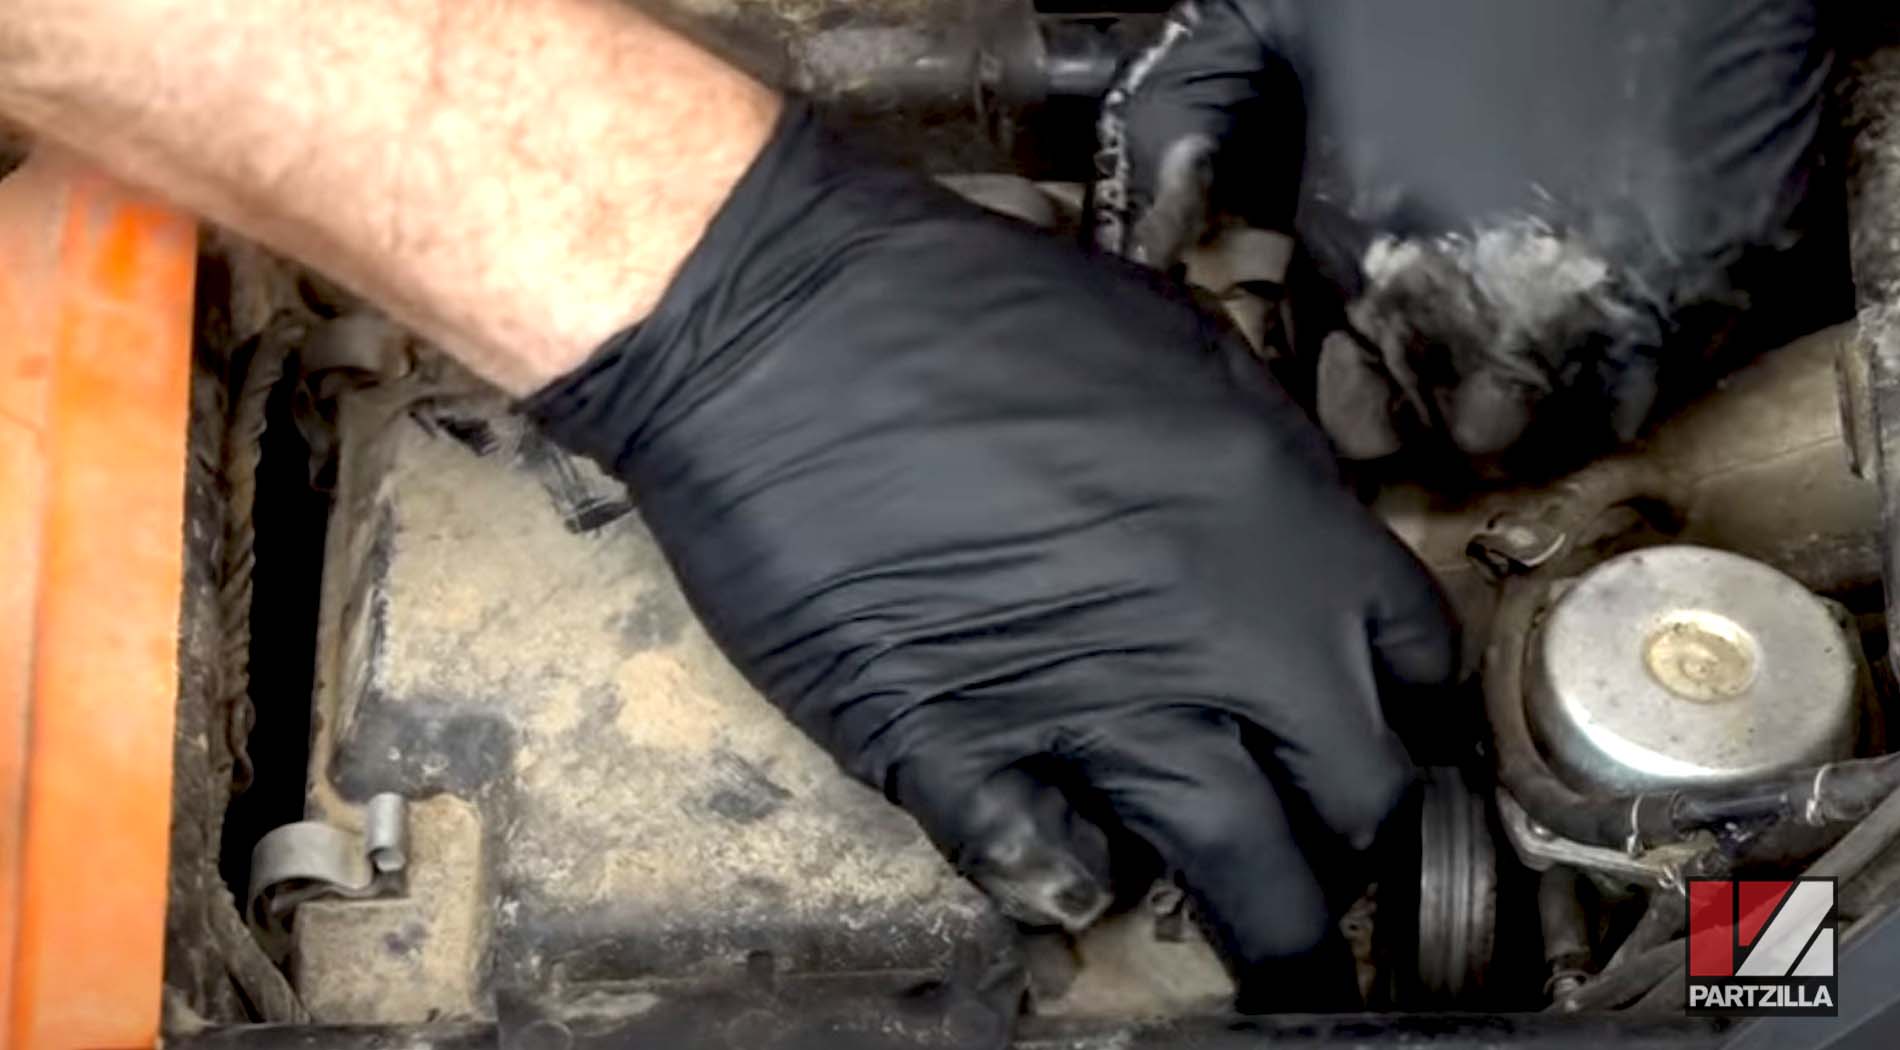
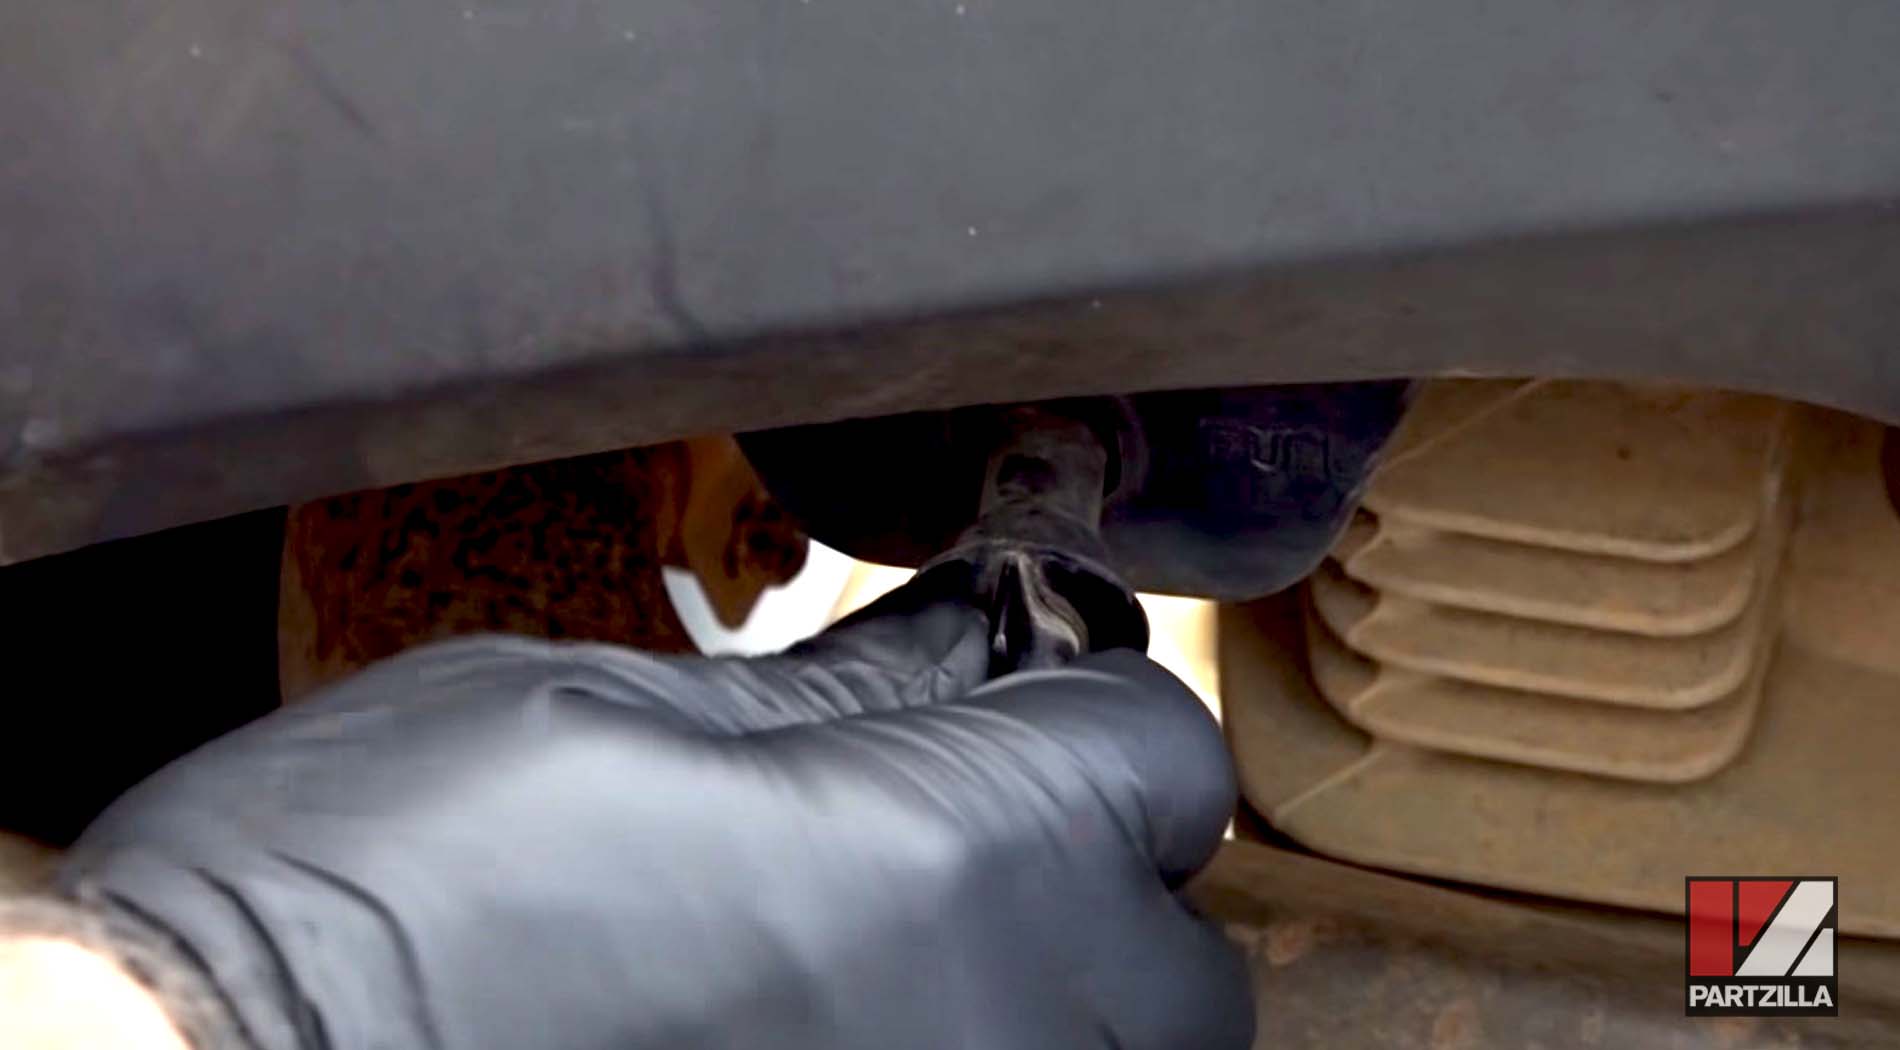
Step 3. Remove the carburetor by loosening the clamp on the carburetor intake and taking off the intake pipe. Next, remove the various vent hoses from the carburetor. Take out the plastic throttle cable cover, loosen the cable pinch bolt and disconnect the throttle cable. Disconnect the choke cable and the electrical connector on the right side of the TRX's engine.
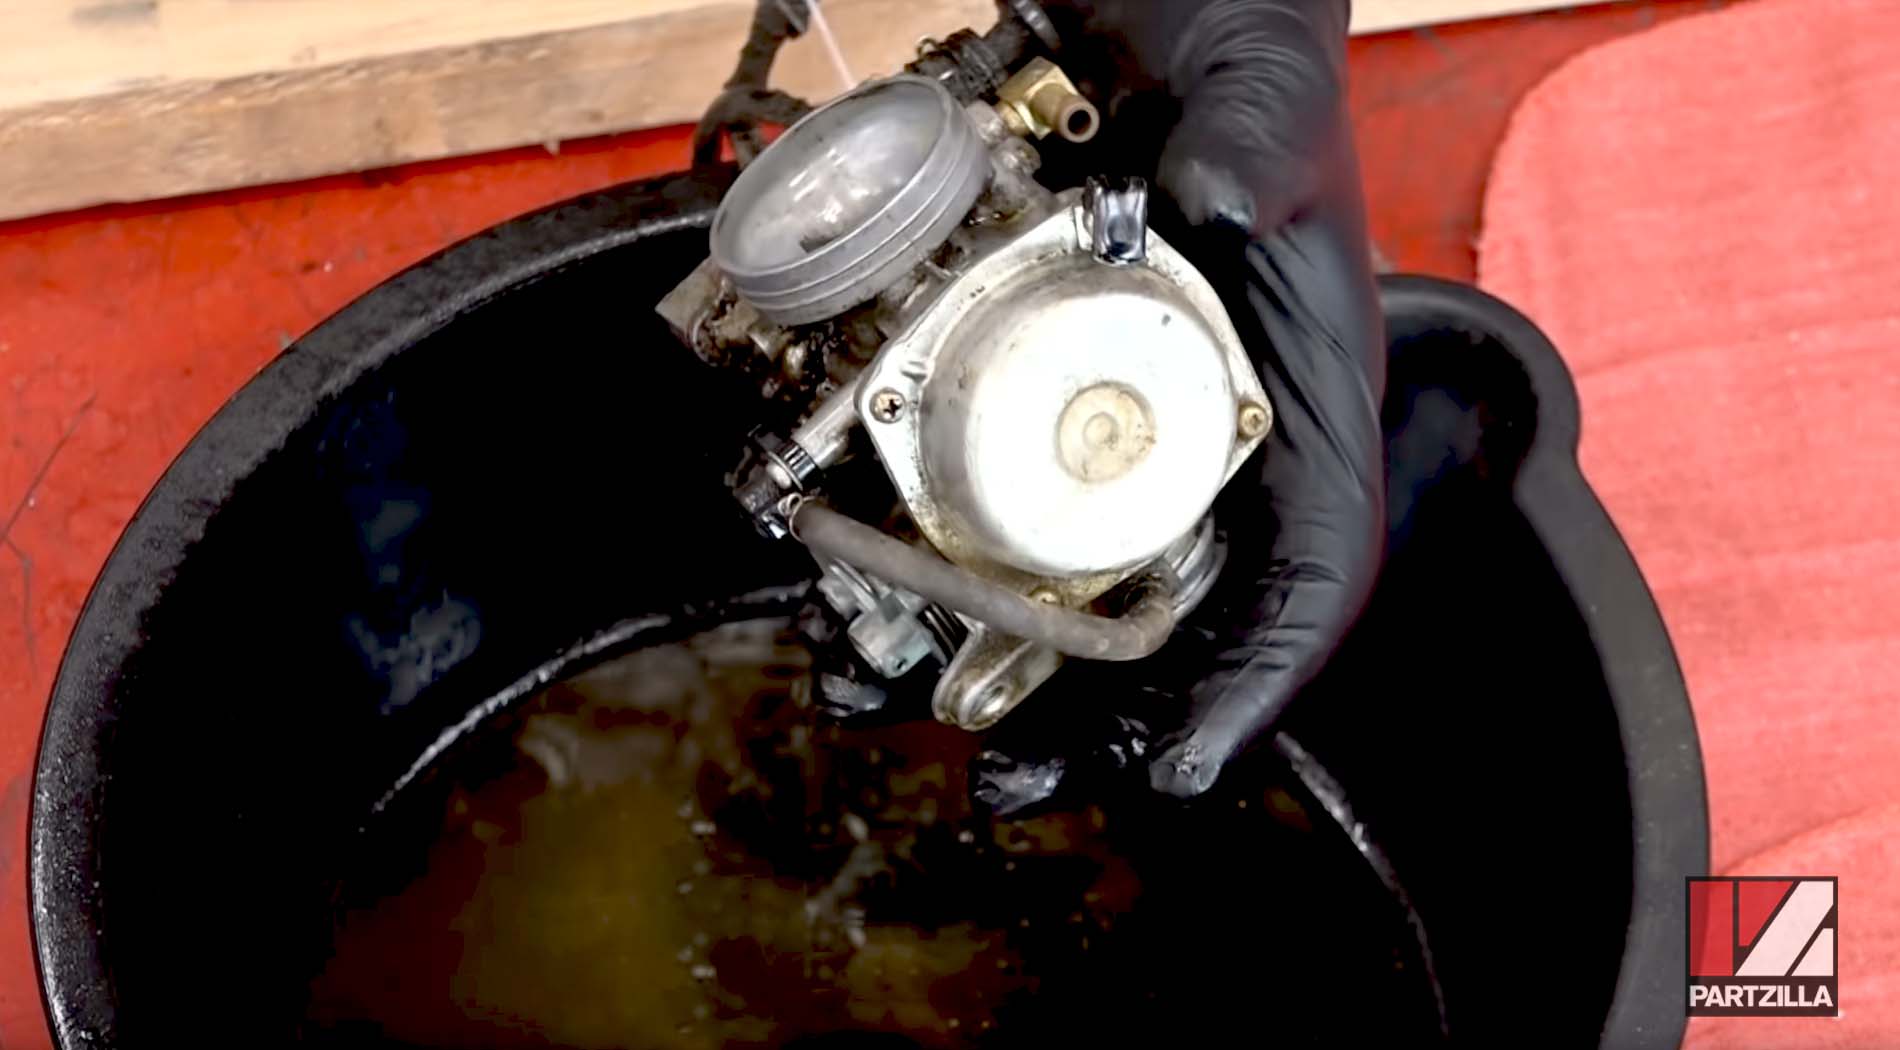
Step 4. Clean the carburetor body with brake/contact cleaner. Remove as much dirt and debris as possible before disassembling the carb.
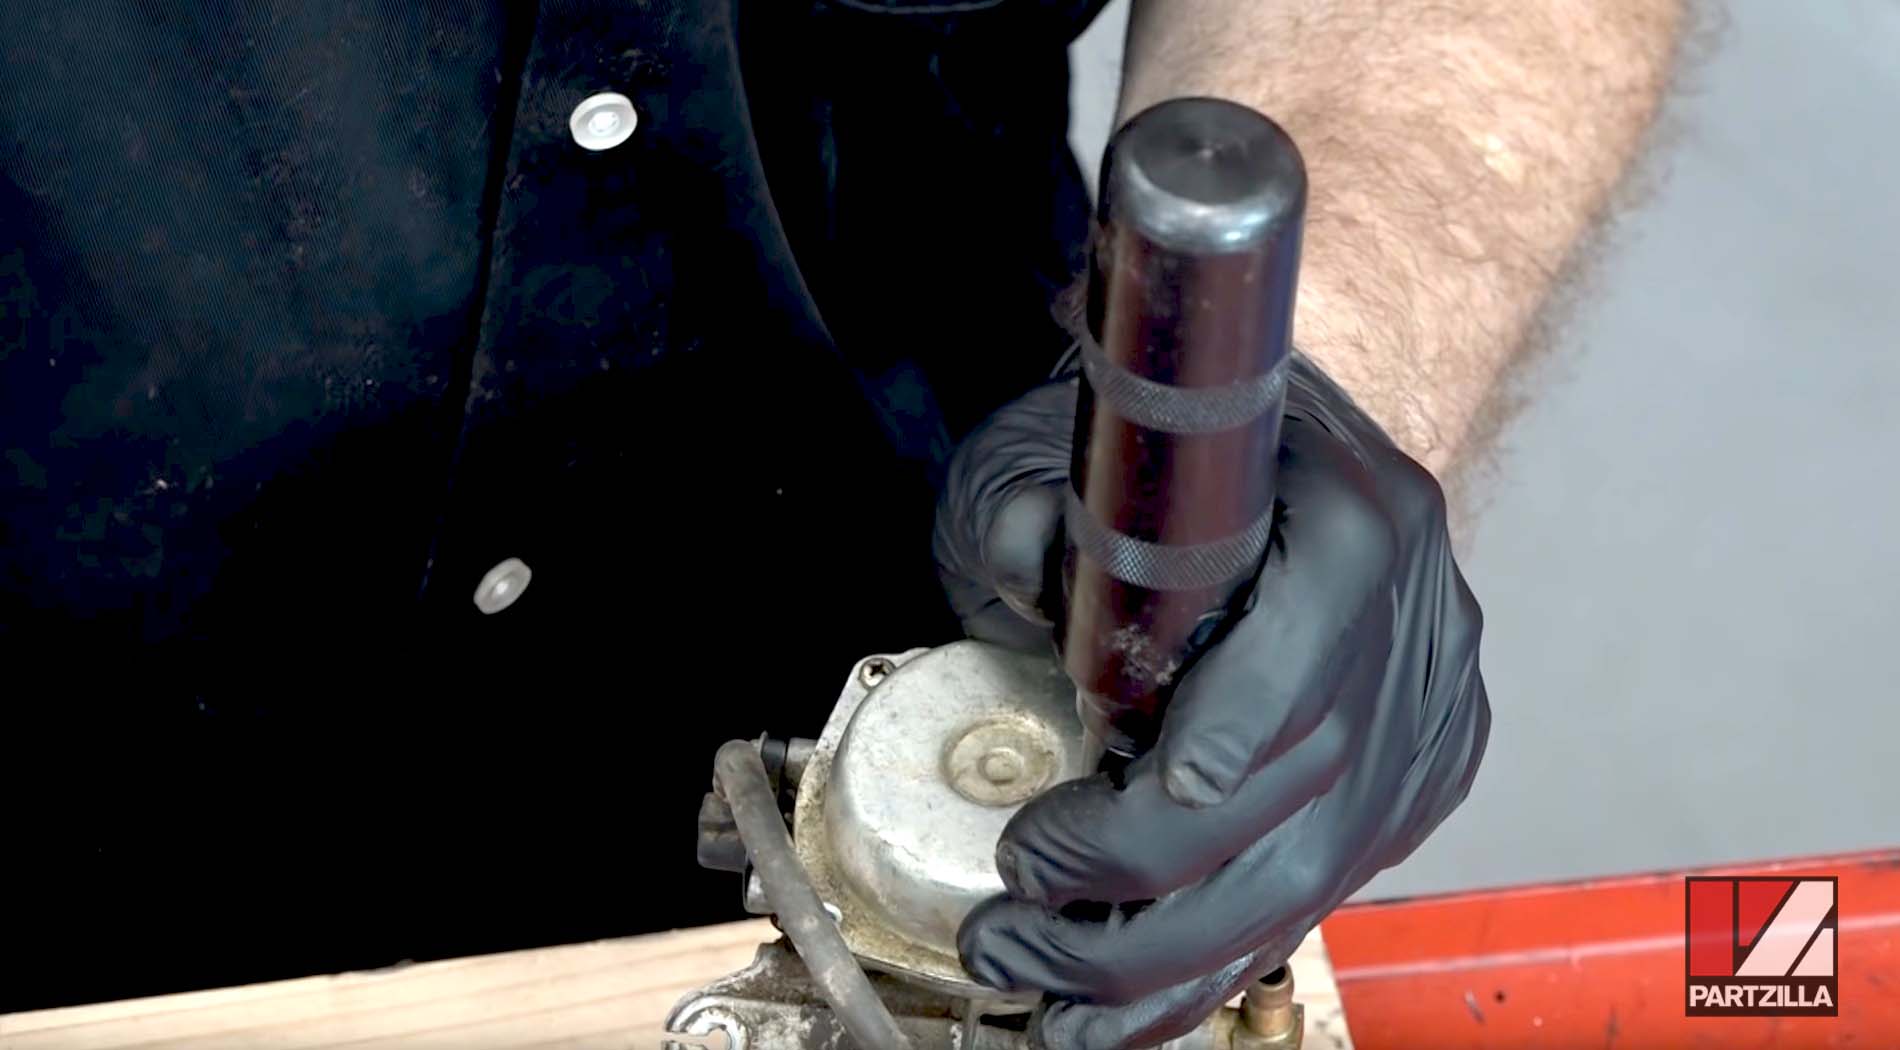
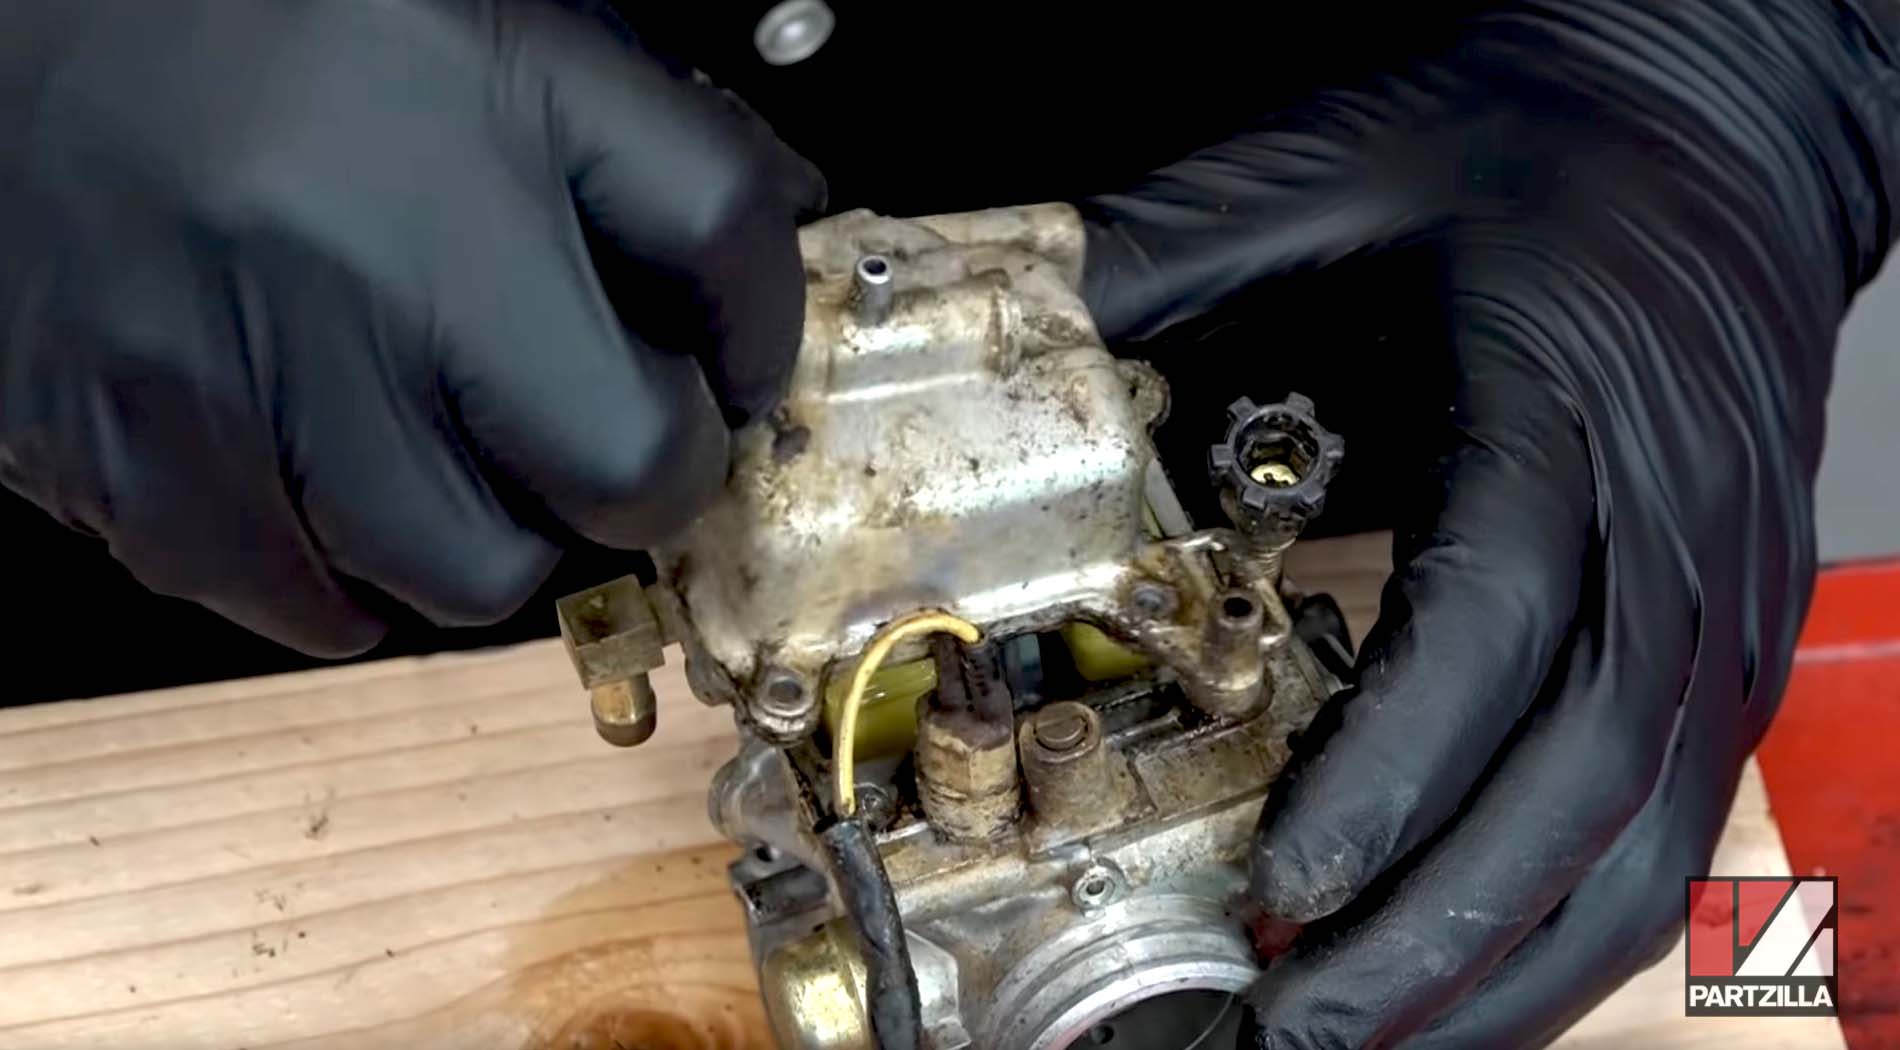
Step 5. Remove the top of the carburetor. If the carb has never been disassembled, you may need to use an impact driver to loosen the screws without stripping them.
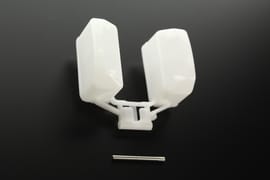
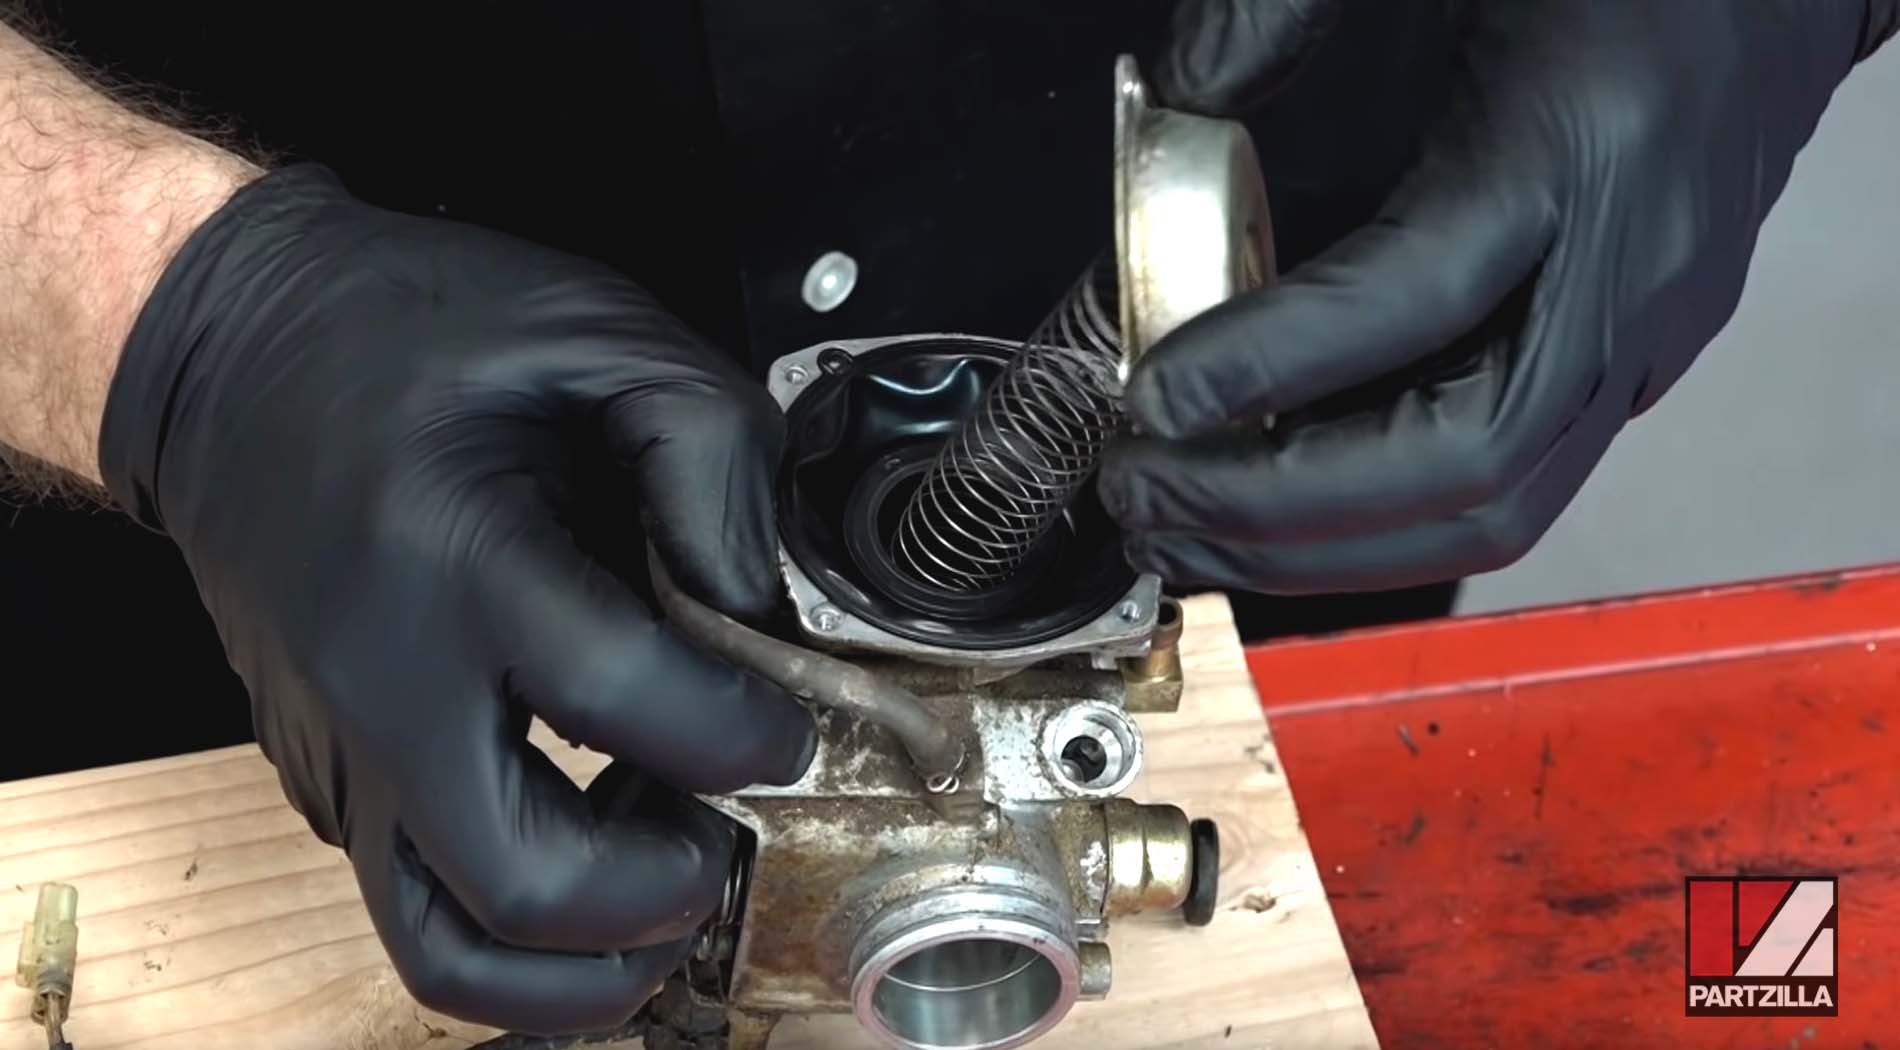
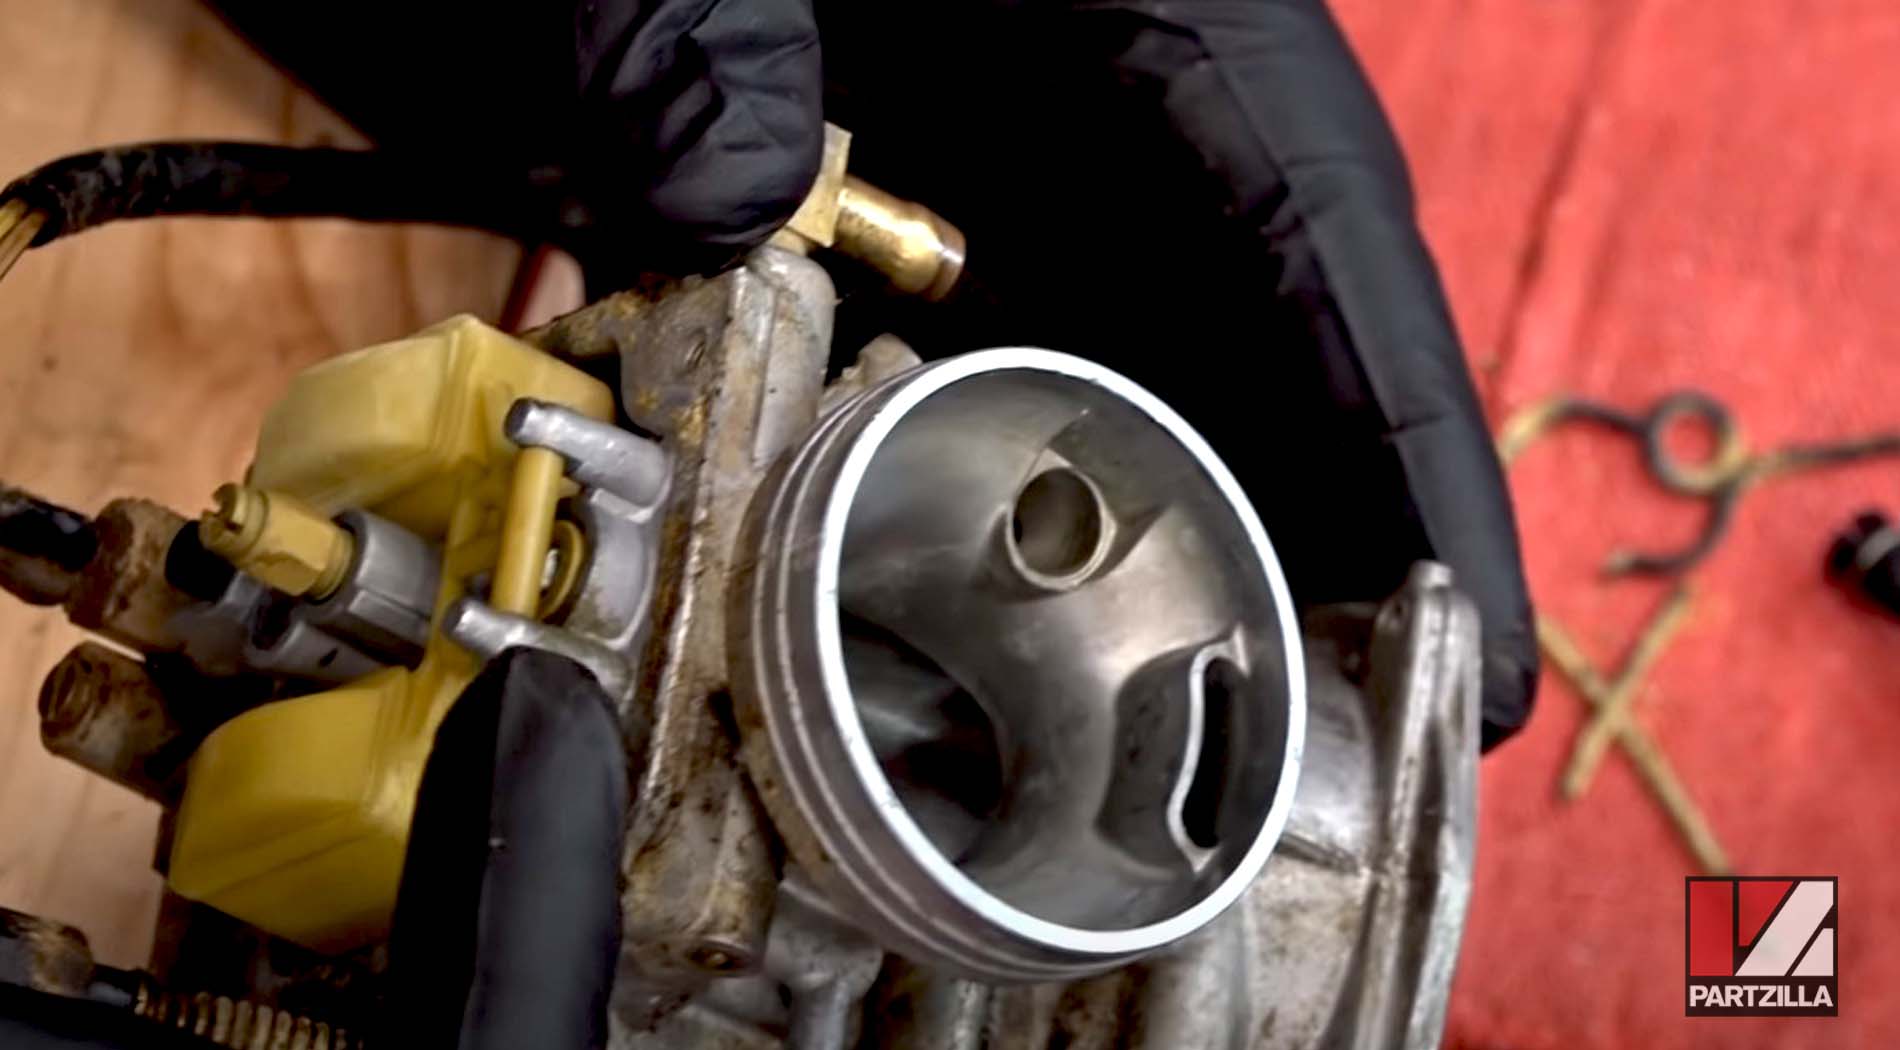
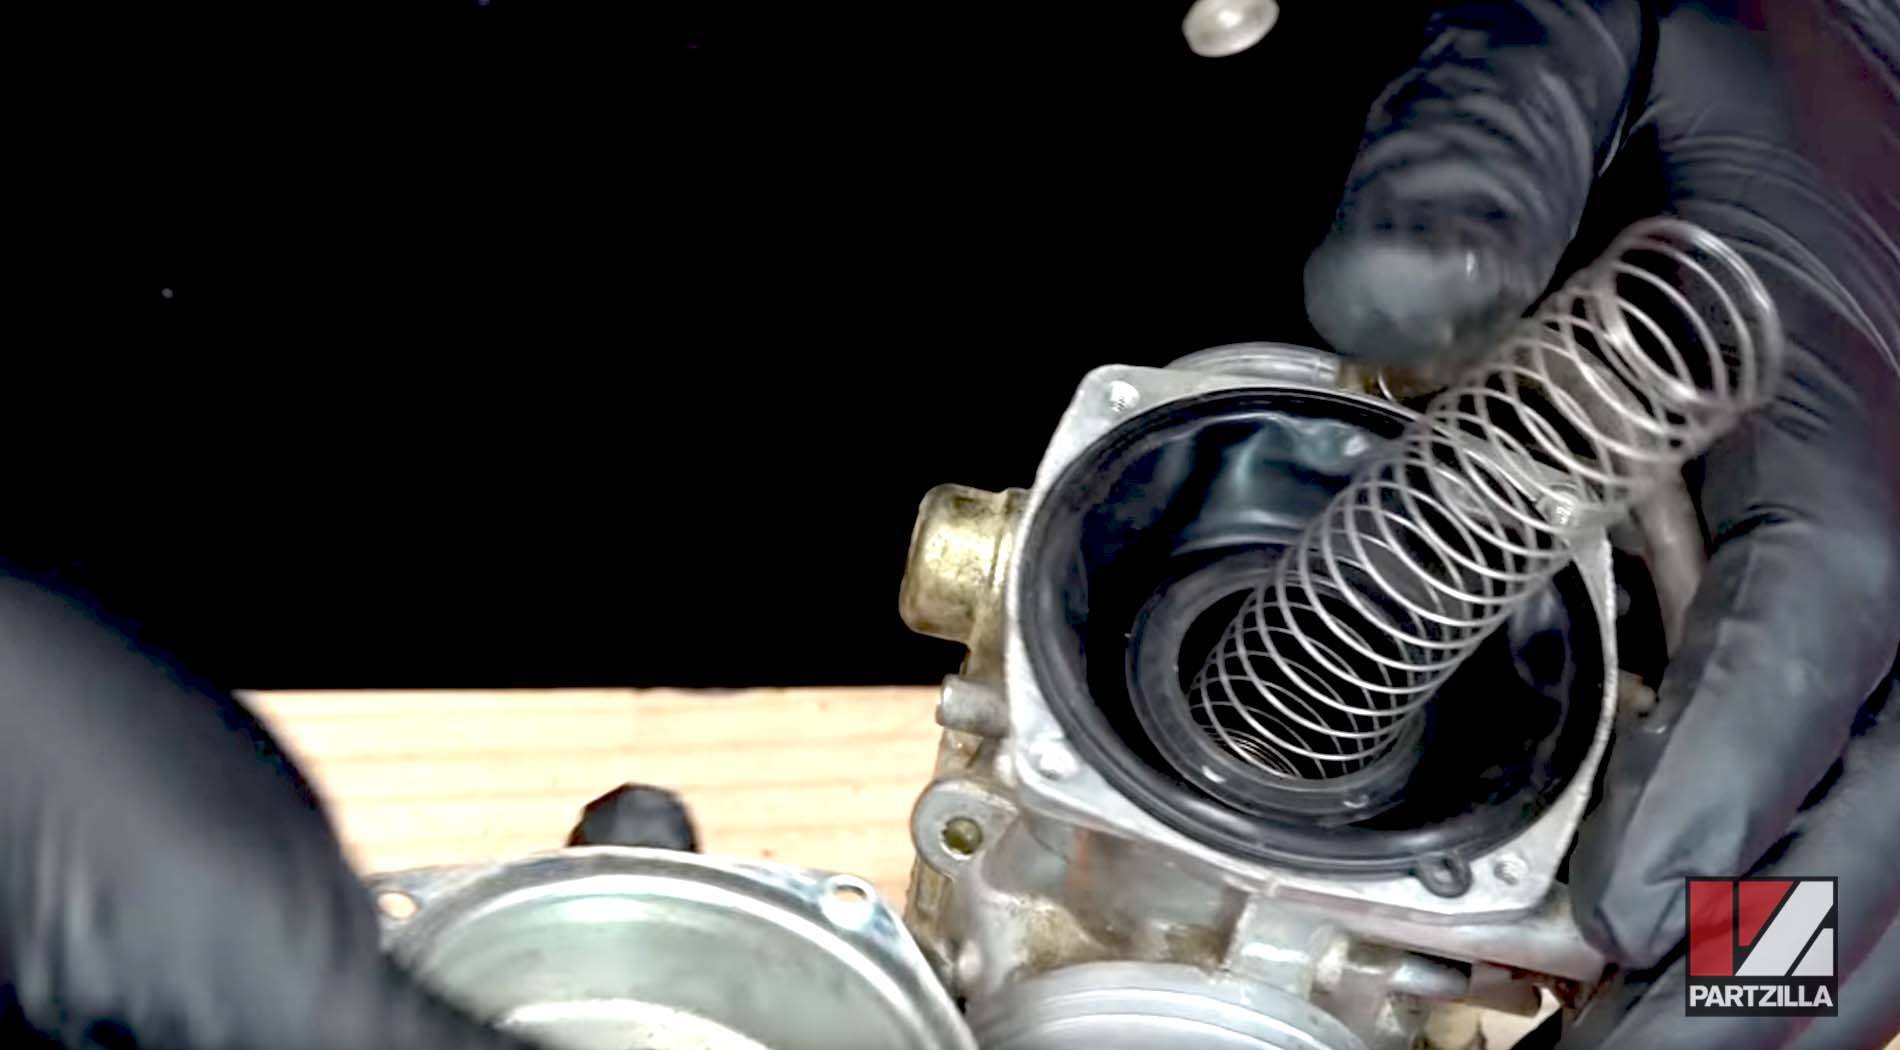
Step 6. Remove the spring and slide assembly. Carefully inspect the diaphragm for small rips or pinholes and replace it if necessary.
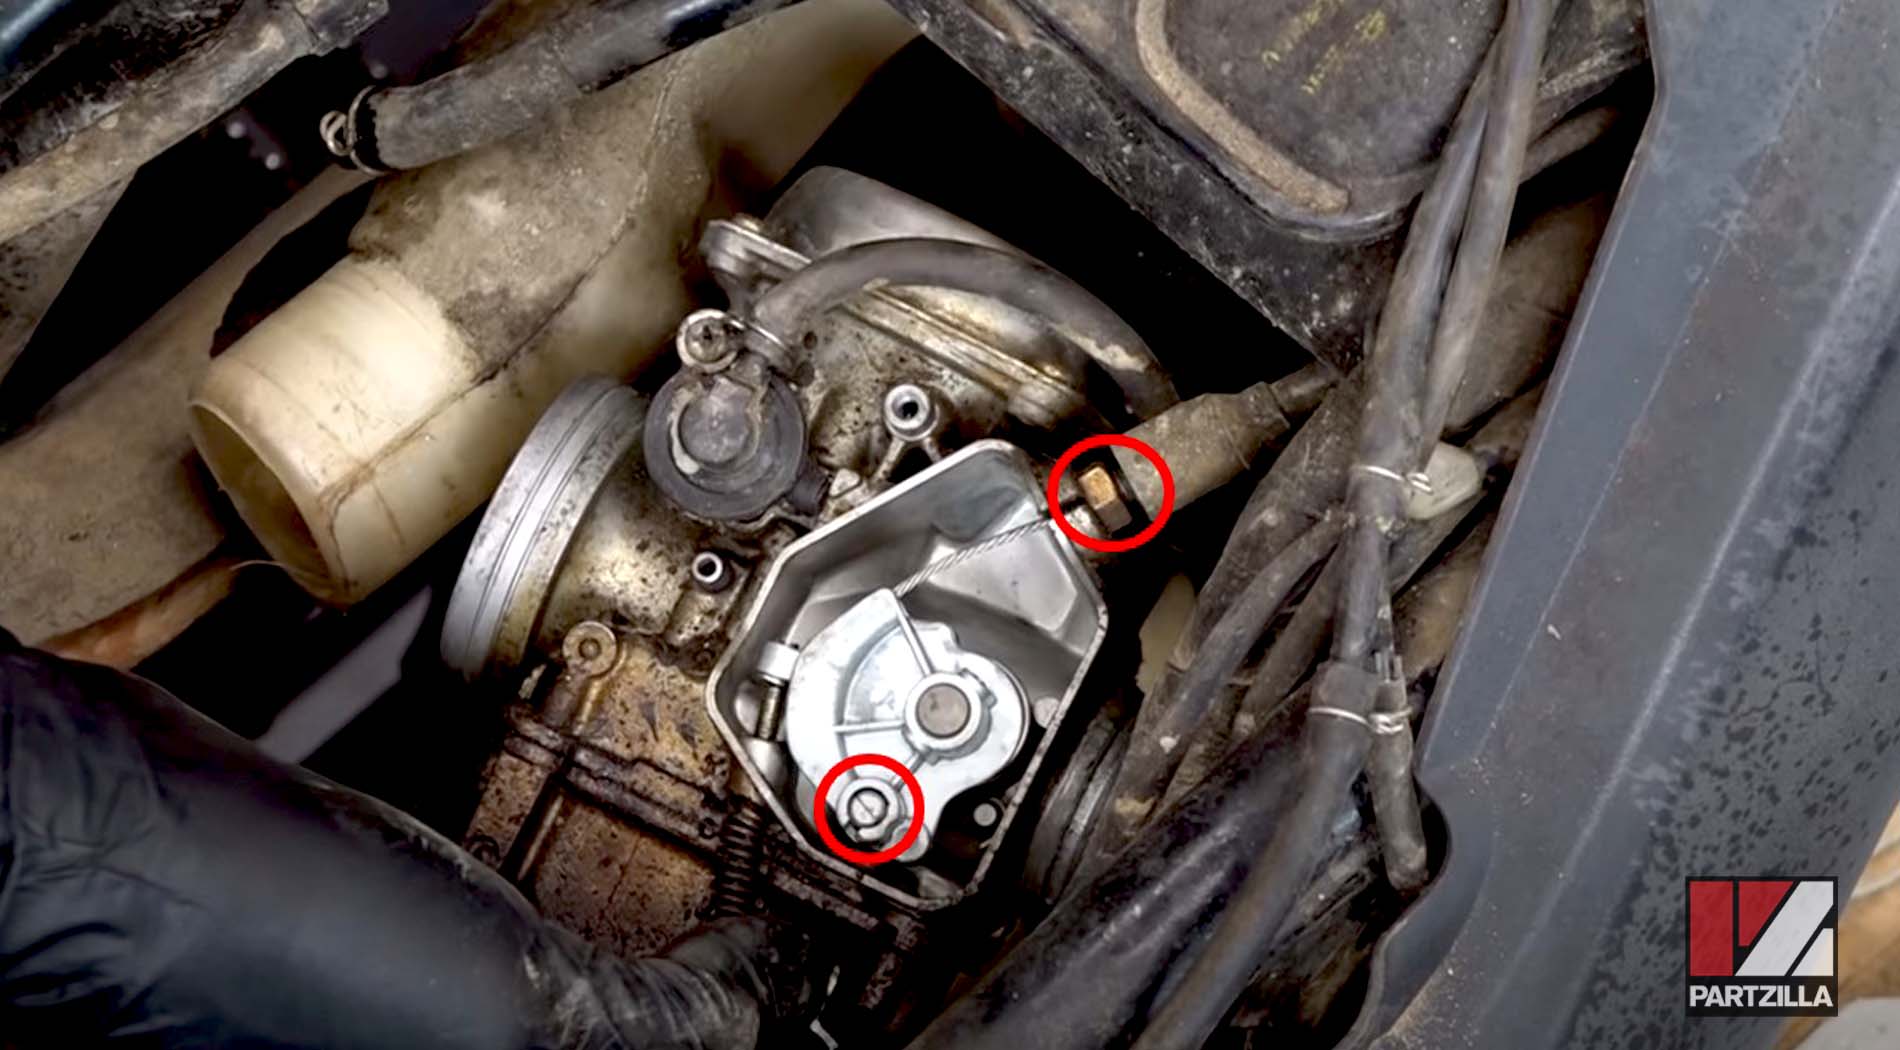
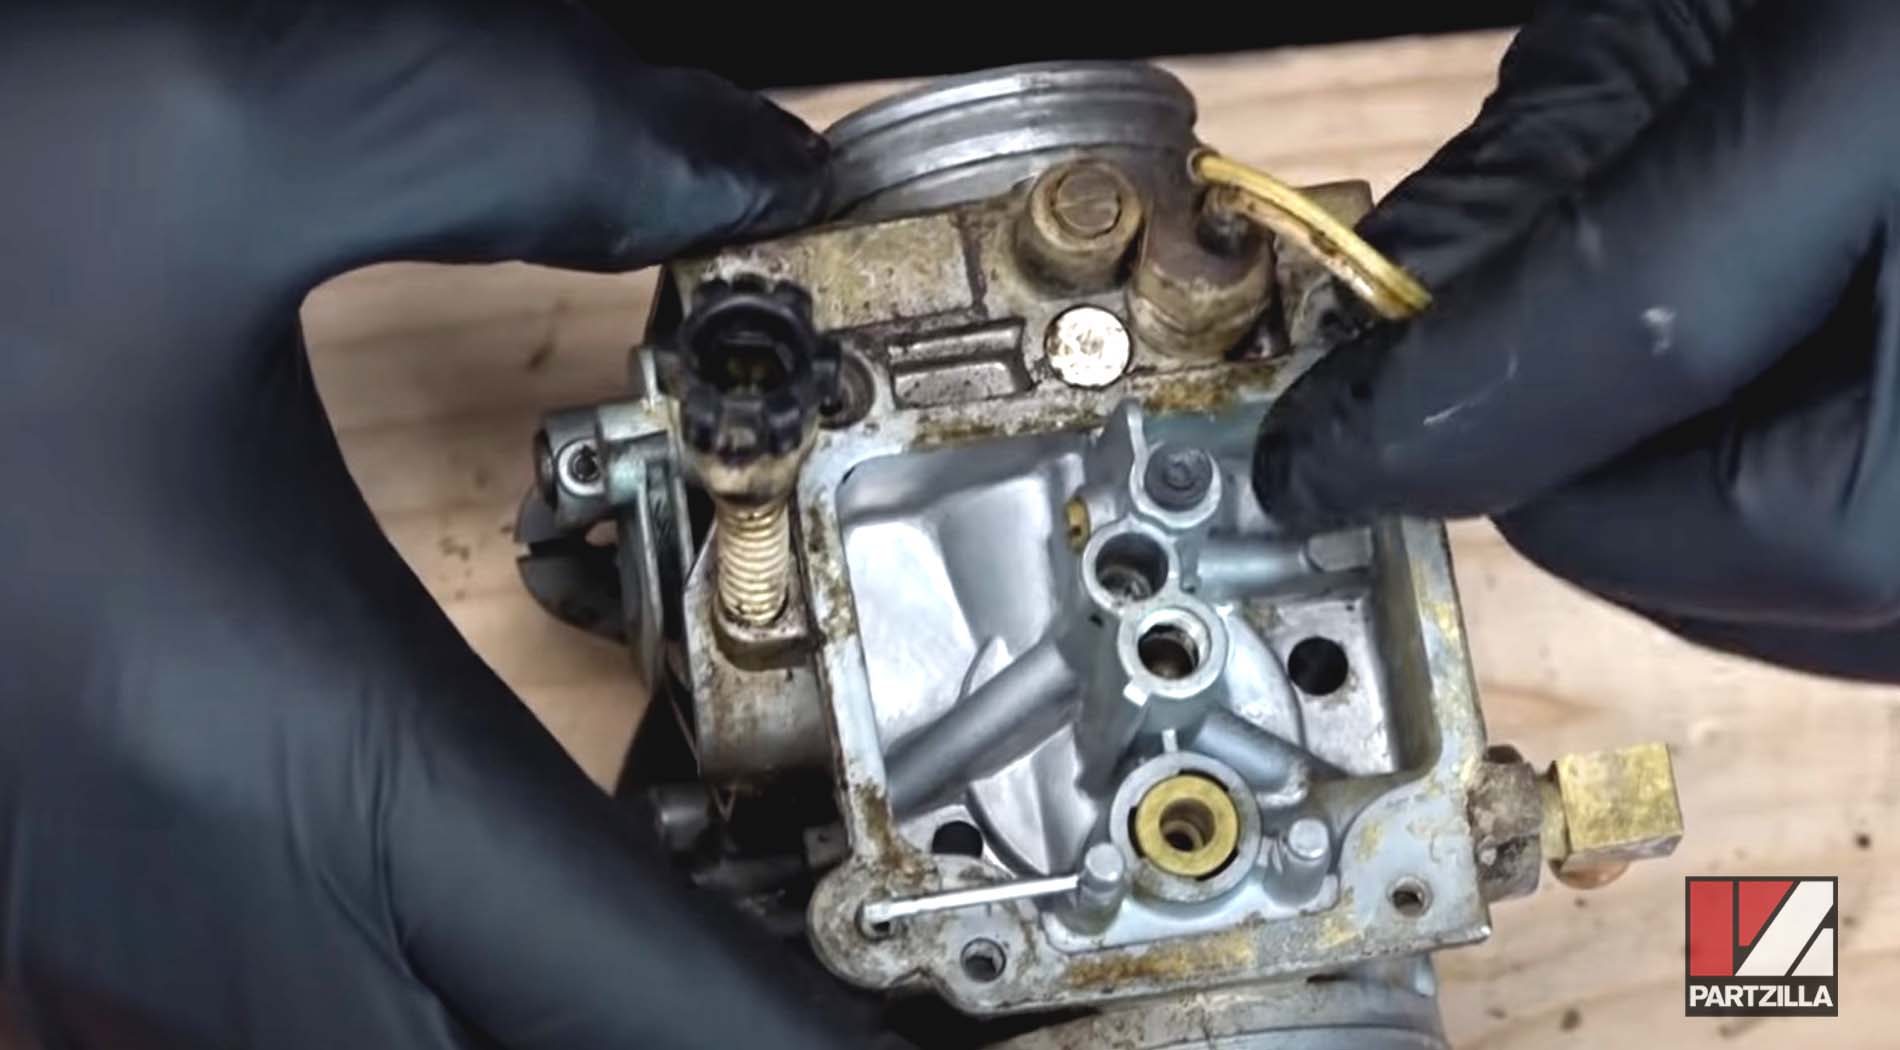
Step 7. Remove the float bowl at the bottom of the carb. Once again, you may have to use an impact driver to loosen the screws if the carb has never been disassembled.
Step 8. Push out the pin that holds the float, and remove the float and float needle valve beneath it.
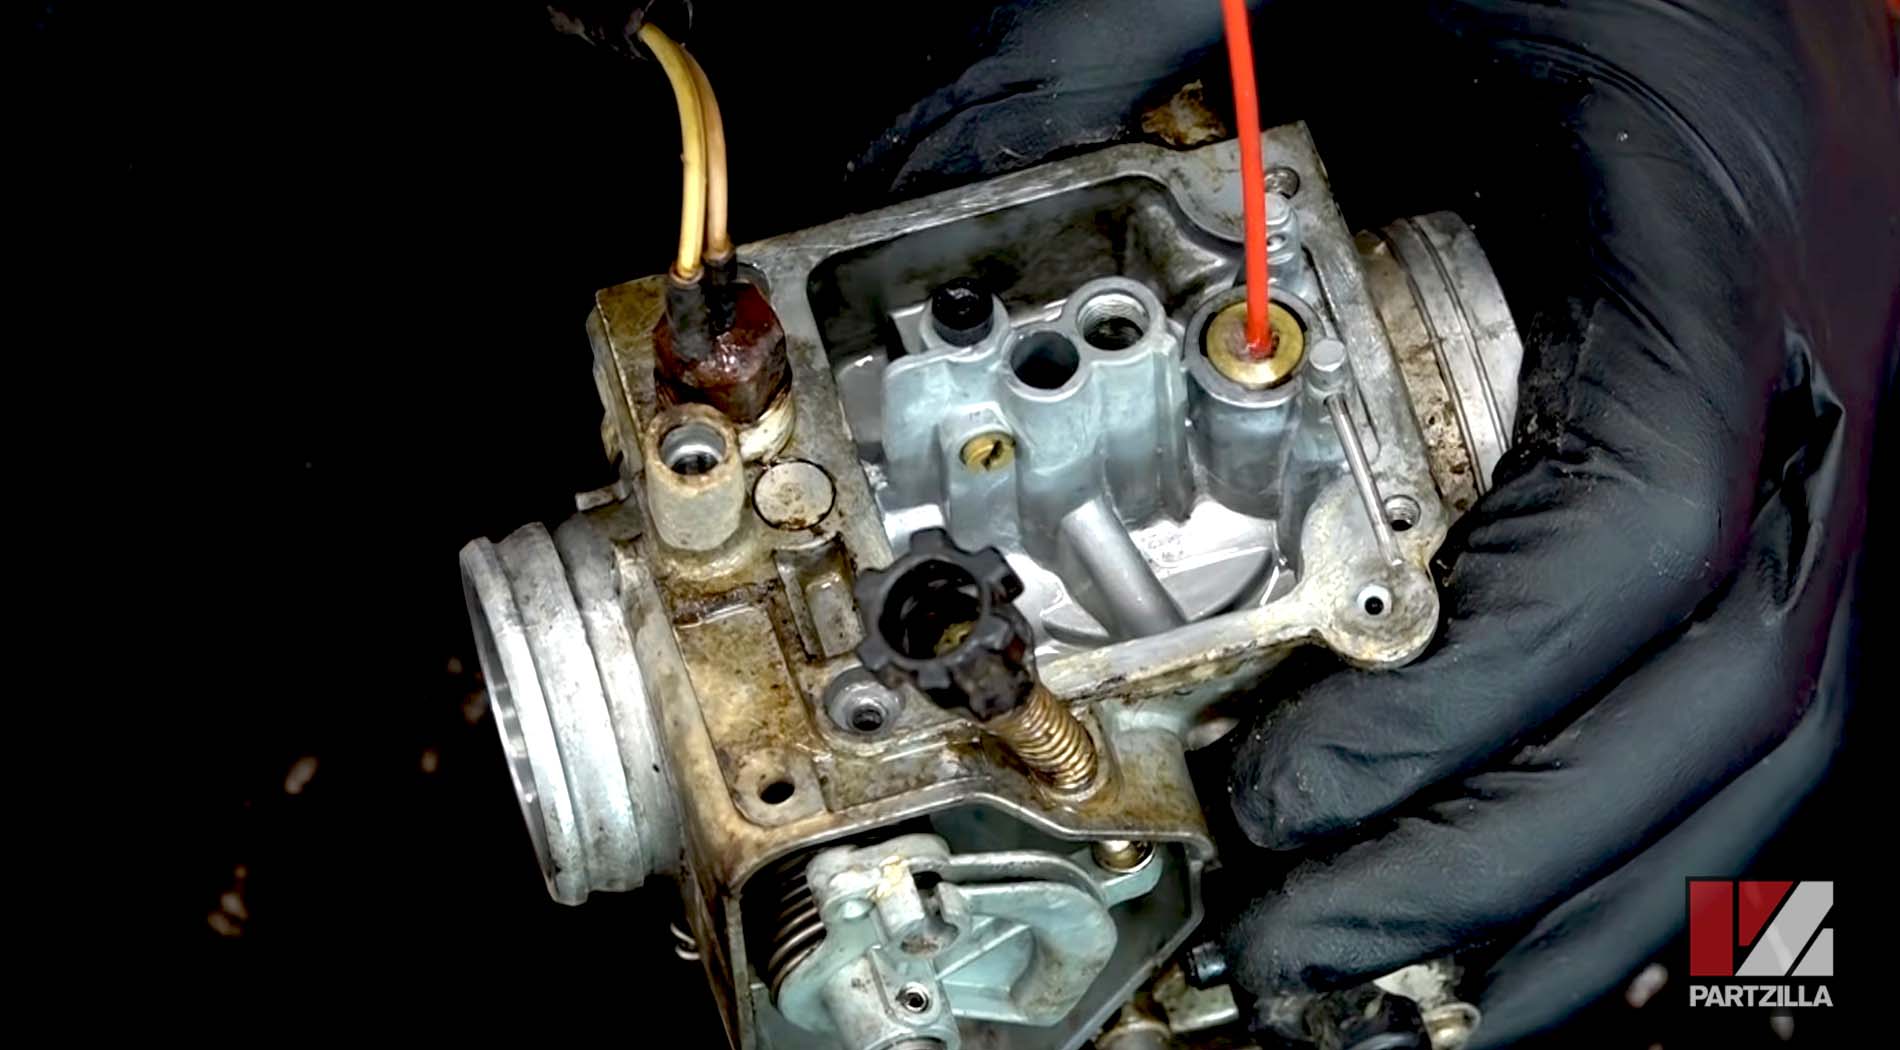
Step 9. Unscrew and remove the main jet and the pilot jet (also called the slow jet).

Step 10. Remove the idle mixture screw/pilot screw and the spring, O-ring and washer beneath it by unscrewing the pilot screw.
Step 11. Clean the face at the bottom of the carb that the float chamber's O-ring will seal against. Scrape away any crud, but be careful not to scar the carb's surface.
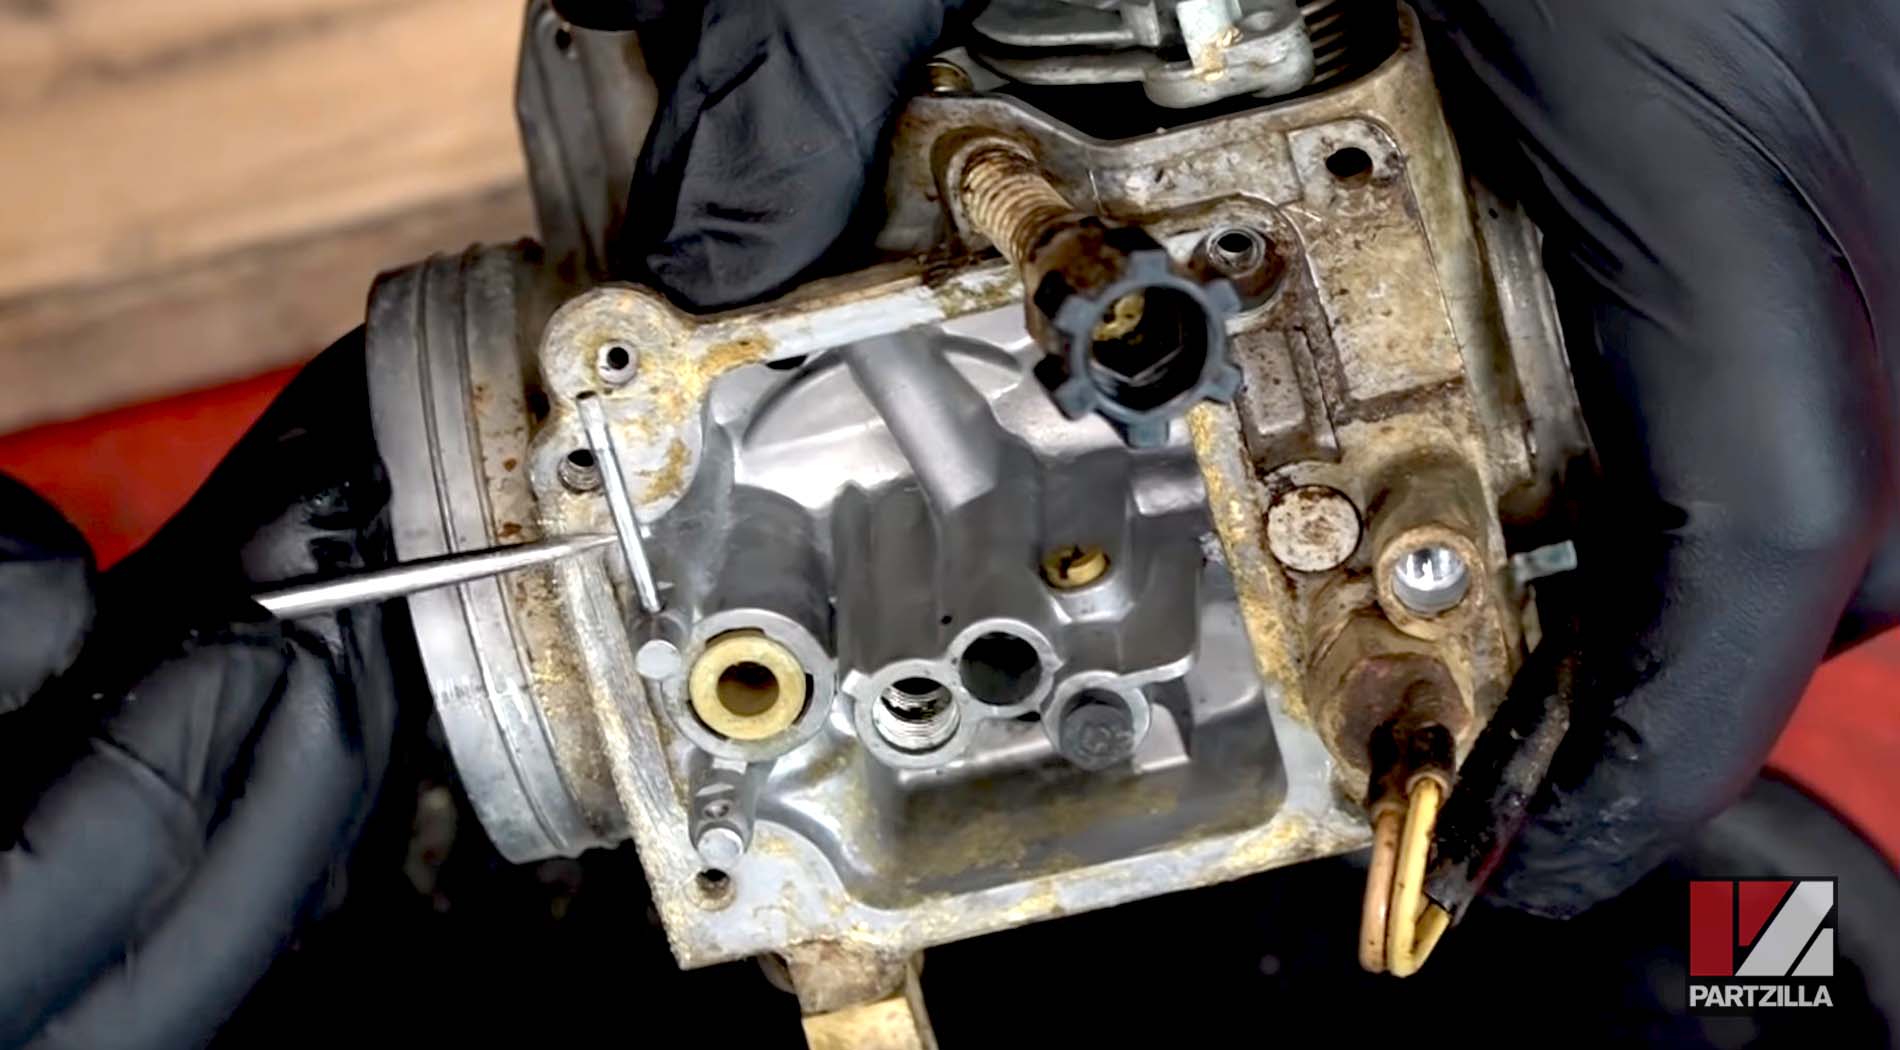
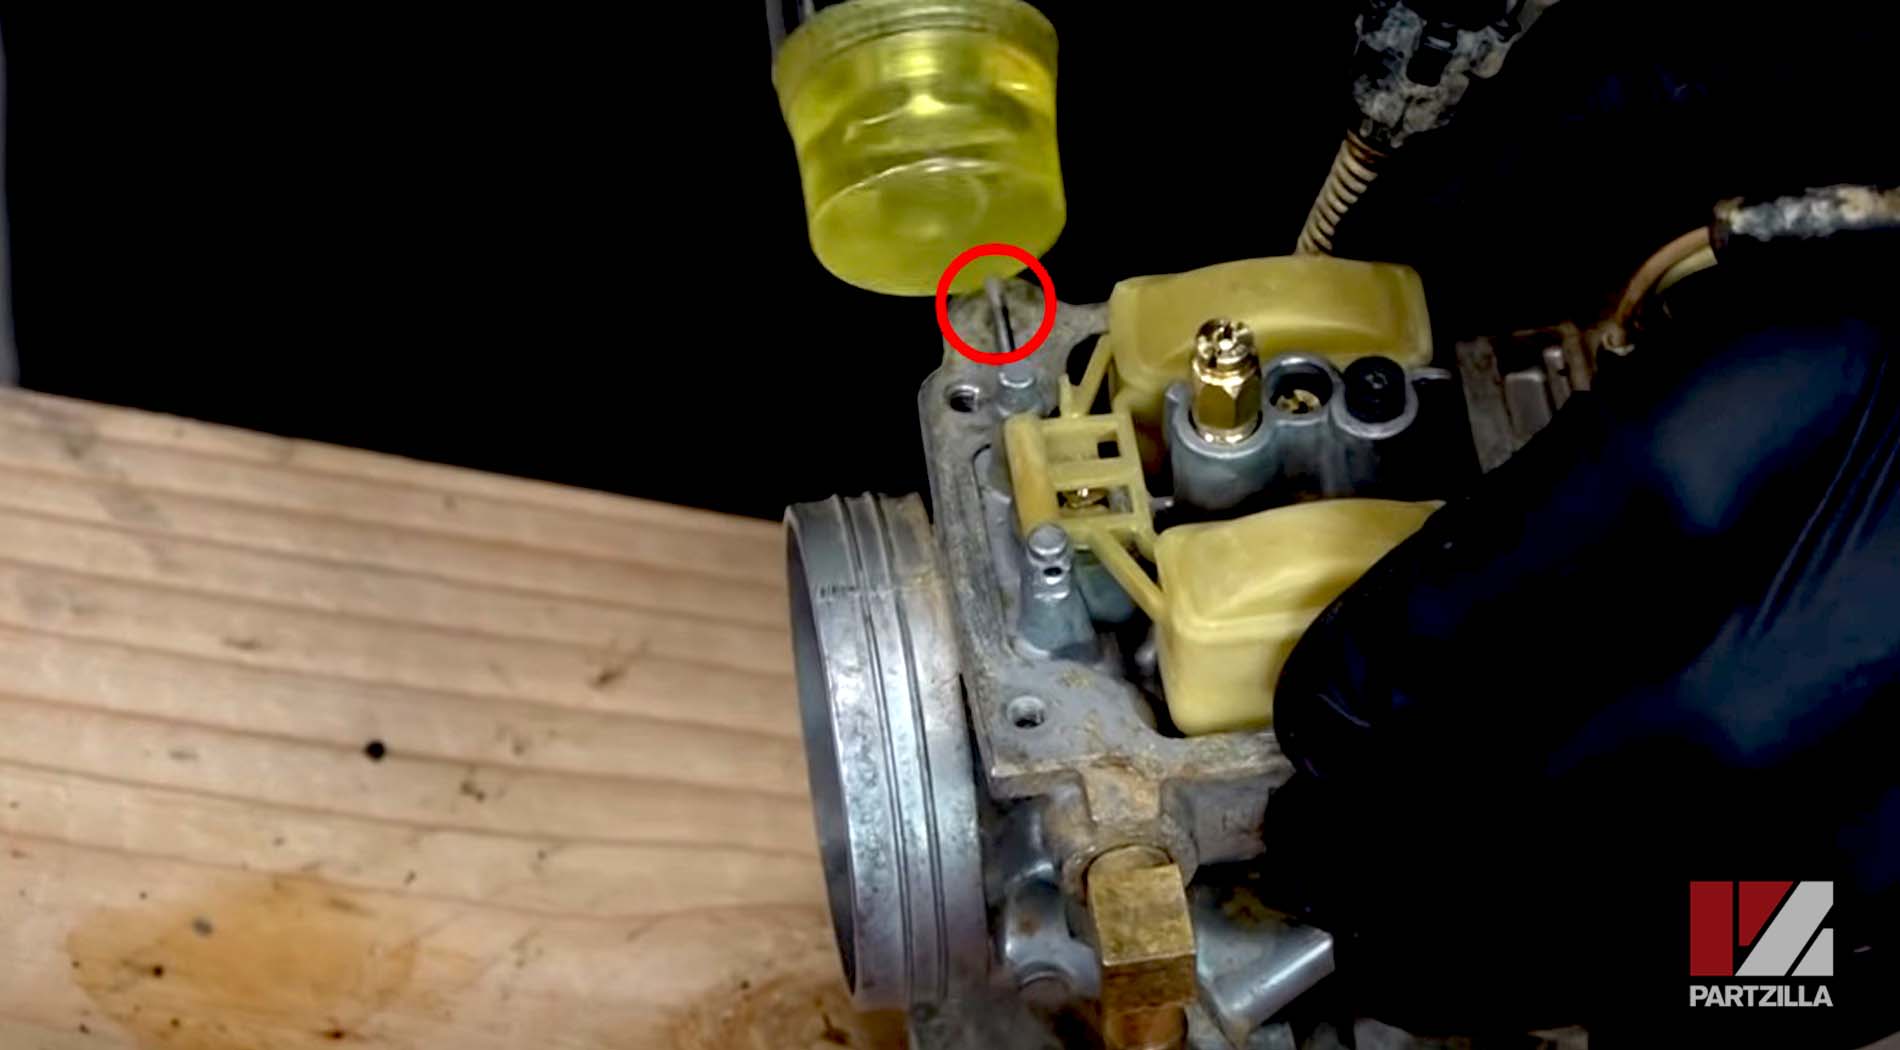
Step 12. Use carburetor cleaner to clean out the various channels and orifices in the carburetor. If you're reusing any of the old jets instead of fitting the new ones included in the Honda TRX350 carb kit, clean those too.
Step 13. Install the pilot screw. Reassemble the spring, O-ring and washer over the screw and install it into the carb as a complete assembly. Once the mixture screw is fully seated, back it off by a couple of turns.
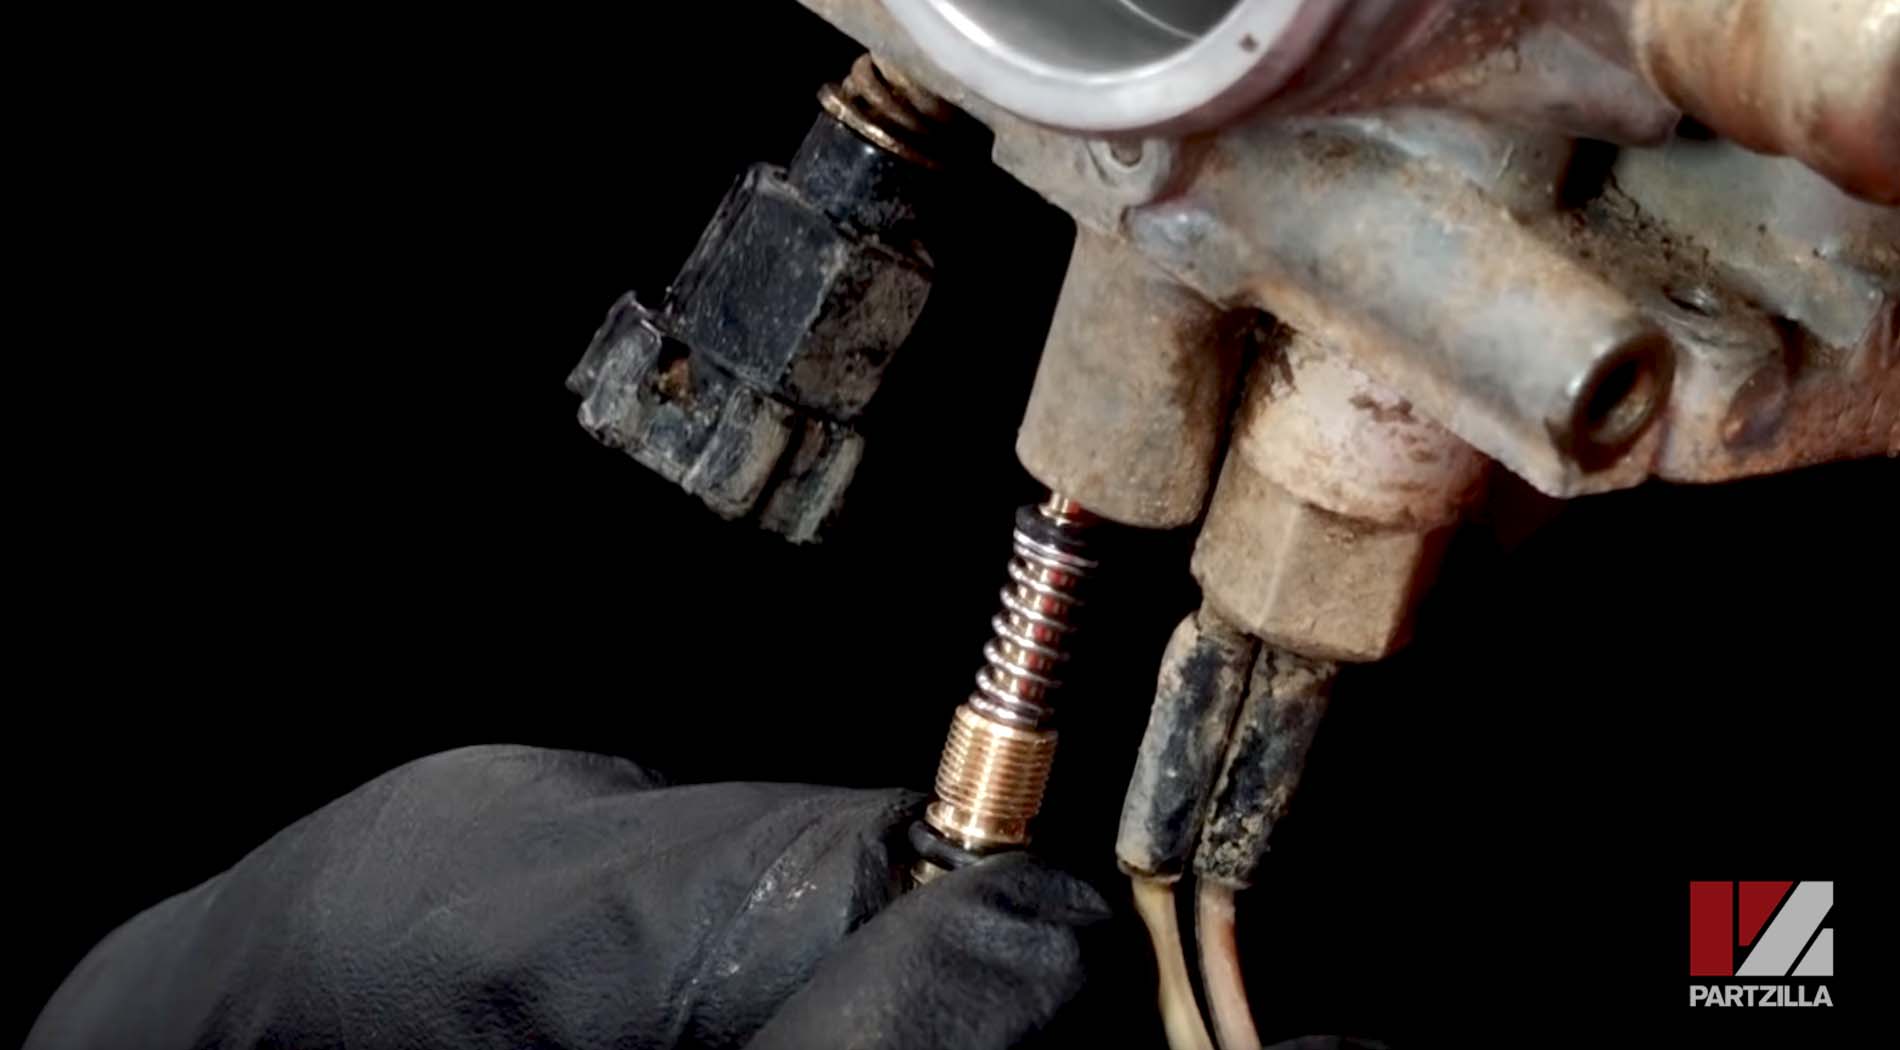
PRO TIP: The Honda factory setting for a TRX 350 pilot screw is 1¾ turns out. However, you can alter this slightly once your Rancher is running again to find its perfect idle speed.
Step 14. Install the pilot jet and the main jet, and screw them in until they're snugly seated in the carb body, but don't overtighten them.
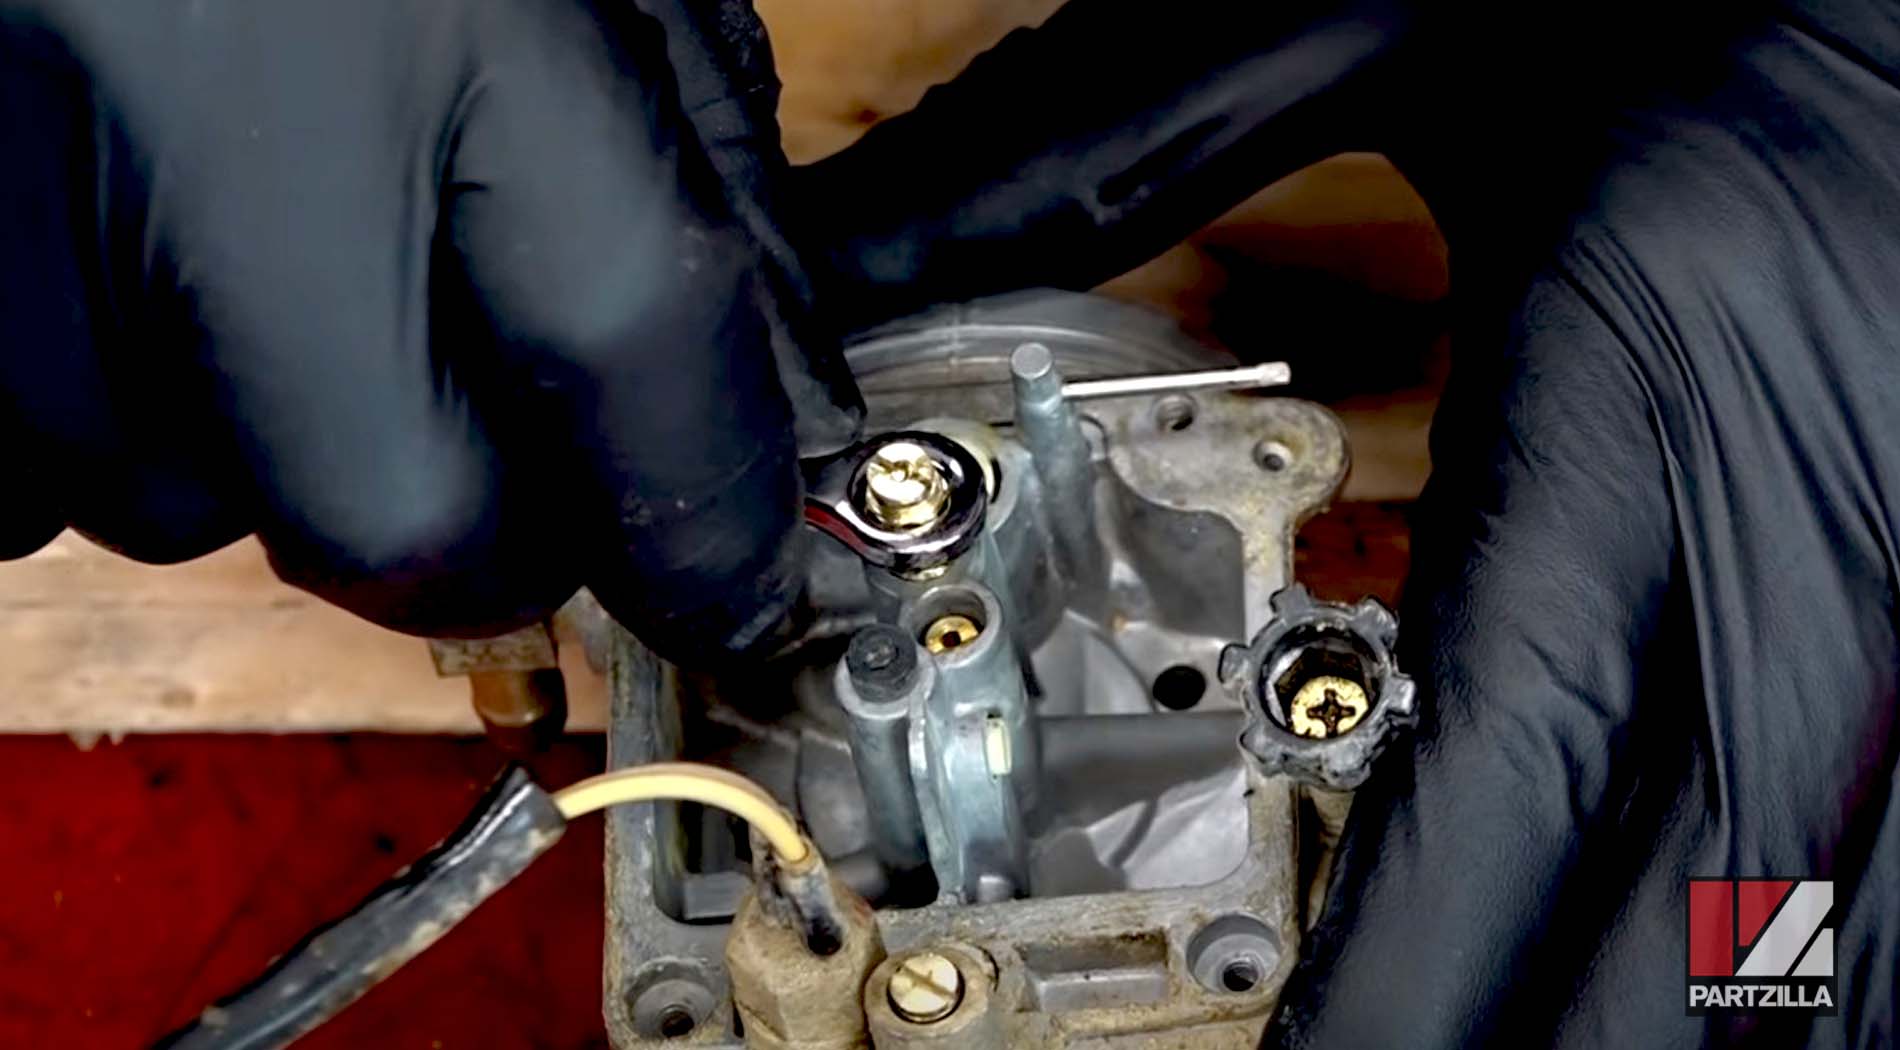
PRO TIP: The main jet is made up of two parts. If you're using a carb kit, you will need to assemble the two parts before installing the main jet as a complete assembly.
Step 15. Install the float needle valve into the slot on the float itself, and reinstall the float into the carb.
Step 16. Thoroughly clean the float bowl inside and out, and remove all traces of the old O-ring. Install a new O-ring, and reinstall the float bowl onto the carburetor.

Step 17. Reinstall the spring and slide assembly complete with its diaphragm, then reinstall the top of the carburetor.
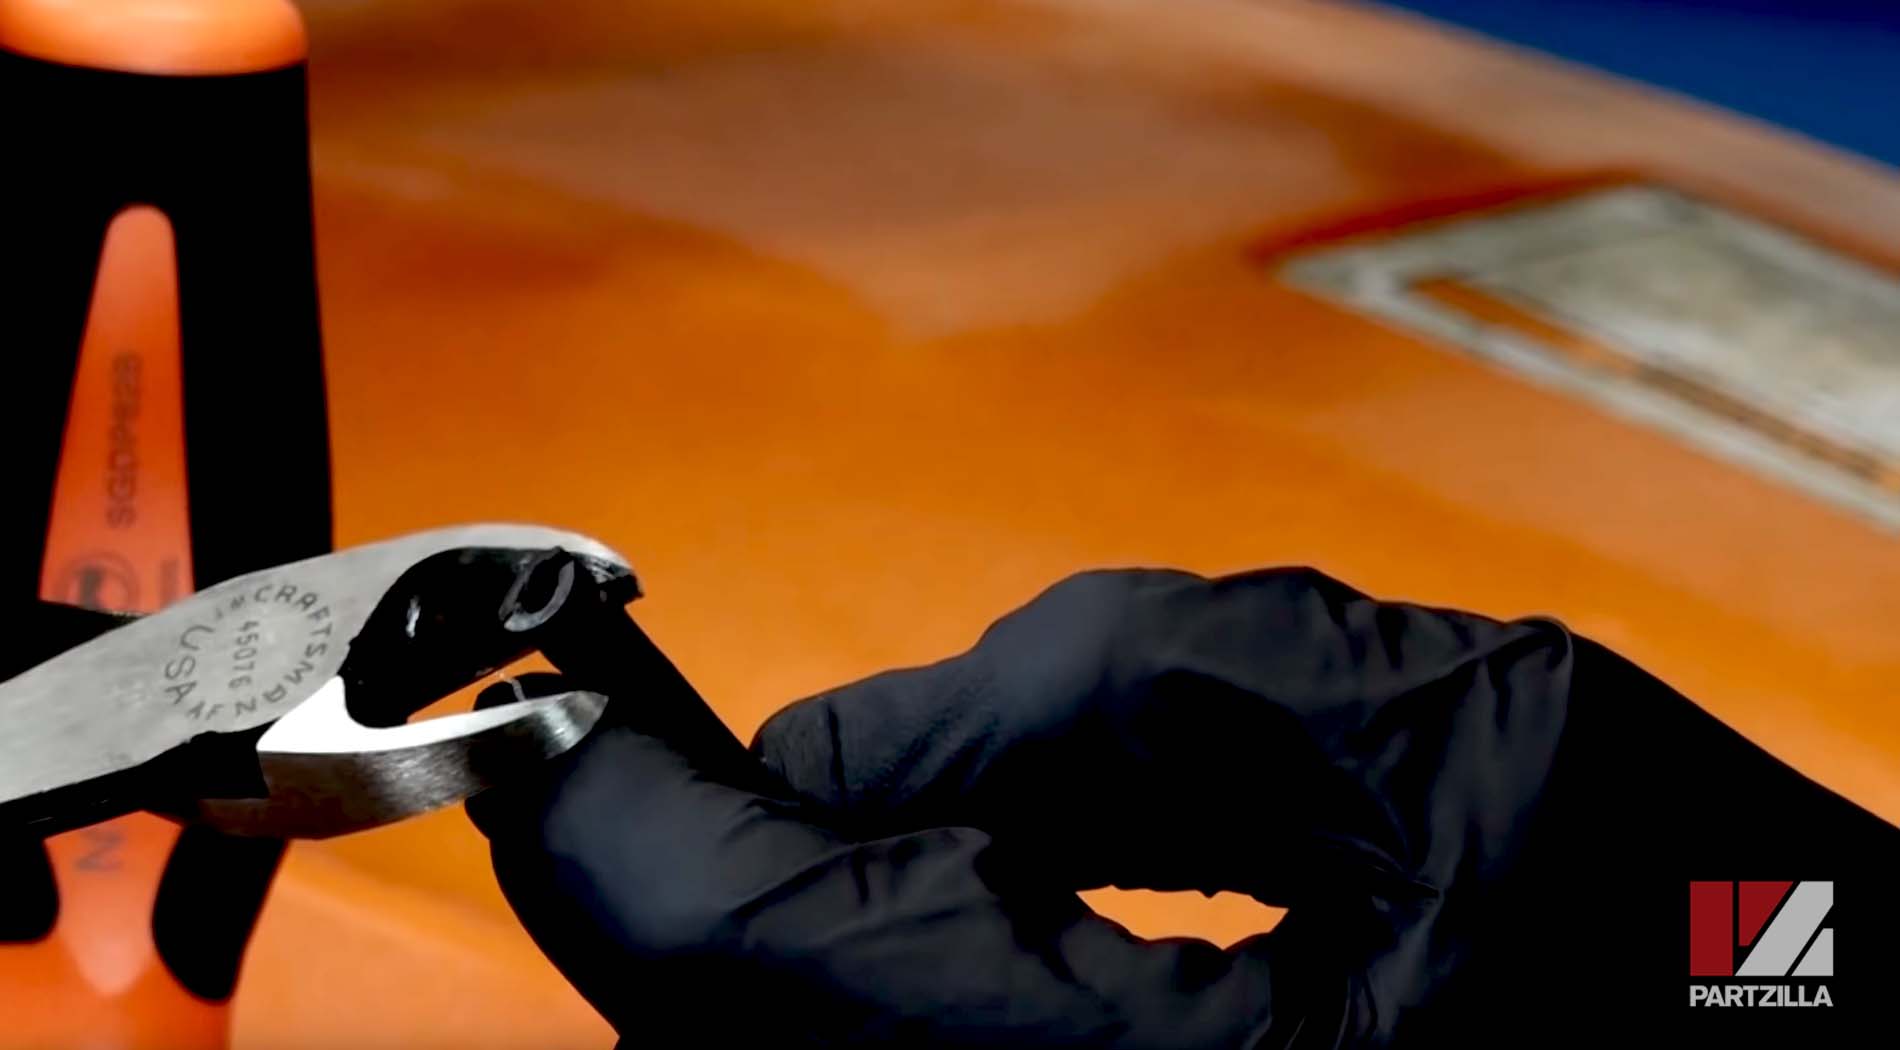
PRO TIP: If any of the carburetor's small rubber hoses have split or decaying ends, trim off the bad section of the hose so it provides a good seal once its clamps are back in place.
All that's left to do is reinstall the carburetor into your Honda Rancher and you're done. A little dirt can clog a carb jet and kill the performance of a Honda ATV, so make sure you do a full carb cleaning and rebuild every couple of years.