How to Test and Replace a Honda Rancher 420 Battery
When your Honda ATV won’t start, the first thing you want to test is the battery. Our Honda Rancher 420 was experiencing starting problems, so we tested, charged, and ultimately replaced the battery.
Watch the video above and follow the steps below to learn how to diagnose a battery problem and replace the battery on a Honda Rancher TRX420.
Tools and Parts – Honda Rancher Battery Testing and Replacement
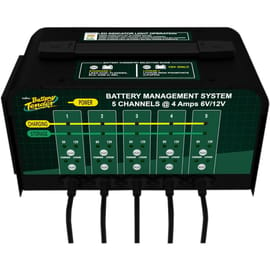
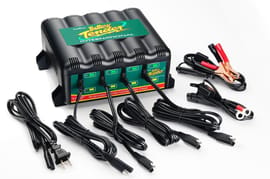
- Battery charger
- Digital multimeter
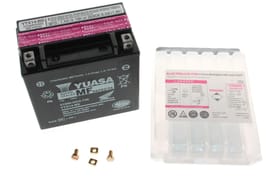
- Battery

How to Test a Honda Rancher 420 Battery
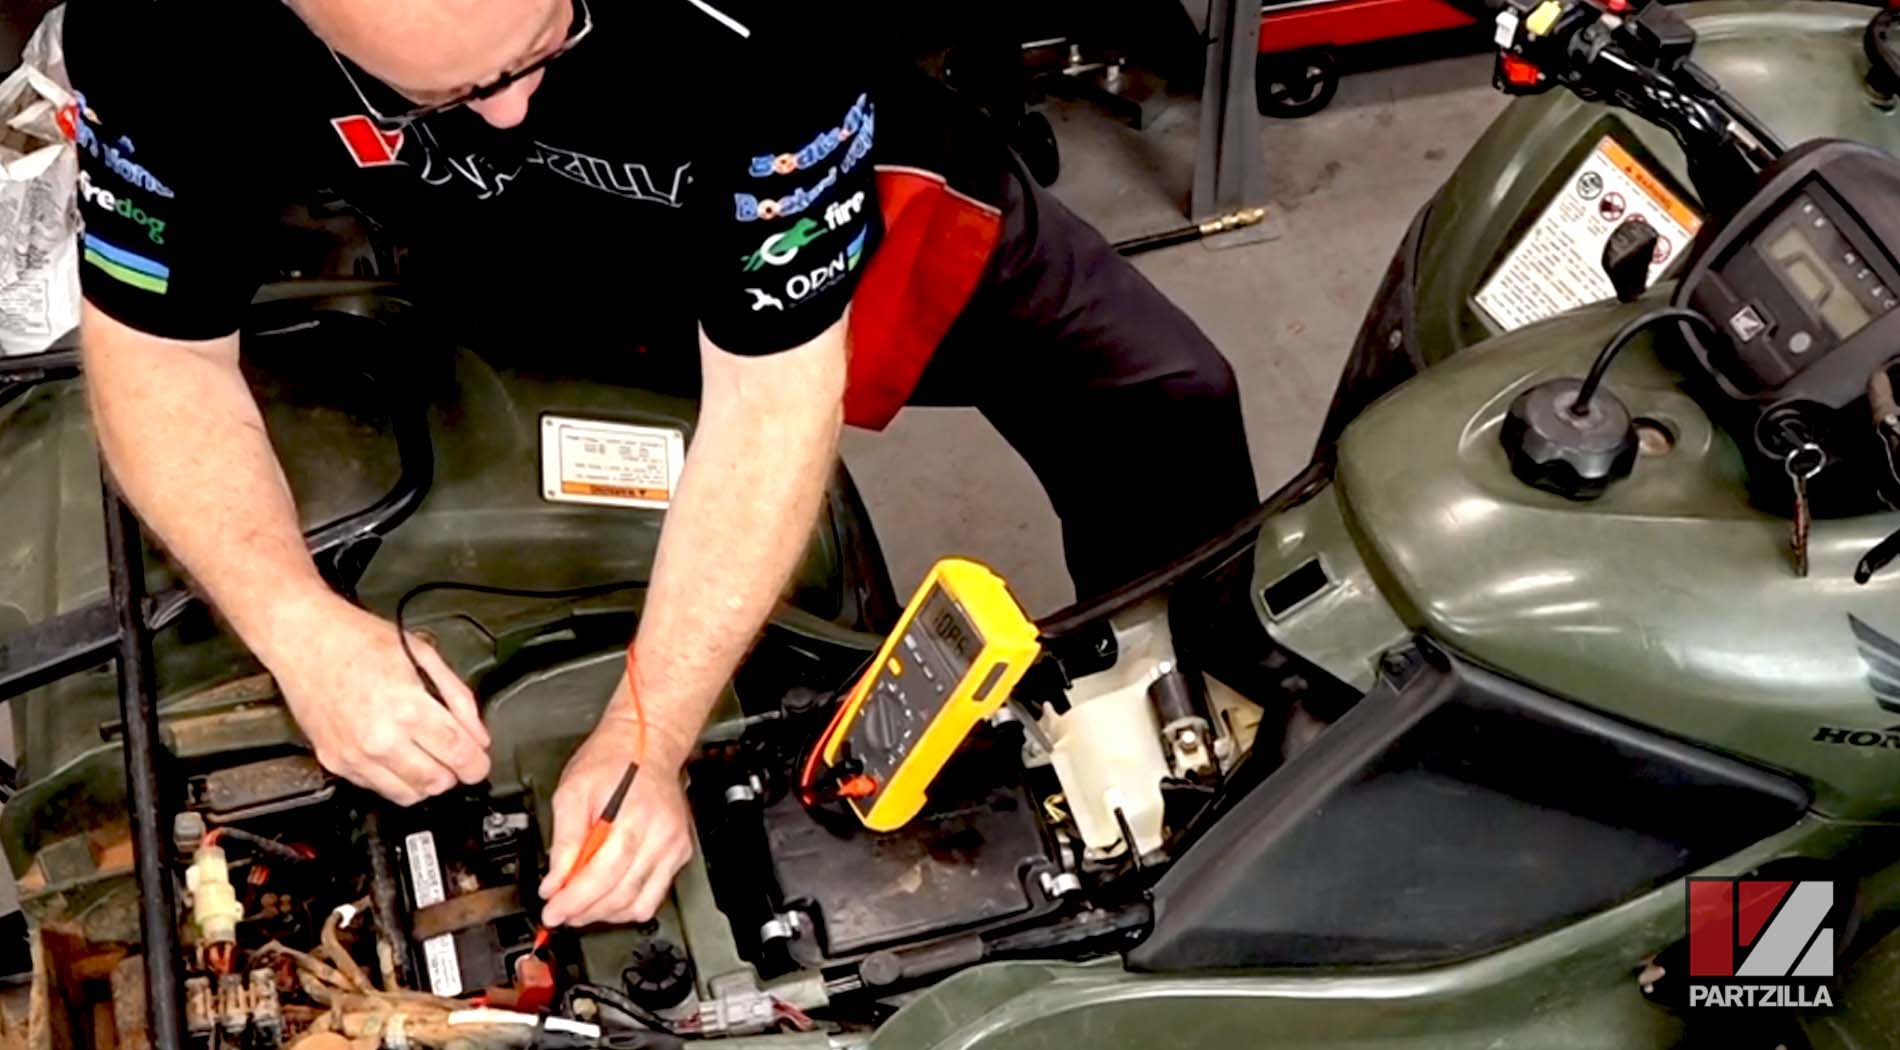
Step 1. Remove the seat by pulling up on the lever located underneath the rear of the seat.
Step 2. Pull on the tab that holds the rear section in place to allow the rear section to fall back.
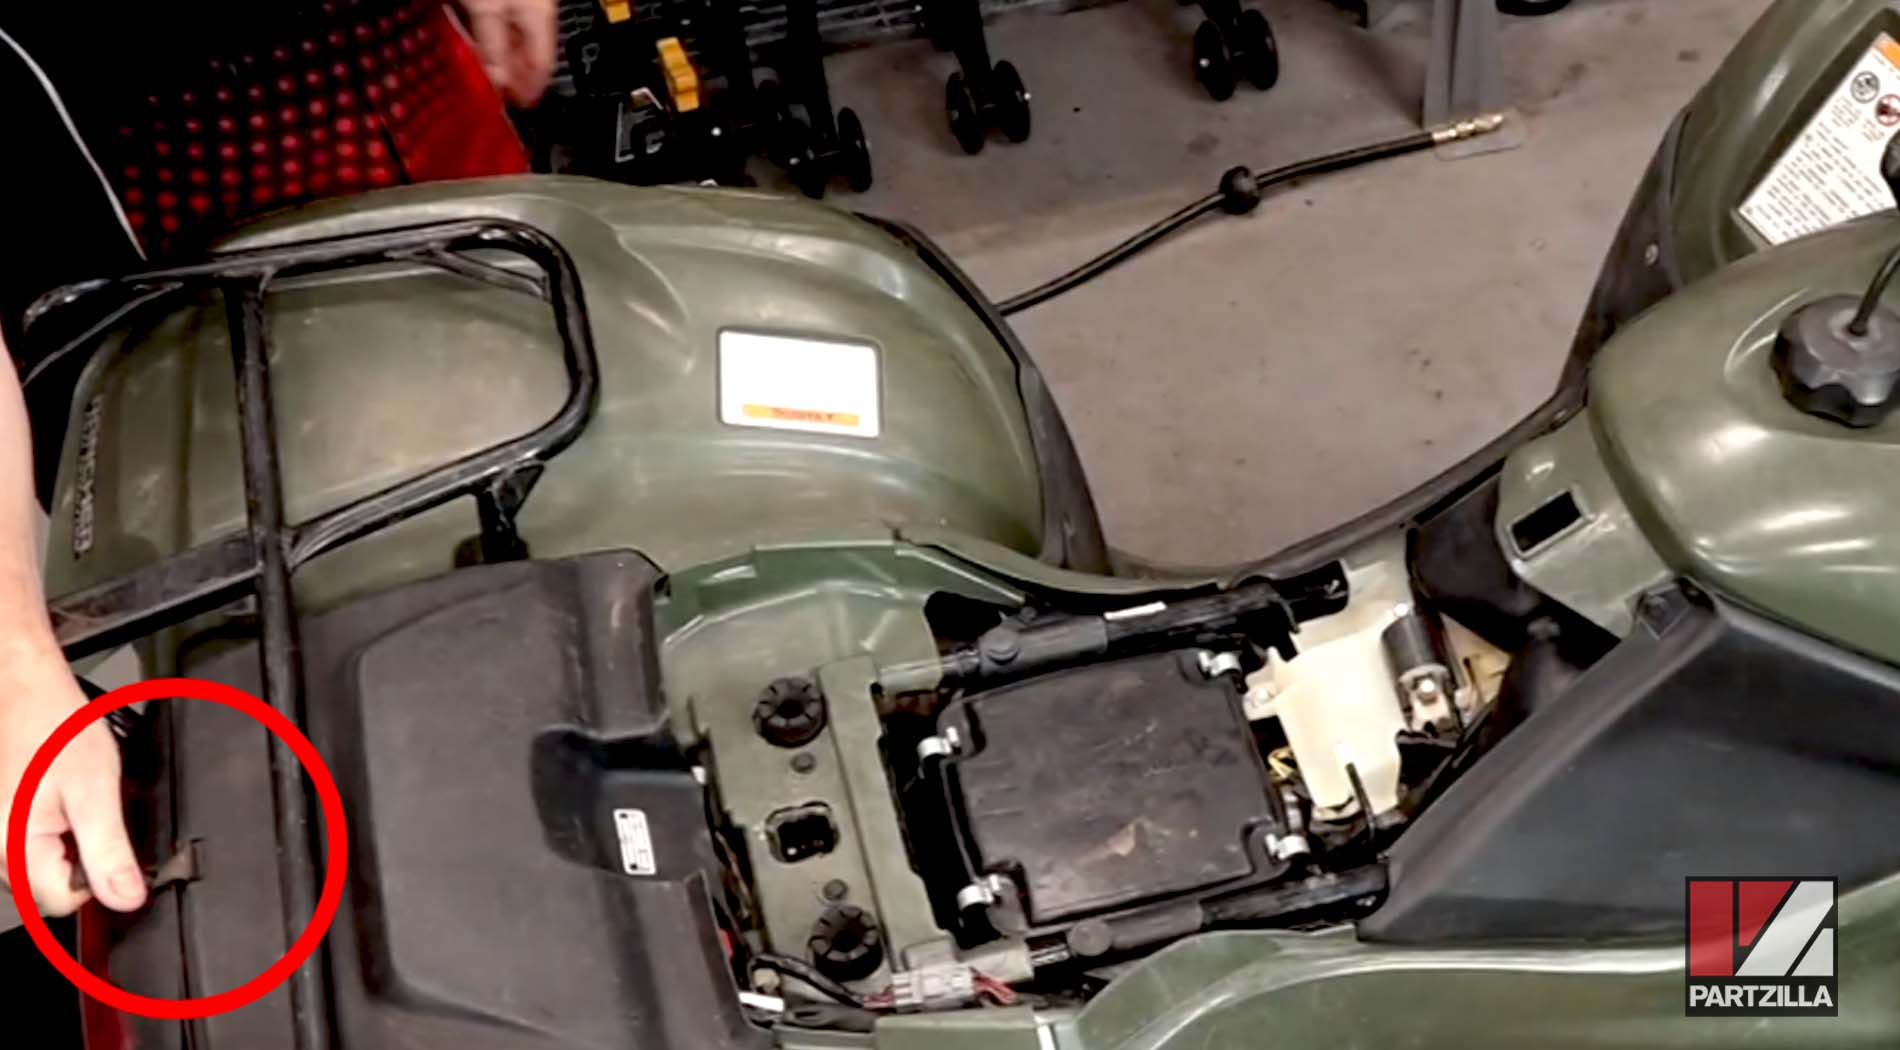
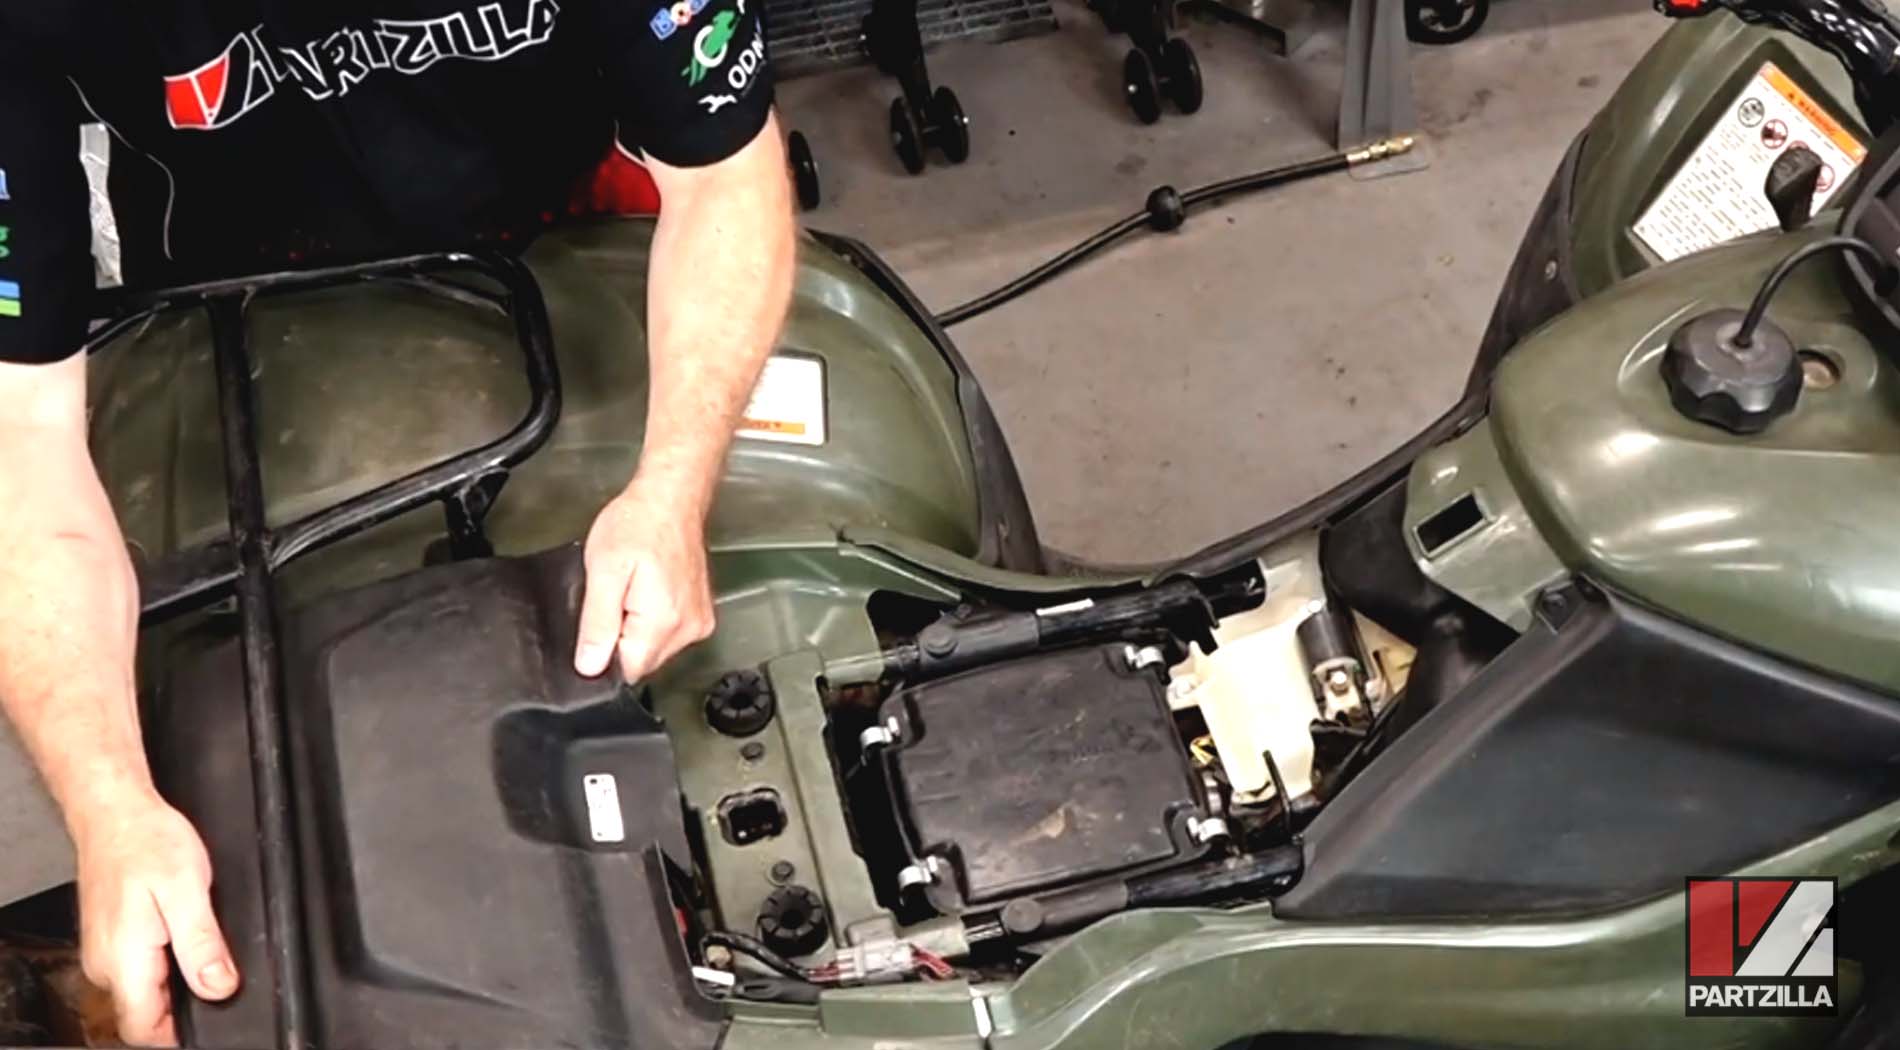
Step 3. Lift up on the rear section to expose the battery.
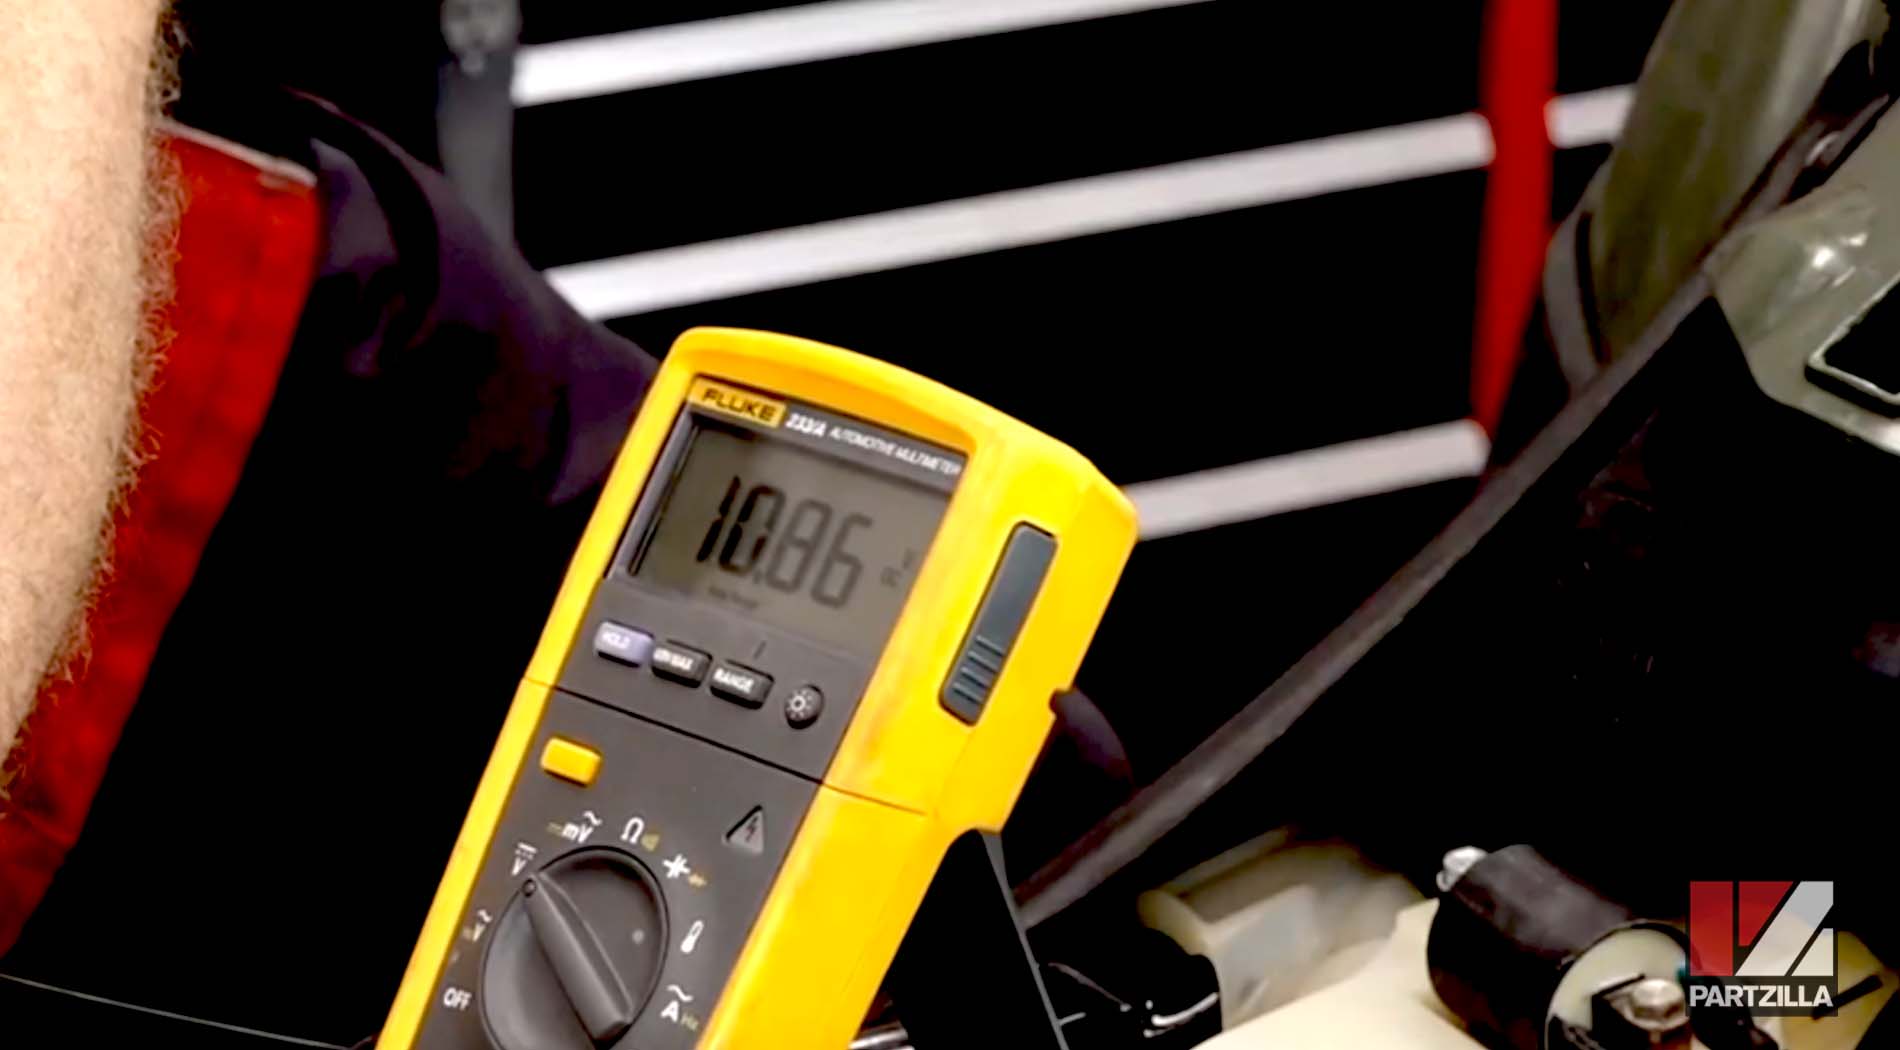
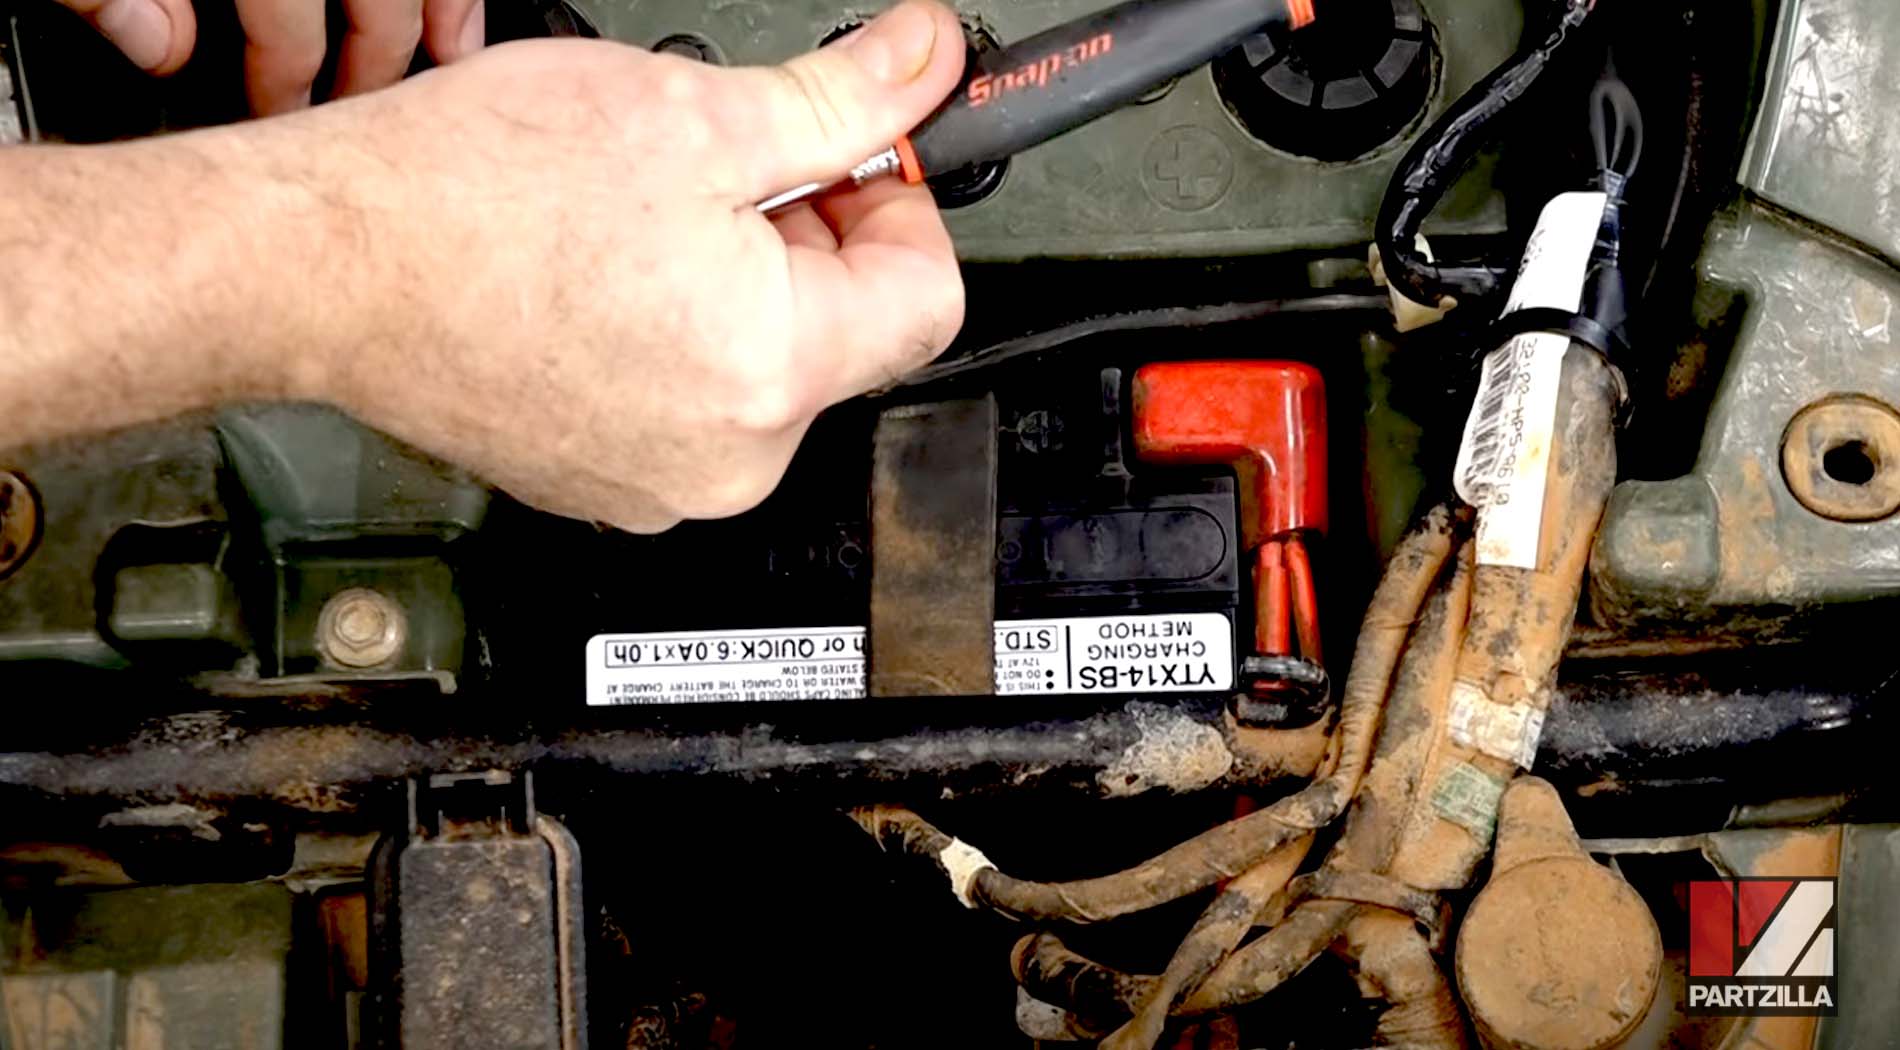
Step 4. Set the digital multimeter to DC, then make contact on the battery terminals with the tester probes.
NOTE: Our battery should’ve been reading about 12 volts, but it only read 10.86 volts.
Step 5. Connect a battery charger and charge the battery if the voltage reading is low. Turn the ATV’s power on as the battery is charging.
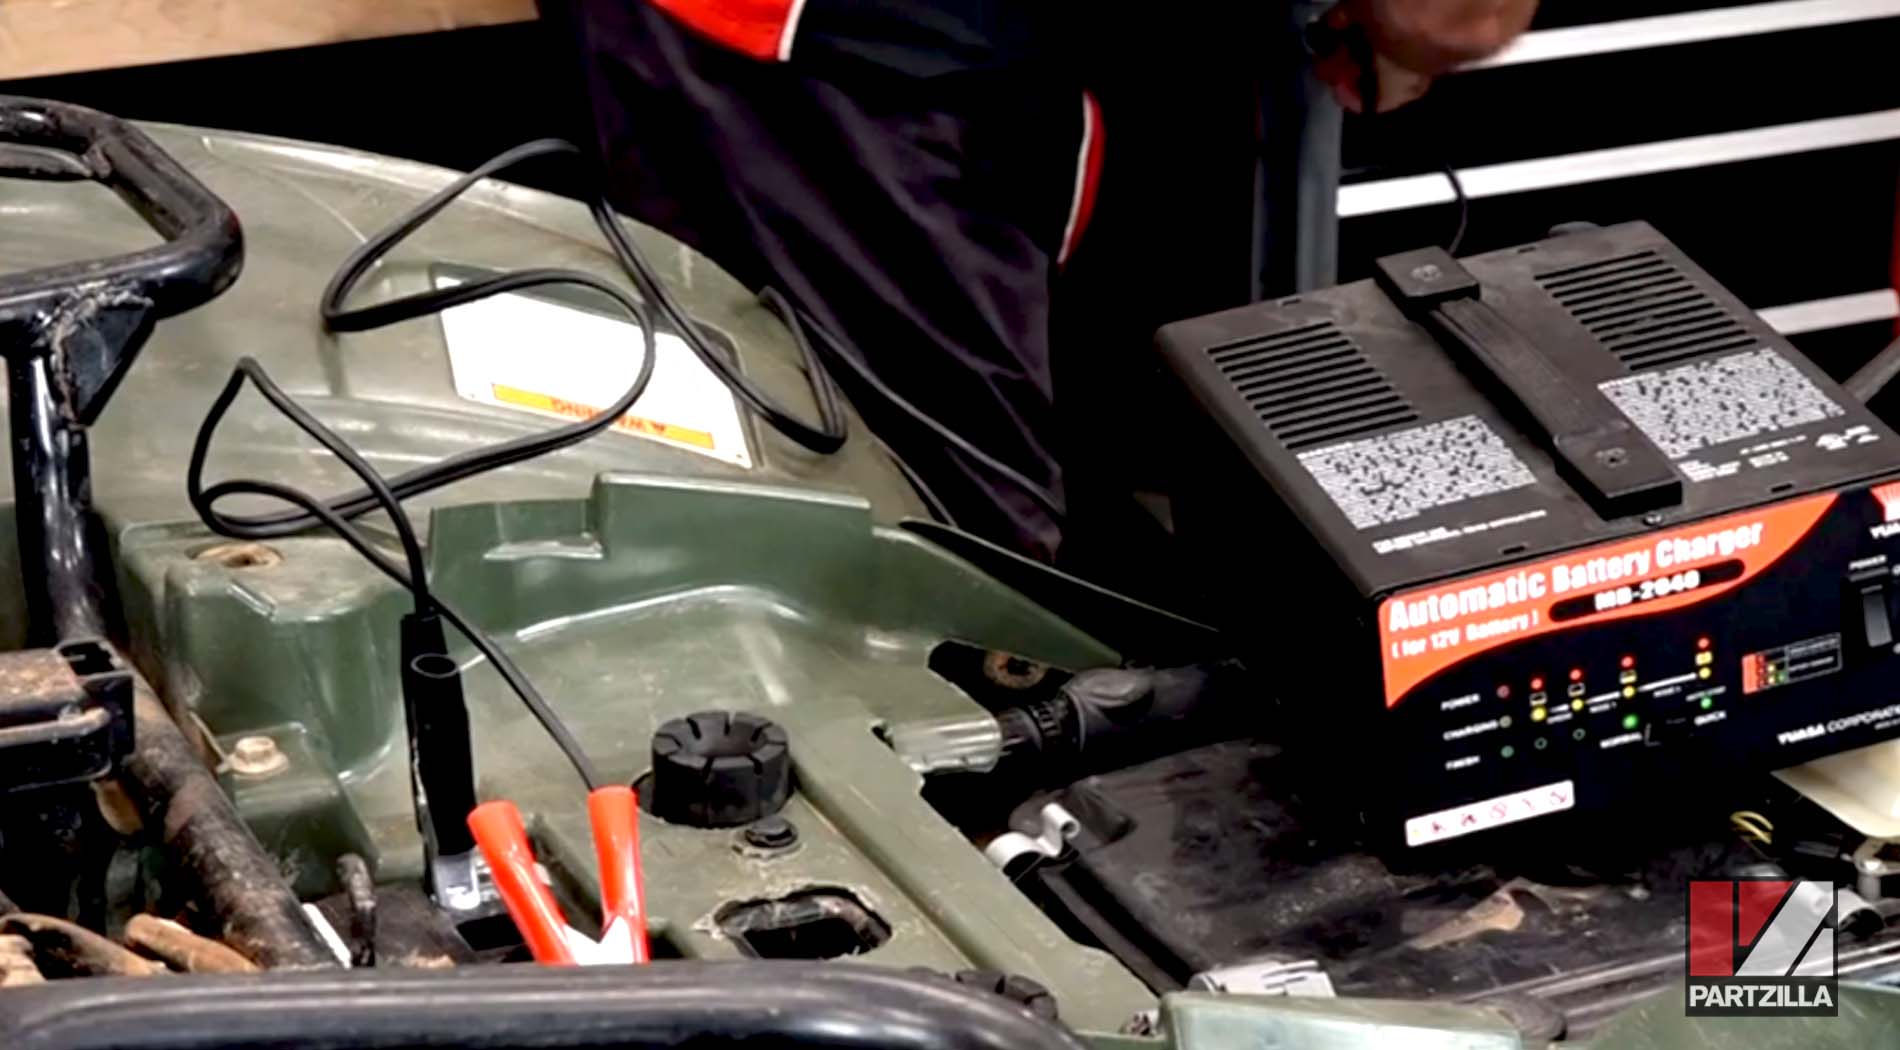
NOTE: We didn’t need to start the unit; we just turned the power on to check to see if power was flowing and that we didn’t have a blown fuse. If the lights on the instrument panel are on, it indicates that power is flowing and the fuse is not blown.
Step 6. Continue charging the battery and test it again with your multimeter for voltage. If the voltage reading turns up low again after charging the battery, you need to replace it.
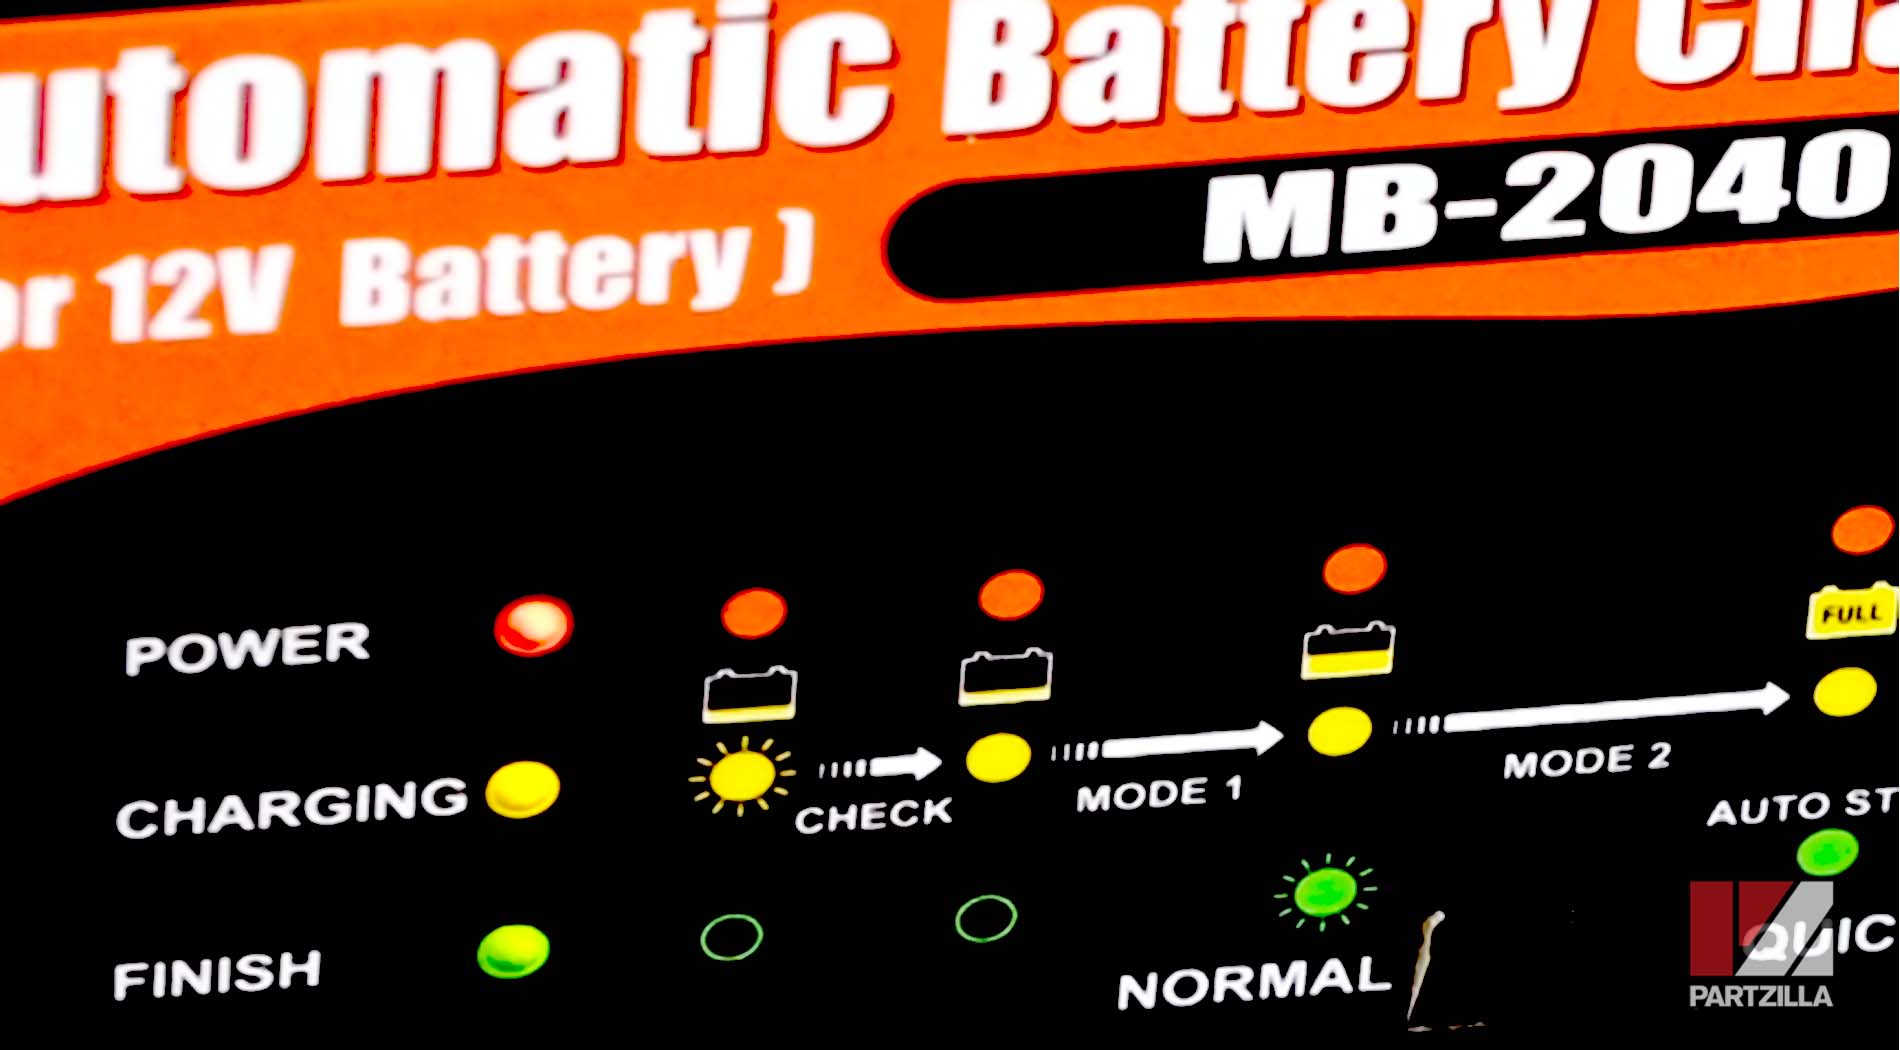
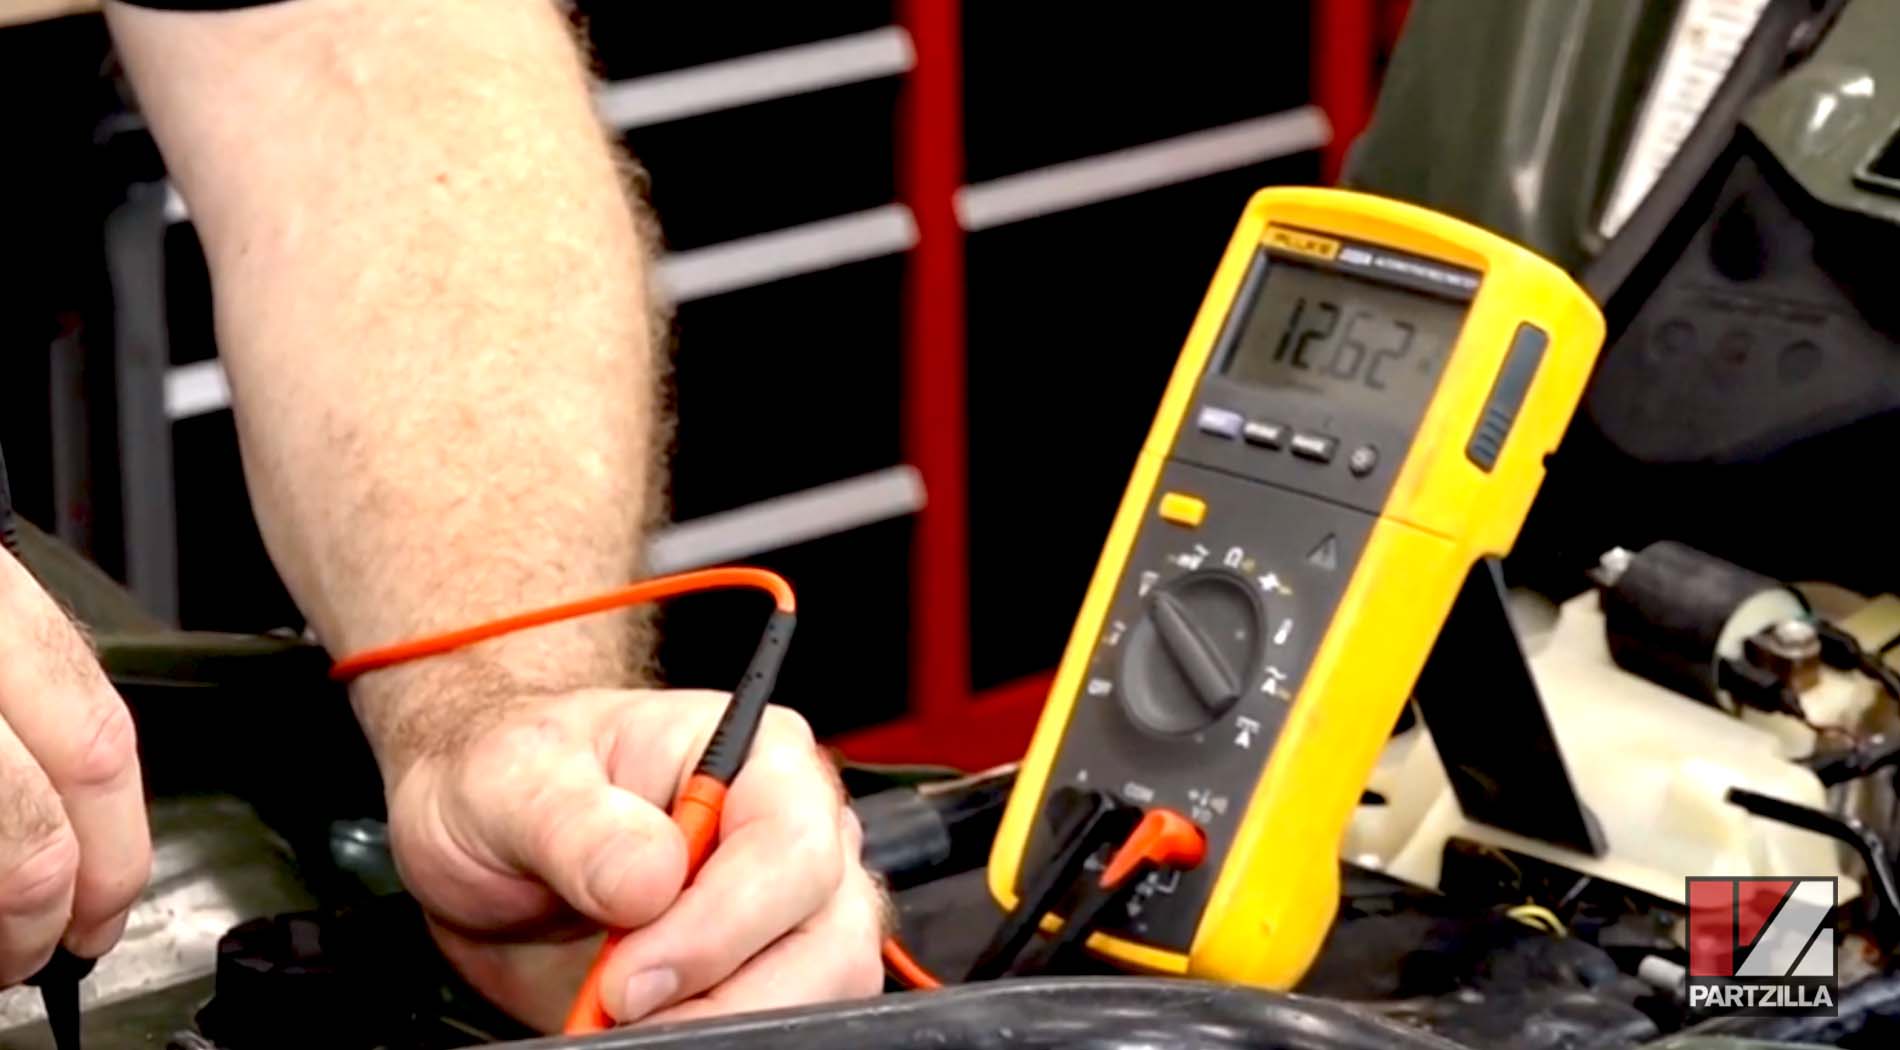
NOTE: With the battery charged, we tested it again and our multimeter read 12.62, suggesting the battery is healthy. However, if your battery needs replacing, follow the next steps.
How to Replace a Honda Rancher 420 Battery
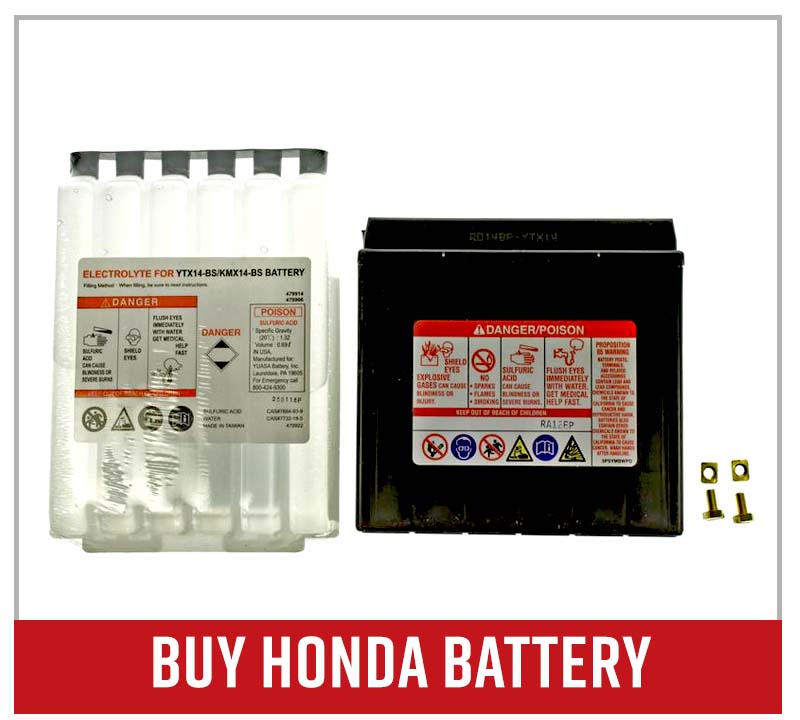
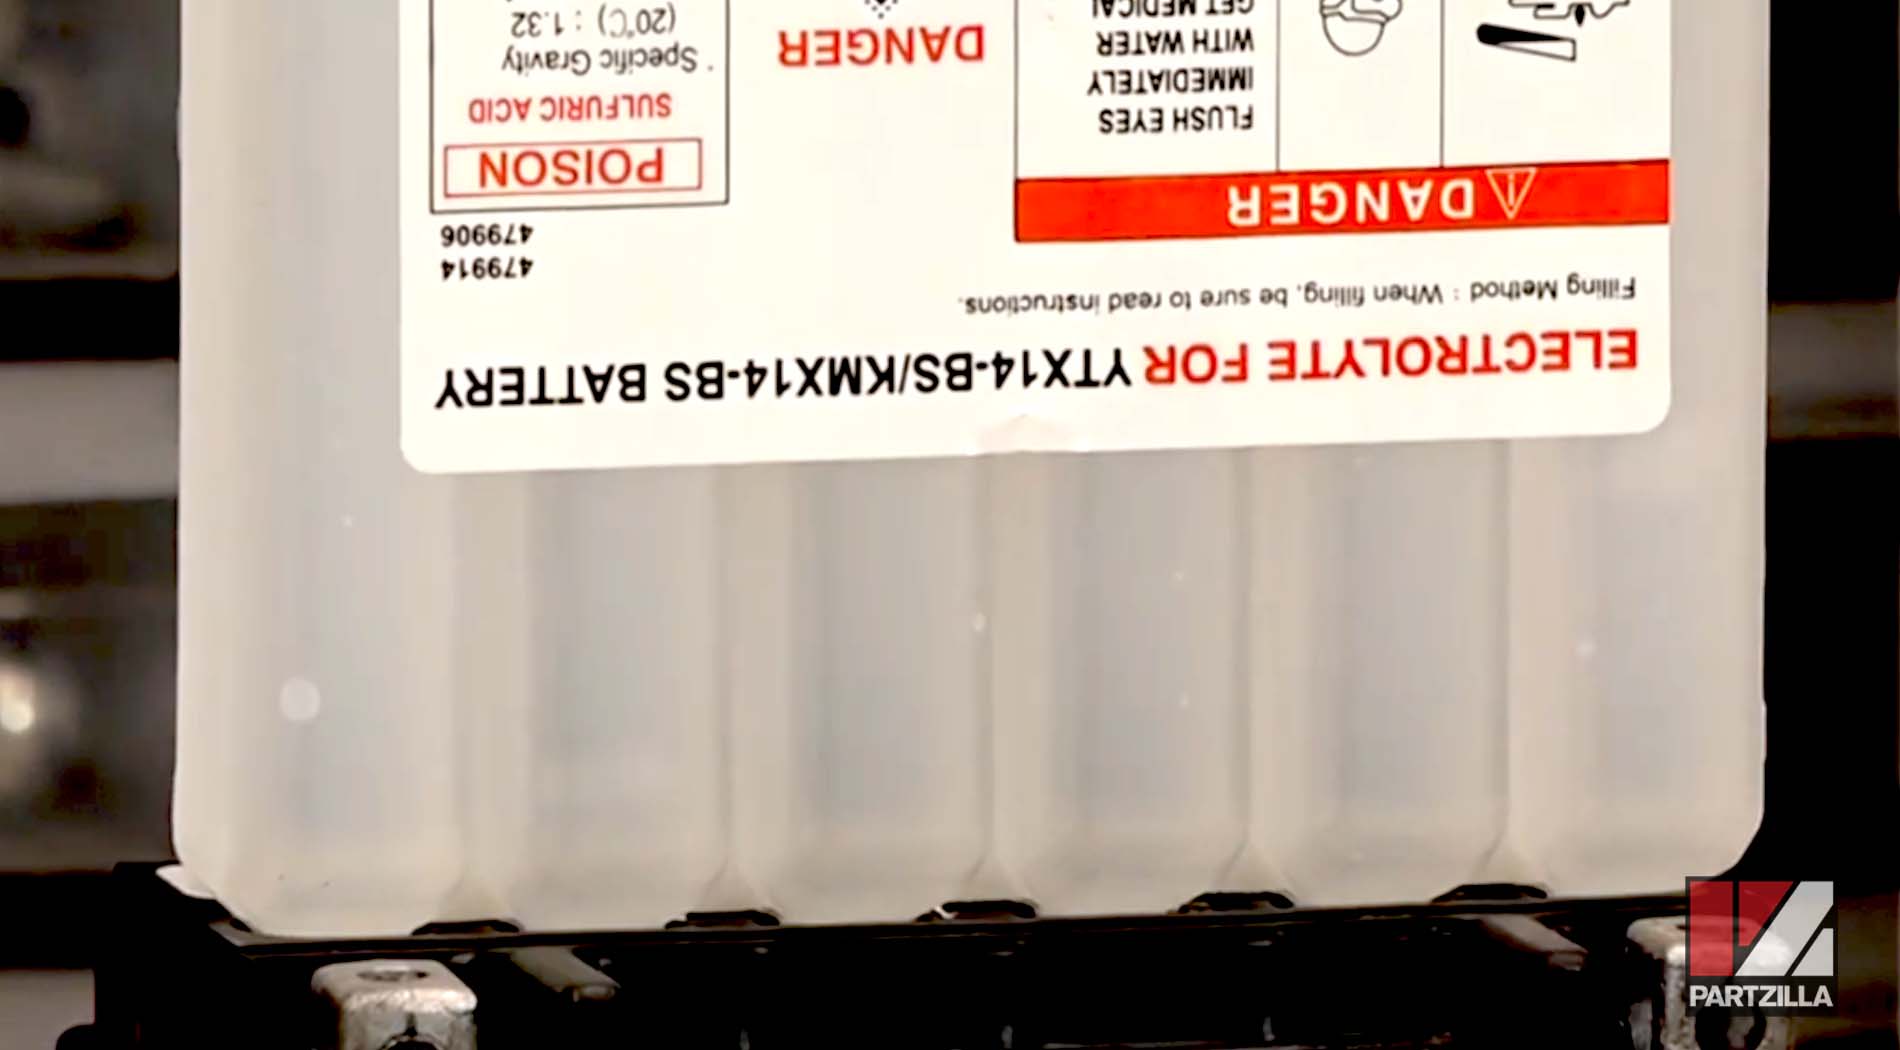
Step 1. Unbox the replacement battery and remove the cap from the electrolyte pack.
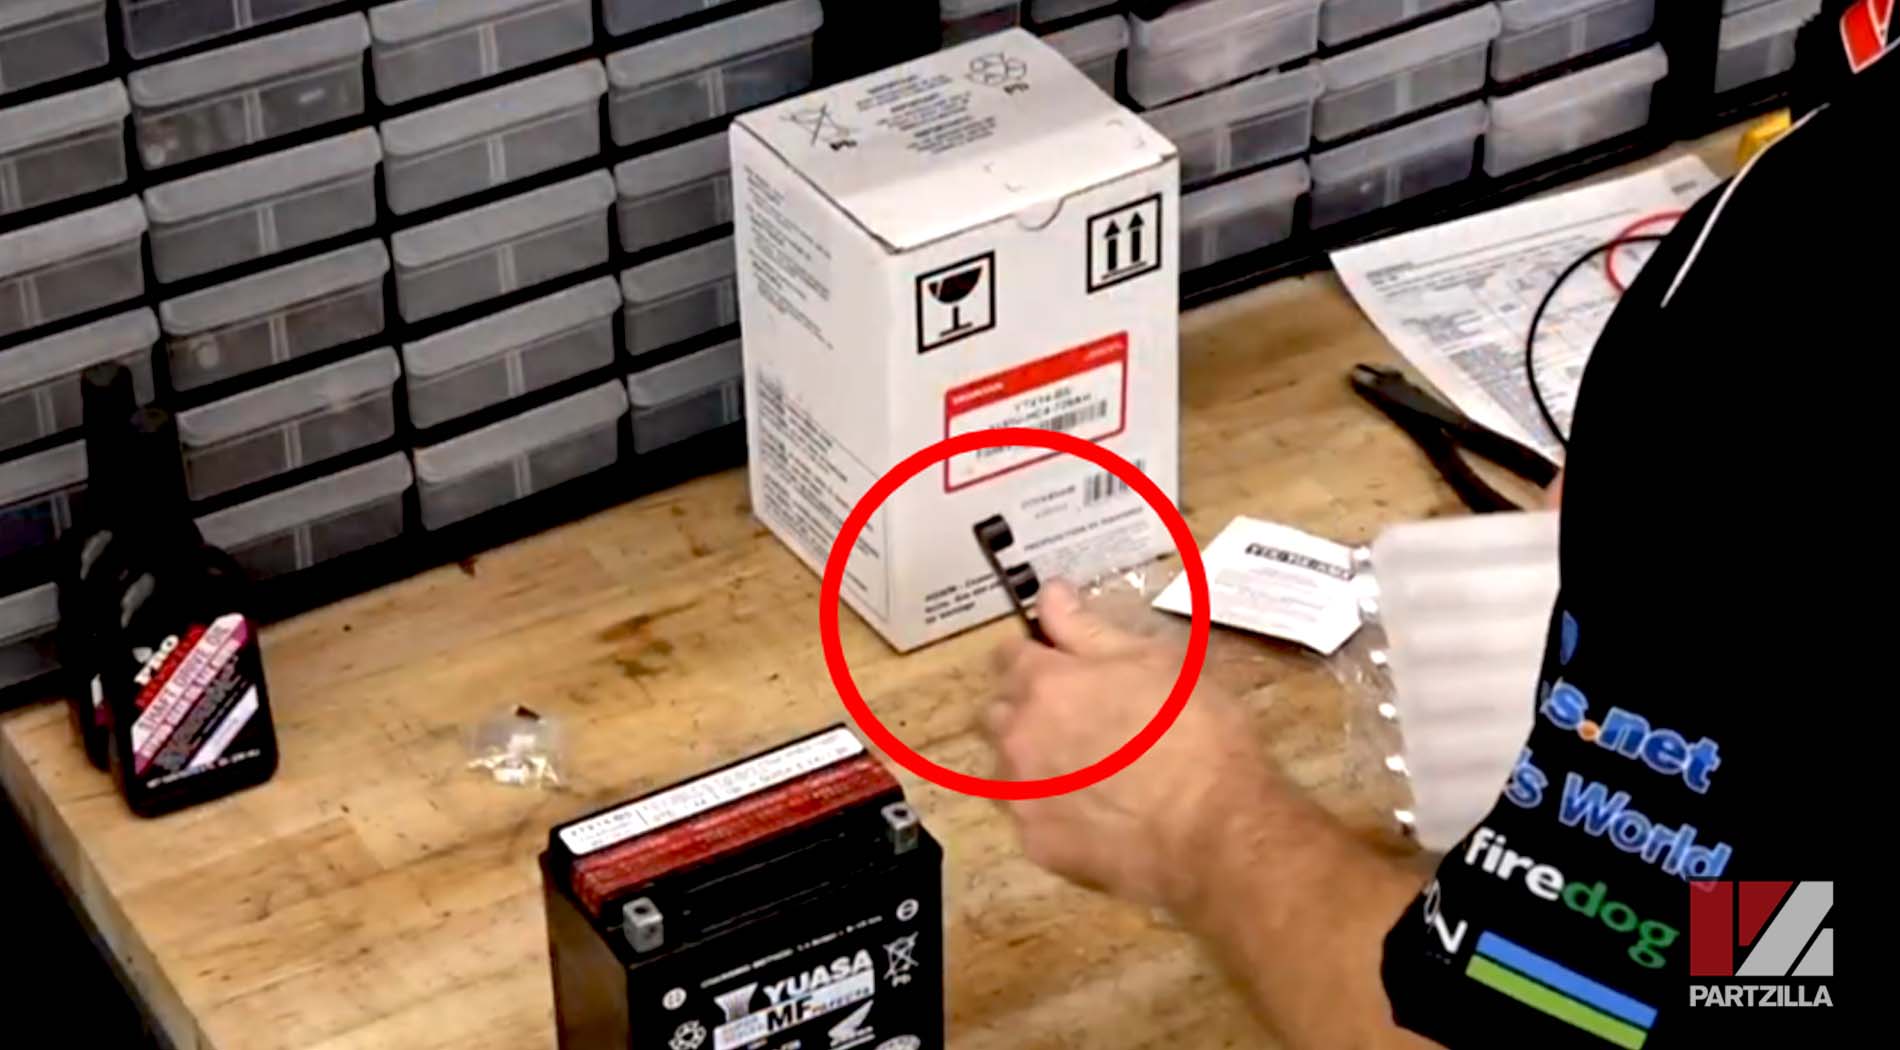
NOTE: Don’t throw away the cap, since you’ll need it later.
Step 2. Remove the red film on top of the battery to expose the openings where you’ll insert the electrolyte.
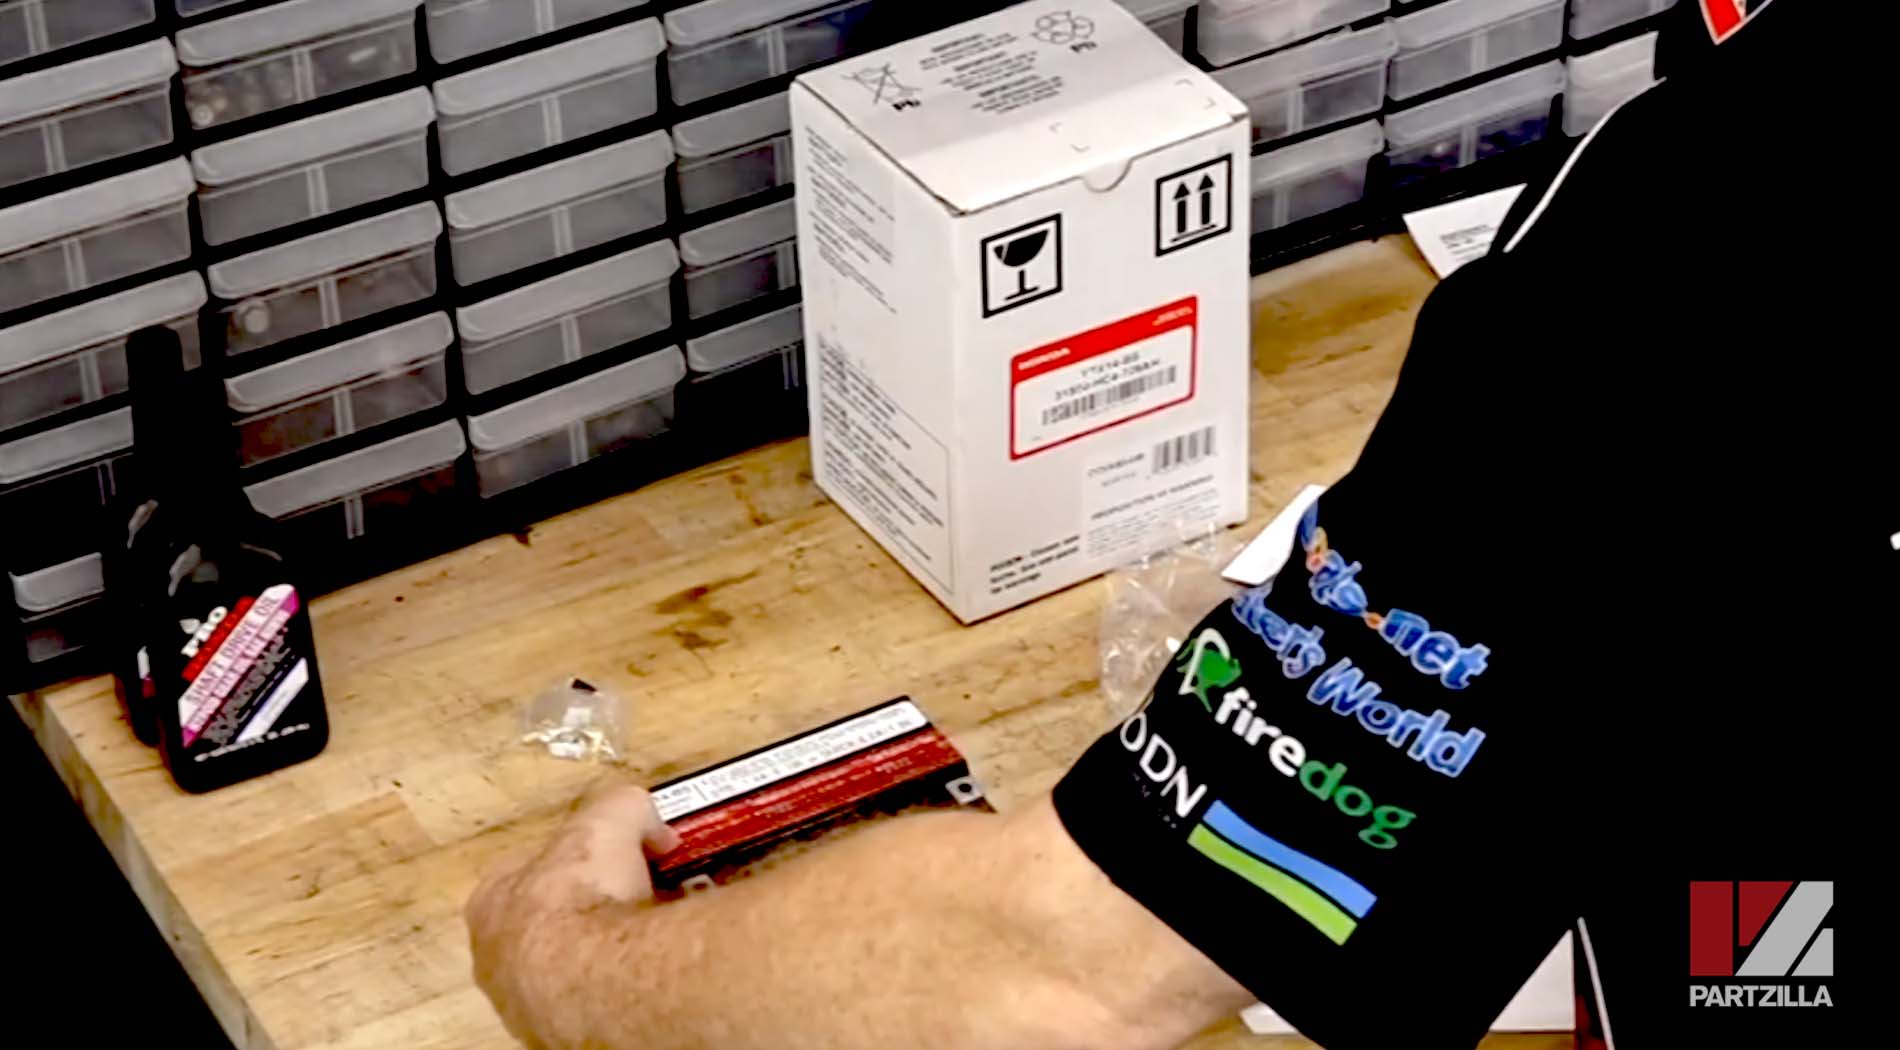
Step 3. Insert the electrolytre container by lining up one side and then pushing the whole thing into place to start filling the battery.
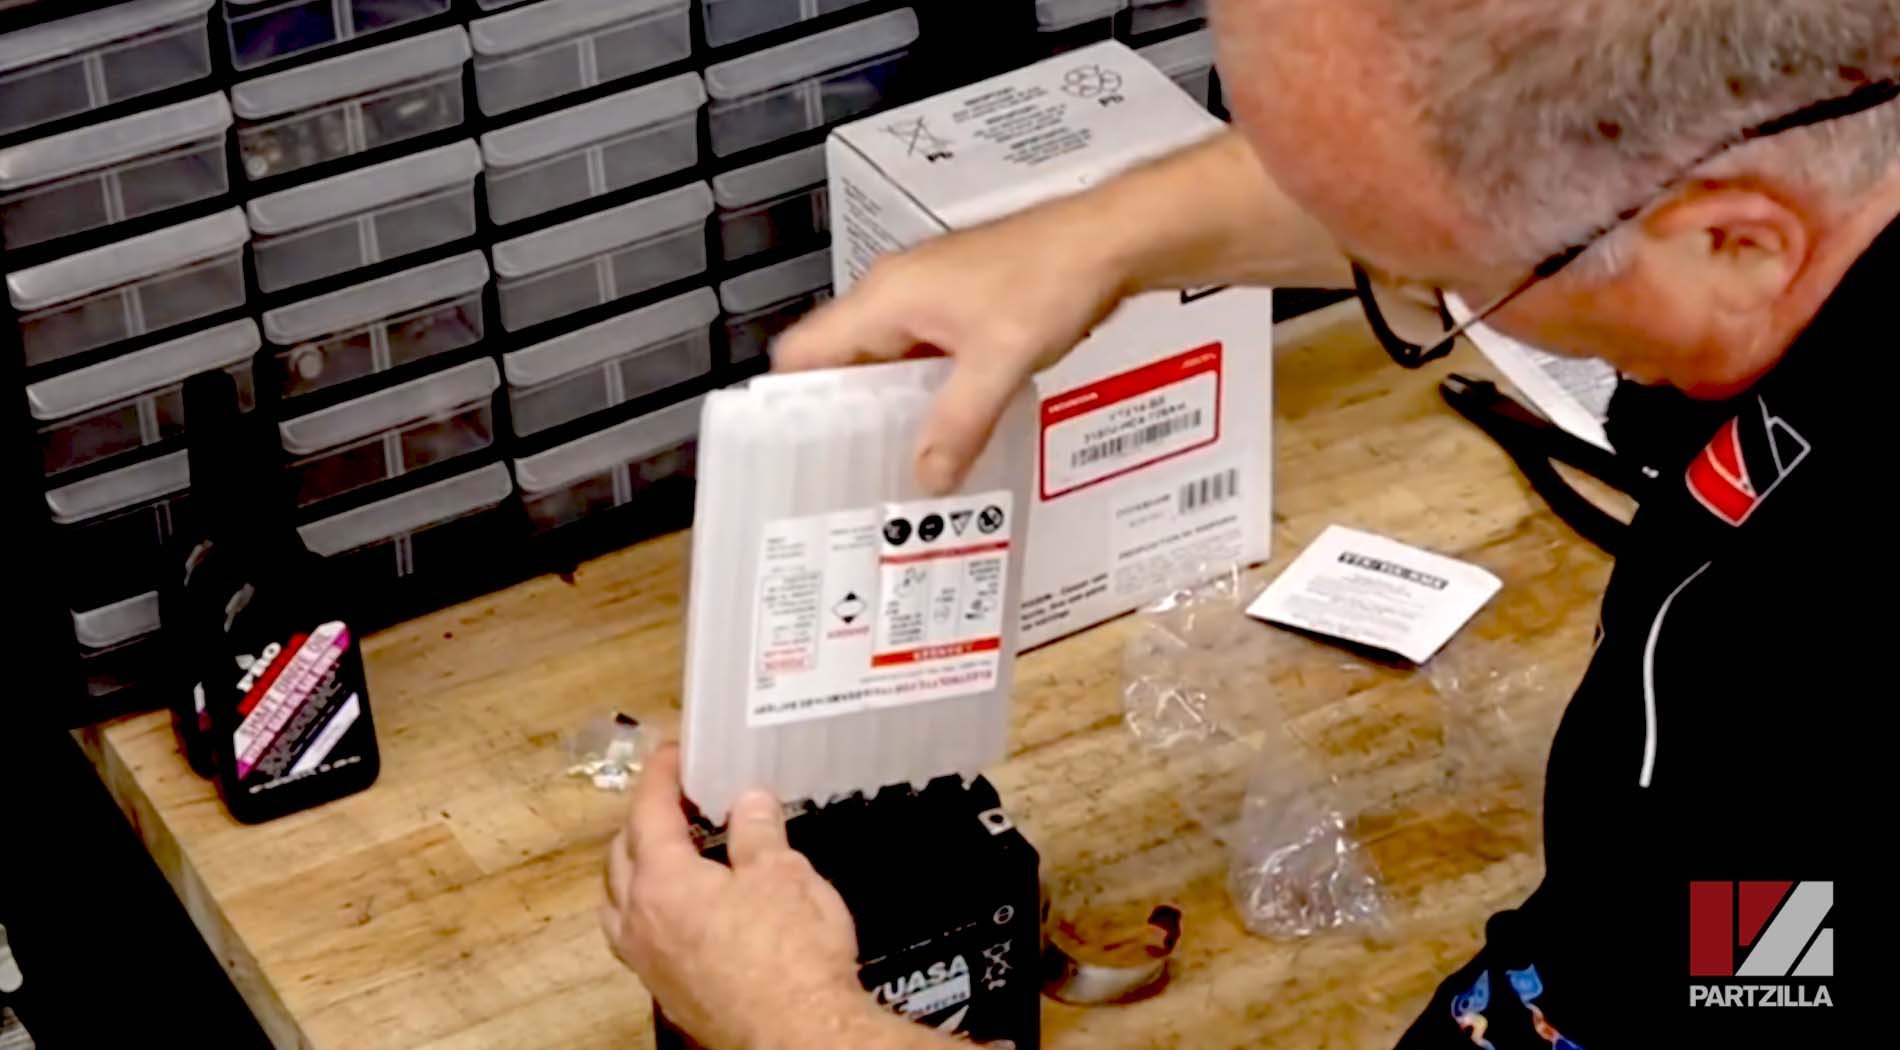
Step 4. Let the electrolyte empty out completely into the battery.
NOTE: Don’t squeeze the electrolyte to speed up the process. The electrolyte needs time to fill the battery and absorb into the mat inside the battery. Once the electrolyte is completely emptied into the battery, let it rest for 30-45 minutes to ensure absorbtion into the mat.
Step 5. Remove the empty electrolyte container and prepare to charge the battery.
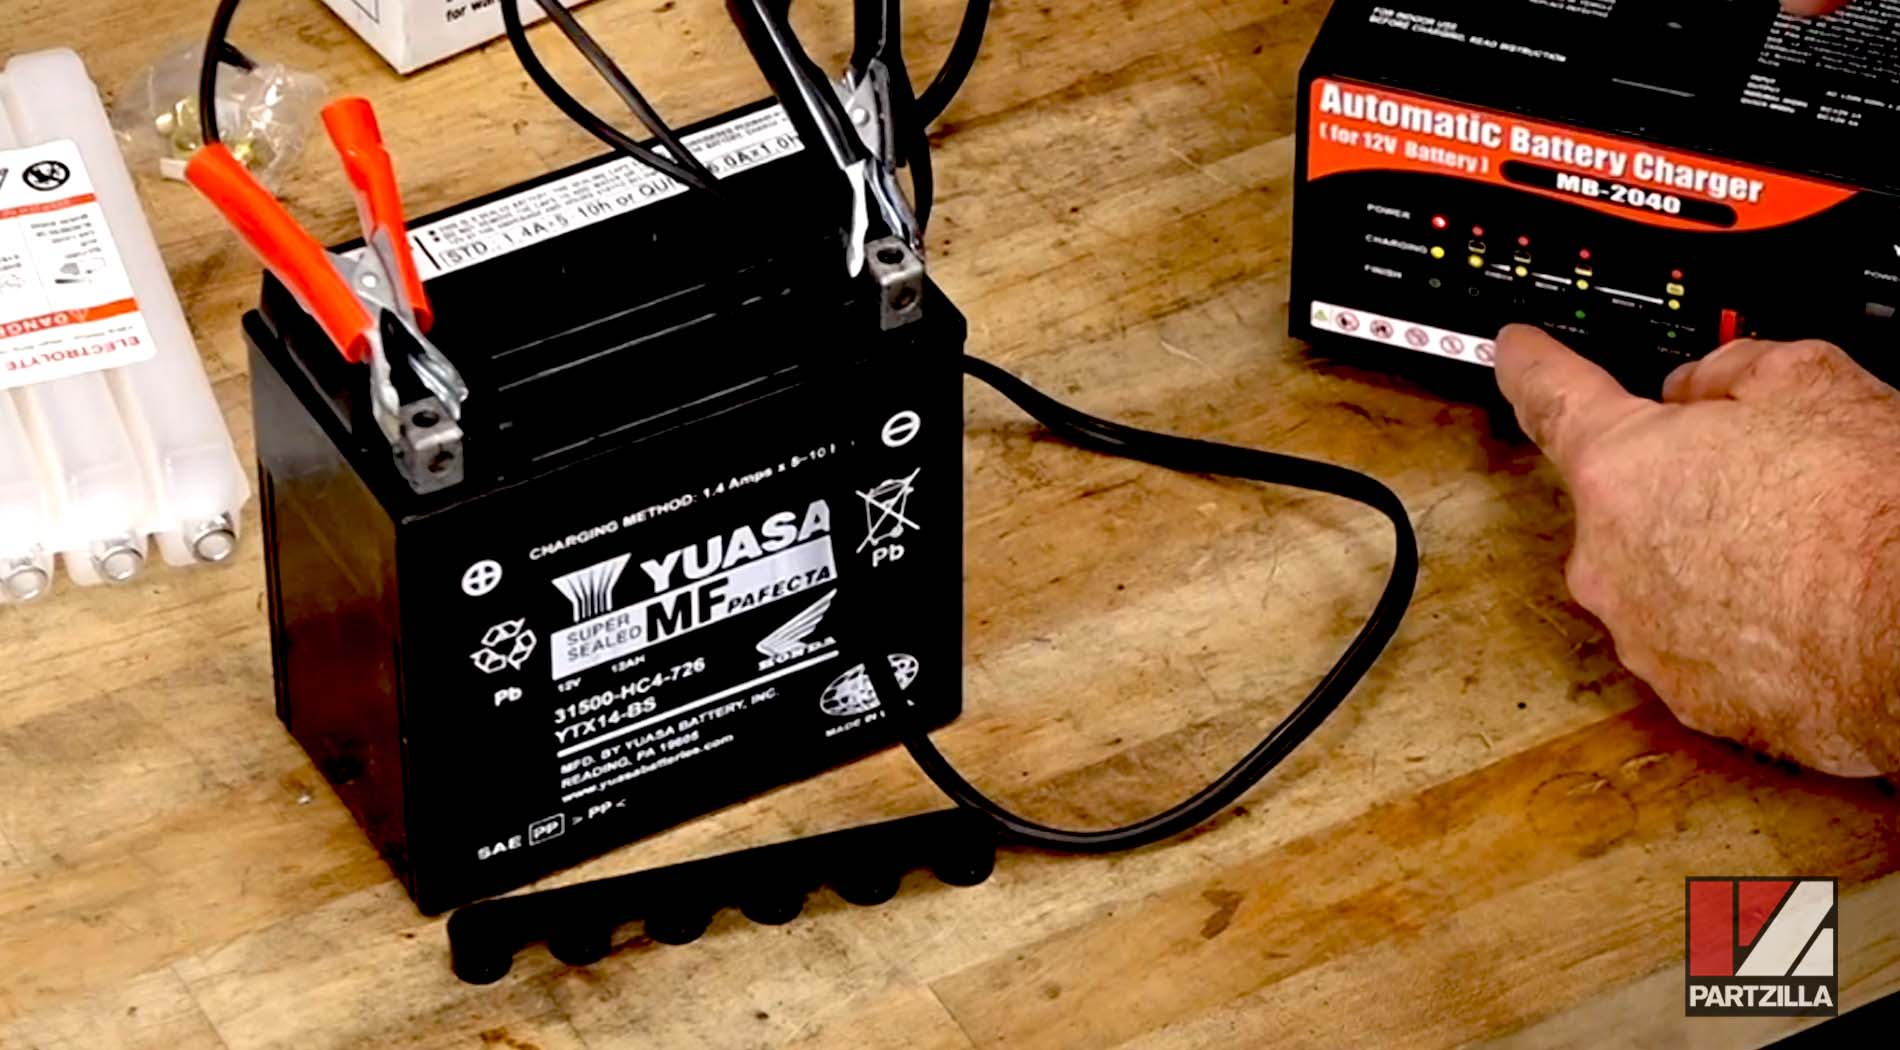
NOTE: Keep the cap off for the charging process, since the battery may expel some gases.
Step 6. Once the battery is charged, place the cap from the electrolyte over the openings in the battery, and use a soft-blow hammer to seal it down.
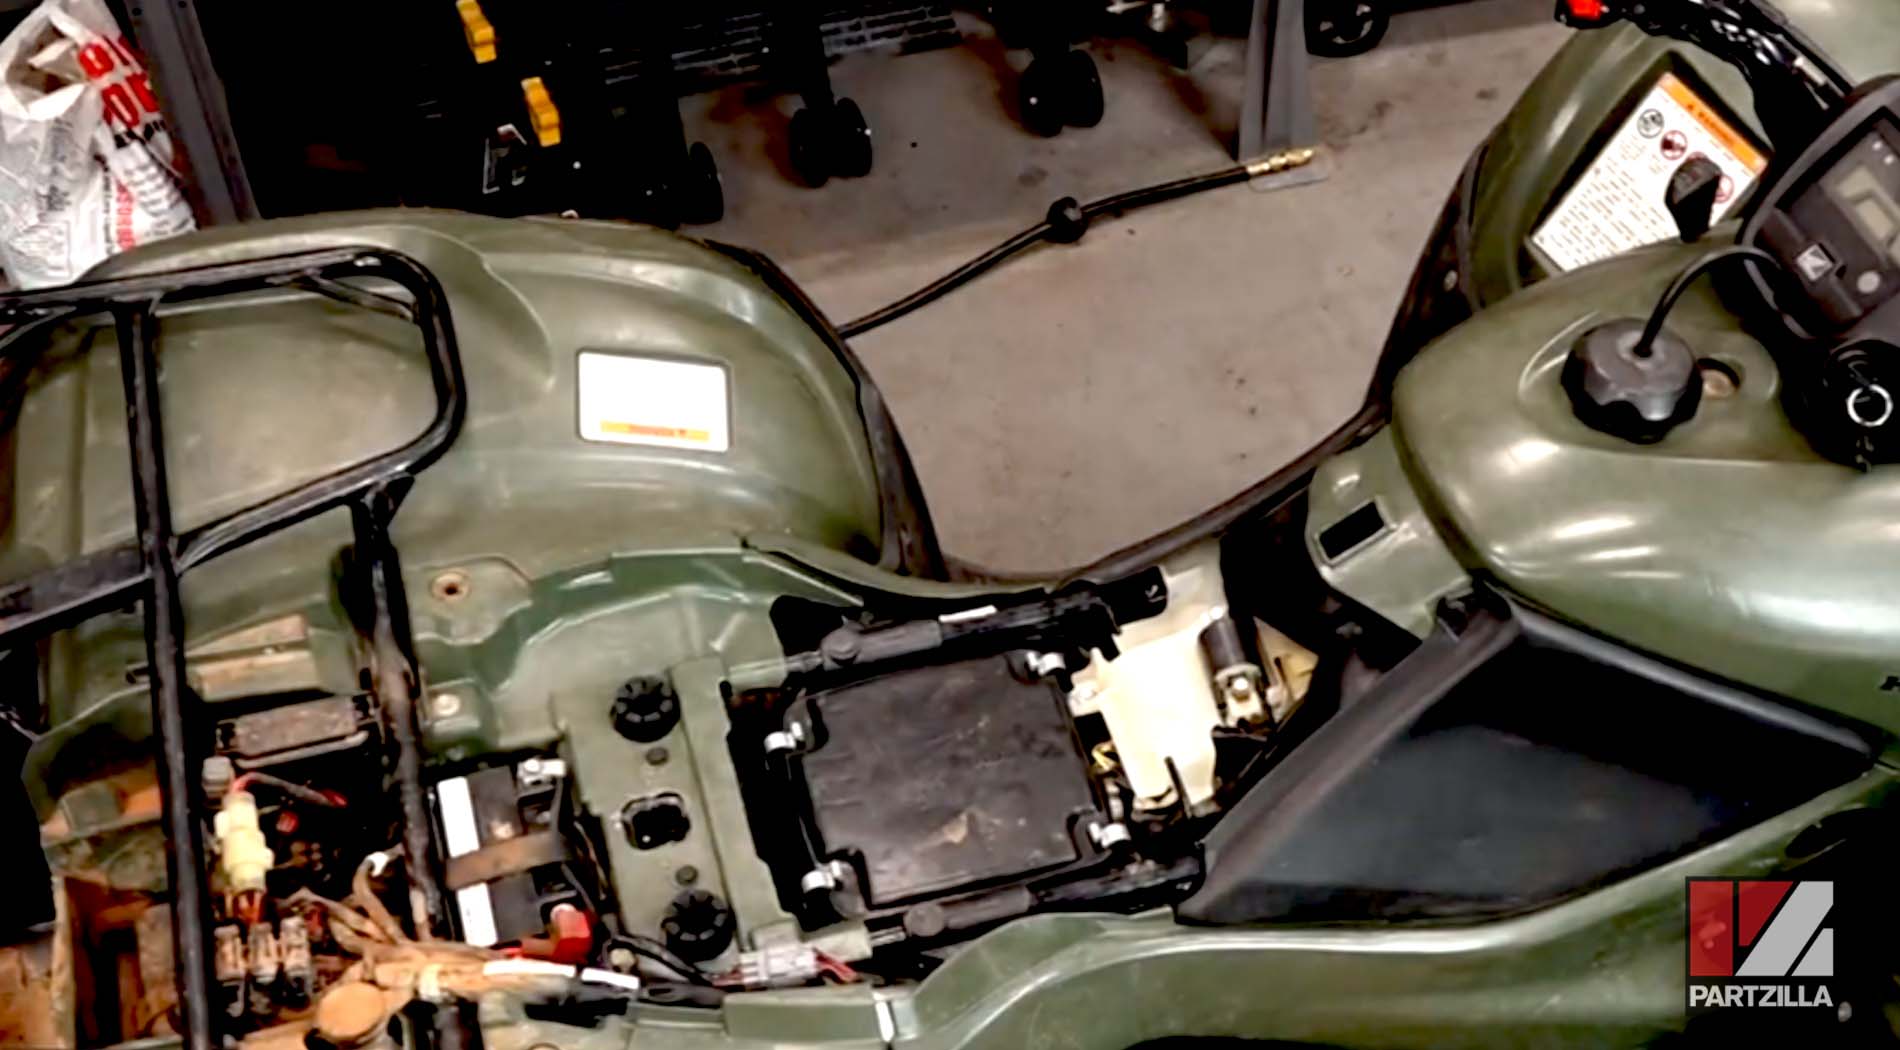
Step 7. Remove the old battery by unhooking the rubber strap that holds it in place, and then removing the two screws that secure the connections to the battery terminals.
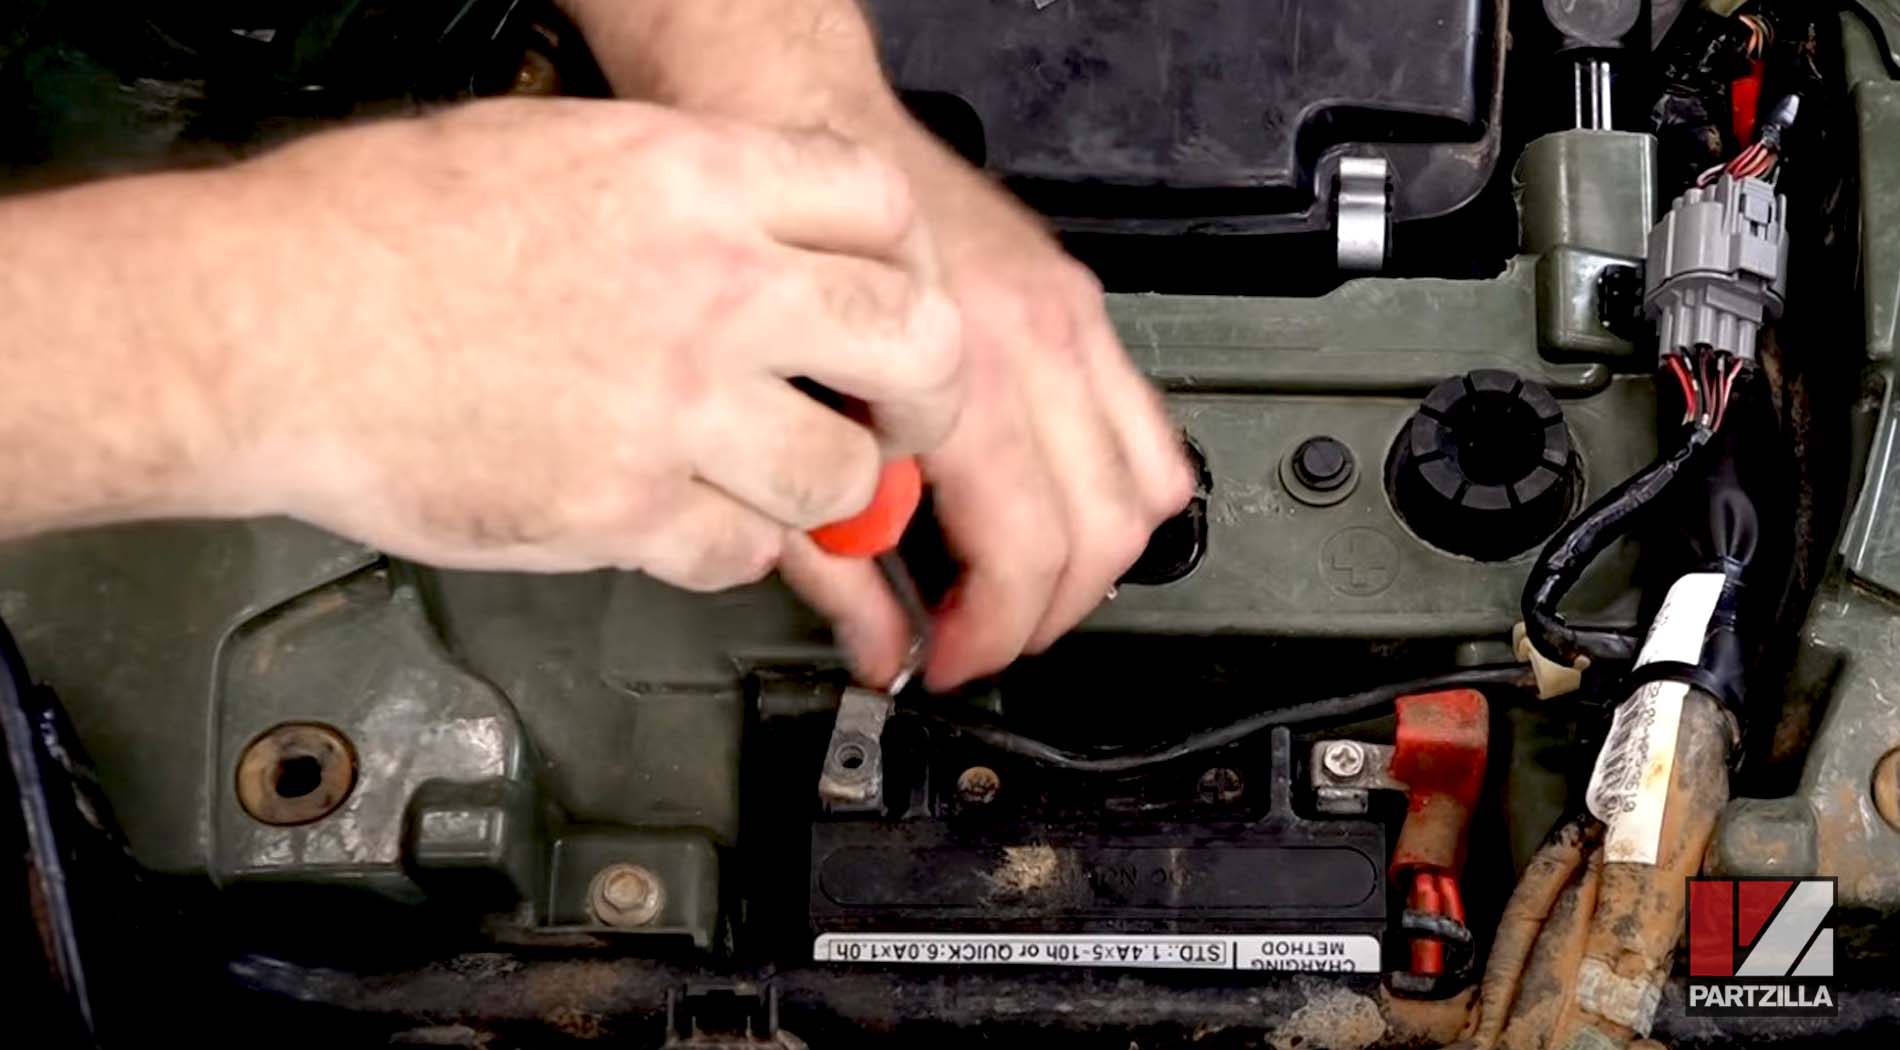
Step 8. Lift the old battery out, and clean off any dirt or debris in the battery compartment.
Step 9. Lower the new battery into place and reattach the strap. Next, reattach the battery connections to the terminals and tighten the screws, positive side first.
Step 10. Replace the back panel, pull up the rear door and reattach the rubber tab holding it in place.
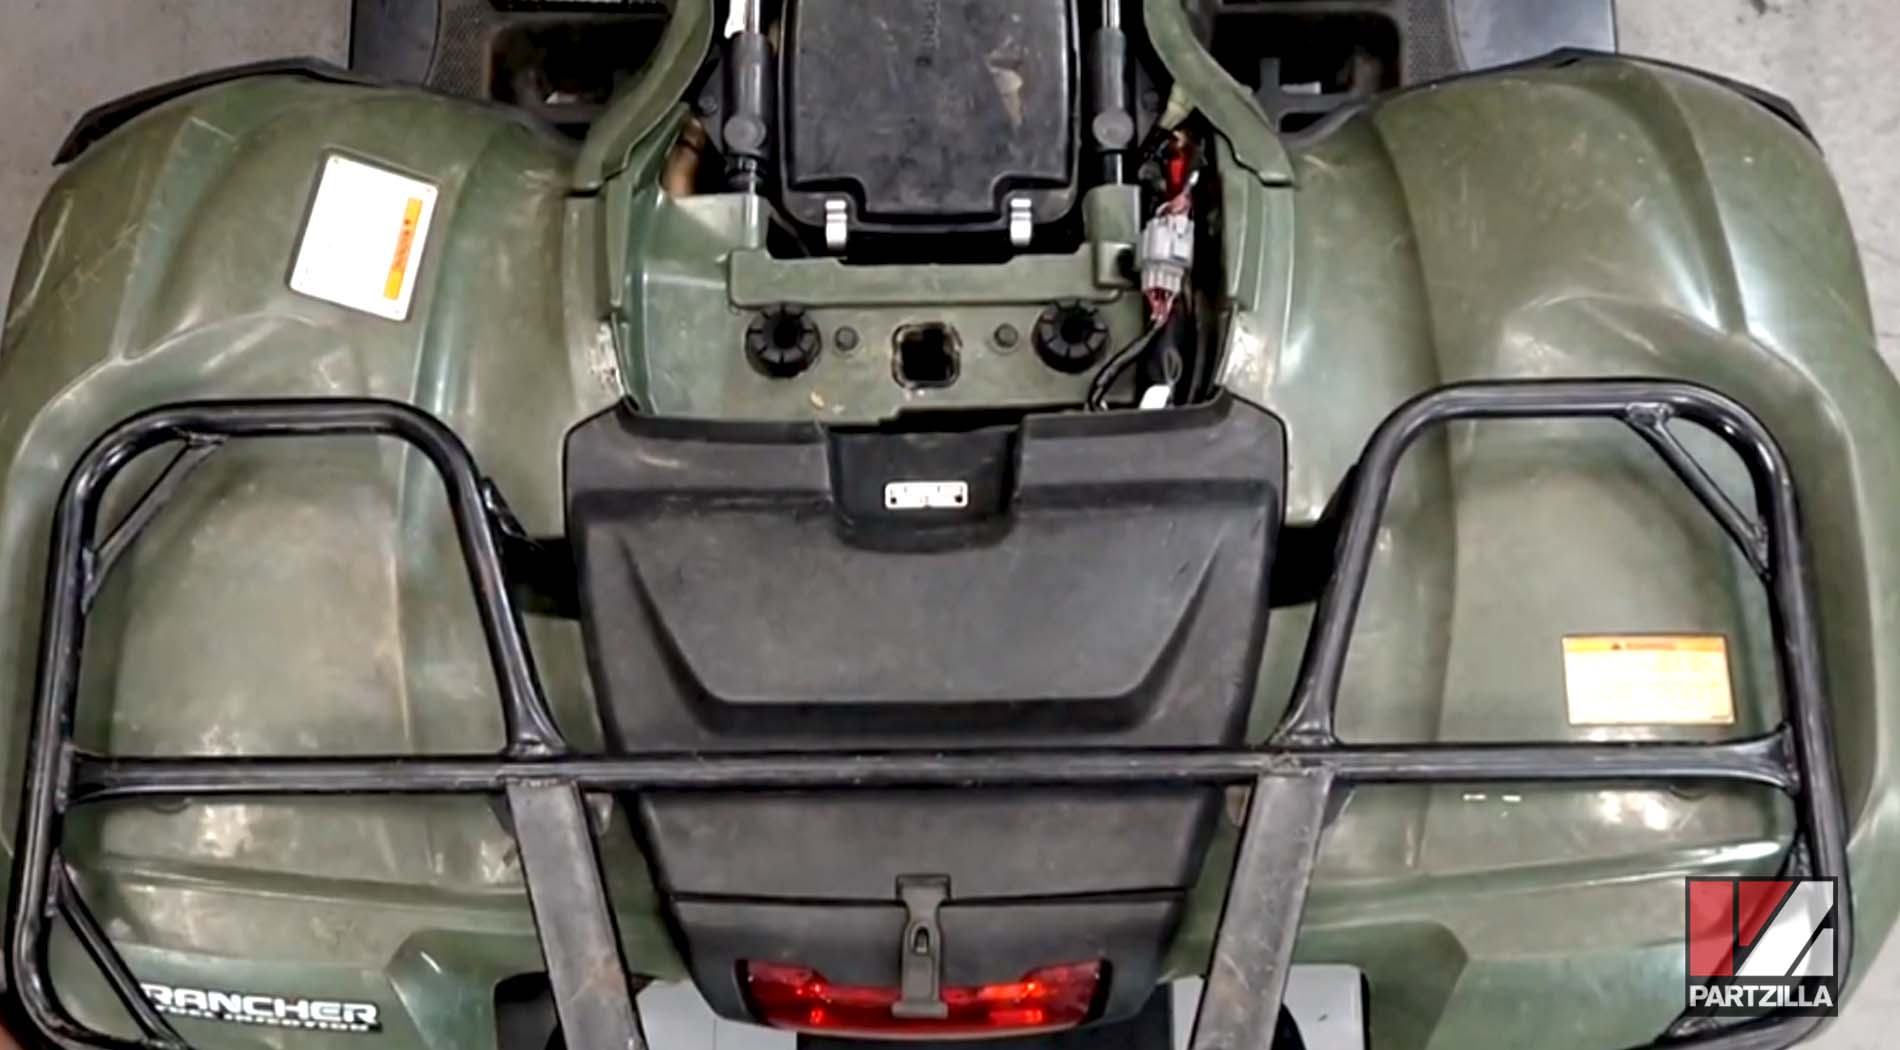
Step 11. Put the seat back on and you’re done.