Honda TRX350 Brake Cables Change
Grabbing the hand brake on an ATV and finding too much movement or none at all from the brake lever is never a good sign. The same goes for the foot brake.
The brake cables on a Honda TRX350 can stretch or become clogged with dirt and debris over time. Unless you periodically replace the cables, there will come a time when your brakes will stop working properly, and that's when accidents happen. Watch the video above and follow the steps below to replace the rear hand and foot brake cables on a Honda Rancher 350.
Tools and Parts - Honda Rancher 350 Rear Brake Cable Replacement
- Electrical tape
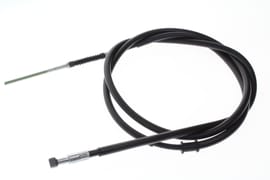
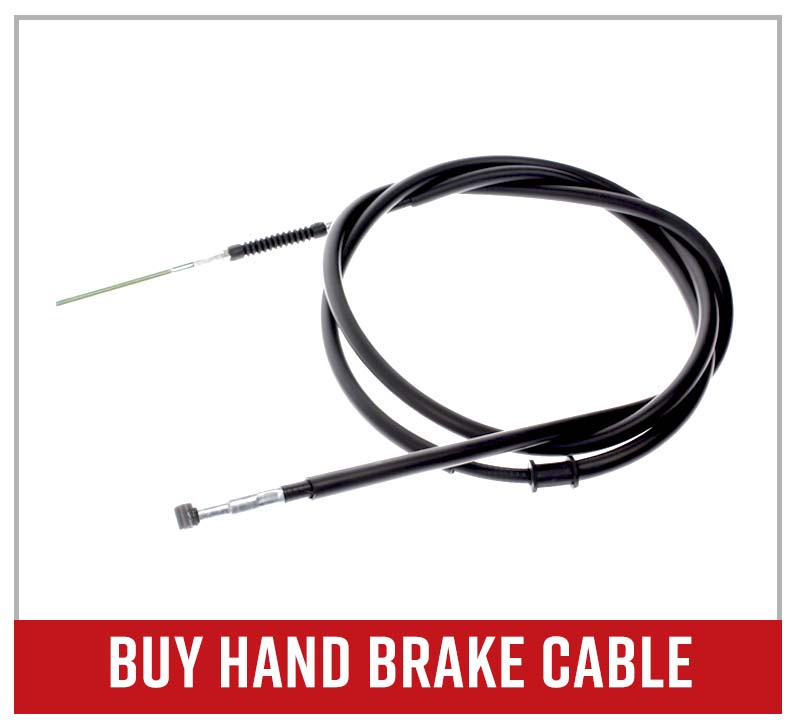
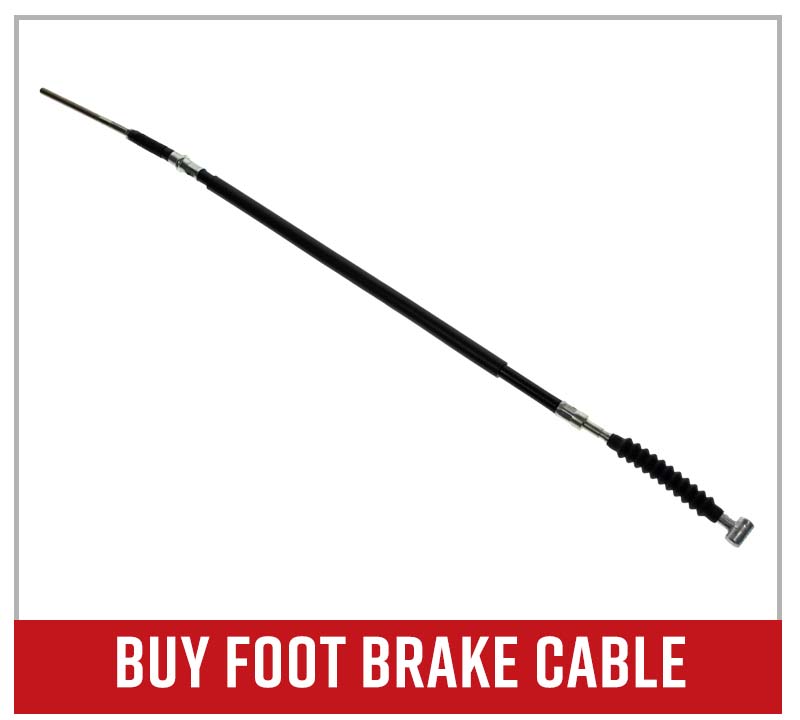
- Hand brake cable
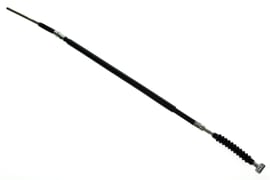
- Foot brake cable
Honda TRX 350 Rear Foot Brake Cable Replacement
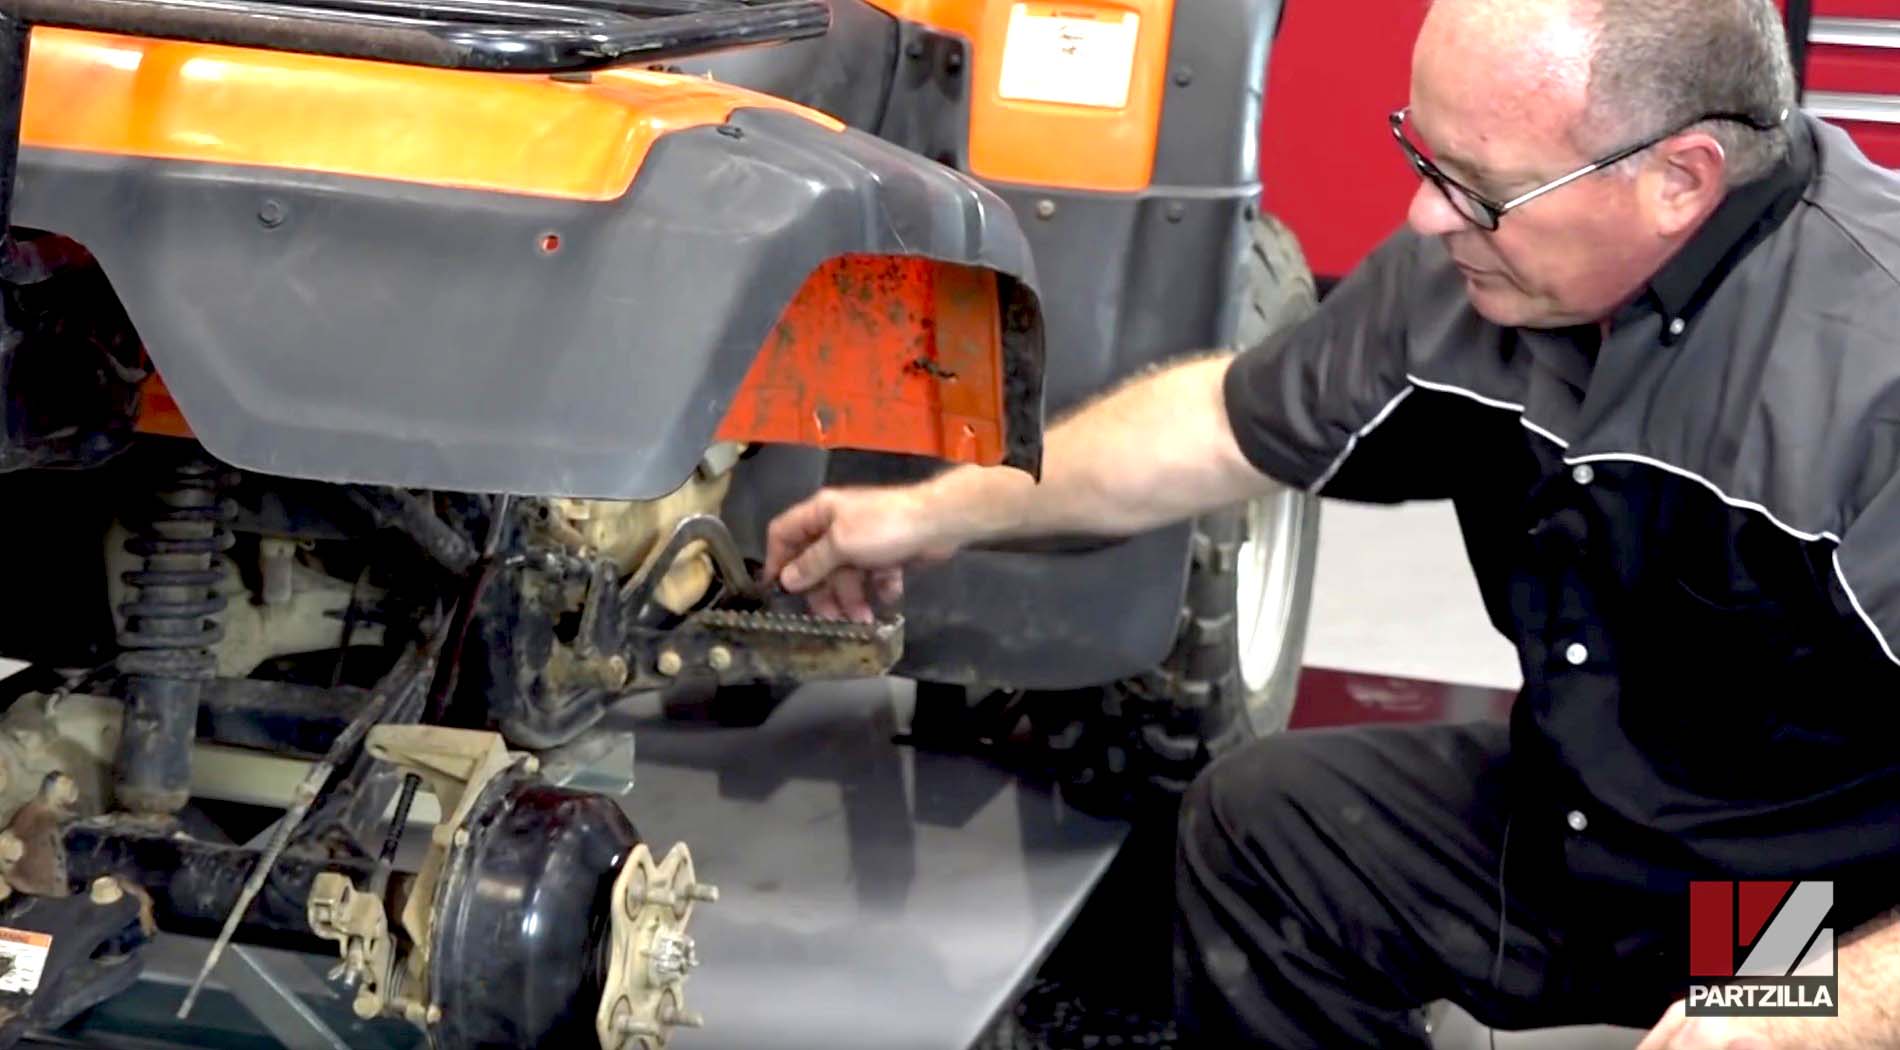
Step 1. Remove the right rear wheel.
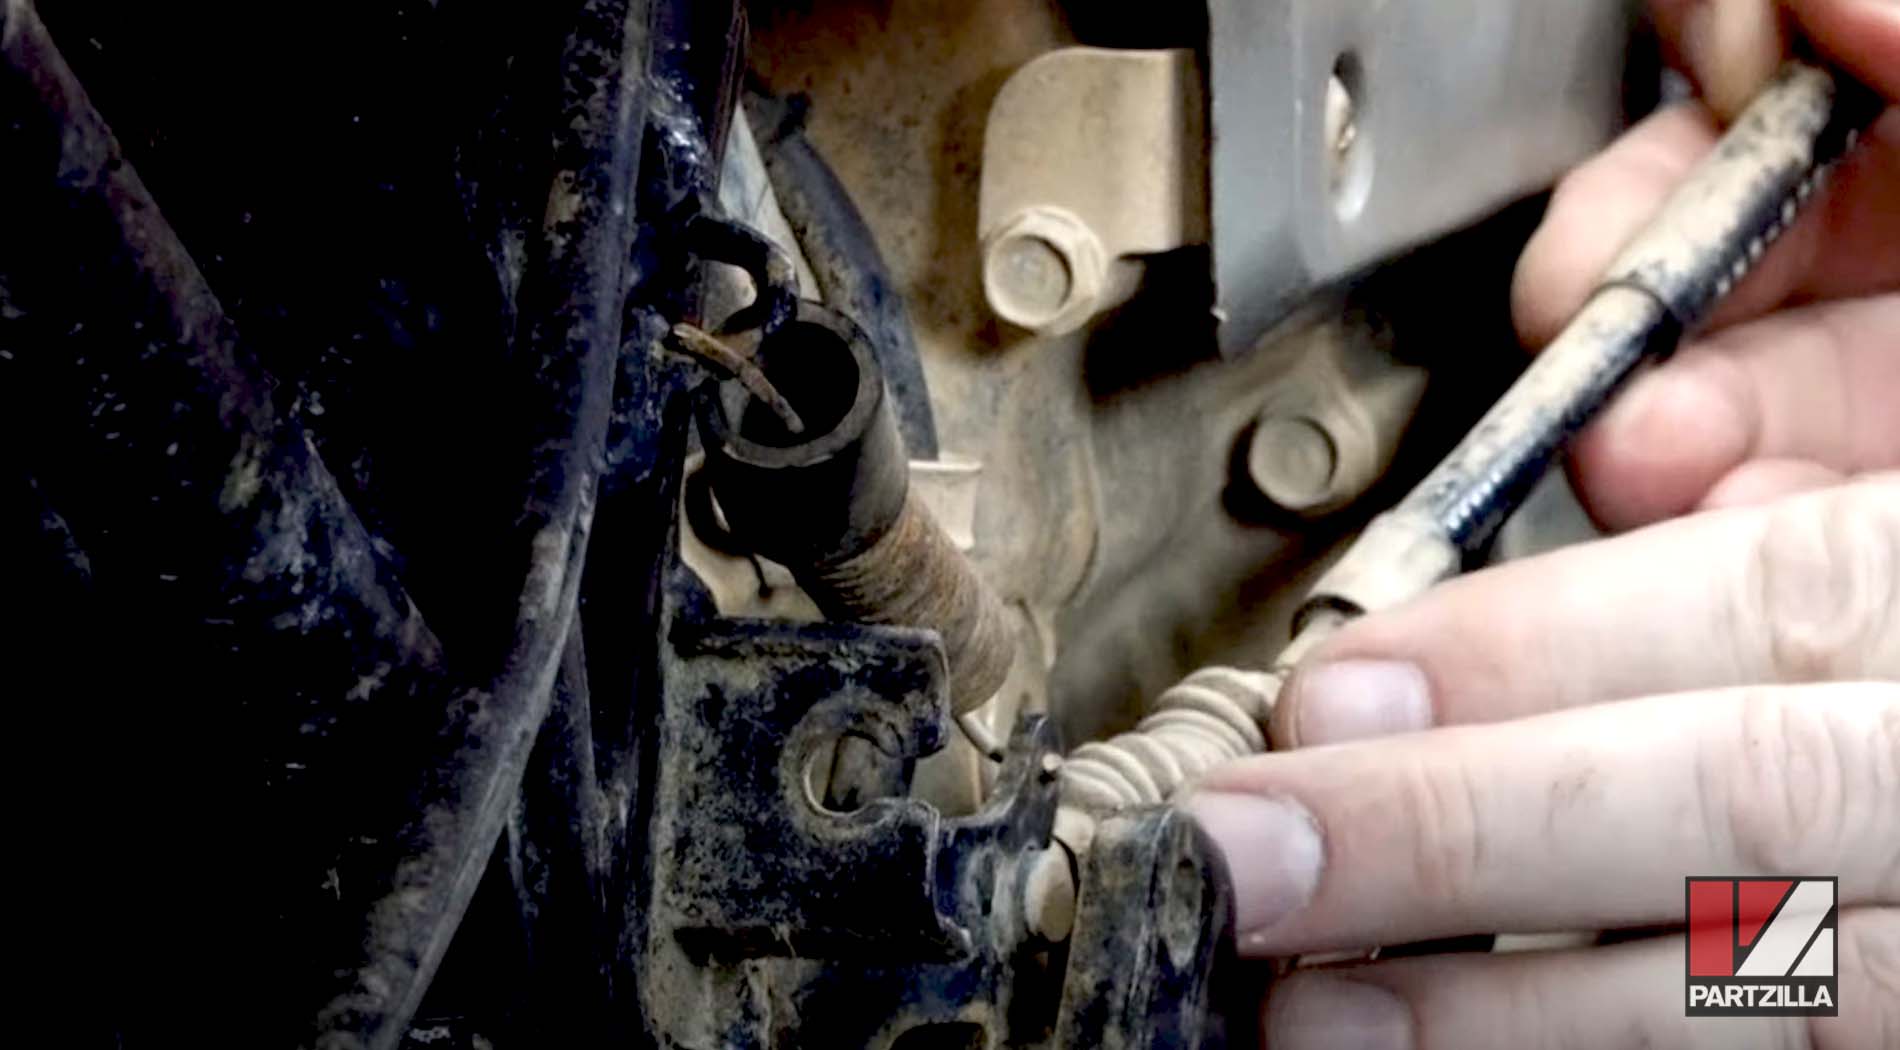
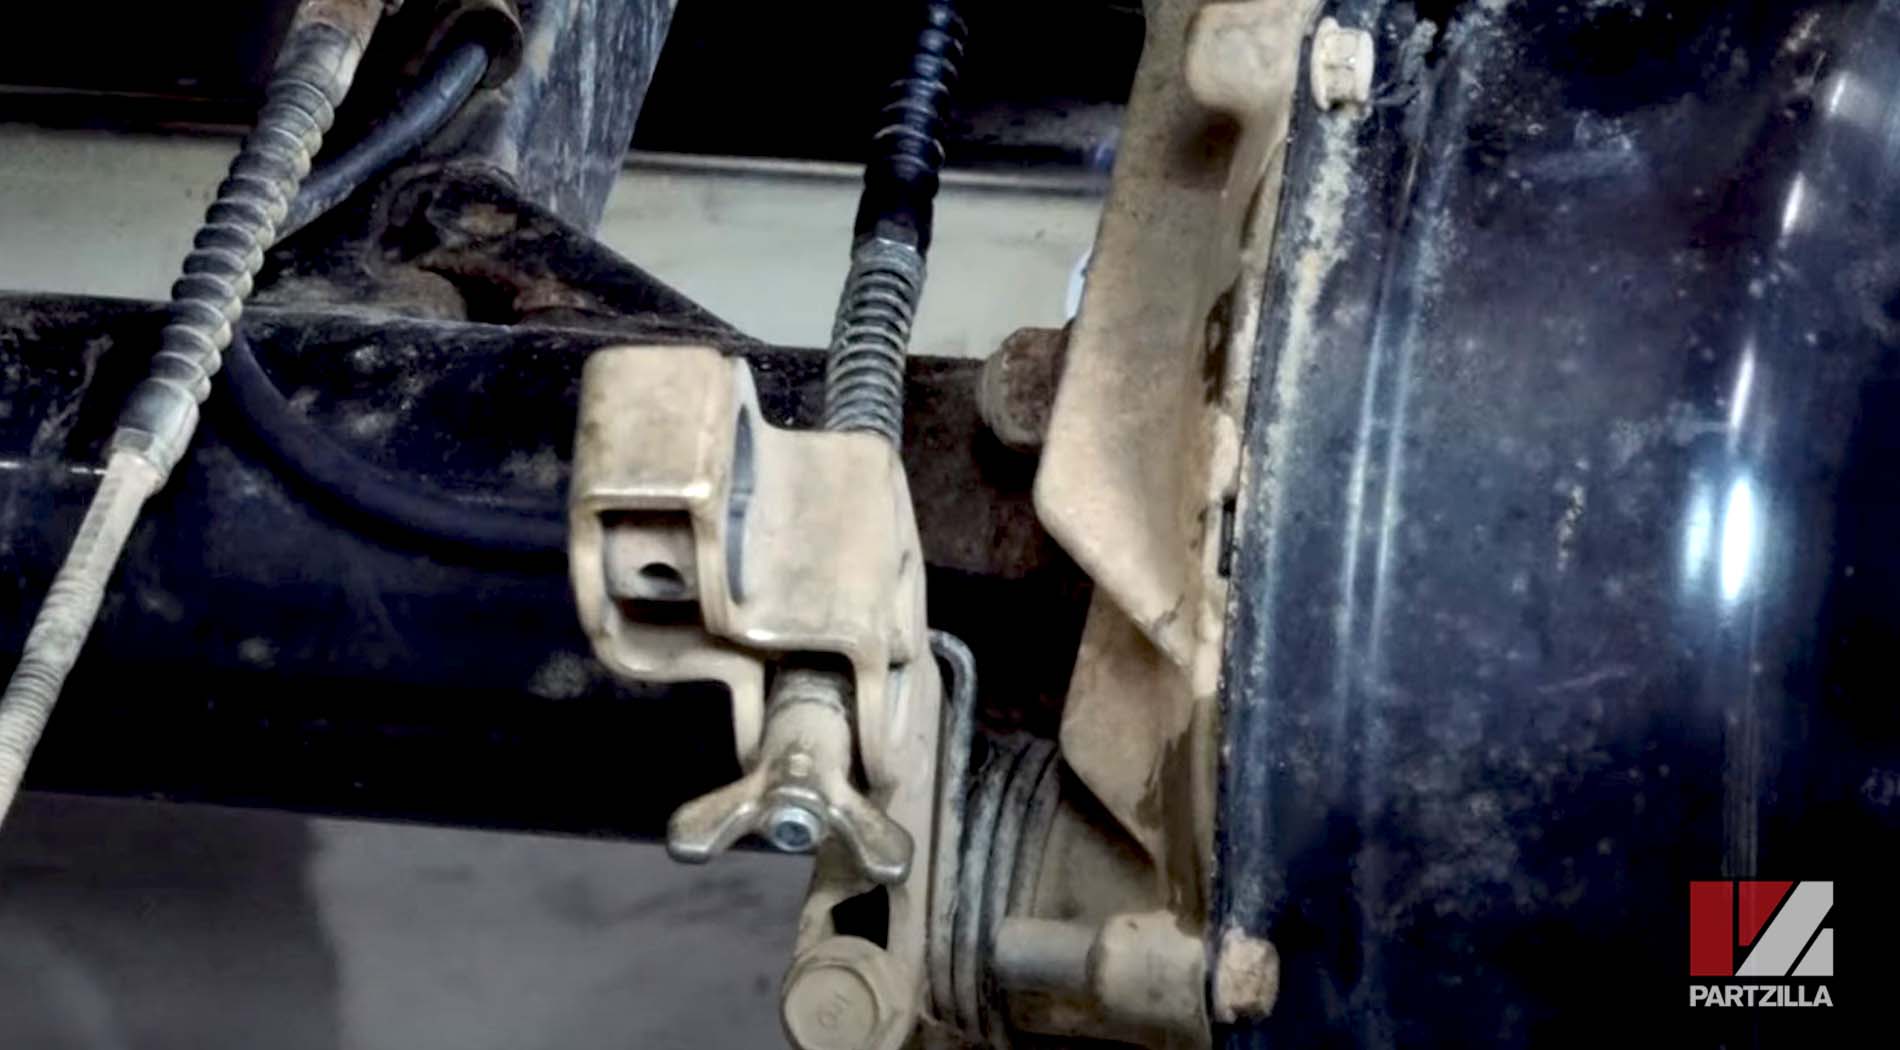
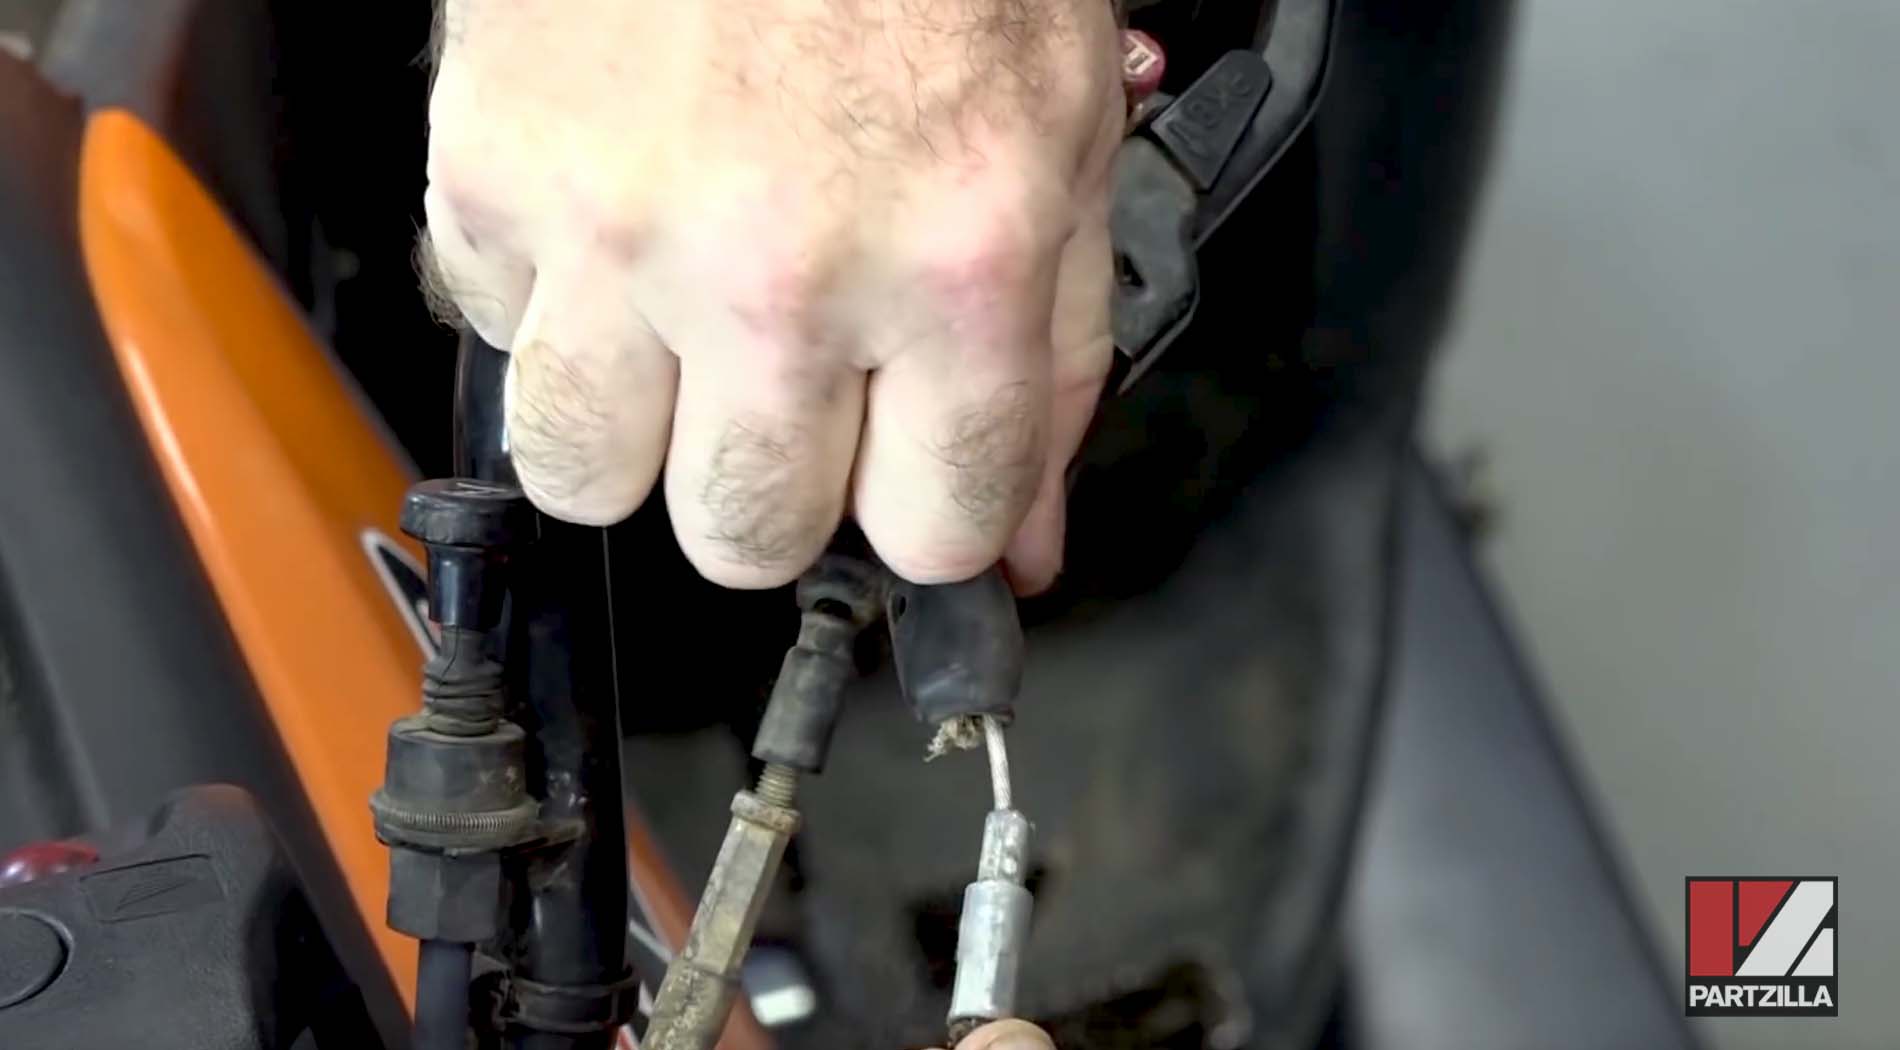
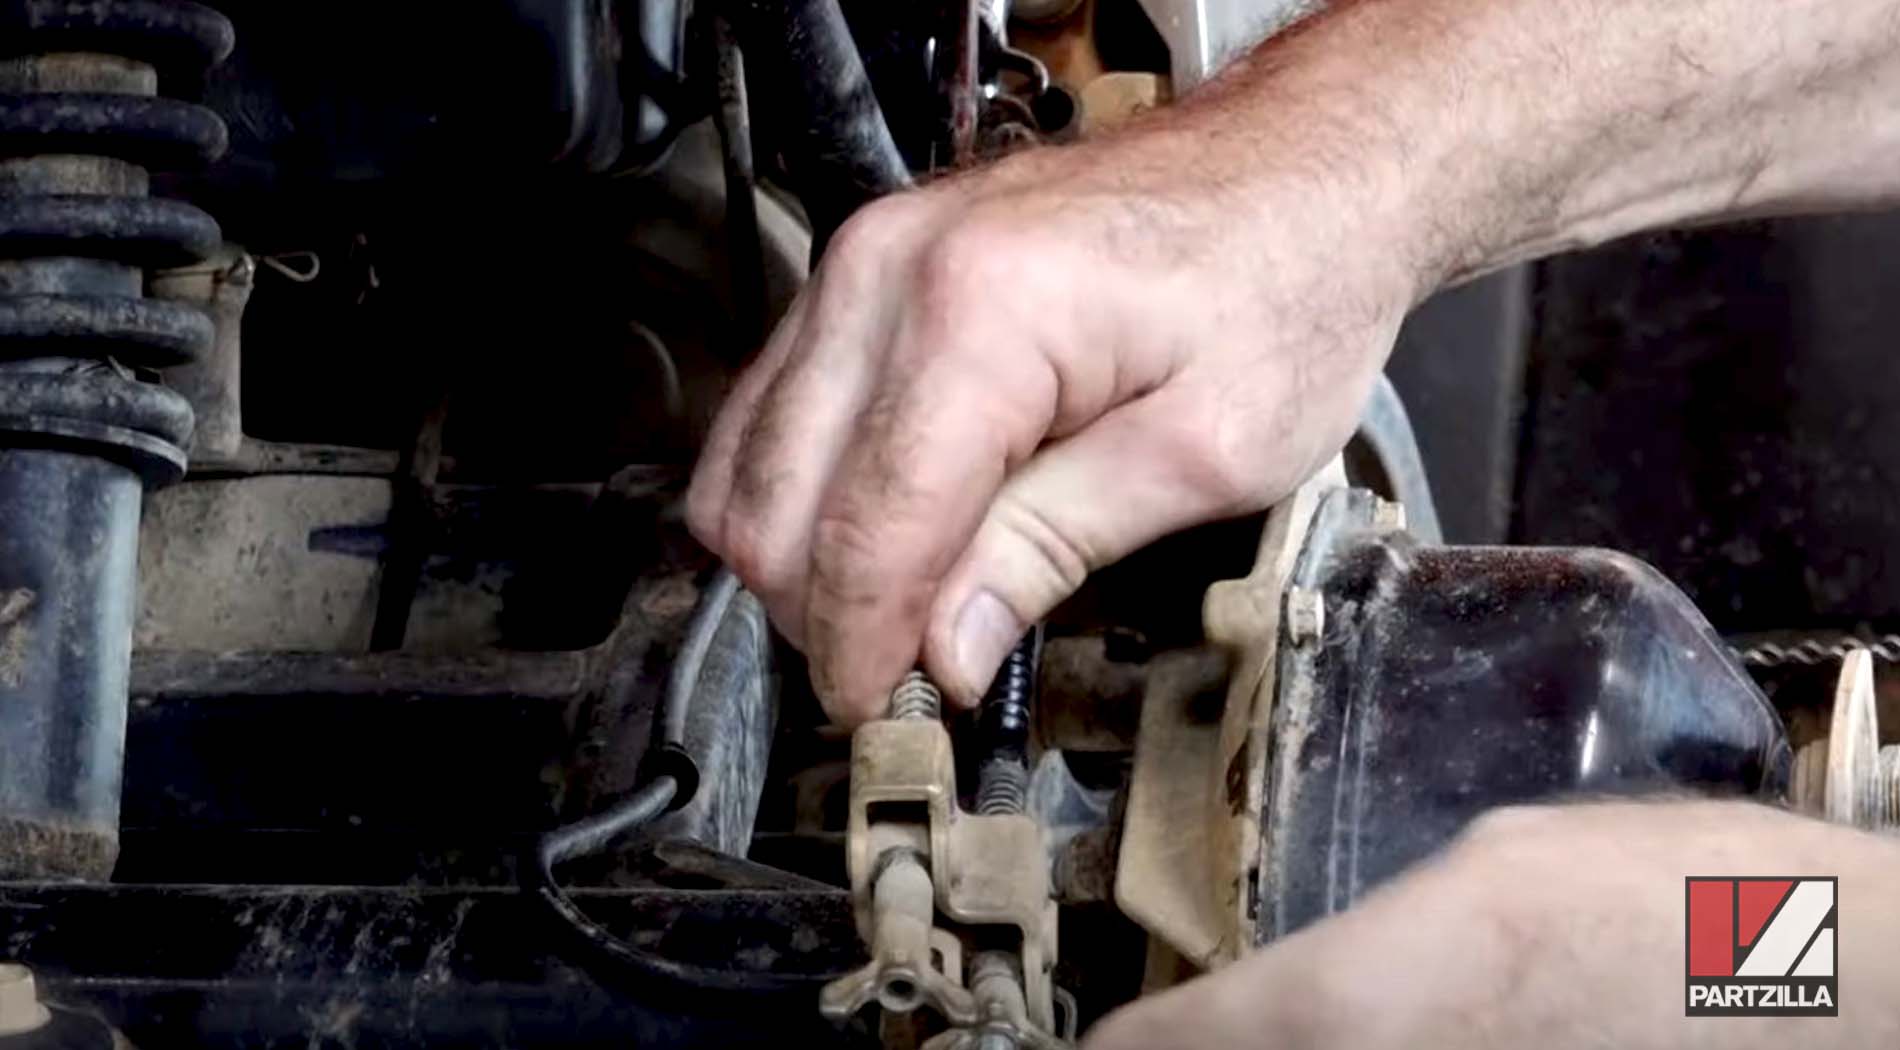
Step 2. Remove both the hand brake cable and foot brake adjustment screws. The lower cable is the foot brake cable and the upper cable is the hand brake cable.
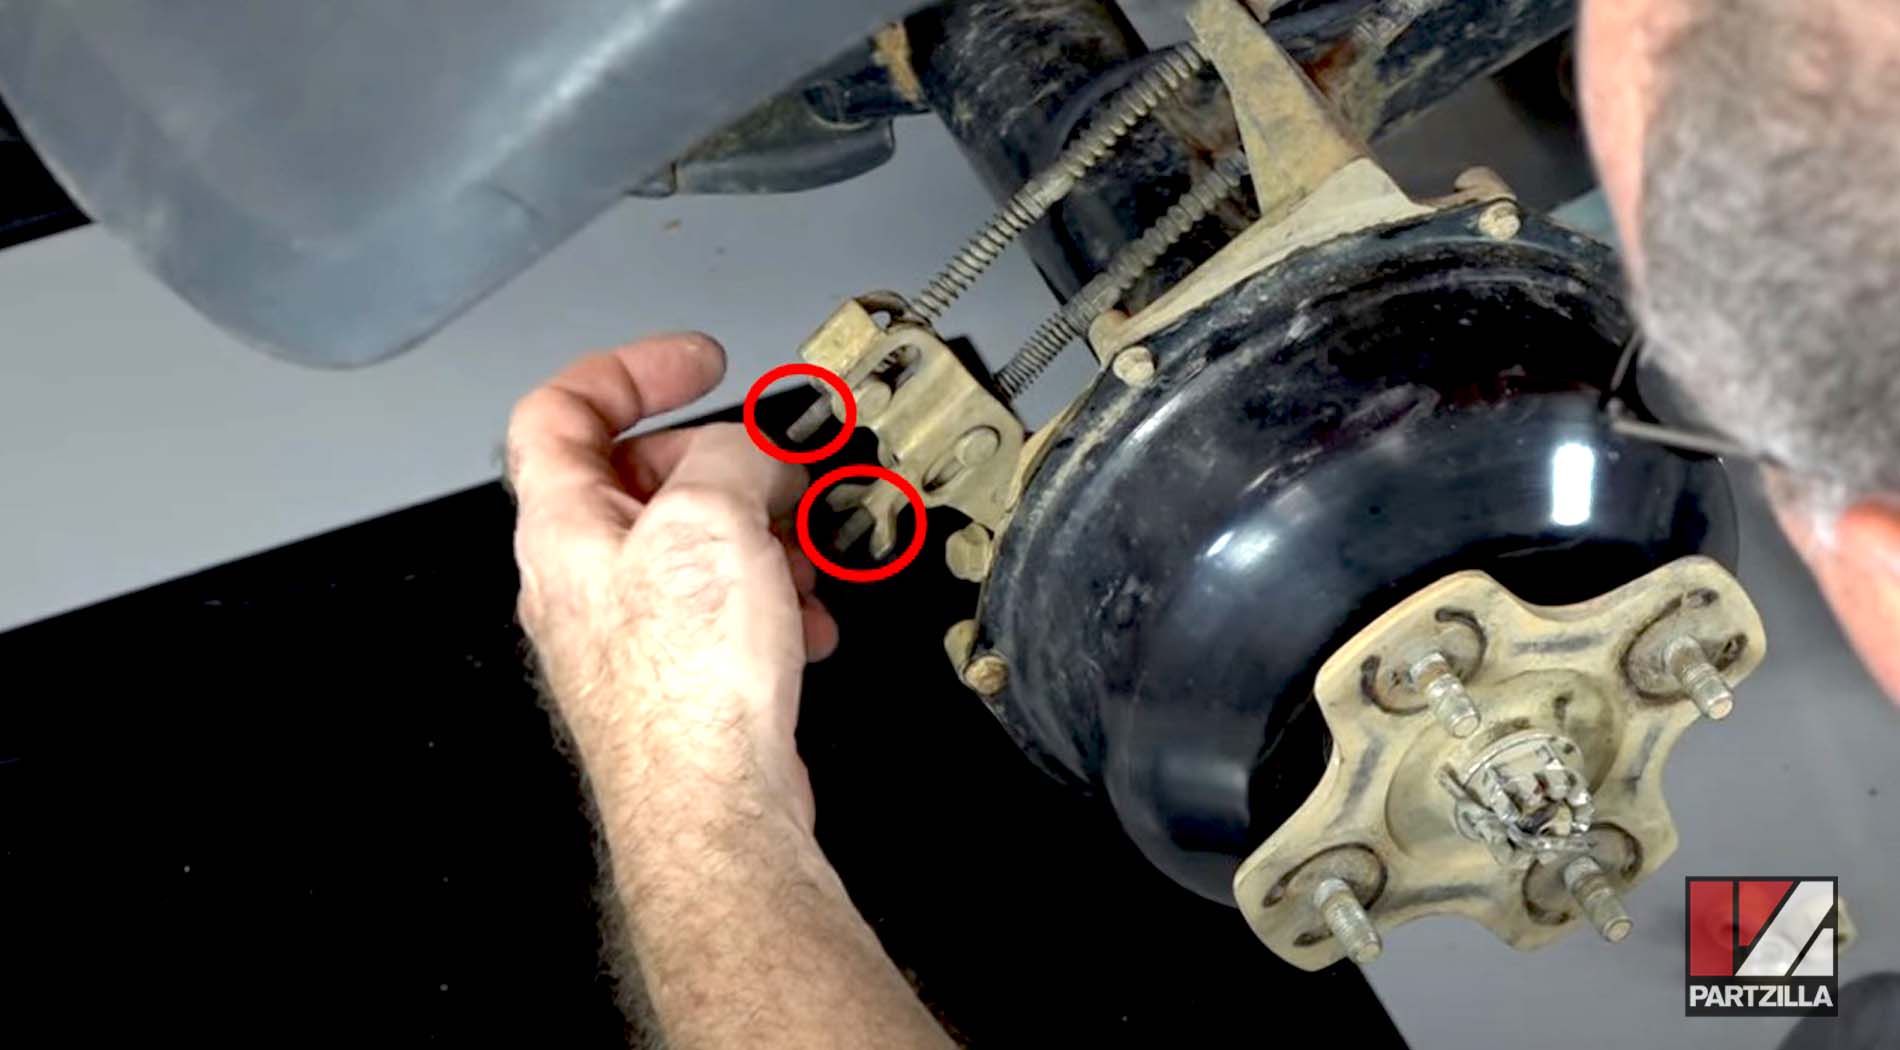
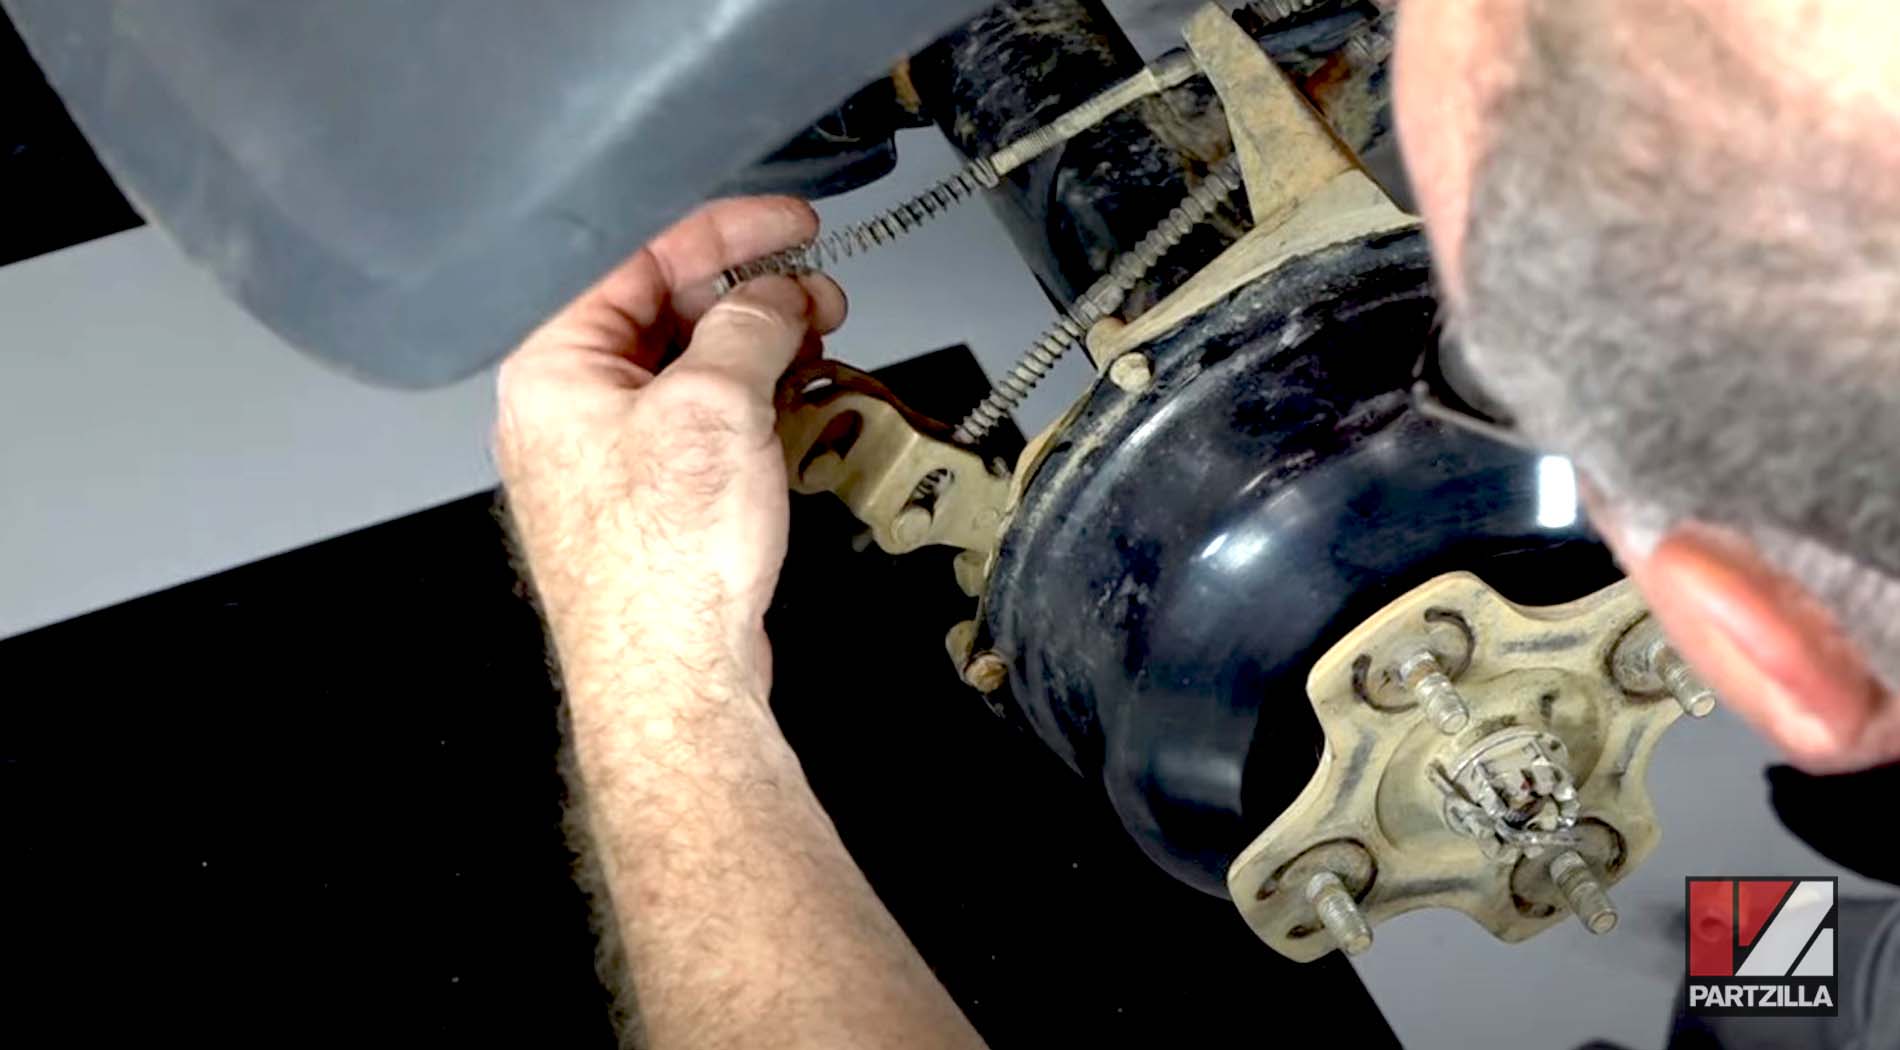
Step 3. Remove the tensioning spring from both cables, and pull the cables out through the retaining bracket.
Step 4. Push the rubber boot at the front end of the foot brake cable to expose the cable itself, and then pull the cable out through the slot in the side of the guide bracket.
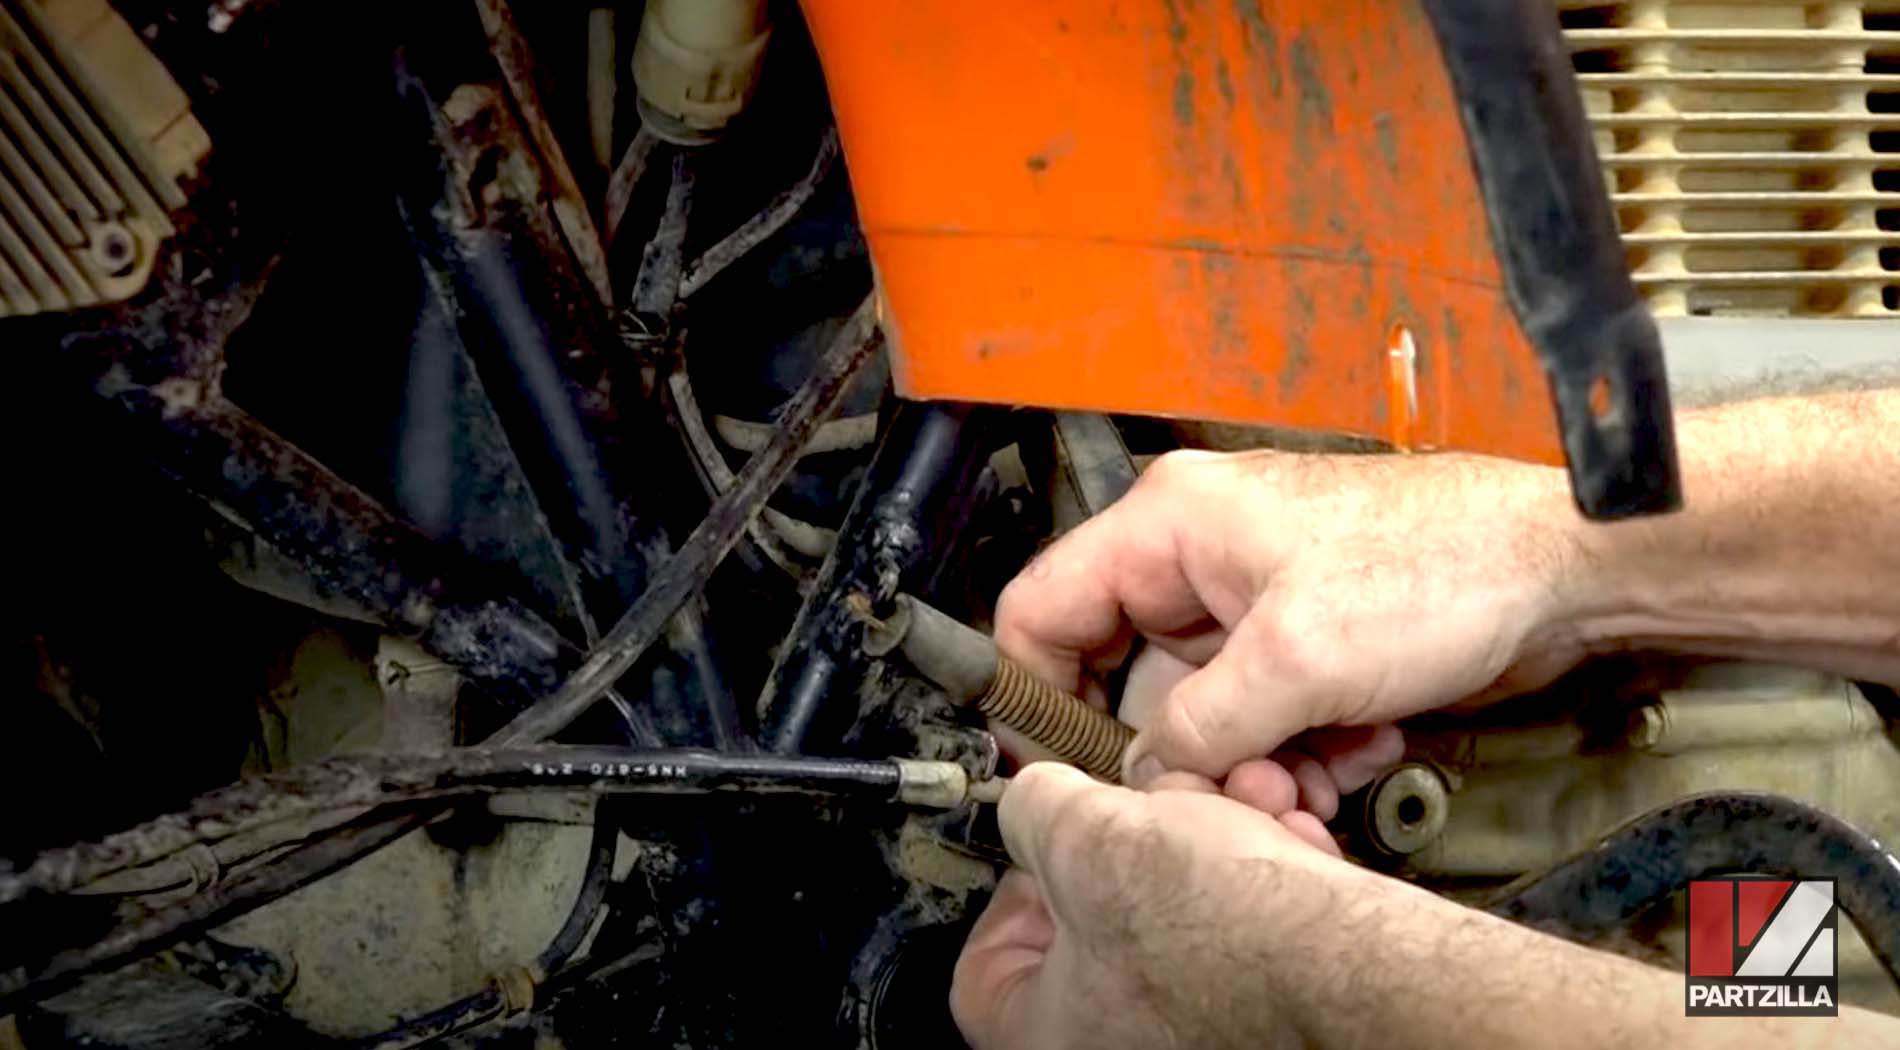
Step 5. Rotate the cable clockwise until you can remove the head of the cable through the notch in the brake pedal's inner cable housing.
Step 6. Install a new Honda TRX350 foot brake cable, working backwards from Step 5 through Step 2 to install the new cable by reversing what you did to remove the old one.
Step 7. Tighten the cable adjustment screw until you have the correct amount of tension in the foot brake cable. Typically, this is about a quarter to half an inch of play in the foot brake pedal.
PRO TIP: Having adjusted the foot brake cable, make sure the arms of the adjustment screw are horizontal. This is because the screw has a curved face that helps lock it in place when it is positioned horizontally.
Honda TRX 350 Rear Hand Brake Cable Replacement
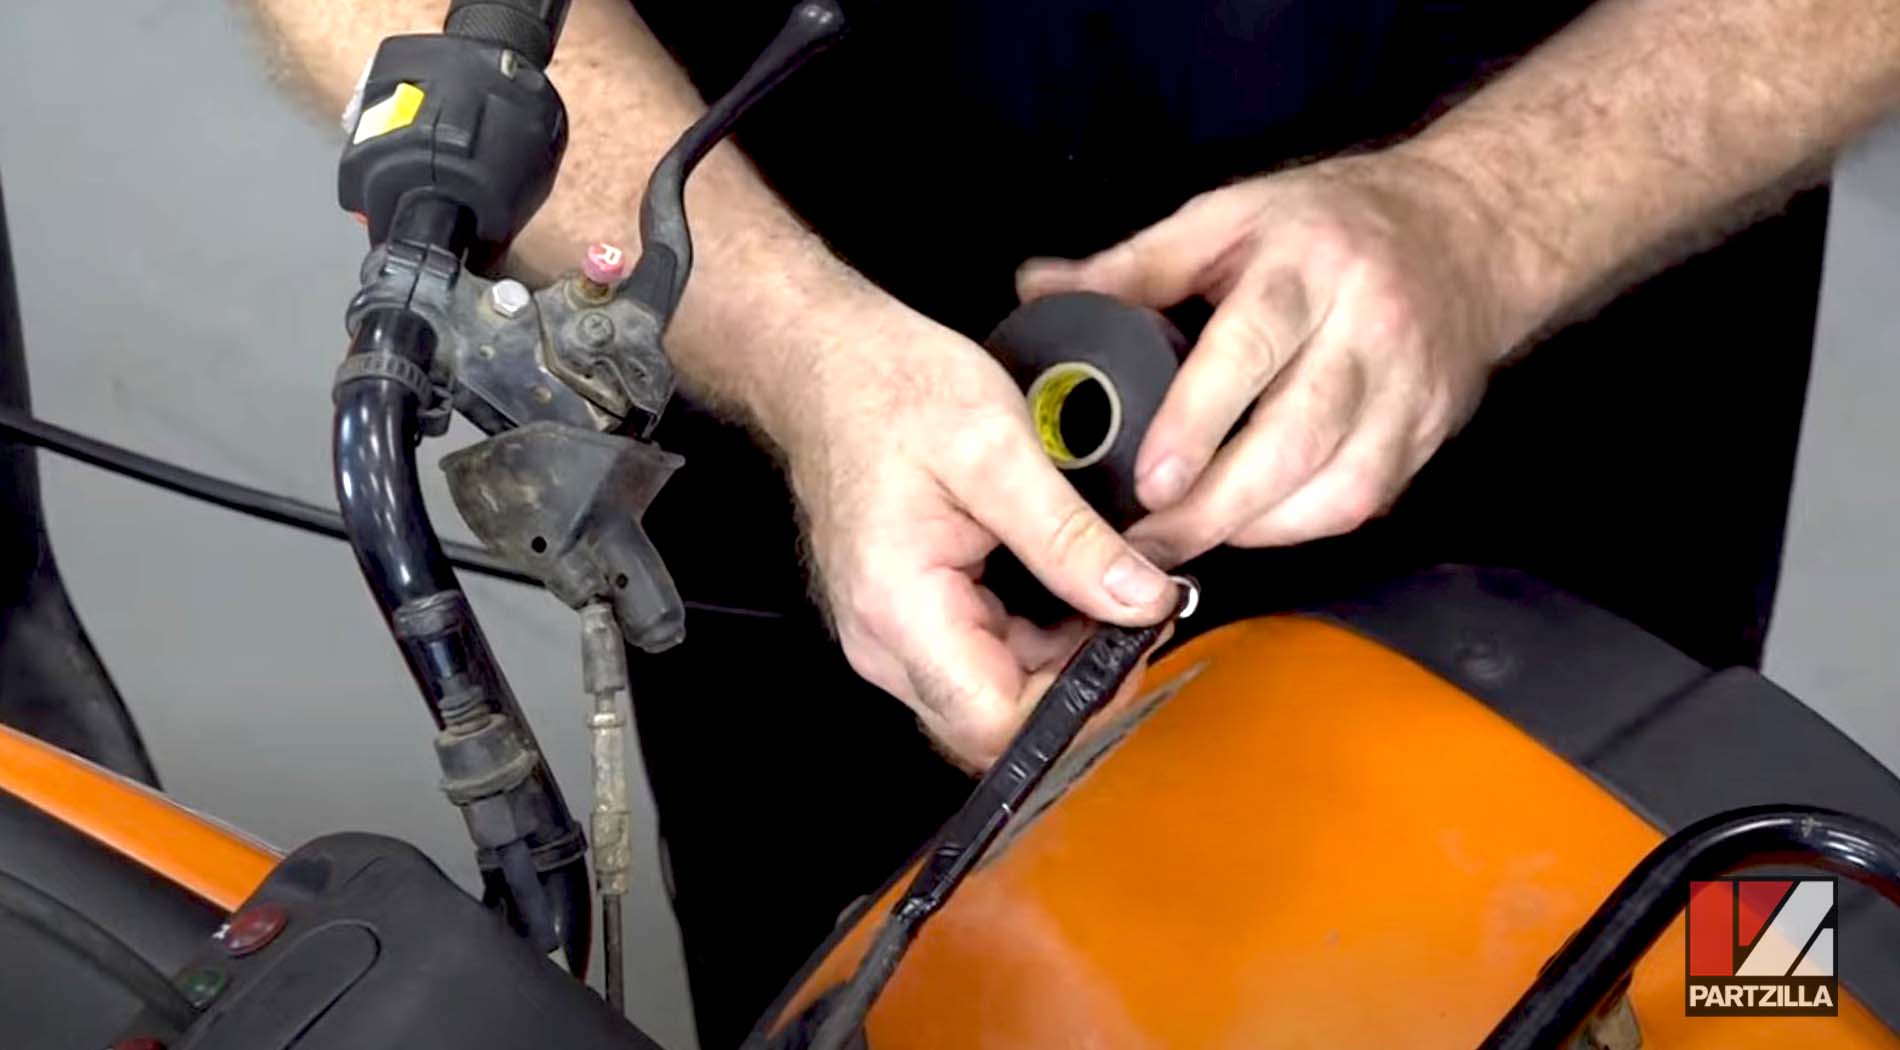
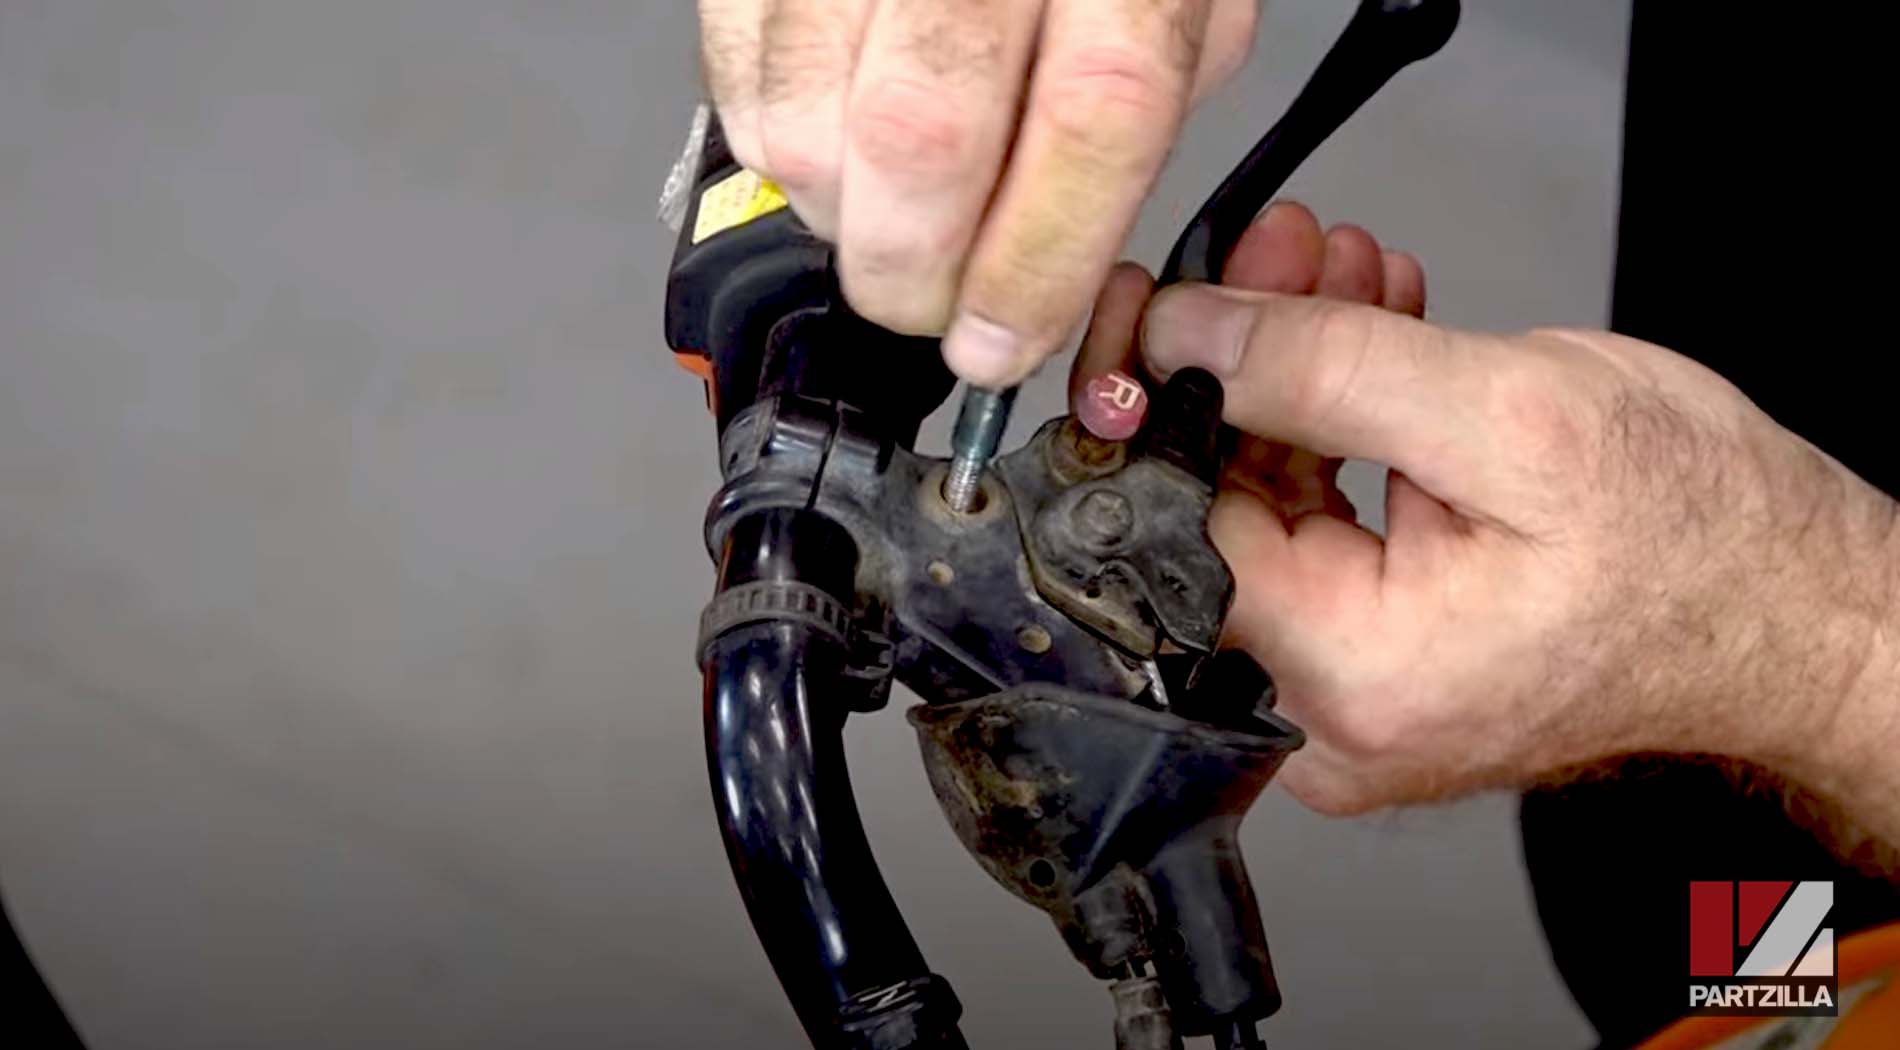
Step 8. Push the rubber boot away from the hand brake lever, and rotate the hand brake cable until you can remove it through the slot in the bottom of the lever.
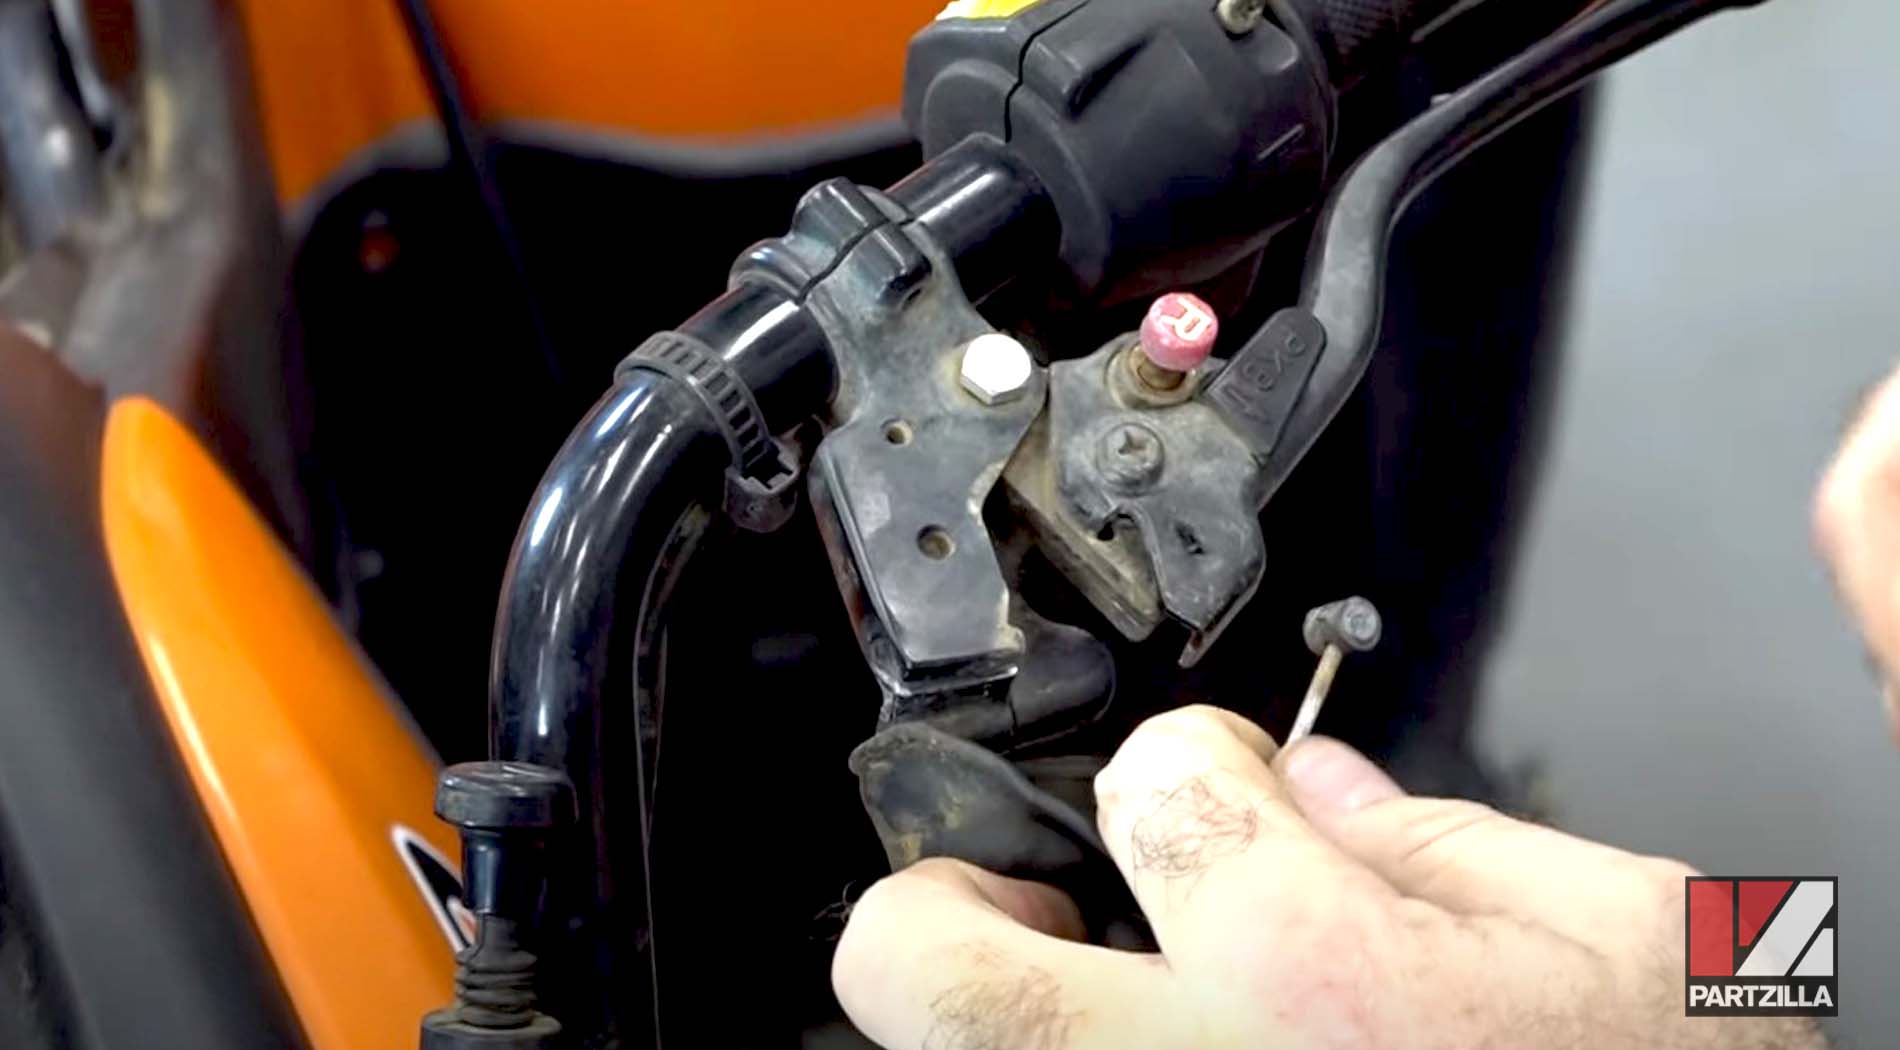
Step 9. Pull the hand brake cable out from the brake lever's rubber boot, and pull the cable free from the retaining hook under the central handlebar cover.
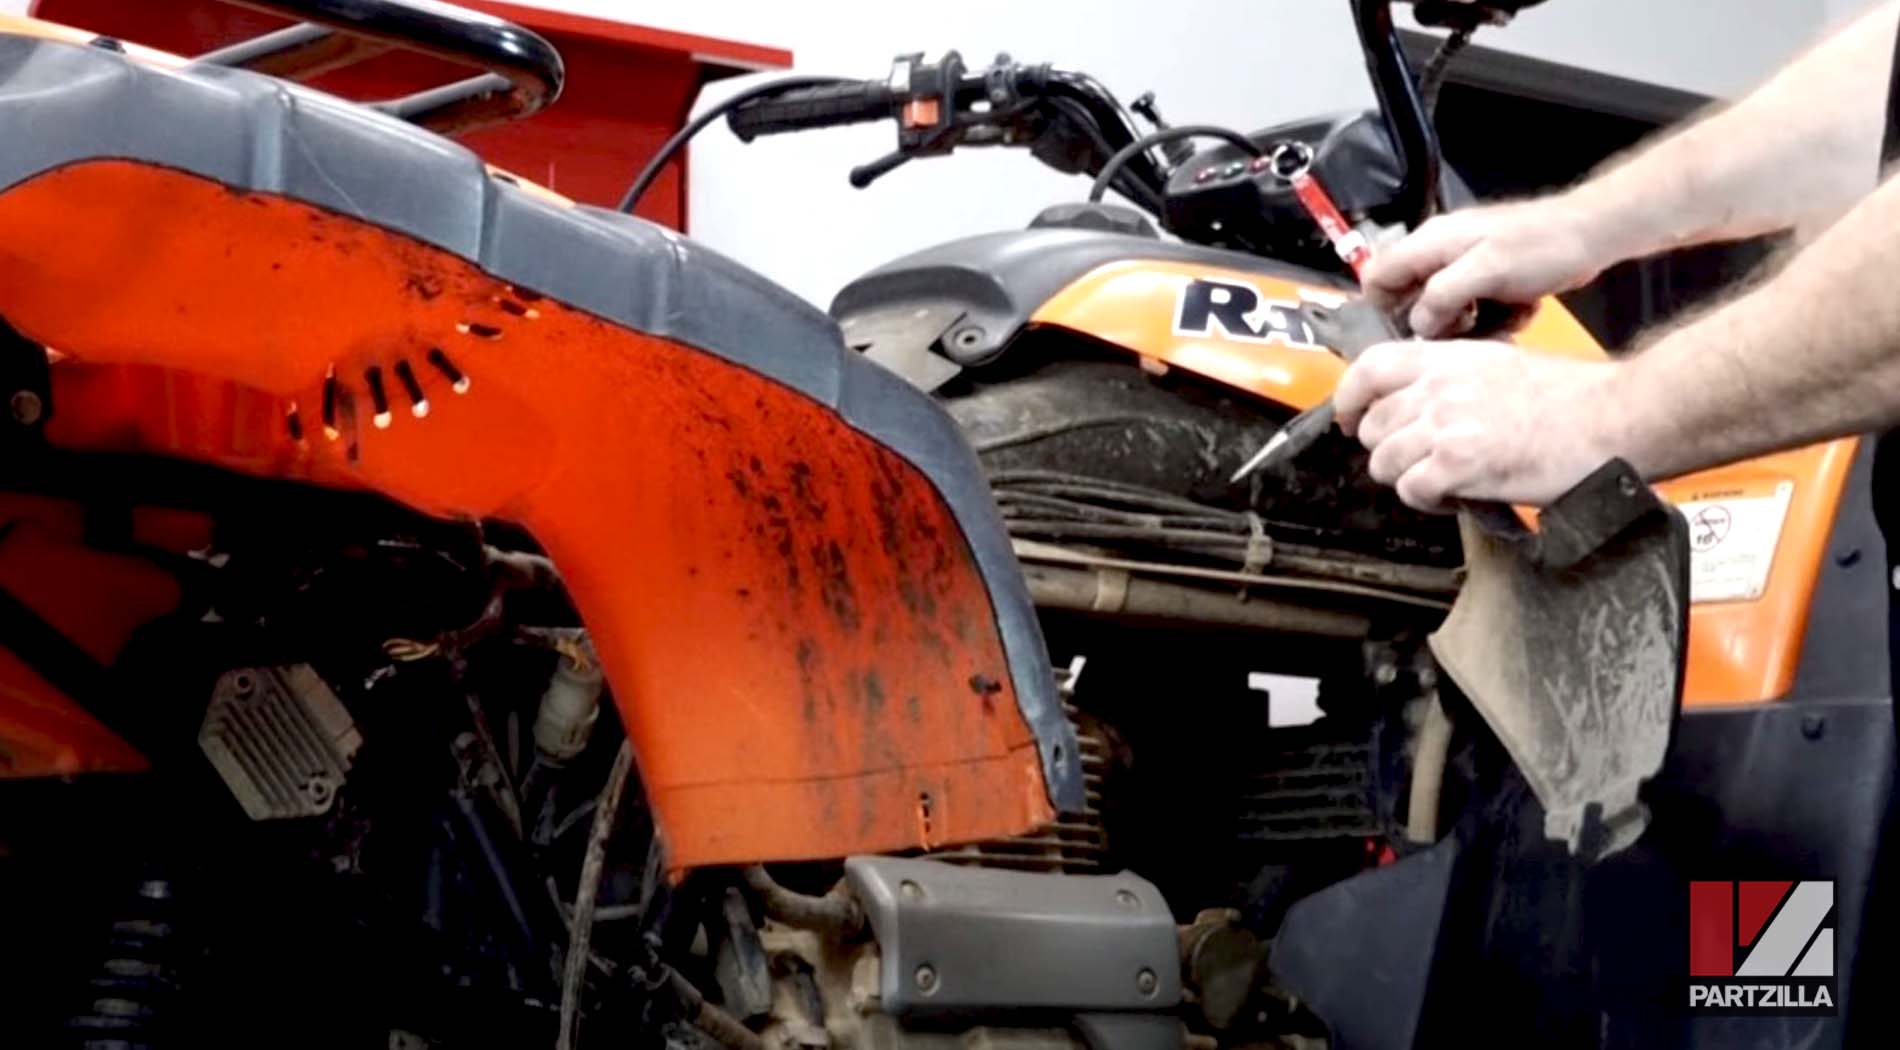
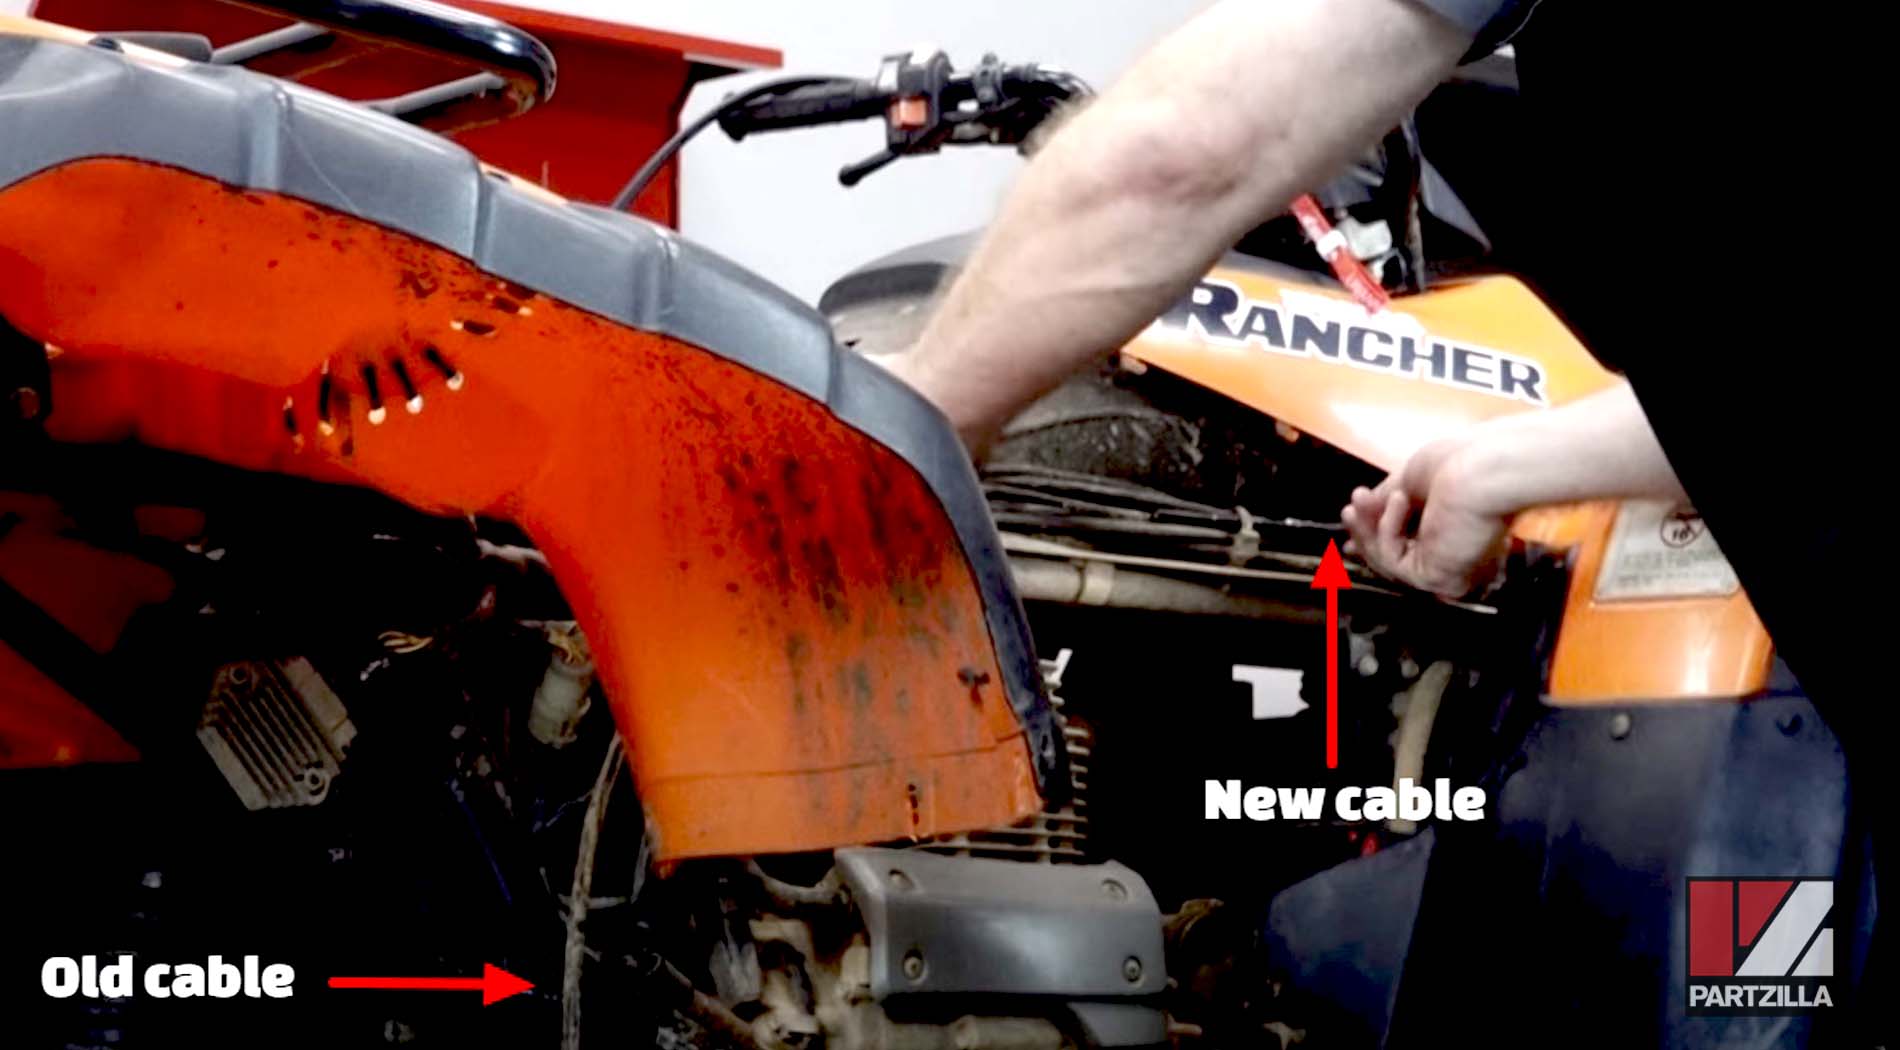
Step 10. Securely tape the rear end of the new Honda TRX350 hand brake cable to the front end of the old hand brake cable with electrical tape. Unclip and remove the plastic side panel, and release the brake cable from the retaining hook located on the frame just in front of the rear fender.
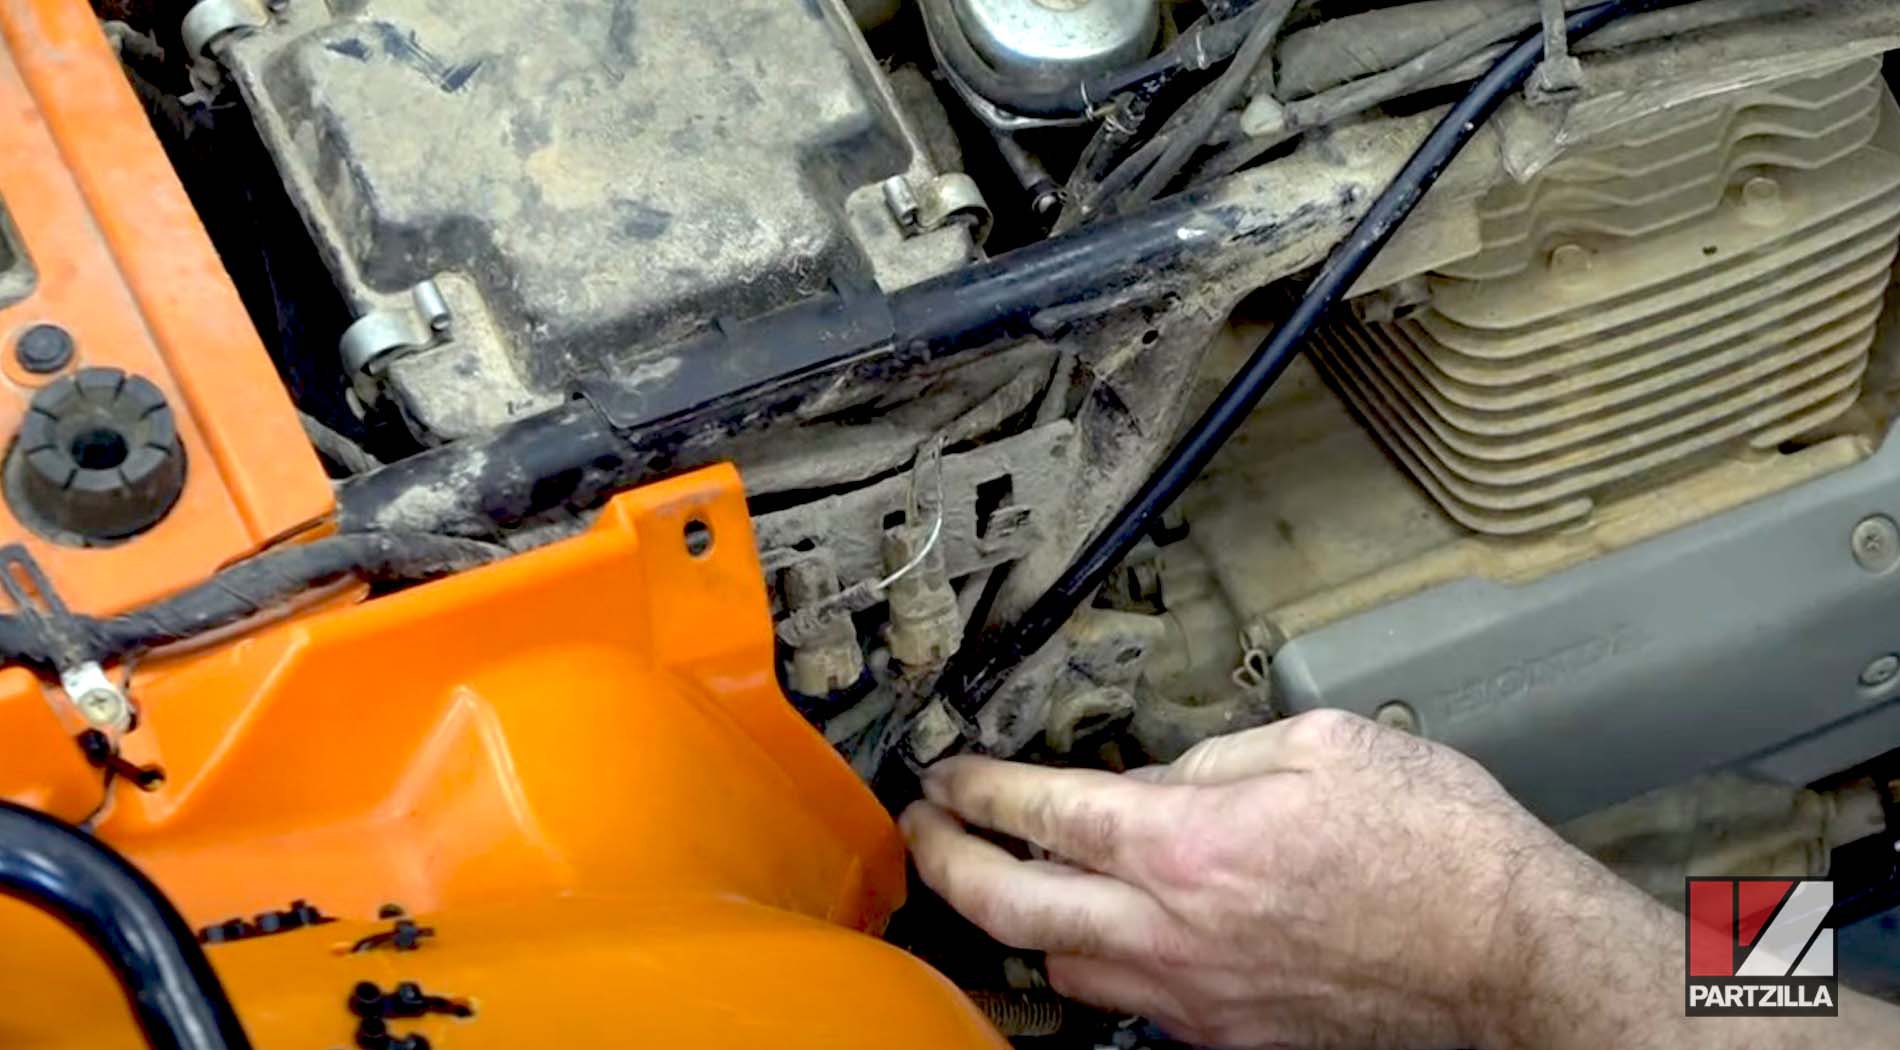
Step 11. Carefully pull the old brake cable out from the bottom end while feeding the new cable in from the front end. The new brake cable should slide right into place by using this method.
Step 12. Connect the new rear hand brake cable in the reverse order you disconnected the old one (Step 5 through Step 2).
PRO TIP: Before connecting the brake cable to the hand brake lever, it's a good idea to remove the brake lever pivot bolt and grease it.
Step 13. Tighten the cable adjustment screw until you have the correct amount of tension in the hand brake cable.
PRO TIP: Remember, the arms of the adjustment screw should be horizontal once the adjustment is finished so that the curved face of the adjustment screw keeps it locked in place.
Now that you know how to replace the rear brake cables on your Honda Rancher TRX 350, why not learn how to replace the rear brakes on your ATV too? Watch the video below and we'll show you how to get it done.