Honda Rancher Rear Brake Drum Change Difficulties
If you’re thinking of replacing the rear brake shoes on a TRX 420 Rancher model Honda ATV, be prepared to tackle a job that’s not as easy as you might think.
Replacing the brake shoes on a Rancher 420 isn’t anything like just swapping out the pads on disc brakes. There’s a lot more digging down to get to the drum brake shoes, and that means a lot more steps where complications may crop up.
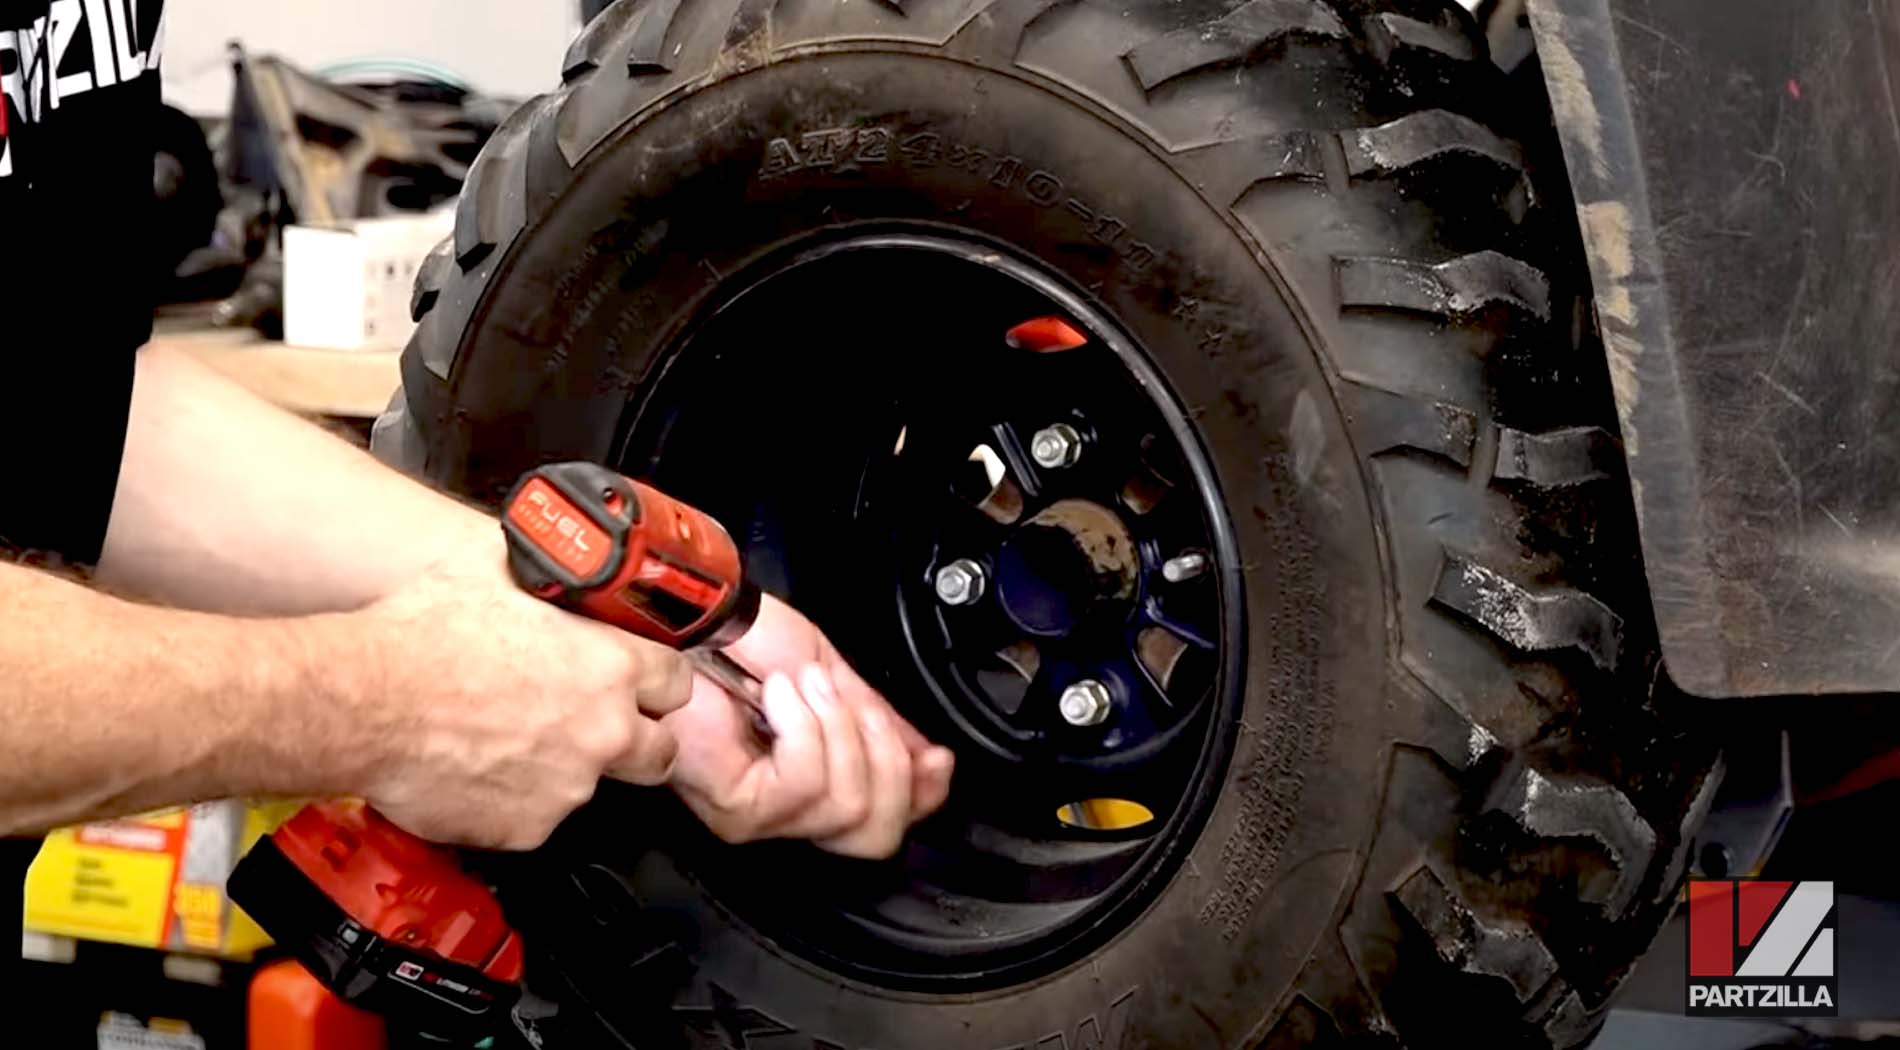
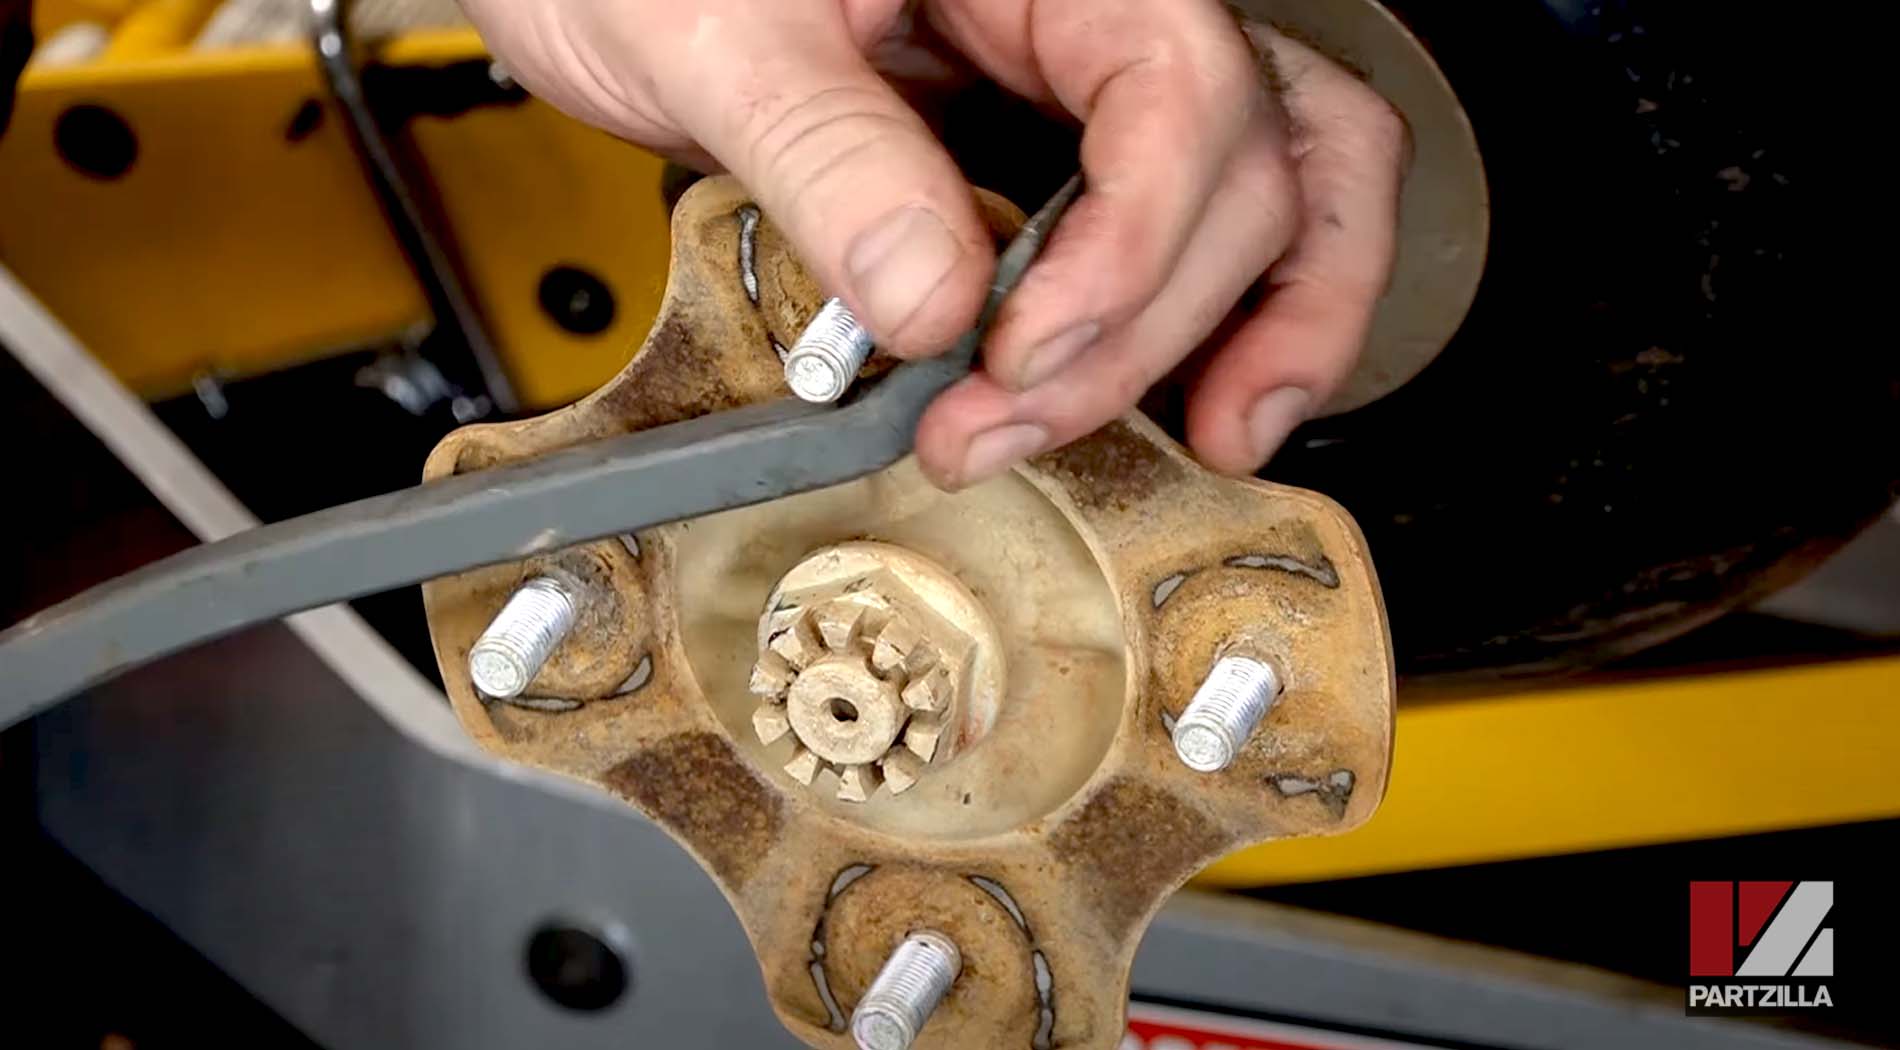
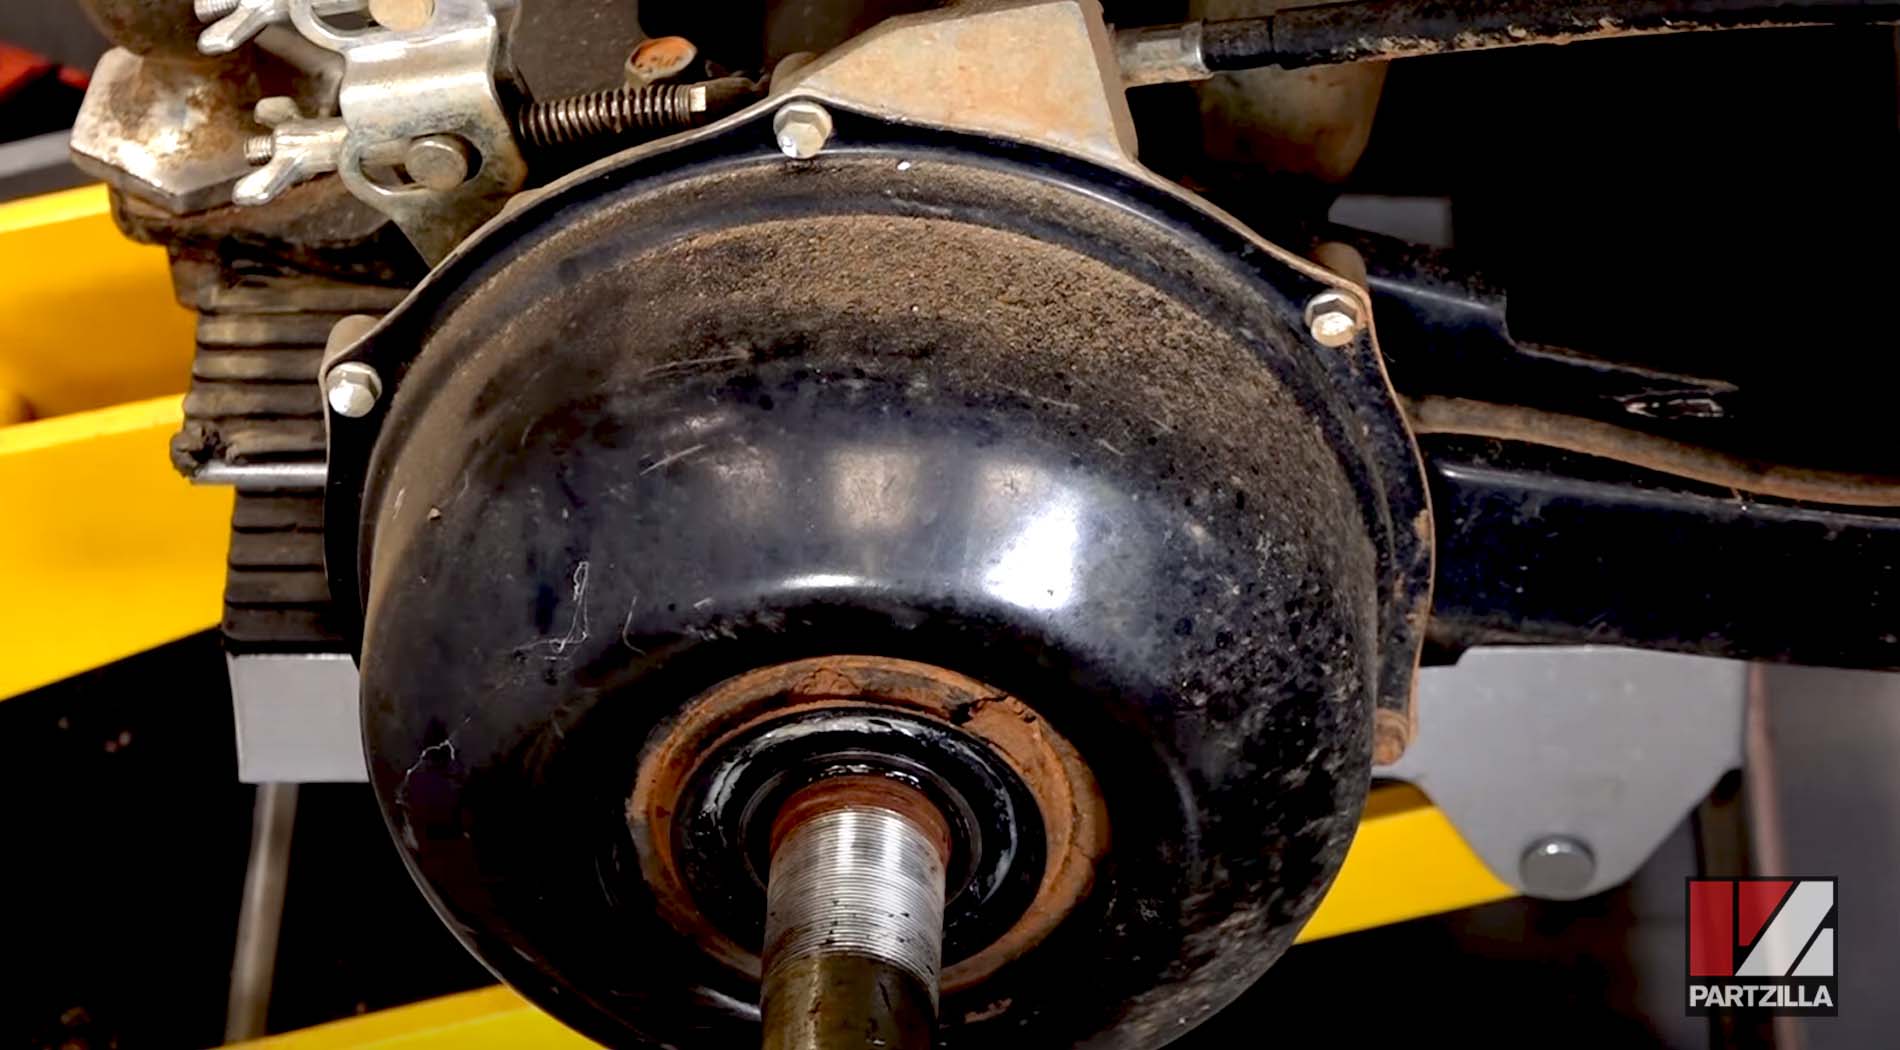
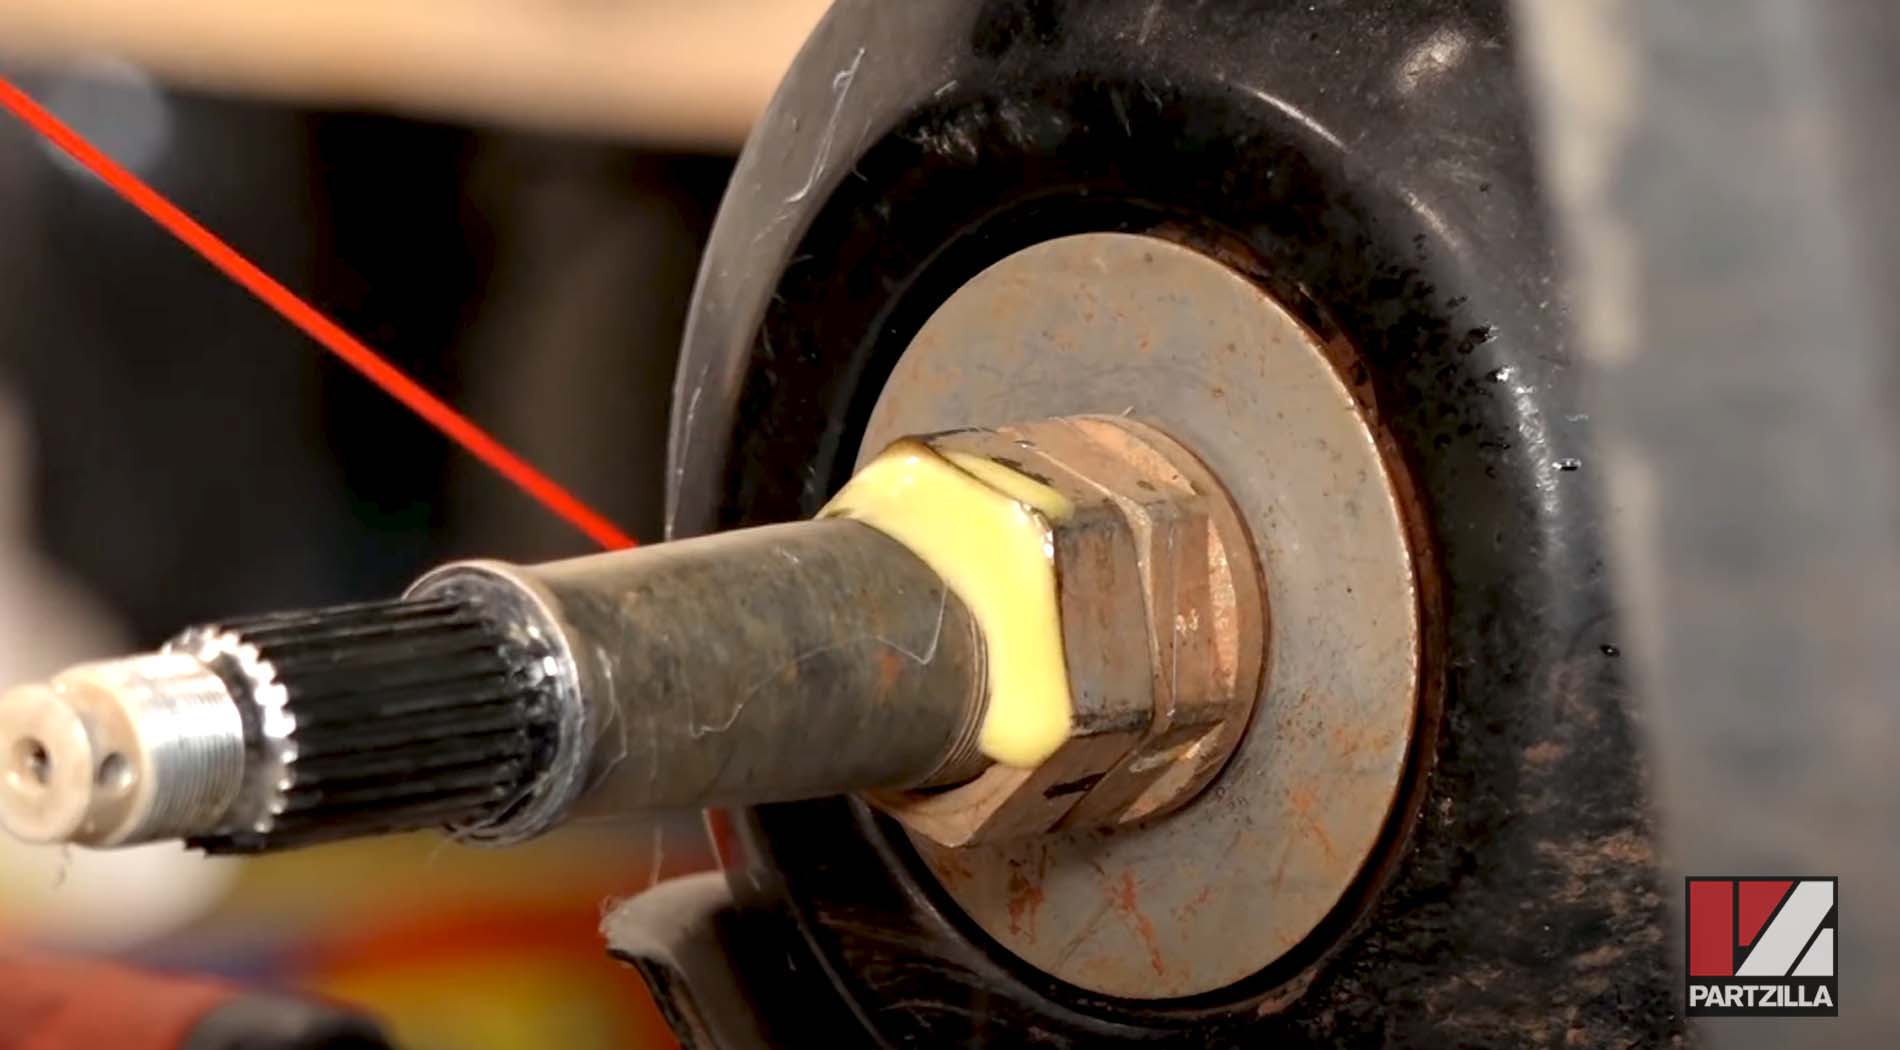
You need to pull the wheel, hub, and a locking nut to even get to the rear brake housing, and then the fun really begins.
There’s an outer cover and an inner cover to get through before you find the brake shoes.
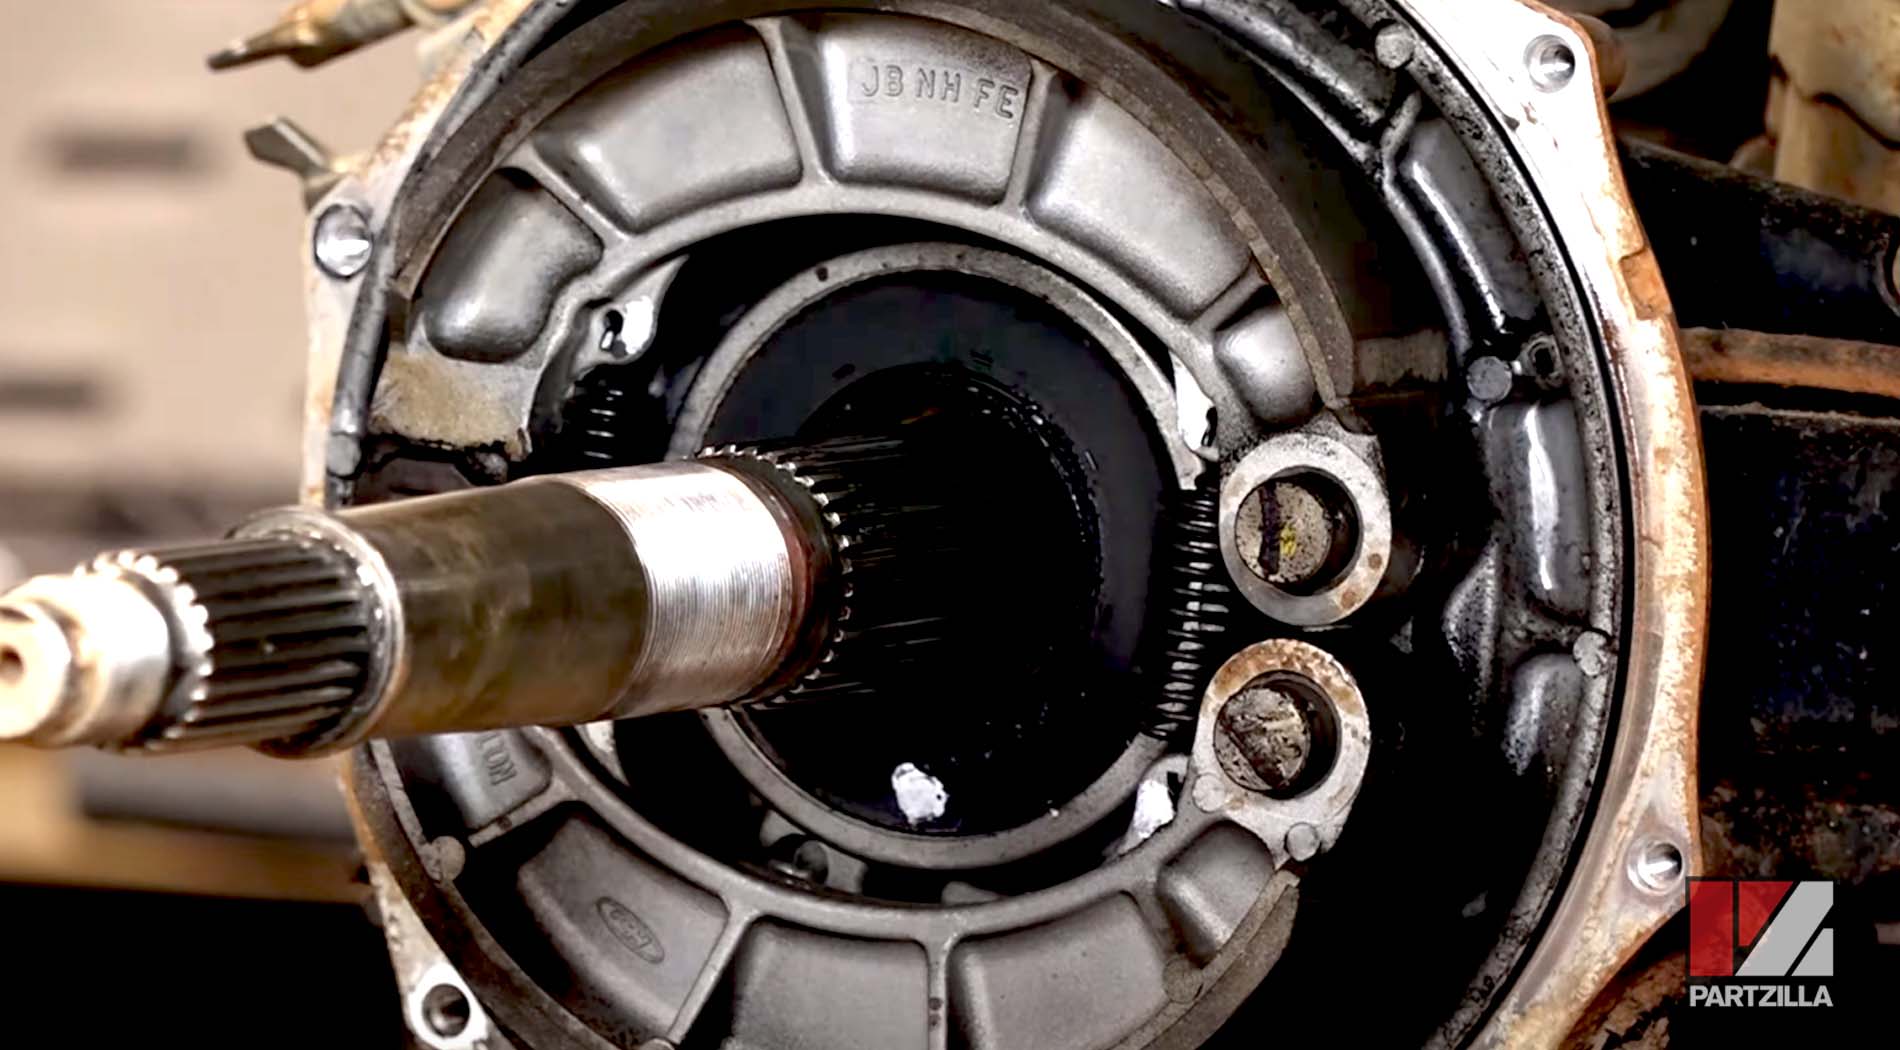
Watch the video below to see how to change the rear brake shoes on a Honda Rancher. What you’ll find is that the devil is in the details. A unit that is a little older or has spent a lot of time in the water might be more difficult to service.
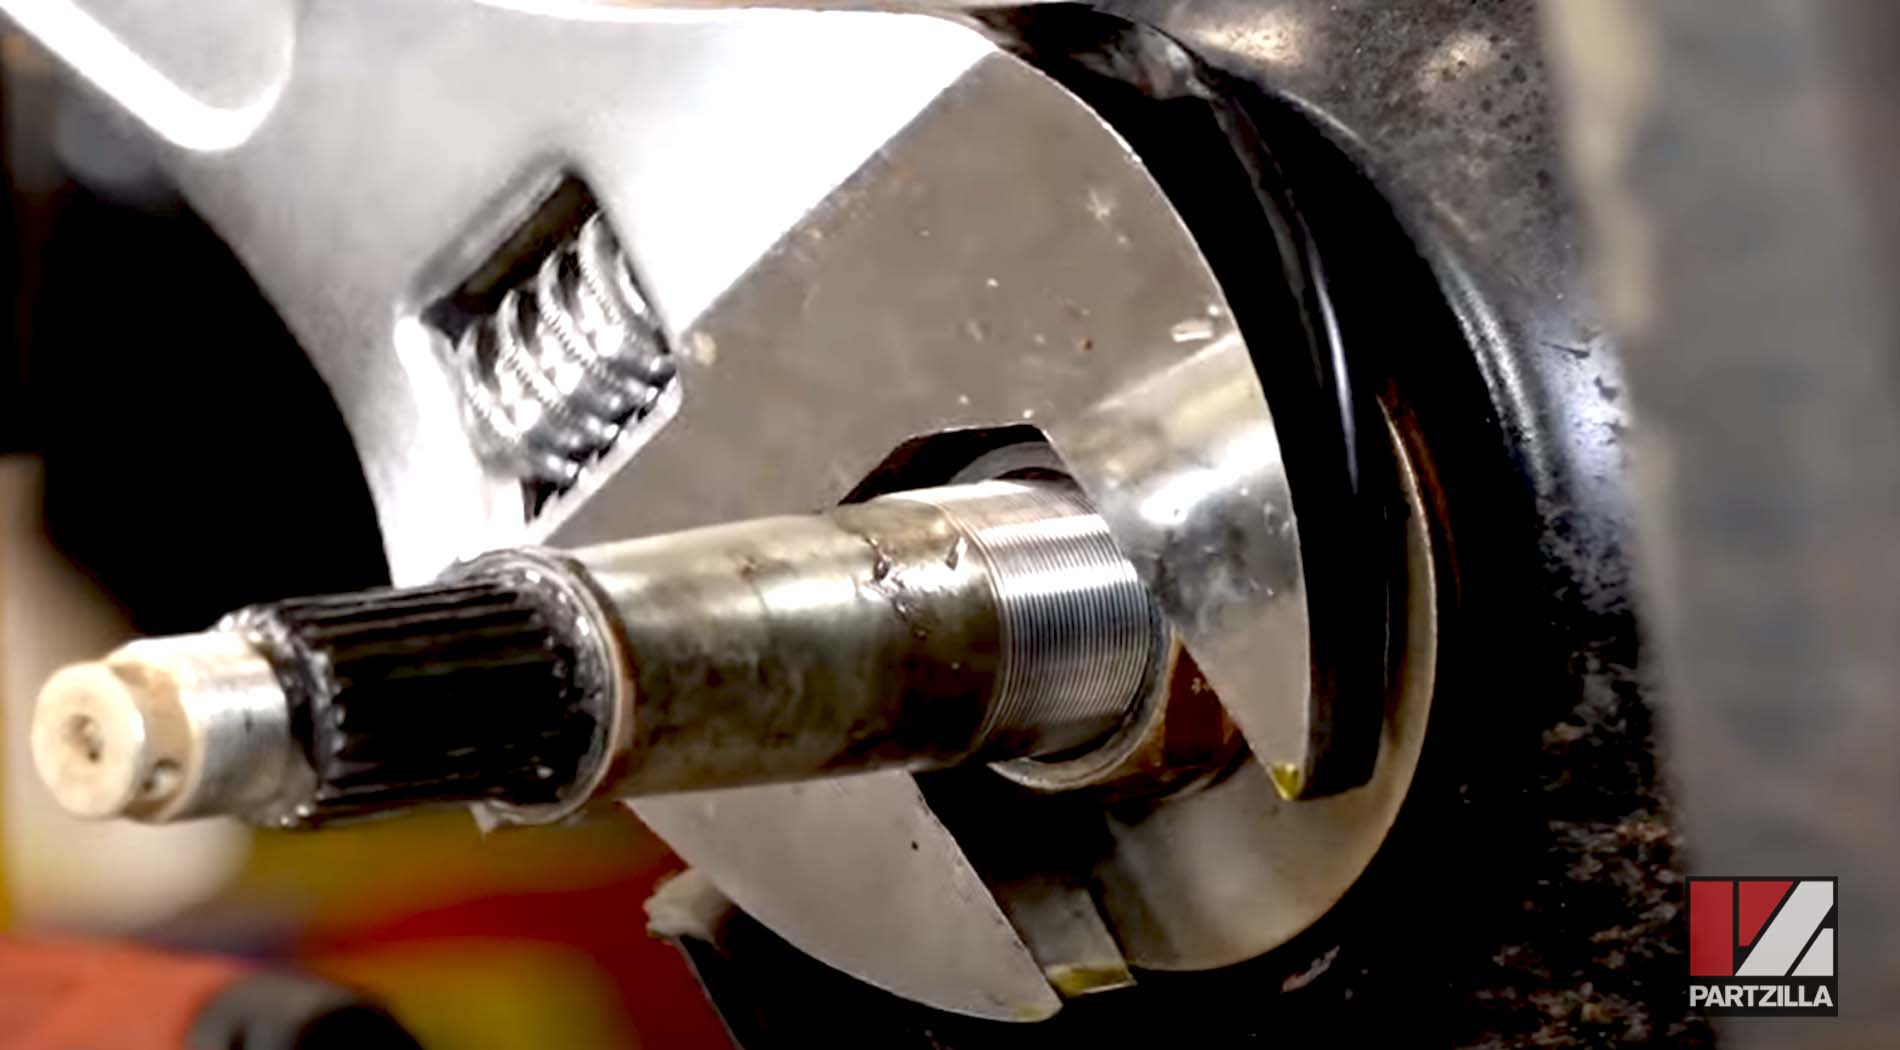
You may find the locking nuts fused together, in which case some penetrating lube might get them loose.
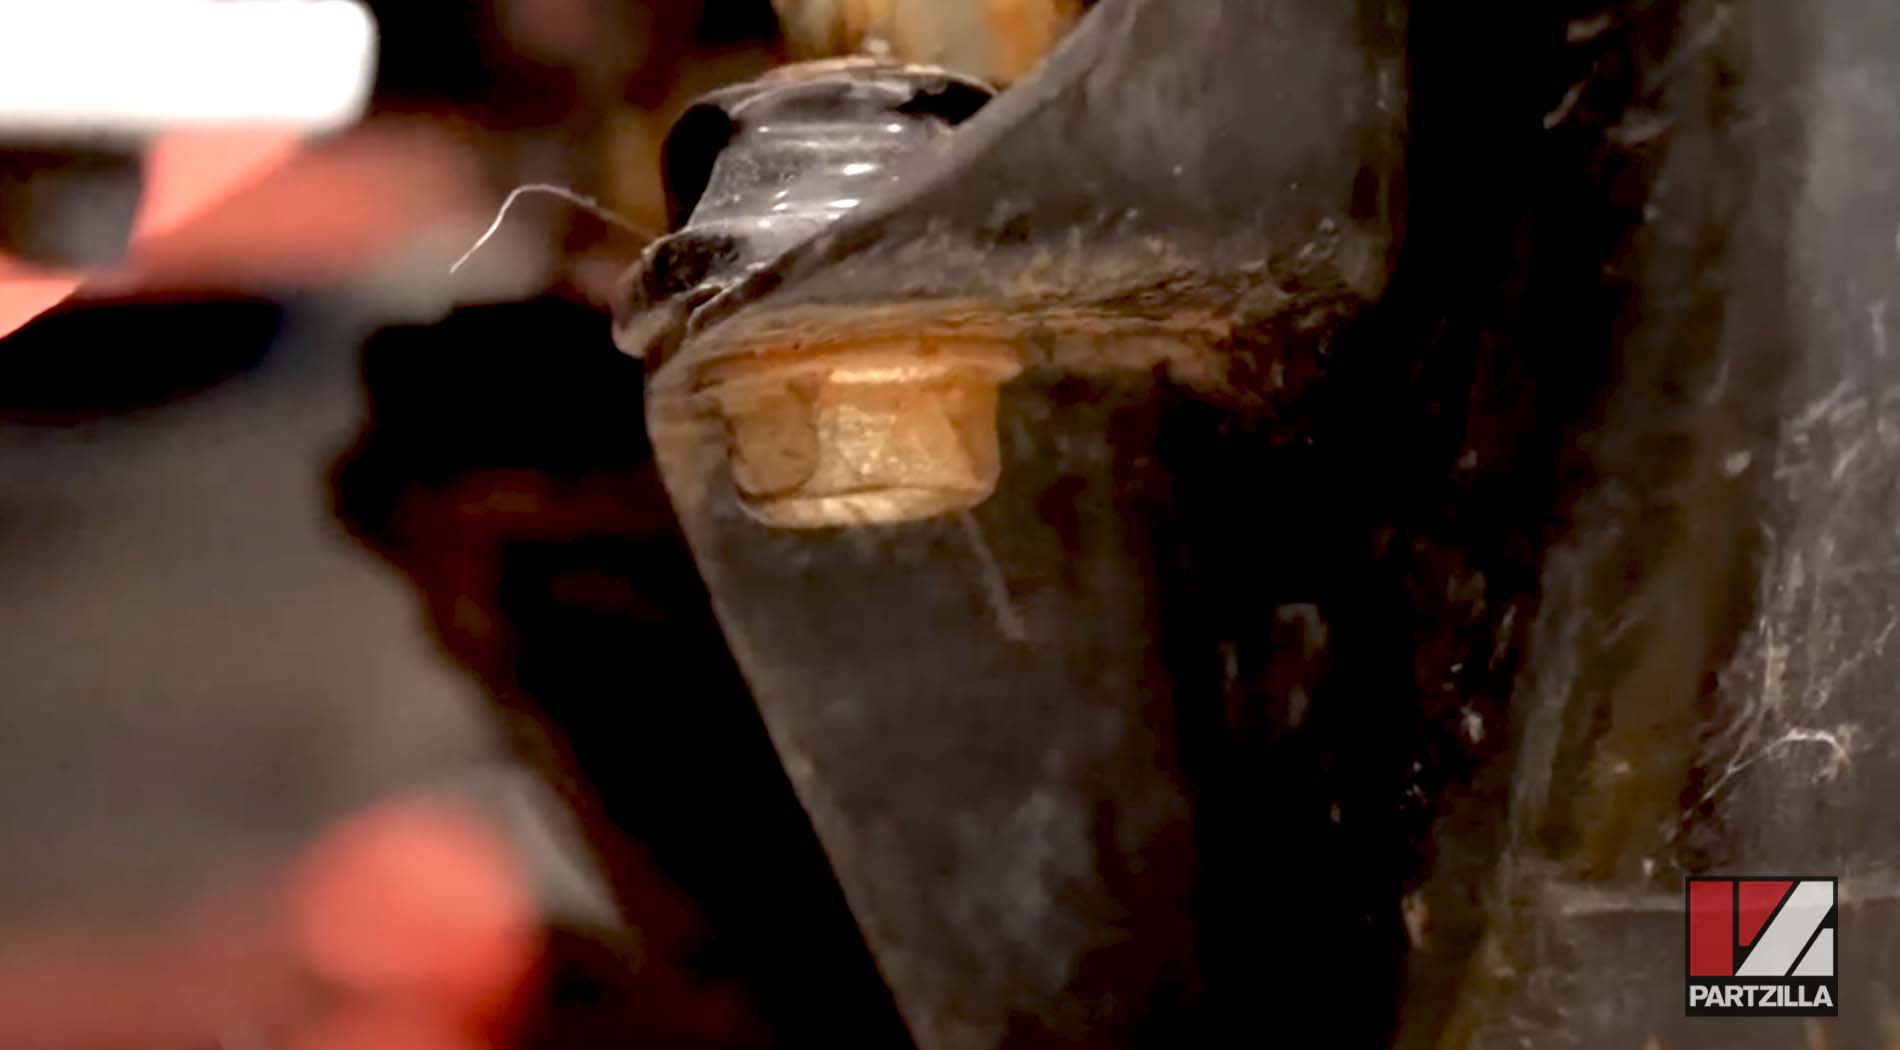
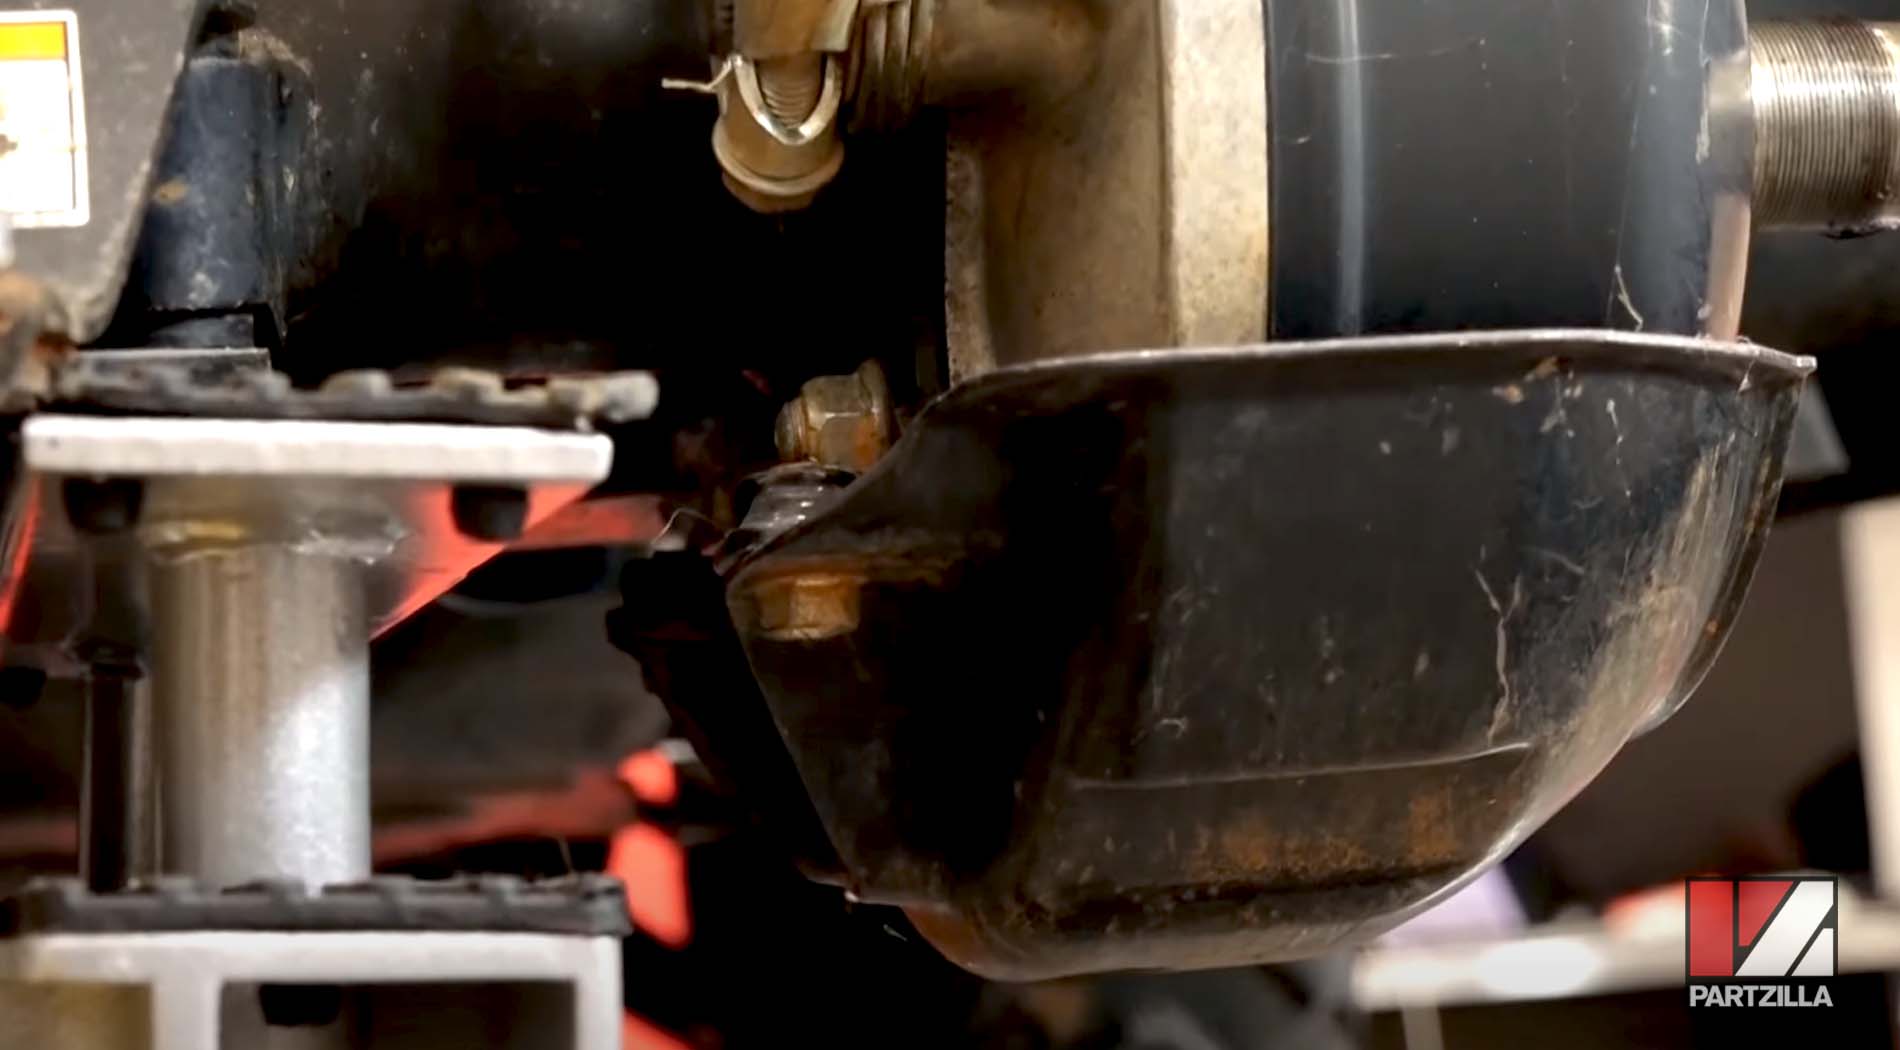
Past that, to remove the outer cover, the bottom bolts are behind a protective lower cover. The bolts that hold the cover in place may be rusted, and since the cover is shaped like a bowl, it can easily fill with water and mud that can damage the cover bolts themselves.
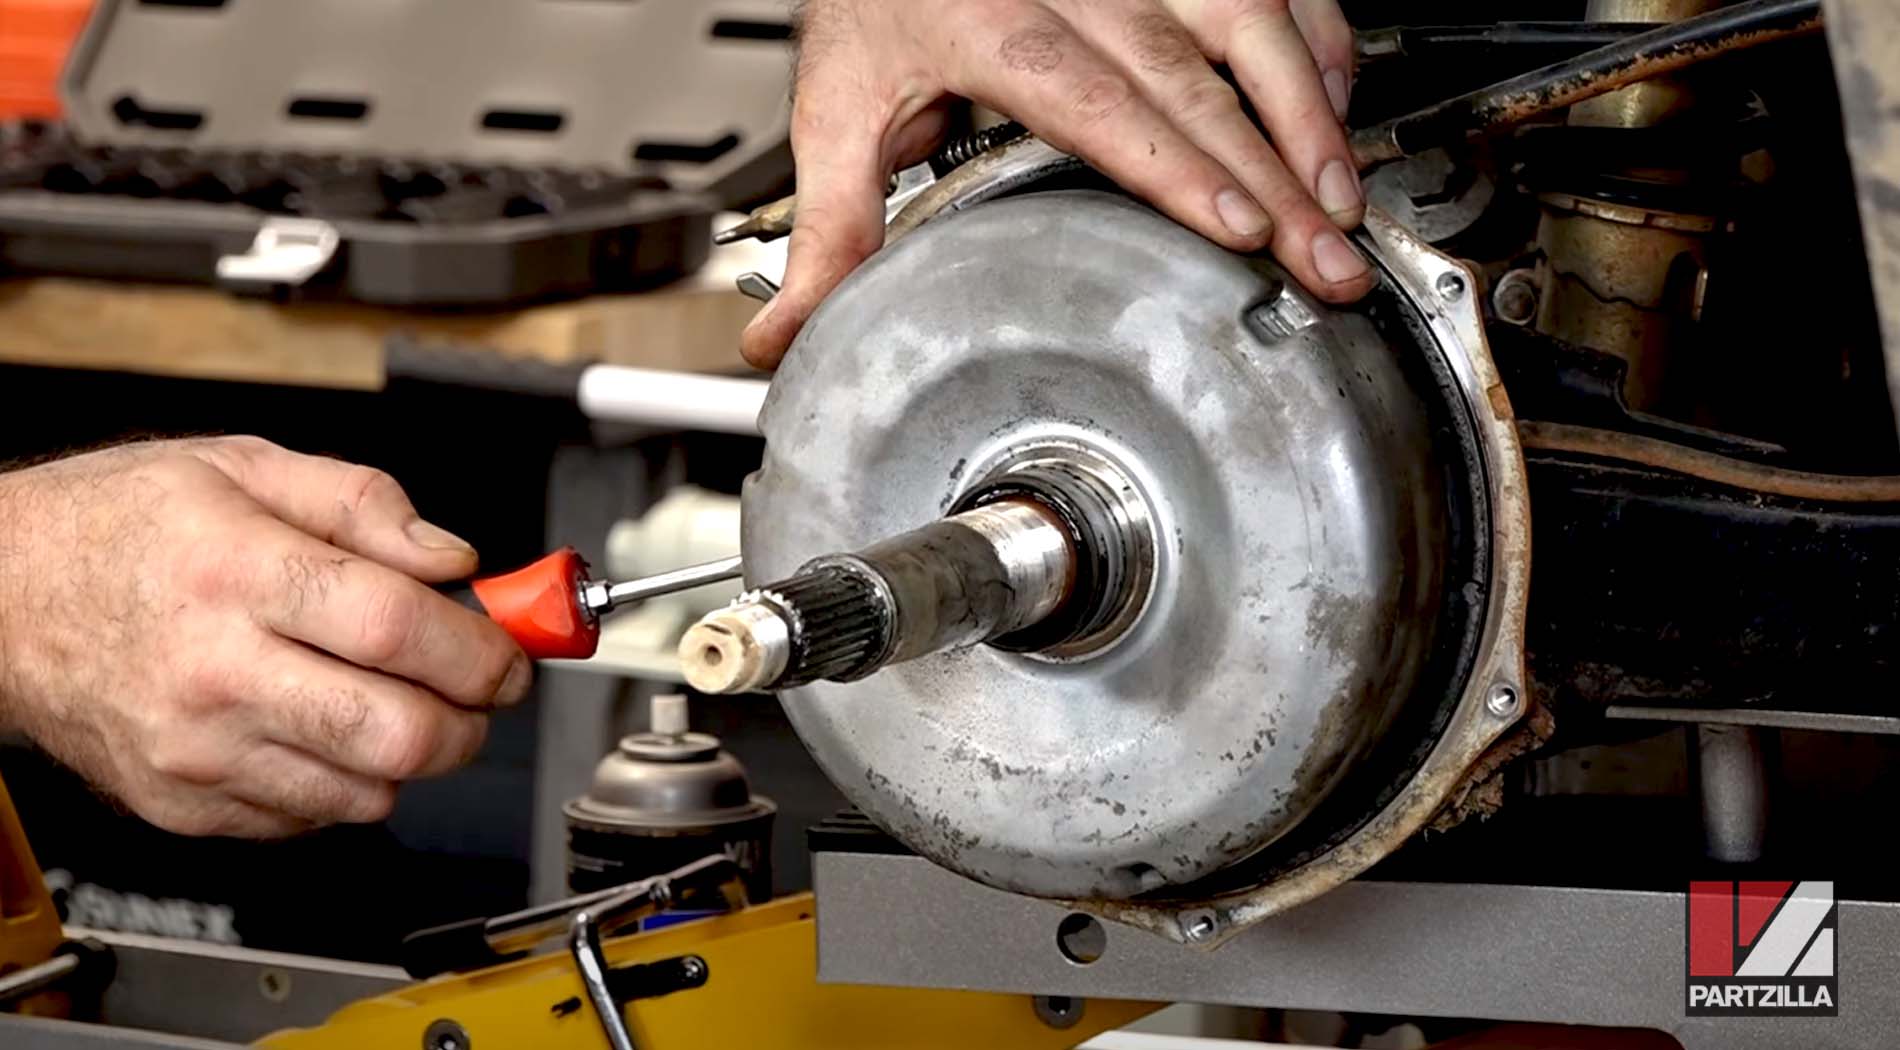
If water intrudes past the covers and into the brake drum itself, it can cause the brake shoes to swell and they won’t release. In that case, it may be necessary to replace the entire packing plate and brake drum assembly because the pieces simply won’t come apart.
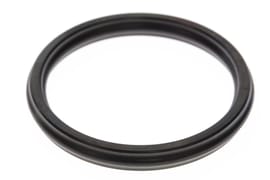
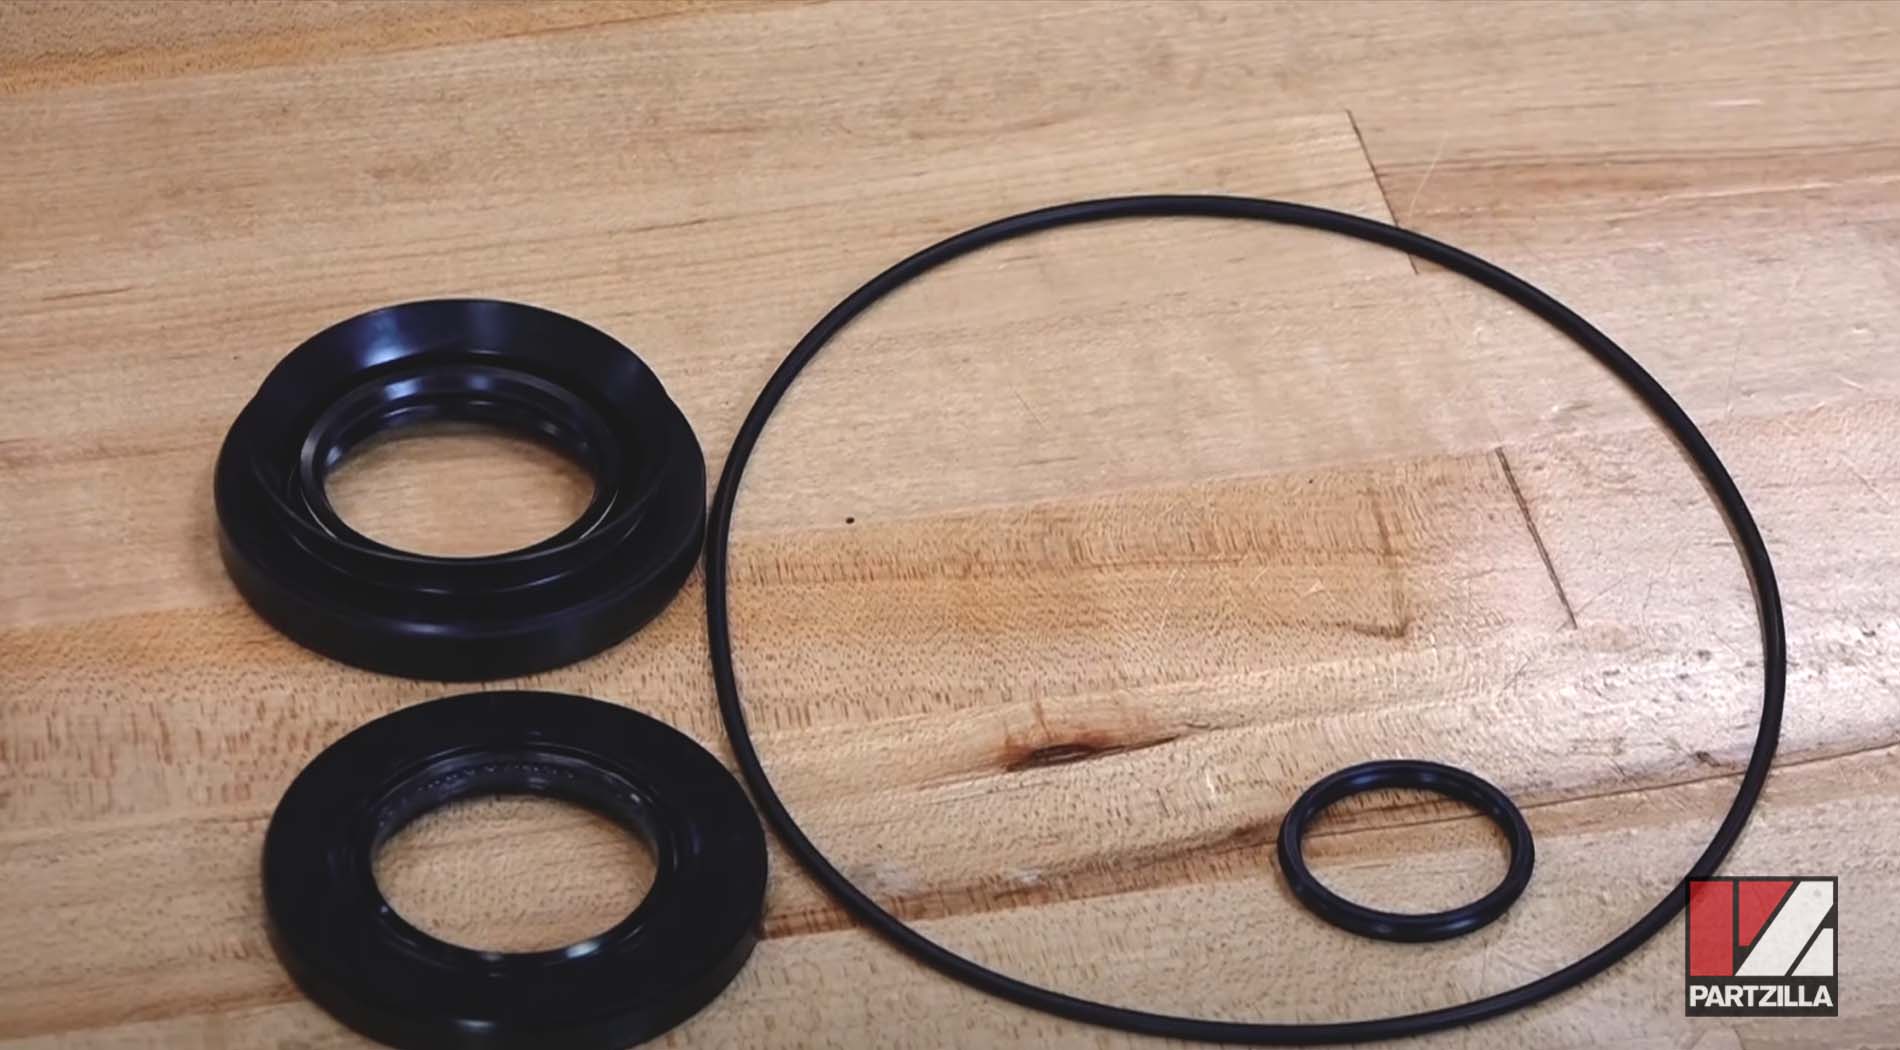
One way to prevent this is to preemptively replace all of the seals and O-rings in the brake housing. This will prevent water intrusion and the countless problems that can occur downstream from water getting into the brake assembly. That involves replacing:
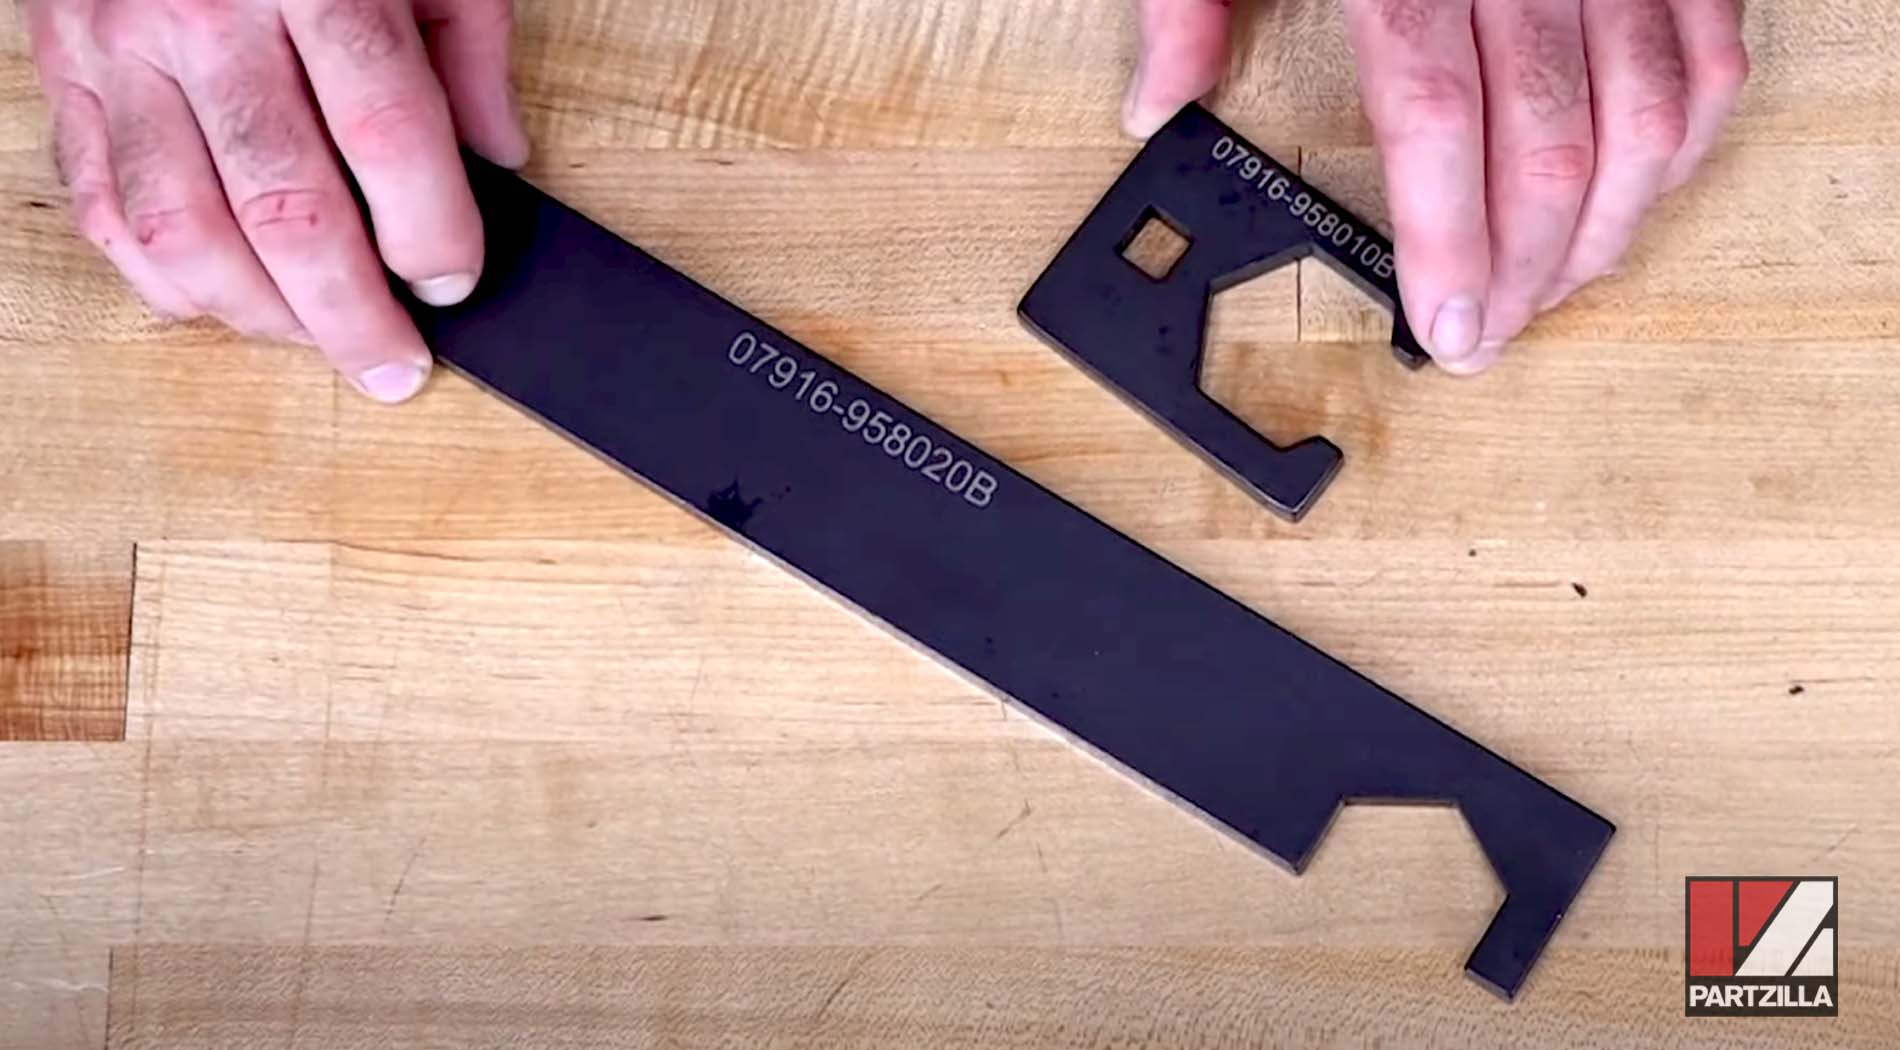
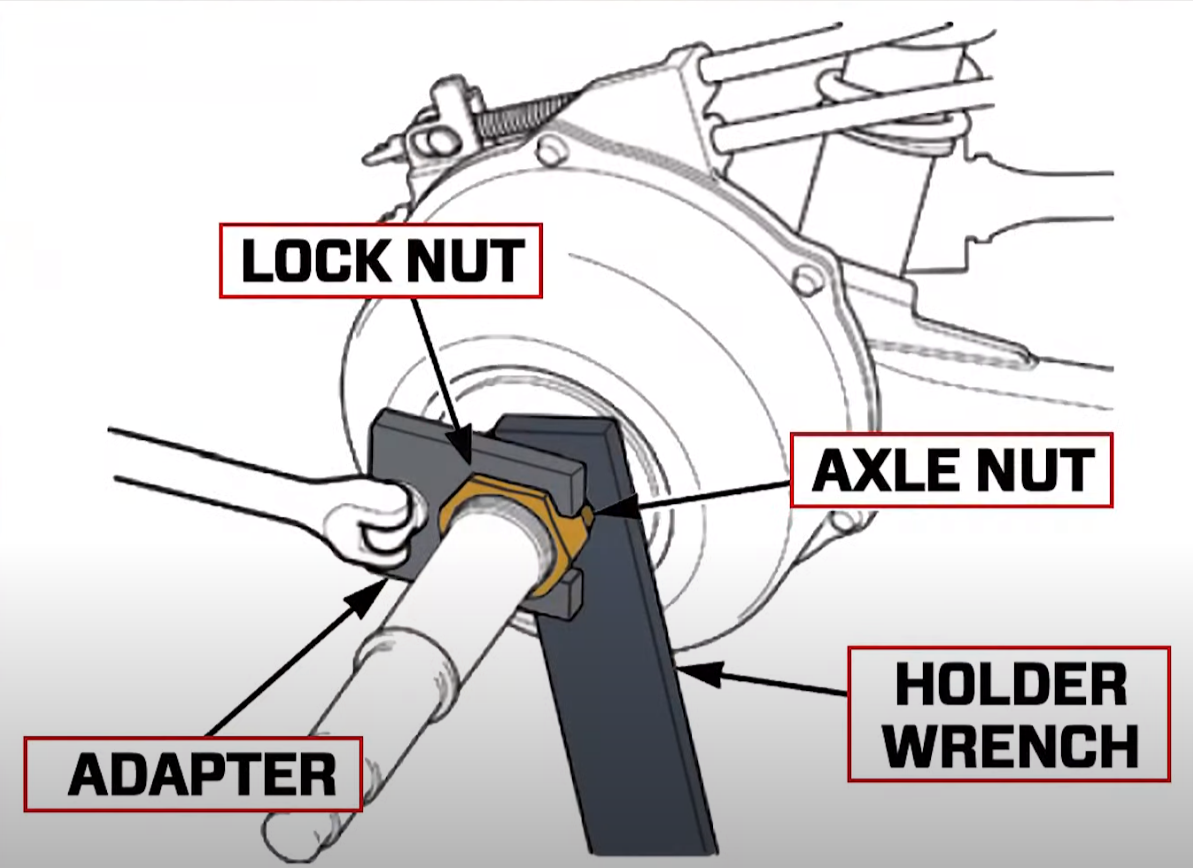
A couple of special tools from Honda help you get the torque specs right on the axle bolts during reassembly. Honda makes an axle nut holder wrench and axle nut torque adapter, and you can see a diagram of how that works below.
Finally, as with any other job, stay organized. Bag and label parts, keep everything as clean as possible, and torque bolts properly to get the best results.