Honda Pioneer 1000 Oil Change
Changing the engine oil in a Honda UTV is basic do-it-yourself maintenance that should be done regularly to keep your machine running at its peak.
Watch the video above and follow the steps below to learn how to do an oil change on a Honda Pioneer 1000 side-by-side.
Tools and Supplies – Honda Pioneer Oil Change
- Ratchet and sockets
- Torque wrench
- Drain pan
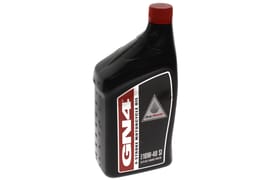
- Honda GN4 10W-40 oil (7 quarts)
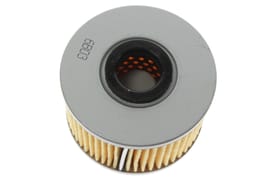
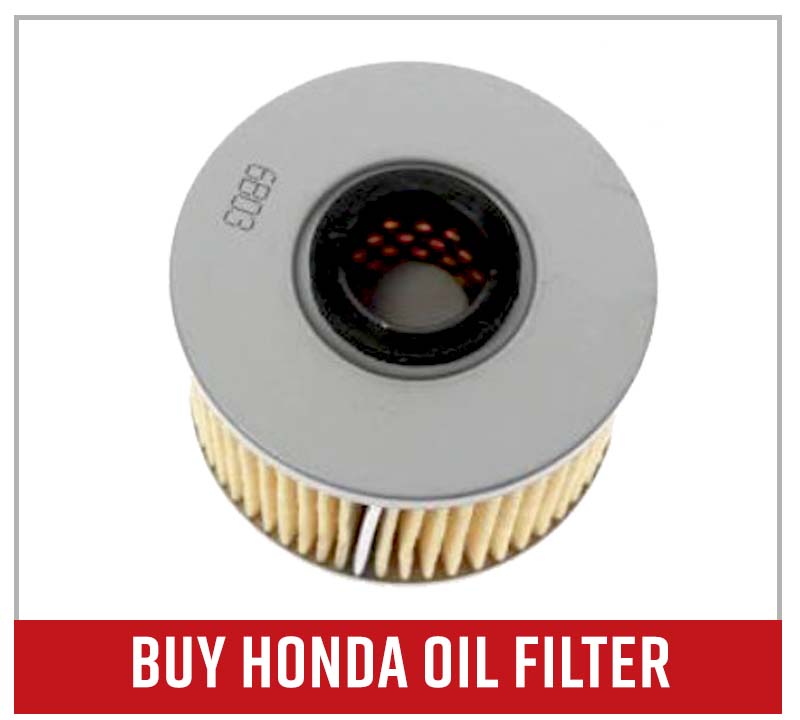
- Oil filter

How to Change the Oil in a Honda Pioneer 1000
Step 1. Run the engine for a minute to warm the oil, which reduces the oil’s viscosity and helps it drain out faster.
Step 2. Lift the rear cargo bed and remove the plastic access cover located just behind the rear seats. The access cover is held in place by four push pins.
Step 3. Remove the oil fill cap from the top of the engine, which also allows the engine to vent properly and the oil to drain out faster.
Step 4. Remove both of the oil drain bolts located on the underside of the engine. Place a drain pan under each one to catch the old oil as it drains out.
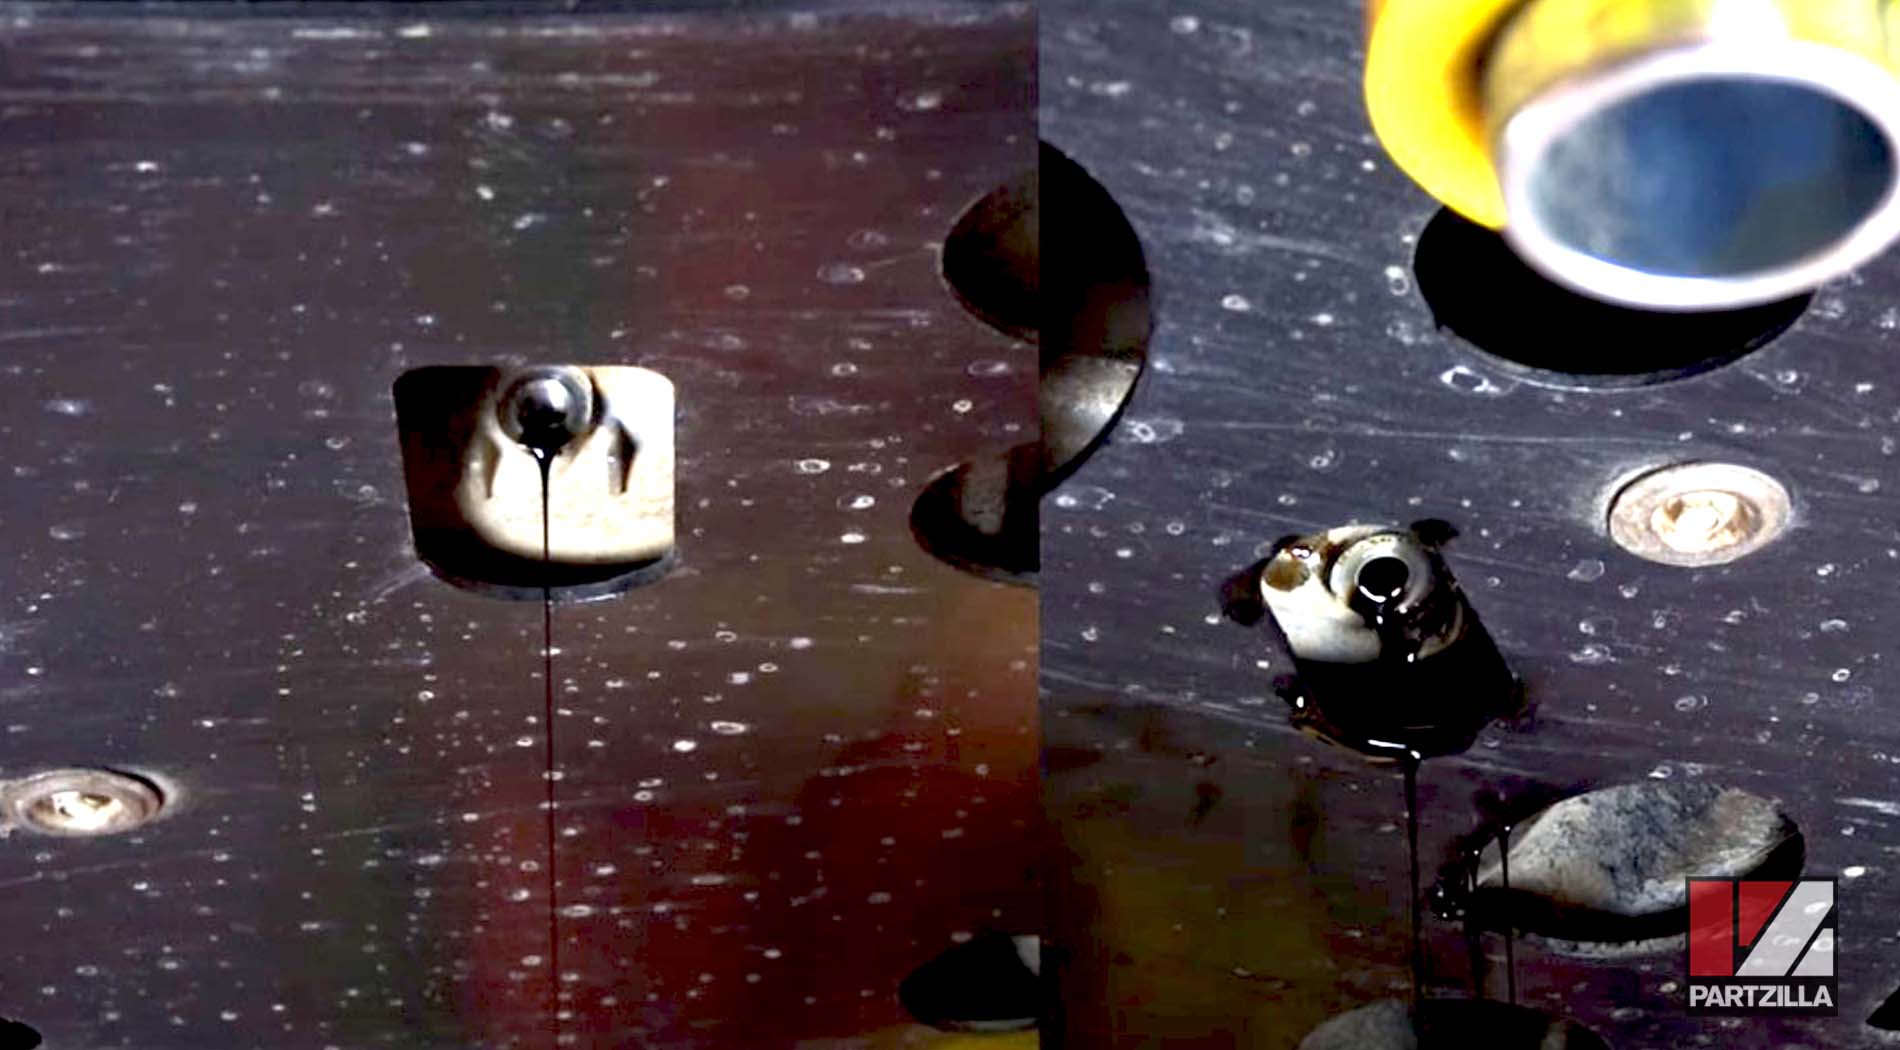
Step 5. Inspect the crush washers on each oil drain bolt and replace them if necessary. Reinstall the drain bolts and crush washers, then torque them to 22 foot-pounds.
NOTE: The crush washers should be replaced after every 3-4 oil changes regardless of their condition to prevent future leaks from the drain bolts.
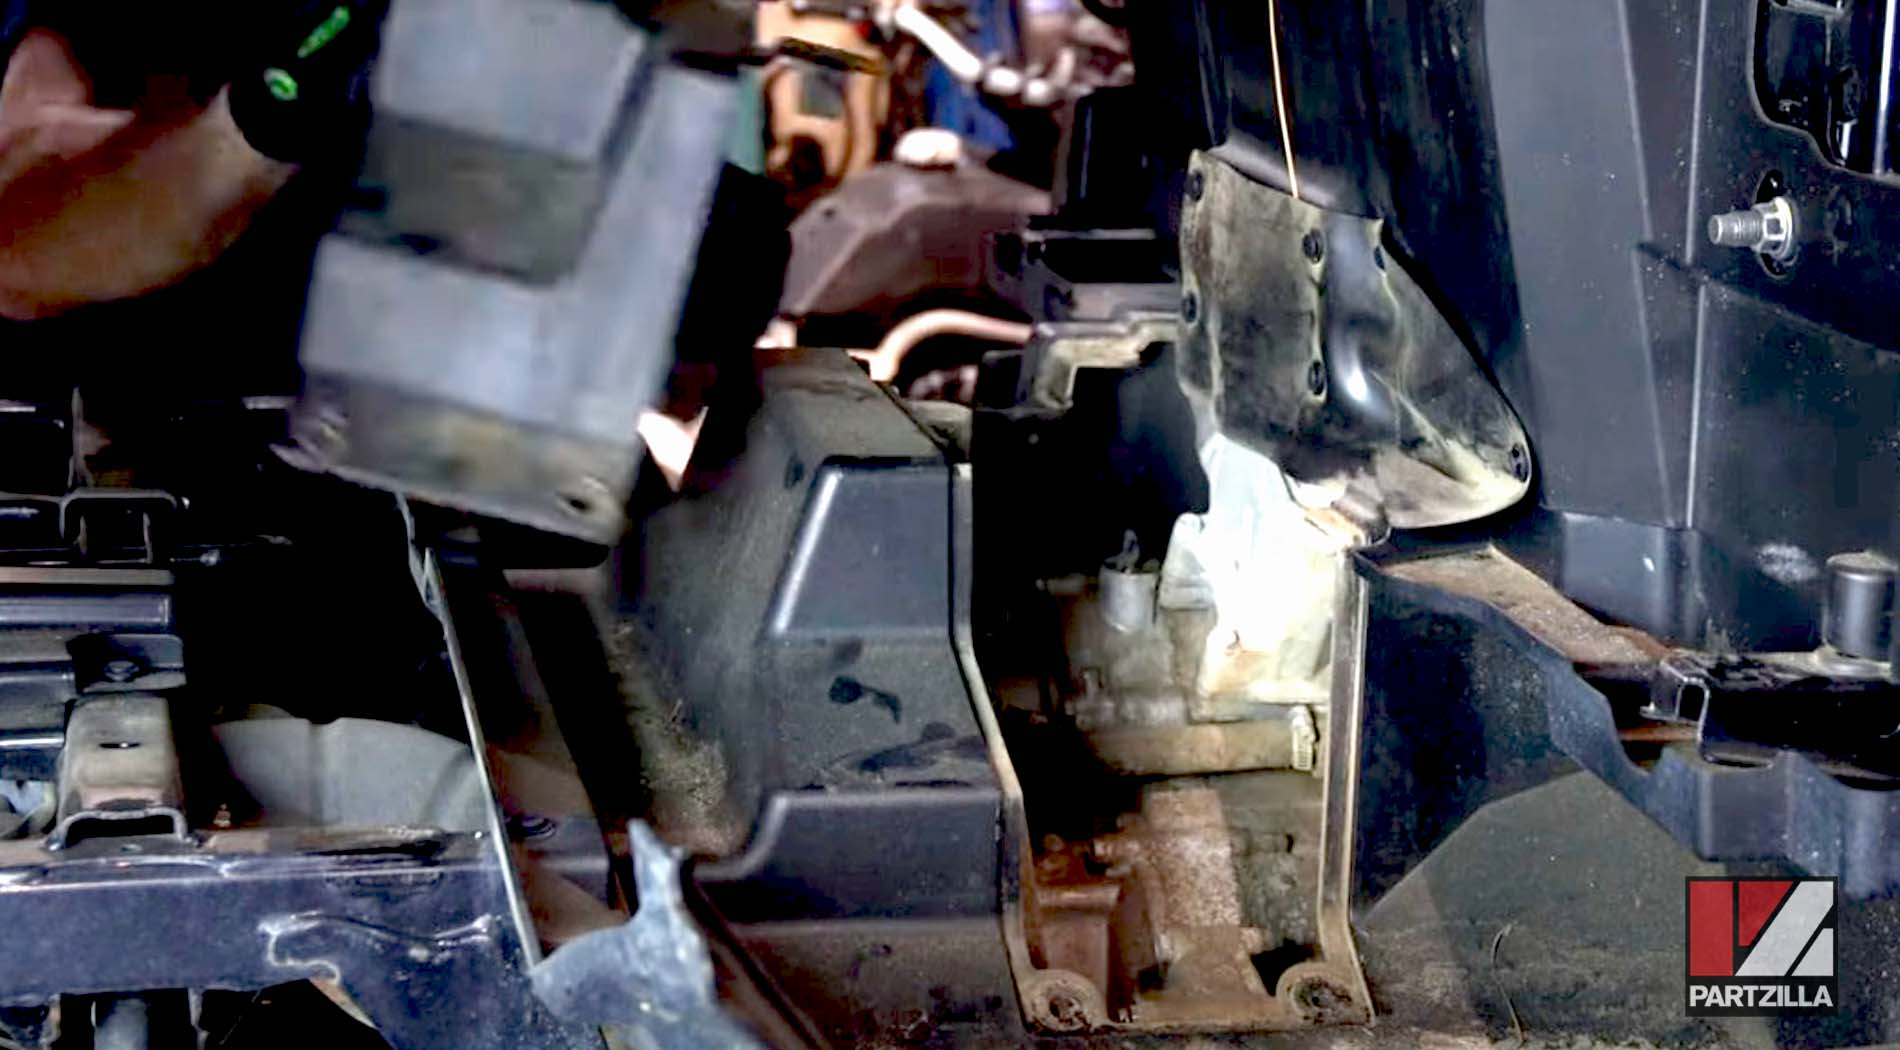
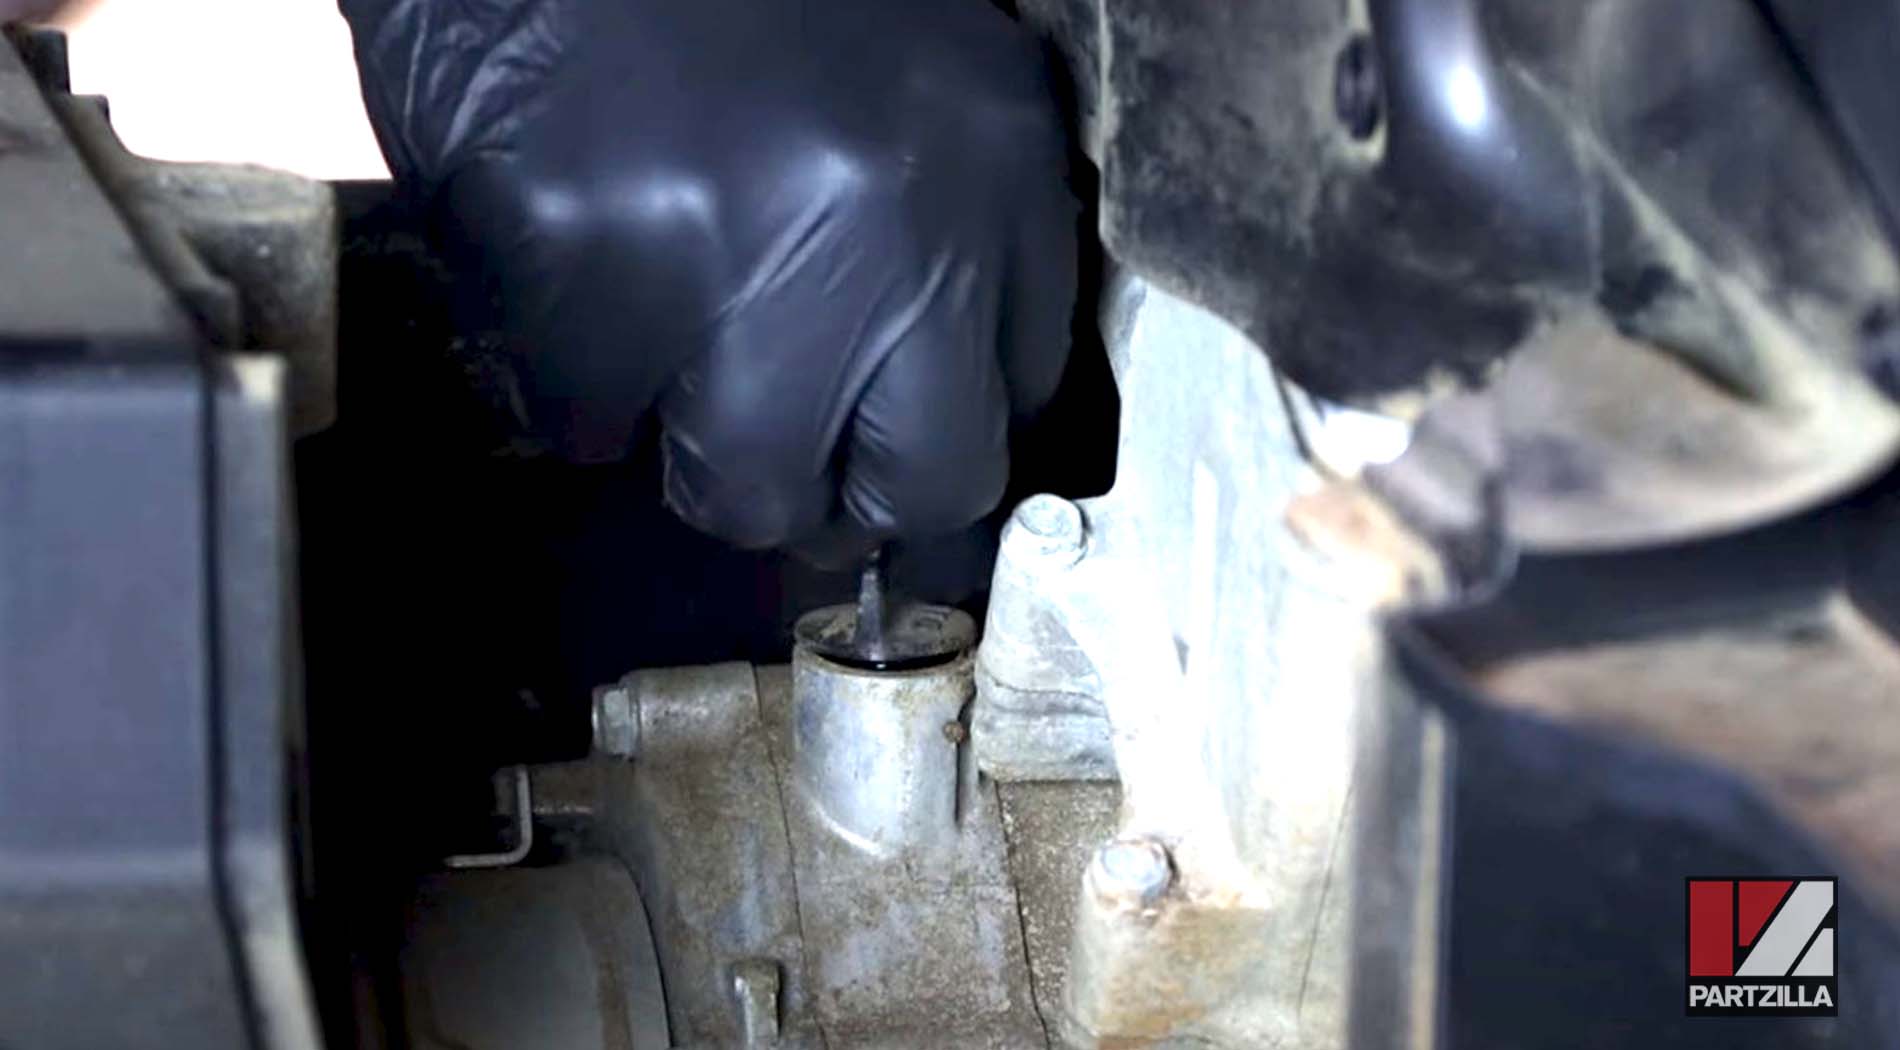
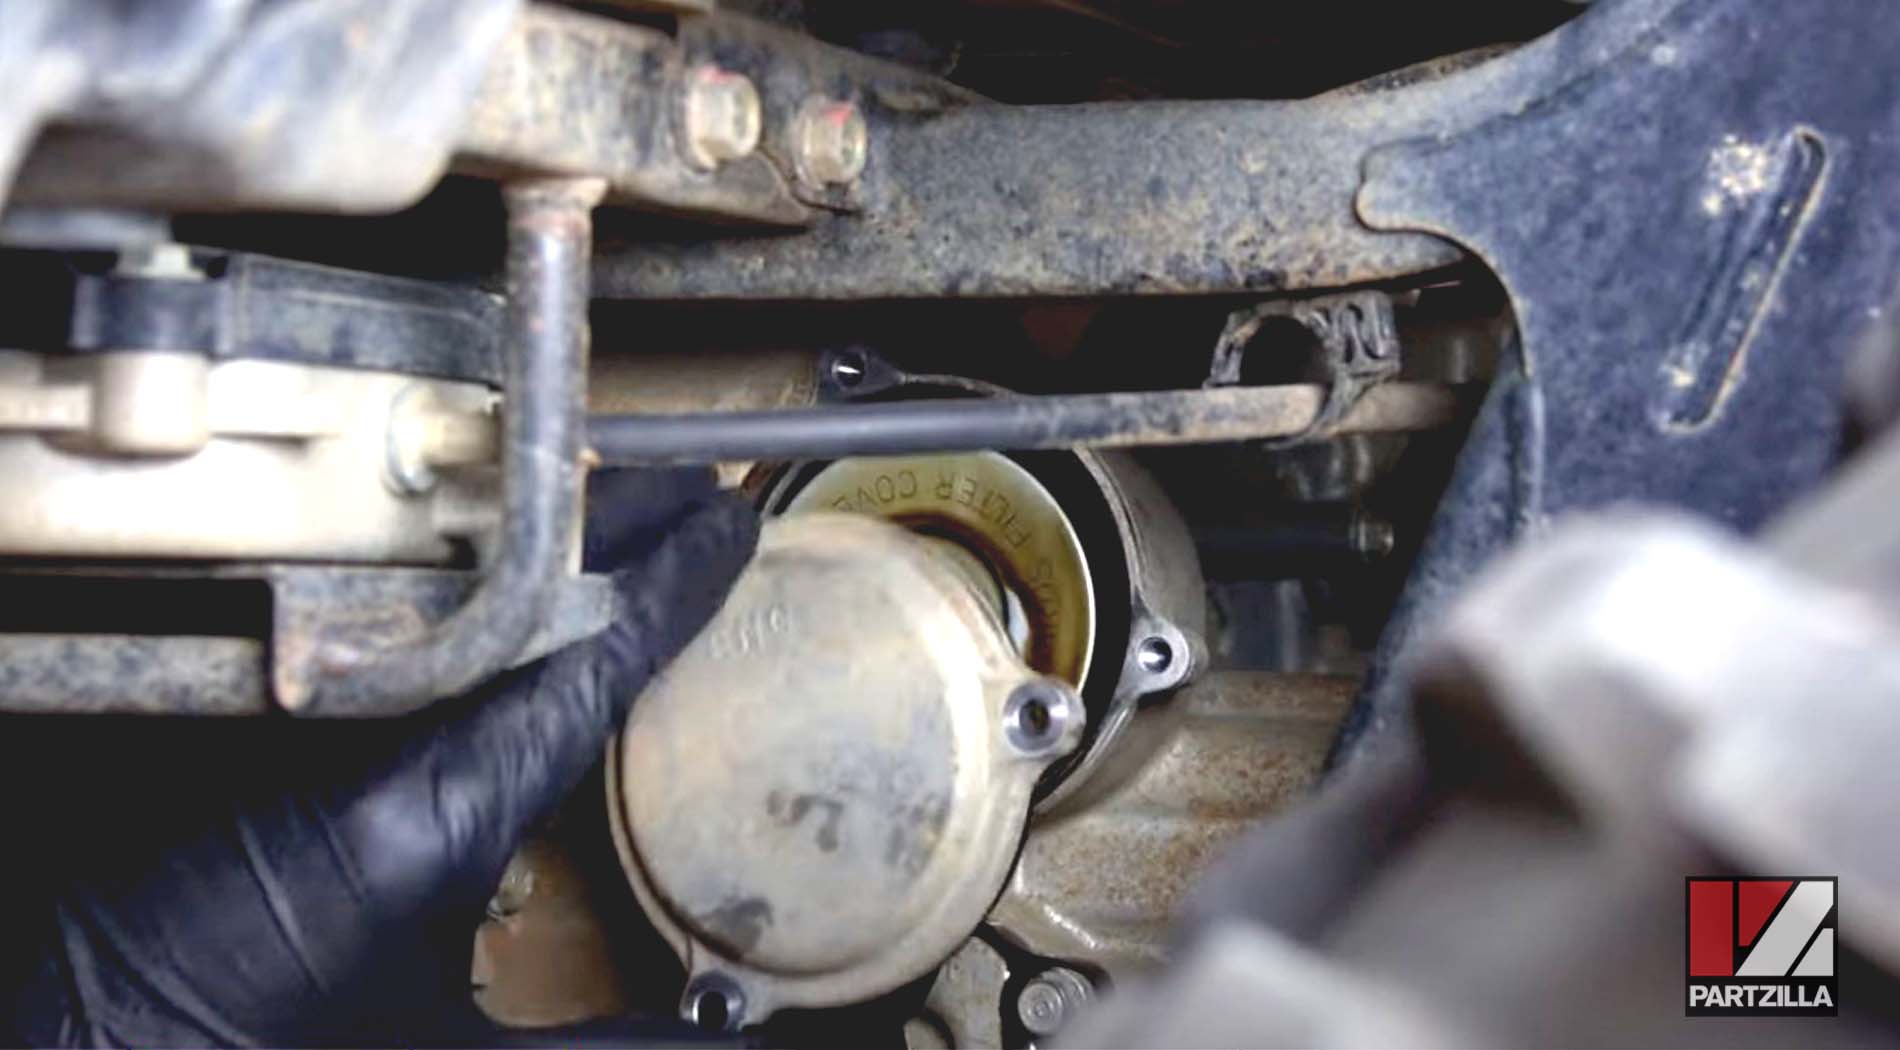
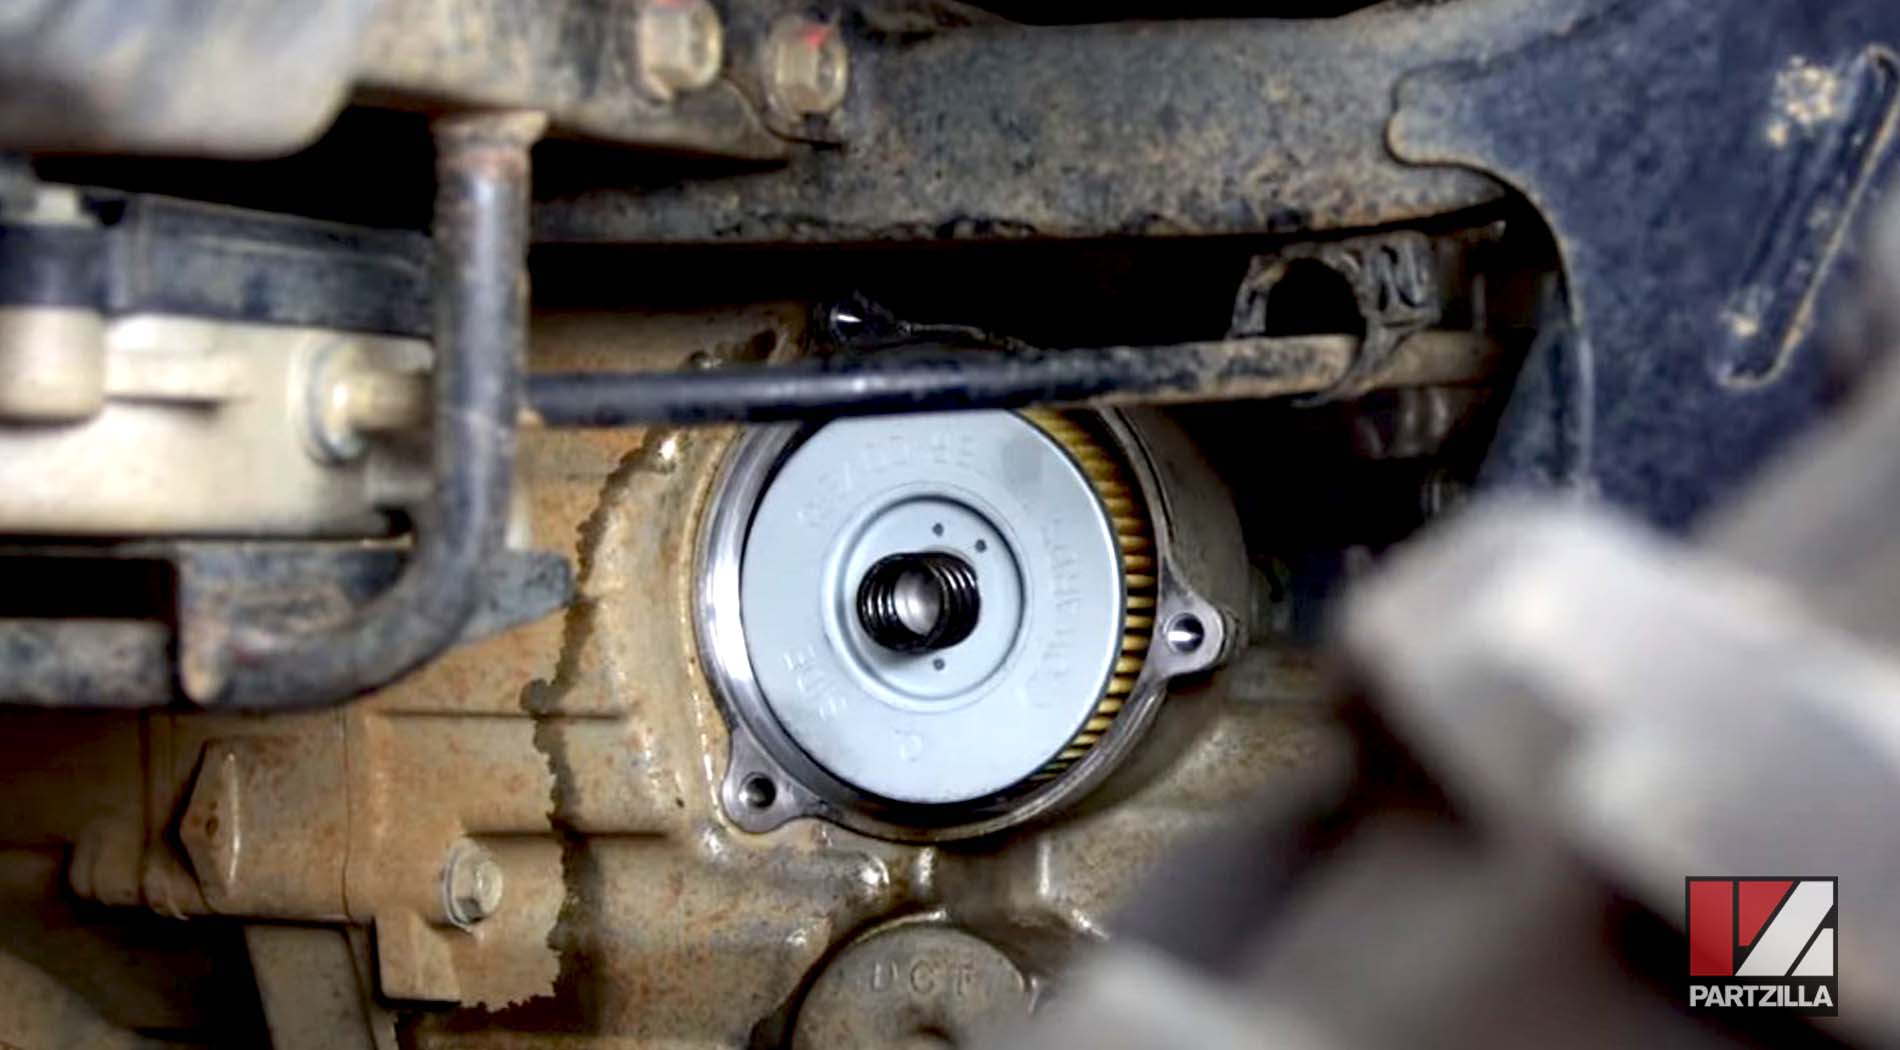
Step 6. Remove the three oil filter cover bolts, followed by the cover itself. The cover is on the left side of the engine and is labeled ENG. Place the drain pan under the cover to catch the oil that will spill out as it’s removed.
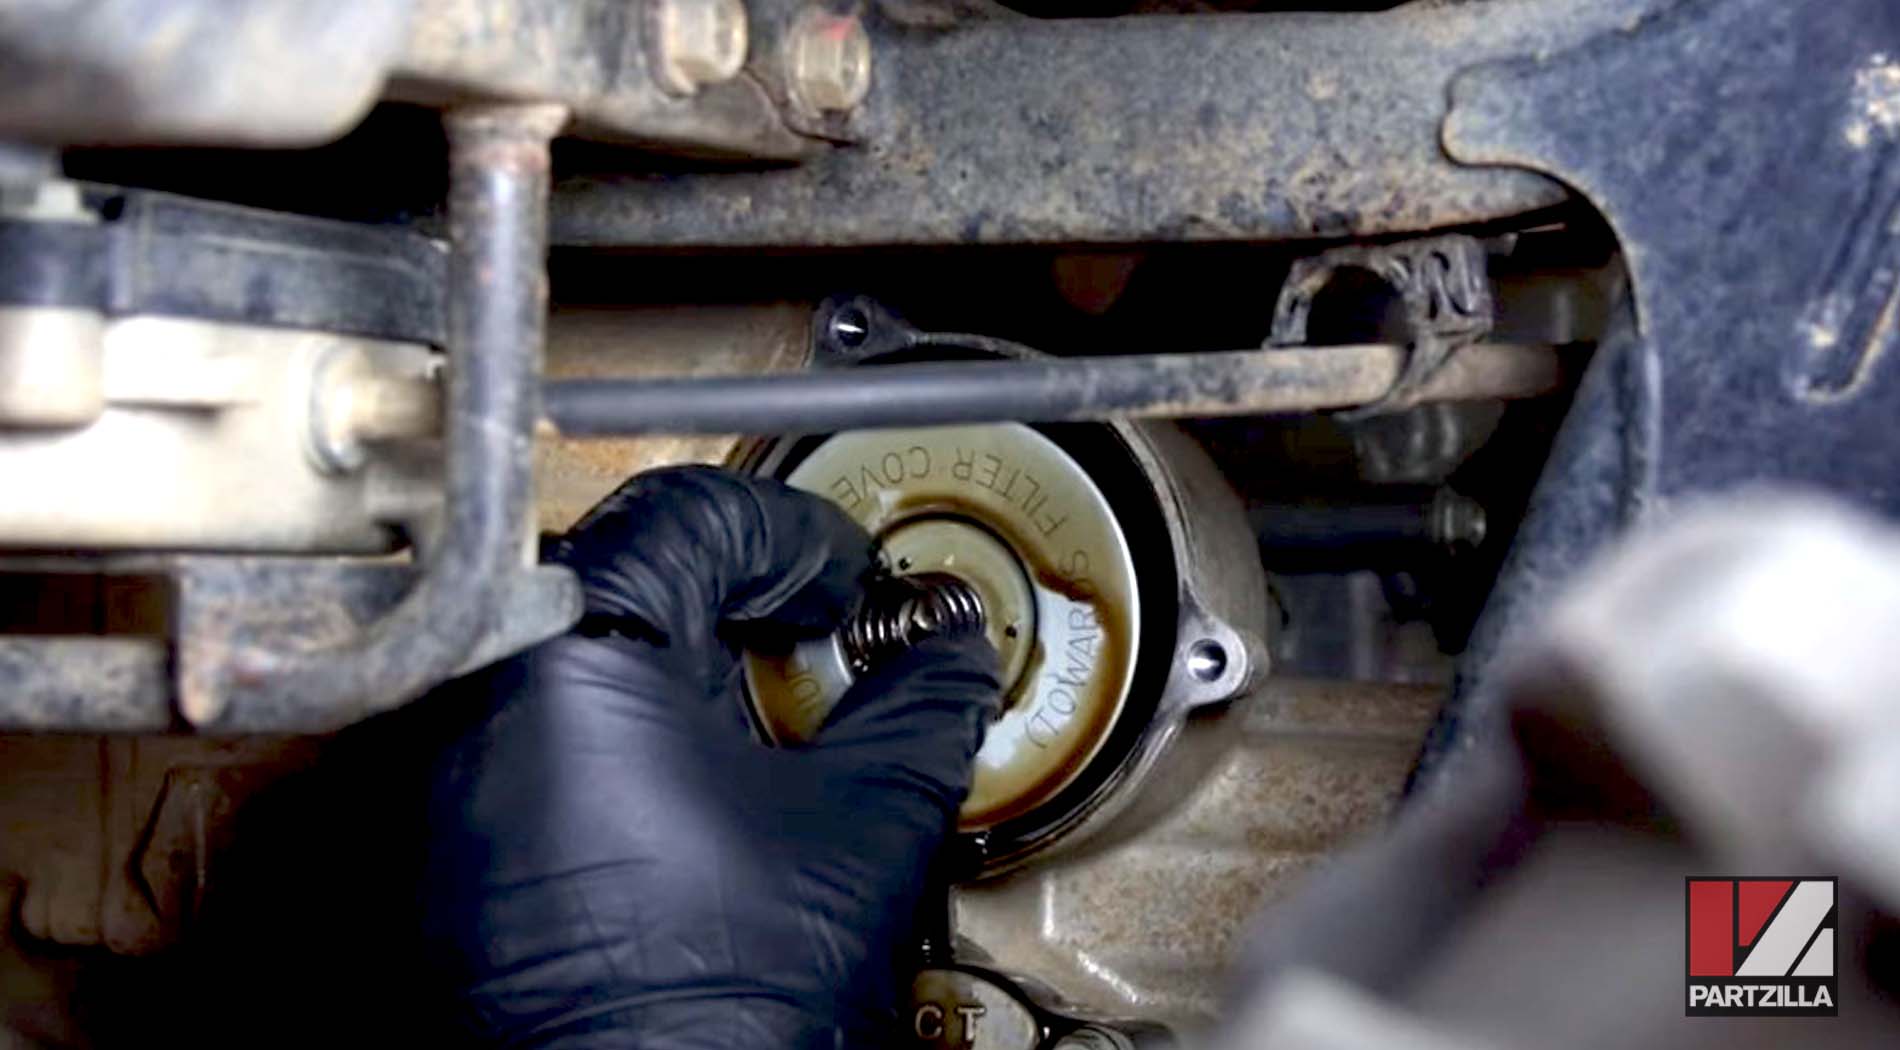
Step 7. Remove the old oil filter, being careful not to lose the spring on the end of the filter. Install the new oil filter in the same orientation and reinstall the spring.

Step 8. Reinstall the oil filter cover and snug down the bolts.
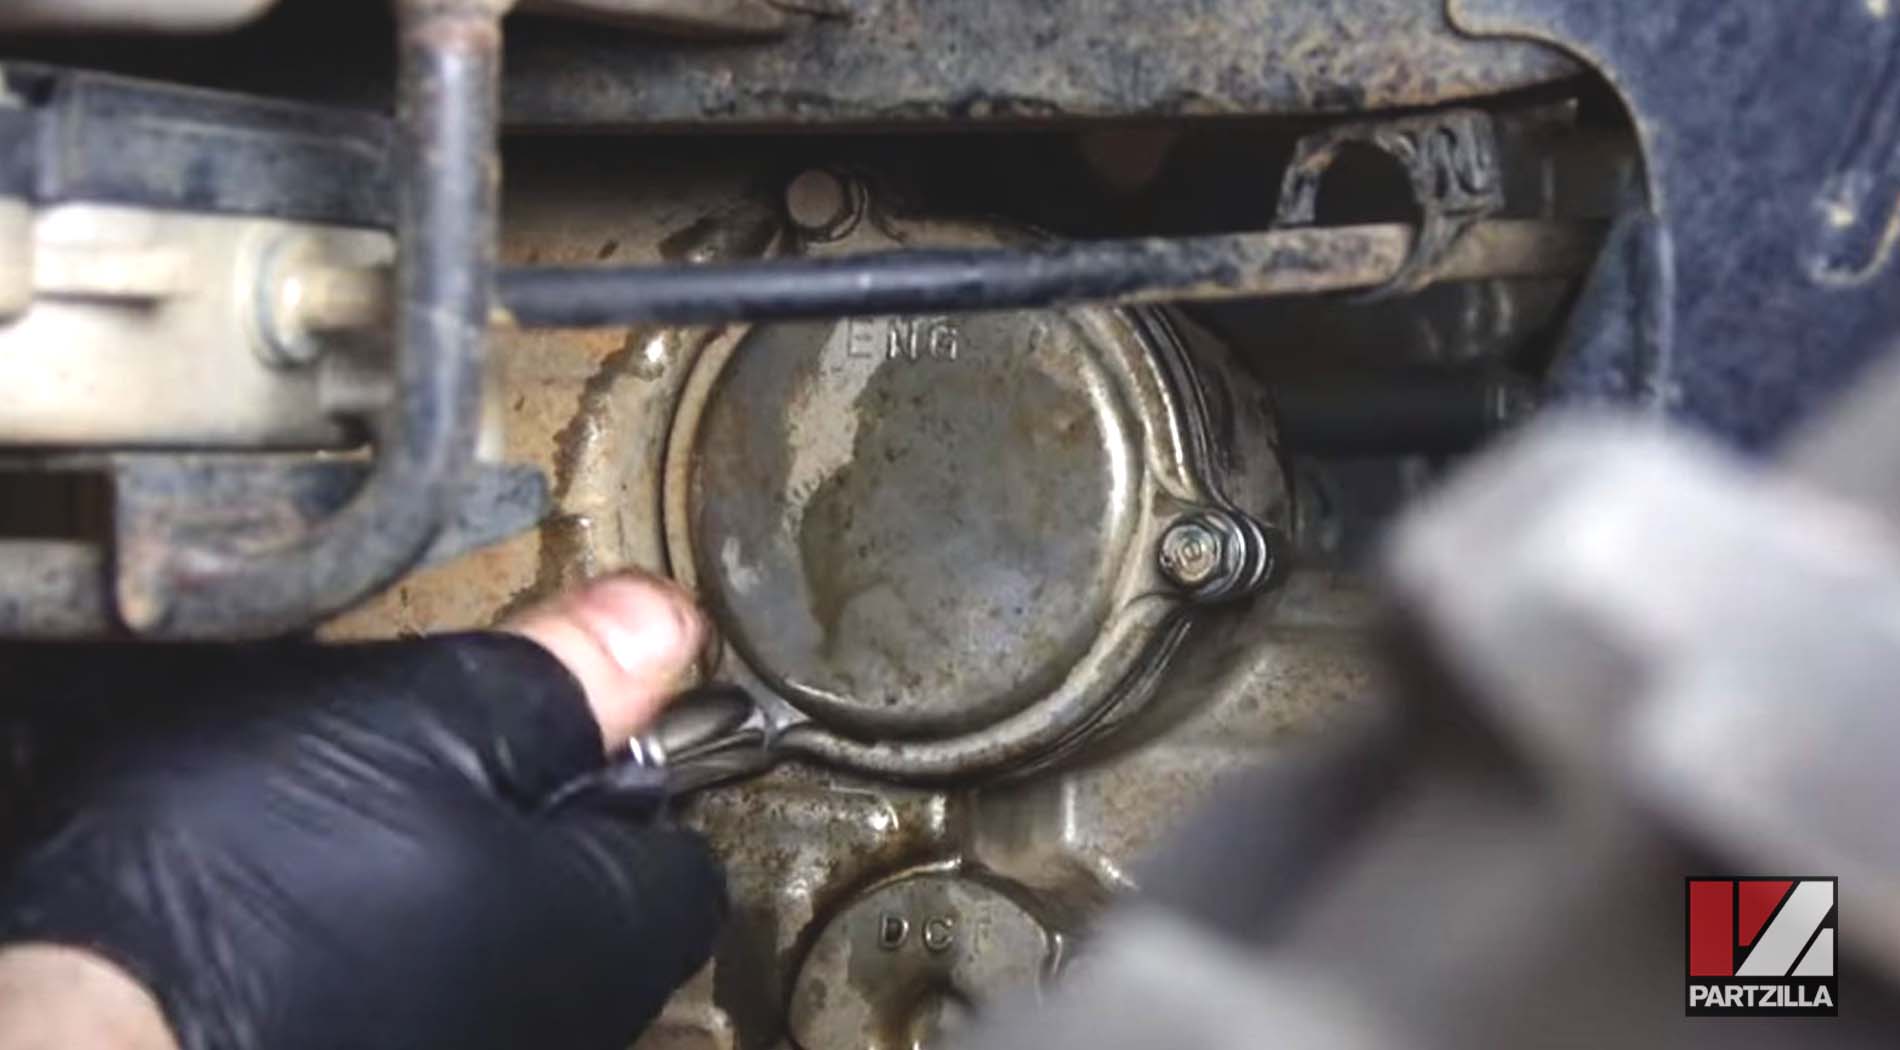
NOTE: Don’t over-tighten the bolts. Doing so may damage the cover or shear a bolt.
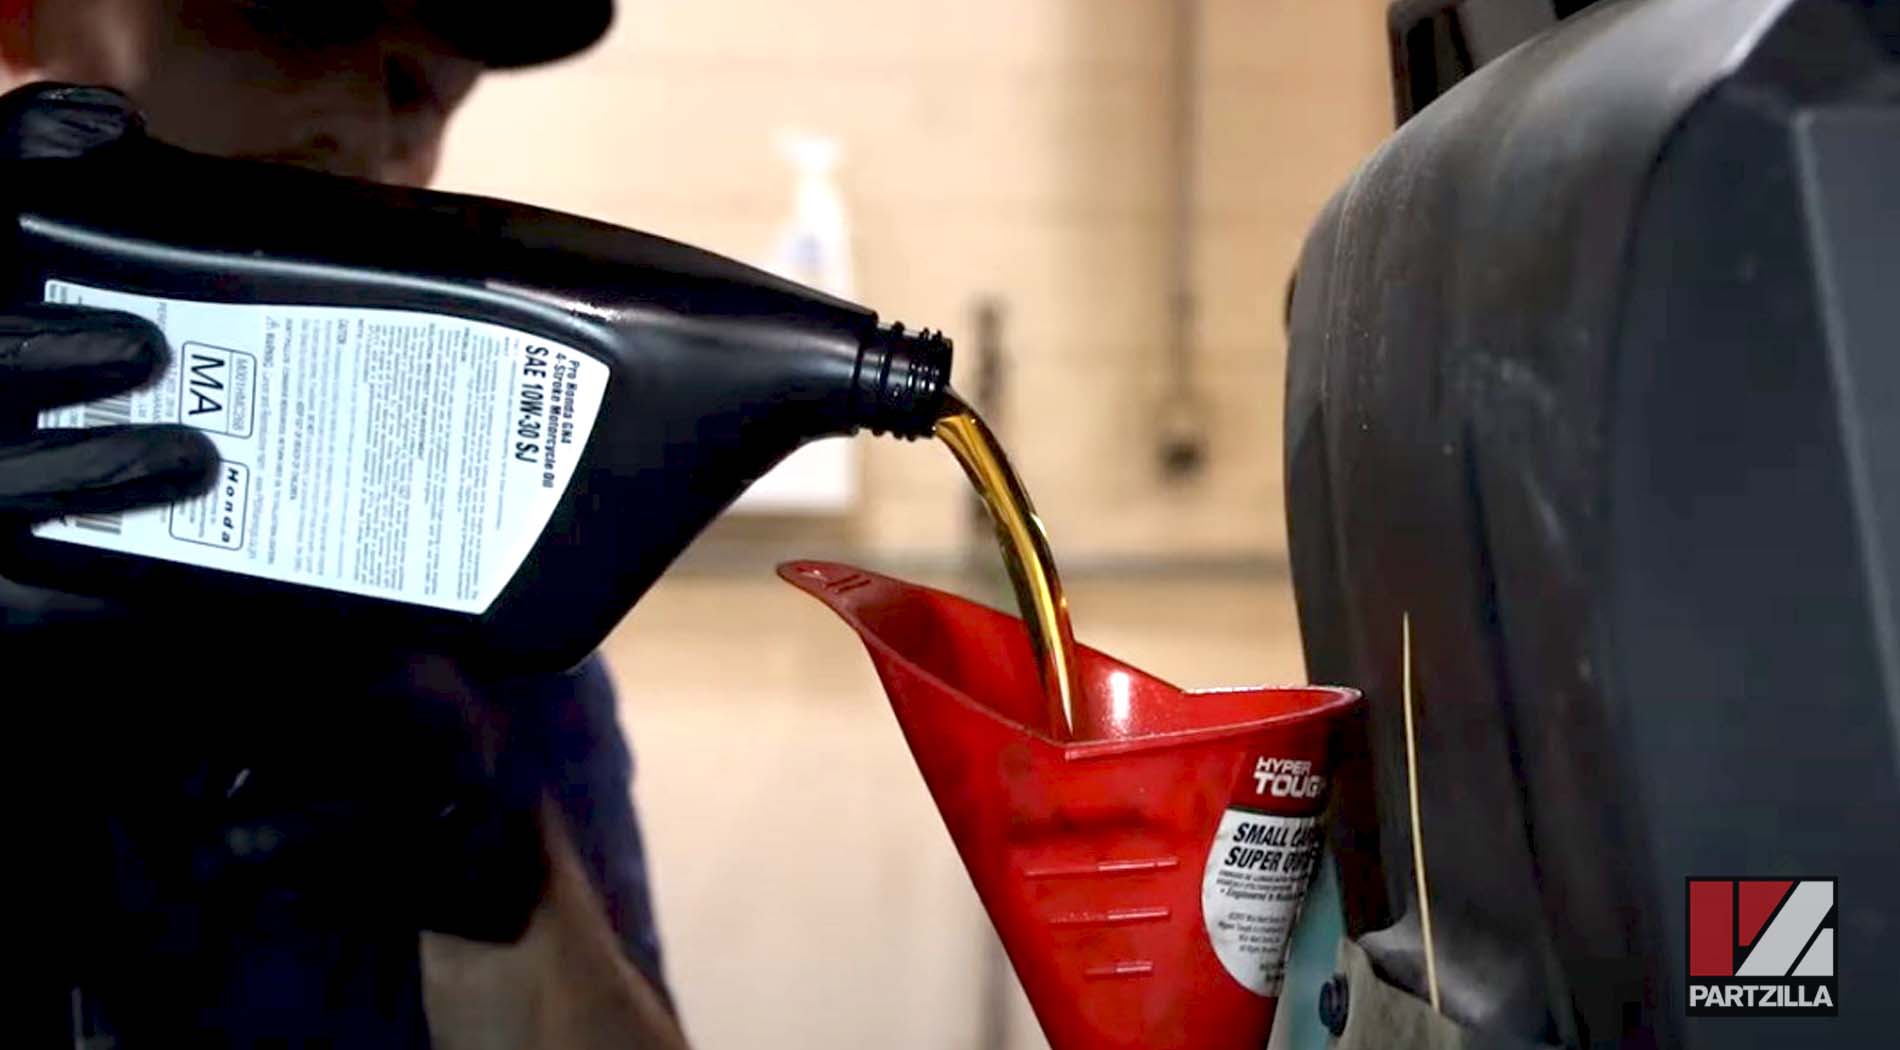
Step 9. Fill the engine with 6.8 quarts of Honda GN4 10W-40 motor oil.
Step 10. Reinstall the oil fill cap, then start the engine and let it idle for half a minute to circulate the oil throughout the engine. Next, shut off the engine to allow the oil to settle.
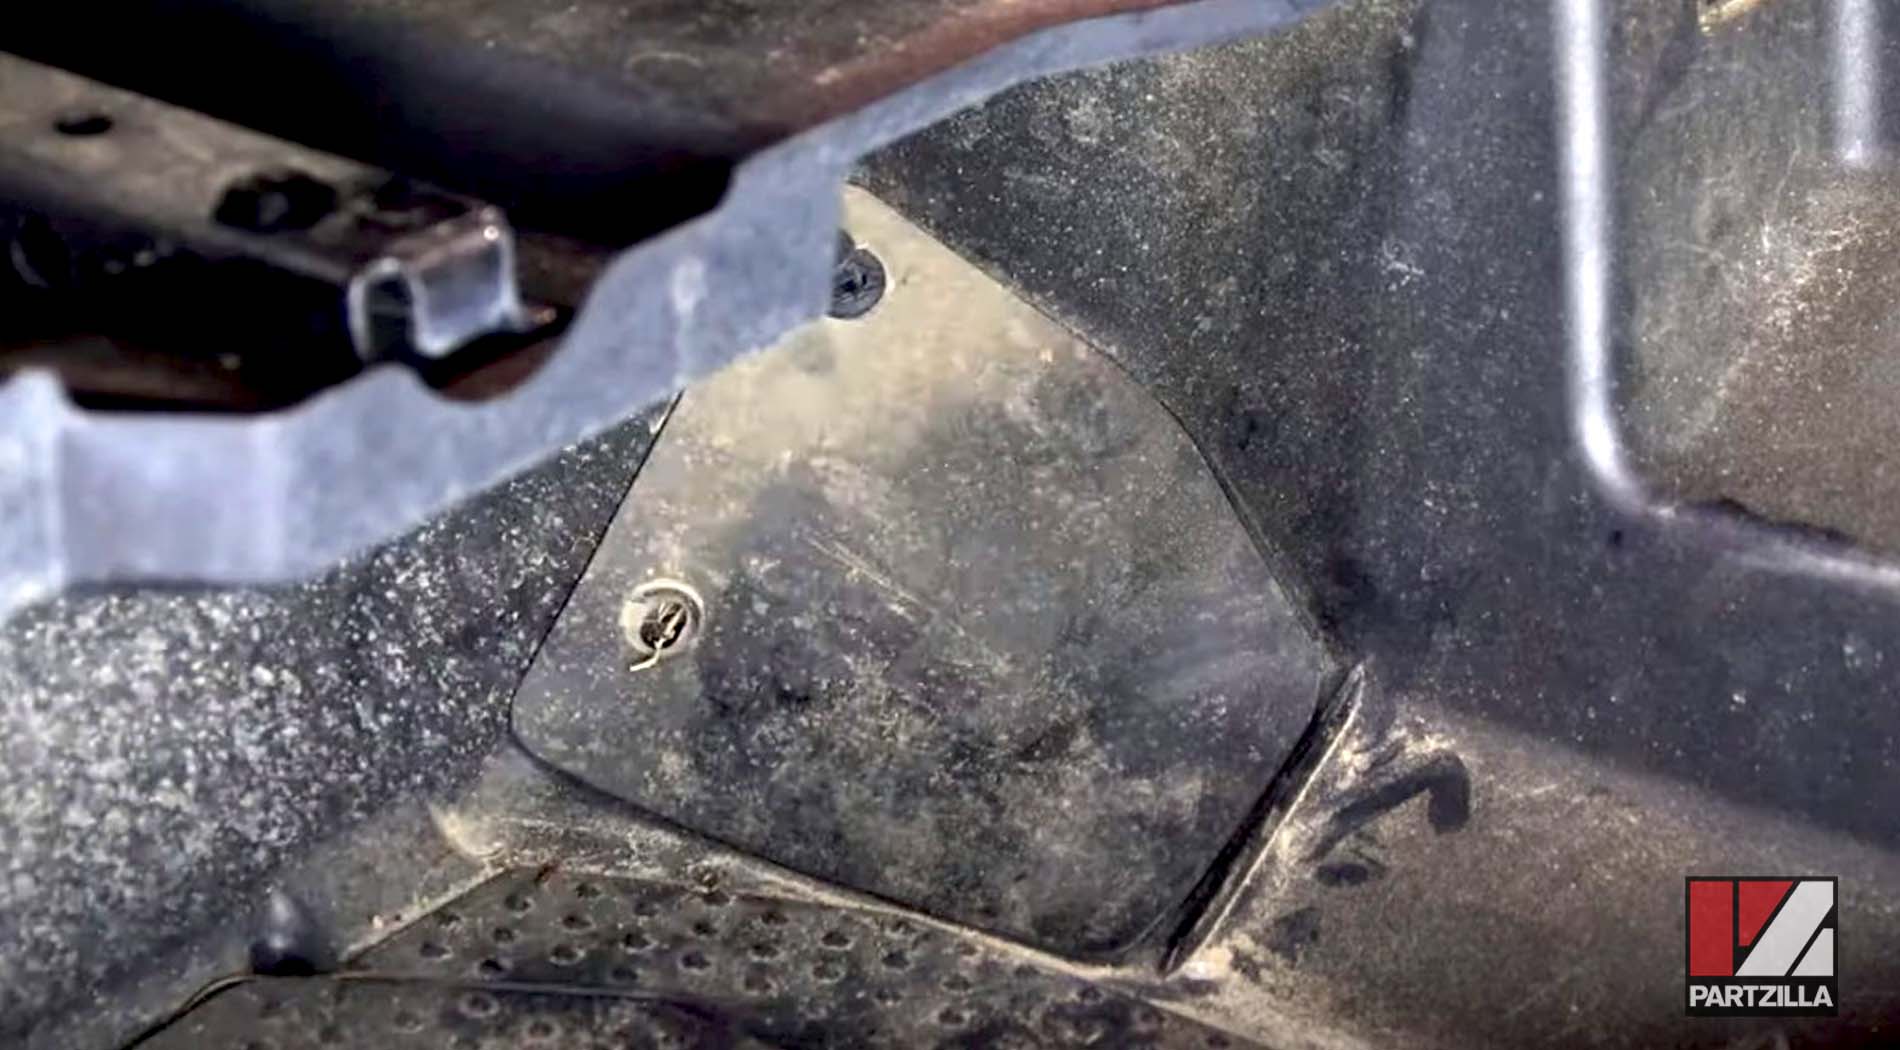
Step 11. Remove the access panel in the rear driver’s side flooring to access the dipstick. The panel is held in place by two push pins.
Step 12. Remove the dipstick and wipe it clean, then reinsert it into the engine, remove it again and read the oil level. Top off the oil if necessary.
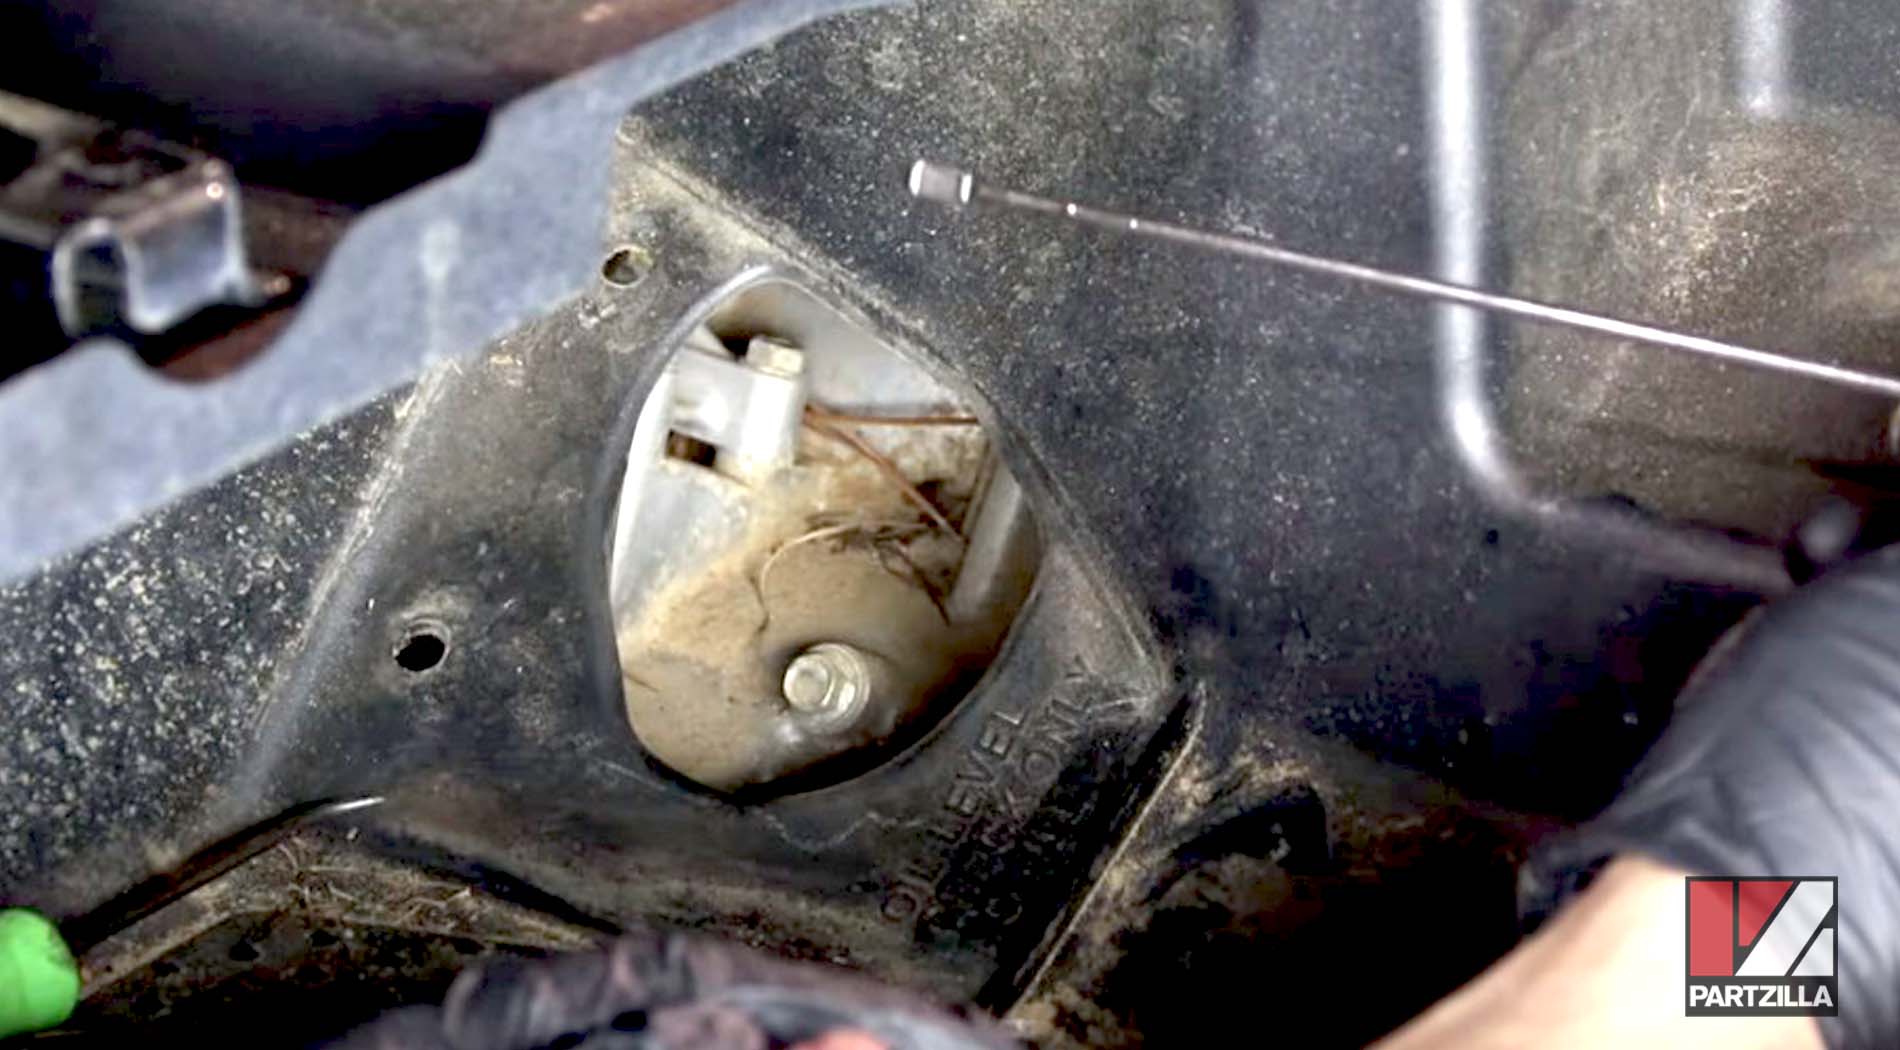
PRO TIP: Always make sure the vehicle is level when checking the oil.
Step 13. Reinstall the access panel covering the dipstick and the access cover shielding the oil fill cap and you’re done.