How to Change Honda Goldwing GL1800 Oil
An oil change is standard motorcycle maintenance, but big touring motorcycles like the Honda Goldwing GL1800 have some extra oil change steps steps because of the additional fairing pieces.
Watch the video above and follow the steps below to do an oil change service on 2007 Honda Goldwing GL1800 motorcycle.
See the parts diagram: Honda Goldwing GL1800 cylinder block diagram
Tools and Supplies - Honda Goldwing GL1800 Oil Change
- 3/8th ratchet
- 5mm Allen
- 17mm socket
- Extensions
- Torque wrench
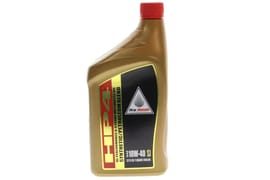
- Honda HP4 10W40 oil (4 quarts)
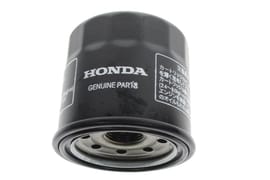
- Oil filter
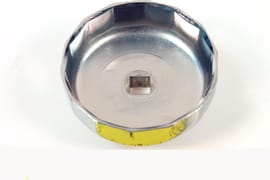
- 65mm oil filter wrench
Honda Goldwing GL1800 Oil Change Steps
Step 1. Run the engine for a couple of minutes to heat the oil up, which makes it easier to drain.
Step 2. Remove the panel found low on the right side of the engine to expose the dipstick, then remove the dipstick to make it easier for the old oil to drain out.
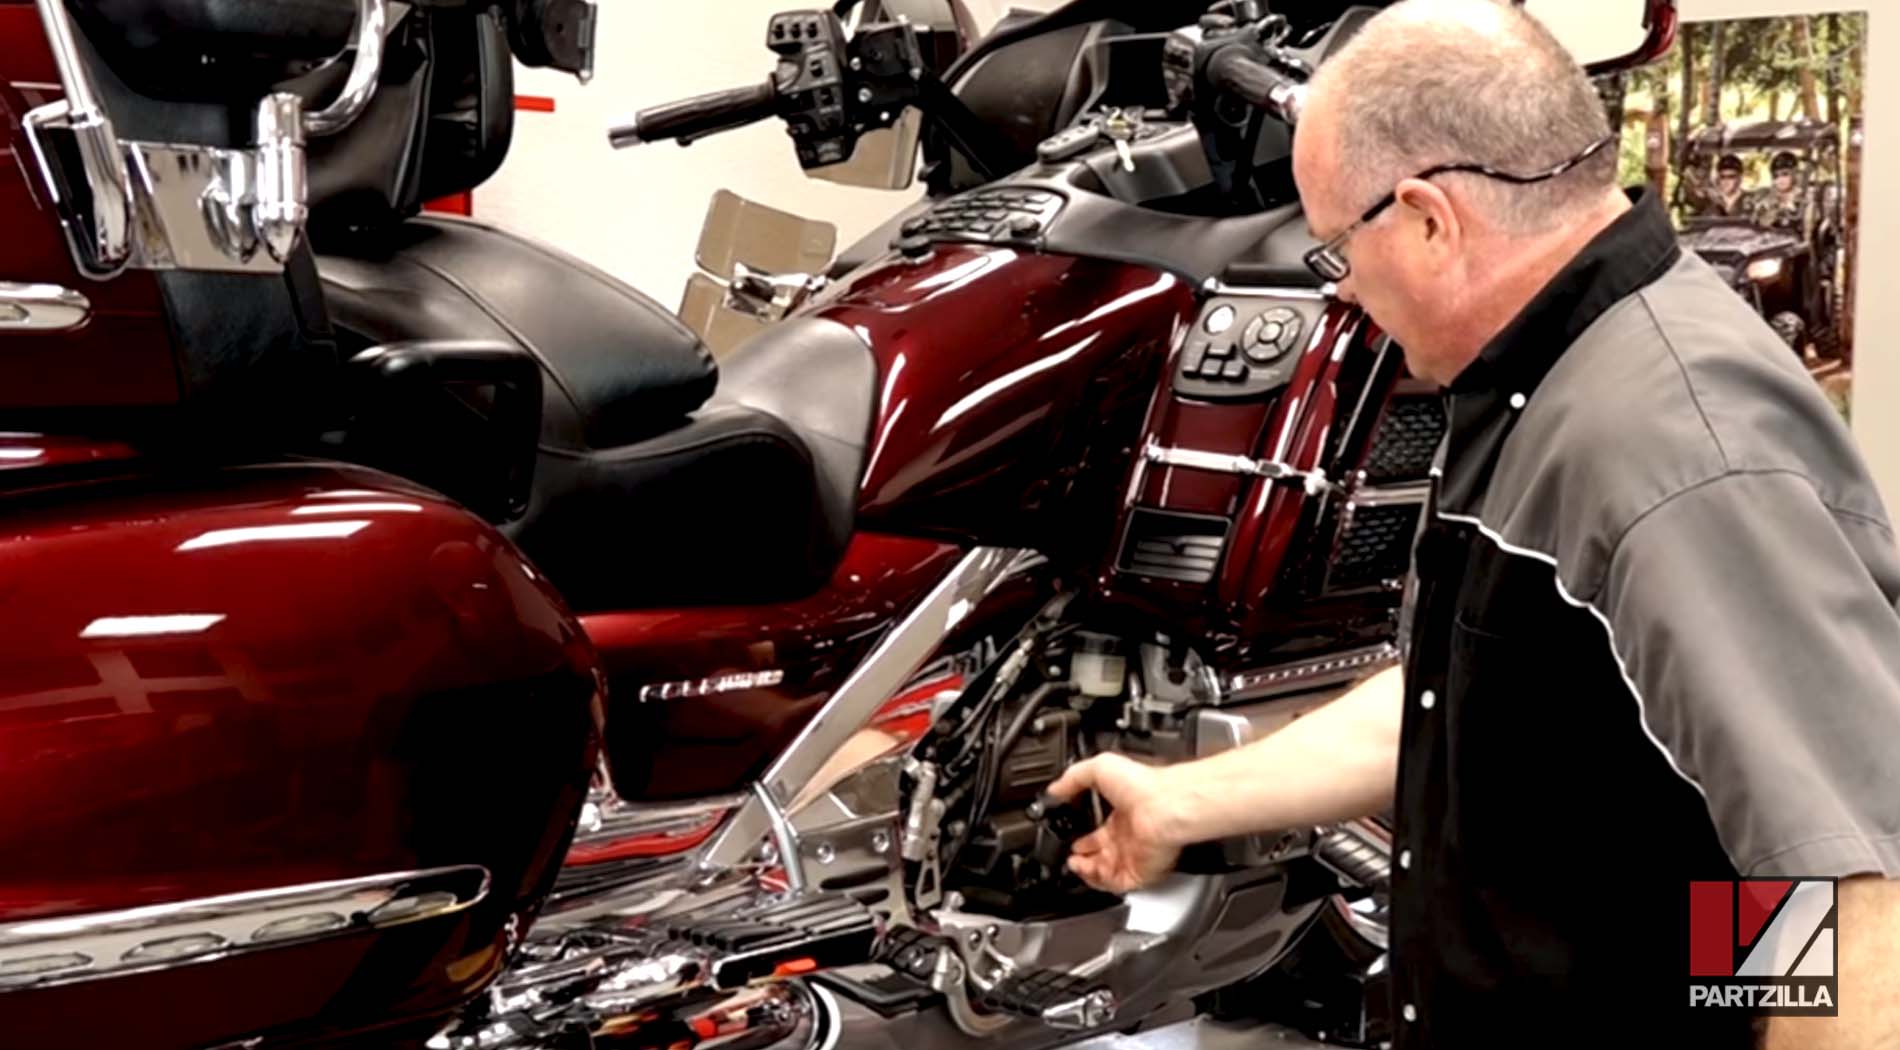
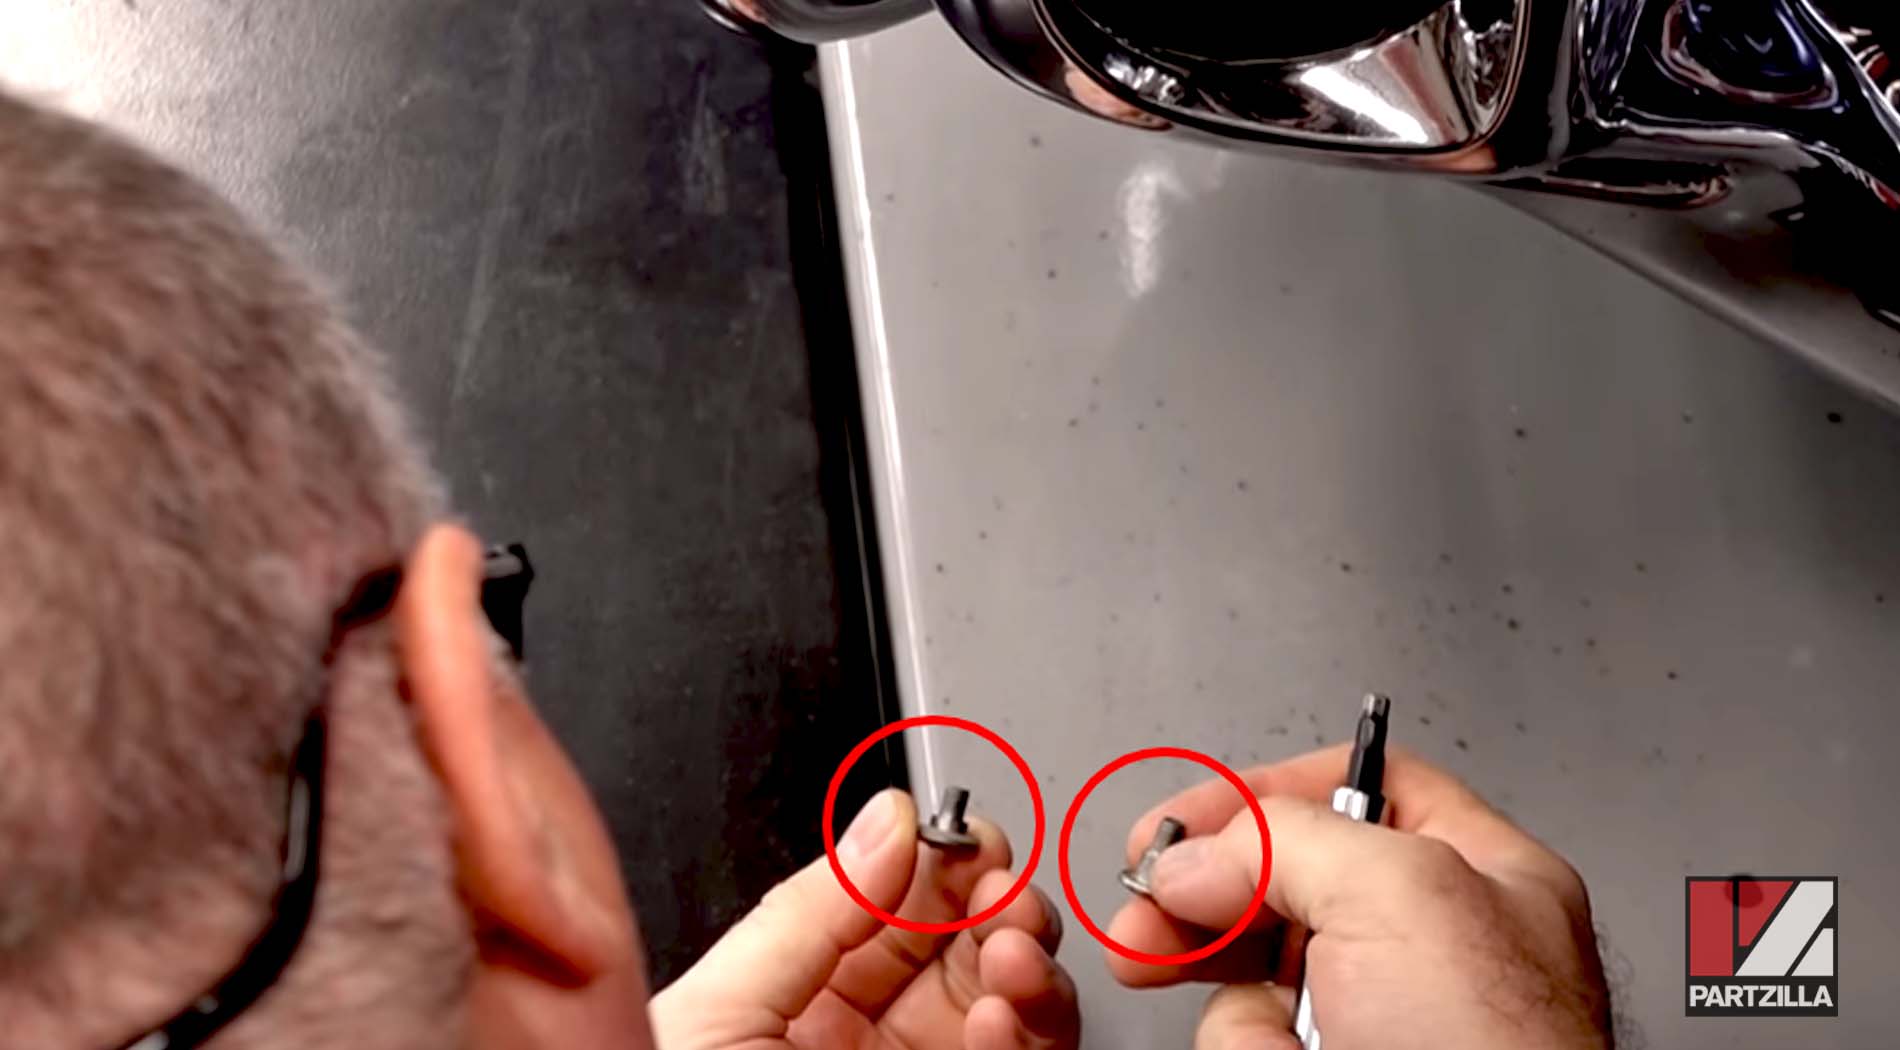
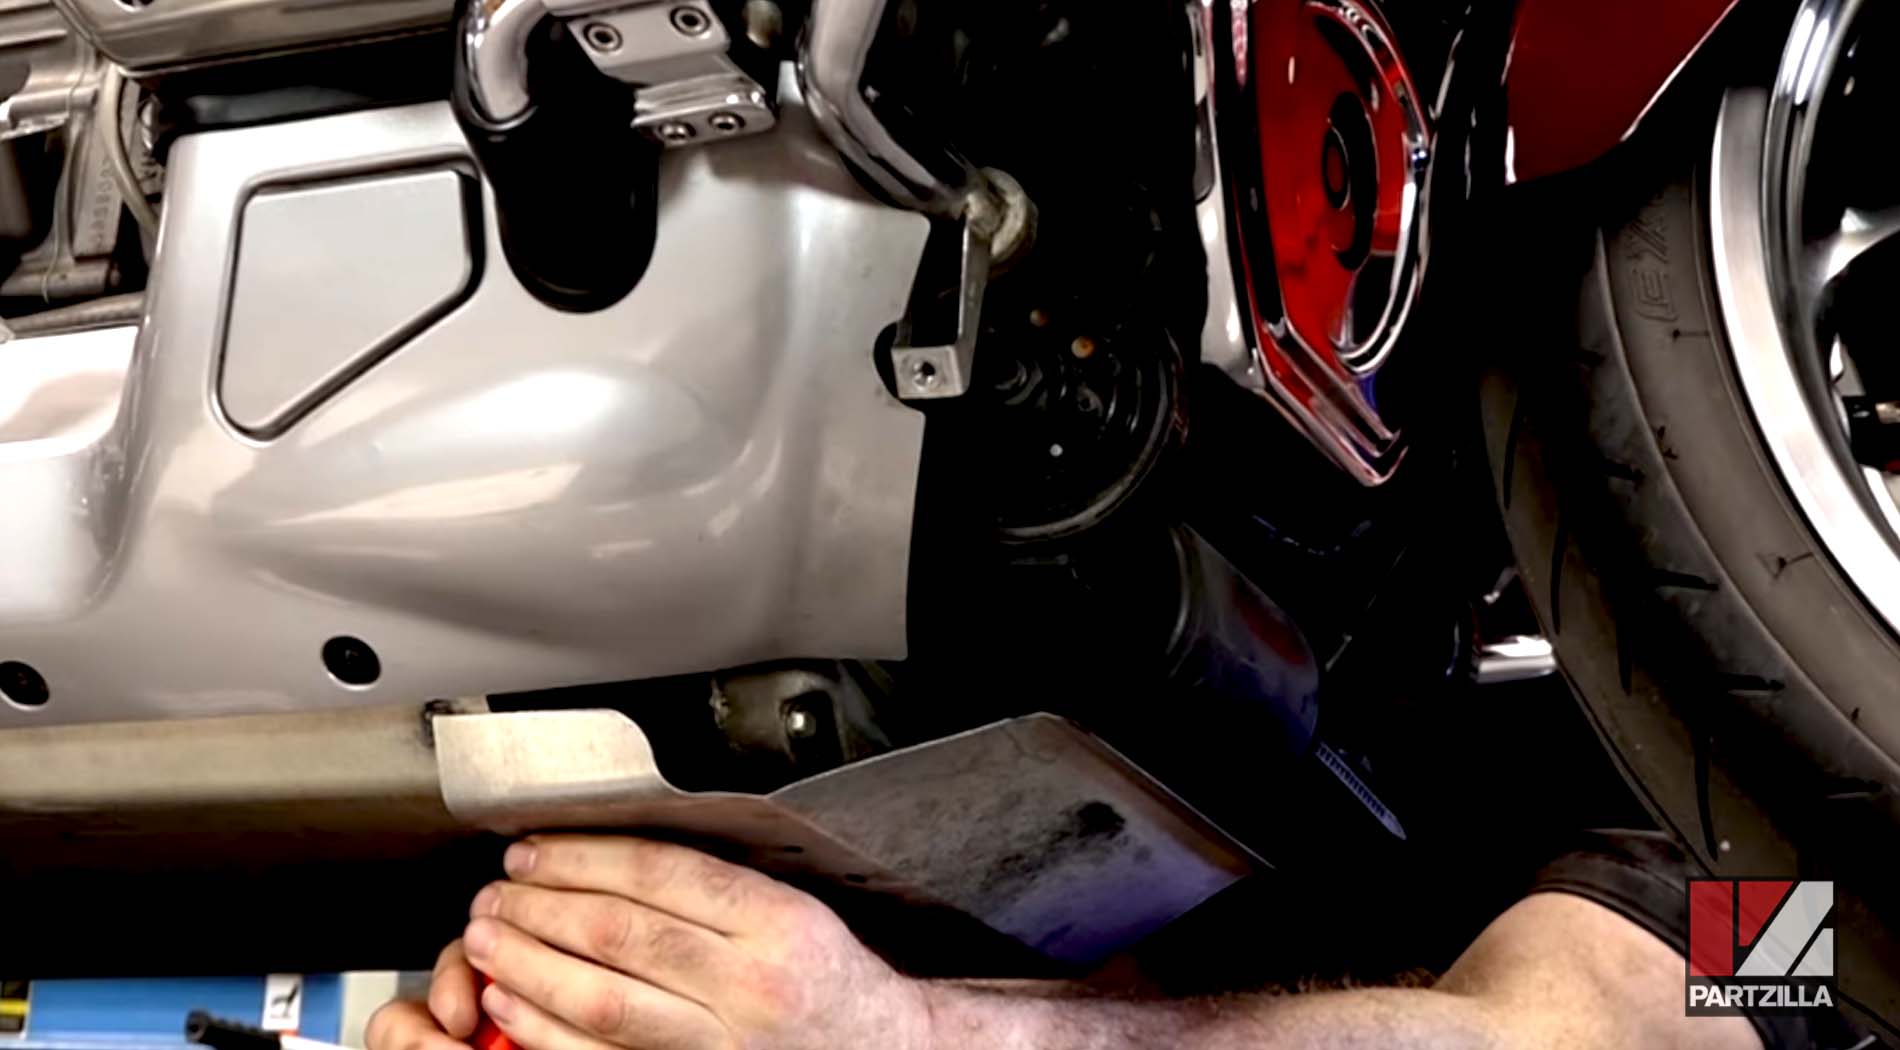
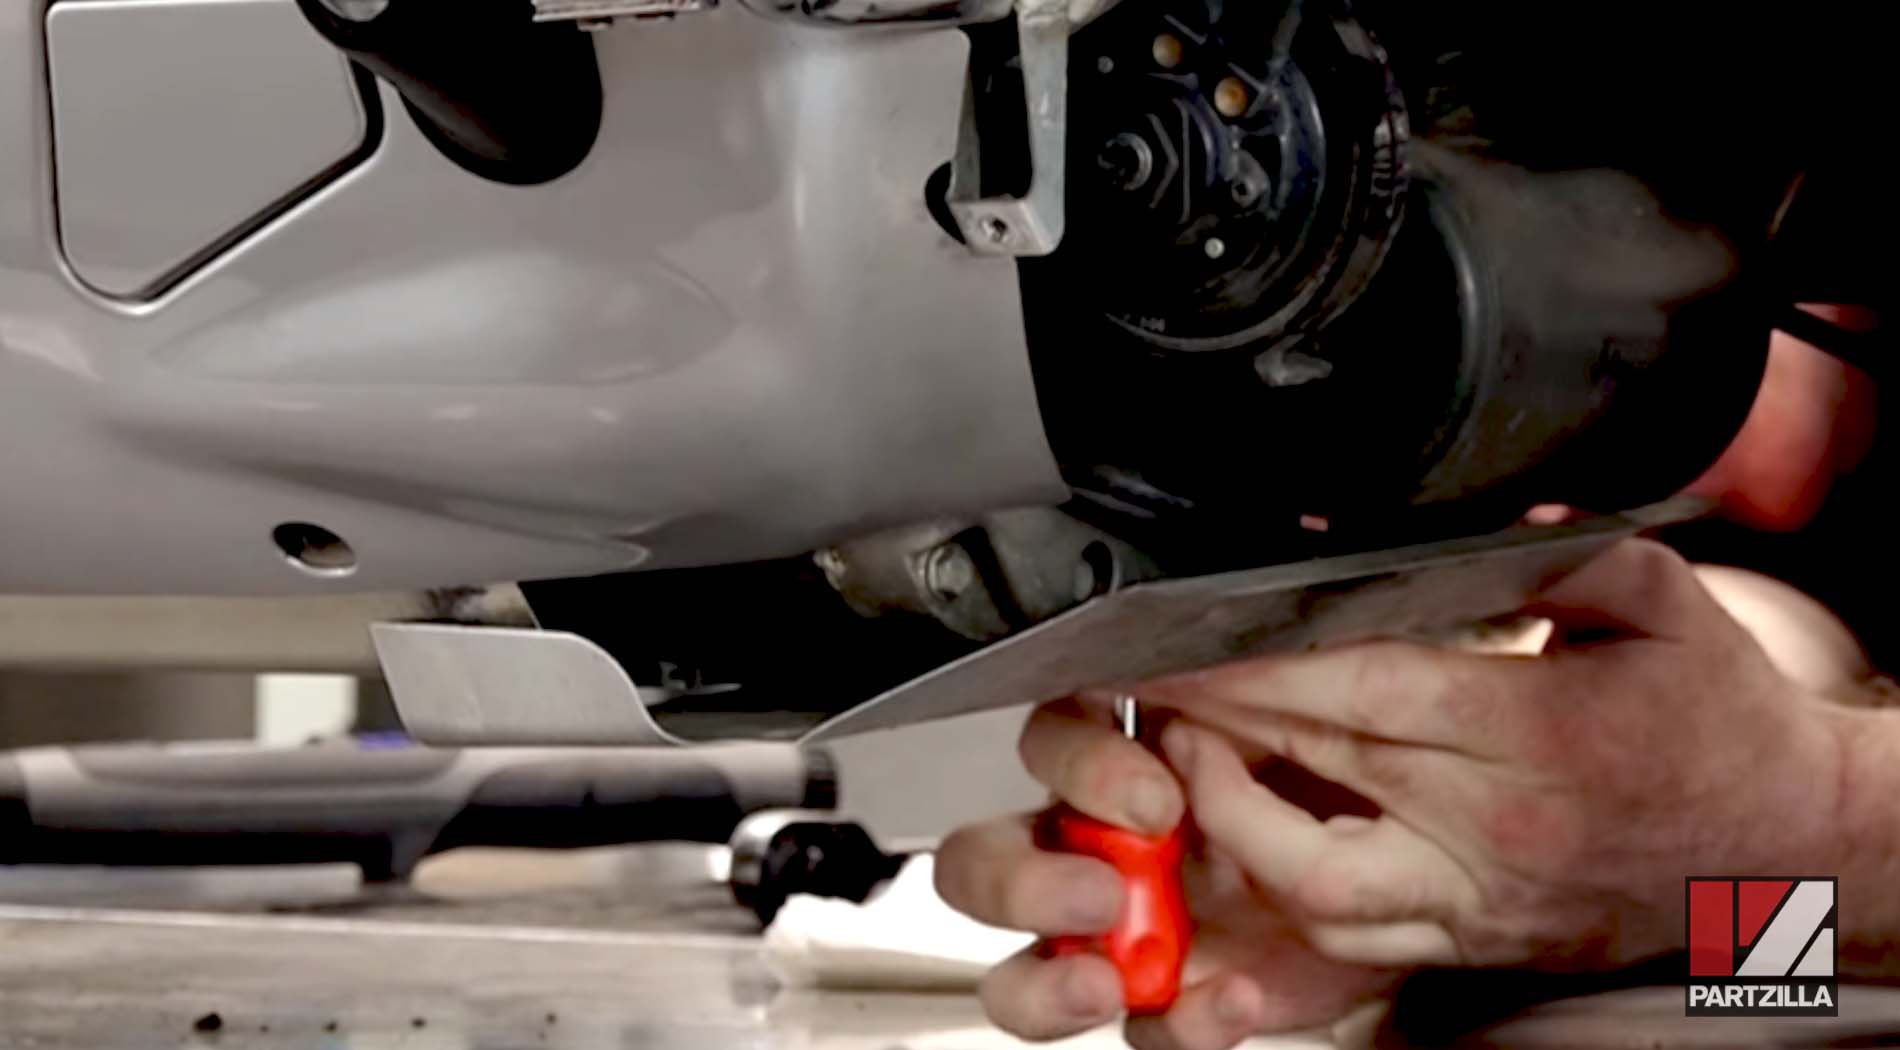
Step 3. Remove the lower cowl or fairing, which has six different Allen head screws of two different lengths.
Step 4. Remove the plastic rivets near the top of the lower cowl or fairing. There are two on each side, found in the wheel well.
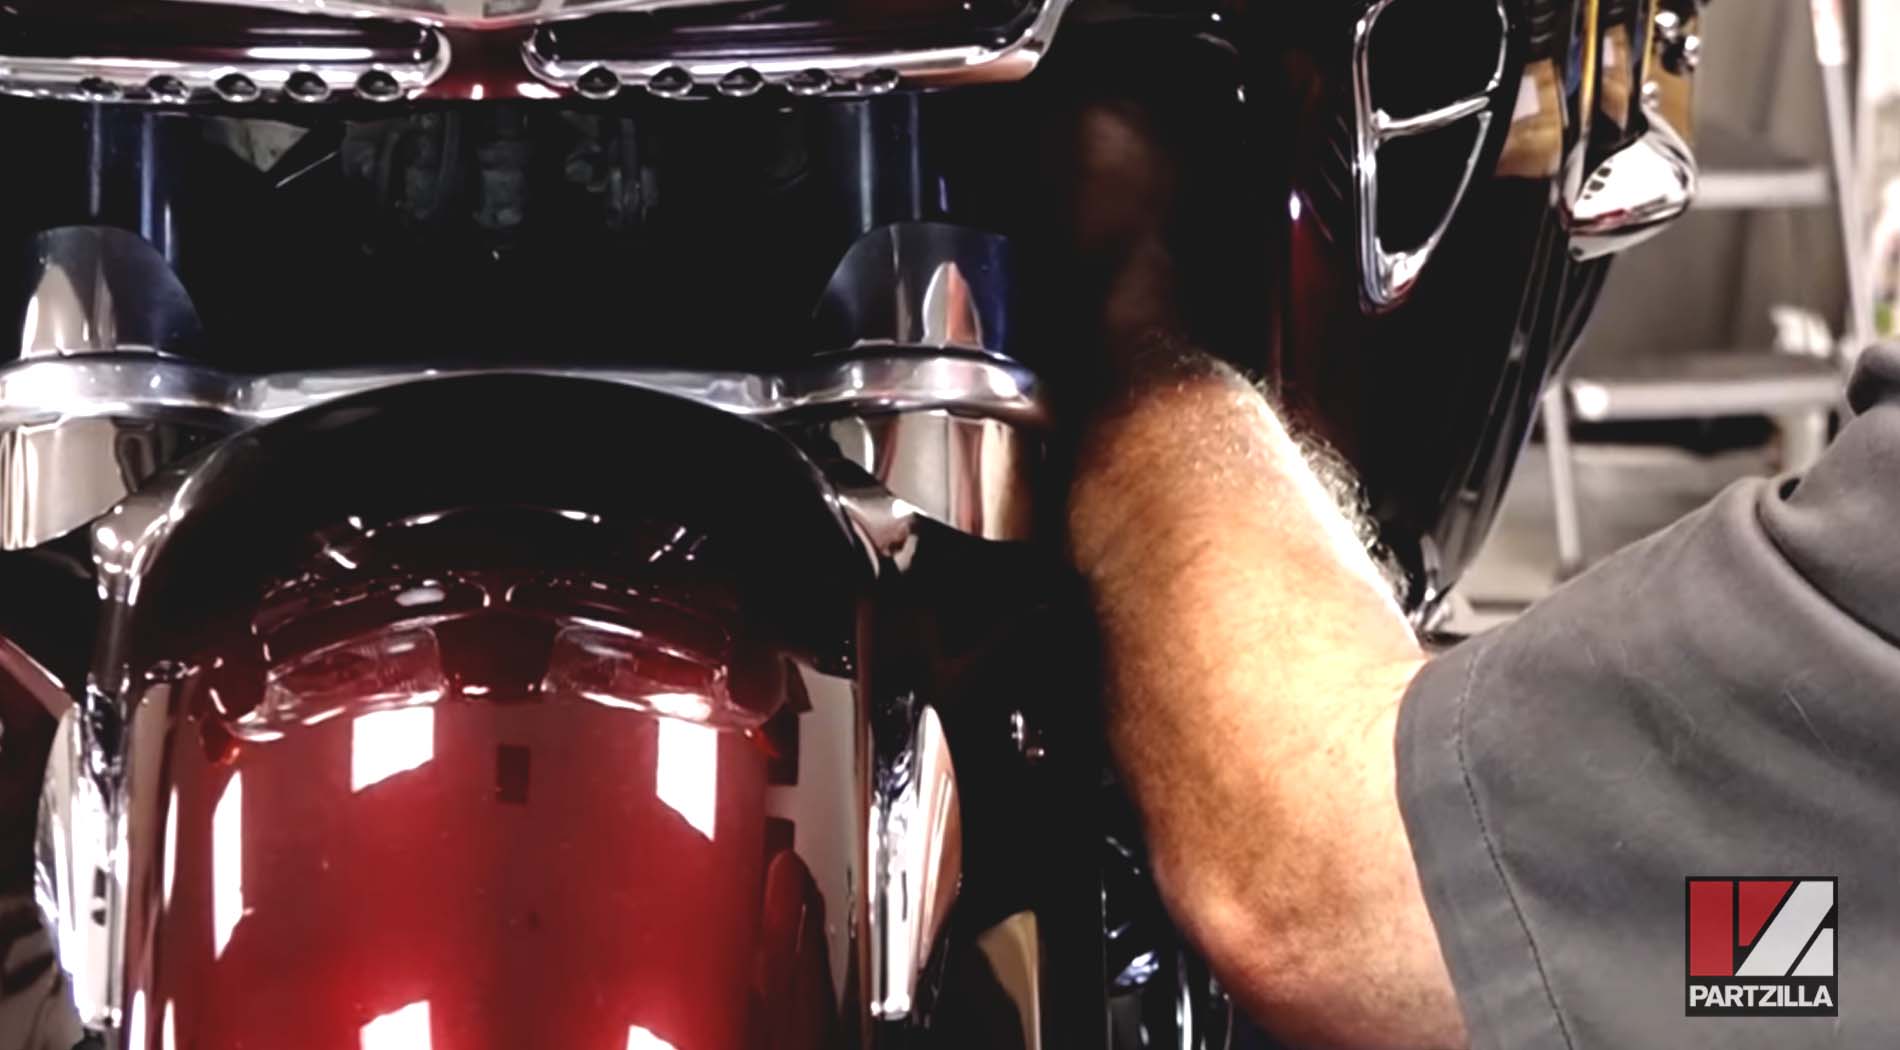
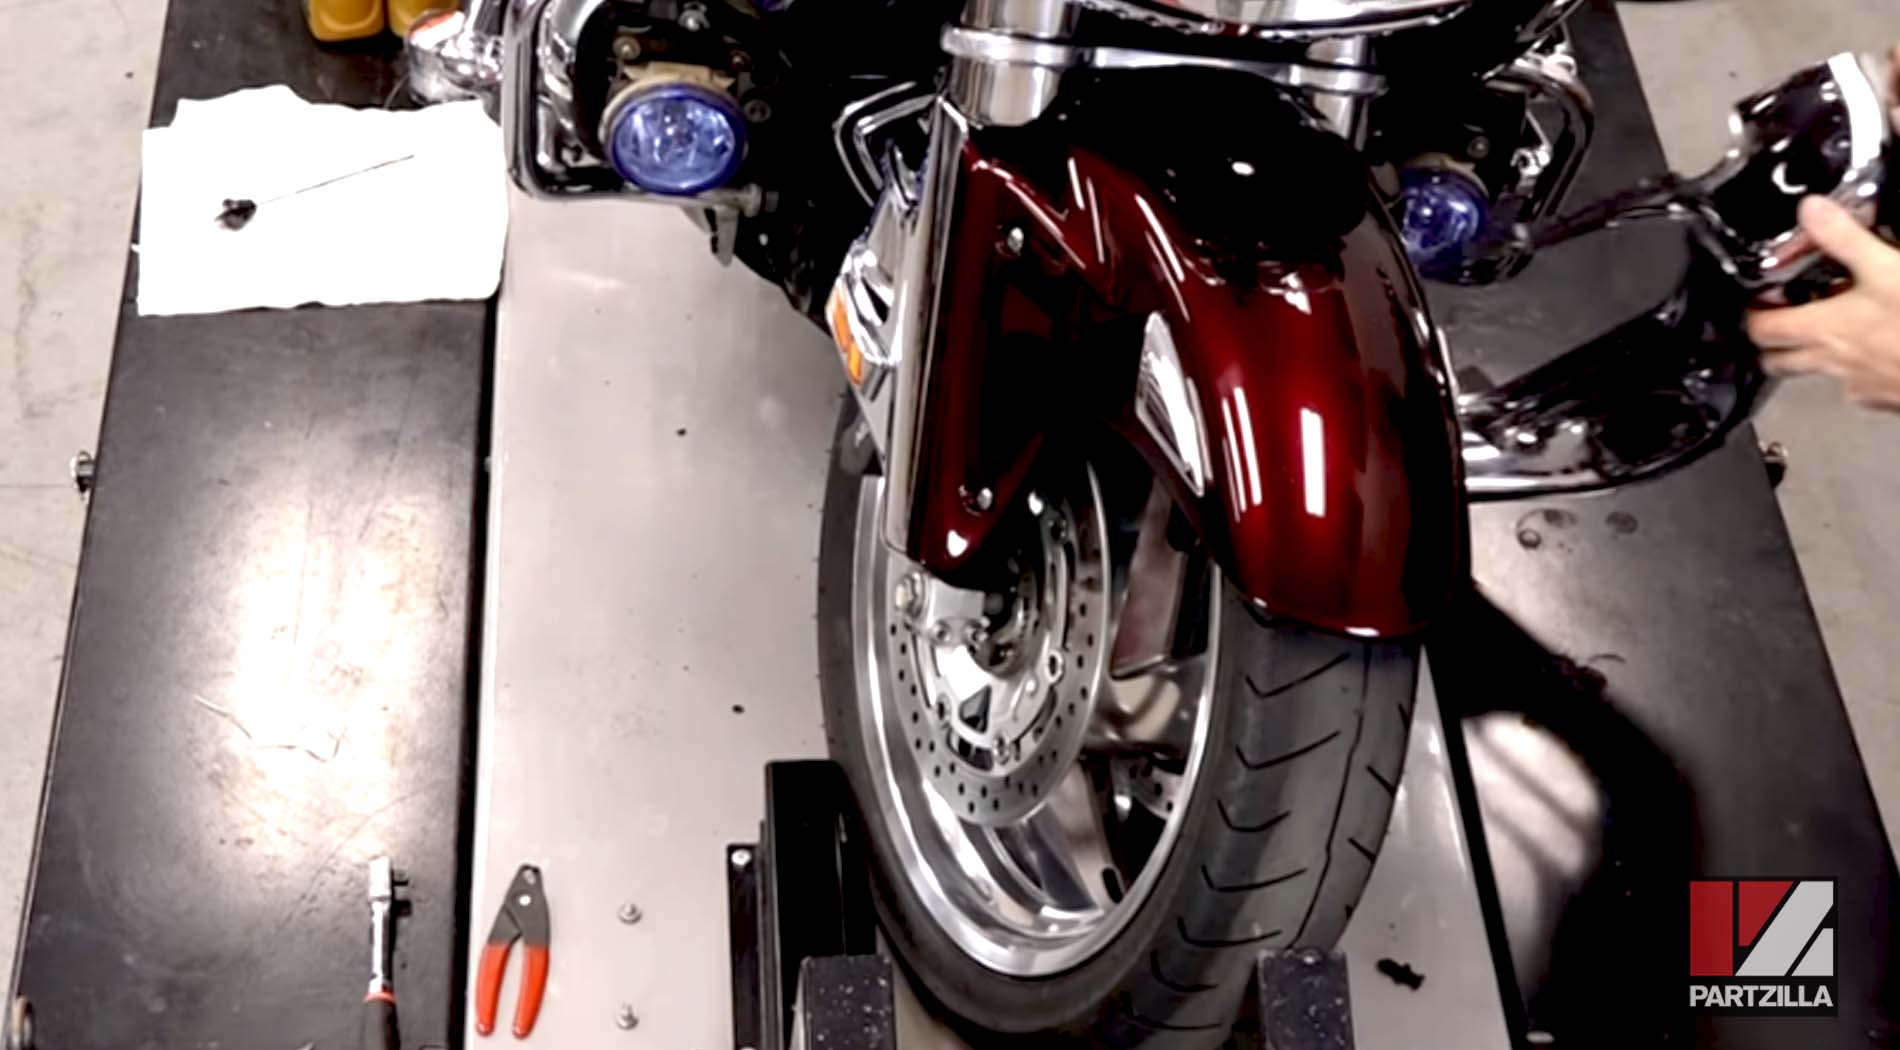
Step 5. Remove the cowl, making sure the motorcycle is on a side stand so you can turn the wheel just enough to create the clearance you need to slide it out from behind the wheel.
Step 6. Remove the aftermarket panel on the bottom if your machine has one.
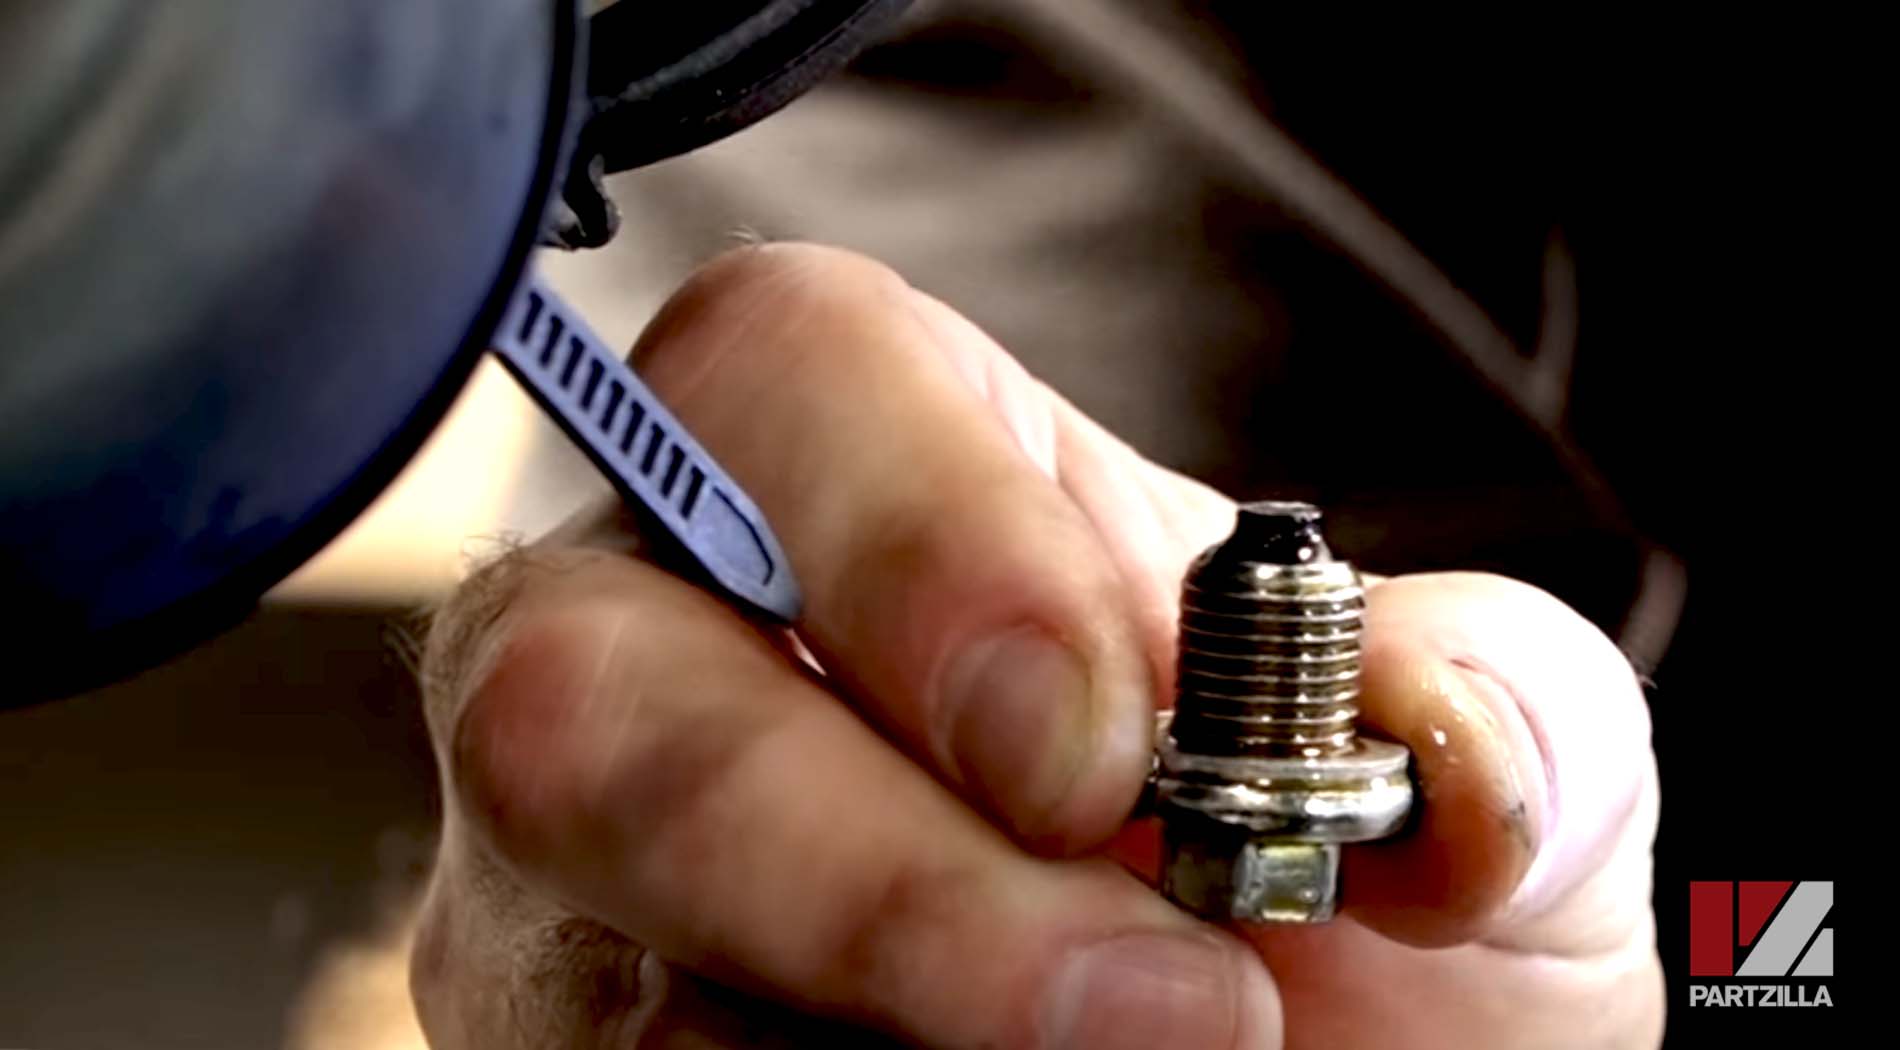
Step 7. Place a drain pan underneath and remove the drain plug.

Step 8. Inspect the end of the drain plug for any metallic engine debris and clean or replace it.
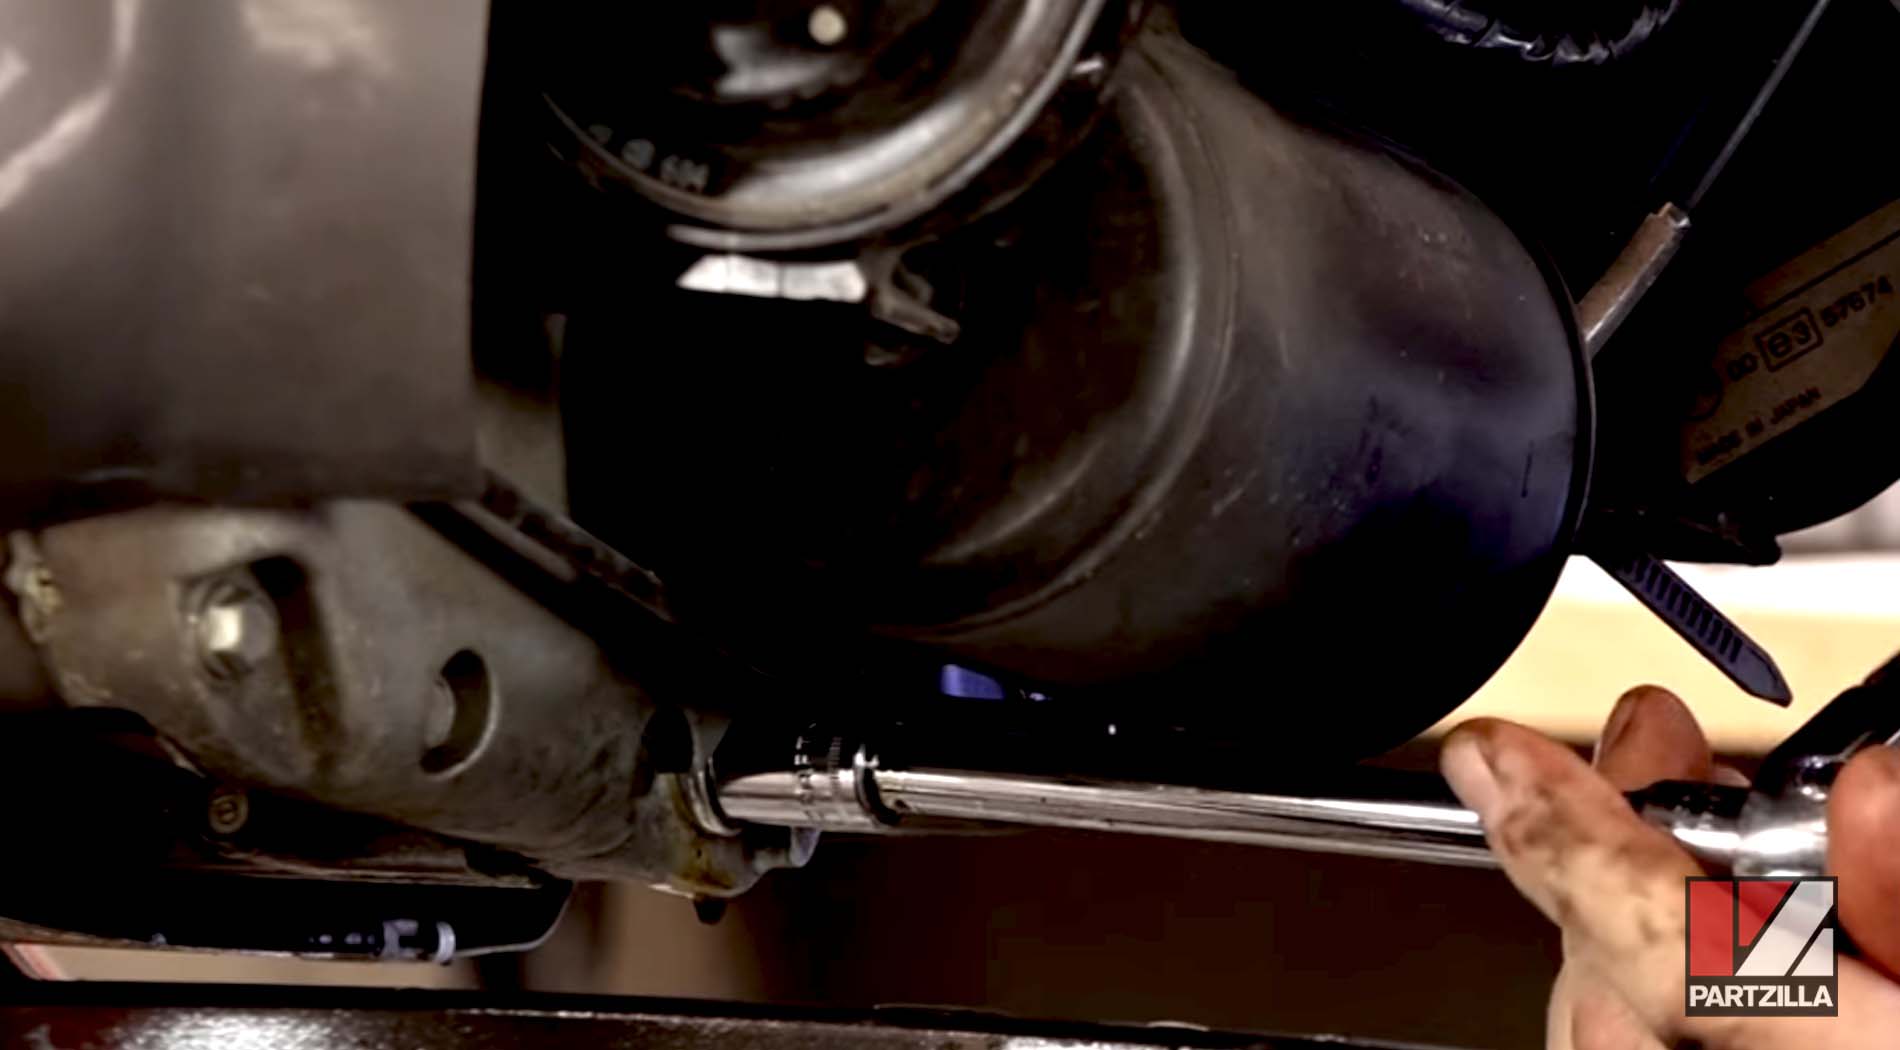
Step 9. Use an oil filter wrench to remove the oil filter, which is near the oil drain, so you don't have to change positions to get to it.
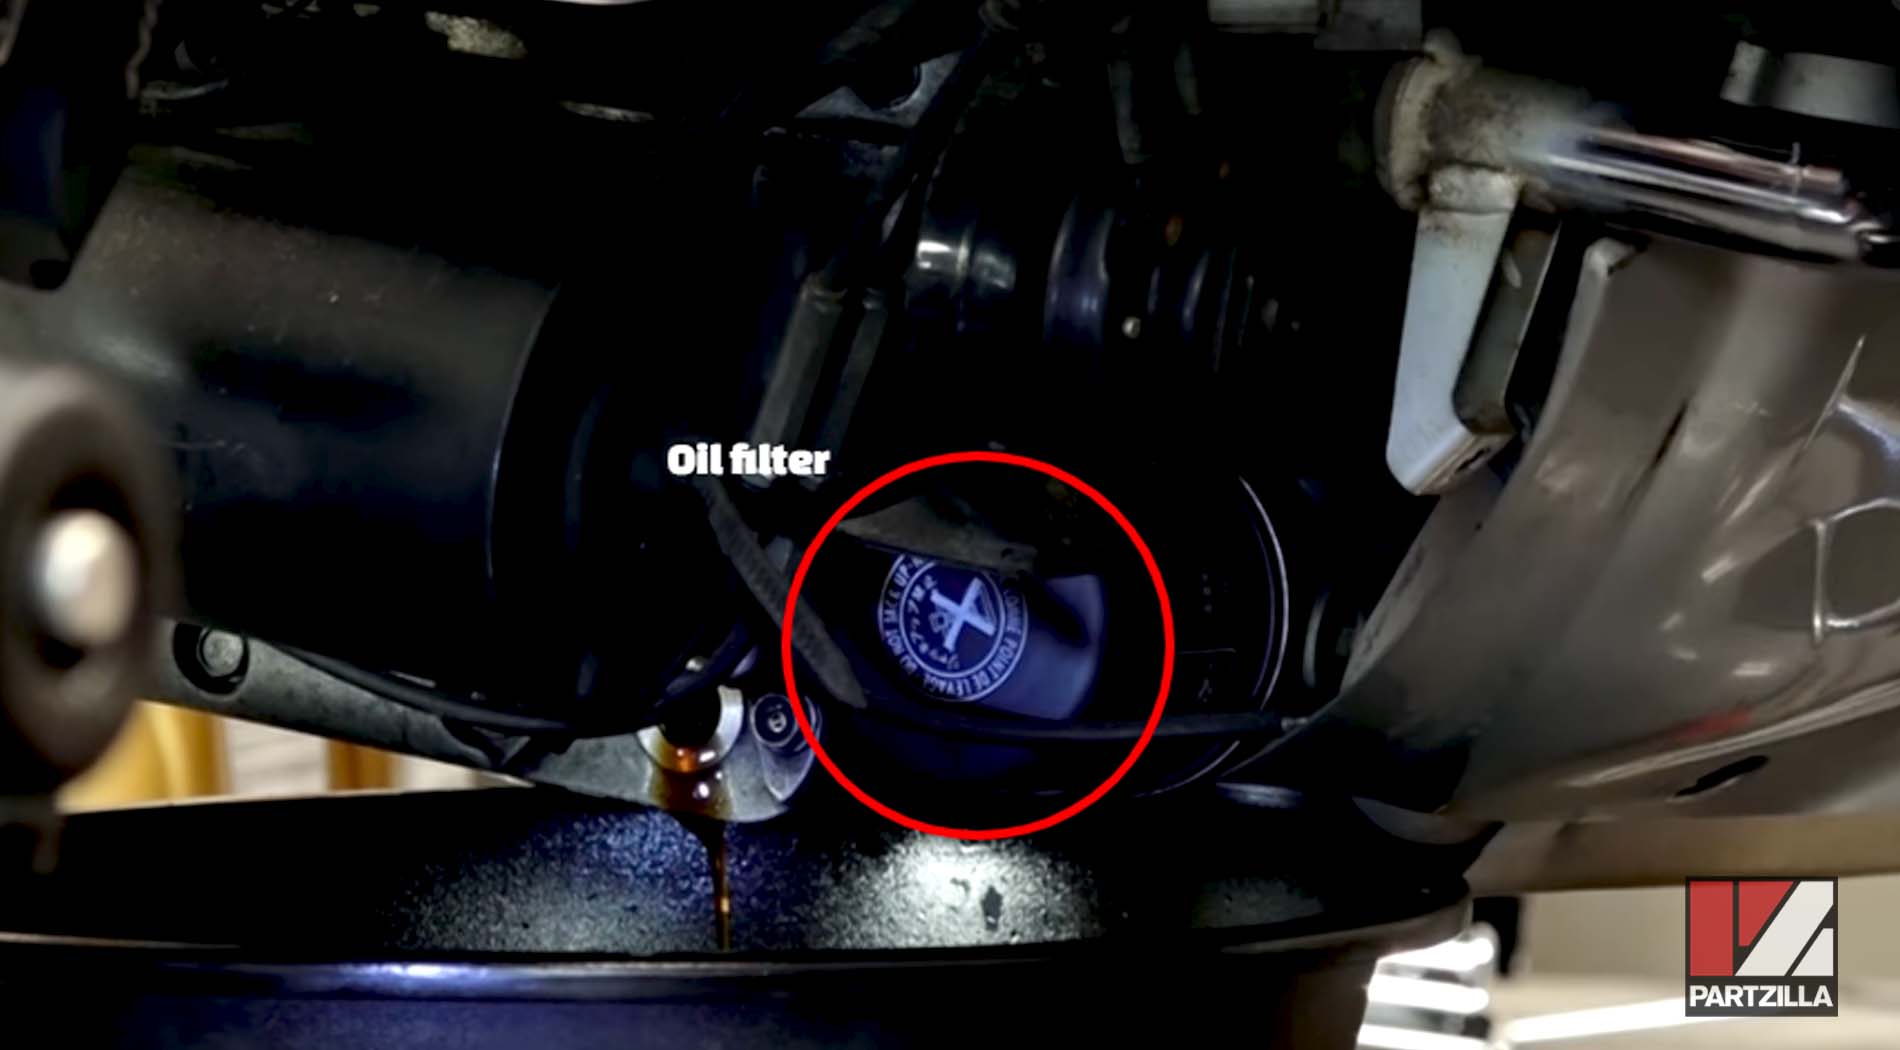
Step 10. Smear a little oil around the seal at the top of the new oil filter, then screw the filter into place and torque it to 19 foot-pounds.
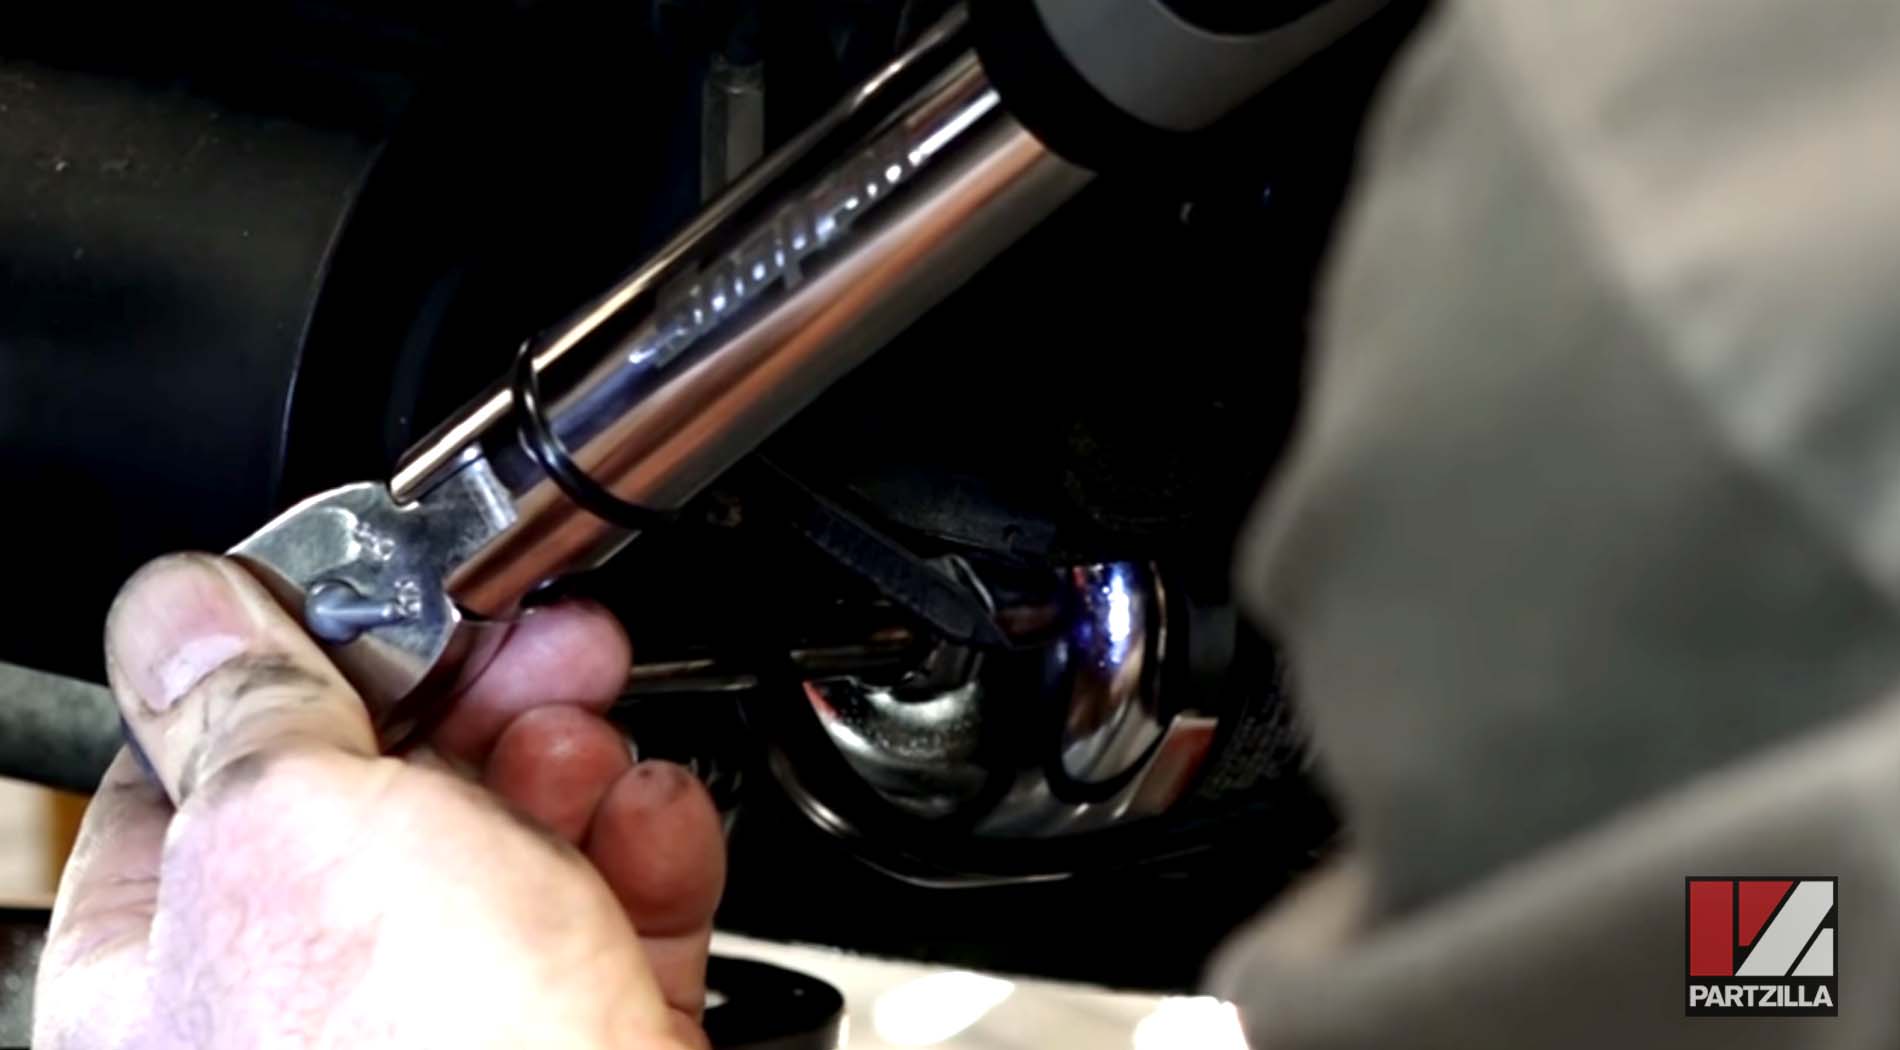
Step 11. Replace the drain plug and torque it to 25 foot-pounds.
NOTE: Don't overtighten the oil filter or the drain plug.
Step 12. Refill the engine with oil. To accurately set the level, the motorcycle needs to be straight up, so use a maintenance stand or the center stand. The engine takes about 4 quarts, so put in 3 ½ quarts, then replace the dipstick and run the machine for a minute to move the oil around in the motor and set the level.
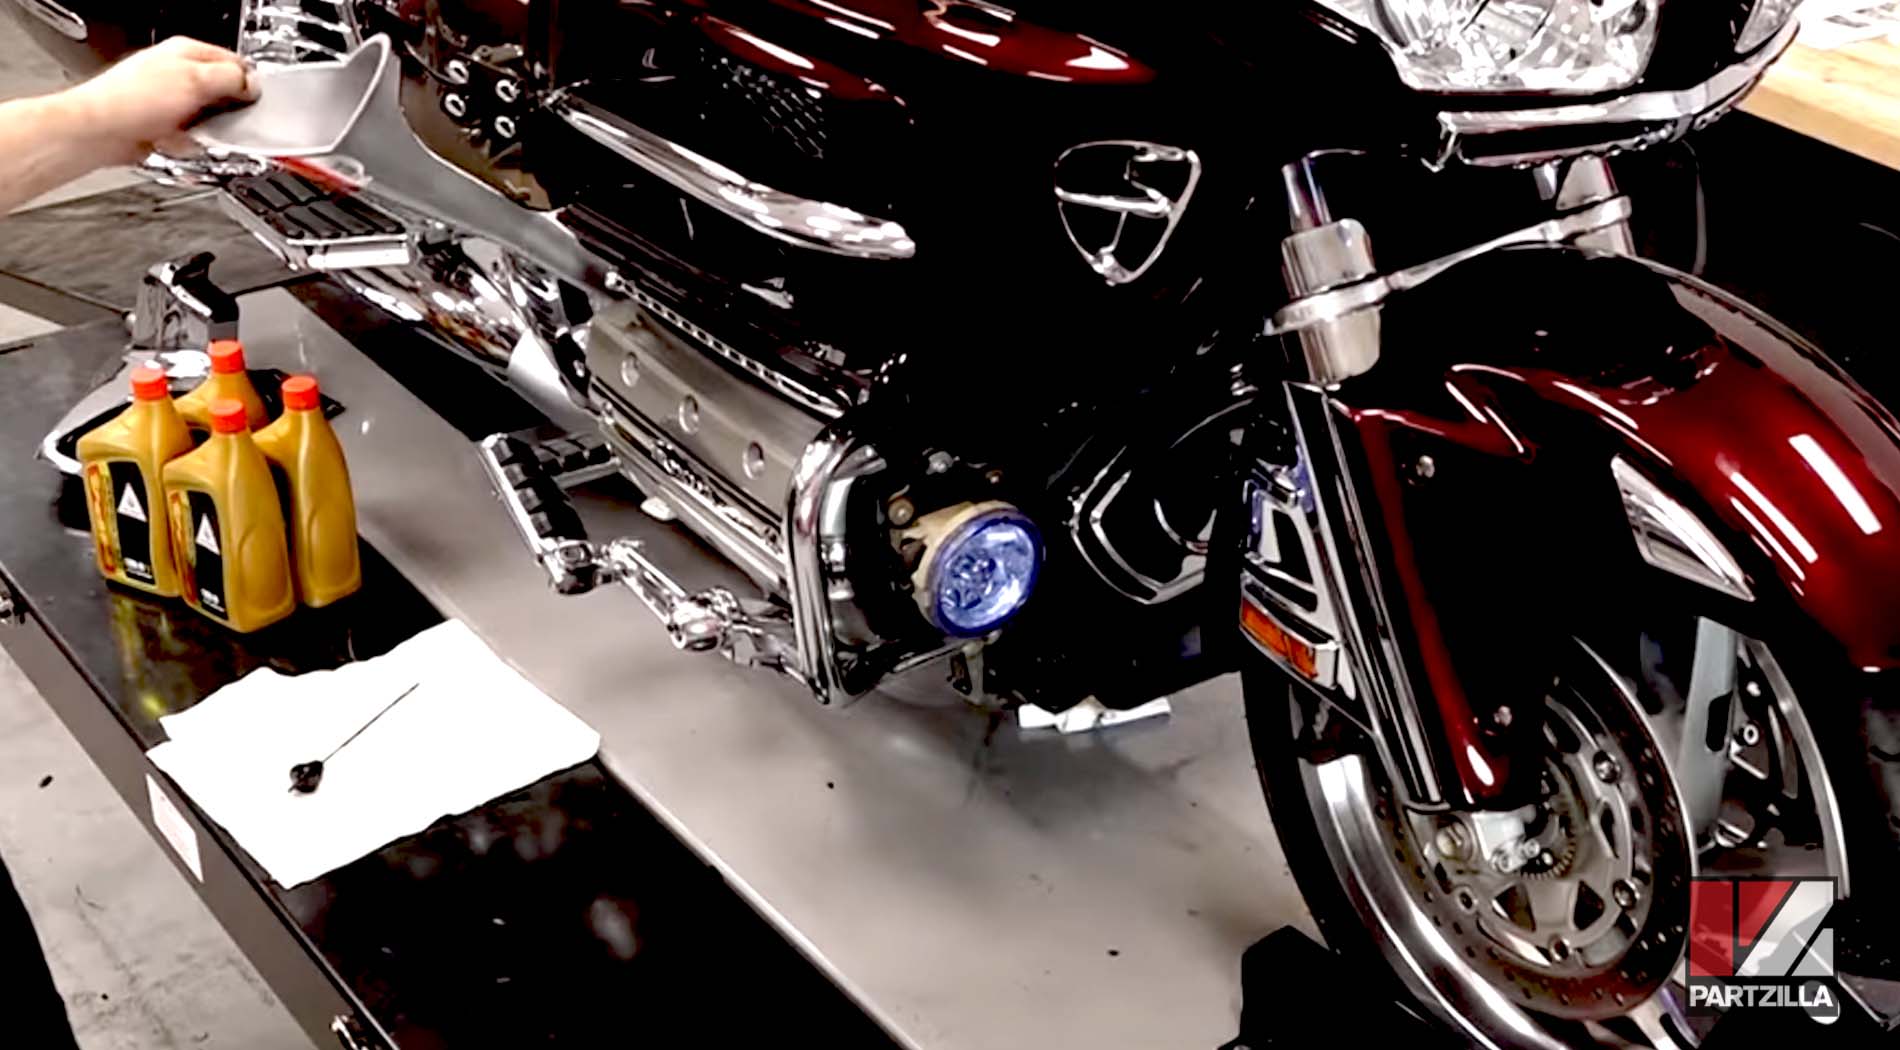
NOTE: We used Honda HP4 10W40 oil since we're in a warmer climate, but if you're riding in cooler weather, you may want to choose a 30-weight oil. Use a synthetic oil without moly in it.
Step 13. Remove the dipstick, then clean it and insert it without screwing it in. If your machine is a little low on oil, add a little more oil to get to the middle of the range on the dipstick.

Step 14. Replace the lower aftermarket plate on your machine if it has one.
Step 15. Get the motorcycle back on the side stand so you can cut the front wheel and reinstall that lower cowl/fairing and you're done.

After changing the oil in your Honda Goldwing GL1800 motorcycle, why not change out the air filter next? Watch the video below to see how to change the air filter in a Honda Goldwing.