Honda CRF450R Carburetor Clean
Dirt bikes are supposed to get dirty, hence the name. However, the carburetor on a dirt bike like the Honda CRF 450R doesn't handle the grime well.
A little bit of dirt can foul up the carb of your Honda motorcycle and kill its performance. Knowing how to clean the carburetor on a Honda CRF450R is a simple "do it yourself" task that's essential to maintenance. Watch the video above and follow the steps below to learn how to clean the carburetor on a Honda CRF450R.
Tools and Parts - Honda CRF450 Carburetor Cleaning
- 3/8th ratchet and extensions
- 8mm, 10mm, 12mm sockets
- 3mm, 4mm Allens
- 10mm, 12mm wrenches
- Screwdrivers
- Pliers
- Complete Honda CRF450R carb kit
- Individual Honda CRF450R carb parts
- Contact cleaner
- Carb cleaner
NOTE: The parts you'll need will depend on the condition of the carburetor. If the carb has been well maintained over the years, you may only need a can of carb cleaner and a couple of individual parts. However, if the carb has been neglected, you may need a complete carburetor parts kit.

How to Clean a CRF450 Carburetor
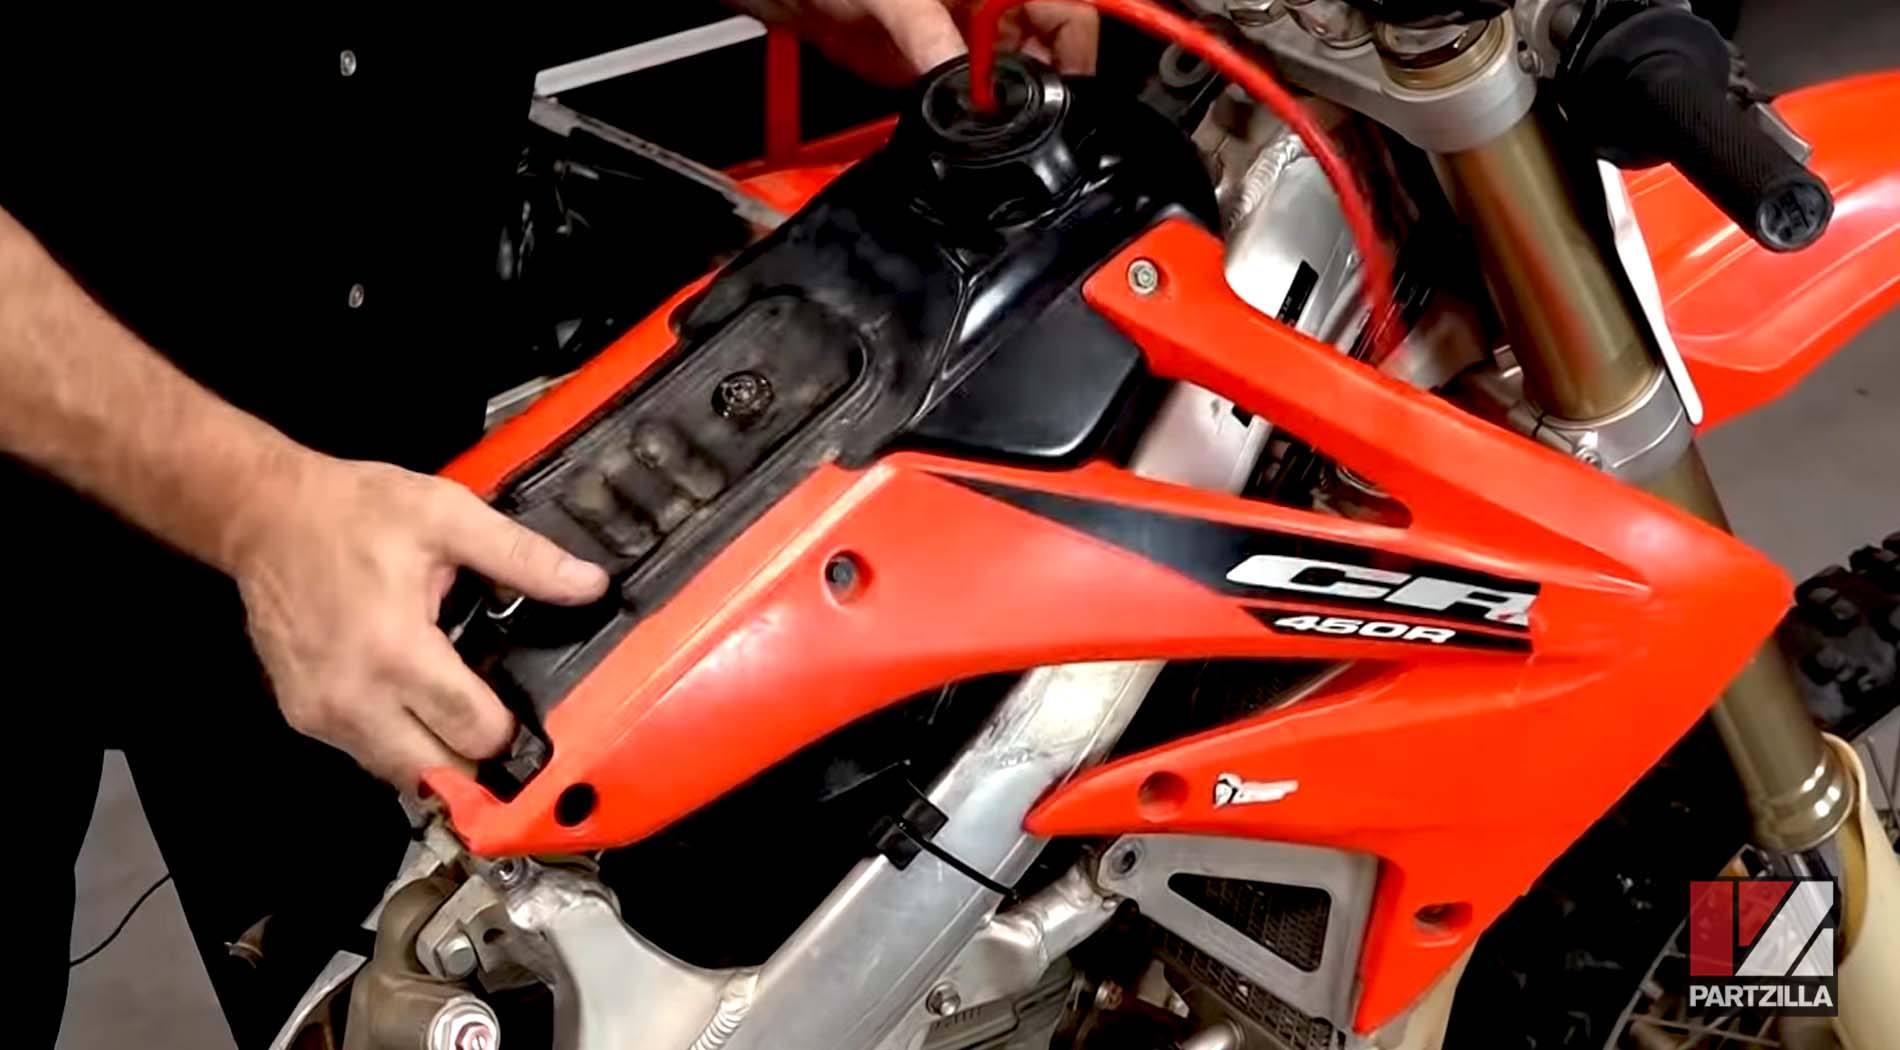
Step 1. Remove the seat, side covers and engine shroud.
PRO TIP: With the seat and shroud removed, now is an ideal time to replace the spark plug.
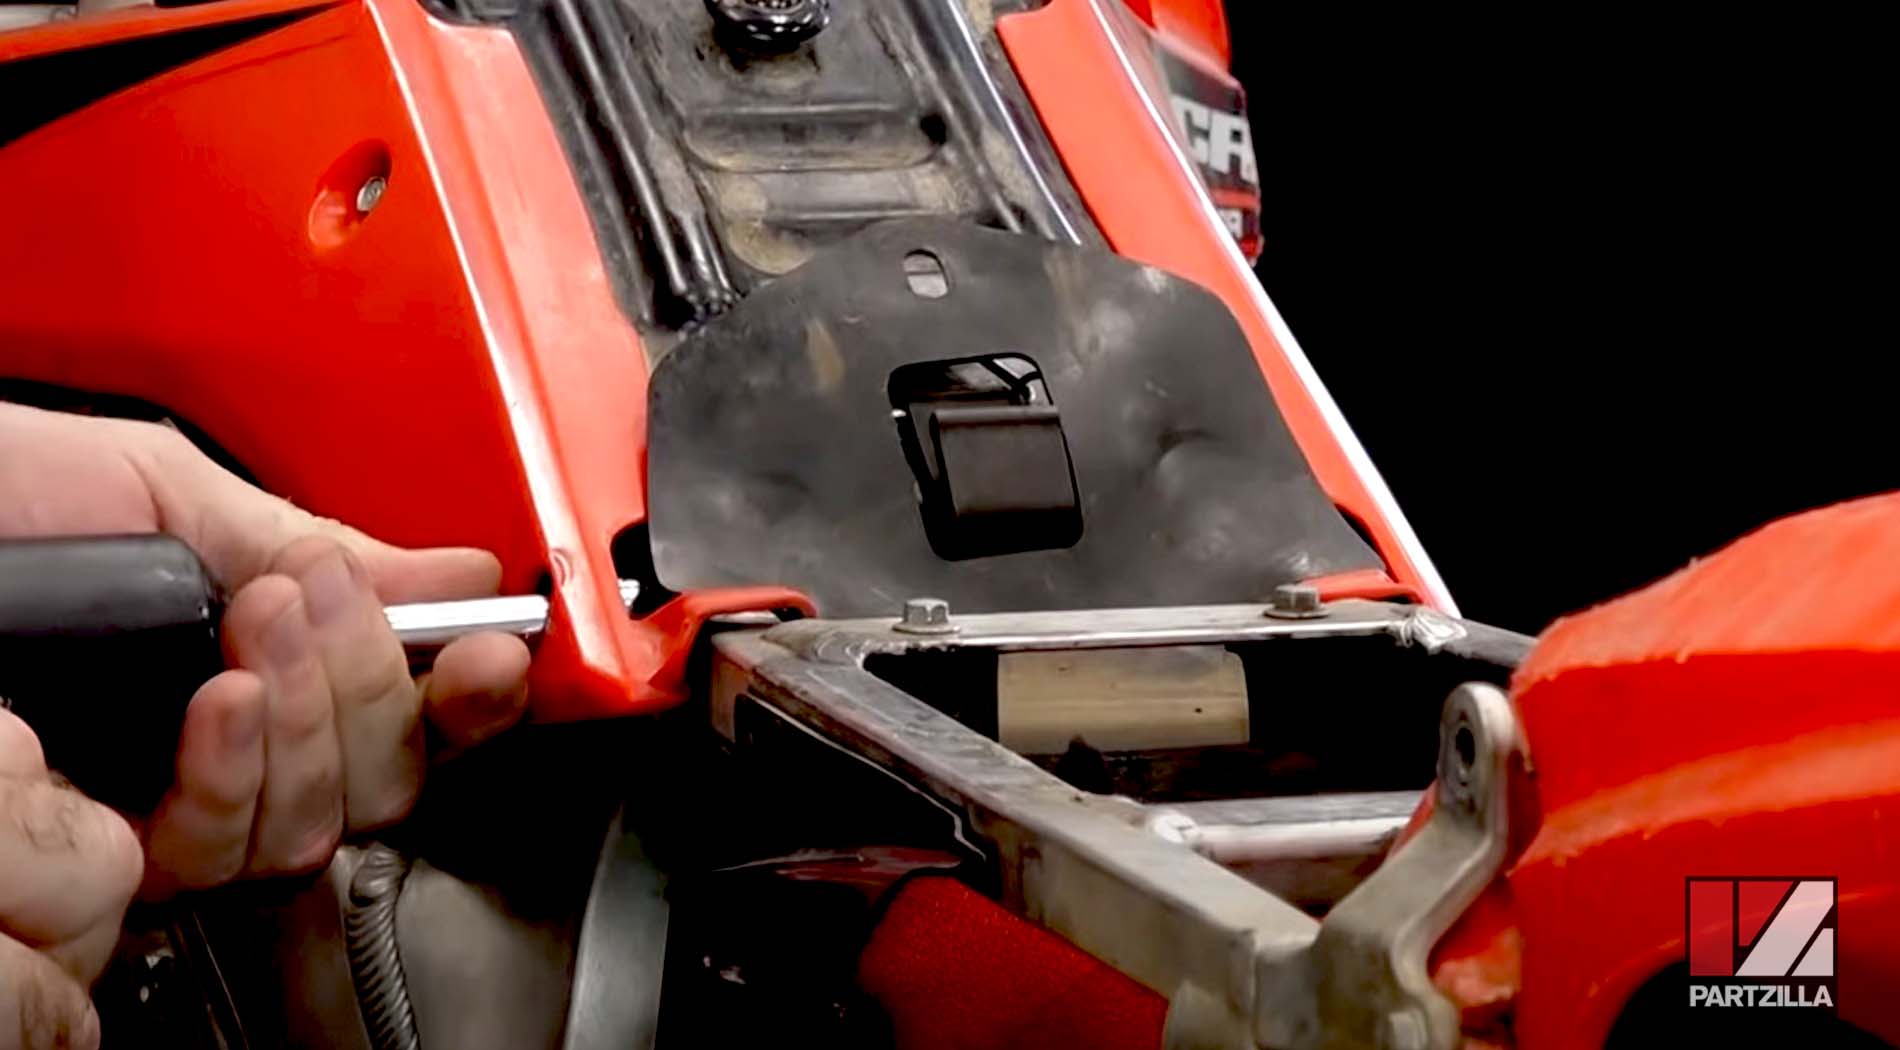
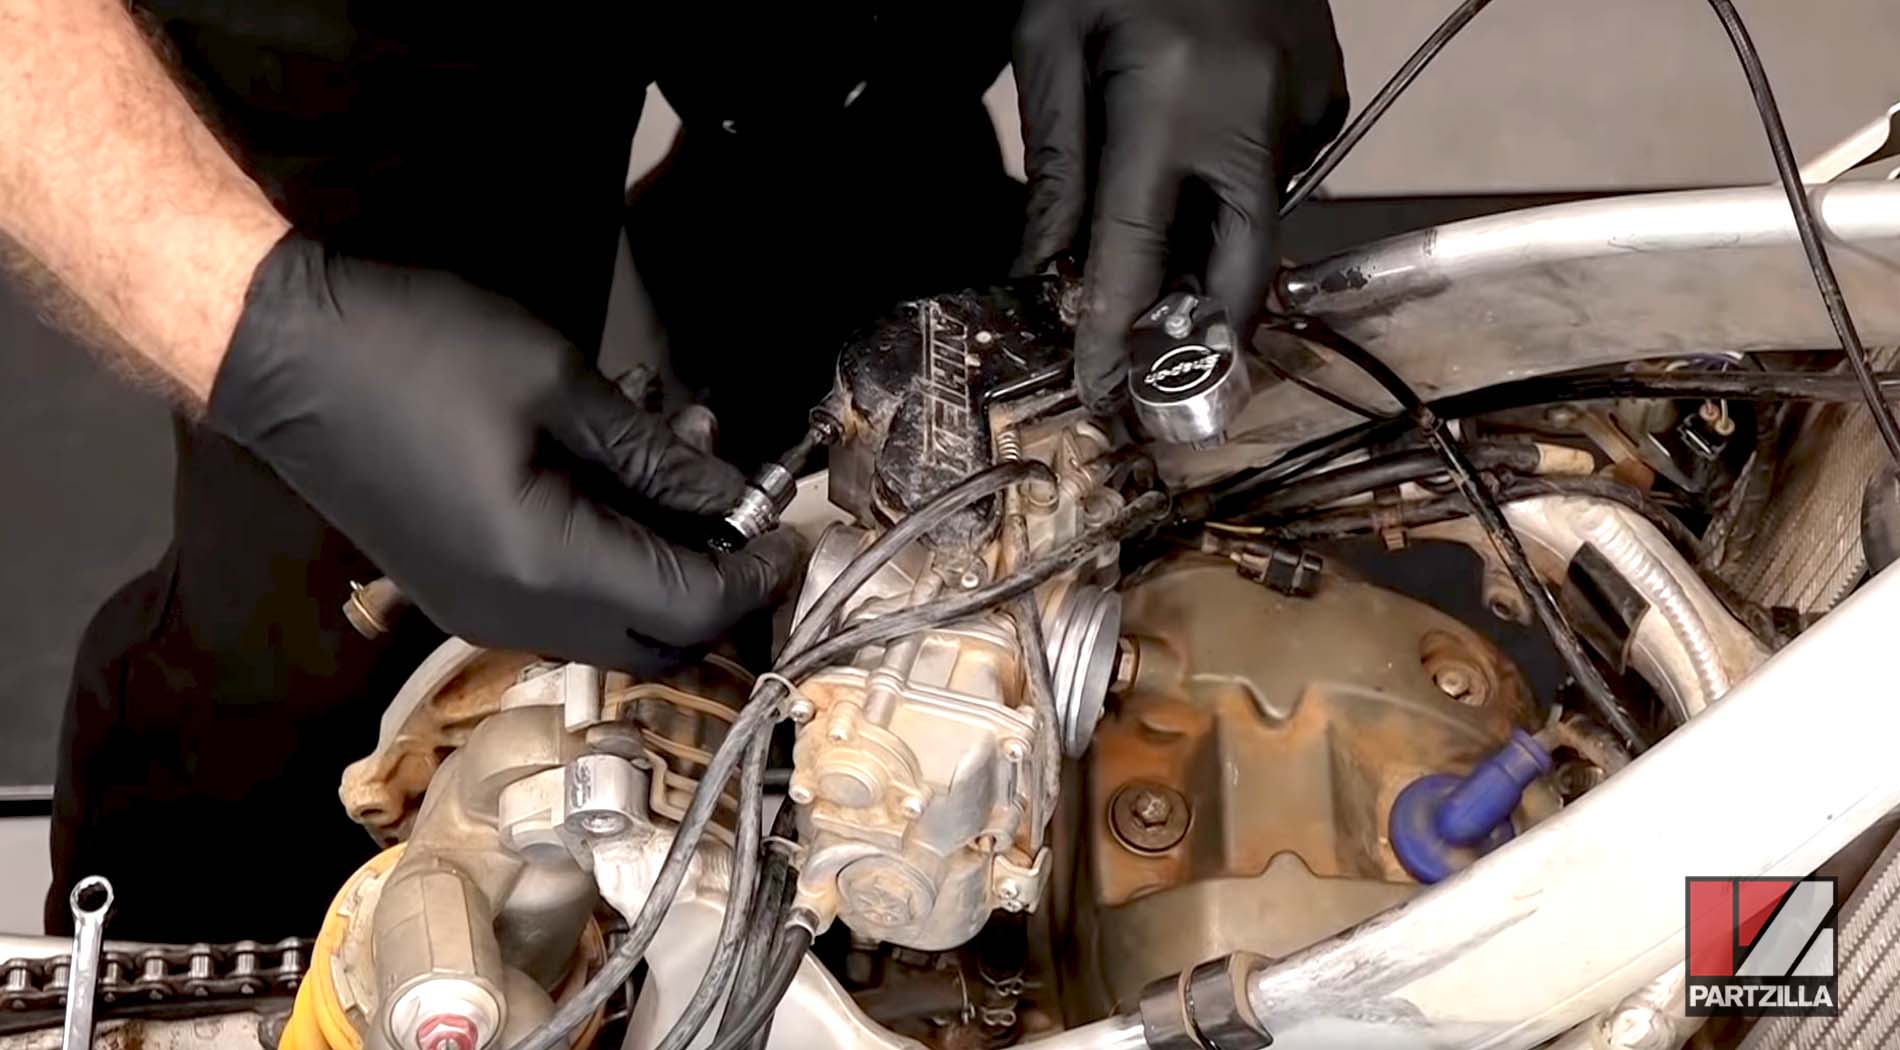
Step 2. Remove the six bolts securing the rear subframe. Next, loosen the clip on the air intake and remove the rear subframe, complete with the air filter housing.
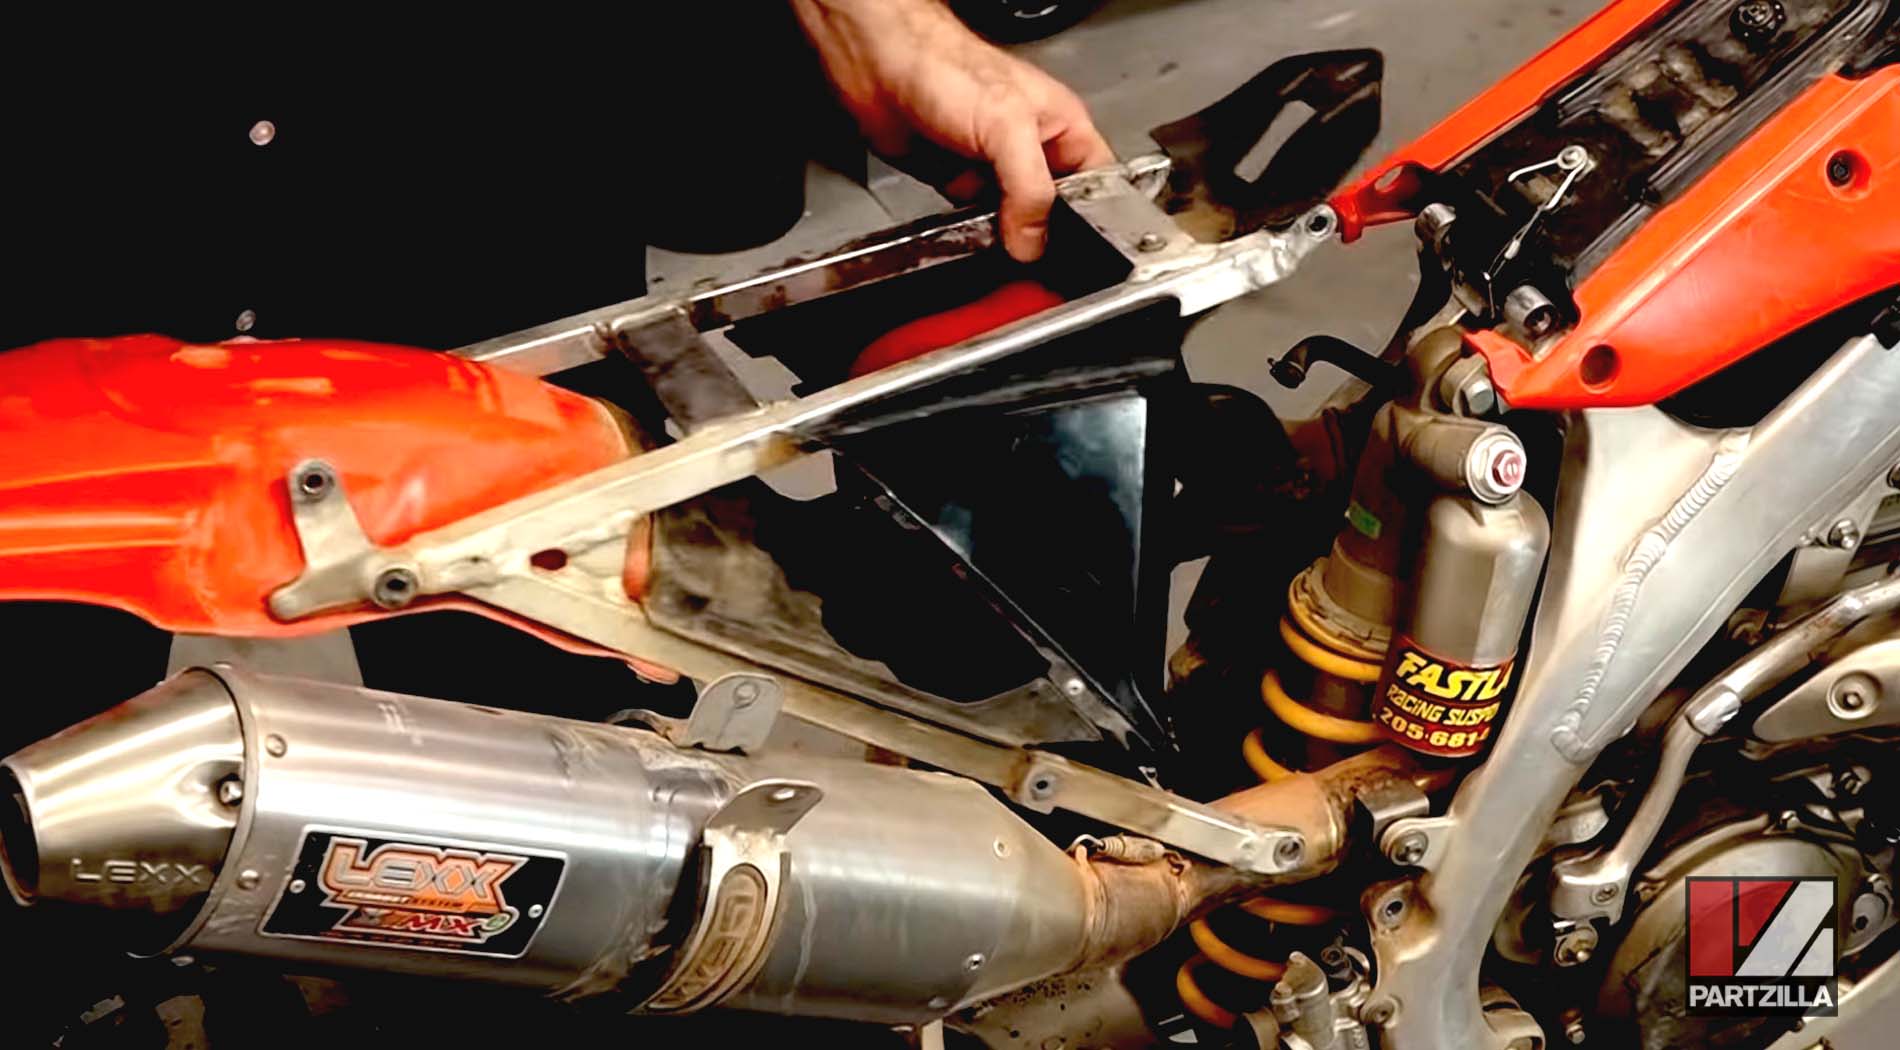
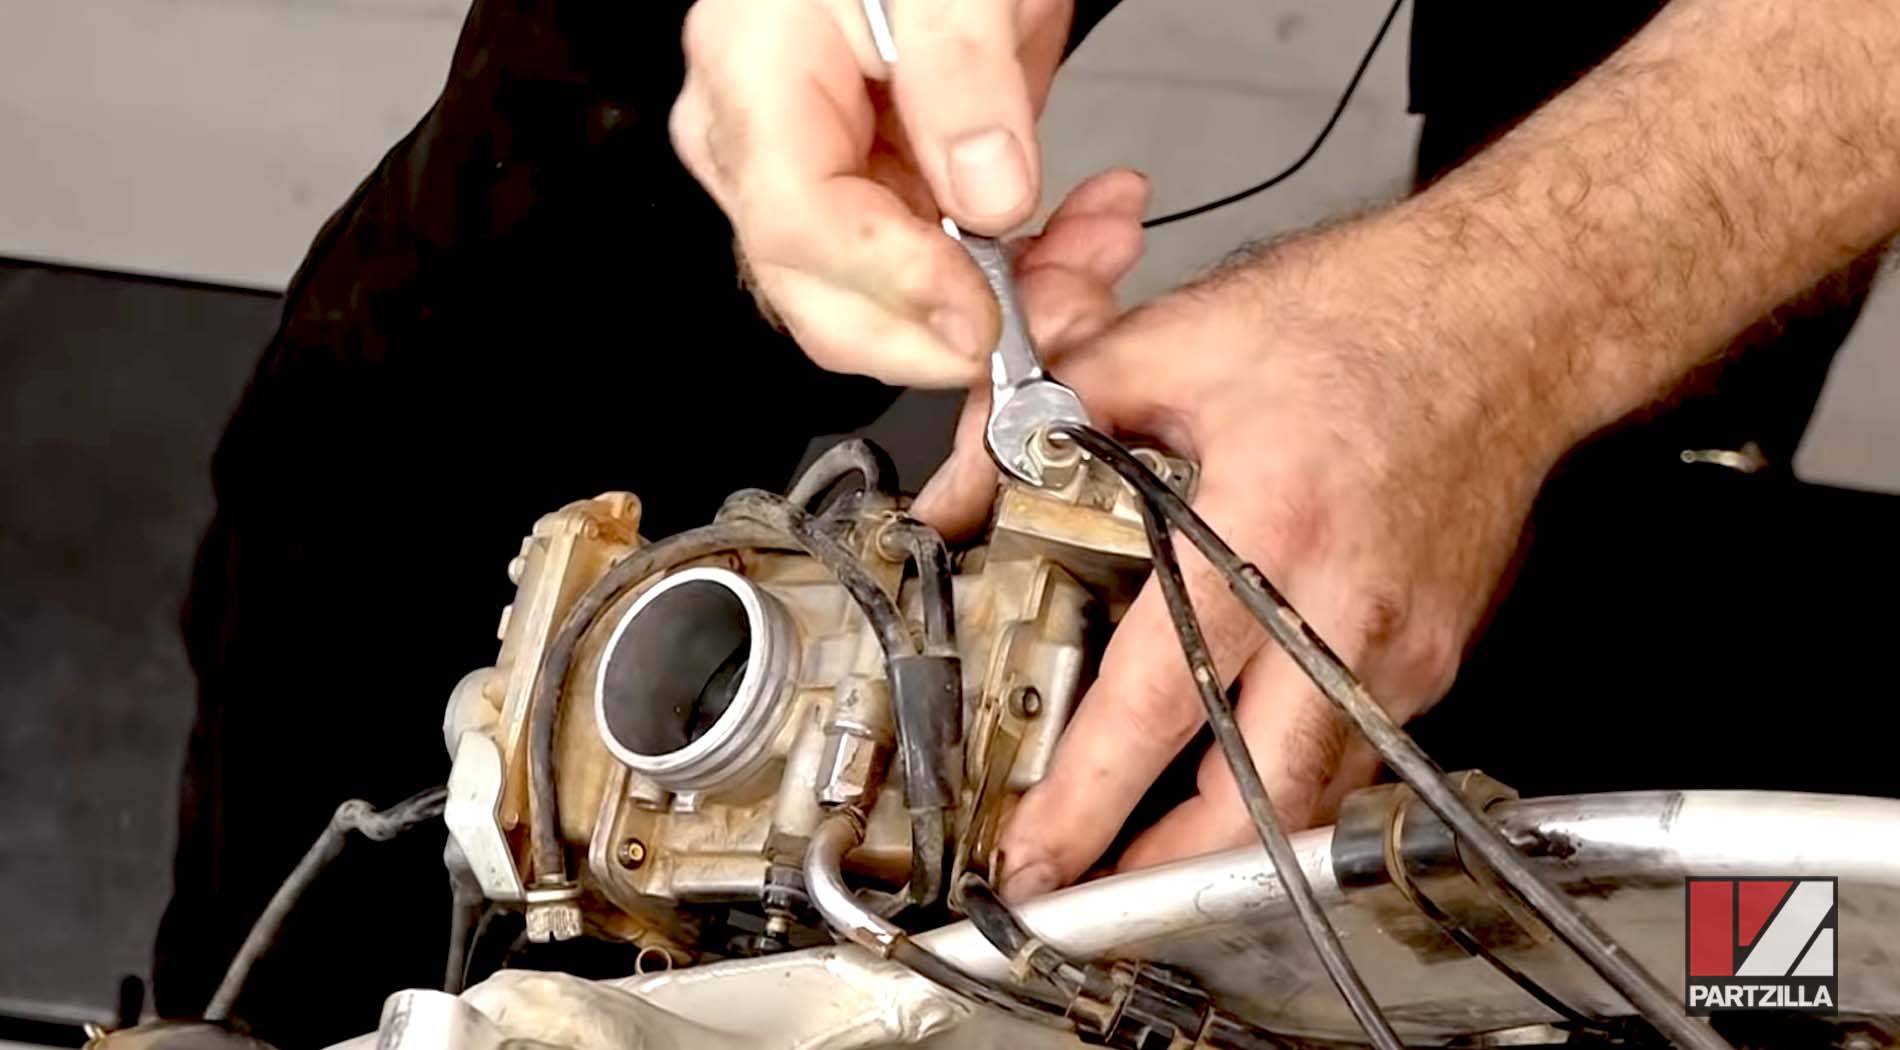
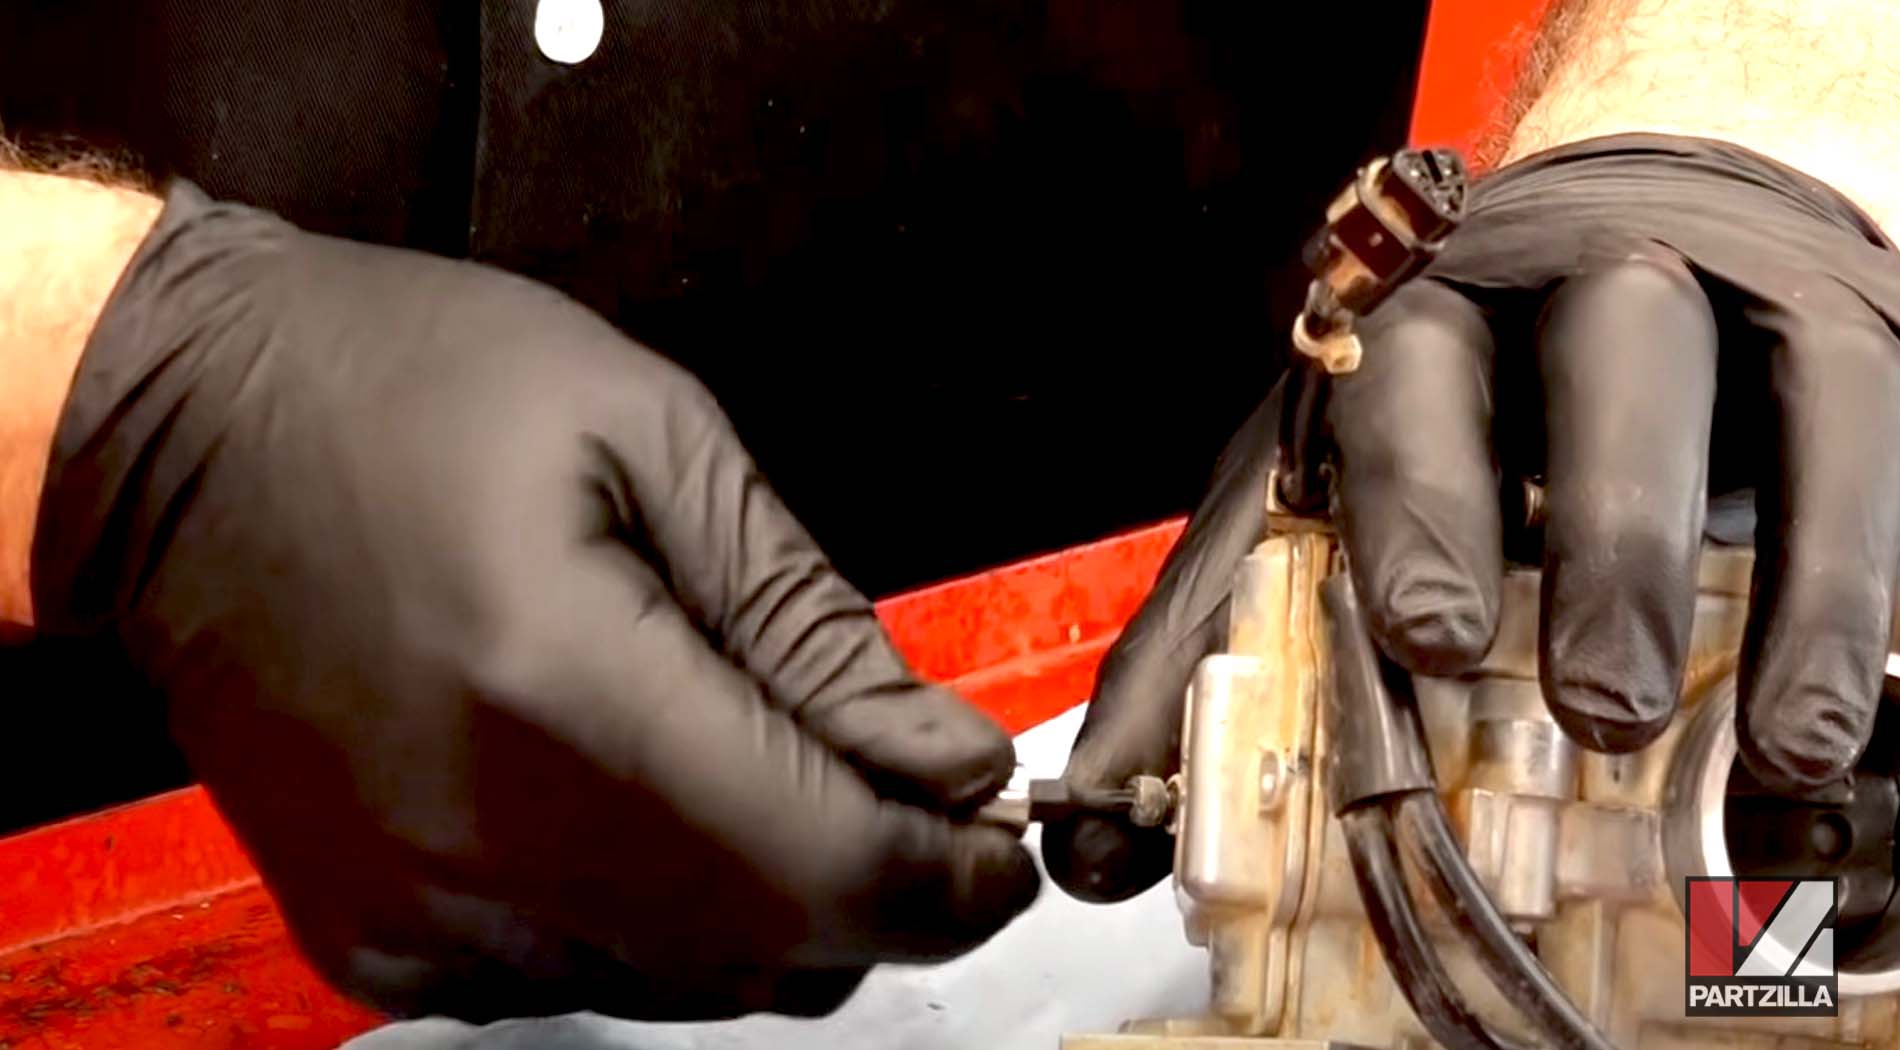
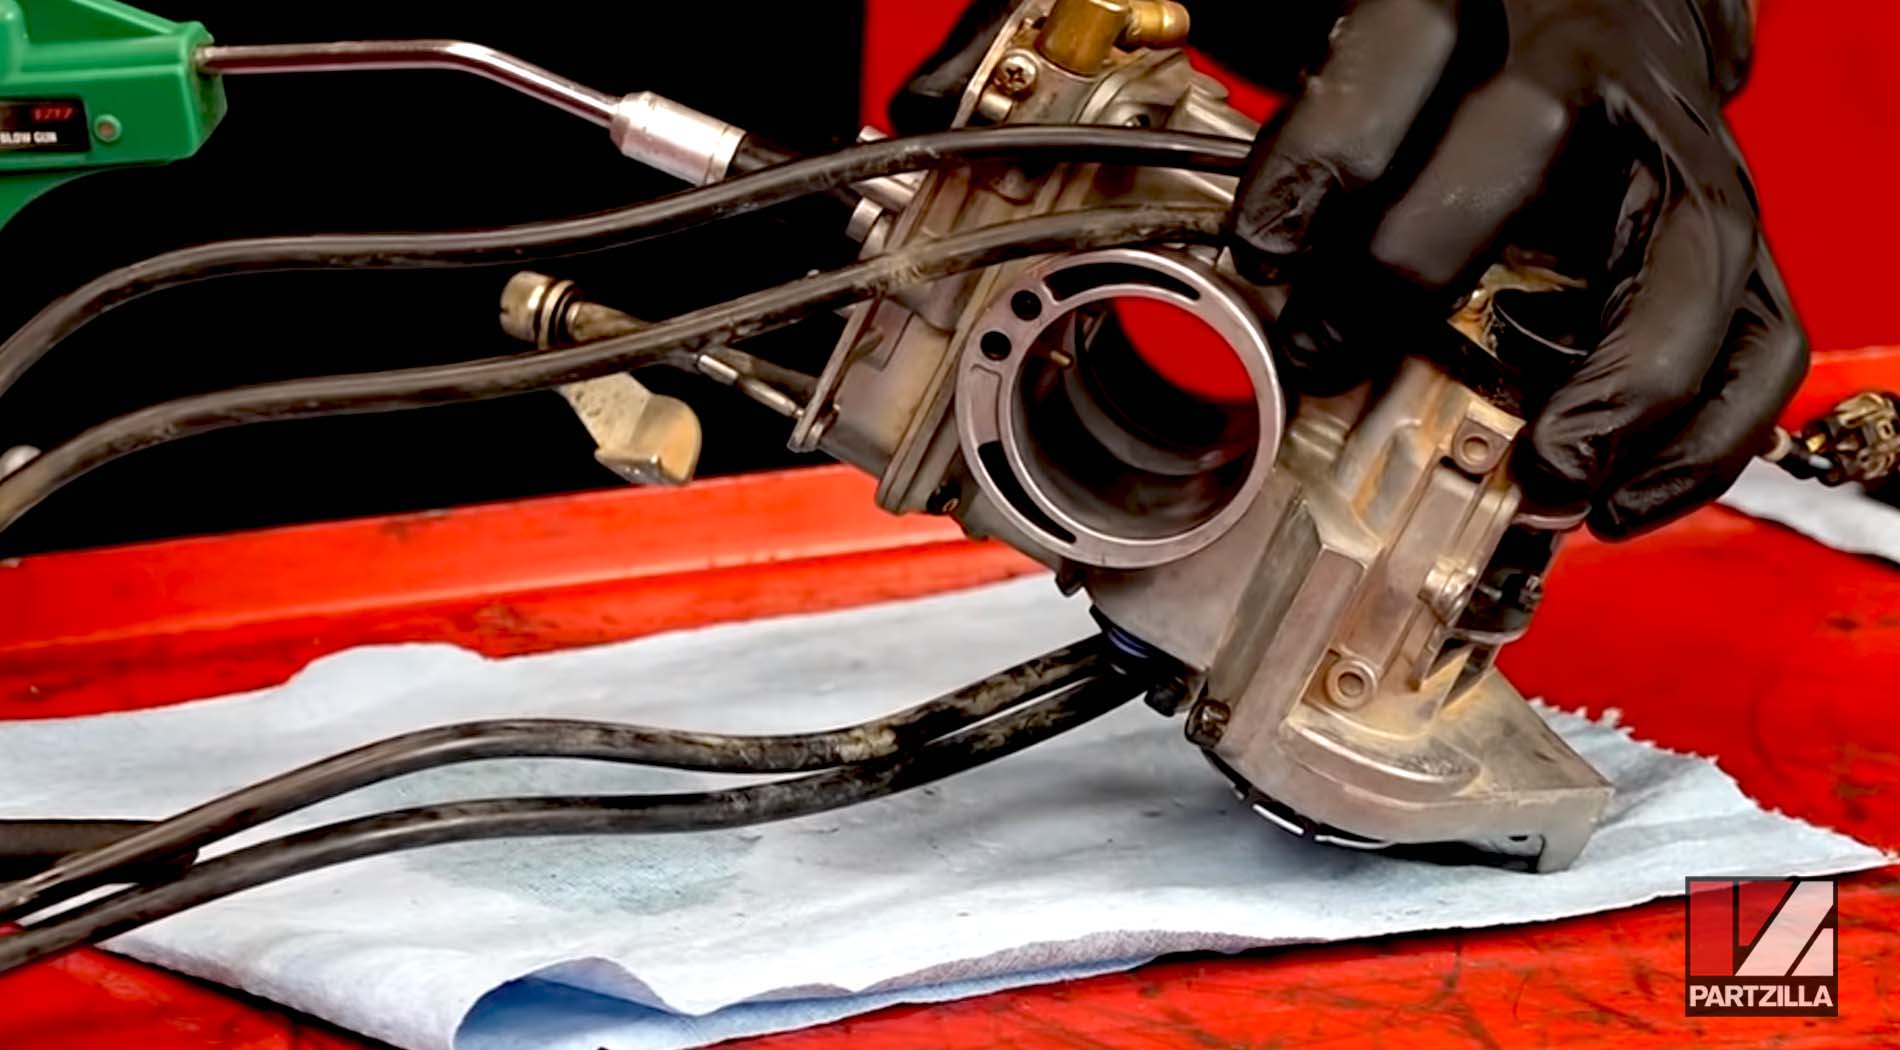
Step 3. Pull the carburetor out from the frame and remove the throttle cover, throttle cables and fuel pipes.
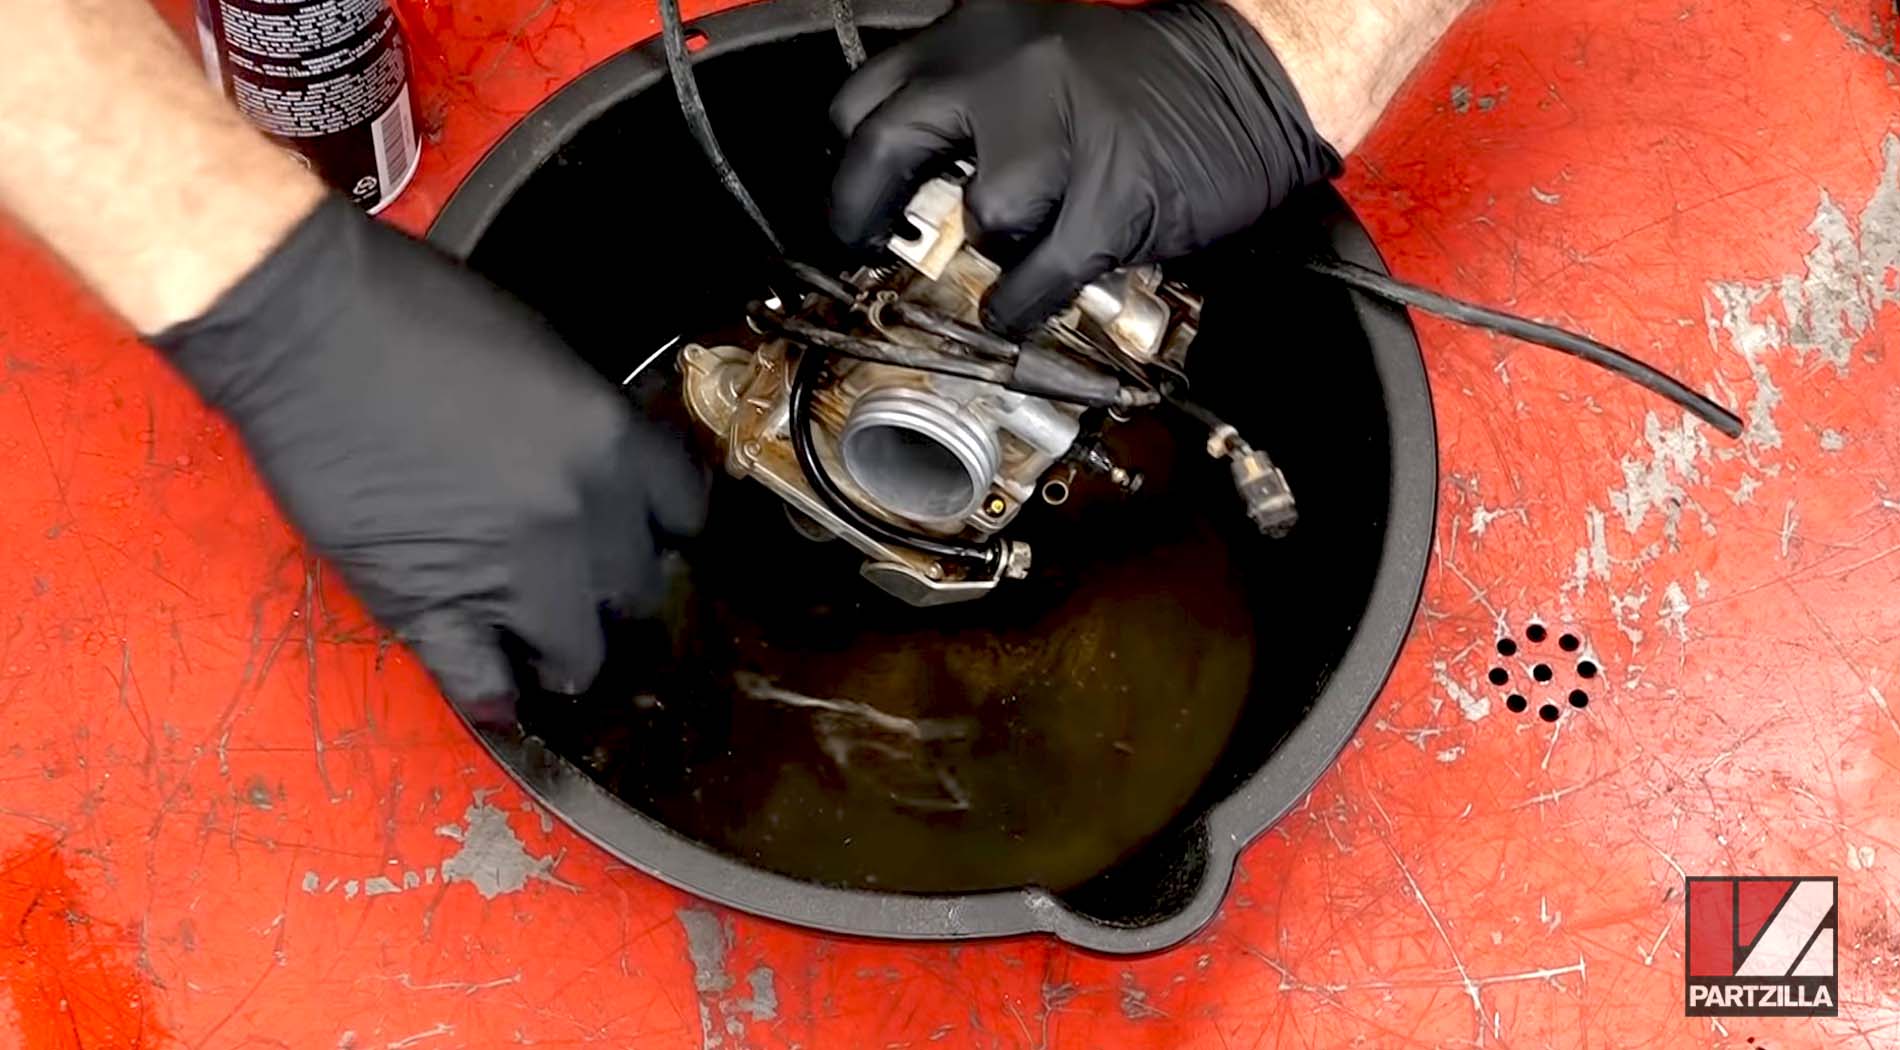
Step 4. Clean the carb with contact/brake cleaner to prevent dirt from the exterior of the carb from entering the interior.
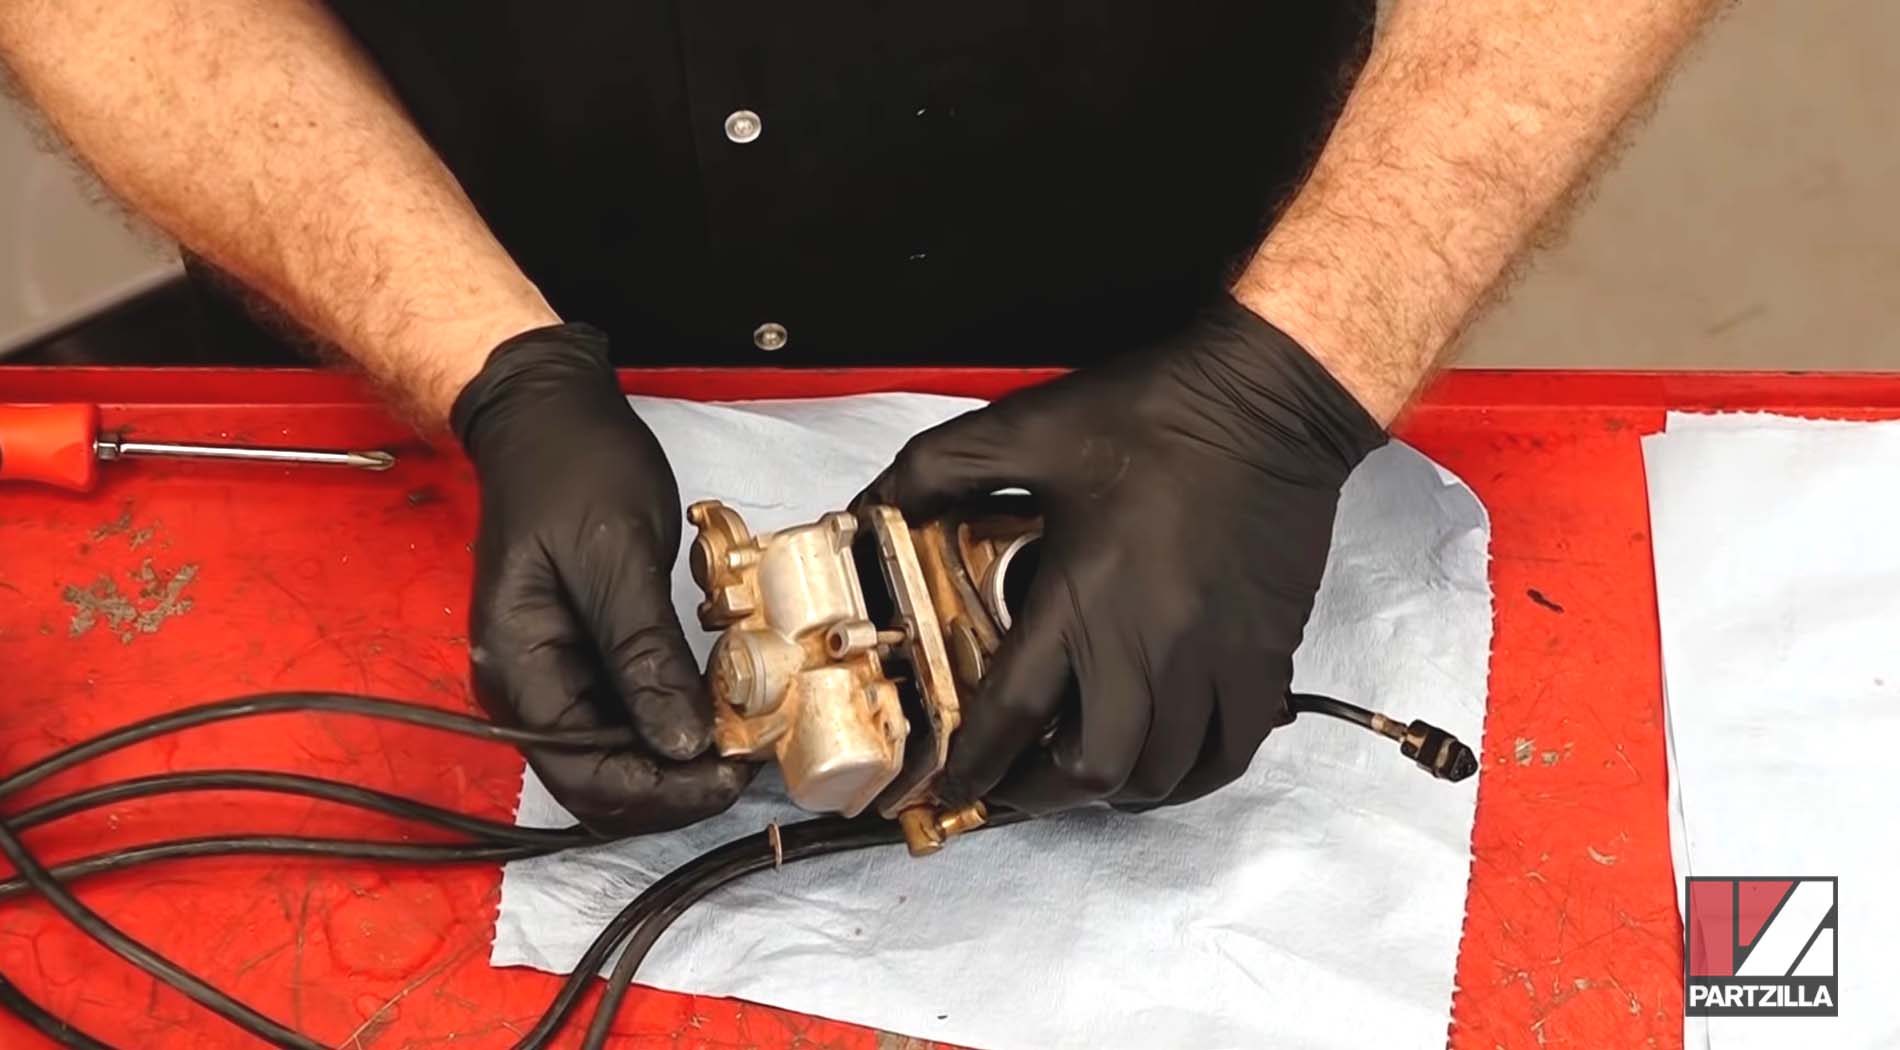
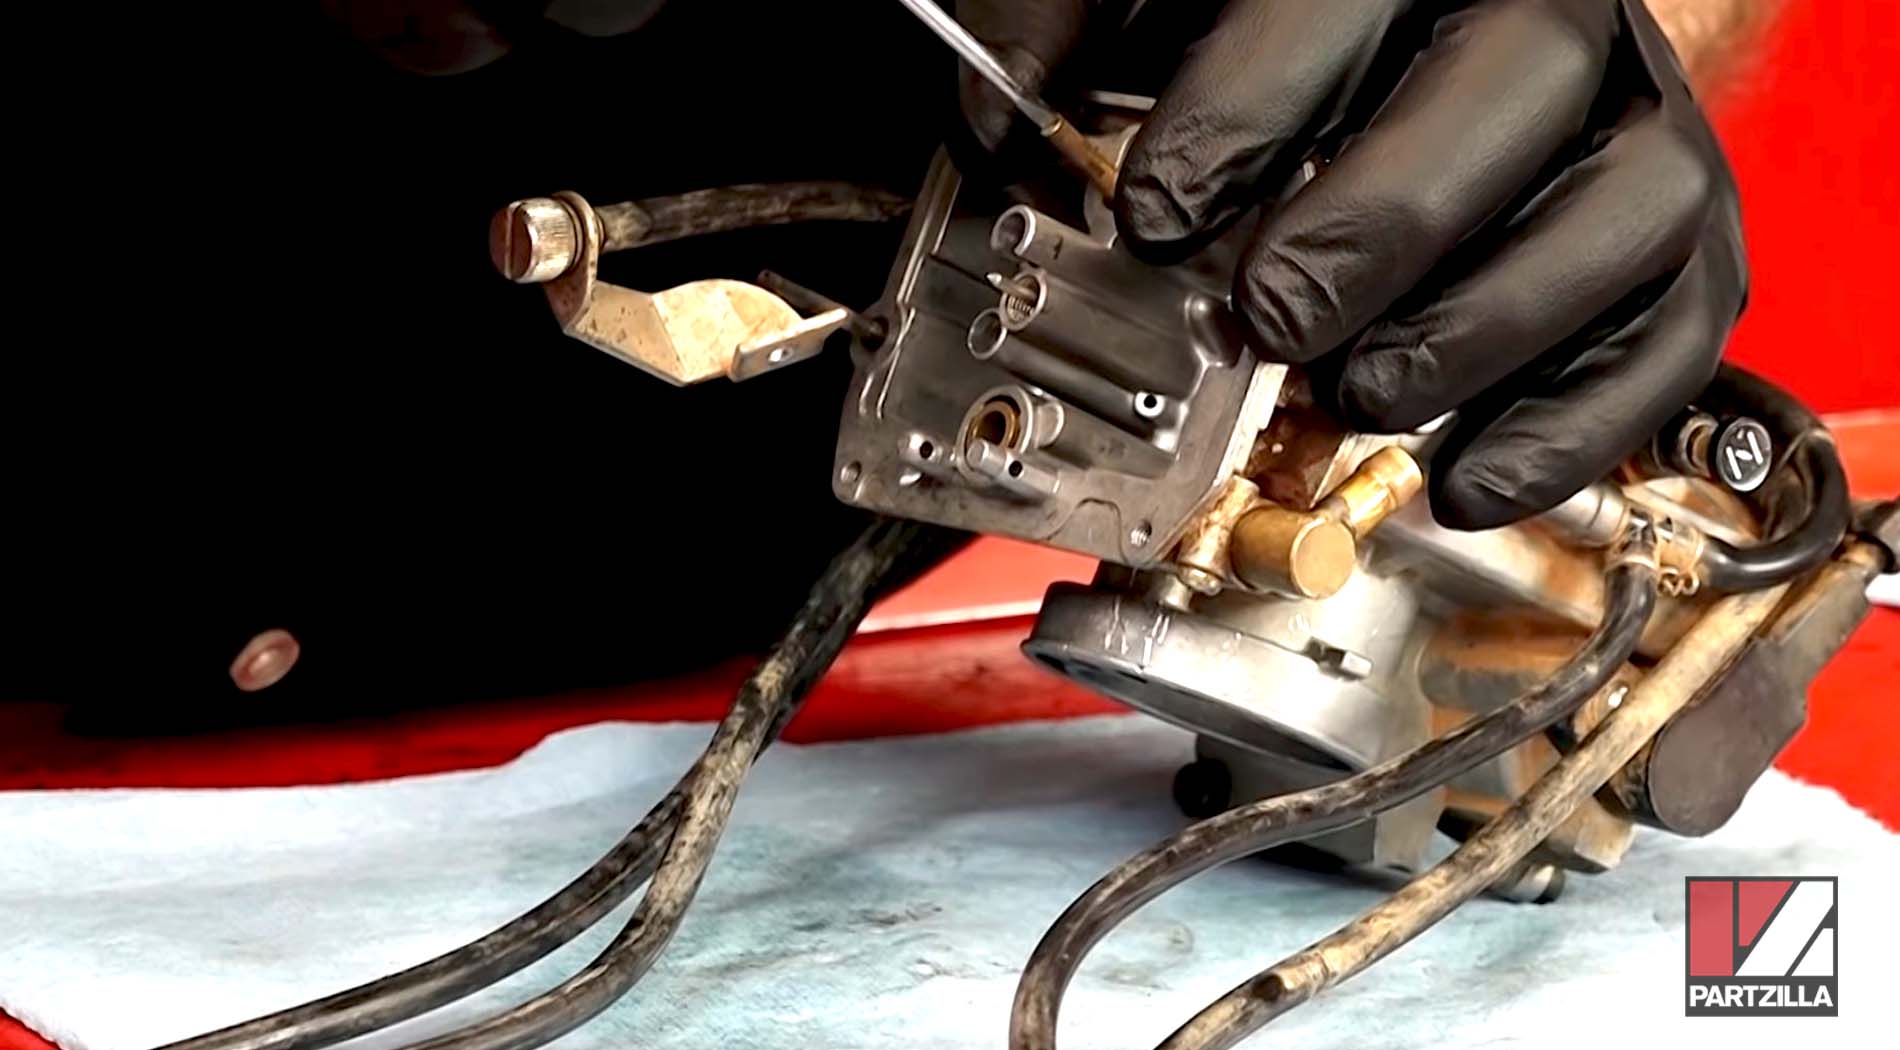
Step 5. Remove the float chamber, followed by the jets and the float itself.

Step 6. Clean the jets with carburetor cleaner.
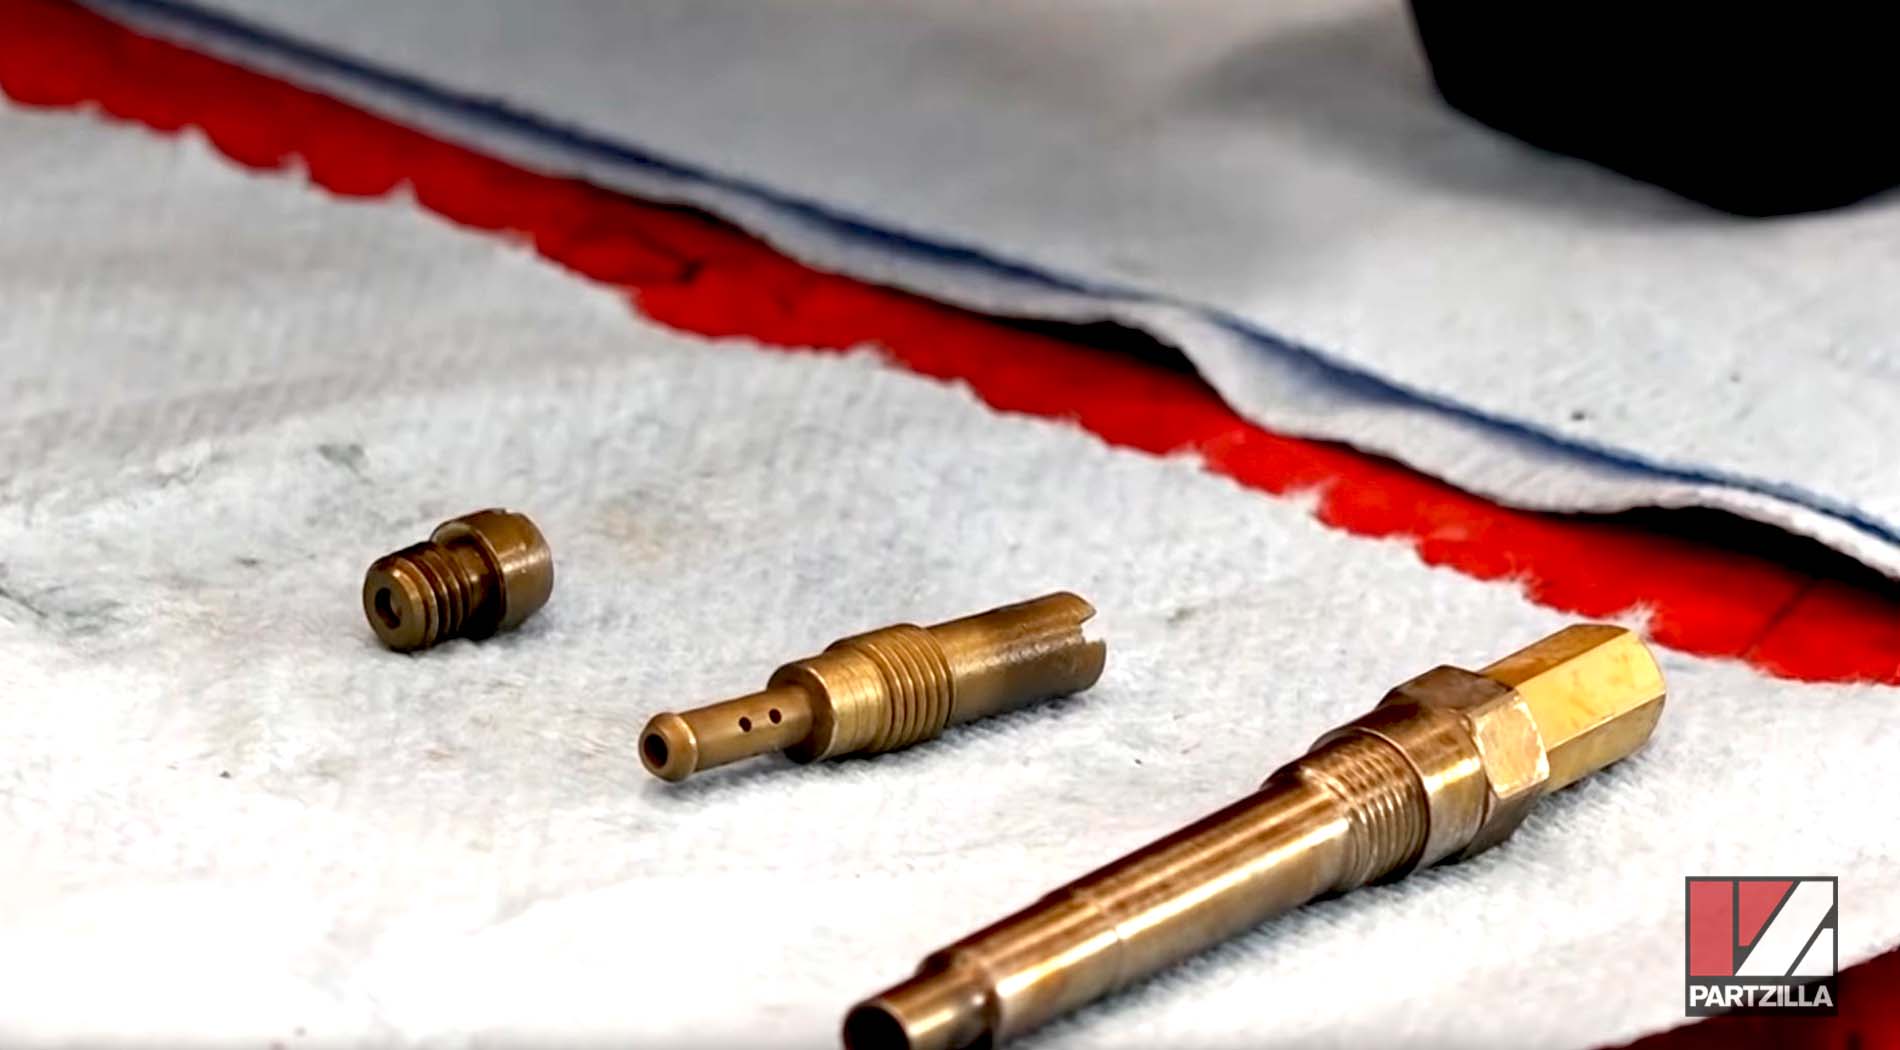
NOTE: If carb cleaner doesn't clear a blockage in a jet, don't use a wire to clean it out because the wire will damage the internal bore of the jet. If a jet can't be cleaned, replace it with a new one.
Step 7. Remove the air/fuel mixture screw and the spring, washer and O-ring. Clean the screw, spring and washer with carb cleaner.
NOTE: Don't use carb cleaner on the O-ring, as it will damage it.
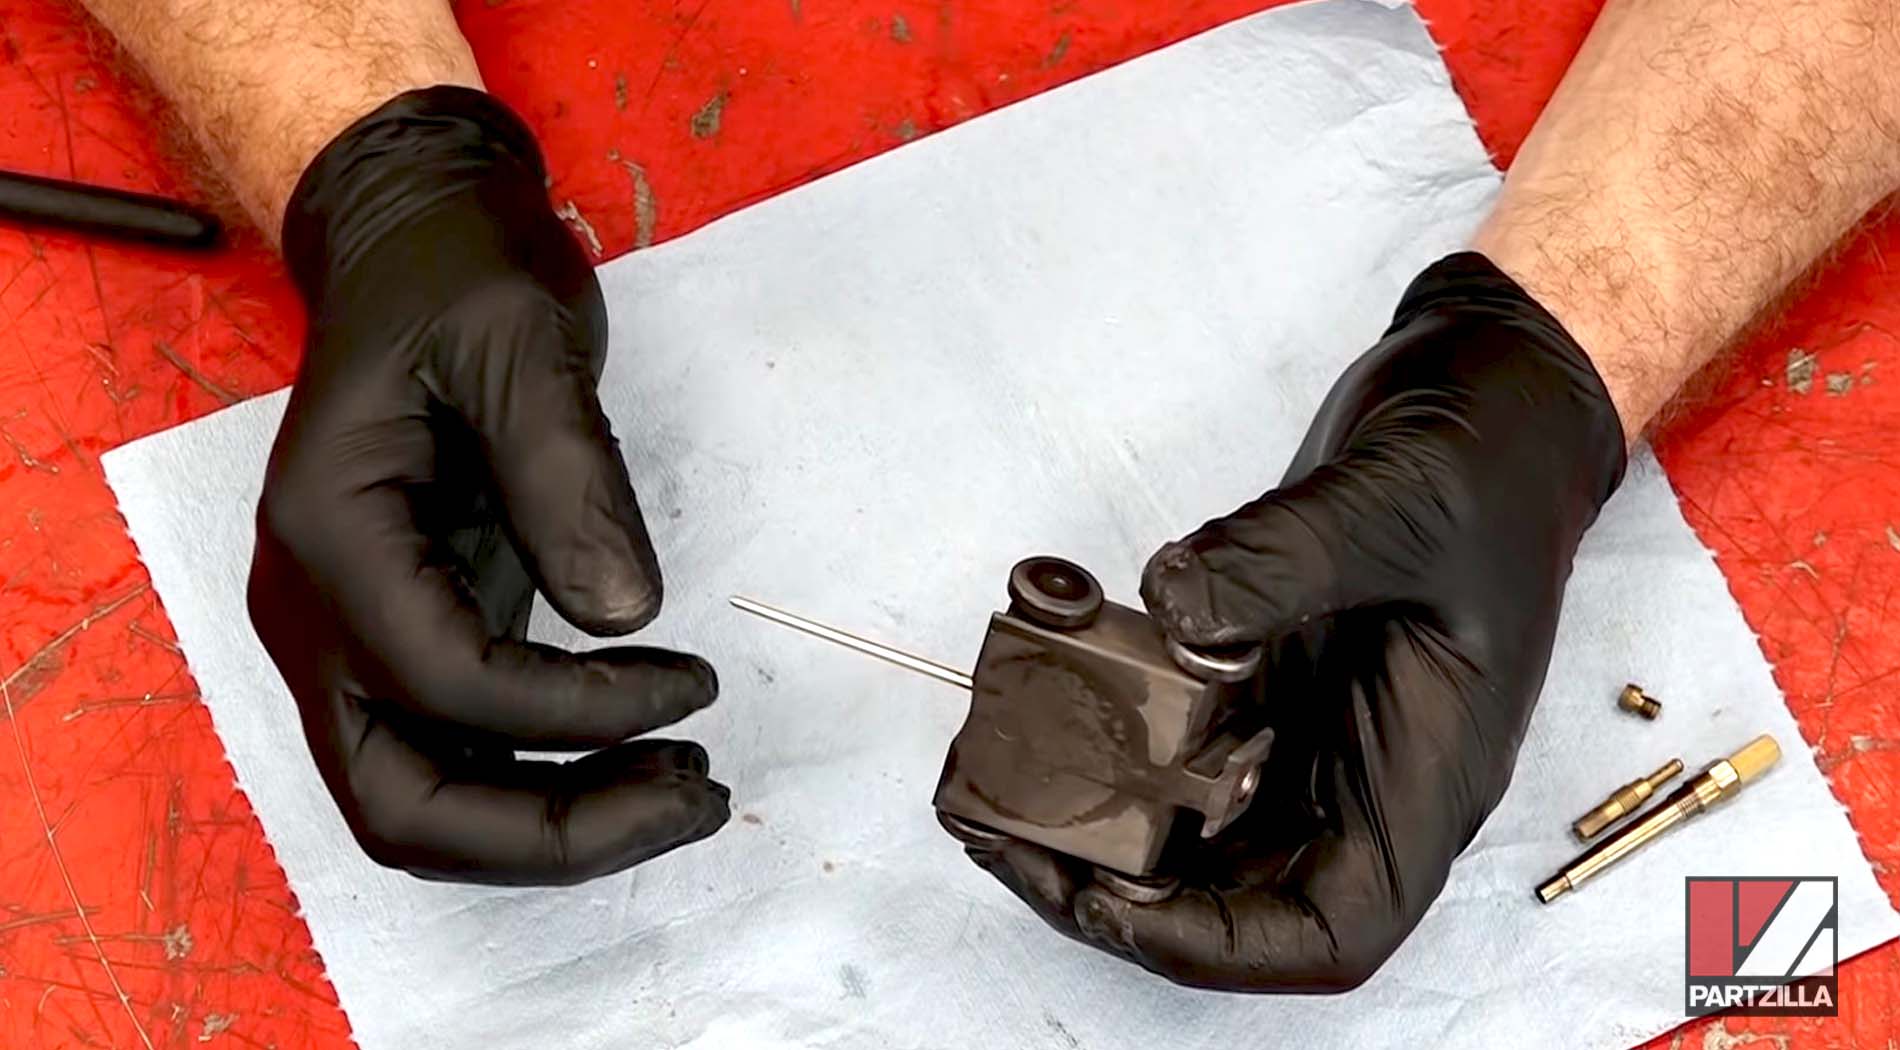
Step 8. Remove the carburetor's top cover, followed by the throttle valve and jet needle assembly. Inspect the needle for any signs of wear, and replace it if necessary. Clean the assembly with carb cleaner.
NOTE: Don't use carb cleaner on the O-ring of the valve's baffle plate, as it will damage the O-ring.
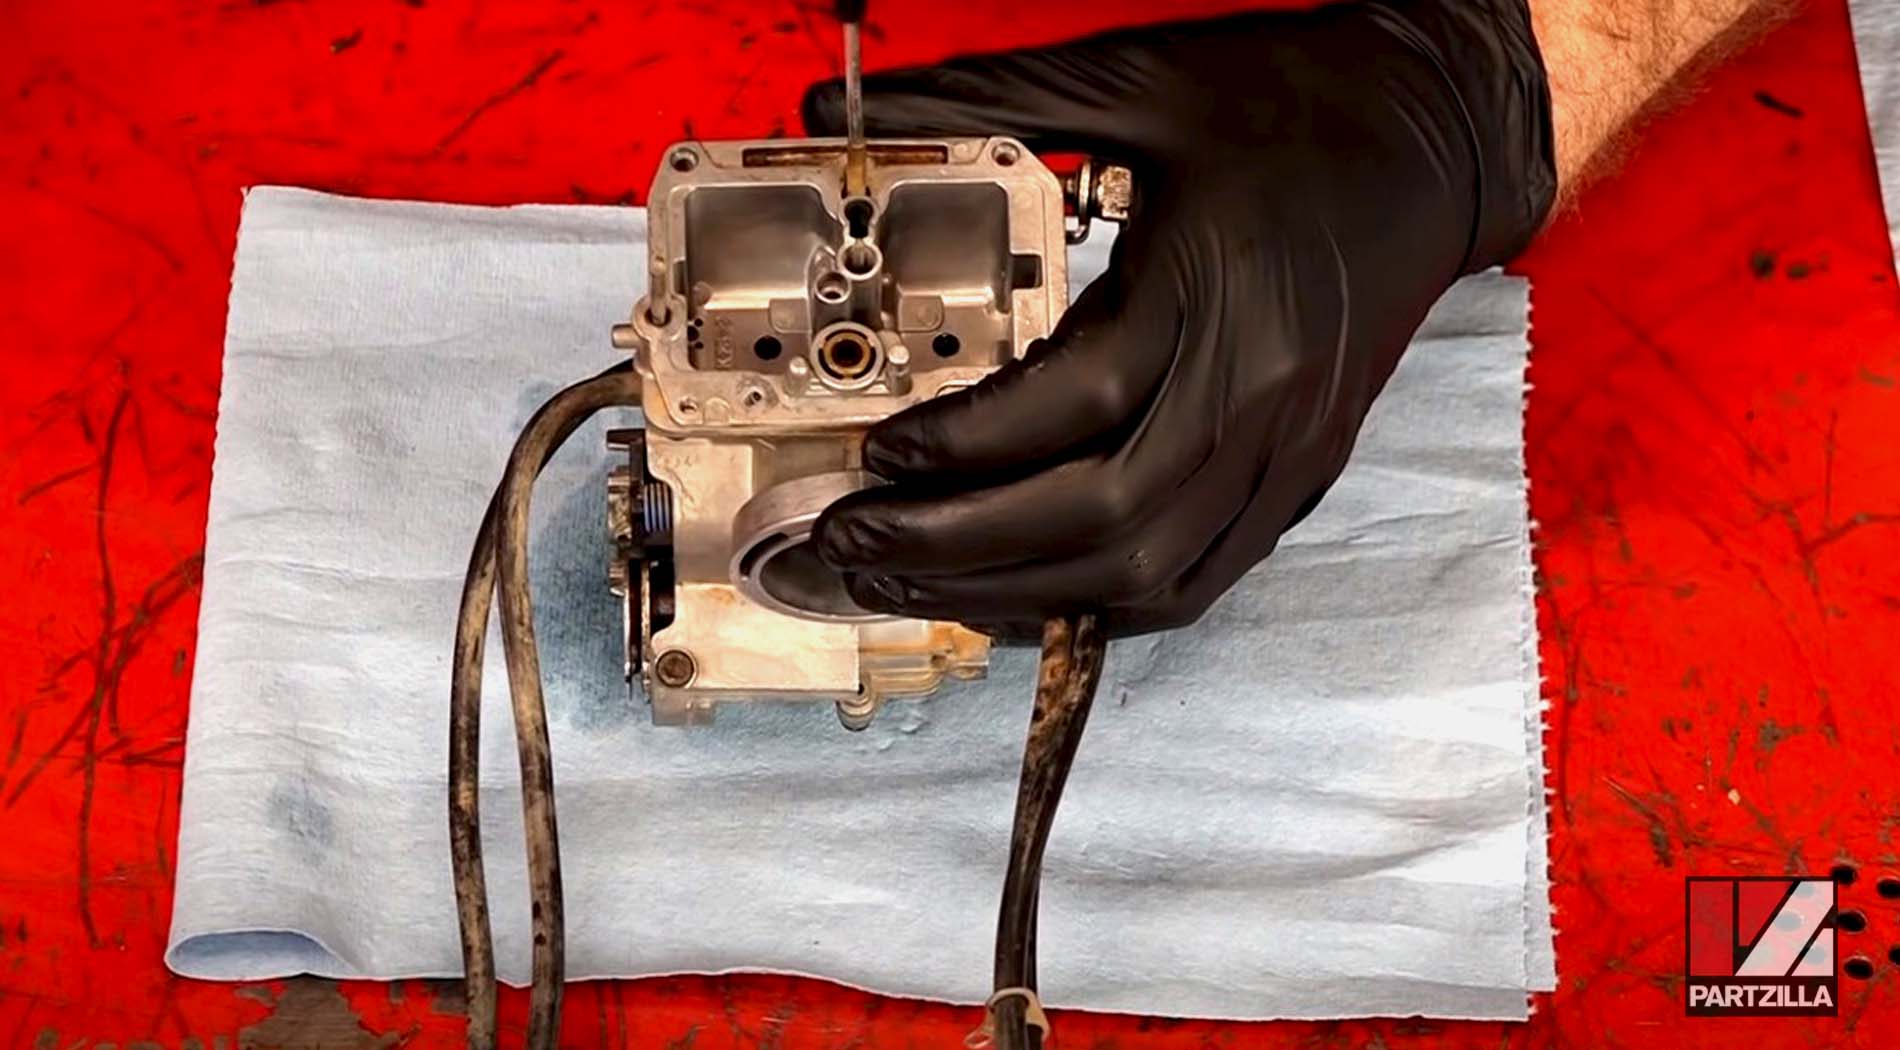
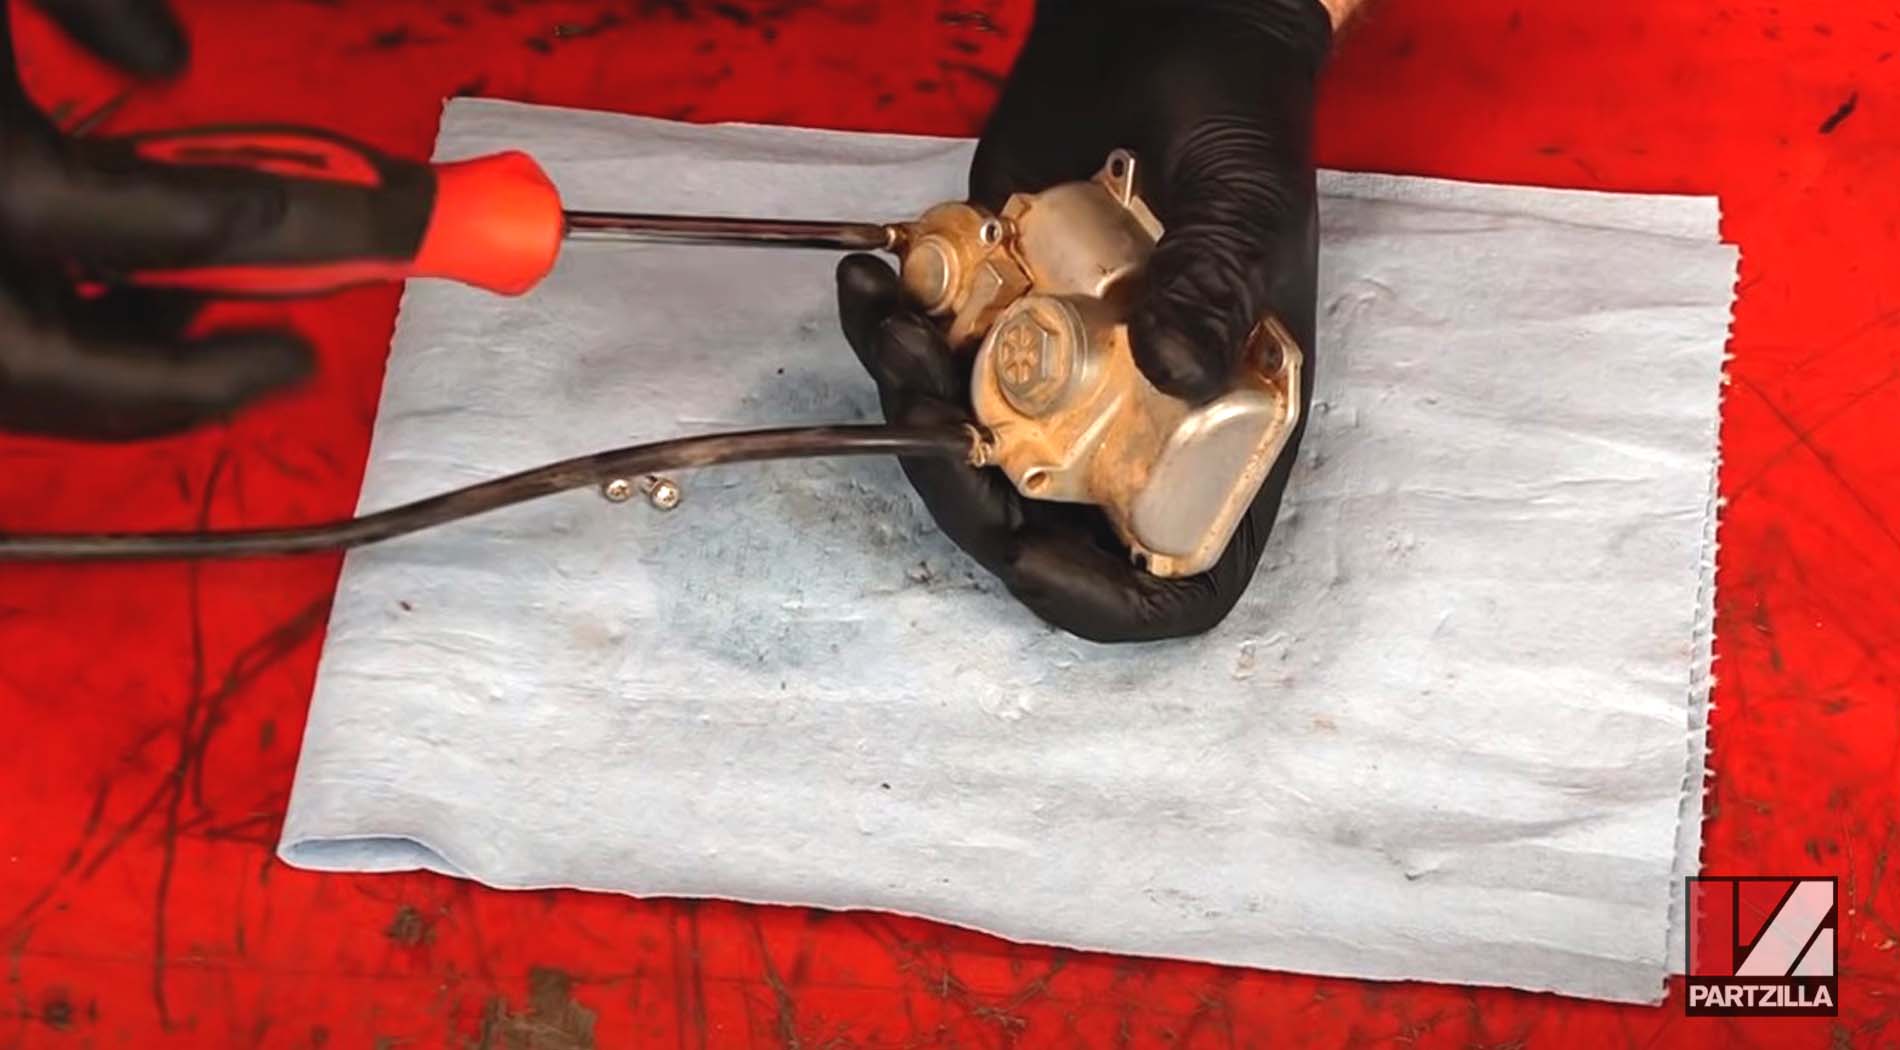
Step 9. Blow compressed air through all the channels of the carburetor body to clean out any dirt. Also, blow air through the jets and screws you've removed from the carb.
NOTE: Even a little dirt can block a carb jet, so everything needs to be completely clean and free of contaminants before the carb is reassembled.
Step 10. Remove the accelerator pump cover from the float chamber and inspect the diaphragm for wear or cuts. Replace the diaphragm if necessary.
Step 11. Reassemble the carburetor in the reverse order you disassembled it. Make sure everything is clean so there's no trace of dirt or debris within the carb once it's reassembled.
Step 12. Reinstall the carburetor, the subframe and air filter housing, the engine shroud, side covers and seat.
Want to see how to clean the carburetor on a dirt bike other than a Honda CRF450? Watch the video below to see how to clean the carburetor on a Kawasaki KLX 110 dirt bike.