How to Rebuild a Honda CBR 600 Clutch
If you’re grabbing a handful of throttle but your Honda motorcycle isn’t accelerating, chances are the clutch is slipping and you’ll need to replace it.
Rebuilding the clutch on a Honda CBR 600RR is time-consuming, but not incredibly complicated. The most important thing to remember on a clutch rebuild is to install the clutch disks and plates in the correct order.
Watch the video above and follow the steps below to rebuild the clutch on a Honda CBR600 motorcycle.
Tools and Parts - Honda CBR600 Clutch Rebuild
- Ratchet and sockets
- Wire brush
- Digital caliper
- Torque wrench
- Contact/brake cleaner
- Gasket maker
- Clutch friction disk (outer)
- Clutch friction disk (mid)(x6)
- Clutch friction disk (inner)
- Clutch plate (x7)
- Honda HP4 oil
NOTE: The parts to replace a 2008 Honda CBR 600RR’s clutch can be found here: OEM Honda CBR600 clutch parts.
Removing Honda CBR 600RR Clutch
Step 1. Soak the new clutch friction disks in engine oil for at least an hour before installing them.
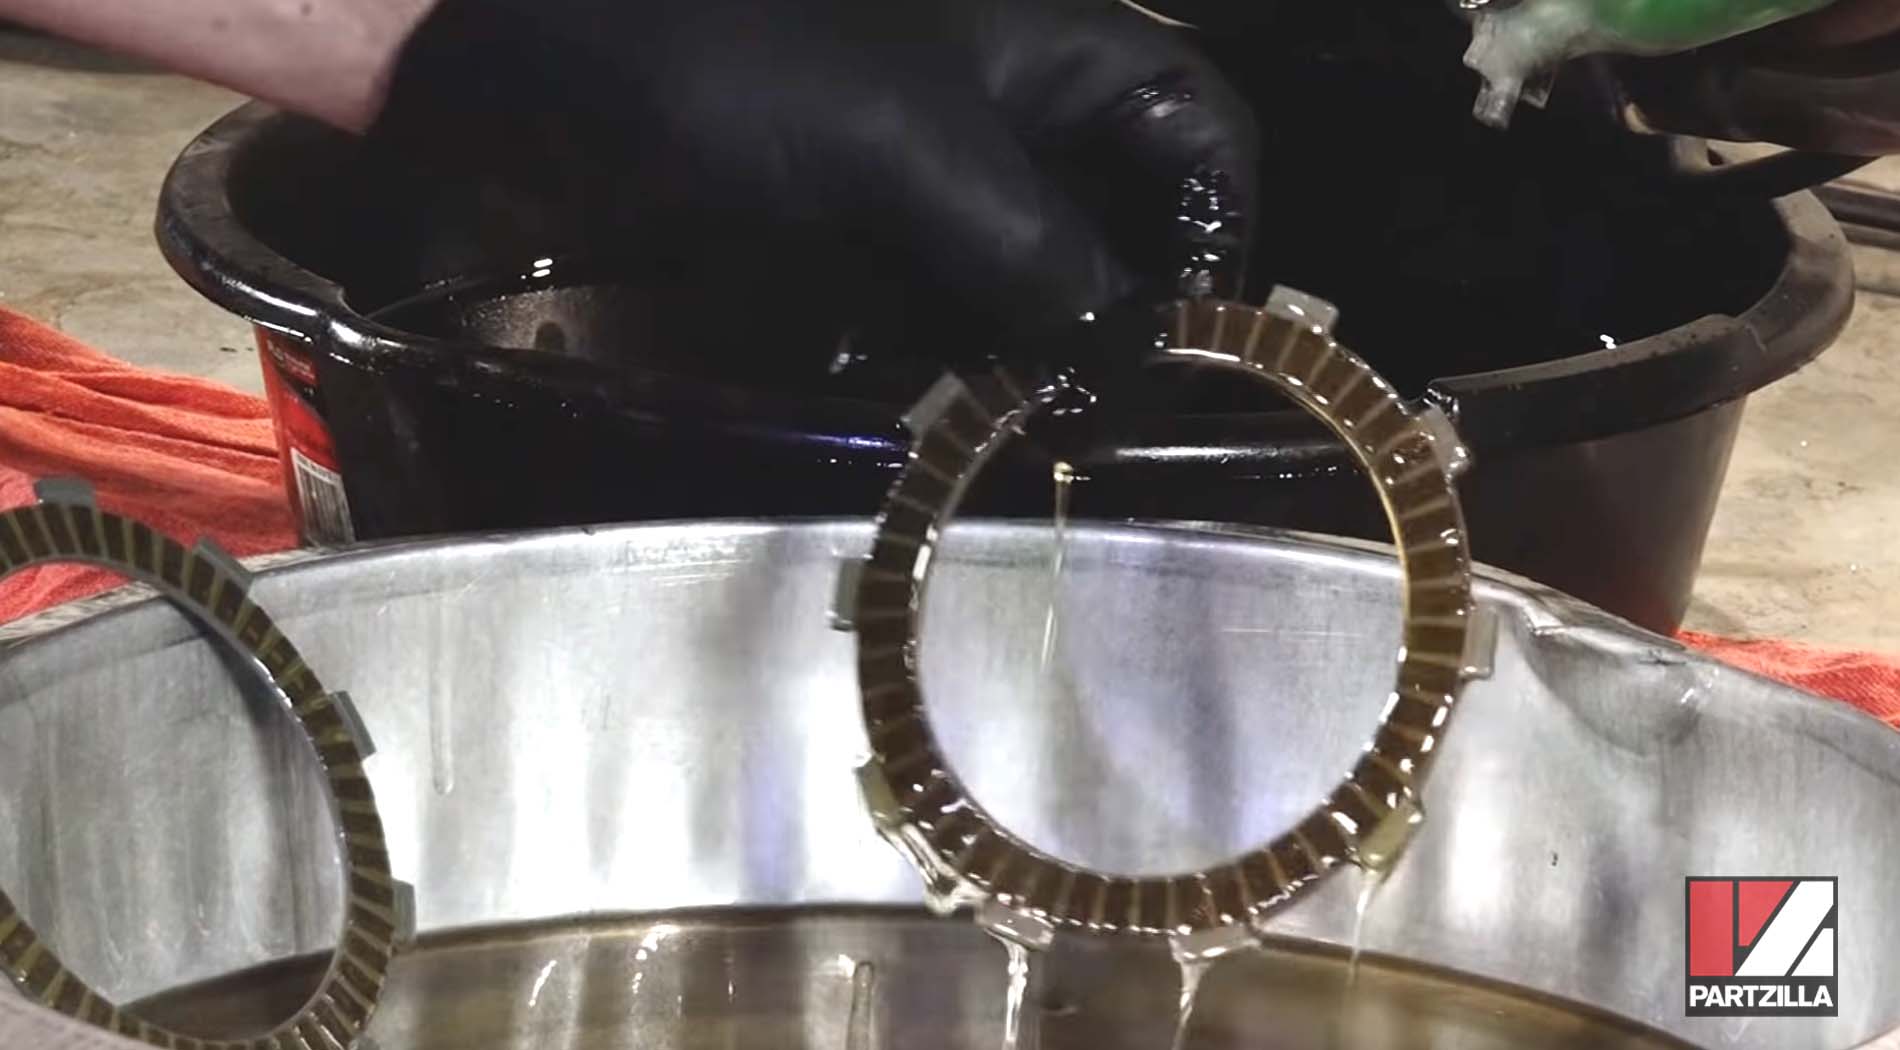
NOTE: If the clutch is rebuilt with dry friction disks, it’ll burn itself out when the bike is running again and the clutch is engaged for the first time.
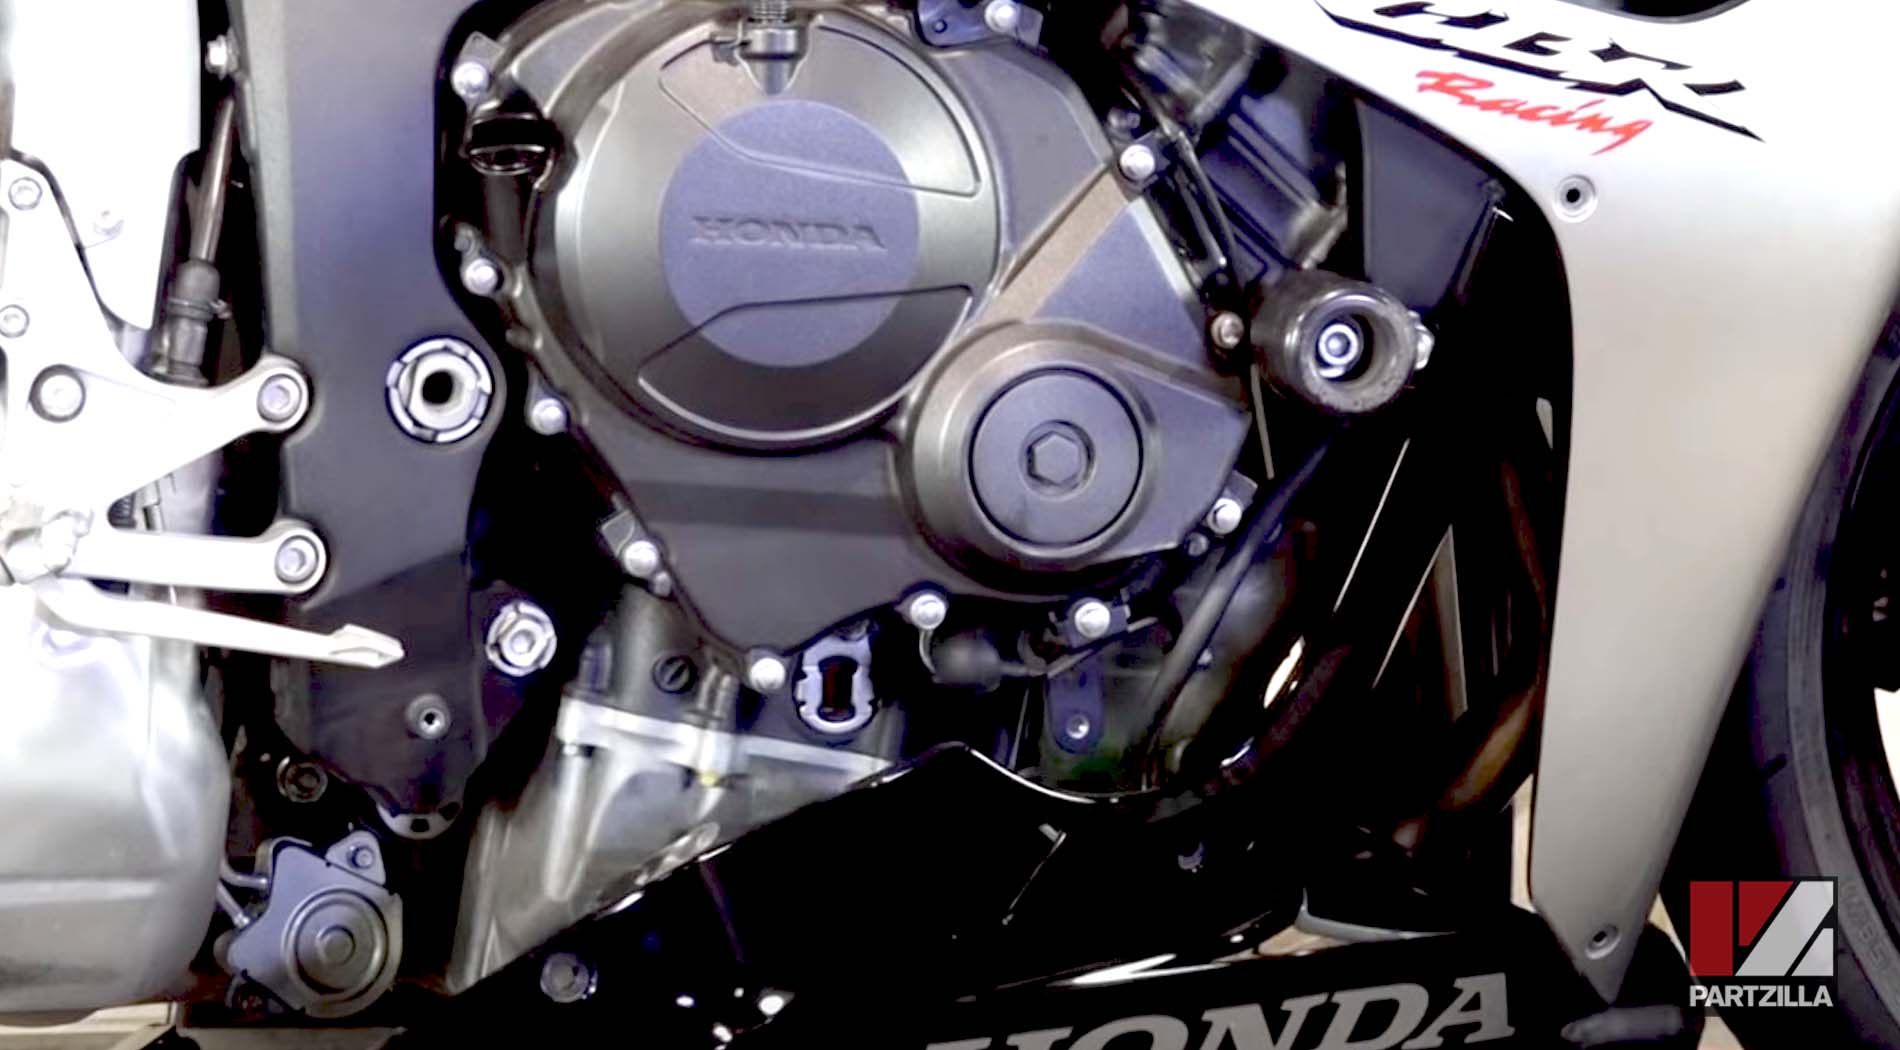
Step 2. Remove the right side lower cowling panel.
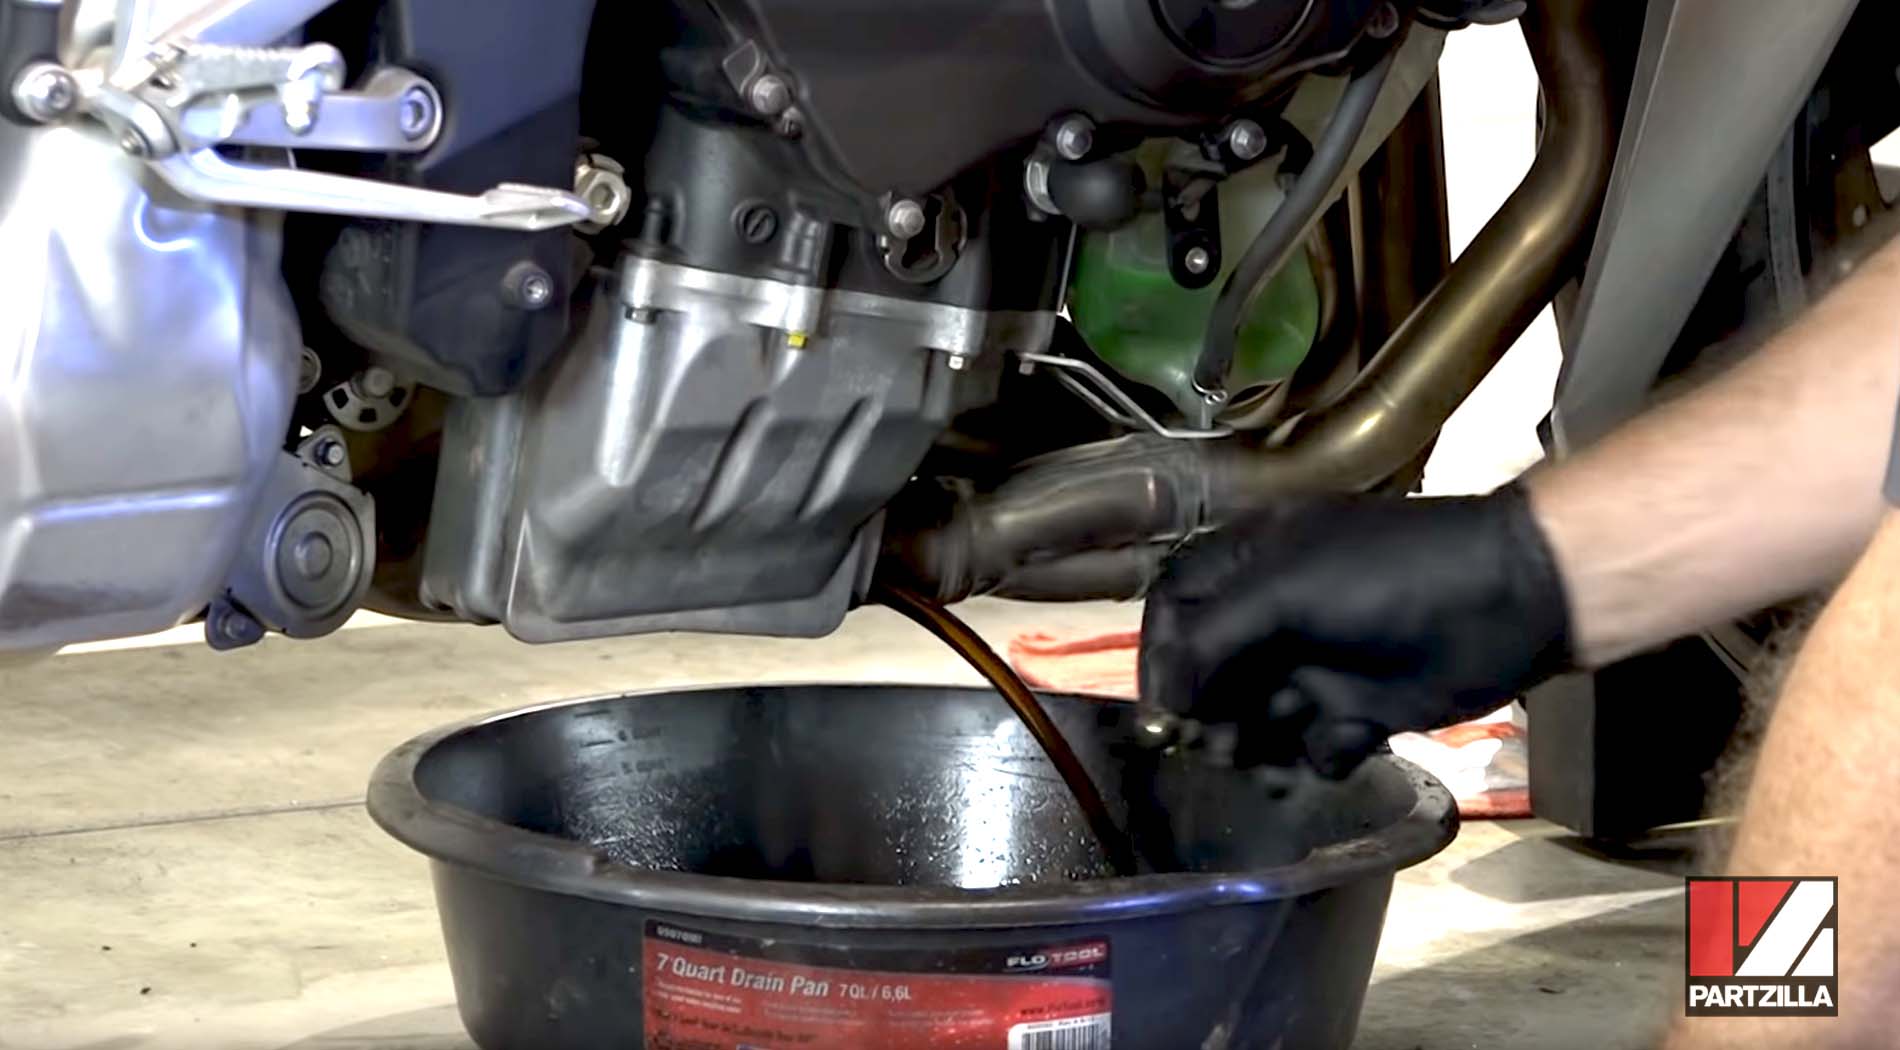
Step 3. Drain out the engine oil.
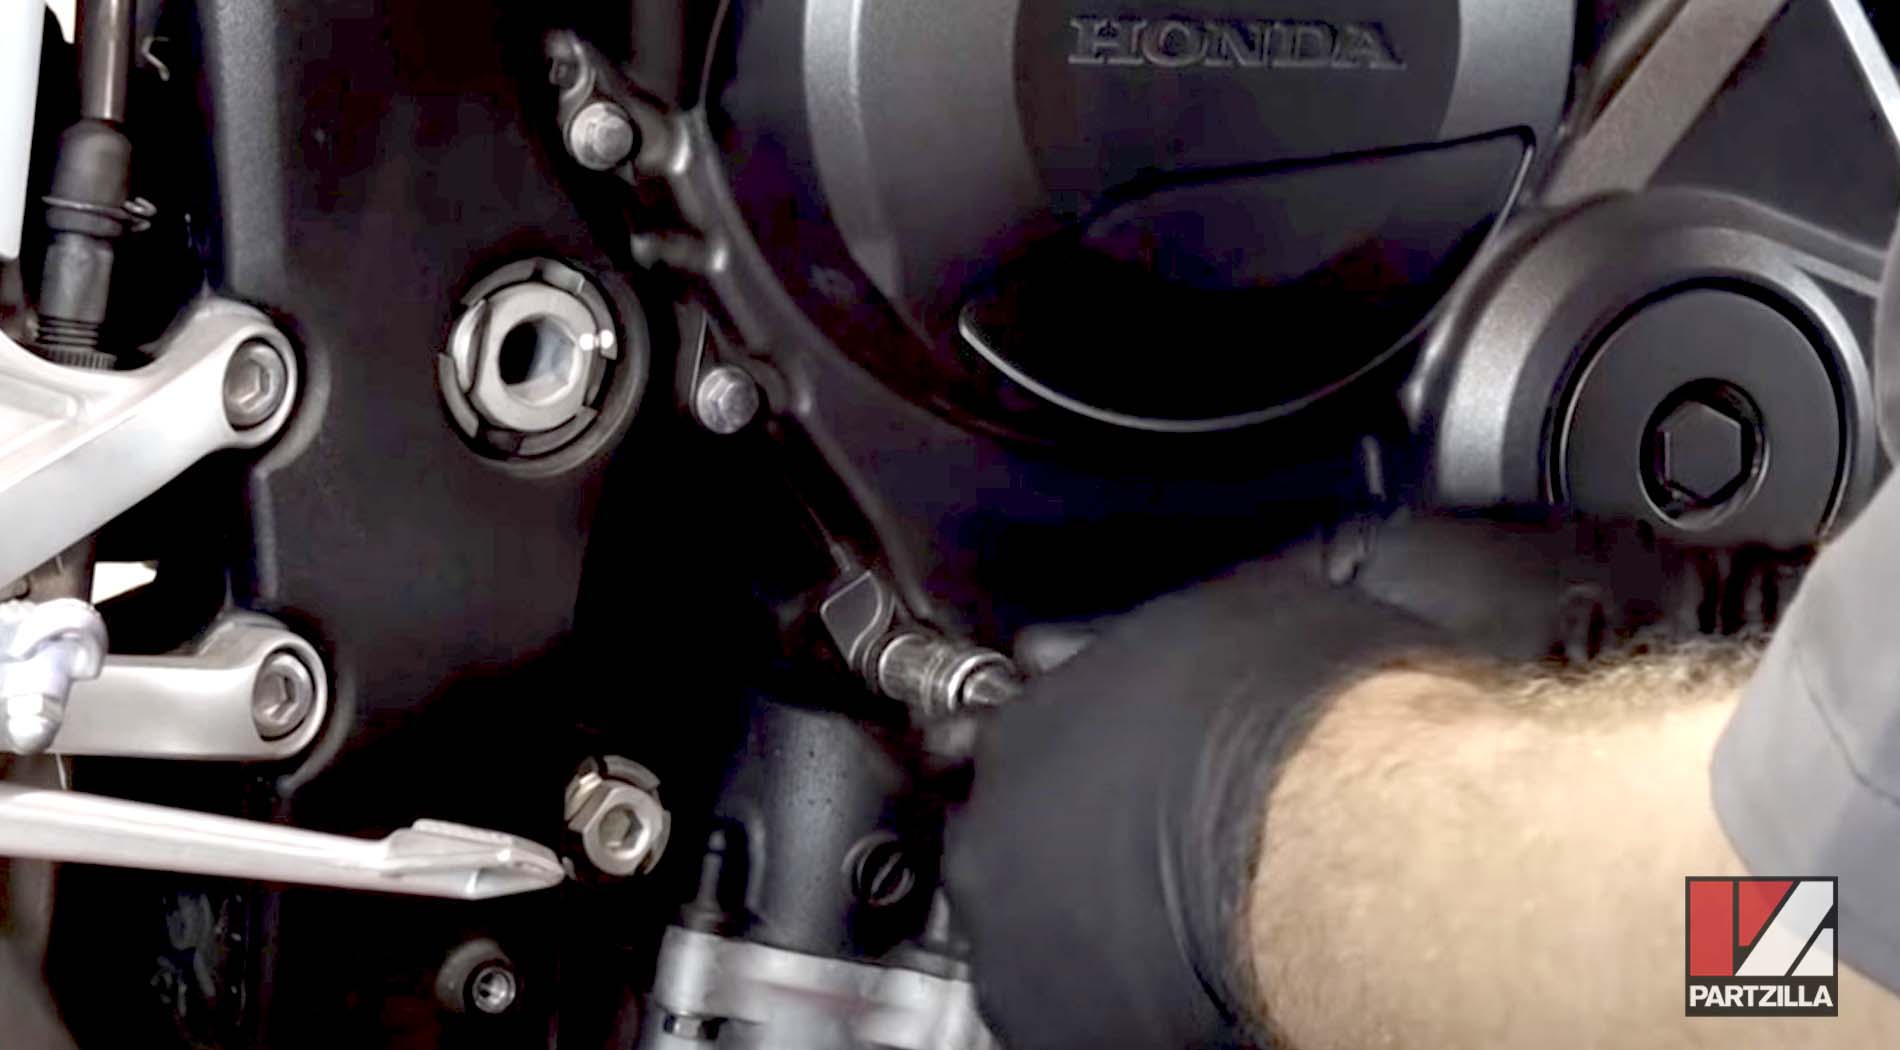
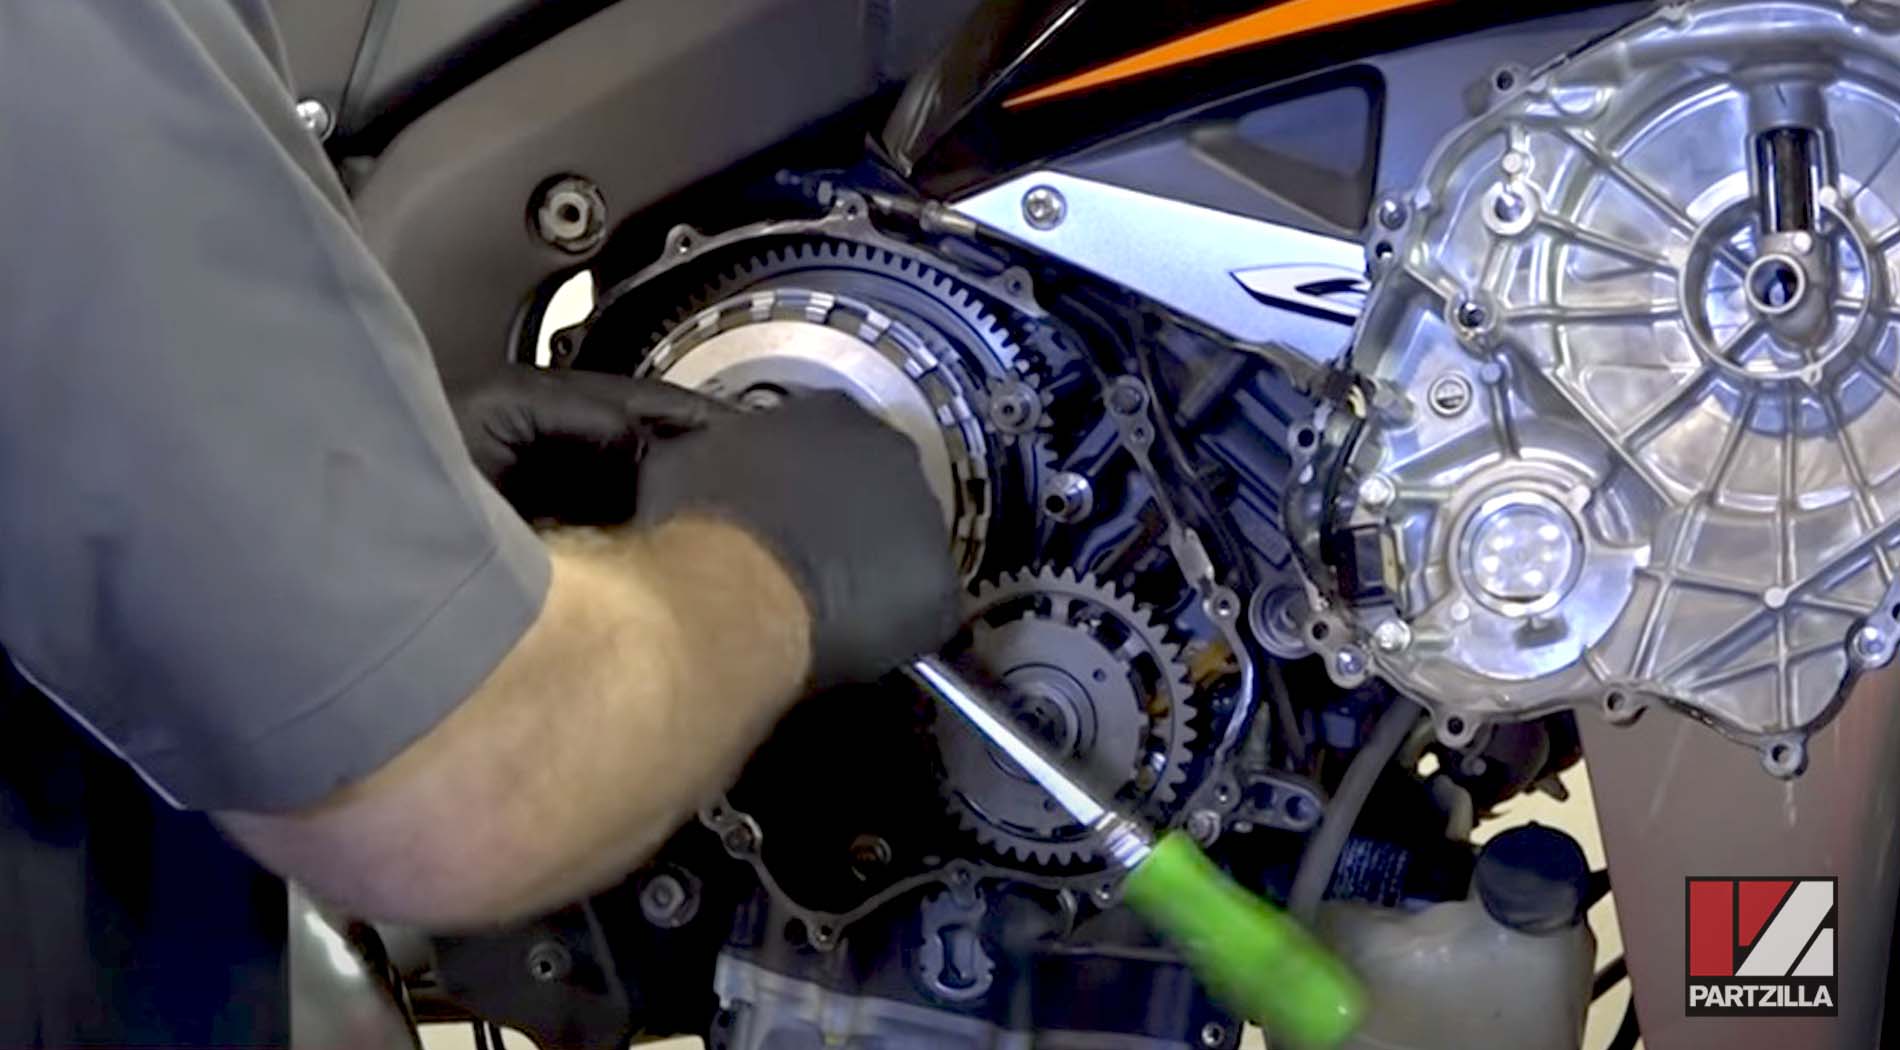
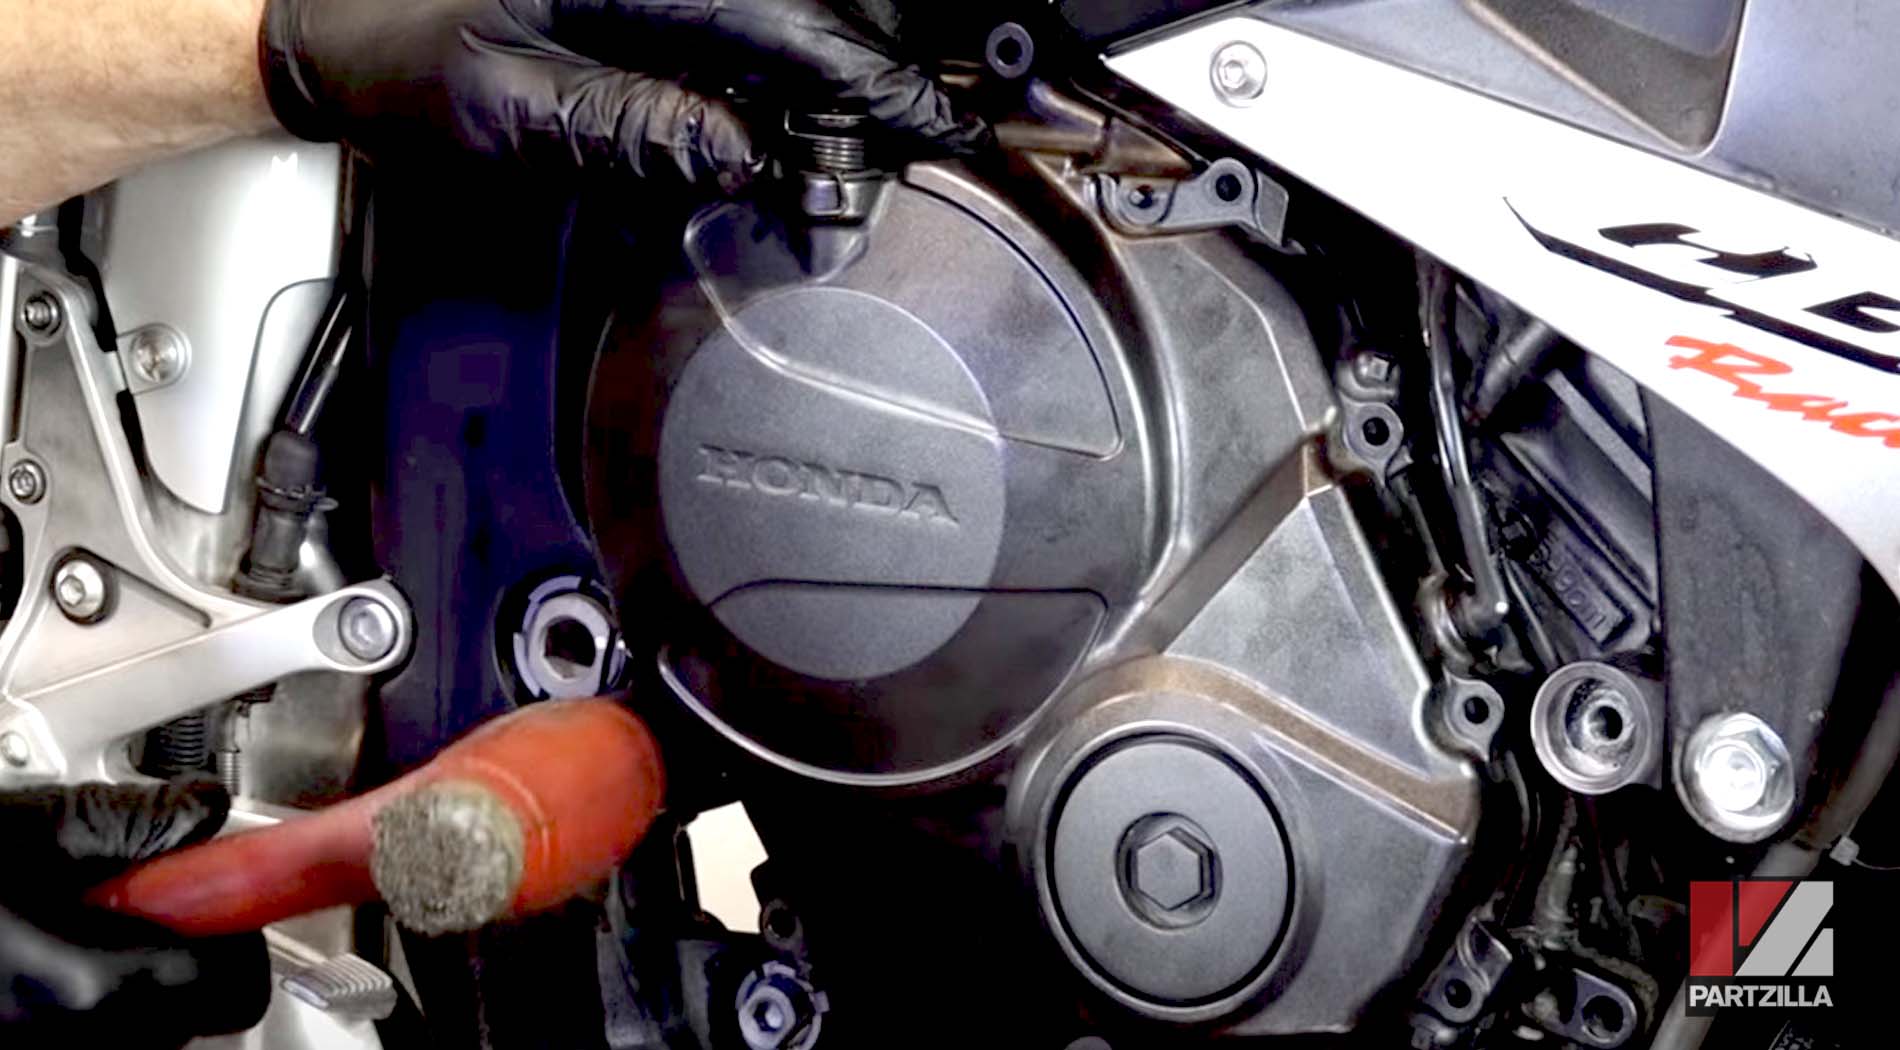
Step 4. Remove the crankcase cover by disconnecting the clutch cable from the clutch lever and removing the 8mm cover bolts.
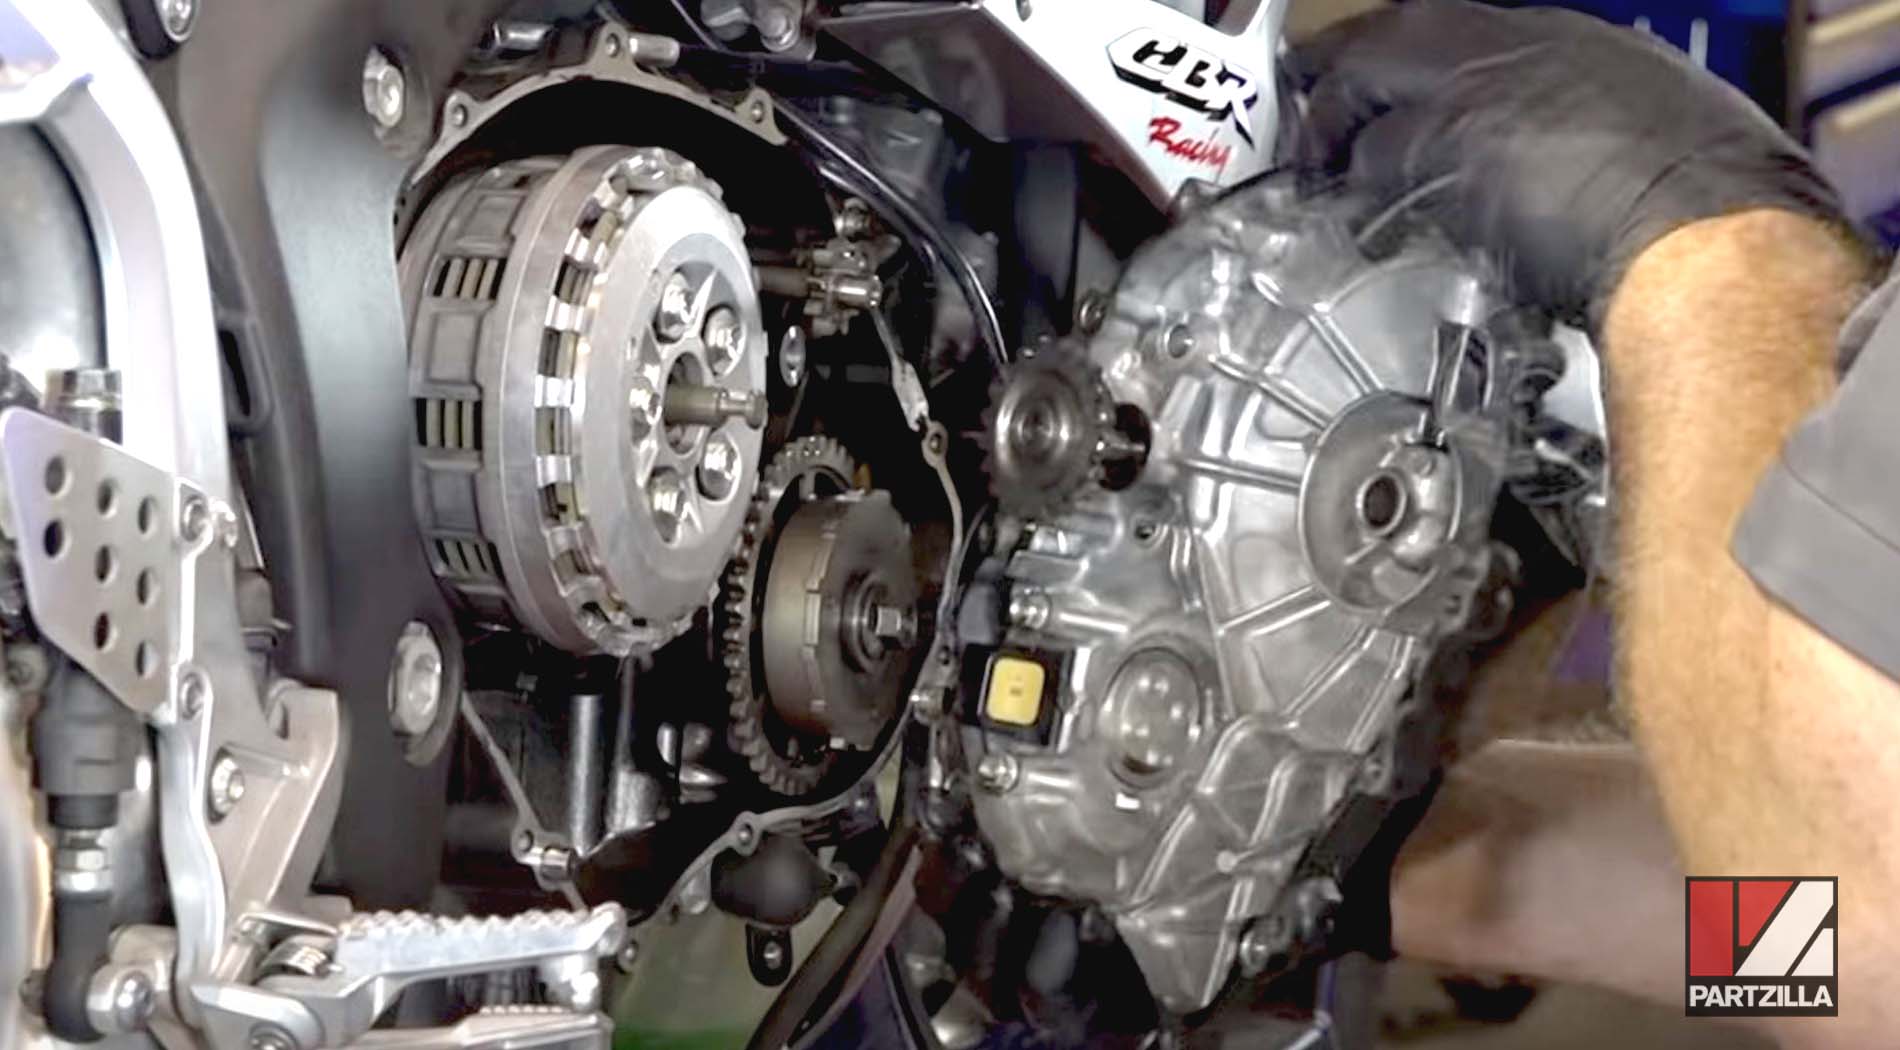
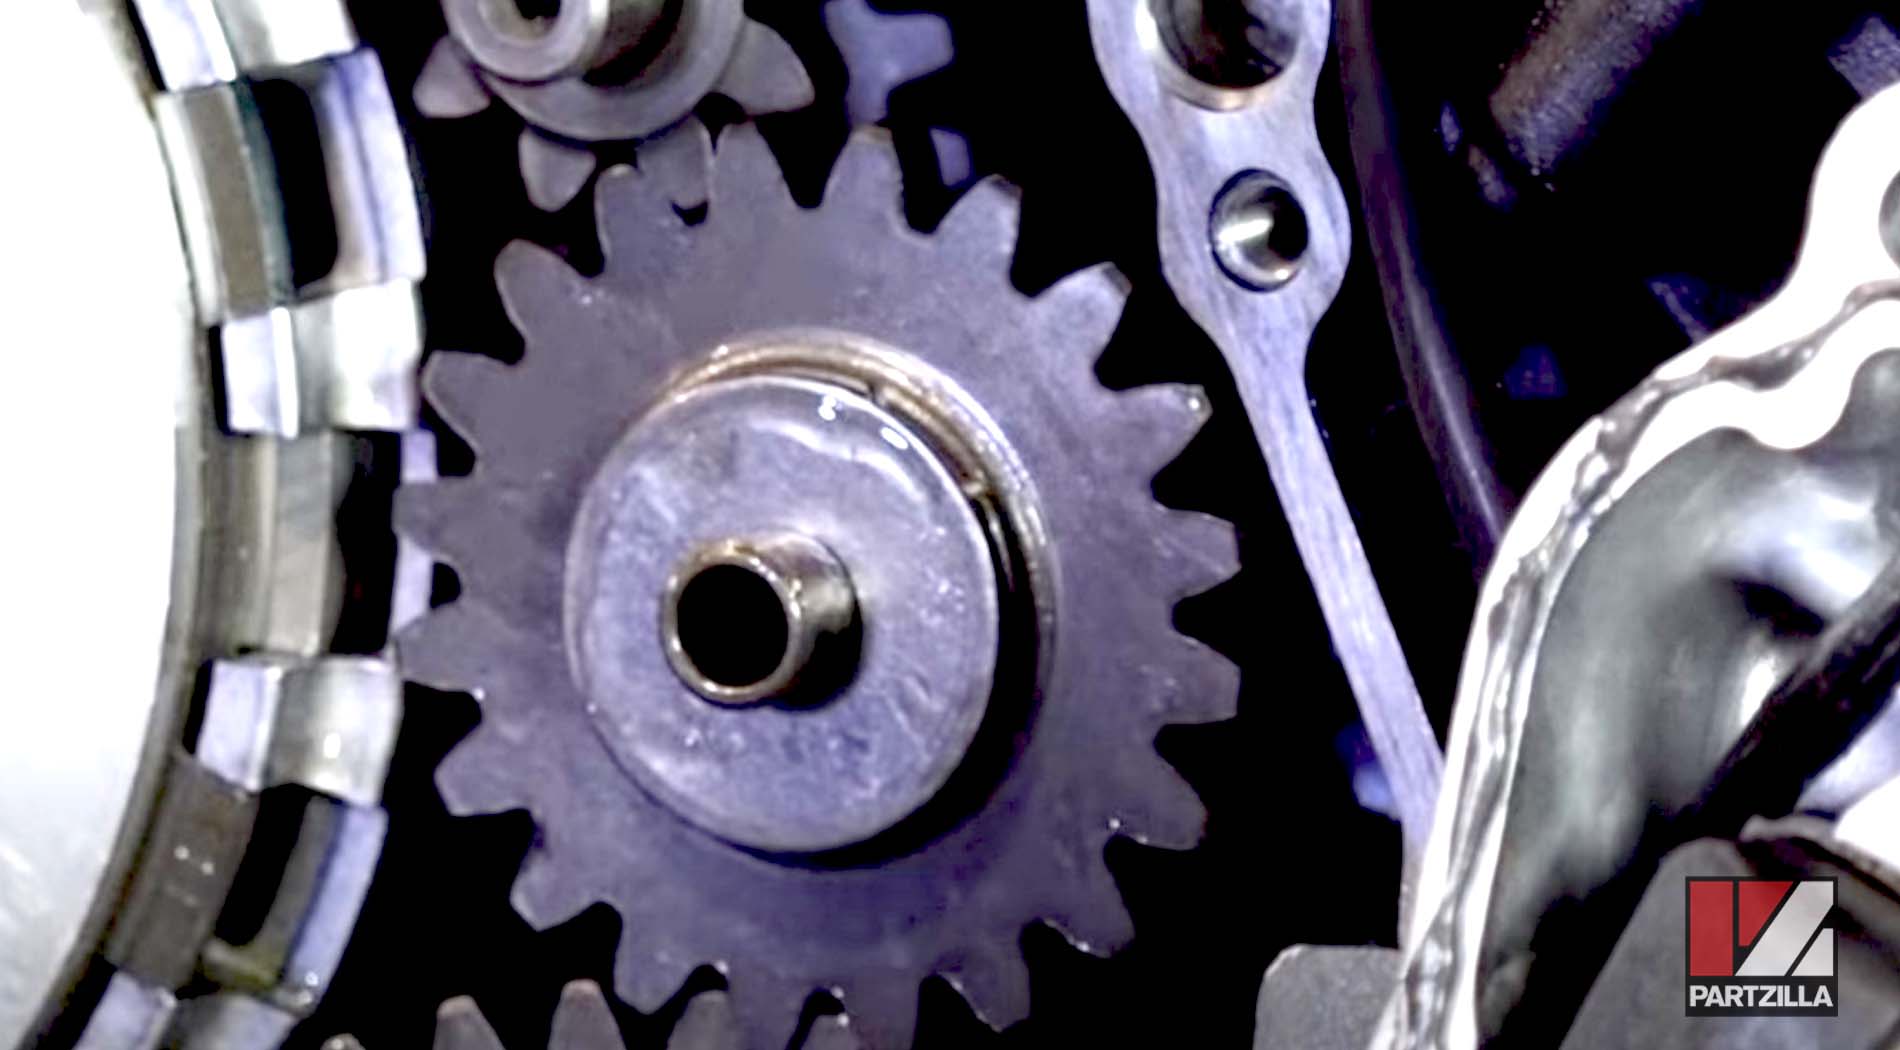
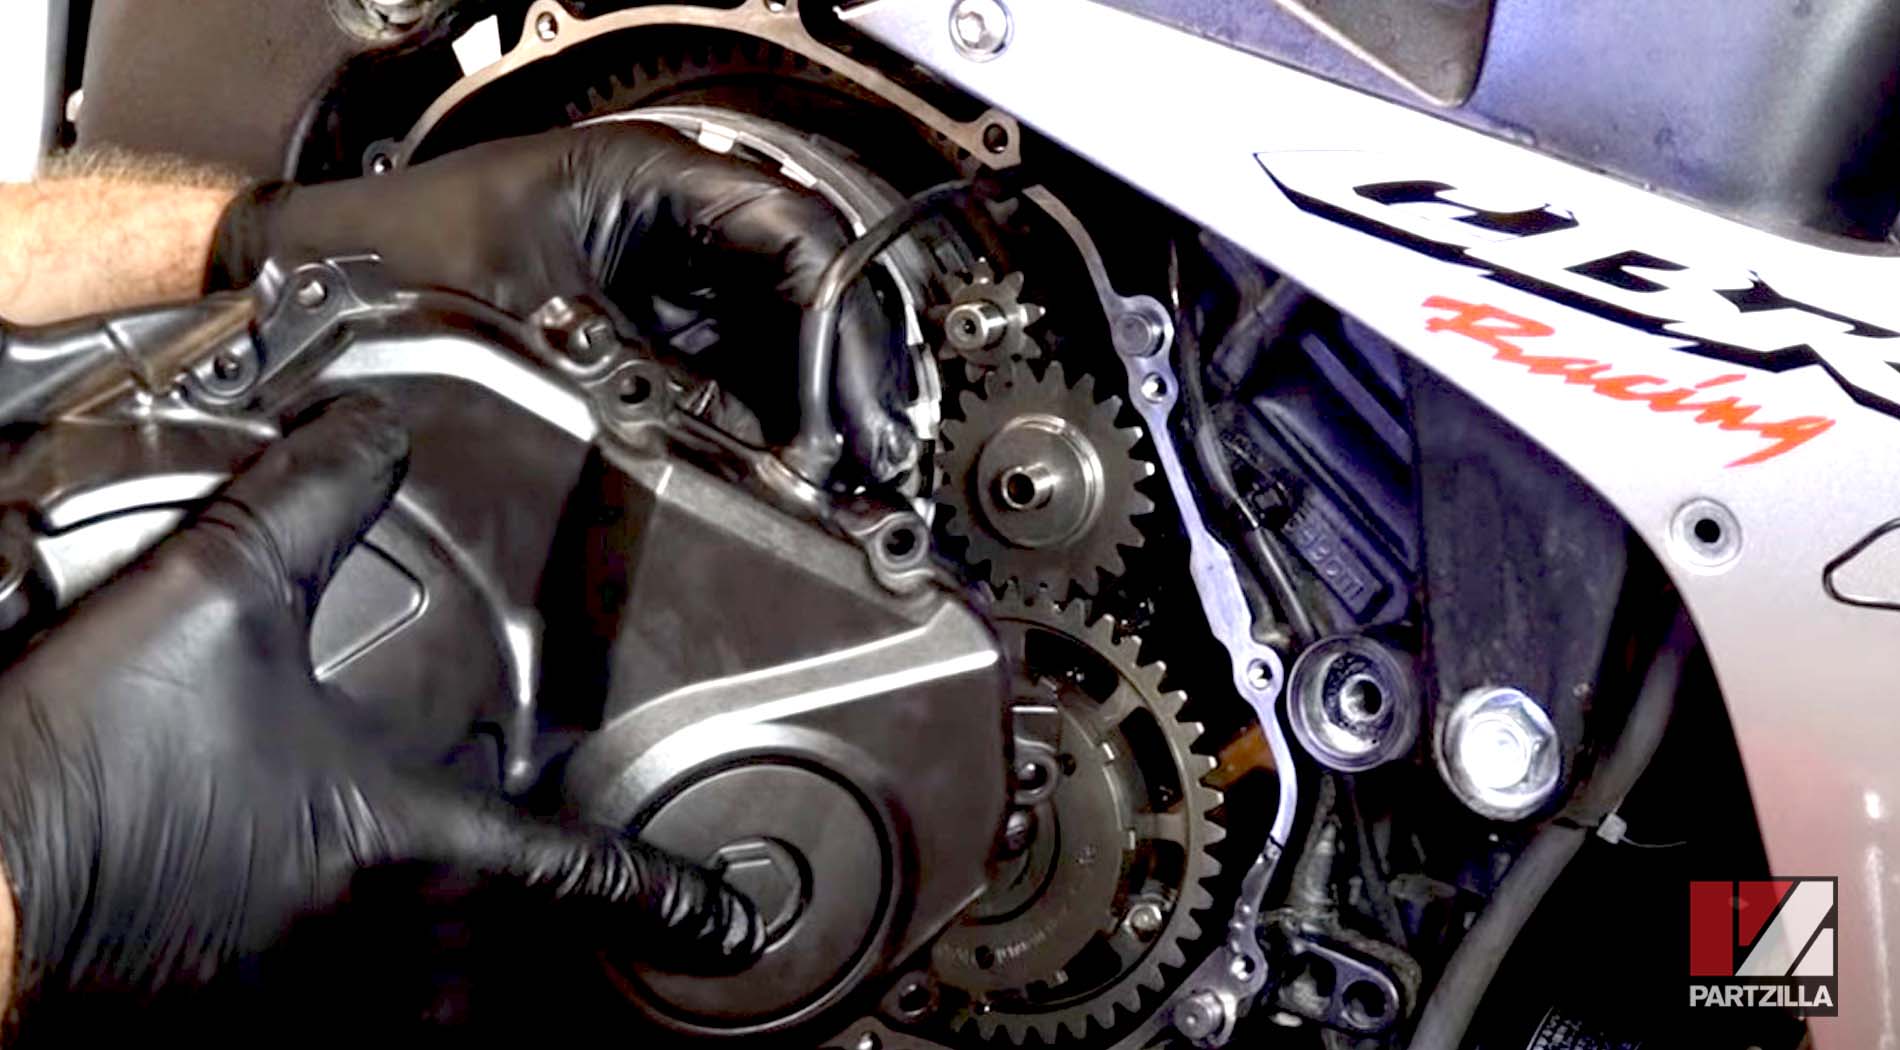
Step 5. Remove the idler gear sprocket, its wave washer and thrust washer, and set them aside.
Step 6. Suspend the crankcase cover with a zip tie or something similar to prevent it from hanging by the crankshaft position sensor wire.

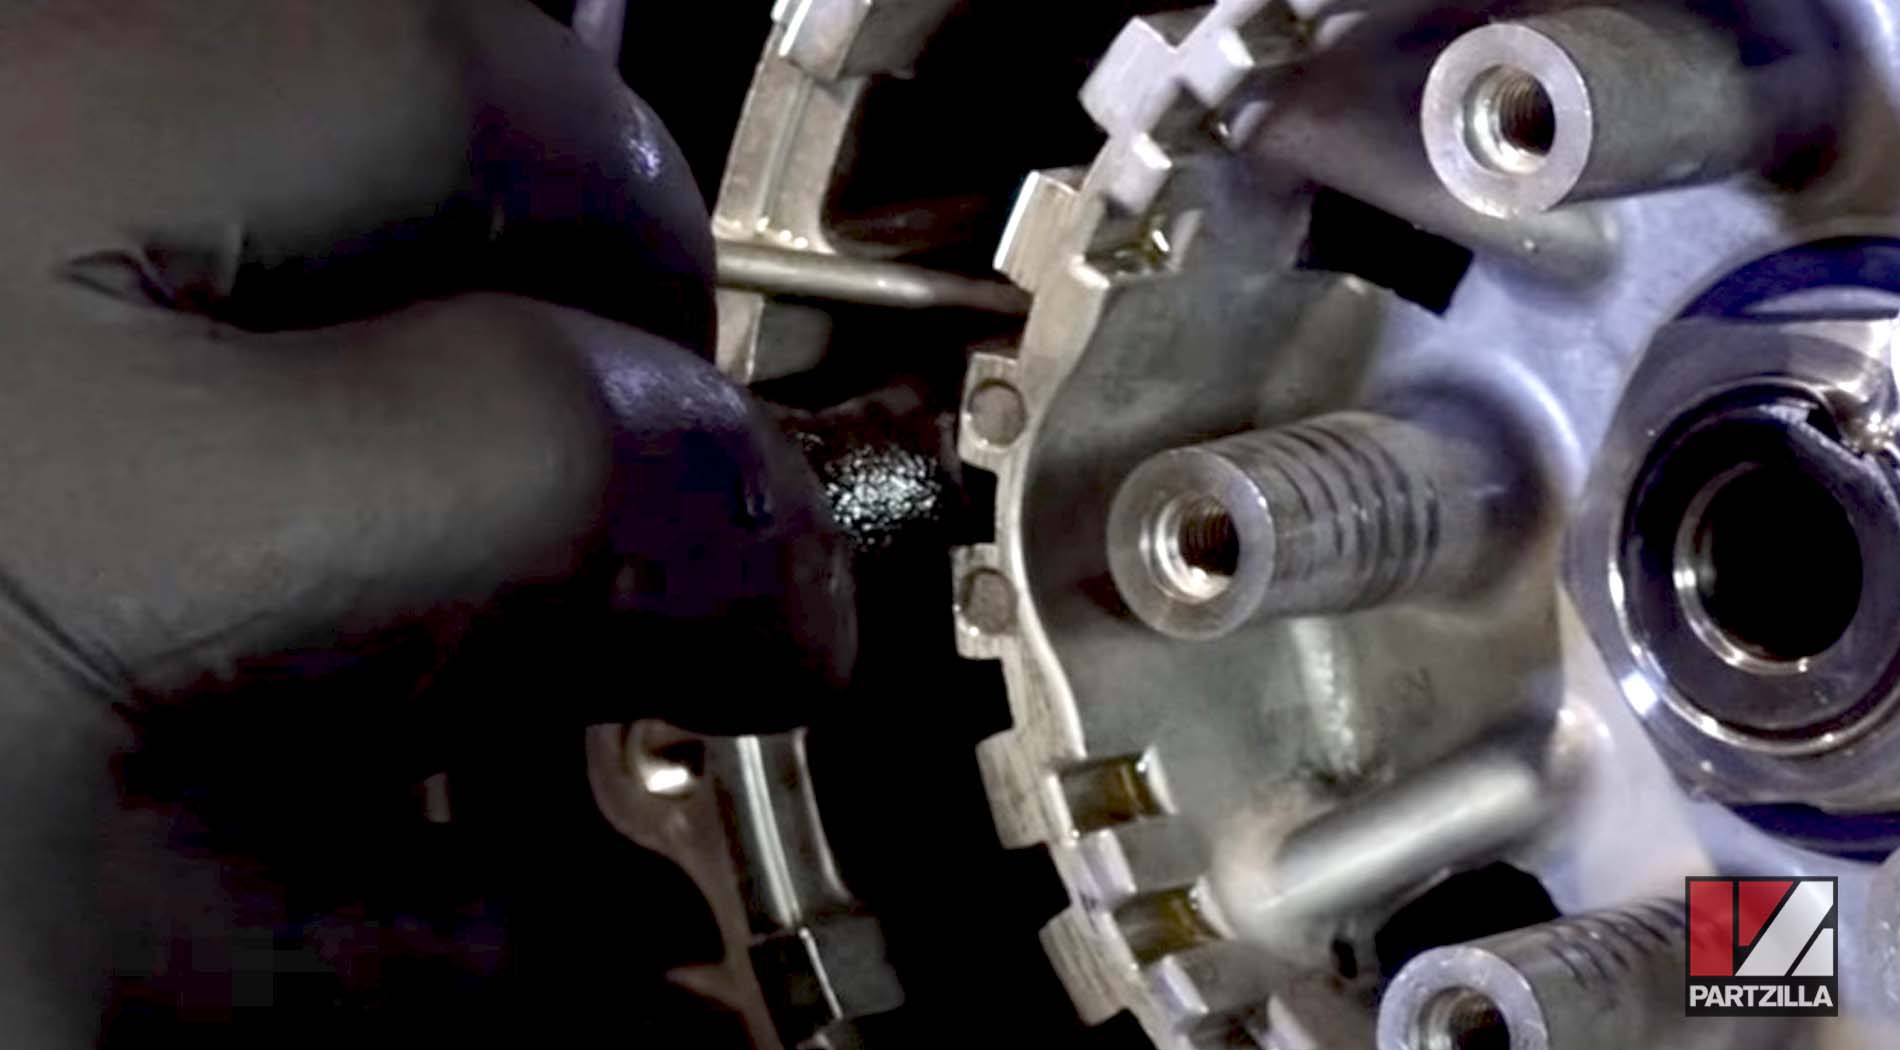
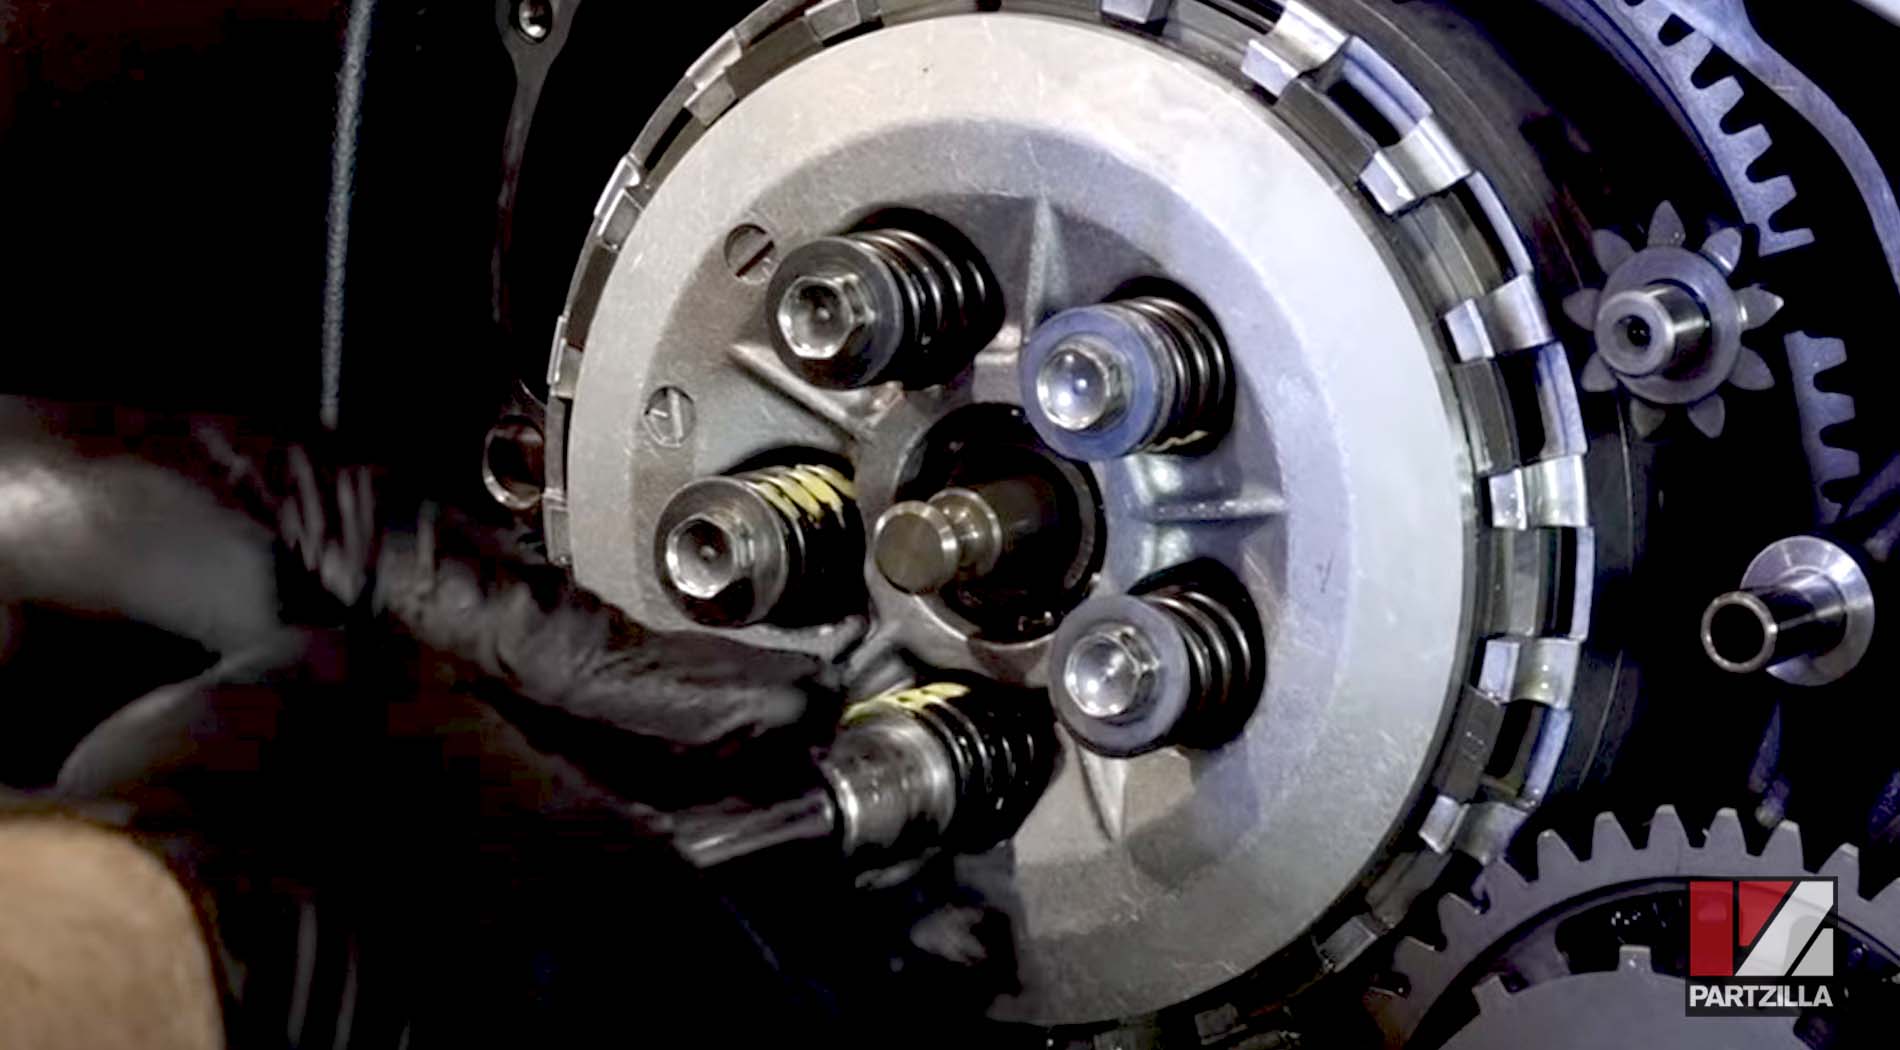
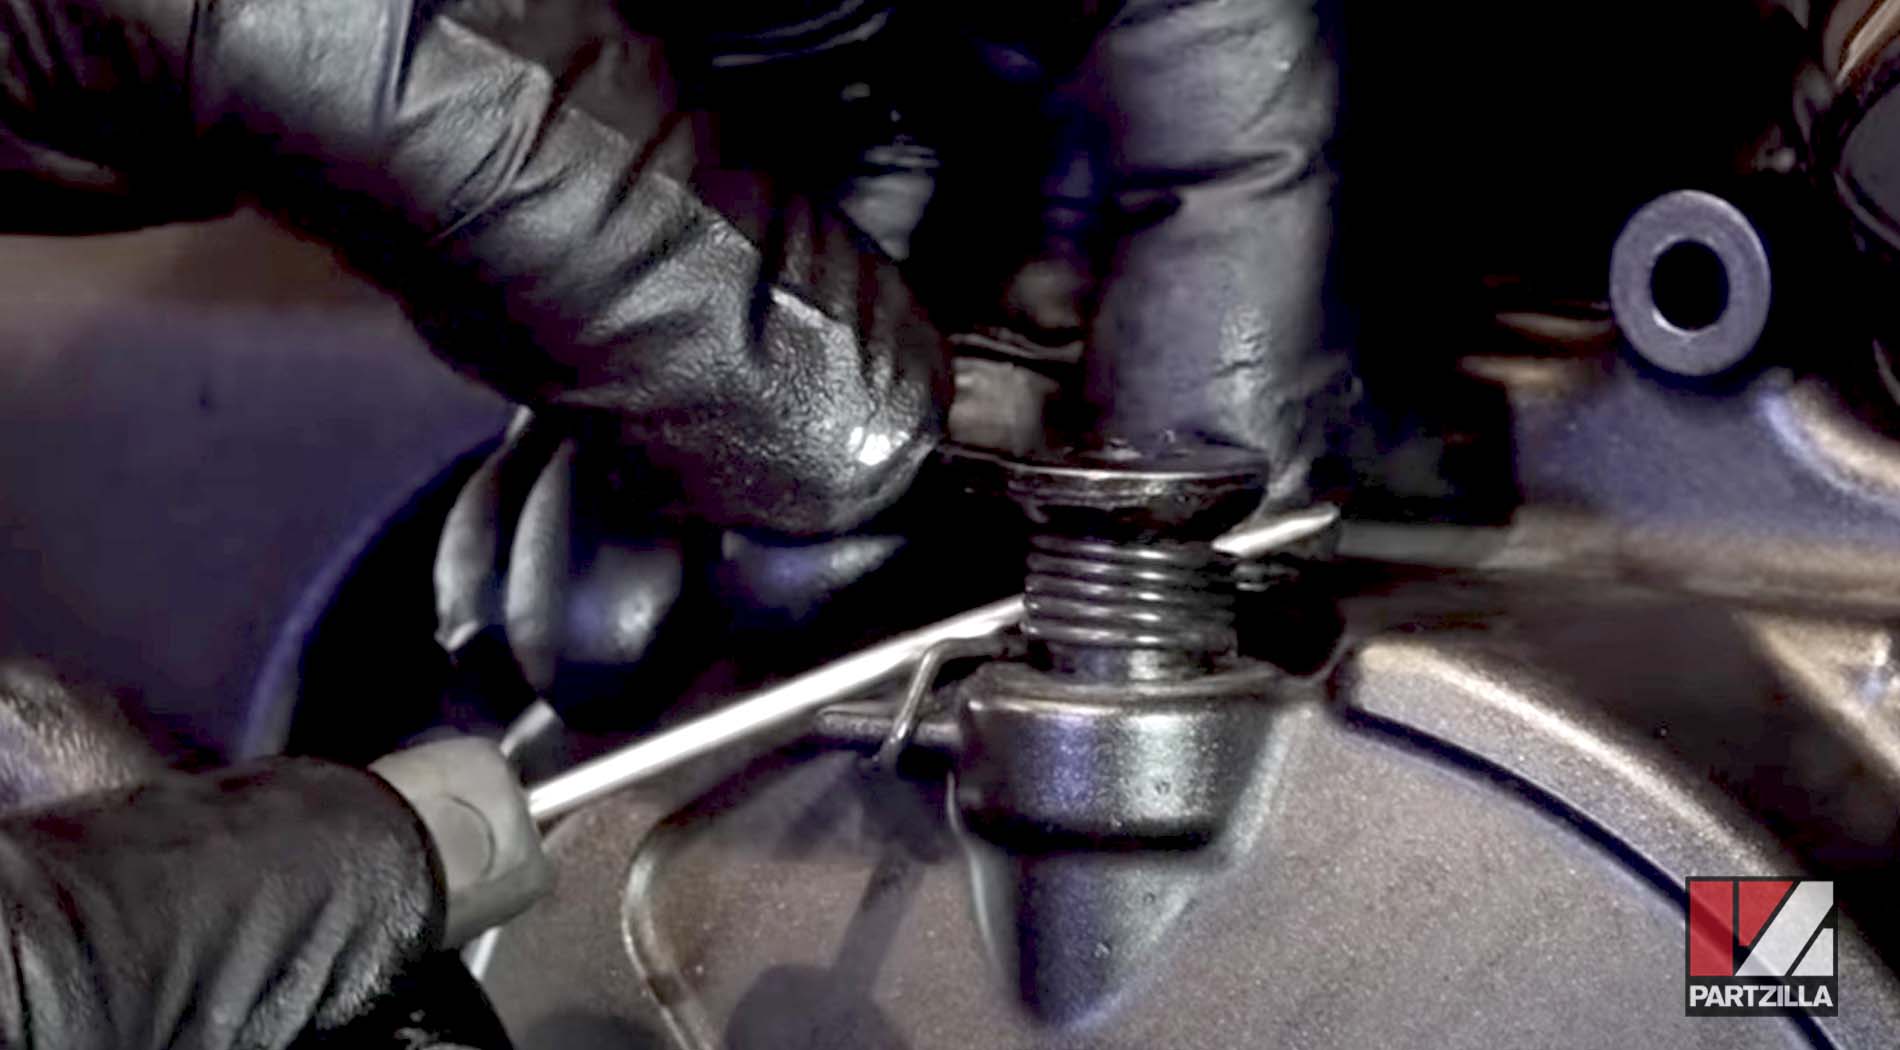
Step 7. Remove the five bolts and clutch springs from the clutch pressure plate. Back each bolt off a couple of turns while working in a diagonal pattern to keep the pressure on the pressure plate even.
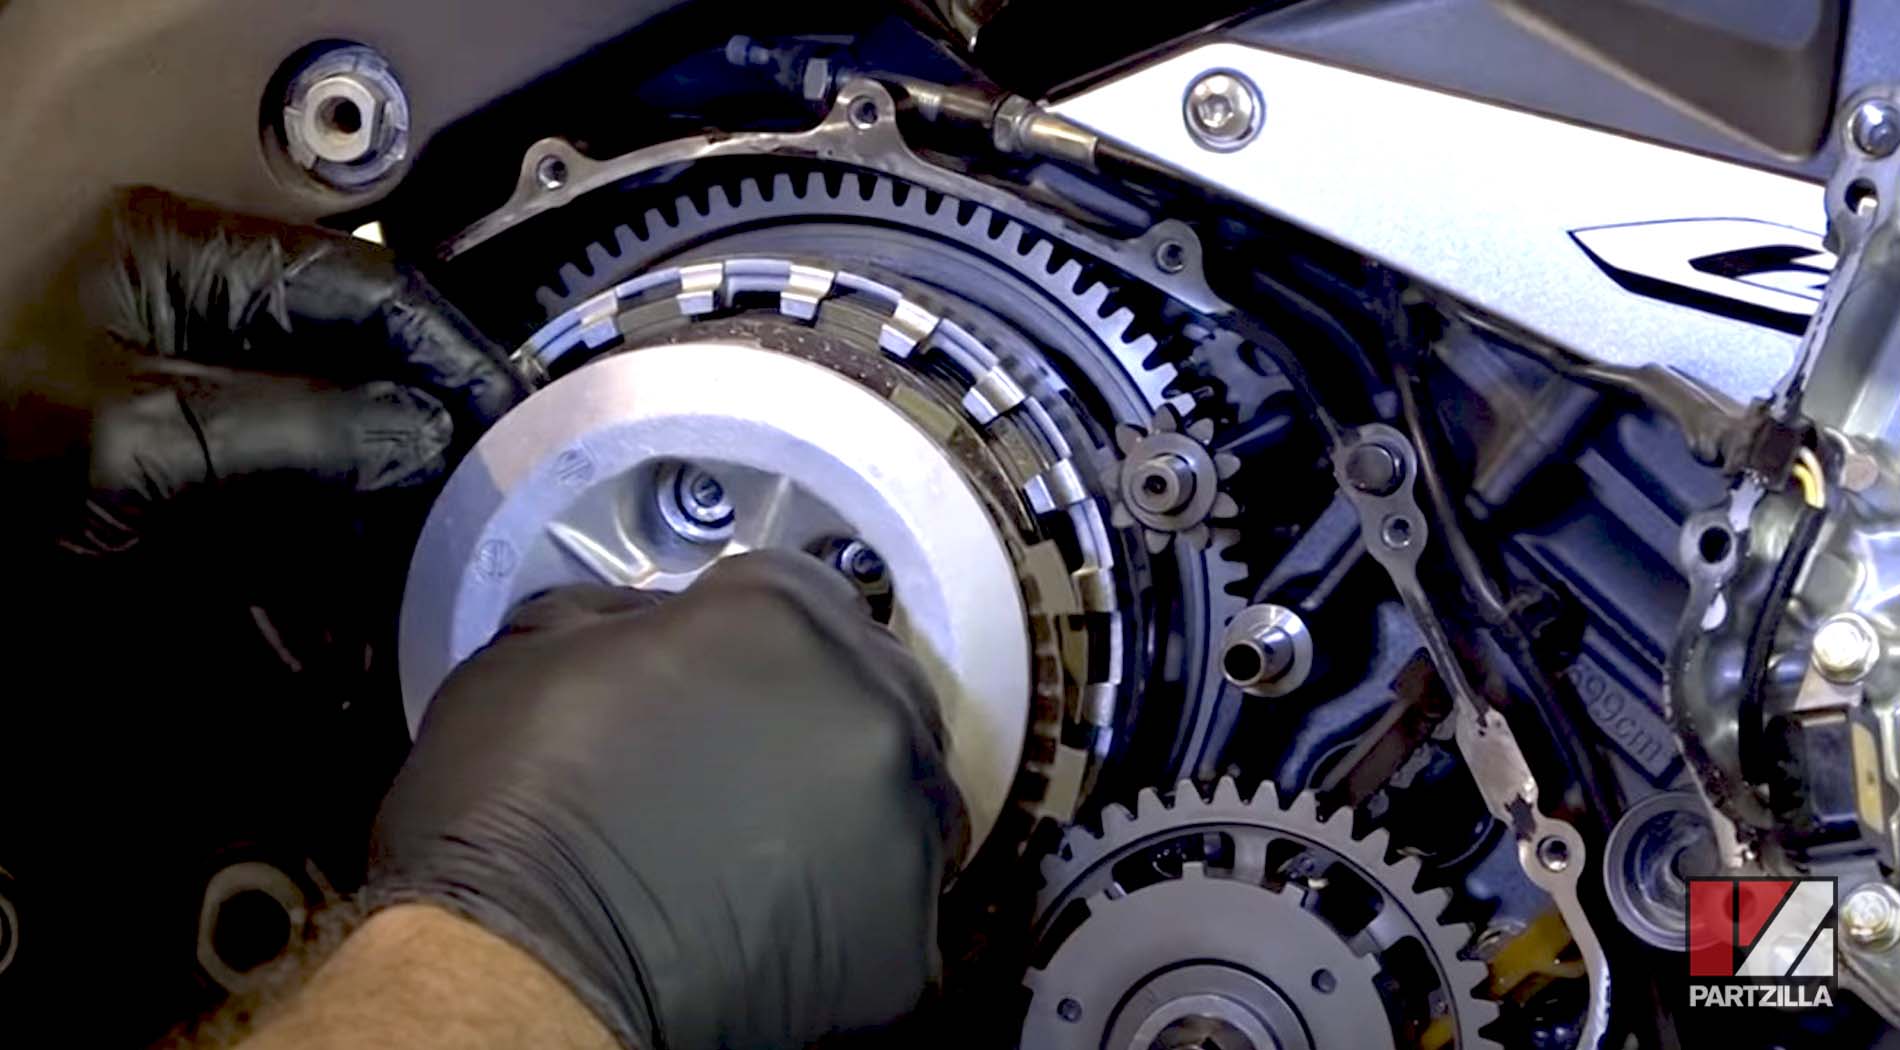
Step 8. Remove the pressure plate, and the clutch friction disks and clutch plates beneath it.
NOTE: Clutch friction disks are commonly referred to as friction plates, and clutch plates are commonly referred to as drive plates.
Replacing Honda CBR 600RR Clutch
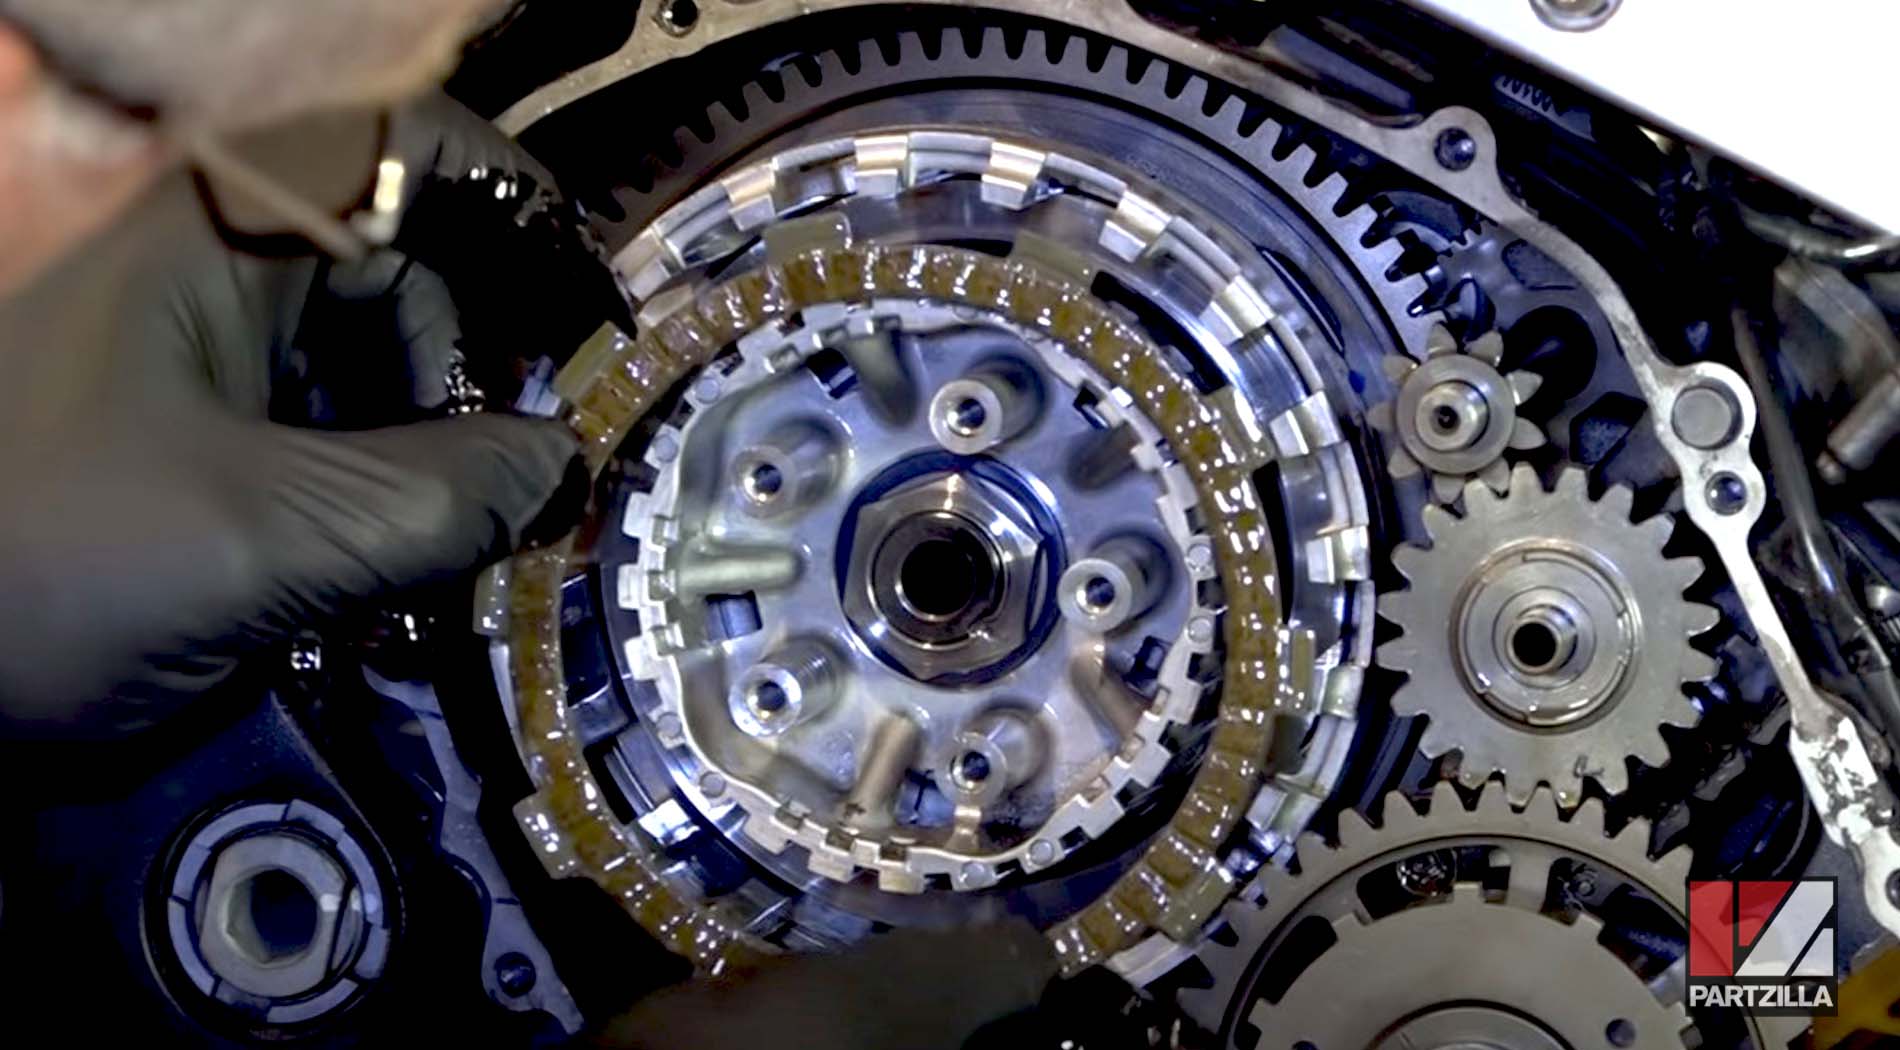
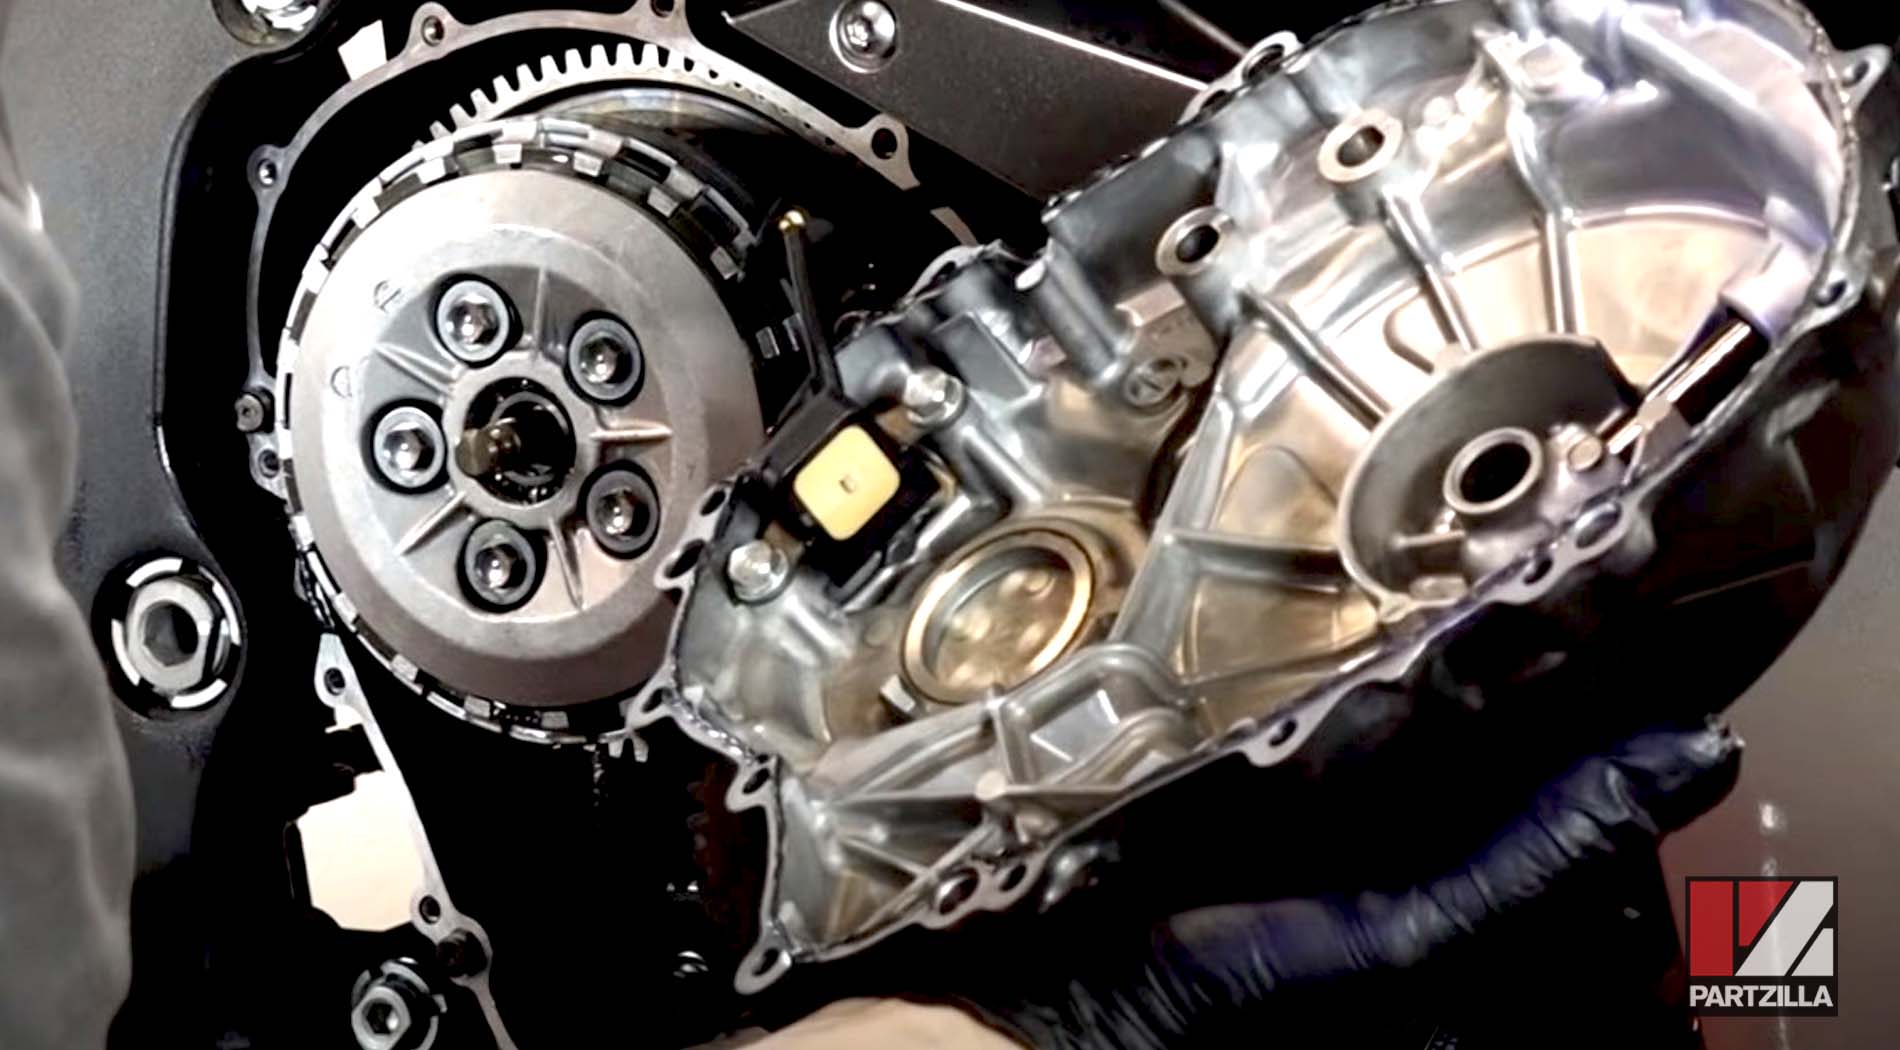
Step 1. Inspect the outer clutch basket and the inner clutch hub for signs of wear. Look for marks on the edges of the channels the clutch plates are housed in. If the outer clutch basket or inner clutch hub are damaged or worn, replace them.
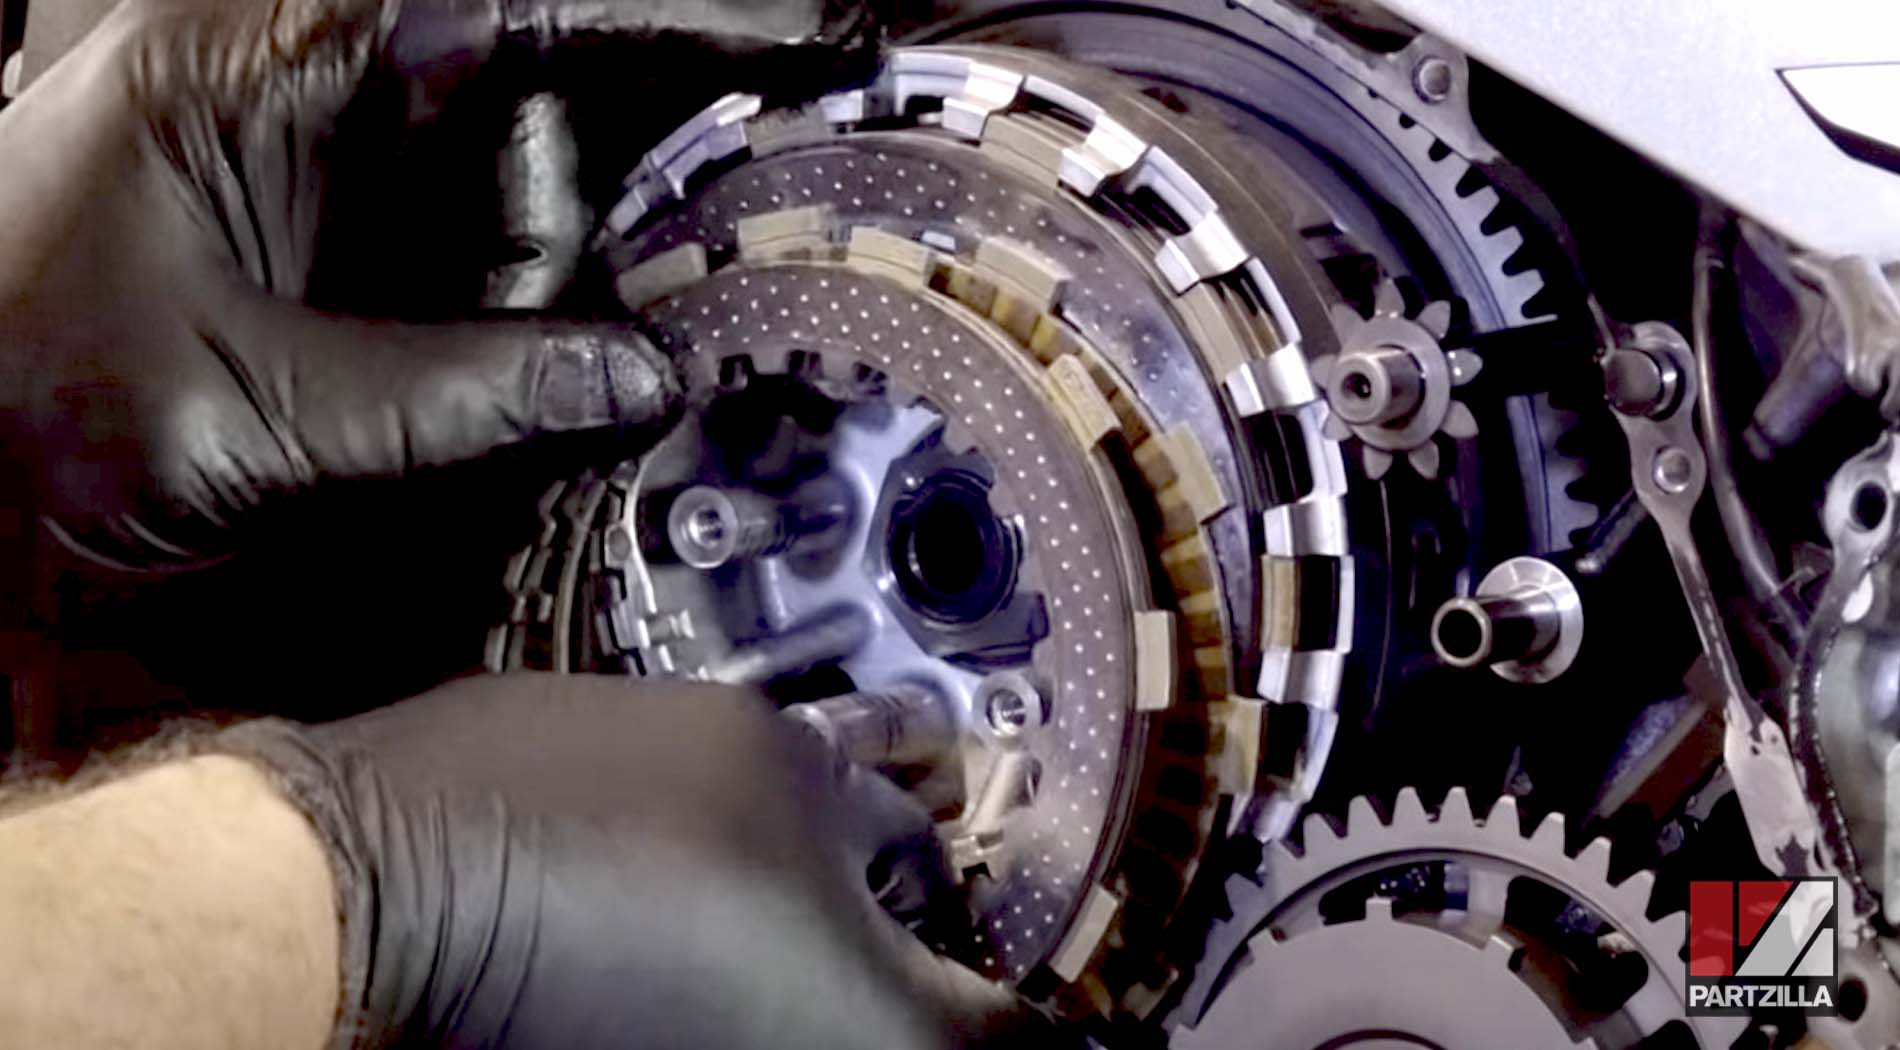
Step 2. Install the new friction plates and drive plates, followed by the clutch pressure plate.
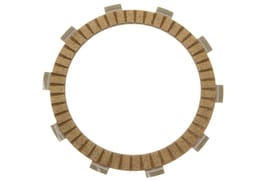
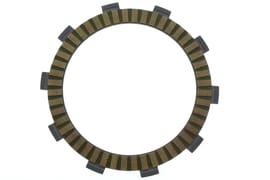
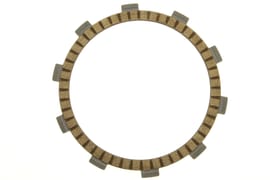
There are four different types of clutch disks/plates in the Honda CBR 600RR clutch: an inner friction disk, the mid friction plates, the outer friction disk and the drive plates. Install them in the correct order as follows:
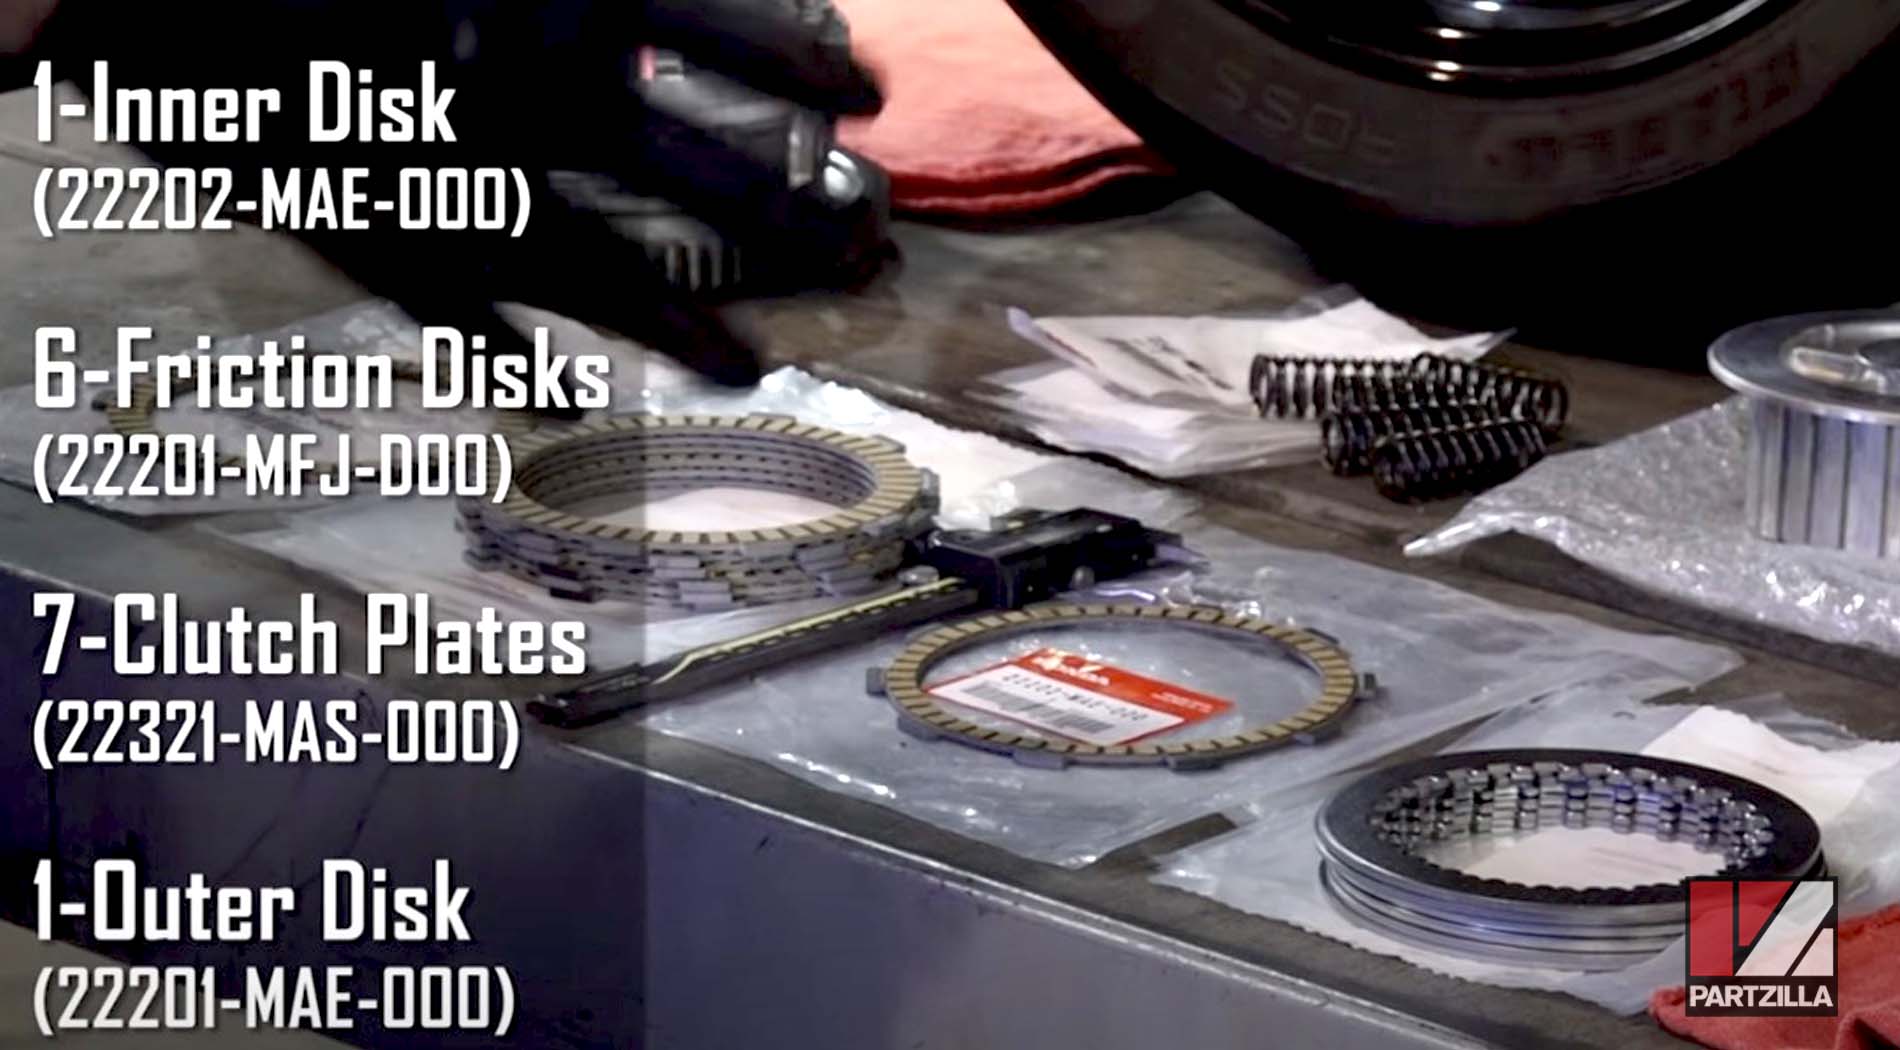
1. Inner friction disk (part# 22202-MAE-000)
2. Clutch drive plate (part# 22321-MAS-000)
3. Clutch friction disk (part# 22201-MFJ-D00)
4. Clutch drive plate (part# 22321-MAS-000)
5. Clutch friction disk (part# 22201-MFJ-D00)
6. Clutch drive plate (part# 22321-MAS-000)
7. Clutch friction disk (part# 22201-MFJ-D00)
8. Clutch drive plate (part# 22321-MAS-000)
9. Clutch friction disk (part# 22201-MFJ-D00)
10. Clutch drive plate (part# 22321-MAS-000)
11. Clutch friction disk (part# 22201-MFJ-D00)
12. Clutch drive plate (part# 22321-MAS-000)
13. Clutch friction disk (part# 22201-MFJ-D00)
14. Clutch drive plate (part# 22321-MAS-000)
15. Outer friction disk (part# 22201-MAE-000)
NOTE: If you mixed the friction plates together when they were soaking in oil, you can tell them apart because the inner friction plate is narrower than the others and the outer friction plate has wider friction pads.
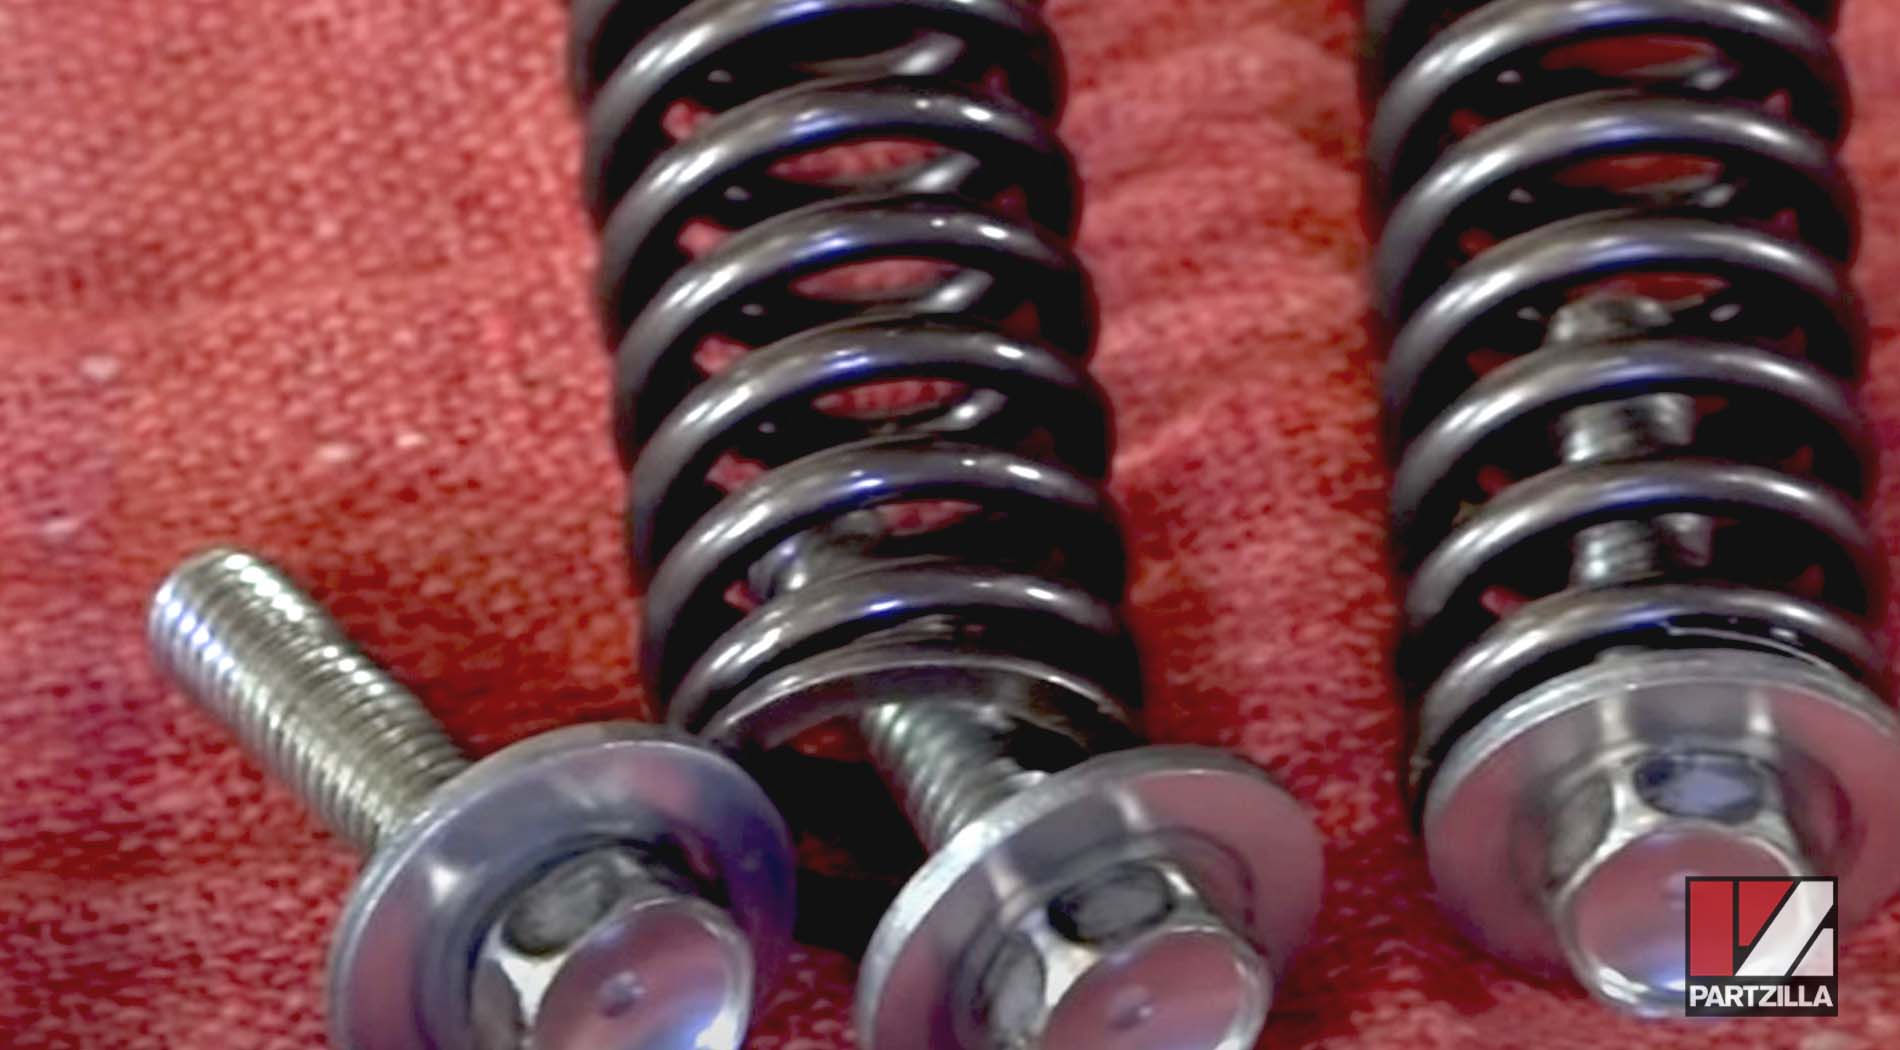
Step 3. Measure the clutch springs with a digital caliper.
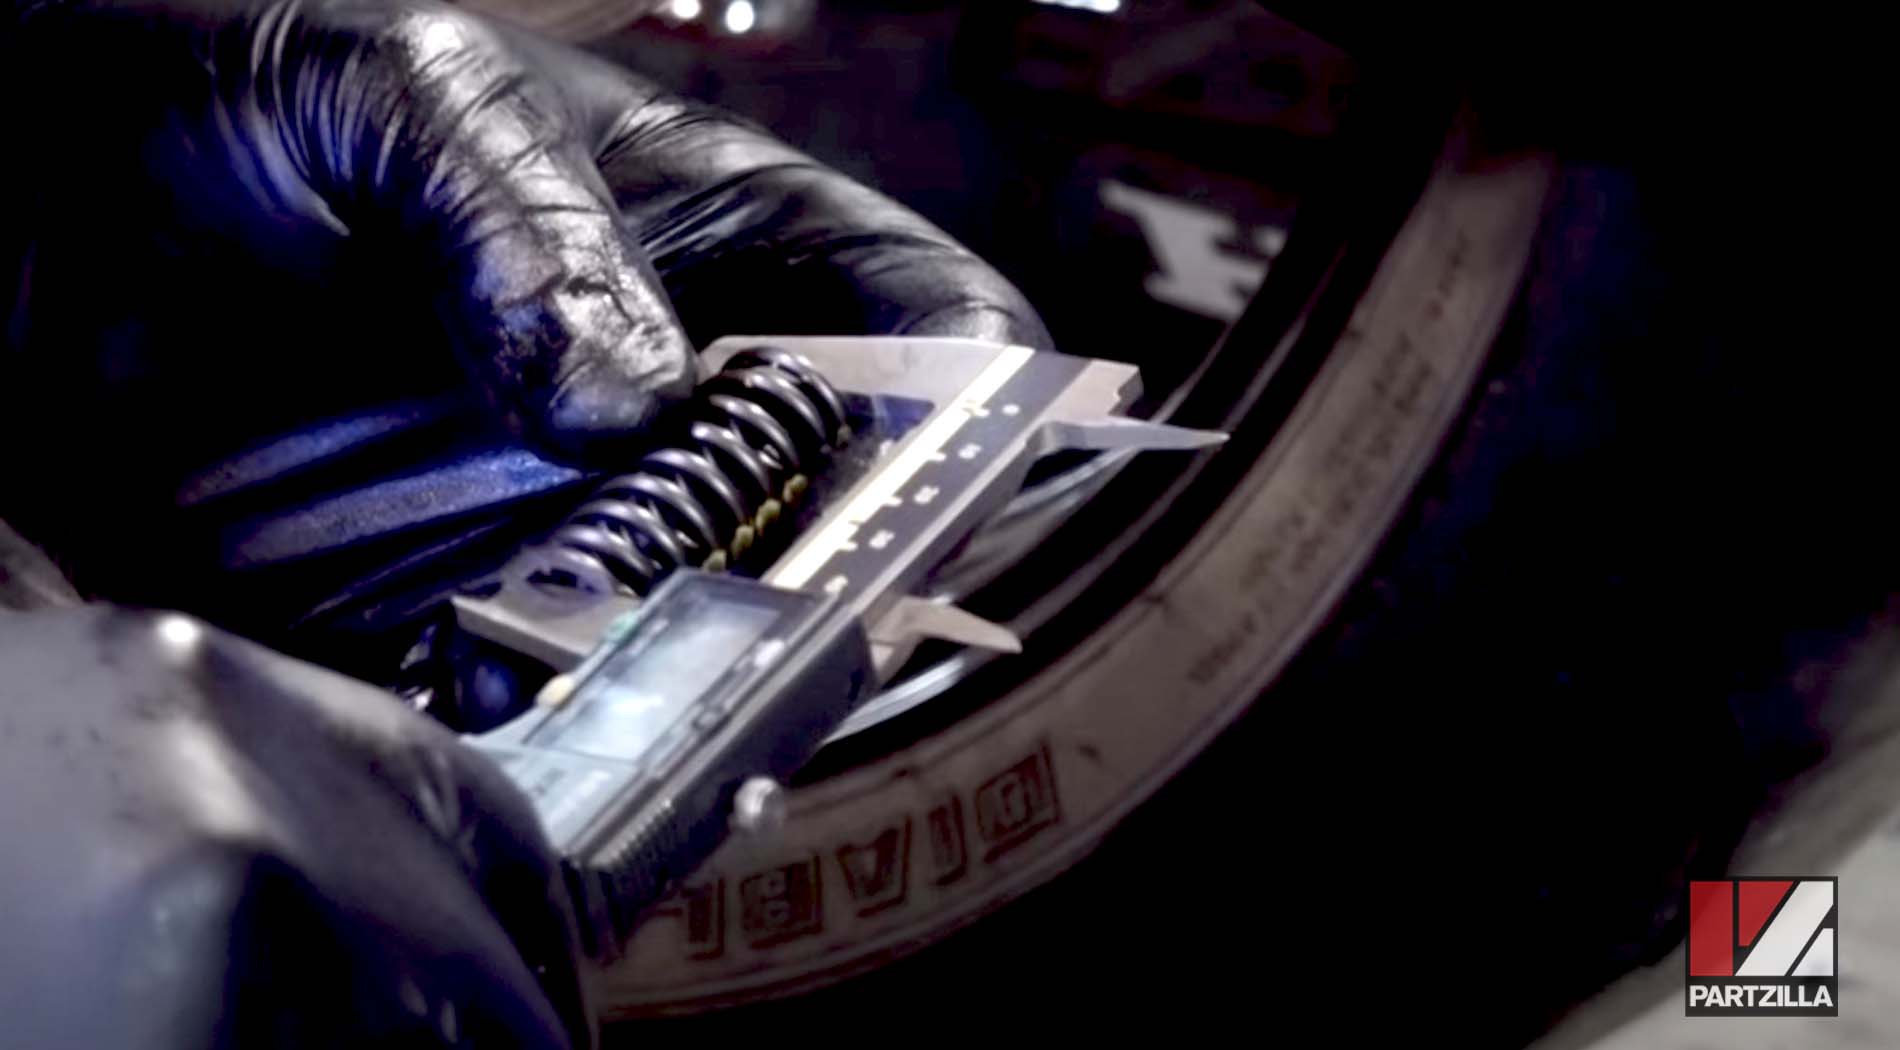
NOTE: The springs should be at least 45.8mm in length. If they’re less than that, the springs are too worn and will need replacing.
Rebuilding Honda CBR 600RR Clutch
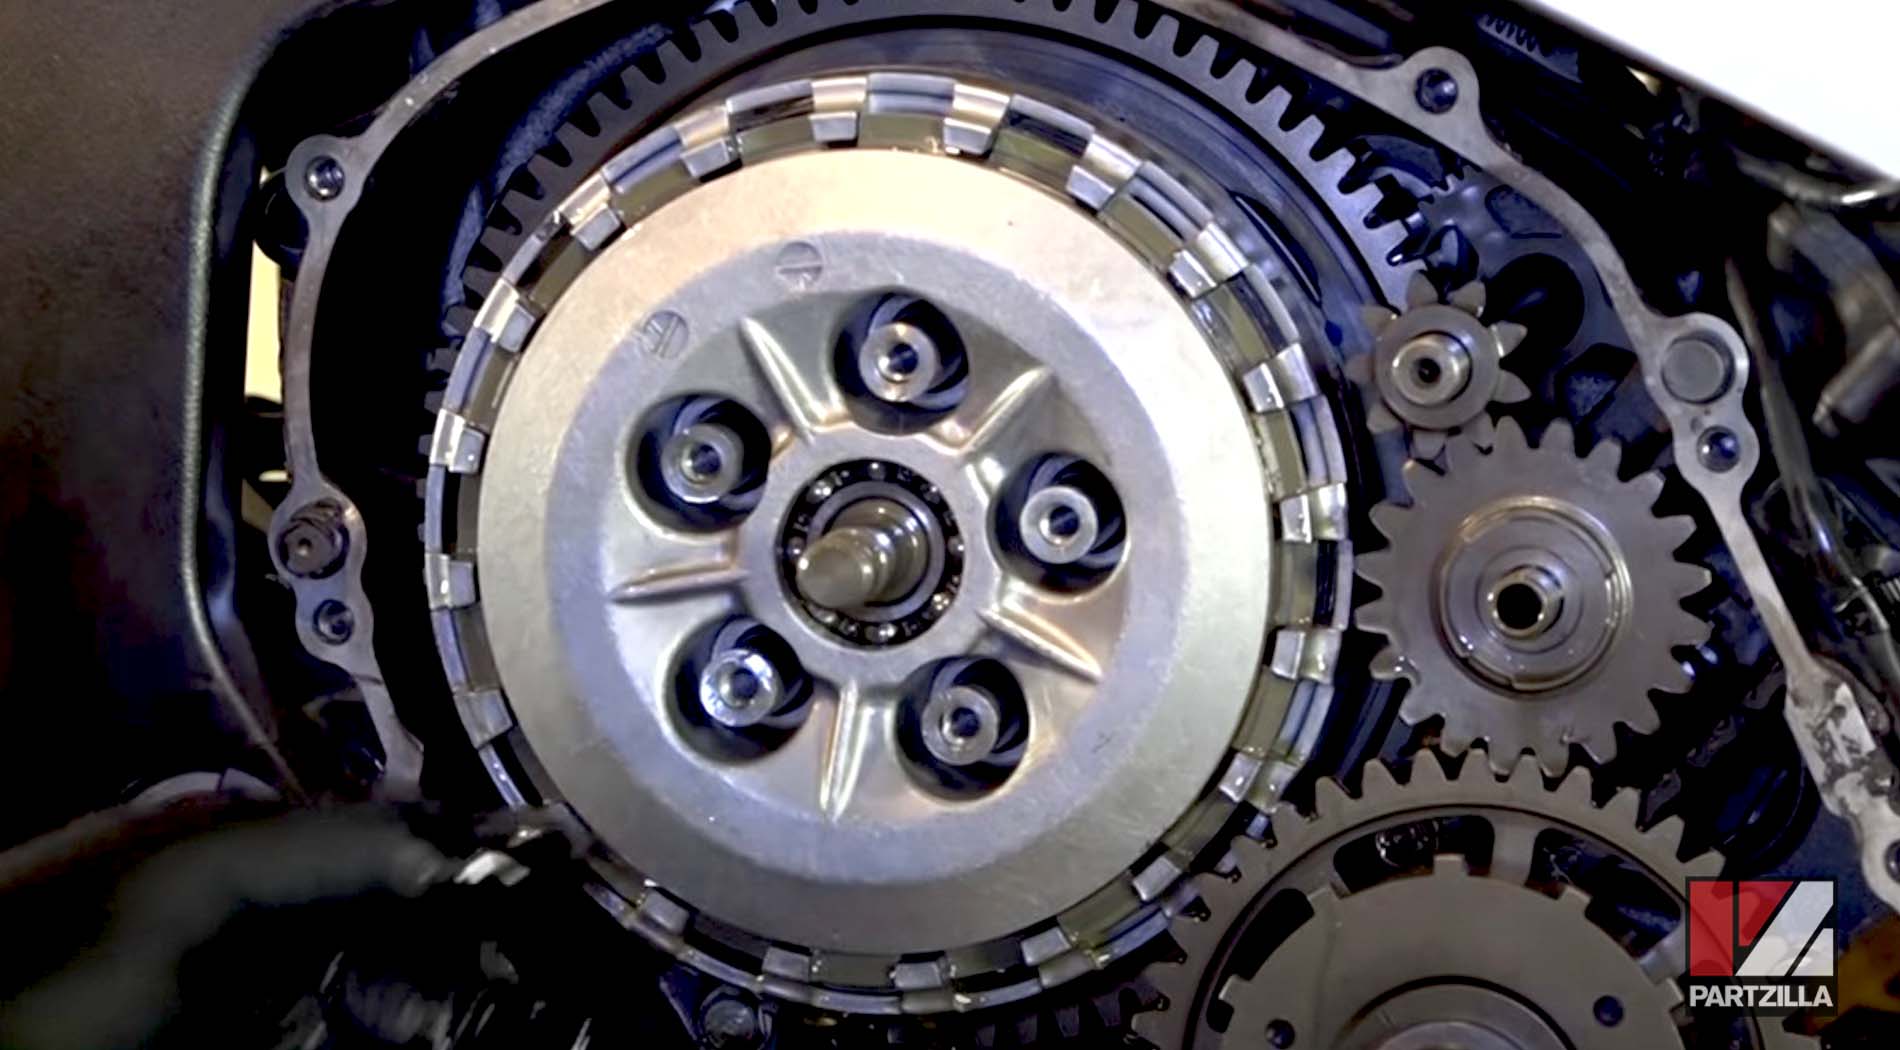
Step 1. Reinstall the clutch springs and pressure plate bolts. Tighten the bolts a few turns at a time, and work diagonally to keep the pressure on the pressure plate even so as not to damage the plate. Torque the bolts to 9 foot-pounds.

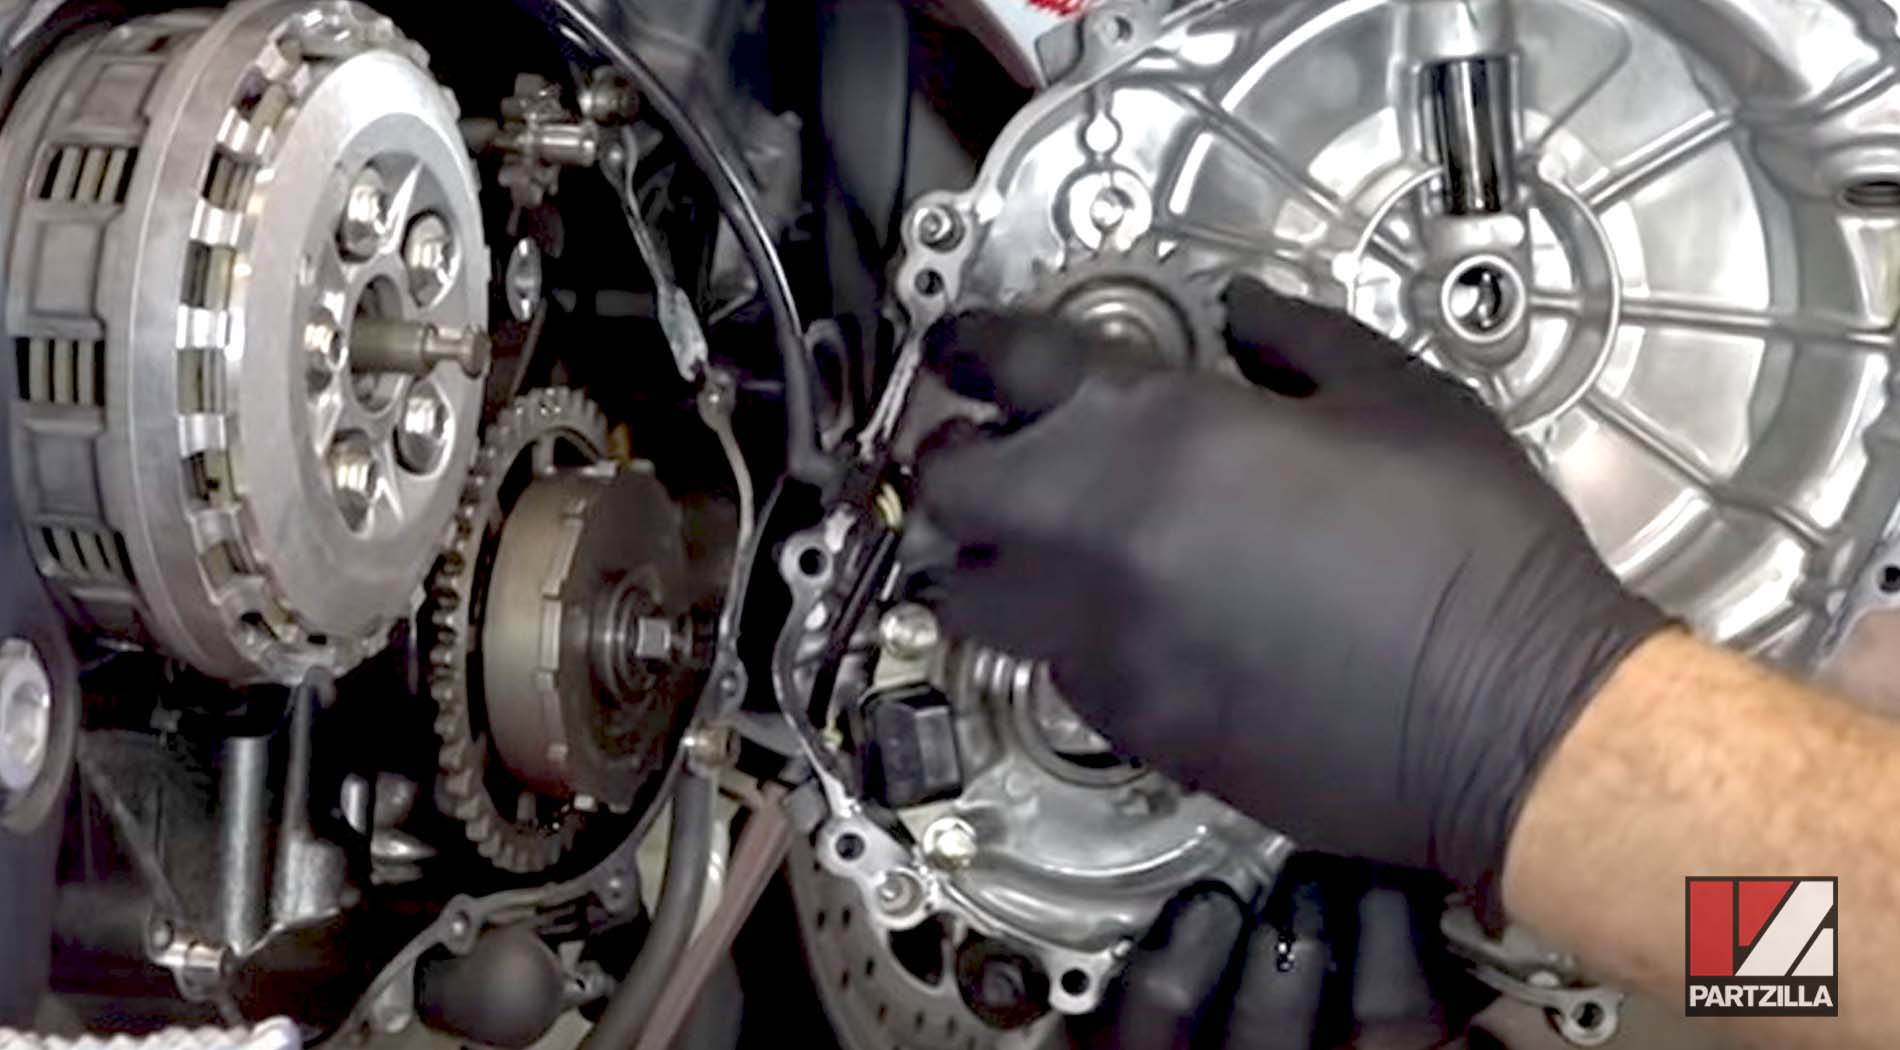
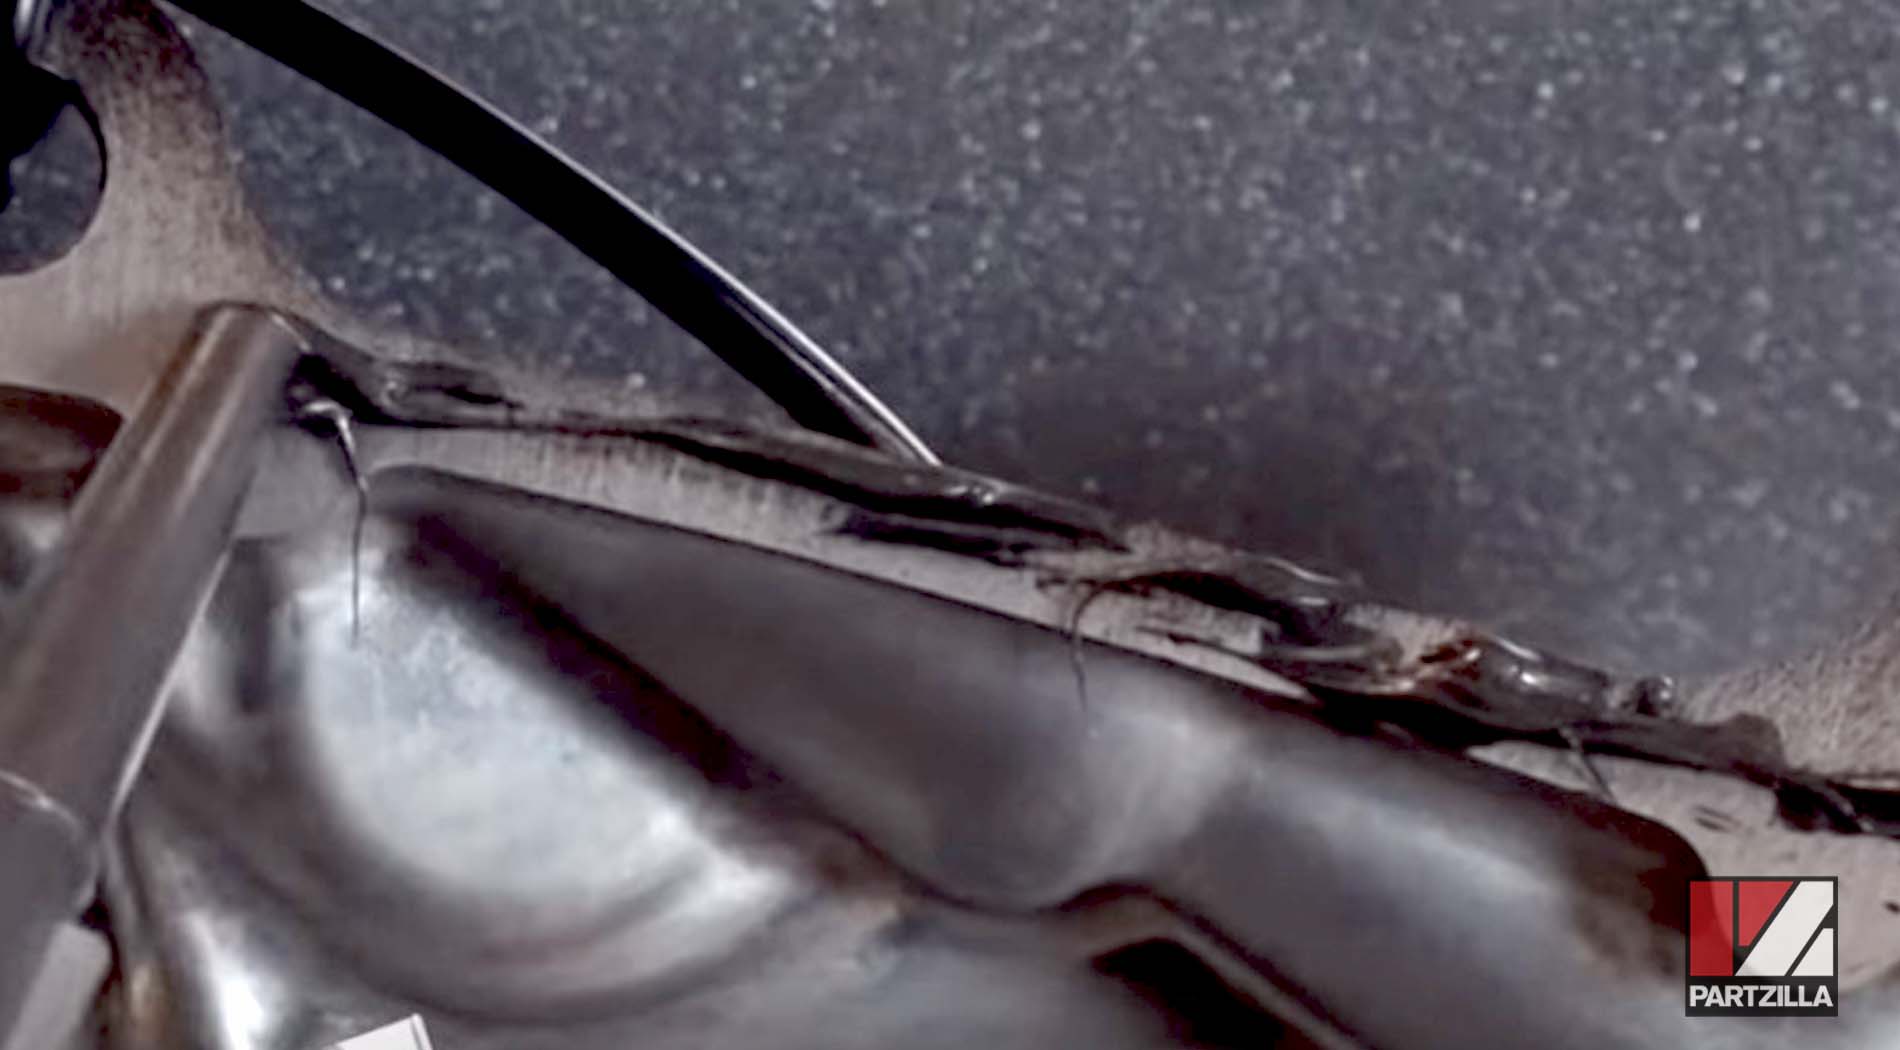
Step 2. Clean off any residual gasket material from the crankcase cover and the crankcase itself with contact/brake cleaner and a wire brush. Be careful not to scratch or damage the surfaces of the cover or the crankcase.
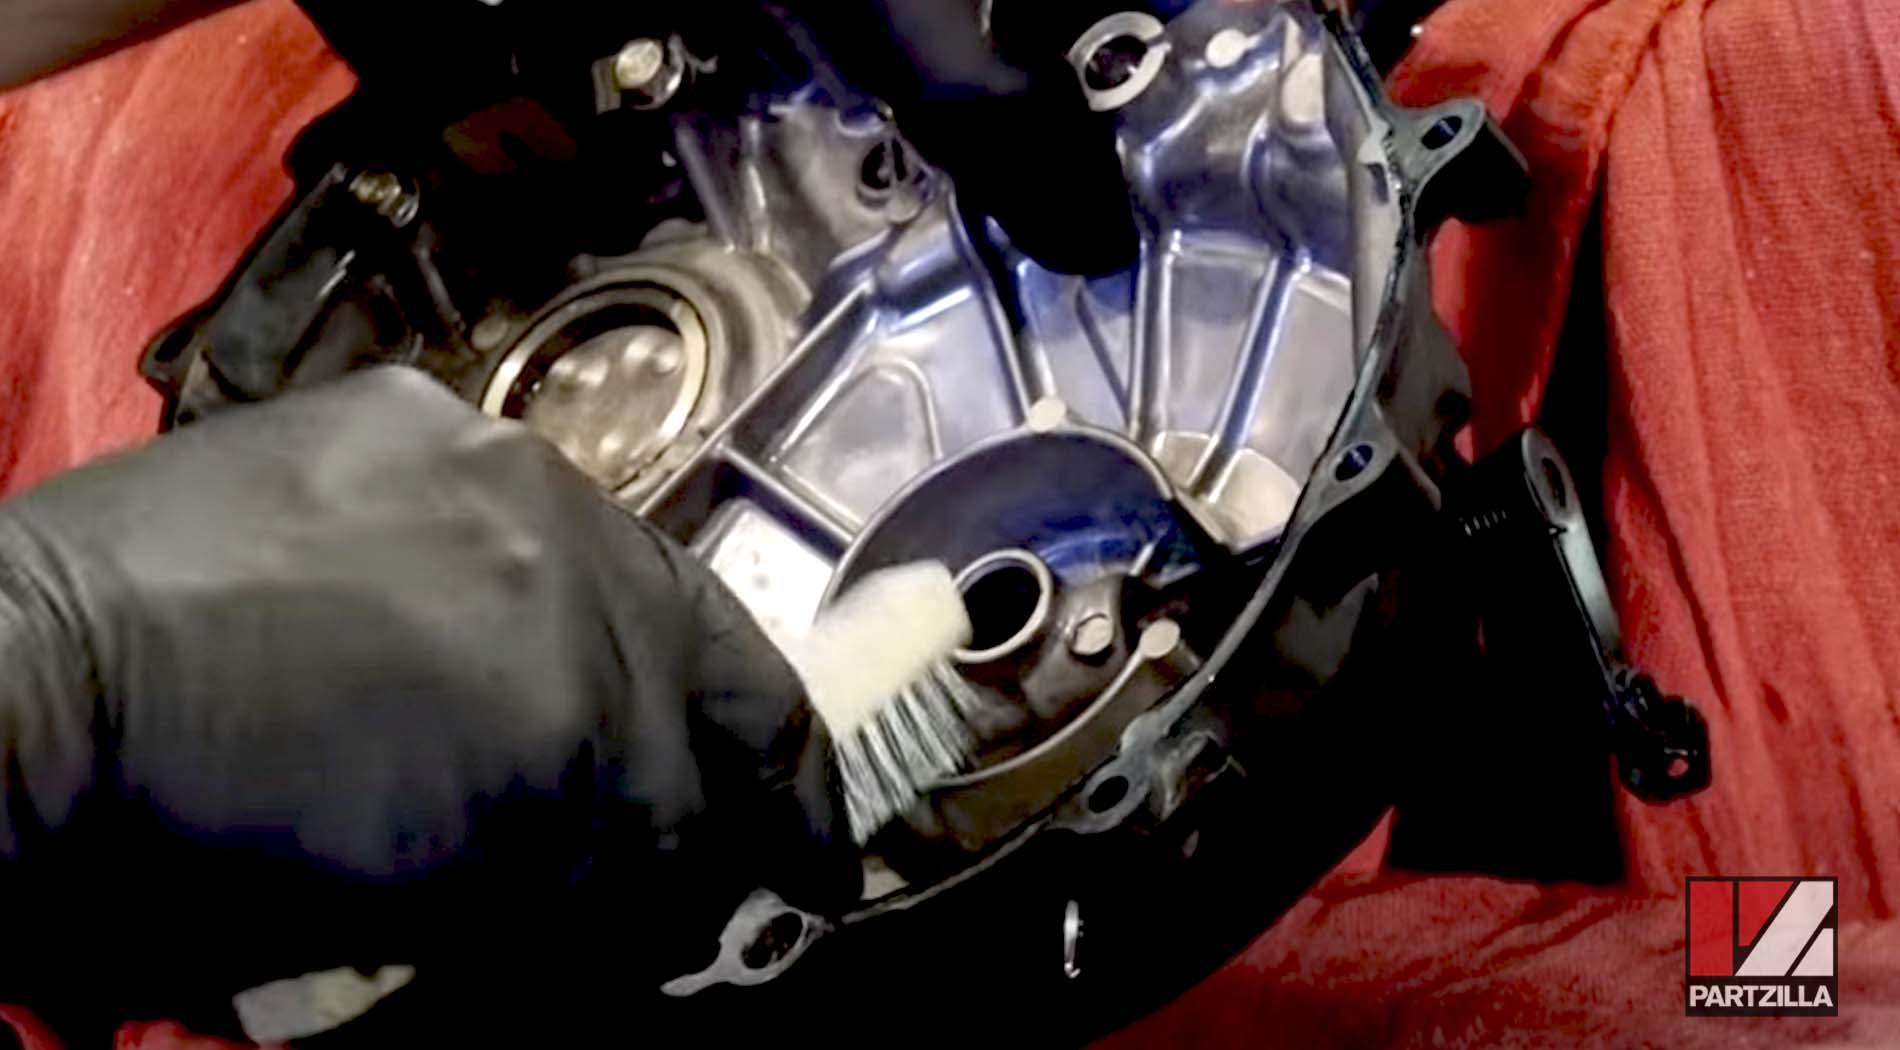
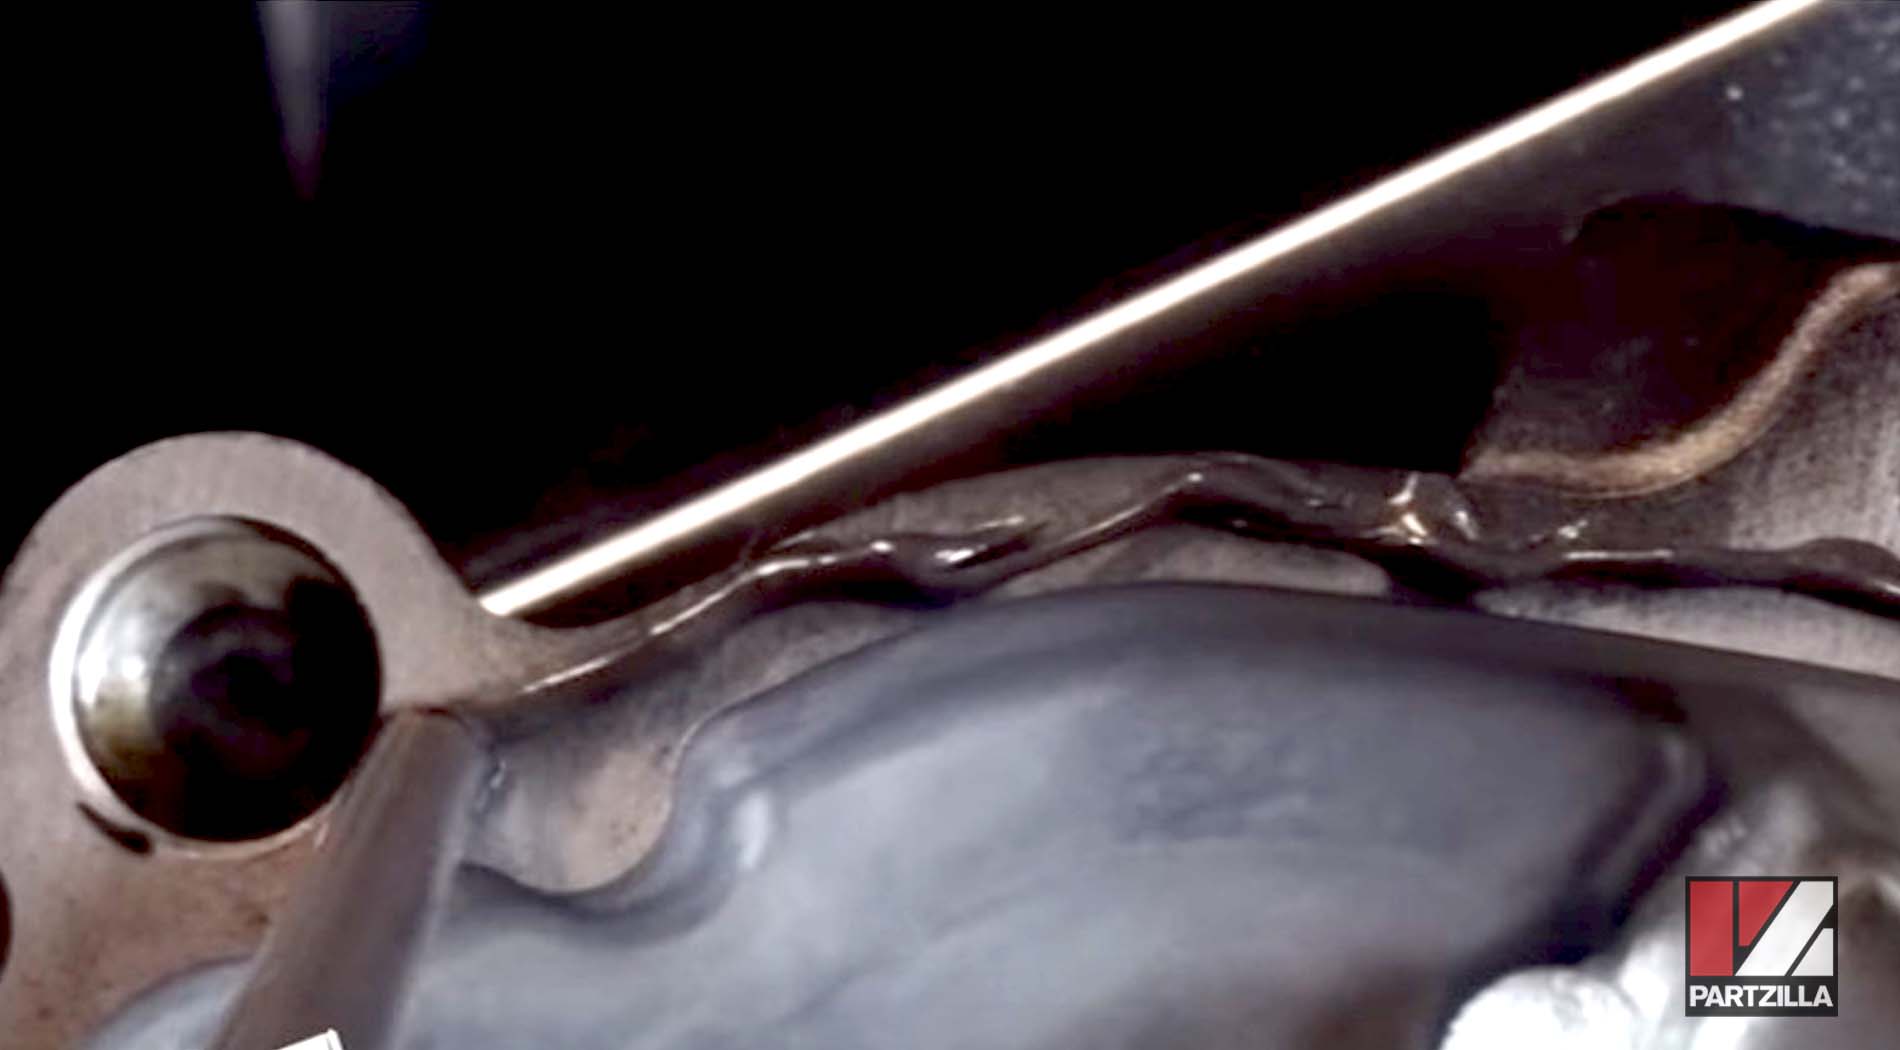
Step 3. Apply a continuous bead of gasket maker around the crankcase cover and over the two areas on the crankcase indicated in the image below.
Step 4. Reinstall the idler gear, wave washer and outer thrust washer into the crankcase.
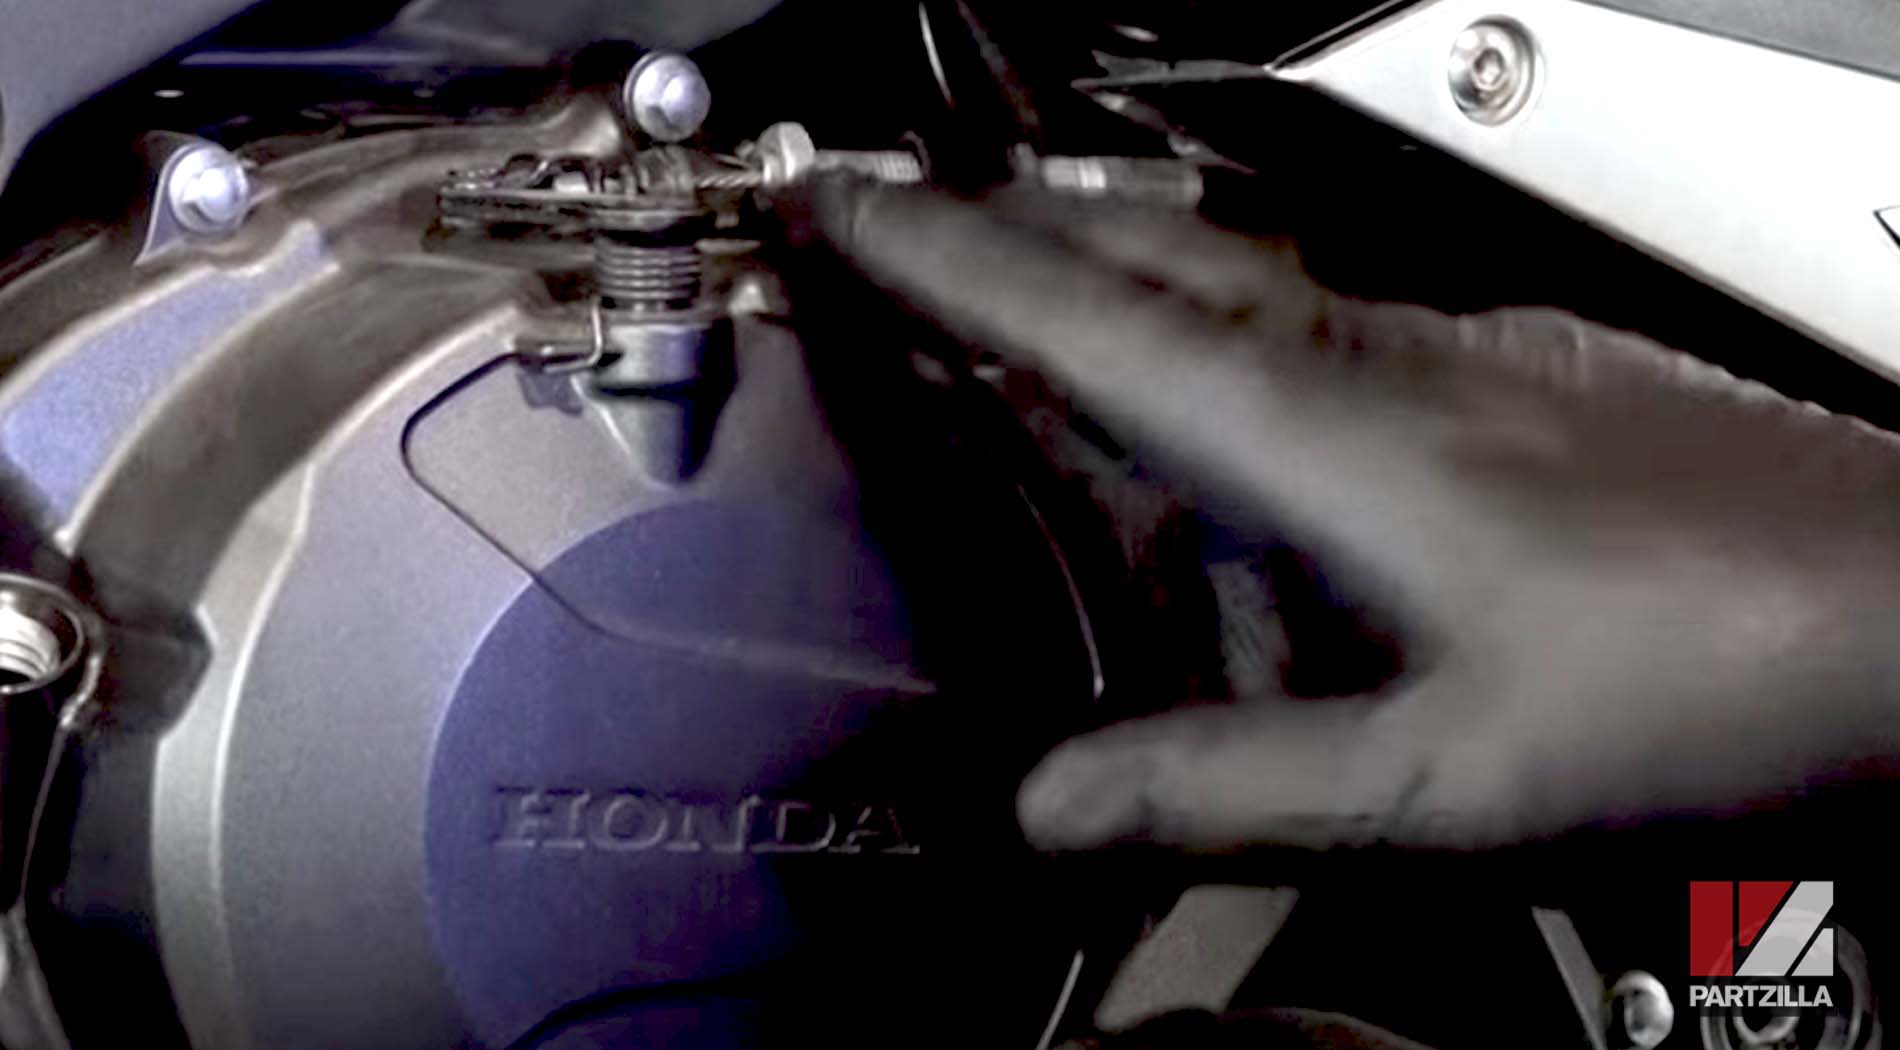
Step 5. Reinstall the crankcase cover while slightly rotating the clutch lever clockwise so that the clutch lever engages with the pull at the center of the clutch housing.
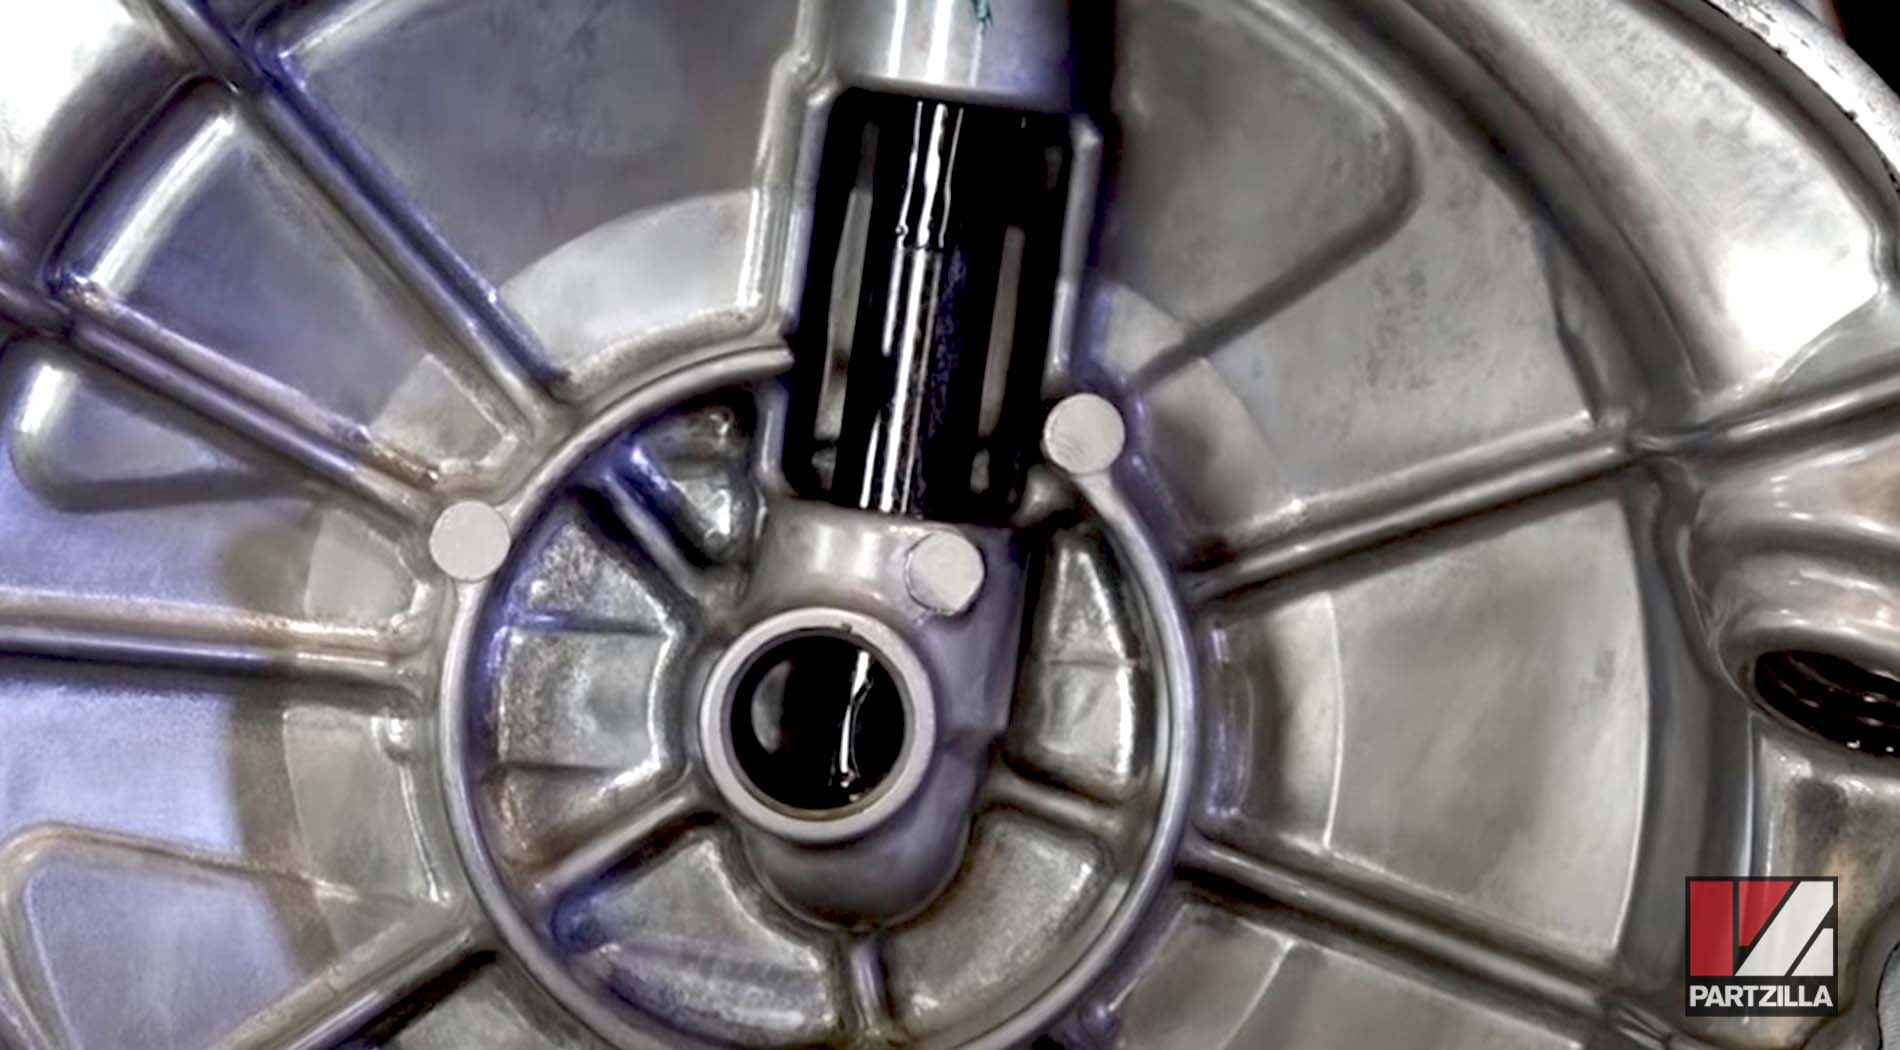

Step 6. Check that the clutch lever is engaged with the clutch, and that the lever’s return spring is in the correct position. Reinstall the clutch cover bolts.
Step 7. Go to the clutch lever on the handlebar and back off the clutch adjustment screw to reduce the tension on the clutch cable.
Step 8. Reattach the clutch cable to the clutch lever at the crankcase cover. Tighten the adjuster until the cable just begins to engage the clutch lever, then tighten the locknut.
Step 9. Refill the motor with Honda HP4 oil, then reinstall the lower cowling panel and you’re done.