Troubleshooting Honda CBR 600RR Charging System
When the battery in a Honda motorcycle isn’t charging properly, there are three main components of the bike’s charging system that need to be tested: the battery, the regulator/rectifier and the stator.
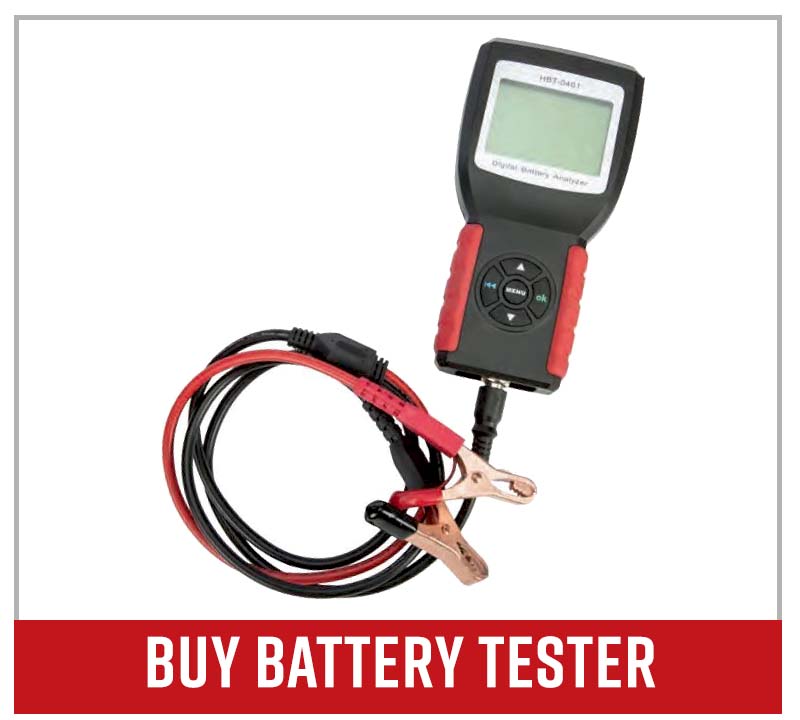
You’ll need a multimeter and a battery tester to test these components. Watch the video above and follow the steps below to test the charging system on a Honda CBR 600RR.

Troubleshooting Honda CBR 600RR Charging System #1 - The Battery
Step 1. Remove the seat to access the battery. The seat is held in place by two bolts at the rear corners.

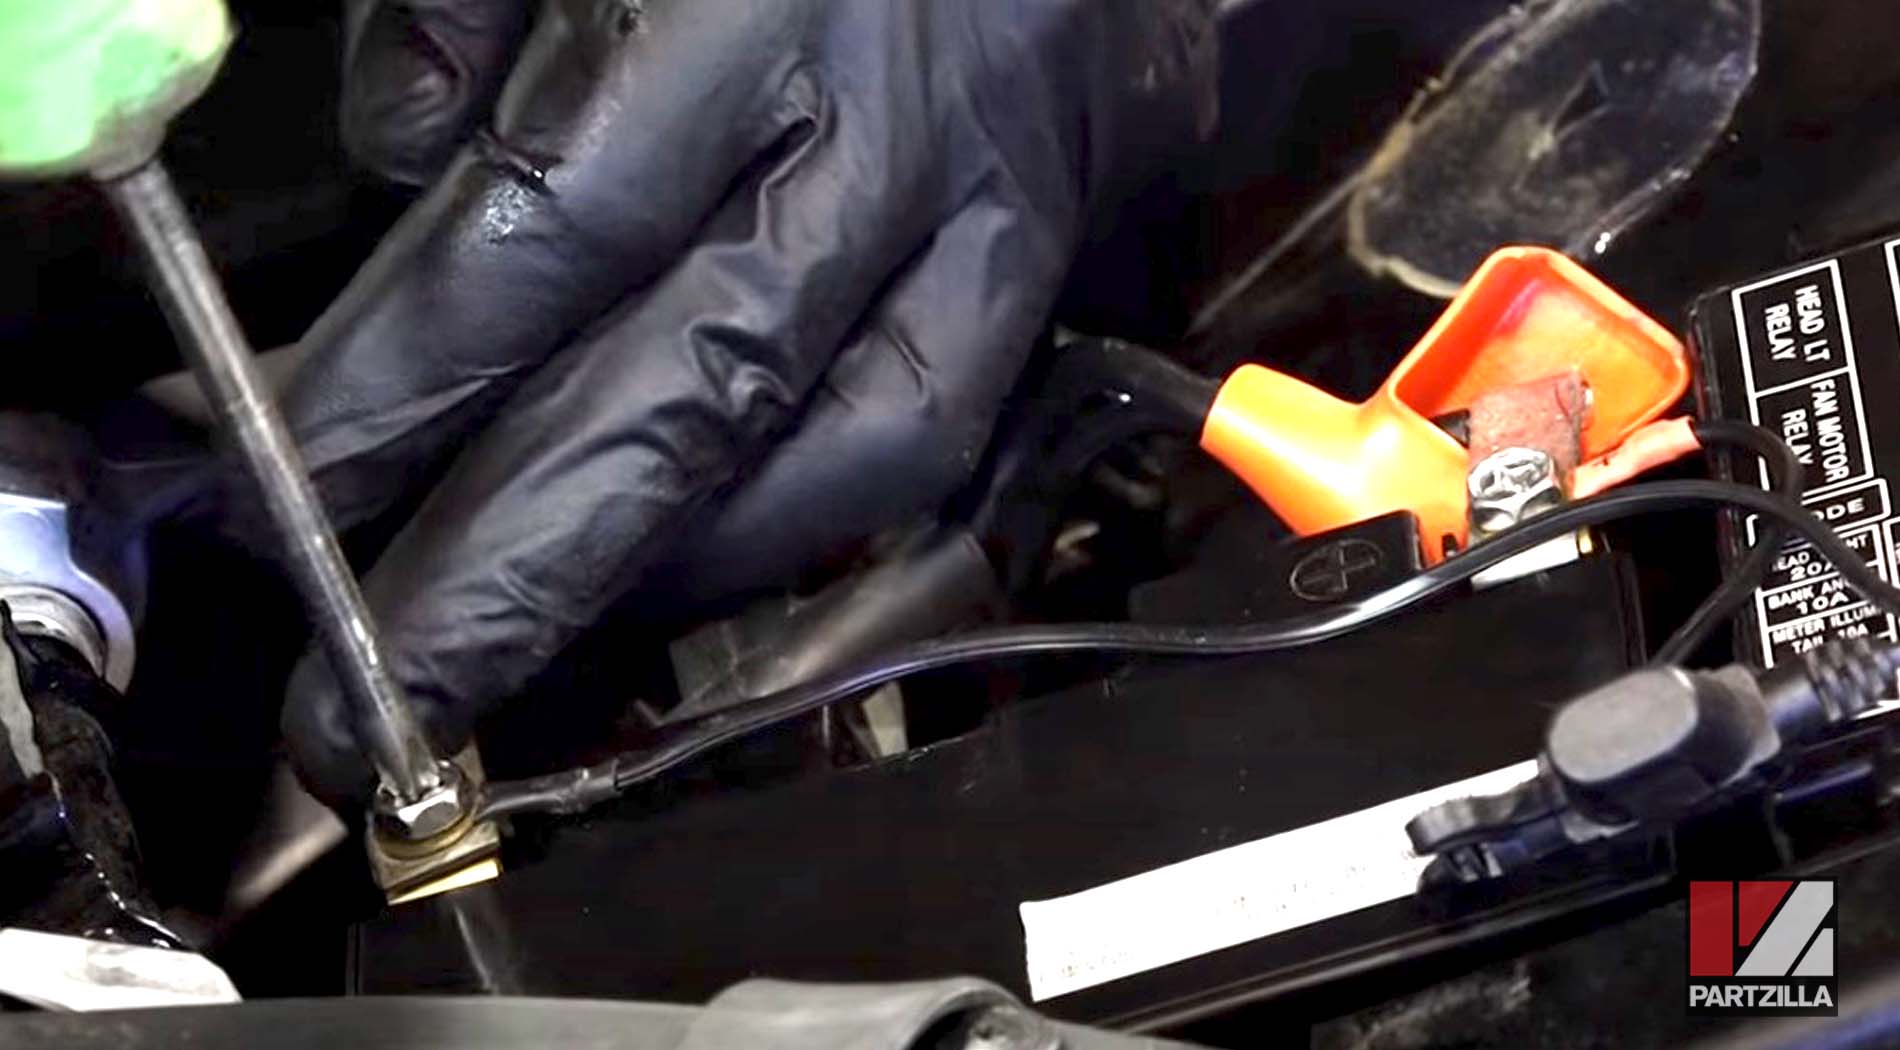
Step 2. Disconnect the negative and positive cables from the battery terminals. Start by disconnecting the negative cable first, as doing so greatly reduces the chances of shorting out the electrical system.
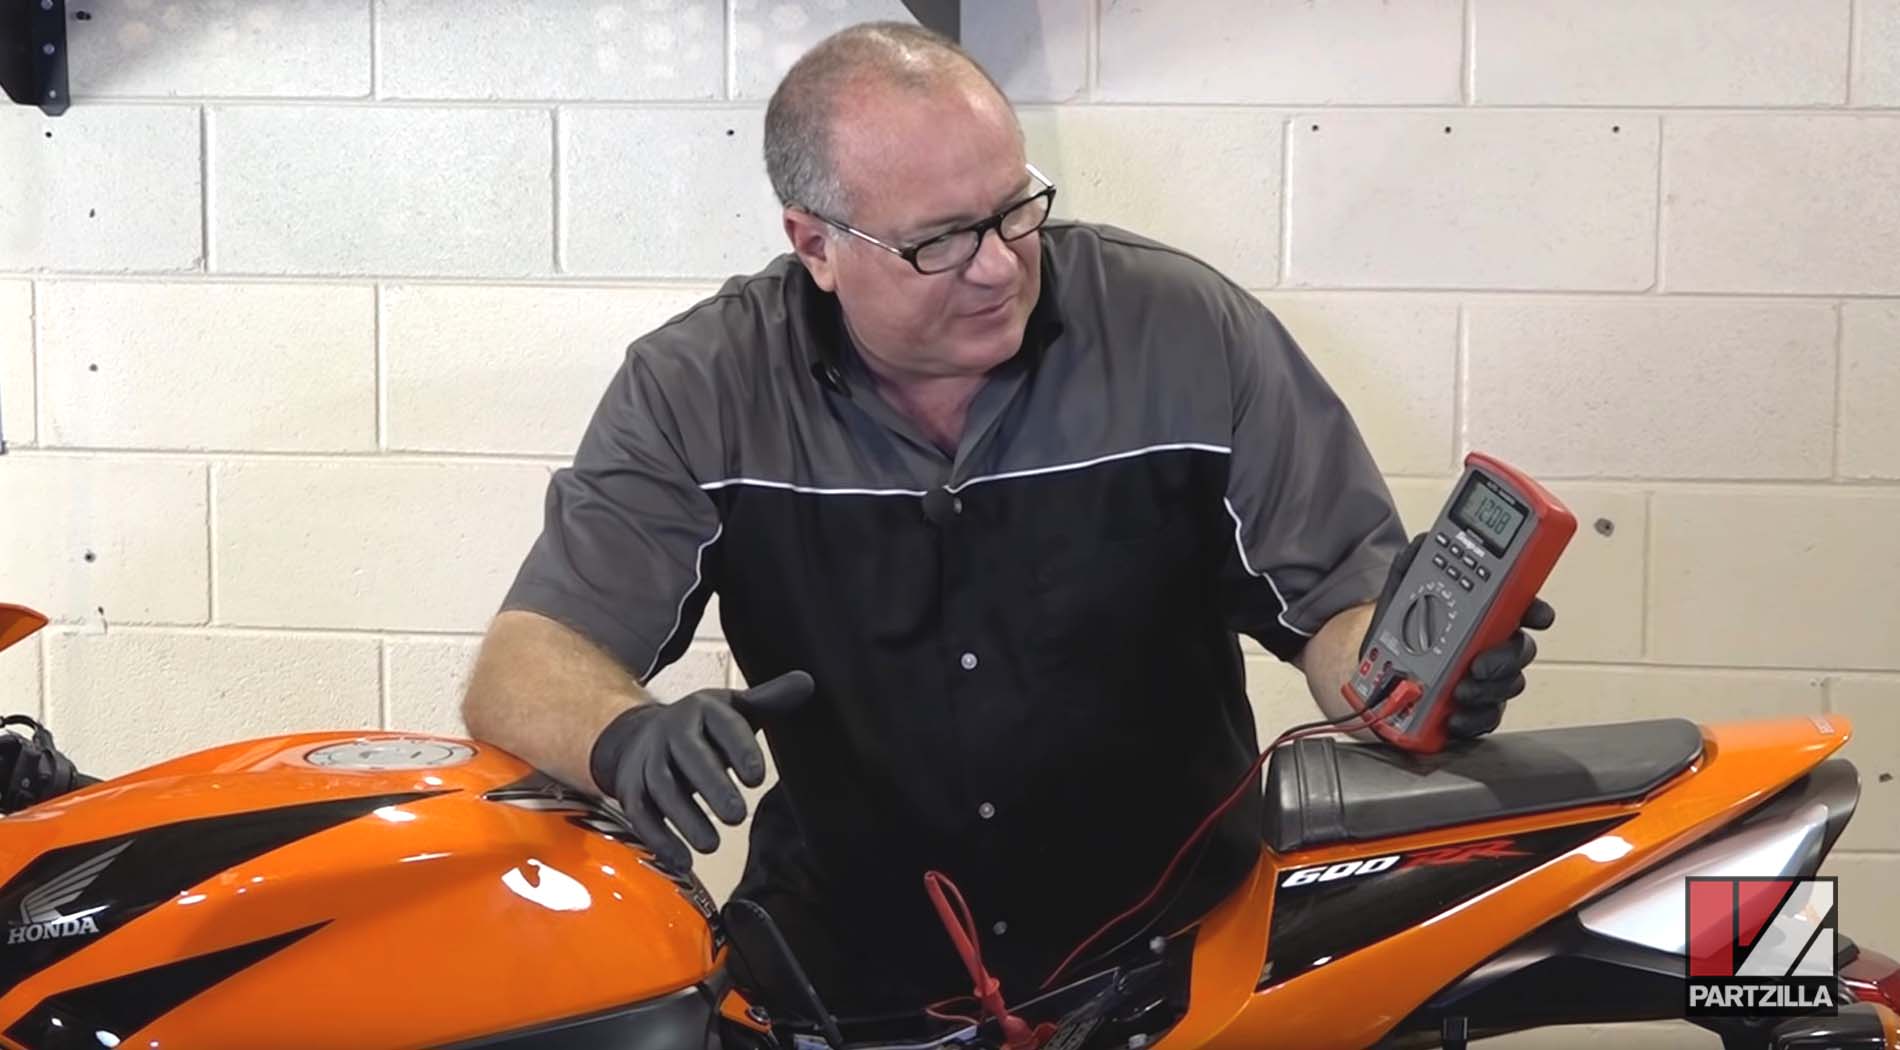
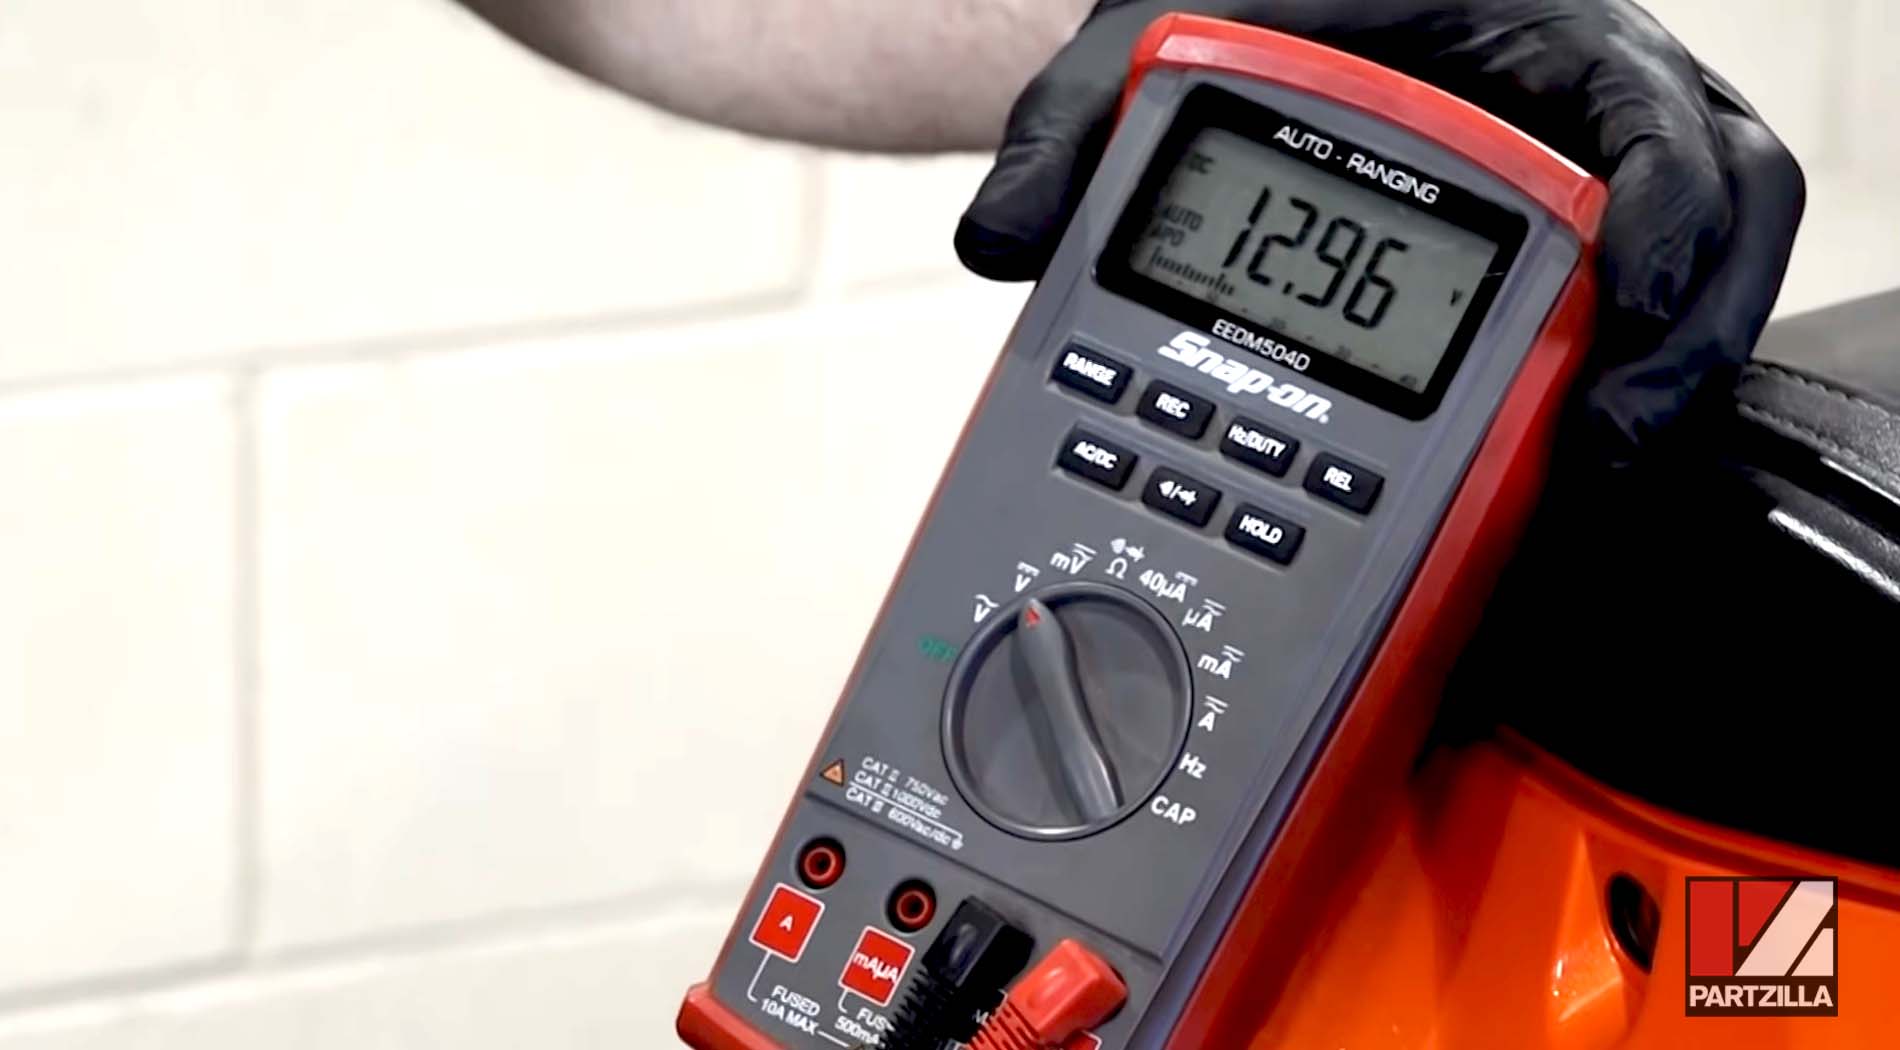
Step 3. Set the multimeter to DC volts and connect it to the positive and negative terminals of the battery. If the battery is healthy and fully charged, the reading should be approximately 12.5-13 volts. If you know the battery is fully charged but the reading is below 12 volts, the battery probably needs to be replaced.

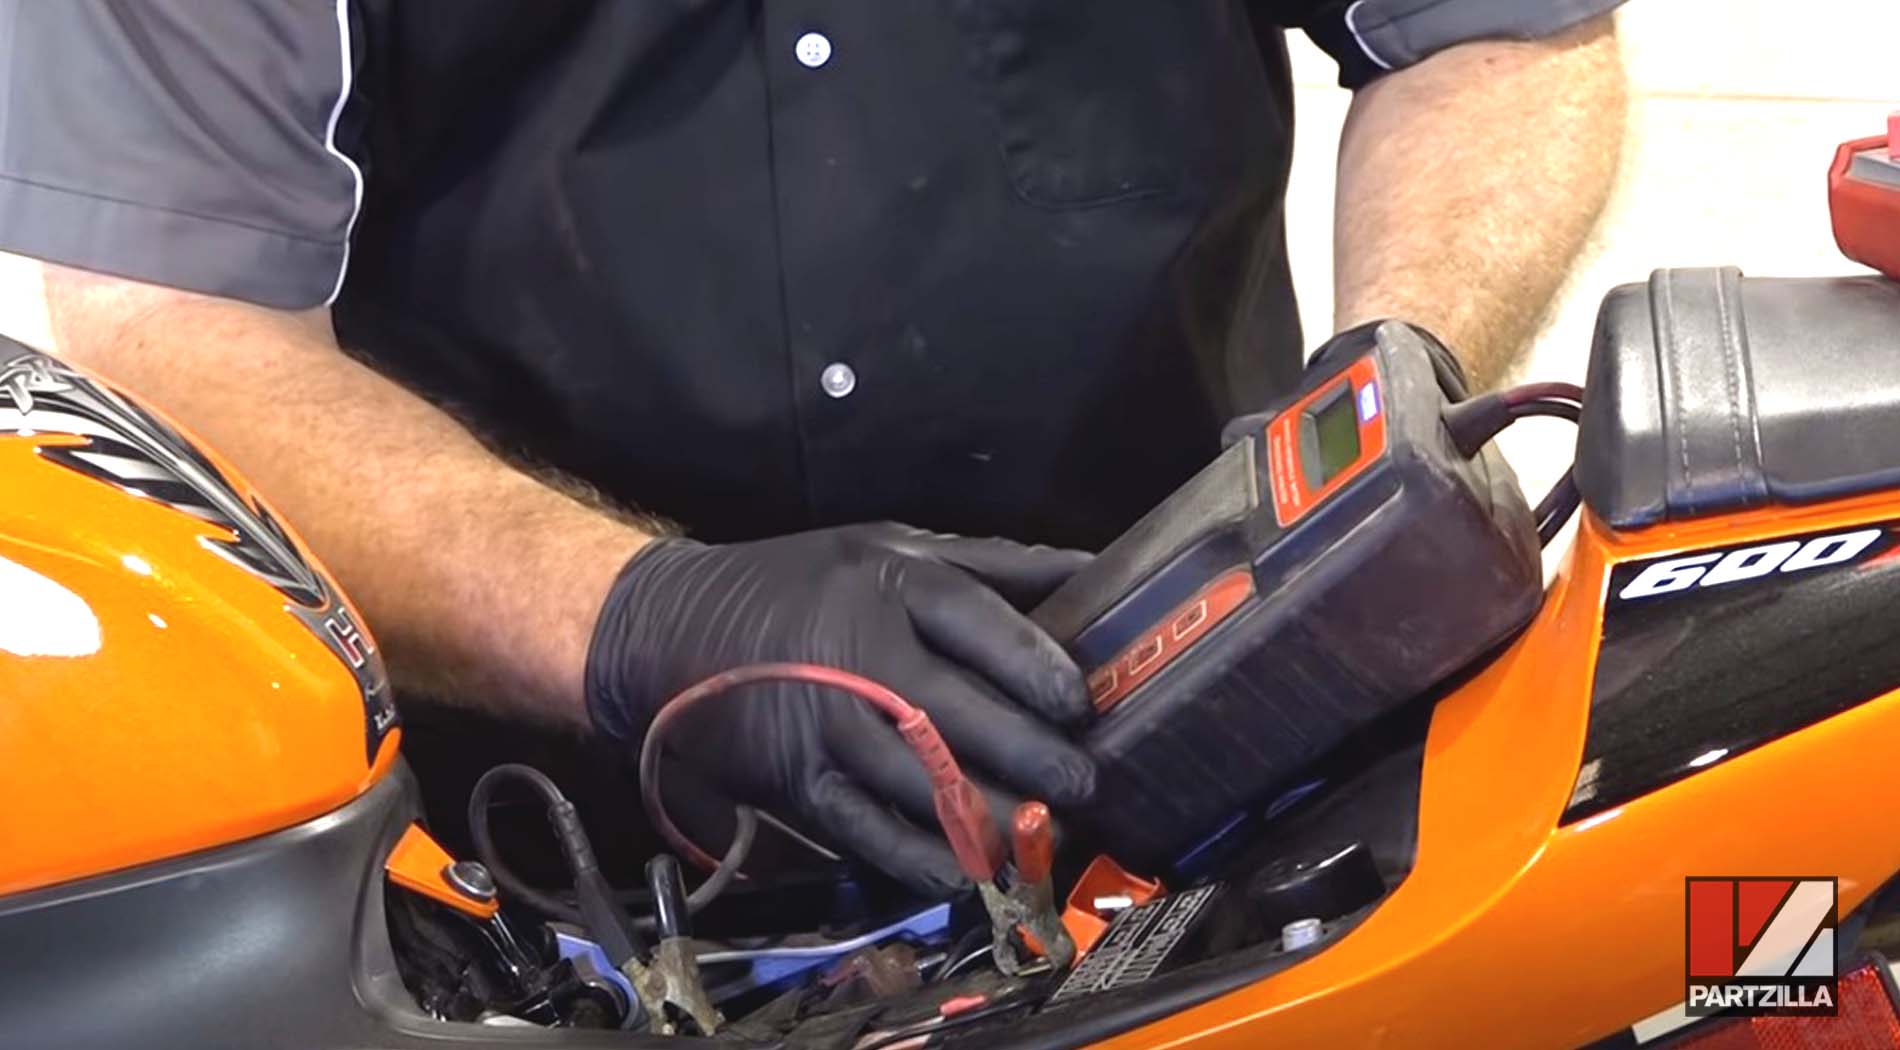
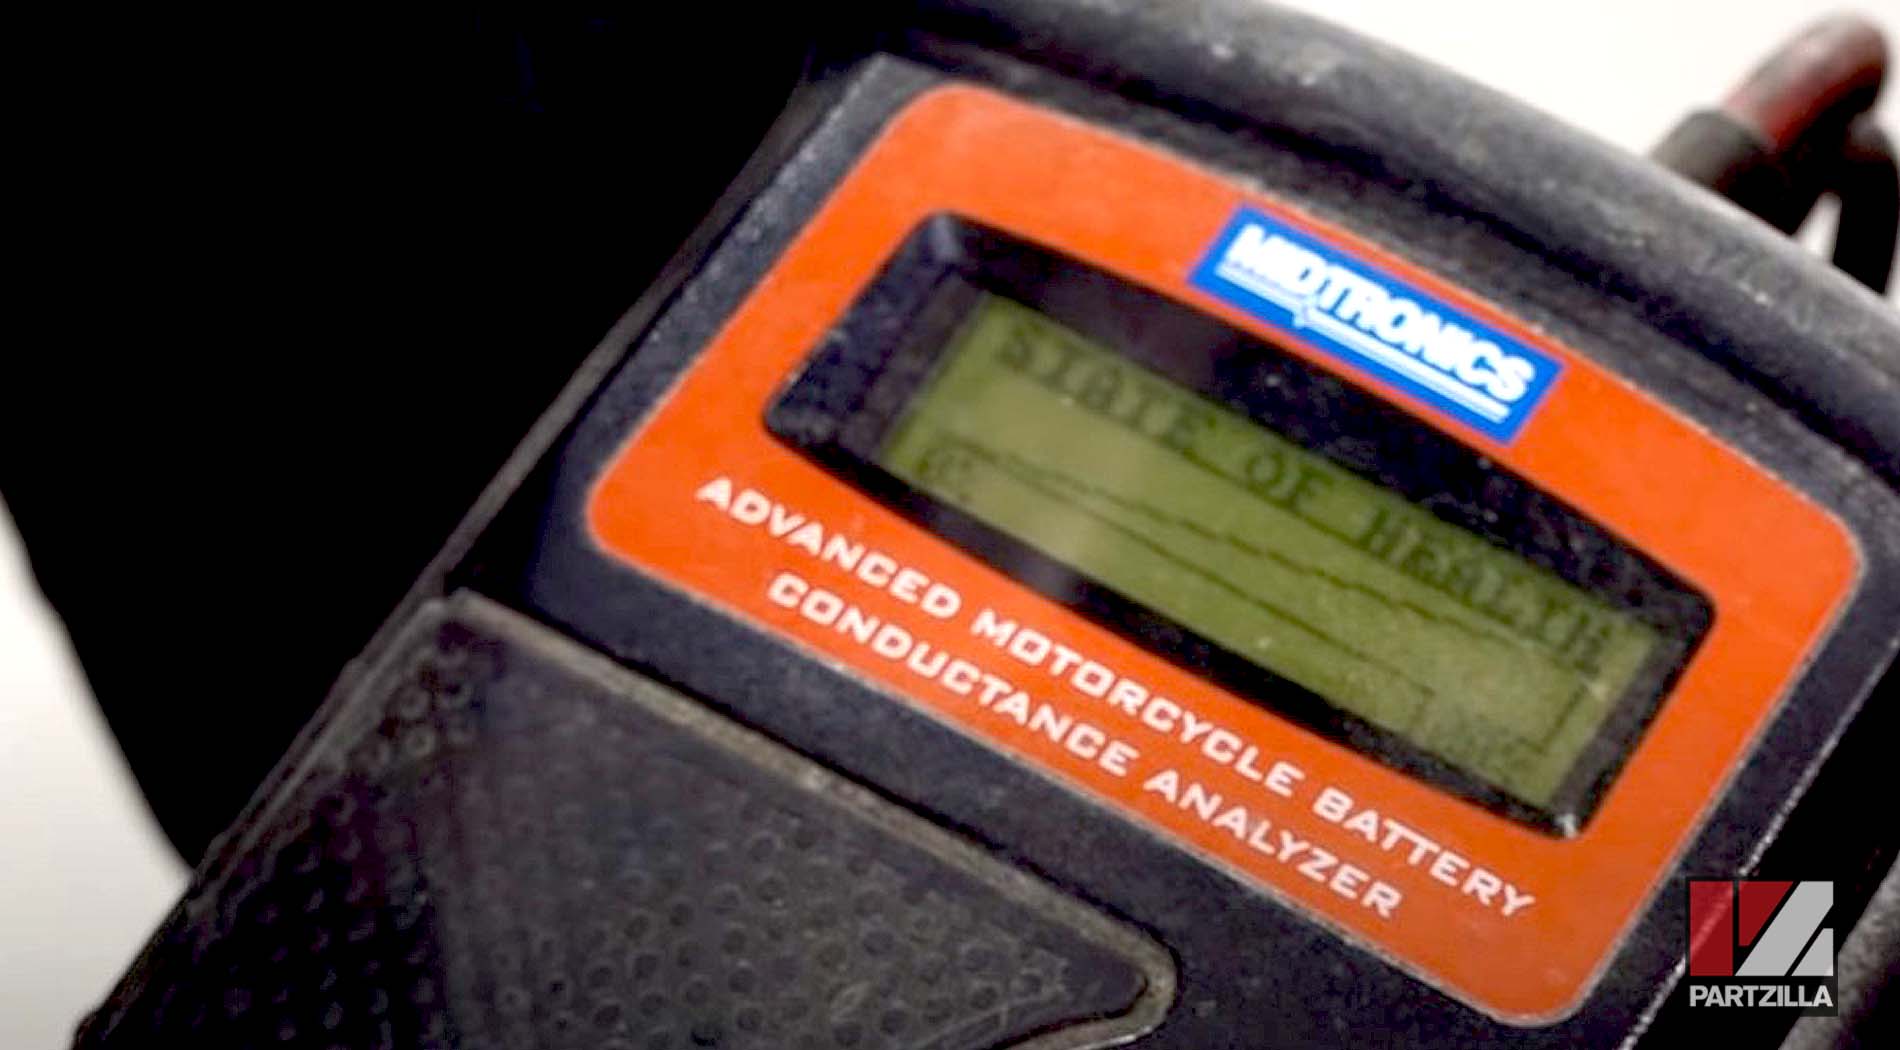
NOTE: If the battery is at 12 volts or near it and you’re not sure if the battery is still good, test the battery’s health with a motorcycle battery conductance analyzer. It’s unlikely you have one of those at home, but your local parts store or Honda dealer will and they can tell you whether the battery needs to be replaced
Step 4. Reconnect the positive and negative battery cables, then test the battery with the engine running. Set your multimeter to DC volts, then connect it to the positive and negative terminals of the battery and with the engine running at idle, the multimeter reading should increase to about 13.5 volts or 14 volts. If the voltage stays the same as it was when the battery was disconnected or drops below that, it’s an indication that the charging system isn’t working properly.
If the Honda motorcycle's battery is healthy but the charging system isn’t working correctly, it’s time to troubleshoot the regulator/rectifier and the stator.
Troubleshooting Honda CBR 600RR Charging System #2 - The Regulator/Rectifier
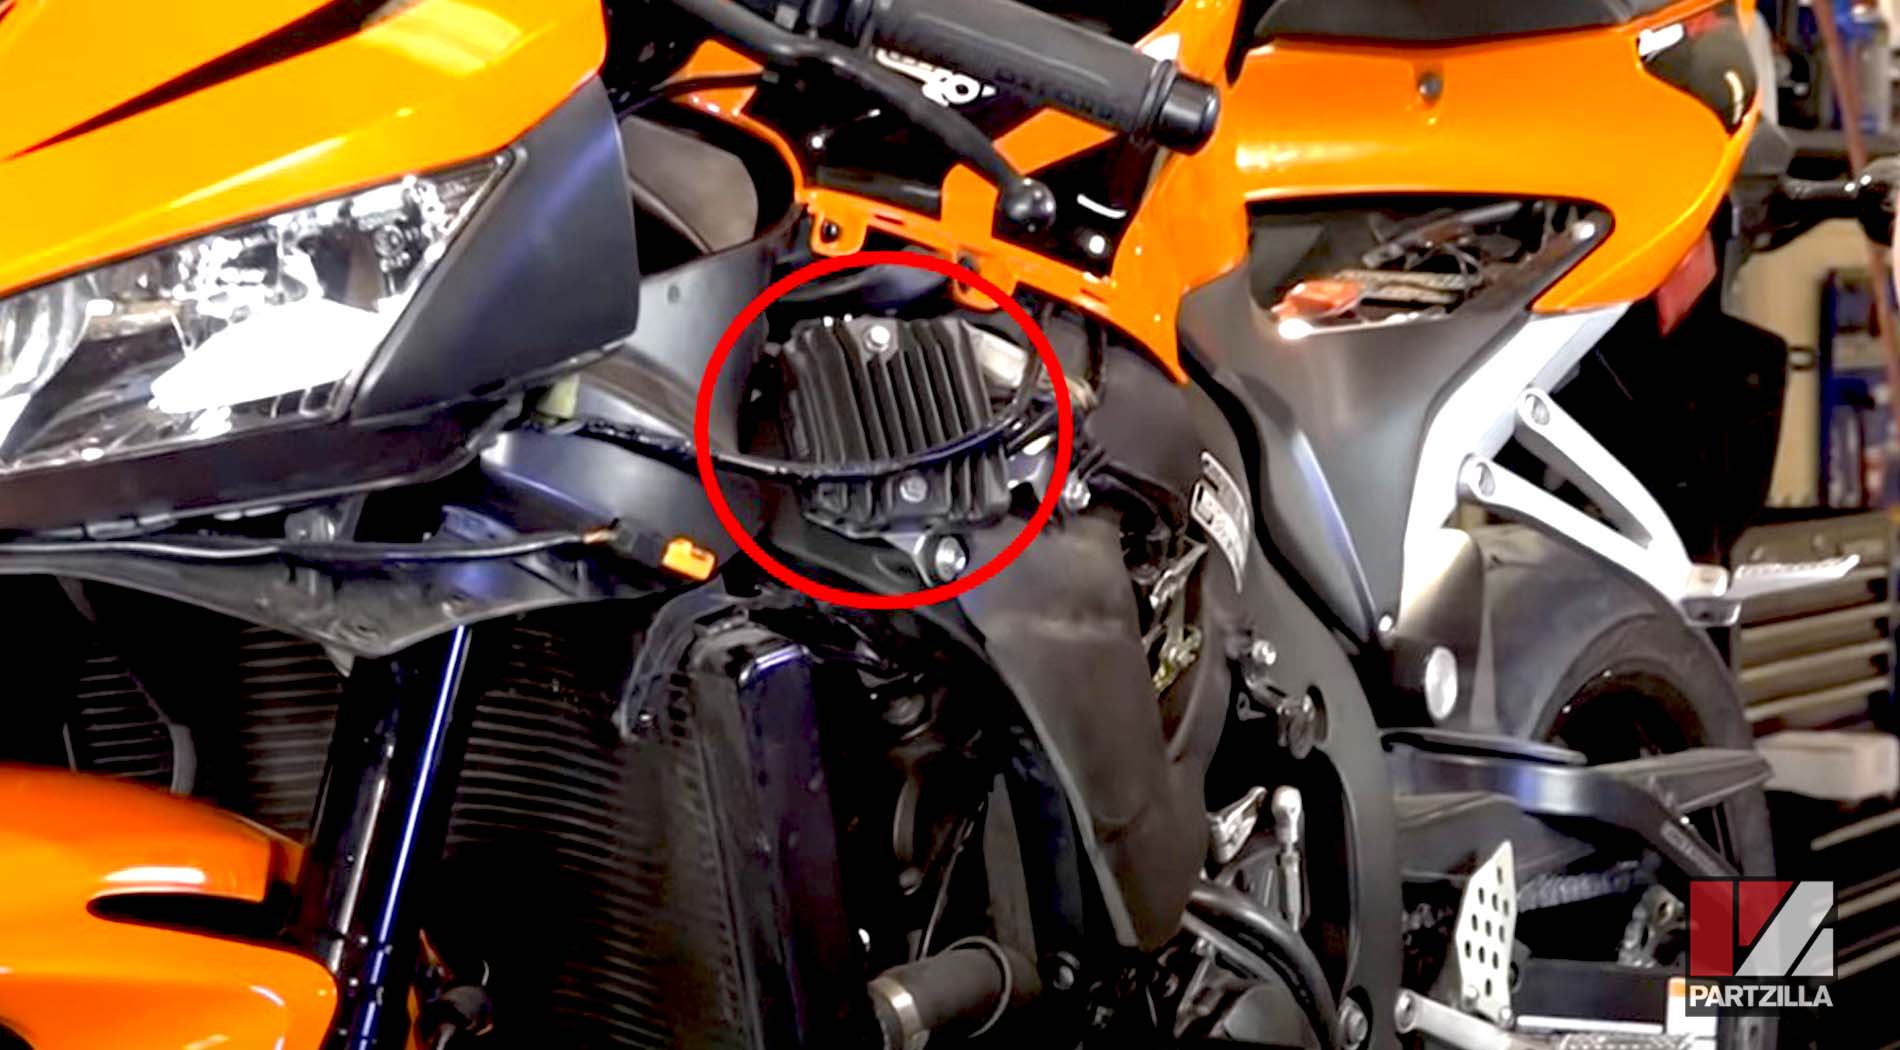
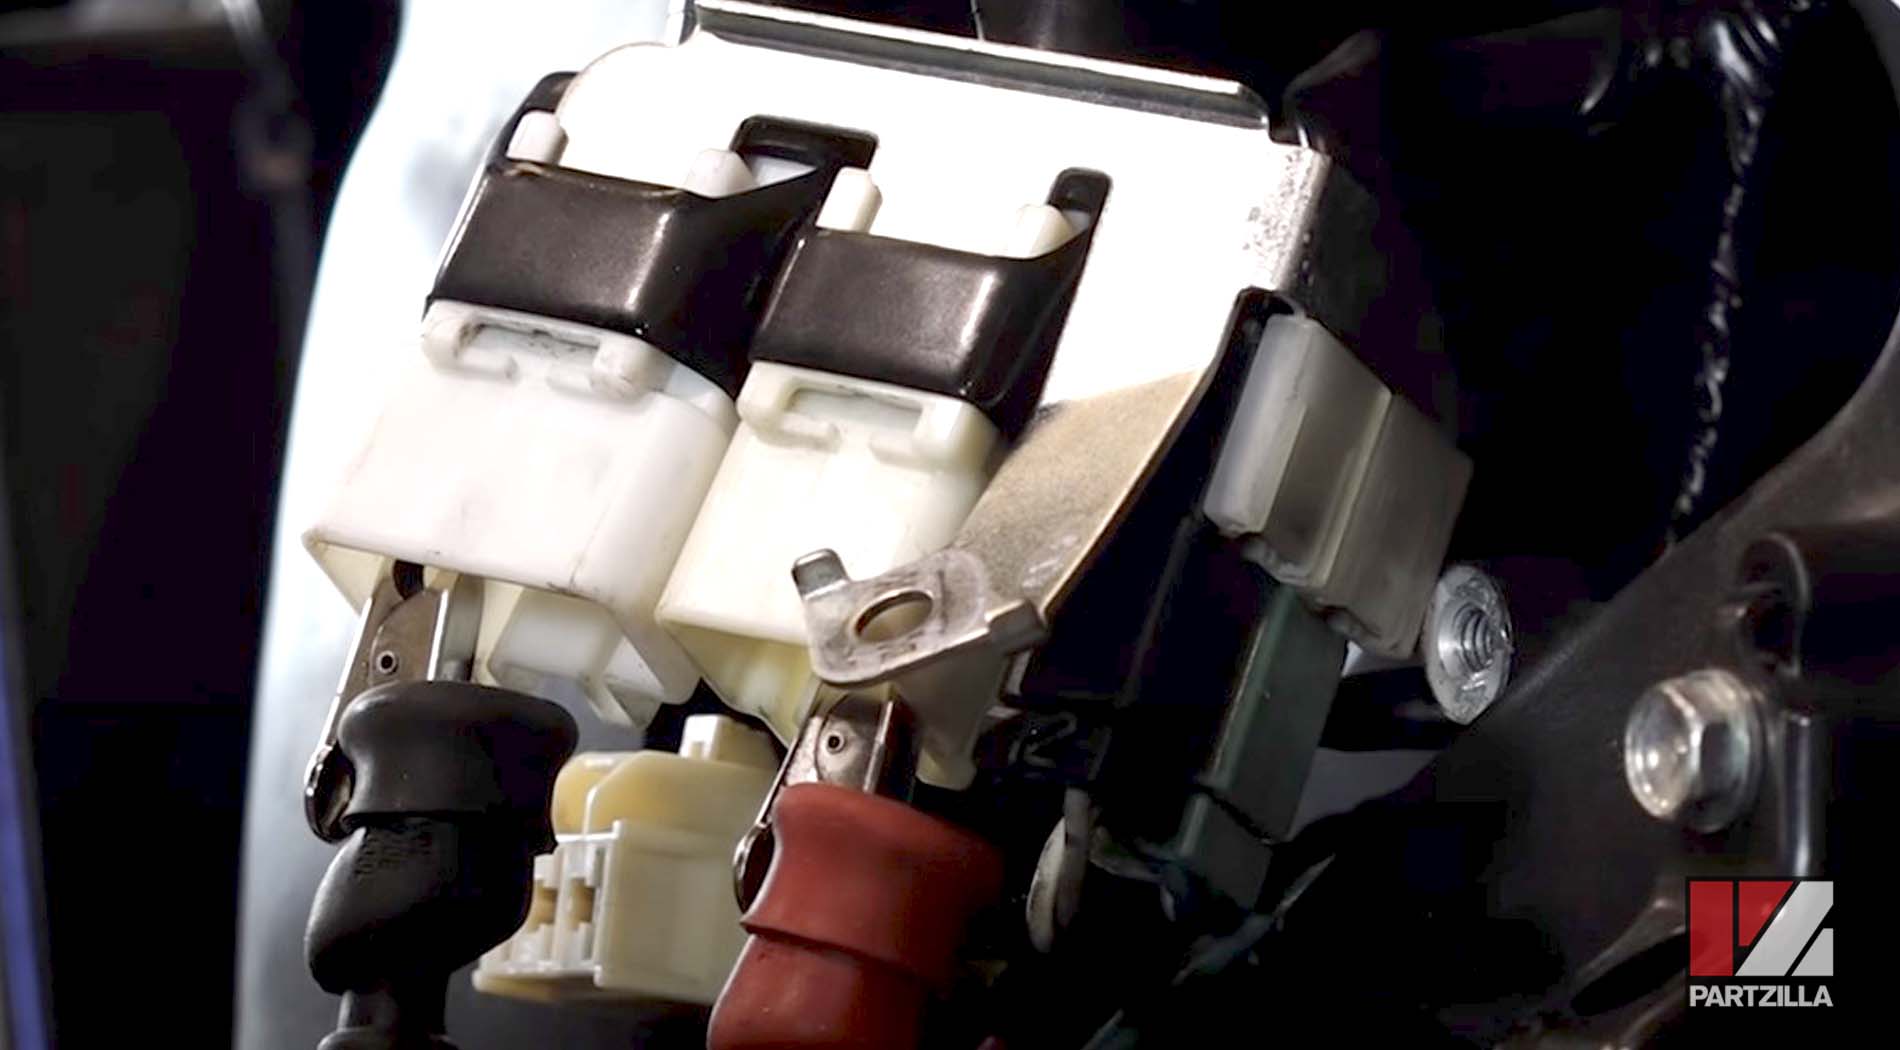
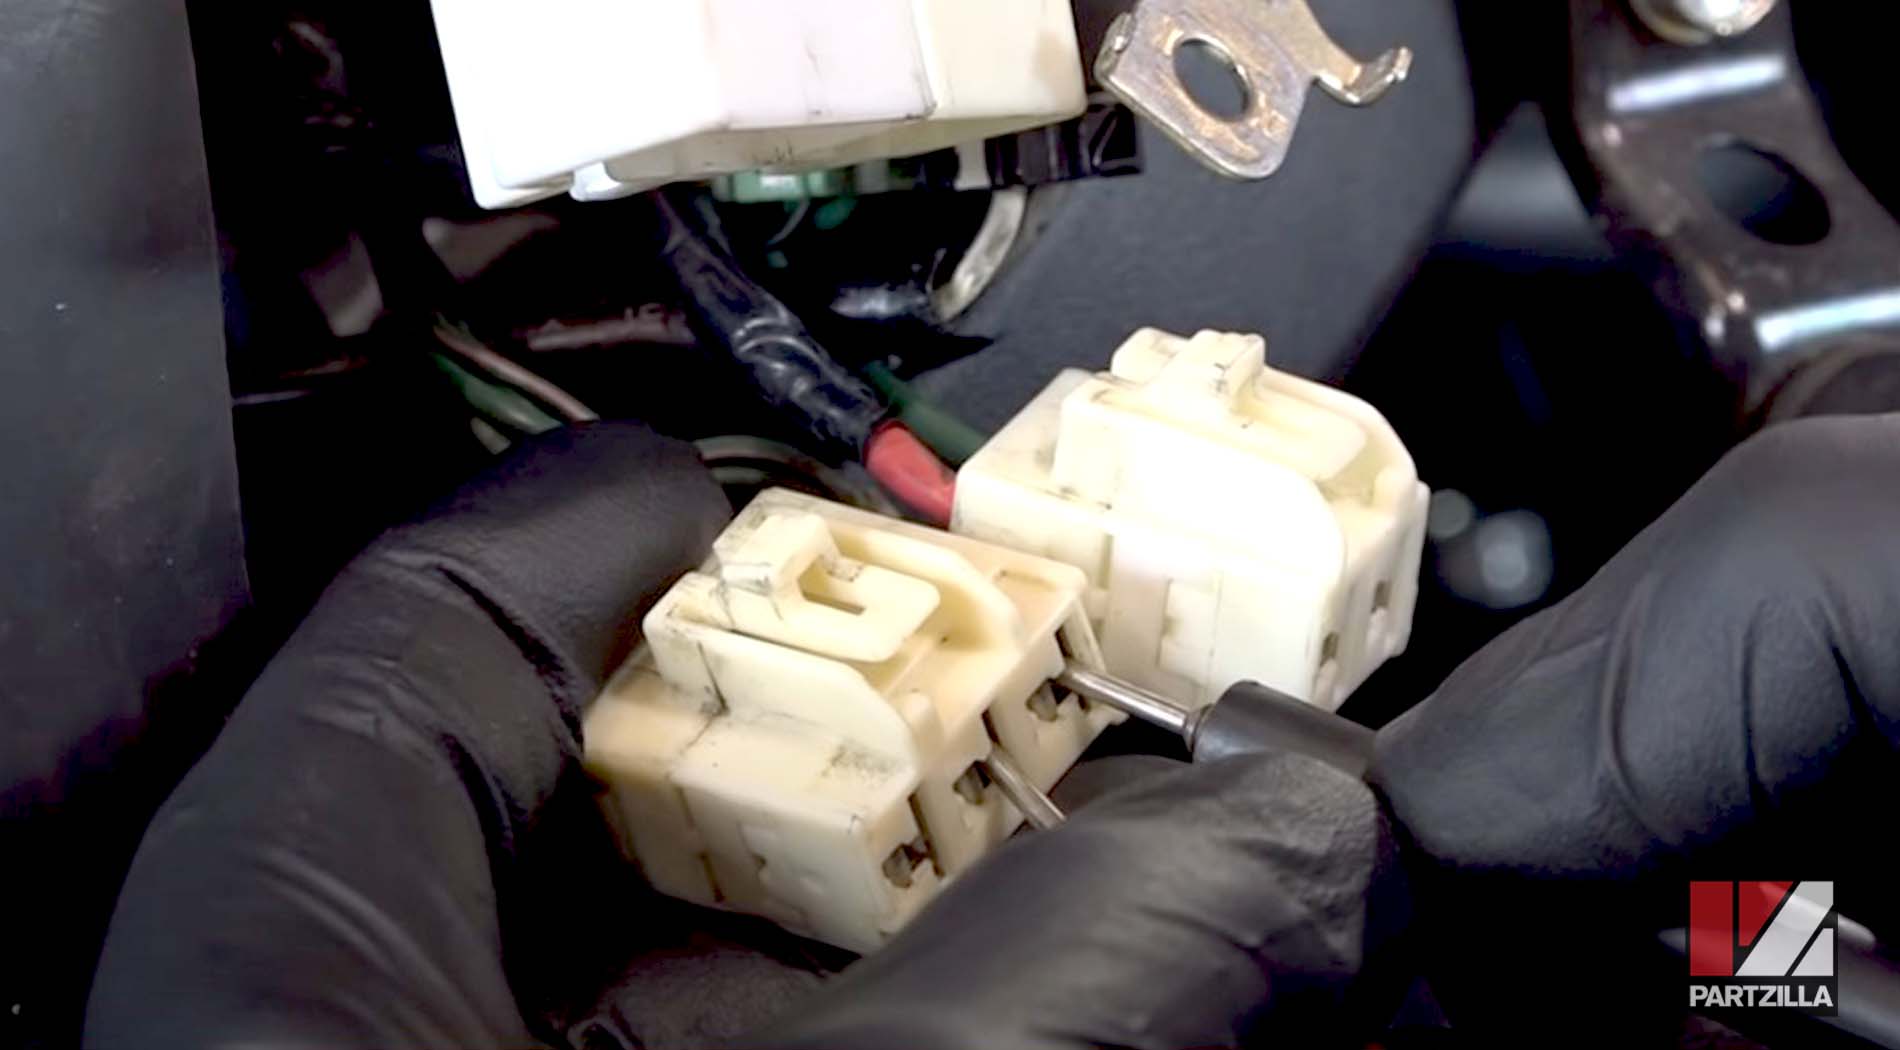
Step 1. Remove the left side cowling to access the regulator/rectifier. The cowling is held in place by three bolts along the bottom and two plastic rivets at the top. You’ll also have to unclip the turn signal connector as you remove the cowling. The regulator/rectifier is located at the top of the frame and is served by two electrical connectors just below it, one that connects to the battery and the other that connects to the stator.
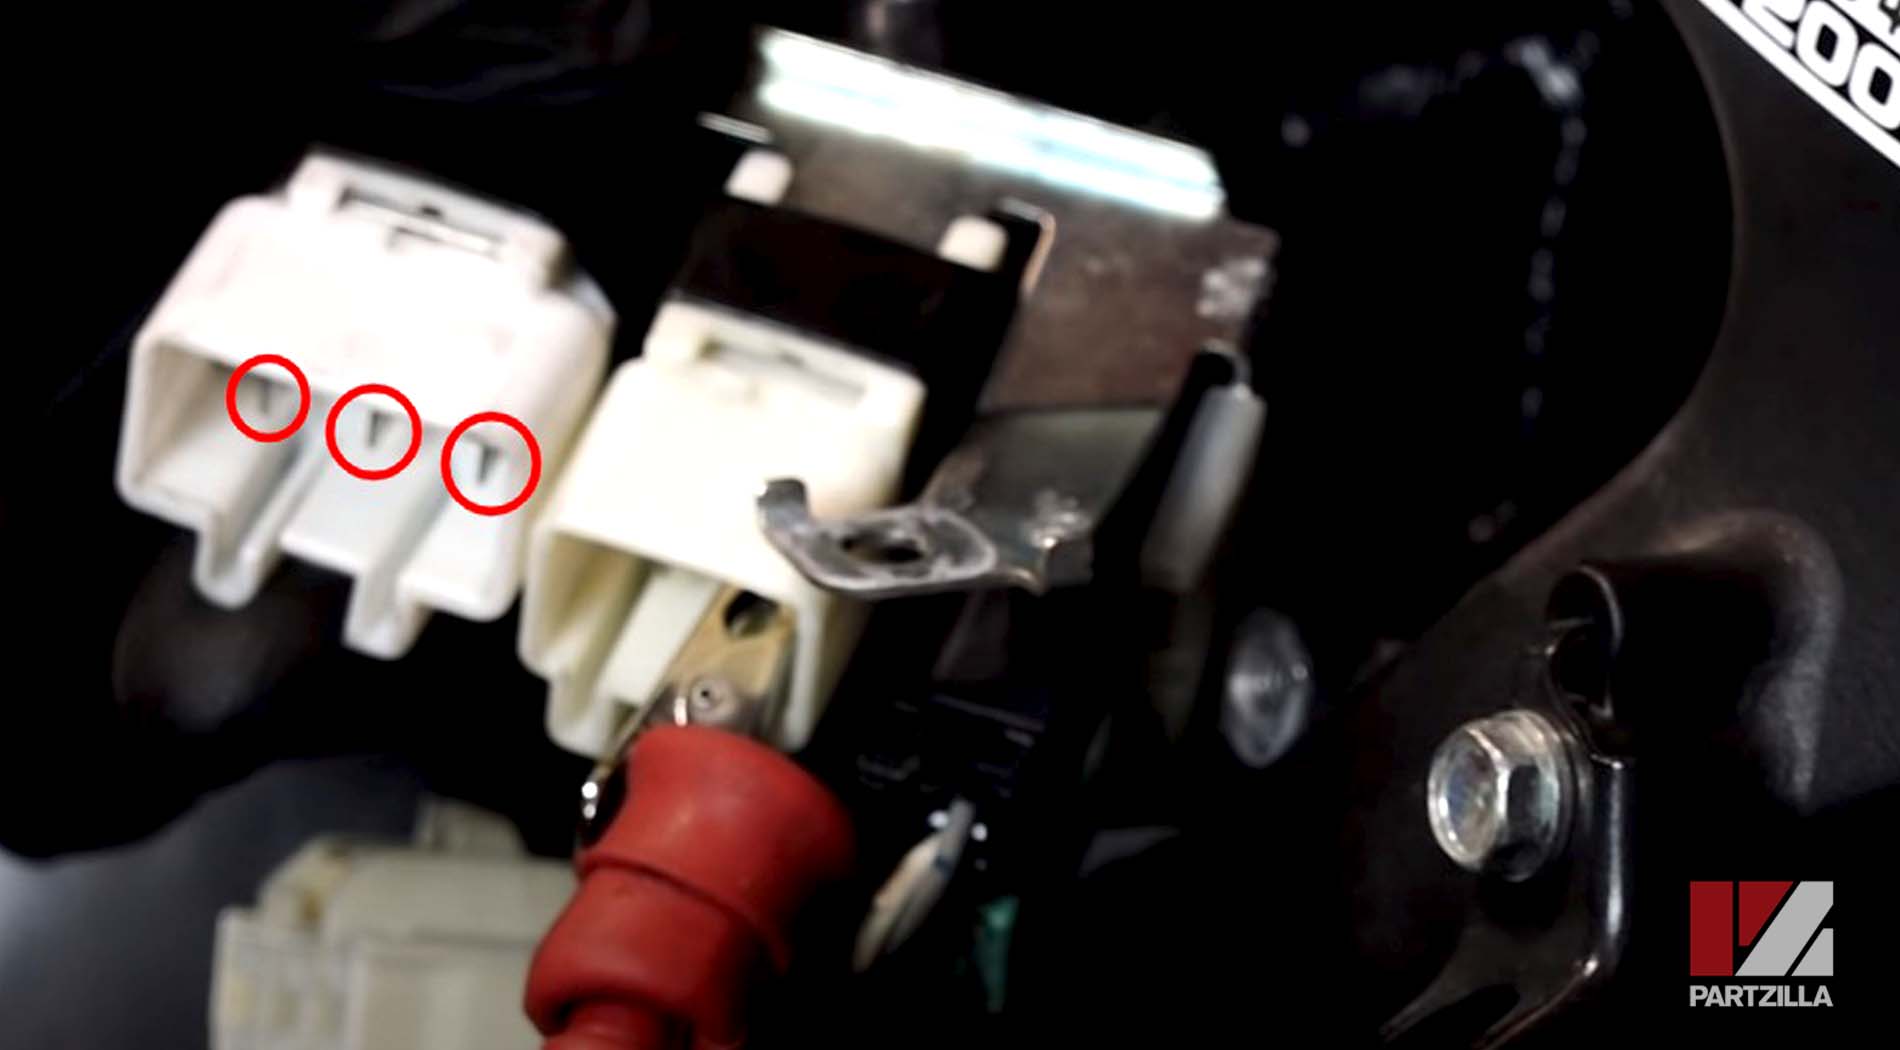
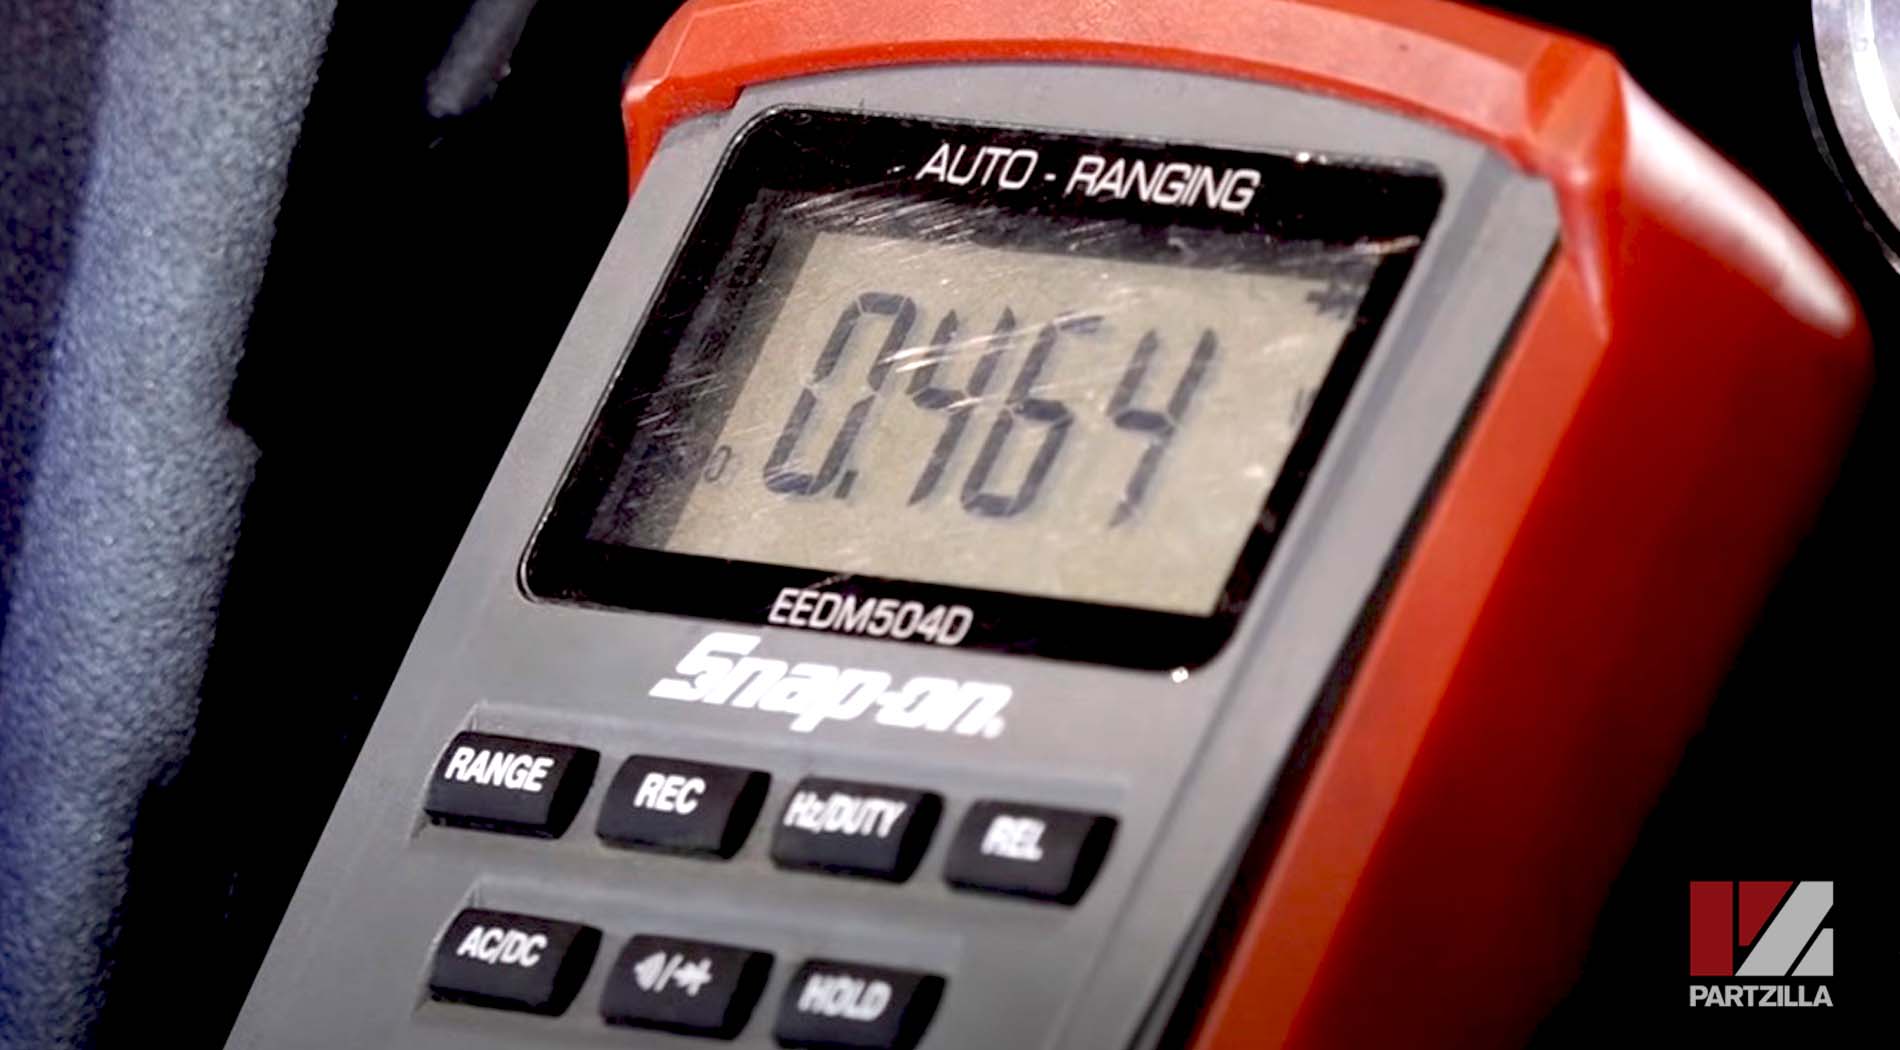
Step 2. Disconnect the regulator/rectifier’s two electrical connectors, then set the multimeter to diode test mode and attach the meter’s positive side to the ground terminal in the regulator/rectifier connector that connects to the battery. Attach the meter’s ground to each of the three terminals in the regulator/rectifier connector that connects to the stator. The reading for each terminal should be about 0.5 volts. If the reading on any of the three terminals shows an open circuit or short circuit, it’s an indication that the regulator/rectifier is faulty and must be replaced.
If the regulator/rectifier is working properly, the final step in troubleshooting the Honda motorcycle’s charging system is to test the stator.
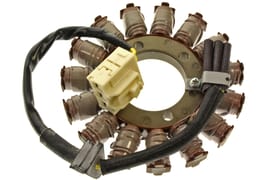
Troubleshooting Honda CBR 600RR Charging System #3 - The Stator
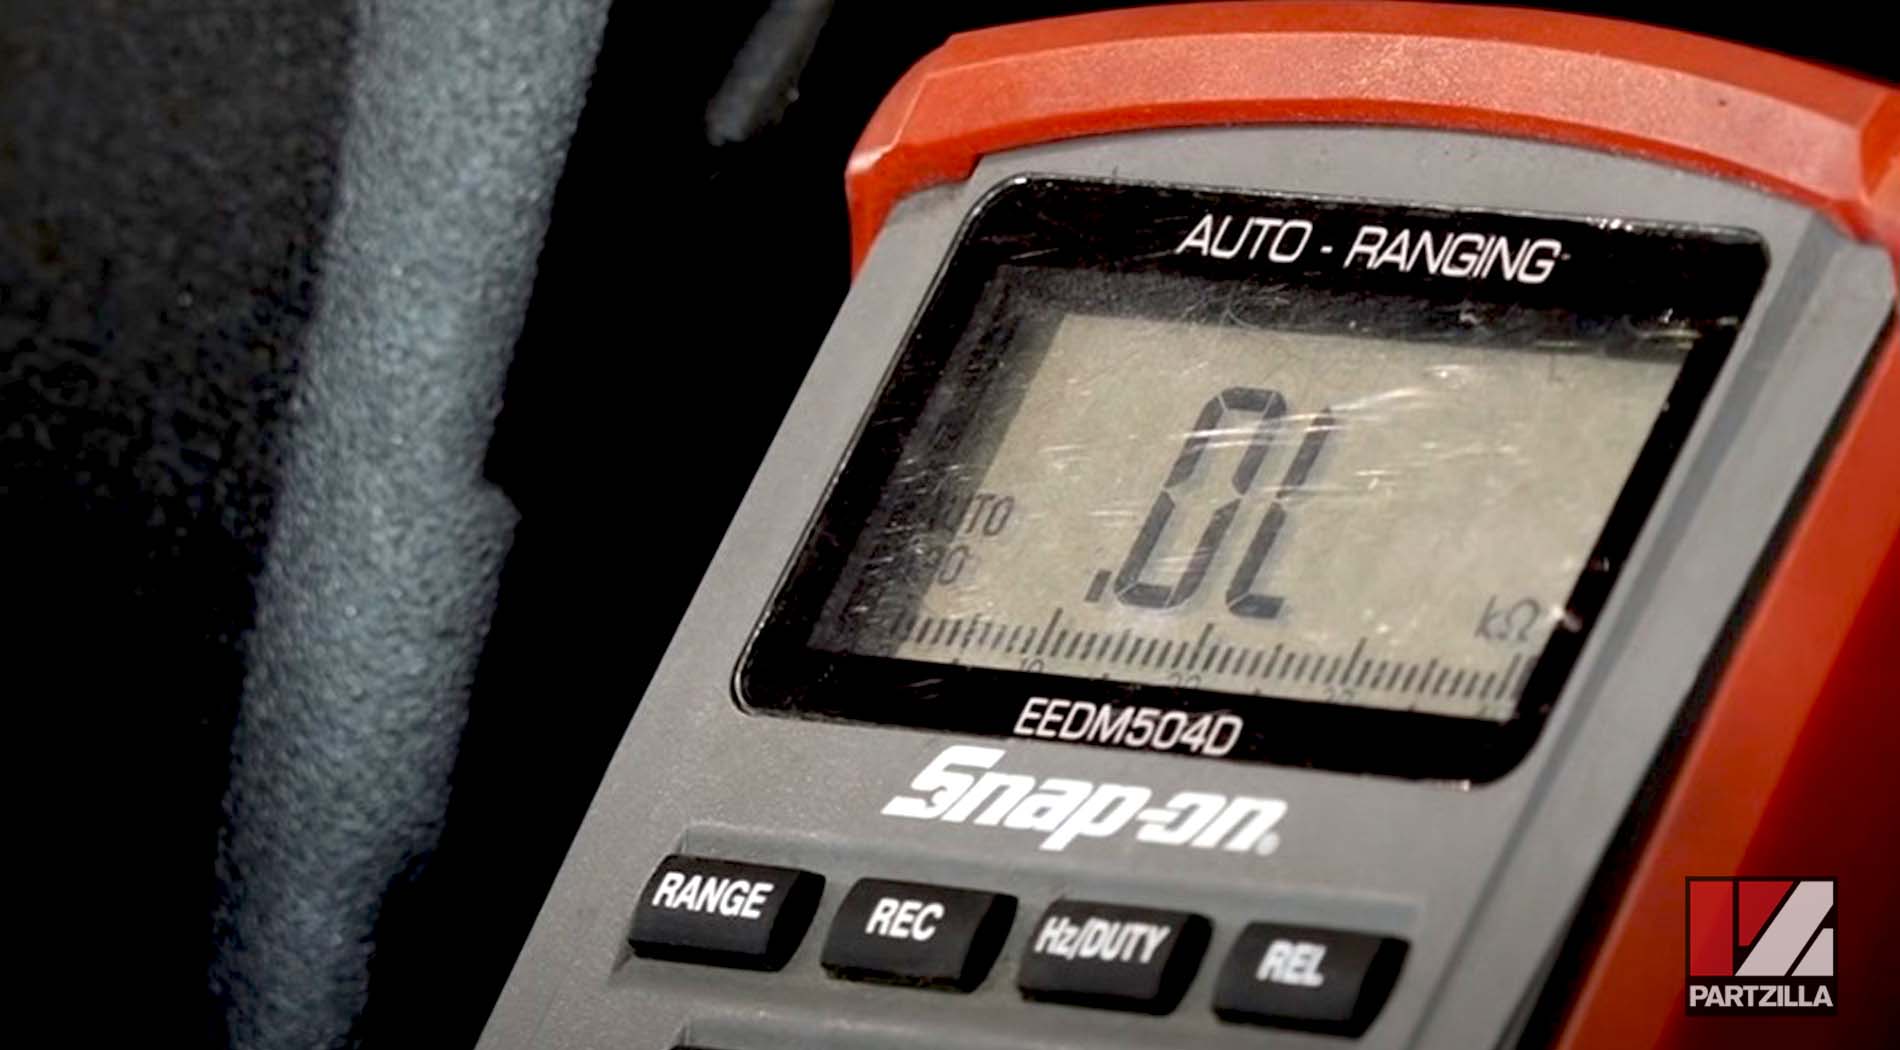
Step 1. Set the multimeter to Ohms and take a reading between all three terminals (1 and 2; 1 and 3; 2 and 3) in the electrical connector that connects to the stator. The reading should be between 0.1 ohms and 1 ohm. If the reading shows an open circuit (OL), it’s likely that one of the stator coils has burned out and the stator will need replacing.
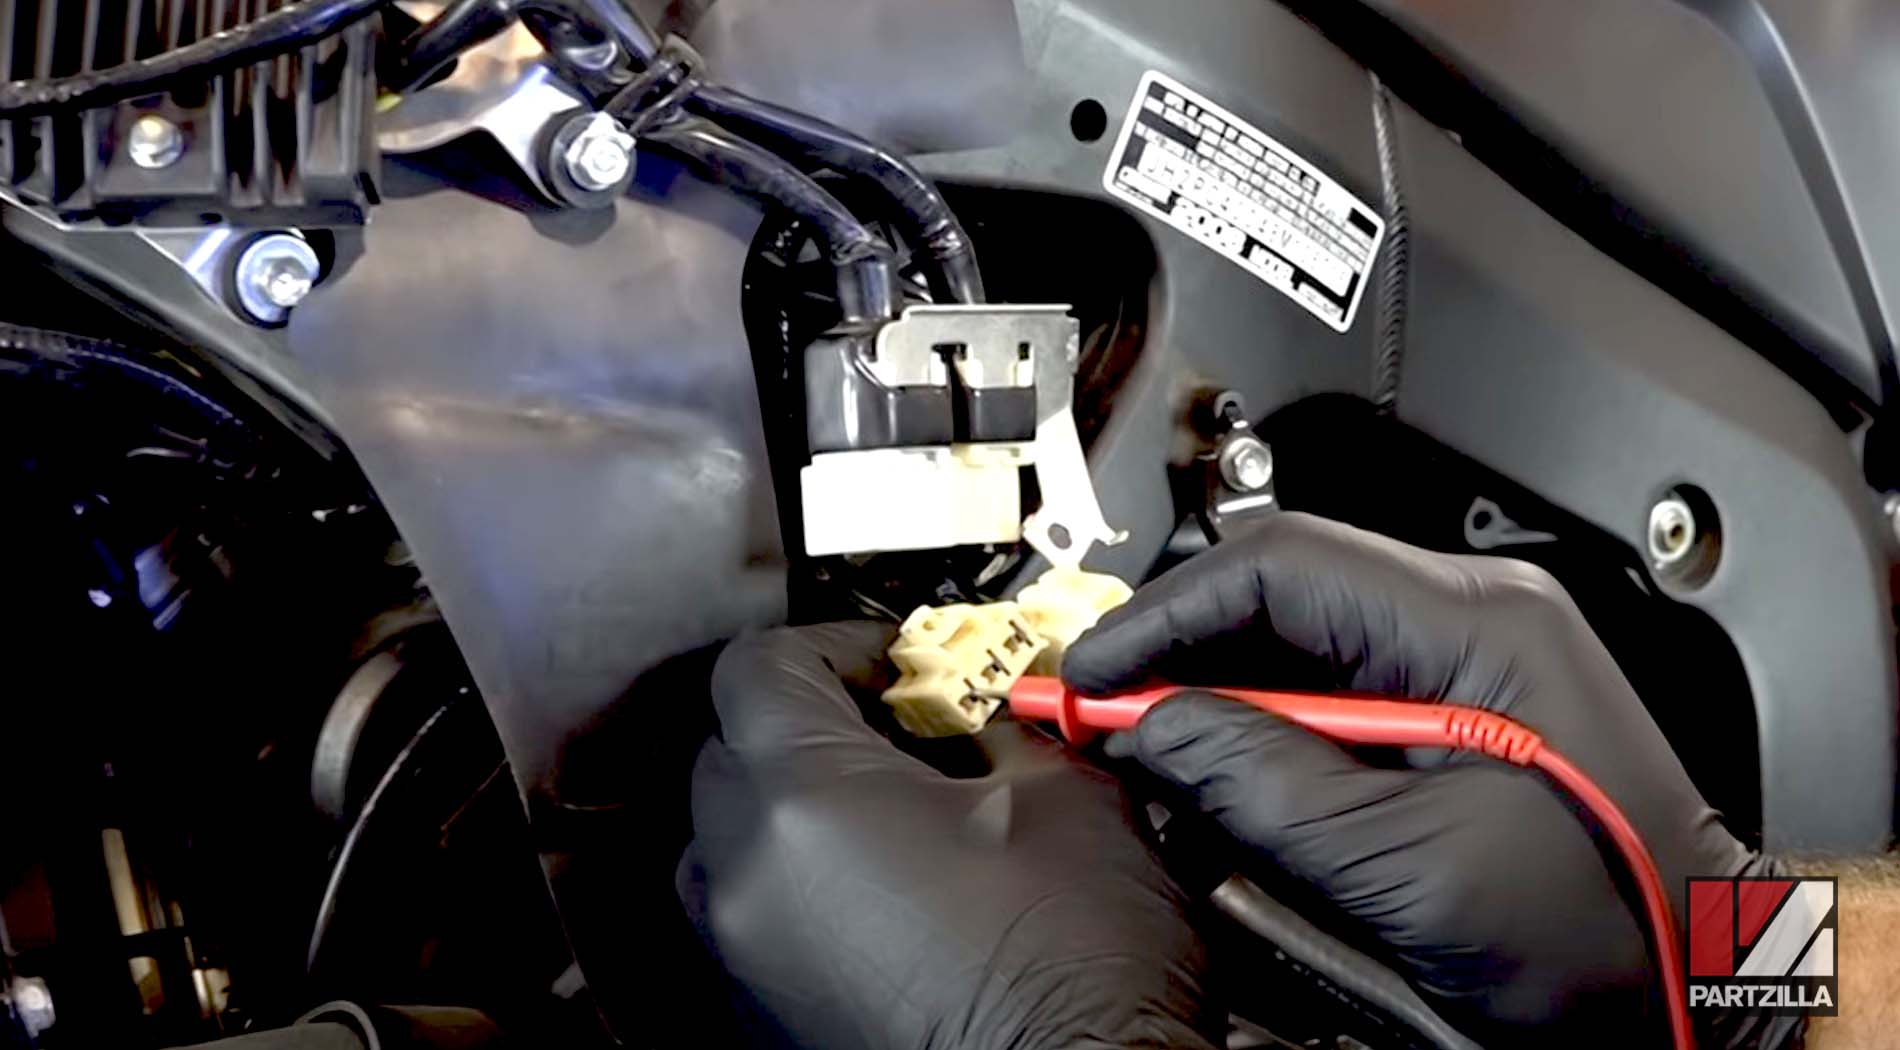
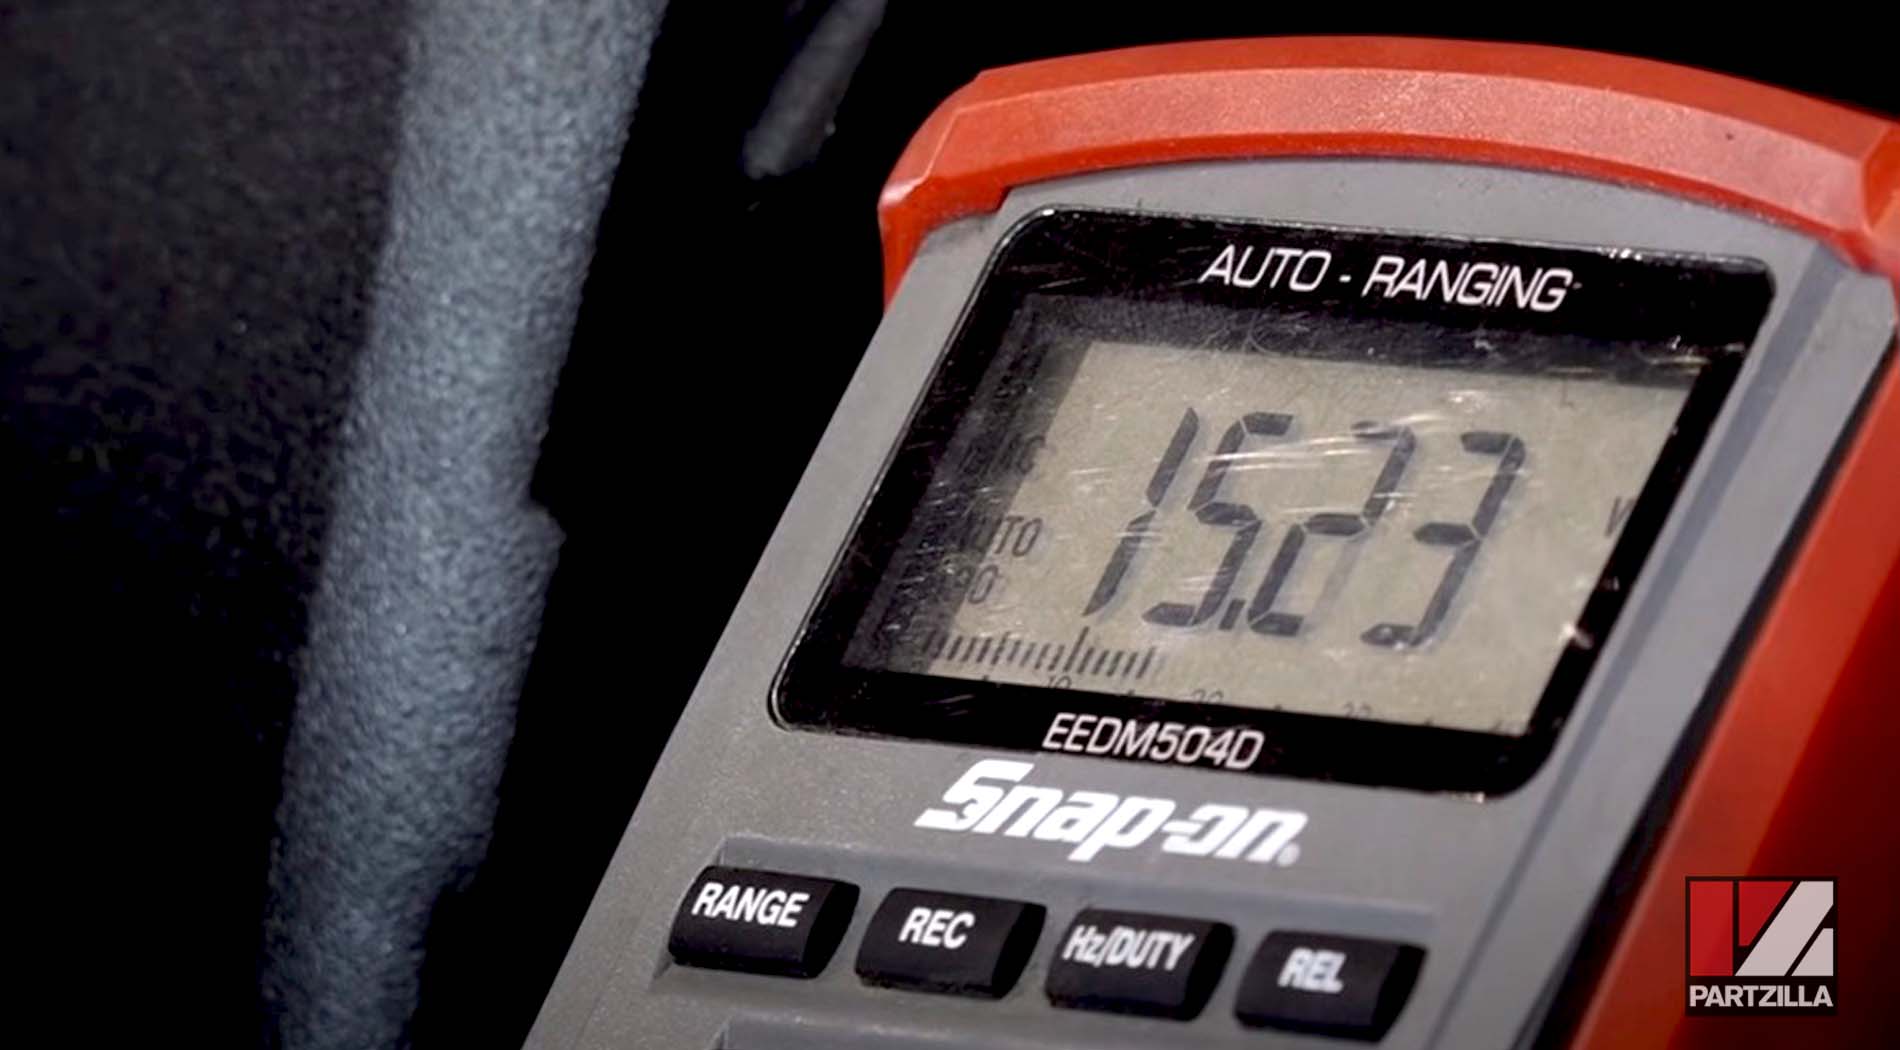
Step 2. Set the multimeter to AC volts, and connect the ground end to a ground source on the motorcycle. Run the engine at idle and attach the meter’s positive side to each of the three terminals in the stator connector. The reading should be about 15 volts for each terminal. If any of the readings are 0 or a lot less than 15 volts, the stator isn’t generating enough AC voltage and needs to be replaced.
Are you having starting problems with your Honda motorcycle? Watch the video below to see how to diagnose starter problems with a Honda CBR600.