Motorcycle Fork Seals Replacement Tips
Knowing the basics of how fork seals work and when it’s time to replace them is an important part of motorcycle ownership.
The steps on how to replace fork seals vary by motorcycle make and model, but a basic understanding of the job can help you when it’s time to order parts and grab your tools. Here are some tips for replacing fork seals on a motorcycle.
How Fork Seals Work
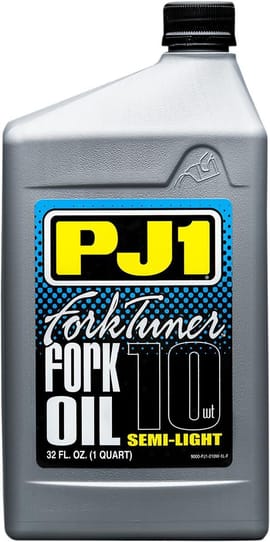
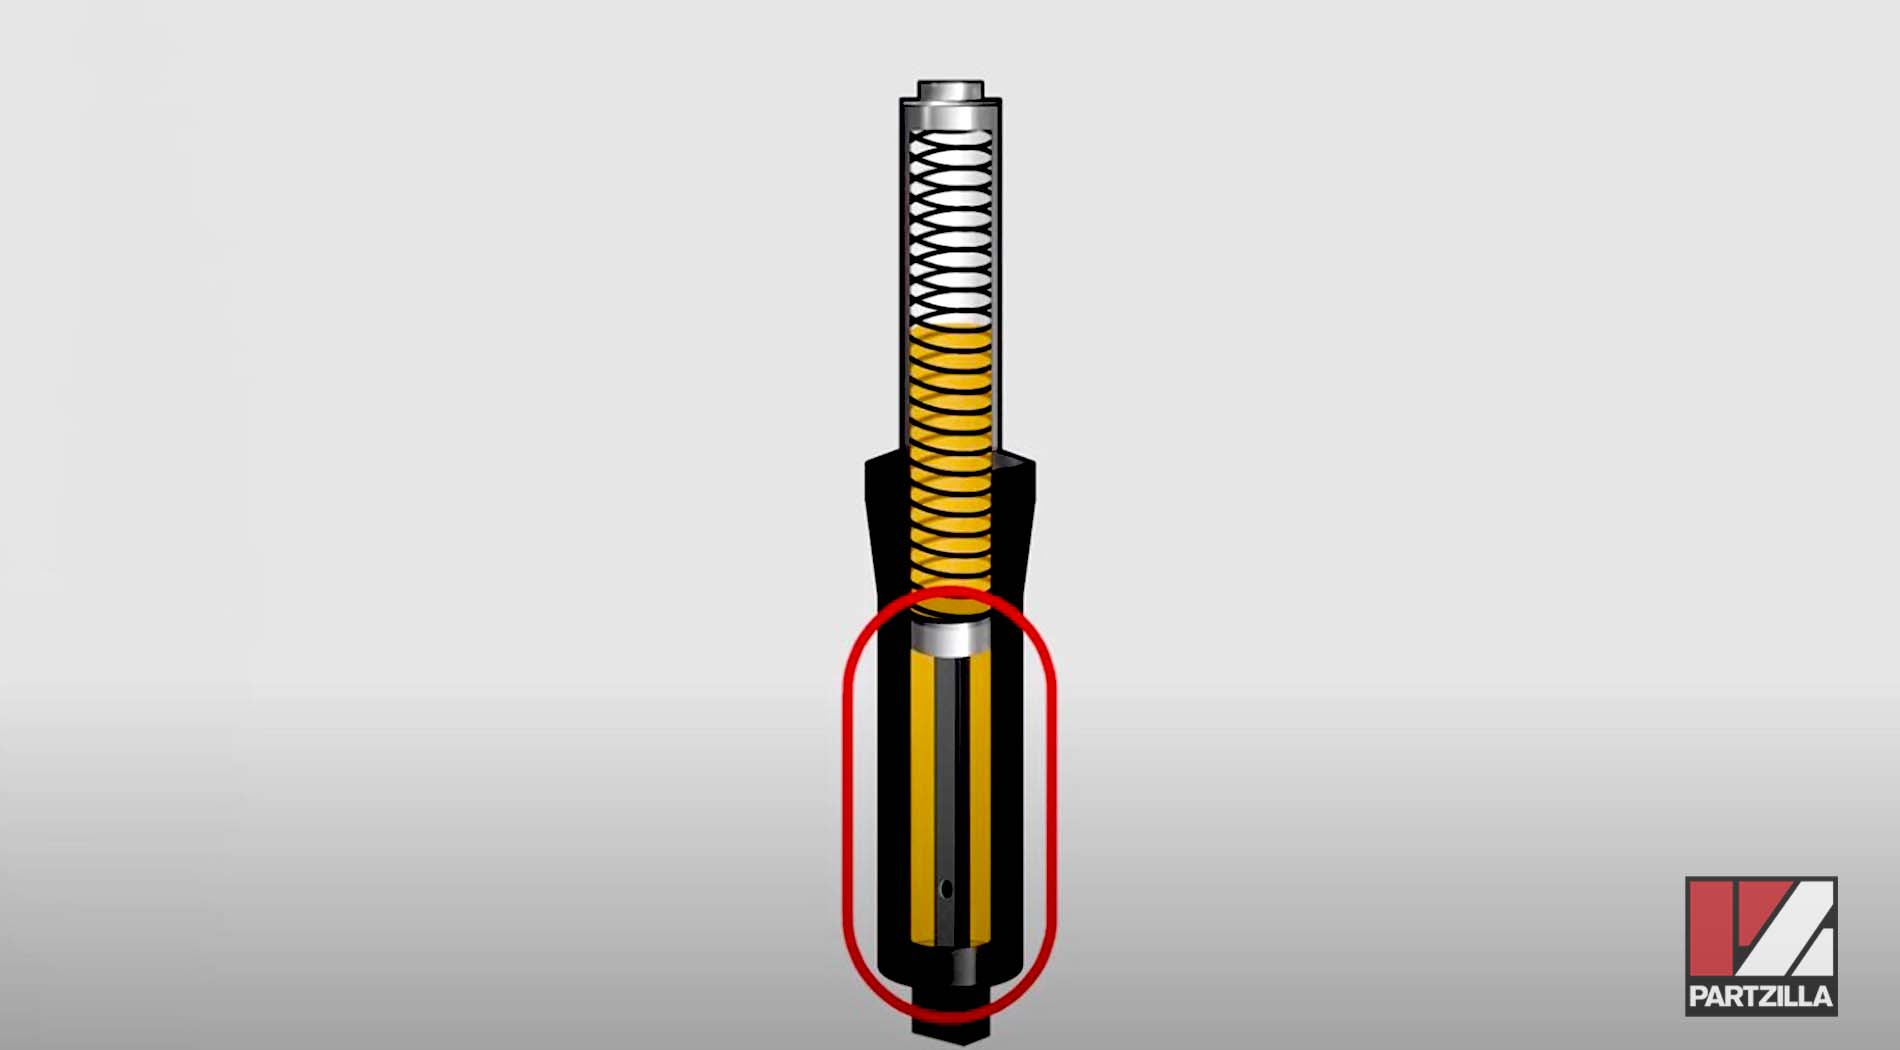
Before you start working on the fork seals, it’s good to know the basics of how the forks and fork oil work. So how do the front forks work on a motorcycle? You basically have two parts:
First, there are springs that hold the weight of the motorcycle up. When you hit bumps on the road or trail, the fork springs compress and allow the wheel to handle those undulations.
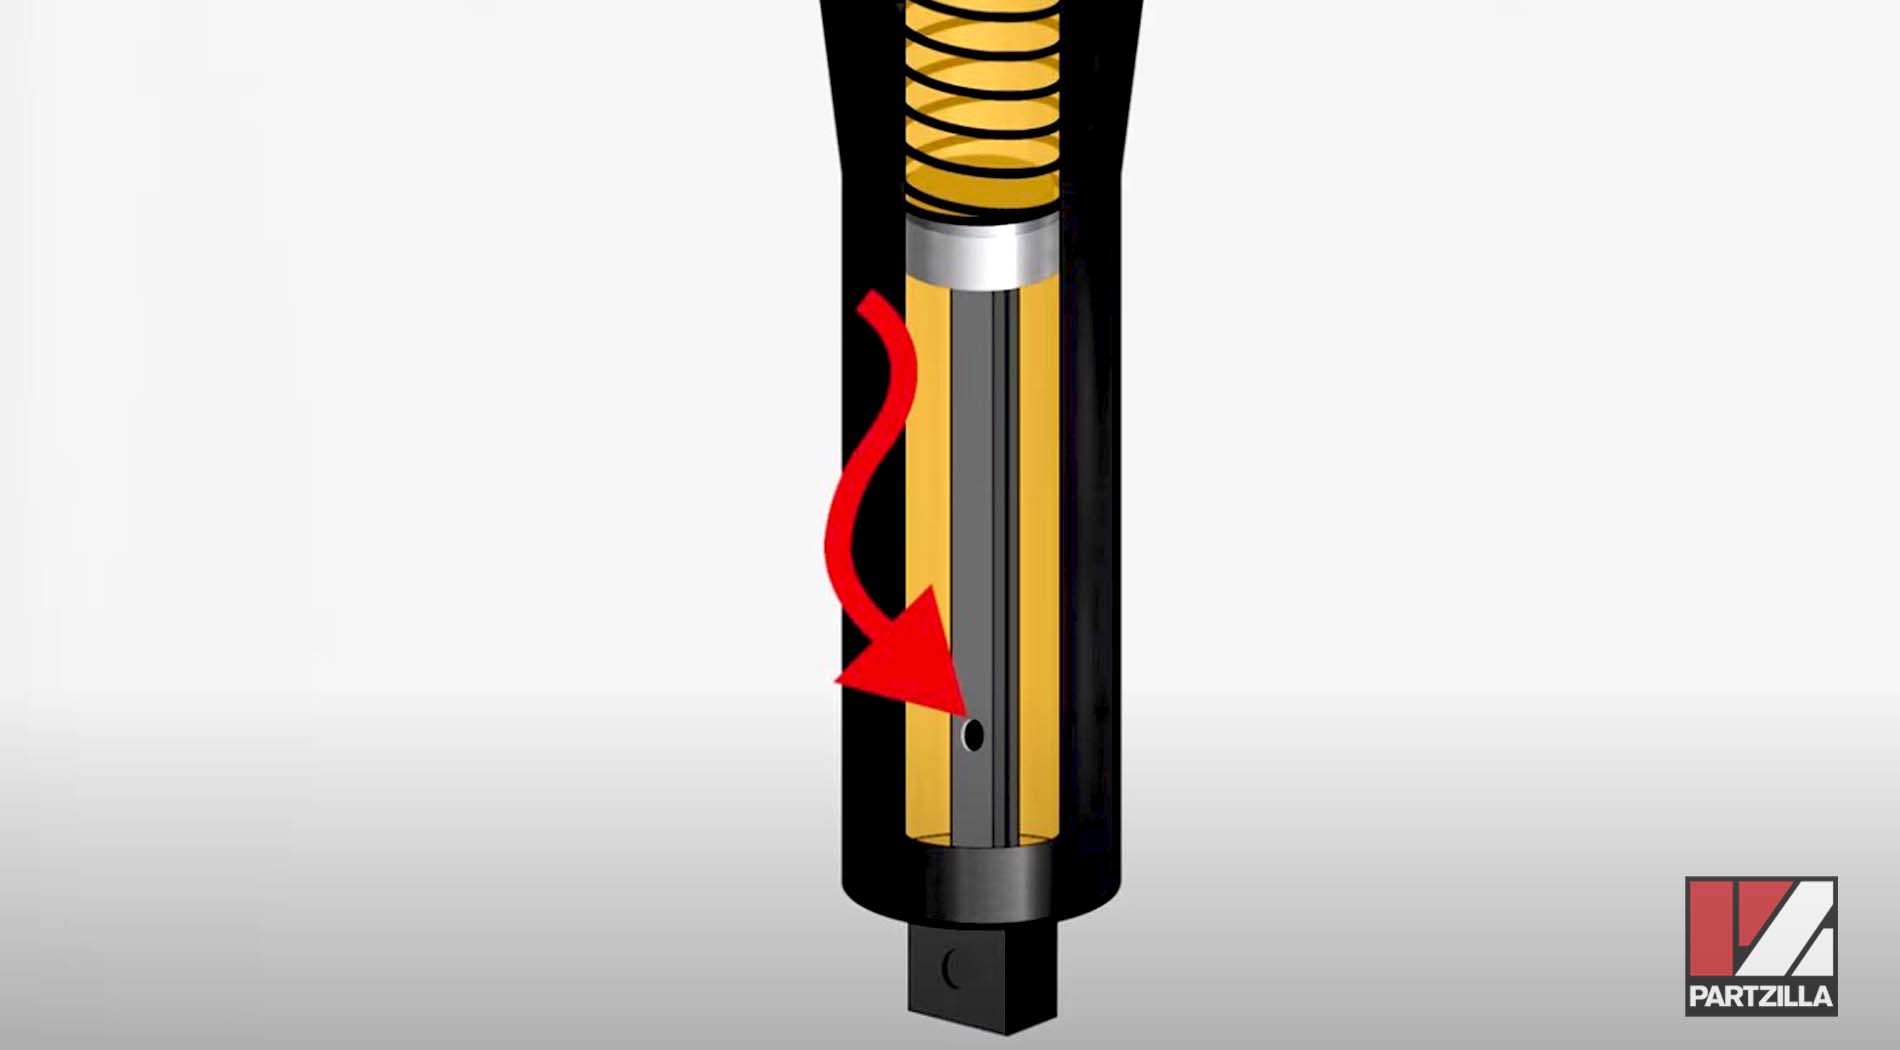
Next, you have a dampening system inside the tube that helps smooth out the movement of the spring to give you a consistent ride.
The dampening system is where the fork seals come into play. This system works by using fork oil that’s pushed in and out of small holes inside the fork tube. The resistance of the oil moving through those holes is what slows down the reaction of the spring, and the fork seals help keep the oil in the tube.
When to Replace Fork Seals
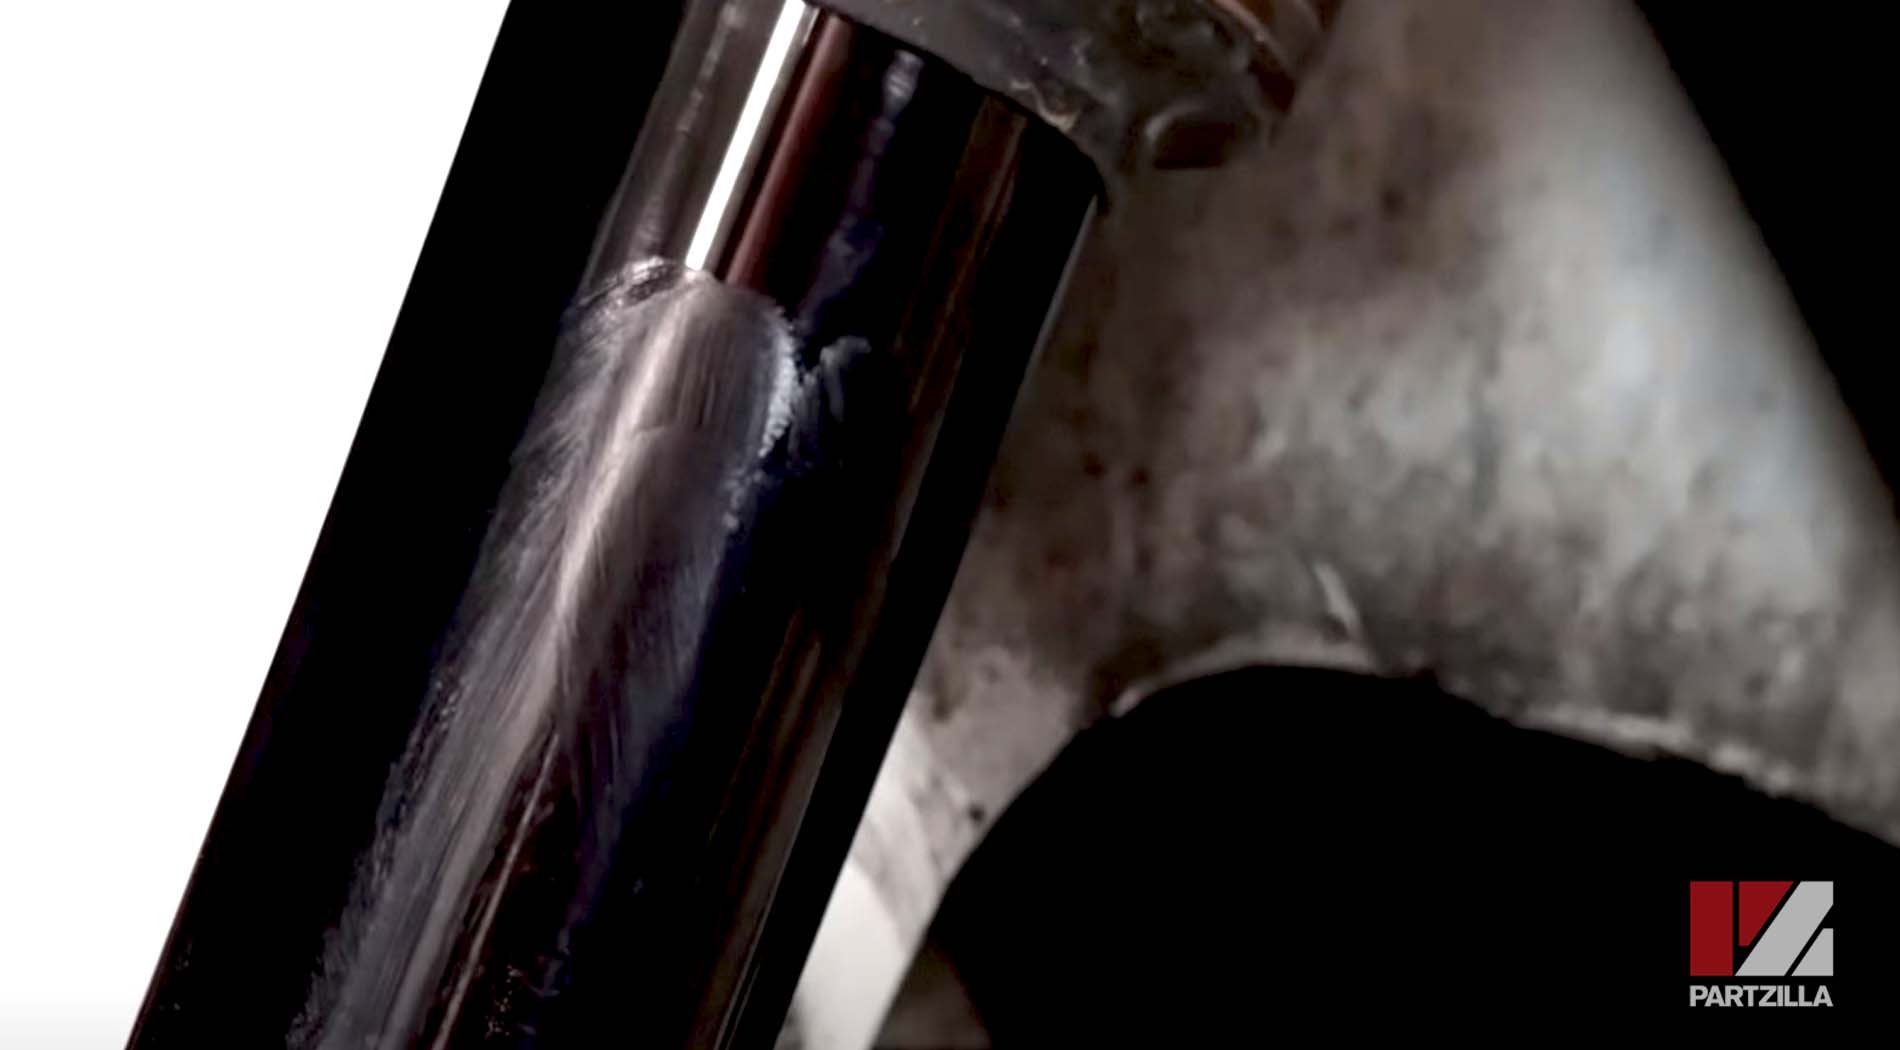
The surest indicator that it’s time to replace the fork seals on your motorcycle is seeing oil on the fork leg, or finding a bunch of dirt sticking to it, which are signs of a leak.
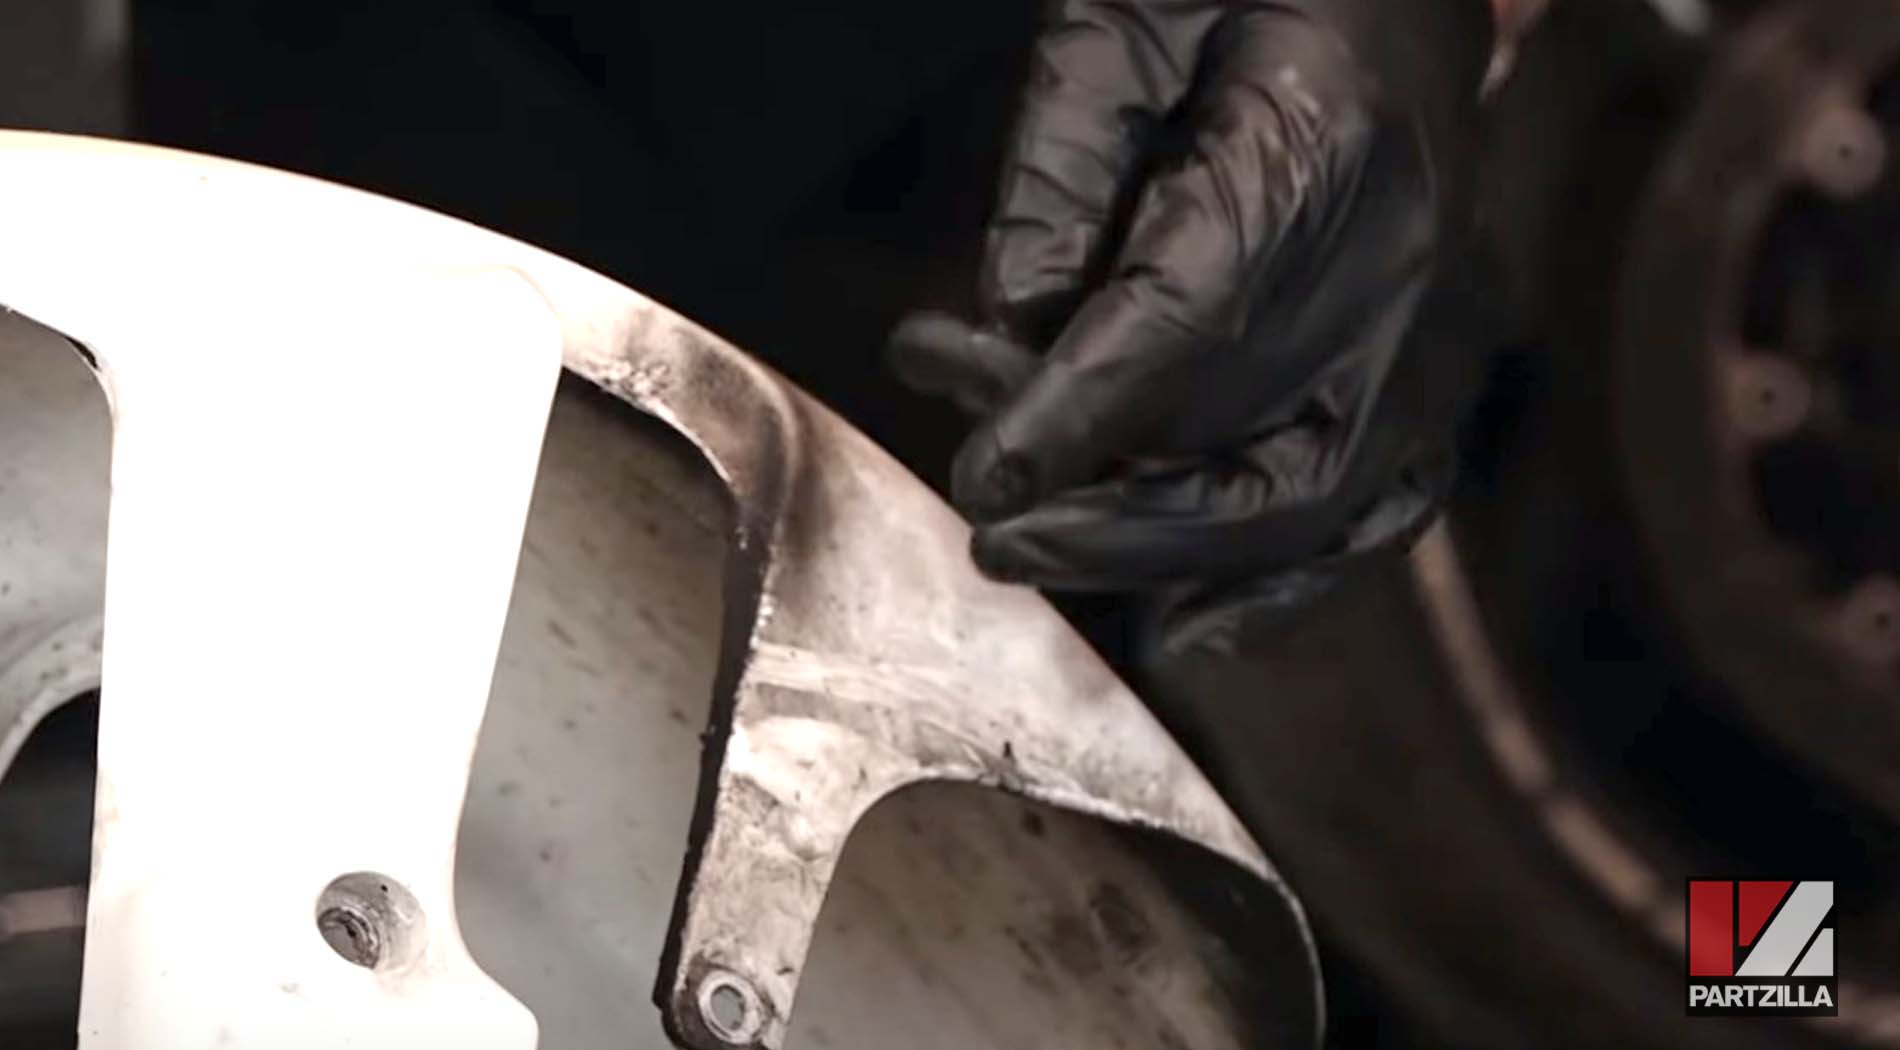
When fork seal leaks happen, you might also end up with fork oil on the inside of the front fender or worse yet, on the brake rotor, which can do serious damage to the rotor.
From a handling standpoint, another indication that it’s time to replace the fork seals is the front end getting spongy or soft. When the seals go, the oil leaks out and can mess up how your machine rides, especially if it gets on the brakes.
Replace the Fork Seals on Both Sides
Unless an individual seal is defective or was damaged somehow, it’s best to go ahead and replace the fork seals on both sides, because when one seal wears out, its counterpart on the other side will soon follow.
Keep a Clean Workspace
Maintaining a clean workspace is essential to replacing the fork seals on a motorcycle, because you’re dealing with moving parts that have very tight tolerances, and any dirt or contaminants can do a number on these parts.
Organize the Parts
Arrange the parts in the order they come off the motorcycle and the fork tubes. For this type of job, there’s an assortment of seals, rings and gaskets that look similar, and it’s easy to get them mixed up if you’re not careful. Take your time, stay organized, and keep the parts in order.
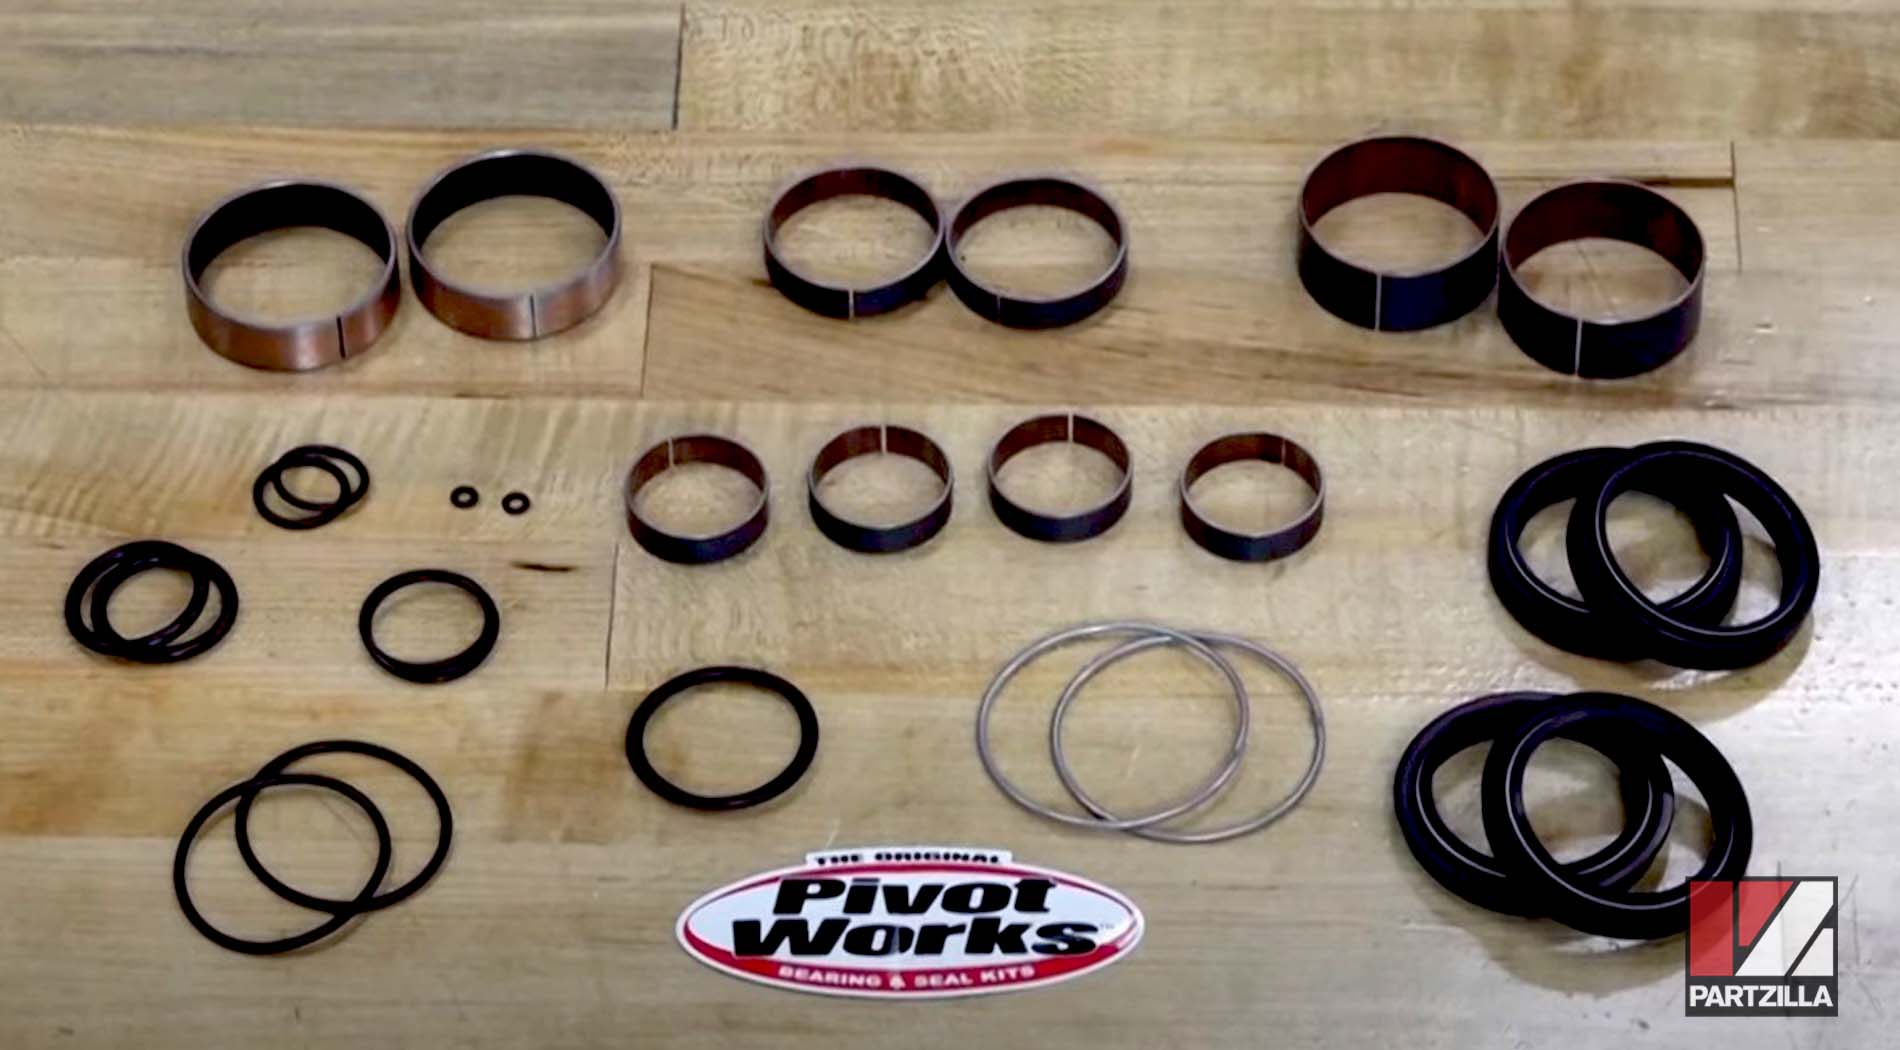
Pay attention to the orientation of the seals when you’re removing the old ones: how they go on and which side is up. Use a marker if necessary to help you remember how everything comes off and goes back on.
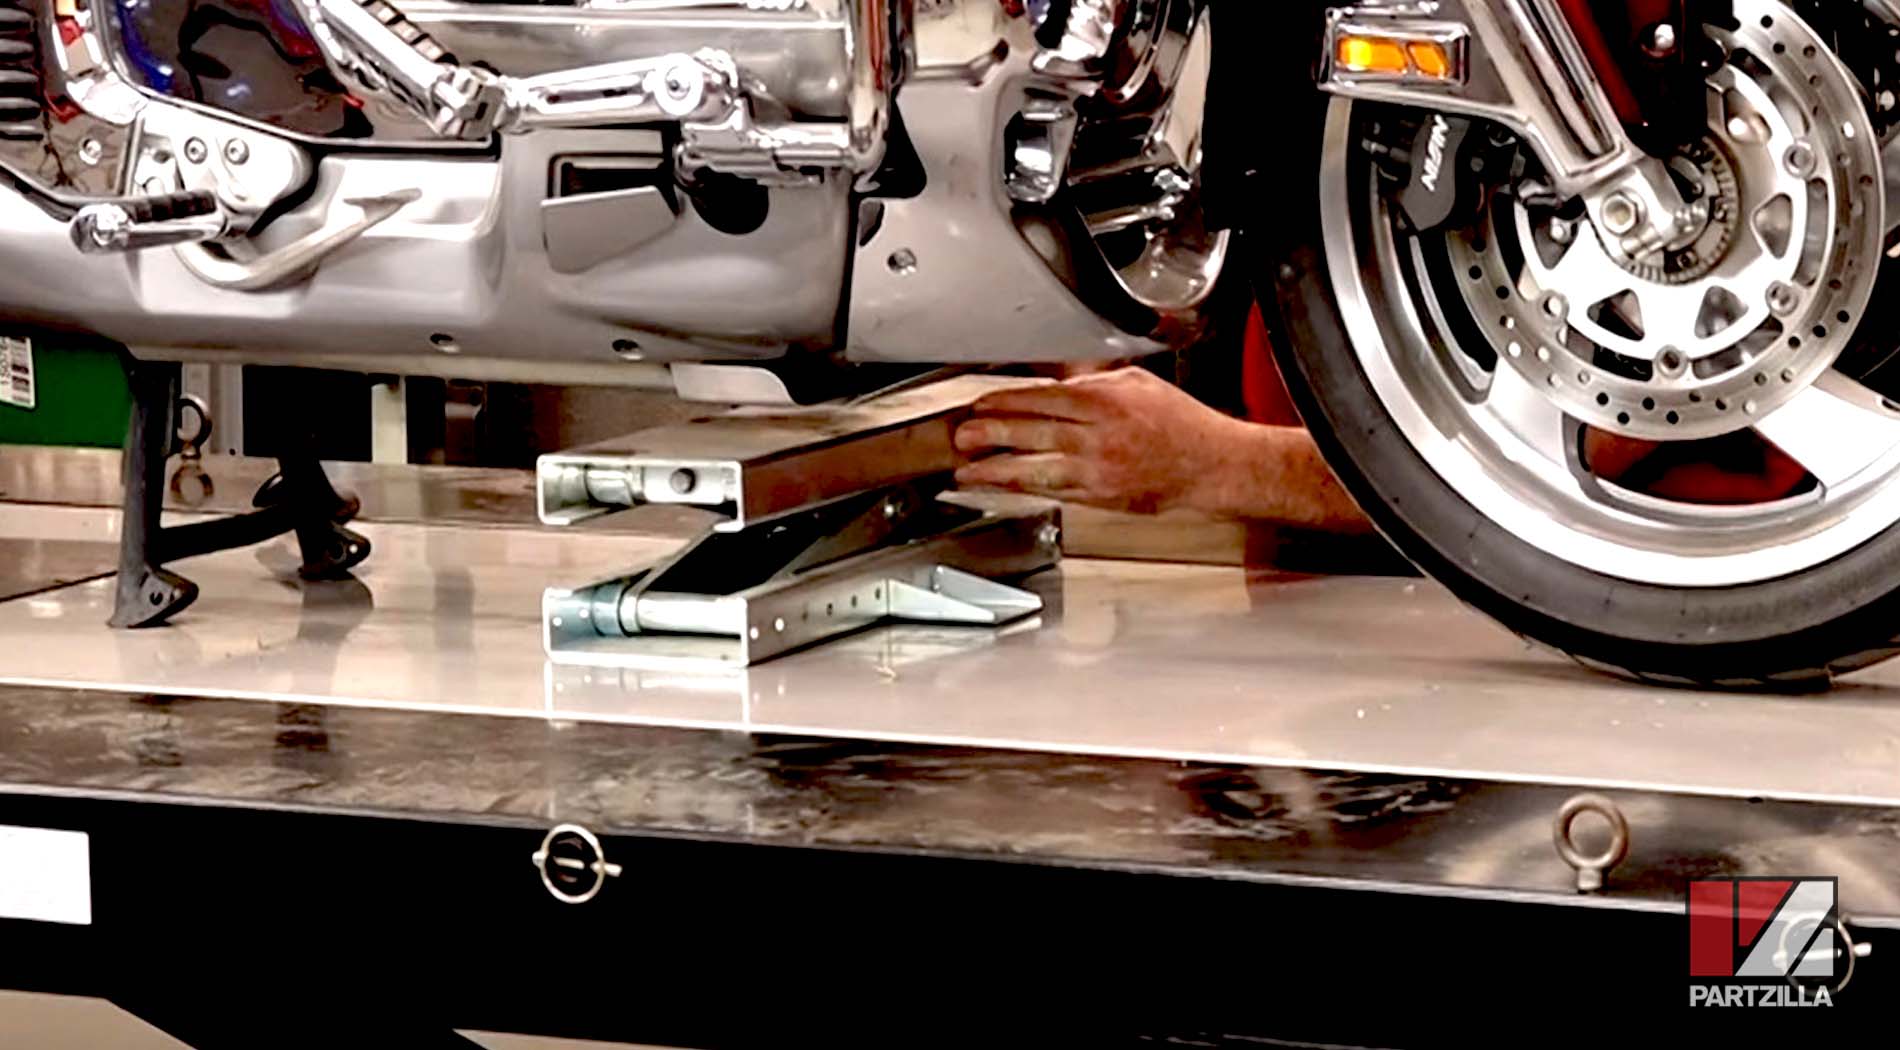
Secure the Motorcycle
Since you’re basically taking the front end off of the motorcycle, make sure your bike is on a secure lift to hold it in place. Get your bike on the stand and anchor it down on all four corners to prevent it from falling over on you.
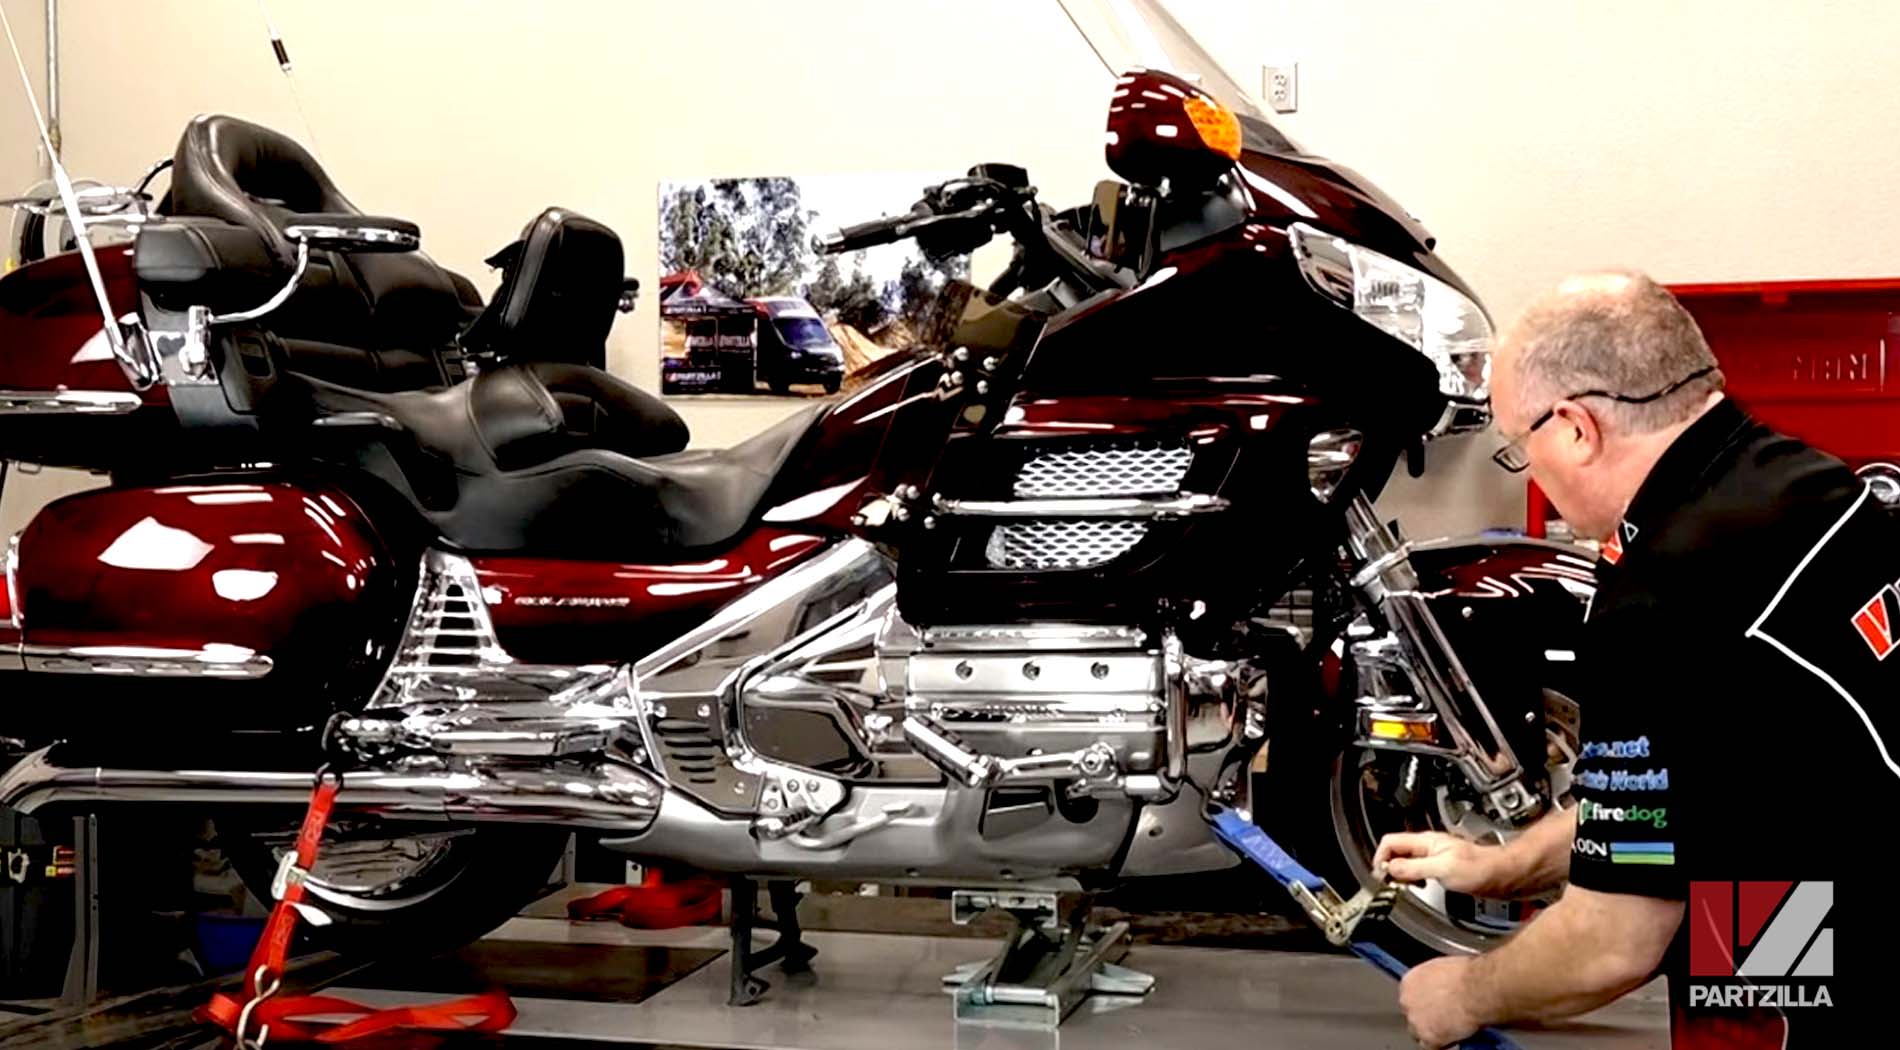
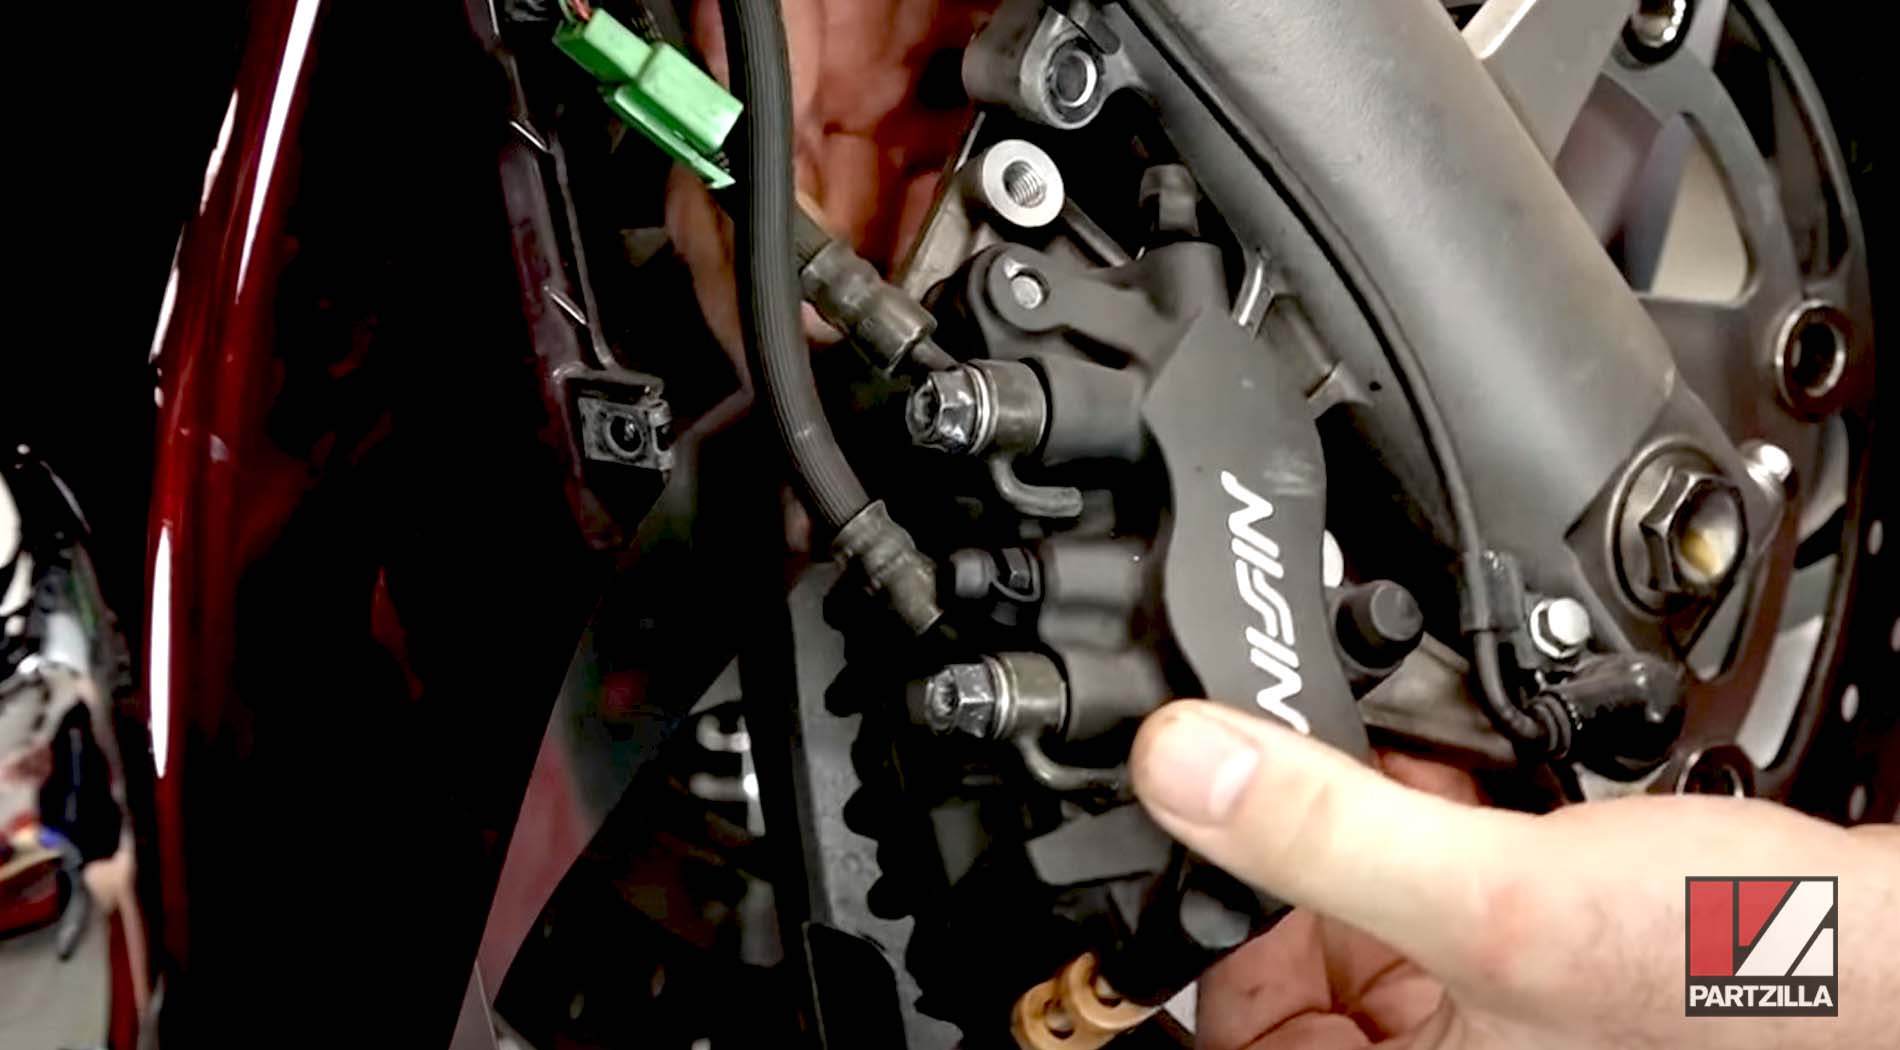
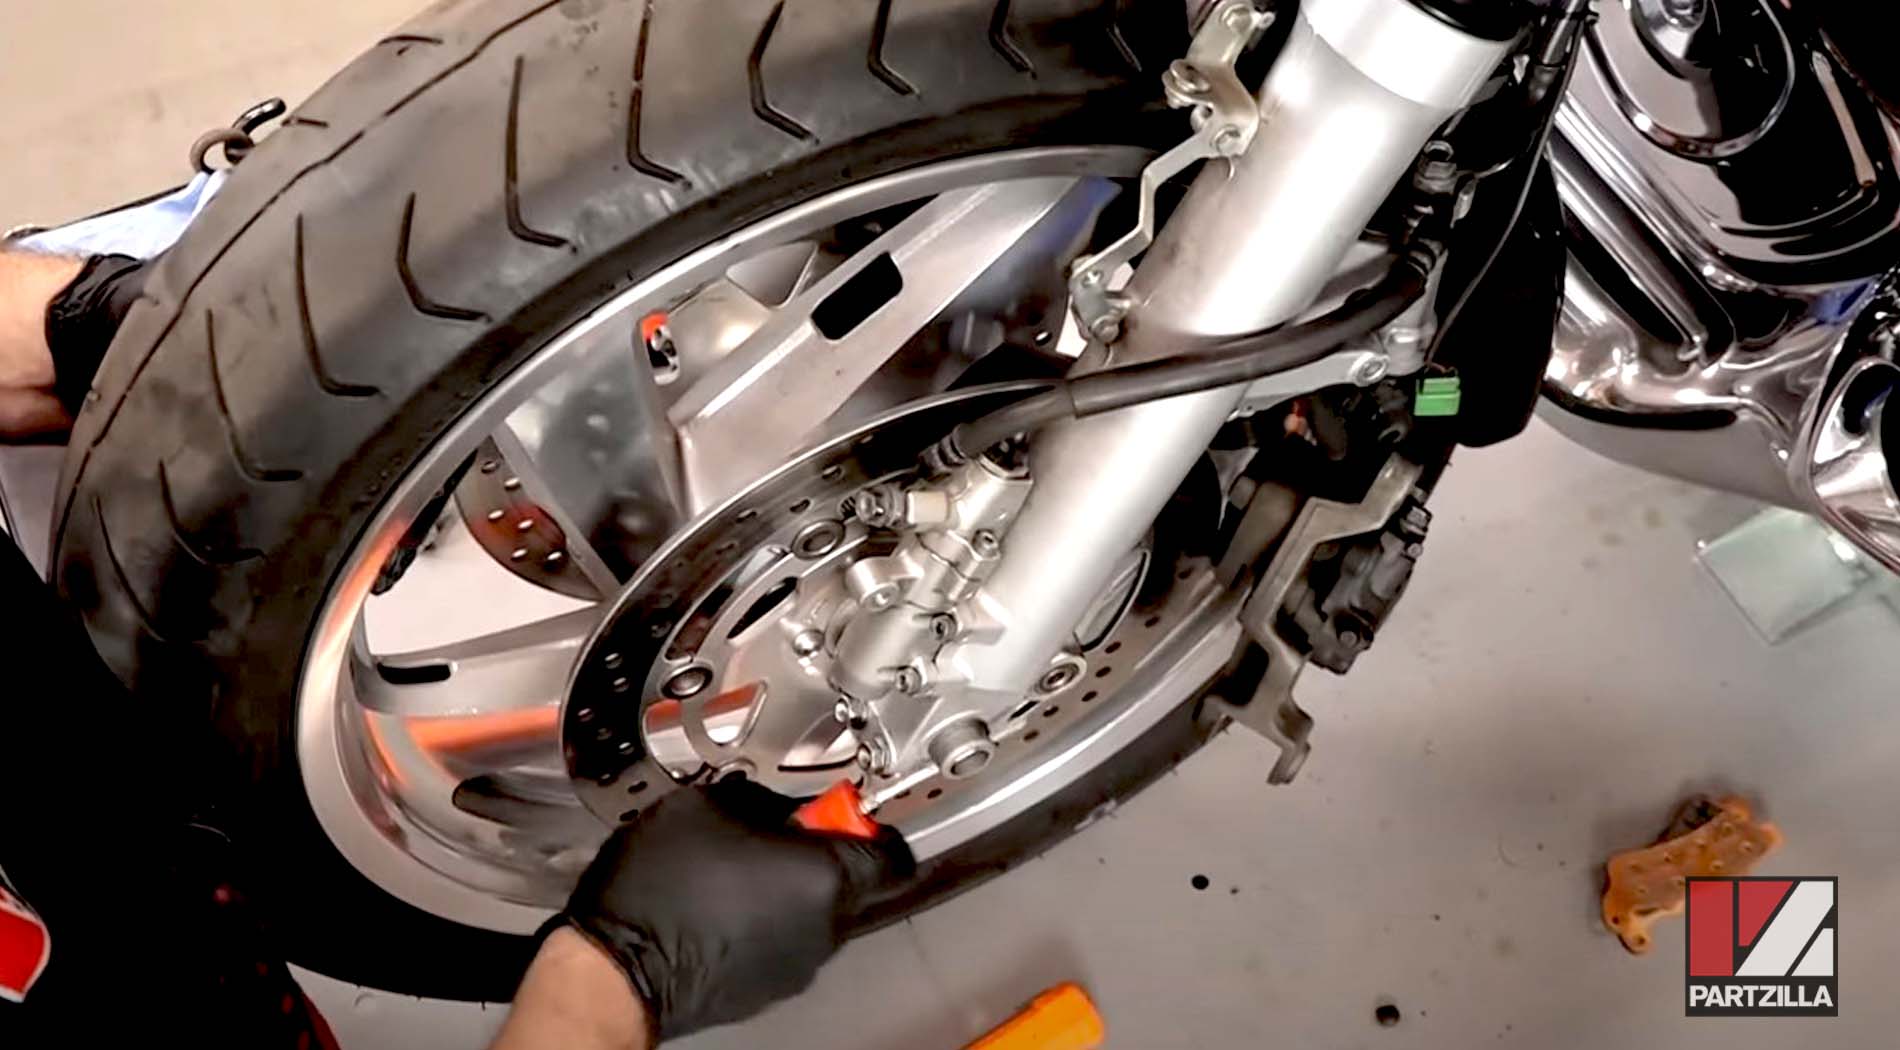
Remove the Brake Caliper and Front Wheel
To replace the fork seals, you’ll need to get the brake caliper(s) and the front wheel removed. Brake calipers are usually held in place by just a couple of bolts. However, some of the bigger motorcycles like the Honda Goldwing might have a caliper on both sides of the wheel, so you’ll need to remove both calipers if that’s the case. Then, loosen up the axle and drop the wheel out.
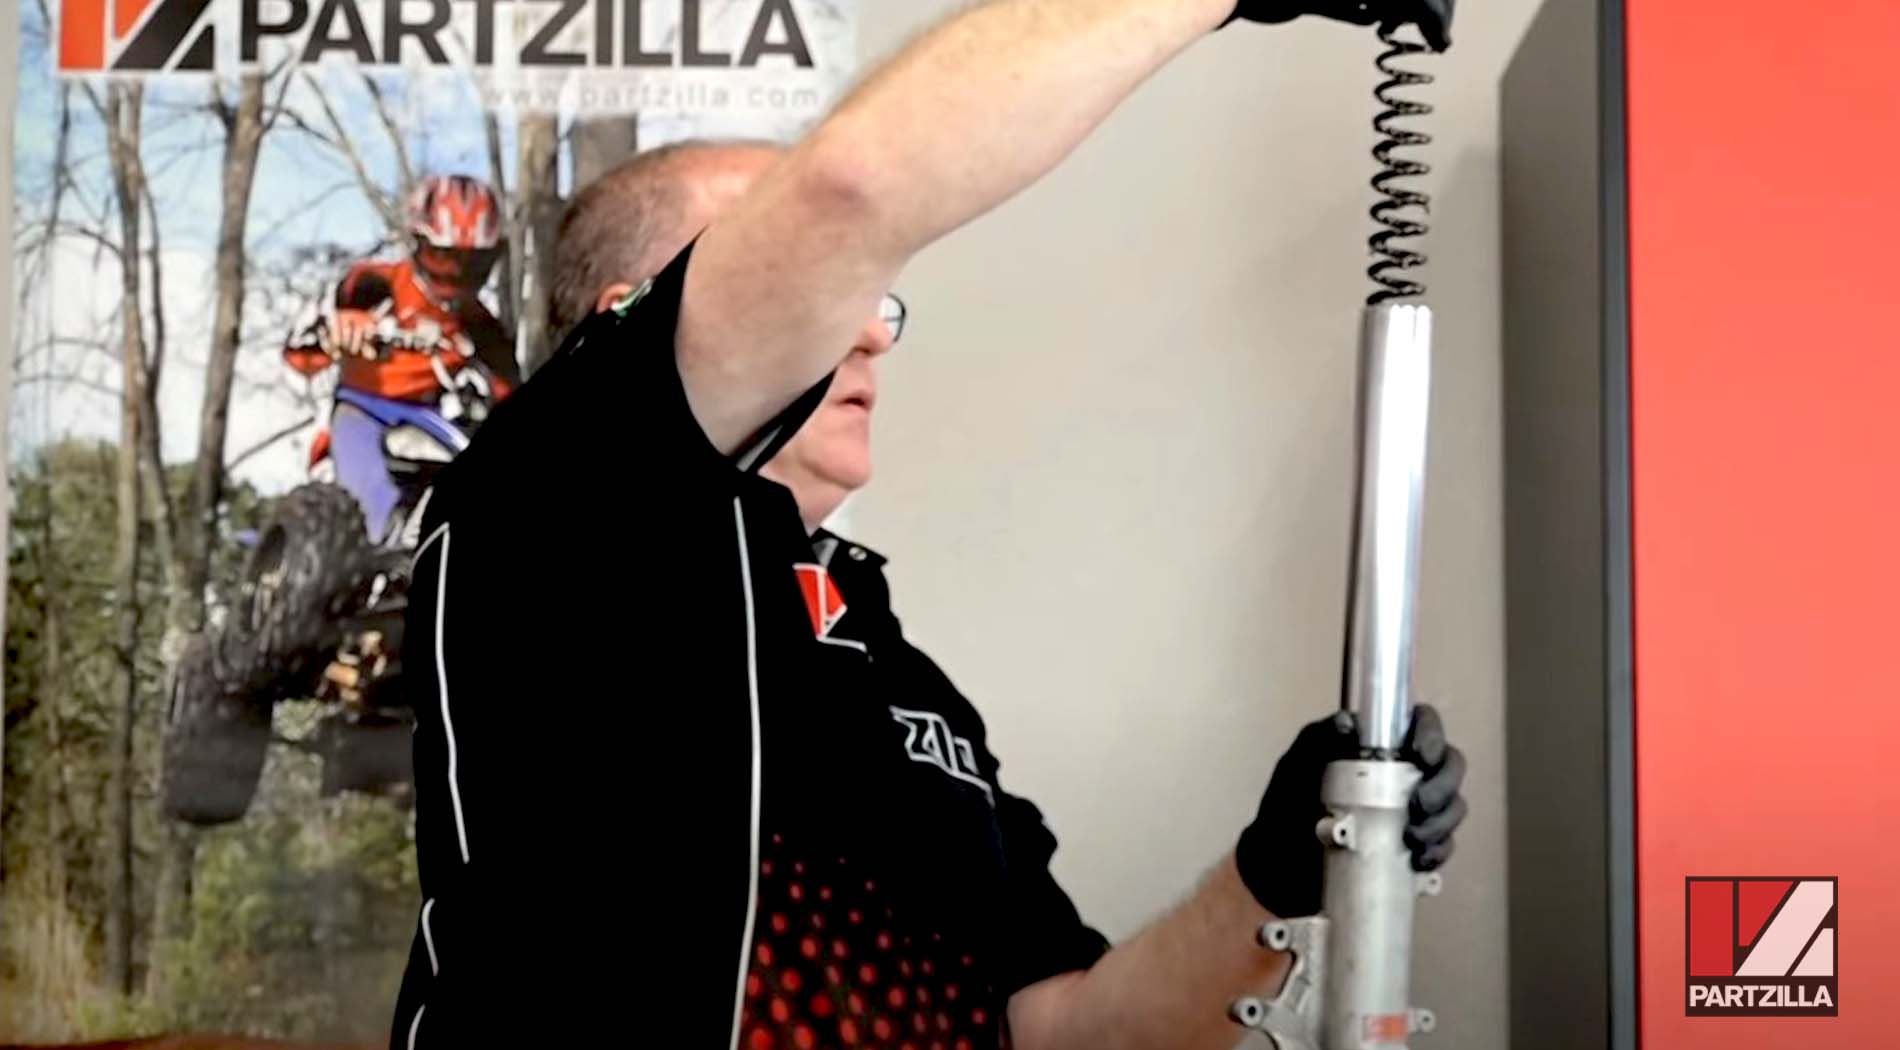
Removing the Fork Tubes
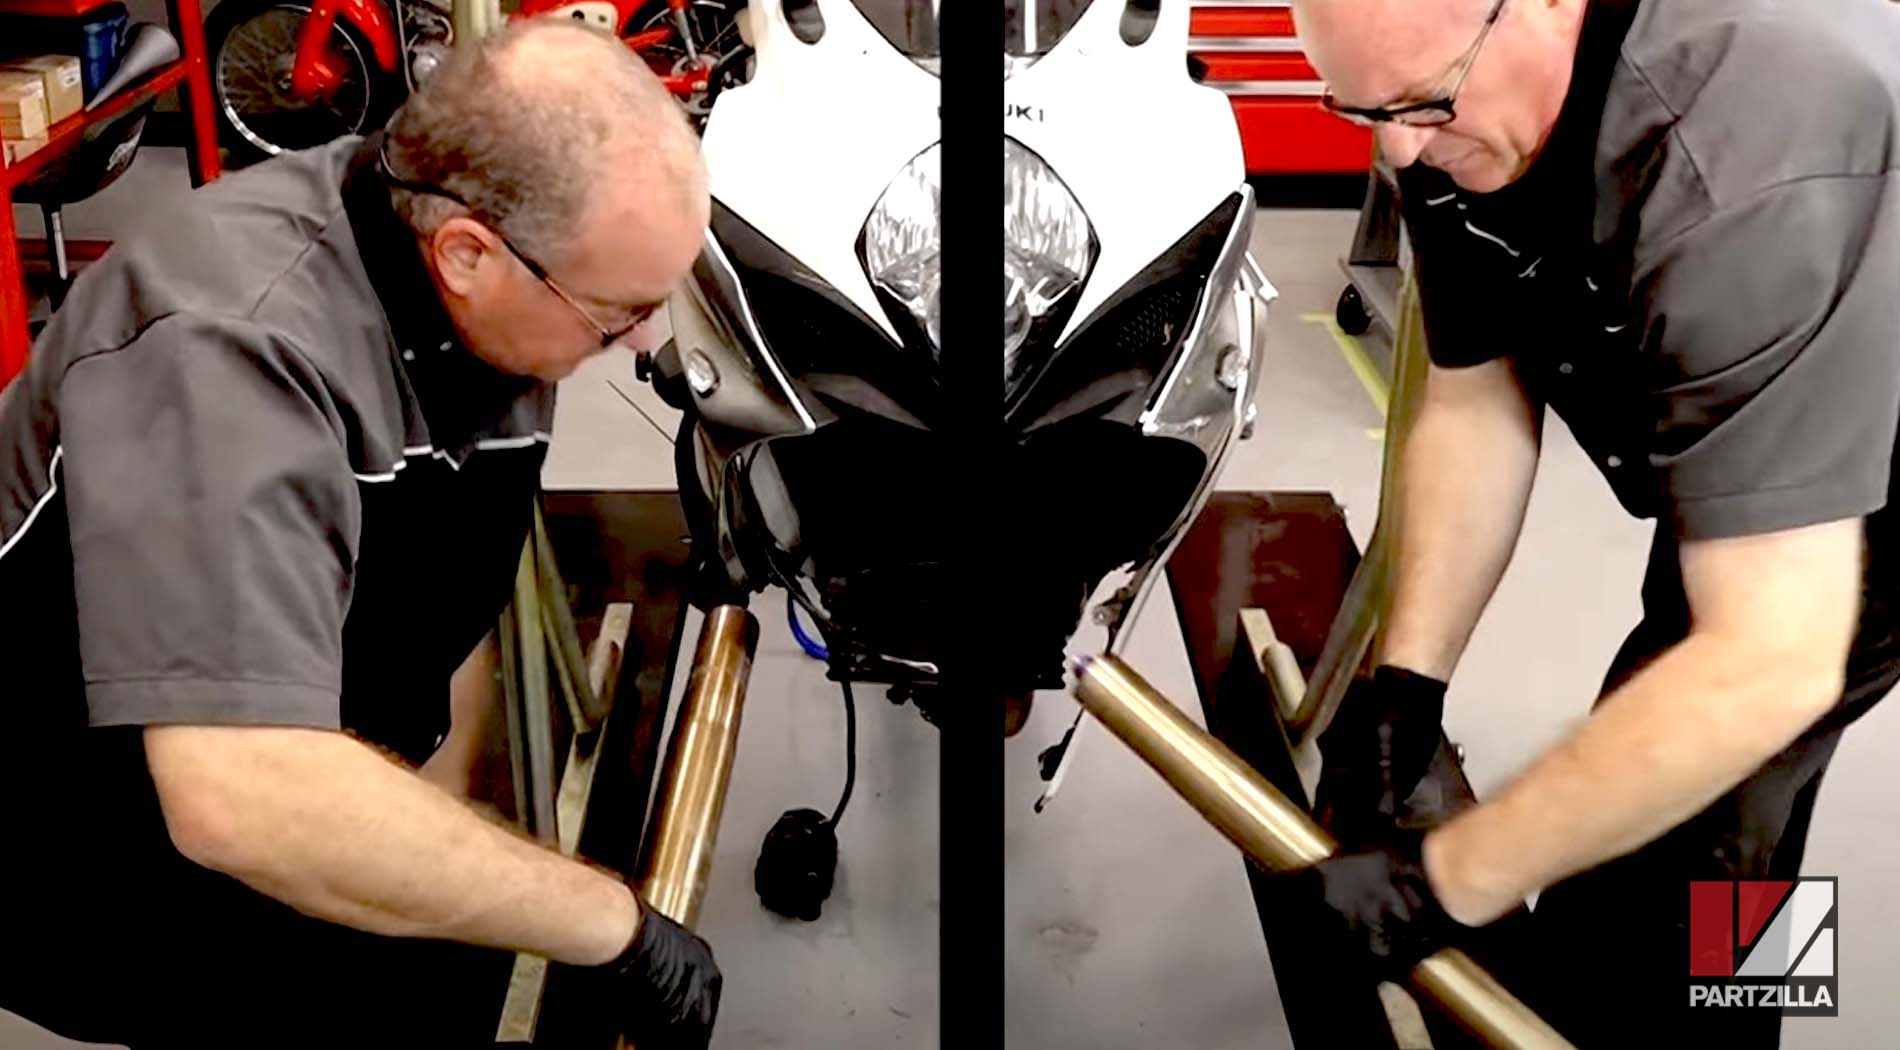
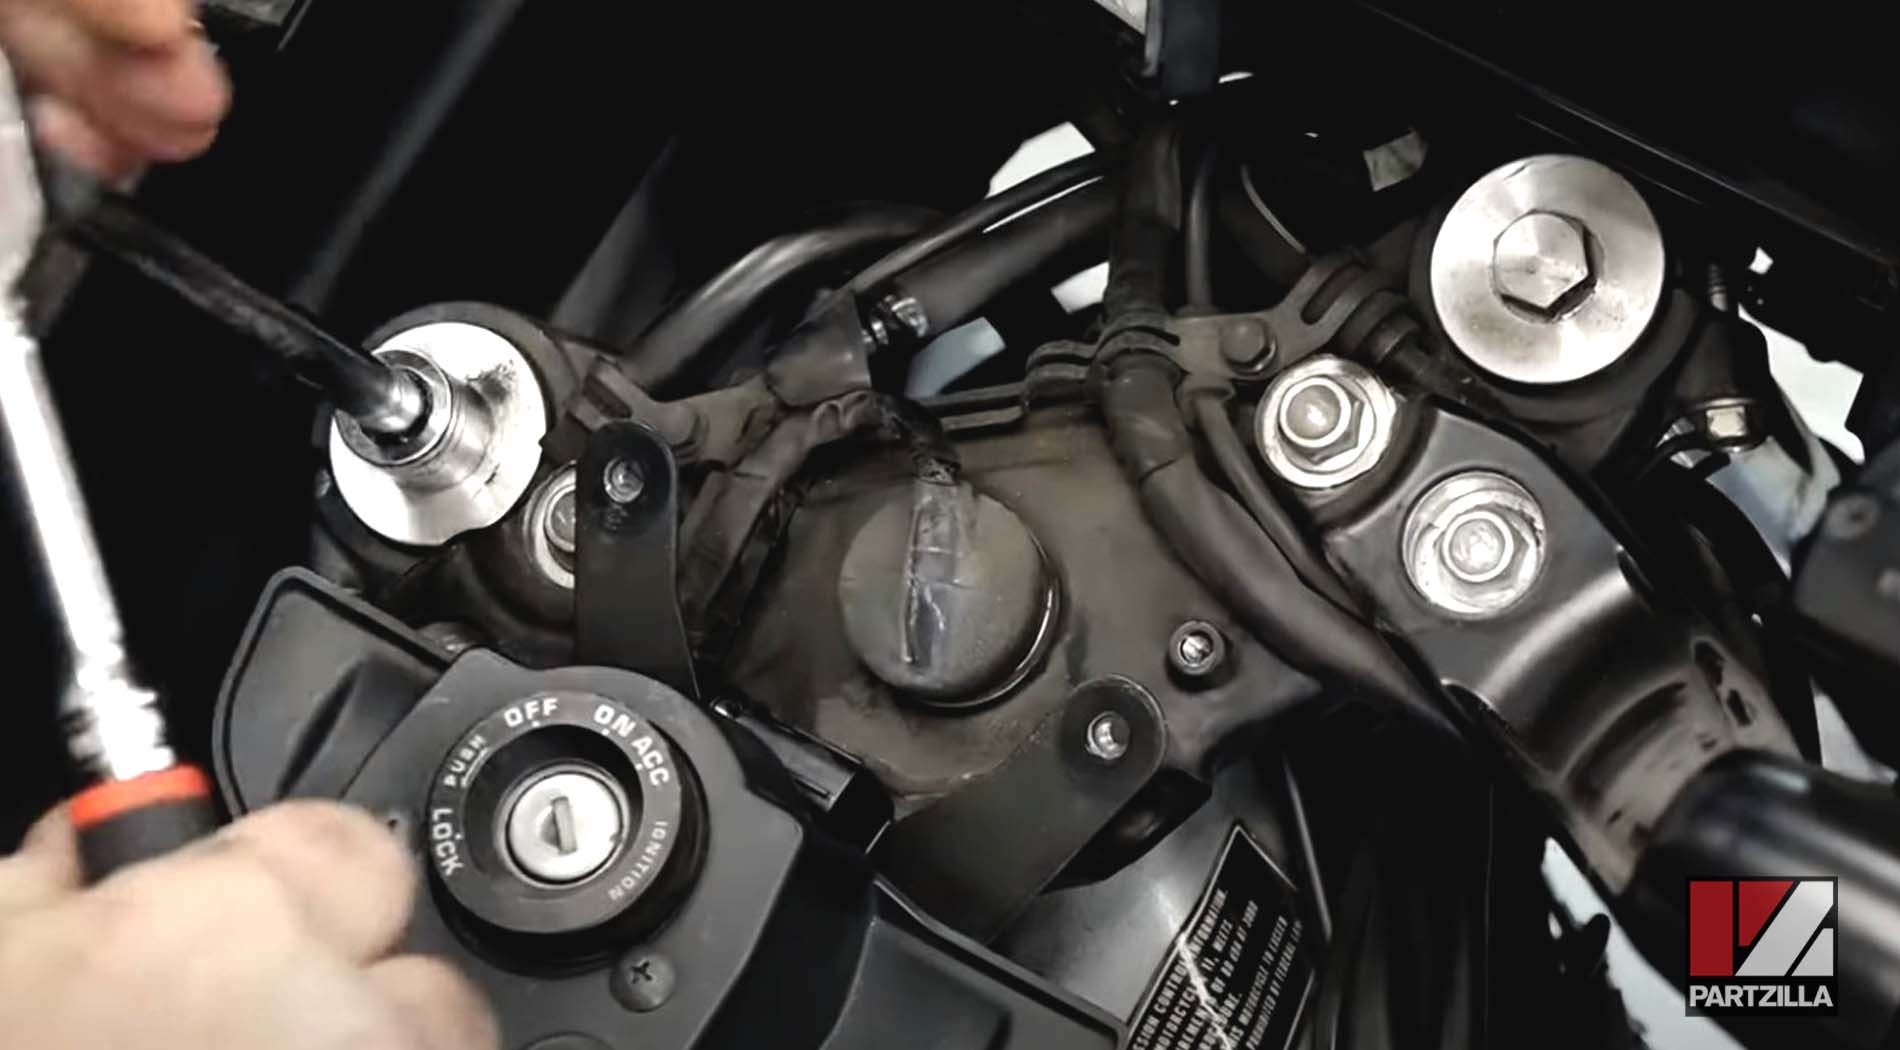
This part of the process varies from unit to unit, but you’re going to need to reach the top of the triple tree, where the clamp holds the fork tubes in place. You’re going to deal with removing plastics and/or instruments to get there, but it’s the only way to get the fork tubes out.
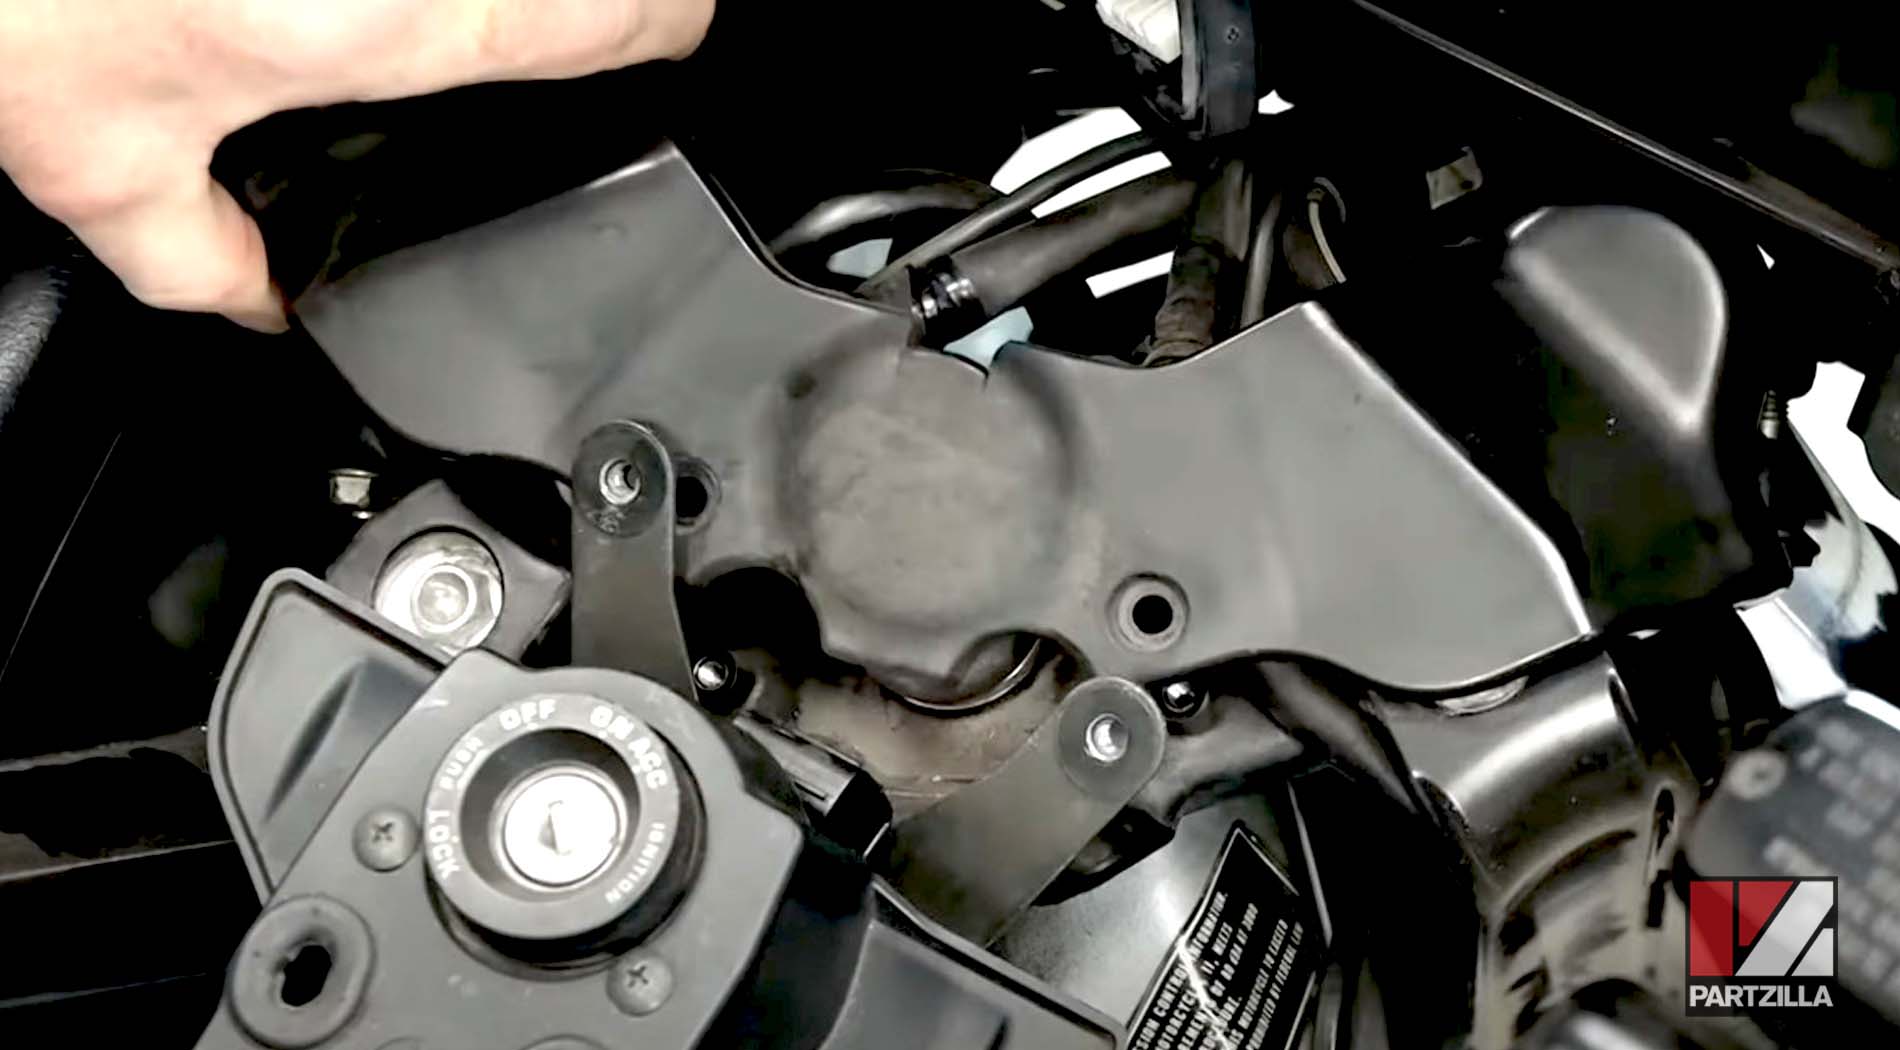
Before you remove the fork tubes, loosen the caps at the top of the tubes. They’re on pretty tight, so break them loose while the clamps are still keeping the tubes in place. Then, loosen the pinch bolts and drop the legs out.
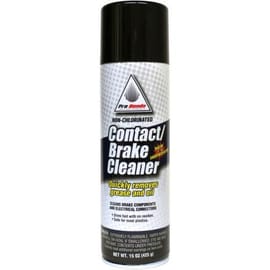
Clean the Fork Tubes
Once you’ve removed the fork legs and the fork caps and emptied out the old oil, wipe everything down. Use contact-brake cleaner to clean the fork tubes before you start pulling things apart.
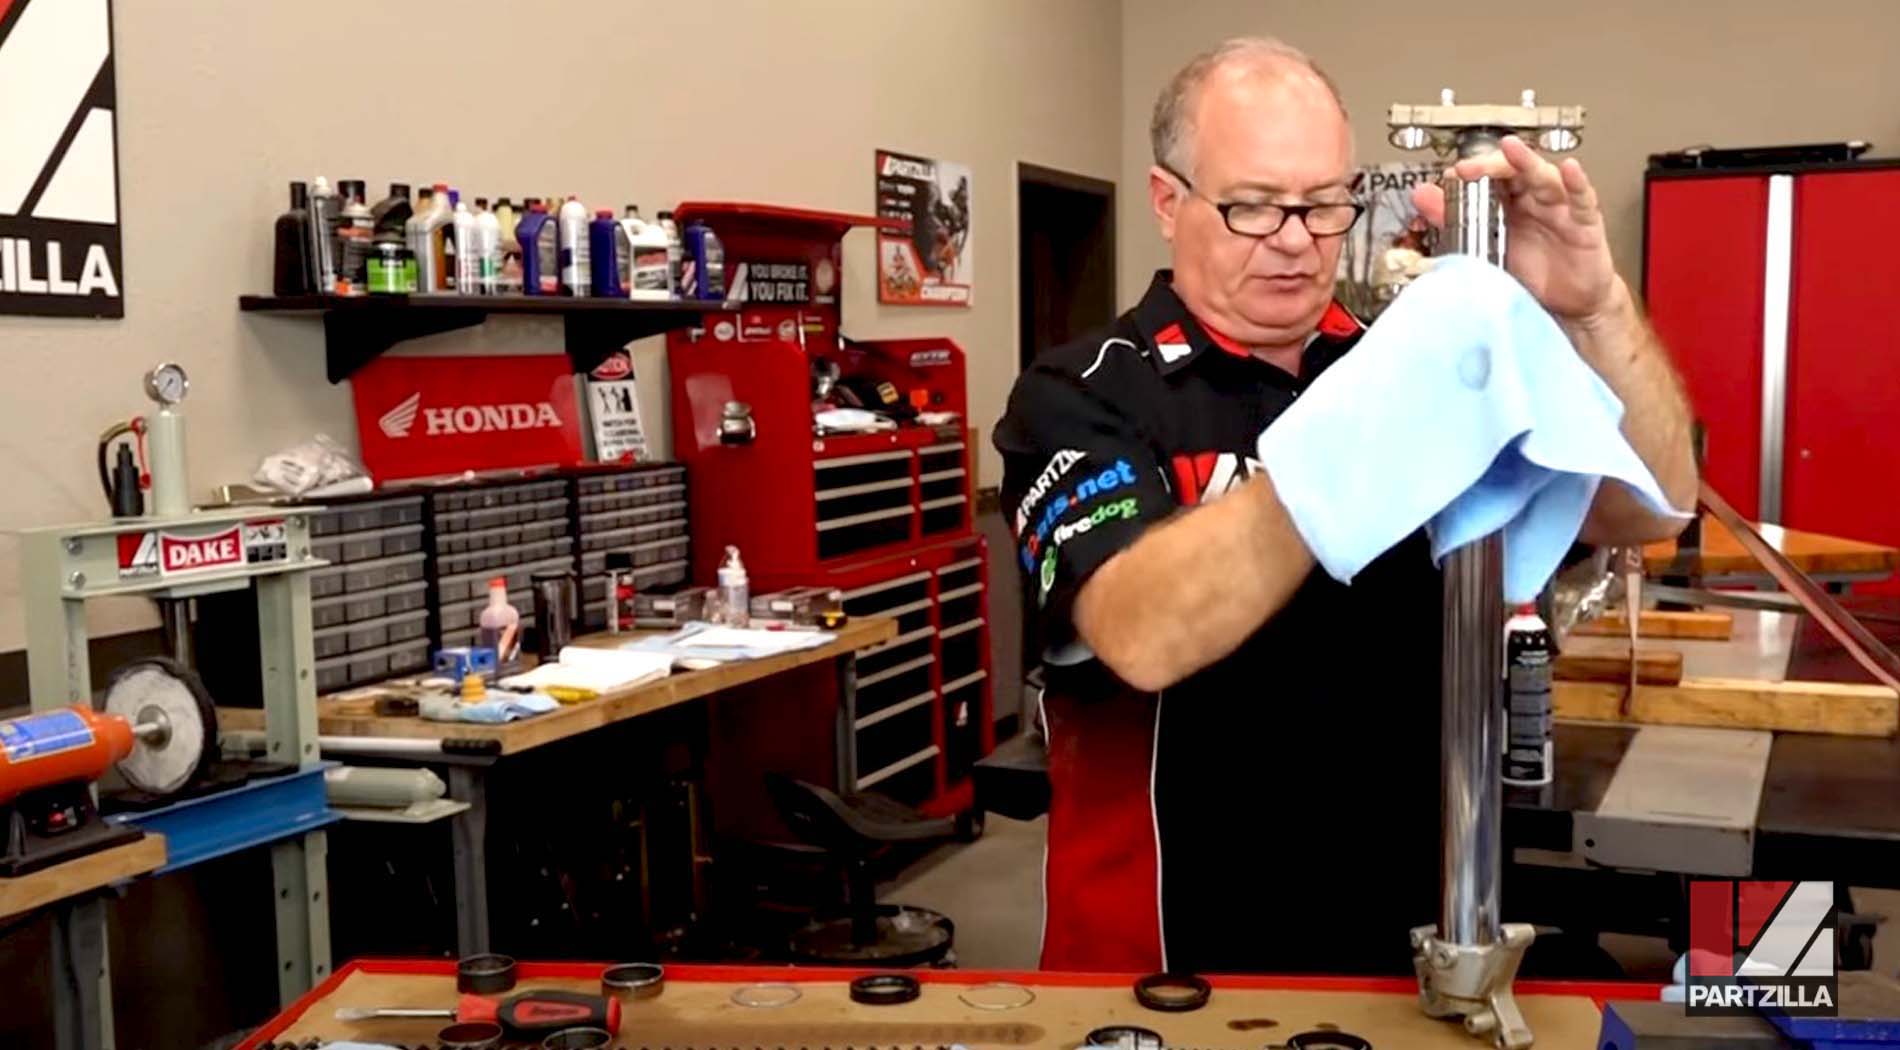
Protect the Fork Tube and Seals
Wrap enough electrical tape around the fork tubes to protect each tube from scratches as you guide the old seals up and off the tube, and to protect the new seals as you install them onto the tube.
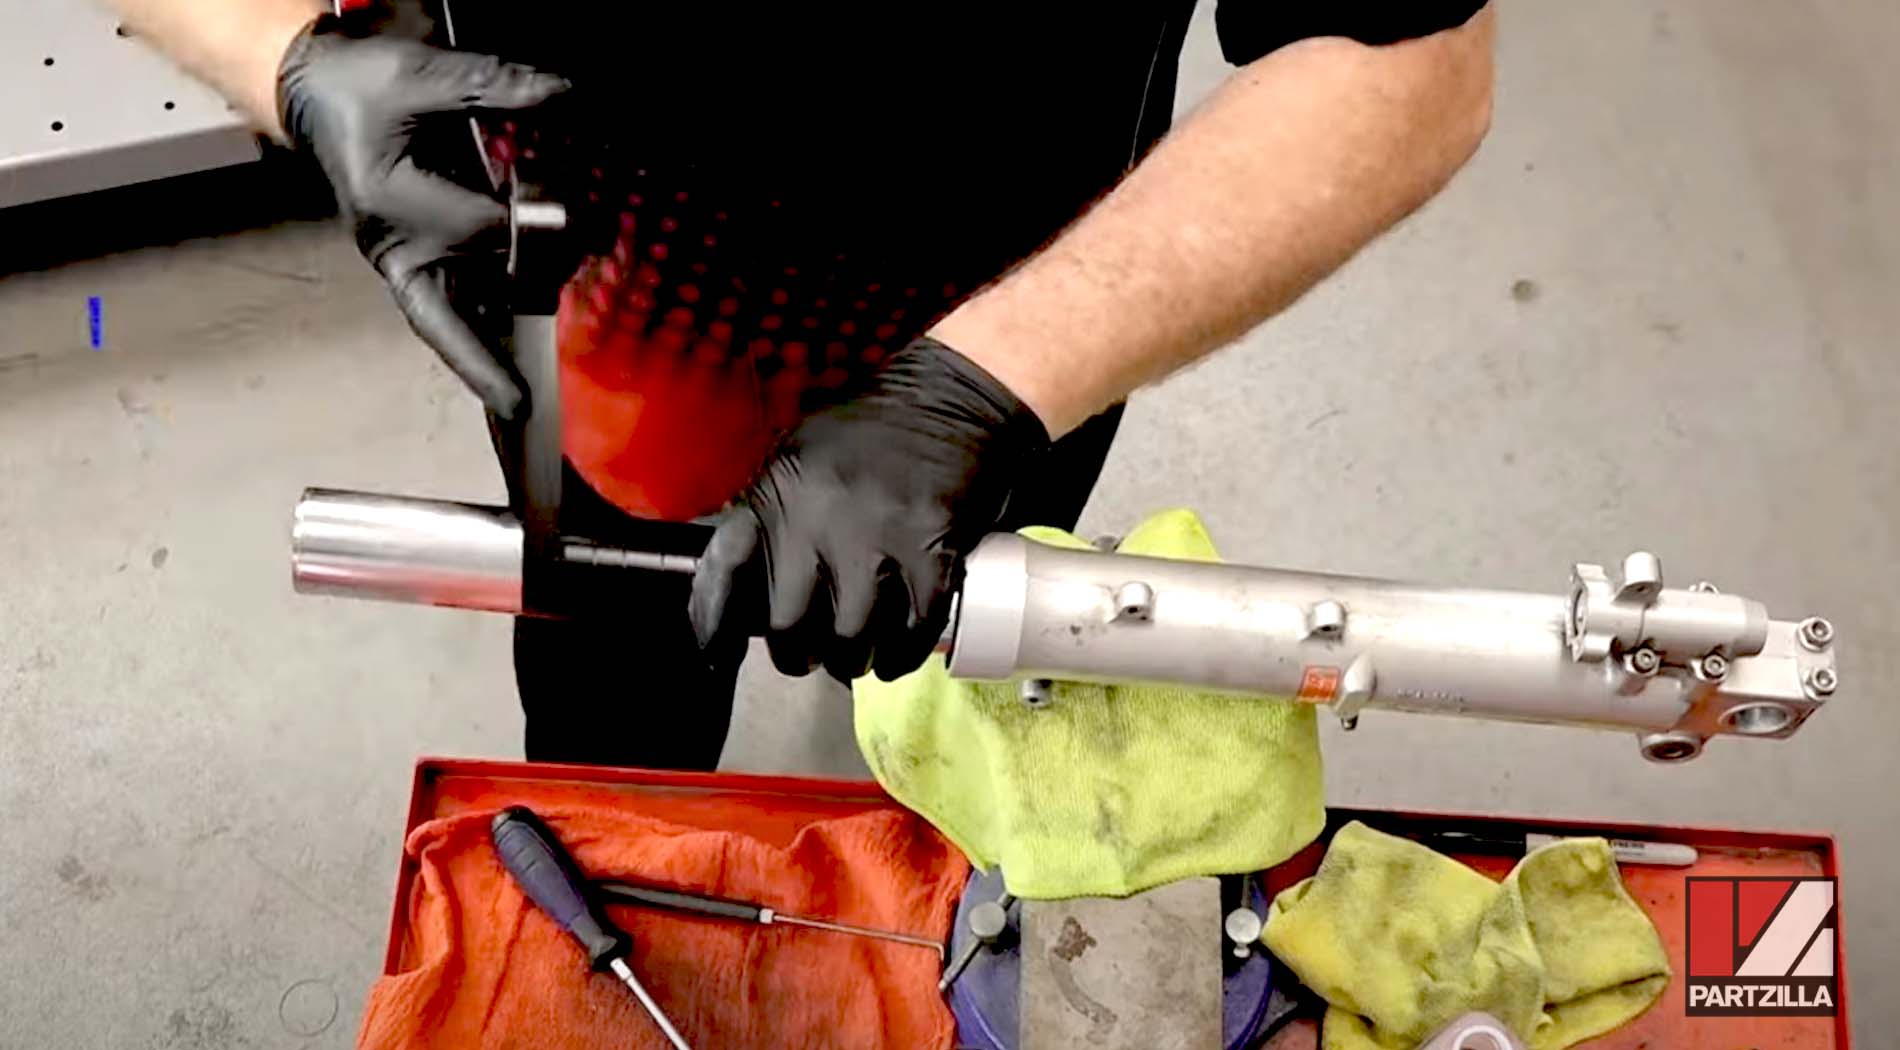
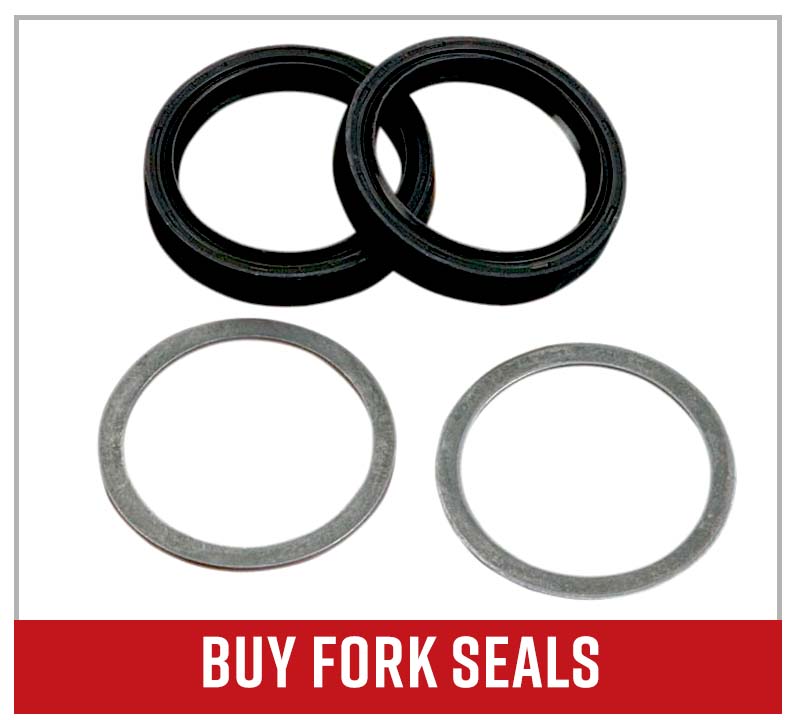
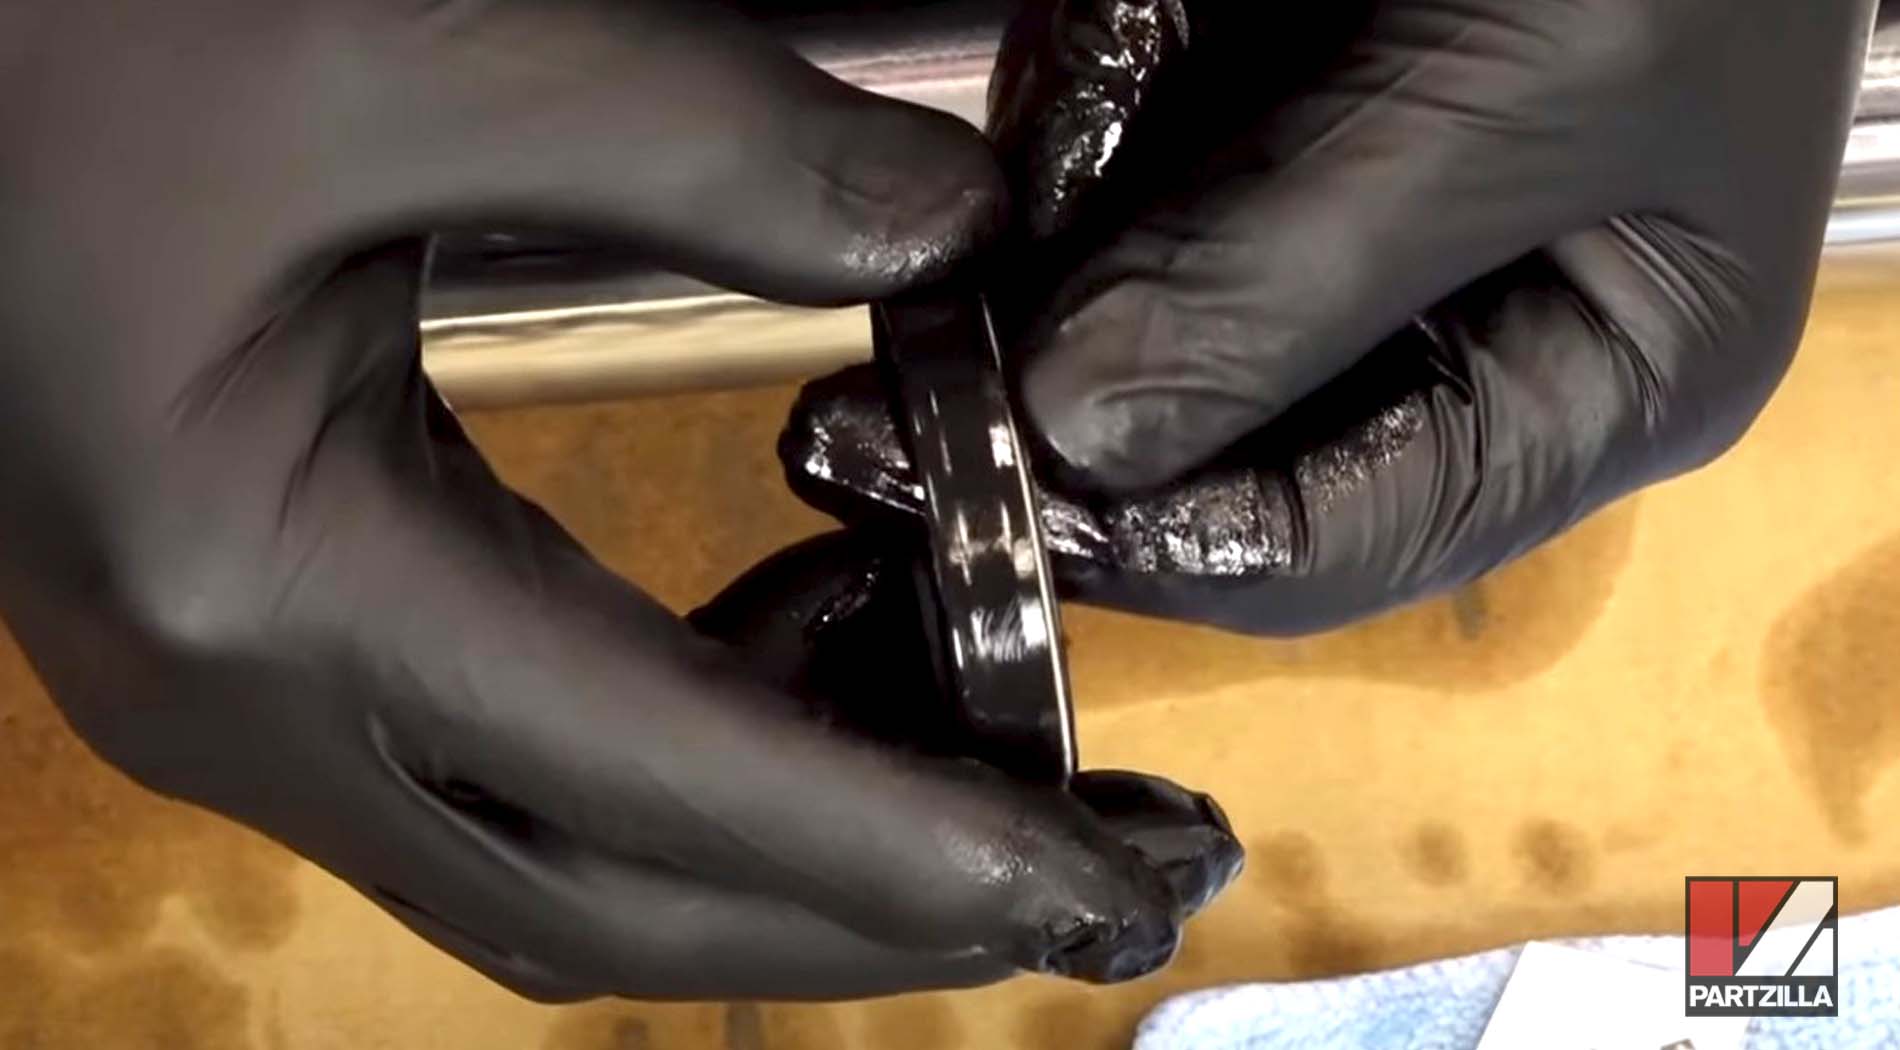
Inspect the Fork Tubes
After removing the old seals — which is typically a combination of rubber dust seals and metal rings — inspect the fork tubes. These tubes need to be as smooth as possible so they can seal properly. If you find pitting on the tubes, use some non-abrasive polish to get it out, then replace the seals in the order and orientation they came off.
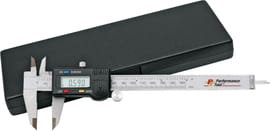
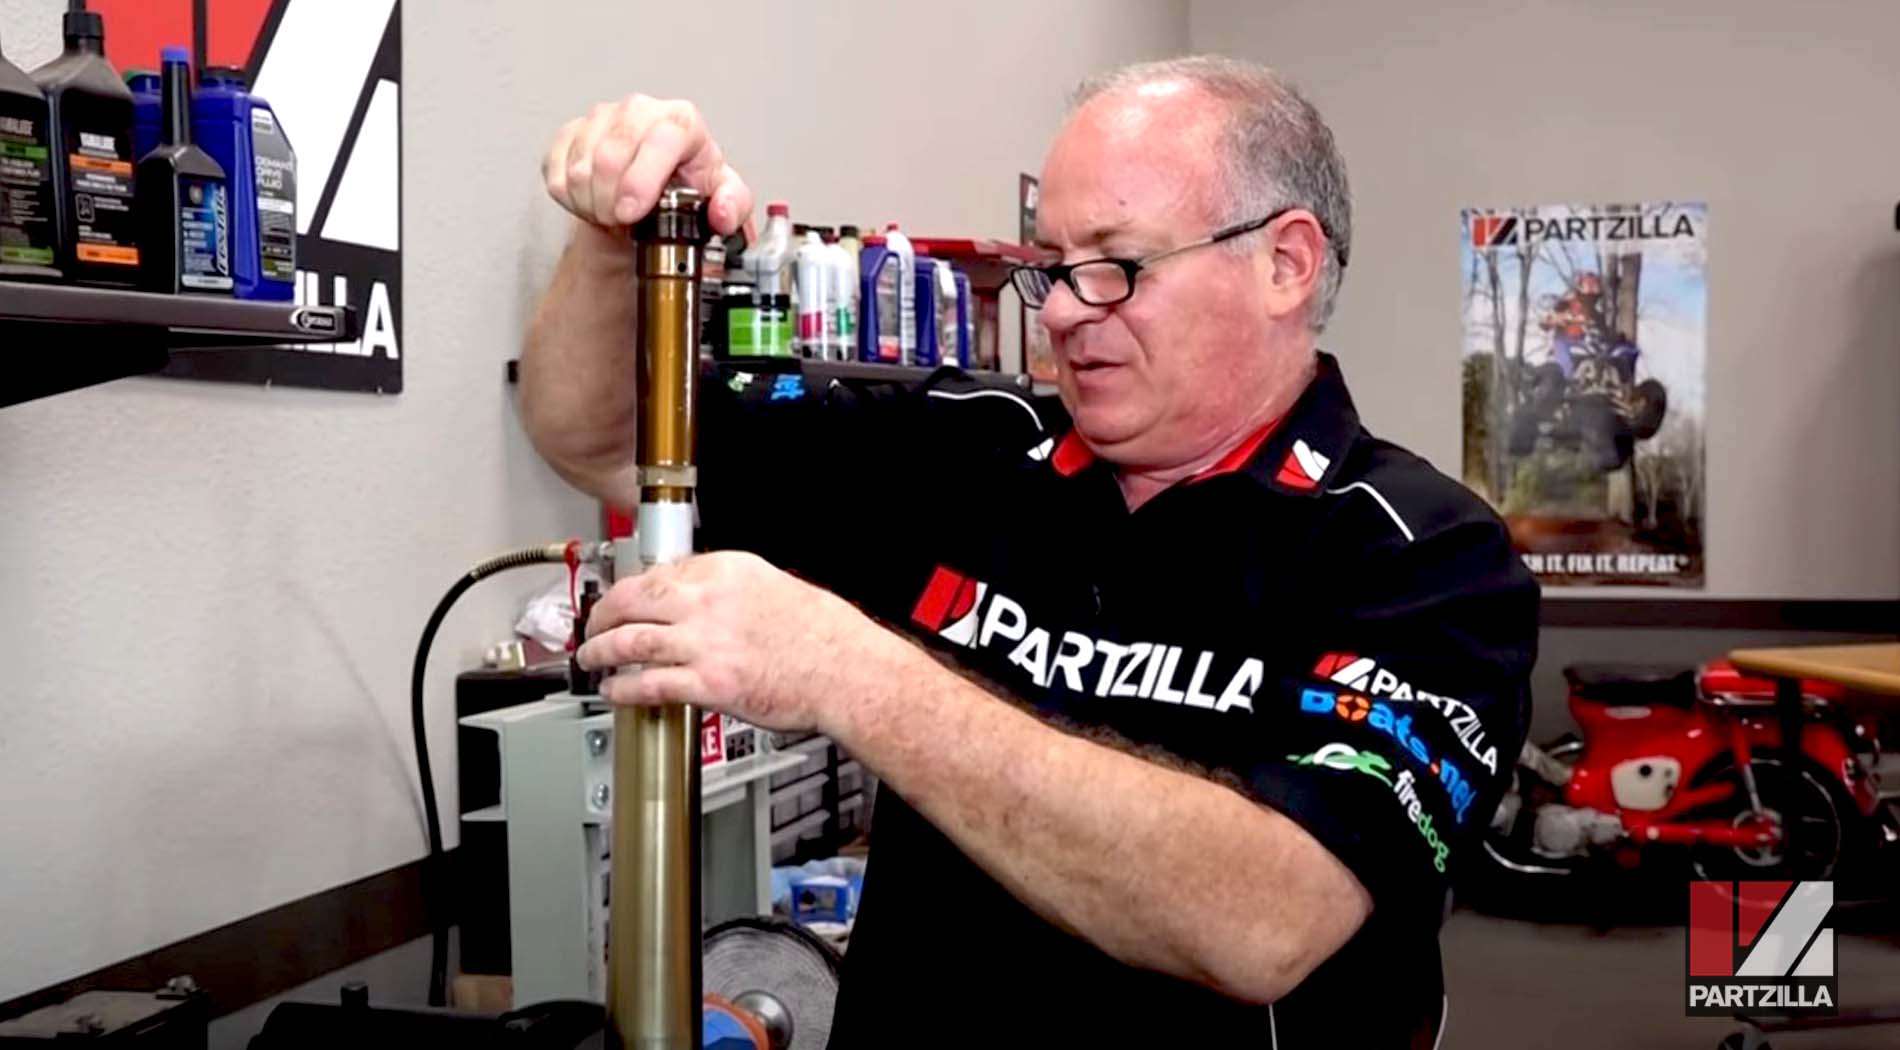
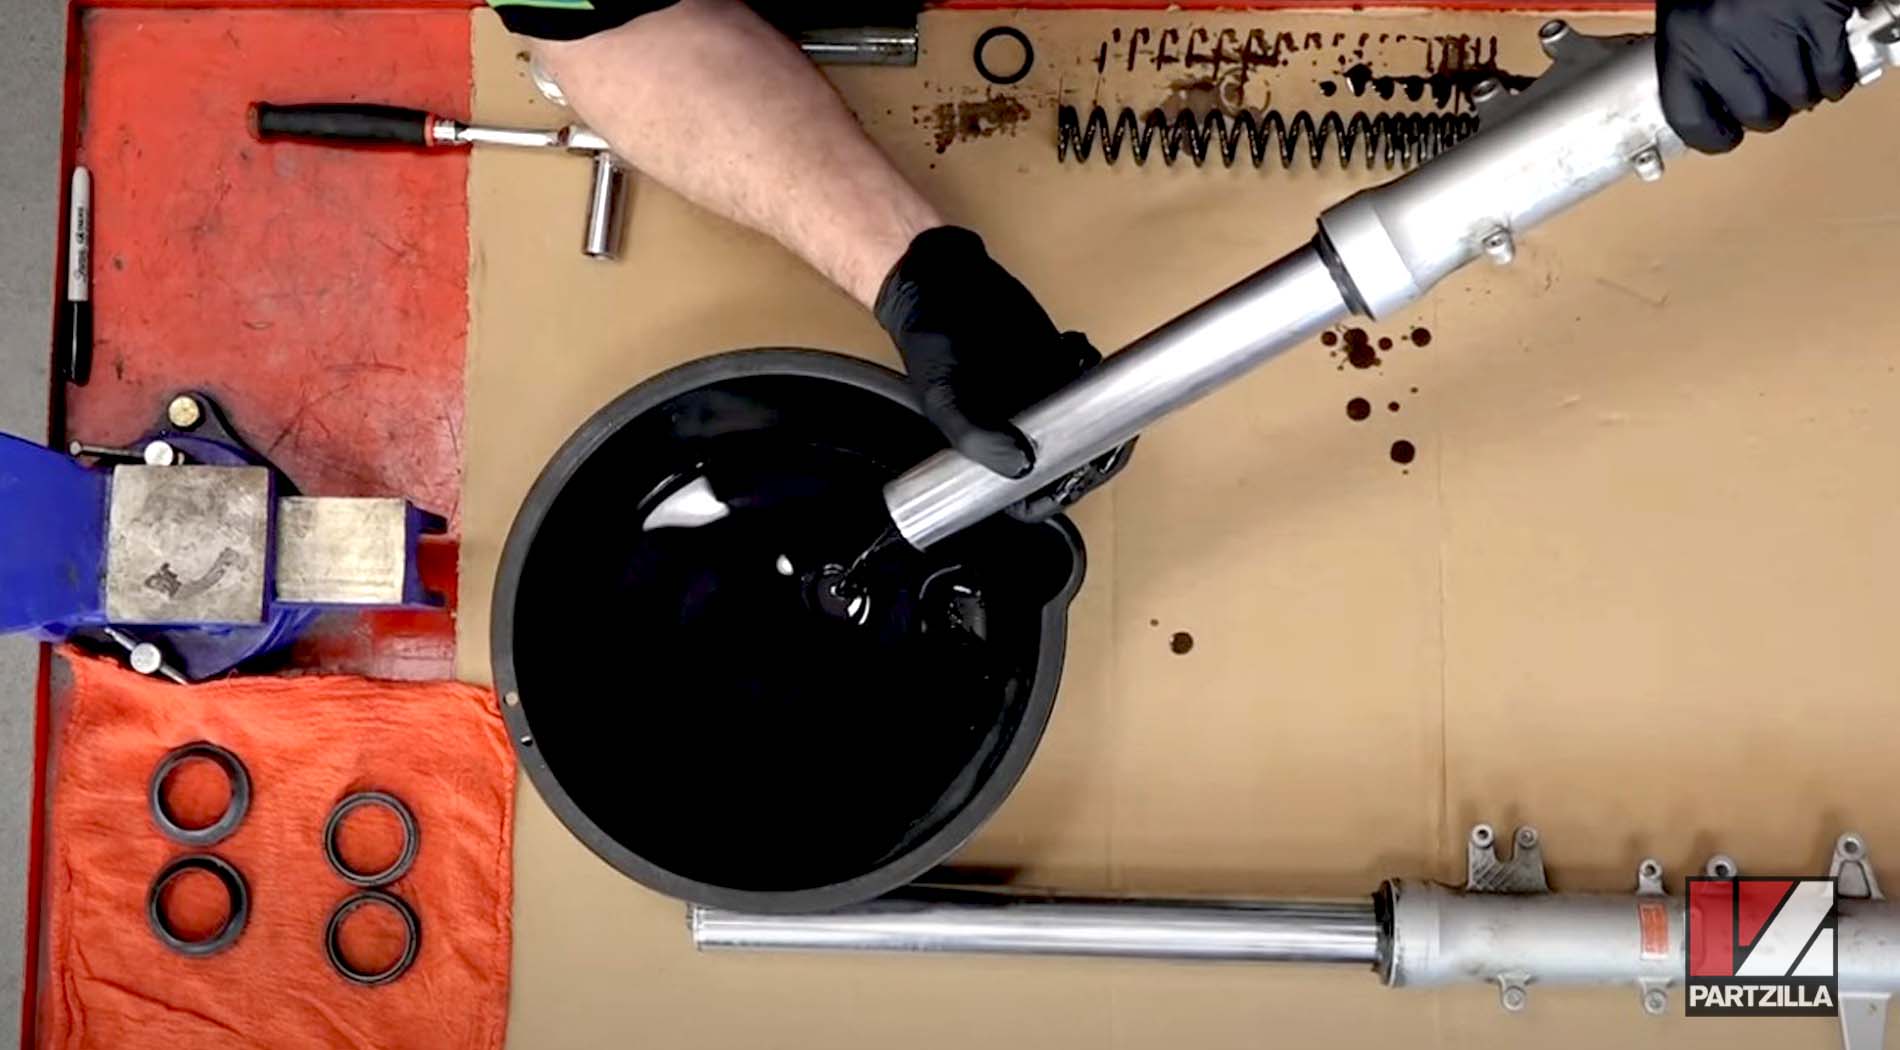
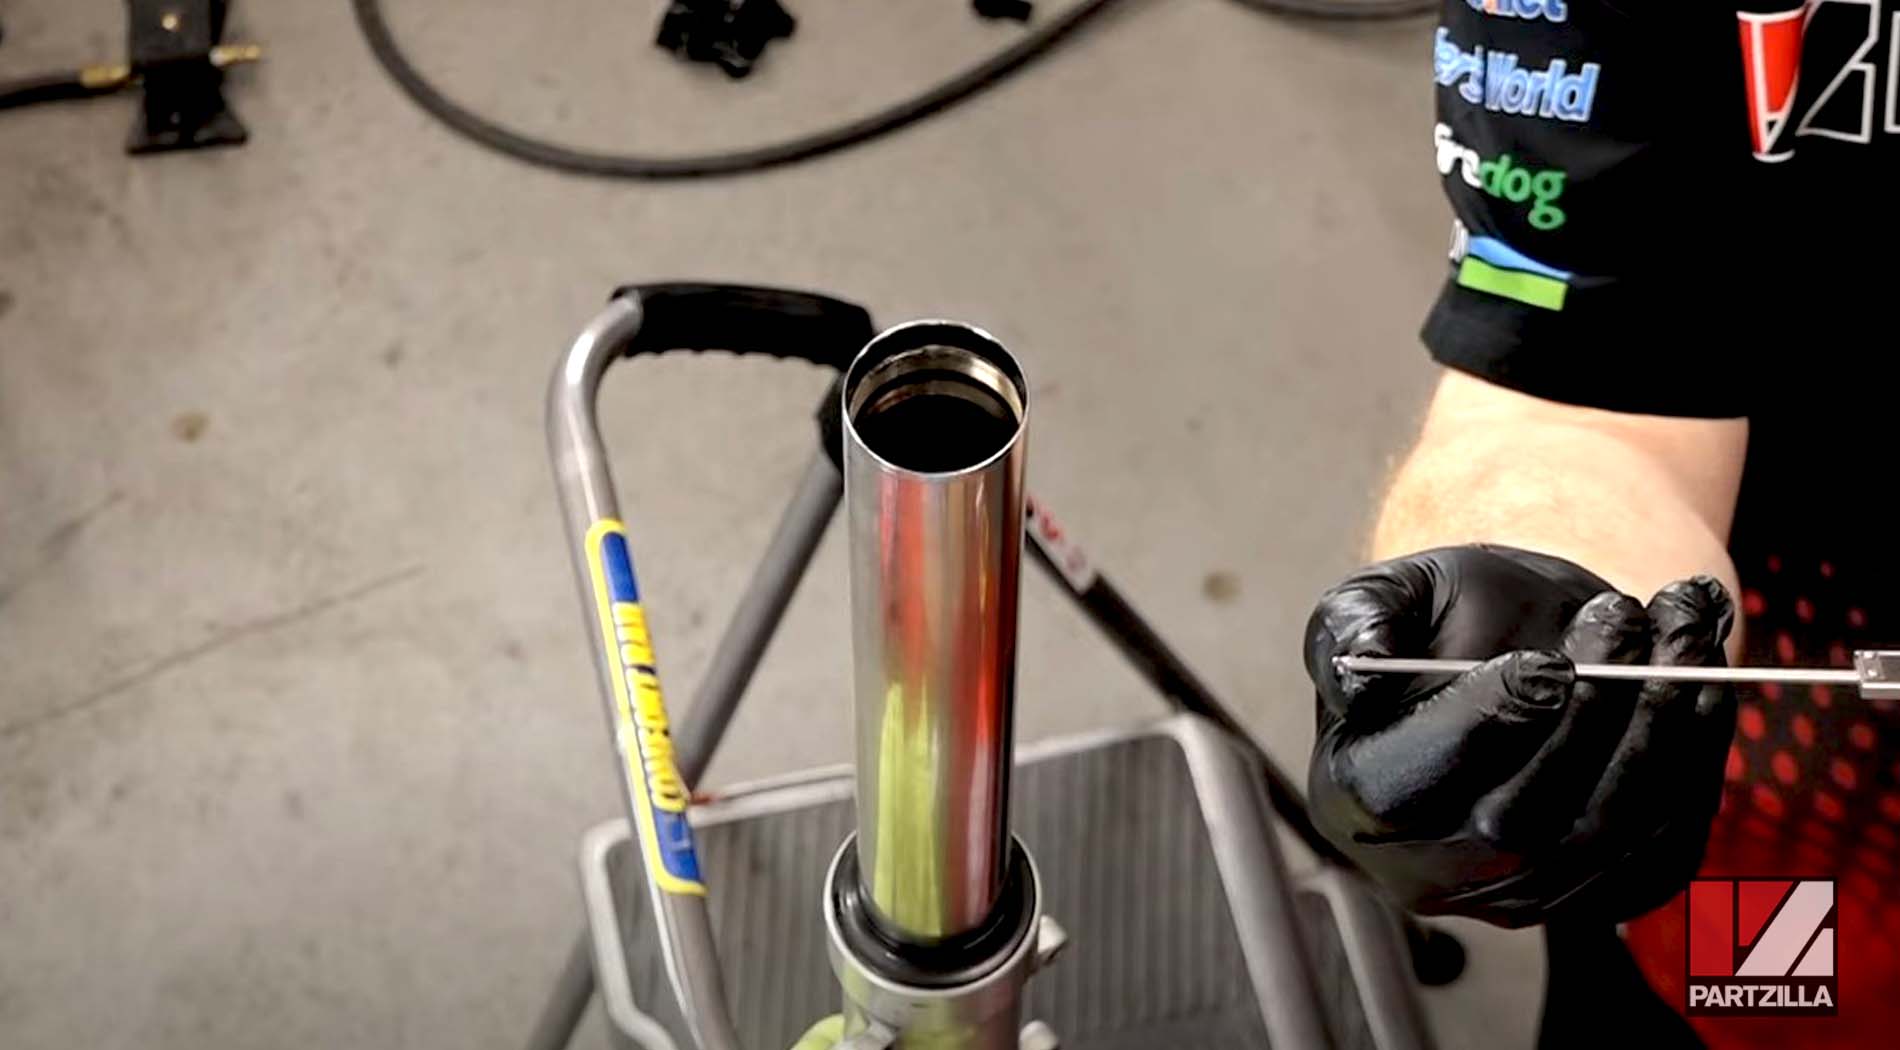
Refilling the Fork Tubes
Once you’ve gotten the fork seals installed, refill the tubes with oil. Your motorcycle’s service manual will tell you exactly how much oil the forks take. However, it’s a good idea to use the depth gauge on a digital caliper, set it just a tick deeper than the manufacturer’s oil level, and then fill the fork oil to that point. Next, remove the caliper and add a little more fork oil to top it off.
Final Steps
After filling the fork oil, all that’s left is to get the fork caps back on, closed up and torqued down once you get the fork legs back on the motorcycle. Replace the plastic and instruments, then reinstall the wheel and calipers and you’re done. Just make sure the forks are parallel so that the motorcycle tracks properly.
Ready to see a fork seal replacement in action? Watch the video below to see how to replace the fork seals on a Honda Goldwing GL1800.